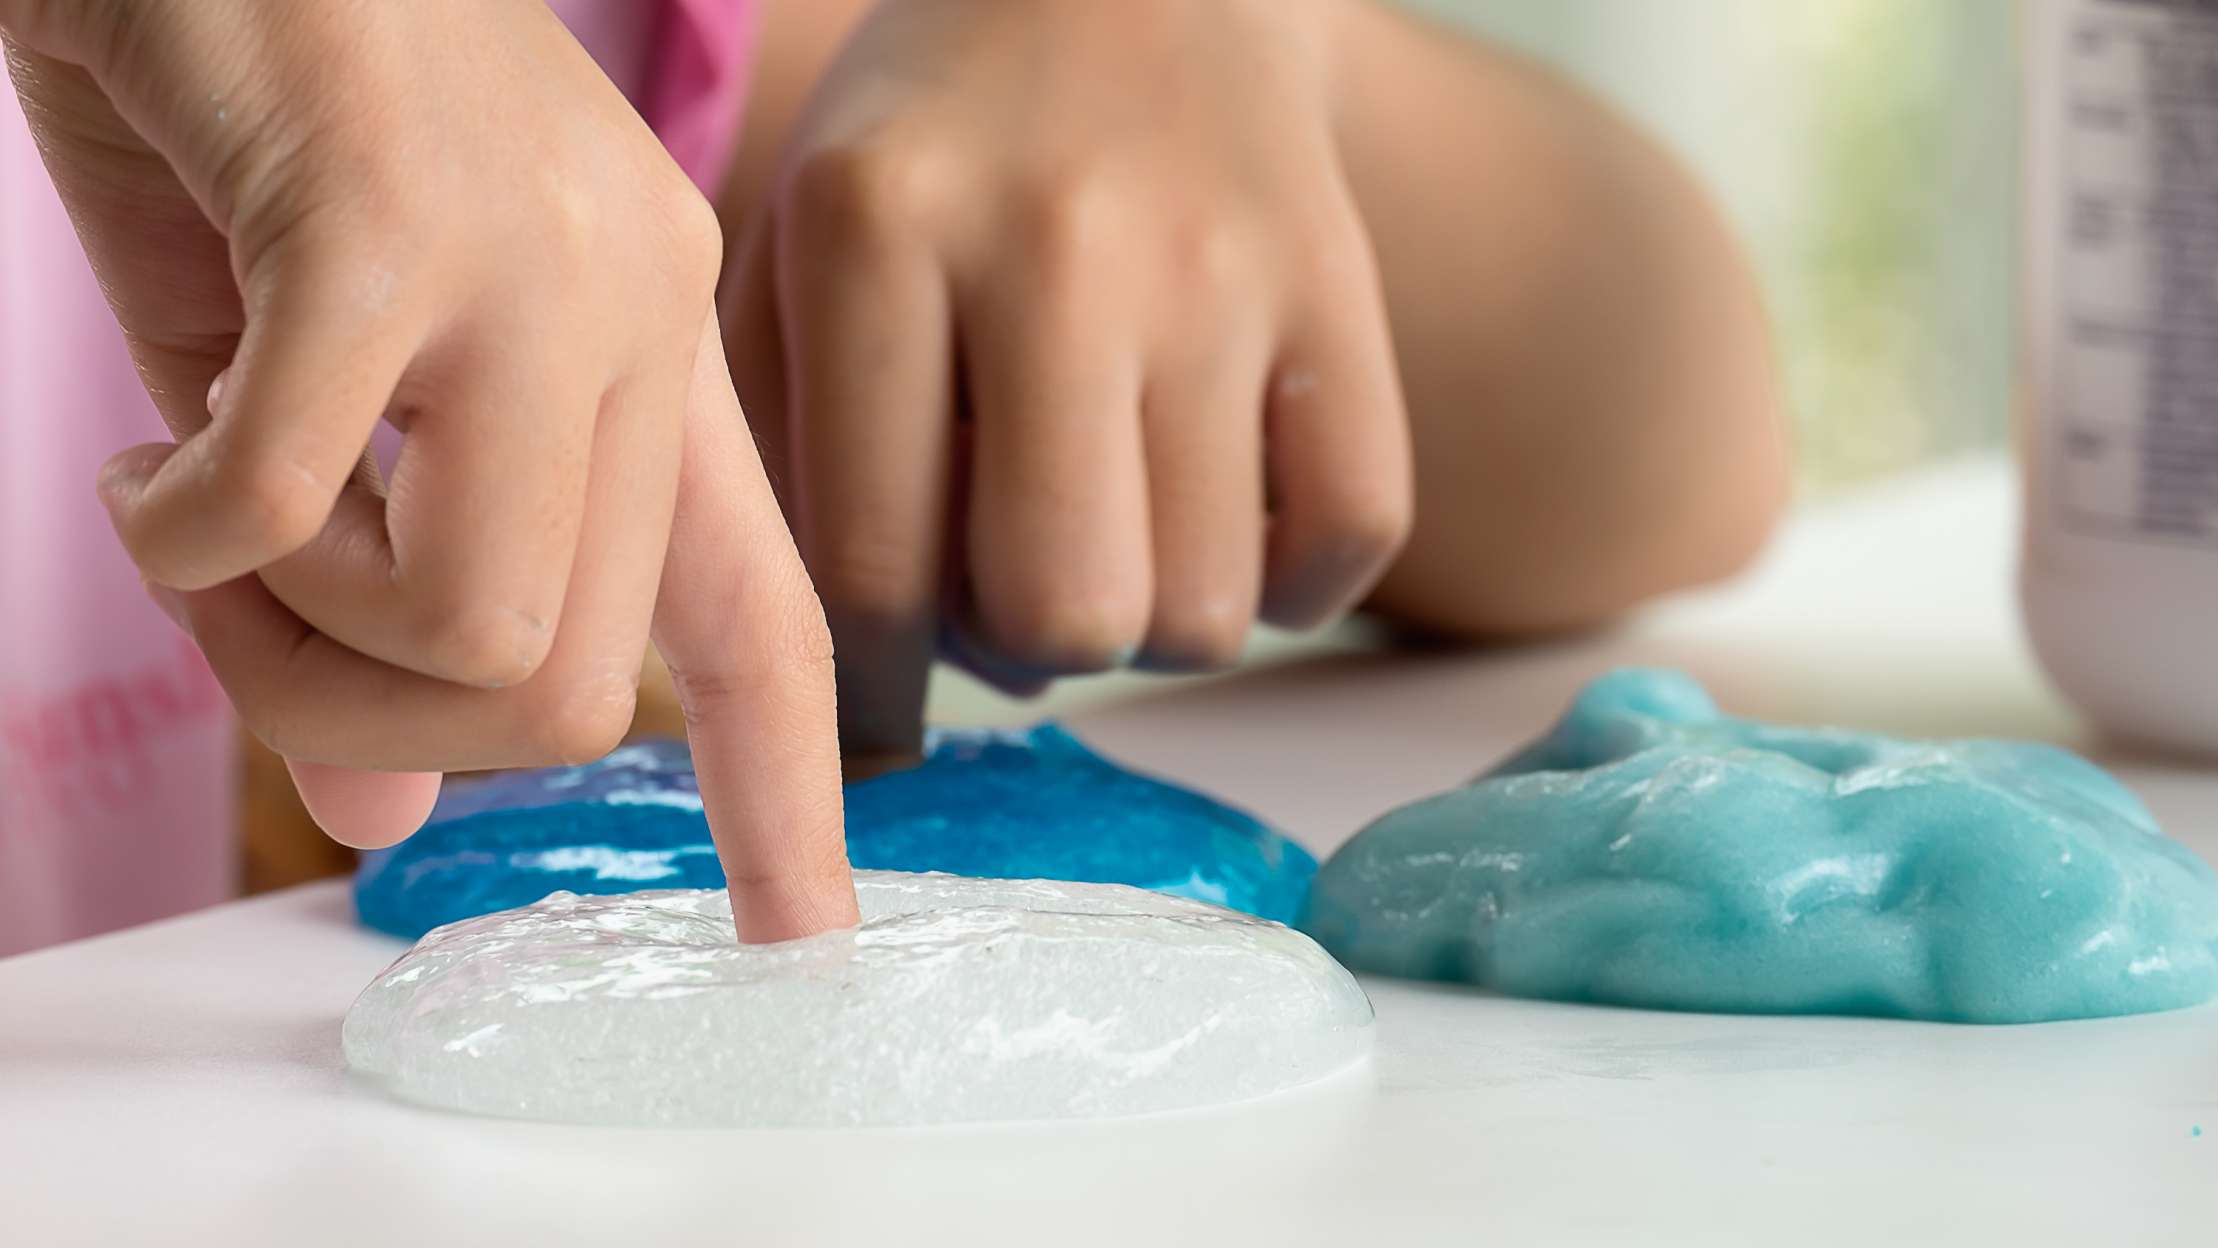
How can you soften slime at home?
With prolonged use and improper storage, slime can lose its elasticity. Such a toy is no longer suitable for games. But you can fix it.
Is it possible to soften a slime with a toothpaste and how to soften it besides it, read below:
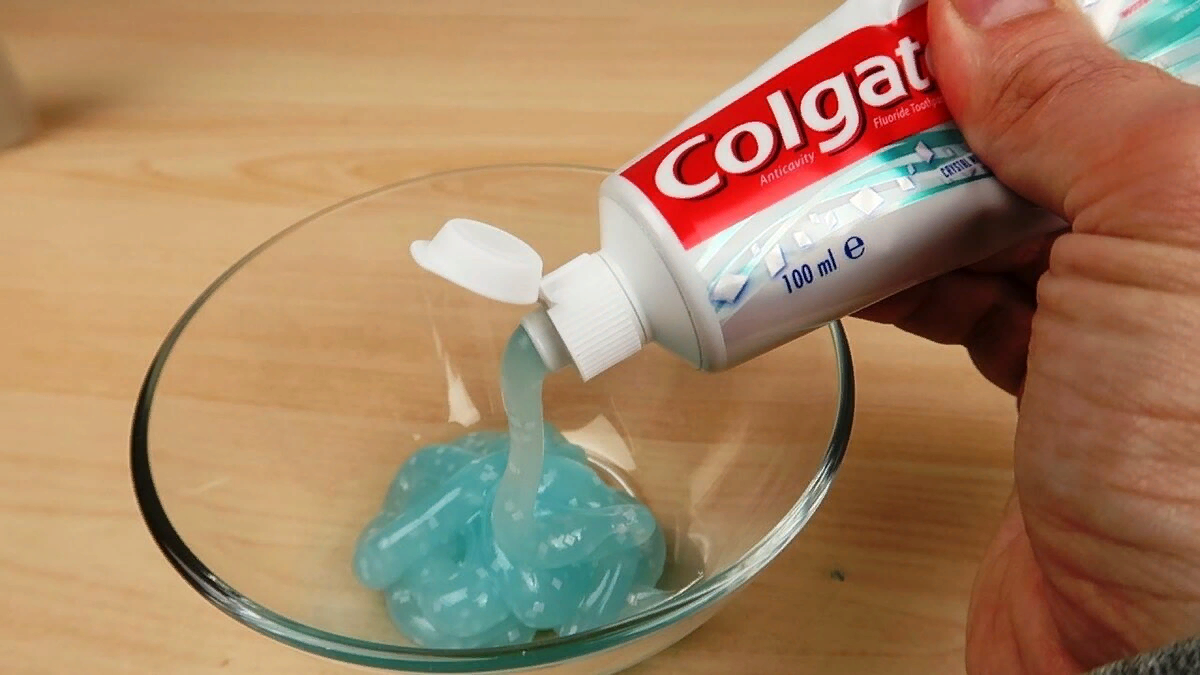
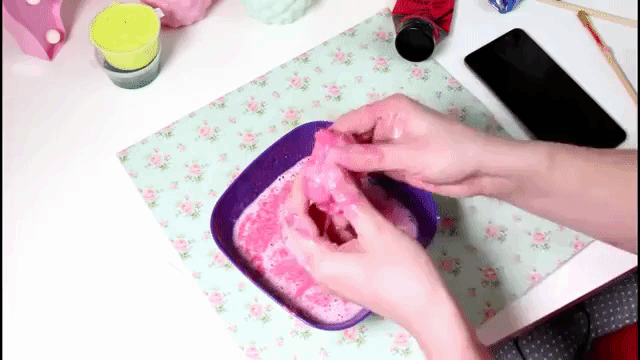
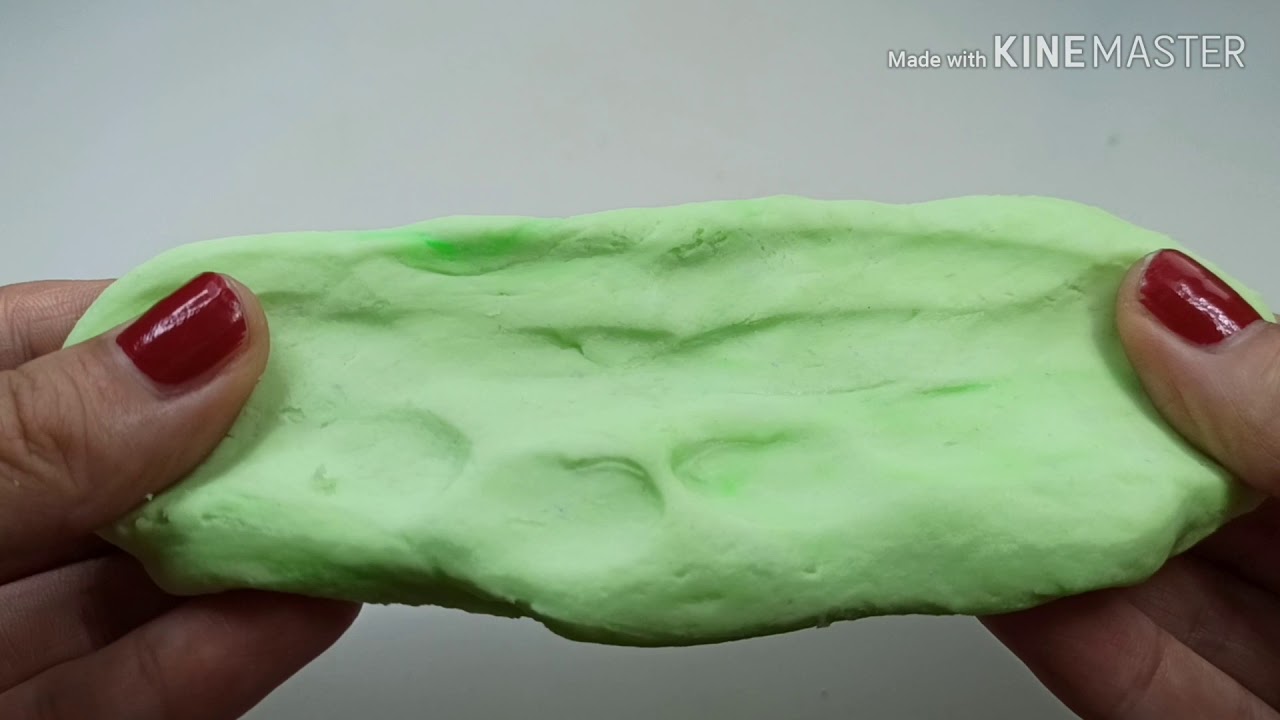
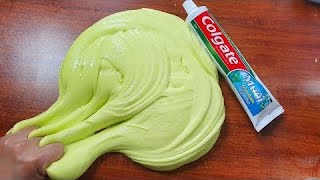
- Toothpaste. If the slime is made from such a base, then adding a paste will help soften it. It is enough to add a small amount of this substance and knead the toy well.
- Hand cream. A lotion or cream is used in cosmetology to moisturize and soften the skin. This effect is used to soften the toy. It is enough to pour two spoons into a container and a little water. After that, add the slime there and stir well. Stir the slime until it becomes soft again.
- PVA glue. If glue and boric acid were used to create the slime, then adding glue will help restore the slime. It is enough to add a spoonful of glue. Mix the mixture well with your hands. Continue this until the mixture becomes soft again.
- Adding water. Some slimes can be restored by adding regular water. To do this, take a bowl of water. There should not be too much liquid. Slime is kneaded in water until it becomes soft.
- Adding an antiseptic. An antibacterial gel can be used to soften the toy. It is enough to add a few drops of gel to the slime. Any gel will do. After adding the antiseptic, it is necessary to mash the mixture well so that the gel mixes evenly with the mass.
-
Heating slime. You can use hot water for this.
- Pour some hot water into a bowl and put the slime there. It is enough to soak it in liquid for one minute.
- Then the toy is taken out of the water, squeezed well.
- The slime is put back in the bowl and placed in the microwave. It is enough to turn on the device for 10 seconds. Slime is not taken out immediately, you need to wait about 2 minutes.
- Add lotion and knead the toy well.
If after applying these methods the slime has become too soft, then an activator can be added. It is the substance that was used to create the slime.
The classic easy way to cook toys
Before starting, remember the main principle of action for all recipes: mix the proposed components very thoroughly in the recommended sequence, achieving a homogeneous mass. When the slime is free to peel off the walls of the container, take it in your hands and knead it vigorously for 5-10 minutes until you achieve strong ductility. So much for your readiness!
The first is the most traditional version.
You will need:
- a tube of toothpaste;
- liquid food coloring.
Cooking method:
- Pour the dye into the toothpaste (squeeze without residue), stir.
- Keep a bowl of this mixture in a water bath for 15 minutes, stirring constantly.
- When the mixture becomes thick, brush your hands with any oil (such as sunflower oil) and knead it until tender, as described in the basic recipe.
How to make edible slime

Two news for you: good and bad. The first is an edible slime recipe that you can eat without worrying about your health. The second is slime, which can be made from food, but it is undesirable to eat it due to the high concentration of the dye. Where to start? Let's start with a recipe for making a delicious option.
Chocolate paste recipe
If you don't know how to make a slime that you can eat, stock up on chocolate paste and Marshmallow. Nutella and Tuchki-Shtuchki soufflé are perfect for this. The recipe is done in two steps. First you need to melt the marshmallows.To do this, put 30 pieces in the microwave and heat up for about 60 seconds - that's enough. They now look like shaving foam and a thickener needs to be added. In this case, chocolate paste plays its role. Add Nutella to a bowl of soufflé, with the expectation that there are 3 marshmallows for every tablespoon
When preparing an edible slime, it is important to mix both ingredients thoroughly so that the tasty toy doesn't get too thick. Of course, if you want to play
If not, it will do.
Conclusion: tasty, but not too viscous slime.
Slime from Coca-Cola or Fanta
To prepare this slime, two types were used
drinks, but one of them will do. Better Fanta,
if you try to taste the slime, but even this option is not recommended to eat.
The fact is that we will have to boil the drink, and there will be
concentration of chemistry that is definitely not helpful. Ingredients:
- Coca-Cola
or Fanta - 2,000
ml; - icing sugar - 500 g;
- marshmallow - 10
stuff; - vanilla - 50 g.
Making edible slime from drinks is tricky due to the complexity
recipe:
- First, you need to boil 2 liters of drink for
heat (in a deep saucepan) until about 150
ml of a viscous liquid; - Pour the powder into a plate and fill it with black or
orange jam, depending on which drink was used; - Put marshmallows in the microwave and keep about
1 minute; - Mix and add vanilla.
As soon as the ingredients turn into a homogeneous mass, we take it in our hands and mimic it tightly.
Conclusion: a difficult to implement, but an interesting recipe.
Most popular hendgum recipes
Depending on the ingredients added to the pasta, it turns out to get a slime with certain characteristics. Below are the most popular recipes.


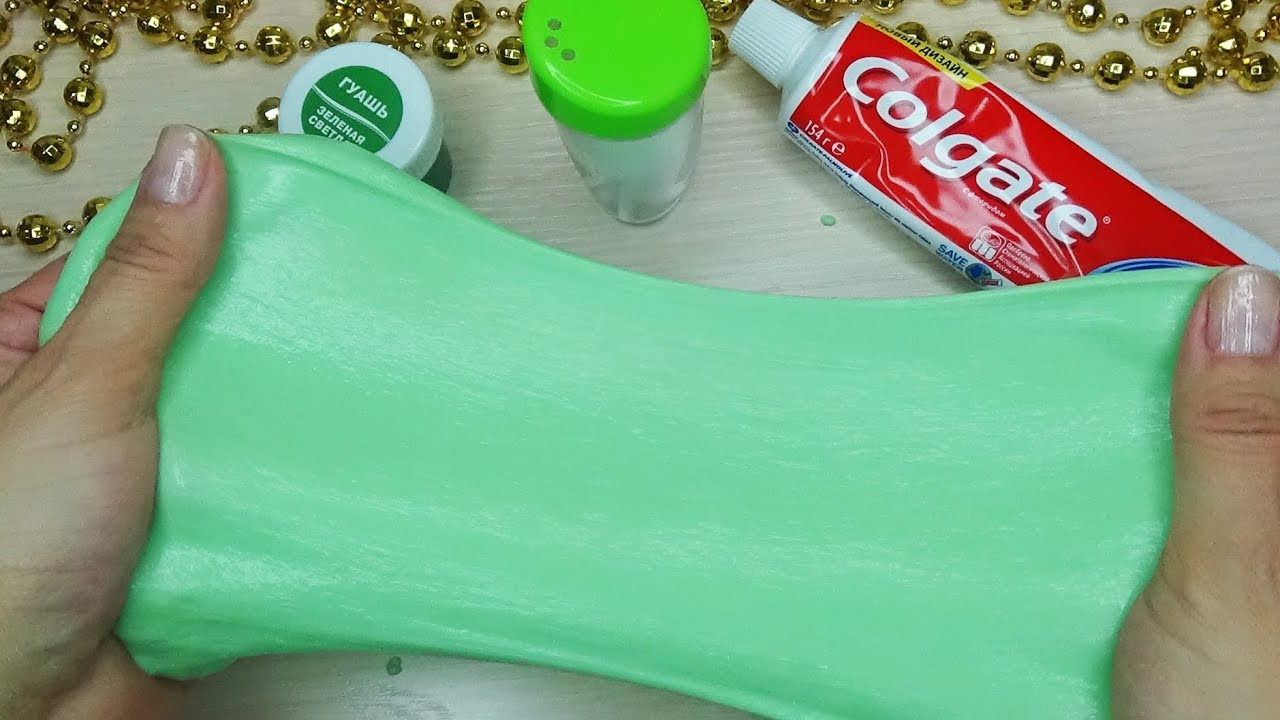
Shaving foam
To make slime you will need:
- shaving foam;
- Toothpaste;
- dye;
- mixing container;
- a spatula for mixing ingredients.
Cooking process:
- Shake the can of foam well and squeeze about 125 grams of the product into any container;
- Add half the amount of toothpaste to the foam;
- Mix all the ingredients thoroughly, stir with a spatula until the mixture begins to thicken, then continue mixing with your hands;
- The slime is put into the refrigerator for 30-60 minutes;
- You can start playing.
The foam produces an airy, porous and delicate hendgum.
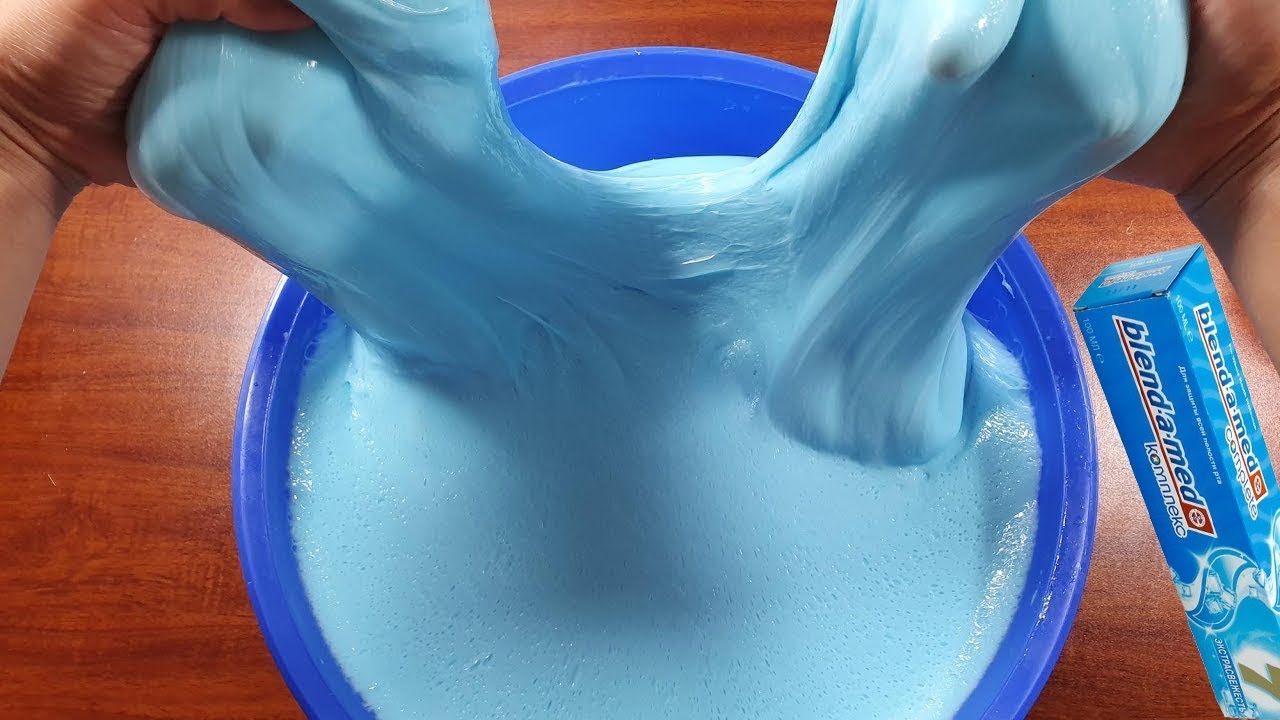
Sodium tetraborate recipe
You can buy sodium tetraborate at any pharmacy, if the product is not available, it can be replaced with Borax (powdery product, also freely sold at pharmacy points).
To make slime from pasta, you need:
- Squeeze about 100 grams of opaque toothpaste into an easy-to-mix bowl;
- Add 100 ml of tetraborate solution to the mixture, or prepare an aqueous solution of the same volume from the powder;
- Add color, glitter and flavor to the mixture (optional);
- Using a wooden or plastic spatula, mix all the ingredients thoroughly until a homogeneous mass is obtained, which begins to thicken over time.
- Leave the slime for 20-30 minutes.
If there is excess moisture in the slime, it can be easily removed with a regular paper towel.
Helpful hints and tips for making
To make an antistress toy of a suitable consistency, I advise you to follow the recommendations of experienced slimers:
- If you need to change the amount of the finished mass, then the volume of all components is reduced or increased proportionally.
- With the wrong choice of paste and other ingredients, the game mass will fall apart, it will not stretch well and stick.
- To color the mixture, use safe food colors, brilliant green, ink, beetroot or carrot juice.
- Do not neglect the kneading step or shorten its duration, since the consistency of the finished slime depends on it.
- To eliminate stickiness, potato or corn starch is added to the mass. And to soften a toy that is too tight, use water, a portion of toothpaste, hand cream, baby oil or glycerin.
- Since the elastic mass easily collects all dirt, only clean dishes are used for cooking. Before playing, it is advised to wash your hands so that the slime does not get dirty. For the same reason, plastic mass is not taken outside and molded onto fleecy and dirty surfaces.
- If a slime is prepared with glue, then preference is given to domestic products of the Luch brand or imported adhesives. The main condition is that the glue mass must be sufficiently fresh (maximum 2 months from the date of manufacture).
Although homemade slime does not contain harmful components, it is not given to children under three years old. During the game, they can tear off a piece of the mass and taste it, or accidentally choke on the mixture.
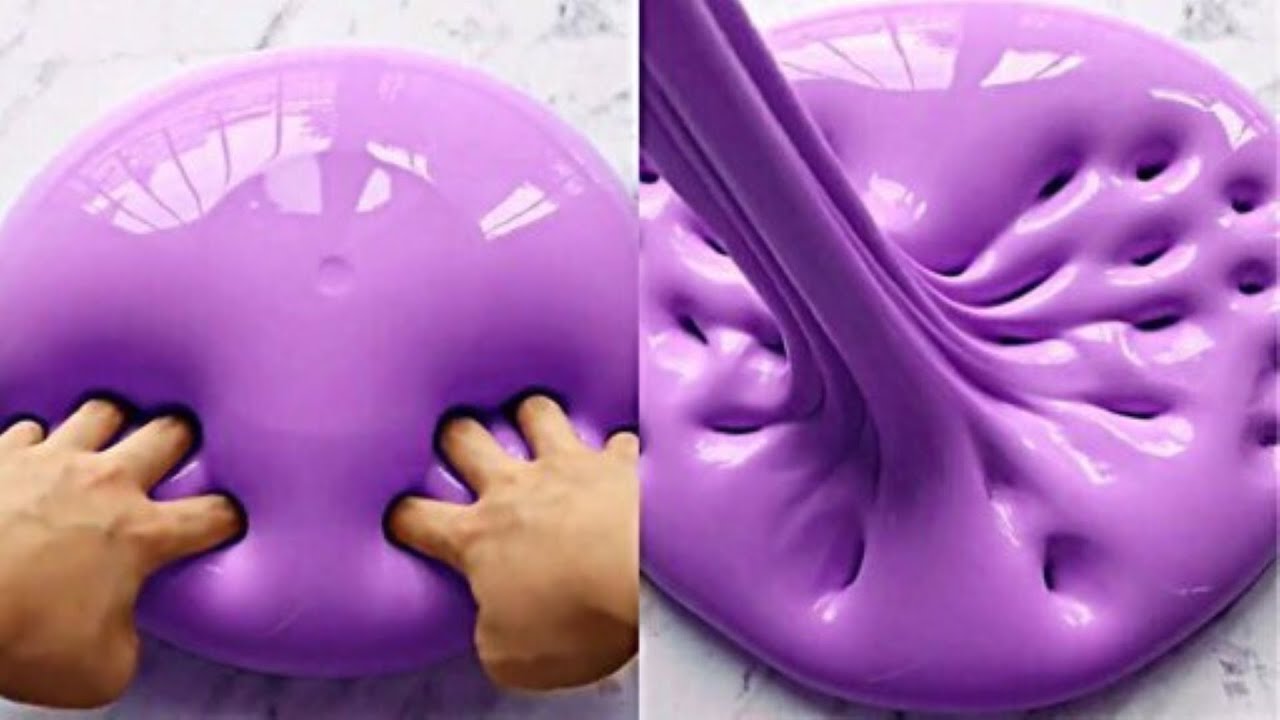
5 ways to make pasta slime
There are many ways to make toothpaste slime, but there are far fewer working recipes. Thickeners such as sodium tetraborate, boric acid, and lens cleaner are best suited for the task at hand. The best base for this is plasticine, glue and thick washing liquids. At the same time, we must talk about simpler slime recipes, because most of our respected subscribers are interested in easy options for implementation at home. Accordingly, not only difficult, but also easy recipes are presented below. Obviously, the more ingredients, the better the slime. Keep in mind.
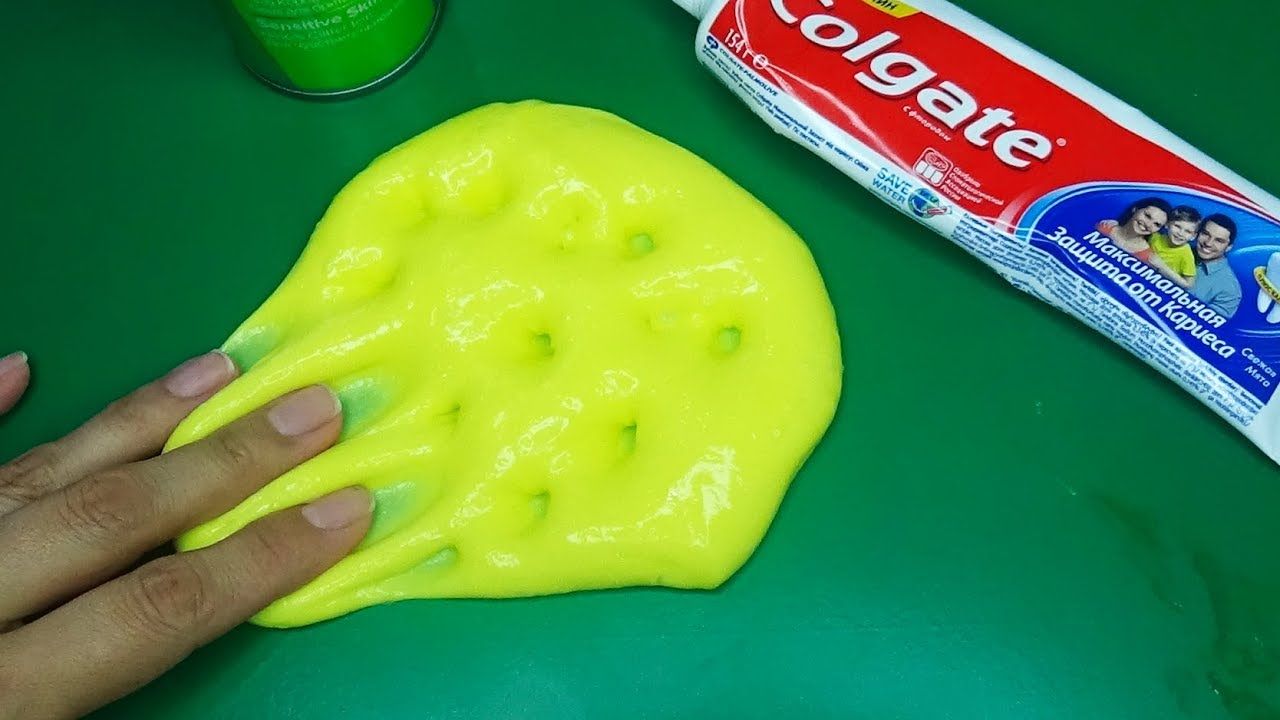
No glue pasta recipe

Among the simplest options,
We liked the recipe for toothpaste slime without glue the most. Instead of
the thickener used sugar and thick shampoo. Ingredients:
- shampoo "Pure
line "- 30 ml; - Toothpaste
Colgate - 15 grams; - flour - 3 teaspoons
spoons.
Friends, it's worth saying right away
that other brands of the specified ingredients have not been tested. Why? because
this slime recipe attracts with only one advantage - the ingredients are in
every home. At the same time, the quality leaves much to be desired. But, if you only
start exploring handgams, you should like it.
We cook as follows:
- Add
paste into a container; - Above
fill in with “Clean line”; - We fall asleep with a fly
and mix until it turns out to make foam; - Can
add glycerin if desired to add shine.
Simple slime made from pasta and glue
Perhaps,
the most amazing in terms of ingredients is a slime made from pasta and glue -
there are only two products and it works. We used Colgate and stationery
PVA glue. It should be said right away that you won't be able to quickly make a slime
Important,
to stand for 48 hours in a plastic bag
For
you need to use a tube of the cheapest Colgate paste and
a whole tube of glue. Stir for about 3 minutes and cover the container where they cooked,
package so that the air does not pass inside. Putting it aside in a place protected from
exposure to sunlight.
You should get a fairly good slime, the only drawback of which is the cooking time. If you don't rush, you can wait 2 days, but this is one of the easiest recipes that really works.
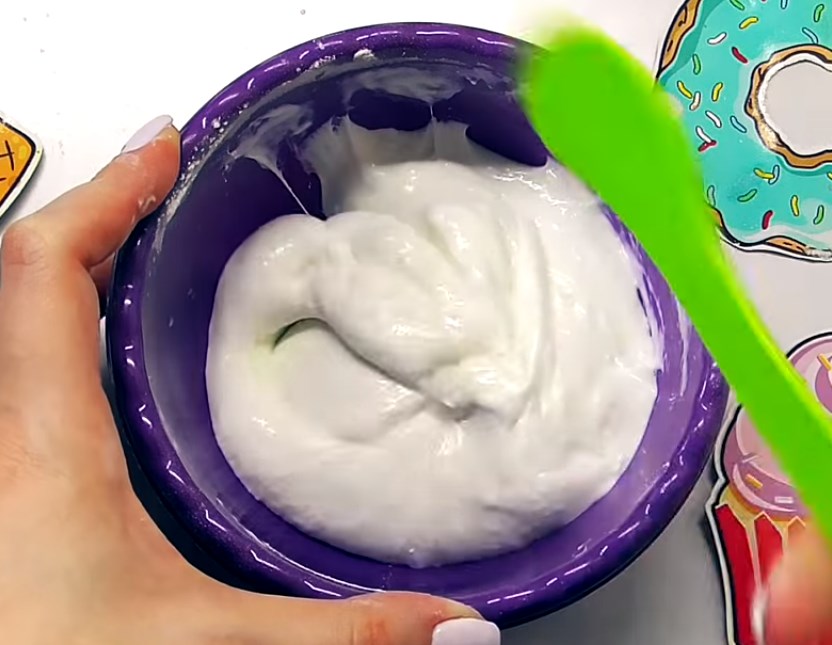
Multicolored Fluffy Slime with Thickener

The best toothpaste slime is a multi-colored fluffy that can be made in the form of cotton wool. If you want to make such a slime, you need to act consistently, taking into account the following proportion:
- PVA glue - 75 ml;
- liquid soap - 3 teaspoons;
- toothpaste - 3 teaspoons;
- water - 1 teaspoon;
- sodium tetraborate - 30 ml;
- purple, blue and pink dye.
First you need to add soap, water and toothpaste to the container.
Next, beat until you can mix into a foam. To do this, you can use
mixer or whisk.It will take about 3-5 minutes to beat to achieve the best
result.


Having coped with the above task, you need to add glue
and a thickener. Mix, and you get a very airy white slime.
To give it a more beautiful look, we have divided the slime into 3 parts. One was painted purple, the second blue, and the third pink. Connected.
The result fully met, and even exceeded expectations.
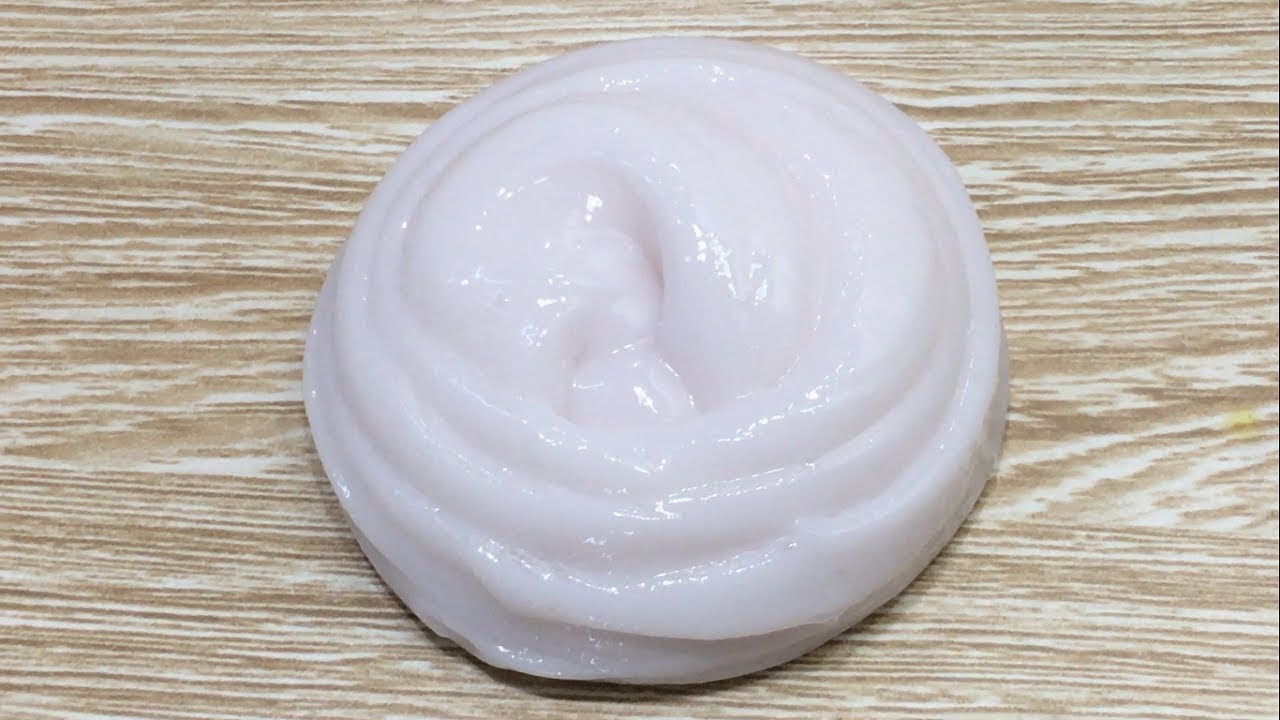
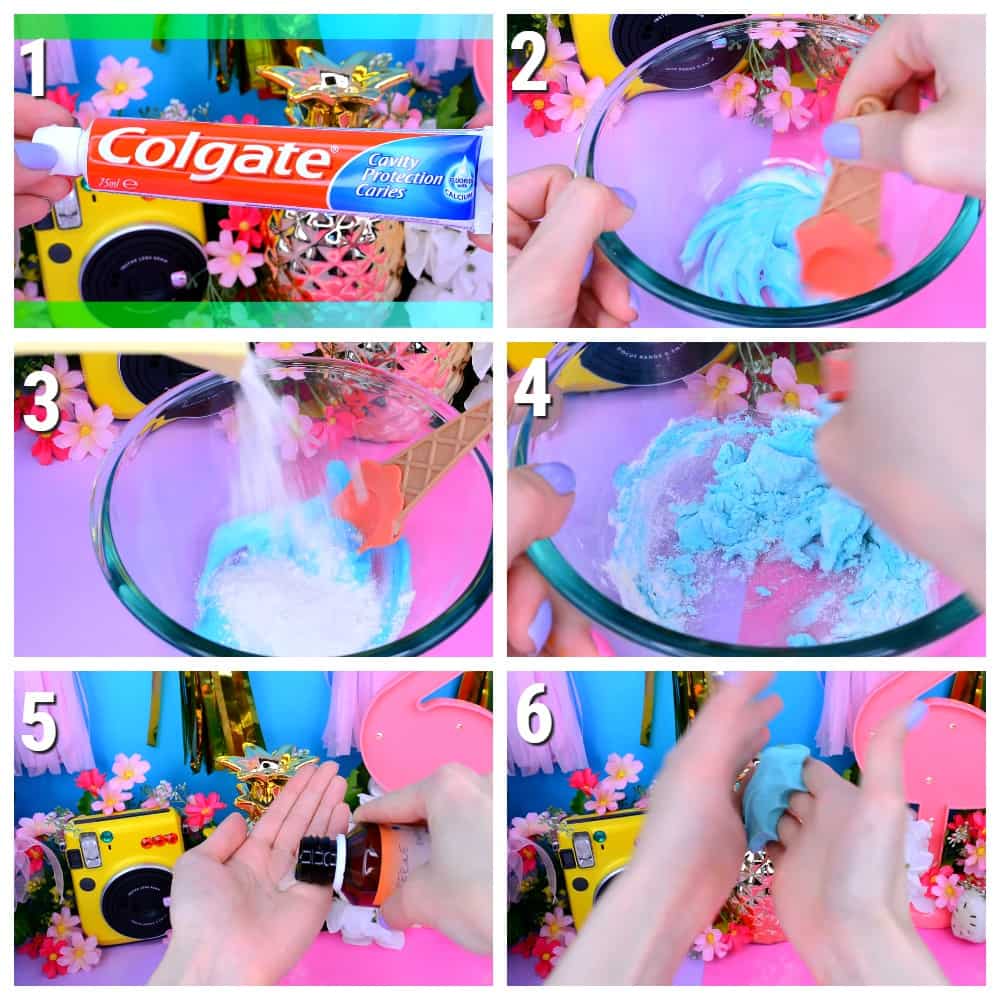
Is it possible to make a slime from toothpaste
The simplest do-it-yourself slimes are obtained from toothpaste, they are quite pleasant to the touch and often have a pleasant mint smell. To make a slime you will need:
- A tablespoon of toothpaste (it is better to take Colgate paste, in the course of numerous experiments it has been proven that slimes are obtained from this paste much better);
- 4 tablespoons of thick shampoo.
> Mixing process:
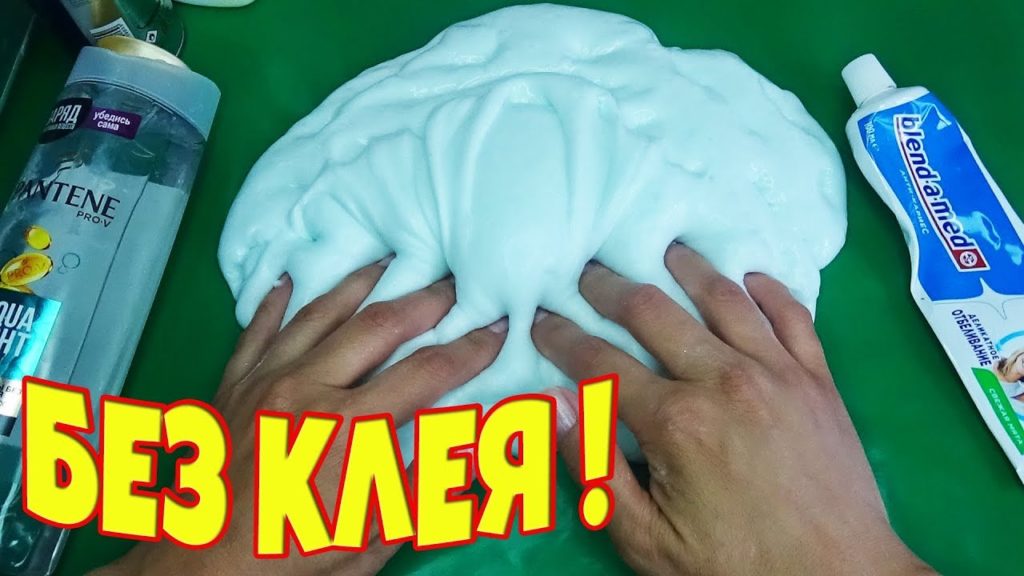
- Pour 4 tablespoons of any thick shampoo into a convenient bowl. Instead of shampoo, you can use Faery detergent, shower gel or liquid soap. Better to take a shampoo with no scent or mint flavor.
- Add a tablespoon of toothpaste to your shampoo.
- Using a toothpick, thoroughly mix all the ingredients into a homogeneous mass until a homogeneous consistency is formed.
- Remove the mass to infuse in the refrigerator for about 30 minutes.
If you need to increase the volume of the finished fluffy, gradually add the paste and shampoo in a 1 to 4 ratio.
Tips & Tricks
A few final tips for making and storing the popular toy:
- If, following all the recommendations, the slime did not work out, try replacing the toothpaste with another.
- Slime becomes denser after 20-30 minutes in the freezer.
- If the components are unpainted, you can tint the toy with dye.
- When manufacturing, follow the instructions - it is usually recommended to introduce the components in small portions, mix gradually. After each addition, the mixture is mixed, the ductility and viscosity are checked.
- If signs of deterioration appear on the slime (mold, separation of components, crumbling), discard the toy immediately.
- If the slime sticks to your hands, add starch or flour (a tablespoon) and stir. If necessary, add in small portions more, until the desired consistency is obtained.
- Slimes are stored in closed containers, tightly tied bags.
- Teach children not to touch their eyes or face while playing with the slime.
- It is better to play with a slime at a table or on other smooth surfaces that are easy to clean. Homemade toy spoils upholstered furniture and fabrics.
- dissolve salt in water (1/2 teaspoon per glass);
- pour into a container with a lid;
- immerse the slime, close and shake.
The slime will last longer without losing its ductility.
Slime making is not laborious and creative. You can make a pleasant safe toy out of toothpaste at no cost, giving it an exclusive look with the help of dyes and sparkles. It must be remembered: the slime is not stored for a long time, after a couple of weeks it is time to start making a new one.
Share link:
Proper care of your toy
The service life of a purchased or homemade slime is short. Usually it is between two and five months. Proper storage and handling will help prolong the use of the toy. To do this, you need to follow simple rules:
- Before starting the game, you need to wash and dry your hands thoroughly.
- For storage, use a container that is impervious to moisture and air. In stores, toys are sold in special jars. For a homemade slime, a small plastic container with a sealed lid, a plastic bag with a clasp, or a jar of any cosmetic product is suitable. Before use, it must be washed with warm water and soap and wiped dry.
-
The storage place can be made yourself from milk or juice packaging. This requires:
- Cut three walls of the box at the same height, and from the fourth make a lid in such a way that it bent over covers the opposite side along its entire length.
- You can use a small magnet, Velcro, or an elastic band to secure the lid.
- As a decor, you can use stickers, colored paper appliques, glitter.
-
Store the container in a cool place. This could be the bottom shelf of the refrigerator. Do not expose the toy to the balcony or place it in the freezer. From low temperatures, it can harden and lose elasticity.
Near heating appliances, or in sunlight, slime quickly loses moisture and hardens. - At high humidity, slime absorbs a large amount of moisture and becomes liquid. If this happens, you can add a small amount of table salt to the mass, cover the container with a lid and shake it several times. Salt absorbs excess liquid well and returns elasticity to the slime.
- If over time the toy has decreased in size, it should be "fed". To do this, add a few drops of clean water to the container where the slime is stored and place it in a cold place for several hours. You can use a saline solution as a top dressing.
- You can remove dirt from the surface with tweezers or a needle. To remove paint marks, it is recommended to use a cloth dampened with a small amount of alcohol.
Making a toy yourself is pretty easy. There are many popular homemade slime recipes. They are simple and affordable. And a toy made by yourself will delight the child.
PreviousSecrets of making slimes. How To Make An Air Slime? NextFluffy Antistress Toy: How To Make A Fluffy Slime At Home?
Benefits of homemade slimes
The main advantage of homemade slimes is their safety. For the manufacture of a store toy, a special polymer and thickener are used, so the composition contains harmful chemicals. You can verify this by sniffing the slime in the jar. There are no harmful chemicals in homemade slime, because in most cases, safe home remedies are used for making. One of them is toothpaste.
Other benefits of homemade slime:
- Thanks to the use of ingredients available in every home, you do not need to buy anything to make slime at home. As a result, home antistress will cost several times cheaper than the store version.
- The consistency, color, decor and other characteristics of the toy can be adjusted at your discretion by changing the proportions of ingredients and adding other components.
- Homemade slime is safe even for small children.
- Any slime dries up over time, so you can always make a new dose of anti-stress by choosing a suitable recipe.
Since most toothpastes smell good, the play mass will have the same aroma, which will provide an additional anti-stress effect to the toy. Aromatic oils can be added on purpose.
What kind of toothpaste to use for slime?

The number of toothpaste manufacturers today is huge. And each of the manufacturers promises the customer a snow-white smile and healthy gums. But for a slimer, completely different characteristics are important. To make a slime from pasta and sugar, you need to choose the right composition of the main ingredient.


Oral hygiene cosmetics include the following components:
Abrasive substances. Necessary for cleaning the oral cavity, they can be aluminum oxides, silica
It is important for the slimer that the paste contains calcium carbonate abrasive. It is this element that prevents the mass from rolling up and the formation of lumps.
Slime from a paste with calcium carbonate and sugar will turn out to be uniform in texture and airy. By the way, this component gives the toy a white tint, that is, it allows you to create a good base.
Humidifiers. They are added to the paste to maintain consistency. For slime, a glycerin moisturizer is useful, this component affects the elasticity of the mass (the toy tears less, stretches pleasantly).
Flavors and colorants. They are added to the paste to give it a beautiful look and pleasant smell, and in slime are another bonus when choosing ingredients. Agree, it is much more pleasant to play with a slime that smells good.
Foaming elements. Designed to provide a pleasant cleansing effect on the teeth, but in the production of slimes they help to achieve an airy texture.
Additional ingredients of the paste can be fluoride, which prevents the formation of caries, tetrasodium pyrophosphate, which helps fight tartar, and many others. Such elements do not affect the quality of the slime, but increase the cost of the toothpaste. Therefore, you should not spend money on a product with additives, but if you already have this at home, feel free to experiment - auxiliary components will not interfere with making a slime from pasta and sugar.
Note! In stores there are so-called "natural" toothpastes. Their composition, as a rule, differs little from the above: the basic components remain the same, but the amount of flavorings is reduced
And yet, choosing such a tool as a working component in sliding, make sure that the composition contains all the components you need.
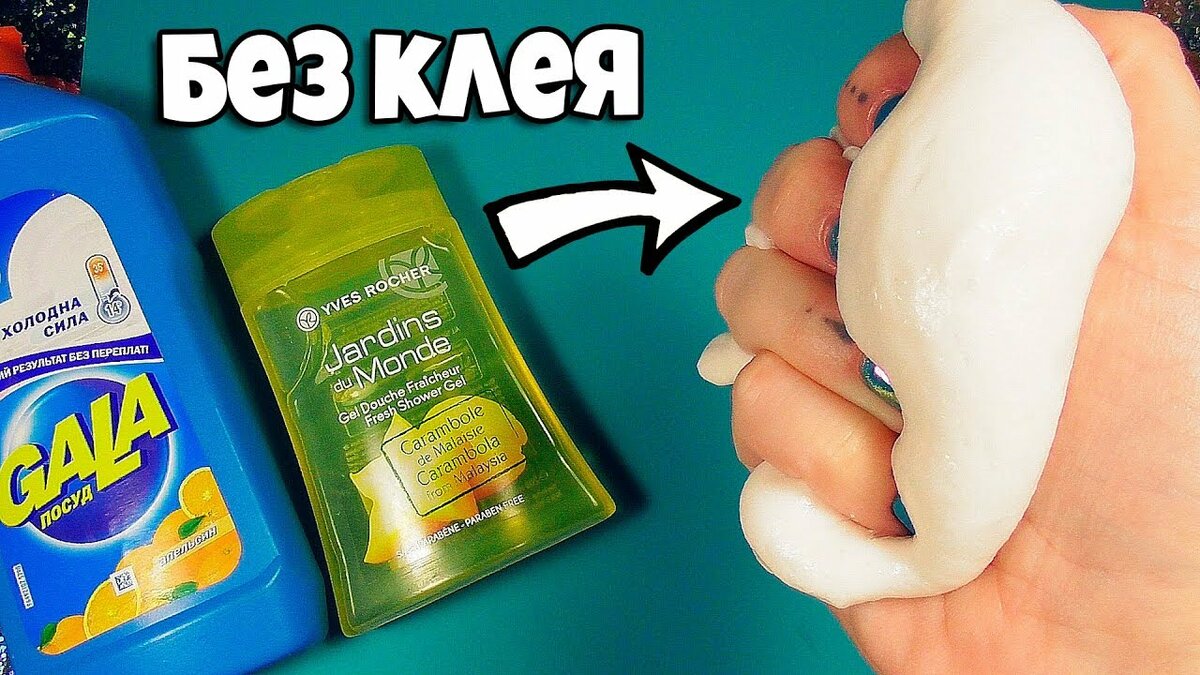
How to make glue-free slime from non-popping soap bubbles, water, baking soda and nasal drops

How to make slime
Pour the soapy liquid into a bowl. Add some water to the bubbles, shake and pour into the same container.

The author of the master class added pink paint to the liquid. Add a pinch of baking soda and stir.

Add some nasal drops.

Stir the mass. It should begin to thicken. Add a few drops as needed.

The slime is ready when it comes off the sides of the bowl.
What can be used as additional ingredients
The following recipes for making pasta slime at home are also popular:
- With the addition of PVA glue. A half-tube of paste is mixed with a small amount of glue, glue is added depending on the required consistency, the more substance, the more slimy and liquid the fluffy will turn out to be;
- Gelatin. You will need 25 grams of gelatin for one standard tube of paste. Gelatin is pre-infused in water, then heated, cooled and mixed with the paste. In order for the finished mixture to look like a slime, it must be placed in the refrigerator for a while.
- Flour. A tube of paste is squeezed into the container, the mixture is stirred with a toothpick, flour is slowly added until the product acquires the desired consistency.
- You can also use regular sugar as a thickener for the pasta. The more sugar is added to the mixture, the more viscous the finished toy will be;
- To thicken the toothpaste to a slime state, you can use starch or tooth powder.
Toothpaste slime recipes
There are many ways to please a child with a new plastic toy. In addition to the main ingredient, the most popular slime recipes include:
- glue;
- shampoo;
- shower gel;
- liquid soap;
- dishwashing liquid;
- dyes;
- borax;
- water;
- salt;
- sugar;
- flour;
- shaving foam;
- sparkles.
When thinking about how to make a slime from glue and toothpaste, it is recommended to observe proportions. In a mixing bowl, it is advisable to use a non-food container, 1 tube of tooth product is squeezed out. PVA glue is added to it. This is done in small portions to determine when the addition of PVA becomes unnecessary.


The contents of the bowl are kneaded until smooth after each addition of glue. As soon as the hand gum reaches the required qualities, is thick, plastic and not sticky, the container with the slime is placed in the refrigerator for 25-30 minutes. After the mass has hardened, you can use it.

A simple recipe for making slime from Pearl toothpaste contains, in addition to the main component, food coloring and shampoo. Pouring 3 tbsp into a mixing container. l. shampoo, tooth paste is added to it in parts, while the contents are kneaded. In order for the toy to acquire color, if both components are white, liquid dye is poured into the bowl. If you need to add a dry dye to a slime made from paste and shampoo, it is recommended to dilute it with water for uniform coloring of the product.
The product is placed in the freezer for 30-35 minutes. After hardening, the toy must be kneaded in your hands.
A popular recipe for hand chewing gum using Sanino AntiCavity teeth cleaner. To do this, fill the bowl with all the contents of the tube and put it in a water bath for 15-20 minutes. The mass is stirred continuously.
After steaming, the paste is cooled and crumpled in the palms, previously greased with vegetable oil. If they want to make the toy colored, then before the water bath, dye is added to the bowl of the toothbrush.

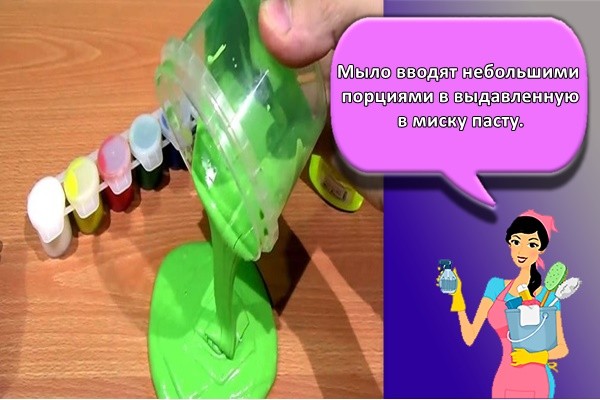
A beautiful and practical slime is obtained from liquid soap and toothpaste. In addition, flour and dye are included in the toy. Put in a mixing container 2 tbsp. l. means for teeth and soaps. The ingredients are kneaded and, if necessary, the components are re-added.
At the next stage, dye and flour are added to the mass. The white component is poured "by eye". If, after mixing, the contents of the bowl do not thicken, add the flour again.
At the final stage, 1 tsp is poured into the mass. water. The contents of the bowl are picked up and kneaded. The process lasts until the hand gum becomes stringy.

Slime is made from toothpaste, shower gel and borax. At the first stage, the entire tube of the tooth product is squeezed into the mixing container and 3 tbsp. l. soap. After mixing until smooth and adding a bag of food coloring to the mass, 3 drops of a solution of borax and water are added to the components.
Mix the contents of the bowl until smooth. If the composition has not reached the required density, a few drops of sodium tetraborate are added to it again. As soon as the slime begins to stretch, it is placed in the refrigerator for 60-120 minutes. After hardening, the toy can be used.
If you do not want to add PVA or other glue to the paste, you can prepare a toffee with salt. To do this, squeeze the contents of 1 tube of means for teeth into a container and sprinkle it with dye.
At the next stage, 1 tbsp is added to the pasta. l. salt. Mix the ingredients and see if the slime is firm enough.
When the mousse in the bowl gains the necessary elasticity, it is no longer interfered with and taken out of the container. Now you can knead your fingers with chewing gum.

To make fluffy sugar slime, instead of salty crystals, sweets are added to the toothpaste. The process of creating a toy is similar to the previous one.
Lizunov are prepared using paste and starch. For the procedure, you will need 2 containers. Pour 2 tbsp into one. l. starch and pour in 200 ml of water. In the second, 1 tube of paste and PVA are squeezed out.
Bringing the contents of 2 bowls to homogeneity, the ingredients are mixed. Glitter or dye can be added to the mousse for beauty. As soon as the mass thickens and becomes plastic, it can be used.


If, in addition to the dentifrice, you have dishwashing liquid on hand, you can prepare a slime from these components. Place the contents of 1 tube of paste into a high container and pour 3 tbsp. l. detergent.
Bringing the mousse to homogeneity, 3-4 drops of borax are poured into it. After the next stirring, the slime is tested for plasticity and stickiness. If the quality of the hand gum is satisfactory, then it is removed from the bowl and used for its intended purpose.

With imagination and having the necessary ingredients at hand, you can prepare a toffee for your child yourself. It is better to store slime in the refrigerator, so it will last longer.
Features of toothpaste slimes
Independent research has shown that slimes from many manufacturers contain substances that are unsafe for children. Toys made from simple, proven materials help protect your little ones from harmful components. Toothpaste is a harmless, readily available ingredient for making toffee. Slimes made from paste:
- environmentally friendly;
- the technology is simple - it's easy to make them;
- there are many recipes with available ingredients;
- the appearance of finished toys is very diverse.
For manufacturing, you should choose thick, jelly-like pastes that contain little moisture. The type of the finished slime depends on the color of the starting components and the dyes introduced. If the starting material is white, the slime will turn out to be snow-white. Striped colored pastes give more complex slime colors.
What glue to use to make slime?

The adhesive mass effectively thickens the liquid components of the slime. In addition, a chemical reaction occurs when glue and sodium tetraborate interact. As a result, a thick elastic mass is formed, reminiscent of soft plasticine.
The following types of glue are suitable for children's creativity:
- PVA. The material is a thick white mass. It is used in construction, everyday life, and decoration. The glue does not emit harmful vapors, it is safe for the child's hands. On its basis, an opaque matte slime is obtained, reminiscent of chewing gum.
- Silicate. It is a transparent viscous mass that resembles liquid glass. The advantages of stationery glue include an affordable price, safe components, and the disadvantages - the difficulty of washing off fallen drops.
- Pencil. This stationery is a small plastic tube with an adhesive mass inside. To make a slime, you need to get the base, grind it, melt it in the microwave, and cool to room temperature.
- Wallpaper. The wallpaper glue remaining after the repair can be used for children's creativity. Help your child to properly dilute the powder, make sure that he does not inhale its small particles, so that he can wash his hands after making the slime.
Remember, tubes of building glue are not suitable for children's creativity. The composition of such products often includes toxic components that emit harmful vapors, injure the skin of the hands, and cause an allergic reaction.