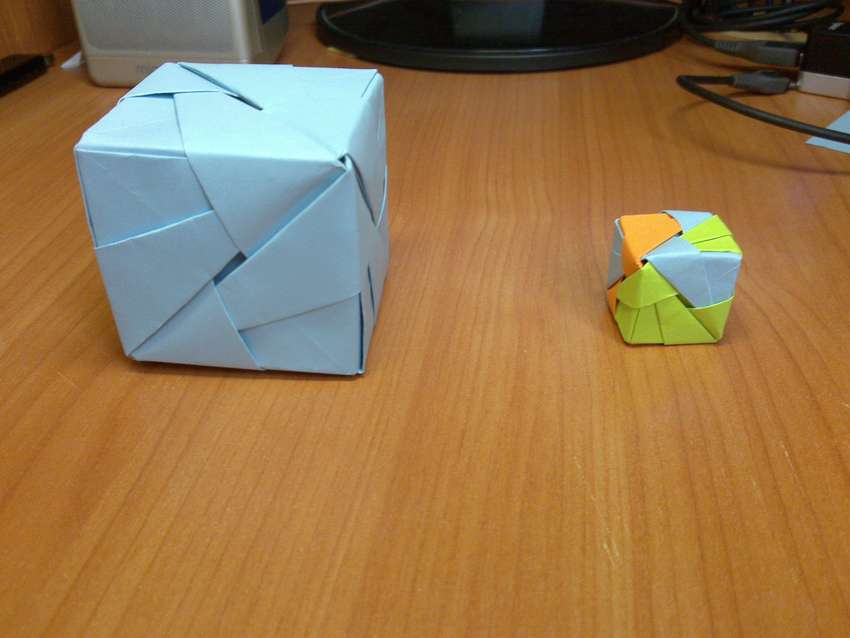
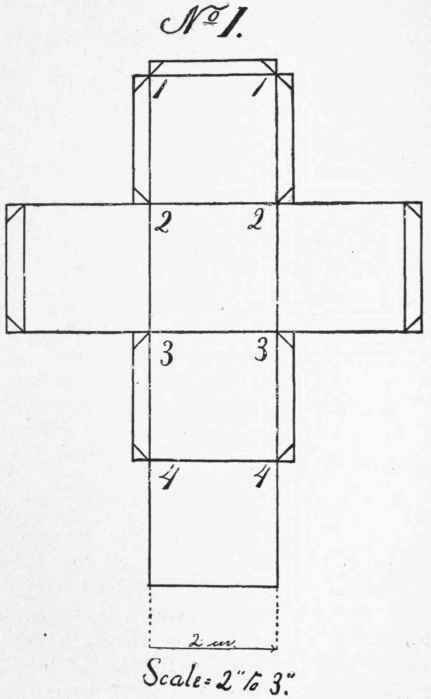
Simple paper cube
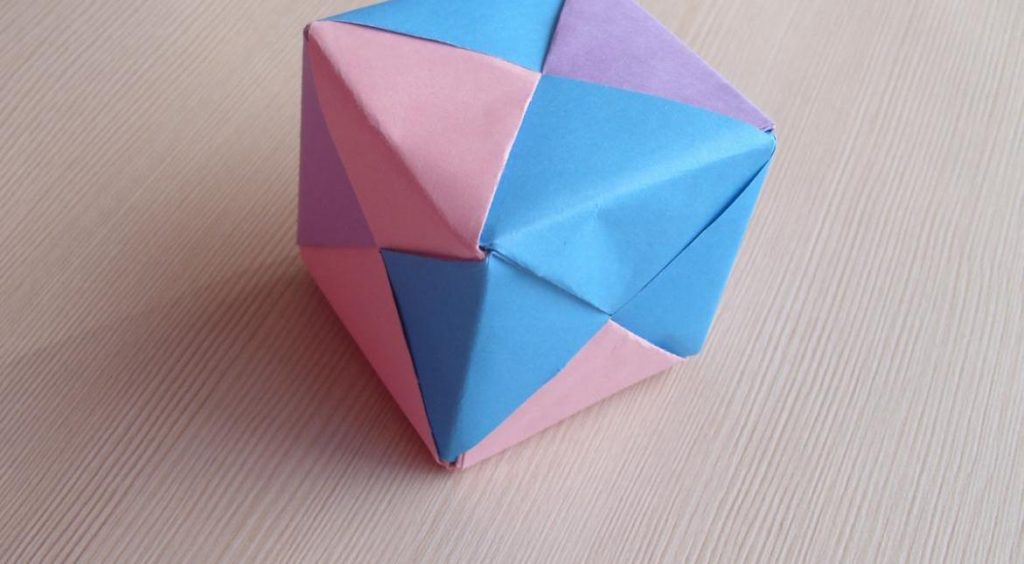
To make this simple origami cube, you only need one square sheet of paper 20 x 20 cm. The cube is a simple form in origami, but still, you need to at least know what a fold by a valley and a fold by a mountain are. In short, the valley is to bend the sheet in half towards itself, in the diagrams this fold is indicated by a dotted line. And the fold with a mountain, this, respectively, you need to fold the sheet away from you, on origami diagrams this is a dash-dotted line. If you know these two origami techniques, then you will not have problems not only with the cube, but also with more complex models.
Other types of paper crafts
From the resulting cubes, you can perform various volumetric crafts:
- Garland. It can be assembled from a large number of colored cubes. These cubes can be assembled using a pattern or origami style. The main thing is to pierce them and put them on a string, and then you will have a very beautiful garland.
- The die is very simple to perform. It is necessary to make a small cube in one of the suggested ways. And then you need to draw points on each side of your cube.
- The robot is also very easy to do. You need to make 2 cubes - large and small. The large cube will serve as the head of the robot, and the small cube will serve as the body. And also you need to make 4 volumetric rectangles. We need them in order to make our robot arms and legs. To make your robot move, connect all of its parts with a toothpick.
Surely very few people know that you can make a paper Rubik's cube with your own hands. To do this, you will need the following items:
- Colored paper.
- Ruler.
- Pencil.
- Scissors.
- Transparent tape.
Stages of the Rubik's Cube:
- Take 6 sheets of colored paper with different colors.
- Cut 8 4 * 4 squares from each sheet.
- On each square, you need to draw a center line, and fold its edges towards the center.
- On the resulting workpiece, also draw a center line, and bend the edges of the workpiece to this line.
- It is necessary to collect the first cube. Arrange the colors in the order you like.
- Assemble a cube of six pieces of different colors.
- Repeat this step for the remaining blanks.
- Make 8 of the resulting cubes in 4 pairs.
- The color that is at the top of the first two pairs should be at the bottom of the next two pairs.
- Glue each pair together so the cubes can move.
- Take two pairs and flip them to one side. Glue the top two sides of the cubes.
- Do the same on the back of the seam.
- Do the same with the remaining two pairs.
- You now have two main pieces of your piece. Now we need to connect them.
- To do this, put them in the same sequence as they were before gluing.
- The two center pairs must be glued together.
- Next, fold them into a cube, and glue the sides that you see directly in front of you.
You have a transforming cube. It can be collected like a Rubik's cube, and it can also turn into a rectangle.
Now you know how you can make a paper cube with your own hands and you can make it yourself without any problems. Your child will be happy, because all the shelves in his playroom will be filled with various crafts. I wish you success!
Yoshimoto's cube
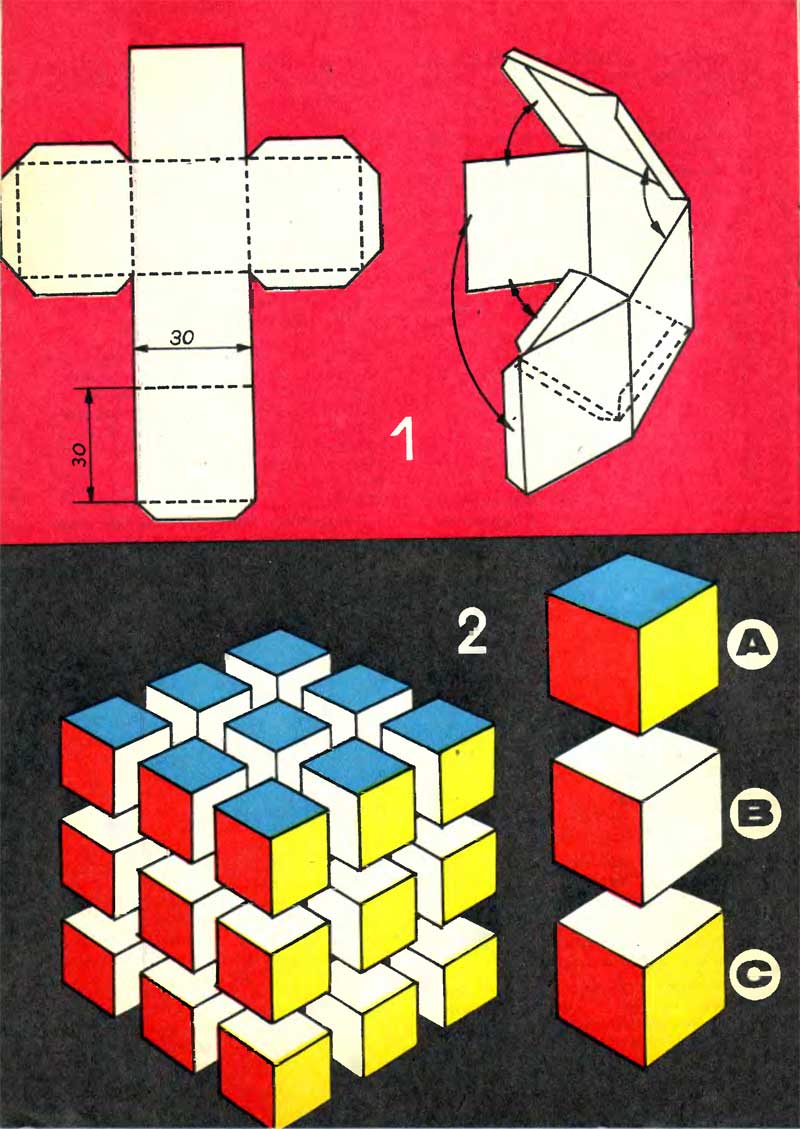
The Japanese Yoshimoto showed the top of ingenuity. His transforming cube conquered the world, like the Rubik's cube. The uniqueness of the Japanese miracle lies in the fact that a mobile structure consisting of eight cubes can be transformed into different forms: a strip, a snake, disintegrate into two stars, each of which also transforms.
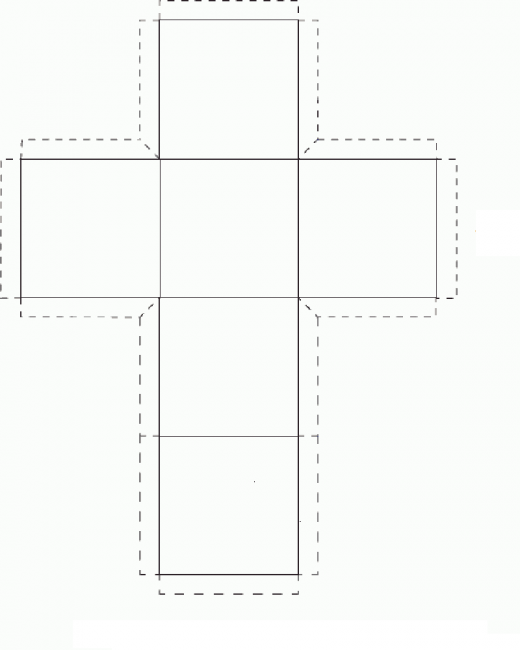
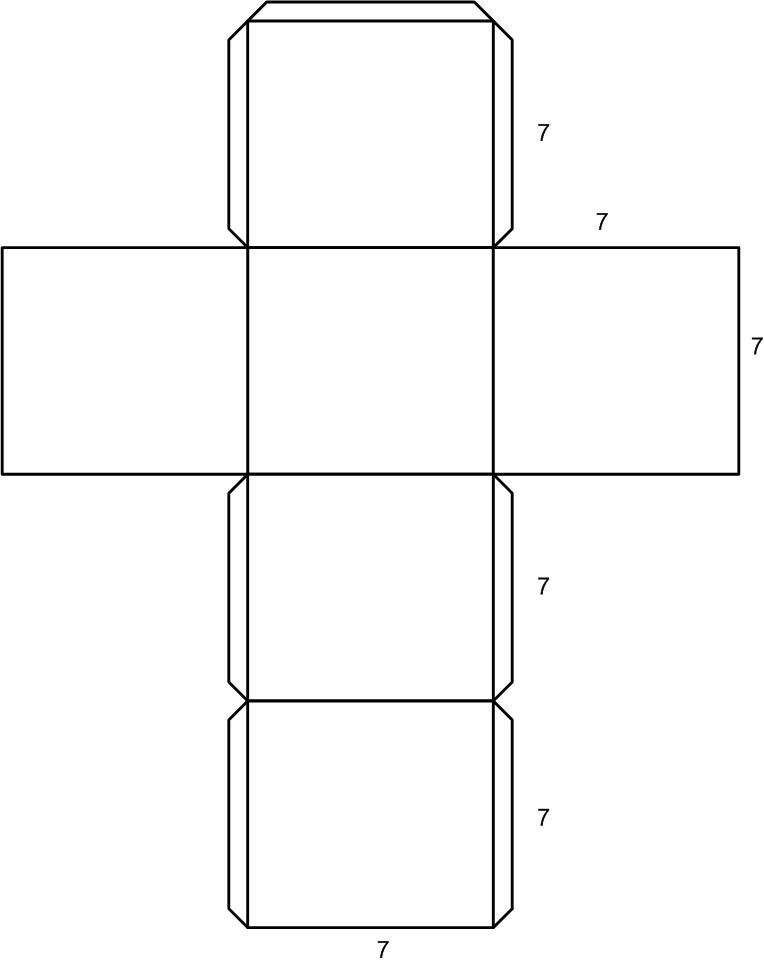
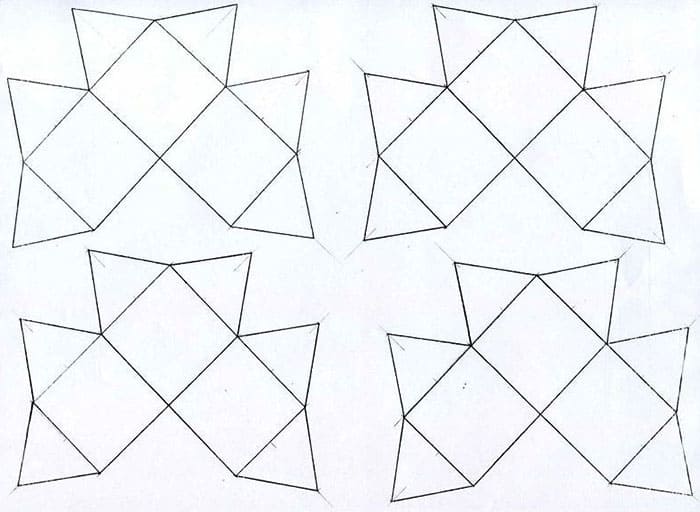
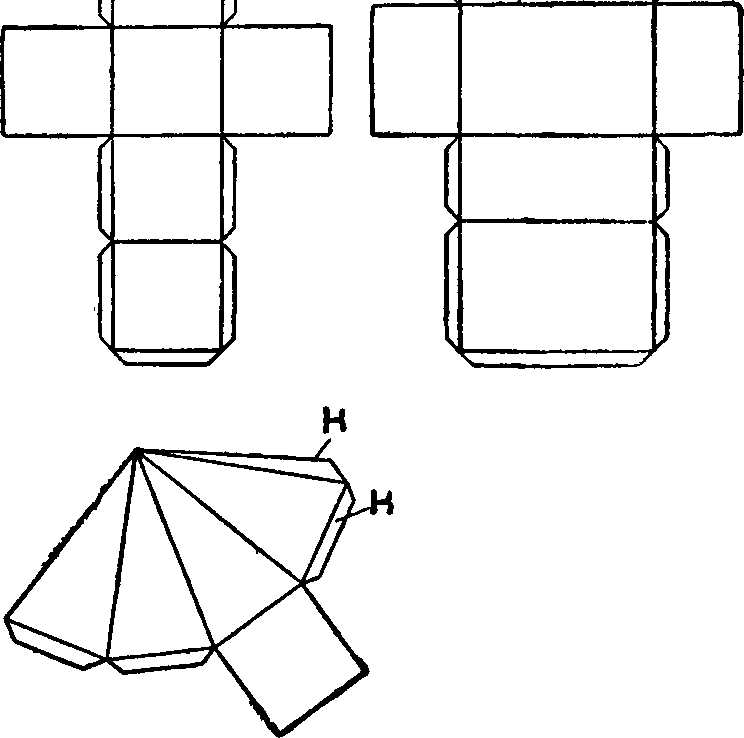
Sweep scheme

The connection of adjacent elements is made with scotch tape. Be sure to leave a gap of 1.5-2 mm.To obtain initial skills, they master the assembly of the simplest transforming cube of eight elements.
What kind of technique you find more interesting and easier - it doesn't matter. The main thing is that you will plunge into the wonderful world of creativity and childhood, get a charge of vivacity and a feeling of delight that disappears with age when you create a miracle with your own hands that also works
Secrets of making a simple volumetric cube
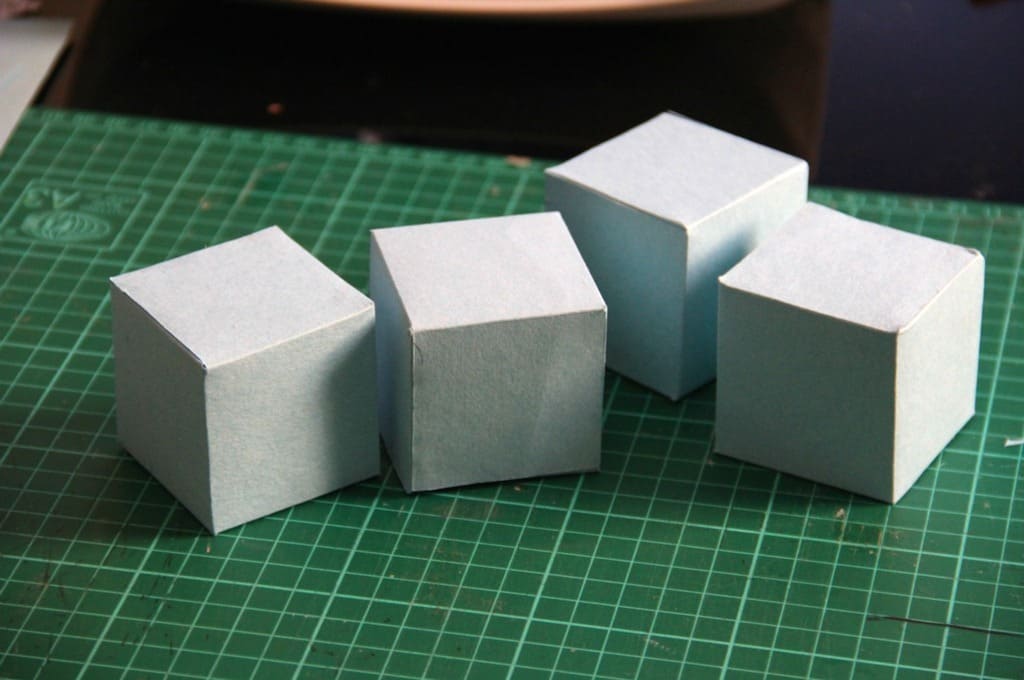
When a cube is suddenly needed in the house, there is nothing easier than making it out of paper. There are several assembly methods.
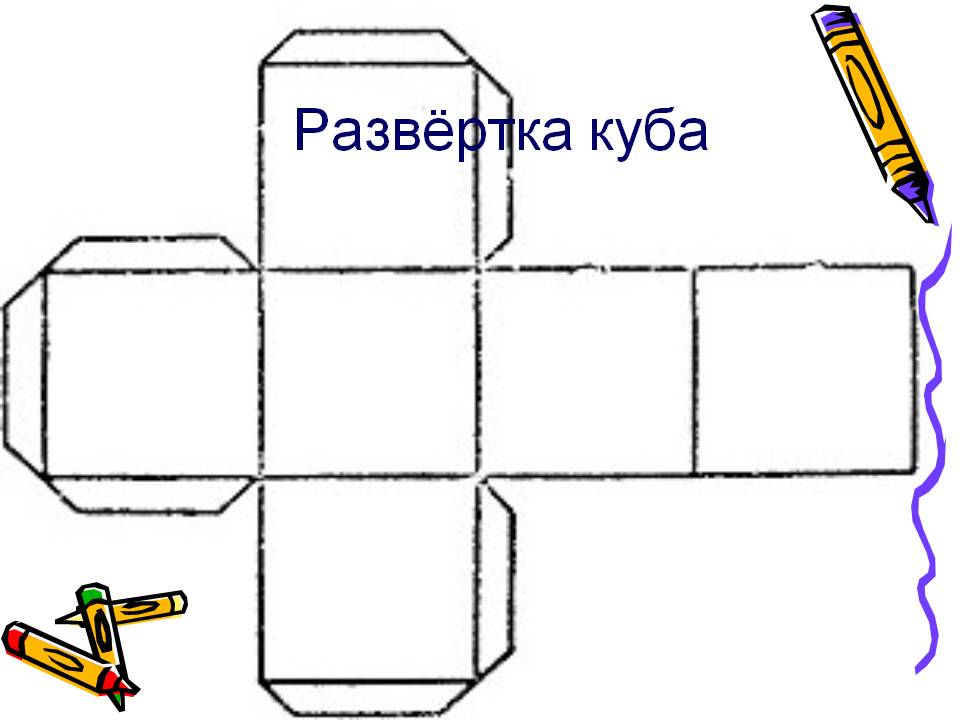
How to make a cube out of paper: unfolding diagram
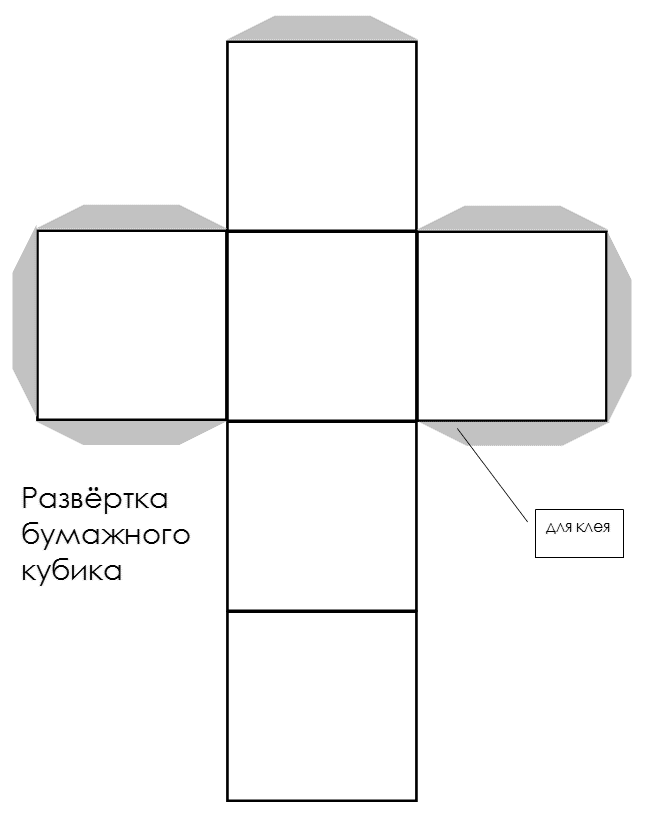
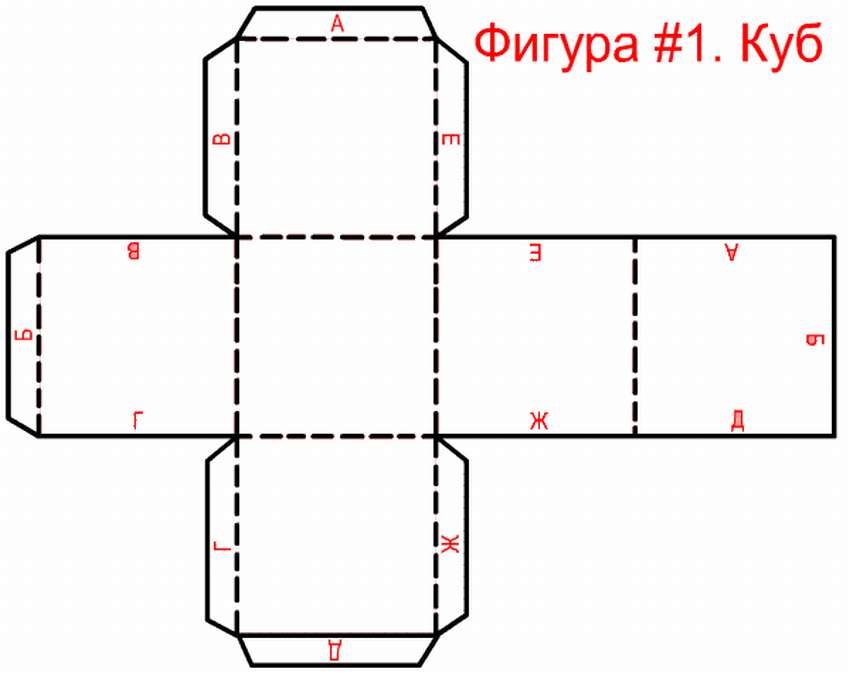
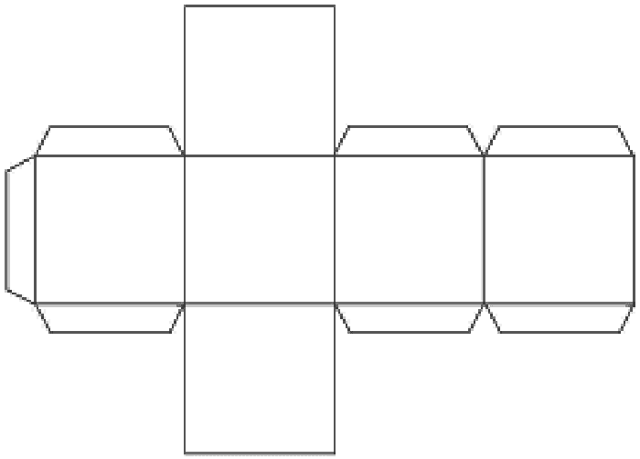
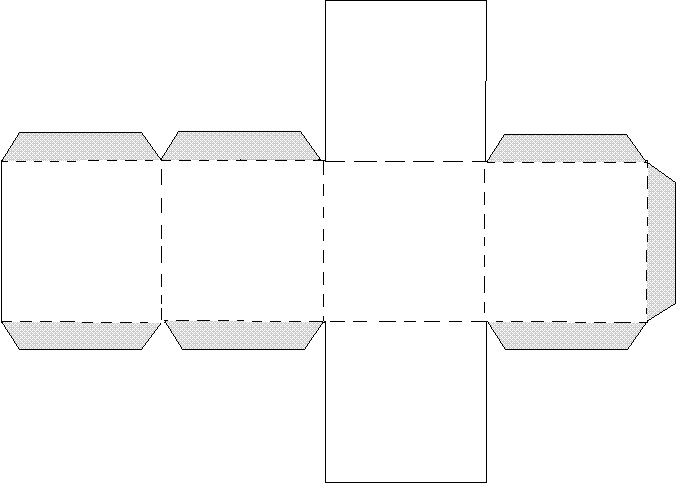
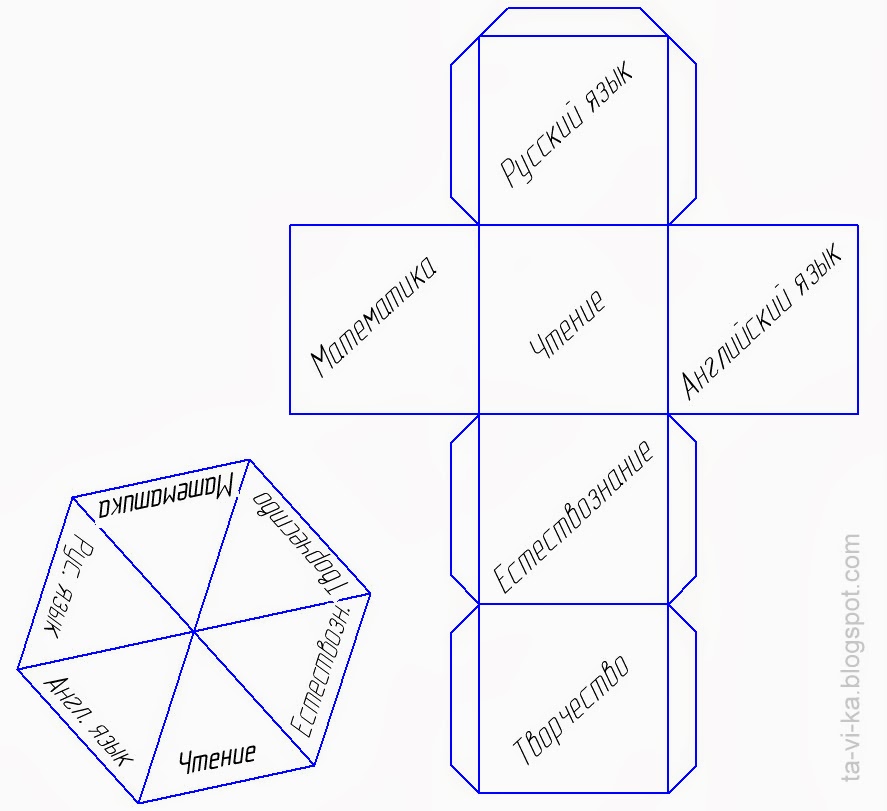
A reamer is a simple scheme that will allow you to assemble a volumetric product from a material. You can print, glue, or make your own cube sweep.
Manufacturing instruction
Let's decide which cube we want to assemble from paper or cardboard, or maybe you want to make a cube with photographs with your own hands?
How to make a paper cube
How to make a paper cube according to the scheme? It is easy and simple to download and print. Then you can follow simple instructions and get the desired result.
To create a scan, they independently prepare paper, a simple pencil, a ruler and scissors. Since each side of the cube is square, we need to draw squares with perfectly even right angles.
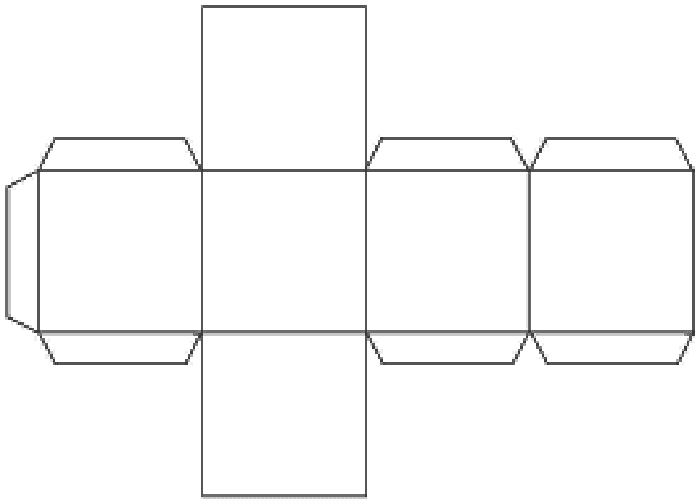
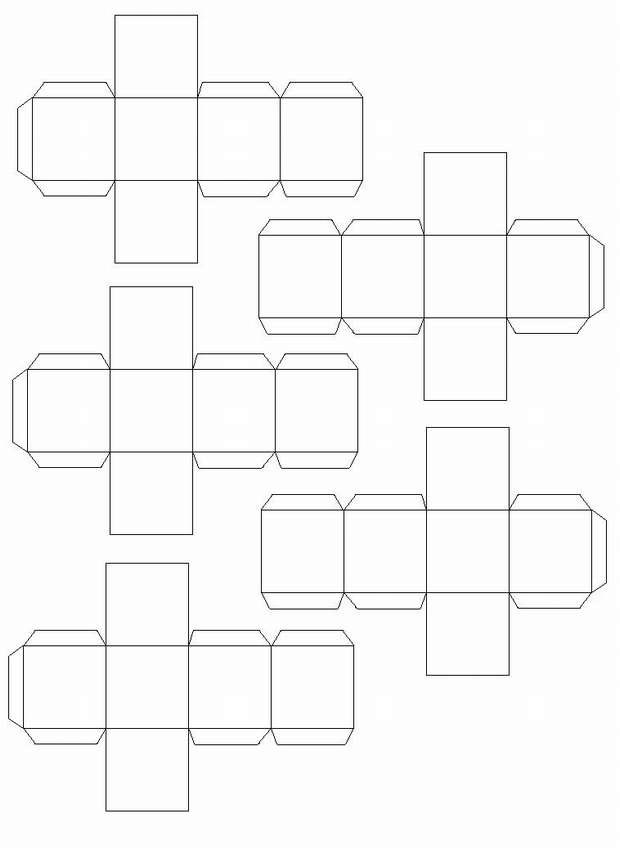
Paper cube template can be printed
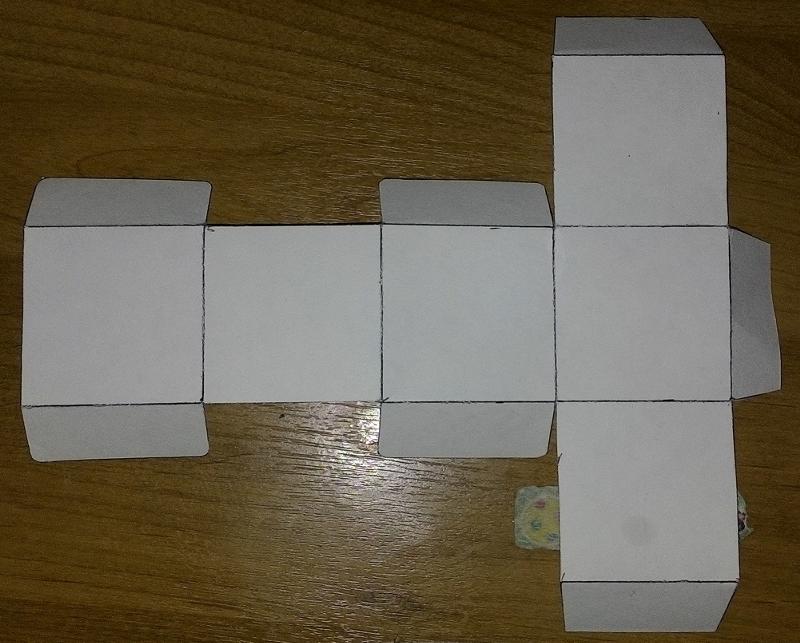
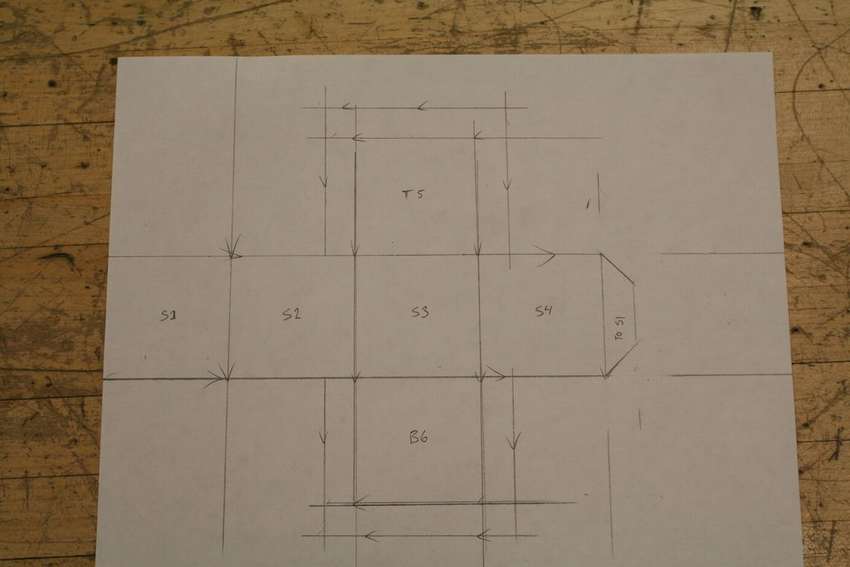
Any cube has 6 faces, so there should be exactly six of them in the scheme. First, we draw a central square of the desired width (remember that the possibilities of A4 are not unlimited), and around it we draw 4 more squares with the same side length. The last square we draw the assembly on any element
In addition to the edges, gluing allowances are required. We draw them from the side, drawing them to the three sides. Each allowance should not be more than 1 cm. Do not forget that 45º corners are cut at the allowances.
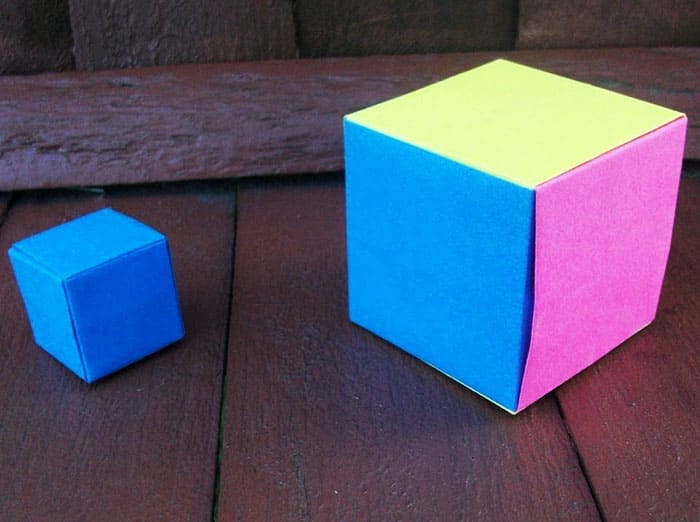
You can take scissors and cut everything along the lines. We bend the faces of the future cube. All allowances are also neatly bent and coated with glue. Now all that remains is to glue all the parts and let the product dry.
How to make a cube out of cardboard
We figure out how to make a cardboard cube with our own hands.
The difference in making a cube from paper and cardboard is only that first we make a sweep out of paper if the cardboard is very dense. This will help to avoid mistakes and sloppiness. Nobody forbids applying markings directly to the wrong side of the cardboard.
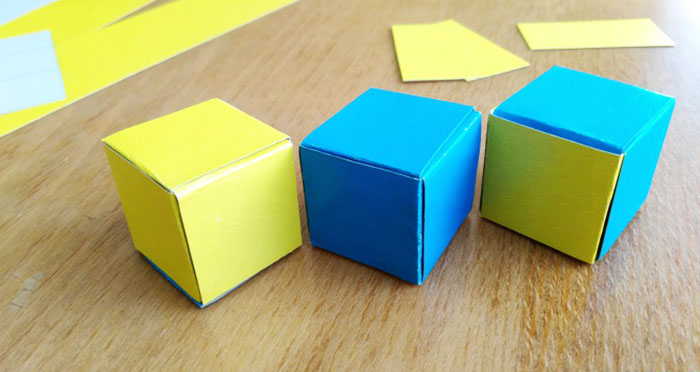
Here's how to make a cardboard cube
DIY photo cube: creative photo album
How to make a cube with photos with your own hands? This is a creative puzzle that allows you to assemble different photographs.
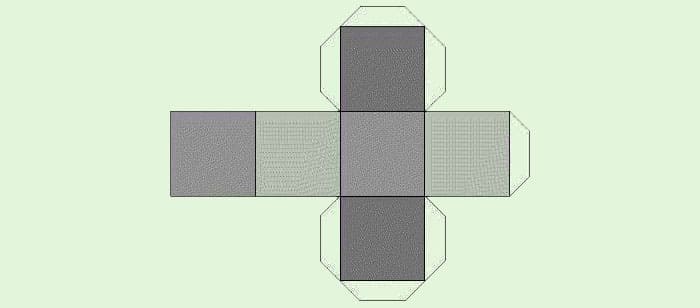
The do-it-yourself cardboard cube scheme is absolutely identical to the paper analogue scheme and can be reproduced even by a child
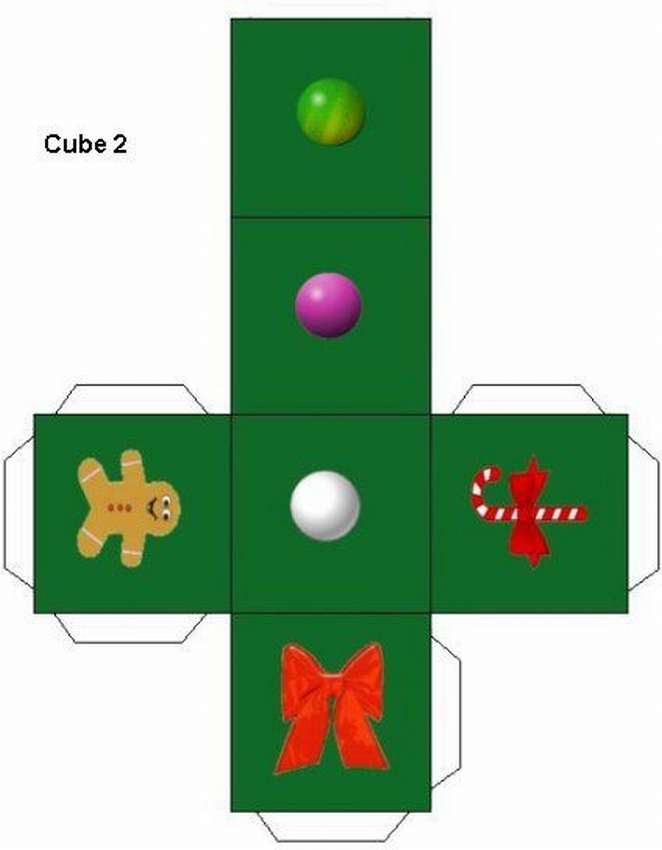
To make a funny photo album on a transforming cube, you need to glue a piece of a photo or picture on each side of it.
In the work, they use glue, ready-made cubes assembled from cardboard (edges of 4 cm), scotch tape.

For the transformation to be successful, you need to glue the cubes correctly.
It is better to print photos so that they match in size. The image must be taken with dimensions 8 × 8 cm². You can immediately make a ruled line with a width of 1 pixel: it will be easy to cut along it after printing, and the line itself will be invisible.
If we take 8 cubes, then you need to prepare 10 photographs. The picture is cut into 4 parts along the selected line, and each element is glued to the edge. But before that, you first need to stick strips of double-sided tape in a certain way.
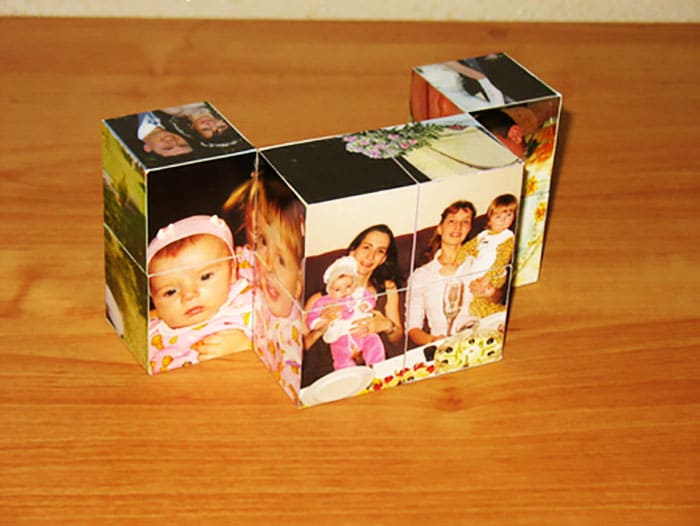
Photos should be glued as neatly as possible.
How to make a cube out of cardboard with your child
Crafts develop children's imagination and increase stamina. A simple cardboard cube can be made with your child. The creative process is as follows:
- Find a suitable cube drawing. You can draw it yourself if your parents know the geometric foundations. But in order not to get confused, it is better to find a ready-made layout on the net.
- Print the template on a printer.
- Cut out the resulting parts.
- Transfer them to prepared cardboard. It can be ordinary colored cardboard or a sheet from a box.
- Cut the product along the lines, glue it with PVA glue.
A product that can be made with a child.
If in the process of work you use thick cardboard (box), then it is best to cut the parts with a clerical knife. Scissors can damage the sheet.
With children, you can also make a gift cube from thick cardboard. Step-by-step instructions for making how to make a cardboard cube:
- Measure the gift. The dimensions of the product will depend on these indicators. You will need to measure the width of the gift and add a few more centimeters to this indicator so that the present lies freely.
- Take cardboard of the right size. If the gift weighs a lot, then it is better to use cardboard from the packaging box. On the material received, it is necessary to draw a scan of the future craft.
- Draw a square of the desired size.
- On other parts, draw 5 more of the same parts.
- If the finished cube will not be pasted over with paper, then it is better to draw weak lines with a simple pencil, so that later they can be erased. If you plan to paste over the product with gift paper, then you can make the lines fatter.
- It is better to use special valves for gluing the product. To do this, you need to sketch small stripes on the side of the squares.
- Now you should walk with a clerical knife along the drawn lines. Do not forget about the valves, otherwise the craft will have to be redone.
- Bend the base for crafts along the lines inward.
- Take glue and apply it to the valves, thus glue all sides of the gift cube. Some parts can be glued together with tape.
Important! It is advisable to glue the product on top with gift paper or decorate with decorative elements at the discretion of the child. This prevents glue residues and uneven seams from being visible.

DIY gift box at home.
Assembling a cube from paper modules
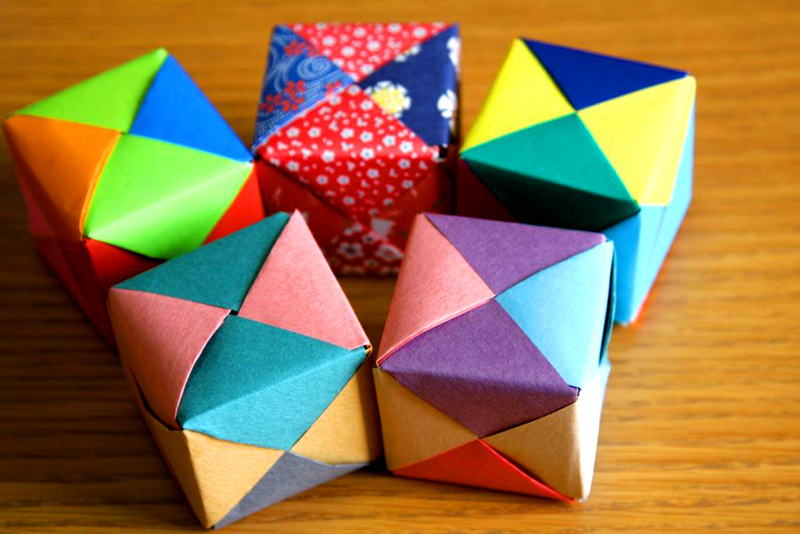
There is another option for creating a paper cube. If you use sheets of paper of different colors, the edges will turn out to be multi-colored. So, the following is to be done:
- Bend horizontally, bend both edges of the sheet towards the middle.
- Return the sheet to its original shape. Bend the corners that are opposite to each other.
- Bend the edges of the sheet again to its center line. Make kinks.
- Slip one of the corners under the top layer. Do the same for the second corner.
- Turn the craft over to the other side. Make kinks again.
- As a result, you get an element of a cube, or rather, its face, which has two pockets and the same number of inserts.
- Repeat steps 1-5 five more times to end up with 6 of these elements.
- Next, you need to insert the corners of two elements, respectively, into two pockets of the third.
- Bend the product along the lines.
- By analogy, collect the second half of the cube, and then connect them to each other.
Thus, you will get a cube, which in structure will be somewhat more complex than the previous one.
How to make a dice out of paper
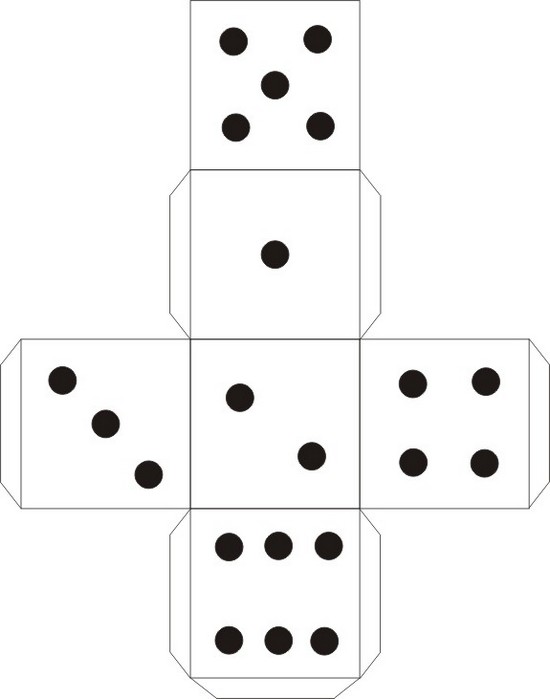
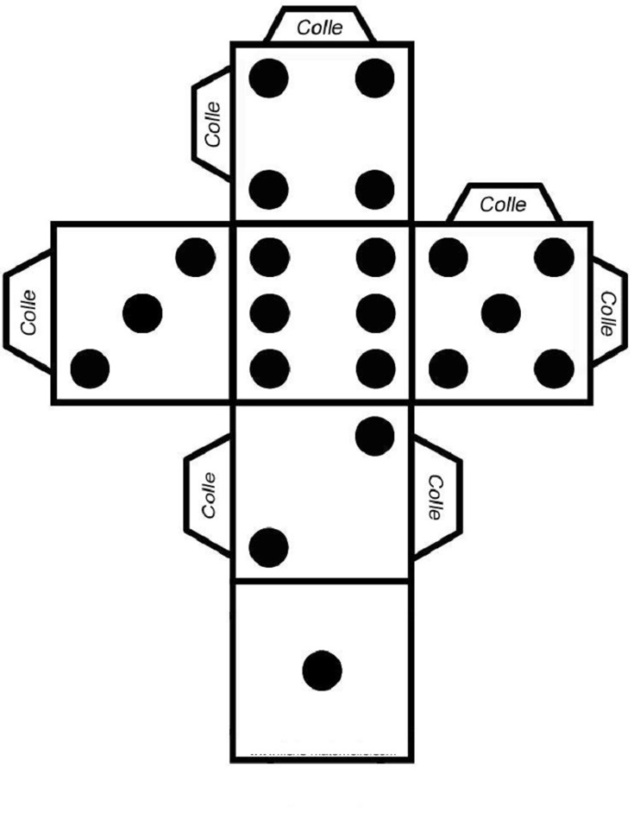
The easiest way to make a small dice is to craft it using a ready-made template. You can find it online or create it yourself.
What the step-by-step steps look like when using a fold-out layout:
- Find a diagram for creating a craft or draw it yourself.
- Print the template. It is best to use special paper for office equipment or for sketching. If thin sheets are used, then you need to additionally stick it on cardboard.
- Cut out a scan of the future craft.
- Select points on it.
- Glue the toy along the lines. You will need to hold the gluing points a little so that they adhere tightly.

Diagram of dice for making crafts at home.
Another option for creating a dice is to assemble it from modules:
- Cut 6 identical 10 x 10 cm squares.In this case, it is better to take parts of the same color (preferably light).
- Bend one of them in the center and unfold it.
- Fold both sides towards the middle so that the part divides into 4 horizontal pieces.
- Turn the workpiece over, fold the corners to the middle to make a trapezoid.
- Bend the corners to it on the other side.
- Omit them.
- The first module is ready. Do the same with other details.
- Will start assembling the craft. To do this, you need to insert the tabs of some modules into the square holes of others.
Important! When you get the finished cube, you need to draw points on it with a black marker. You can choose the color at your discretion
The main thing is that it should be visible against the background of the paper used for the craft.

Ready dice.
Origami making
 There are two options for making origami-style cubes:
- Simple.
- Complicated.
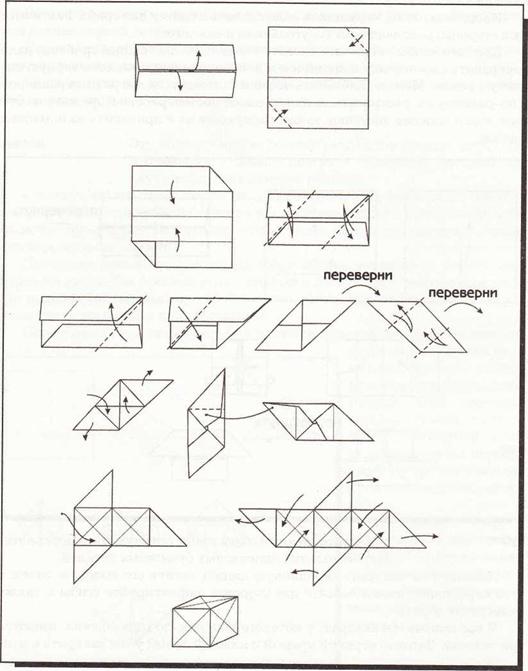
To complete the simple option, you will need 6 sheets of A4 paper. Each of the sheets must be turned into a square, that is, cut off the excess part of the sheet. A blank must be made from each sheet. It is performed in several stages:
- Fold a square sheet into 4 equal pieces.
- The top right and bottom left corners must be folded so that they touch the adjacent fold line.
- Fold the edges of the blank towards the center, and tuck the top and bottom corners into the resulting pockets.
- The resulting workpiece in the form of a parallelogram must be turned over and bent along the lines.
- The resulting blanks must be connected to each other.
- Each module has special pockets. It is in them that adjacent modules must be inserted.
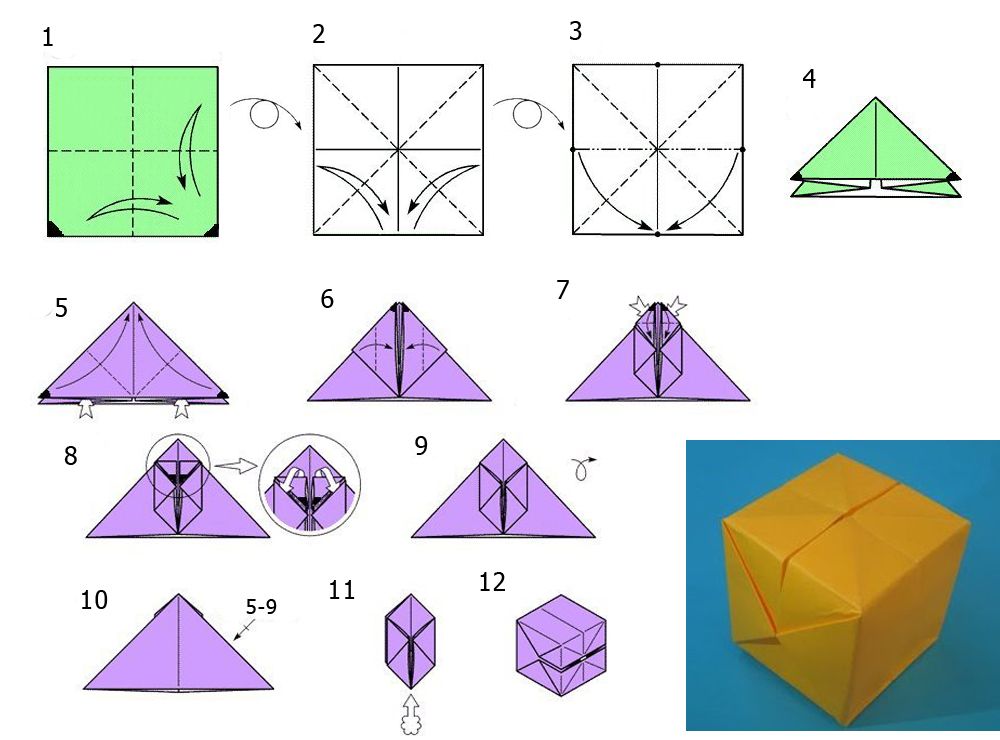
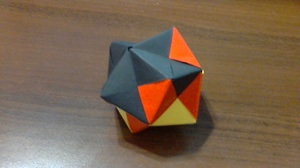 This craft option is very simple. It will take you no more than three minutes. There is another option for making a cube. It's more complex. The bottom line is that there are many more steps and it's very easy to get confused. A beginner can spend 10-15 minutes on this type of cube. To complete it, you only need a square sheet of paper. So, step-by-step instructions for executing this cube:
- Take a square piece of paper and fold it diagonally. Then you need to fold it along the other diagonal.
- Take the edges of the half folds and join them together. Your diagonal folds should be on the edge and the piece of paper should be triangular.
- Press down the resulting workpiece so that it is flat.
- Turn the workpiece with the open side towards you.
- Take one bottom corner and fold it to the top edge.
- Repeat this step for all four corners.
- You will have 4 small triangles.
- It is necessary to bend the top of each of them to the center line of your workpiece.
- Take a corner bent towards the top. Bend it down. Is this necessary for that? so that you can then tuck it into the pocket, which we got in the lower triangle.
- Repeat this step for all four corners.
- Expand your blank. If you look at it from above, then you should see the letter x.
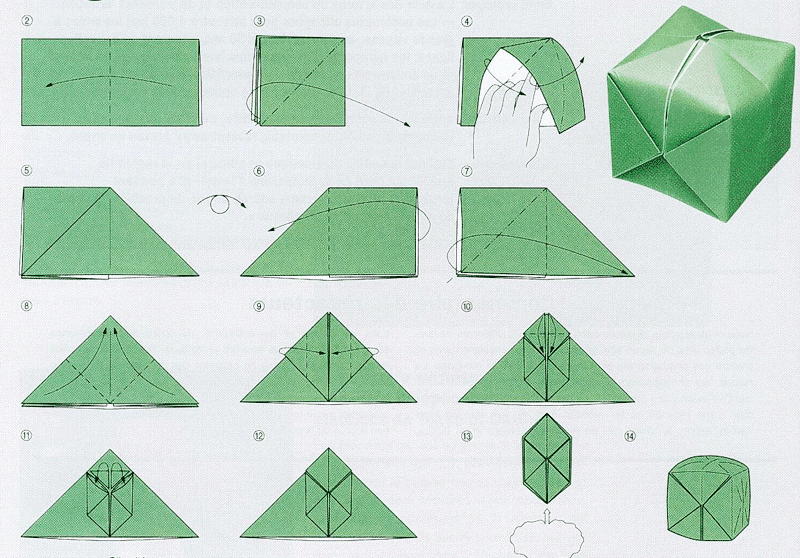
- Blow into the hole, and then your cube will inflate.
How to assemble from paper modules
It is not difficult to make a cube from paper modules, although it will take more time. A similar figure consists of several identical parts. Initially, the required number of modules is made, then a cube is assembled from them. The process includes several points:
- Prepare the necessary materials - six sheets of paper. They can be either monochromatic or multi-colored. It is not recommended to use cardboard for such a craft, it is too dense. Even paper will make a sturdy figure.
- A sheet of paper is folded in half. Then it is opened and each half is divided into 2 more parts.
- The lower right and upper left corners are wrapped, after which the lower part is folded towards the center.
- The upper part is also folded to the middle, then the remaining corners are wrapped inward. After all the manipulations, a detail is obtained that resembles a parallelogram in appearance.
- The craft is placed with the front side to itself and pulled by the corners, it turns out a small square with bent corners.
- Six identical parts are connected to each other, tucking the corners into the pockets.
If desired, during assembly, the parts can be glued together, then the figure will be more dense and will not disintegrate.
Tips & Tricks
Care must be taken when making paper cubes. Ready-made templates are cut with precision. Otherwise, the figure will skew in different directions. When developing a workpiece yourself, it is recommended to use a good ruler and accurately calculate the dimensions.
It is easier to draw and place the necessary information on an unassembled template than on a finished part. It is better to take care of the design in advance. Paper cubes are great material for learning, playing, and for adults to use in a variety of projects. It is not difficult to make them, the process does not require large expenses.
Share link:
Bulk paper cubes without glue and scissors
A bulky product can be made without glue and scissors. Step-by-step instruction:
- Take a sheet of paper of the desired shade (with the same sides).
- Fold it up and unbend it again.
- Fold the left and right corners towards the center, they should meet each other. You will get a figurine that looks like a tent.
- Bend the upper right corner up.
- Bend the right corner of the resulting triangle to the center of the part.
- The end, which forms at the top, fold into the pocket. It will be on the top side of the triangle.
- Do the same on the other side.
- Turn the workpiece over, repeat the same steps with 2-5 sides.
- Fold down the top and unfold it.
- Do the same with the bottom triangle.
- Carefully take the resulting figure and open it from four sides, all of them should be in a perpendicular position to each other.
- Blow into the resulting hole. This is necessary in order for the cube to take shape and become voluminous.

The scheme for creating a craft without using scissors and glue.
If one of the folds does not open, then you need to wrap it up and try to open it again. The craft is ready. The resulting craft can be left in its original form, or you can decorate with decorative elements. If a child is to play with it, then letters or numbers must be written on each side of the cube. Such toys are often used for the development of preschool children.
A paper cube is a simple, but at the same time, an interesting product that has a lot of variations in performance. It can be made from paper, cardboard, using the origami technique, using a sweep and ready-made diagrams. You can even make paper crafts with children. The creative process does not take much time, and the finished result will delight you with its originality and simplicity.

