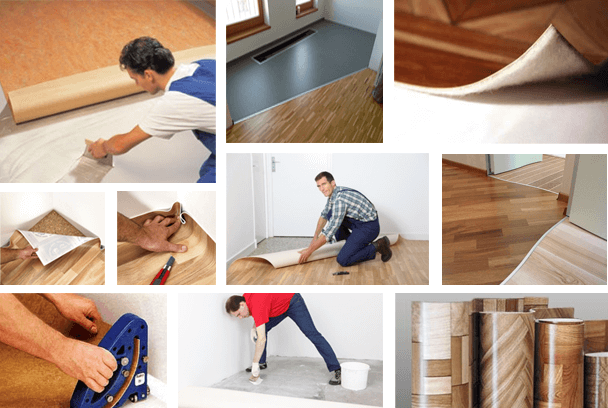
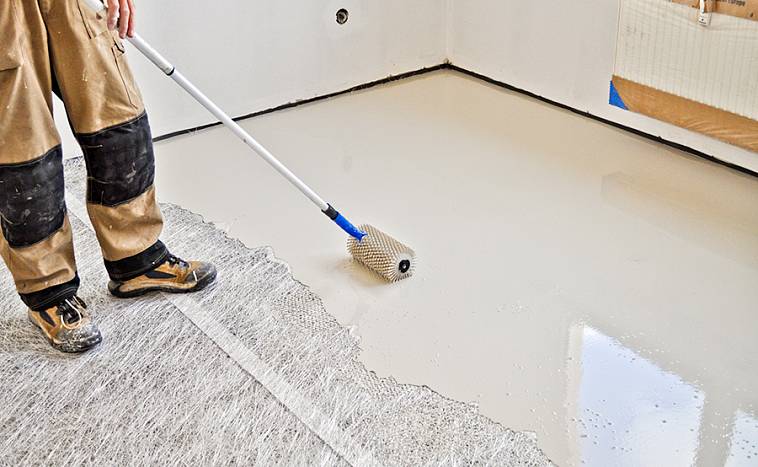
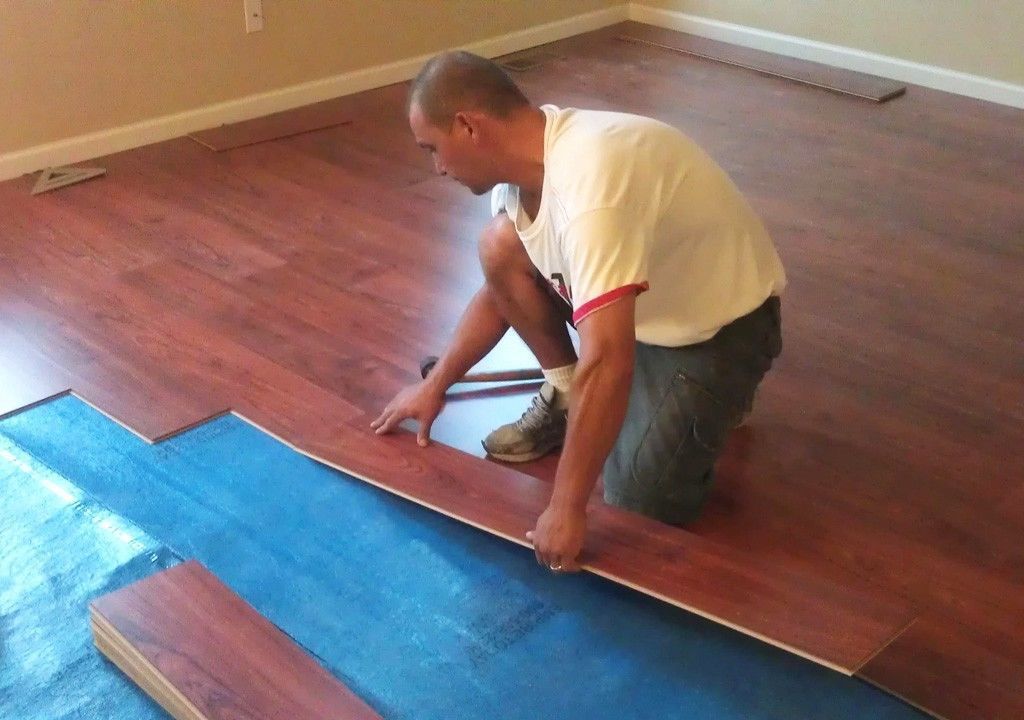
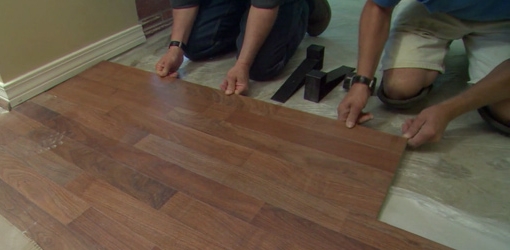
Leveling the concrete base for linoleum
Leveling a concrete floor is easy and affordable. For this purpose, you need a concrete screed mix, building levels, plasterboard guides, spatulas and a standard set of tools for repair and cleaning work.
Concrete can be prepared by hand by mixing sand, cement and water in a ratio of 3: 1: 1 in a trough manually or in a concrete mixer using containers for mixing and measuring the constituent components. Additionally, quite often lime glass, expanded clay or crushed stone is added to the solution.
The volume of ready-mixed concrete required for leveling is determined by the condition of the floors themselves in the room. In order to level the coating with a slope of up to 3 cm, a layer of 7-8 cm will be required. In the case when the distortions are more significant, it is necessary to additionally pour the foundation.
The first step is to remove all unnecessary from the room, remove dust, debris and the remnants of a previously poured screed. After that, you should find the highest point and place a laser level on it, which will allow you to mark the height along the entire length of the room and install the guides in the necessary places.
Note! To obtain the most correct result, you need to screw the screws into the floor at a distance of 20-30 cm from each other, connecting them with a thread at the zero mark.
In order to avoid damage to the neighbors below, it is required to waterproof the premises. To complete this task, you will need a dense plastic film, paper made of bitumen or polymer membranes, as well as roofing material. It is necessary to lay a layer of waterproofing with an overlap, combining the sheets with adhesive tape. When laying hydroglass with a double layer as an insulator, it will be possible not only to protect the residents from below from excessive moisture levels, but also to contribute to warming the floors in their home.
To increase the degree of strength, a reinforced mesh should be used, which should be laid beforehand before pouring the concrete solution. For this task, a product with 10x10 or 15x15 cm cells is well suited. You can connect the sheets to each other using a wire.
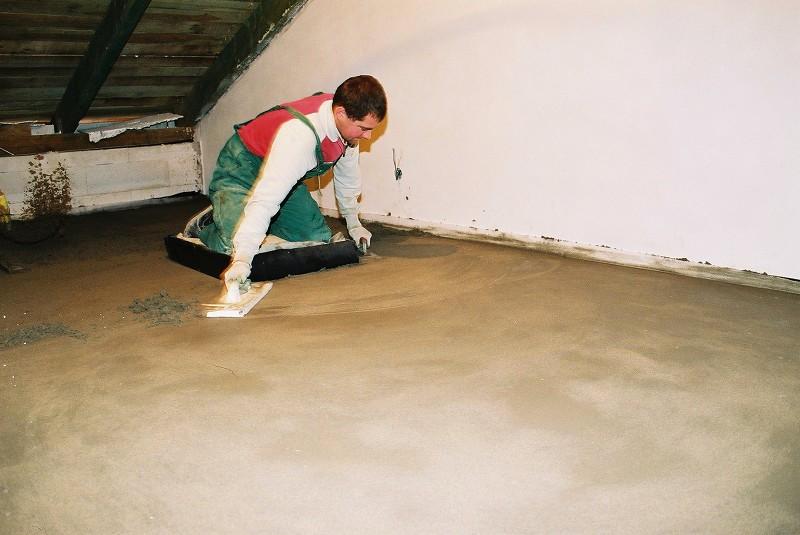
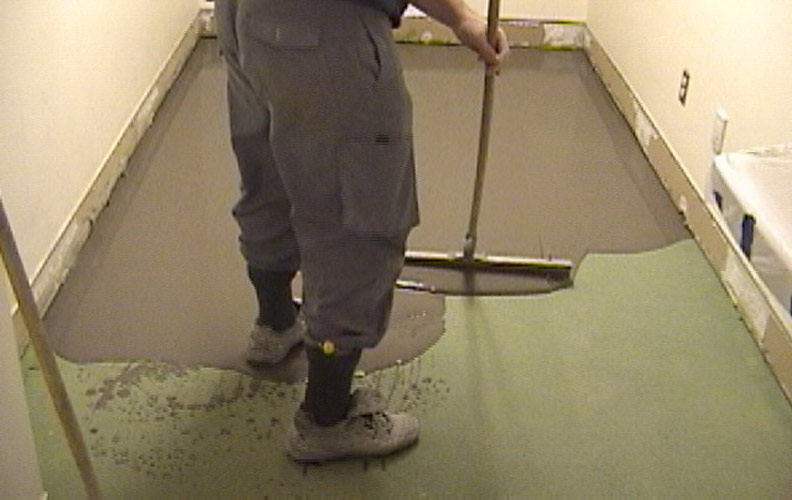
Next, you need to arrange the lighthouses around the room, which are installed on self-tapping screws or bars, after which you can start pouring the concrete mixture itself. First of all, the pouring is carried out inside the guides with a shovel, and then the surface is leveled with a scraper.
The solution dries up within 12 hours, after which it is necessary to moisten it with water every day for 2-3 weeks so that the poured coating dries out as evenly as possible. As a result, a solid monolithic base is formed, which should be sanded. At the end of this procedure, you can proceed directly to laying the linoleum.
How to smooth linoleum on the floor?
If you lay the linoleum incorrectly, you will have to try to straighten it from the waves. Rearrangement of the furniture set or the long service life of such a floor covering can also lead to the formation of such defects.
It is very simple to straighten new linoleum - just unfold it and place it on a flat surface. This will take some time, which may take several days. If you do not have time to wait, then you can use more radical methods.
If a mistake was made when laying linoleum and a bubble formed, then the following actions will help get rid of such a deficiency:
- Pierce the place where the bubble has formed with a thin hairpin or "gypsy needle".
- Place a heavy object on top to remove air from the bubble. You can use any suitable object, for example, a heavy kettlebell, a stack of books, even a saucepan filled with water will do.
- When the air is out, using a syringe, squeeze a small amount of glue into the area where the bubble was.
- Use a roller to finish straightening the flooring.
This procedure is used if a small bubble appears on the linoleum.
If you notice waves are rippling across the surface of your flooring, then use an iron, a thick cloth, and a heavy object. You can straighten the linoleum from the waves by gradually ironing it with an iron.
The step-by-step process of eliminating waves is as follows:
- Plug in the iron and heat it up well. The best option is to use an electrical appliance equipped with a steam function.
- You need to put a thick cloth on top of the wavy formation, it is better if it is soft, for example, take an old terry towel. Fold it in 2 or 3 layers to get a rather thick canvas that will protect the linoleum from overheating, but at the same time will allow it to heat up and soften well.
- A hot iron should be placed on top of the fabric and move along the surface of the fabric in smooth circular movements. This will allow the flooring to be heated evenly, making it very flexible.
- After the area with the wave heats up, you need to remove the iron and put a heavy object on top. Leave it for a day, during this time the linoleum will completely cool down, and its surface will be leveled.
Straightening the surface of an old soft coating
How to straighten linoleum if waves appeared during operation? The choice of method depends on the method of installation of the coating and on the cause of the appearance of defects.
The easiest way to remove deformation is on a floor that has not adhered to the floor. To eliminate waves you need:
- Remove the skirting boards and door sill.
- Smooth out the waves using any suitable method.
- Cut the canvas if, as a result of smoothing, the edges began to "run over" the walls.
- After a short exposure, the canvas is fixed with plinths and a sill.
To avoid repeated deformations, it is better to pre-glue the problem piece to the base.
Sometimes, even on the linoleum glued over the entire area, you can see areas of irregularities. They are formed as a result of poor-quality smoothing of the web during gluing. Voids can appear in areas where the adhesive is insufficient or dries quickly due to careless priming. During operation, the temperature difference at such places is noticeable bulges.
Description of how to level linoleum with air voids:
- You need to pierce the surface in the middle of the bubble with a thick needle or awl.
- Smooth out deformation by releasing air.
- Then, using a syringe, the glue is squeezed out into the cavity through the punctured hole and the flooring is pressed to the floor.
For reliable adhesion, you can put a load on the repaired area (a bucket of water, a bag of putty) until the glue is completely dry.
Of course, it is better to immediately follow the technology of installing a soft floor covering, choose high-quality material, withstand the temperature and humidity in the room. But if there is a nuisance, then knowing how to straighten linoleum from waves will save you from the need to replace and spend on a new coating. A thematic video or step-by-step photo will allow you to do it yourself for the repair or installation of this easy-to-install coating.
Improvised means
But there are also simpler methods:
- Often, the surface of such a finish swells, folds appear. You can use simple metal balls, they are rolled over the surface. The procedure is simple - movements from the edges to the center and in the opposite direction.Thus, the surface is easily leveled. But before you smooth out the linoleum, you need to prepare these balls.
- Use a thick needle. This is a simple and proven method that many craftsmen use. It turns out that smoothing the waves on linoleum is not so difficult. In the place where it swells, you need to carefully pierce with a needle. This allows air to escape. Further, any heavy object is fixed to this place. The finish layer is not crush resistant, so you need to put on a shock absorber or something soft on the load.
- Iron application. There is an effect of such a procedure, but you need to act carefully, through any canvas. When the surface warms up, a sheet of plywood is laid on it. But this method is not suitable for cheap models. The surface must be thick, otherwise it will just stretch.
- Rubber heating pad. It is filled with hot water and placed on the problem area. The effect will be noticeable if it is a small error. Since the heating pad becomes heavier due to the water, this is a method of warming up and pressing.
To understand how to smooth linoleum, you need to check whether it was glued to the floor or not. When it is fixed only to the plinth, the cover is dismantled and the entire surface is re-tensioned. After such a procedure, you will need to trim. The skirting boards are locked in place and the floor is flat.
4 Laying linoleum with your own hands - features
In order not to think about how to smooth linoleum, study the features of its laying on the floor. Knowing the right technology will save you time and effort.
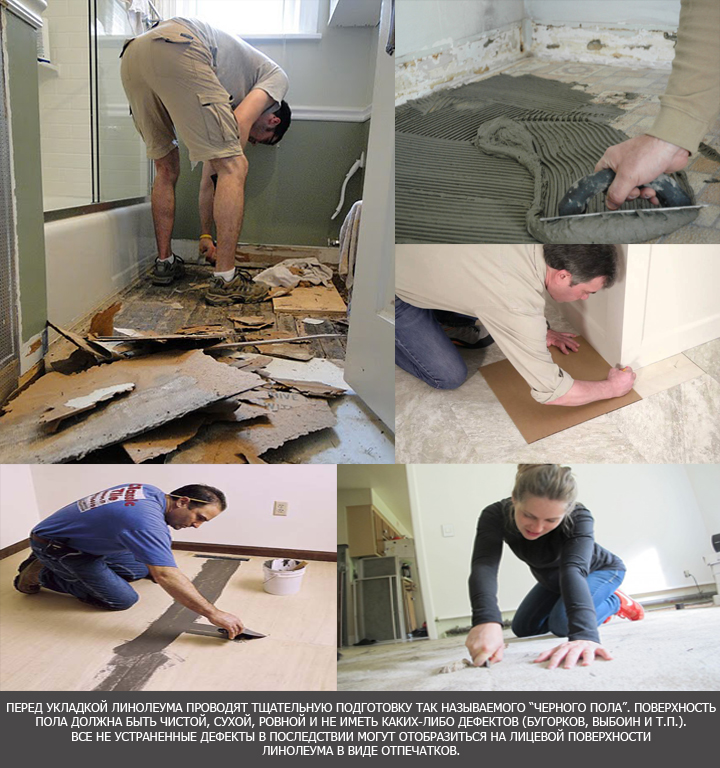
First of all, you need to prepare the surface. If you are laying the canvas on a concrete floor, then it should be perfectly flat. To do this, knock down all the existing protrusions, seal the cracks and recesses with cement mortar. After the mortar has dried, the surface must be cleaned of dust and concrete residues. Then a primer is applied to the floor, which will improve the adhesion of the surface with glue and help you get rid of dust under the linoleum.
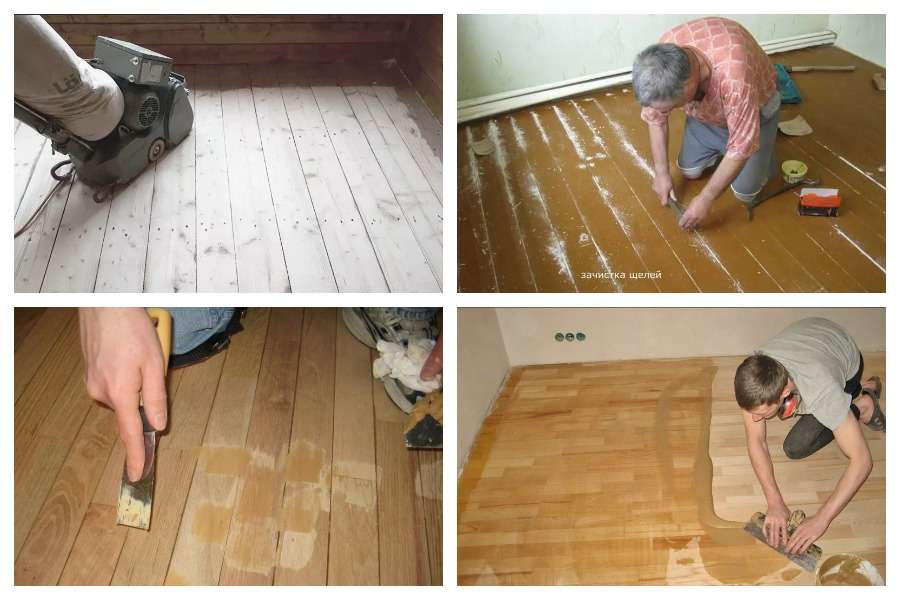
There will be no less problems with a wooden surface. During preparation, it must be checked for stability. If necessary, get rid of the "playing" areas by securing the boards more securely. Then remove the gaps between the floorboards by filling them or filling them with inserts. Next, you need to get rid of the old paint, which will interfere with the adhesion of the glue and wood. Also drown the caps of screws and nails - they should not be higher than the surface of the boards.
Next, we proceed to laying the linoleum. First of all, for this, a suitable humidity and temperature must be maintained. Do not start work if the room is cool, as the canvas will not have the necessary elasticity. Too high temperature is also unacceptable - +20 ° C is the optimal indicator.
Excess parts can be leaned against the walls when smoothing
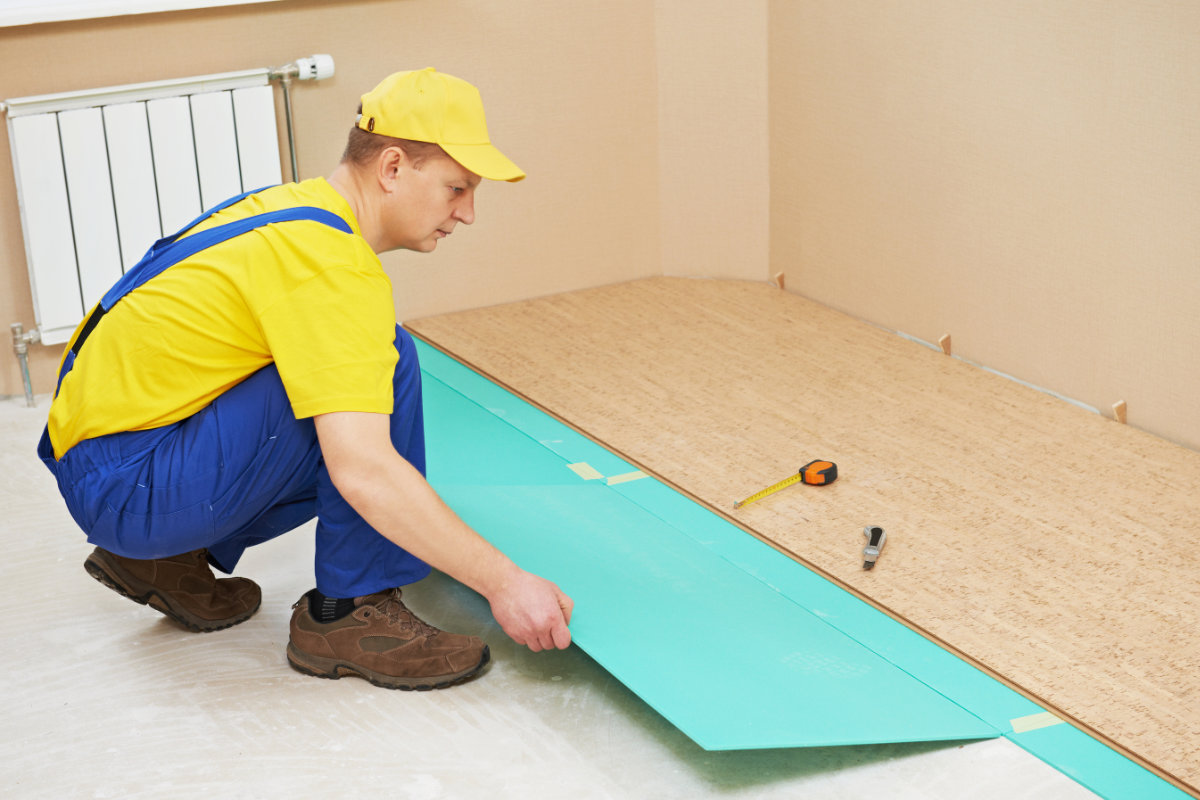
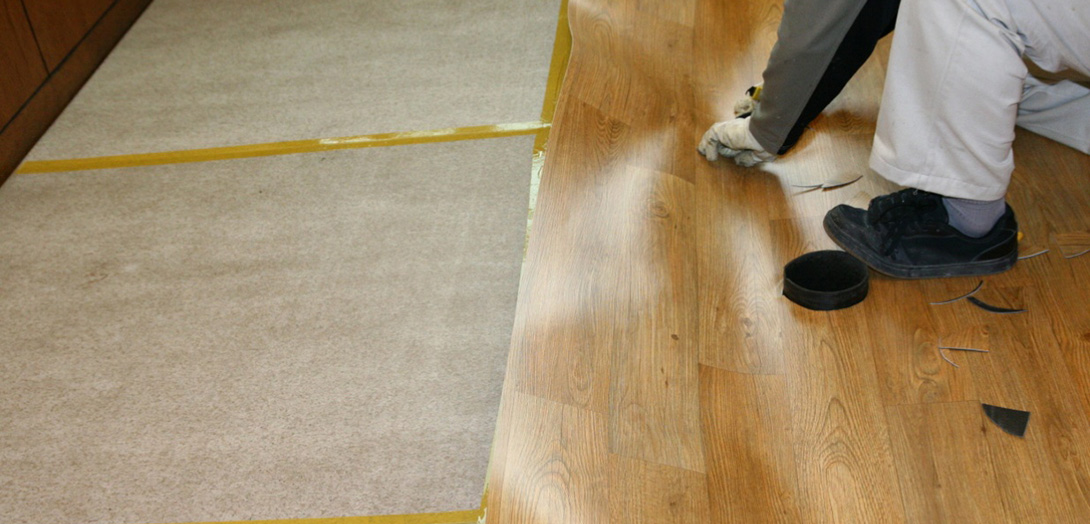
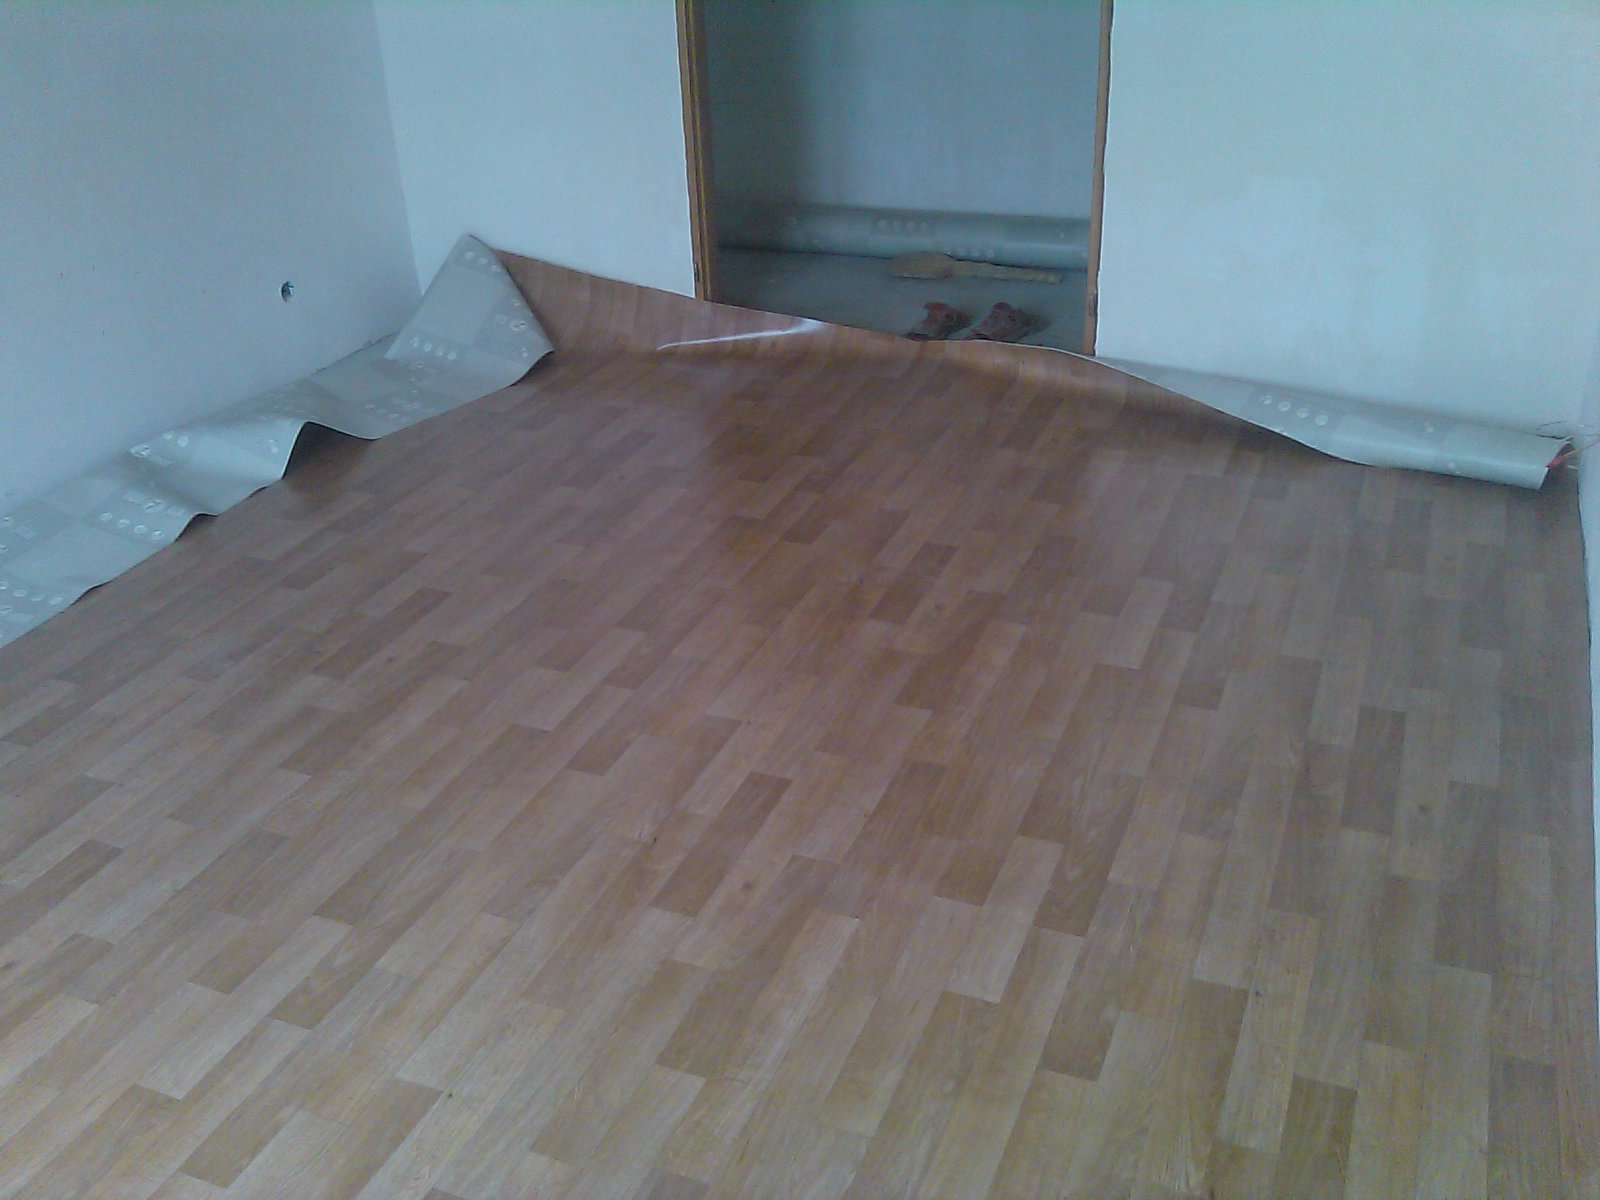
Spread the canvas on the floor and place some heavy objects on the straightened product. If the linoleum is too large, then you can support its extra parts on the walls. At the same time, the latter should not have heating batteries, niches and protrusions.
If you plan to stack 2 rolls in one room, then spread them so that the pattern on them matches. As soon as the sheets lie down, you can proceed to trimming them. First, cut off the excess pieces in their corners. At the same time, constantly try on the position of the canvas in relation to the walls.
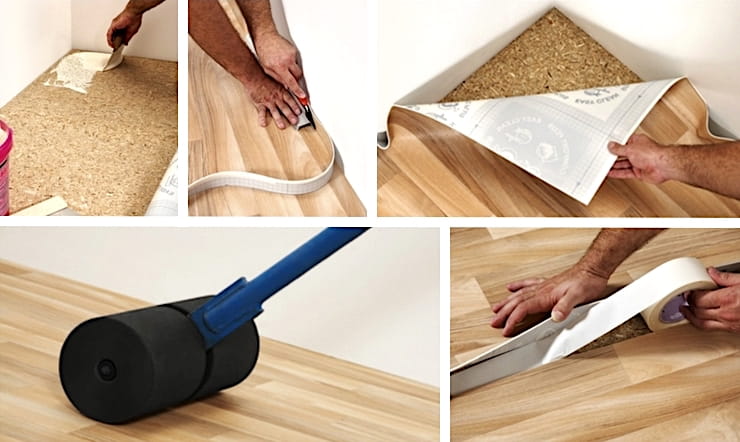
After trimming the excess areas, proceed with the final laying of the product. This can be done in several ways. The first is to use double-sided tape. The tape is glued to the underside of the canvas, after which the linoleum is neatly laid on the floor. It is necessary to smooth the product using a wide roller.
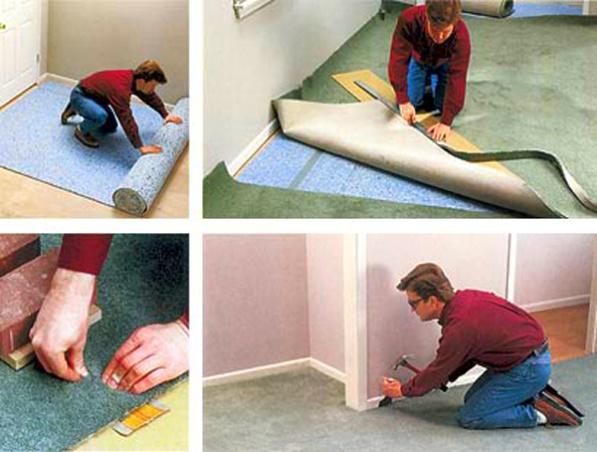
The second way is to fix it with skirting boards. To do this, you need to detach the planks and lay the cover. After making sure it is in the correct position, start nailing the skirting boards.When you're done near one wall, stretch the linoleum and nail the skirting board on the opposite side. If you carry out the work strictly according to these instructions, then you will not have to think about how to remove the "waves" and other irregularities on the linoleum.
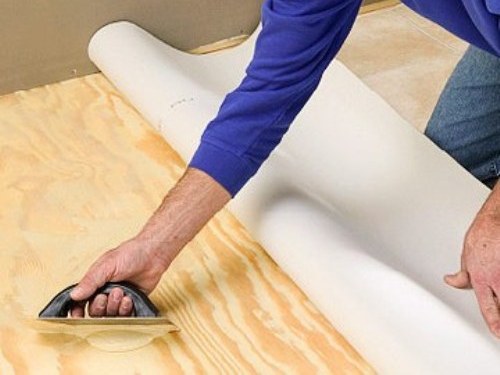
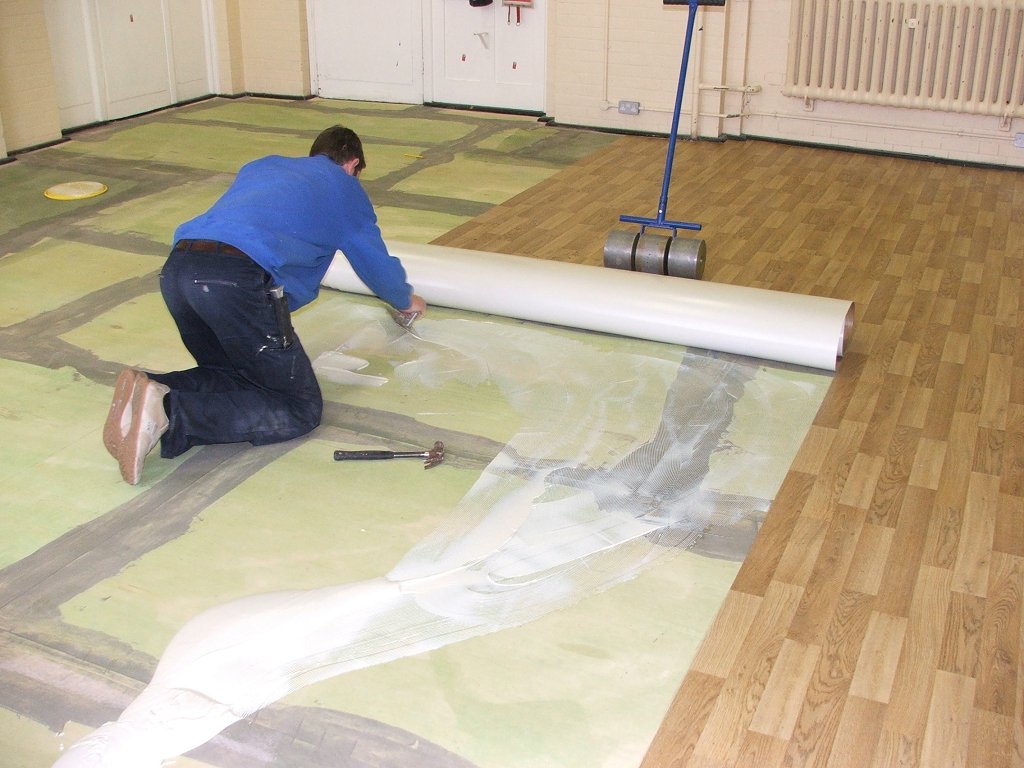
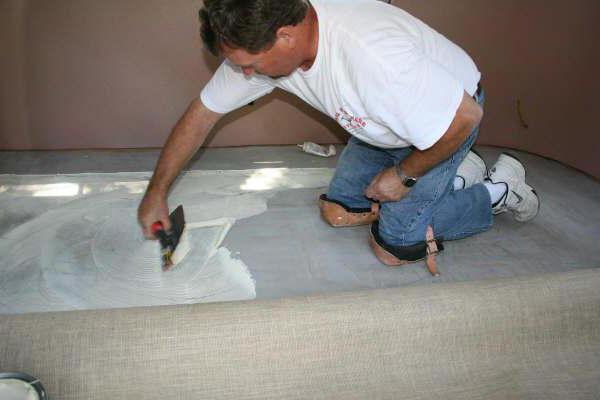
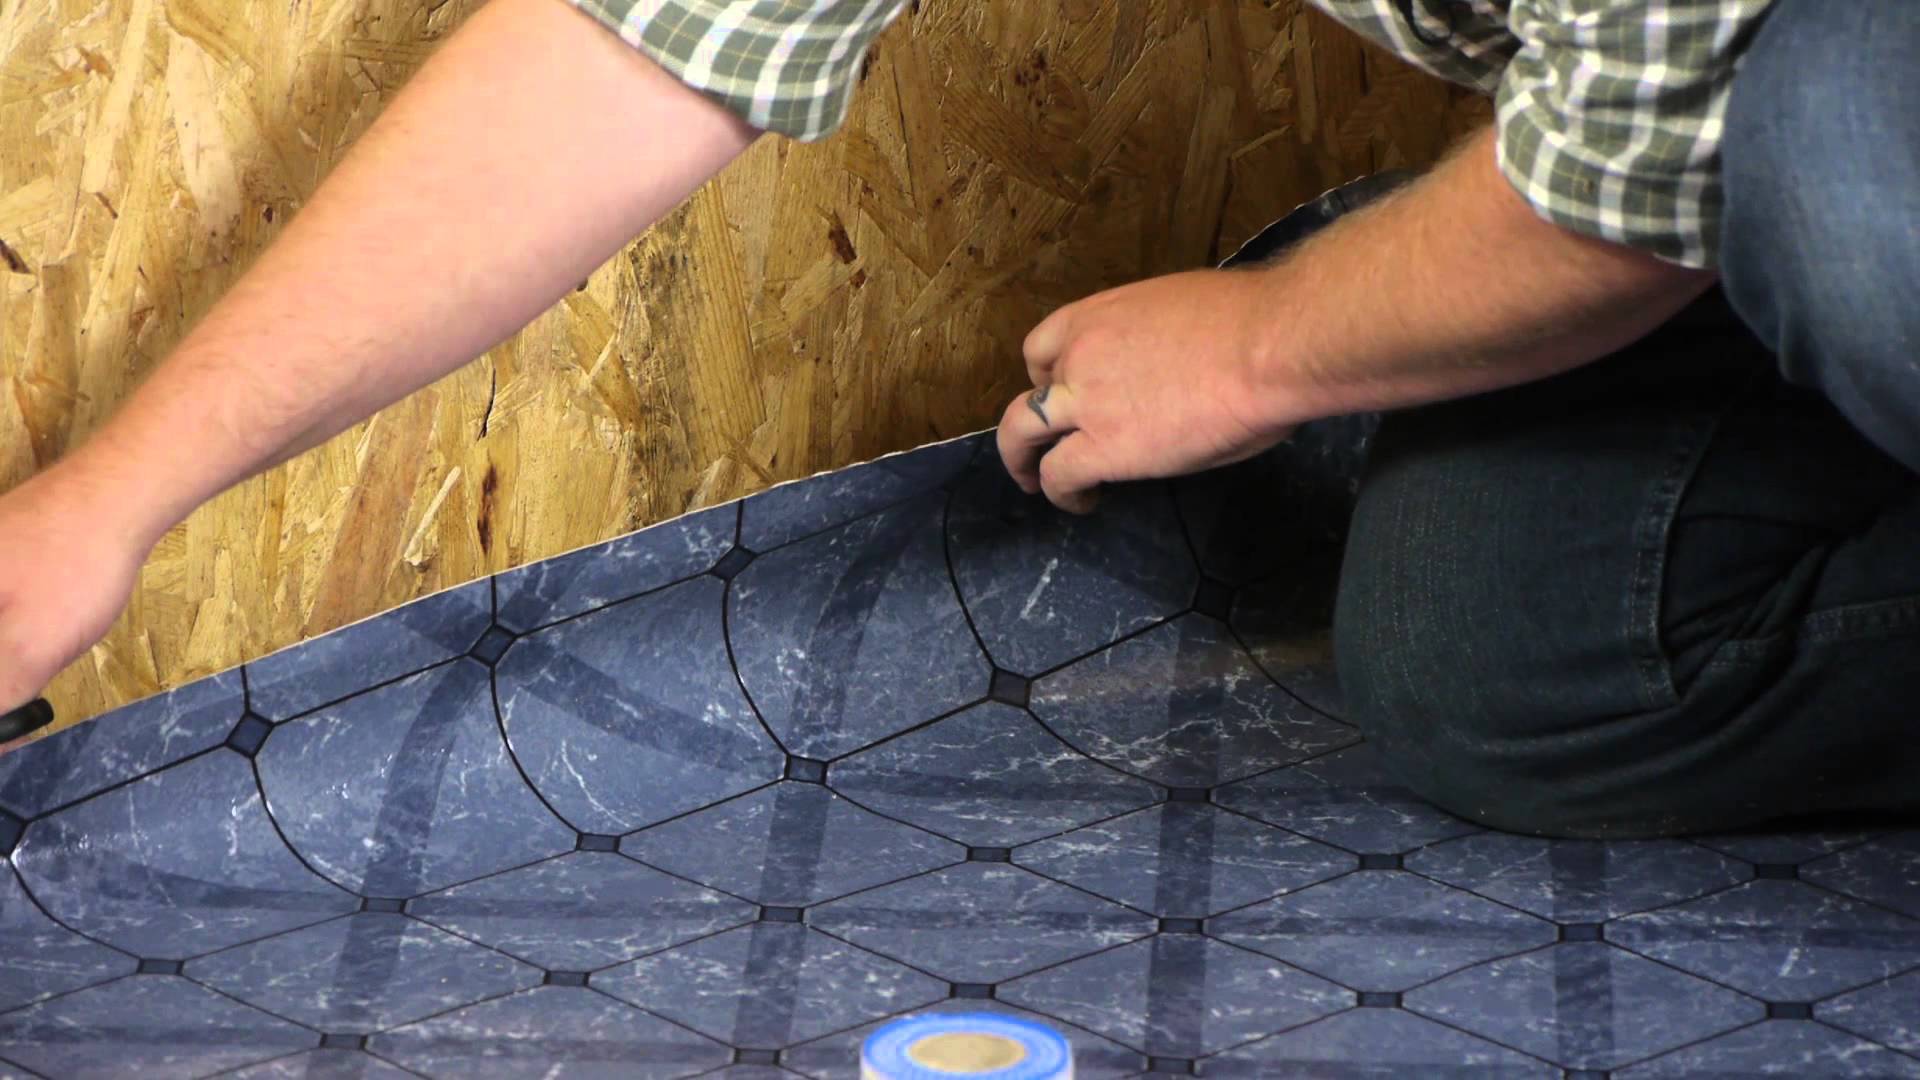
Experts believe that the most optimal way is laying on an adhesive. To do this, part of the canvas must be bent inside out and an adhesive should be applied with a spatula. Spread the adhesive evenly, then lay the treated area on the floor. Remove bubbles using a board or roller. In this case, the movement of the tool should be done from the center towards the edges in the form of a "herringbone".
Other sections of the canvas are laid in the same way. At the end, it remains to fix the edges of the product with plinths and wait for the glue to adhere to the surface.
Methods for smoothing linoleum
It is not recommended to attach it to the base of the floor immediately after you have unwound the linoleum, because it will go in waves, which will then be very difficult to remove. Therefore, before fixing the linoleum, it is necessary to let it rest for a day. In the case when the canvas is thin, six hours are enough for it to align.
Method 1
The simplest method of smoothing linoleum, requiring minimal effort, is to cut the covering into strips corresponding to the size of the room and spread them out. Linoleum is left to lie down until there are waves. It takes quite a long time, but you can safely walk on linoleum. But it is not recommended to install any heavy objects, since traces will most likely remain after them.
It is quite simple to do this - linoleum needs to be spread on the floor so that both edges of the coating come close to the walls. The resulting overlap must be removed with a clerical knife. To do this, the linoleum must be pressed close to the corner and then cut along the fold with a clerical knife. In this case, you need to cut right through and through, in the same way the overlap is cut from the opposite side.
Method 2
If you don't want to wait for the linoleum to smooth out on its own, you can use other methods. For example, twist it upside down.
In this case, special attention should be paid to the edge that was inside before rewinding, it should remain there after it.
Method 3
Some people recommend using a hot sand bag for this purpose, however this is a very outdated option. To do this, you need to heat the sand in some way, then pour it into a bag, pick it up, while wearing mittens or gloves and methodically walk it over the entire surface of the linoleum. When the sand has cooled down, you need to reheat it and continue working. And so on until the very victorious end.
Since this is not easy to do, it is still recommended to use an iron: although this process will be quite lengthy, due to the small heating surface of the device, it will all be less laborious and difficult than the option with sand.
Method 4
There is another way that you can use. To do this, you need to tightly nail one edge of the linoleum using a plinth, then put a load on a long wide board and very slowly move this device in the opposite direction, and then fix the second edge of the linoleum with a plinth.
After that, you should tightly trim the linoleum along, then in exactly the same way across. This method allows the linoleum to be attached very tightly to the floor.
The only thing that is important to consider before smoothing linoleum in this way is that the room must have a warm room temperature.
When you are done with gluing the linoleum, you need to remove any air bubbles and excess glue. This will further smoothen the material without further blistering.To do this work, you need a special tool, like an iron roller or a straight rigid stick. The bubbles should accelerate from the center of the room to the edges. The procedure is repeated several times.
Irregularities due to a violation of the laying technique
They are also not uncommon. Do not think that bubbles or waves will smooth out on their own, you need to fight them. The sequence of actions for the formation of large bubbles:
- Pierce the place of the swelling with a thin needle or awl.
- Press down on the bubble so that air that has formed under the flooring is released from it.
- Using a thin needle and a syringe, inject the adhesive under the place where the bubble was. Smooth out thoroughly with a rubber roller.
Small waves can be ironed with an iron, the instructions for work are similar to those proposed above for canvases with defects. But before that, you need to check if there is an expansion gap between the coating and the wall for straightening. If not, then you first need to remove the skirting boards and cut the linoleum sheet, so that the distance between the wall and the sheet is 0.5 cm.
If the cause of the deformation is a poorly prepared base, then only dismantling can correct the situation. Further, irregularities are cleaned and prepared according to all the rules. After that, if possible (the material is not damaged), you can lay the dismantled linoleum.
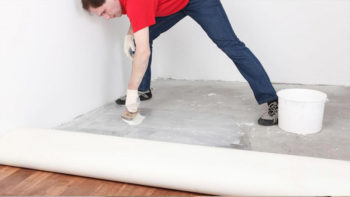 Compliance with the installation technology is the key to successful operation
How to smooth out caked linoleum from folds and folds
The acquired linoleum was almost always stored in rolls for a long time. From this, waves are formed on it, which will prevent it from being laid immediately. Sometimes, in the process of unfolding, a fold or fold is revealed. It will take more than one day to even out such defects.
Linoleum needs to be cut into strips to the desired size. And spread it on a flat surface. It will take 3-4 days for the waves and folds to even out. If there is no time to wait, you can use the quick methods:
- The easiest way to align is to twist the roll in the opposite direction. This process will take a day. If you keep the linoleum in this state for more than a day, then the folds will appear again.
- Another of their ways is to lay linoleum on the floor, spreading it face up. This will take more time, about 2 days. But this method helps to get rid of the chemical odor faster.
- If there is no time for such manipulations and work needs to be started urgently, then you can level the linoleum in the process. When laying, it must be tightened. Fix one side with a plinth, and after stretching, put a flat board with a load on the other. The load must be heavy enough.


Rarely, but it happens that when the roll is unwound, creases or strong deformations of the linoleum are found. It is also possible to cope with such problems. This will require an iron or hair dryer. A tissue is superimposed on the deformation and through it the place of deformation is heated and, necessarily, the place around.
The main thing is not to burn or spoil the linoleum completely. Therefore, you need to do everything carefully. It is safer to warm up with a hair dryer, but it will take a little longer. Some people use a regular rubber heating pad. It is applied to the place of deformation and left for some time.
The heating pad simultaneously heats and acts as a press.
All deformations and the formation of waves and bends do not depend on what kind of coating. Rough or smooth. Waves, as a result of long lying, are there and there. The only thing that affects this is the material from which the linoleum is made. A denser coating is more difficult to smooth out, but creases on such a coating are less likely to appear. Accordingly, a thin and soft coating is more elastic.
Do not be alarmed if there are folds or folds on the linoleum. This coating is elastic and folds are removed as easily as they appear. The main thing is to determine the cause and type of deformation. Then the way to eliminate it will be clear.
If problems arise during operation
Due to the fact that linoleum is made of PVC, the properties of this material depend on the operating conditions. In particular, over time, various defects may appear on the floor covering due to insufficient heating of the room. In the cold, PVC loses its former elasticity. In addition to these reasons, mistakes made during the installation process lead to swelling of linoleum:
- installation on an uneven base;
- using low-quality glue;
- laying on a base without adhesive;
- installation on a wet base.
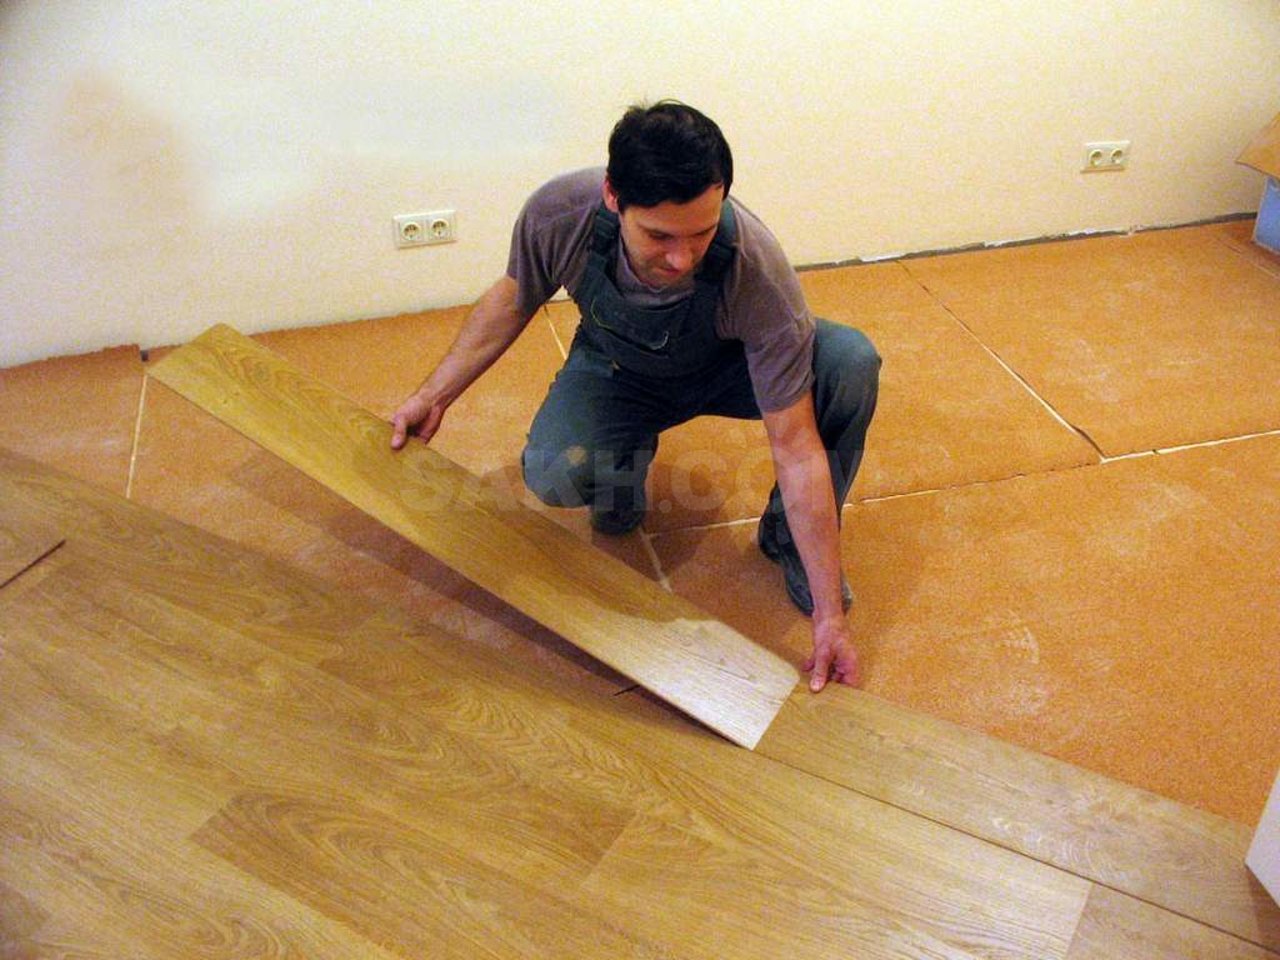
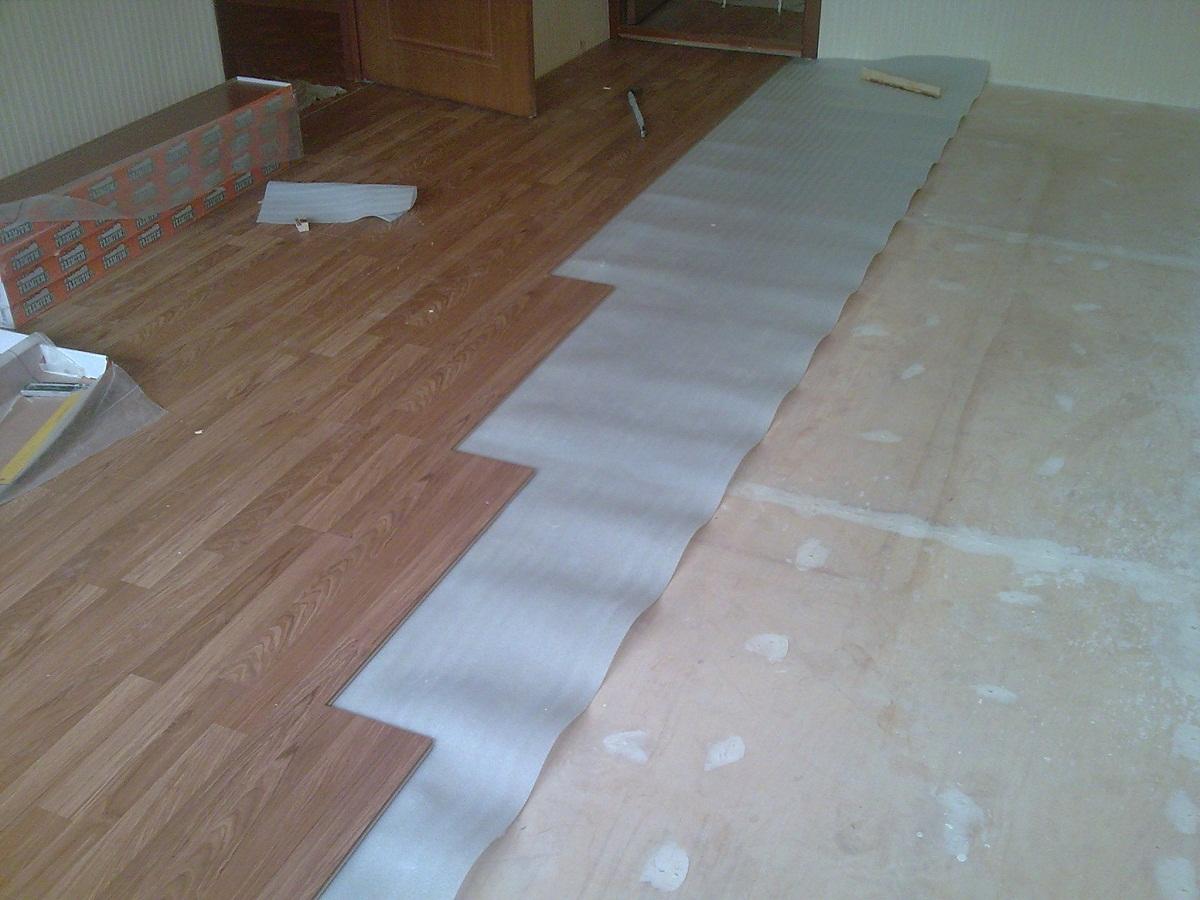
It is recommended to lay this floor covering on a special base (cork and other), due to which the likelihood of occurrence of the described defects is reduced.
Installation was without glue
Laying the floor covering without glue is allowed in rooms with an area not exceeding 20 square meters. In this case, it is necessary not only to level the material before installation, but also to firmly fix the linoleum against the walls with a plinth. In larger rooms, the coating is laid on a glue mortar.
If the installation was carried out without observing the specified conditions, and swelling appeared on the floor, then the following steps must be taken to eliminate the defects:
- remove the coating by dismantling the baseboards;
- using a long stick or other means (roller, etc.) to level the material;
- trim the linoleum near the walls if necessary;
- spread out heavy objects on the fractures and keep in this form until the defects disappear.
After that, it is necessary to re-lay the material by gluing the base.
The coating was glued
If, within the framework of the installation, the material was glued to the "rough" floor, then the described methods can be used to eliminate defects.
How to remove waves on linoleum before styling
- Roll out the sheets and let them rest for 2 days to 2 weeks.
- If you need to straighten the waves urgently, place the pieces of material on a flat prepared base and iron with a bag of hot sand.
- If the waves remain in only one place, for example, near the walls, you can warm up the areas with a hot hairdryer and put a press on top. It should be borne in mind that with this method, the linoleum is stretched, therefore there should be a small distance between the wall and the floor, which then hides under the baseboard and guarantees a place for increasing the volume.
- Another way to quickly straighten linoleum is to fix one edge of the covering under the skirting board, put a load on a large smooth rail and stretch it to the opposite end. Repeat the procedure on the other pair of sides.
Leveling the concrete floor
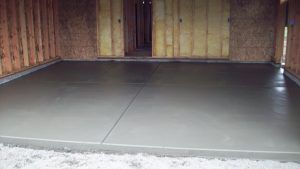 If the concrete base is not leveled, then the linoleum will rub off on irregularities.
Keep in mind that linoleum is a kind of coating that requires a perfectly flat and smooth base.
So, on the protrusions of the concrete surface, the material will quickly wipe off, which can lead to the formation of holes, therefore, leveling the floor must be carried out without fail.
 So let's take a look at how to level a concrete floor under linoleum. The first step is to clean it of dirt and dust, as well as dismantle the old coating. Then the concrete floor must be carefully inspected for defects in the form of cracks, bulges and other things.
Leveling the floor for linoleum can be done in several ways. The choice depends only on your tastes and financial capabilities.
Leveling mixtures
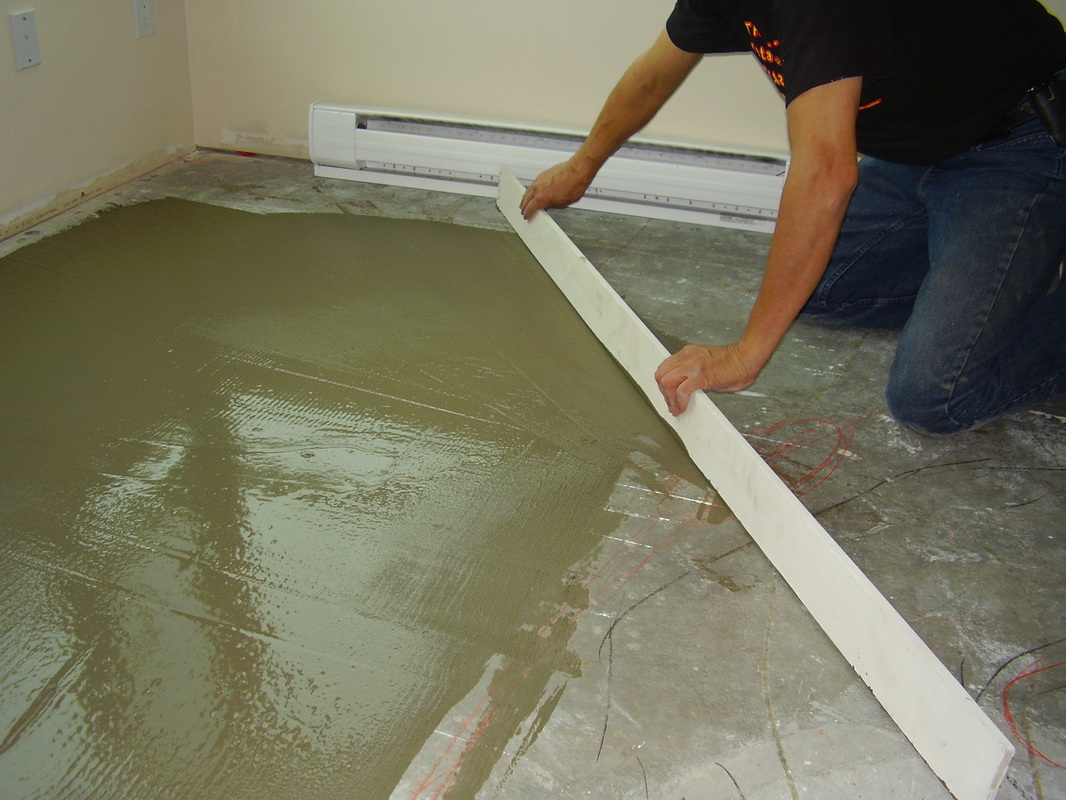
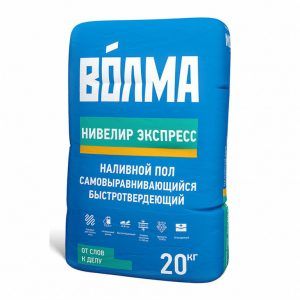 The mixture is diluted with water just before pouring.
If the floor differences do not exceed the 2 cm mark, one of the best leveling methods is to use special mortars.
This method will make the base perfectly flat and smooth.
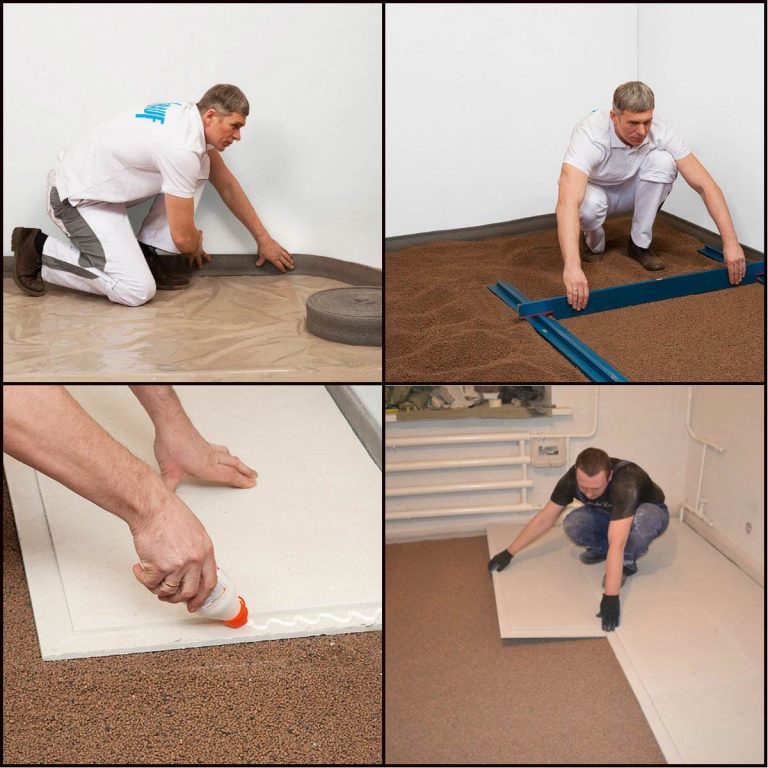
The leveling procedure with dry mortars is as follows:
- First of all, the surface is cleaned of dirt and dust.
- Then, using the building level, the upper and lower points of the drop are determined, after which the beacons are installed.
- Connection lines are drawn at the installation sites of the beacons, after which they are united by a flat board.
- Next, the leveling mixture is prepared according to the instructions on the package. Keep in mind that preparation must be carried out immediately before pouring, otherwise the solution may dry out quickly.
- The mixture is poured and leveled using a building level or a special spatula.
- After hardening, the floor is cleaned with sandpaper and treated with a special primer. A primer will provide extra protection and prevent mold or mildew.
Most importantly, follow the recommendations provided and carefully study the instructions that are provided on each package with the solution.
Cement and sand screed
 The laid screed is recommended to be tamped with a vibrator
If the irregularities are large, the leveling must be carried out with a cement-sand screed. The alignment procedure in this way can be divided into the following stages:
- Cleaning from dirt and dust and removing the old coating.
- Surface marking and fixing beacons.
- The floor is reinforced with reinforcement, selected in accordance with the height of the covering.
- Installation of expansion joints. In the future, this will help prevent cracking and significantly strengthen the base.
- Waterproofing the surface using different materials. This will help ensure the durability of the concrete screed over the long term.
- Installation of a cement-sand screed on the surface and leveling using vibration. This method will significantly increase the quality and service life of the base. It is not recommended to take a long break during work, as areas may form that will negatively affect the quality. Try to flood the room in one go to prevent possible cracking of the flooring.
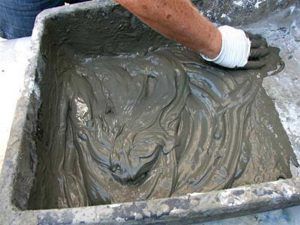 Then, after the screed has hardened, you can proceed to the main work. Without skills and experience in the construction trade, it will be quite difficult to carry out such a procedure on your own.
This alignment method is one of the cheapest, and therefore quite popular. To obtain a better result, the floor is treated with a special primer before and after the application of the screed. A list of dry mixes for floor screed can be seen in the following table.

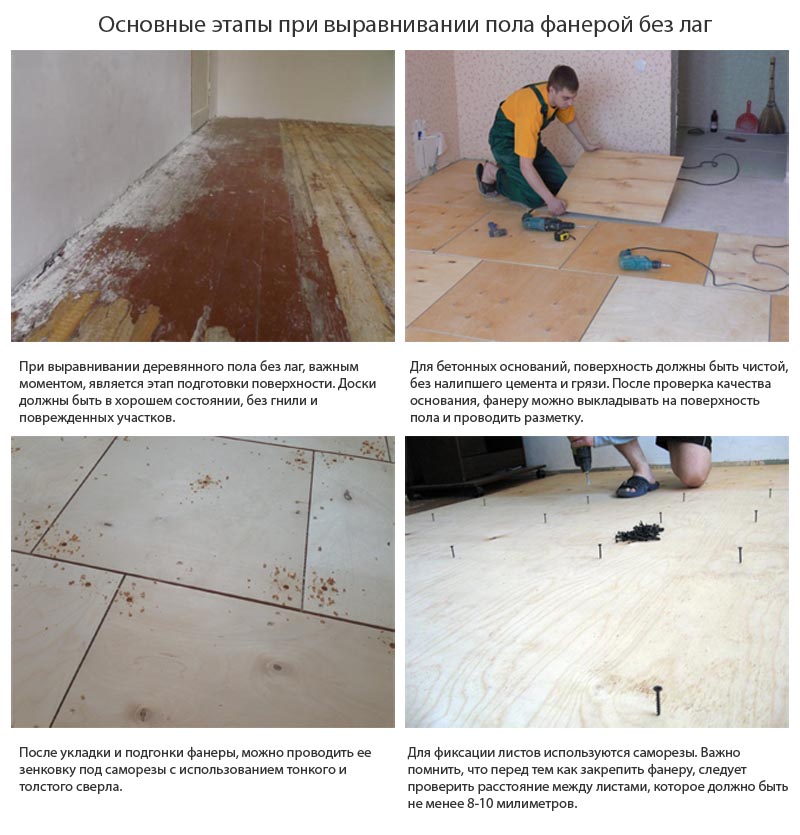
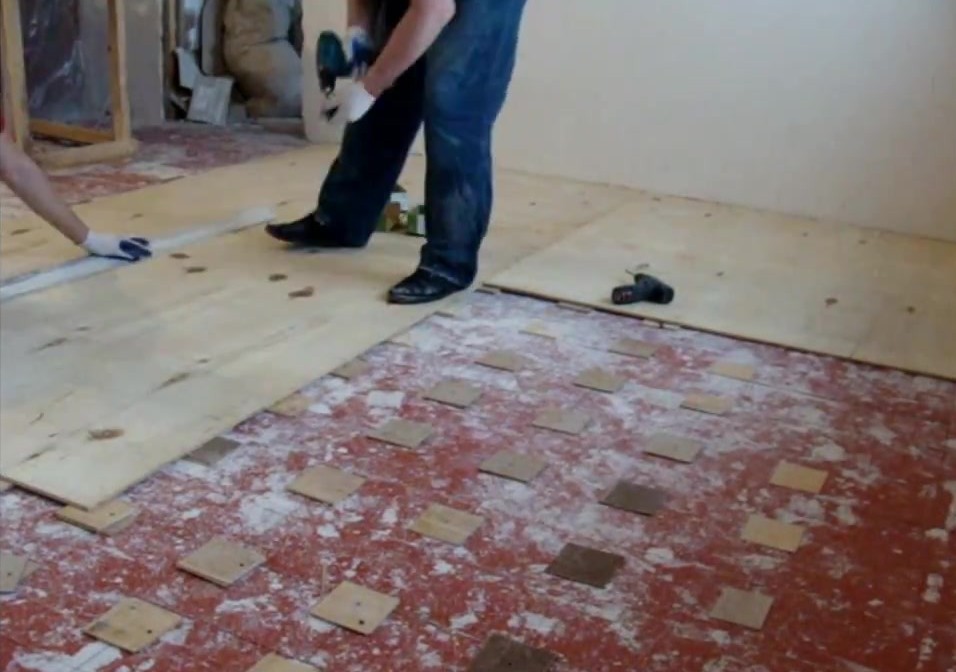
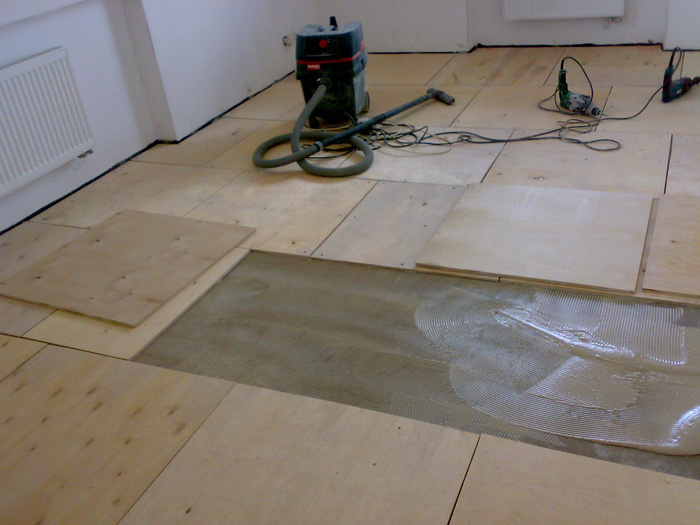
Plywood alignment
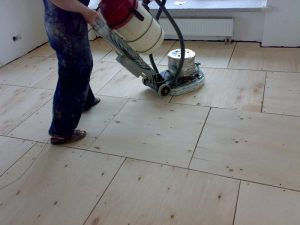 For leveling, plywood with a thickness of 10 - 14 mm is used.
If there are a lot of defects and unevenness on the floor, the best solution would be to level it with sheets of moisture-resistant plywood.
This method is simple, so you can easily do it yourself.
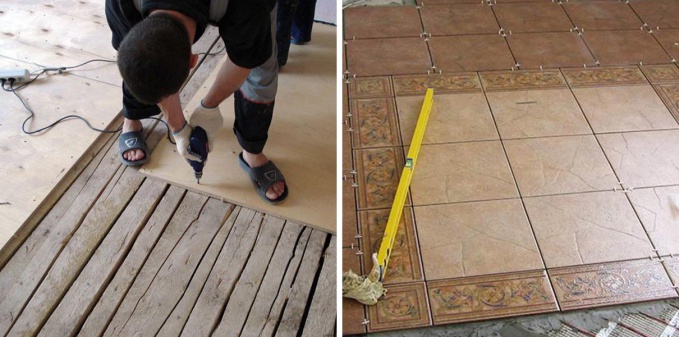
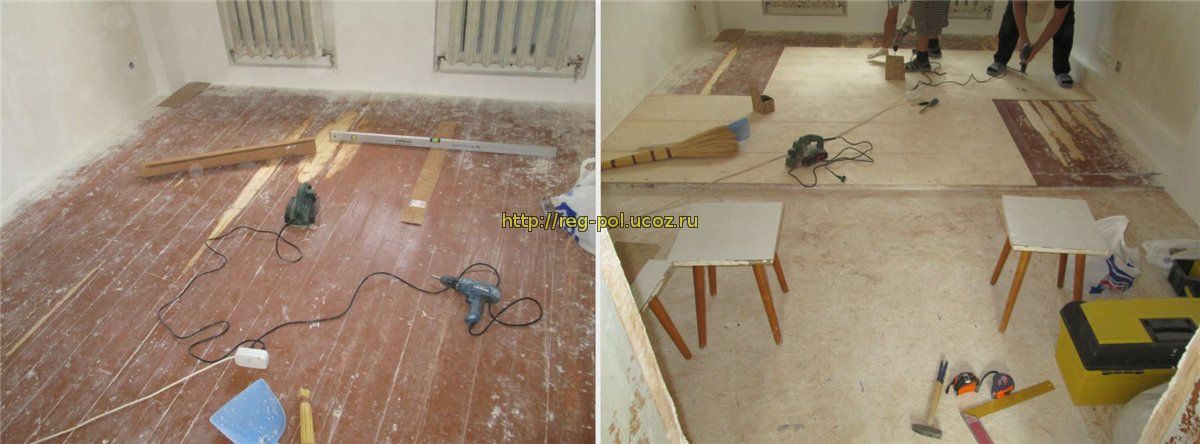
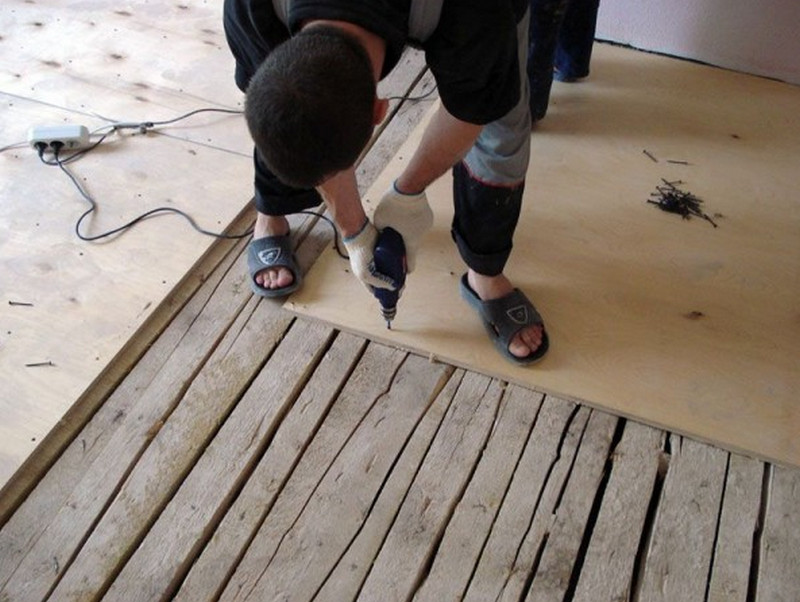
It is necessary to use plywood with a thickness of 10 to 14 mm. Fasteners are made on the logs with screws. As a lag, it is necessary to use wooden blocks with dimensions of 4x4 or 5x5 cm. Installation is carried out at certain intervals, set in advance using the markings.
Try to fit the plywood sheets as tightly as possible. At the end, you will need to treat the surface with putty and sand it with sandpaper. For more information on leveling the floor with plywood, see this video:
Leveling in the process of flooring
Thus, it is possible to level the coating if there is no time for any spreading manipulations.
 Tight leveling with fixing with skirting boards
Sequencing:
- Place the canvas against the wall and press down with a plinth.
- As you lay it by leveling it, you can use a sanded board. In the process of leveling, the blade is slightly stretched.
- When reaching the wall, secure the edges with a skirting board.
This method will help keep the linoleum in a straightened state with a slight stretch. When the coating absorbs moisture and the temperature approaches that of the room, the stretch will be removed.As is clear, this technique does not involve the use of adhesives and mastics.
Bubbles on the floor, waves: how to level linoleum
The most common defect that can appear after improperly laying linoleum is waves. Often, linoleum swells after rearranging furniture, turns red and goes in waves after long-term use of the coating.
New linoleum smoothes quickly: in order to spread it, you just need to let it rest for a few days or use a press.
 Before eliminating bubbles on linoleum, it is worth watching a training video.
If the new linoleum does not straighten after several days, it is worth resorting to more radical methods: heating the material, the simultaneous application of load and heat. As a last resort, builders recommend that you measure out the material well and cut it into strips. After such manipulations, the strips should be folded into a pile and pressed down with a heavy press. In this case, the press must be laid on a flat surface (for example, plywood).
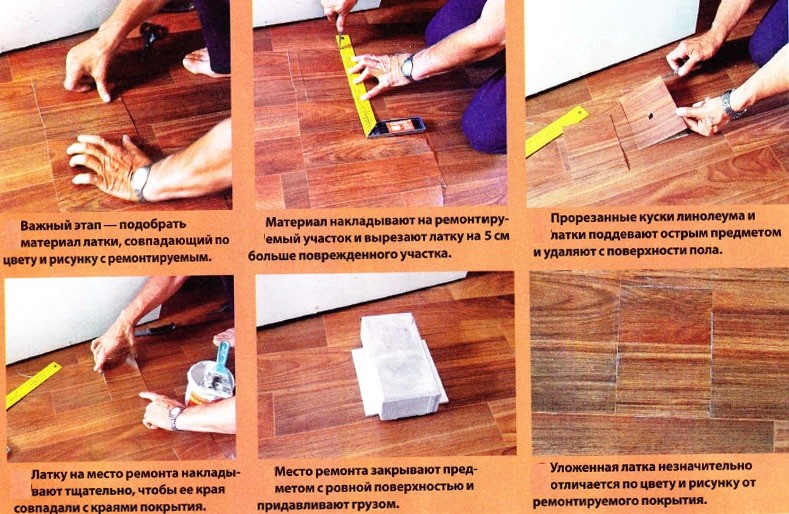
Removing a bubble on linoleum that has been incorrectly glued in the floor is a little more difficult: to do this, you will have to damage the visible part of the coating.
If the bubble is high, then it will need to be cut crosswise, release excess air from under the material and cut off the excess material, glue the coating. If you do the work carefully, then minor repairs will not be noticeable from the height of human growth. A large and flat bubble can be removed using a syringe with special glue. The bubble is injected with a substance and placed under a press.

