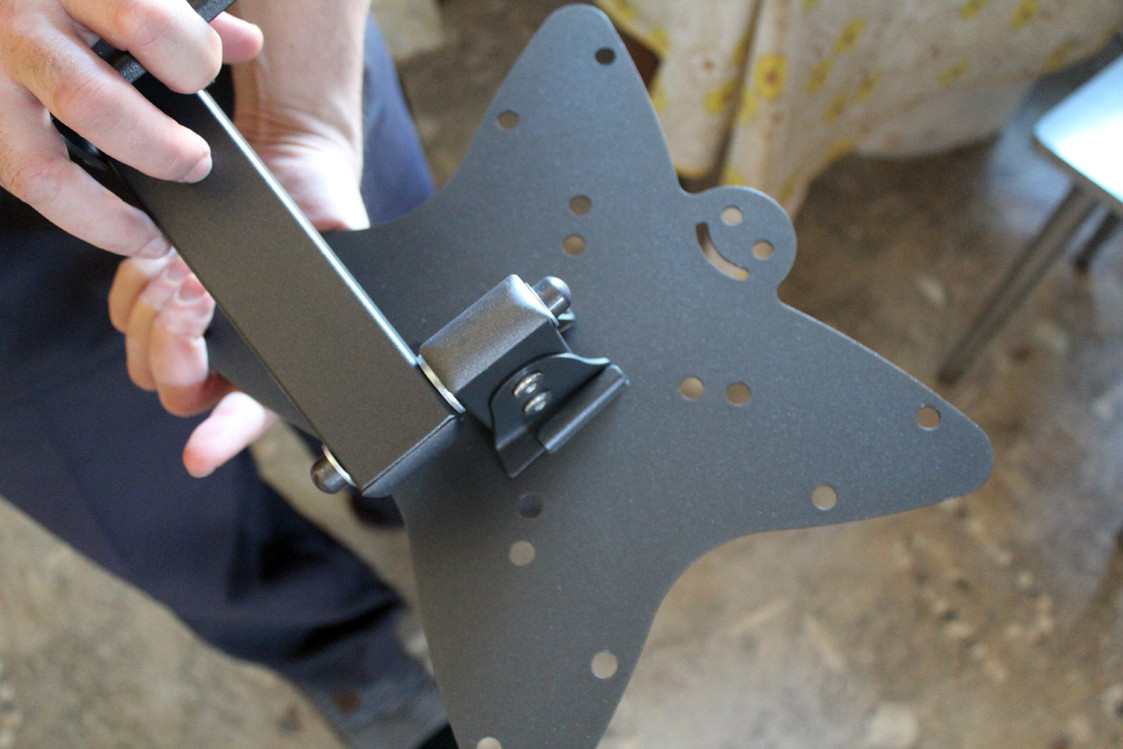
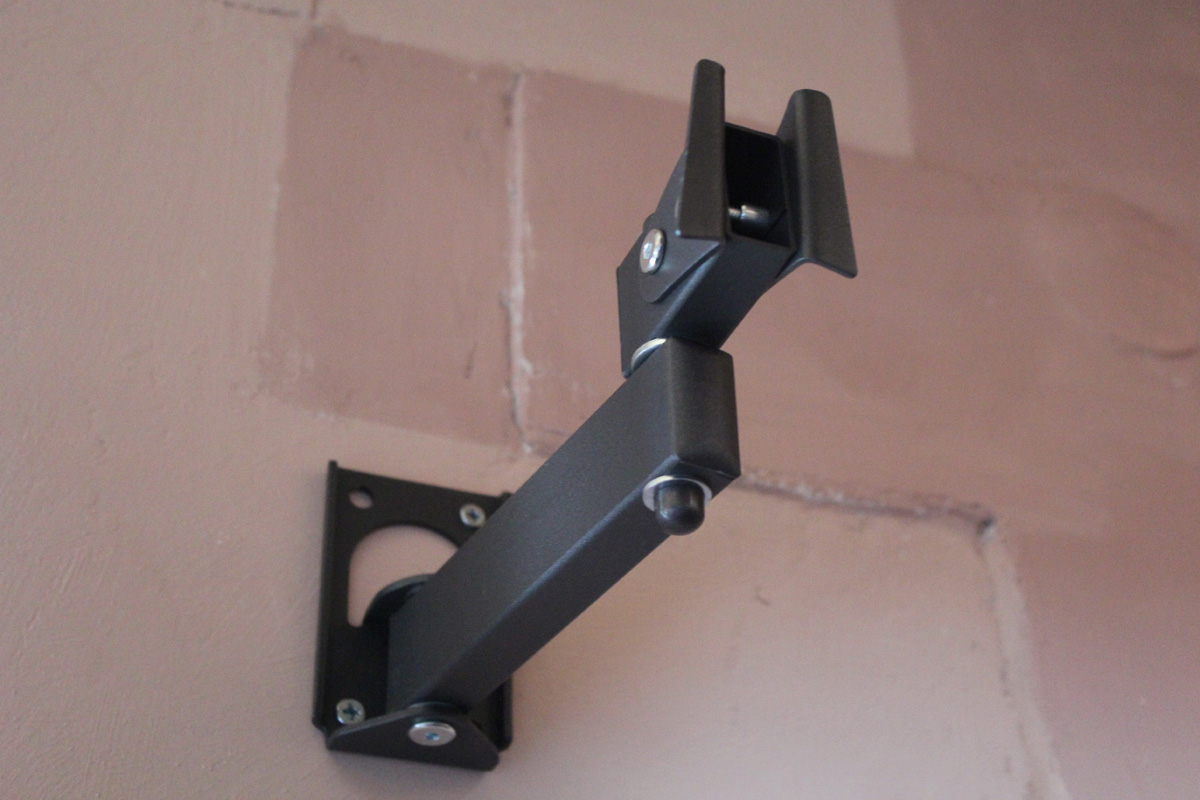
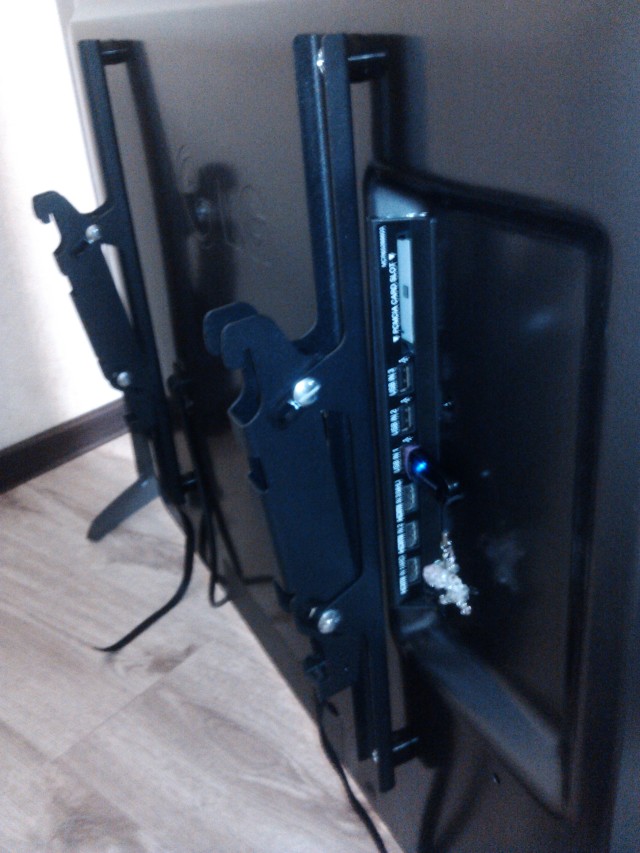
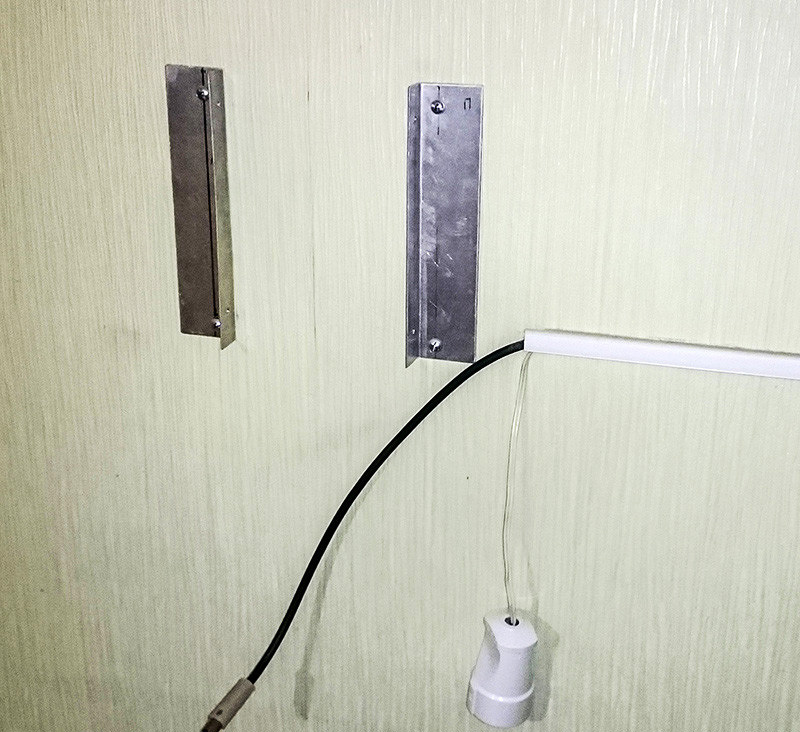
Features of fastening to different types of walls
When carrying out installation work, it is important to take into account the material of the wall. More often, elements for a concrete pavement are included with the fastening set, but they can be used for any type of base
Only the method and features of the attachment will differ.

Plasterboard wall
Many owners of houses and apartments prefer to decorate rooms with plasterboard. The lightweight and easy-to-handle material has many advantages that make it popular. Fragility is a significant disadvantage. There will be no problems with the installation of shelves, mirrors, panels, TV with a small diagonal. But if you need to build in a heavy TV, you will have to use separate built-in niches, special brackets.
For a small TV, weighing up to 15 kg, you can use the standard mounting method using the plastic dowels from the kit. They will fully withstand its weight and will firmly anchor in the plasterboard material. Tilt-and-turn structures are best hung on a wall reinforced with an aluminum profile.
Equipment weighing from 15 to 45 kg cannot be mounted on bare drywall, this is fraught with its destruction. Be sure to use the bracket. It is necessary to drill the finish and concrete, a brick wall with a puncher, lay a long dowel of an expansion anchor in the shape of a butterfly, hammer it in with a hammer and screw it in. It is necessary to provide fasteners for a heavy TV at the time of construction, during repairs. You can lay a reinforcing profile, build a special niche.

Wood wall
Wood is a common option for wall cladding. Ordinary boards, lining, carved panels give the interior a special comfort. A wall-mounted TV will perfectly complement the living room, bedroom in eco-style.
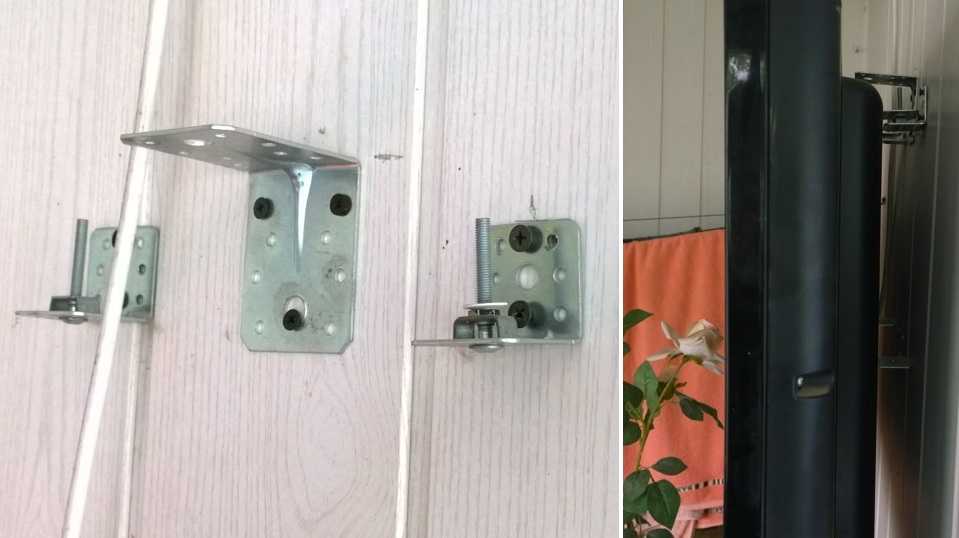
The decoration of the rooms can be made of various wood elements, differing in size, width of parts, strength. The mount for wall equipment should be selected appropriately. Instead of the usual dowels, self-tapping screws should be used, at least 3 cm long. Butterfly dowels are suitable for a plywood wall.

Brittle walls
For walls made of foam blocks, aerated blocks, tongue-and-groove plates, gas silicate bricks, ordinary anchors cannot be used. Place the TV on a fragile surface using the through-fastening method using long bolts with wide washers. A partition, for example, made of aerated concrete, is drilled through according to the markings of the fasteners, bolts are threaded into the holes, and nuts are screwed on the other side.
To mount the TV to walls made of porous, hollow bricks, you can use chemical anchors - a special type of mounting elements. Wall plugs have multiple holes. Special glue is poured into them and a screw is inserted. Such a layer strengthens a section of the wall, allows you to create a uniform load, and hang bulky items.

Which TV is right for you?
The quality of inexpensive brackets can be very questionable, and the abundance of hinges does not add to their reliability. And the metal itself can be very fragile. Therefore, sometimes a DIY mount will be more durable.

For wall mounting, the screen must meet certain requirements.
- It should only be liquid crystal (LCD or LED) and plasma (Plazma). It is not allowed to hang models with a CRT screen, they can only be placed on a shelf.
- All connections must be on the front or side panel. Or at the back, if there is a niche on the body with which you can lay the wires.
- Slots or tapped holes are required on the rear of the chassis.
- The device passport must indicate the ability to mount on the wall.
- You can only install a small TV on your own. The size (and weight) allowed depends on the strength of the mounts you make, but typically less than 24 inches diagonal.
If your model meets all these requirements, you can start choosing a mounting location.
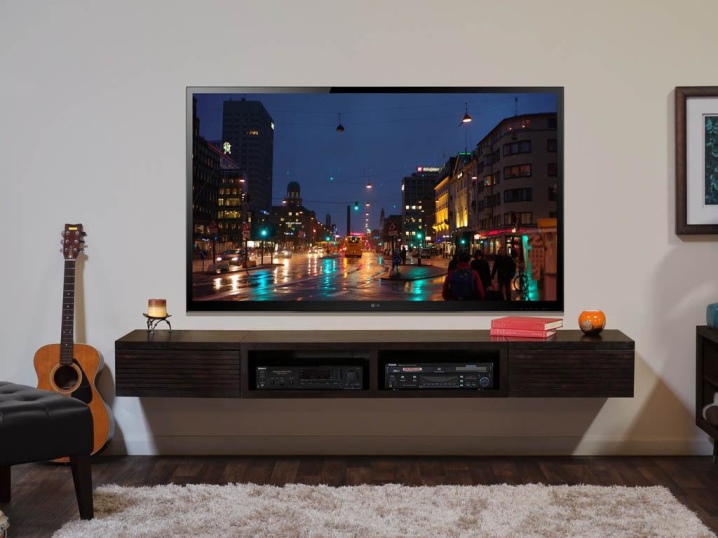
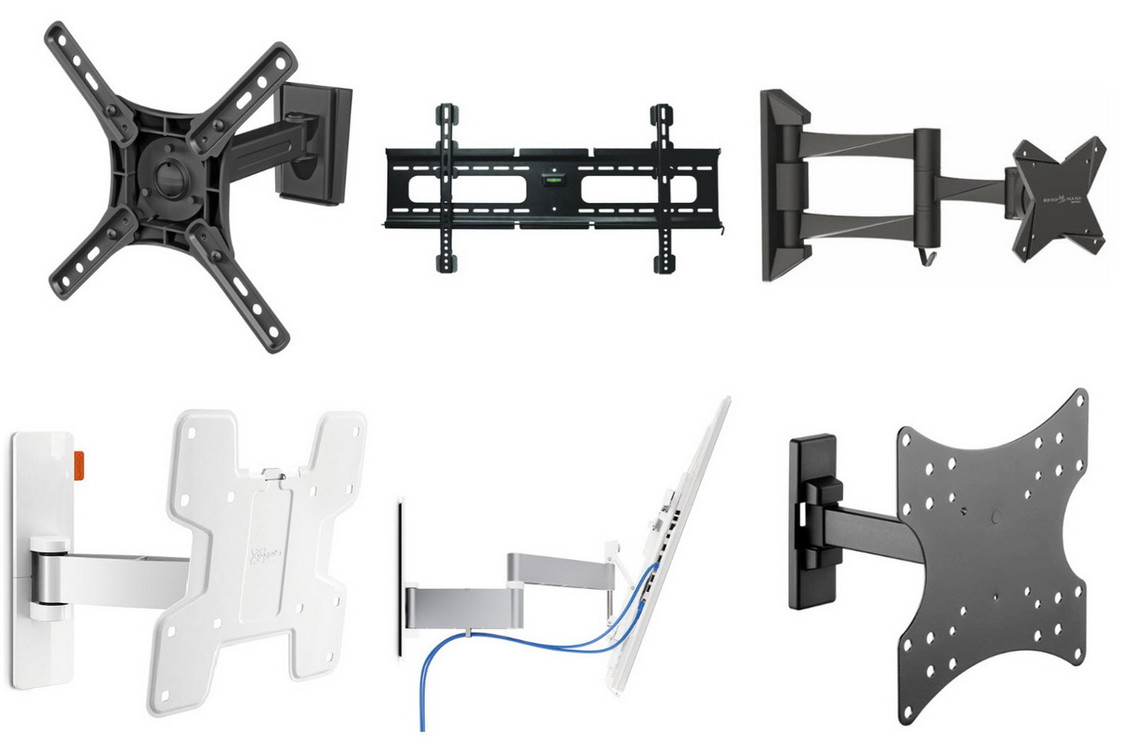
The main types of fasteners
When choosing a TV wall bracket, consider not only the location of the TV, but also the maximum weight support, structural strength and type of mounting. According to the last parameter, all presented models are divided into 7 varieties.
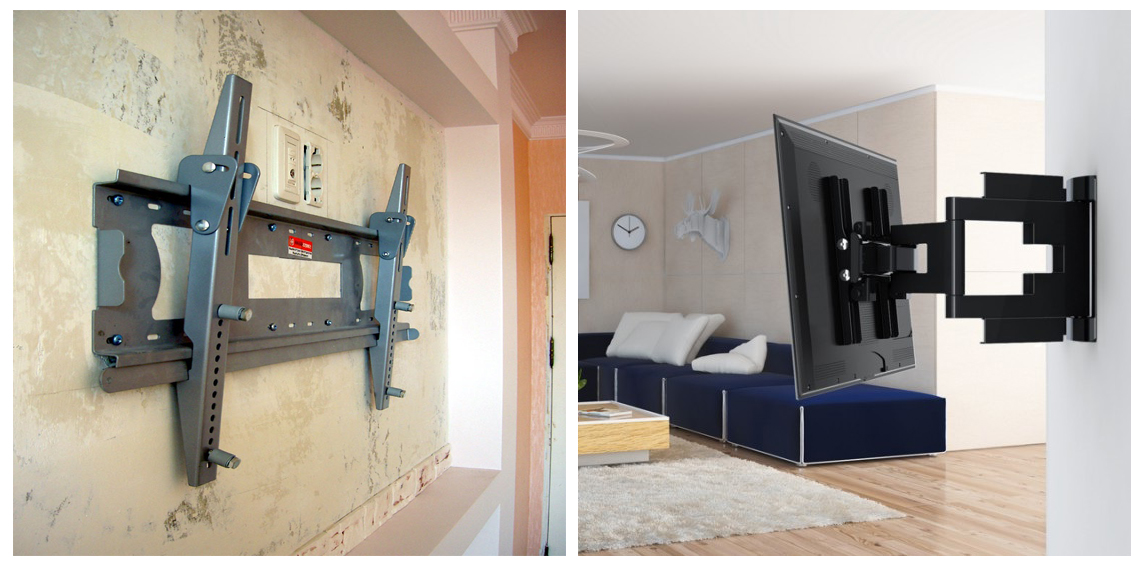
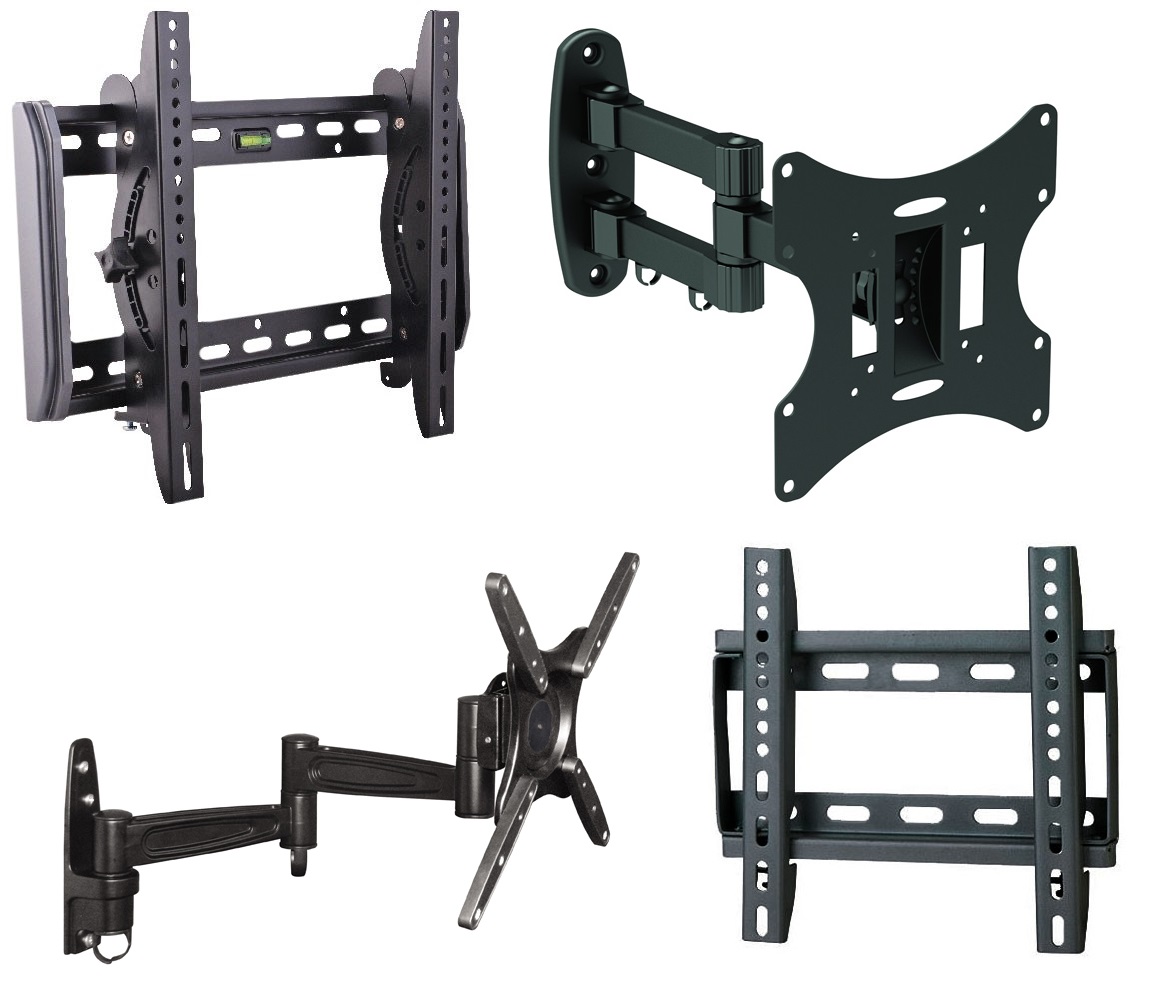
Swivel TV mount
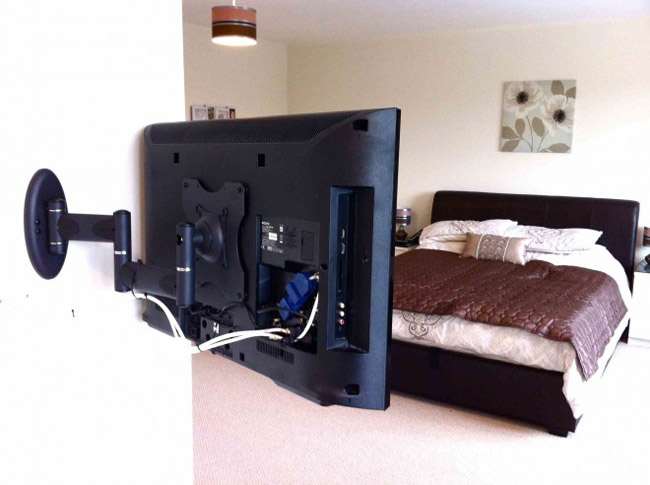
A general group of mounts that provide adjustment of the TV position not only along the vertical axis, but also in the horizontal plane. These models differ in the angle of rotation, which will depend on the length of the mounting rod.
FOR YOUR INFORMATION!
Swivel models are the most optimal choice in terms of their functionality. And the most inexpensive models will be fixed varieties.
Swivel bracket
Swivel TV mount
Retractable wall mount monitor
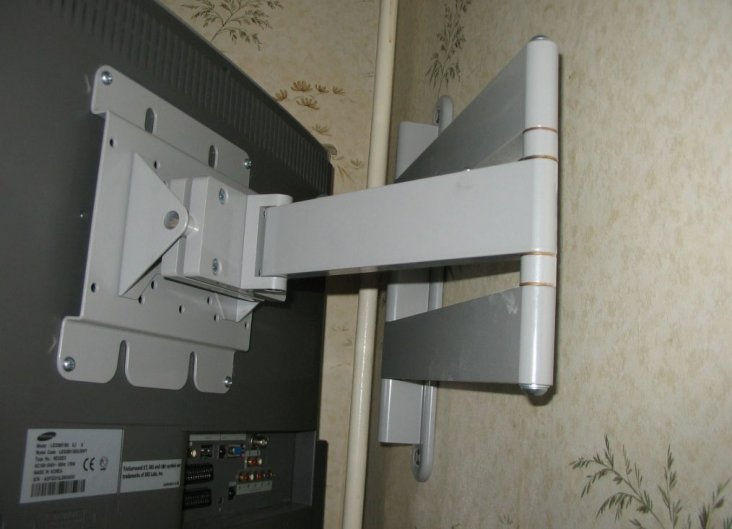
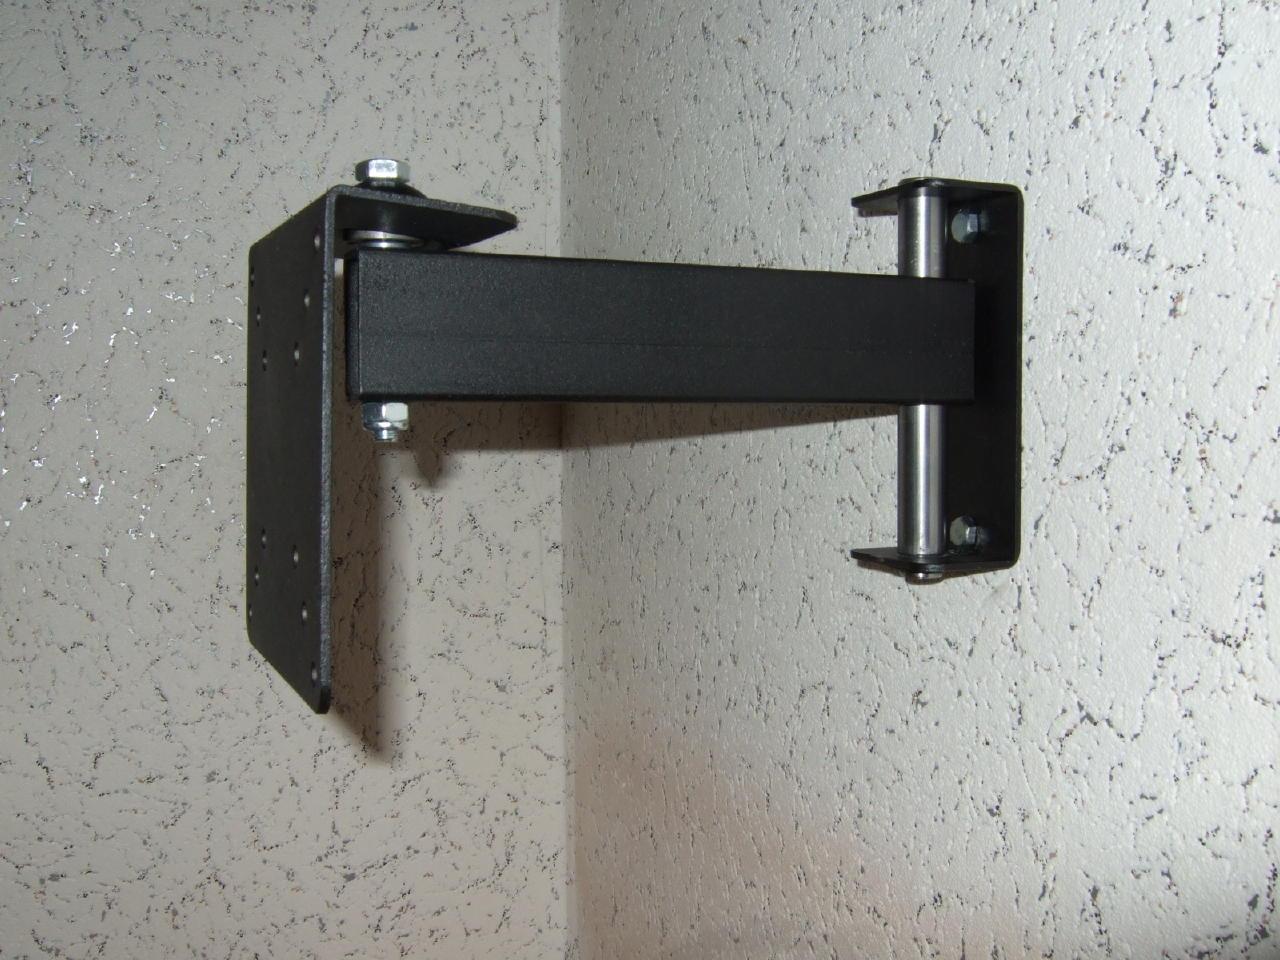
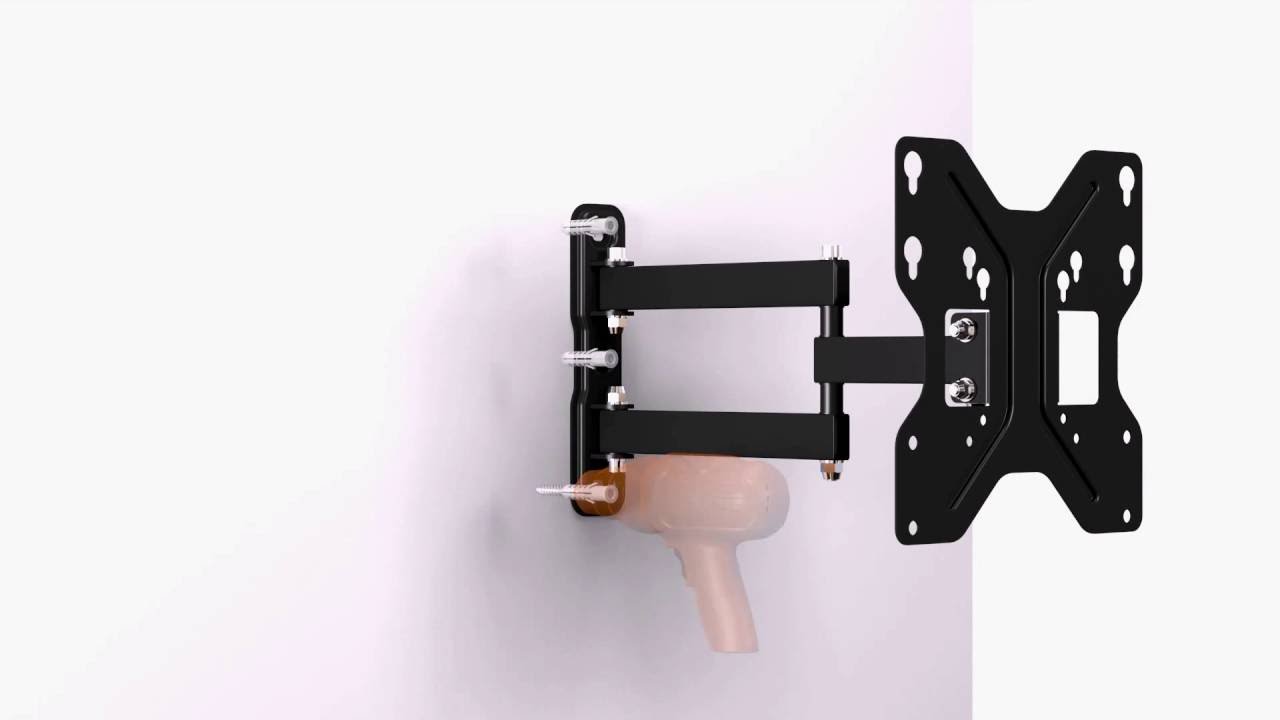
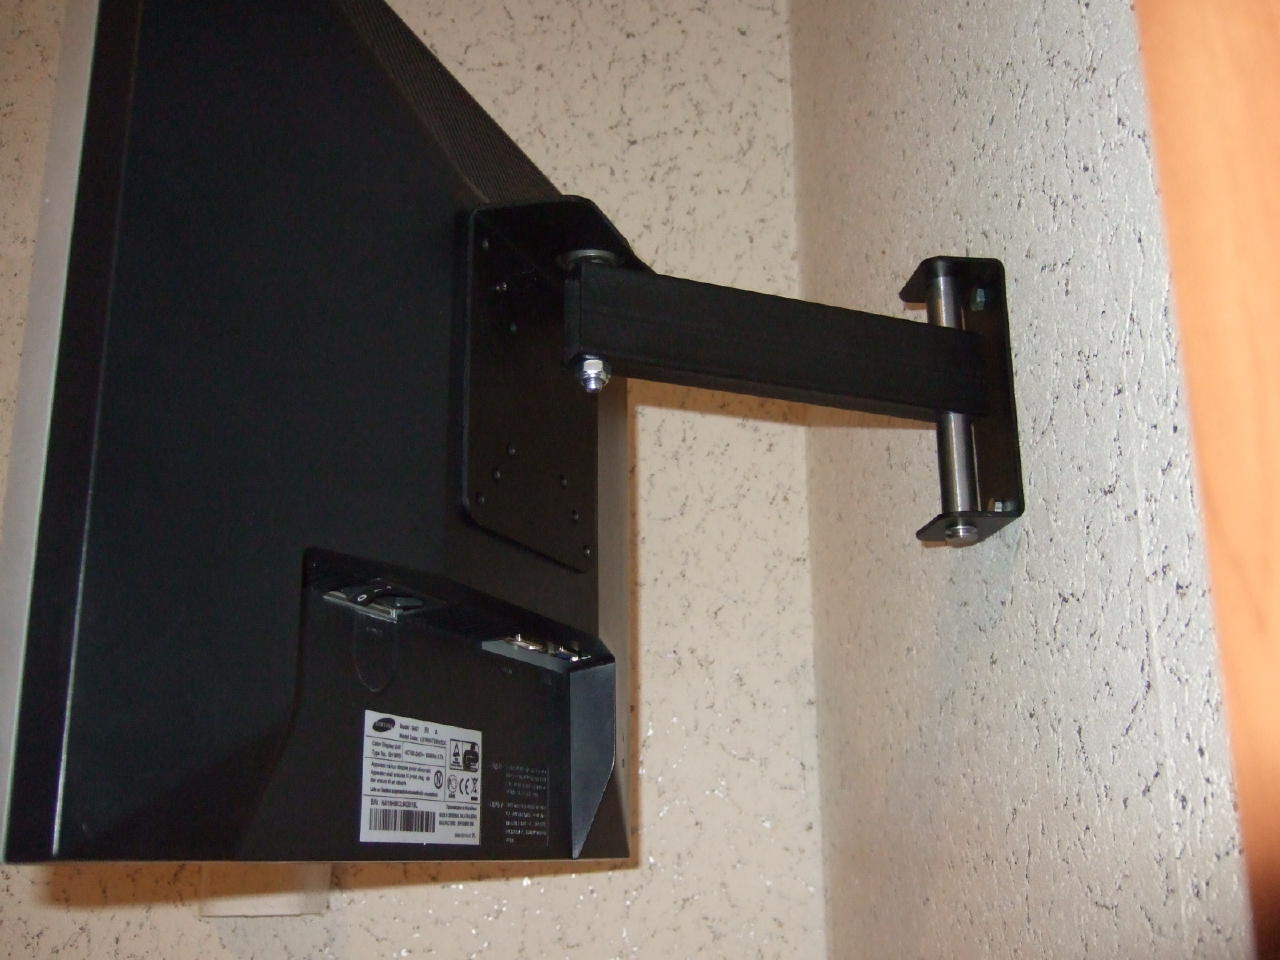
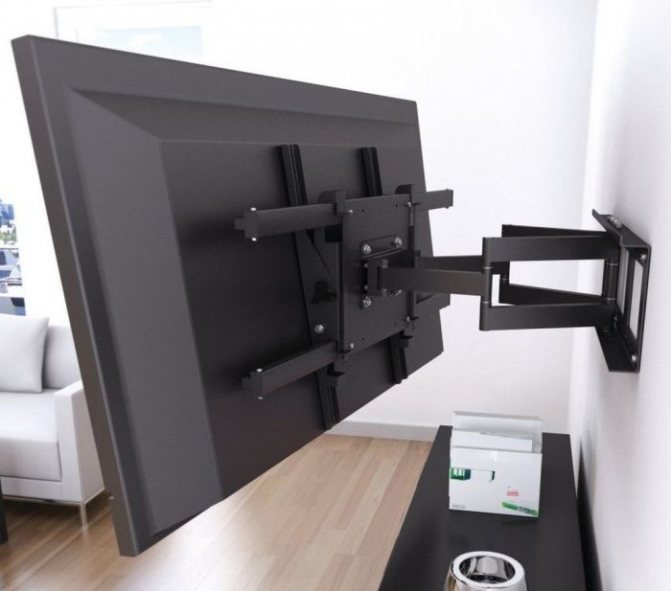
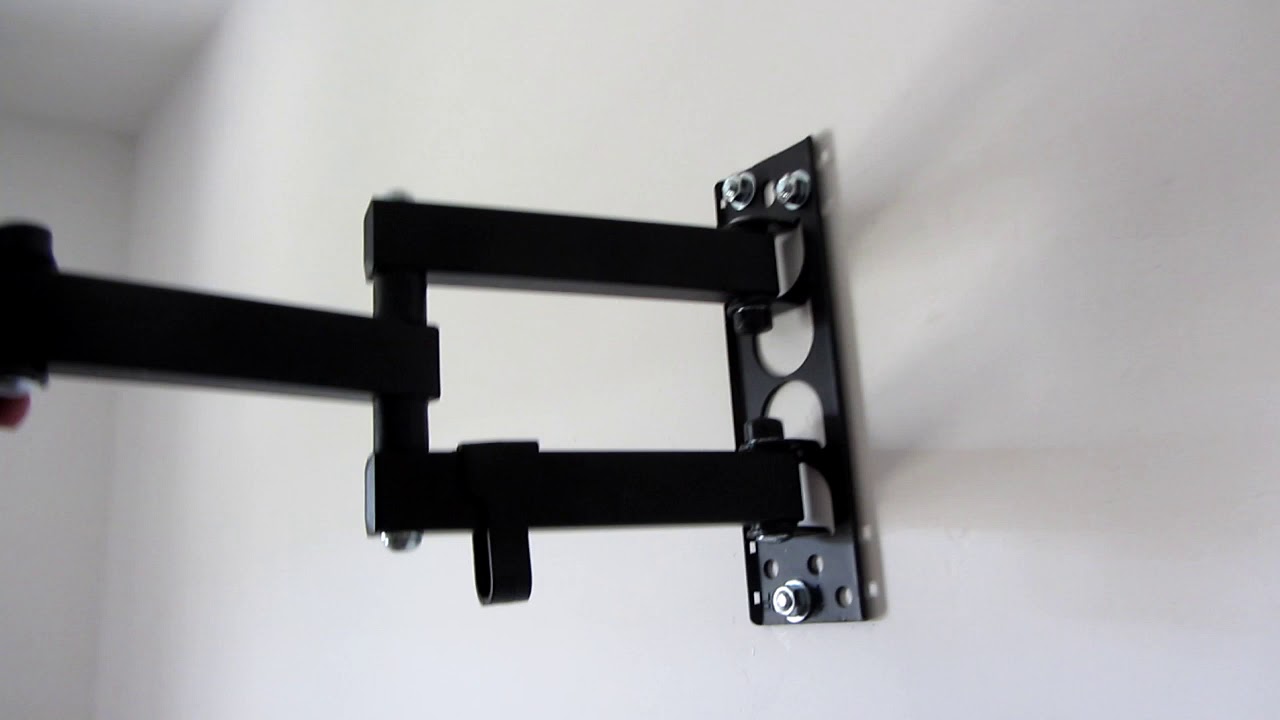
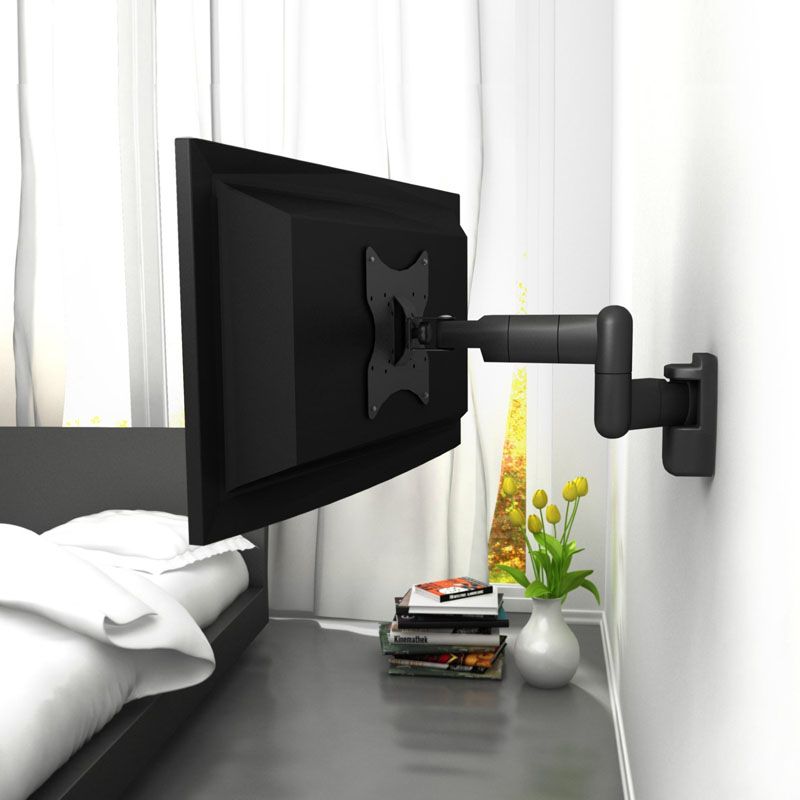
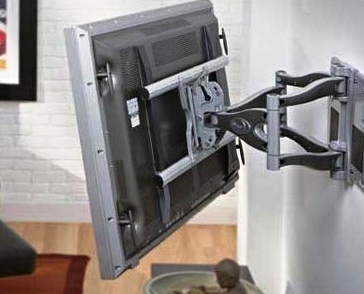
Retractable models as a class are characterized by providing the user with the ability to adjust the extension of the TV and setting it to the required distance. This is done by means of a movable "leg" which has an articulated joint. Similar views can also provide TV tilt and swivel adjustments.
Retractable bracket
Retractable TV mount
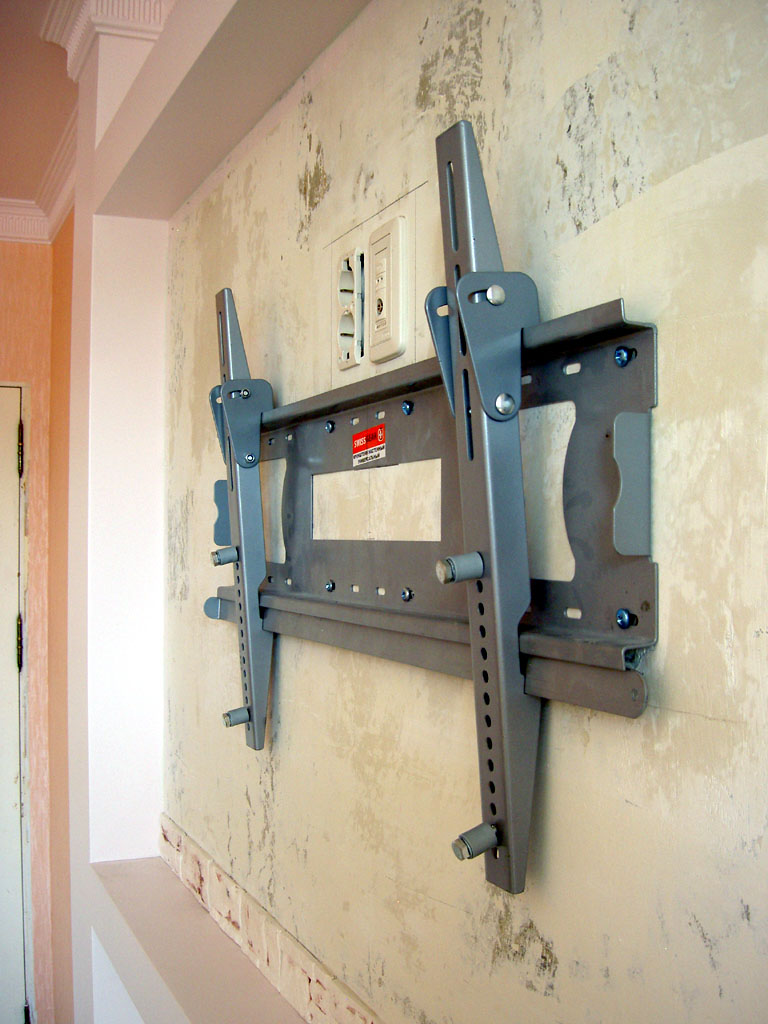
Tilt bracket
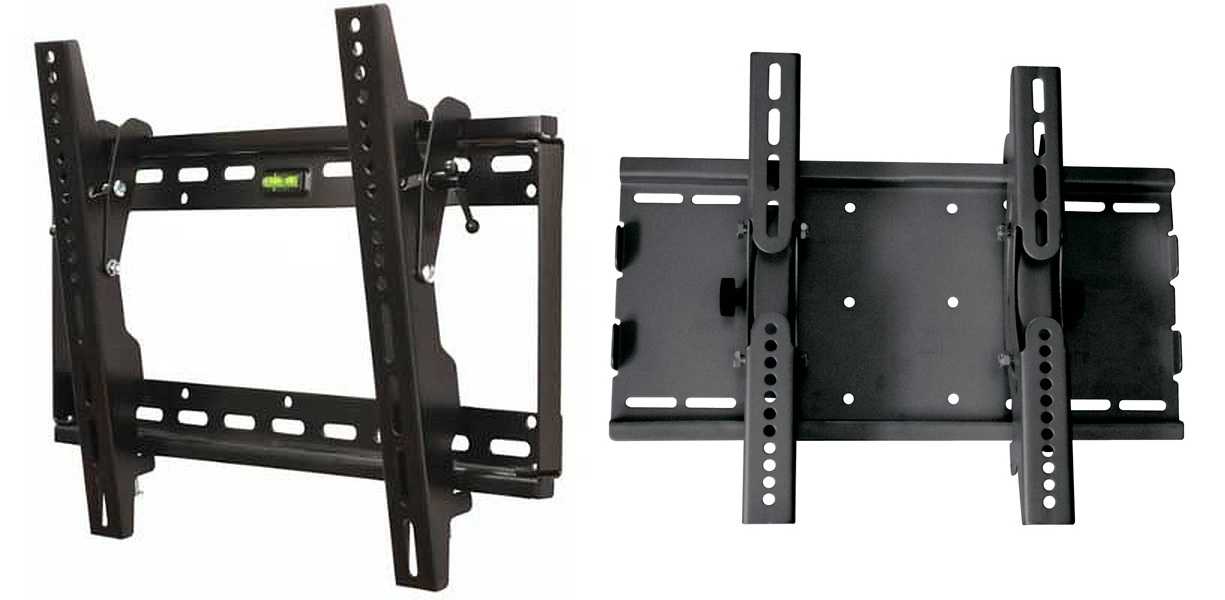
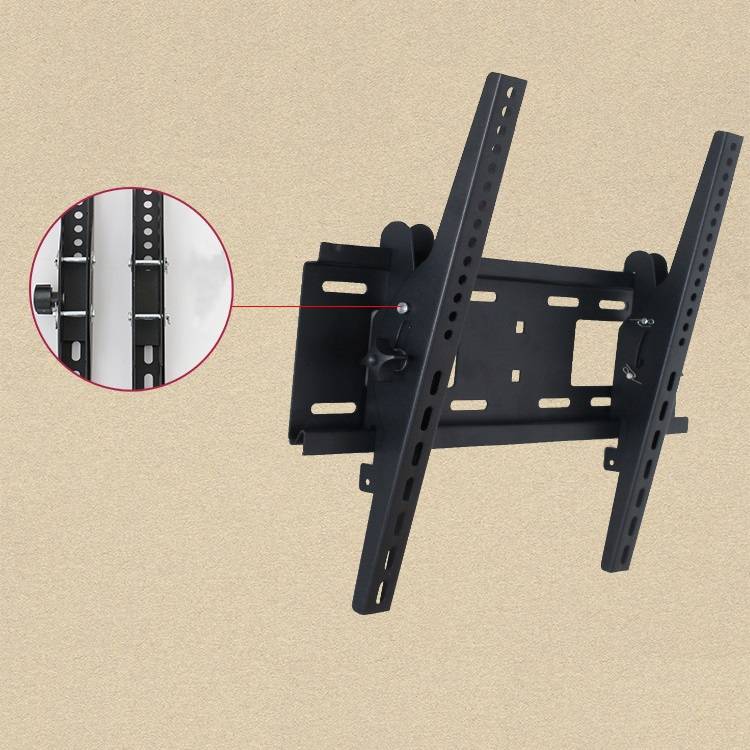
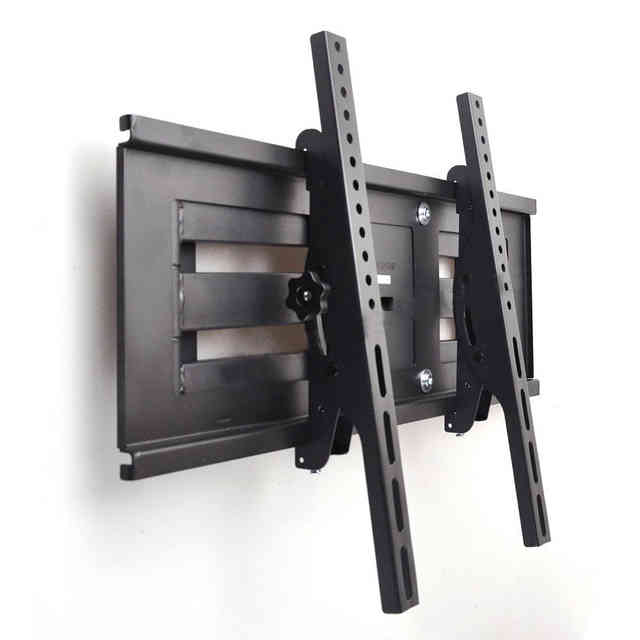
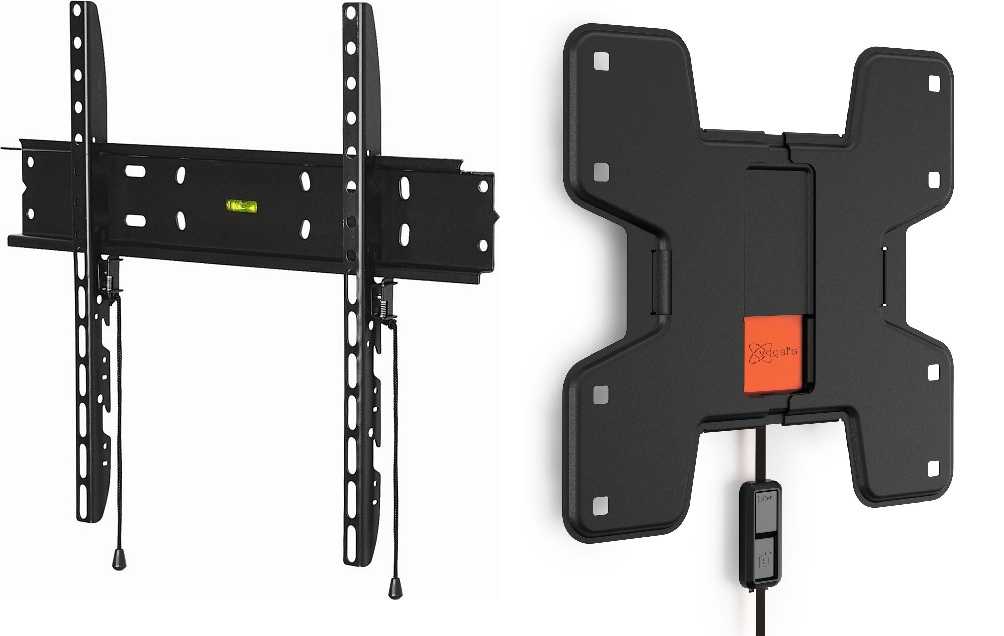
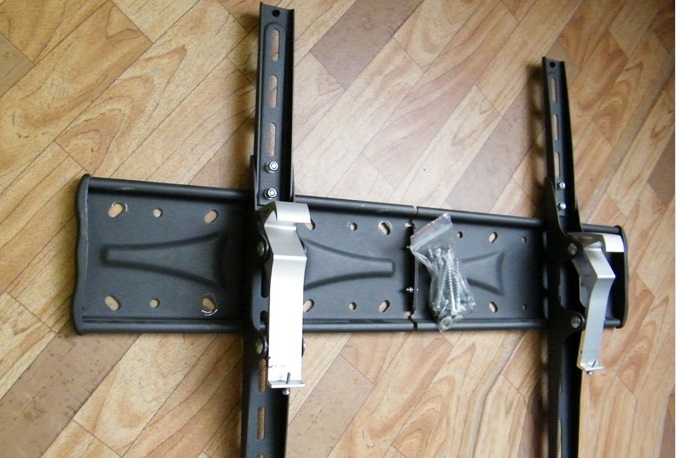
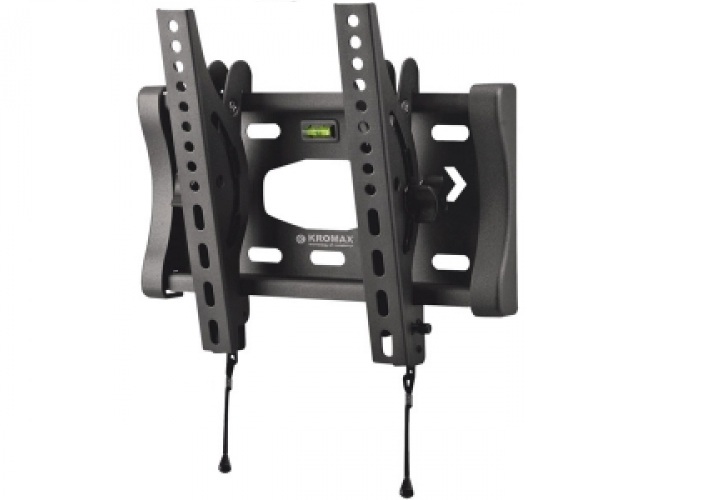
A variety of fasteners, which are technologically a fastening platform that provides the required level of strength and two movable strips. They have the ability to adjust only the vertical angle of inclination. Their use is optimal for elongated rooms or narrow rooms. The pitch (tilt) angle of the screen varies up to 20 degrees.
FOR YOUR INFORMATION!
This tilting wall mount is ideal for TVs 55 "and up. This is ensured by the large plane of the platform in contact with the wall, which helps to withstand significant loads.
Tilt bracket
Tilting TV mount
Swivel retractable TV wall mount
This is a particular variation of the conventional pull-out type, which is characterized by the ability to create a larger angle of rotation of the screen due to the length of the articulated joint. It can be up to 100 mm. Despite the great functionality, such models are not popular in household use due to the complexity of their installation and high cost.
IMPORTANT!
Additionally, retractable structures are very demanding on the weight of the TV. The specific value in kg is indicated in the installation instructions. Most often they are adapted for screens no larger than 32 inches.
Swivel retractable
Swivel retractable TV bracket
Tilt-and-swivel TV wall mount
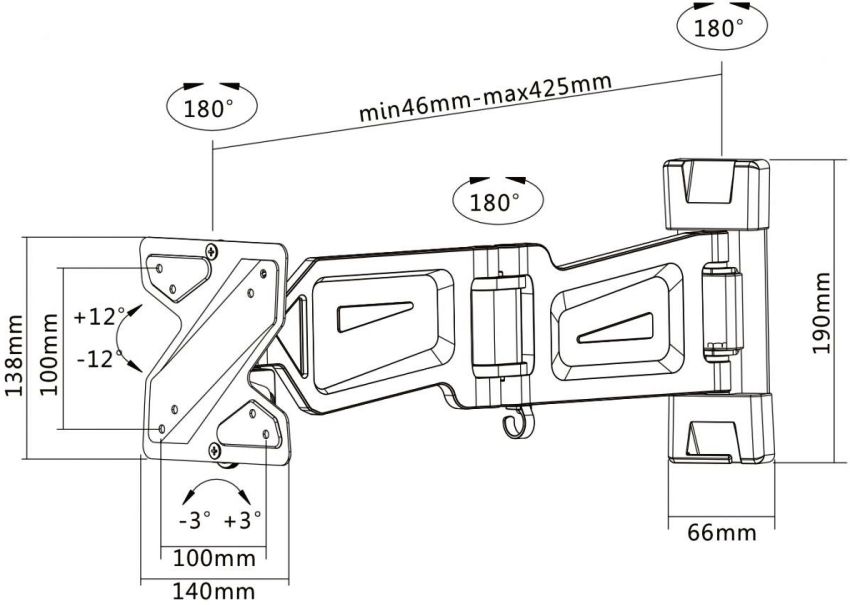
Another variety, which is considered the most versatile, since it provides the ability to adjust the position of the TV along the horizontal and vertical axis. This is the main advantage of this type of bracket, as it gives maximum freedom to set the viewing angle.
The disadvantages include the high cost and requirements for the size of the installation site. If you have non-standard walls, there is a high probability that you simply will not fit, since the maximum angle of rotation is up to 180 degrees.
Swivel bracket
Swivel bracket
Bracket for TV to the ceiling
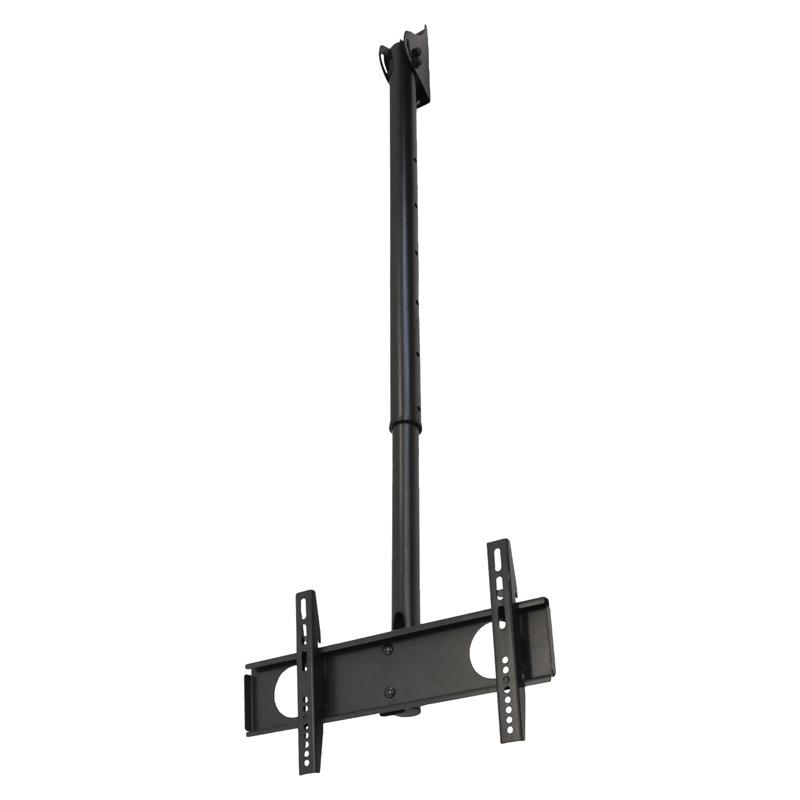
The most ergonomic version, since the fastening of the holding element itself is carried out to the ceiling, and a telescopic mechanism is used to adjust the lifting height. But such a mounting scheme cannot be used in standard apartments, where the ceilings are traditional 2.6-2.8 meters. The ceiling mount is ideal for large and spacious rooms where TV viewing is inconsistent.
Ceiling bracket
Ceiling bracket
Fixed
Fixed bracket
The simplest option, which is the most reliable and cheapest, but does not give the ability to adjust parameters such as rotation or tilt angle. It can be used for all types of TV, from LCD to "plasma". Structurally, the element is a platform necessary for rigidity, the size of which is determined by the technical characteristics of the bracket, and fasteners. Once installed, the TV cannot be rotated, but this type is capable of supporting a lot of weight.
Fixed bracket
A small building level will always come in handy on the farm
Align the TV with your hands. Seriously. This often helps. You just need to grab the panel on the sides and tilt it slightly in the desired direction.
It all depends on how tight the bolts are. If they are overtightened, then the chances are small
Be that as it may, you need to act carefully - do not hang on the TV in full force (it may fall)
Loosen, wiggle, tighten Remove the TV, loosen the bolts on the counterpart, which is attached to the TV itself, and wiggle it up and down. After tightening the bolts back, hang the TV and see what happens. If it does not help, then you will have to remove the TV panel again and do the same with the base on the wall.

Improvisation If all else fails, it's time to get smart.
For example, you can drill out the holes in the bracket a little so that there is play for tilting to one side. Just don't be nervous about making huge holes and damaging the bracket. If by chance the hole turns out to be too large, then you can buy a washer and put it on.
Installing the TV on the wall
After purchasing the bracket, you just need to install it on the wall and attach the TV to it. To do this, you can contact a specialist or do the installation yourself. For self-installation, you need the following tools:
After making sure that you have all the tools and fasteners, do the following:
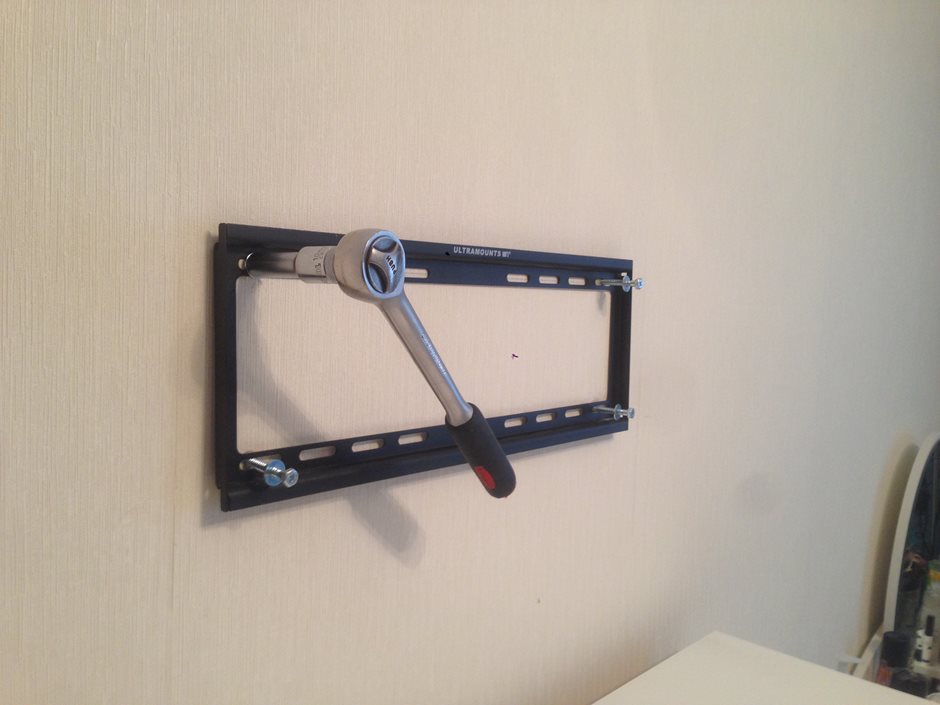
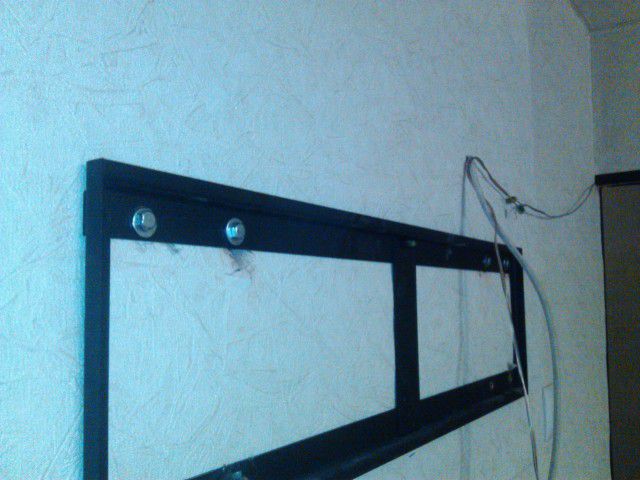
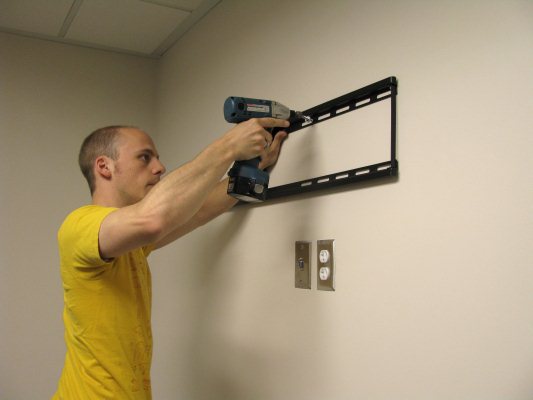
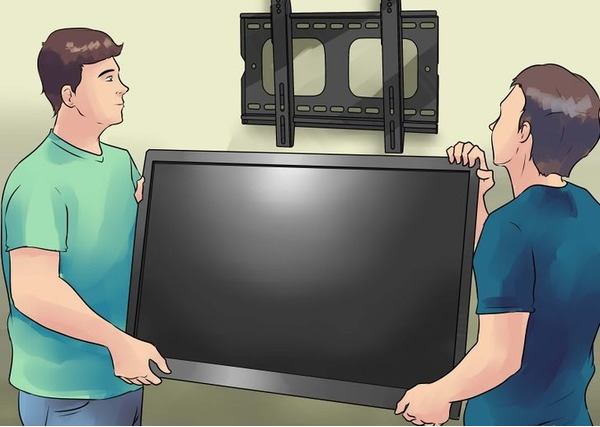
Using a pencil, a level and a tape measure, mark the holes for the dowel screws. Be sure to check the alignment of the marks in relation to each other, because even a slight misalignment of the bracket can lead to the TV falling over time. using a screwdriver and bolts. Place the TV with the rails installed on it in the grooves on the main part of the bracket.
There are models of non-split brackets. In this case, the bracket is completely installed on the TV, and the whole structure is put on the dowels. If the TV is large, this installation process is best done with a partner. Connect the power cord and TV cable to the TV.
Dowel "butterfly" Plasterboard walls.
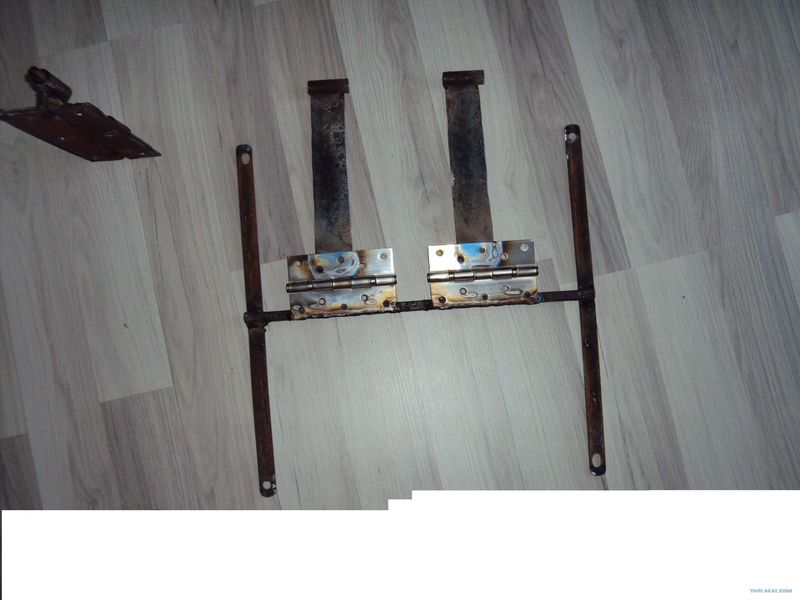
Installation can be a lot more complicated if you're planning to hang the TV on a plasterboard partition. With this installation option, you will have to find the internal metal profile of the partition and attach the bracket to it using dowels-"butterflies". Screw for fastening Wooden walls.Wood is slightly inferior in strength to brick or concrete, but to attach the bracket to a wooden wall, it is better to use simple long self-tapping screws instead of dowels.
For plywood walls, you can also use butterfly dowels. Bolts for through fastenings. Walls made of fragile materials. If your house is built of plaster, wood concrete or low-quality cinder block, then in this case, install the bracket using through fasteners. For through fastening, a hole is made through the wall and instead of dowel screws, bolts with nuts and wide washers are used.
Preparation for installation - 3 main rules
In order to properly hang the TV, you must adhere to three main rules:
- Study in detail the characteristics of the equipment. Directly for mounting any kind of TV, you need to know its diagonal, weight and type of TV. This information must be in the documentation of the purchased equipment. If your device weighs more than 25 kilograms, then the installation must be carried out together.
- Determine the type of wall on which the equipment will be installed. It is usually made of wood, brick, concrete, or made of plasterboard. At the same time, a selection of tools, brackets, fasteners and accessories is made, which will be needed directly for installation.
- Scout the location of the electrical wiring on this wall. This will help us to better hide the wires and cables, as well as not disturb the overall wiring system.
Bracket types
There are three main types of brackets with which the TV is attached to the wall.
Fixed
Fixed brackets are considered to be the most common fasteners used in the installation of modern LCD TVs. Their main advantage is compactness, thanks to which even the largest bracket does not take up much space.
Some people think that fixed mounts are not very reliable and not suitable for installing TV, but this is not the case. Such brackets, despite their low cost, are considered to be quite durable and of high quality.
Inclined
You can assemble the fastening structure for hanging the purchased equipment using inclined type fasteners. The main difference between inclined structures and fixed ones is that with their help it will be possible to adjust the angle of inclination of the TV display.
This is very important, especially if it is at a height of 110-120 centimeters. The disadvantages include the fact that inclined brackets do not help to rotate the TV along the vertical axis.
Tilt-swivel
The most modern mounts are considered to be tilt-and-turn brackets. They are superior to conventional tilted and fixed designs as they allow the TV to be positioned horizontally and vertically. Thanks to this, a person will be able to comfortably watch TV from anywhere in the room. The disadvantages of tilt-and-turn structures include the fact that the attached equipment is greatly removed from the wall. This is due to the great depth of the fasteners.
Bracket mounting
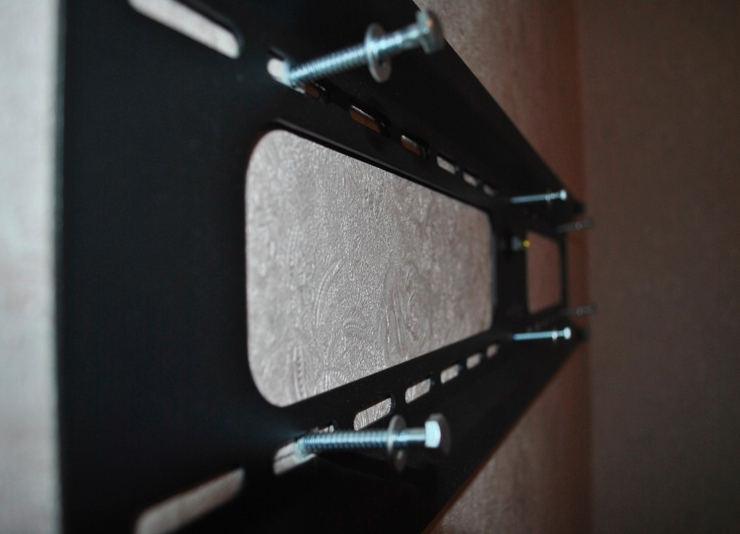
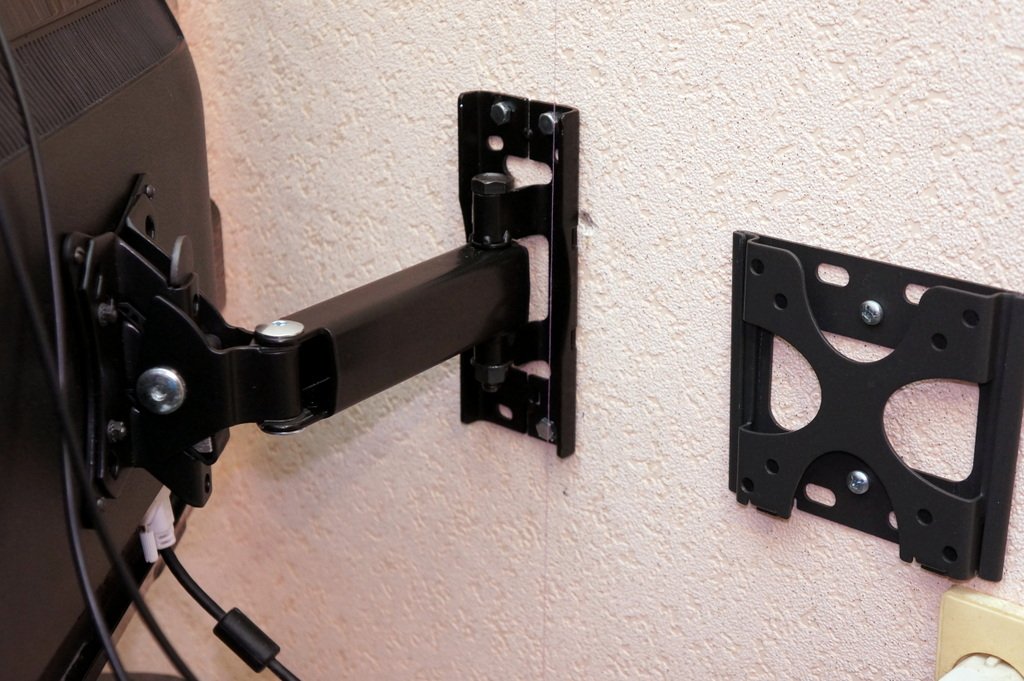
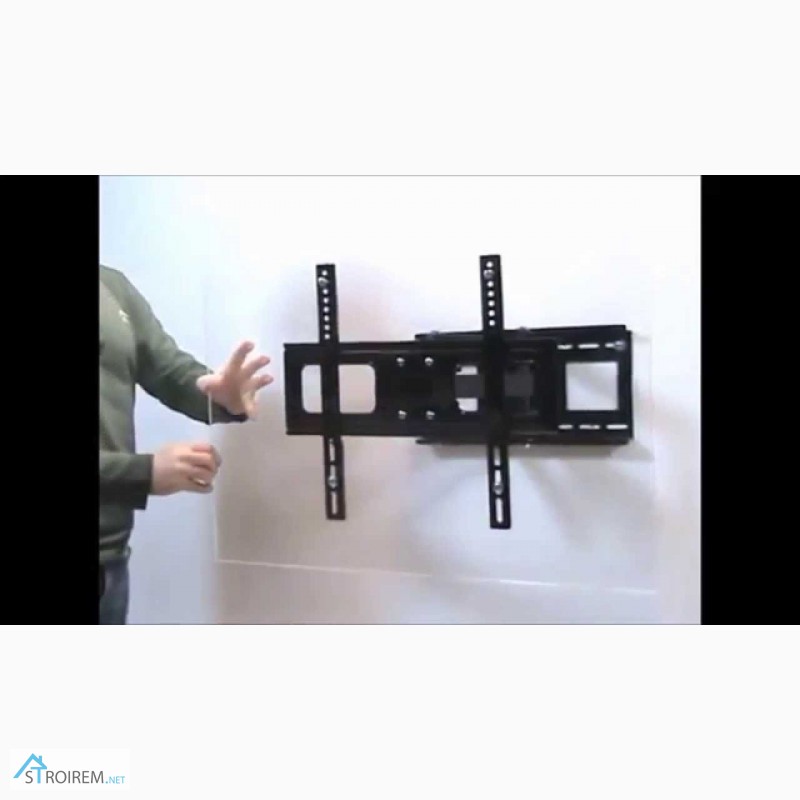
Most fasteners are split and two pieces. One of them is fixed to the back of the TV, and the other is fixed to the wall. After that, they are joined by means of grooves or other types of connections, which differ depending on the type of construction, manufacturer. Therefore, before starting installation, you should carefully read the instructions.
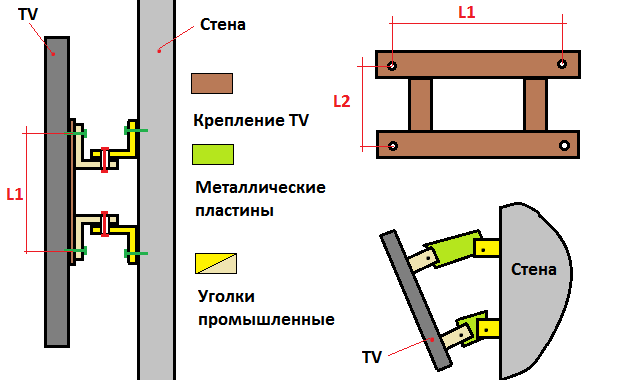
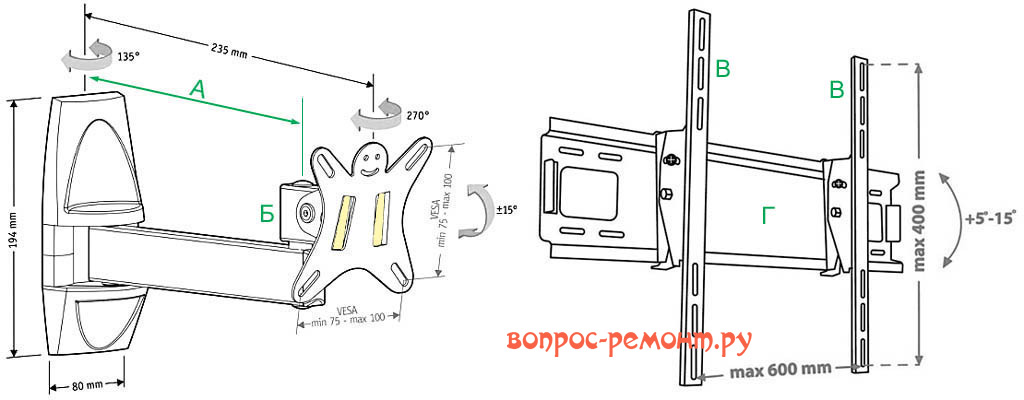
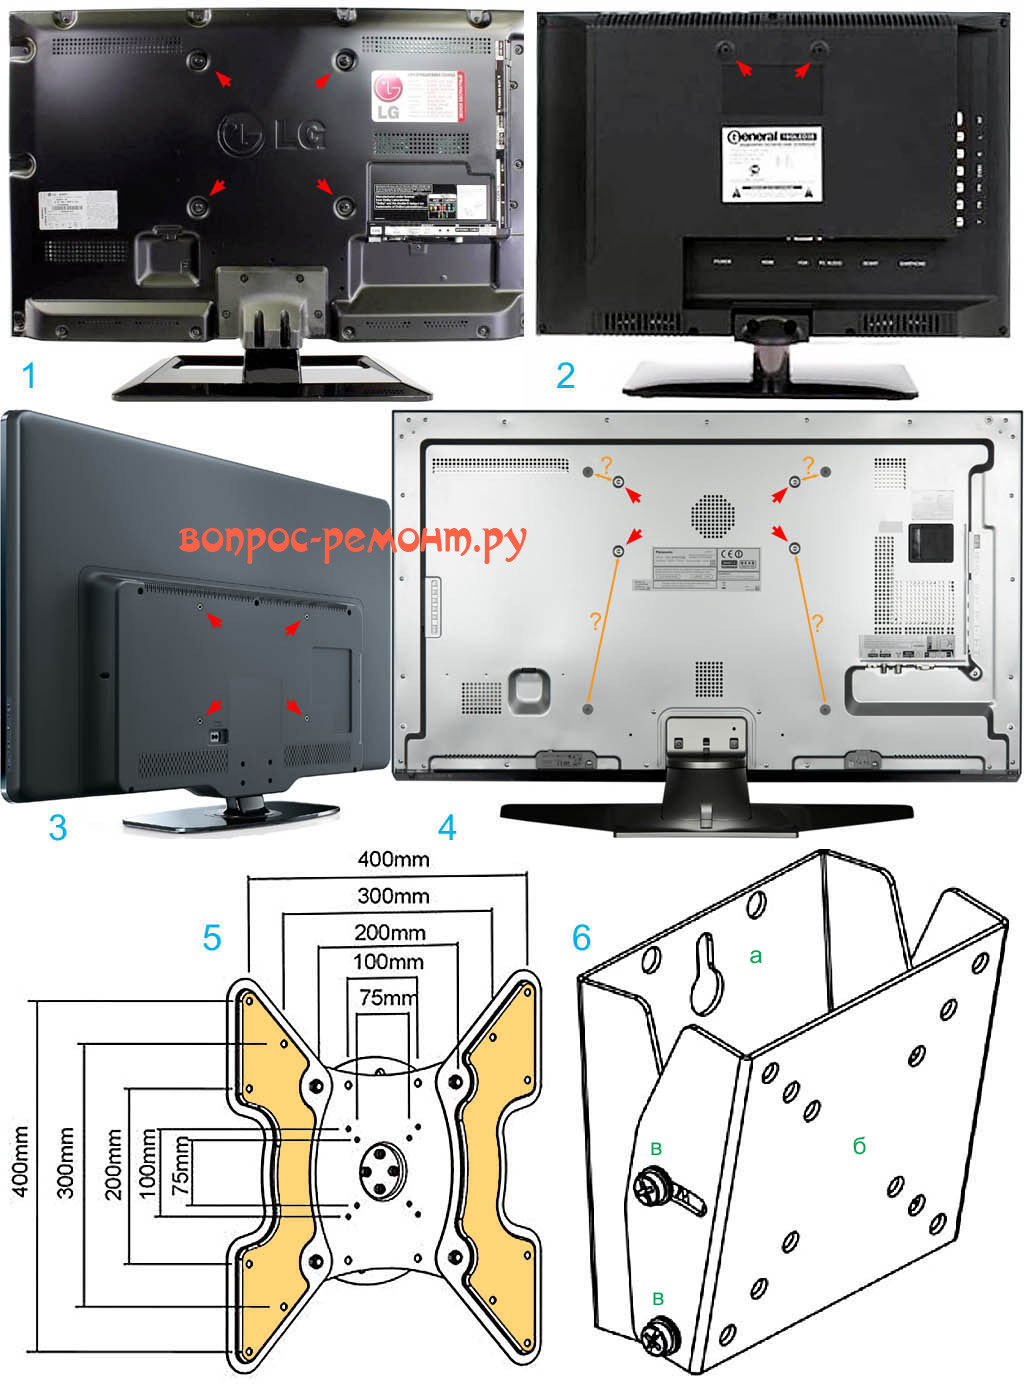
Designation of the fixing holes of the inclined model of the universal bracket
As you can see, the universal brackets have not one, but a row of holes or an elongated mounting groove, due to which they can adapt to different models of television devices by sliding and sliding along the guides.
Installation involves the performance of several sequential operations.
-
Fastening the outside of the product to the back of the device using the screws included in the kit.
-
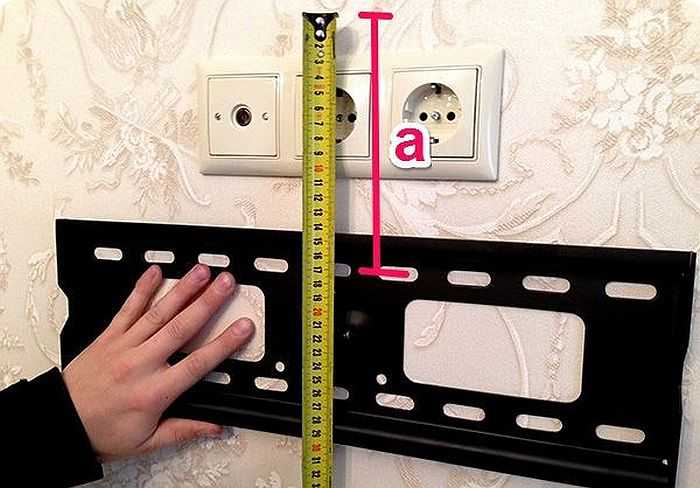
Marking the position of the monitor. A horizontal line is marked on the wall to match the top edge of the monitor. The correctness of its application is necessarily controlled by the level.
-
Marking the position of the bracket on the wall. The counterpart of the product is applied to the part already installed on the TV and the distance from it to the upper edge of the monitor is measured. Lay this distance on the wall down from the horizontal markings, drawing a second horizontal line.
-
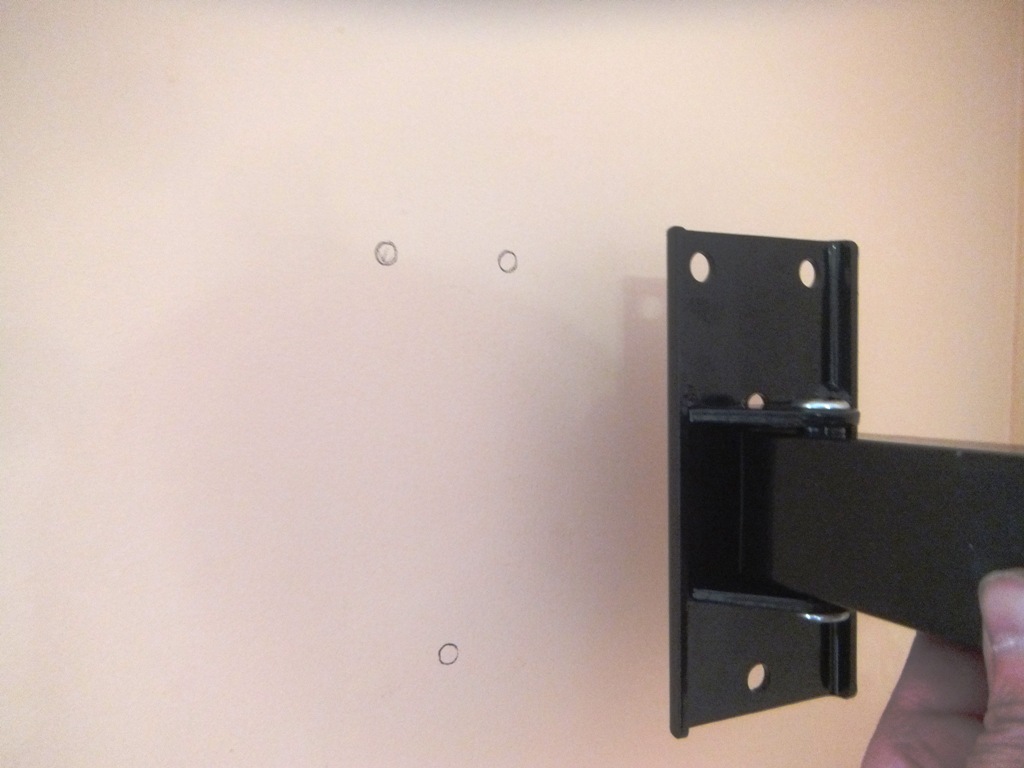
Marking of attachment points. The mounting plate is applied along the bottom markings to the wall and marks are put on it with a pencil through the mounting holes.
-
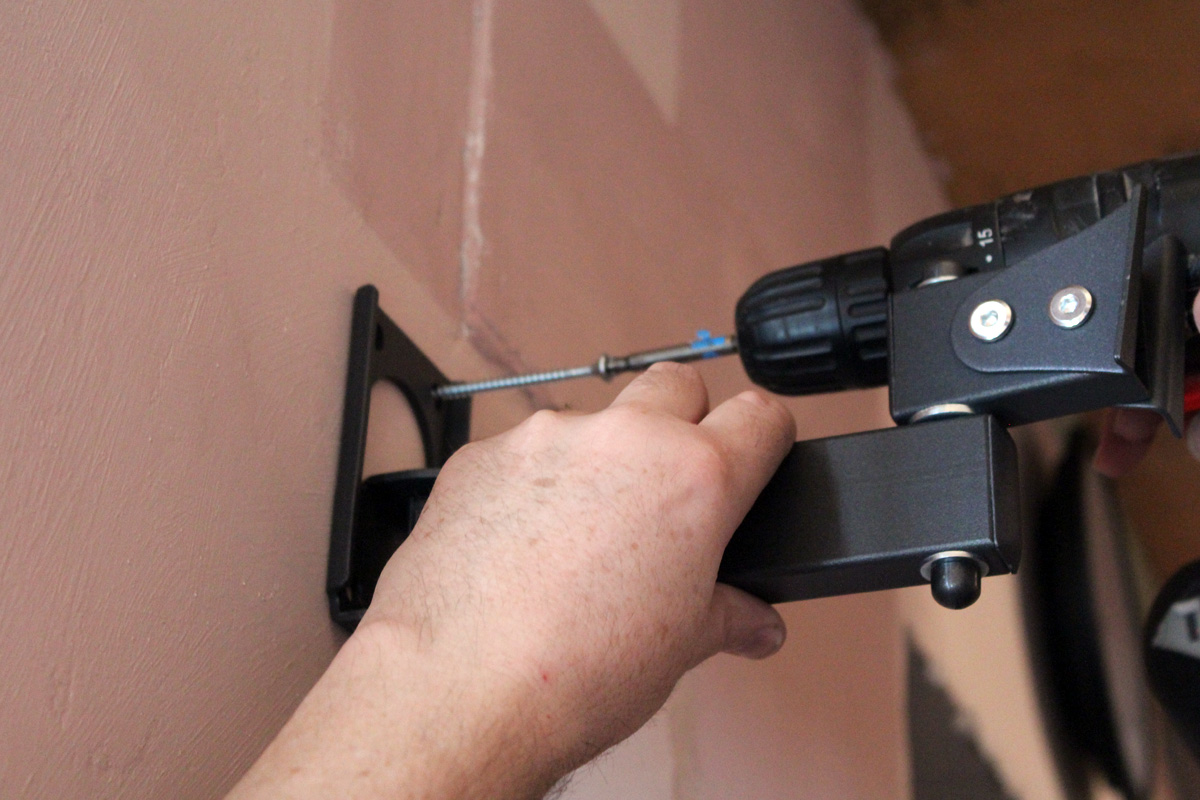
Drilling holes. Mounting holes are drilled at the designated points. The choice of drilling tools and fasteners depends on the material of the wall - a separate chapter will be devoted to this.
-
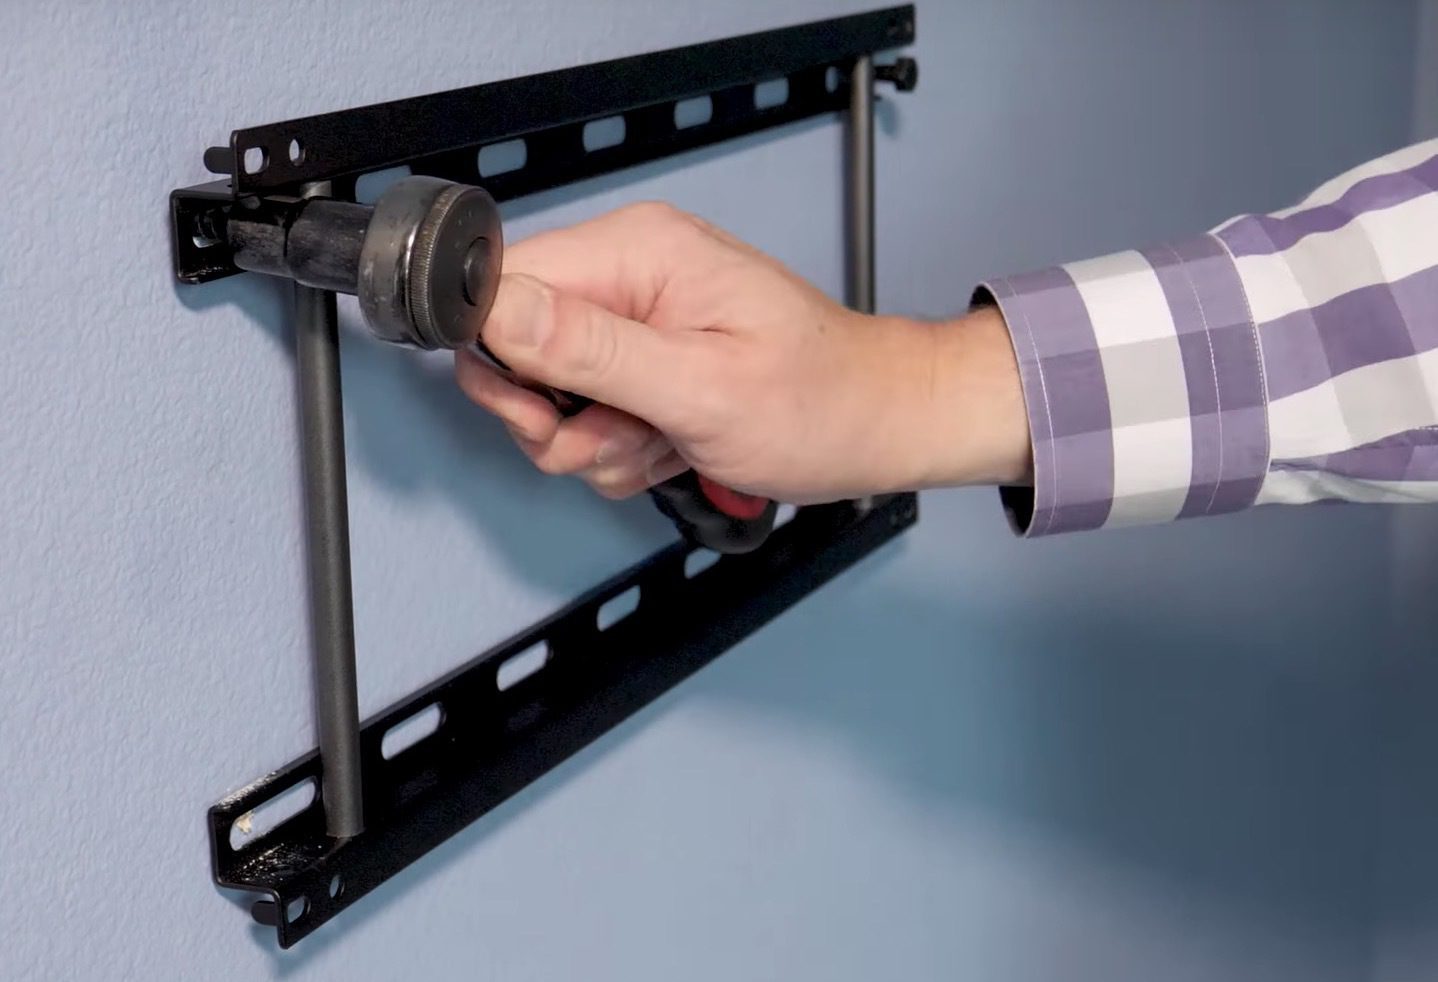
Fastening the wall part of the bracket. Dowels are inserted into the drilled holes, if required by the wall material, then the bracket is installed in place and fixed with screws or other fasteners.
-
Installation of a TV panel. After checking the fastening strength of the wall part of the bracket, a counterpart with a TV is hung on it, after which the device is connected to the network.
How to choose a TV bracket
When choosing a bracket, you should adhere to the following criteria, which must be met by the bracket you choose:
1. The diagonal of the TV, under which the bracket fits. Brackets are made for both large TVs and very small ones. This parameter is a range, for example, from 19 to 37 inches. The only difference is in the location of the holes for which the TV is attached to one of the bracket parts.

The hole locations are determined by the standard that the bracket meets. Today, almost all LCD and plasma TVs are VESA compliant (the standard for attaching LCD displays to walls and ceilings). According to the standard, three categories are distinguished, which differ in the distance between the mounting holes, depending on the diagonal of the TV:
- from 12 to 22.9 inches - 75x75 mm or 100x100 mm.
- from 23 to 30.9 inches - 200x100 mm or 200x200 mm.
- from 31 to 90 inches - 400x200 mm, or 600x400 mm, or 800x400 mm.
2. Weight for which the bracket is designed. If we take into account a standard 32-inch TV, then its weight does not exceed 7 kg. The minimum weight for which the brackets are made is usually about 12 kg and depends on the size of the TV for which it is made. Manufacturers, most often, make a stock, so you can find models of brackets that can withstand up to 24 kg or more.

Bracket specifications
3. Construction. According to this parameter, the brackets are classified into several types according to the number of axes of movement. The best option can be considered a model with a stipulated rotation on the sides and a vertical tilt. These adjustments are usually enough to orient the TV to your needs. However, in stores you can find bracket designs with two or even three elbows, allowing you to more flexibly control the position of the TV.
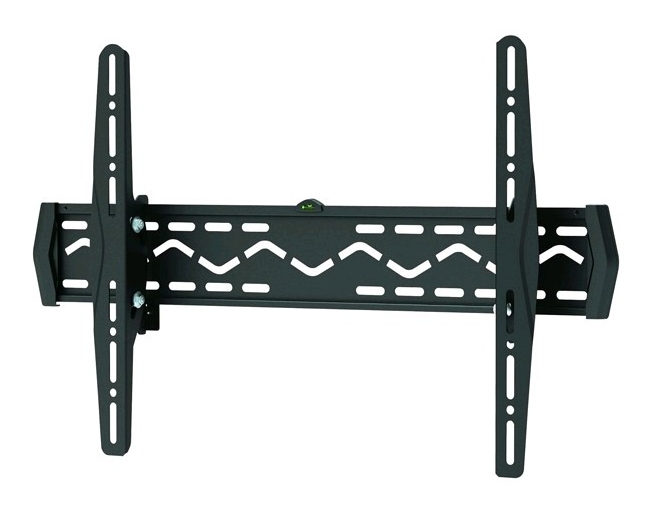
Photo - Fixed TV bracket
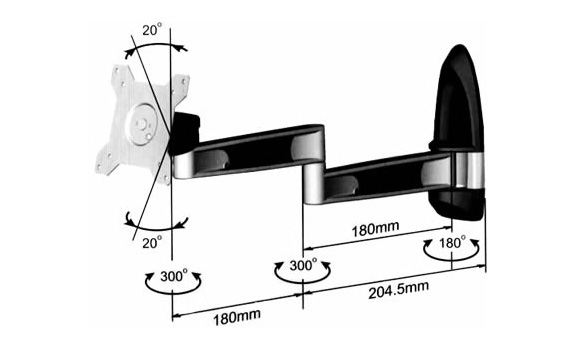
Two-knee bracket design
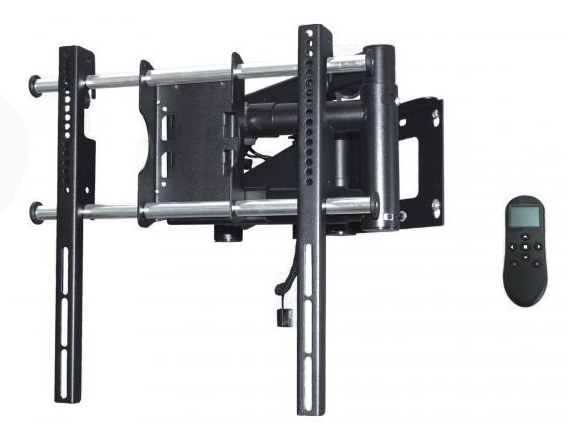
Photo - Motorized TV Bracket (Electric)
4. Material of manufacture. Brackets are usually made of metal or plastic, or a combination of both.

Coated metal universal bracket
5. Design. In terms of design, the brackets differ little from each other, most are supplied with plastic overlays that cover the fasteners. By color, the devices in question are sold most often in black. However, other colors are also available, such as the white TV brackets as shown below.
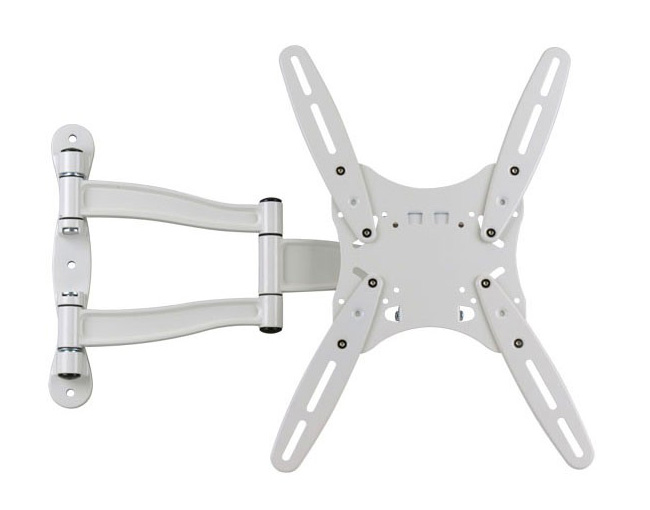
Photo - White bracket Kromax TECHNO-5
That's all the recommendations for choosing which TV brackets are better and which ones are worse for you to decide.
Where to place the TV in the kitchen?
When placing, dimensions are important: if this is not a modern liquid crystal model, but a more bulky and old model, then you will have to look for a flat surface for it. This is often a problem in the kitchen, so this technique is not the best option.
As for modern models, their compactness allows placement almost anywhere in the room.
This is often a problem in the kitchen, so this technique is not the best option. As for modern models, their compactness allows placement almost anywhere in the room.
Most often, appliances are hung on the wall, as this is the most convenient and safe option, especially for a small kitchen.
For a large kitchen, there are much more accommodation options.
For example, you can use one of the following methods:
- TV mounted on an arm / shelf mounted on a wall.
- Built-in appliances: installed in a specially designed niche.
- Shelf placement.
- A monitor built into a refrigerator is an innovative and convenient option, but it requires a good financial investment.
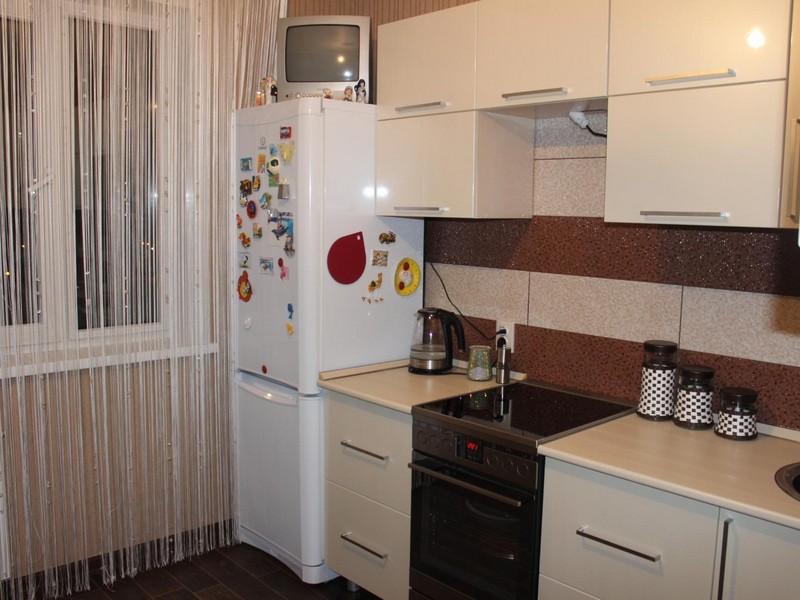
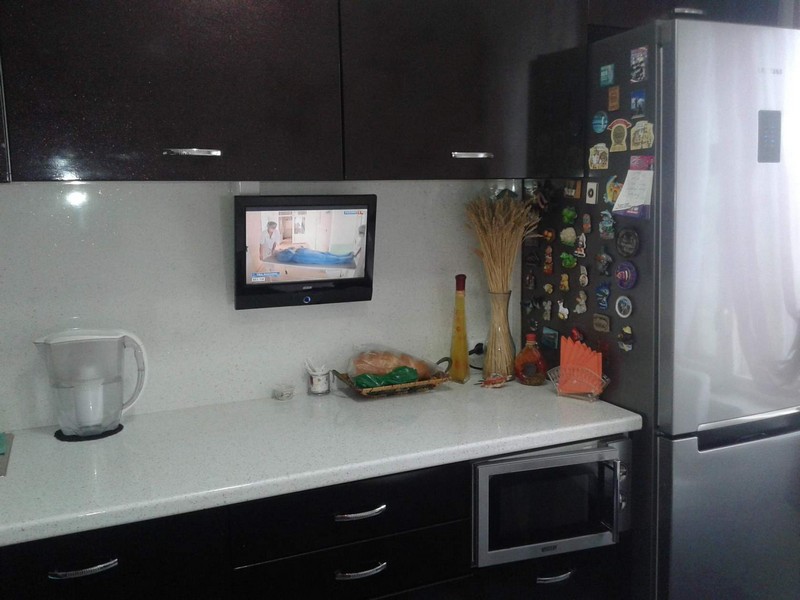
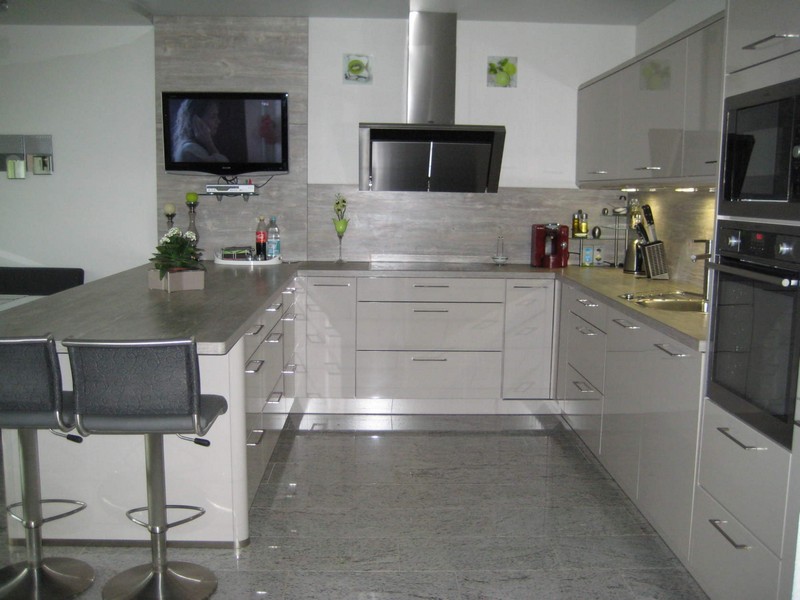

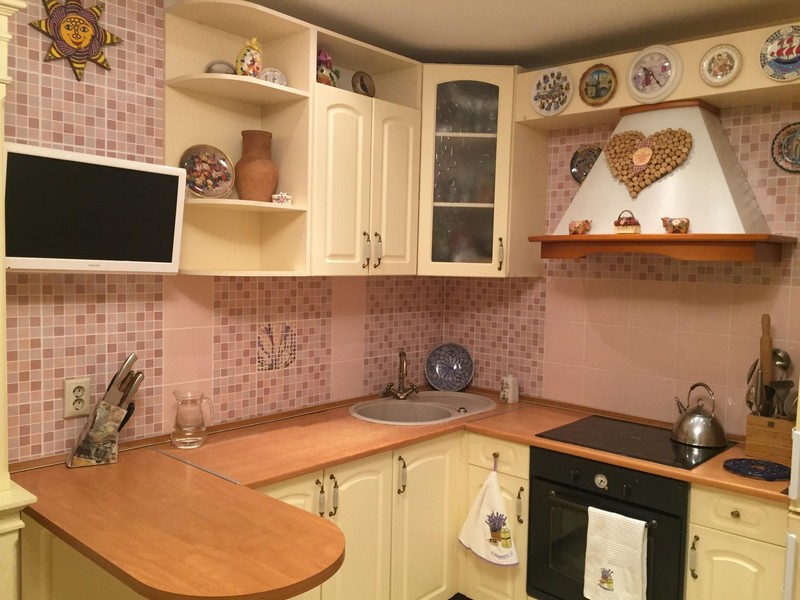
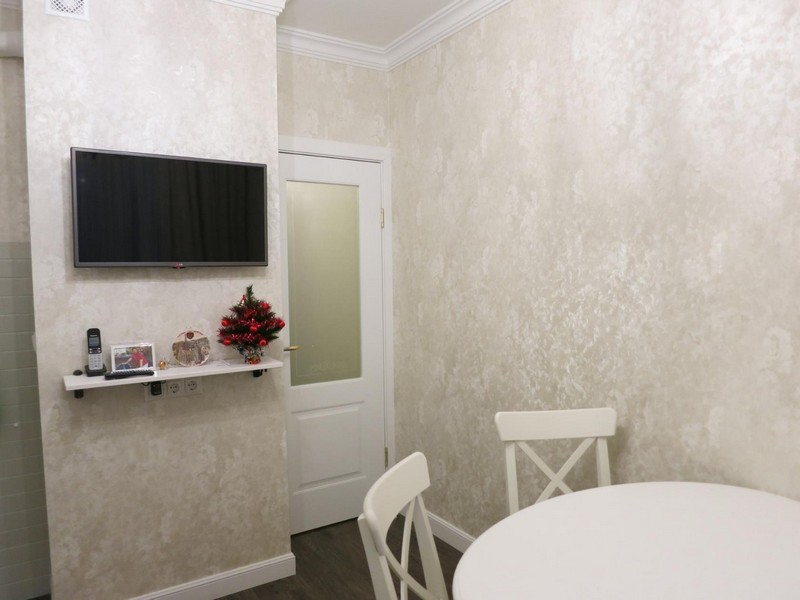
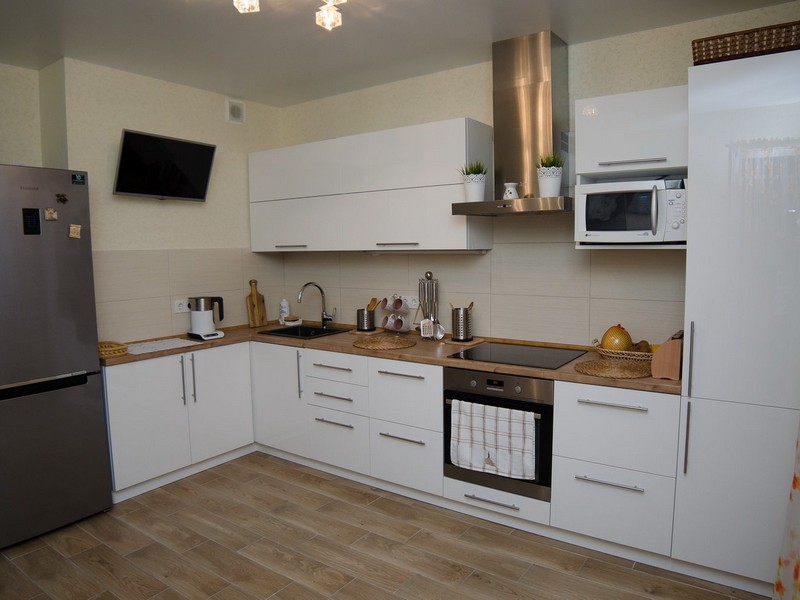
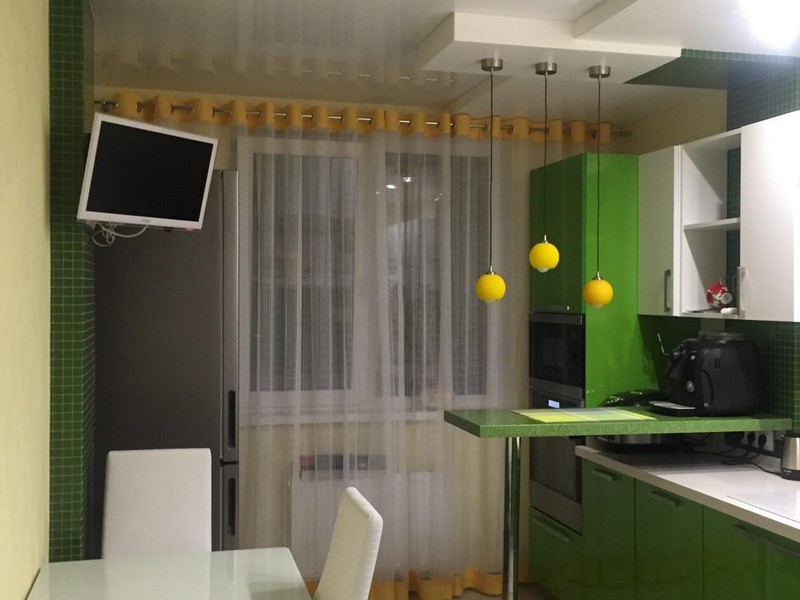
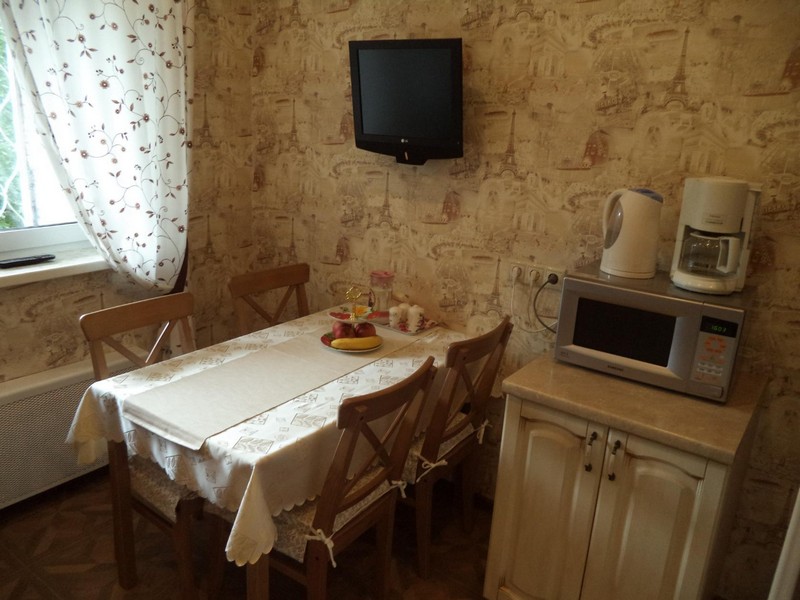
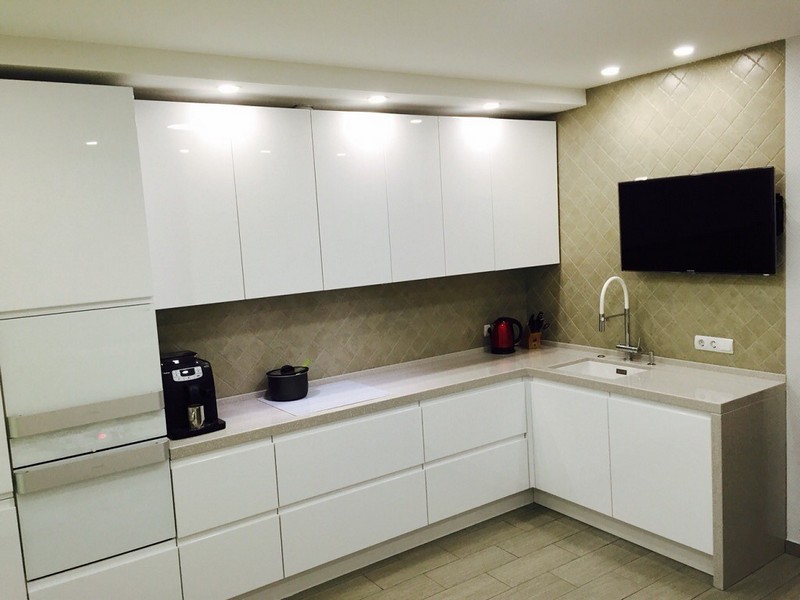


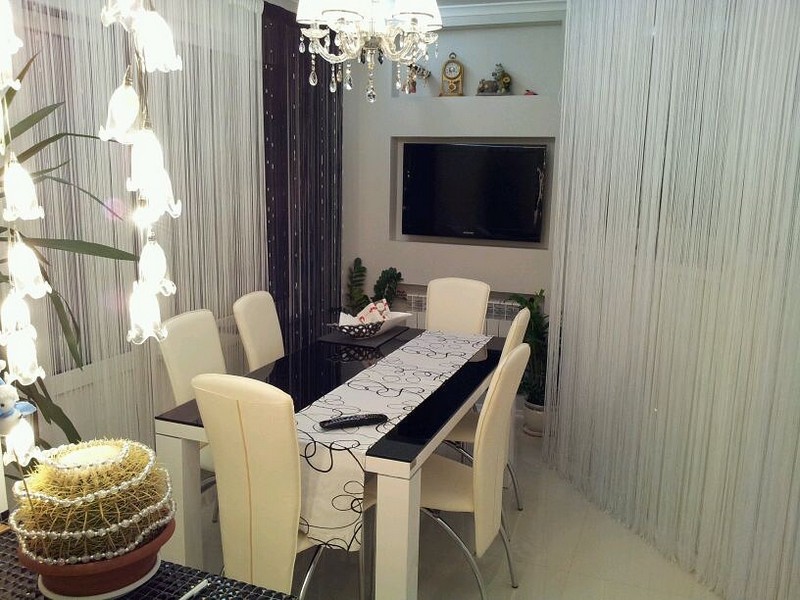

Whichever option you choose, it is important to adhere to the following principles:
- The TV should be located as far as possible from the stove and to avoid damage to the equipment.
- The height of the shelf or bracket depends on what the kitchen is most often used for. If the hostess cooks most of the time, then a high placement is more convenient. If more often the kitchen is used for family gatherings and tea parties, then the low location of the equipment is preferable.
- For a studio kitchen, it is better to choose one large-screen TV and place it in the living area. If you need a separate screen in the work area, then it should be much smaller.
And do not forget - the TV should not get out of the general stylistic direction of the kitchen.
Modern technology will best fit into a minimalistic design or interior. But for the classics, it can become "superfluous", so you need to think about decorating it for interior elements - fortunately, there are many ways to ennoble a variety of objects.
To add elegance, you can use frames and other decorative objects made of wood, leather and other natural materials.
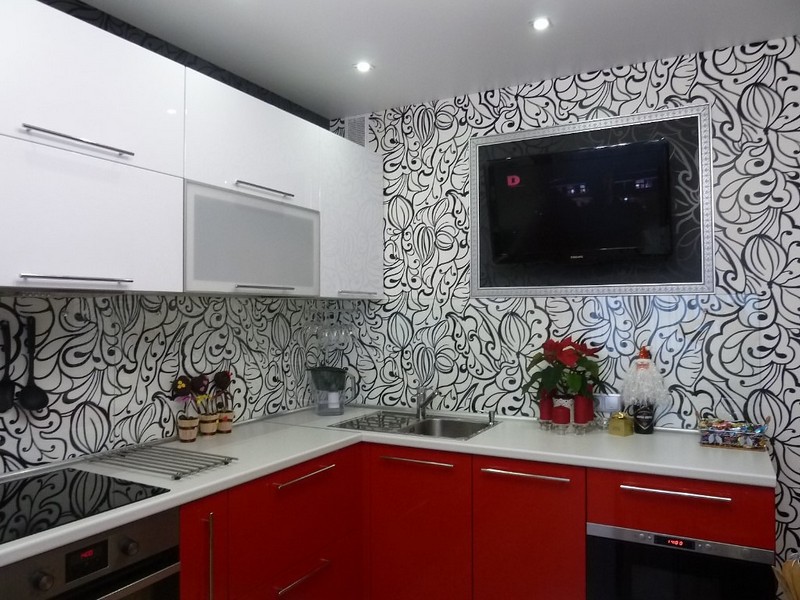
Important: A hidden TV is suitable for any kitchen - that is, placing equipment in a special lockable cabinet. This will allow you not to break the stylistic unity and endow the space with maximum functionality.
We hide the wires
Even a perfectly looking TV on the wall can easily ruin the wires. Fortunately, it is quite easy and inexpensive to hide wires.
The best solution is the IWPE In-Wall Cable Extension Kit. This set has everything to hide the power cable and signal cables. In fact, this kit assumes quick and easy installation of additional outlets.
On the other hand, why not just manually extend the cable and run it inside the wall instead of buying additional accessories? Actually, you cannot do this, it is contrary to safety rules.
Signal cables can be hidden in walls, but not all: for example, HDMI cables without NEC CL3 certification cannot be routed inside walls
If you are planning an in-wall cable laying, pay attention to the appropriate certification in advance. CL3 cables are more expensive but safer
During the installation phase, keep in mind that in the future you may need additional HDMI cables to connect new components. Therefore, it makes sense to run several spare cables in the wall at once.
The IWPE kit always includes a shielded wire for in-wall installation. Behind the TV you will have a dedicated separate socket, and below the baseboard, there is an input socket with a plug that plugs into any existing socket in the house.If it is not clear in words, then look at the visual diagram.
So, before starting the installation work, make sure that all of your low voltage cables are certified for in-wall wiring. Also keep in mind that the IWPE In-Wall Cable Extension Kit, depending on the manufacturer, includes wires of different lengths (usually from 2 meters).
In addition, there are some limitations. For example, you cannot use the IWPE set next to a fireplace. Better not to ignore these rules.
There are times when it is impossible to organize in-wall wiring. In such a situation, you can use the cable channel by painting it in the desired color. The cable duct simply attaches to the wall surface and allows you to hide all the wiring.
Bracket selection
Bracket types
Having decided on the location, you need to choose the right bracket on which you will fix the TV. Flat TV brackets are:
Size Compatibility and VESA Standards
To find a bracket for your TV, you need to know exactly the size of the screen diagonal, which is usually indicated in inches. Bracket manufacturers indicate TV compatibility based on minimum and maximum sizes. For example, if the packaging states that the bracket is designed for TVs from 30 to 60 inches, then buy it only if your panel size is within that range.
Many TV mount and TV manufacturers work with the Video and Electronic Standards Association - VESA. According to the standards of this organization, the types of mounts on the brackets and their sizes are made. Holes arranged according to VESA standards In TVs that are produced taking into account VESA standards, four holes for mounting bolts can be found on the back wall. These holes are for attaching the holding part of the bracket. Hole spacing is standard and will fit most brackets. Therefore, before you buy a TV bracket, find out what VESA standards it is compatible with and buy a bracket with the same VESA standards.
TV weight
When choosing a bracket for a TV, do not forget to look in the technical data sheet of the product for what weight it is designed for. Do not buy a bracket if your TV has the same weight as the maximum weight it can support. Otherwise, with further use, it may lead to breakage of the mount and fall of the TV. You'd better pay more, but buy a bracket with a 30-50 percent safety margin, for which you will be sure that your TV will not fall or break
Fastening bolts Also pay special attention to the fastening bolts, if their appearance or alloy from which they are made does not inspire confidence in you, then it is better to replace them with new ones. Flat TVs are expensive, so it's better to play it safe than buying a new panel.

