The correct distance between the parts of the modular picture.
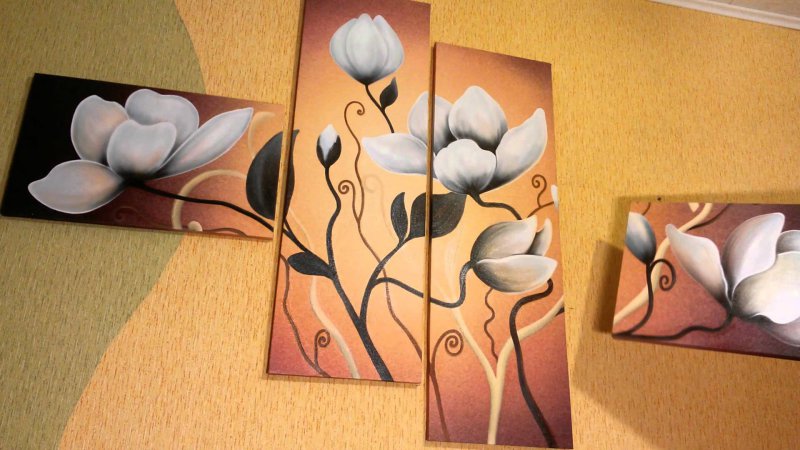
I am a supporter of the fact that a modular picture should still be modular, and there should be a gap between its parts, because this is its whole point. In order to choose the correct distance between the parts of a modular picture, you need to take into account 2 things, this is the thickness of the stretchers and the size of the picture.
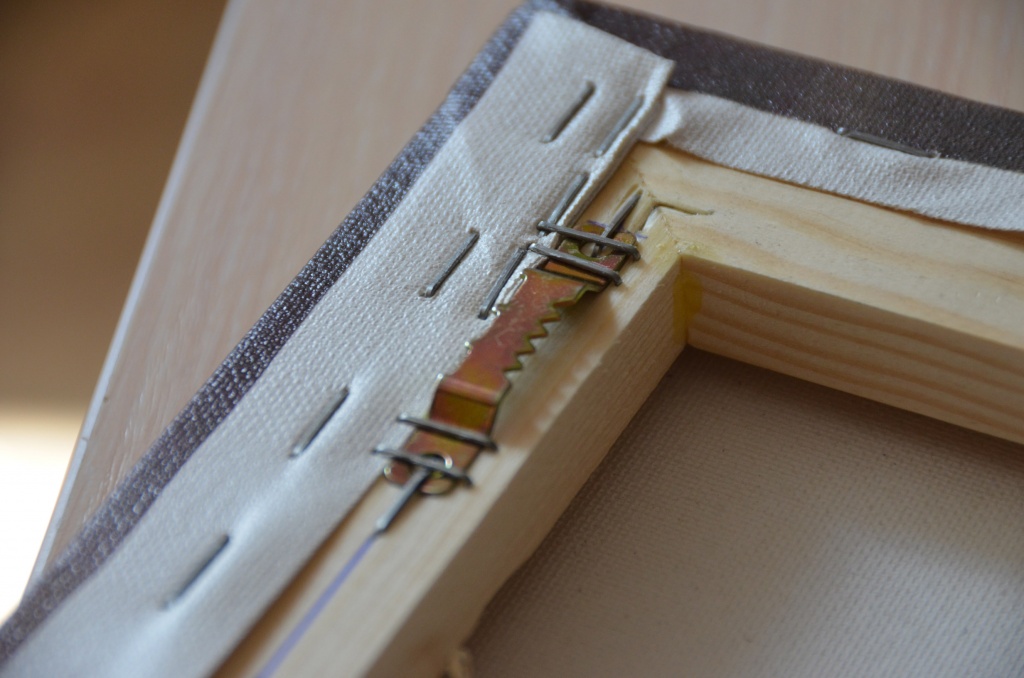
The distance between modules is equal to the thickness of the subframe
The distance between the parts of the modular picture should be such that at a viewing angle of 45% (from the side), the image is not interrupted, but passes smoothly through the whole picture. After all, modular paintings are paintings with a gallery stretch, where the image continues from the ends of each frame.
In our modular paintings, the “missing” piece of the image, which seems to pass invisibly between the modules, I transfer to the sides of the painting. In this case, when viewing the picture from the side, the drawing is not lost, but continues.
So that the picture is not interrupted, when viewing 45%, the distance must be made equal to the size of the thickness of the stretcher.
Dependence of the distance between the modules on the size of the picture.
The second parameter to pay attention to is the size of the painting. The distance for the thickness of the stretcher is 2-3 cm, this is good only for small paintings up to 1 meter wide
If the picture is large, for example, 150-200 cm wide, then here the distance between the modules can be made larger, for example, I advise making 4-5 cm, visually such a picture looks better.
Also, a distance of more than 5 cm can be done for paintings that are not visually related to each other by a common image. Usually these are paintings with modules of the same size, made in an abstract style, or different pictures in each module. There are modular pictures where you can arrange modules both horizontally and vertically.
Table 1. Distance depending on the size of a modular picture of 5 parts.
Rules for placing modular paintings
Before proceeding with the installation of the picture, you need to decide on its location. And this stage must be approached with all responsibility, since the perception of the image and the harmonious combination with the interior of the room directly depend on the correct choice of the place for the canvas.
Rules and recommendations for placing a picture:
- A picture showing a vertical drawing will visually increase the height of the ceiling, while a horizontal drawing will make the walls wider;
- It is not recommended to hang massive modular paintings in the immediate vicinity with a large amount of furniture, as this can bring disharmony to the interior of the room;
- The place for the picture must be selected taking into account the lighting. If the picture is painted with oil helmets, then you need to make sure that there will not be a lot of sunlight falling on it, in order to avoid premature aging of the paints. It is also worth making sure that artificial or natural lighting will not create glare on the surface of the canvas;
- Pictures should be placed at least 1.5 meters from the floor so that the image completely falls into the field of view of the eyes.


Important: In order to make sure that the modular picture will look effective in the chosen place, in harmony with the interior, you should first place the composition on the floor and visually assess the proportionality of the canvas and the general concept of the room design
Features and rules of placement
Placing such items on the wall can be difficult. And in order for it to look the best on the wall, you need to take on board a few valuable tips and tricks:
- Before proceeding with the installation work, it is better to attach the constituent elements of the picture to the wall in order to get an initial idea of how it will look in the future.
First you need to estimate the number of parts of which it consists - the location of the center will depend on this. If it contains 2 modules, the center will be between them, in the case of 3, it will fall on the middle one.
The distance between the elements must be calculated depending on their size, as well as some other features (the thickness of the stretcher, the parameters of the wall itself, etc.). For example, small modules require a small distance between them, and large ones will be highly undesirable for small rooms.
Before proceeding with the installation work, it is better to attach the constituent elements of the picture to the wall in order to get an initial idea of how it will look in the future.
Modular paintings can be segmented both horizontally and vertically. However, in both cases, it is imperative to ensure that they run strictly parallel to each other.
It is highly undesirable to place modular paintings too high or too low from the floor - in this case, its perception will be greatly distorted. The most advantageous position is at eye level.
Given that paintings fade over time, it is advisable to minimize exposure to direct sunlight. And to illuminate the picture, you can use special lighting.
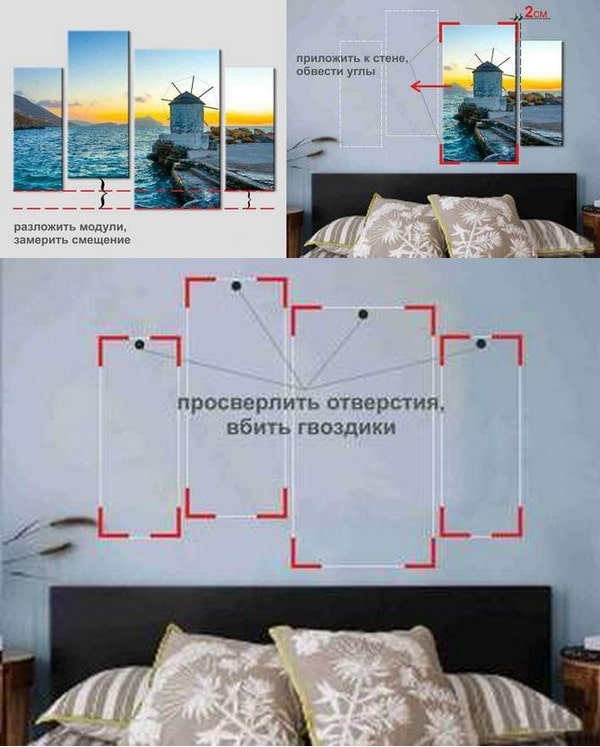
If the parts of the composition are at a different level in relation to each other at the stage of preliminary preparation, it is imperative to take measurements and identify the height of this displacement.
Standard installation of the canvas on the wall
After choosing the product and choosing its location, you can proceed with the installation. To do this, you need to do the following:
 Step-by-step instructions for mounting a modular picture on a wall on self-tapping screws
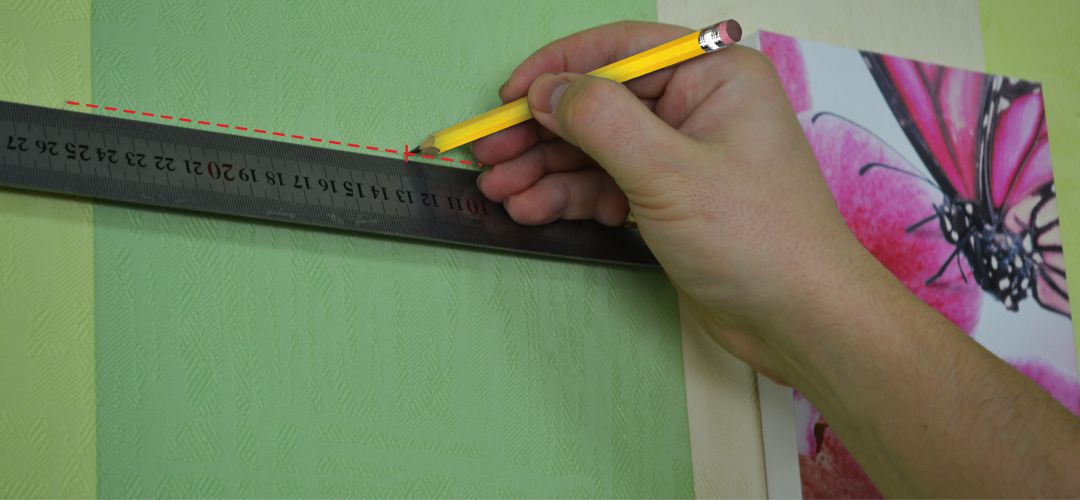
- Measure with a tape measure the place where the central fragment is attached and mark it with a pencil (it is better to circle the contour by attaching the product).
- Drill a hole at the attachment point and drive a dowel into it, into which a self-tapping screw is screwed.
- Install the main body and check that it is correctly positioned with the level gauge.
- Mount the following fragments in the same way.
This is interesting: Loft-style kitchen design - learn in order
Traditional ways
There are four traditional ways of attaching painted canvases.
On the tree
The easiest way is to attach canvases to wooden surfaces. In this case, you can use a hammer and nails that are driven into the wall. Also, canvases are attached to wood with liquid nails and other adhesives.
On concrete
It is more difficult to attach paintings to concrete walls, since you will have to use a punch or a powerful drill. These tools are used to drill holes into which the fasteners will be installed.

On a brick
If you want to place your painting on a brick wall, you will have to drill holes. Since a brick surface is not as strong as concrete, any drill can be used. Screws are installed in the drilled holes, on which the canvas is suspended.
On drywall
Plasterboard surfaces do not cope well with serious loads and therefore small paintings are hung on them. They are attached with dowels.
The combination of painting and room
The best effect of placing a modular picture can be achieved with a competent approach not only to the selection of the picture itself, but also to the room in which it will be placed. Everything matters - from size to purpose. The right thing to do is to start planning these details before purchasing the jewelry. The ideal result can be achieved when the picture is selected for a specific room.
It is important to consider several characteristics:
- The size of the room is important.In a spacious room, a picture consisting of large-format modules will look good. But in a small room, such an option would be inappropriate - it is better to choose a small composition here that will not create the effect of oversaturation.
- The concept of the decoration depends on the style in which the overall design of the room is made. It is not necessary to strictly adhere to one style, but you should not combine the incompatible.
- If the room has just been renovated, then you need to buy the painting after all the furniture has been placed. In this case, it will be possible to determine in advance the location on the wall, and select the desired size.
What is a modular picture
A panel consisting of several separate canvases mounted on a wall is called a modular painting. A cascade of images creating a stylish illusion of a volumetric composition will effectively decorate any room. The main task is to choose the right general plot of the elements in accordance with the purpose of the room. If reproductions with fruits or flowers are suitable for the kitchen, then the living room can be decorated with a landscape or an image of animals.
Canvases (modules) are made of natural or synthetic material. The segments of the set themselves (rectangular, square) may differ in design options.
In order for the modular decor to look harmonious, the drawings must be correctly hung:
- when attaching images passing from module to module, separate parts are hung at intervals to create a single dynamics of the overall picture;
- to place complex scenes with a special visual effect, the editing is performed in accordance with the author's intention;
- it is permissible to arrange fasteners of independent fragments of different directions at their own discretion.
The integrity of the overall composition of several segments is ensured by the absence of frames in a single picture. Images may differ in size and shape, as well as the name corresponding to the number of modules:
- diptych - the unity of the plot of two drawings (usually rectangular);
- triptych - a canvas consisting of 3 parts of one plot orientation;
- polyptych - 4 parts (or more), equally spaced.
The task of placing five segments or more becomes more complicated, so we will focus on this option. In order for a modular picture of 5 parts, called a pentaptych, to look harmonious in the interior, it is necessary to prepare for work, having decided on the place and method of placement.
Types of modular paintings
Double sided tape
The following non-traumatic wallpaper option involves the use of double-sided tape:
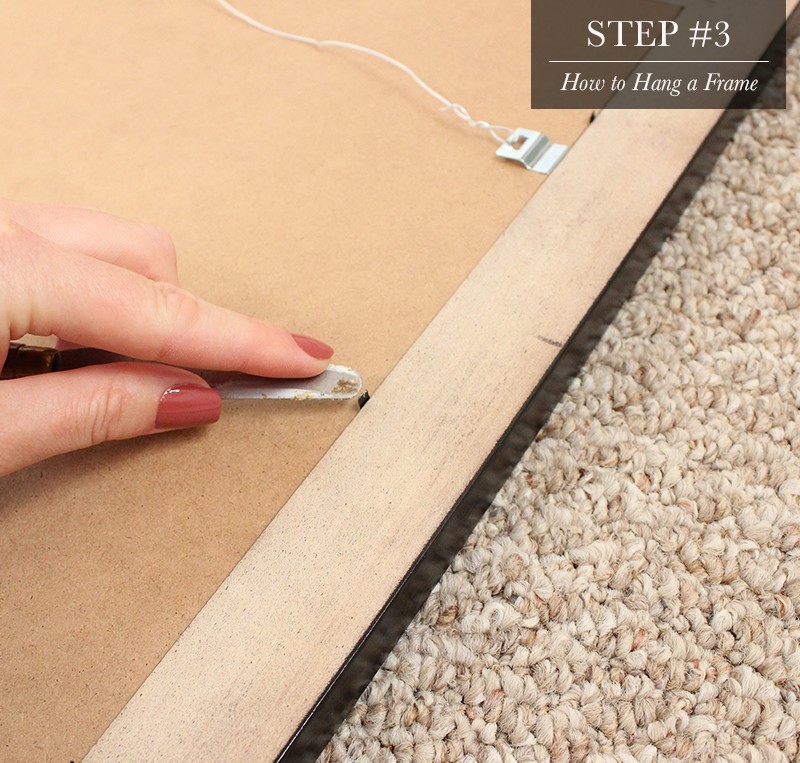
- Consider the main point: the base of the adhesive tape must be fabric, otherwise the fastening will turn out to be unreliable. For a small painting, a few pieces of tape glued into the upper third of the canvas will suffice.
- Double-sided tape can also be used to fix larger paintings. In this case, apply adhesive tape around the entire perimeter of the frame.
- If you use foam double-sided tape, glue it not on the frame, but on the wall: first press the cut strips firmly to the surface of the wallpaper, remove the protective layer, and only then glue the picture.
- To hang it straight the first time, draw a horizontal line with a simple pencil using a building level. An adhesive tape mount is ideal if the room has smooth wallpaper or drywall walls.
One caveat: over time, the sticky impregnation dries up and there is a danger of the painting falling. It is reasonable not to use such a mount over a sofa, bed.
Methods for mounting modular paintings on a concrete wall without the use of nails and a drill
Of course, attaching a painting using the traditional method - using a drill with screws is more common, but what to do when such options are unacceptable? The reasons for this can be very diverse, from unwillingness to damage the facing material,especially if wallpaper is pasted or expensive cladding is made, until there are no suitable tools with which to mount the picture on a concrete wall. We will consider ways in which we do not need the presence of nails or a drill.
Painting attachment methods:
- Liquid nails or glue;
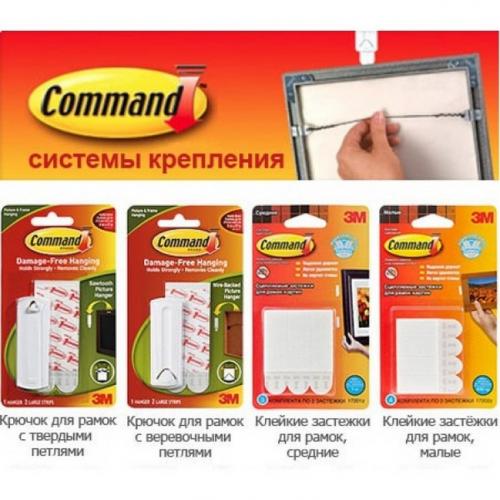
- Using the Commond system;
- Double-sided tape;
- Woly fastening system;
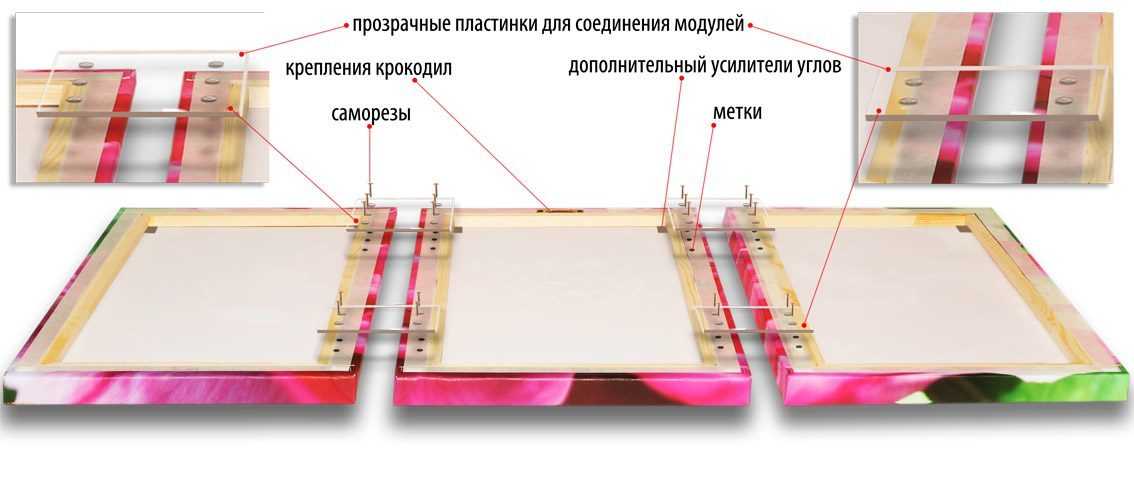
- With the help of crocodiles;
- Attach the painting to the wall with Velcro.
Naturally, there are many more ways of attaching paintings, but we will consider the most effective in relation to the installation of specifically modular paintings.
How to properly hang a modular picture on Command
The Command system is perfect for attaching paintings to concrete walls, whose surfaces are finished with metal, plastic, wood, glass, or painted with special paints or tiles.
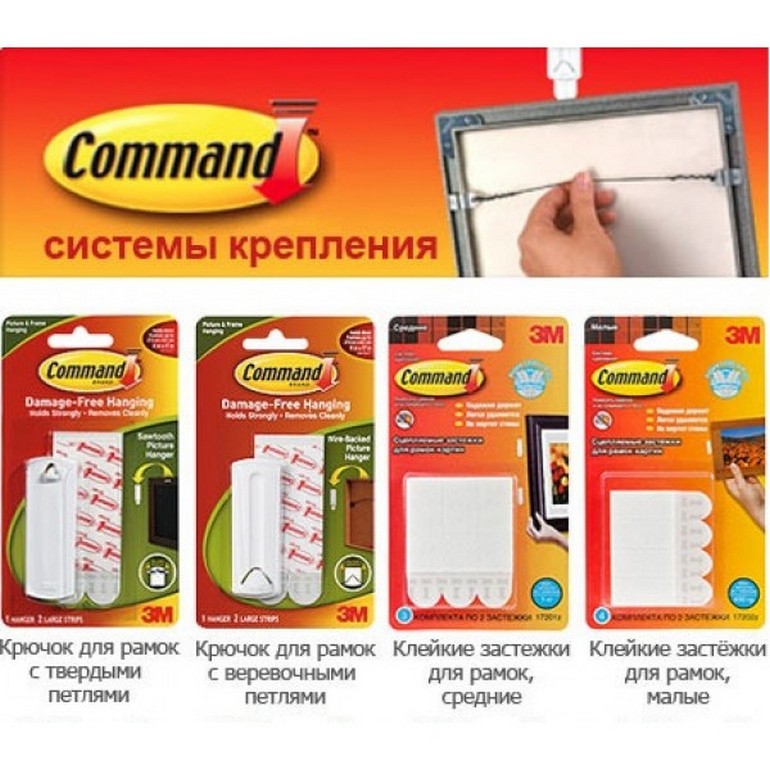
Before starting the installation of a modular picture, it is necessary to use a level to make markings on the wall for all parts of the canvas, which will help to avoid curvature;
Next, clean the surface from dirt;
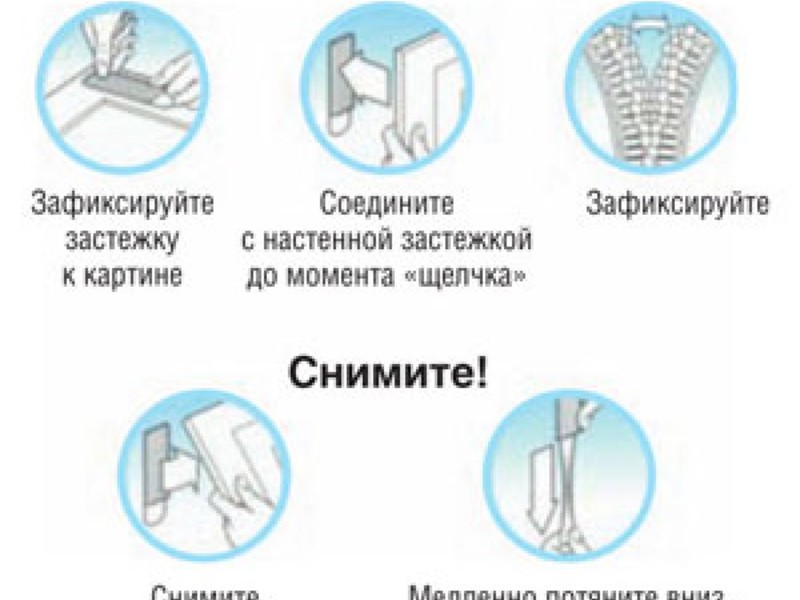
Depending on the weight of the painting parts, choose the optimal type of Command system mounts, which differ into the following types: - Hooks (withstands 2 kg); - Clasps (weight 450 g); - Fastening strips (weight 450 g); If fasteners or fastening strips are chosen as fasteners, then it is recommended to place them along the perimeter and in the center of the canvas on the back of the picture, which will allow the parts of the picture to be tightly and evenly fixed on the wall, without fear that they may fall.
Connect the two strips of Velcro fasteners inward and press them firmly together.
Remove the protective papers from one side of the velcro and distribute them on the back of the painting, pressing them firmly against the canvas.
After that, remove the rest of the protective papers and carefully glue the picture to the wall, pressing the canvas tightly to the wall surface. If hooks are used, they also have an adhesive backing strip, with which the hook is attached to the wall .. Tip: It is not recommended to use the Command system for walls that are pasted over with thin and delicate wallpaper, as under the weight of the picture they can tear and the picture will fall way down
Tip: It is not recommended to use the Command system for walls that are pasted over with thin and delicate wallpaper, as under the weight of the picture they can tear, and the picture will fall down.
How to hang a modular painting with Velcro
This method of fastening will be liked primarily by those who prefer to frequently change places without damaging the wall with additional fasteners.
The idea is very similar to the Command system, only in this case the Velcro is bought in a sewing store for clothes. One strip of Velcro is glued to the wall with glue, the second strip is fixed on the back of the painting. After that, the picture can be safely attached to the wall with Velcro. How much tape to use depends on the size of the canvas.
How to hang a modular painting with liquid nails
Immediately, we note that this option is suitable only if it is calculated that the picture will hang in this place for a very long time, or the weight of the picture is so heavy that other methods will not work, and there is no way to use a drill and nails.

- Using the level, the required number of markings are made on the wall for each part of the picture.
- Apply liquid nails to the back of the painting along the entire perimeter at intervals of 5 cm.
- Glue parts of the picture to the wall in accordance with the applied markings, pressing the canvases tightly to the surface for a while for better fixation.
How to hang a modular painting on a Woly mount
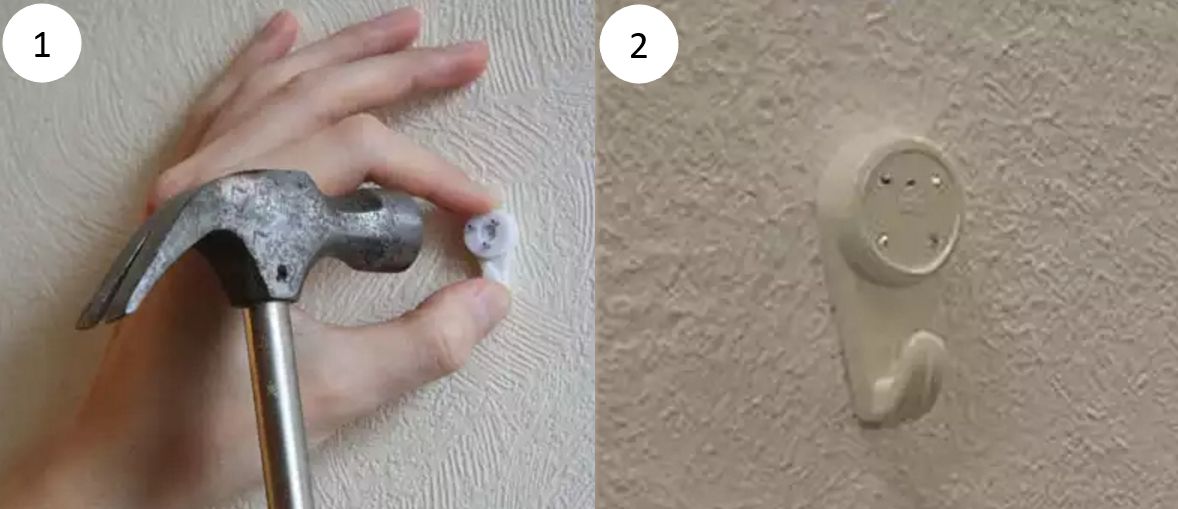
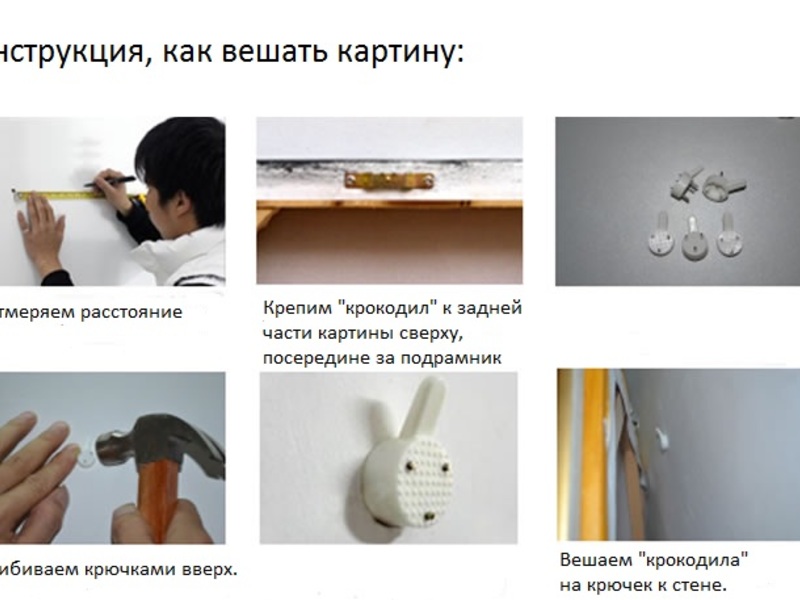
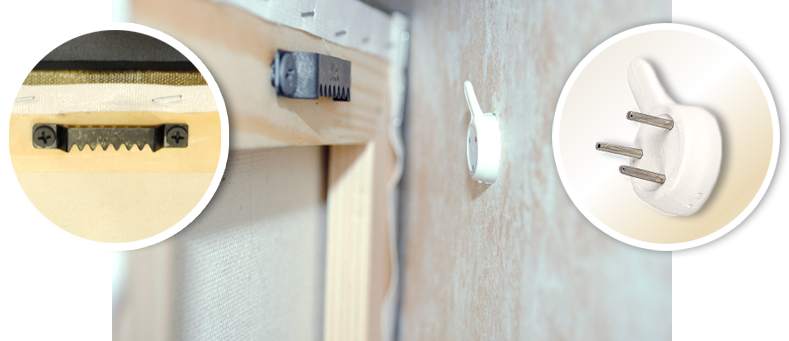
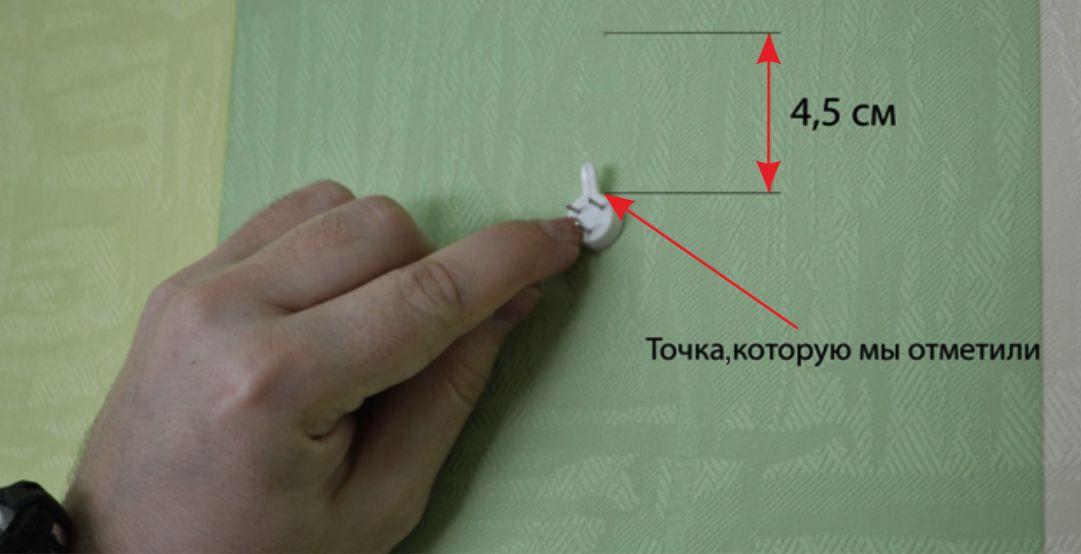
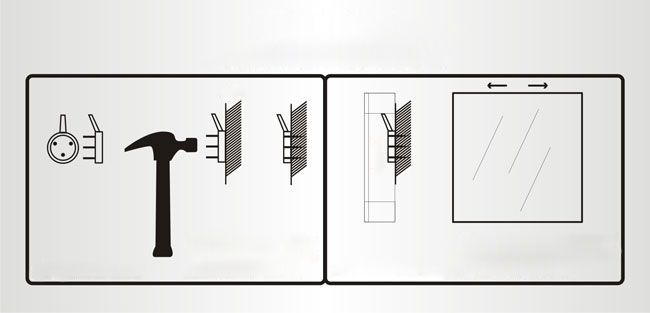
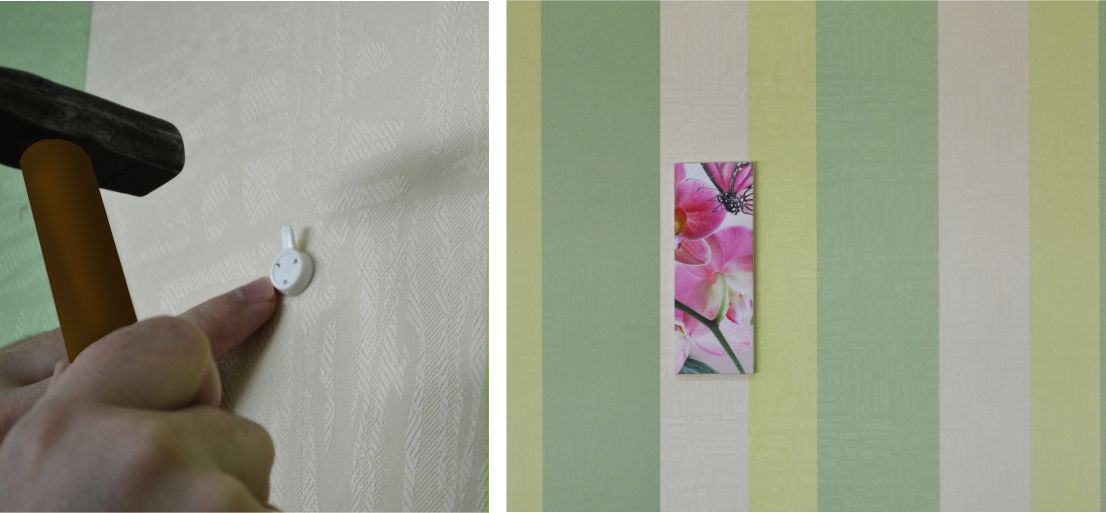
The Woly mount is one of the simplest mounts. This is a plastic hook with three or four steel rods.The hook is applied to the place marked on the wall, and then it is hit with a hammer 3-4 times, until the steel rods are completely immersed in the wall. The hook is secured!
There are situations when you really need to hang a picture on the wall without nails and drilling: for example, the apartment is rented, you don't want to spoil the wall with holes, bother your neighbors, or just your husband is not at home. It is then that very simple and effective methods come to our aid that will help to hang a picture, panel, poster or photo on the wall without using a drill. Choose which one you like best!
Comparison table of fixings and loads
Now you know the most common ways of hanging modular paintings to decorate your interior. The table below will help you choose the type of fasteners depending on the weight of the structure.
| Method of attaching the picture | How is it mounted on the wall | Maximum load for fasteners |
| With nails or screws, dowels | Drilling holes in the surface | Any |
| Glue or liquid nails | Gluing to the wall | Not more than 20 kg |
| Scotch tape or Velcro | Gluing to the wall | Not more than 6 kg |
| With the help of a "smart" latch | No drilling required | Not more than 2 kg |
| Spider hooks | Without drilling, but fixed with nails | Not more than 5 kg |
| Using the Command system | Adhesive fixation of strips | Not more than 4 kg |
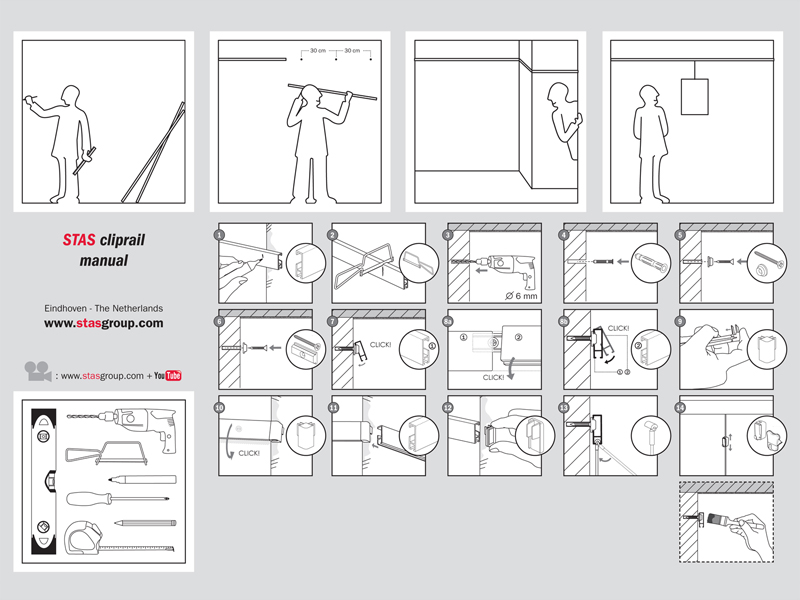
In addition to the above methods, for mounting modular-type canvases on the wall, you can use a suspension system fixed on a rail made of wood, metal or plastic. The intricate structure is attached to the ceiling, and the paintings are fixed on threads with hooks. Thanks to the built-in mechanism, the scale panel can be lowered or raised.
There are many ways to place modular paintings, the choice depends on the type of canvas and the skills of the owner. Therefore, even an inexperienced master will be able to choose the right method for himself.
Share this
Class
Share this
Tweet
Zapin
Preparation and site selection
Do not immediately grab the hammer and nails, first decide on the location of the picture in the apartment.
- Select the wall on which the composition will hang.
- Try to arrange the parts side by side on the floor to make it easier to determine the location.
- Further placement depends on the type of image. If it is a symmetrical composition, then the center should be on the segment located in the middle. In the case of asymmetric, the largest or main semantic element.
- Now define the level - the height at which the painting will hang.
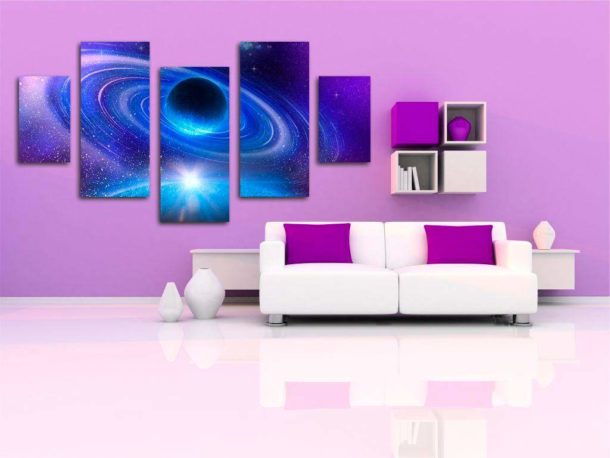
- Now we are determined with the distance between the modules. This parameter depends on many factors: the size of the segments, the size of the frame and subframe, as well as the wall itself. As a rule, a gap of 2 to 4 cm is left between the component parts.
- The modules are fixed strictly parallel to each other, only in this case the composition will look beautiful, pleasant and logical.
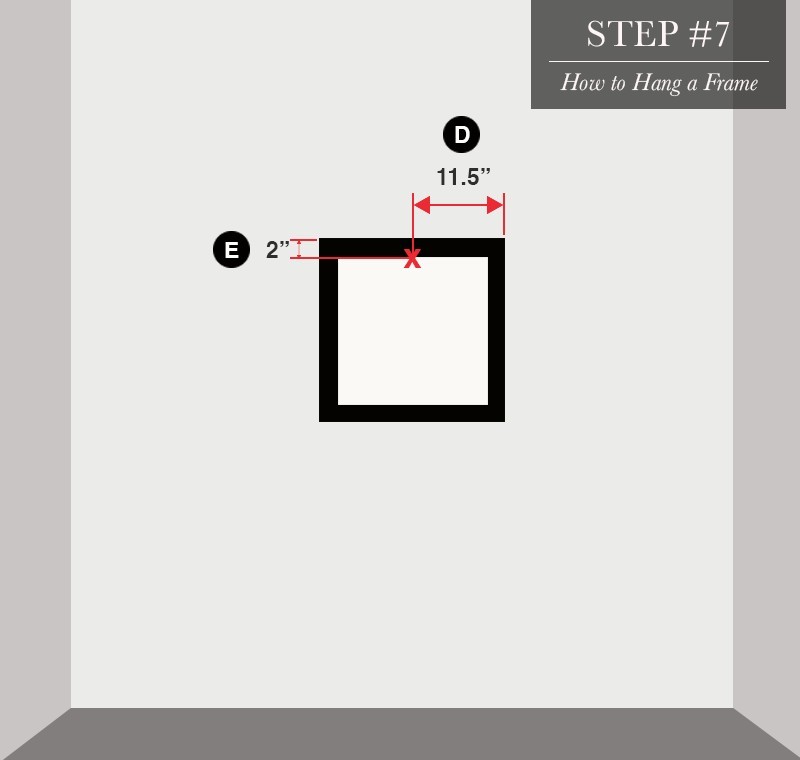
- When working with modules, the drawing on which should be located with an offset, you must first perform the markup, as shown in the following photo. Correctly defining the levels of the elements will help not to violate the integrity of the composition of the five parts.

What are modular paintings?
A modular picture is an image divided into several parts, when combined, a single "picture" is obtained. Parts of such attributes are related to each other by composition, plot or color scheme.

In order for such an image to look organic, you need to know how to hang modular paintings correctly. There are several options:
- If the relationship between the components of the interior details is of a compositional nature, then they should be hung on the wall, leaving gaps between the parts.
- Complex images that create a special visual effect are placed according to the author's intention.
- When parts of a picture are combined only by a gamut of colors or a plot, you can get creative and set them up as you personally like.
In addition, there are rules that should be followed when choosing a place for such images.
For light paintings
If you need to hang a small reproduction on the wall, you will need the following tools:
- Push pins.
- Knife.
- Glue "Moment"
Now we describe step by step the algorithm of actions:
- Make a cross-shaped incision on the wall, gently bend the wallpaper in this place, clean the concrete surface (not drywall!) With an emery cloth, grease the vacant space with glue.
- Apply it to the button head, wait a minute, press it against the wall, after an hour, glue the corners of the wallpaper.
The painting itself can only be put into place in a day: so that everything is thoroughly dry and stuck.
Correct sequence of actions
Before starting work, the canvases are carefully unpacked, fasteners and the necessary tools are prepared. In any case, you need a level and a pencil with which the markings are applied. A marker or felt-tip pen will not work, they will leave too bright marks.
It's good to experiment with the spacing at this stage. They are pushed closer, pushed apart, and looked the best. In this way, the easiest way is to choose the optimal distance so that the picture looks the most advantageous.
After that, you need to determine the key piece of the composition. This is irrelevant for diptychs. For a triptych, this will be the middle detail. If you want to hang a modular picture of 5 pieces or more, you have to think. As practice shows, the central element is not always the key if the details are of different sizes. In this case, the required block will be the largest.
An image is built from it, so it is fixed first.
Installation of a polyptych painting
- We mark the base. We attach the key module to the wall, choose the optimal place for it. We outline with a pencil.
- We take the level, specify the horizontal. Correct the markup if needed. We put the canvas again to make sure it is in the correct position.
- We fix the block on the base in any suitable way.
- We hang a side fragment. We outline its location. To do this, we move from the already fixed element to a preselected distance. We attach the detail to the base, outline it with a pencil.
- With the help of a level, we rebuild the vertical and horizontal. Trying on the frame again.
- We fix the element on the base, check the strength of the fasteners.
We do the same with all the remaining parts of the composition, no matter how many of them are left
It is very important to fix them strictly parallel to each other. Even minimal distortions will spoil the look of the decor, violate the integrity of its perception.
Therefore, in the course of work, we must use a level, thus controlling the accuracy of the vertical and horizontal.
If experience in carrying out such work is not enough, we suggest watching the video. It will tell you how to hang modular paintings on the wall.
Technically, the process of securing the modules is not complicated. Every novice master will cope with it
But at the same time, it is very important to correctly mark the wall and collect the entire composition on it. Especially if it has five or more parts
Accuracy and accuracy will be required so that they are all placed strictly parallel, at an equal distance. Only then will the picture be perceived as a whole.
Prepared by: Inna Yasinovskaya
Number of fragments and placement features
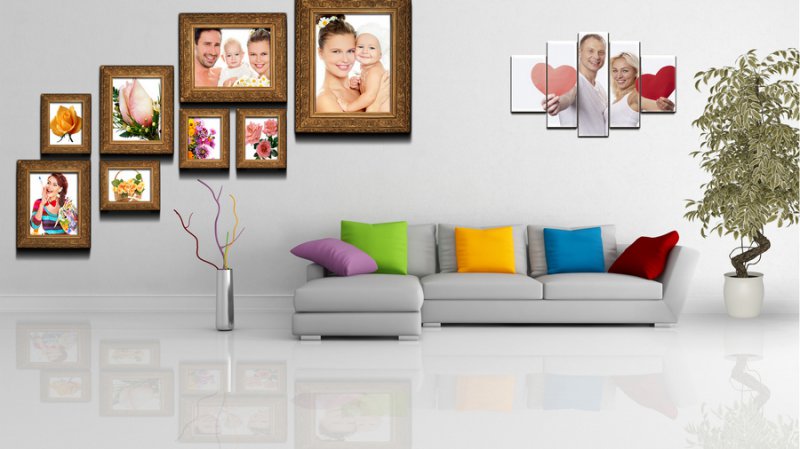
Before proceeding with the direct installation of paintings on the wall, you should carefully study the proposed drawing and calculate the total number of segments. It is the number of fragments used that is taken as the basis for the classification. In addition, you can make a frame for them yourself. 
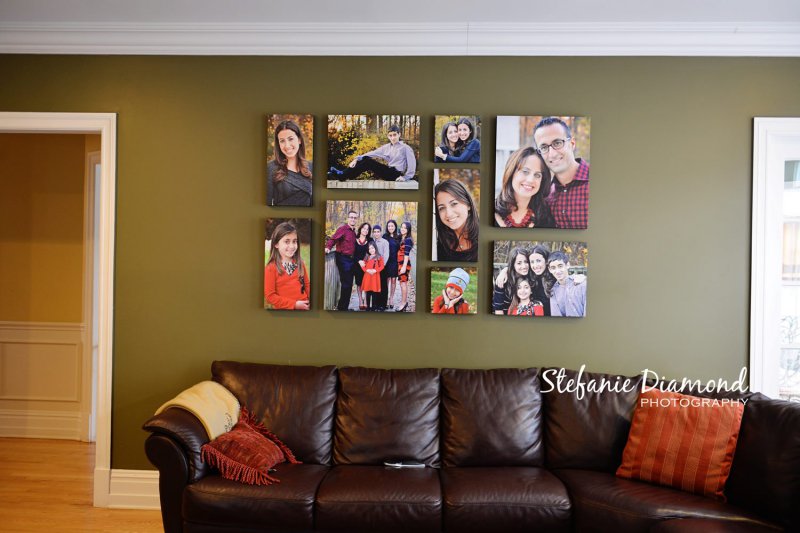
Diptych
- consists of 2 segments;
- great option for a small room;
- can consist of the same fragments or with insignificant elements.
 For a successful placement, it is recommended:
- keep a distance from the floor at least one and a half meters;
- mark in advance the intended place of fixation;
- retreat from 2 to 4 centimeters between fragments;
- make sure that the pictures are perfectly parallel to each other.

Triptych
- consists of 3 segments;
- there are variations in size and placement.
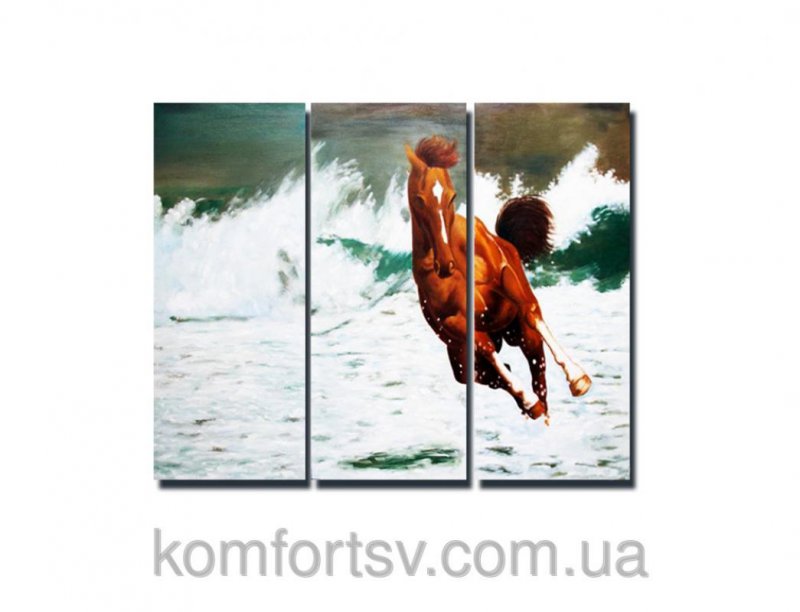
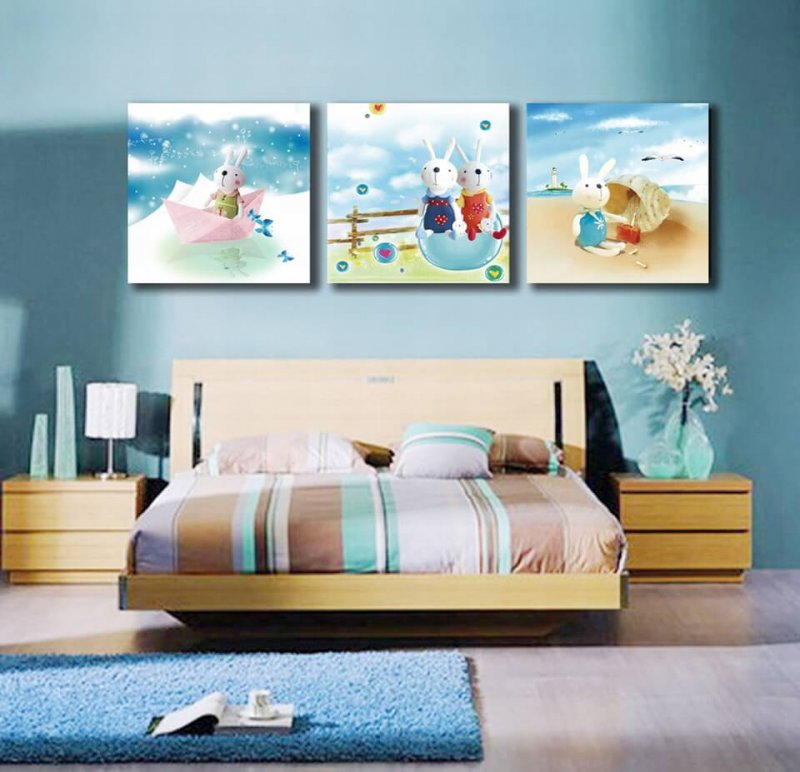
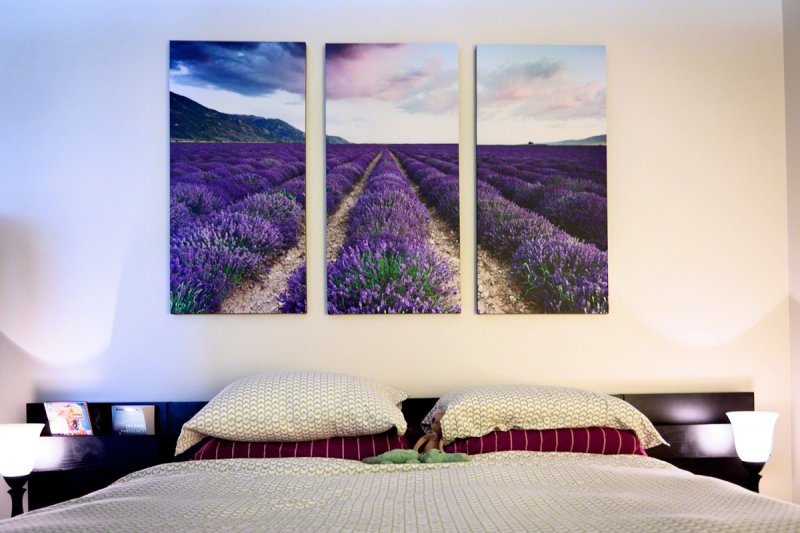 One of the most interesting and, at the same time, absolutely not annoying options. Pictures of this type can be hung on the wall both vertically and horizontally.
- vertical placement will help to visually make the room longer;
- horizontal the room will create the illusion of more volume.

 Diagonal placement is also encouraged, but for such originality, choose a suitable location. For example, on a flight of stairs. It often looks impressive when the central part is larger than the side elements.
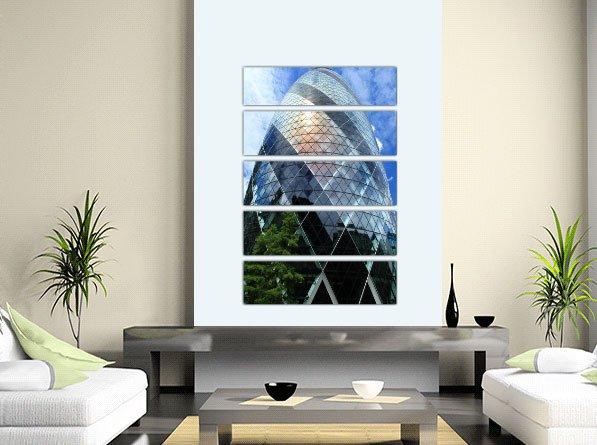
Quadriptych and pentaptych
- consists of 4 and 5 segments, respectively;
- the most difficult option, suitable for premises with a large supply of square meters.

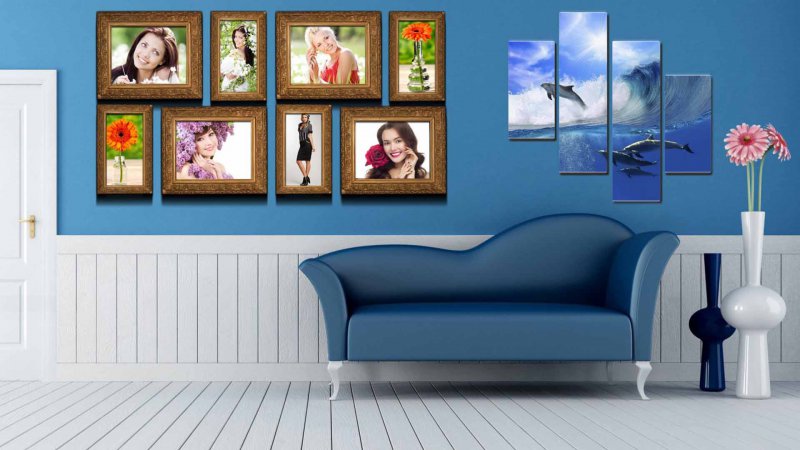
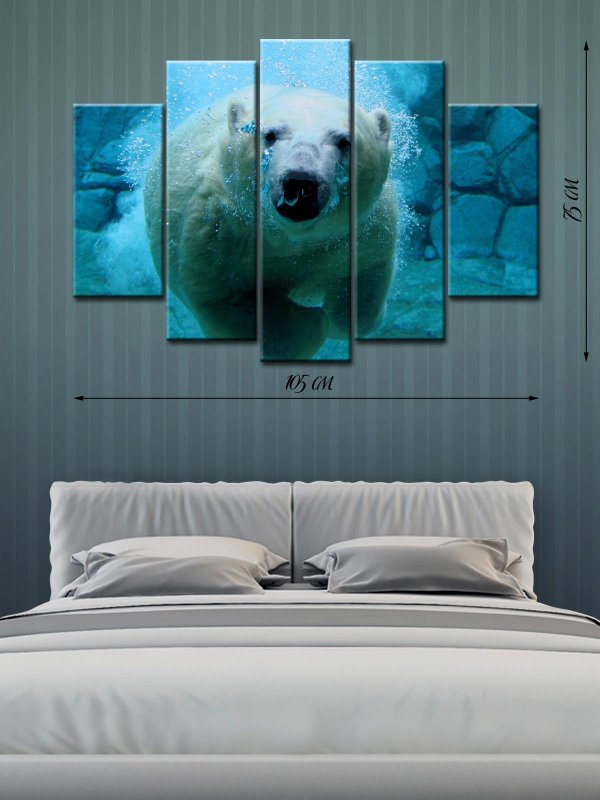
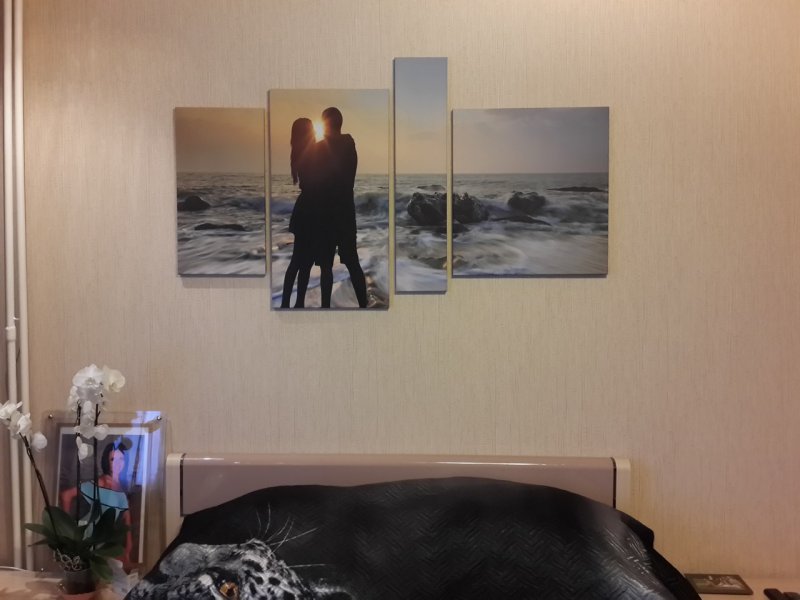
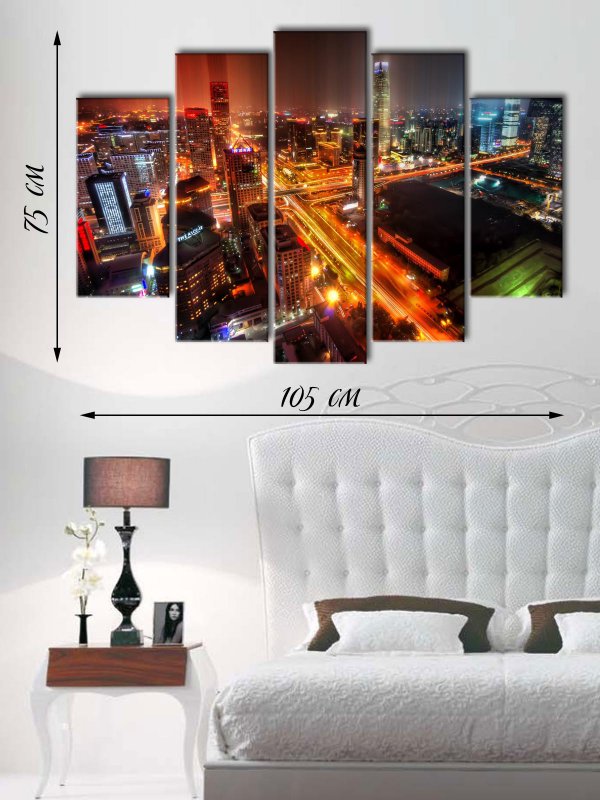 If you don't know how to hang 4 and 5-segment paintings on the wall, here are some good tips to help you overcome the difficulties:
- draw a horizontal line so that the installation is extremely correct;
- define the central segment and fix it first, it is often larger in size than all other parts;
- install the side elements strictly parallel to the central segment;
- observe a certain gap between the parts - it is recommended not to exceed the threshold of 4 centimeters.


Competent location
It is important not only to choose the right picture, but also to successfully position it on the wall.
The modular picture attracts attention, so its position should be advantageous. The most optimal center height is 150 cm
It is the location at eye level that will give people the opportunity to see the image in all details without distortion.
The angle of inclination of the attachment of the modular picture should be zero, so as not to distort the composition. It is necessary to observe the distance between the elements as intended by the designer, as well as the sequence of placement. The arrangement of the modules must be strictly parallel.
Separately organized lighting for the picture will add brightness to the image, make it more pleasant for perception. Ideal lighting for a modular painting should include separate fixtures for each of the segments. Do not hang the picture so that the sun's rays fall on it, otherwise the colors may lose their saturation.
Compliance with all the recommendations when installing a modular picture on the wall ensures that such interior decoration will favorably emphasize the advantages of the room and divert attention from the shortcomings. A correctly selected painting can radically change the look of a room and set the desired mood, which will satisfy the aesthetic needs of even the most demanding art connoisseurs.
I like not like
Mounting methods
Depending on the features of the paintings, you can choose a simpler or more complex installation method. The most simple ones are:
- Fastening with buttons and pins. Passing through the canvas, they fasten it sufficiently firmly to the wall thanks to their edge. This method is extremely simple, but it should be noted that it is only suitable for small size images without borders. The material of the wall is also important - it should not be too dense. You also need to be prepared for the fact that the use of buttons, nails and similar things can leave on the wall, albeit minor, but still damage.
- Another method of fastening is carried out using special double-sided tape. This option is also good for small, light paintings.In addition, it maintains the integrity of the wall, making it completely safe for any surface. It is best to choose an adhesive tape with a cloth backing - this will help the fastening system to withstand more paintings. The tape peels off easily but is best removed at a 90-degree angle.
- You can also use a hook as a fastener. When correctly inserted into the wall, it is almost invisible, but thanks to its design it is able to withstand heavier modules. This method is reliable and effective, but it is not suitable for drywall walls and is not always suitable for modular options. A good alternative to a regular hook can be the so-called spider, which has several pins instead of screws. This design allows it to hold firmly without damaging the wall. However, it is not suitable for concrete.
Other installation methods are more complex, but at the same time they are much more reliable:
- Liquid nails, which include special glue, reliably connect various surfaces to each other. They are quite easy to use and can be applied on any surface at any plumb line. High humidity in the room is not an obstacle to the use of liquid nails.
- Foaming tape creates a chemical reaction that connects the painting and the surface. It is quite durable, but nevertheless, it is undesirable to use it on an uneven surface or textured wallpaper.
- Polymer glue hardens for a long time. However, it is great for paintings of any size (even large ones) as well as weight.
Despite the fact that these methods are somewhat more complicated and reliable, they should be used with caution because their use will make it difficult to even change the position of the picture slightly. And before using them, it is necessary to calculate its future position as clearly as possible.
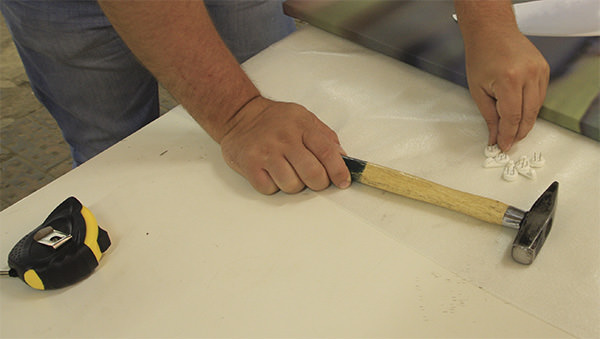 A good alternative to a regular hook can be the so-called spider, which has several pins instead of screws.
Step-by-step installation instructions
Installation of modules is a multi-stage process. But, in itself, it is quite simple and most often does not cause difficulties even for those who undertake this business for the first time.
The required set of tools includes:
- Hammer;
- Construction level (or laser);
- Roulette;
- Hooks.
The installation procedure is structured as follows:
- First you need to decide on the location of the central module on the wall. He is applied to the wall, the borders of the image are neatly outlined.
- Then hooks are placed on the wall and then attached. The first will have to fix the central module, the subsequent ones - the side ones. If the modules are large enough, it is advisable to place additional fasteners on the wall at a distance of about 5 cm from each other.
- After all the hooks are firmly attached to the wall, you can hang parts of the picture directly on the wall (you need to start from the middle, as in the previous step).
During editing, it is necessary to strictly ensure that the composition is not interrupted or disturbed anywhere.
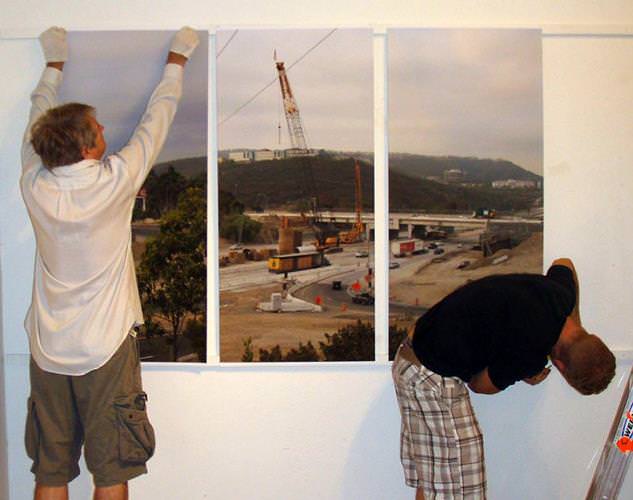 First you need to decide on the location of the central module on the wall

