How to Starch a Crochet Hat, Boots, and More

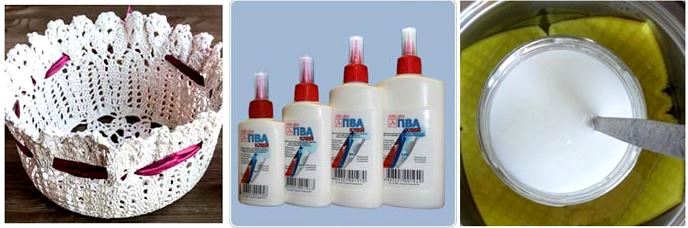
To keep the knitwear in shape, not wrinkle and look like new, you can starch them. Experienced housewives know that this can be done not only with the help of starch. Sugar, PVA glue, gelatin cope with the task and are available in every home.
The main ingredient depends on the type of product, size, yarn color and other characteristics that may affect the final result.
Products made of light threads or yarn cannot be starch with starch, as it turns yellow over time, and the thing becomes unpresentable. This property is possessed by gelatin, therefore, it is also not suitable for processing white tablecloths and napkins.
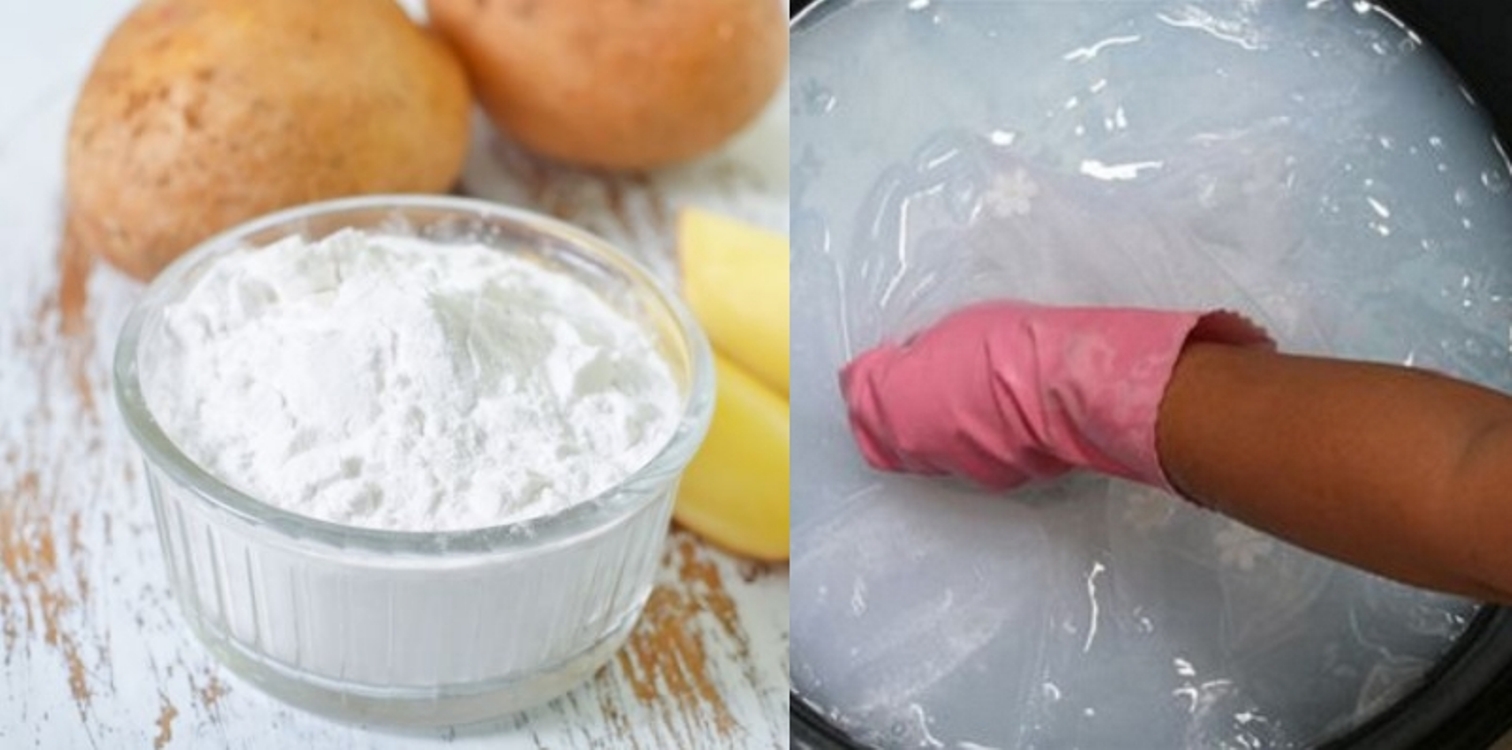
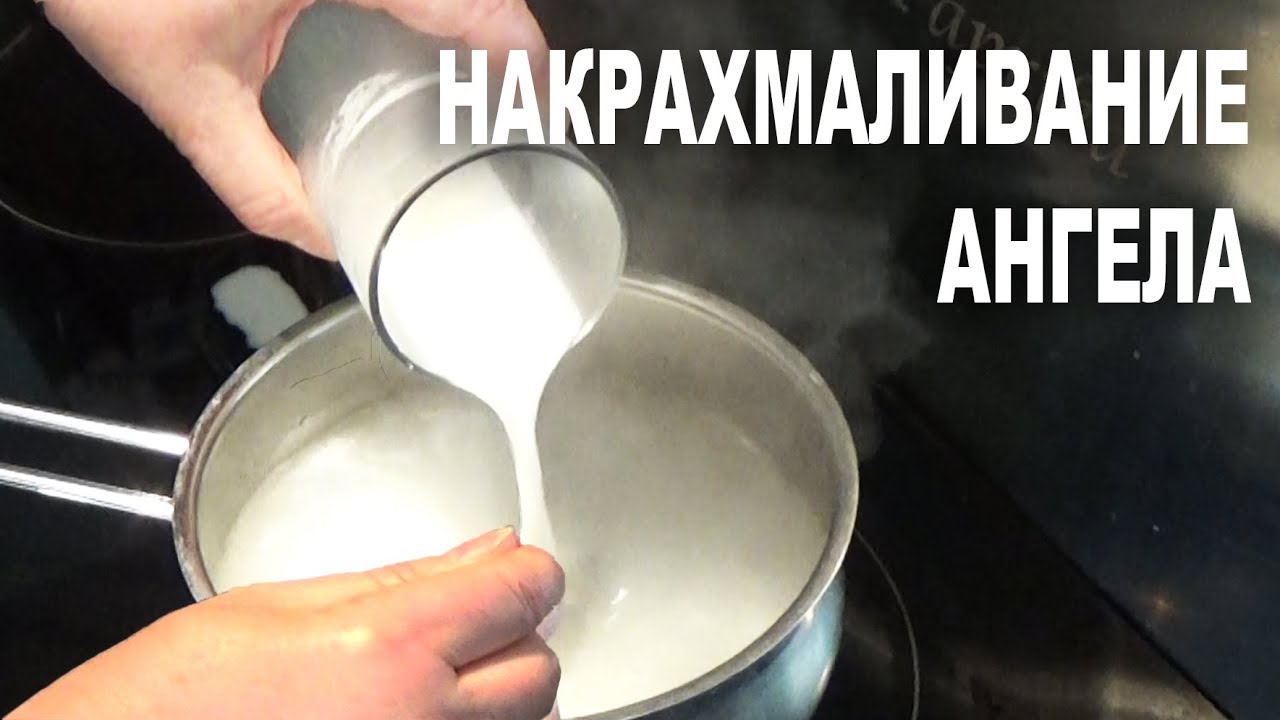
This is a popular way to starch small knitwear. It is suitable for knitted napkins or collars as it gives a little liquid and is easy to prepare. You can prepare a solution from starch in the following way:
Remove the pan from the stove and cool the solution (so as not to burn your hands).
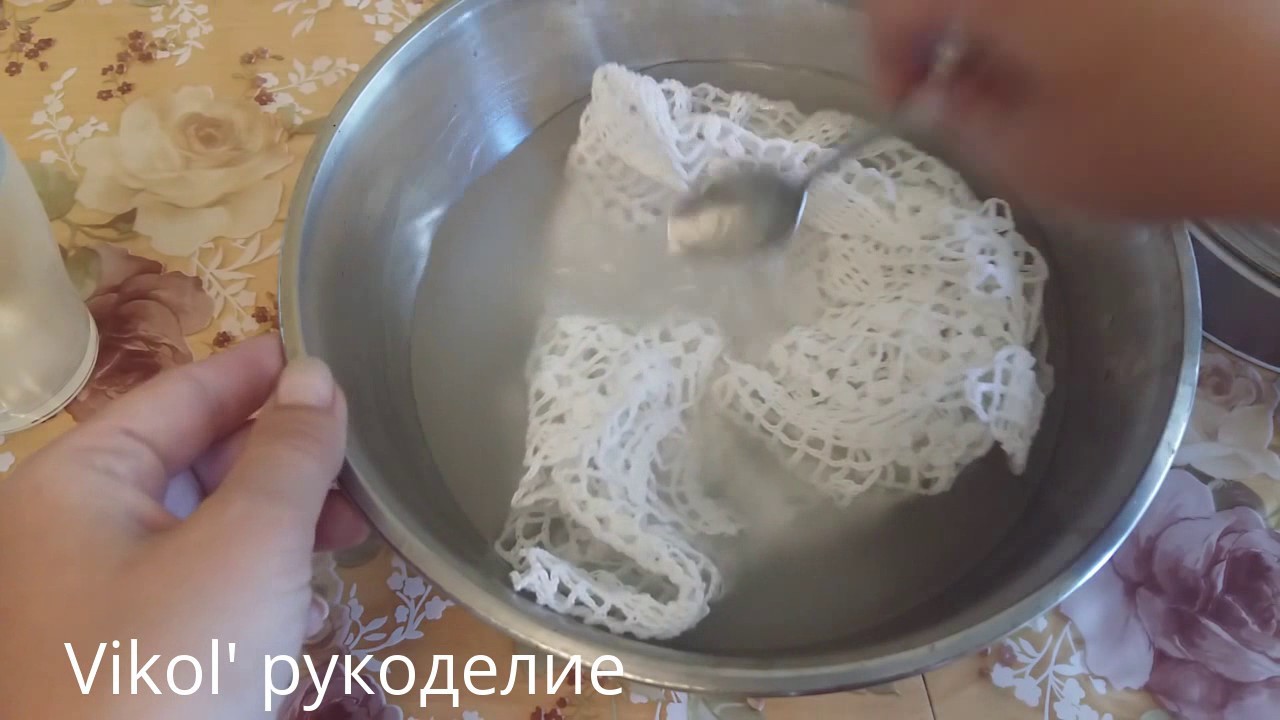
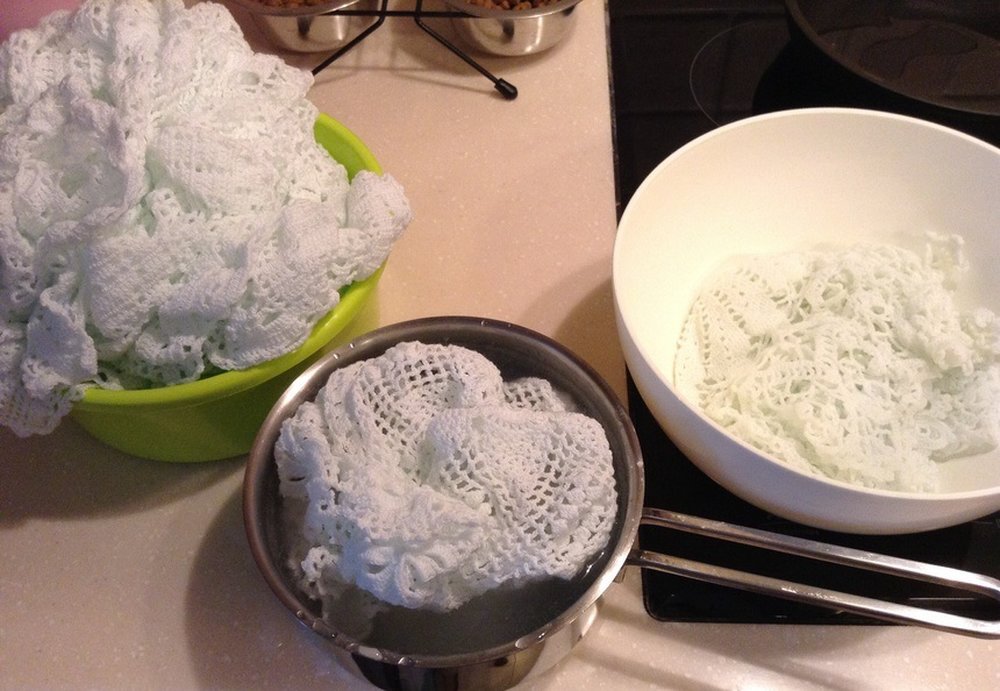
After the solution is ready, carefully place the product in it and wait 7minus; 10 minutes. Lay a dry towel on a flat surface, on which to place the product until it dries completely. The towel is necessary so that the napkin or collar does not lose its shape and does not curl.
With this method, housewives will no longer have questions about how to starch a crocheted collar or an openwork knitted tablecloth.
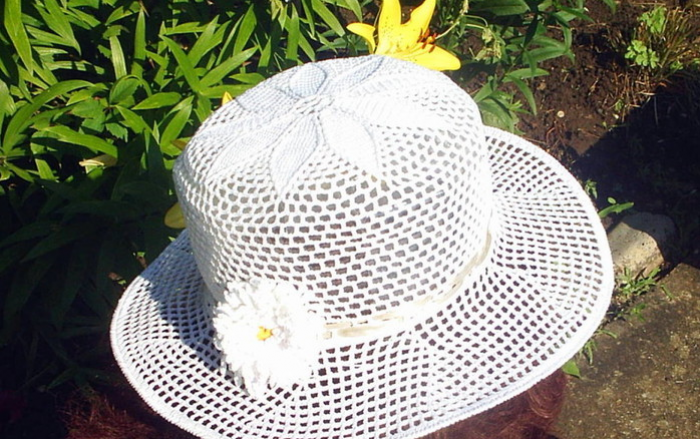
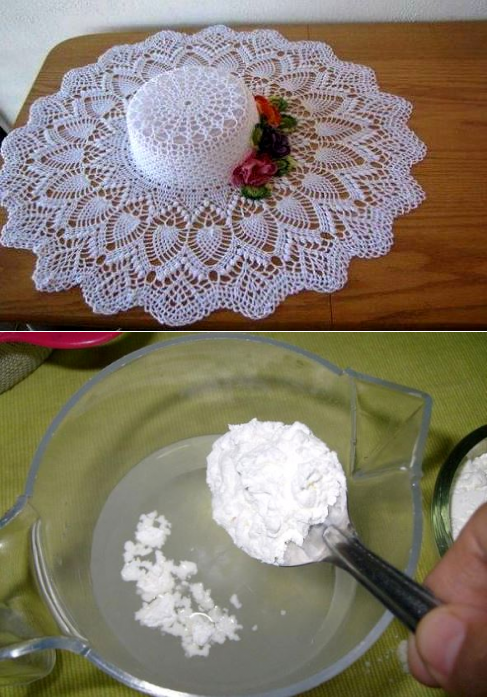
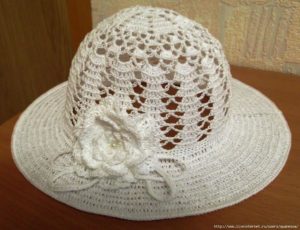
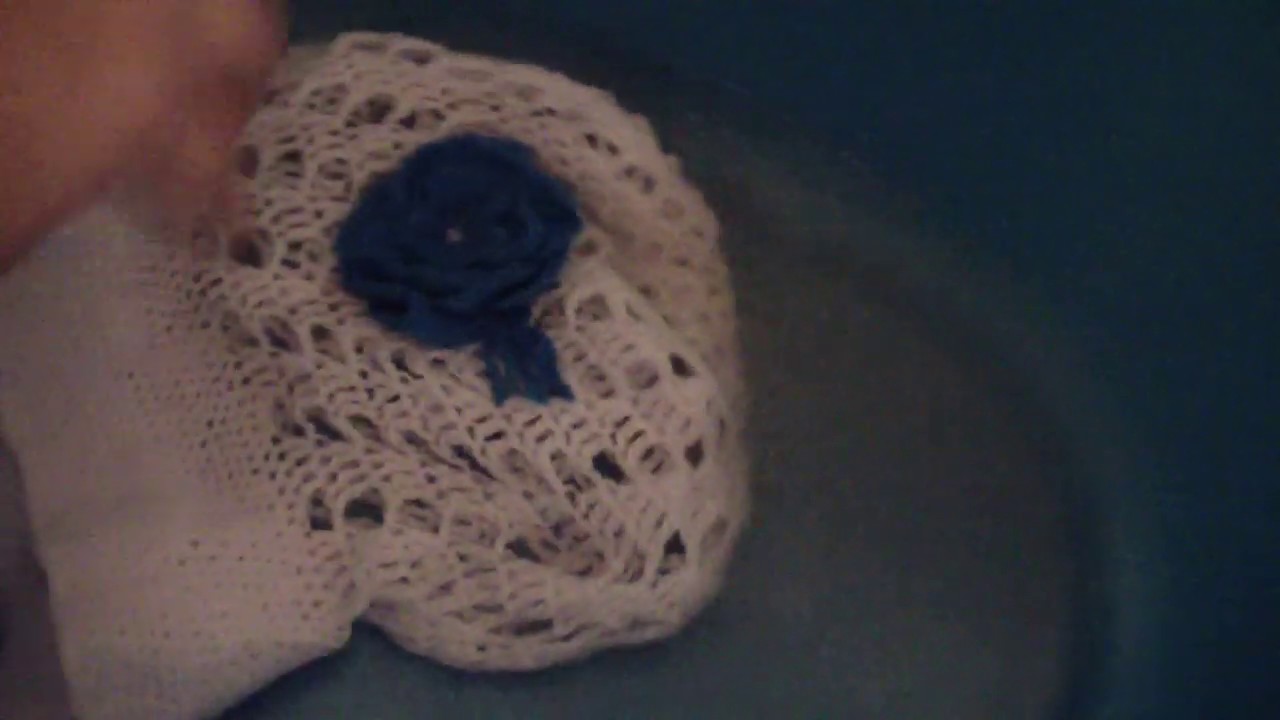
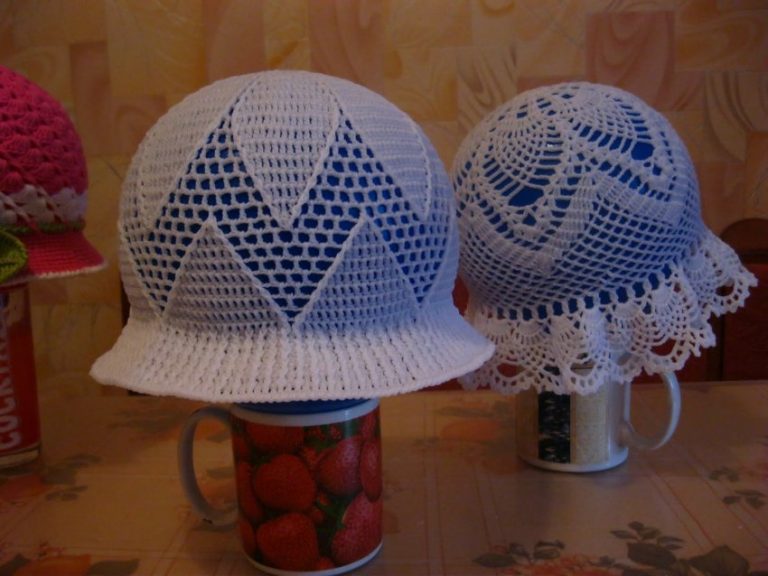
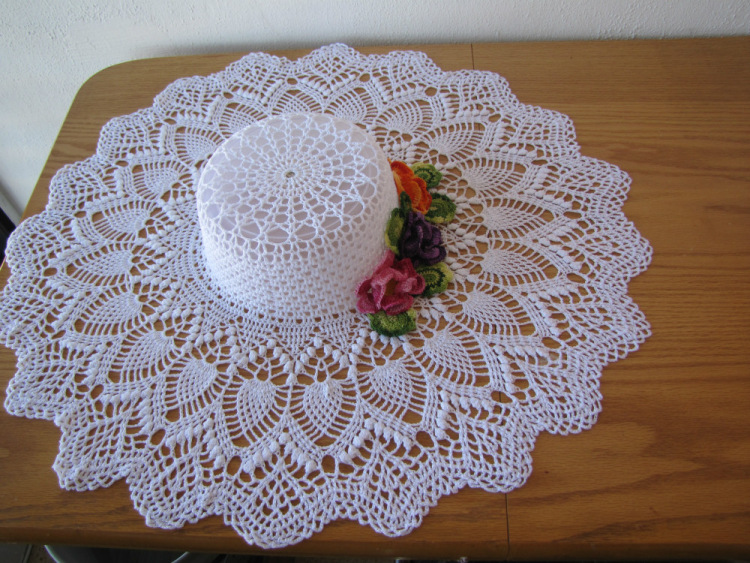
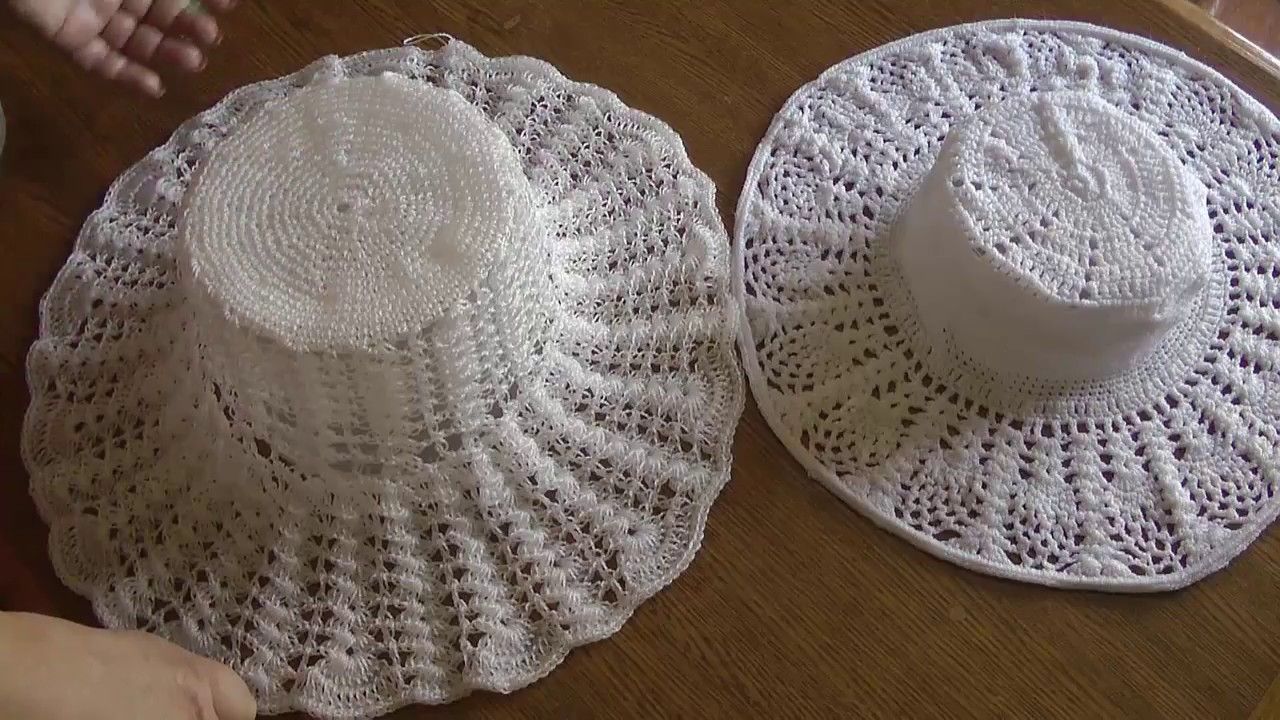
If the hostess is faced with the question of how to starch a crocheted hat (especially if it has margins around the circumference), or knitted boots, you can apply the method of hard starching.
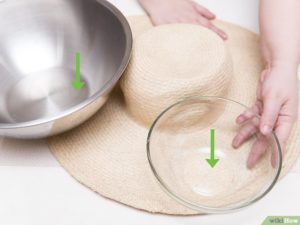
Potato starch is usually used for this recipe, but if you don't have one at hand, rice starch is perfect. To give shape to voluminous things, improvised items (cans, boxes, bottles) are used. For example, boots can be put on plastic bottles of water or lemonade with a volume of 1.5minus; 2 liters, and a hat or panama hat mdash; on glass jars.
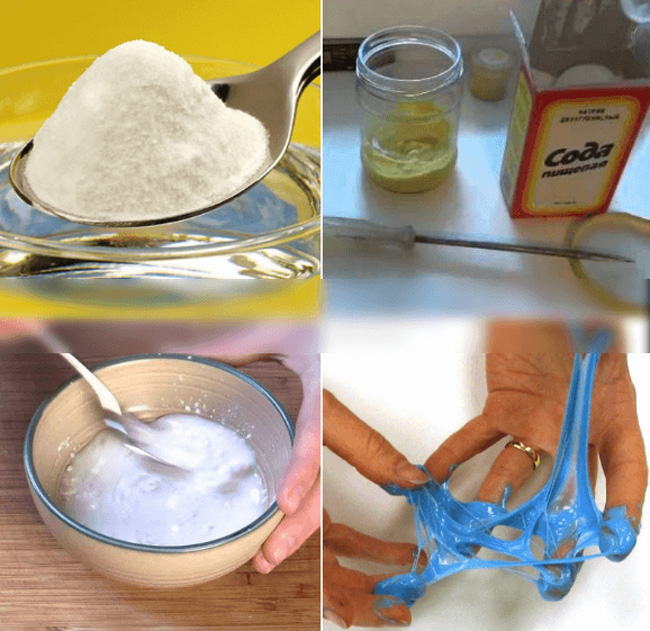
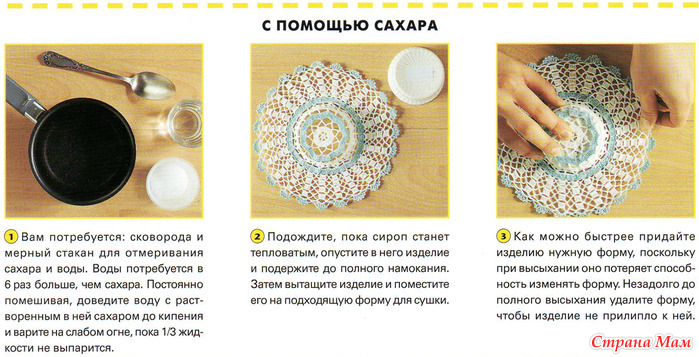
With the help of sugar, you can give rigidity to small knitted things (knitted hats, collars). A sugar solution is prepared similarly to a starch solution, only the proportions of the components will be different:
sugar mdash; 15 rounded spoons.
At the end of boiling, add 2 teaspoons of potato starch to the composition, then lower the product into the mixture and leave for 5minus; 10 minutes.
the product does not turn yellow;
the stiffness of the starched item is higher;
products hold their shape longer and are resistant to moisture.
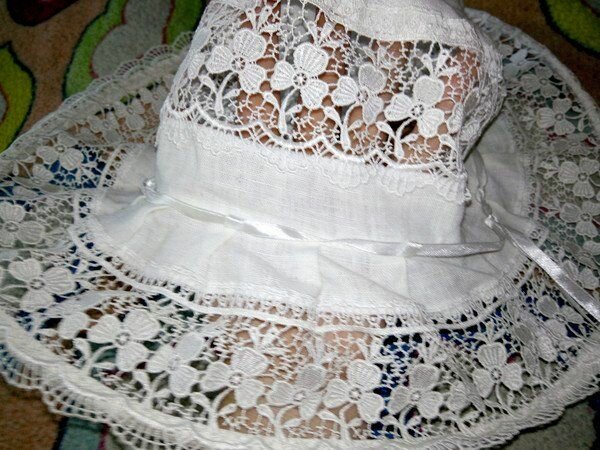
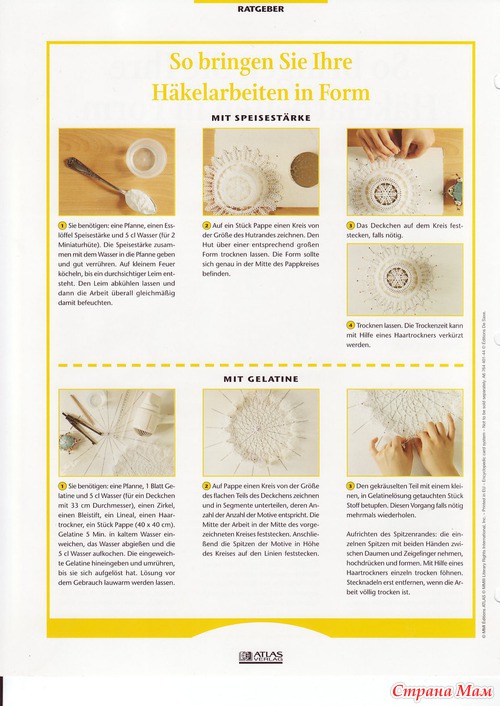
You can starch a crocheted panama hat or a brimmed hat with gelatin, as the products with this method of processing will be tougher than other methods of starching. This way you can also starch boots, knitted toys, hats. How to do it?


Mix a spoonful of gelatin with a glass of water and leave for 60 minutes to swell the gelatin.
Heat the composition (do not boil!).
Place the product in gelatin until it cools.
Take out the product, give the required shape and leave to dry.
It is used for products made of yarn that stretches and deforms when exposed to high temperatures. These may include hats, tablecloths, napkins, knitted capes. To process a thing with a cold method, you should follow these steps:
Pour 1 liter of cold water into a saucepan and add 60 g of starch.
Stir the components until completely dissolved.
Place the item in a saucepan for 30 minutes.
Take out, squeeze and shape.
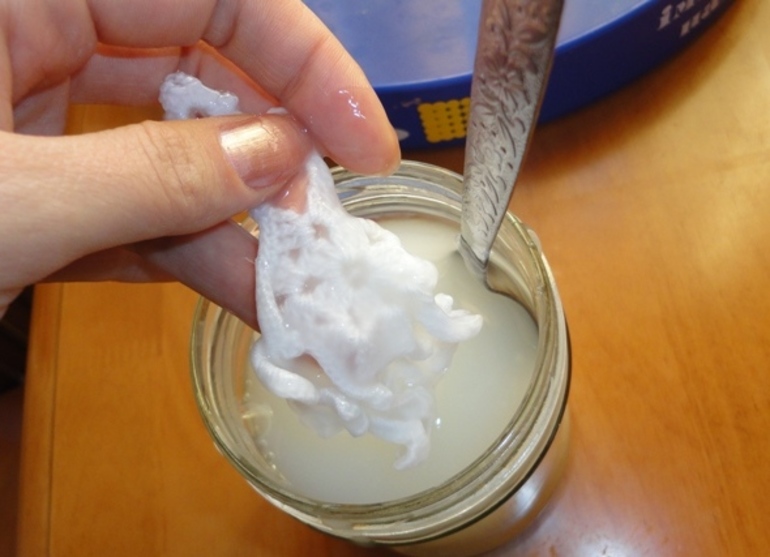
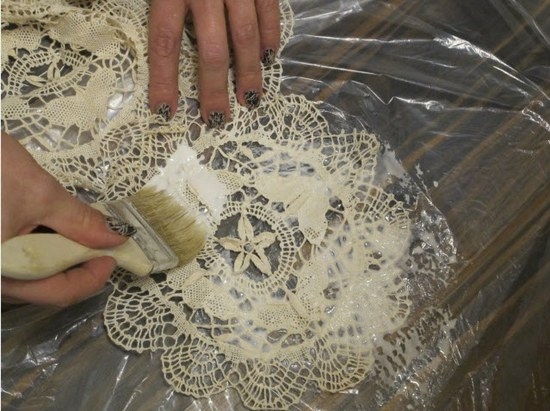
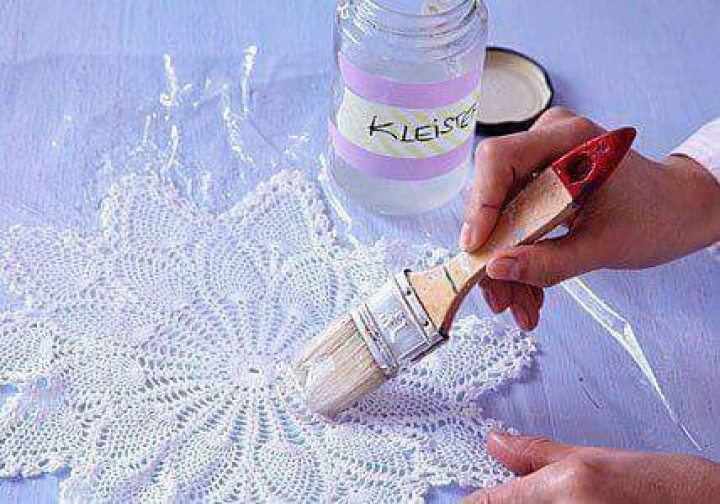
If the item is small, it is immersed in the whole composition. If the product is large, or you want to achieve a soft starch effect, you can simply apply the composition on both sides.In this way, the glue will not be absorbed into the deep layers of the yarn and will not create the effect of increased rigidity.
Products knitted from dark threads and yarns should not be starch using any kind of starch. Things processed in this way may lose their appearance during ironing due to light spots and streaks that appear.
Things made of synthetic threads must not be starchy! Any method can lead to stretching of the product and loss of shape.
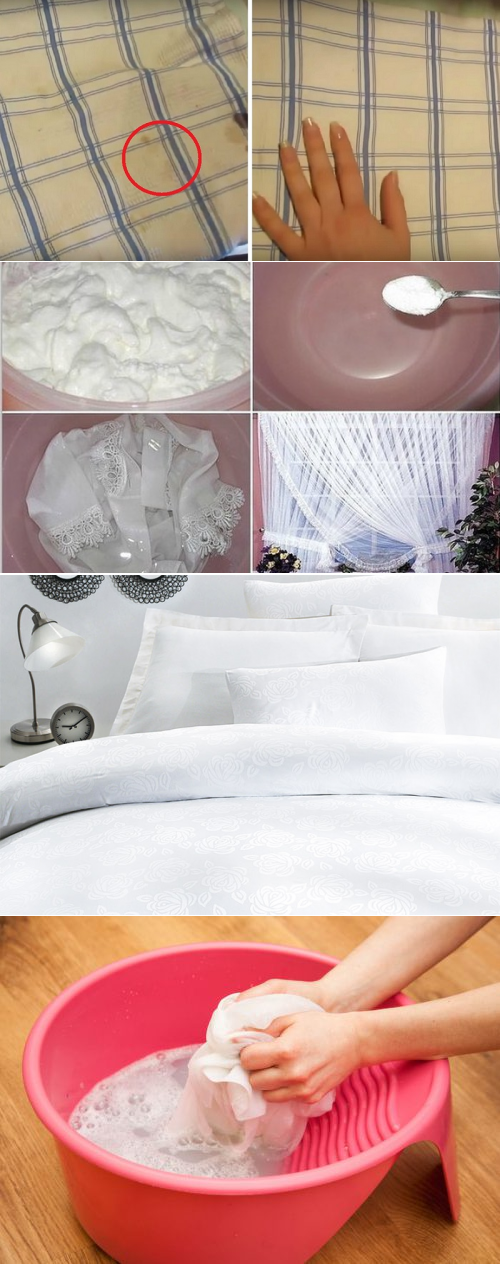
Snow-white knitted products (collars, napkins, tablecloths) should be starch with a solution of skim milk and rice starch. This will keep them whitened and not yellowish after processing.
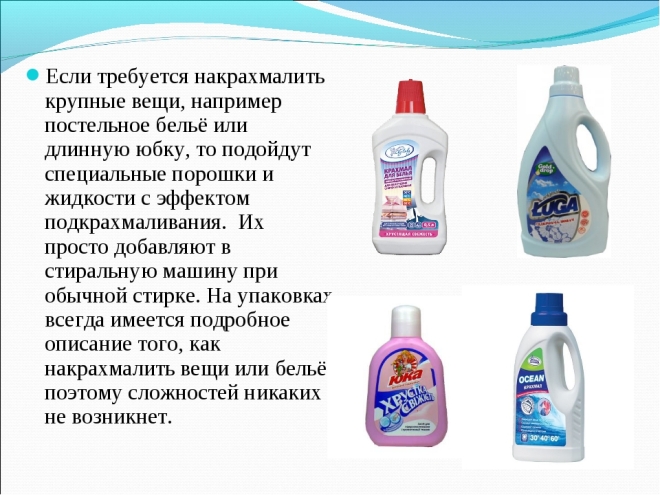
If you don't have the time or desire to mess around with preparing a solution to stiffen knitwear, you can buy a ready-made product in the store. It is not inferior in efficiency to folk methods, therefore it can be used to process the types of products indicated on the product packaging.


How to starch a knitted product with starch? Video instruction:
What is starching
How to dilute starch for starch, and how does the whole procedure take place? Initially, agree that if you are washing a lot of things, then you will need several paste solutions. It is unacceptable to use one paste for both linen and a chef's hat.
Depending on whether you want to starch the thing just a little or you need it to keep its shape firmly, use different concentrations of solutions (change the proportions of water and starch). But the sequence of the procedure itself remains unchanged and consists of five steps.
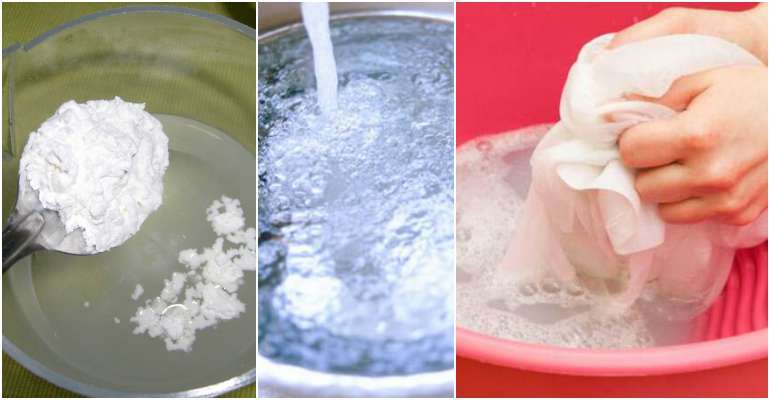
- The starch is poured into a small container and poured into a glass of cold water.
- The mixture is carefully kneaded so that there are no lumps left.
- The remaining water is poured into a saucepan and brought to a boil.
- Concentrated starch is poured into the bubbling liquid in a thin stream with constant stirring and the fire is immediately turned off.
- The resulting paste is allowed to cool naturally.
Mild solution
Peculiarities.
The soft method provides products with elasticity, gives a light characteristic crunch. But such a procedure will not allow things to "keep in shape." Such fabric will not feel hard to the touch.
Applied for:
- chiffon dresses;
- women's blouses, blouses;
- bed linen;
- medical gowns;
- men's shirts;
- gauze, cambric.
Components:
- starch - two teaspoons;
- water - two liters.
Procedure progress
- The solution is poured into a basin.
- The washed linen is dipped into the paste, literally for one or two minutes.
- The products are taken out and squeezed out.
- Then shake and hang to dry.
- When hanging the product, be sure to remove all creases and creases.
It is not necessary to use heating devices for drying starched products.

Medium hardness
Peculiarities.
If lumps have formed in the starch solution, then it must be filtered before use. You can strain the warm mass through a sieve or cheesecloth.
Applied for:
- napkins, tablecloths;
- furniture covers;
- curtains;
- shuttlecocks;
- school aprons;
- lace;
- bows;
- denim boots (only light).
Components:
- starch - two tablespoons;
- water - two liters.
Procedure progress
- To make the product shine, add half a teaspoon of kitchen salt to the solution.
- The washed linen is immersed in the paste, removed after a minute and squeezed out.
- Hang to dry, straightening the folds and shaping.
Saturated paste
Peculiarities.
As the reviews show, this recipe can be applied without the addition of borax. In this case, it is recommended to take more starch (plus two tablespoons) and use the classic technology for making a solution.
Applied for:
- collars and cuffs of men's shirts;
- decorative fabric flowerpots;
- packs (skirts) that need strong fixation;
- petticoats for lush dresses;
- chef's or paramedic's hats;
- decorative fabric flowers;
- some crocheted things (for example, boots).
Components:
- starch - three tablespoons;
- borax - two teaspoons;
- water - two liters.
Procedure progress
- The starch is diluted in a glass of cold water.
- Borax is preliminarily dissolved in a glass of hot water and cooled.
- The remaining water is boiled.
- Starch concentrate is carefully poured into it.
- The borax solution is then added. The fire is turned off. Stir the mixture thoroughly.
- For two hours, the paste is insisted.
If, during the preparation of the paste, it acquires a grayish tint, then it is recommended to boil the solution over low heat for five minutes. And the mixture will immediately become light.


Note to the needlewoman
If you decide to starch your favorite knitted (and not only) things, then these useful tips will be in your favor:
- If liquid gets on the product that has been starched, then the procedure will have to be carried out again;
- You need to dry things carefully. If you iron them wet, then all the snow-white parts may turn yellowish;
- You should not send freshly starched products to damp places for storage - they can "acquire" mold, which will simply destroy the thing;
- If the mixture is not very clean, but has turned gray or yellowed, then it must be thoroughly mixed before work - until the dirty layer disappears;
- Using sugar syrup for starching, remember that such a thing can become the "object" of the attention of various insects;
- In order for the product to “stand” after starching, you need to prepare the thickest possible solution, then pull the product onto a strong frame and dry it in the sun or in a warm place;
- If any elements are glued to the product after starching, then you can simply hold them for a couple of minutes over a boiling kettle, and then “comb” them with a comb;
- To prevent starched products from sticking to the iron during ironing, the starch should be made with milk, not boiled water;
- To speed up the process as much as possible, a product soaked in a solution should be sent to the microwave for a couple of minutes, setting the maximum power, then squeezed out and sent to dry. Starching with this method is more efficient.
A few words about drying
It is worth considering one important point - starched things should not be exposed to frost, since at low temperatures the starch can turn into a sugar state and become sticky.
All starched items must be placed on a dry, clean white cloth, and sent to a well-ventilated room, waiting for complete drying. You can also use a regular towel - pin the product to it with pins.
Starchy, damp things can be ironed with an iron by placing a clean thin cloth on the product and setting the minimum temperature regime. But, you need to do this very carefully.
Follow these simple instructions and guidelines and all of your knits will be smart and pretty.
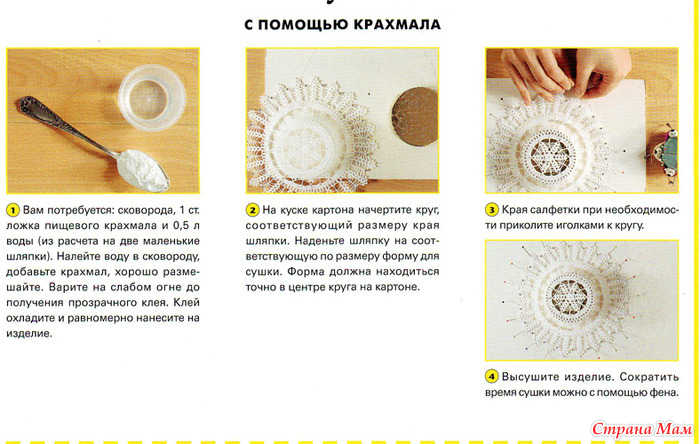
How to dilute paste?
- Take about two tablespoons of any starch and pour a glass of cold water over it. Stir the resulting mixture thoroughly until all the lumps disappear. The mixture is left for a while.
- Put a clean saucepan on the fire and bring about a liter of water to a boil. When the water boils well, a starch mixture is poured into it in a small stream and, stirring constantly, let it boil. When the paste boils, the pan is removed from the heat and set aside to cool completely.
- The ready-to-use paste should look transparent. If the mixture turns out to be cloudy, then it needs to be boiled a little more. The paste is ready!
Carrying out a procedure using gelatin

If there is no starch at hand, then you can give the hat a beautiful look with the help of gelatin. Working with gelatin is a little more difficult, but the effect of such a procedure will last better and longer, since it does not crumble like starch.
The procedure should be carried out as follows:
Gelatin must be mixed with water in the following proportions: 100 ml. water for 1 tbsp. powder.Gelatin must be left for a while so that it swells.
Add another 100 ml to the swollen mixture. water and mix it with gelatin to get a homogeneous mass, for this you need to mix the ingredients in a water bath.
After the mixture has cooled, the thing must be lowered into it and kept in it for some time.
After that, it must be gently squeezed out and put on on an object of the correct shape.
This method of starching the hat takes longer than the usual procedure.
It is important to correctly calculate the proportions, and you must act strictly according to the instructions. This method should not be used on light-colored hats, as traces of starch may remain.
Other ways of starching
When buying starch, you can opt for an already diluted product or in the form of an aerosol. But the method using starch powder is more reliable and cheaper.


Starch the tape using a similar spray. It should be sprayed from a distance of 20-25 cm, having previously studied the attached instructions. Iron after drying. The tape will acquire shine, smoothness and strength.
Commercially available liquid starch cannot be boiled. It is enough to pour it into a container and dip the tape there. After 5-10 minutes, take out the tape, dry it and then iron it.
Starching things is a delicate business. Overdoing it with the concentration of starchy substance, you can get unbending clothing that will be difficult to "bring to life"
It is important to follow the recipe, take into account the structure and size of the fabric, and set the correct shape. Perhaps, the first time, it will not work perfectly to starch the thing.
If the hostess doubts her abilities, then it is better to practice on unnecessary fabric cuts.
How to Starch Things at Home: 3 Methods
Housewives can starch things with potato starch or another substance either by hand or using an automatic washing machine, as well as using special agents when ironing.
Manually
Peculiarities.
The recipe for hand starching is the same for all types of substances and fabrics. The only difference is in the concentration of the solution and the exposure. The longer the product is aged, the denser it becomes. Do not dry soaked products on the battery.
Execution stages
- Wash your clothes, remove all visible stains with bleach, hydrogen peroxide, soap (yellowish stains can be left: starch will bleach them in the process).
- Calculate the volume of the solution in accordance with the dimensions of the product, prepare the required amount of water, starch.
- Dilute the starch crystals with water.
- Stir the mixture thoroughly so that there are no lumps left.
- If lumps do form, they will be difficult to dissolve. Pass the liquid through cheesecloth, squeeze well.
- Put the rest of the water on the stove, bring to a boil.
- Without stopping stirring, gradually pour in the resulting paste.
- Stir, turn off the heat.
- If the liquid is cloudy and very viscous, boil for five minutes or add some more hot water.
- Cool the mixture.
- Place the item in the solution, soak the item well.
- Soak according to the texture of the fabric and the desired effect, for a few seconds to two minutes.
- Take out, drive off excess moisture.
- Hang or shape the fabric as desired and leave to dry.
- When the product dries a little and remains wet, but without excess water, iron it through cheesecloth.
Densely starching clothes, you should first dilute borax in 100 ml of warm water and cool. Borax is poured in after adding starch paste. The resulting mixture is removed from the fire and stirred. The finished product is infused for two hours.
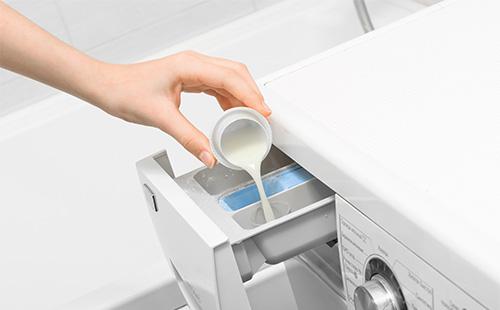
In a vending machine
Peculiarities.
Starching bed linen by hand is quite problematic. The automatic machine will help with this. It is convenient to starch large fabrics in the machine - bedding, curtains, tulle, as well as products of the same structure.It is necessary to starch clothes in the washing machine without the use of additional rinses and conditioners. After the procedure, wipe the centrifuge and the door first with a damp and then dry cloth.
Execution stages
- Prepare a weak starchy solution or dilute the thick paste with water (the concentrated product can clog the machine parts).
- Pour the paste solution into the liquid cleaner (conditioner) receptacle.
- Set the wash cycle suitable for the type of fabric.
- At the end of the cycle, take out the clothes, hang them without creases to dry.
When ironing
Peculiarities.
Slightly starching the laundry is more convenient during ironing. The method allows you to starch small areas of clothing without soaking it completely. It should be remembered that the method is only suitable for mild starching.
Execution stages
- Prepare a weak paste solution or purchase a special spray (for example, Luxus "Superform" or Yplon "Expert").
- Pour the solution into a spray bottle.
- Iron the fabric while splashing.
- To avoid possible carbon deposits on the iron, use cheesecloth.
According to the hostesses, some professional sprayers leave yellow spots and streaks, which is very noticeable on snow-white fabrics. In order not to spoil the item, it is recommended to test the product on a small area of the product or on a similar piece of fabric.