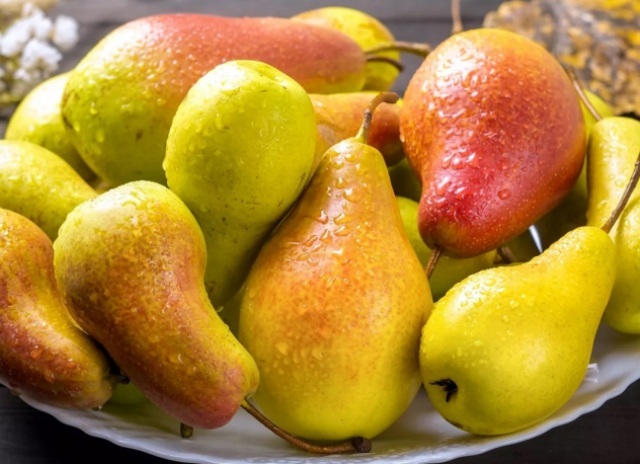
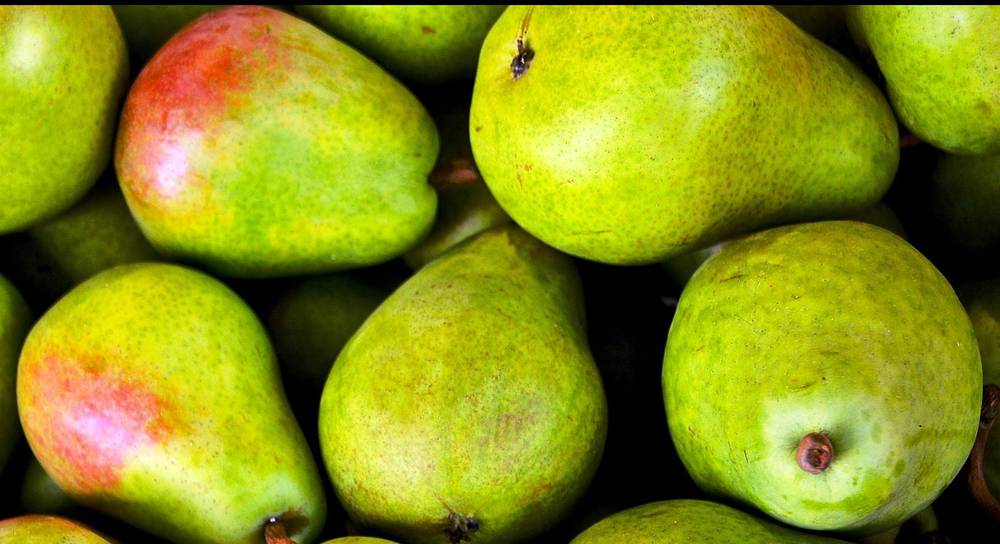
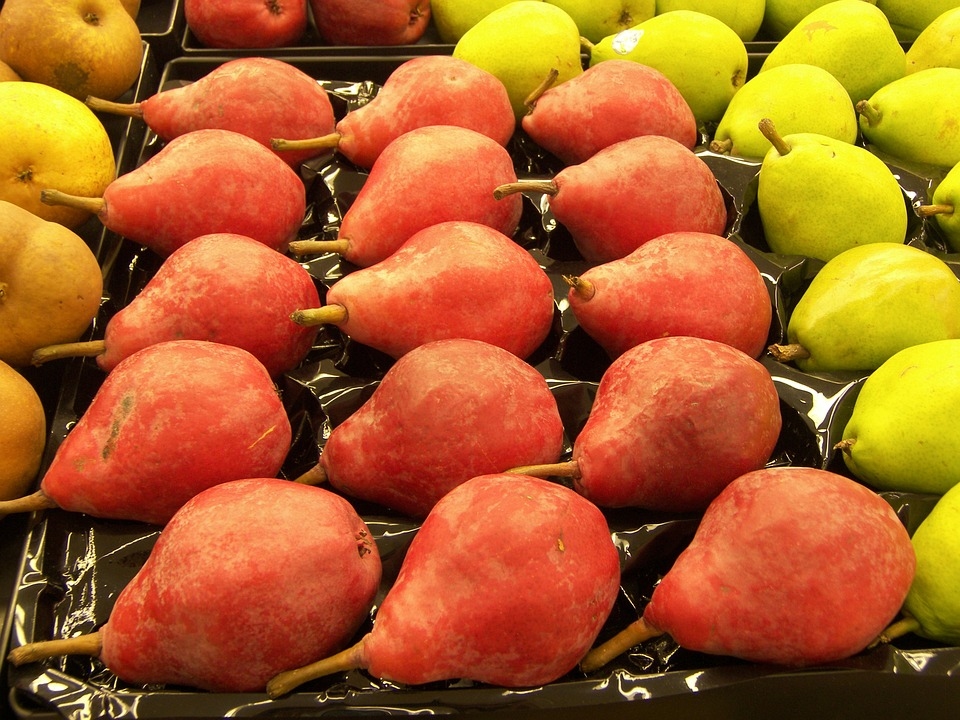
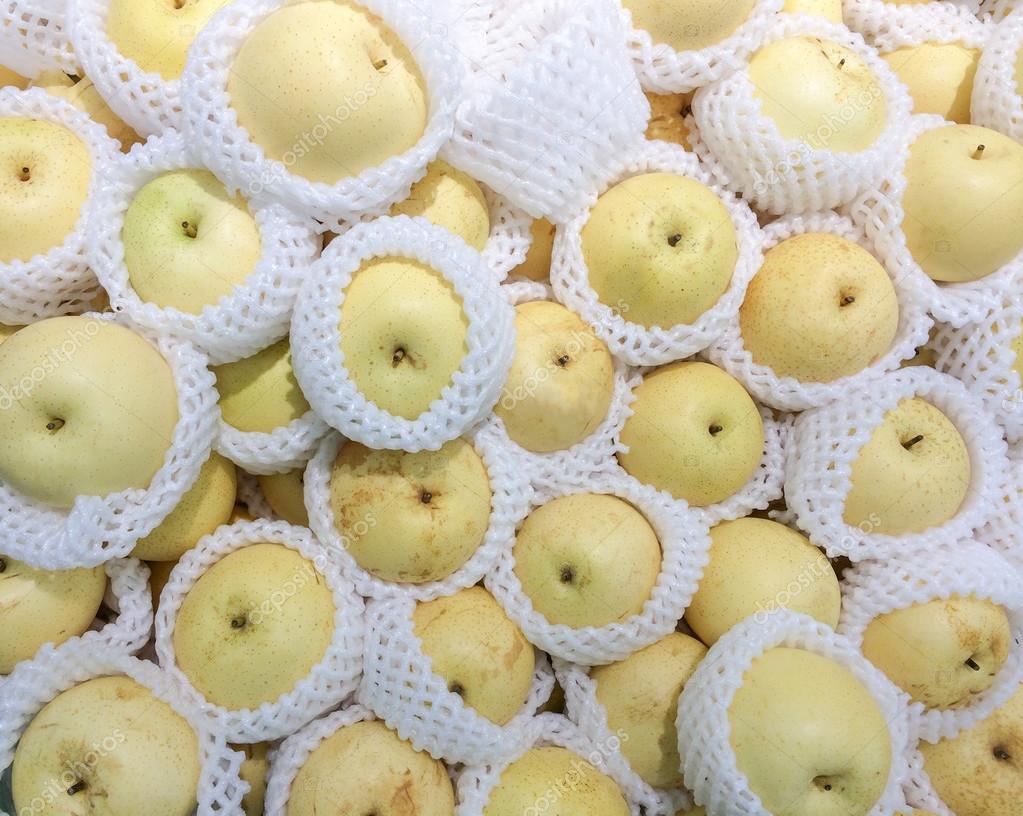
When to pick pears
To begin with, determine the area of application of the fruit - immediate consumption, long-term storage or processing. So, for example, the early varieties will not lie for a long time, and the later ones should not be eaten immediately after harvest.
Summer and autumn varieties must be harvested within a week, winter varieties within two. If the fruits are prone to shedding, then they must be removed as soon as possible.
Attention! Untimely collection of pears can deteriorate their quality, affect keeping quality, and even harm the tree as a whole.
Timing of picking pears, depending on the variety
In total, there are about 5 thousand varieties, and each has its own ripening period and a period for harvesting. For example, only a winter pear can be stored for a long time.
When to pick summer pears
Summer varieties, as a rule, are ready by August, and their consumer maturity occurs simultaneously with the removable one. Farmers harvest the crop a few days earlier to deliver it to the point of sale. They mature a little along the way.
It will not be possible to save such a pear for the winter after harvest; on average, in suitable conditions, they will lie for a maximum of two weeks. To start processing summer varieties, the crop is harvested when the fruits reach technical maturity.
Important! Early pears ripen unevenly and must be picked in several stages.
When can you shoot autumn pear varieties
Pears with an average ripening period are divided into early autumn and late autumn. In the first case, they have the properties of summer, in the second they are closer to winter. Such fruits ripen from the second half of August to early October.
The crop is harvested either at the end of the ripening phase or at the consumer stage. These stages coincide or differ by only a few days. You can eat such fruits right away, but it is also possible to keep them for 1.5-2 months. Fruits are allowed into processing at the stage of technical maturity.
In the case of late autumn varieties, the crop is harvested in the phase of removable ripeness. In order for them to become suitable for fresh consumption, the fruits must lie down for about 1 month. Stored up to 3 months.

When to harvest late pears
It is necessary to collect winter varieties of pears for storage when the fruits enter the phase of removable ripeness. The main thing is to harvest the crop before the first frost, otherwise the keeping quality of the fruit will decrease. When stored for 3-4 weeks, such fruits will reach consumer ripeness. Until this moment, they should not be eaten, because they have not yet gained their varietal taste and aroma. Such a crop lays up to six months.
Terms of picking pears for subsequent processing
Blanks are obtained from early summer and autumn varieties. But they must be removed at the onset of the technical ripeness phase, then the juice content will be maximum. If you pick ripe fruits, then during conservation they will lose their shape and attractive appearance, and when making juice and wine, they will not be able to give enough moisture. Unripe fruits have no taste or aroma. Technical maturity is precisely characterized by the fact that the fruits during harvesting are filled with juice as much as possible, retain their shape and at the same time already have a varietal taste.
When to remove pears for storage
Gardeners rarely store harvested pears in large quantities at home, because not everyone knows how to do it right. They need to be handled a little more carefully than apples. Only late autumn and winter varieties are suitable for storage. They are harvested when the stage of removable maturity comes. The seeds are already brown in color, and all the nutrients have accumulated in sufficient quantities.A cork layer is formed between the stem and the shoot.
Collecting a winter pear, in order to store it later, is in dry and calm weather.
Care must be taken when separating fruits from branches, otherwise you can lose a significant part of the crop. Even farm specialists cannot always pick fruit correctly.
Important! Fruits lifted from the ground cannot be stored, even if they look normal.
Rules for collecting and storing pears for the winter
The storage time of pears will depend on many factors: firstly, when the fruits were picked, how they were selected and prepared.
Video: when and how best to harvest pears
Rules for collecting fruits for storage
When and how pears were harvested is fundamental to their preservation in winter.
So, without fail, pears must be removed for storage slightly unripe (i.e. in technical and biological ripeness - it is also called removable, in other words, the fruits must go through the stage of technical ripeness, but not yet reach biological). Moreover, it is better to do this manually, and not with special strippers (you will definitely damage the pears with them and tear off the stalk).
When are pears removed for storage, what are the approximate terms?
As a rule, somewhere in the second half of September or early October.
To keep pears fresh throughout the winter, you need to follow a few rules for collecting them for storage:
It is necessary to remove the fruits strictly in dry weather.
- Fruits harvested after frost are not sent for storage: it is better to consume or process them immediately (frozen pears will simply not be stored).
- The fruits are harvested directly from the tree together with the stalks (the stalk should be detached quite easily in a pear close to maturity).
Preparation of fruits for long storage
Before sending pears for storage, they must be carefully examined, so to speak, to carry out a selection, namely, to find fruits without any scratches, dents, rottenness and other damage (all somewhat dubious specimens should be discarded immediately). Then sort by size, carefully placing the fruits in the boxes.
Recommendations for choosing a location
You can store Jerusalem artichoke during winter in a cellar, basement, balcony, glass containers and other suitable places. Each method has its own advantages.
Basement or cellar
Storing Jerusalem artichoke root crops in the basement or cellar is convenient because you do not need to perform long preliminary preparation. The disadvantage of this method is the insignificant storage period.
When using this method, you should:
- Place the Jerusalem artichoke tubers in containers made of wood or plastic, without first clearing the remains of the earth.
- Pour a layer of sawdust or peat on top.
You can do it a little differently:
- Grease roots with clay.
- Dry.
- Place in a plastic bag and tie tightly to prevent air from entering.
When storing Jerusalem artichoke in the basement or cellar, it is necessary from time to time to check if there are signs of rot on the roots.

Freezer
Jerusalem artichoke can be stored in the freezer for up to three months. This requires:
- Rinse the root vegetables and let them dry a little.
- Peel.
- Cut into small cubes.
- Place in a food container or polyethylene bag. If a bag is used, it must be tied tightly to create a vacuum inside.
Subsequently, to defrost Jerusalem artichoke cubes, you must place them in cold water.
Fridge
You can also store root vegetables in the refrigerator, but not so long - within three weeks. To do this, you need to peel the Jerusalem artichoke and put them in sealed plastic containers.
On the balcony in the apartment
A glazed balcony in a city apartment is a good place to store Jerusalem artichoke roots in winter. Useful properties will be retained for two months even with some freezing of the tubers.
In a glass jar
Glass containers are used to store dried or salted Jerusalem artichoke. This method does not apply to fresh, untreated root vegetables.
Immersion in paraffin
Waxing is one of the most reliable methods for keeping the original juiciness of Jerusalem artichoke for a long time.
However, it is important to take into account that this type of root crop does not tolerate prolonged heating. This procedure must be performed in a cold room so that the roots do not overheat and can cool naturally.

You need to do the following:
- Gently peel the tubers from the remaining soil without damaging the thin skin.
- Dip each root vegetable into a previously prepared container filled with molten paraffin.
- Leave the roots to dry for a while.
- Place in basement or refrigerator for further storage for one month.
In a trench on the site
One of the simplest natural methods of storing Jerusalem artichoke in winter is to create special trenches on the site. This is a convenient method, but it has one drawback - the crop remains vulnerable to rodents.
When using the trench method, several rules must be considered:
- Dig a trench in the fall when the soil is soft.
- The minimum depth should be half a meter.
- A thick layer of straw or sawdust should be laid out at the bottom of the trench.
- Select good quality, undamaged fruits and place them in a trench.
- Cover them generously with a layer of soil or straw.
- Cover with plastic wrap and fill with soil up to the top edge of the trench.
Until the onset of spring, you can keep Jerusalem artichoke in the trenches.
How to freeze correctly
In the frozen state, you can store grated or chopped, as well as whole (small) Jerusalem artichoke roots. First of all, the tubers must be washed and peeled. Cut with a sharp knife or grate. Then carefully fold into food containers or plastic bags (which must be tightly tied) and sent to the freezer for storage.
How to store pears to ripen
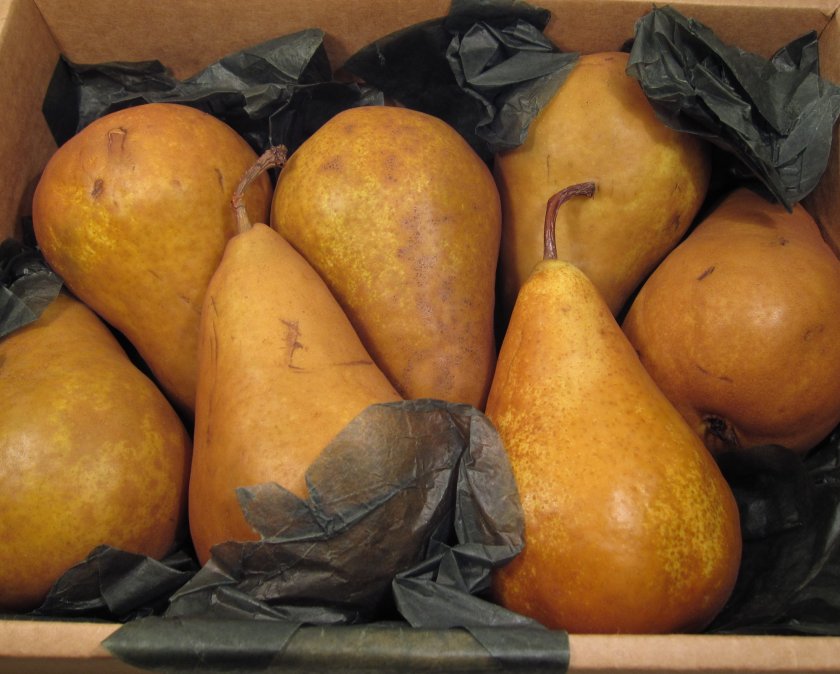
Fruits for such a long preservation are harvested at the stage of immaturity: mainly when the green tint leaves them, and the fruits acquire a blush or slight yellowness.
Pears need to create conditions for self-ripening:
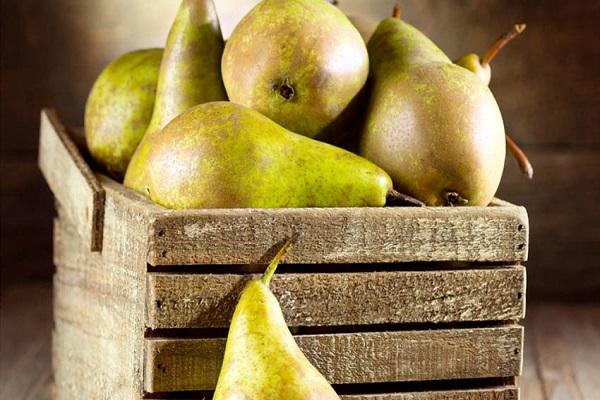
- ensure a constant temperature in the room of about +18 - +20 ° C;
- store from 2 to 6 days;
- check the condition of each fetus in the morning and in the evening;
- place almost ripe fruits in a cool place.
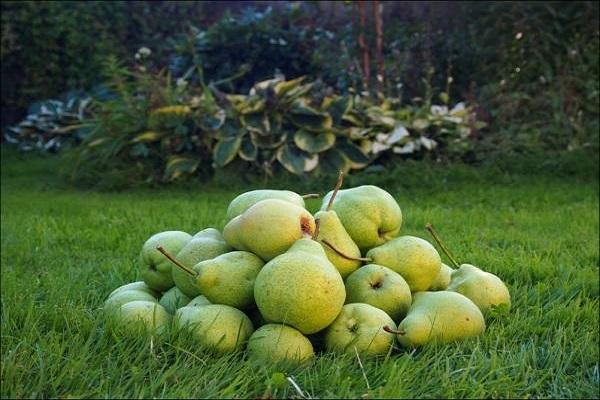
It should be borne in mind that different varieties have their own ripening period. Bartlett acquires juiciness after 5 days, Anjou will need a little more than a week to improve its taste.
Everyone can save the fruit harvest.
It is important to know what conditions are recommended for storing fruits. Then it will be possible to provide vitamins for yourself and your family during the winter period.
If you follow all the recommendations, the taste, aroma and consistency of pears will remain at an excellent level for a long time.
Preparing a place for storing pear fruits
Storing pears and other fruits at home for the winter is an old way of providing vitamins and other beneficial ingredients. The place for the location of such a stock is chosen according to the possibilities. For example, for a private house, such a zone can be a cellar, and in apartments - a pantry or a balcony. The best places for storing fruit pear stock for the winter are as follows:
- The pear lies well in the sand - this material allows air to pass through and absorbs excess moisture. If you dig the fruits in a box with dry sand, then such a box can be placed anywhere, but better in a cool place.
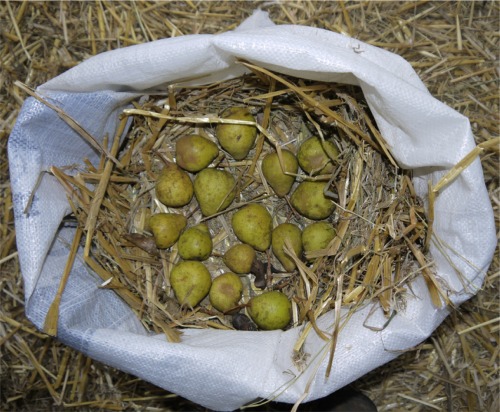
- In the barn, you can also preserve the fruit harvest - the temperature during such a visit remains low, but does not turn into critical frosts. In this case, pears are distributed in bags made of natural materials.
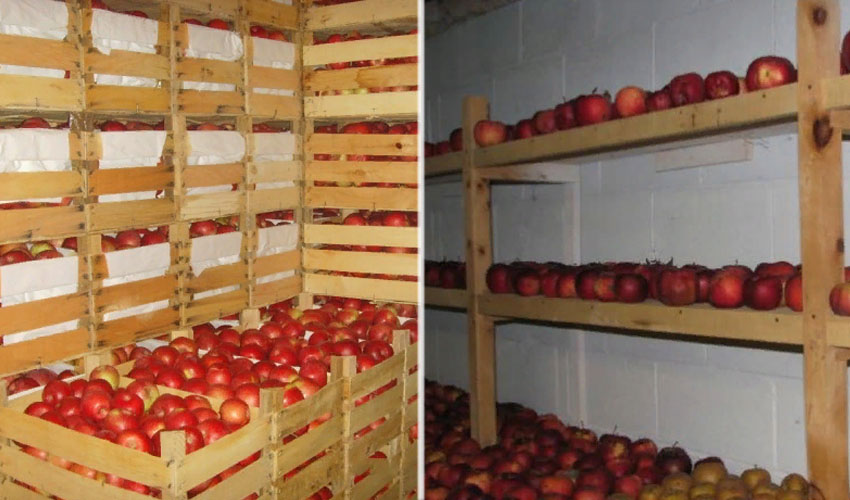
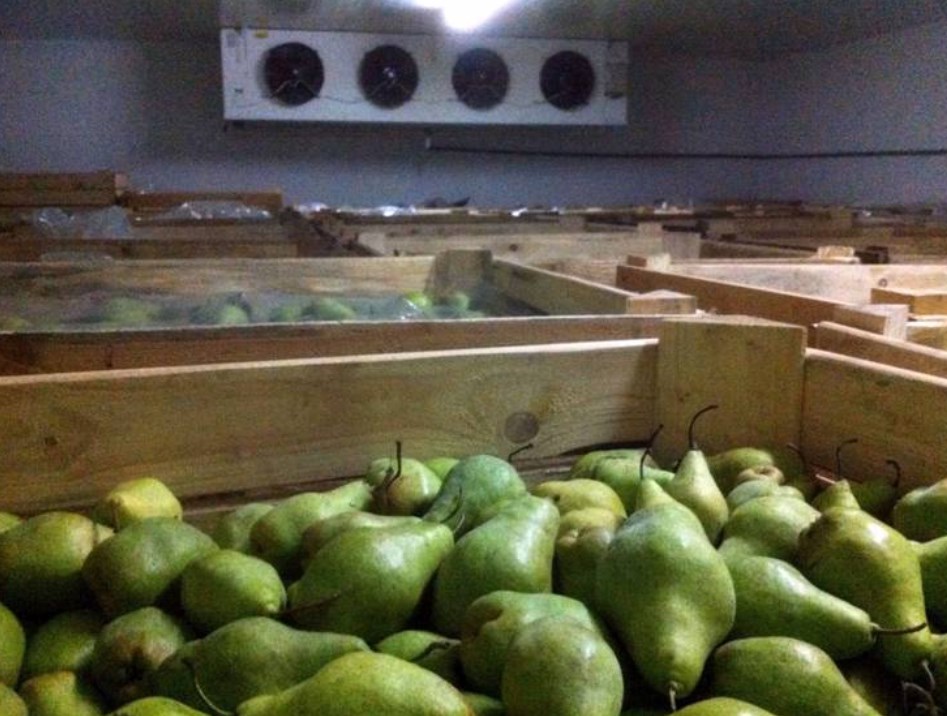
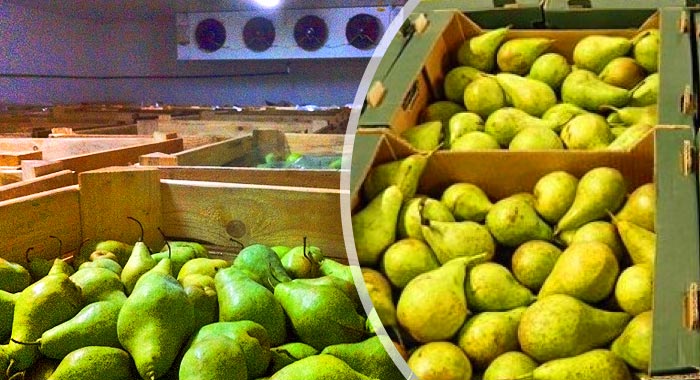
- Cellar or basement - there must be ventilation in such a place. The fruits are simply laid out in boxes and set so that they do not touch either the walls or the floor - it is imperative to maintain an air space.
- In an unheated storage room, pear fruits can be stored for about 2 months. To extend this period, it is recommended to cover the container with an ear cloth and maintain stable temperature and humidity indicators.
Note! Pear fruits can be stored on the balcony, but this part of the apartment or house must be insulated, since the fruit does not tolerate excessive hypothermia and will become unusable.
In order for pears to retain their qualities for a long period, it is not enough just to choose the optimal place and a maturing variety. It is also imperative to maintain temperature conditions, stable humidity and properly pack them in boxes or bags. In some cases, it is recommended to carry out additional processing with special means or to dip it in natural wax or paraffin.
Maturity stages
There are several stages of maturity, which one is suitable for collection, depending on their further use. It can be processing, storage, direct consumption. Harvesting the fruit at the wrong time can even ruin the harvest.
Technical
This is the stage of readiness of the fruit after being harvested for processing. This phase is the very first, and the juice yield is greatest here. The seeds only turn brown. The fruits are quite bland, but still have a taste.
Detachable
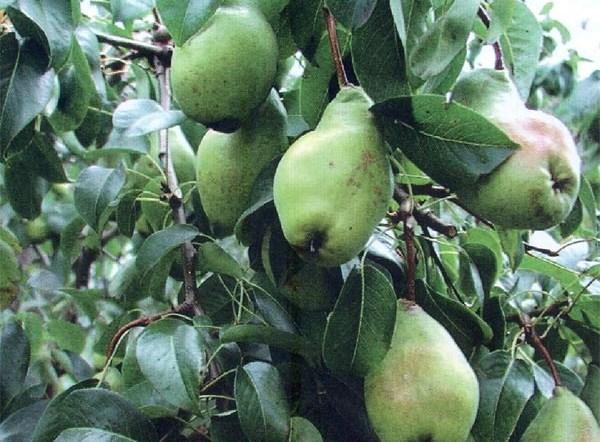
This stage is said to be when the growth of the fruit and the concentration of nutrients in it is almost complete. During this period, it easily breaks off the branch due to the formation of a cork layer between it and the stalk. The seeds are almost ripe. It is at this stage that the fruit is ready to ripen during storage.

Consumer
In this ripeness phase, the fruit is ready to eat after harvest. They already have a taste, color, pulp density and odor corresponding to this variety. The maximum amount of nutrients is found in fruits.
Full
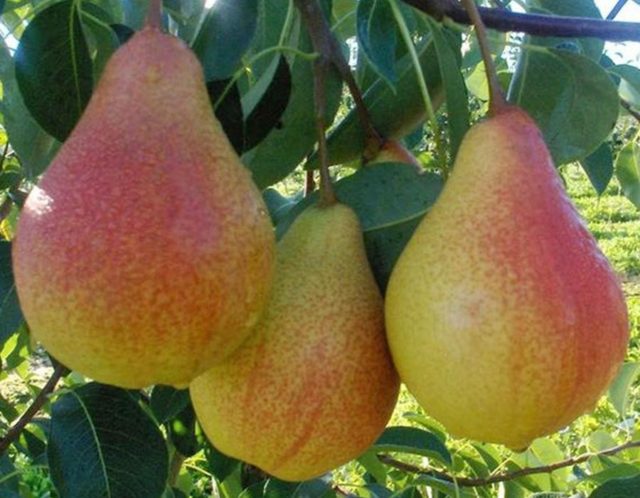
In this phase, accumulative processes do not go, starch and useful elements in fruits are gone. The pulp is not juicy, but loose and mushy. It is no longer possible to eat fresh or process such fruits. A phase of full physiological ripeness is awaited in order to harvest the seeds. In horticultural plots, fruits are not allowed to stay on a tree until such a state.
How to determine the stage of maturity
A large number of varieties are harvested at the stage of removable ripeness, and here it is important to set it correctly. There is no reliable and accurate way to find out the degree of ripeness of the fruit.
This is actual in industries where fruits are harvested on an industrial scale. They spend a lot of time on harvesting, because they do it mainly by hand. If you remove the fruit at the wrong time, you can lose most of the fruit.
There are a number of methods for understanding the onset of removable maturity:
- by the color of the fruit, it is compared with the maturity scale developed for each variety;
- a method that allows you to determine the level of starch content with the help of iodine - it changes at different stages of maturity;
- by the time of flowering, but this method cannot be used in the climate of the middle zone due to the inconstancy of the weather;
- by the color of the seeds;
- by the state of the pulp - how strong it is;
- calculation of the temperature required for the maturity of a particular variety in total;
- due to the ratio of dry substances and soluble substances;
- study of statistics of previous years.
Signs of fruit ripening
How annoying it can be when I checked it a couple of days ago - the pears were still hard and tough, but now you take them off, and it’s downright wadded with brown pulp, which is unpleasant.Especially such troubles happen when growing early and early varieties. How not to miss the moment when the fruits are filled with juice and sweetness as much as possible, but at the same time retained their characteristic crunchiness?
The ripeness of pears is determined by several criteria - appearance, taste and average ripening time of a particular variety in a particular region. Also, the weather conditions of the current year play an important role: air temperature and amount of precipitation. But first things first:
- in the process of fruit ripening, their peel changes its color from green to green-yellow, light yellow, and reddish barrels appear on some varieties;
- ripe pears are removed simply - the stalk is easily separated from the branch;
- when pressed, changes in density are felt, ripe pears lose their previous "stone" rigidity;
- to be sure, they check the seeds of the fruit removed from the tree - they should turn brown or brown;
- and one more external sign, characteristic of most varieties - delicious and ripe pears smell very aromatic.
The period of selective harvesting of fruits can last from three days to a week, but if it is not possible to visit the site every day, it is more rational to harvest the entire crop as soon as the first pears ripen. Do not be upset if some of them are still firm - after lying down for a period of days, they will certainly ripen.
Some inexperienced gardeners, based on last year's fruit ripening times, overlook the importance of weather influences and inadvertently lose some of the harvest from the tree. And even taking into account all of the above conditions, pears of the same variety, of the same age, but growing in neighboring areas can ripen at different times
In this case, the planting conditions are already influencing - a southern or northern location, illumination or thickening of the garden, fertile drained soils or heavy, clayey with high humidity. But that's not all, one cannot discount the quality of tree care, including timely feeding, protection from diseases and pests, and rationing of the set fruits.
And even taking into account all of the above conditions, pears are of the same variety, of the same age, but growing in neighboring areas can ripen at different times. In this case, the planting conditions are already influencing - a southern or northern location, illumination or thickening of the garden, fertile drained soils or heavy, clayey with high humidity. But that's not all, one cannot discount the quality of tree care, including timely feeding, protection from diseases and pests, and rationing of the set fruits.
As you can see, there are many conditions that determine the ripening time of pears and it is difficult for a non-professional to calculate them. Therefore, it is worth trusting the varietal characteristics of the tree and determining when the fruits ripened by external signs.
Other ways to store pears
Pears are a versatile fruit that can be enjoyed in summer and winter and not only fresh. You can make a lot of blanks from them - jam, compote, jam. It is much easier to store all this in sterilized jars. For pears, a balcony, a pantry, and even free space under the bed are suitable.
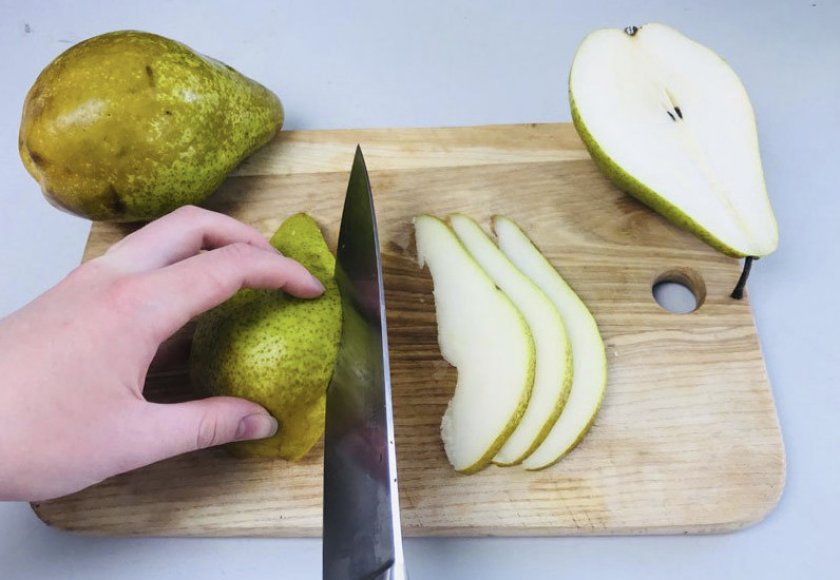
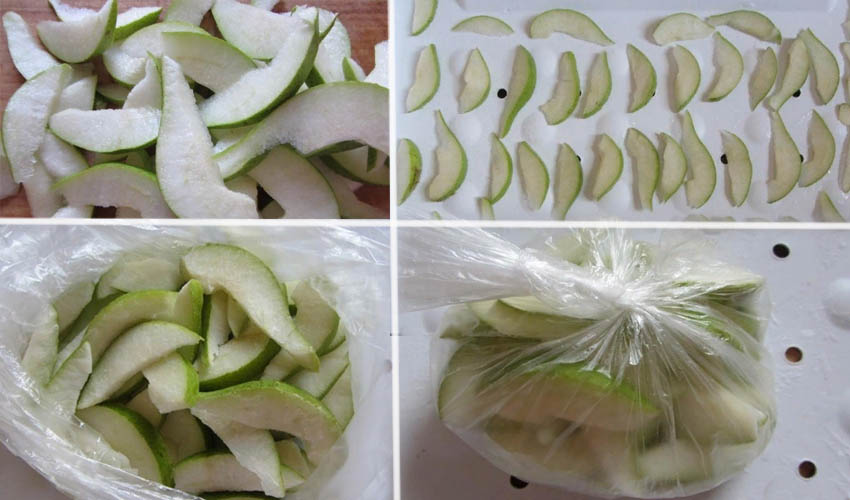
These versatile fruits can also be stored dry. To do this, you need to wash the pears, cut into wedges, core them, blanch and dry in one of the following ways:
- in a special fruit dryer;
- in the microwave;
- in a gas oven;
- in an electric oven;
- outside.
Almost any of the proposed methods allows pears to dry in 20-60 minutes, except for the last one. Naturally outside, in dry weather, dryers will be ready in a couple of days. Some people prefer to dry them by pressing on both sides, but this is not necessary at all. It is better to store drying in a glass or plastic container - the main thing is that it is tightly closed and in a dark place.You can not store drying from a pear in linen bags and plastic bags, since insects love to feast on them no less than people.
Other site materials
Shelf life of dried fruit compote
Dried fruits are very healthy. Dried fruit compotes are excellent thirst quenchers. Learn all about the correct storage of compotes from our article
How much corn is stored
If you cooked a lot of corn but didn't eat it right away, we'll tell you all about how to store it properly in the refrigerator.
How to store a watermelon
Juicy and ripe watermelon is a real summer treat. We invite you to find out how it should be stored correctly.
Melon shelf life
This melon culture is very popular with us. Melon is healthy and tasty. We want to tell you all about the shelf life of ripe melon.
How to preserve blueberries
Blueberries are a real treasure of vitamins! Learn how to properly store this berry so that it retains all the beneficial properties.
How to save wild strawberries
Wild strawberries can be easily stored at home all winter. How? Our article will tell!
Blanks for the winter
Earthen pear makes delicious jam, jam, as well as pickled and pickled preparations.
Winter salad
For an appetizing vitamin salad for the winter you will need:
- a kilogram of fresh Jerusalem artichoke root crops;
- half a kilo of carrots;
- 100 grams of lemons;
- 35 grams of salt.
The cooking process is simple:
- Peel and rinse washed root vegetables and carrots under running water.
- Grate them or cut them into thin strips (to taste and desire).
- Wash the lemon and, without peeling, grate on a medium grater.
- Combine all ingredients and sprinkle with salt. Leave in this state for five hours - enough juice will be released during this period.
- Arrange the prepared salad in sterilized glass containers and cover with lids.
- Sterilize the jars for about twenty minutes, then seal hermetically, cool naturally and move to a cool place where the salad will be stored.

Jam
Jam from these root vegetables with the addition of additional ingredients is not only tasty, but also healthy. To prepare it you will need:
- 1 kg of Jerusalem artichoke;
- 250 g of honey;
- 2 medium lemons.
Cooking description:
- Rinse the tubers under running water, peel and then grate.
- Stir in honey and stand for ten minutes to release the juice.
- Peel the lemons and remove the grains, and then grind with a blender or meat grinder.
- Stir lemons with Jerusalem artichoke until smooth.
- Put in sterilized glass jars and close with sealed nylon lids.
- Place in a cool place for later storage.
Jam
Jam is no less tasty and healthy. To prepare it, you will need:
- 1 kg of earthen pear roots;
- 500 g plums of any kind;
- 100 g sugar;
- 100 ml of water;
- 5 g citric acid.
The culinary process is very simple. Necessary:
- Wash the plums and remove the pits.
- Rinse Jerusalem artichoke thoroughly with a brush and, without peeling, cut into thin slices.
- Place all ingredients in a bowl and mix with water and sugar.
- Bring to a boil over low heat, not forgetting to stir constantly.
- Boil for an hour under the lid, stirring the mass regularly.
- Cool the prepared jam slightly and rub it through a strainer to easily separate the plum skins.
- Boil the grated mass with the addition of citric acid for 10 minutes over low heat.
- Transfer to sterilized jars and roll up with sealed lids.
Fermentation
To prepare a healthy pickled snack you will need:
- 1 kg of root vegetables;
- 100 g fresh dill;
- 1 liter of water;
- 60 g of salt.

First of all, you need to select tubers of the same size and good quality, and then follow a series of actions:
- Rinse and dry the Jerusalem artichoke roots.
- Cut them into thin slices and place in a glass container.
- Alternate each layer of thinly sliced root vegetables with dill sprigs.
- Prepare the brine by dissolving the salt in boiling water.
- Wait until it cools and pour the brine over the jar with the ingredients.
- Hold under oppression at room temperature for a week.
- Place in a cool room for later storage.
Pickling
To prepare a pickled snack you will need:
- 1 kg of earthen pear;
- 600 ml of water;
- 200 g granulated sugar.
Root vegetables can be used with or without skin. In the first case, they must be thoroughly cleaned with a kitchen brush.
Cooking process:
- Place the washed roots in a glass container.
- Prepare a brine from 2 liters of boiling water and 4 tablespoons of salt.
- Boil and cool the brine, stand for 15 minutes and pour over the root vegetables.
- After a week, drain the brine, and add peas and garlic cloves to the jar.
- Bring 2 liters of water to a boil again and add coriander (to taste) and 3/4 cup vinegar to it.
- Remove the resulting marinade from heat and pour into jars.
You can eat the pickled product after three days.
Rules for collecting and storing pears for the winter at home
How the fruits are removed from the tree and then put into storage are critical points in determining the pears' ability to survive the winter.
In what time frame is it better to collect
If you are harvesting for storage in your own garden, remove the fruit from the tree along with the tails. At the time of collection, the weather should be dry.
Important! Pears taken from the tree during the freezing season are not suitable for setting for long-term storage. It is better to use them immediately for food .. You can check ripeness by slightly pressing on the top near the stem
Choose solid specimens for winter storage. Soft texture or dents anywhere on the fruit indicates that the pear is overripe
You can check the ripeness by lightly pressing on the top near the stem. Choose hard specimens for winter storage. A soft texture, or the presence of dents anywhere on the fruit, indicates that the pear is overripe.
Preparing pears for storage
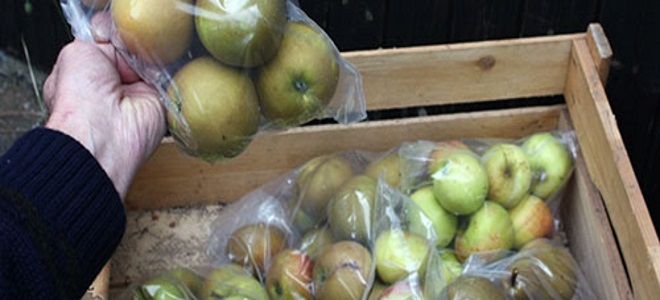
Proper preparation and laying of fruits will extend the shelf life of the crop. Never wash the fruit before placing it in the refrigerator. Just pack the crop in polyethylene bags (one kilogram each)
It is important to make small holes in such packaging so that the fruit can breathe.
Before sending fruits for storage in the freezer, they must be processed - washed and cut into medium slices. And so that the pieces do not stick together during storage, they should first be frozen.
To do this, spread the slices in one layer in the freezer drawer and keep them in the chamber for 3-5 hours.
Important! Leaving unpackaged fruit in the freezer for longer than the specified time will adversely affect its taste and texture.
In an apartment, a balcony or a pantry can be a good place to store pears. In these places, unwashed fruits will be well preserved if they are placed in boxes and covered with sand. An alternative to sand can be dry oak or maple foliage.
Did you know? The closest relatives of the pear are the rose, the hawthorn and the apple tree. All these crops belong to the Rosaceae family.
Optimal storage conditions
In various storage facilities, special conditions are required:
- Fridge. The temperature of your refrigerator should be set at 1–4 ° C.
- Freezer The freezer temperature must be -18 ° C) or lower. Place the bags or containers on a flat surface so that the fruit is evenly frozen.
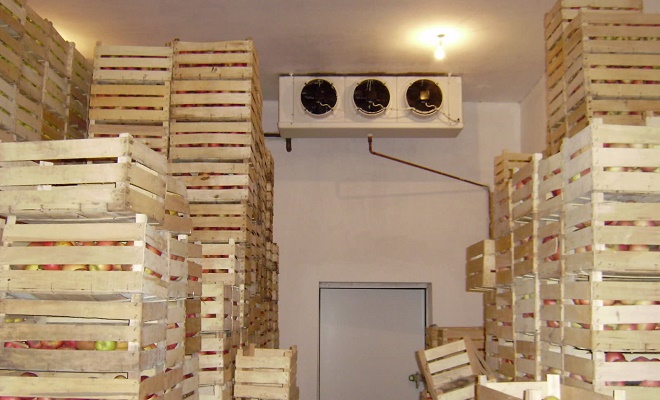
- Cellar or basement. In this case, the location of the container with fruit plays an important role - it should be raised above ground level by 15–20 cm. Be sure to treat the basement from all kinds of mold and fungi.The simplest treatment methods are fumigation with sulfur powder or whitewashing the walls with lime mortar. The ideal temperature in this case is 1-3 ° C, and the air humidity is about 85%.
- Balcony or storage room. If the balcony and the pantry are insulated and there are no low temperatures, then they can be safely used as storage for juicy and tasty fruits.
Storage advice
Pears, in comparison with apples, are quite a capricious product. Due to improper storage within a short period, they can turn into completely tasteless fruits. An important factor in this is the correct choice of the variety. So that the harvested crop does not lose its taste for as long as possible, only winter varieties of pears should be grown and harvested. They are plucked while still unripe, which reduces the likelihood of damage to the fruit and their rotting.

Here are some recommendations on how to properly store pears:
the harvesting process should be carried out as carefully as possible, avoiding damage to the fruits, since these places will later become centers of rot and spoilage;
during storage, pears must be sorted out and examined (rotten and too ripe fruits are eliminated);
if the crop is stored in boxes, it is necessary to provide air access to it, therefore, it is recommended to use cotton fabric as a cover;
the humidity should not be too low, otherwise the pears will dry out and become tasteless;
when harvesting, it is important to preserve the stalk, which will increase the shelf life of the fruits;
the more light flows to the pears, the faster they will become overripe.
If the fruits are not planned to be eaten fresh and you need to keep them in order to use them in the future for making various desserts, it is recommended to freeze the pears. To do this, they are cleaned of the peel and seed part, sprinkled with lemon juice so that they do not darken, and put in special bags. In this form, pears can be stored for up to 6 months.
Selection and preparation of fruits
For long-term storage, only whole fruits without signs of disease, rotting and mechanical damage, collected in the phase of technical and botanical maturity, together with the stalks, are suitable.
Harvested in dry weather, sorted by variety and size, but not washed. Pears harvested after the onset of frost, when the night temperature has dropped below -15 ° C, are not suitable for storage.
Varieties suitable for long-term storage
Among the varieties of culture of different ripening periods, varieties are distinguished that are most suitable for long-term storage:
| Ripening period | Variety | Description |
| Autumn. Ripen in late August - early September. | Marble | Medium-sized fruits are covered with a dense elastic skin. The pulp is tender sweet. Trees withstand temperatures as low as -25 ° C.
At a temperature of 0 ... + 3 ° C, the crop is stored for 60–70 days. |
| Favorite of Yakovlev | The trees grow to a height of 3–8 m and withstand frosts down to -30 ° C. The variety is prone to scab damage. Fruits with juicy fleshy pulp of sweet and sour taste.
At a temperature of 0 ... + 6 ° C and an air humidity of at least 70%, the crop is stored for 3 months. |
|
| Victoria | The fruits are large, sweet and juicy. The variety is resistant to scab, bears fruit every year and abundantly. Productivity - 180-200 kg per tree.
The keeping quality of fruits at temperatures up to + 5 ° C is 3-4 months. |
|
| Santa maria | The variety was bred in Italy, characterized by medium-sized trees, abundant yield (50–120 kg per tree), scab and frost resistance down to -30 ° C.
The harvest is stored for up to 2 months. |
|
| Autumn and winter. The crop reaches technical maturity in mid-September - late October. | Bere Luca | The trees are 5–5.5 m high, the fruits are sweet with a slight sourness, weighing 200–400 g. The yield is 43–54 kg per tree.
Fruits at a temperature of + 2 ... + 3 ° C are stored for up to 4 months. |
| Striyskaya | Trees up to 4.5 m high can withstand temperatures down to -25 ° C.Fruits weigh 260-350 g, yield - up to 45 kg s wood.
Keeping life is 4-5 months. |
|
| Winter. Frost-resistant varieties bred specifically for winter storage. | May Day | The variety tolerates frosts down to -20… -25 ° C. Thanks to the wax bloom on the peel, the fruits are protected from pests, fungal diseases and are stored for 7 months. |
| Charles Cognier | It tolerates a decrease in air temperature to -3 ... -10 ° C. Fruits are sweet with chocolate notes, stored for 6-7 months. | |
| Saratovka | The crop is harvested at the end of September, it is stored for 3-5 months. The variety is resistant to scab and powdery mildew, tolerates frosts down to -30 ° C. |
How to prepare a cellar?
You should start preparing for laying pears for storage in advance.
2-3 weeks before harvesting, it is necessary to disinfect the cellar to protect the crop from rot and fungi.
You can use a sulfuric smoke bomb, but you must strictly follow the instructions for use, or paint the floor, walls and ceiling of the room with slaked lime.
Do not forget about your personal safety, be sure to wear rubber gloves and a mask to protect your face.
After disinfection, the cellar is tightly closed; you should not enter there for several days. After this time, open the cellar for ventilation.
How to store pears at home
We recommend reading our other articles
-
The best varieties of watermelons
-
Pine cone jam
-
How to get rid of moles
-
Victoria turkeys - tips for keeping
Pears are stored for a long time only in a suitable container
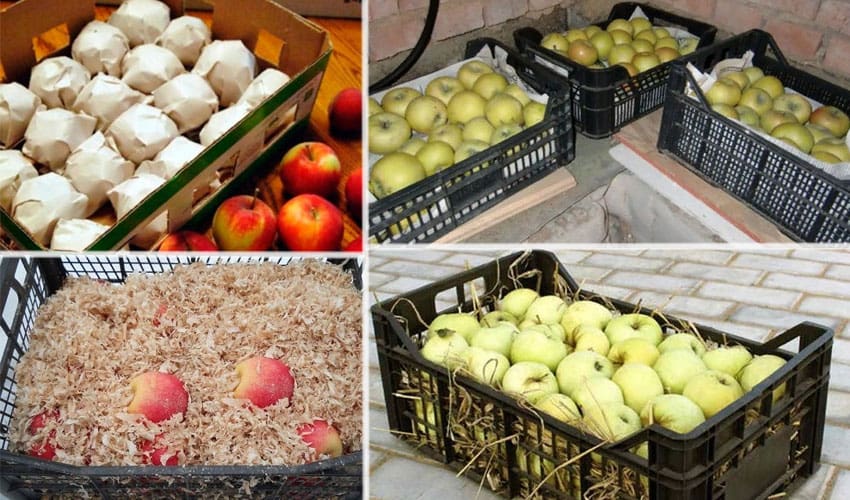
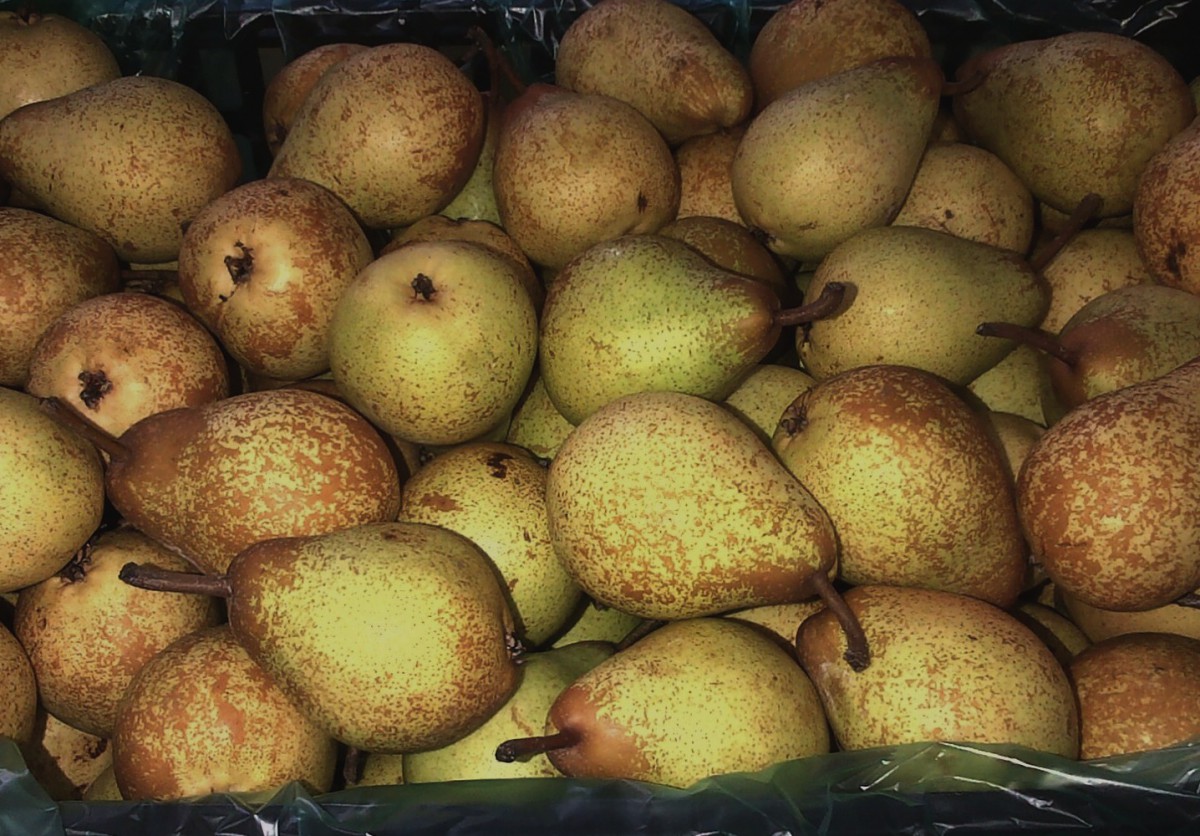
For example, you can take a plastic or wooden box, but it is important to make sure that there are holes in the walls of the container through which ventilation will be carried out.
Important!
Regardless of the storage method, every 2-3 weeks it is necessary to revise the fruit for rot, the appearance of worms. All the spoiled fruits are taken out, and the whole ones are left to be stored further .. When the pears are prepared, they are laid out in boxes
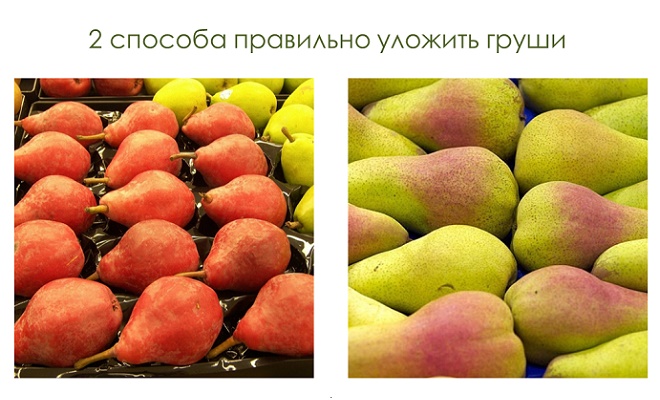
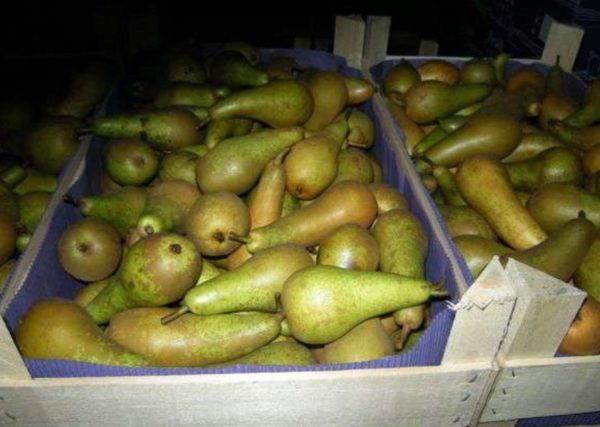
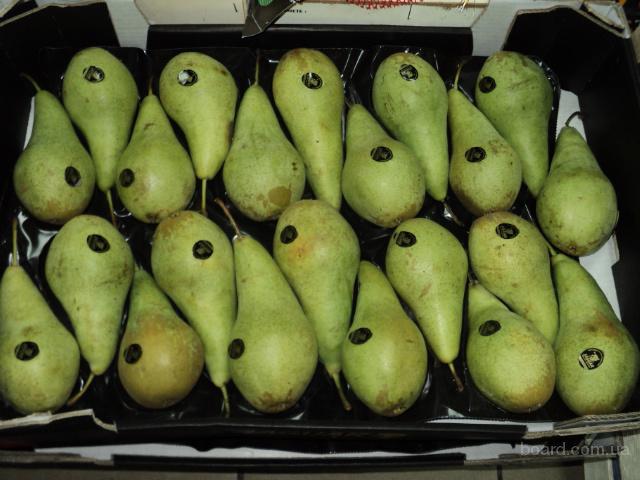
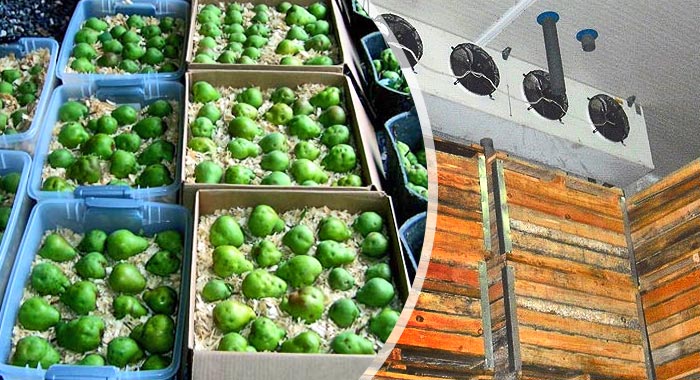
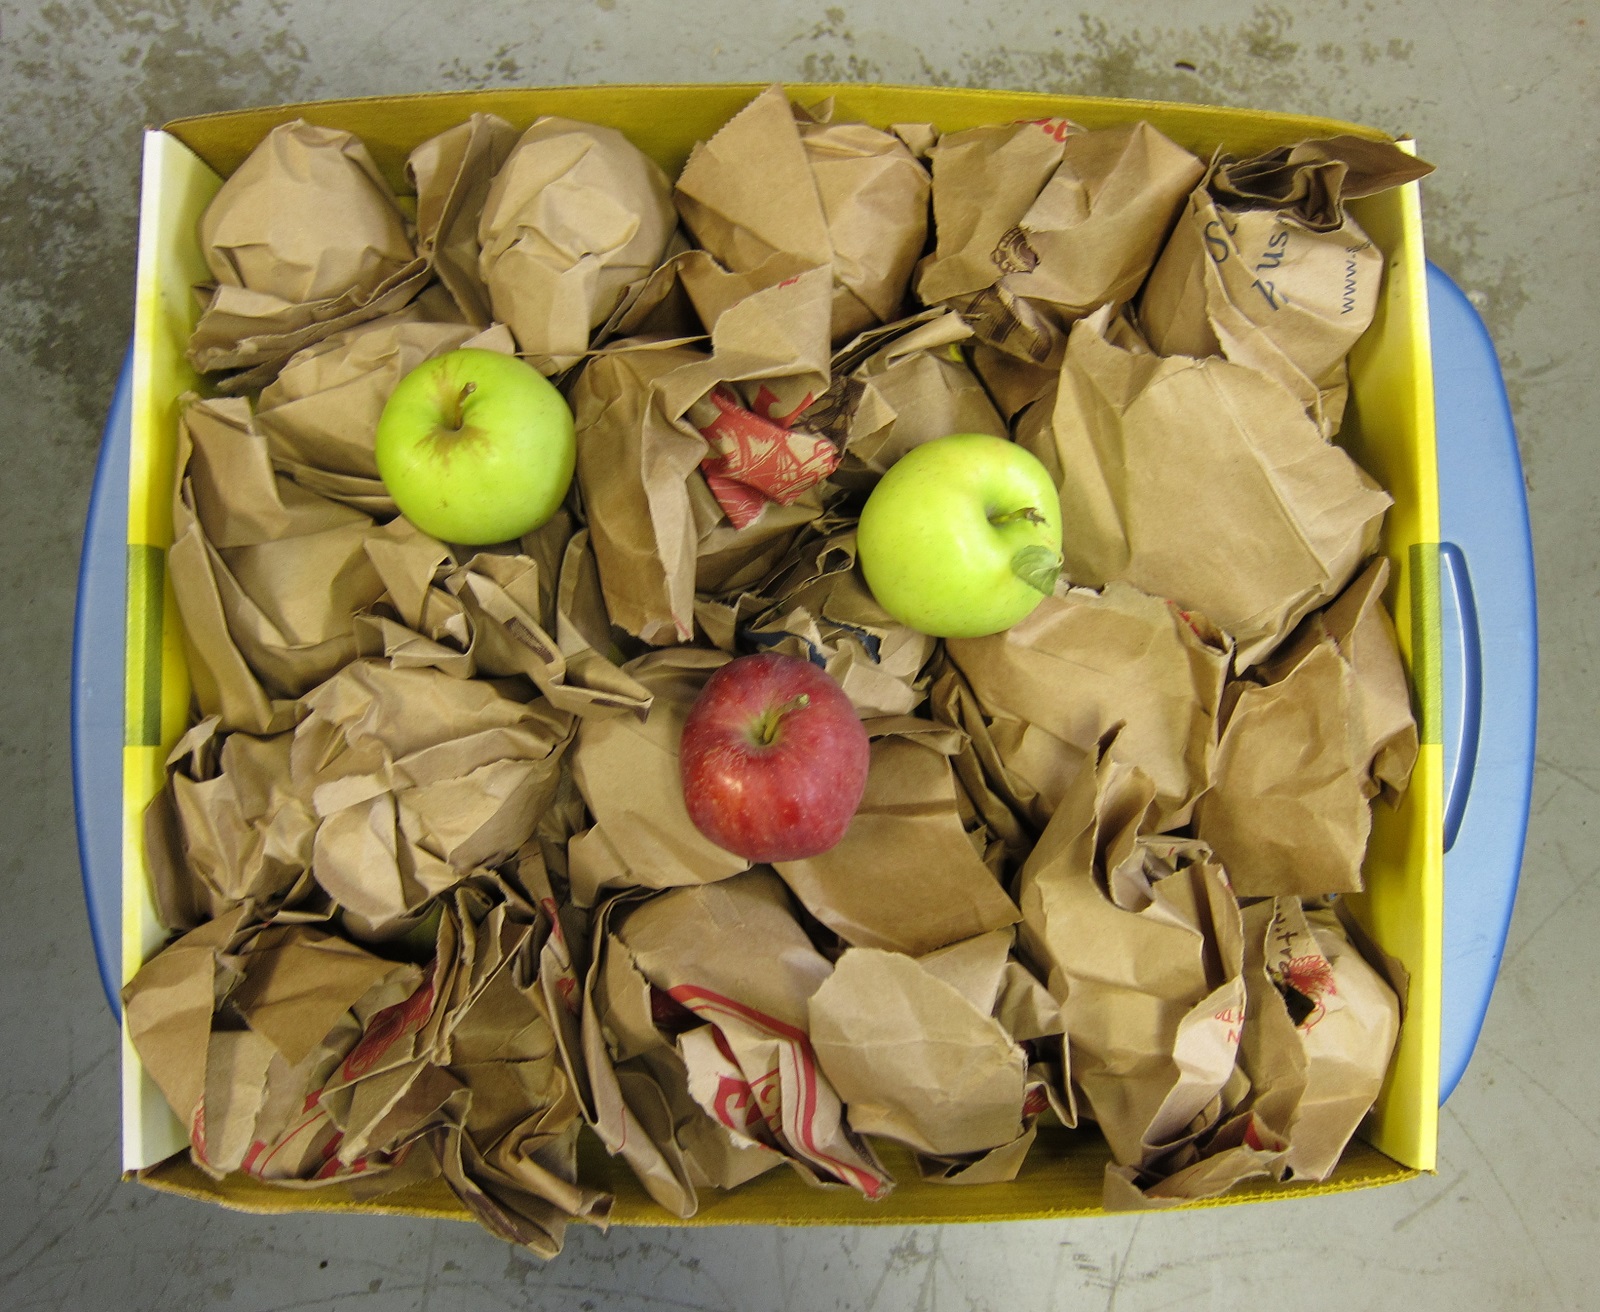
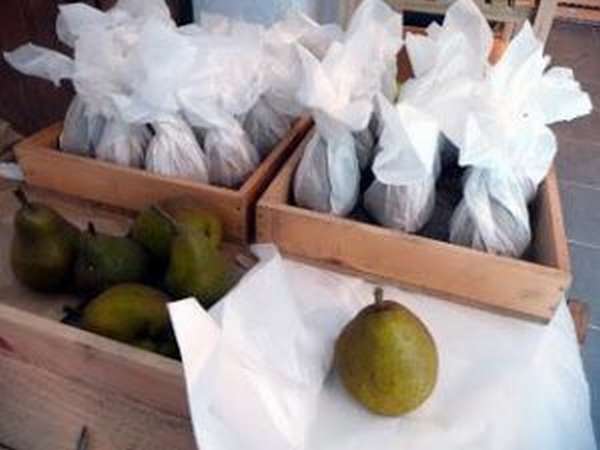
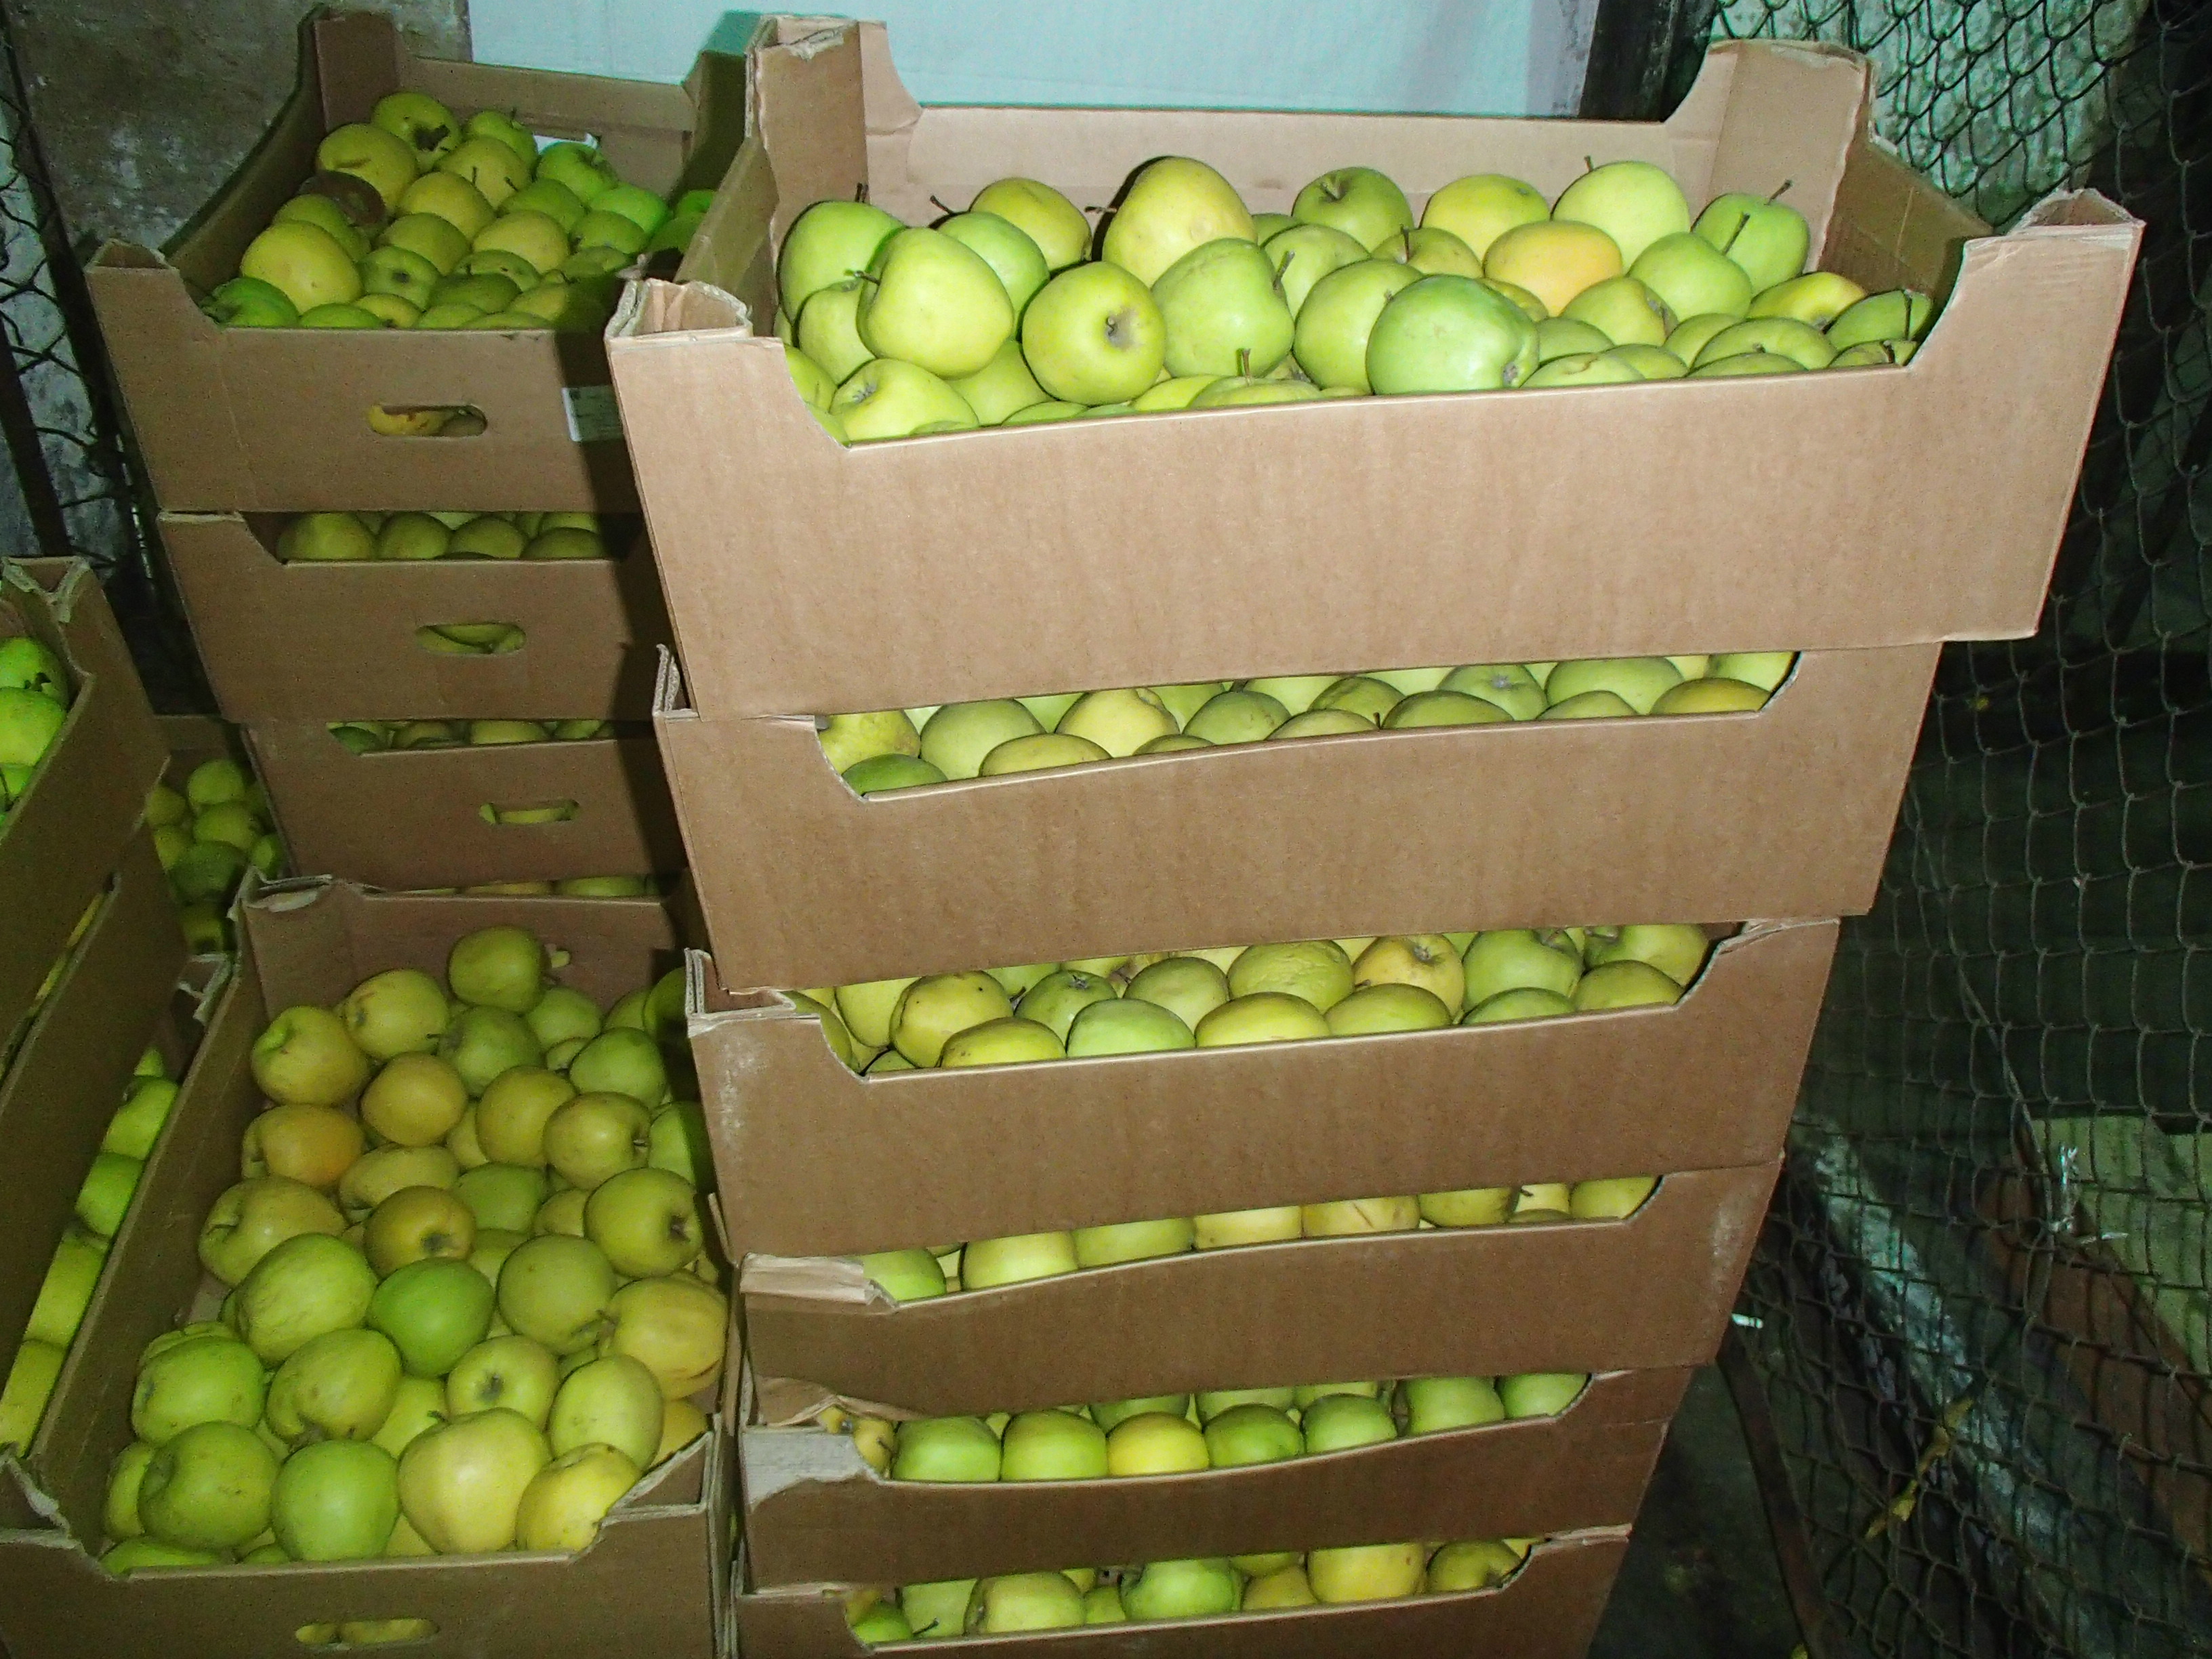
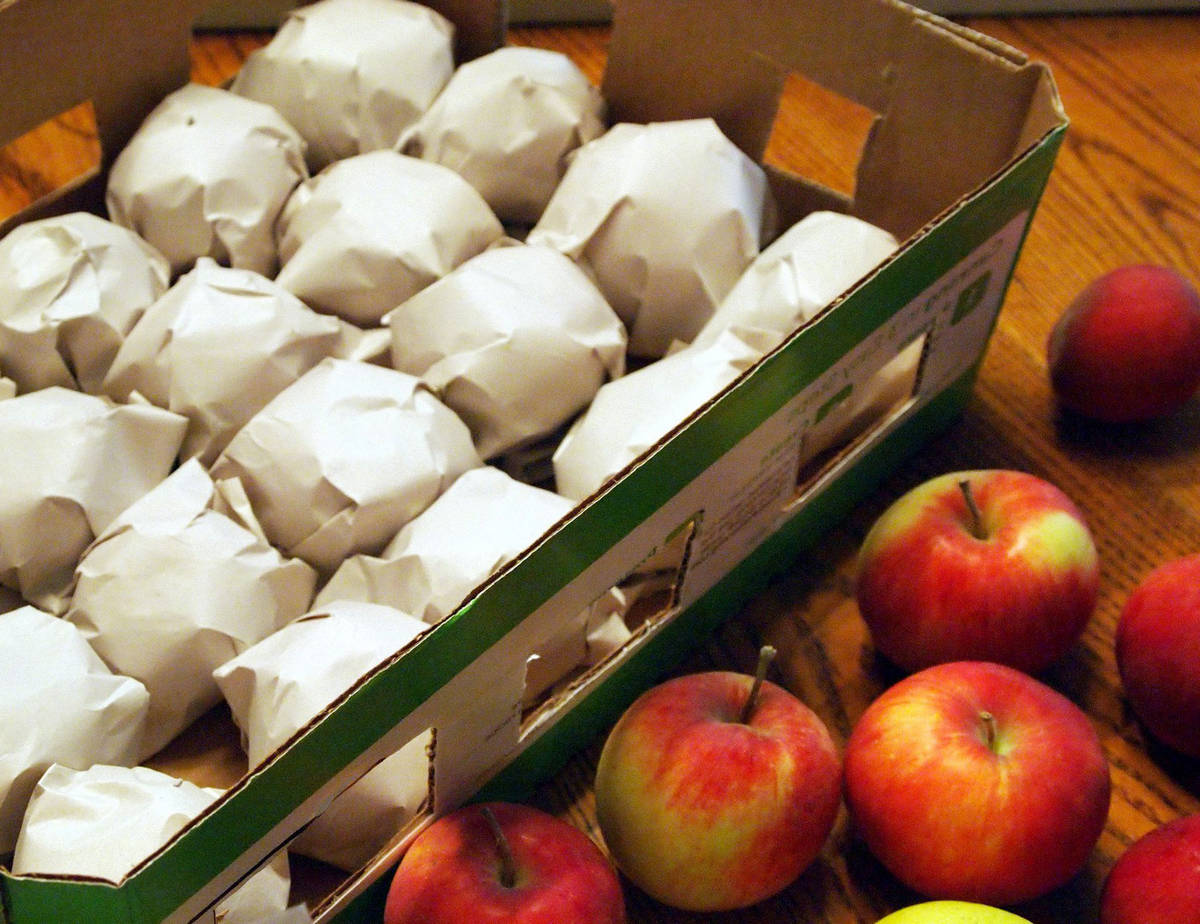
The boxes must be clean and dry. It is recommended to fumigate them with smoke to get rid of possible bugs that may be hiding in secluded places. Cardboard and straw are placed on the bottom. Then you can stack pears. They are placed with the handle upwards with a distance of several centimeters (can be shifted with straw). It is also possible to store pears in new bags, nets.
When the pears are ready, they are laid out in the boxes. The boxes must be clean and dry. It is recommended to fumigate them with smoke to get rid of possible bugs that may be hiding in secluded places. Cardboard and straw are placed on the bottom. Then you can stack pears. They are placed with the handle upward with a distance of several centimeters (you can shift it with straw). It is also possible to store pears in new bags, nets.
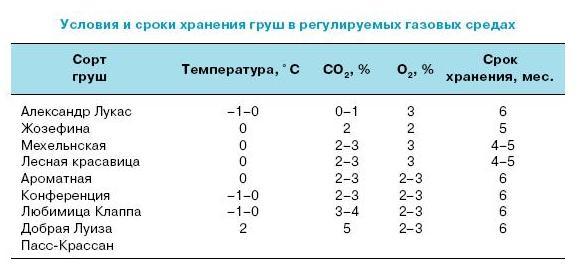
Knowing how to properly store pears can save the harvest for many months. The optimum moisture content for pears is 80-90%. Temperature 0 ... + 2 degrees Celsius. It is also worth controlling that there is a minimum of light in the room. The light coming to the fruit provokes rapid ripening and overripening!
Pears are not easy to store because they are prone to rot
In order for them to lie for many months, it is important to provide them with optimal conditions. If done correctly, fruits can lie until spring or longer.
At the same time, they retain their taste, aroma and useful properties.
Storage methods in the ground
If there is no cellar or basement, pears can be stored in the ground. We have found two ways by which these fruits are perfectly stored almost all winter. True, you have to sweat - it is difficult to organize storage.

Pears in the pit
The method can be used in areas with deep groundwater or if the area is located on a hill. To preserve the harvest, a hole is dug, the length and width of which are arbitrary, and the depth is 120-150 cm.As soon as the hole is dug, start laying the fruits according to the following scheme:
- The pears are placed in boxes, which are lowered into the pit and placed one on one so that half a meter remains to the top.
- A pipe with a diameter of 100 mm or more is placed in the center. Its lower end should be raised 50 cm from the ground.
- The top is closed with slate, boards and other materials at hand, and then covered with earth, with a layer of at least 40 cm.
We must have time to finish the work before the first frost. Then you can open the hole, take out the box and immediately restore the soil layer. Pears are stored in this way for several months, but can be damaged by rodents.
Storage in the ground
This method is less laborious. They dig a hole, up to half a meter deep, the width and length are arbitrary. Pears are carefully sorted, whole, without defects, fruits are packed in plastic bags, which are lowered into the pit. The bags are placed in one row, a layer of spruce branches is made on top to scare away animals that love pears. The final stage - the earth is poured with a layer of 25-30 cm. This way you can store pears until the New Year holidays.
