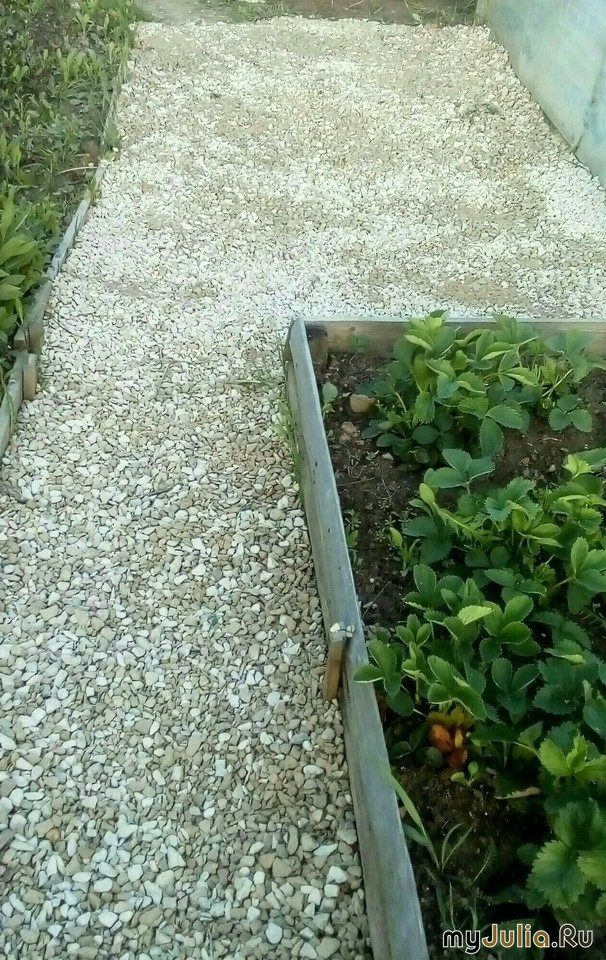
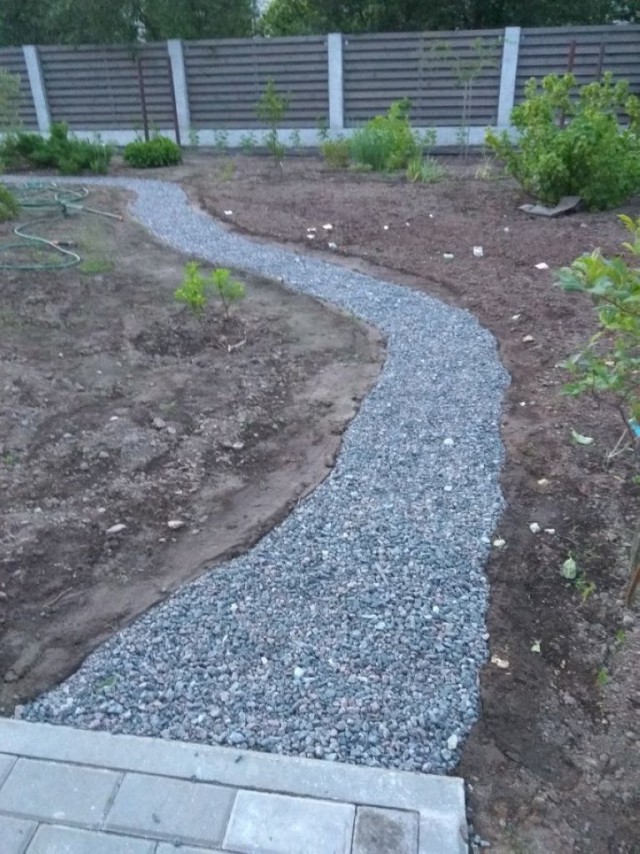
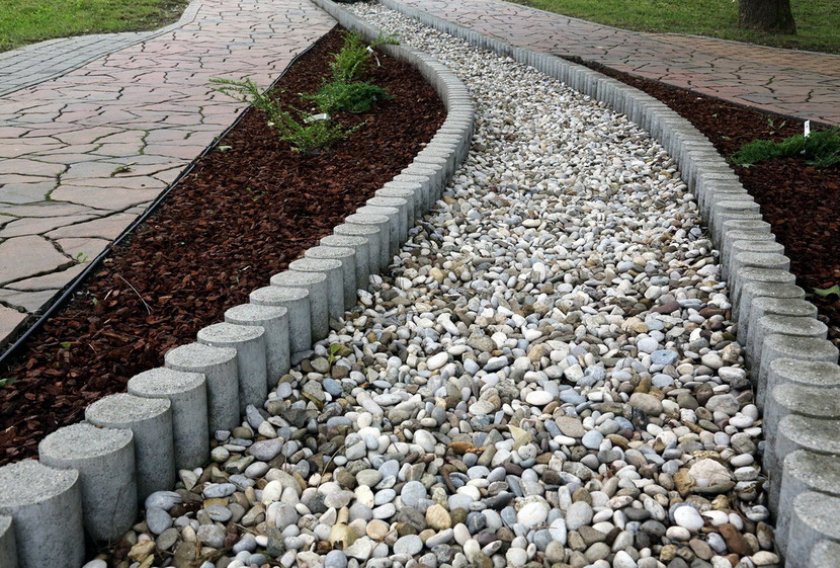
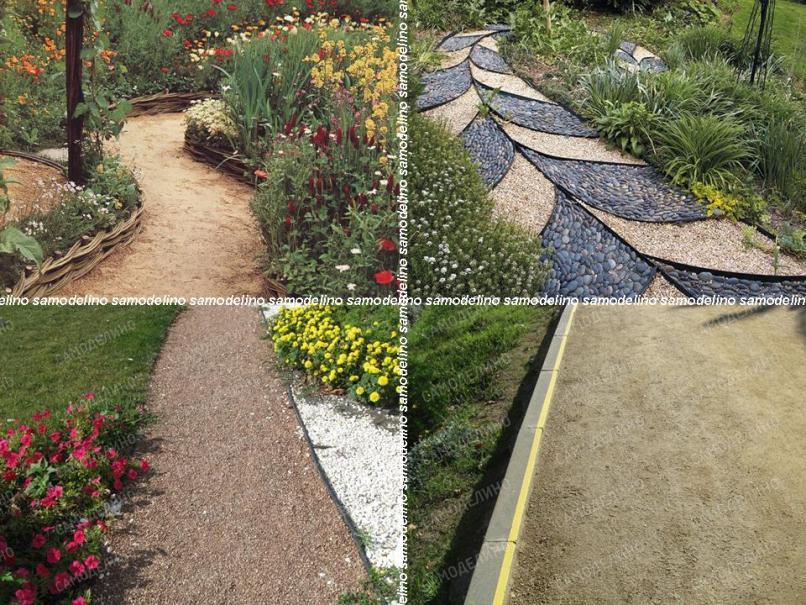
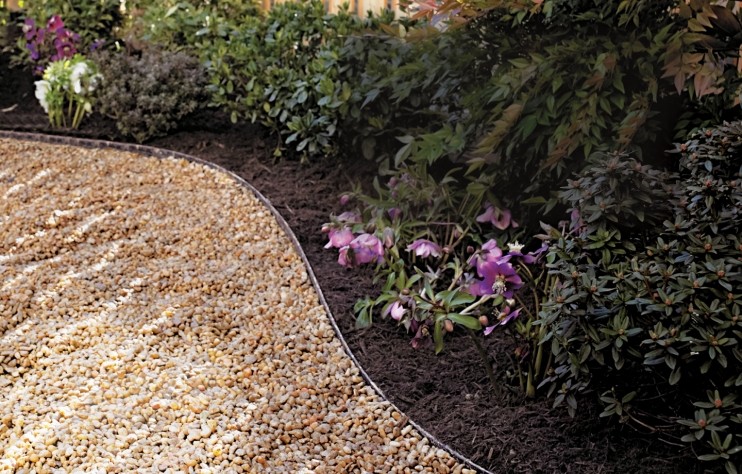
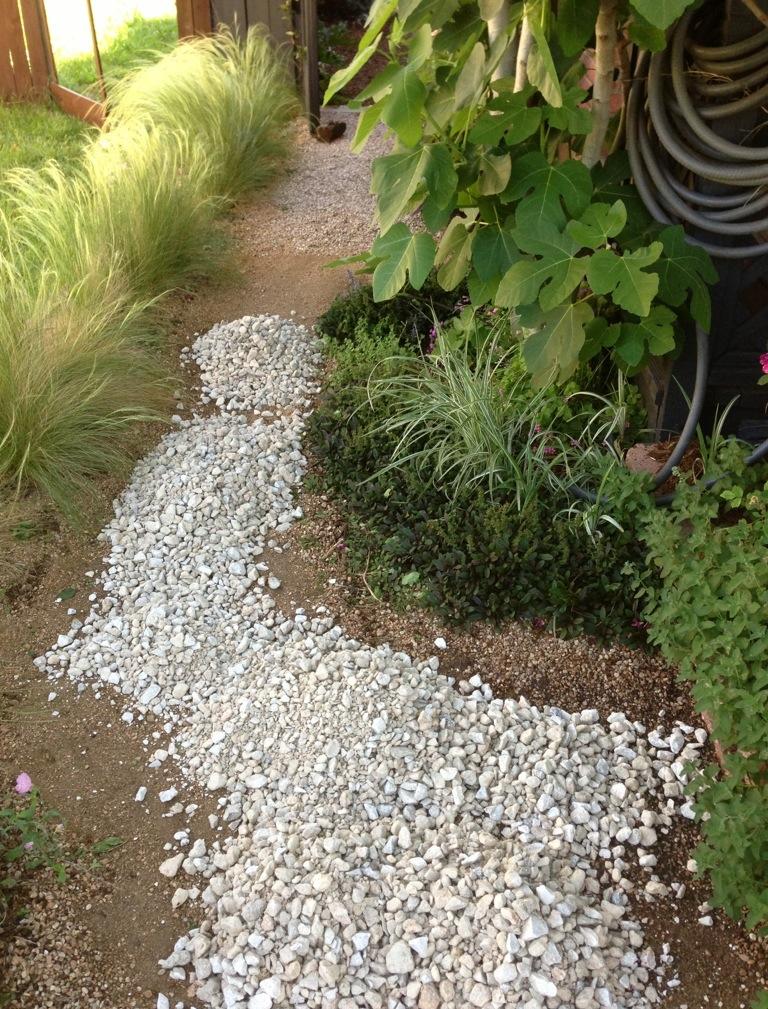
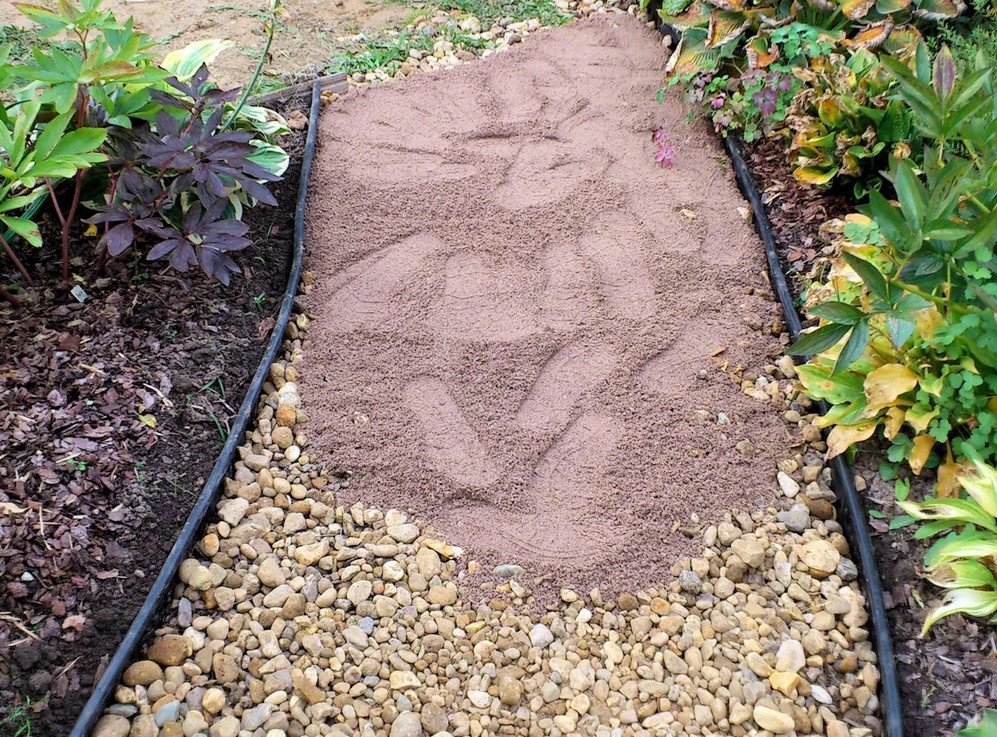
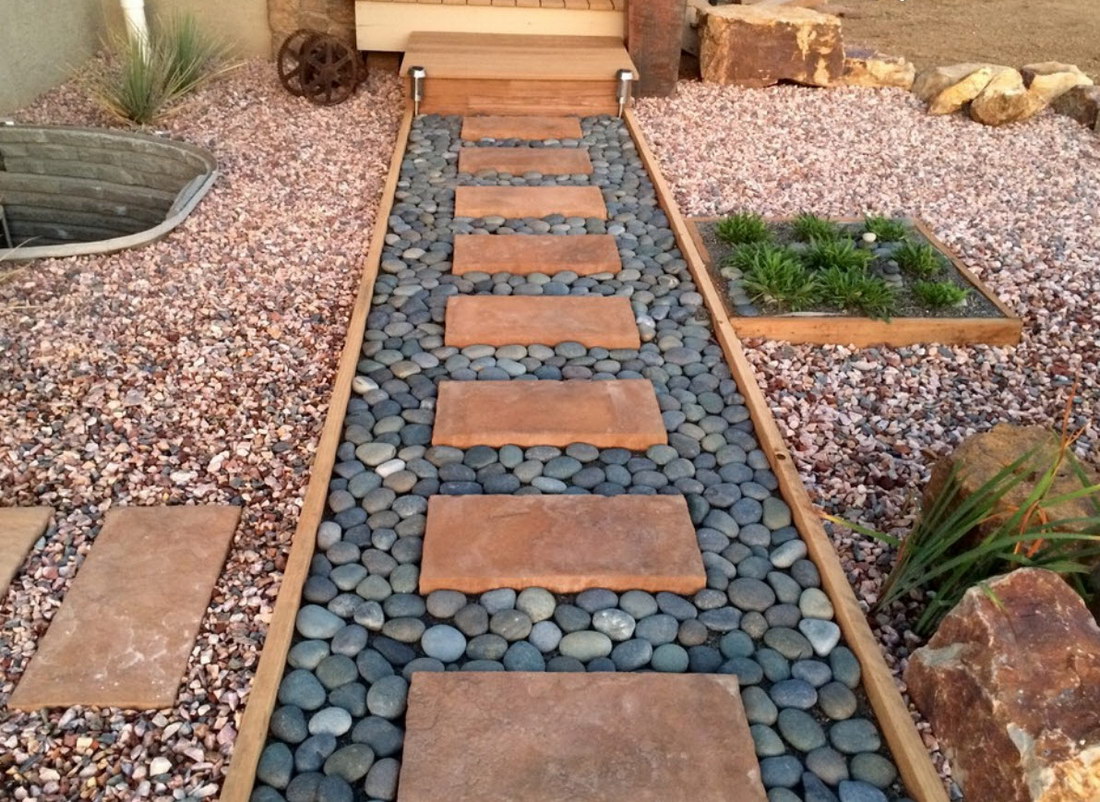
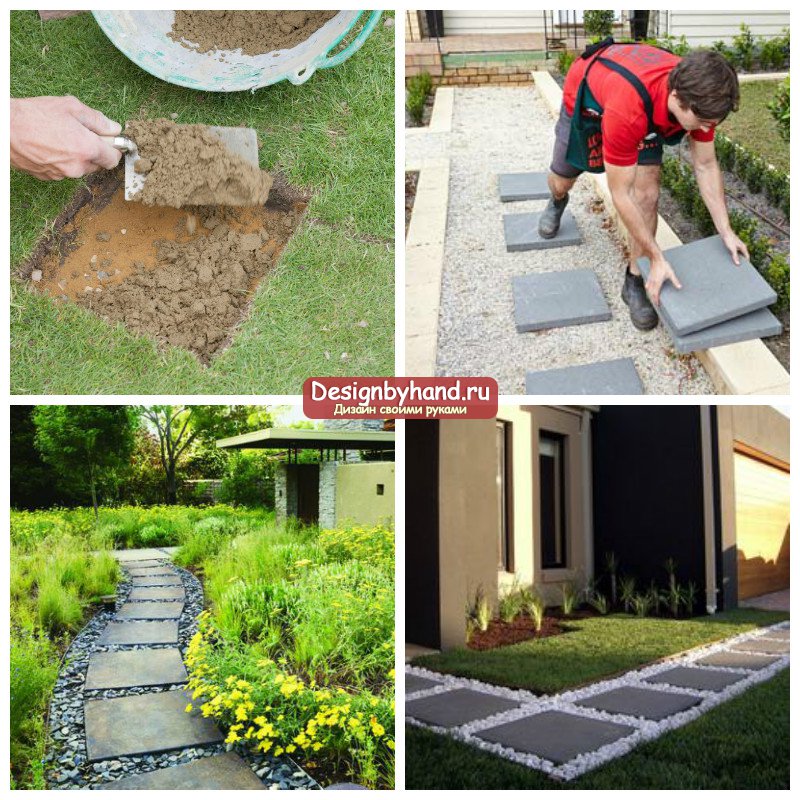
Garden path decoration
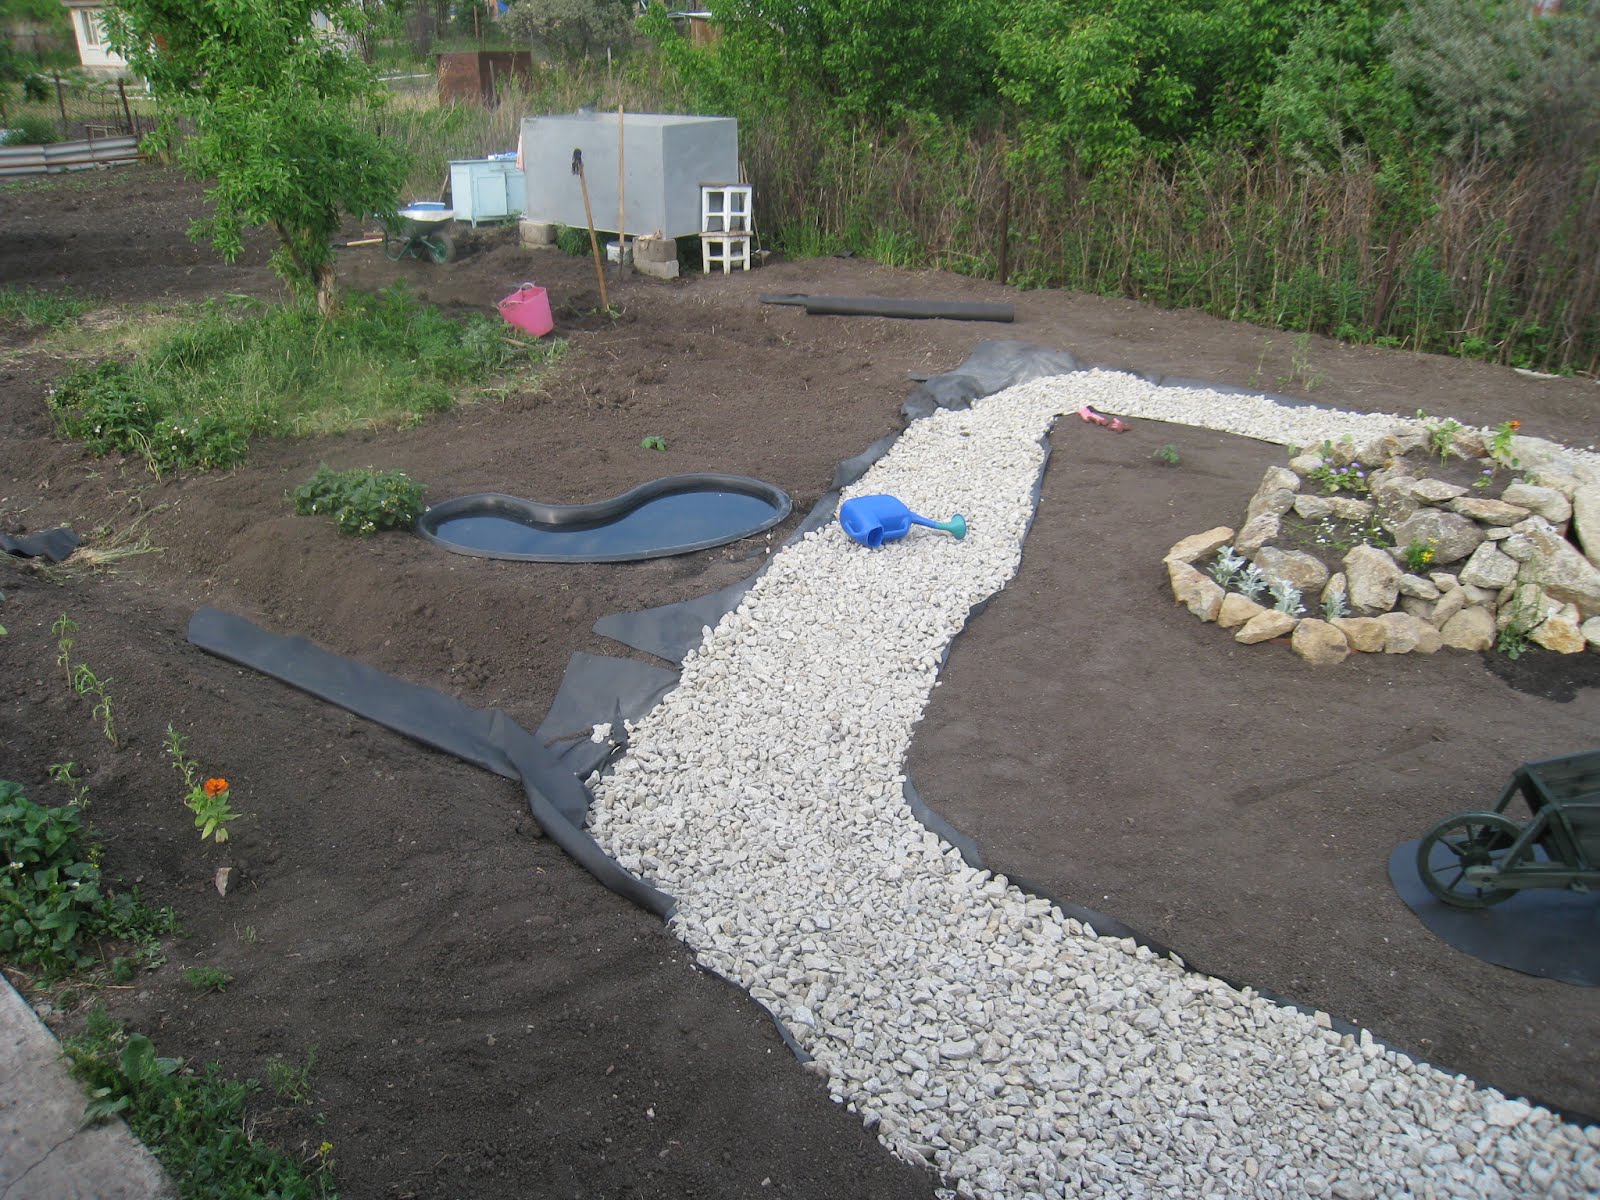
In addition to natural gravel, there is artificial one. The product is a secondary raw material from the processing of asphalt, concrete, broken brick. Such material costs an order of magnitude cheaper than natural material, but no less is used in the design of sites. They decorate garden paths, the bottom of reservoirs, flower beds, rockeries, stone gardens with them.
Advice. When choosing this or that type of coverage, keep in mind that the fragments should not be larger than 70 mm, the largest fraction - for access roads, gravel 5–20 mm for pedestrians. If the track is decorative, then use a small one - no more than 5 mm in diameter.
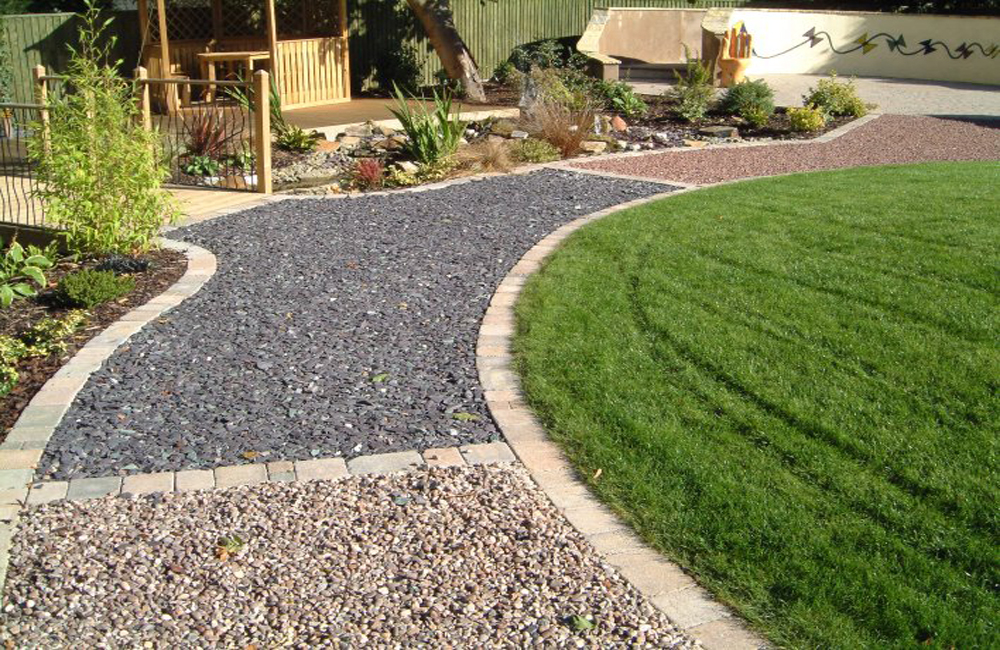
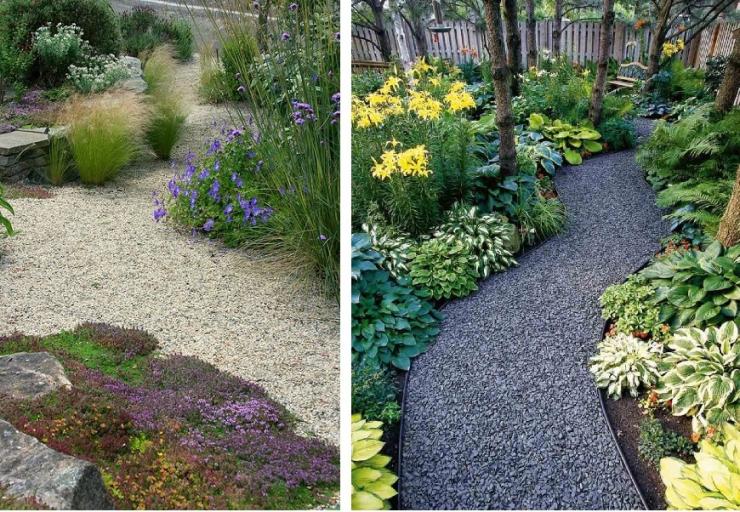
The gravel can be more than just gray or brown. For example, a mineral such as crushed shale has a fairly rich color range. Its layered structure and various blotches make it possible to create patterns, ornaments or even paintings.
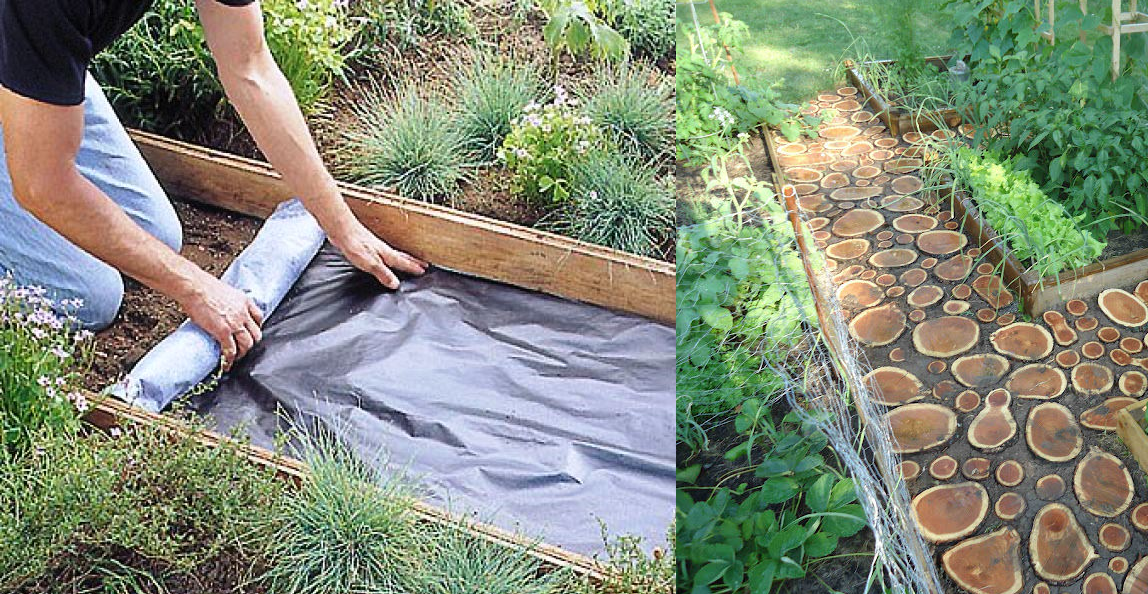
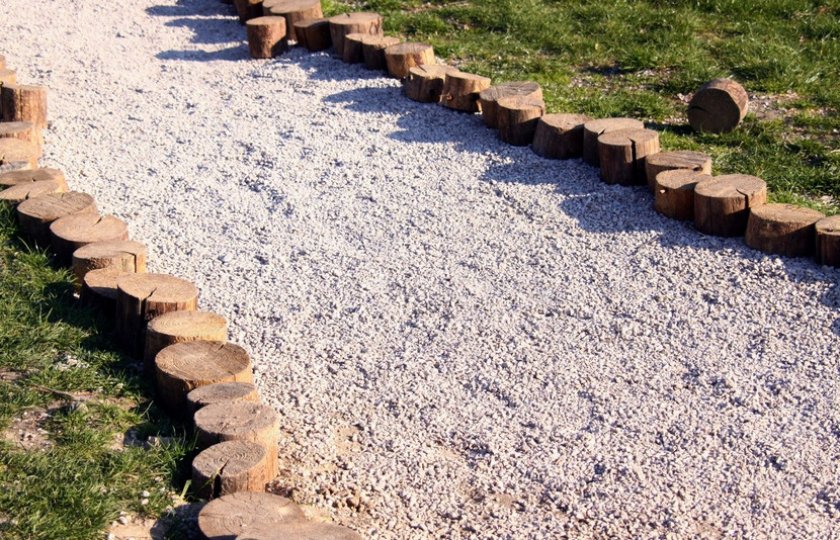
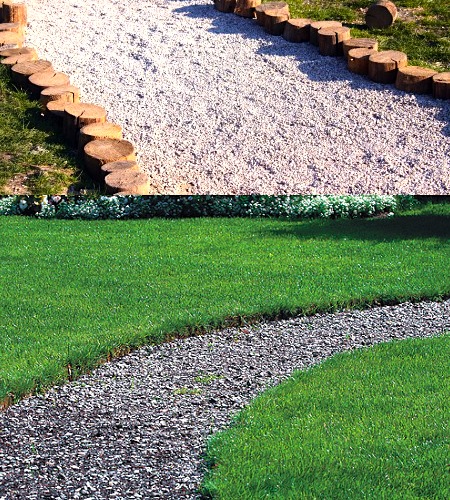
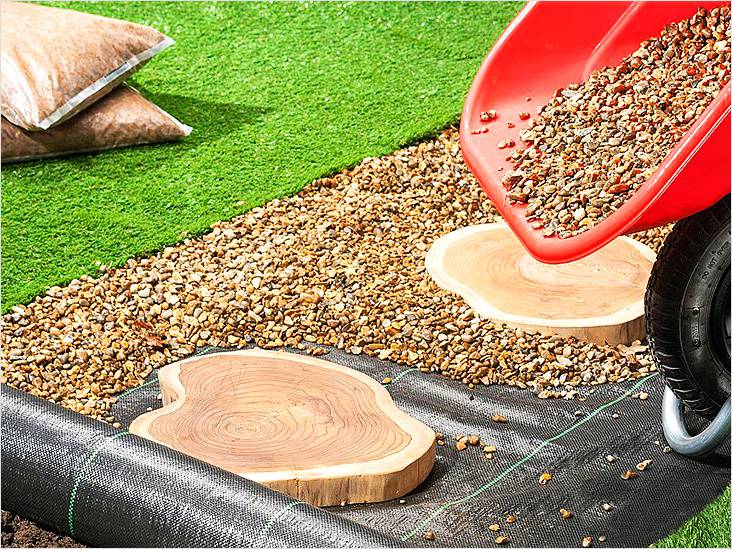
Gravel blends harmoniously with any other natural materials. For example, log cuts can serve as a decorative border or alternate with small stones along the entire path. So that the tree does not rot, it is impregnated 2-3 times with linseed oil. Lay the prepared material on a plastic wrap. The thickness of the cuts is made at least 10 cm.
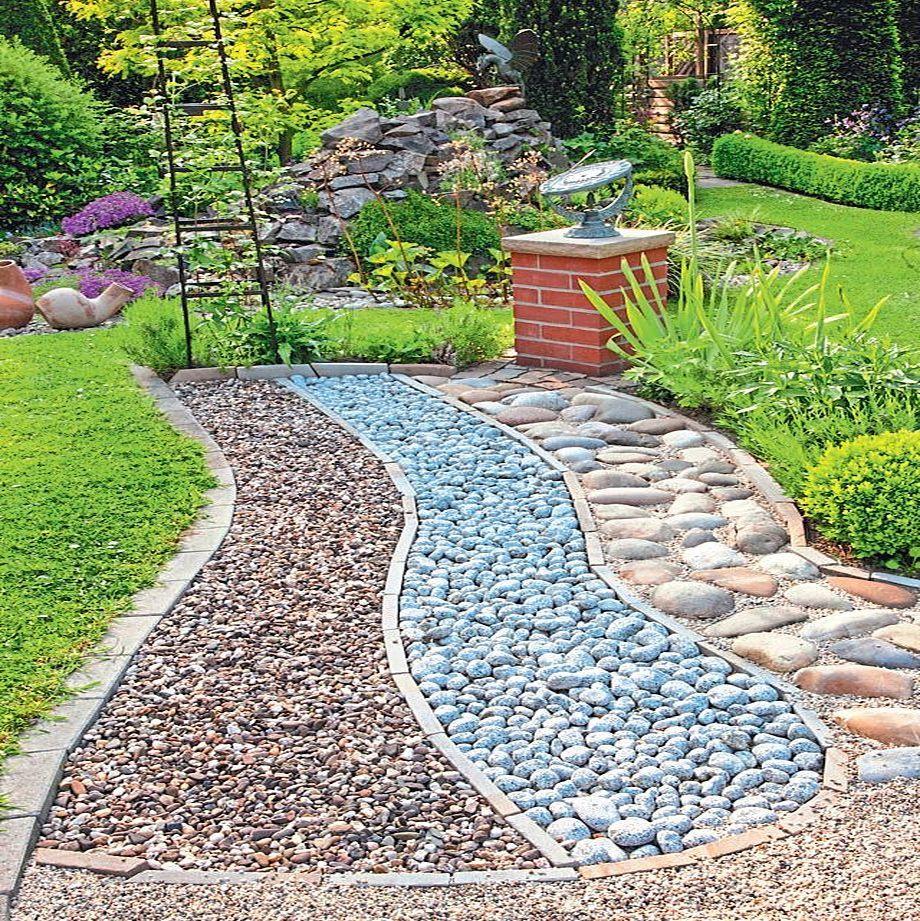
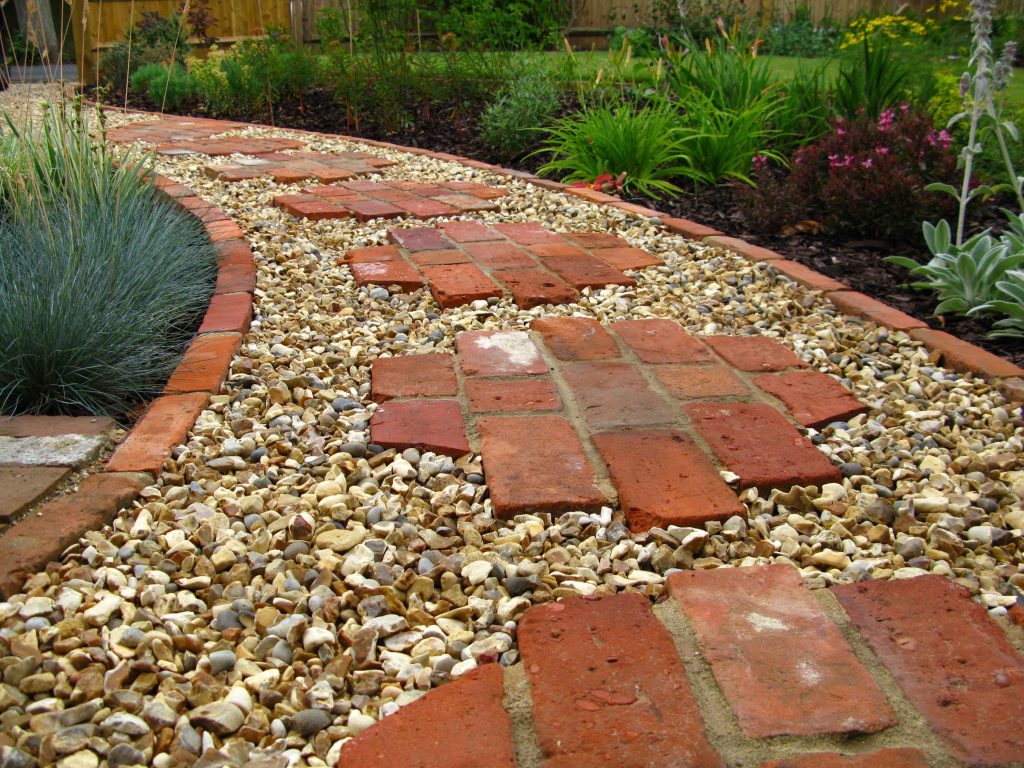
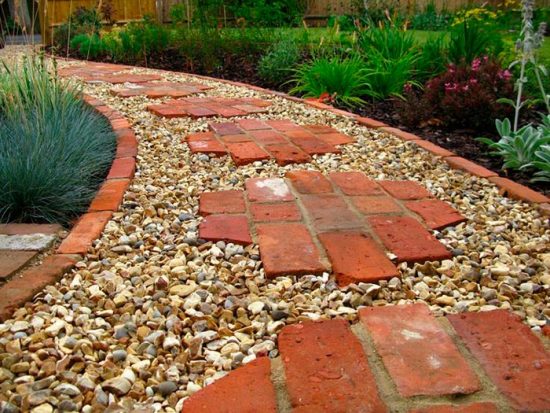 Gravel and brick path
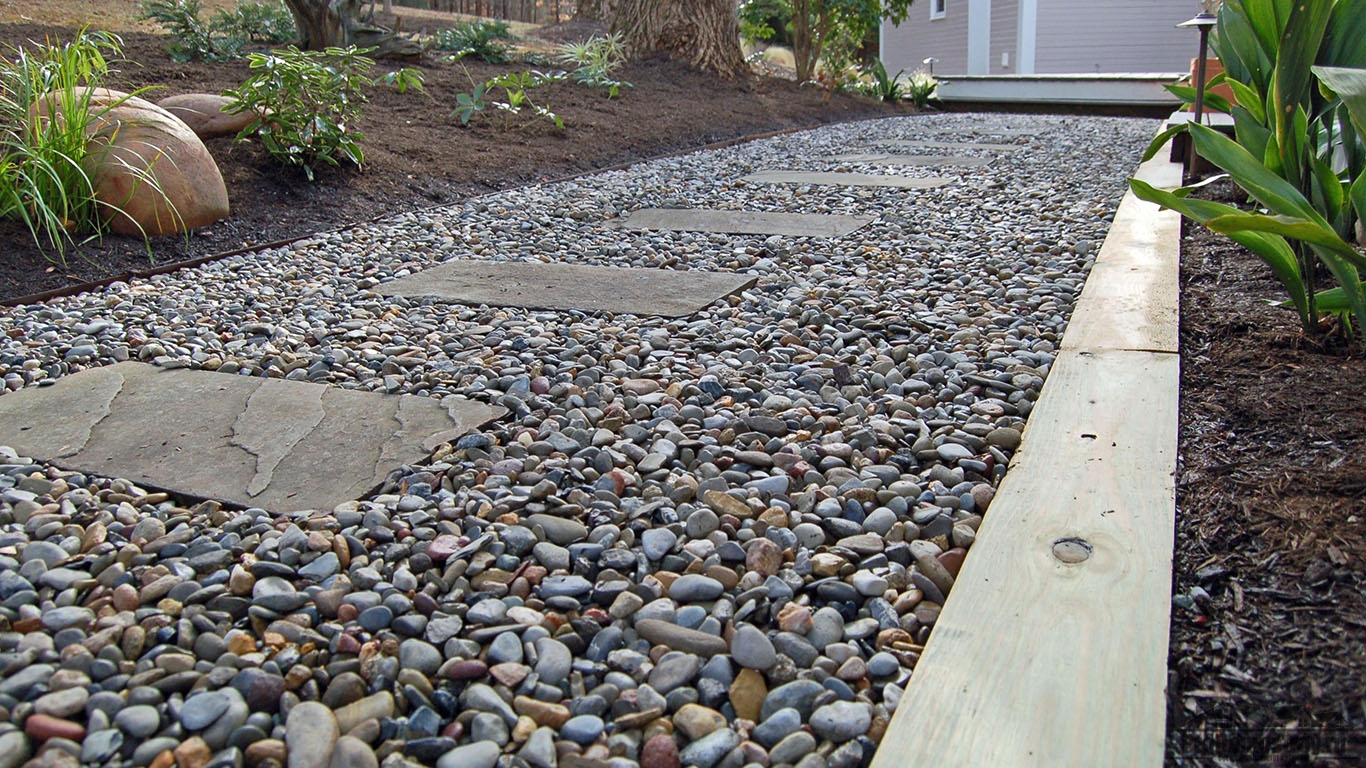
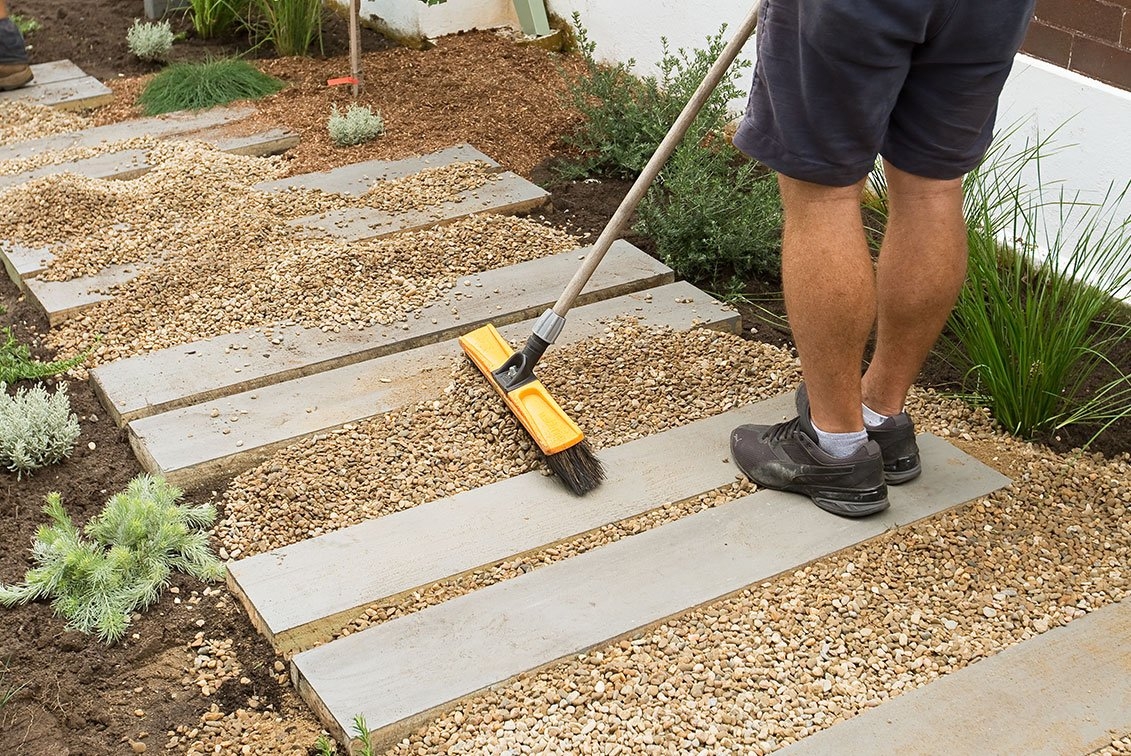
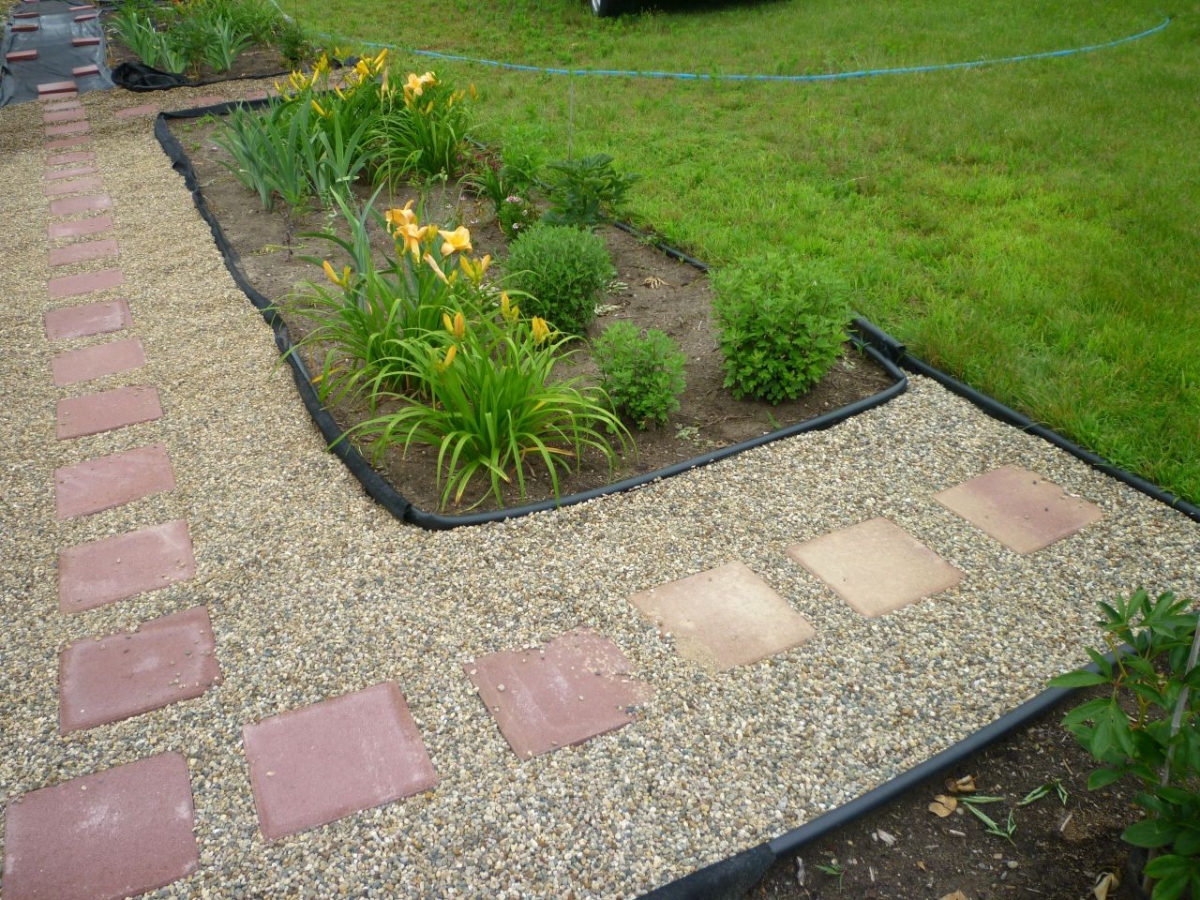
Slabs of stone, sandstone or concrete can solo in the design of the track, and crushed stone can fill the joints between the fragments. Stones of different fractions and shades can be combined to create unique compositions.
How to choose and prepare crushed stone?
When choosing the main material for arranging a fill track, consider the following criteria:
- Breed of stone. Give preference to granite, based on natural strong stones - mica, quartz, granite, spar. Gravel, which is formed during the crushing of limestone rocks, is suitable only for the expected low loads.
- Form and size of fractions. There are some tips in this regard:
- Small, streamlined, crushed stone is more convenient for unhurried walks. Its use will provide comfort when walking. During active recreation, with a possible mechanical load, for example, a blow from a ball or the use of a mechanical method of cleaning the territory, individual elements of such an embankment fly to the sides, and in their place grooves form, which over time spoil the attractiveness of the entire track. Also, the use of fine gravel requires a more thorough initial compaction.
- Coarse cornerstone gravel creates a denser layer with the minimum required regular maintenance. But keep in mind that individual fragments get stuck in the rake when manually cleaning the area.
-
Tint. Choose the color scheme in accordance with personal preferences - it can be natural shades, and granules artificially colored in bright unusual colors. It is rather difficult to give any specific recommendations in this regard. The main requirement is a harmonious combination with the color palette of the entire landscape.
Calculation of the amount of concrete
The calculation is done using this technology. The area of one slab is determined (in m2). The m2 value is multiplied by its height. The result is multiplied by the required number of plates. When filling the site with a single mass, the area in m2 is multiplied by the thickness of the filling. If the slabs are laid with gaps, then 5–10% is subtracted from the result.
The standard width of the path in the country will be 0.8 m with a thickness of 5-7 cm, for a path for a car you need 3 m with a thickness of 10 cm. Taking this into account, it is easy to calculate that the consumption of the mixture per 1 running meter of the footpath is 0.5 m3, for a path for a car consumption - 0.3 m3 of concrete.From this it follows that 1 m3 of mortar is enough for 20 m2 of a footpath or 3.3 m2 for a car.
Composition calculation
The components and proportions are measured with buckets. A standard bag of cement has 50 kg or 38 l. The best water consumption will be in the proportion of 1 part water to 4 cement, but as you stir, you can add a little more water to the composition for better plasticity. The solution and consumption of ingredients for paths without heavy loads (normal path in the patio, in the country): ½, 5/4 (cement / sand / gravel). In buckets, the proportion will look like this (per 1 m3 of mixture): 18 - cement (4.7 bags), 45 - sand, gravel - 70.
Car track: 1 / 1.5 / 2.5 (cement / sand / gravel). Consumption in buckets: 28 (or 7.3 bags) / 40/70. A plasticizer is also added, for example, SP-1, a dye (1-2% by weight of the solution). There is one more composition of durable concrete mortar:
- cement M500 and above - 1 part;
- sand - 3 parts;
- crushed stone - 1 part;
- water-repellent additives.
Selecting base material when creating a track
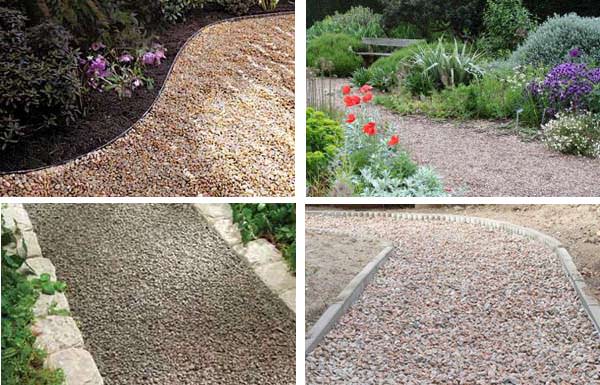
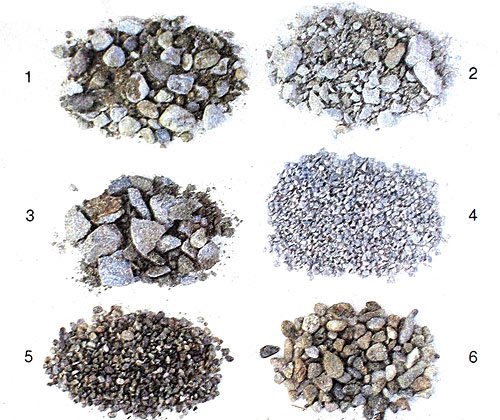 1 - pebbles, 2 - crushed stone, 3 - granite crushed stone, 4 - gravel, 5 - small pebble, 6 - large pebble.
When a landscape design is being developed in a country house or a house plot, different materials are considered. They are characterized by different properties. Some types of materials can last longer, due to the strength and dense structure of the fractions. Others, on the contrary, are easily deformed. This forces you to regularly correct the track.
In addition, the fractions differ in size and shape. Preference should be given to medium fraction materials. So, small particles, such as sand, will impede free movement on such a surface. In this case, the feet will easily get bogged down in the gravel layer. Conversely, larger fractions will contribute to a deterioration in the quality of the coating. They will rise above the surface, which increases the risk of injury. At the same time, the attractiveness of such a coating decreases.
Pebble

The stones are rounded. They are ground with water. For this reason, you can find such material on the banks of a river or sea. It is attractive, it can decorate any site. Pebbles are characterized by different sizes: from 10 to 100 mm in length. For the arrangement of paths in the country, medium-sized stones are used. Fractions of different shapes can be used. It is not recommended to use stones over 50 mm in length.
The main disadvantage of this material is the inability to form a layer whose height exceeds 7 cm. This is due to the smooth surface of the stones. Individual factions do not cling to each other's edges. As a result, when moving, the leg will sink into the layer of material, and, in addition, the shape of the path will be disturbed. When arranging such a garden path, it is necessary to provide for reliable and sufficiently high curbs.
Gravel
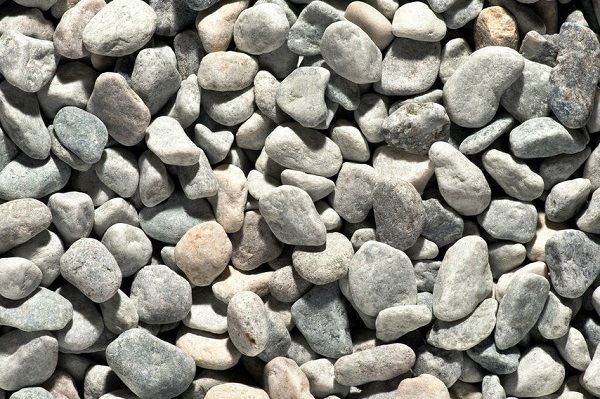
Crushed gravel is a material characterized by a loose structure and a rounded shape. Fractions with cavities, uneven, sharp edges are often found. Thanks to this, the path holds its shape better than using pebbles. The size of crushed gravel does not exceed 20 mm. Fractions are lightweight. They dry quickly due to their loose structure. As a result, no puddles form on the surface. However, due to its low weight, the coating is easily deformed. It needs to be restored frequently.
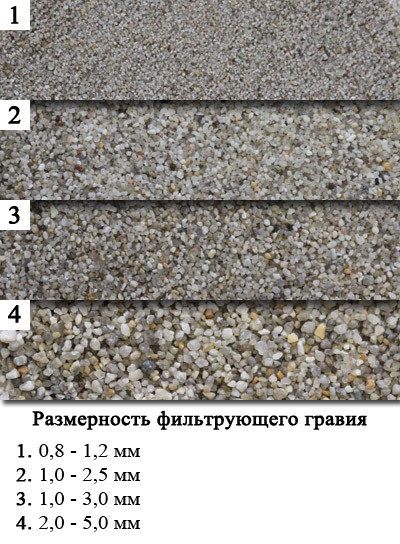
The most preferred is a small volume stone. Gravel of 1 to 5 mm is often used. Moreover, it can be used as the main material for arranging paths, and for the purpose of filling ready-made pebble paths.
Crushed stone or crushed stone
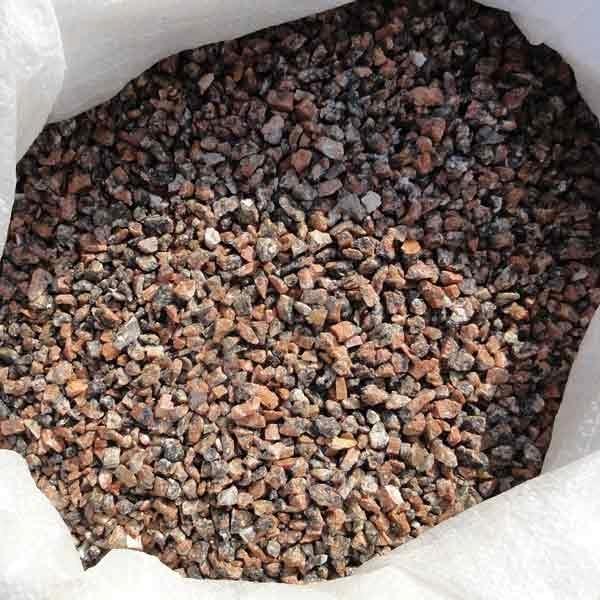
Other names of the material: granite or traditional crushed stone. It is obtained by crushing rocks. Thanks to this technology, crushed gravel has sharp, uneven edges. This allows you to maintain the integrity of the coating of the path for a long period without the need to adjust its shape. This material is characterized by a gray color, the size of fractions varies from 1 to 70 mm. When the dacha is being set up, the paths on the site are formed using a small or medium stone. The coarser the gravel, the more difficult it will be to navigate the track. Moreover, due to the sharp edge, some fractions can get stuck in the sole.Due to the substantial strength of the gravel, it becomes possible to make paths up to 20 cm high.
Slate
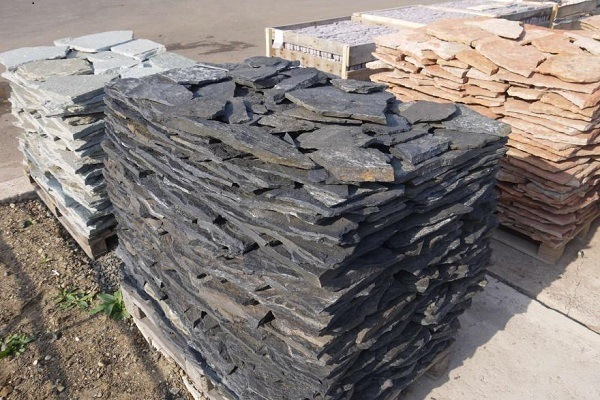
This is a large stone. For use in decorating a garden plot, it is crushed by crushing. The result is medium-sized fractions. The advantages of such a material include a durable coating, which is due to the presence of a sharp edge in the stone. As a result, the fractions reliably adhere to each other. This prevents deformation of the surface, avoiding the need to regularly restore it.
However, due to the high cost, it is impractical to use such material to form paths throughout the site. At the same time, the costs of arranging a summer cottage significantly increase. It is recommended to use slate for filling voids on coarse material paths.
1.2. As for the shortcomings, there are perhaps not so many of them in wood products. They appear if, upon completion of the work, the tracks are not processed with special means, and each will be quite significant:
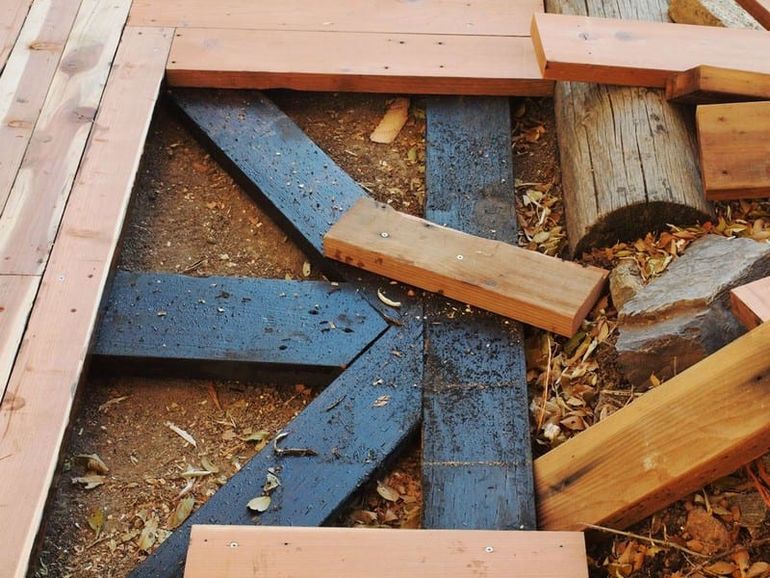
- Fragility due to aggressive environmental influences;
- Wood is easily damaged by insects;
- The paths suffer from fungus, they quickly grow moldy.
On the other hand, the few minuses are easily covered by the pluses. And special impregnations and antiseptics for a wide variety of sawn timber and even wood waste are maximally capable of reducing the negative influence of nature.
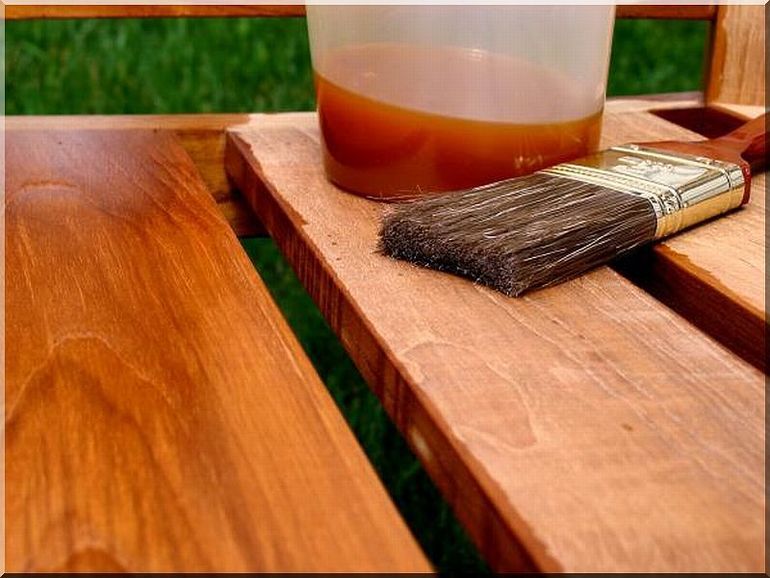
Special processing is required in order for the wooden paths at the summer cottage to serve for a long time. For these purposes, the coating must be impregnated with linseed oil or machine oil (to save money). Thus, a high-quality treatment is carried out for biological protection against insects, worms and decay:
- The drying oil is heated to the boiling point and dipped one by one into the saw cut. The procedure is long, but effective, without fail requiring respiratory protection for the employee;
- The process of processing wood with used machine oil is carried out using brushes. To do this, you need to process all the sections, passing at least 2 times for each. Dry the wood well at the end;
- More expensive, but much more practical to buy special means (antifungal drugs, varnishes, paint) in a hardware store and treat wooden structures with them;
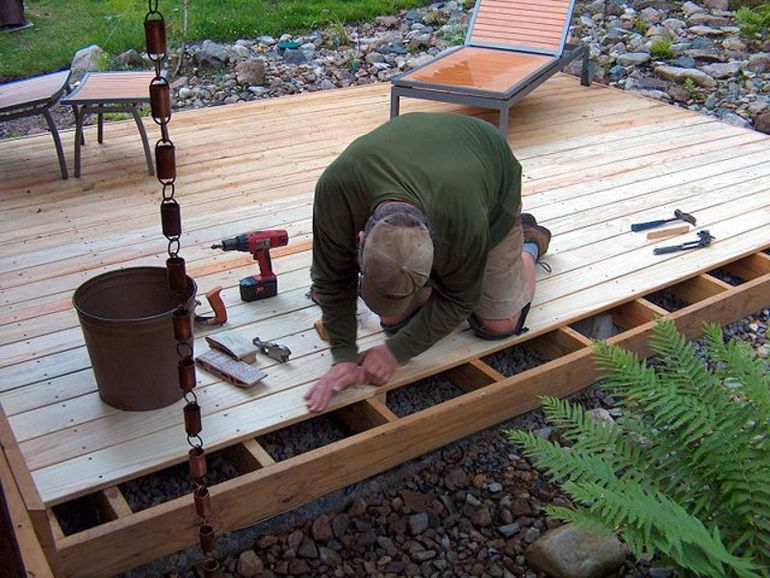
For such purposes, conifers are best suited. Boards should be fastened with galvanized nails, but it is not recommended to plant them on screws. Also, the products are advised to be treated with a composition of coated bituminous waterproofing or drying oil, regardless of which method of laying is chosen and what type of lumber was used:
Material selection
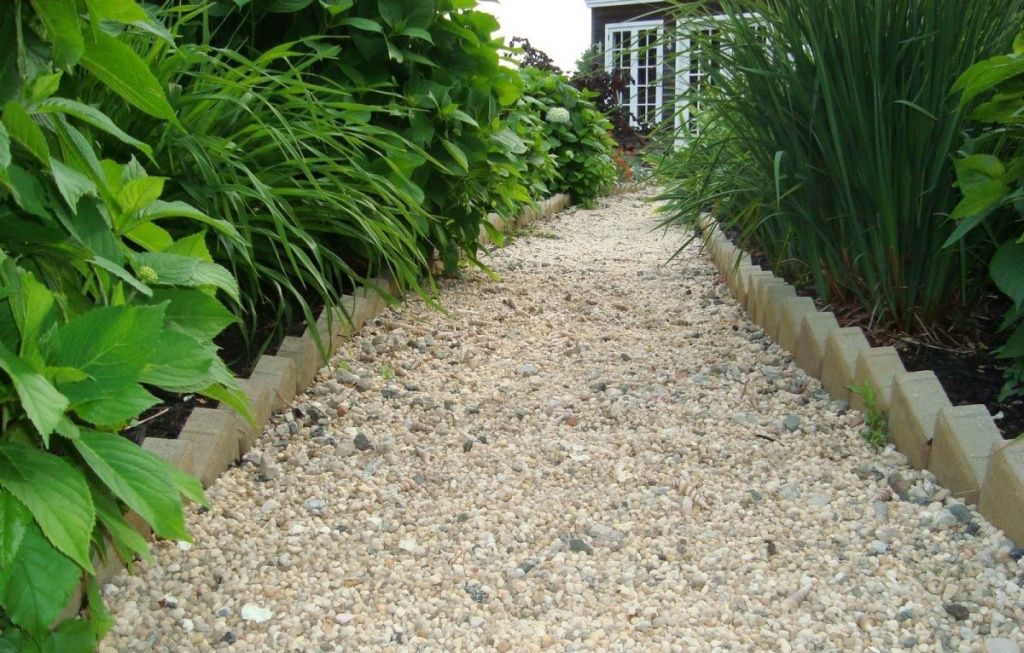
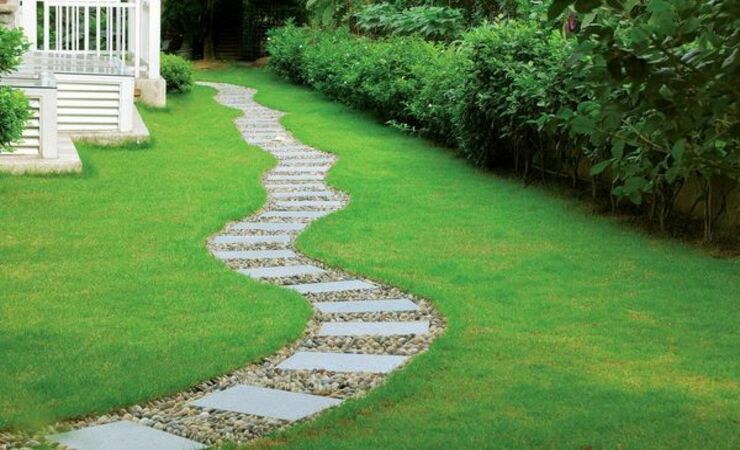 A crushed stone path will be a great addition to your garden
To fill the track, you can use either the same type of material or a combination of different types of crushed stone. There are several main types of stone for fill paths:
- pebbles;
- crushed granite;
- gravel;
- small pebble;
- large pebble;
- slate.
Pebbles and pebbles are rounded stones of river or sea origin. Crushed stone or rubble - stones of various sizes with sharp edges. Basically, three varieties of this material are used:
- Crushed stone from gravel. Stones rounded on one or several sides.
- Slate. Layered appearance of a stone with a flat surface.
- Granite crushed stone. Irregularly shaped stones from a solid rock of a granular structure of various fractions. Small fractions are also called granite screening or granite screening.
So, for example, it is more difficult to walk on rounded stones than on gravel, due to the increased mobility of stones of this material. But it is uncomfortable to walk along a path made of rubble in shoes with thin or soft soles, and even more so barefoot. Which of these two types of stone is better to use is up to you. In this article, we will consider crushed stone as the main material for garden paths.
Do-it-yourself track
Any do-it-yourself gravel path should begin with marking the territory. Therefore, you need to decide where the track will be laid, how long, width and shape it will be. Typically, standard gravel garden paths are 92 cm wide, which determines the size of the agrotextile. After all, the main function of the arrangement is the passage to all areas garden and vegetable garden.
Marking the path: 1 - pegs, 2 - twine, 3 - trench for the path, 4 - placing sand in the trench.
Another thing is when you plan to make gravel backfill not only in the garden, but also at the entrance, at the gate or in front of the house. Then the width of the backfill is already determined from the point of view of convenience and design. Always start by marking the designated area. You can use wooden pegs, rope, spray paint, or even a garden hose to do this. The main thing is to decide on the shape and outline the edges of the gravel path.
After marking the area, you will need a shovel with a rectangular tray. It is convenient for her not only to fill in gravel, but also to remove the top layer of soil. Thanks to this tool, you will get an evenly cut bottom and a trench with straight sides. Of course, for a more accurate result, it is necessary to check the depth of cut with a tape measure. The garden path, as a rule, is not designed for heavy loads, so it is enough to remove about 10 cm of soil.
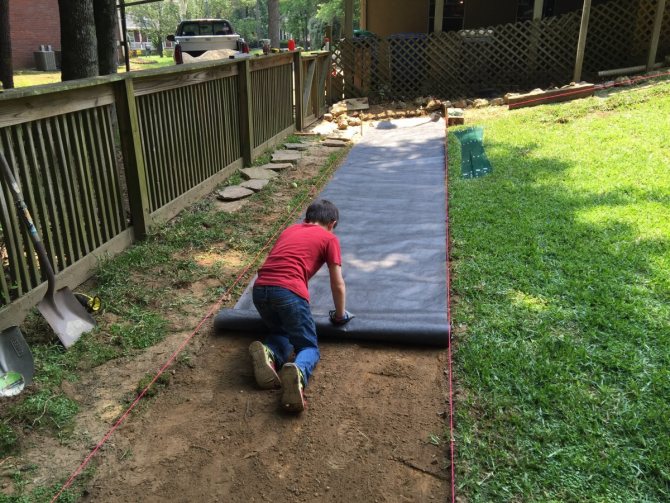
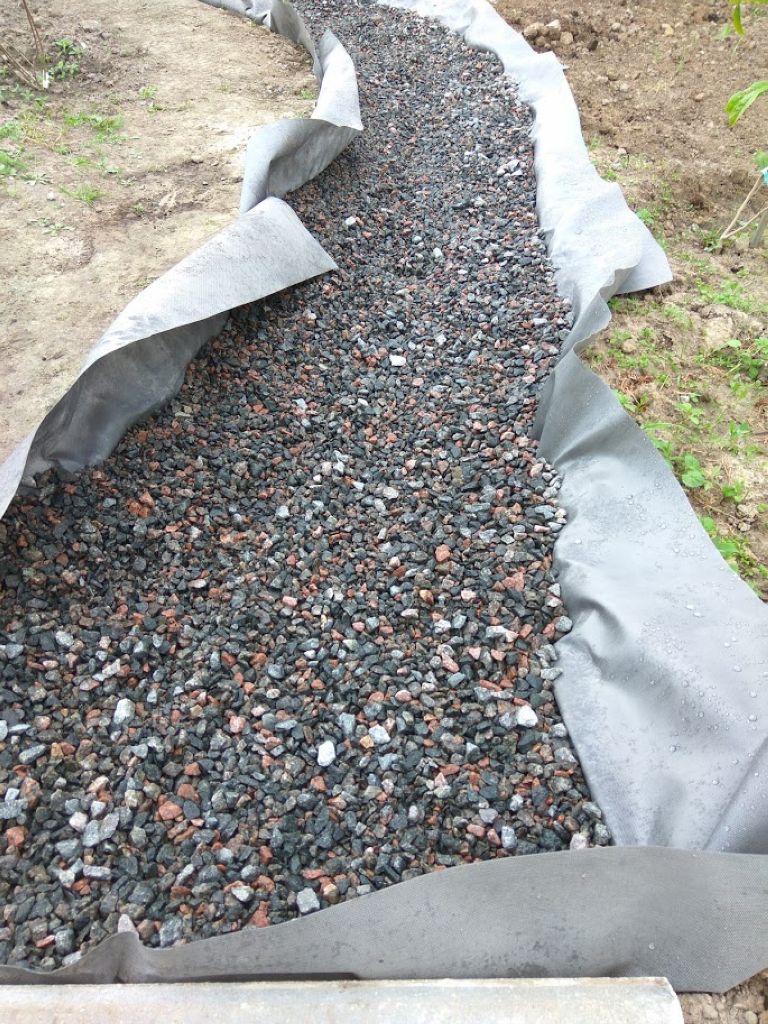
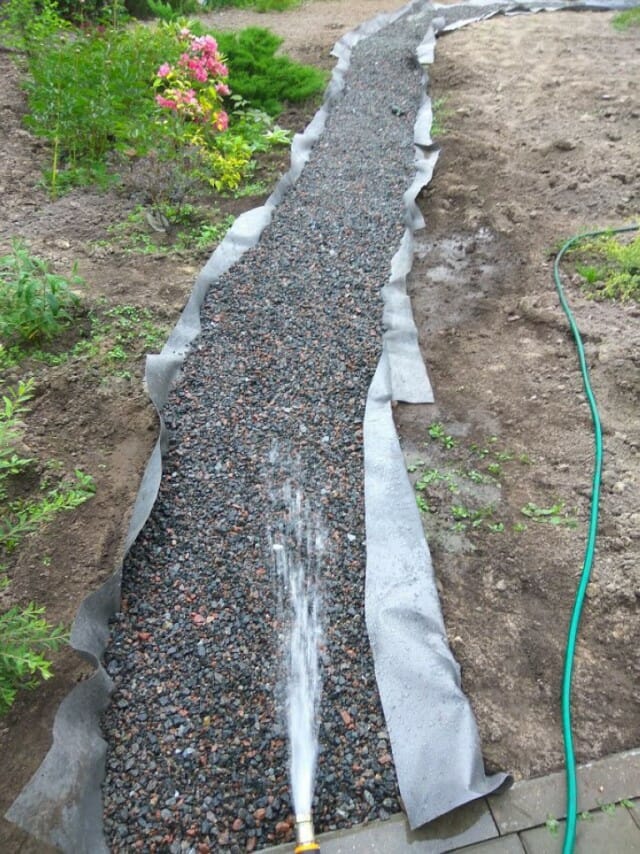
Now you need to use a garden hose or watering can and slightly wet the base of the trench. This will help to compact the material and make the surface smoother and harder. On the resulting base, you can lay a layer of leveled agrotextile. It needs to be rolled all over the base of the trench, with the shiny side at the top. To repeat all the bends of the track, it is not necessary to cut the agrotextile, this will make it less tight. It is enough to make deflections at all bends of the future track on both sides.
If you are faced with the problem of attaching the fabric to the base of the trench, then studs or nails will help well. With the help of such fasteners, you can stretch the geotextile, and it will not wrinkle in the future under the gravel embankment.
After that, you can proceed to the edging device. To facilitate the task and in order to avoid constant measurements, the masters recommend making a blank (template) that will maintain two edging lines at the same distance along the entire track. You can make a blank from any wooden board 92 cm long. On both sides of the board, you need to cut two identical notches of 0.5 cm each. Steel elements will be placed in them during the construction of the edging.
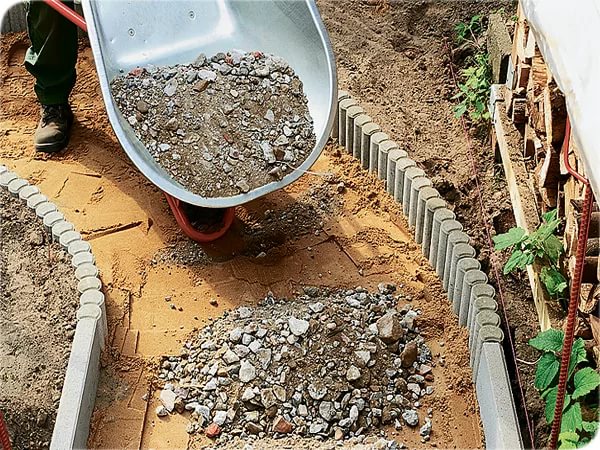
Many manufacturers of fencing elements supply their products with instructions for use. If there is none, it doesn't matter. For the edging to function correctly, it must be laid out around the perimeter inside the trench after fixing the geotextile. To fasten the edging, you must use a bar and a hammer and hammer it into the ground through an agrotechnical cloth. When hammering in the bars, it is imperative to make sure that they go smoothly, while not leaning on the walls of the trench. Do not hammer the edging by acting directly on the steel element. Doing so can damage the anti-corrosion coating and reduce the life of the gravel path in the country. After the entire perimeter is edged, it is necessary to make a backfill along its outer edge. This will require a sufficient amount of gravel. But at the same time, there should be 1.2 cm from the top of the edging. The backfilled gravel must be leveled with a rake so that the agro-cloth is completely covered and does not look out. After the work done, any part of the cottage or garden will become accessible and comfortable.
In addition, among modern building materials, you can find a lot of additions and design solutions that will help decorate the passage and make it comfortable.
Selecting the type of material
An important role is played by the choice of the appropriate crushed stone, which differs in the size of the fraction.Also, several of its varieties are known, including:
- shale;
- granite;
- gravel.
The choice depends on the type of soil, the terrain of the site and the purpose of the track. Let's compare all these types of rubble:
| View | Specifications |
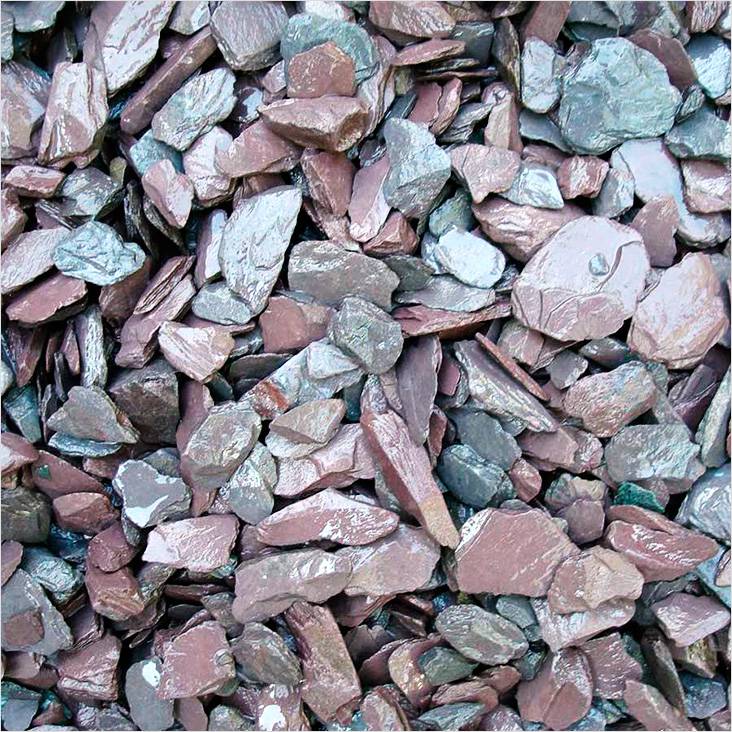 Shale crushed stone Shale crushed stone
|
There is shale screening, the finest fraction is 5 mm. It is often used as a decoration for sites, etc. The largest fraction reaches 20 mm, it is mainly used for the manufacture of concrete mixture. Does not withstand heavy loads, as it is prone to splitting. For the construction of paths, it is better to purchase quartzite shale crushed stone. It contains mica, which gives the material sufficient strength. |
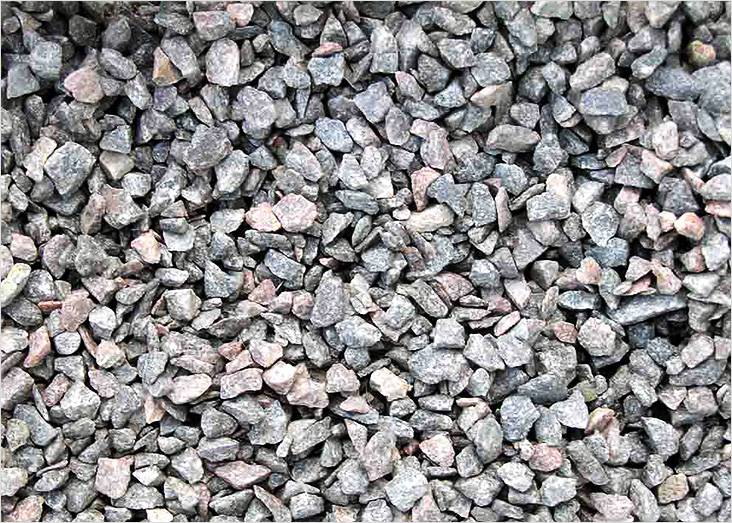 Granite crushed stone Granite crushed stone
|
Fractions can be of different sizes, for example, 5–20 mm crushed stone is used for decorative finishing. This type of crushed stone is the most durable. It is composed of hard rocks. The material is resistant to low temperatures and high humidity. Ideal for high-traffic paths. |
 Crushed gravel Crushed gravel
|
Due to its irregular shape, such crushed stone has good adhesion and does not require the manufacture of a drainage layer. |
DIY stenciled concrete garden path
However, concrete slabs can be decorated not only with mosaics, but, for example, with bright stencils applied to them. This method is perfect for footpaths that are intended for infrequent use. You can also paint step-by-step paths - then they will be bright and colorful.
The author of this master class decorated concrete slabs with a stencil for her step-by-step path. She applied a bright pattern to the concrete using a pre-prepared stencil. With the help of such plates, she introduced a mischievous piece into her landscape design and made it brighter and more colorful.
To create painted concrete slabs she needed:
- stencil (the author chose "Honeycomb", but you can make any)
- weather resistant acrylic paints
- brush
- Scotch
- concrete blocks
With these simple materials, she turned her garden paths into a work of art!
Do-it-yourself concrete garden path step-by-step master class
Often, a concrete path is designed not only for walking, but also for a larger load - a garden wheelbarrow, a bicycle, a motorcycle. Then it is better to make it more durable, and for this there are many ways. Often, builders use a simple and reliable method - they add something metallic to the concrete.
The author of this step-by-step master class used all the hardware that he found on his site for this purpose. Monkeys of pipes, rods, metal staples and other rubbish were used.
The main secret of this concrete path is that the master used agrofibre as an interlayer between earth and sand, and a film and between sand and concrete.
Agrofibre between sand and soil will provide good water permeability and prevent the sand cushion from sagging.
And the interlayer between the sand and concrete will not allow the "cement milk" to go into the sand, which provides the solution with a quick hardening
Plastic wrap will prevent this important component from going into the ground and will hold it back .. With the help of these secrets, a concrete path will last for many years and withstand any load
With the help of these secrets, a concrete walkway will last for many years and withstand any load.
DIY concrete paths in the country
Please note that the service life of the future track will depend on the quality of work performed at all these stages. Mistakes in any of them can lead to the fact that everything will have to start all over again next year. Remember - concrete doesn't like casual attitude.
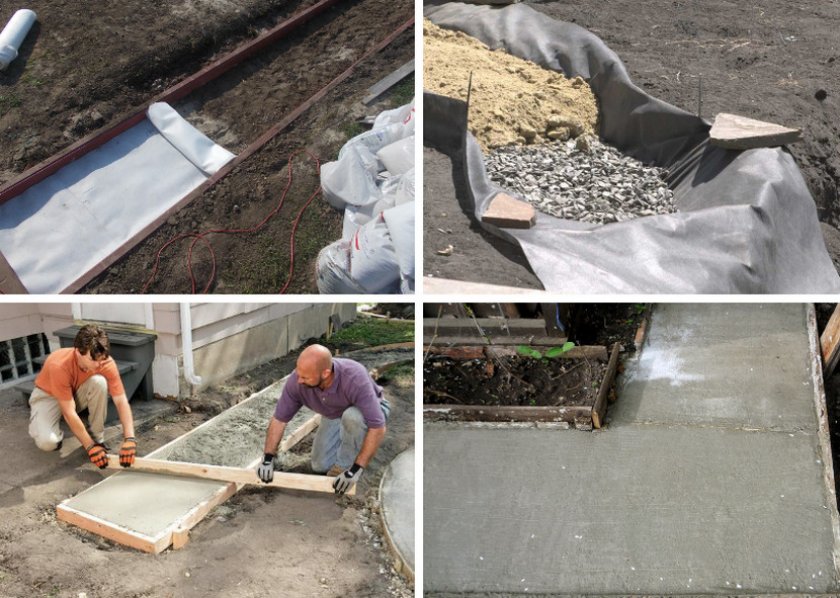
Preparation of the base
With a large surface area, concrete is very sensitive to external loads. If it is laid on unprepared ordinary soil, it will very quickly begin to crack and collapse.The first rule is - before pouring the concrete path, prepare a rigid and solid base that will not shrink under load. To do this, you will need to perform the following work:
Remove the fertile soil layer and prepare a kind of pit. In road construction, it is called a trough. Optimum depth 35 to 50 cm
It is especially important to do this on unstable swampy soils.
Lay a layer of geotextile on the bottom. This material, which looks like a strong film, will increase the bearing capacity of the future track and prevent the preparatory layers from sinking into the unstable ground.
Pour a layer of sand 10-15 cm thick, be sure to pour it and compact it
But without fanaticism, so as not to damage the geotextile.
Place a layer of medium gravel (10-20 mm) and compact it.

Preparation of the base
As a result, you will get a foundation on which the concrete path does not begin to collapse under the weight of a walking person. At the same stage, we advise you to install the enclosing curbs. They are mounted on an ordinary sand-cement mortar, I align both the line and the general surface plane along the lace. If you decide to save money, pour the path into the wooden formwork, which is mounted according to the same rules.
Reinforcement of the future track
This stage will be required to increase the strength of concrete in areas for which an increased load is expected. Reinforcement is performed by knitting a mesh of steel or polymer (fiberglass) reinforcement with a diameter of 6-10 mm. The side of the square is usually 150 x 150 mm, but a slight increase in size is allowed.
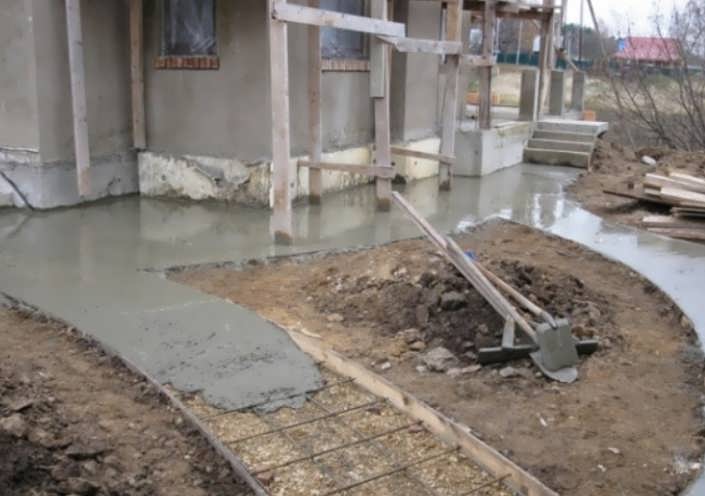
Please note that in order for the reinforcement to fulfill its purpose, do not lay it directly on the prepared base. A protective layer should remain below, which will be filled with concrete
Its size should be at least 2 cm, raise the mesh to this exact height.
Pouring concrete paths
Installed formwork or curbs represent the form for the concrete walkway. The filling will be carried out exactly according to the level formed by them. Further work is carried out according to the following scheme:
- Before starting work, moisten the base with water, this will improve its adhesion properties and prevent moisture absorption from the concrete.
- A solution for a garden path is made in a ratio of 1: 3: 4 (cement: sand: crushed stone). Take crushed stone fractions of 10-20 mm. Determine the amount of water from the resulting consistency; the solution should not be too liquid. It is impossible to give the exact displacement in the instructions, it largely depends on the moisture content of the sand and gravel. It's just that the solution is made so that it is convenient to level it.
- Compact the laid concrete with a trowel. Of course, it is better to tamp it with a vibrating screed, but usually no one thinks about the need to rent such a special tool, and there is no point in buying it because of one track.
- In a hot period, the track will have to be moistened while the concrete hardens, or it will begin to crack. Covering with a film that retains moisture also helps.
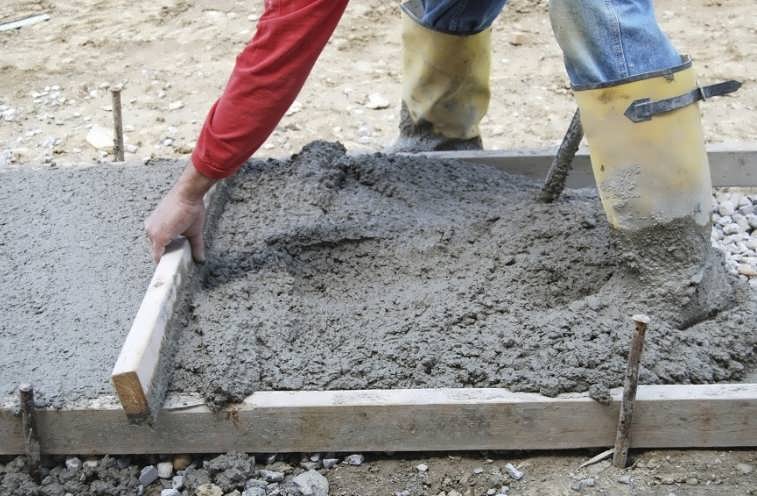
Concrete pouring process
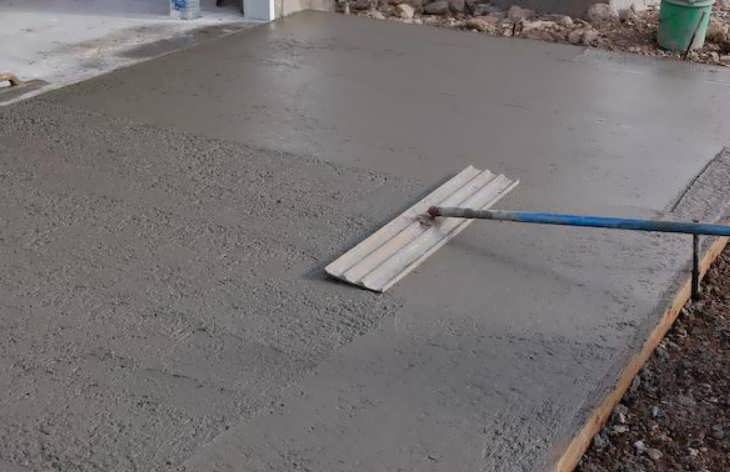
Surface leveling
An interesting option can be obtained using a stencil for a concrete path. It allows you to get the effect of paving with wild stone or paving slabs. But let's say right away - this option for a beginner will be somewhat difficult. The technology is more complex. Therefore, choose such a solution only when you are confident in your abilities.
Manufacturing steps
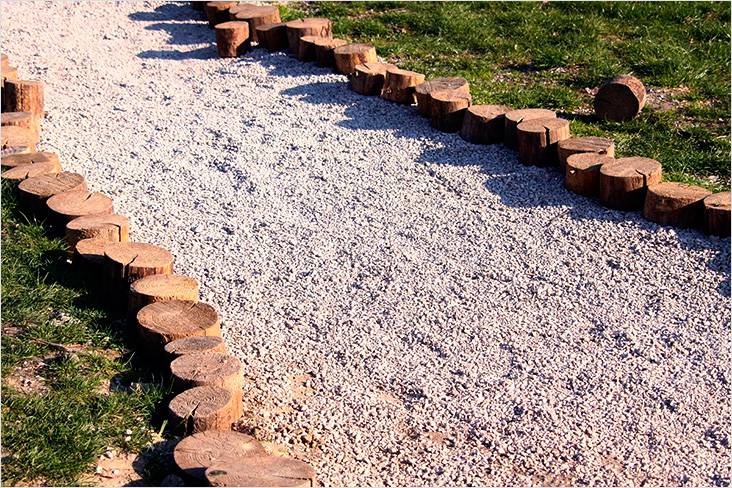 Walkway made of rubble and fenced with wooden posts
All work consists of several sequential processes:
- markup;
- trench preparation;
- installation of curbs, if necessary;
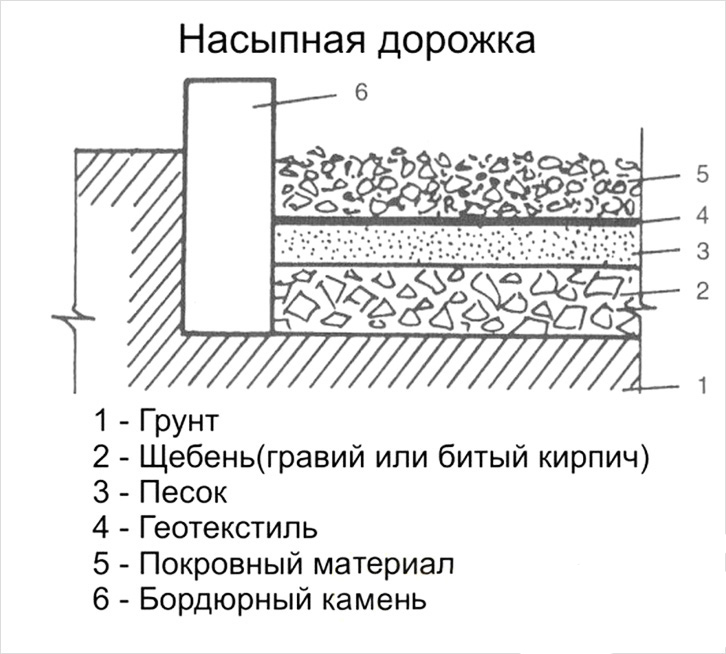
- making a "pillow";
- backfilling of rubble.
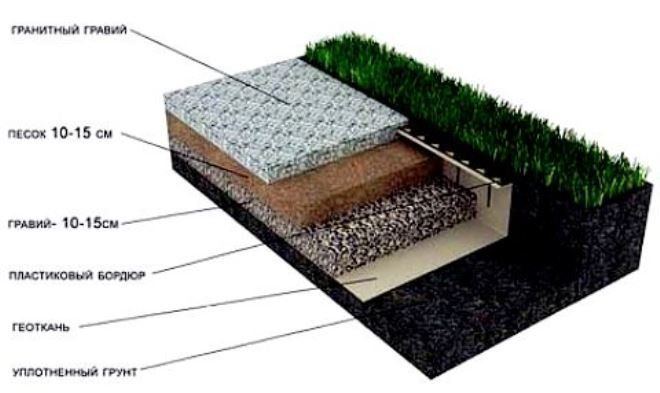
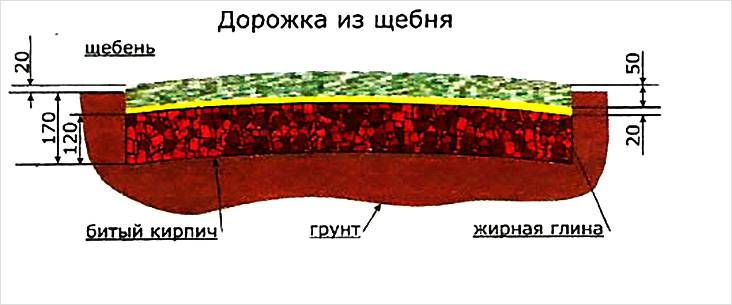 Crushed stone track laying scheme
Necessary materials and tools for work
To carry out all the work, you will need to prepare the following:
- Rake.
- Shovel.
- Rammer.
- Clay, sand and coarse gravel to create a "pillow".
- Container for mixing components.
- Geotextile.
- Small crushed stone for the path.
- Curbs.
- Nylon thread.
- Pegs.
Territory marking
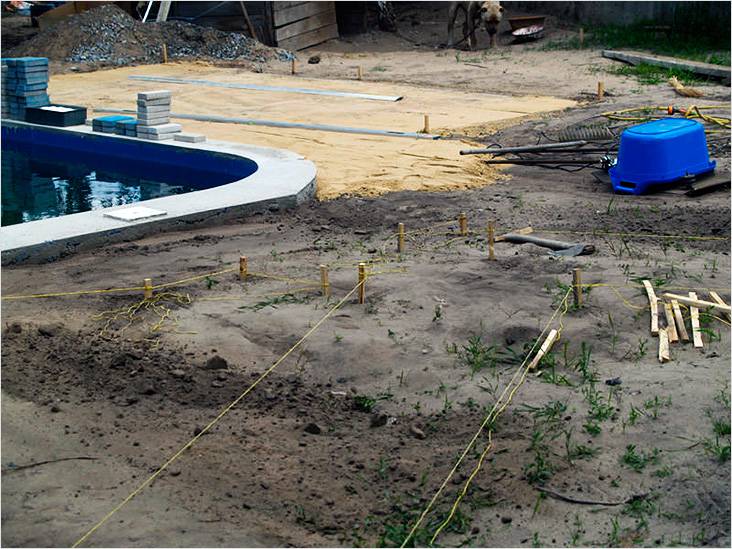 Marking the future track with a rope and a peg
At first it would be a good idea to draw a small project on a piece of paper. After that, everything is transferred on an enlarged scale to the site. Pegs and nylon thread are used for marking. The step between the pegs should be no more than 1 meter. This will allow you to more accurately convey the shape of the future track.
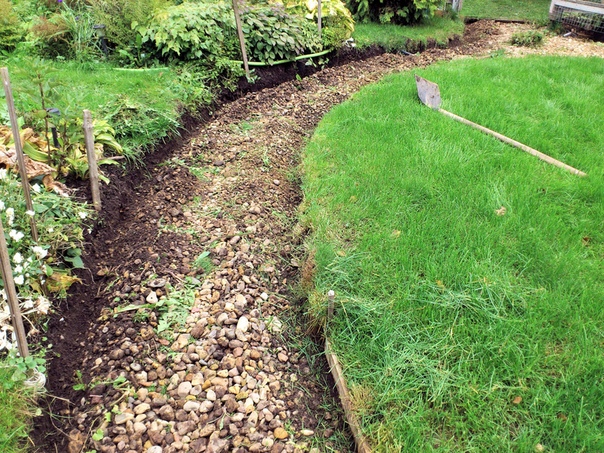
Digging trenches
After marking, a trench should be dug for laying rubble. There is no need to dig too deep. Here it is enough to remove the top fertile layer or sod - the depth of the pit will be up to 20 cm. The easiest method to do this is to dig along the contours of the path with a bayonet shovel, and select the middle with a pointed shovel. This method is relevant if the soil in the area is free of solid impurities.
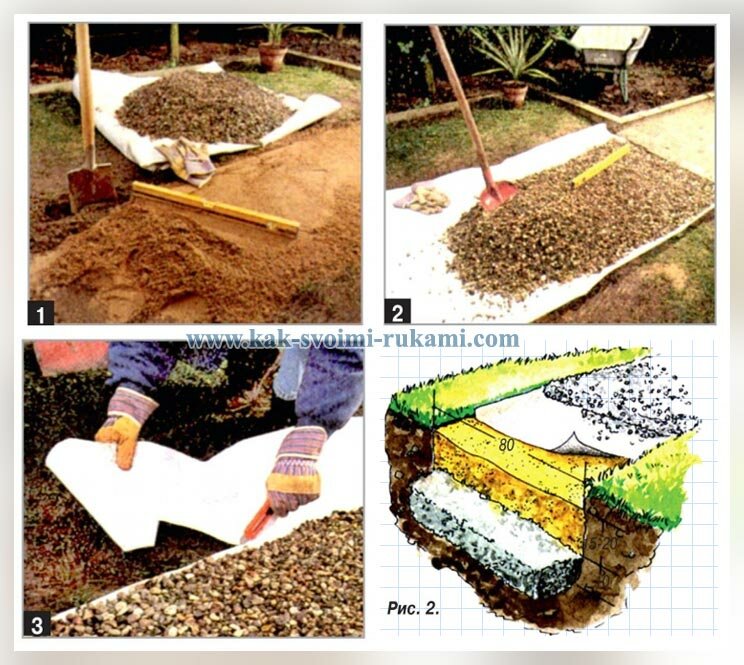
The pit should be cleaned of all kinds of debris, roots and weeds. The bottom is carefully rammed and a 5–10 cm layer of sand is poured, which is also rammed.
Features of laying geotextiles
Laying geotextiles under the track, it is important to avoid folds and wrinkles
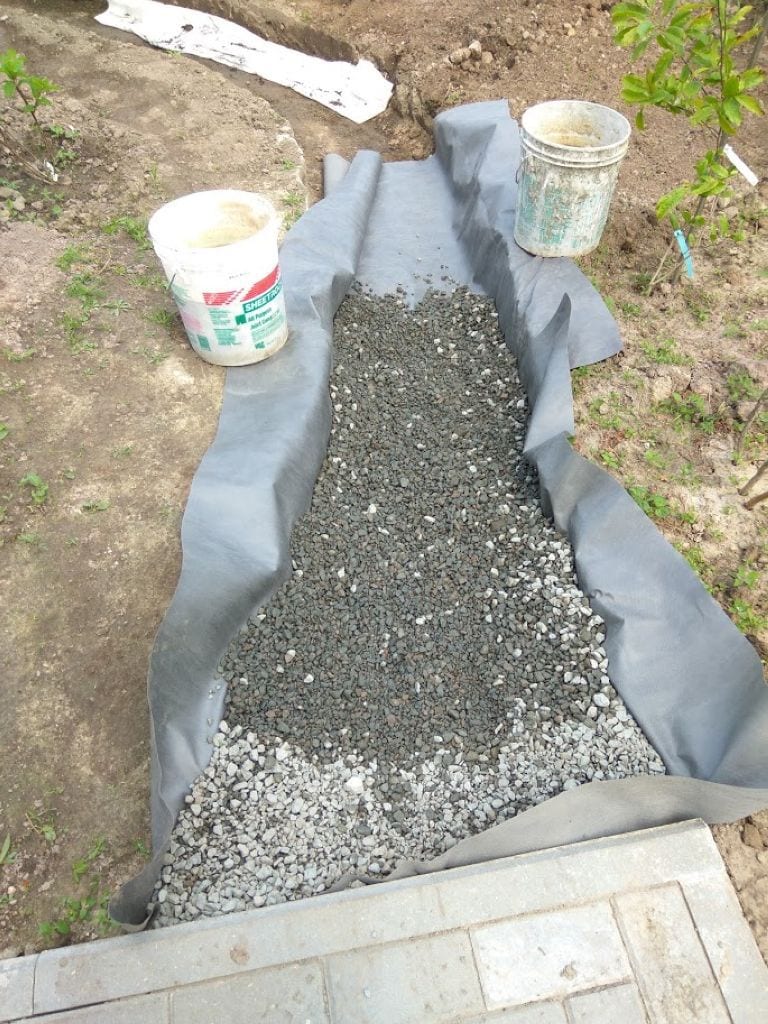
Lay geotextiles on top of the sand. At the edges, it should protrude above the ground level up to 10 cm, after the completion of the work, it will simply need to be cut off with scissors or a sharp knife. This fabric does not have a front side, so you can lay it on either side.
The choice of fabric for the track and its role
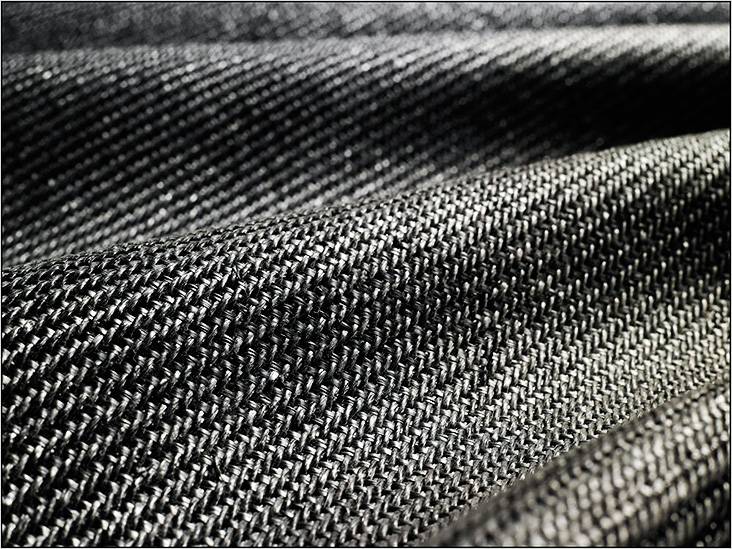 The geotextile for the walkway should not be organic.
The main function of geotextiles is drainage, separation of building materials and protection of gravel from mixing with the soil, preventing the germination of roots of weeds and shrubs. Taking into account the low loads, it will be enough to use geotextile with a density of 150-200 g / m2 for a gravel path. The material is mainly polyester or polypropylene.
If we talk about the role of geotextiles in the arrangement of tracks, then the following can be highlighted:
- the operational life of the trail is increased;
- the likelihood of weed germination is excluded;
- the track covering is protected from the ground;
- Geofabric in combination with rubble also serves as an excellent drainage.
Installation of curbs
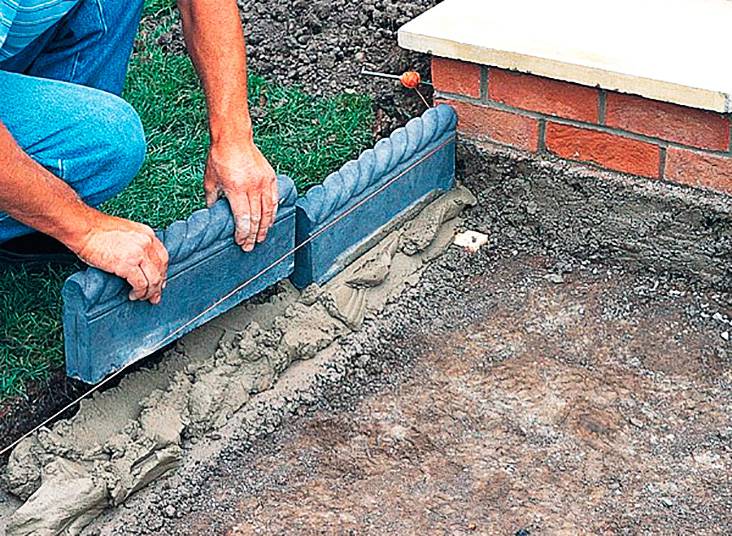 Installation of curbs for a walkway on a cement pad
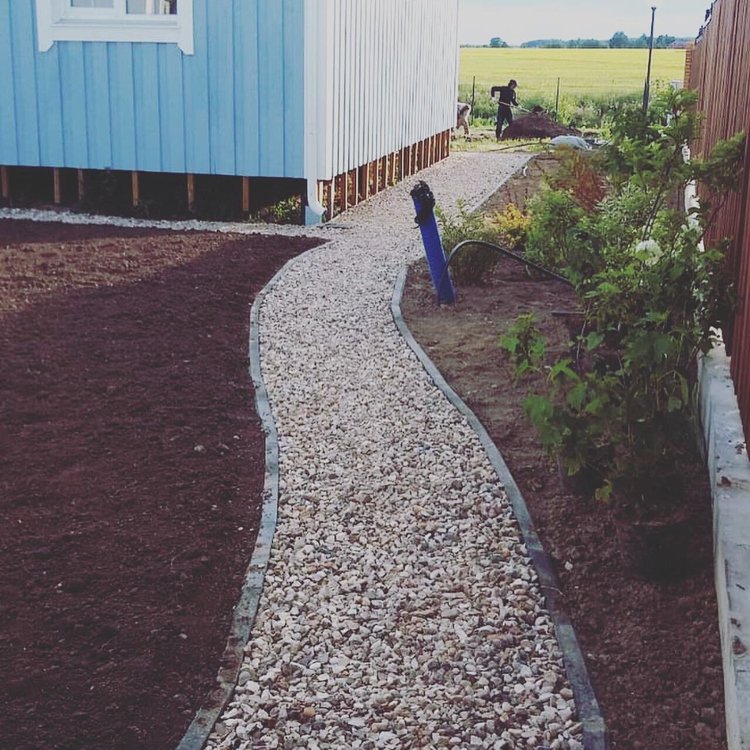
So that the gravel does not go beyond the edges of the path, a curb must be installed, which will serve as a limiter. Can be used:
- concrete curb;
- brick;
- a natural stone;
- wooden posts or boards;
- plastic, etc.
Above the ground level, the curb should rise to a distance of 7 cm. If you plan to use a brick or stone, it is recommended to prepare a cement-sand cushion. If wooden pegs or boards are chosen, then they must be treated with a special antiseptic against decay.
Making a "pillow"
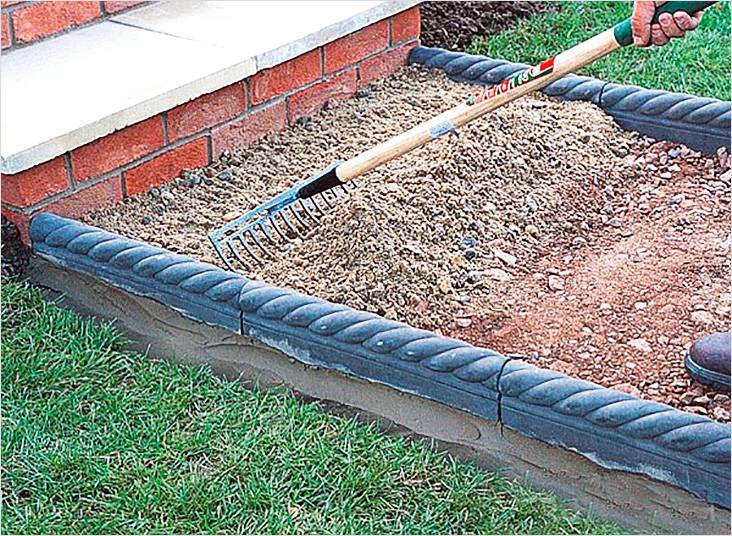 Making a pillow under the path, for this gravel is mixed with clay or sand
Be sure to put a "pillow" under the laying of the face layer, which will consist of clay and coarse gravel. After pouring the mixture over the geotextile, it should be poured with water. After that, ramming is carried out. You can also not mix these materials, first fill the trench with crushed stone, and then clay, while each layer is filled with water and rammed.
Sand can be used instead of clay, this will increase the drainage properties of the gravel path. In this case, the work looks like this: geotextile is put, after coarse rubble, then, again, fabric and finally sand. The simplest option is to fill the trench with gravel, tamp it and close it with geotextiles so that the coarse fraction does not mix with the fine one.
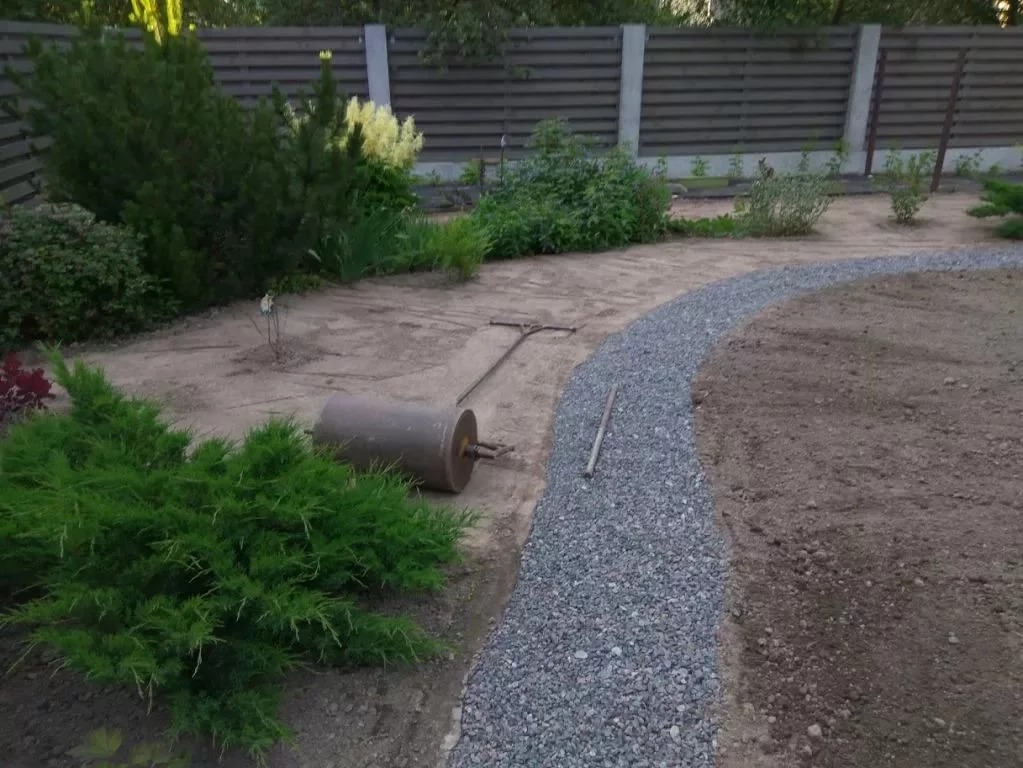
The final step is backfilling the trench with a prepared "cushion" of gravel. On average, the consumption per 1 m2 will be up to 50 kg, this is provided that the layer thickness is up to 3 cm. Accordingly, with an increase in the layer, the consumption of material also increases.When you have completely covered the rubble, it must be leveled with a rake and tamped.

