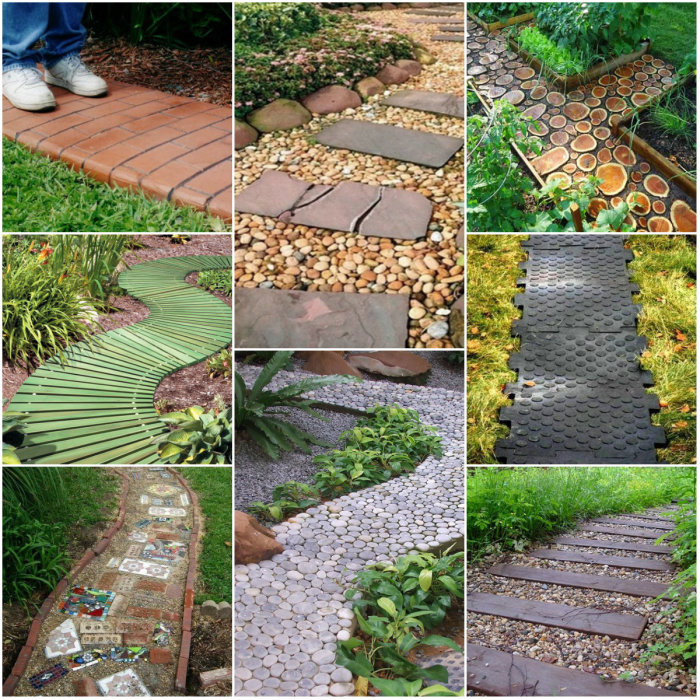
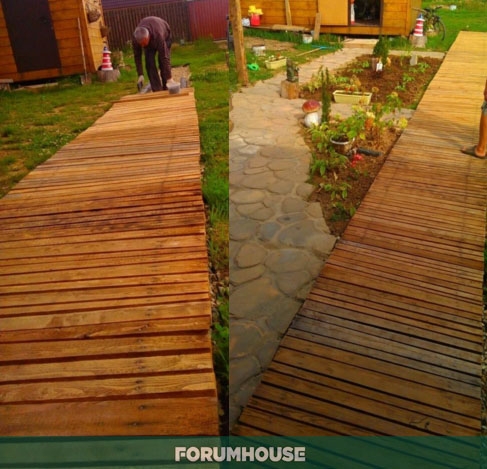
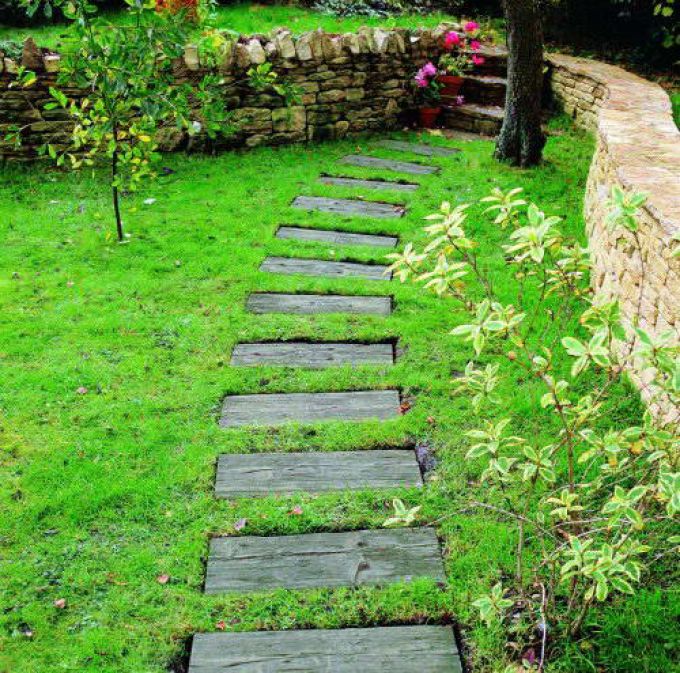
Types and types of paths made of wood
For the cottage and summer cottage with a garden, wooden paths are provided, made in different versions. When deciding on a view, first of all, you need to focus on the general style of site design.

It is better not to use low-quality wood, but to buy ready-made sawn timber or lay out a path with a different coating.
Country paths made of wood are:
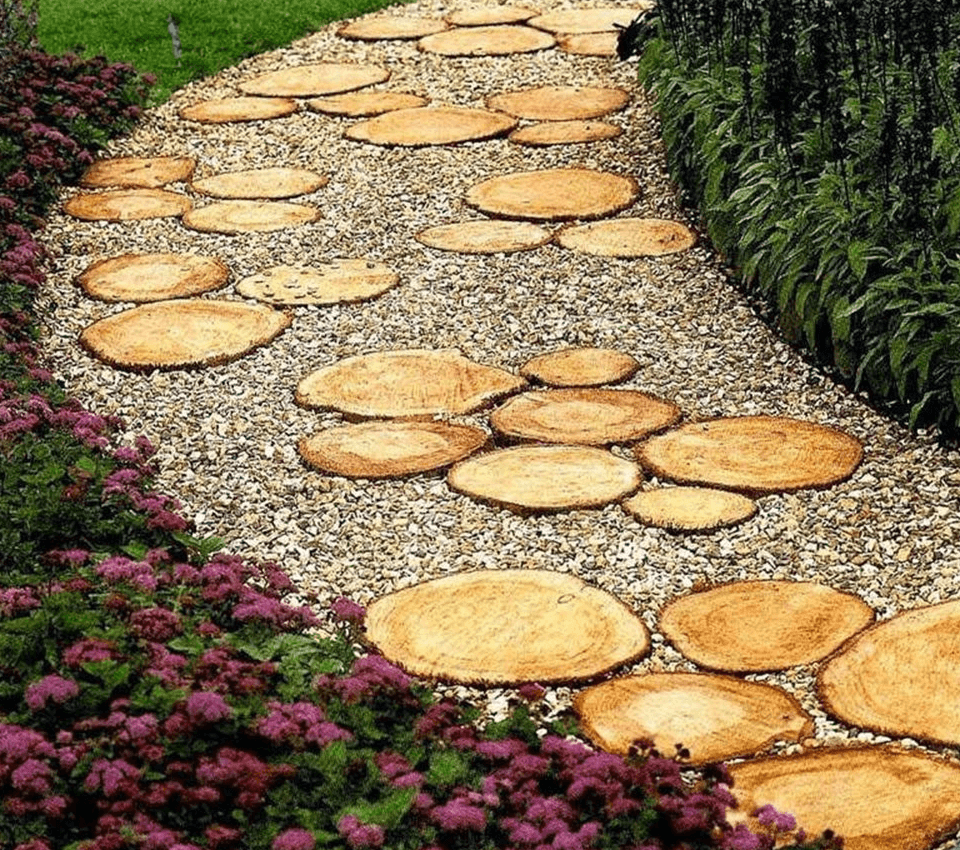
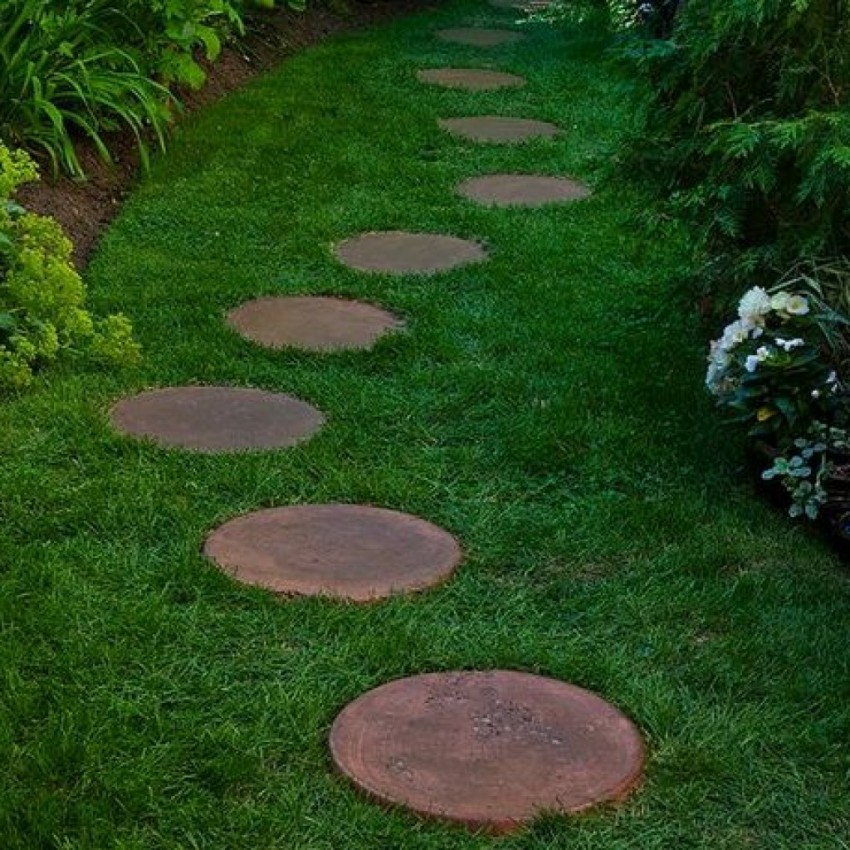
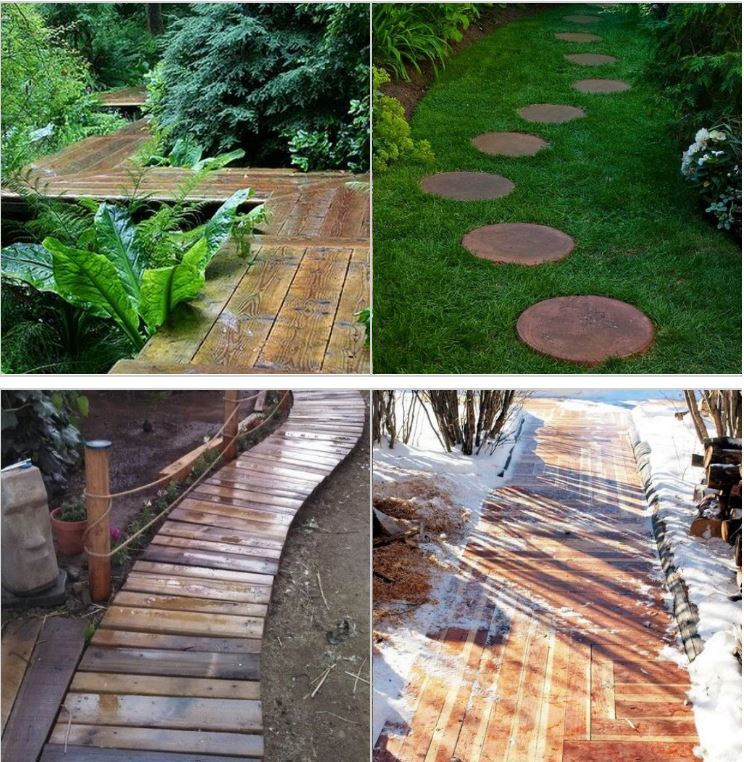
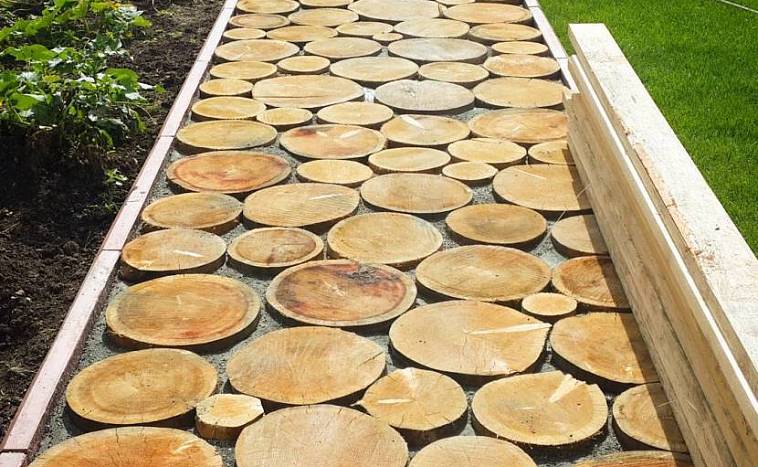
From the saw cut. The path is made of uniform segments of a log of a tree of unequal thickness. It does not require large financial investments, since the procurement can be done independently.

A path made of wooden saw cuts does not require large financial costs, since it can be made of uprooted trees.
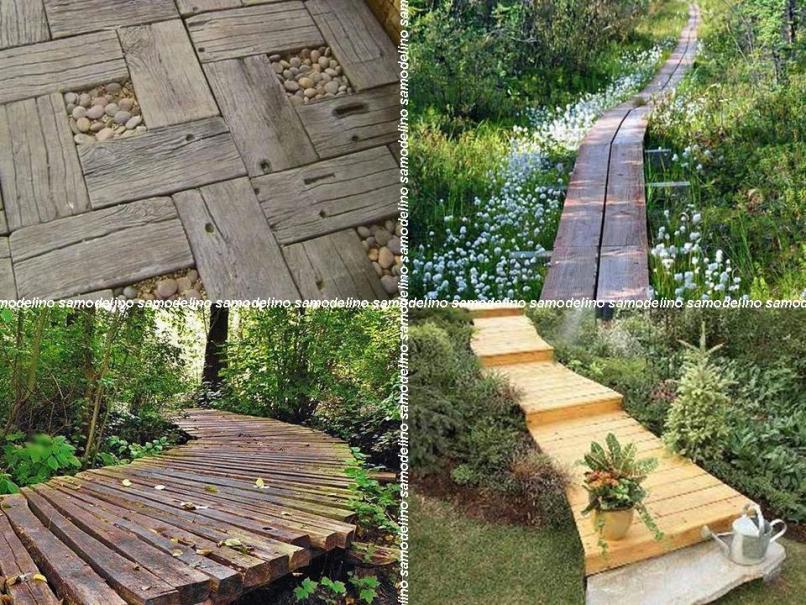
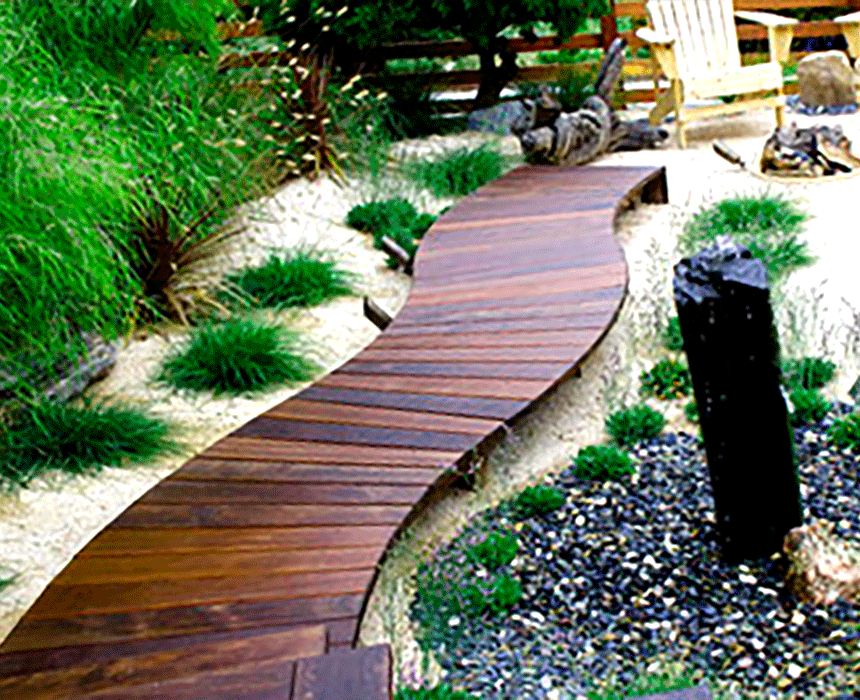
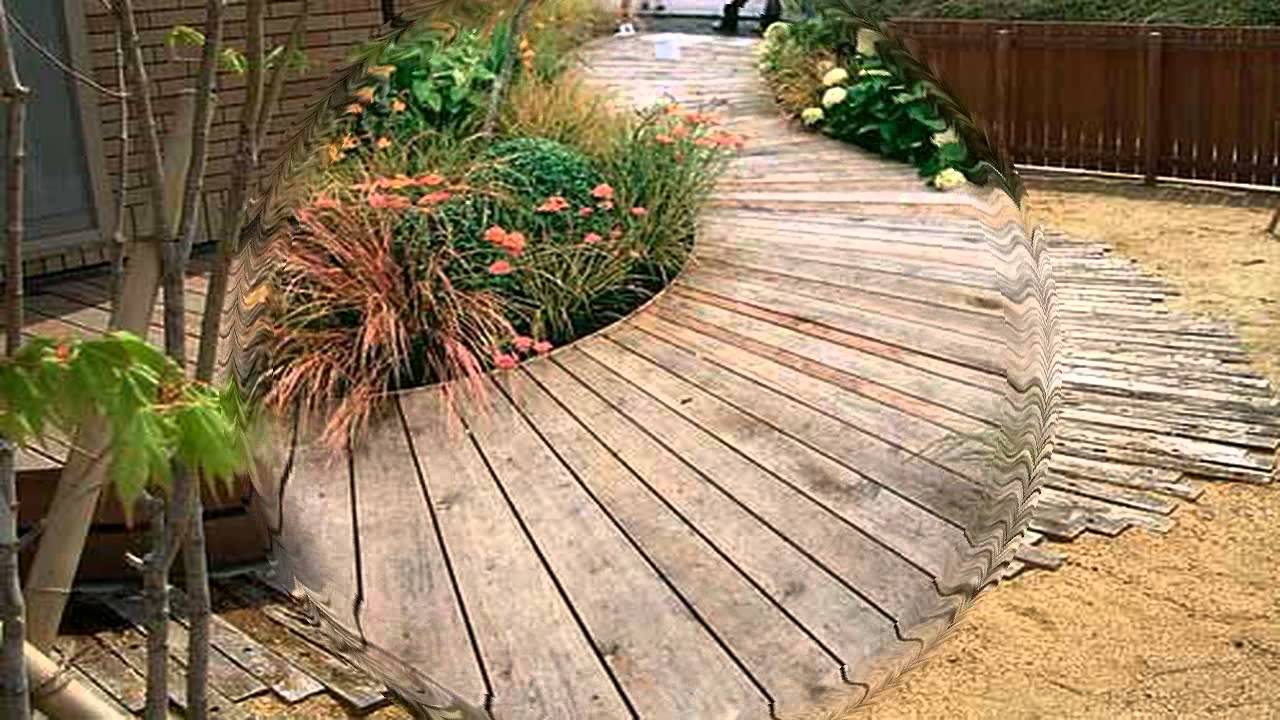
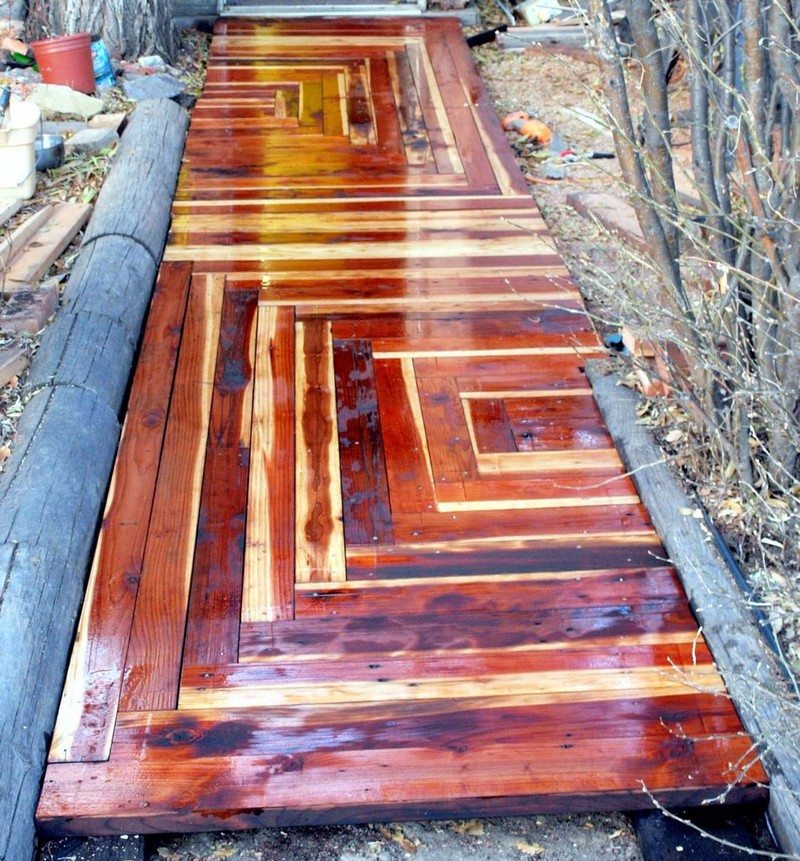
From the board. Board tracks require pre-treatment. Prepared planks are laid in the transverse, longitudinal direction, as well as in the form of a continuous flooring. To give the effect of a winding path, the edges of each element are trimmed.

From the boards purchased or remaining after construction or repair, a wooden sidewalk is being erected.
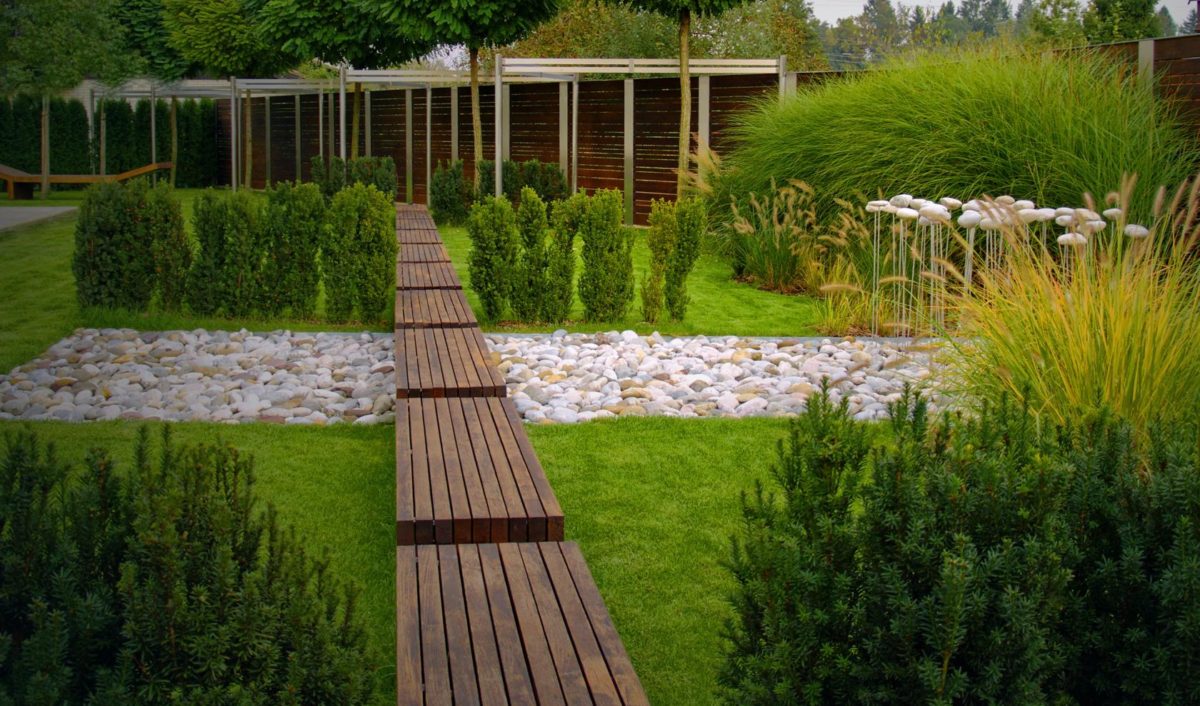
From a bar. The material is expensive, but more durable and durable. It looks nice and neat. Installation is carried out in the traditional style of masonry walls, in the form of paving stones, in combination with logs or other types of materials.

More costly will come out of the track from the timber, which can be laid in a continuous array or as railroad rails.
From bark or mulch. The appearance of the coating is attractive, but it quickly cakes and becomes unusable. Therefore, the bark path must be constantly poured. It also needs curbs of a certain height to prevent bark or mulch from scattering. Among the disadvantages is the fact that the material clings to the sole of the shoe and spreads throughout the entire area.

They look great, but they quickly trample down and become unusable, besides, the bulk material stretches behind the legs and is pulled apart around the site.
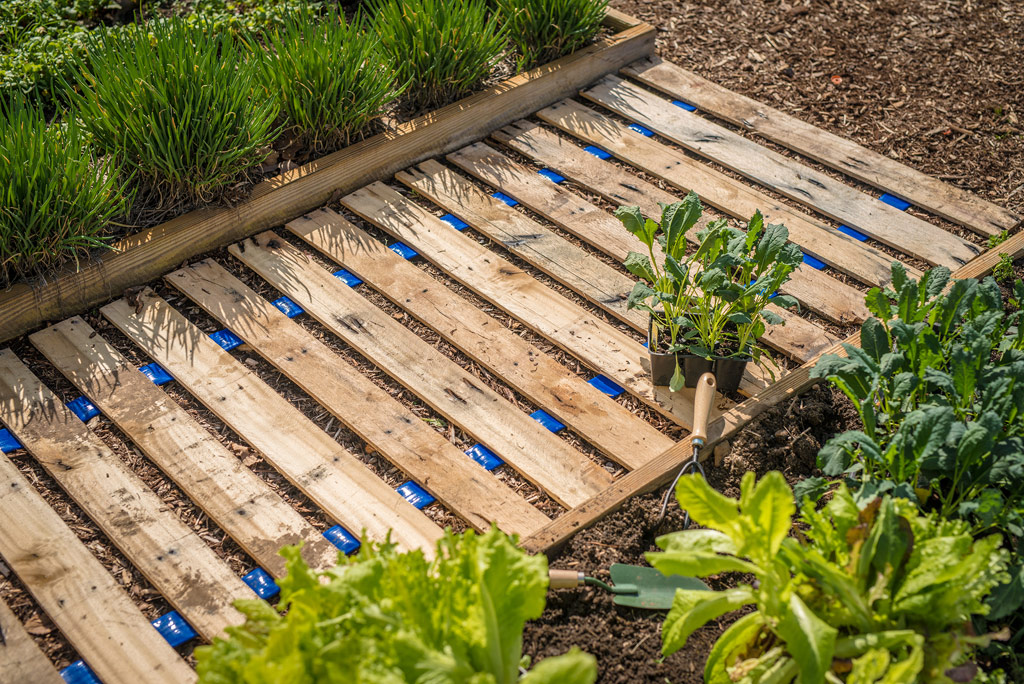
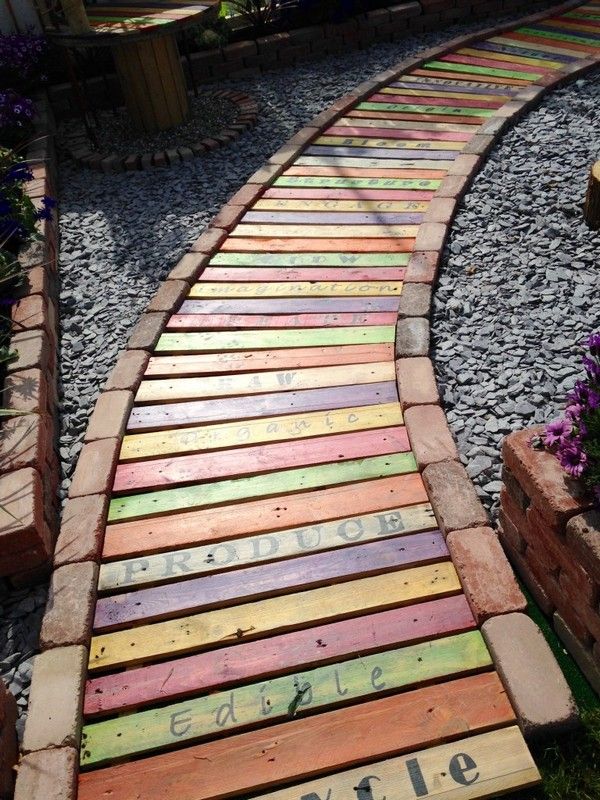
From ready-made pallets. It is a ready-made structure with a planking base. To avoid additional processing, it is recommended to choose a pallet with a small gap between the boards.

Pallets can even serve for several years, while waiting for the owners to have the opportunity to replace them.
Important! For fixing the boards, it is recommended to replace modern screws with galvanized nails. By design features, wooden paths in the garden are divided into three types:
By design features, wooden paths in the garden are divided into three types:
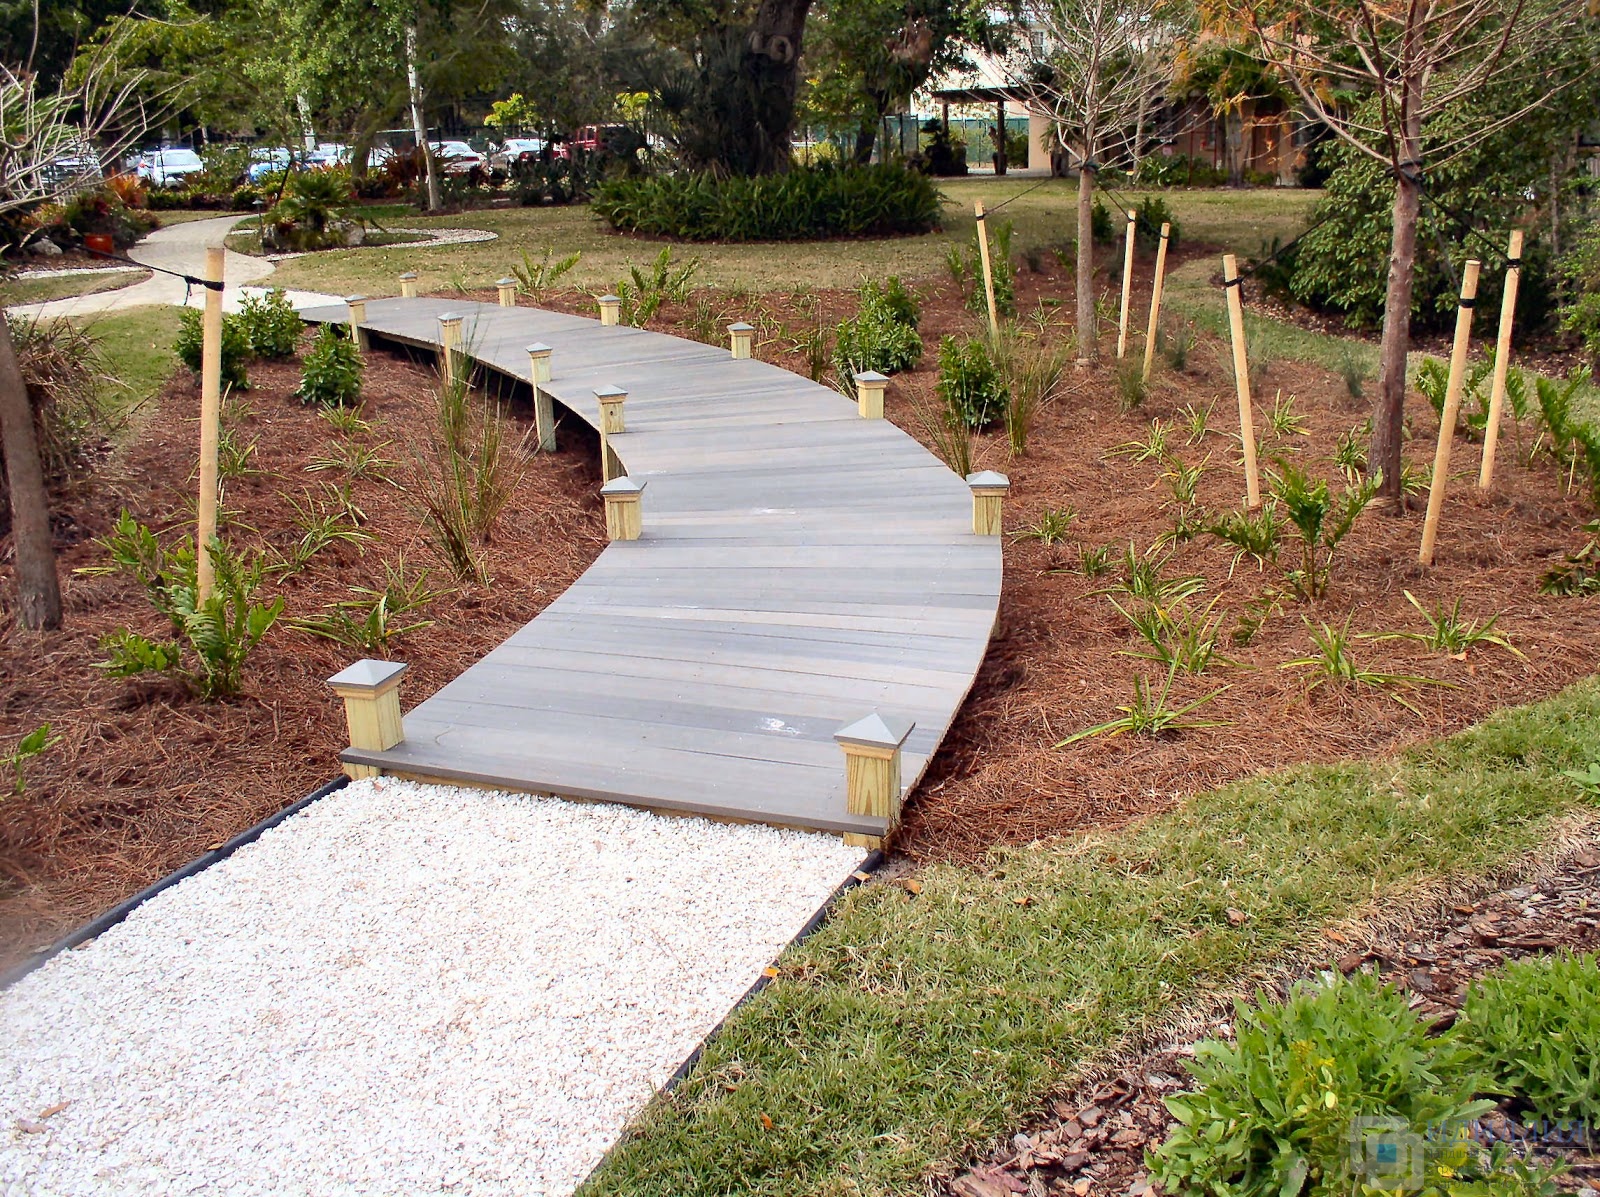
On the lags. Longitudinal beams are laid on a pre-prepared base of gravel and sand, used as a support for further fastening the boards
This design has an important advantage - the path is raised, which provides unhindered air access and the safety of the material

In order for wooden paths in the country to last longer, they must be treated against decay and provide biosecurity.
No lag. The tree is laid directly on the ground in a pre-dug hole. To create the strength of the structure, the recess is covered with sand, roofing felt or geotextile for better drainage of moisture.

You can make your garden path unique by your own design.
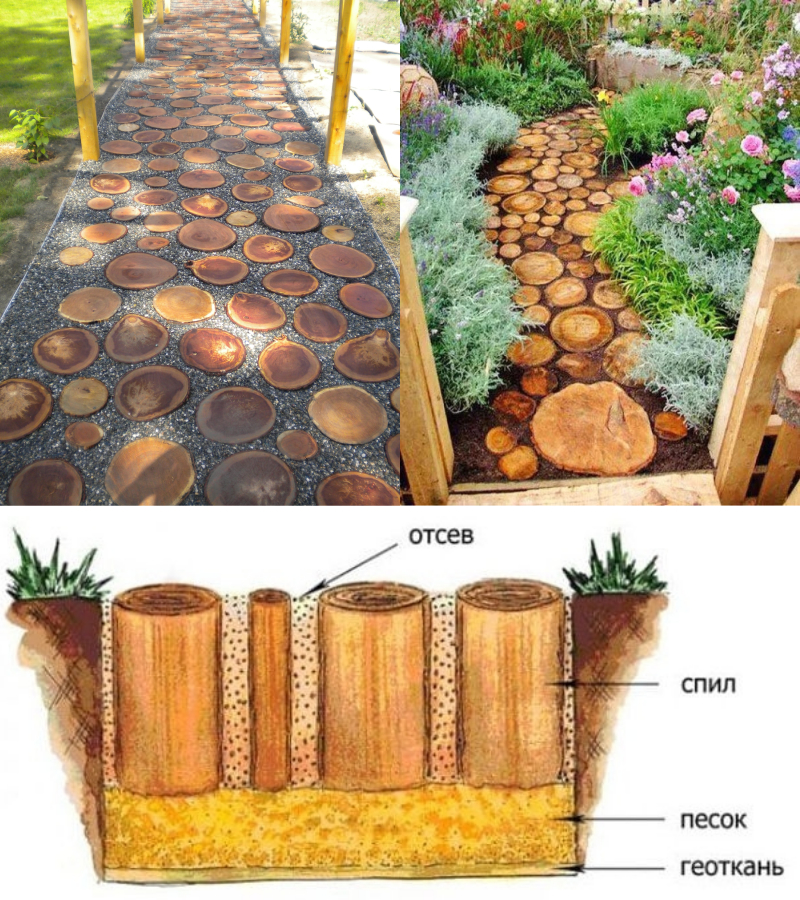
Dug in. In this case, wooden elements are dug into the ground at the same level with the surface or with a small protrusion above the ground. To fill the voids of the base, any drainage material is used: crushed stone, granite screenings or coarse sand. Since the material is completely submerged in the ground, it requires enhanced protection against moisture.

So that the wooden paths in the country house acquire a complete look, they can be mulched with pebbles, shells, bark or nutshells.
For reference! For decorative purposes, the surface of the road surface made of natural and ecological material can be coated with paints and varnishes.
Making tracks from boards
To create garden paths, a boardwalk with a thickness of 25-30 millimeters is used. All used wood materials are pre-treated with an antiseptic. In case the paths will be used to transport heavy loads, it is recommended to use more powerful blanks.
You can make a trench and lay the base according to the described algorithm. Along both sides of the dug hole, you need to install a beam of 100x50 millimeters on the edge. Also, in the middle of the path, an additional lag is placed, which increases the bearing capacity of the structure being erected. The timber is necessarily wrapped in waterproofing.
Then, with a step of 1.5 meters between the lags, transverse struts of 40x40 millimeters are laid. You can use nails or screws to connect the materials. At the end of the described work, the trench is covered with sand, which is rammed with water.
Then boards 150 millimeters wide are laid along the lag and nailed. The gap between the materials should be 5-10 millimeters. This is necessary for the natural outflow of water.
Preparation of parts
The success of the work depends to a large extent on the quality of processing of wooden saw-cuts. The service life of the structure, its appearance, and the ease of use of the decorative path depend on the correct processing.

At the planning stage, you should decide on the source material. It is recommended to choose hardwoods for blanks:
- birch,
- pine,
- oak,
- larch,
- beech.


The starting material must be healthy and sound, free from rot and damage. The wood must be dry and free from pests.

From the prepared raw materials, workpieces of the same height should be cut. Experts advise making a 15 cm long template and using it for convenience.


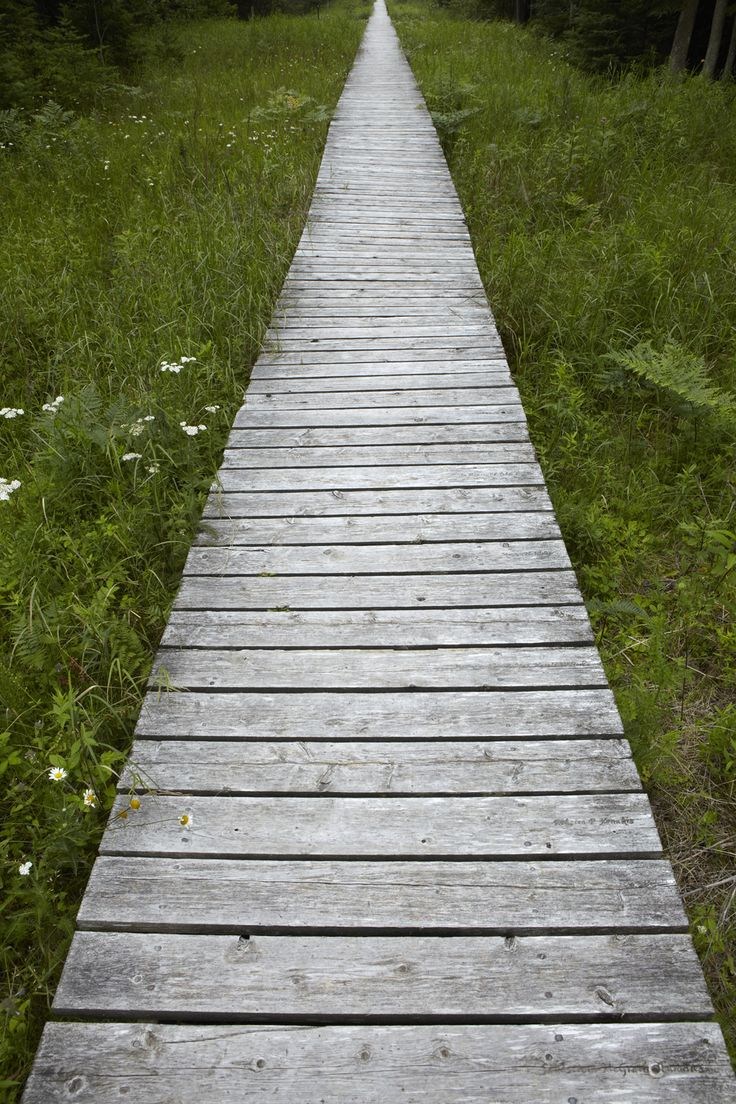
The cut is performed at right angles to the trunk. Then the workpieces are cleaned of bark, sorted by diameter. Place cracked parts to one side.

Impregnation with hot linseed oil or special protective compounds is necessary to increase the service life of parts and protect them from moisture.

After drying, the parts are completely ready for use. If desired, they can be painted with copper sulfate.

It is easy to use bitumen as waterproofing, soaking the lower part of the parts with it.

Pros and cons of wood paths
Wooden blanks, as the basis for paths on the site, have the following advantages:
- complete environmental friendliness (provided that the material is not treated with paint);
- availability;
- relatively low cost;
- simplicity of construction.
> Wood provides ample opportunity to create tracks of various configurations. At the same time, the material dries quickly, which is especially important after the snow and rain have melted.
The main disadvantage of hemp tracks and other similar blanks is their short service life. This is due to the fact that wood does not tolerate prolonged exposure to sunlight (cracks), rot and is afraid of fire. In addition, wet material becomes slippery, and insects such as ants are able to gnaw paths. Therefore, before laying, the wood must be processed.
Table with succulents
Who does not know, succulents are plants that can accumulate moisture - cacti, scarlet, agaves, etc. A table with succulents can be placed on the veranda, it looks very nice and original. Bars and old boards were needed for this table. Also prepare expanded clay, soil and, of course, plants. You make two tabletops in a frame, between them a box of four boards, screw the legs.That's all.
Pallet coffee table with drawer
Another country table made of pallets, there is practically nothing to do, just process and paint two pallets, fasten them and install them on the legs of cinder blocks. The idea is to make a small container for flowers. Mark the dimensions, drill and cut a hole. There is a minimum of work, no costs, and you have a stylish table.
Do-it-yourself paths made of wood.
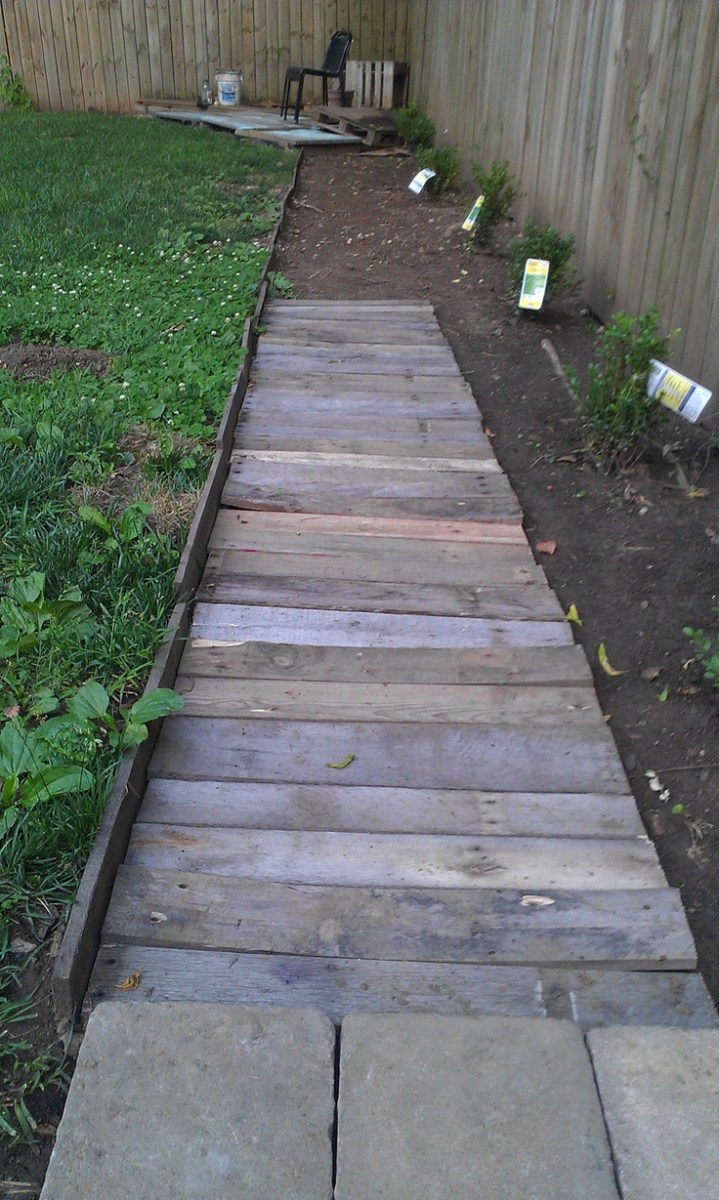
For garden paths, wooden planks that have already served can be used if they are well preserved.
At the same time, it is convenient to knock down wooden boards into shields, which serve as the surface of our path.
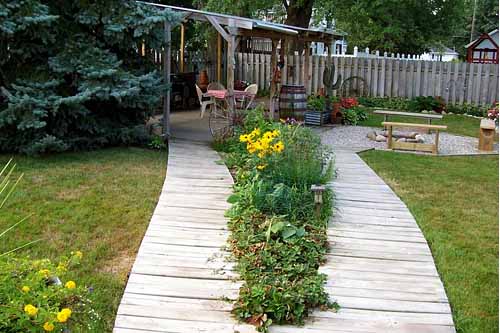
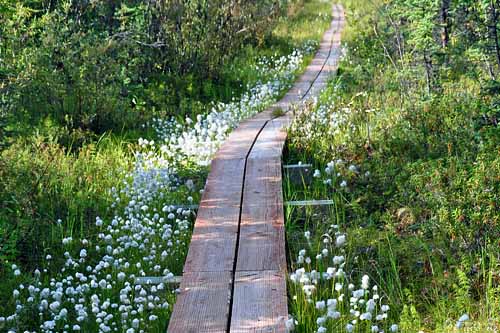
The sequence of paving is as follows: excavation is done, geotextiles are laid in it to protect against weeds, a frame made of beams for the path is laid on it, it is covered with rubble, then wooden shields are mounted on top so that the surface of the path is slightly raised at the general level of the garden.
There is another option for flooring a wooden garden path, in which holes are dug in the ground for concrete supports, wooden pillars are installed in wet concrete, to which beams are nailed, which serve as the basis for a wooden path. Before laying the path itself, it is necessary to carefully level the surface to the level
Also, for such a path, it is important to take into account weed protection - you can lay a special film between the supports
Materials at hand
Garden paths can be made from scrap materials. If for some reason you do not like the above materials, then perhaps this option will do.

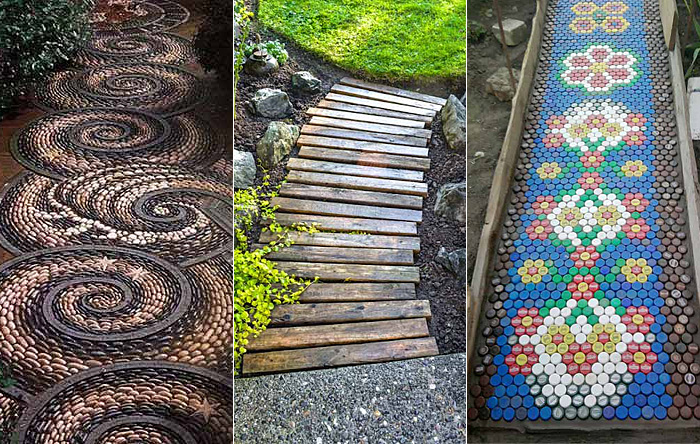
It is worth looking at what you have at your fingertips. Some owners make their tracks from old tires, bottles. Of course, it looks peculiar, but a job well done looks very attractive.

There are also bulk gravel paths or rubble. The main thing is to compact them enough so that there are no unpleasant sensations while walking. If everything is done correctly, then such a coating is convenient. Gravel conducts water remarkably, so puddles will not form.

Device technology
Before carrying out the main work, it is necessary to prepare tools and materials:
- edged boards of the required length;
- cuts;
- garden parquet;
- material for the manufacture of borders from metal, wood or concrete;
- waste engine oil or drying oil for wood processing;
- materials for sealing gaps (pebbles, sand, gravel), alternative: sand with cement.
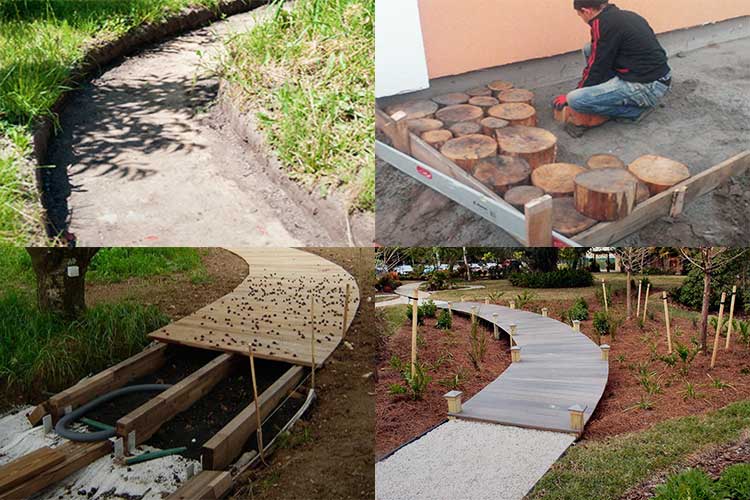
A hacksaw, a tape measure, a plane, a mallet, a shovel, an electric plane, and a chainsaw are used from a construction tool.
The process of arranging wooden paths is carried out in the following sequence:
- We mark the site at the place of laying the future path using wooden pegs and a cord (we set the width of the path within 0.5-1 meters).
- We remove a layer of turf from the soil, its thickness depends on the type of material used. The coating should be a couple of centimeters higher than the rest of the surface, taking into account the backfill. The depth of the trench is within 20-40 centimeters.
- We cover the bottom of the ditch with a plastic wrap, which will protect the wood from moisture penetration and prevent the growth of weeds. We make a cushion of gravel and sand, compact the mixture with a rammer.
- We install a concrete or metal curb at the edges of the trench.
- We carry out the laying of the covering of the cuts of logs, garden parquet, beams or boards. Before carrying out installation work, we cut the lumber into pieces of the required length, process the surfaces with an electric plane, cover with an antiseptic and impregnation.
- We lay out lumber according to a previously developed scheme (in a continuous layer or with gaps). The recommended distance between beams, planks or stumps is within 5-8 centimeters.
- We align the laid materials with a mallet. The horizontalness of the coating is constantly checked by the building level.

At the final stage of work, we fill the gaps with bulk materials, gravel or pebbles. You can use a mixture of cement and sand in a ratio of 1: 6.
Paving slabs
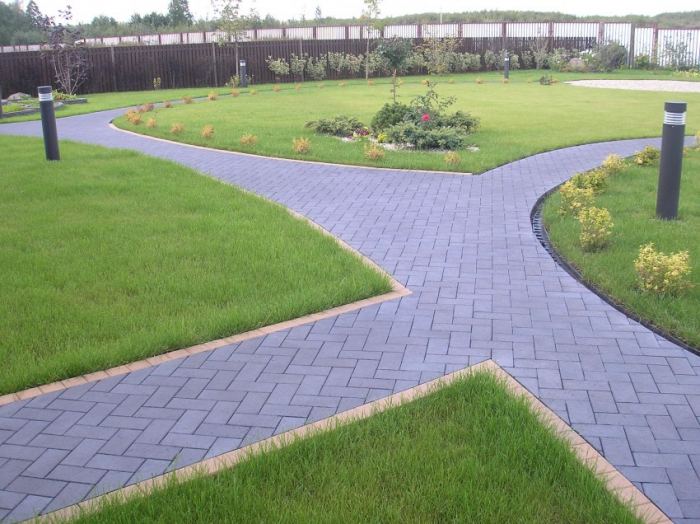
For self-laying tiles you will need:
- Shovels (bayonet and shovel);
- Pegs;
- Mallet;
- Level;
- Rake.

The order of work is as follows:
- First, the site must be cleaned of all unnecessary, pull out the grass.
- After that, the location of the track is determined, its boundaries are marked. It makes no sense to make wide paths, as it will take a lot of money and territory. To mark the boundaries, you need to install pegs and connect them with a rope.
- Now you need to dig a hole. Its size depends on the height of the tile. For example, if the height is 7 cm, then it is better to dig a hole 10 cm deep.
- After that, a side is made with a shovel.
- Unnecessary layers of earth inside are removed.
- It is necessary to evenly pour sand into the space that appears.
- You can start laying the tiles. You need to control the process using a level.
- The gaps that appear are removed with sand.
- After that, you need to slightly moisten the structure with water. And you're done!

Laying the decking
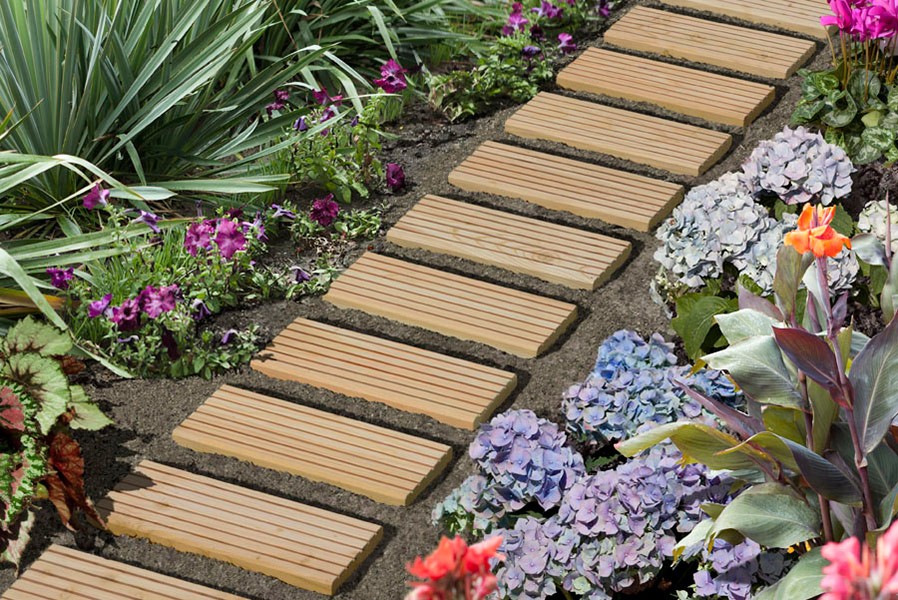
Garden parquet, or decking, is more common abroad. This material is produced in the form of square or rectangular tiles of various sizes, consisting of lamellas, which are fixed on a lattice base. For connection, there are locks on the sides of the parquet. On garden plots, it is recommended to lay tiles with gaps between the lamellas.
This configuration allows natural outflow of water. Parquet is made from various types of wood. But, despite the type of material chosen, decking is significantly more expensive than the above options.
Laying garden parquet does not require any special skills. Each tile has sharp feet on the bottom that press into the ground and hold the deck. Some models of garden parquet require the laying of logs, to which the panels are attached by means of self-tapping screws. In this case, it is recommended to prepare a concrete base in advance.
Maintenance of wooden paths
During operation, garden sidewalks crack, rot and lose their attractiveness over time. In order to bring the appearance of the track back to normal in time, it is necessary to carefully inspect it every year. It is recommended when creating paths to save the basic and decorative material that will be needed for repairs in the future.
Mandatory procedures include:
- Cleaning paths from debris and dirt.
- Treatment of hemp with antiseptic agents.
- Replacement of damaged elements with new ones.

Thus, wooden paths are aimed at creating the convenience of moving around the garden area, as well as maintaining the neat appearance of the territory. It is not difficult to create such an element of landscape design and it does not require large financial costs. If you make a garden sidewalk from saw cuts, following the step-by-step instructions, and also perform all the necessary maintenance steps, then such a functional part of the exterior will delight the owner for many years.
Track types by material type
Depending on which tree or decorative element for laying is chosen, all paths are divided into the following types:
- Wooden cuts. These are the ends of wood logs, which are partially dug into the soil, leaving small protrusions on the surface.
- Wood planks. The boards can be ordered in the desired shape or corrected with an electric planer. In the end, it is recommended to cover the entire structure with a protective layer of varnish or paint. How to make wooden paths yourself is shown in the video below.
- Bars made of wood. The laying technology is similar to a plank path, but the timber itself is more durable and strong, and also has increased stability. You can lay out the beams in a continuous layer, as well as alternate, filling the gaps with coarse sand, gravel, pebbles, granite or stones.
- Garden parquet boards. They are made, as a rule, from separate boards, being assembled into a single composition. Material - garden parquet flooring.
- Figured design. These are wooden forms in the form of ornaments, drawings and figures. The modern assortment allows you to choose such elements for the track to any style and landscape.
- Wood bark (mulch). Such a coating is short-lived, since the bark quickly deteriorates and requires replacement, however, in some places this laying technology is also successfully used. The downside is the adhesion of particles to shoes and pet hair, which contributes to the appearance of dirt and debris.
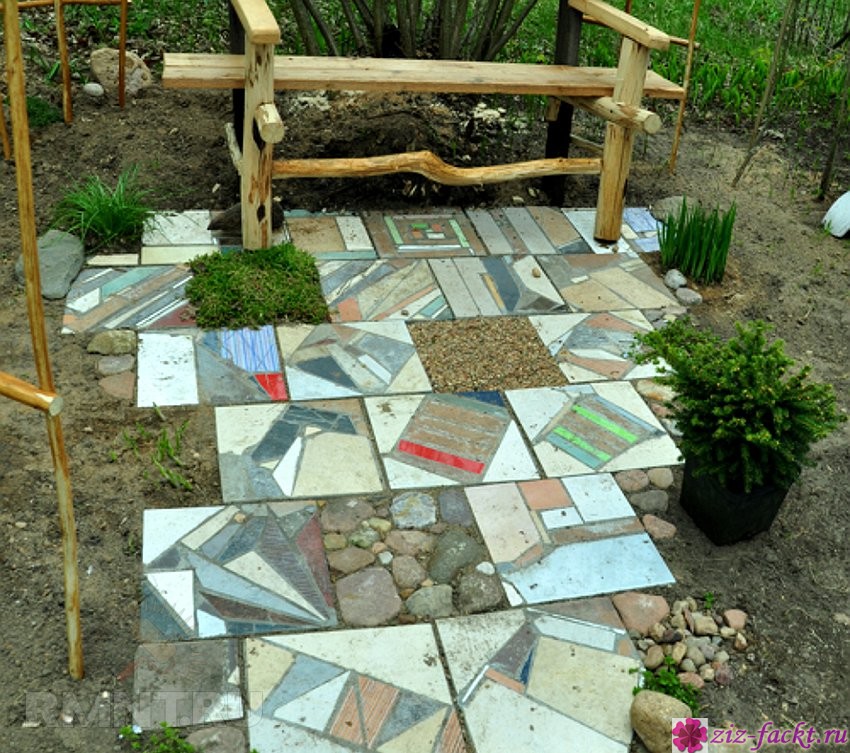
- Decorative design. There are no boundaries of imagination here, you can use nutshells, bamboo stems, small dry trunks of young trees, unnecessary curly branches. You can lay the material in several tiers, imitate steps, create an interesting texture.
Wooden paths in the garden can change the appearance of your site beyond recognition. Wood is an environmentally friendly natural material, which is not difficult to acquire. Laying a path made of wood is not a quick process, but if you follow the rules and recommendations, you can create a real masterpiece.
Advantages and disadvantages
Like any other building material, wood products have their strengths and weaknesses.
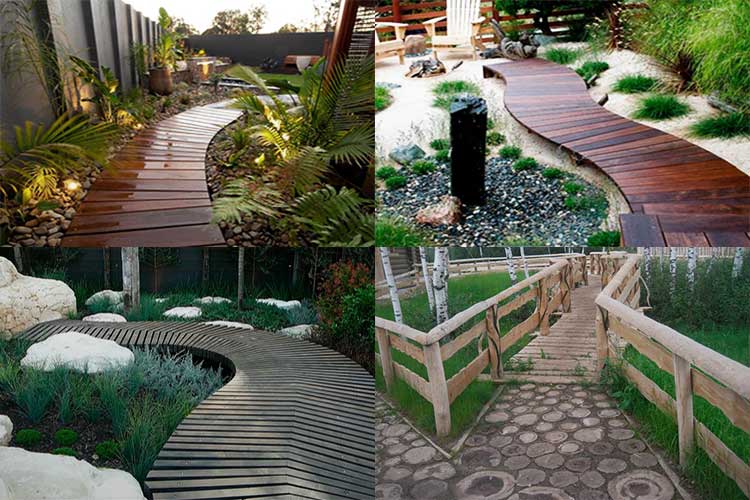
The main advantages of wooden paths for a garden and a cottage include:
- environmental friendliness of the raw materials used;
- the ability to create a coating with a unique pattern;
- ease of manufacture;
- low cost;
- a simple construction tool that can be found in any country house.
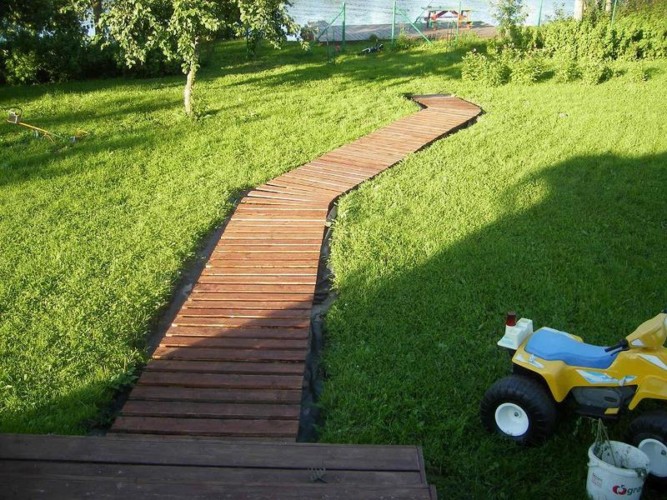
There are several significant disadvantages to wood products. The main one is considered fragility, in addition, the tree is damaged by insects, often suffers from fungus and mold. Special impregnations and antiseptics will help to reduce the negative impact of the environment.
Simple country table with your own hands
Usually, furniture is brought to the dacha from city apartments, including tables. Here are just modern models made of chipboard are not very suitable for country conditions, if you leave it on the street, and even on the veranda, it will not last long. And buying a ready-made table made of natural wood is not a cheap pleasure. There is only one way out, do it yourself. Here is a diagram and step-by-step photos of how to make a simple country table with your own hands.
Multipurpose table for summer cottages
If you are looking for a beautiful picnic table and sturdy workbench, then this option is for you.
The idea is simple, you make a durable metal table on which you can carry out locksmith and carpentry work, in the country a workbench will come in handy in any case. Then decorate it by turning it into a pretty picnic table. The step-by-step photos show how the author of the project imagines it.
Schemes and drawings of country tables
There are many options for country tables, differing in shape, style, size. These diagrams and drawings will help you understand the features of different designs.
200 photos of country tables
Country furniture has its own specifics, the most popular, of course, are tables and benches.
If you undertake to make them yourself, then first of all you need to pay attention to the material. In the open air, any furniture quickly deteriorates, so they often use what is not a pity
If you want to do something reliable and solid, you need to use wood that is well treated with a moisture-repellent composition. The gallery presents different types of tables - folding, stationary, portable, structurally combined with benches and simply beautiful models. Choose what you like, and you can do anything with your own hands.
Construction stages
After the preparatory steps have been completed to create a suburban wooden sidewalk, you can start the main work.
Construction consists of the following stages:
- trench preparation;
- preparation of the base, waterproofing and borders (if necessary);
- laying of saw cuts.

Every step requires care. In case of an error, the owner will have to spend money on additional materials to fix the problem. If all stages are performed according to the recommendations, then the wooden path will serve for many years.
Check out also the ideas of landscape design for a summer cottage from scrap materials.
Trench
This recess for fixing the path is necessary for a long service life and safety when moving. The depth of the trench depends on the height of the saw cut itself. In this case, you can add an additional 50-100 mm, taking into account the type of soil and the load on the sidewalk. The width is identical to the parameters of the planned track.

Typically, about 15–20 cm of fertile soil is removed, and the path is formed at a slight slope to drain precipitation. On the side where there is a greater degree of slope, you can install a drainage system.
Also learn how to use logs in landscaping.
Substrate preparation and waterproofing
The bottom of the ditch must be waterproofed. For these purposes, a geomaterial or a special polyethylene film is suitable.
Gravel or crushed stone (mixed with sand) is poured onto the waterproofing coating, which helps to protect the wood from moisture. This layer should be 25-50 mm. The drainage must be carefully tamped. The sand and crushed stone layer should be leveled using a level.

At this stage, you can also build sides, which are made of stone, bars and other materials. Next, you need to add another layer of sand so that the height of the pillow is up to 100 mm. For compaction, you can sprinkle with water.
Did you know? Arkhangelsk is characterized by the largest number of restored and created wooden sidewalks in Russia. The city authorities call this element of landscape design a highlight to attract tourists.
Stacking cuts
The process of laying out wooden circles does not have any specific rule. The installation of the elements depends on the preferences of the owner of the yard himself, the conceived pattern. Today you can find variants of paths where the cuts are very tightly grouped. It is also possible to place each element at a distance from the neighboring, creating straight lines or a zigzag. The main requirement is to deepen the hemp and align all the cuts at approximately the same level.

Advantages and disadvantages of wooden paths
Like the various parts of the exterior, these paths have their pros and cons.
- The list of the main advantages of wooden paths includes:
- Environmental friendliness. Such material will not only organically fit into almost any style of a garden plot, but also has no toxic effects on the environment. Wood is a natural pure product, therefore, it does not bring any harm to either man or the environment.
- Availability. Such garden paths do not require huge financial costs both during creation and during their repair. Many owners find saw-cuts in their yards, which have already become recycled materials, which is very profitable. The installation of the tracks is quite simple, so the installation can be done with your own hands and without the help of specialists, and this is quite economical.
- Originality. Wooden paths are distinguished by their unique style. Each owner can lay out the path in his own way, using his own pattern, cuts of various types of trees, unusual decorative elements. All this as a whole will create an original design.
- Easy to install and operate. Laying a wooden walkway is much easier, for example, than a sidewalk path. It does not require complex installation technologies, and you do not need to buy expensive materials and tools. The restoration of such paths is simple, it can be done independently without calling the masters.

- The list of disadvantages is much shorter. It consists of two points:
- Fragility.Wood is an organic product that can deteriorate due to the influence of various mechanical and natural factors. Even if you use special means to protect this material, you should not be sure that this will help preserve the product for decades.
- Application feature. Wooden paths are not a universal design element. They will fit perfectly into suburban areas designed in the "country" or "casual" style, and when the territory is decorated in a modernist style, then you should think about the appropriateness of their use.
Types of wooden paths
There are many options for paths from the material in question.
Modern designers recommend that owners of private houses use paths in their yards based on:
- cuts of a tree;
- boards;
- wooden beam;
- garden parquet;
- tree bark or sawdust (mulch).
Learn how to make a do-it-yourself pallet garden path.
Each of these types has almost identical creation technology, only the external characteristics and some styling details will differ.
From tree cuts
Such tracks are very popular today, as the material is affordable and easy to install. It is not necessary to buy a saw cut of a tree, it can be obtained after cleaning the territories as a result of the work of utilities and in many other situations. The appearance of this type of paths is very similar to paving stones. The main difference is that the saw cuts are characterized by distinctive patterns and dimensions, which create an original design.

The track type under consideration can be laid in different ways: alternating large and small forms, laying out figures in the form of various ornaments and patterns, creating "islands" of wooden elements. The specificity of creating this version of the path is that the cuts must be partially dug into the ground.
From wooden planks
This option is considered temporary. This is due to the fact that the boards do not always have an aesthetic appearance, and also with constant use, parts can quickly collapse. Most often, the paths under consideration are used in the first years after the construction of the cottage and at the initial stages of the design of the exterior of the site. The board path is a cheap, simple and functional option, which is why many people prefer to install it.

Wood can be ordered or available materials can be taken after construction. Planks are usually processed using an electric planer or machine. Installation of such a track is possible both on the ground surface and on a long log from a bar. The second option is more durable.
Important! It is recommended to make a sand bed under the masonry. You should also treat the boards with special wood preservatives.
From a wooden bar
This option is very similar to a boardwalk, but the difference is only in the characteristics of the material. The timber is considered more expensive and durable. Many owners prefer it over boards because of its stability, reliability and durability. The timber can be laid in a continuous and intermediate way. The path under consideration is installed directly on the ground without using masonry, but for this it is necessary to level the soil surface.

From garden parquet
This type of track is widely used today. To create, ready-made shields from boards or composite material are required. Decking is the most popular option, which is produced in the form of tile modules or garden parquet. Such a coating is made from ordinary larch, pine or wood-polymer composite. To prevent the garden parquet from sagging, it is recommended to lay it on a previously prepared hard surface.

From tree bark and sawdust (mulch)
Due to the fact that this material is short-lived and cakes quickly enough, it is necessary to add an organic product from time to time.Easy installation is a plus for this path, as only the topsoil needs to be removed. When installing such temporary paths, curbs should be installed to reduce the likelihood of mulch spillage.

The disadvantage of this type of country sidewalk is that due to the high probability of rotting wood waste, you need to replace the contents of the trench every 1-2 years. It is also necessary to take into account the fact that the particles will stick to the shoes and spread throughout the entire area. In areas with sandy soil, you can pour the mulch directly onto the ground without using any waterproofing material.
Decorating
You can decorate wood with colored paint to create a mood. The dark shade of hemp, coated with a 20% solution of copper sulfate or varnish, looks noble.
Ground cover crops and plain pebbles look very beautiful between the cuts. Some owners use rolls of lawn grass as the basis for wide gaps in the walkway.

You can buy colored gravel to fill the space.
Various herbaceous and flowering plants are planted along the edges of the curbs, decorated with stones, small figurines and miniature lanterns.
Learn more about the use of old bricks in landscaping.
Combinations with wood
Wood blends well with other materials. Moreover, cuts and boards can be painted in any suitable color, thereby giving the landscape an interesting look. When choosing a material for garden paths, it is recommended to take into account the characteristics of a particular site and the location of the path.
Concrete
When organizing wooden paths, concrete is used in two cases: to create a base or a curb. The sidewalk in this situation becomes stronger and better withstands increased loads. Concrete as a base is mainly used when tracks are made from pallets. This material is recommended to be used to strengthen the walls of paths laid with wood cuts.
Gravel
When laying wooden garden paths, gravel is also necessary in two cases: when creating a drainage layer and filling the voids between the cuts. This material can be used to organize a decorative border along the perimeter of the path.

