Tags
camellia
zamioculcas
azalea
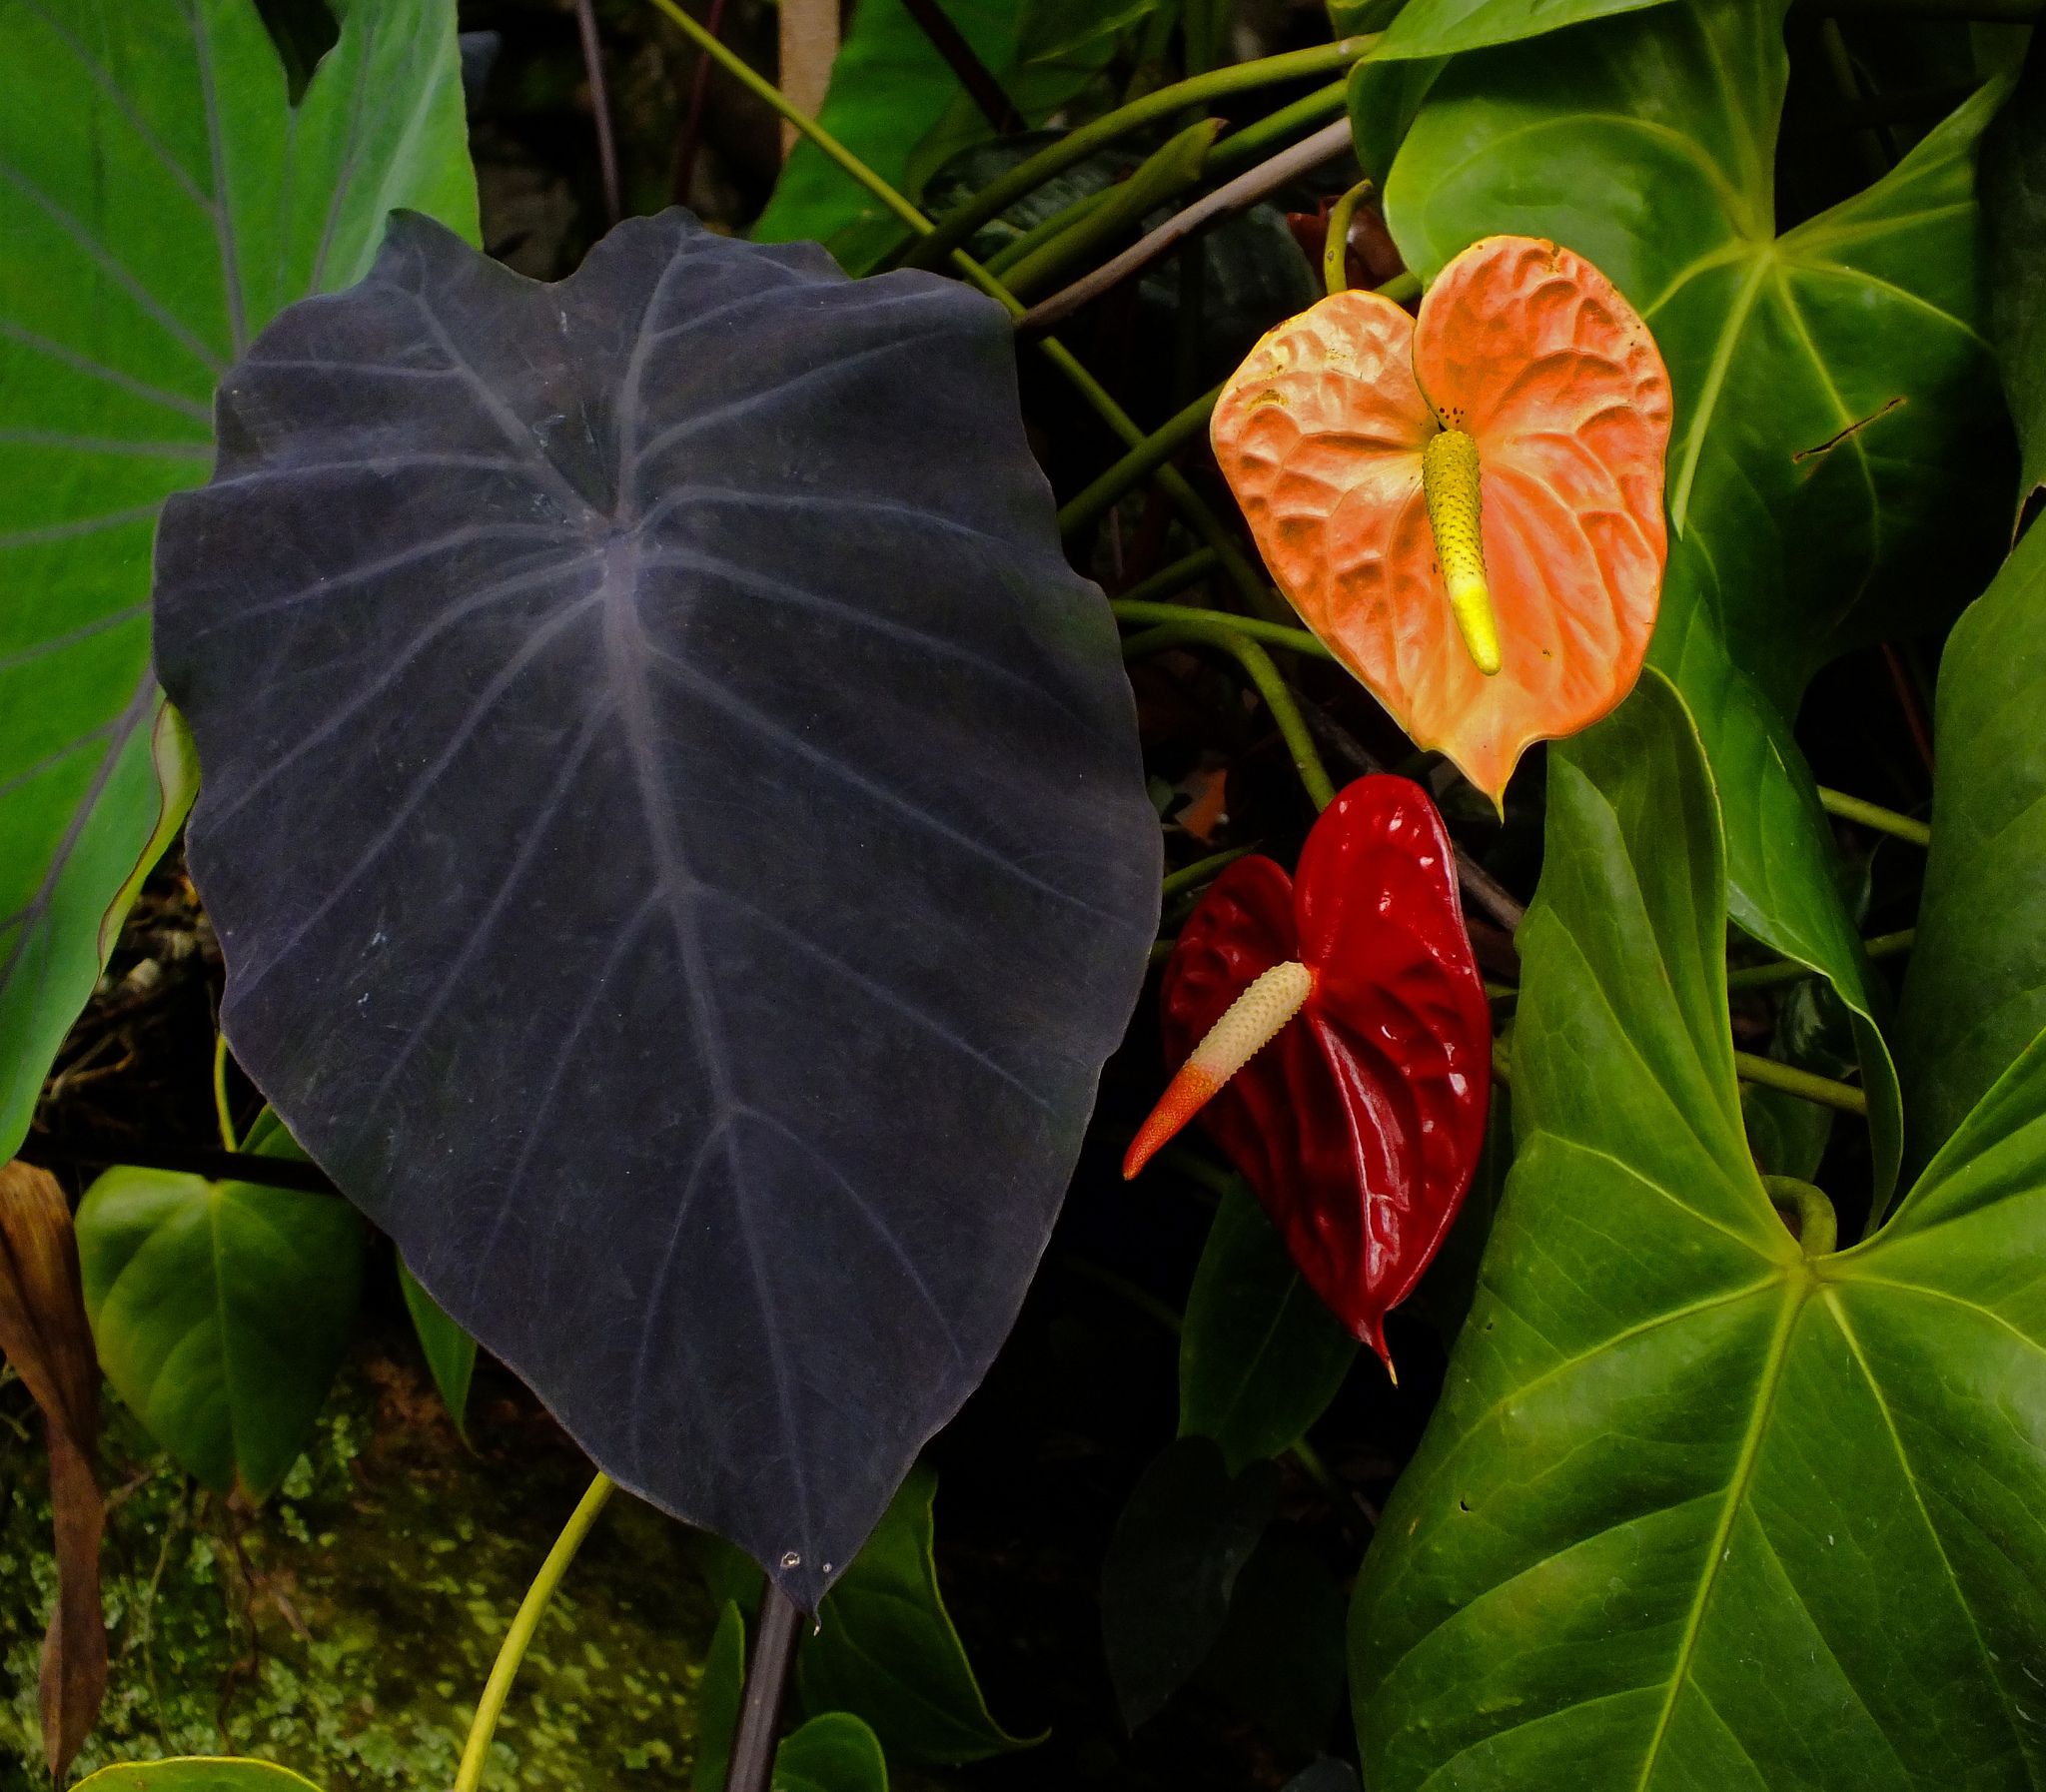
anthurium
grandma's flower
spathiphyllum is ill
anthurium diseases
diseases of male happiness
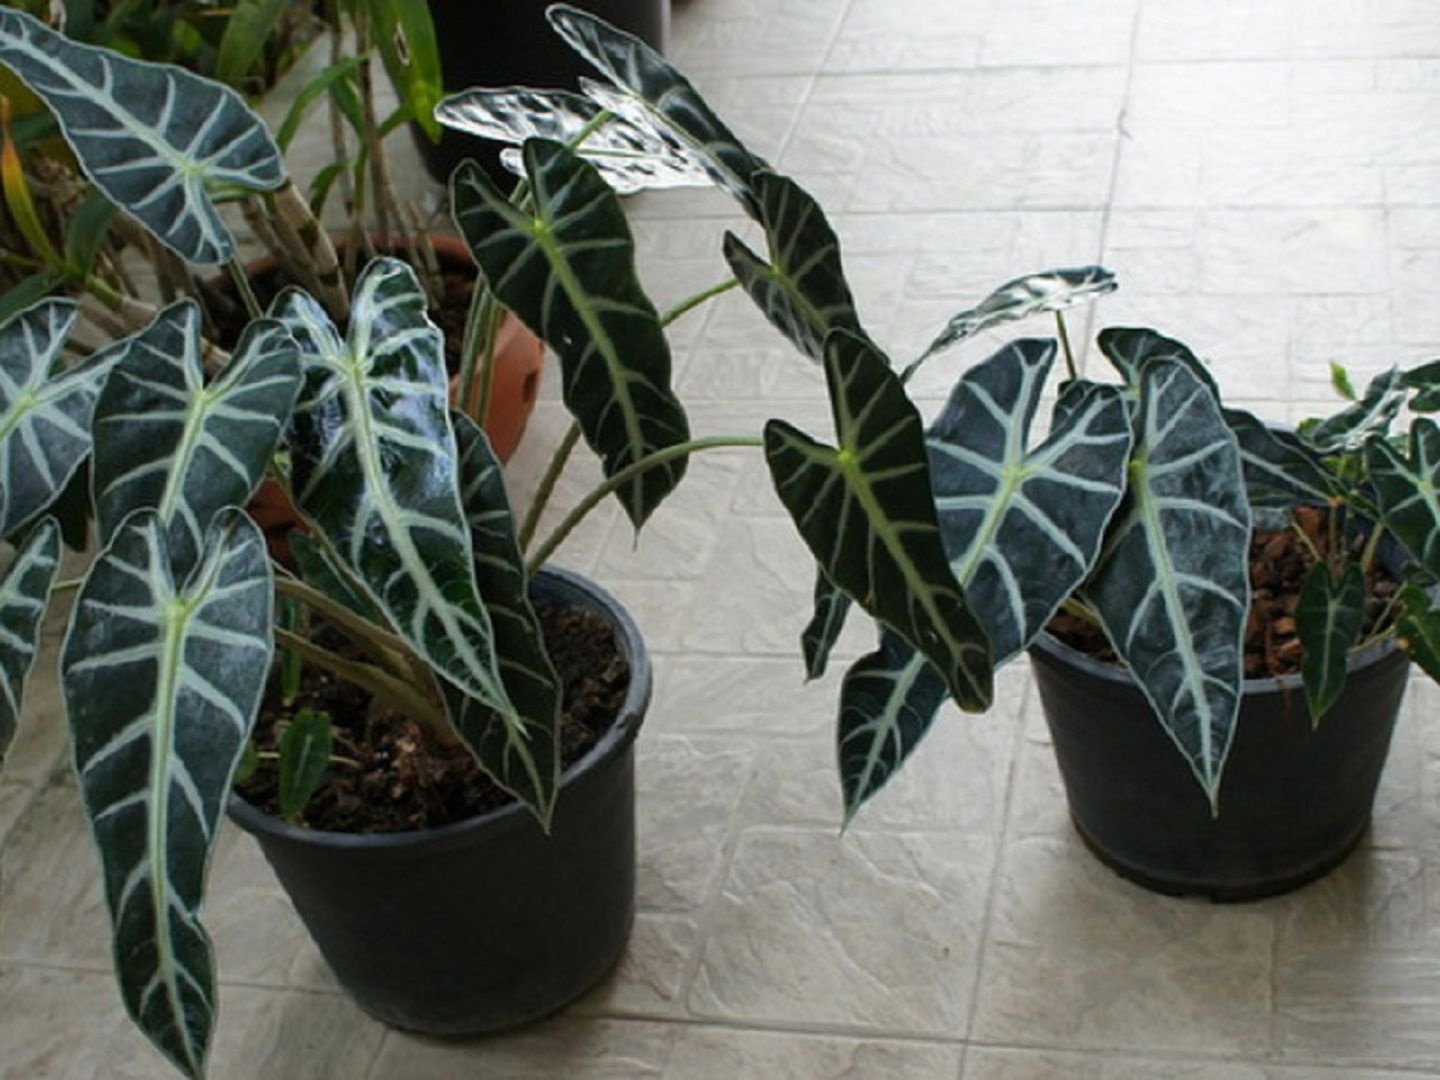
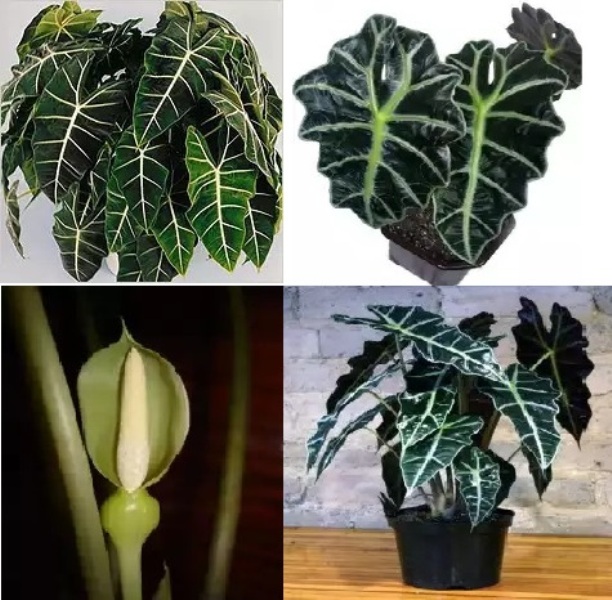
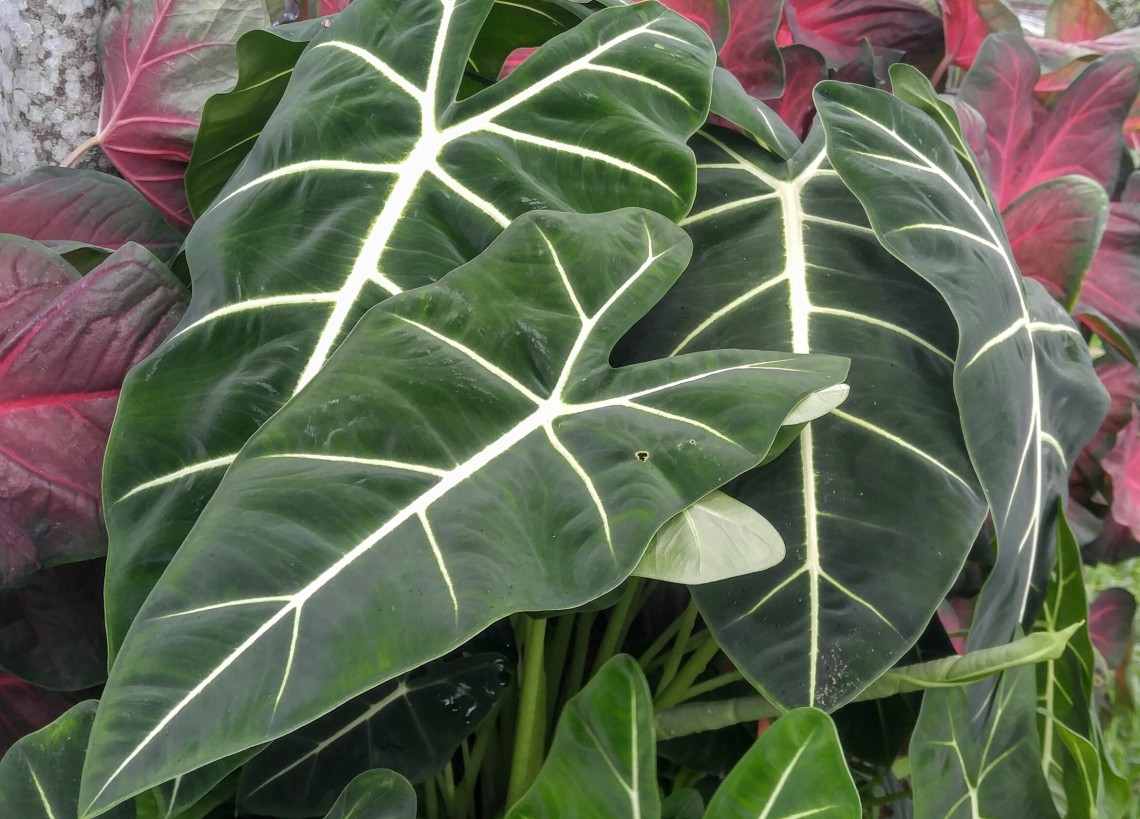
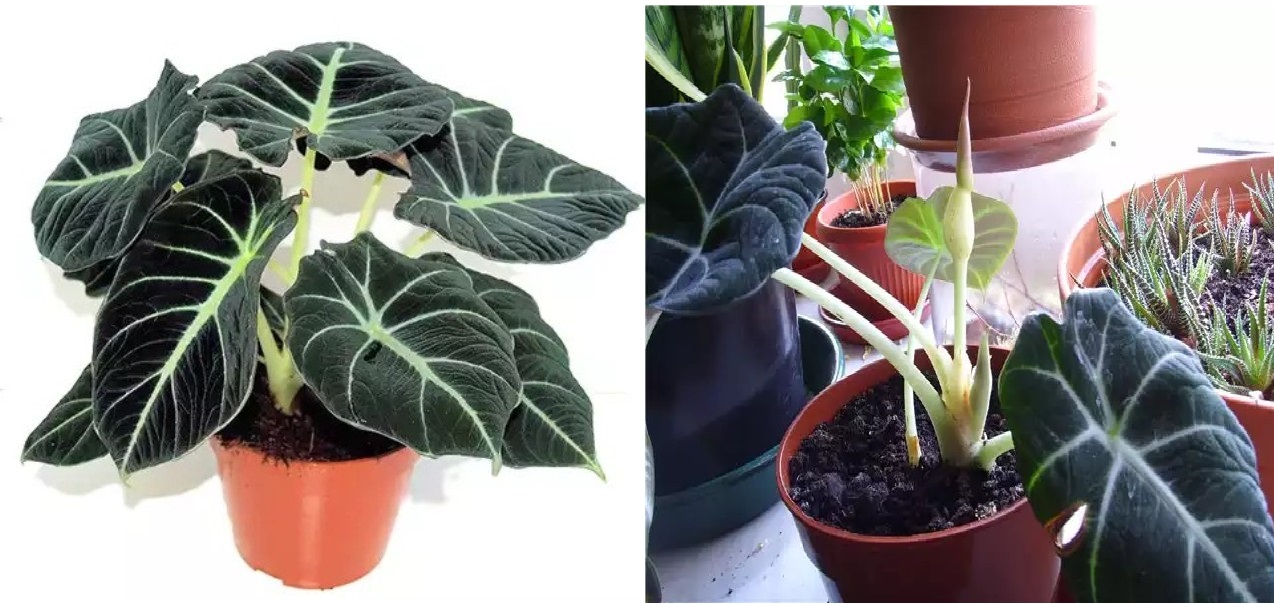
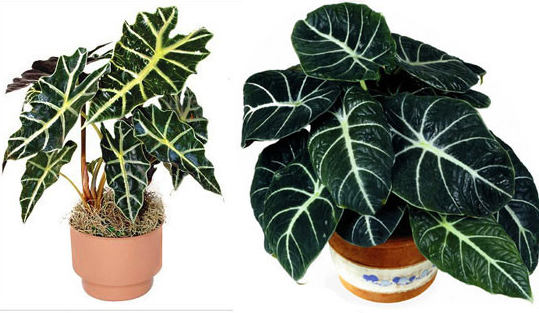
types of anthurium
star of bethlehem
hibiscus
guzmania
Decembrist
dollar tree
woman's happiness
female happiness faded
zamioculcas
camellia
stone rose
Chinese rose
lisianthus
male happiness
orchid
petunia
petunia
poinsettia
rhododendron
christmas
christmas star
sansevier
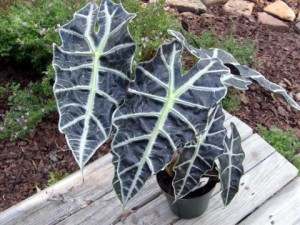
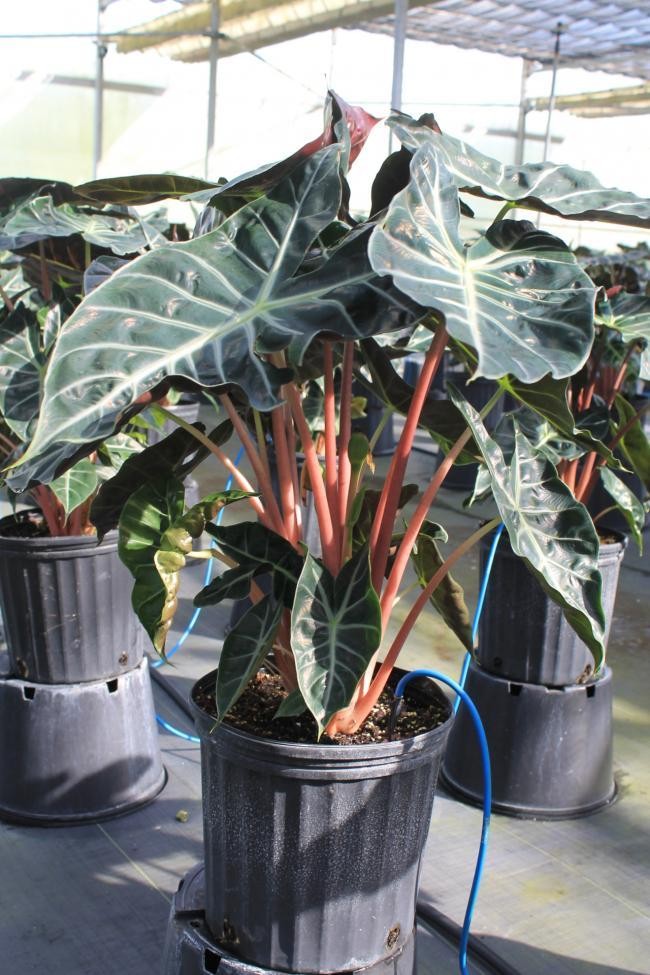
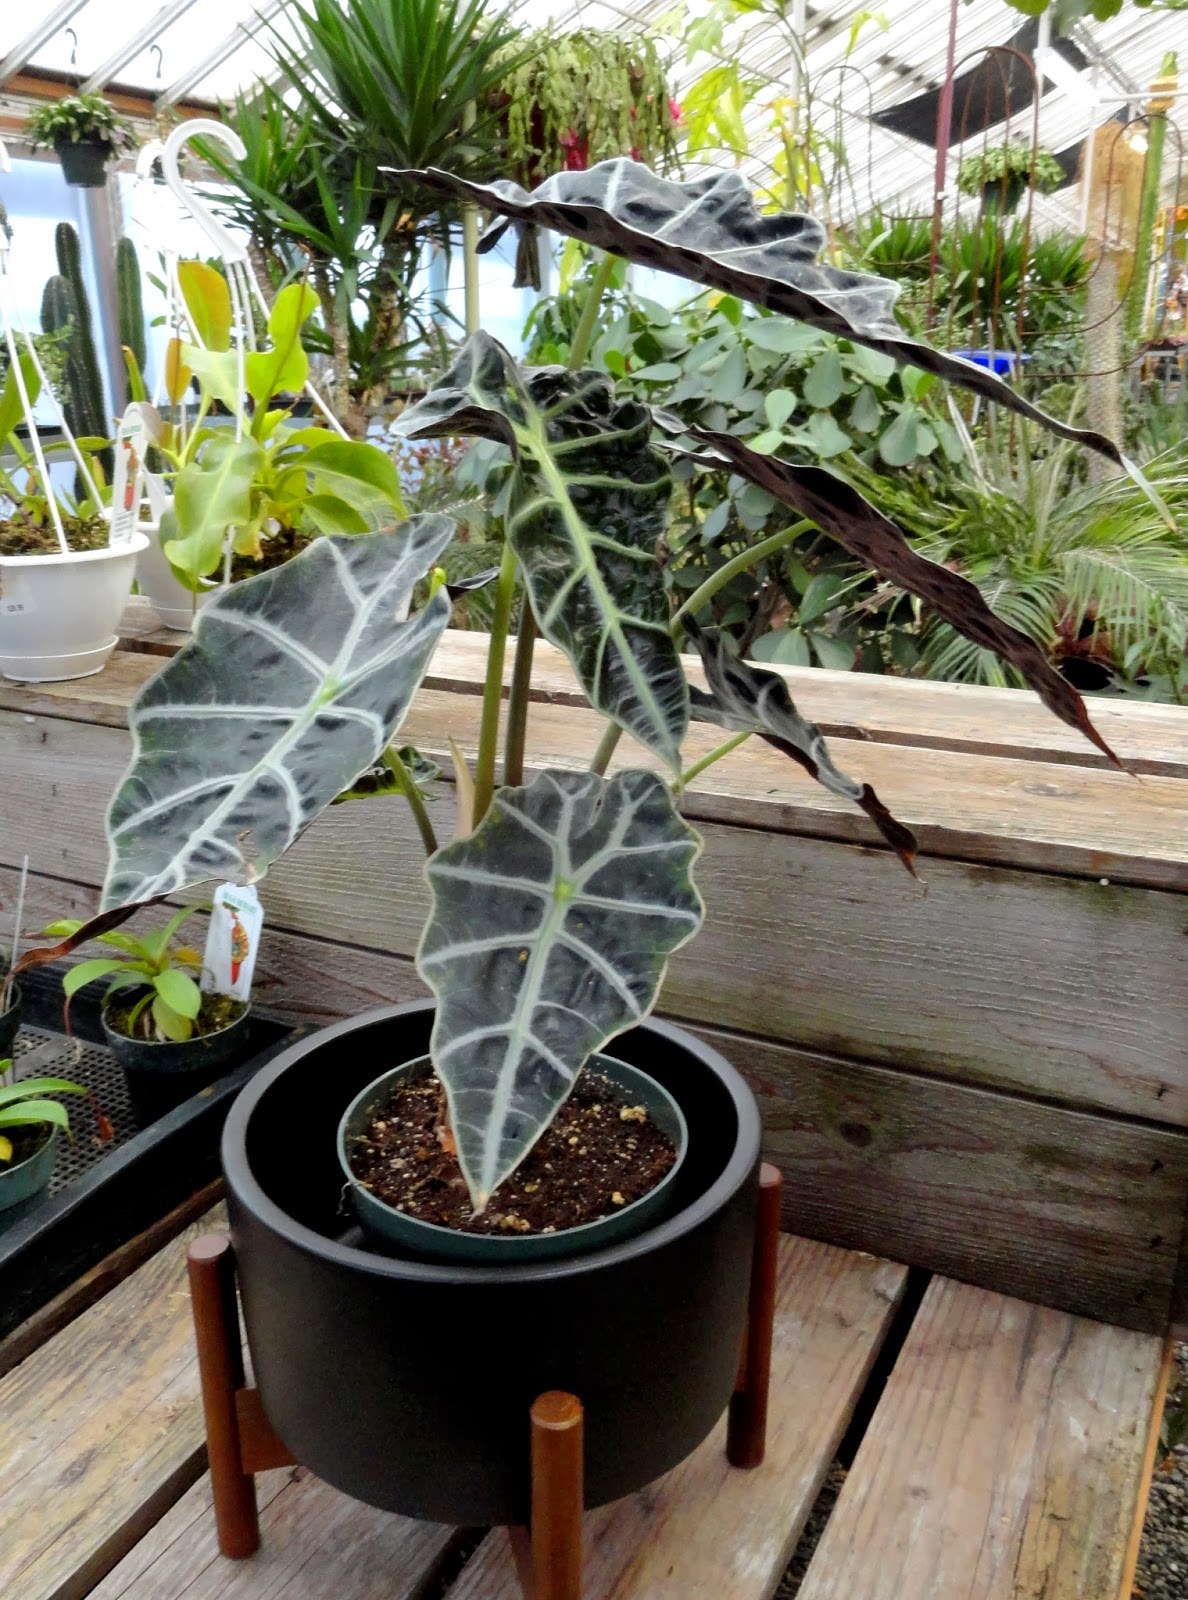
anthurium varieties
spathiphyllum
spathiphyllum wilted
mother-in-law's tongue
orchid care
violets
freesia
orchid flower
schlumberger flower
eustoma flower
cyclamen
cyclomenia
cheflera
shefflera
pike tail
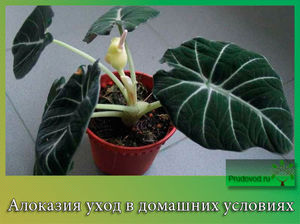
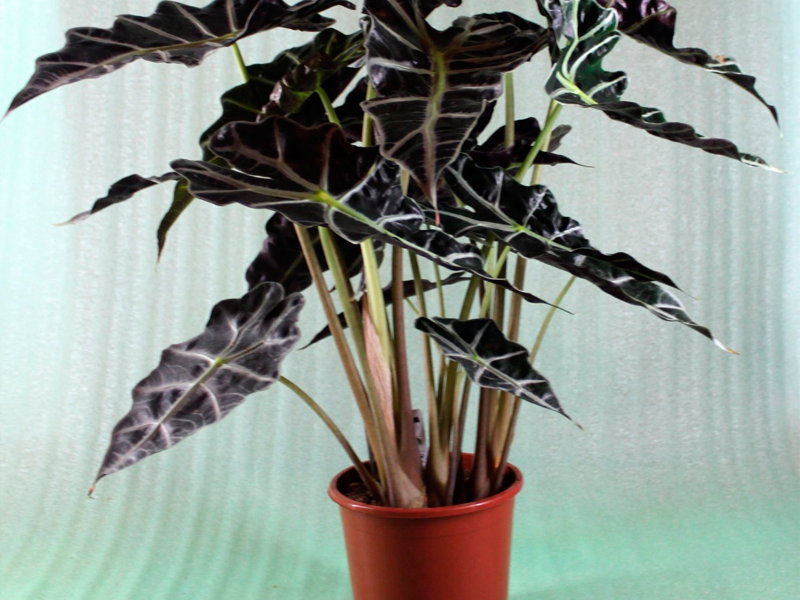
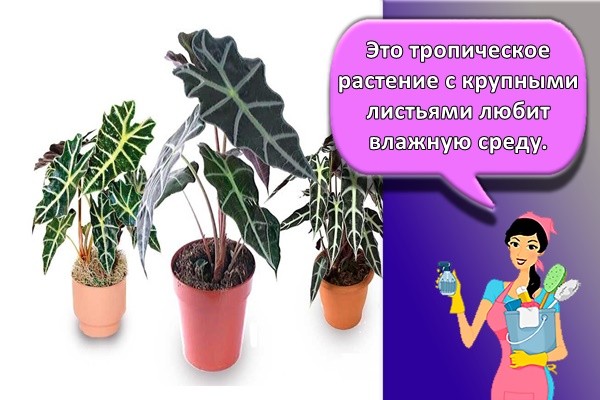
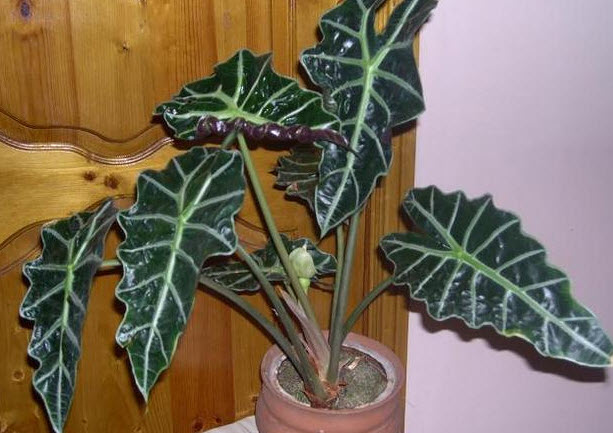
Basic rules for the care of alocasia
In order for the alocasia flower to prosper and bring pleasure from contemplation, it is necessary to observe the conditions of its maintenance:
- A bright place of detention without direct sunlight and no drafts.
- The temperature in the summer is 22-27 degrees, in the winter it is not lower than 18.
- Humidity is about 80% in summer, slightly less in winter. But if you do not wait for flowering, then the plant can be content with 50%, if there is an aquarium nearby, a pallet with wet expanded clay, a substrate of moss and wood chips.
- Systematic watering, but without waterlogging of the soil and without stagnant water in the drainage pan. In winter, watering is rare, once a week, depending on the condition of the soil. The water is used soft, settled.
- Spraying water over the plant in the form of a fog, wiping the leaves with a soft cloth, once a week a warm shower in the bathroom, followed by removing excess moisture.
- Fertilization of alocasia once every 2 weeks in summer and monthly in winter with complex formulations. For adult plants, potassium-nitrogen mixtures with micronutrient fertilizers and stimulants are needed, young plants additionally require monophosphate, a soluble microfertilizer.
- Timely transplanting the plant into a tall, cramped container that remains stable. The soil is selected light, slightly acidic, with a large mineral component.
- Systematic control of plant health, absence of pests and diseases.
If all the conditions for a plant are created, then it will prosper, delighting with its decorativeness. For alocasia flowering, create a stressful situation, but for a short time. If you put a plant in a warm showcase or florarrium, then it will be much easier to provide tropical conditions there, to warm up the earth.
For novice florists, advice on how to create favorable care for alocasia flower and fertilizers for it will also be valuable. It is advised not to regret adding vermiculite to the soil by almost half. The dignity of the mineral, it takes away excess moisture and gradually gives it away, regulating the moisture in the pot. Perlite disinfects and structures the soil. The best organic fertilizer will be animal horn shavings, it acts more effectively than vermiculite. For the development of the root system, you can use Domotsvet, and in winter it is imperative to feed Ferrovit together with Emerald. They provide better oxygen uptake when there is a lack of light.
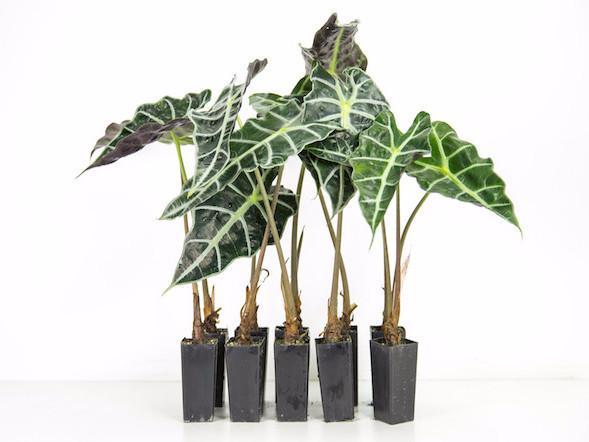
Reproduction
 Alocasia reproduces mainly in a vegetative way. Due to the loss of its decorative effect by the plant during flowering and ripening of fruits, growers rarely bring the plant to flowering, which greatly complicates seed reproduction. Moreover, seeds usually show very low germination rates. The main reason that alocasia is not propagated by seeds is that varietal characteristics of variegated specimens are not preserved with this type. A full-fledged plant can be grown in this way only after a year.
The most effective and simple methods are the division of the rhizome, cuttings and planting of tubers. At the same time, young alocasia can be seen already in the second month of his life.
Reproduction by dividing the rhizome
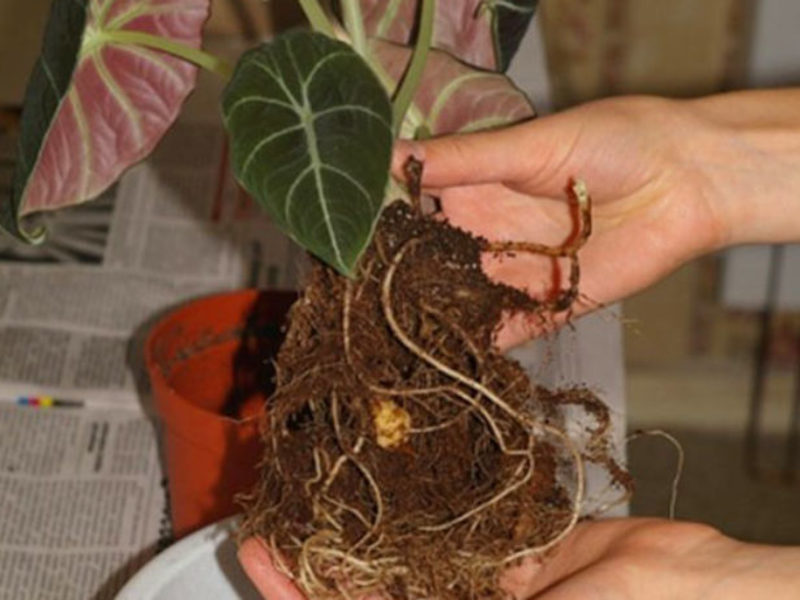
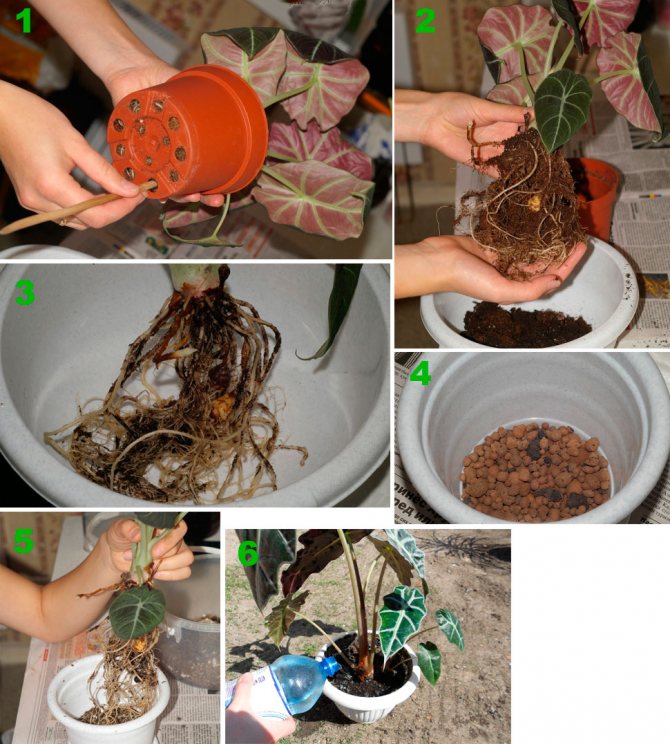
An adult plant is capable of growing independent daughter processes with separate roots. During the spring seating period, it will be most advisable to plant them. The procedure for dividing the rhizome is simple:
- A lump of roots with earth is removed from the pot.
- The soil is washed from the rhizome.
- The shoots are removed from the main plant with a sharp, sterile knife.
- The cuts are sprinkled with crushed coal.
- Children are seated in separate pots, suitable in size, equipped with a light drainage substrate.
Tuber planting
Another effective and simple way of reproduction of alocasia is the separation of tubers during transplantation. The process consists of several steps:
- Alocasia is removed from the main pot.
- The earth is washed off from the rhizome.
- Tubers are carefully cut from the roots with a sterile sharp knife.
- The cuts on the roots of the plant are treated with charcoal powder.
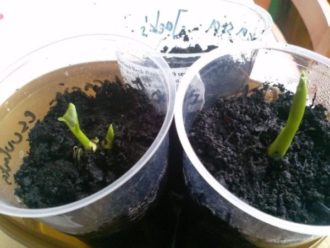
- The tubers go deep into the sphagnum moss a couple of centimeters so that the top is on the surface.
- Children of Alokazia are watered and kept at temperatures up to 25 degrees under a film or can.
With such a simple breeding procedure, seedlings can be expected in 4-5 weeks.
Graft propagation
This method is much less popular and is used by growers mainly when the plant is damaged. To propagate Alokazia using cuttings, you need to do the following:
- Split the broken stem.
- With a sharp knife, divide it into pieces so that each has 1, maximum 2 kidneys.
- To deepen the pieces into the sand-peat mixture for a couple of centimeters and pour over.
- Create a greenhouse effect using a film, jar or glass.
- Children need to be ventilated every day for 10-15 minutes, removing the cover.
- After 4–5 weeks, when rooting has occurred, the greenhouse should be removed and the young should be transplanted into suitable pots with drainage.
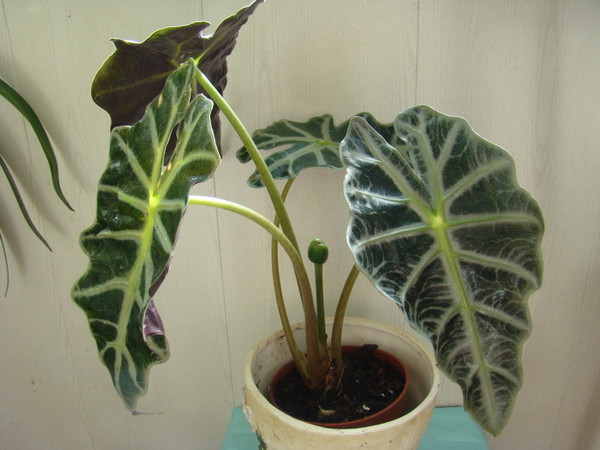
Alokazia is a tropical, bright and incredibly beautiful miracle that can decorate a house or apartment with any interior. It takes only a little time to maintain a comfortable temperature, humidity and lighting, and in return pleases the eye for many years, bringing a unique touch of exoticism to the florist's house.
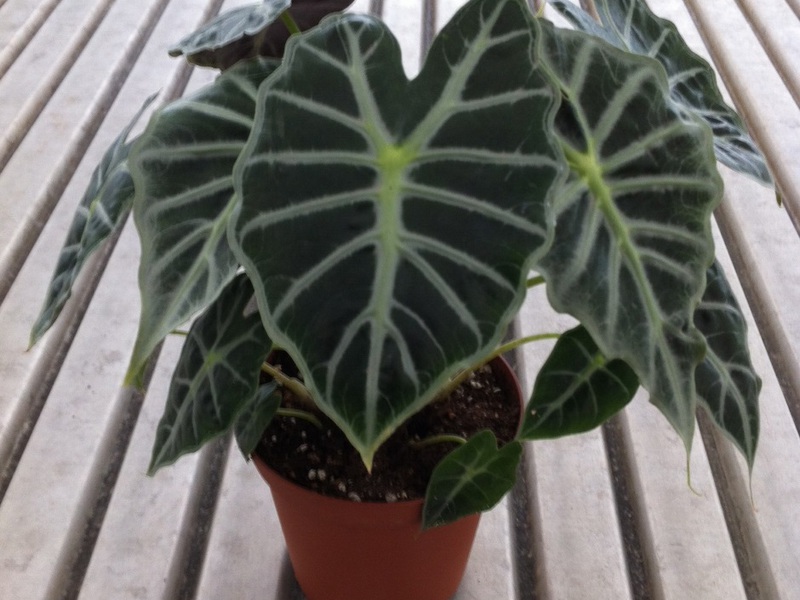
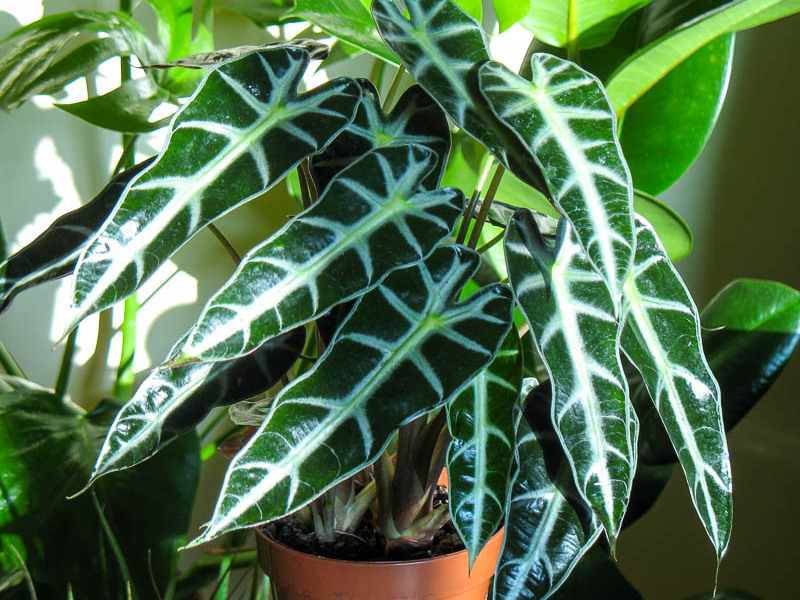
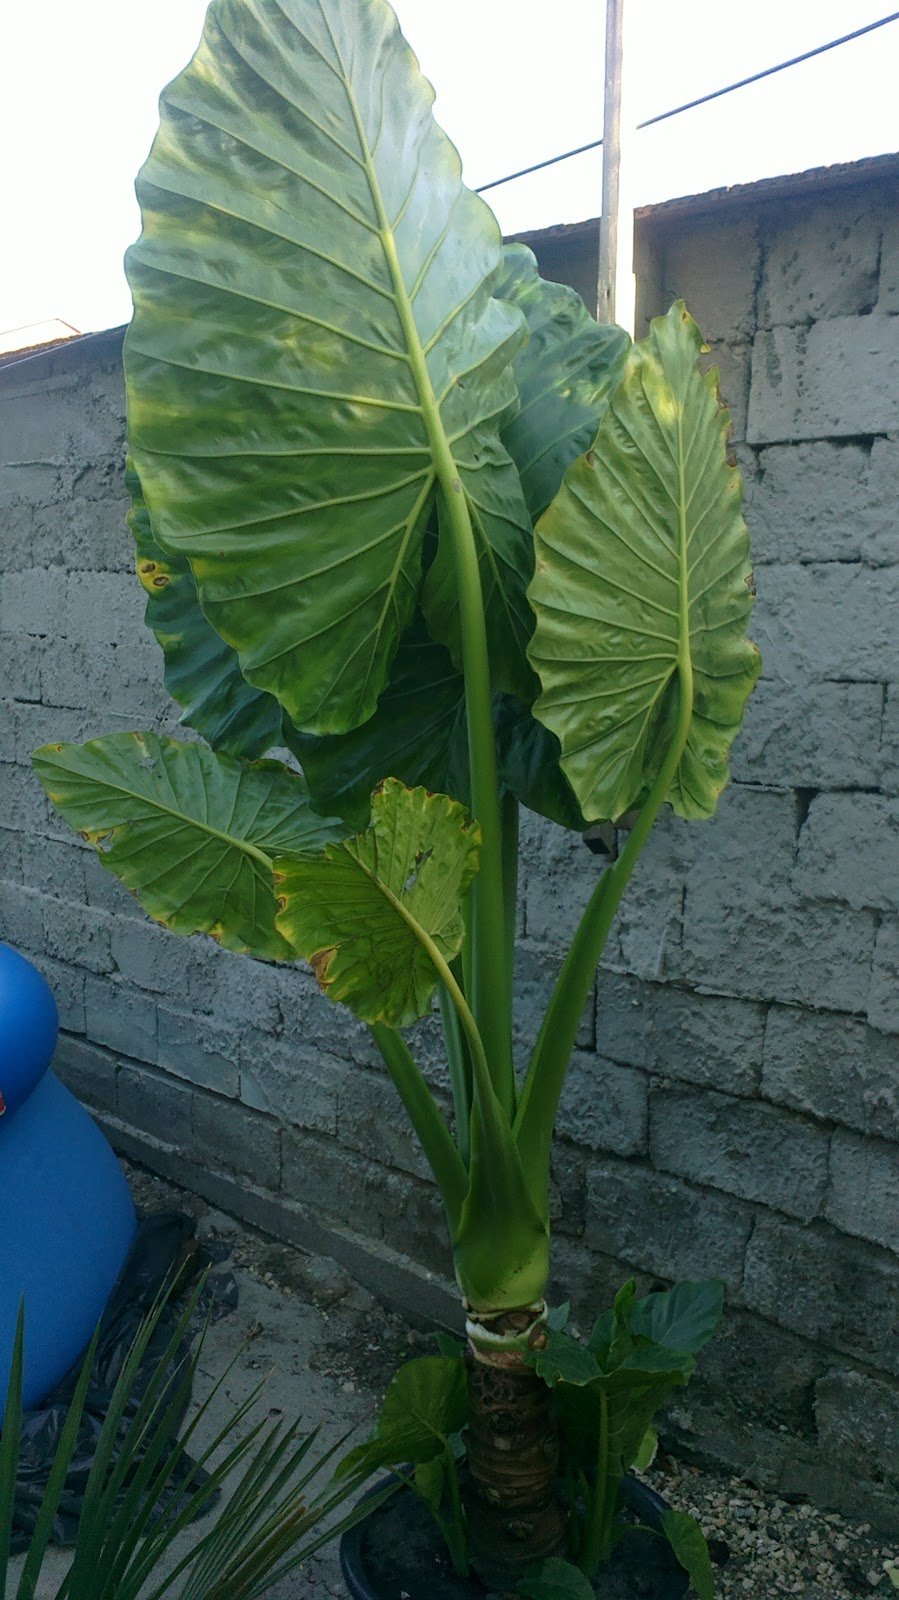
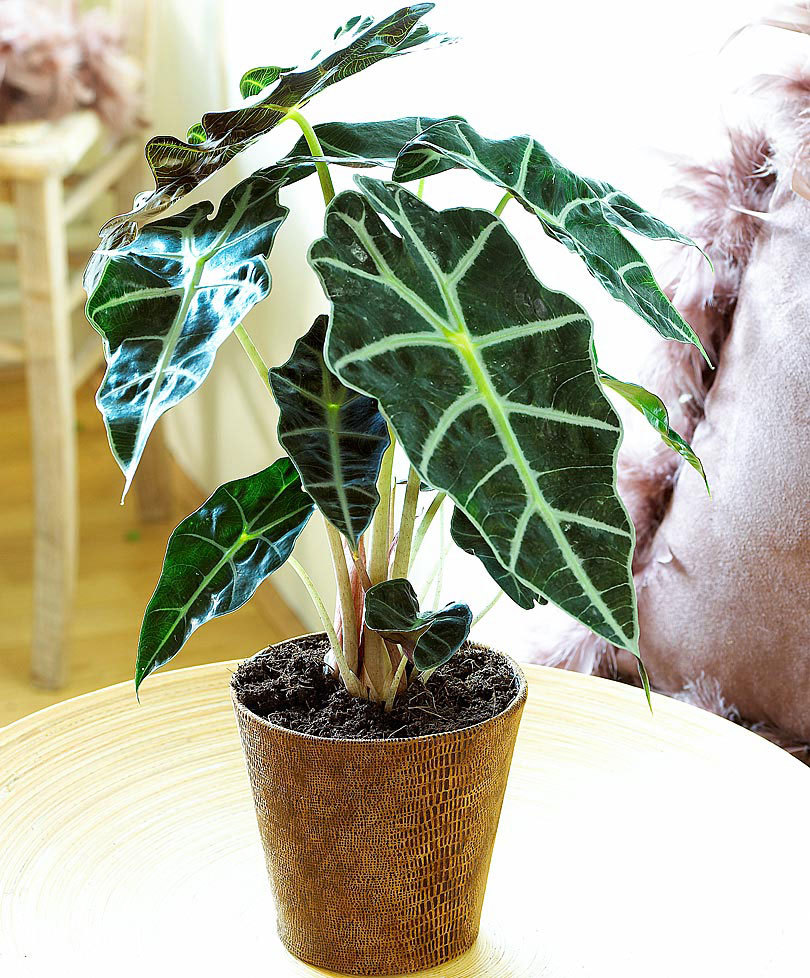
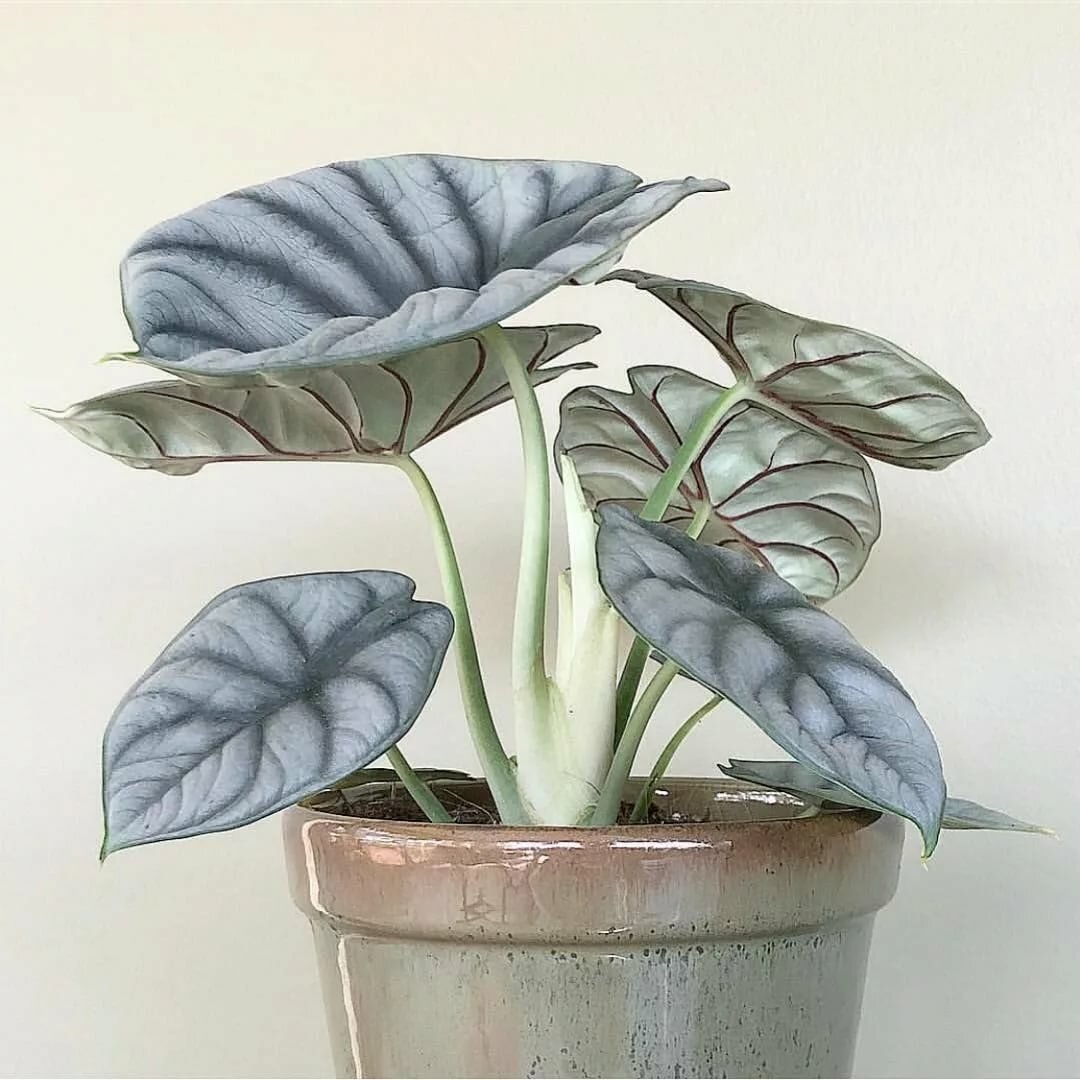
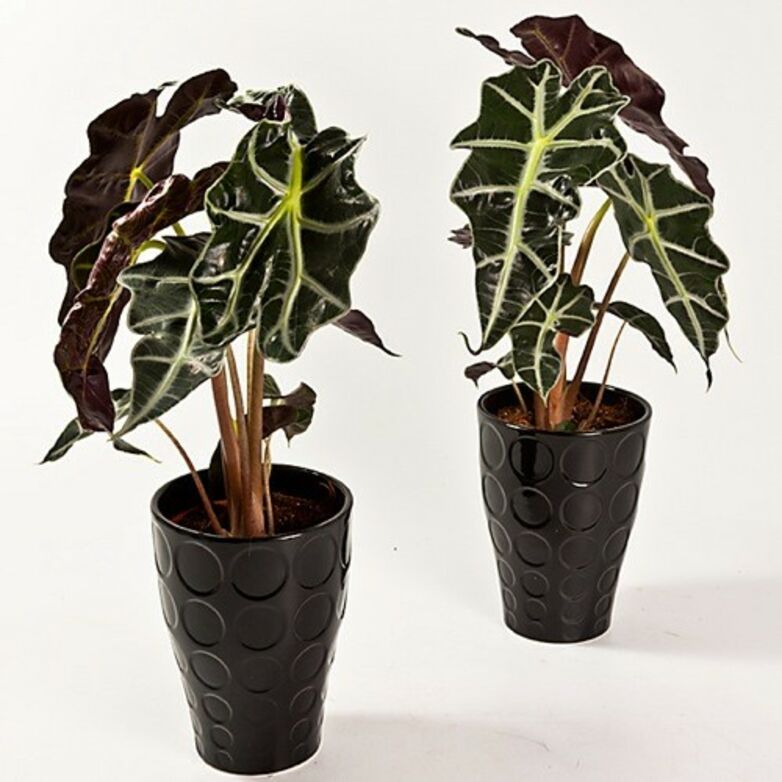
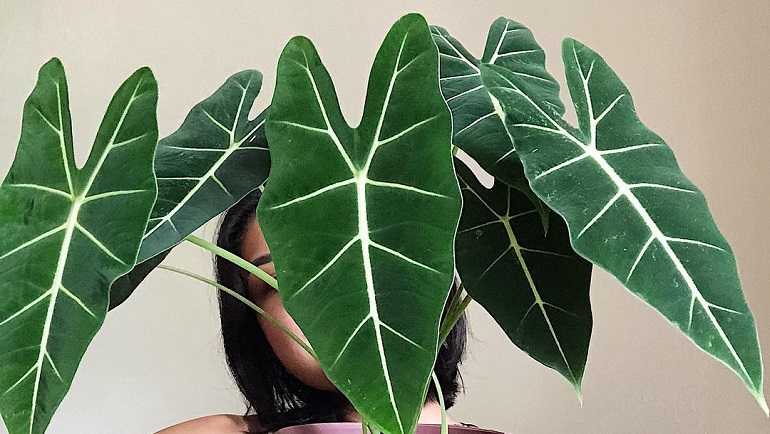
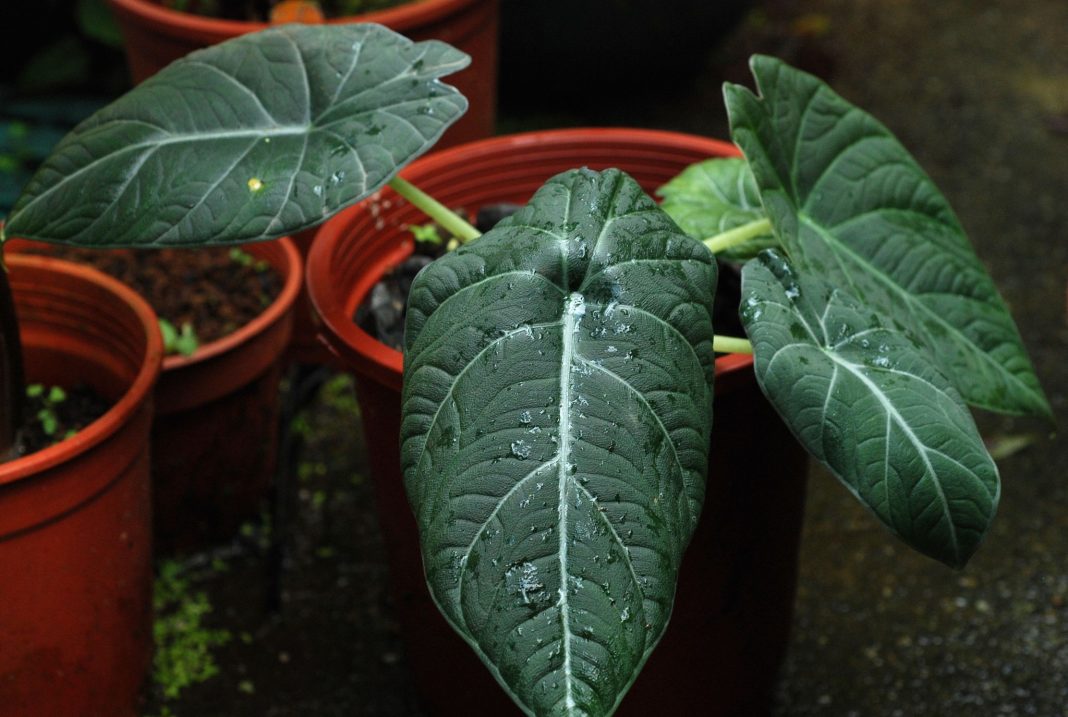
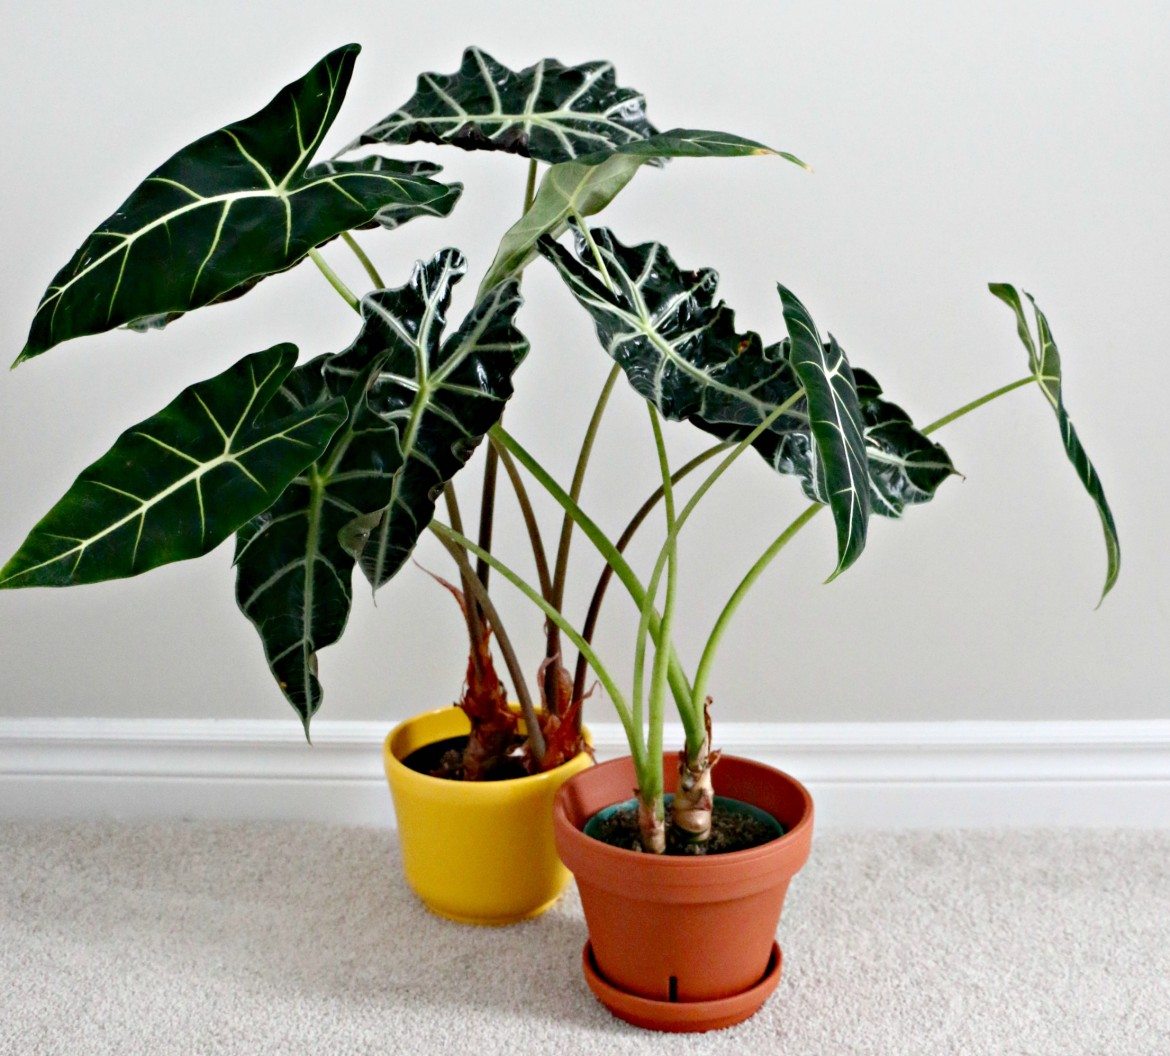
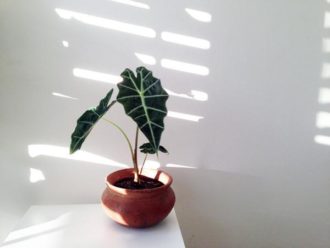
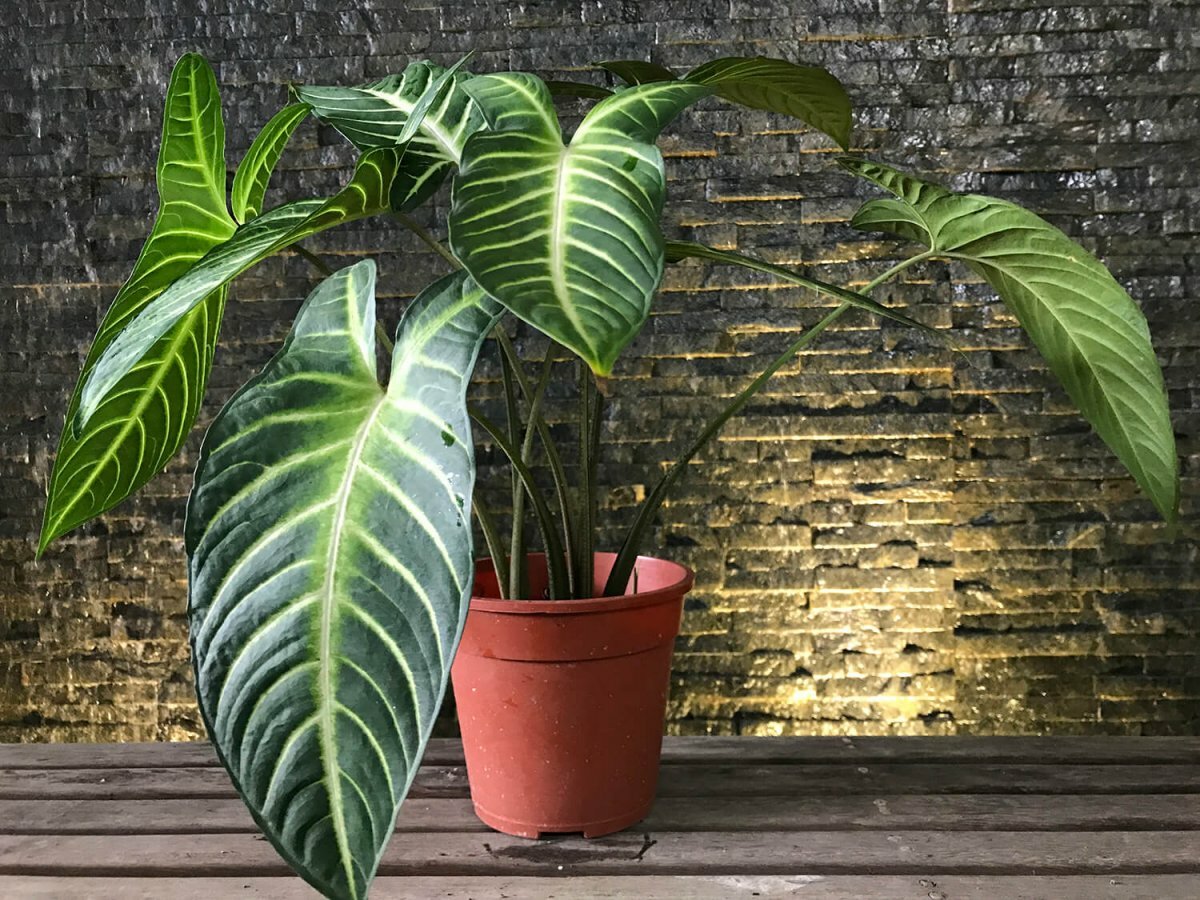
Houseplant alocasia

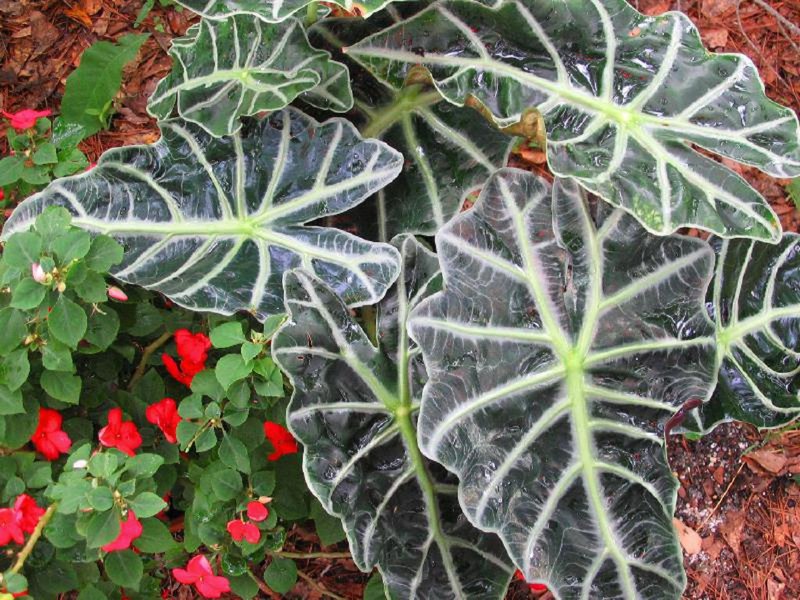
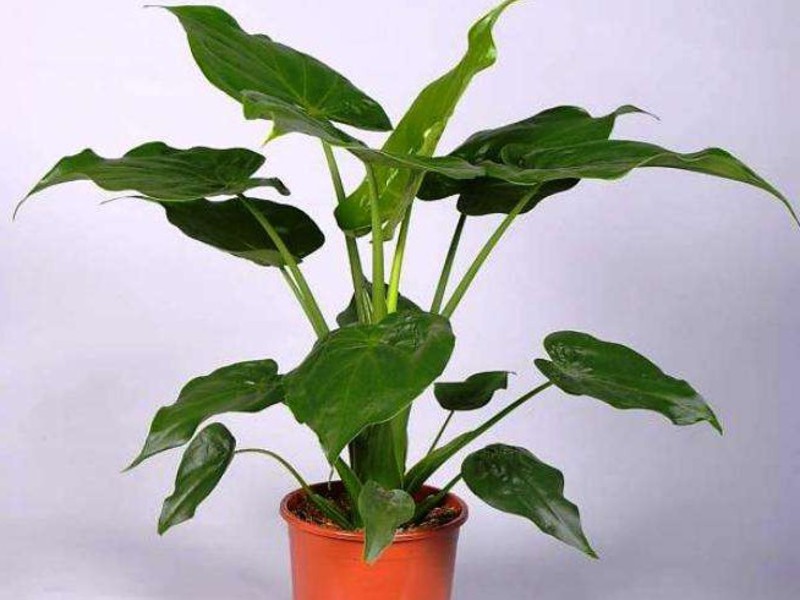
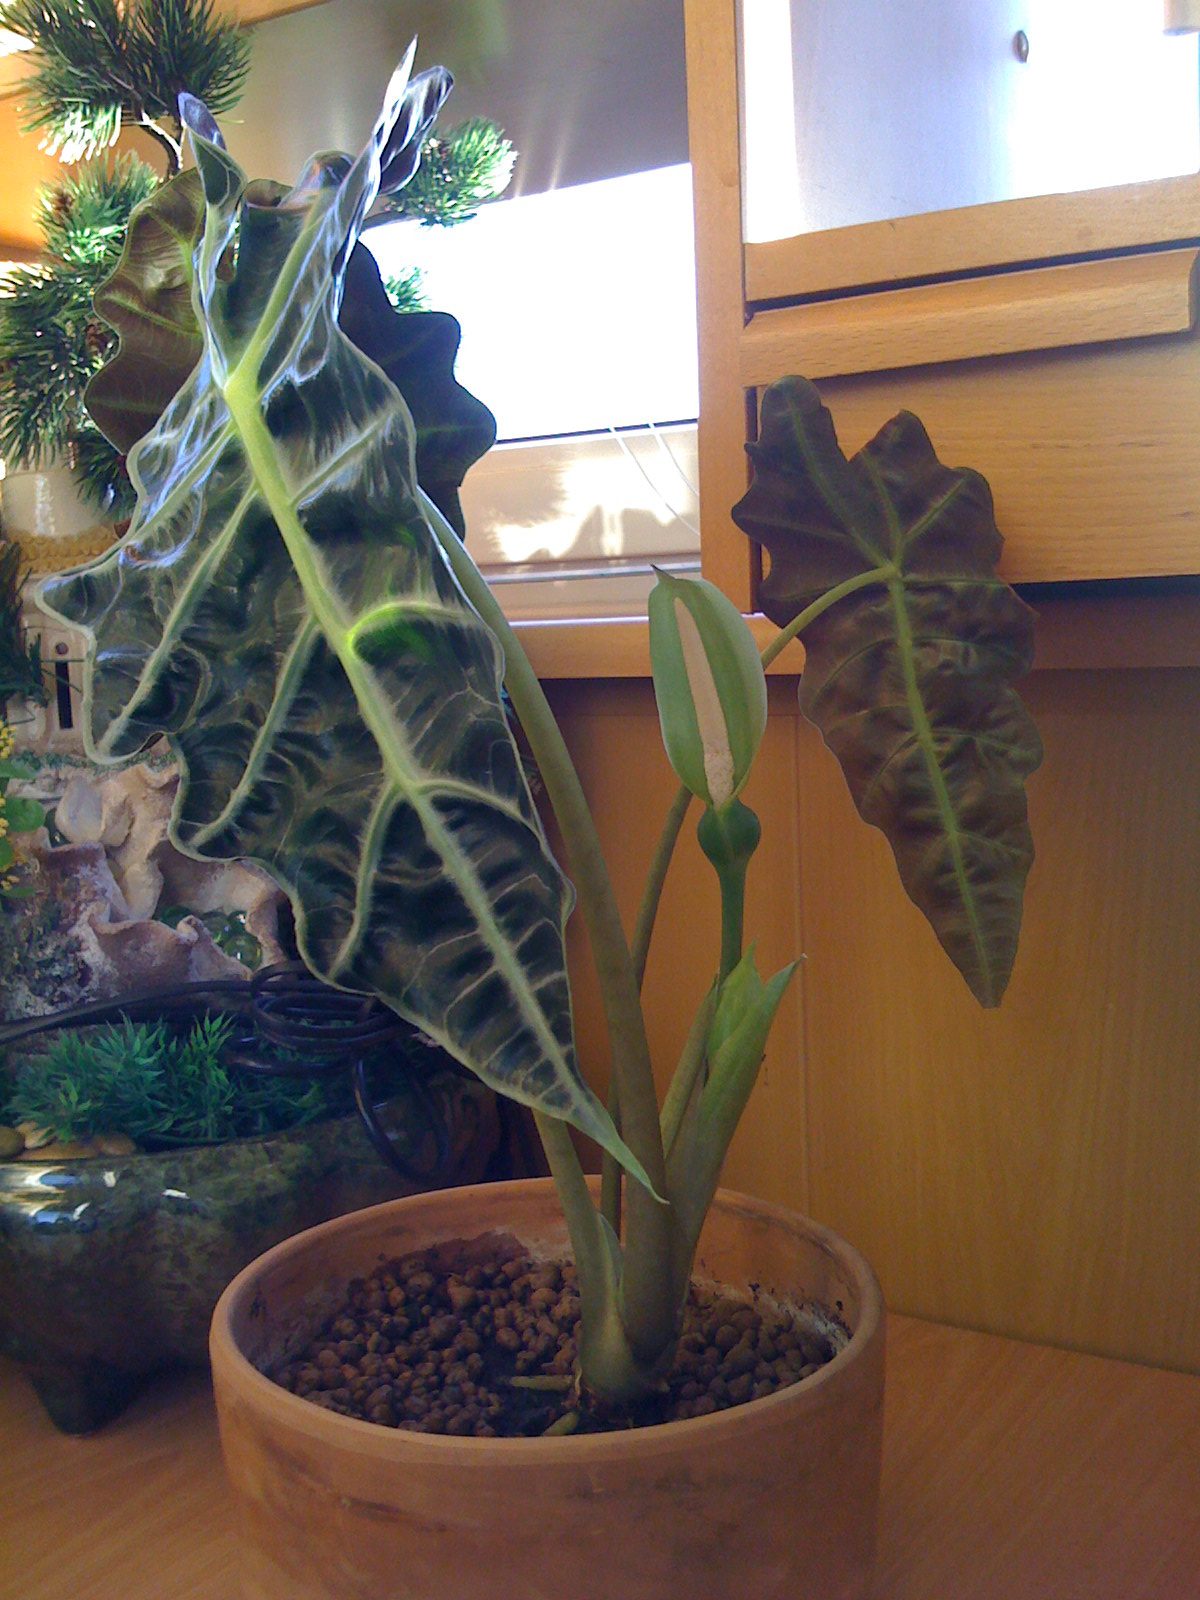
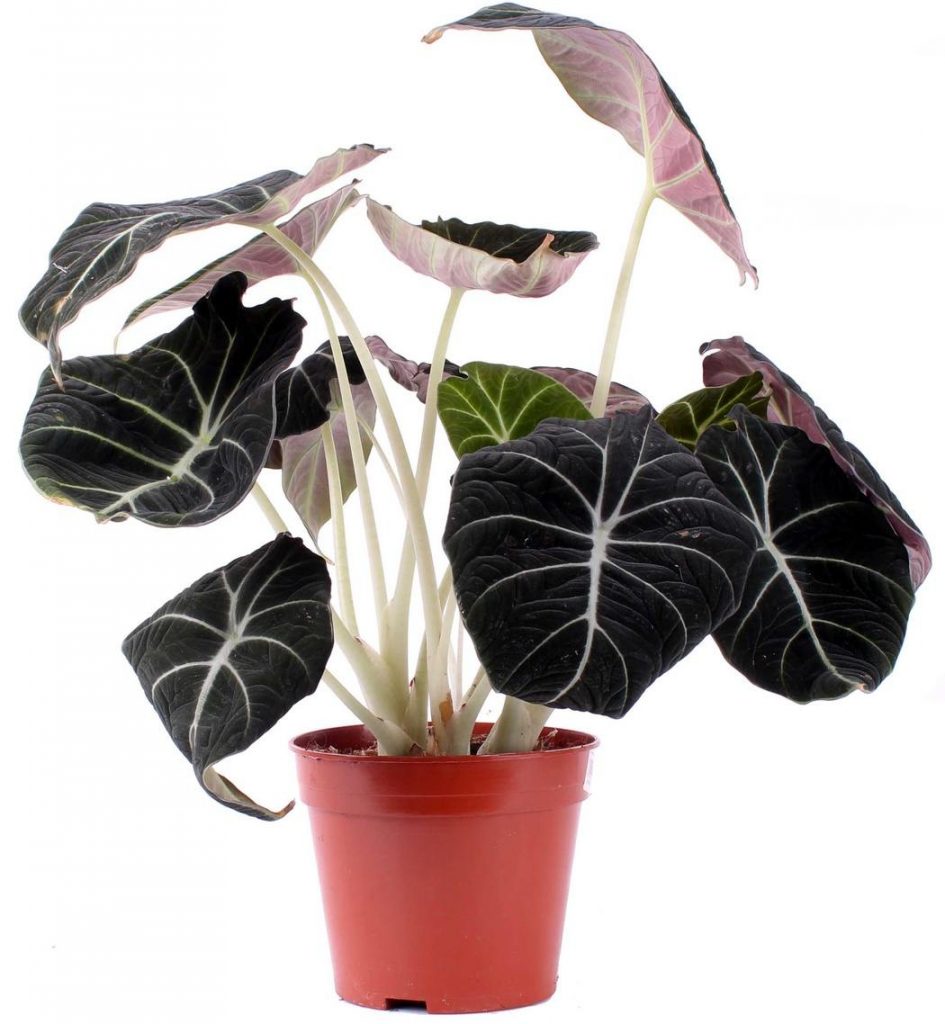
Blooming alocasia at home
Lovers of flower growers replenish their home flower garden with alocasia for decorative leaves, a large bush. Having reached adulthood, in good conditions, the indoor flower will present with a released peduncle. But the leaves are much more decorative than the cob, emitting an aroma that not everyone can handle without a headache.
Giving strength to flowering, and then for the ripening of seeds, if pollination occurs, the alocasia flower loses its decorative effect. Leaves begin to fall off, a dry stem with a rhizome remains. Perhaps, after a long time after insemination, the plant will recover if a competent florist takes it to a cool room to rest for several months.
Alocasia bloom at home happens more often if a showcase is built for it, in which the climate of the humid tropics is imitated. In living quarters, such an atmosphere is not possible. Some types of ornamental deciduous plants sometimes emit an ear, others never bloom.
On this topic:
BACK
FORWARD
1 of 7
The healing properties of the plant
Alocasia is used as a folk remedy for the following diseases: myositis and osteochondrosis
As a folk remedy, alocasia is used for various diseases. For medicinal purposes, large-root alocasia is used. To prepare the tincture, the leaves are crushed and poured with alcohol in a 1: 1 ratio. Insist for at least 2 weeks.
The remedy is taken externally as lotions or compresses for psoriasis, eczema, etc. There is a decrease in pain in myositis and osteochondrosis.Inside, the tincture is taken for problems in the female genital area. Compresses are done for spurs on the legs and inflammation of the joints. In case of paralysis of the limb, rubbing with tincture is carried out.
Outwardly, for rheumatism and joint diseases, a compress is made of grated gruel from the leaves. If you mix it with a fatty base (lard, petroleum jelly, etc.) 2: 3, you get an ointment. Shelf life is no more than 3 weeks in a cold place. If a fatty base is mixed with a 1: 4 tincture of alocasia, then the shelf life of the ointment will be much longer. Such a remedy accelerates the healing of trophic ulcers, helps to improve arthrosis and arthritis.
How to care for hoya at home.
How to properly transplant and propagate codiaum? Look at this question for an answer here.
Alocasia is a plant that is quite suitable for keeping at home. But one should not forget that it will grow and develop well in comfortable conditions specially created for it. Alokazia, due to its medicinal properties, will rightfully take its rightful place in the house.


Also watch a video on this material from a florist.
And in the video below you will learn how at home you can stop an attack of arthritis with the help of alocasia.
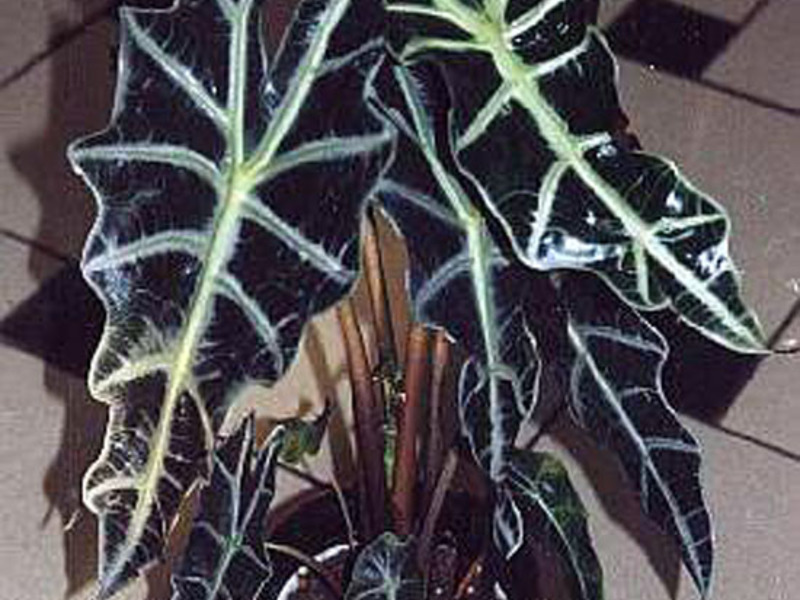
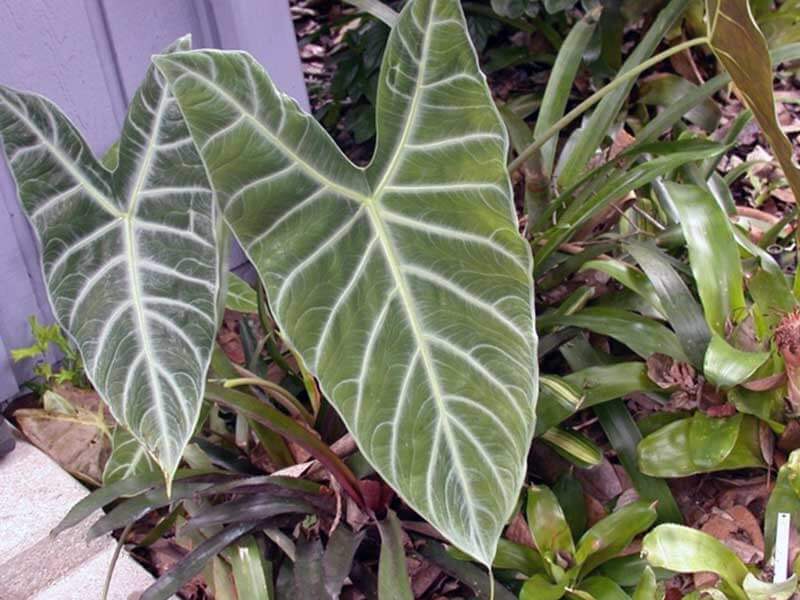
Features of growing alocasia
The usual habitat for all types of alocasia, today grown as indoor crops, are tropical forests, banks and marshy lowlands of rivers, moist dense undergrowth. Plants grow and thrive in tropical climates. Therefore, at home, growing alocasia, the pet needs to create a similar environment.
In the spring-summer period, a thermophilic culture will be comfortable at temperatures from 18 to 26 ° C. In winter and autumn, during a period of relative rest, air warmed up to 16–20 ° C is acceptable for alocasia. But even if the temperature regime is observed, disease and death of the plant cannot be ruled out if the air is 60–65% drier. Such humidity can be maintained with the help of technical and improvised means, as well as regularly spraying and wiping the foliage of room alocasia.
The best place to grow alocasia is in the east or west windows, where there is enough light, but it will not be able to burn the ornamental leaves habitual to moisture. If in summer the plant needs artificial shade on the southern windows, then in winter alocasia will be completely comfortable here.
In spring, summer and early autumn, when the temperature permits, the plants are watered frequently and abundantly. Watering is better carried out several times, waiting for the moisture to wet the entire earthen lump and removing the excess that has drained into the pan. Indoor alocasia needs watering when the top layer of the substrate is dry enough.
Indoor alocasia are transplanted in early spring, carefully transferring the earthen lump into a larger pot and adding fresh nutrient substrate to the container. If a young specimen grows in the house, the procedure is carried out annually. Mature plants are transplanted two or three times less often.
In spring, and then in summer, when the plant is actively developing, alocasia is fed with complex compounds, including nitrogen and mineral supplements.
The soil for alocasia is chosen light, nutritious and loose. At home, it is convenient to mix ready-made soil for orchids with well-cleaned peat. A reliable drainage must be arranged in the pot, which ensures the outflow of excess moisture and protects the plant roots from decay. If you follow all the requirements and rules, growing alocasia will not be difficult even for a novice florist.
On this topic:
BACK
FORWARD
1 out of 5
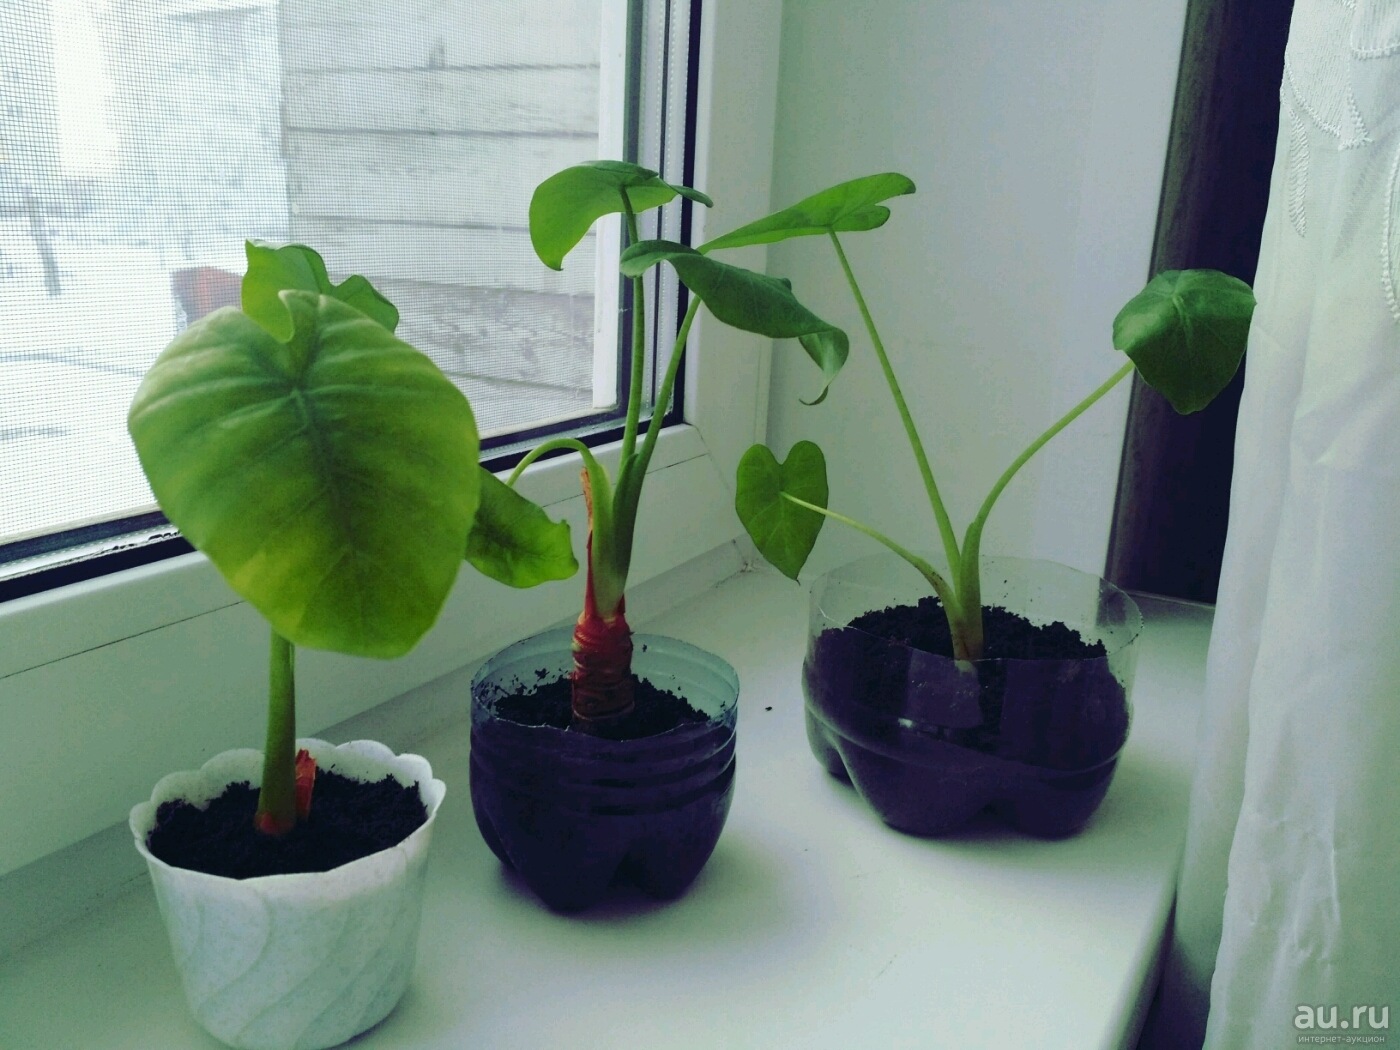
You can get a new plant at home using seeds obtained from an existing copy of cuttings and small daughter nodules for planting. rhizomes of an adult specimen are also often used for reproduction.
Since the juice of room alocasia, regardless of the type and variety, contains caustic oxalates, toxic to humans, all work with the flower is carried out only with gloves.
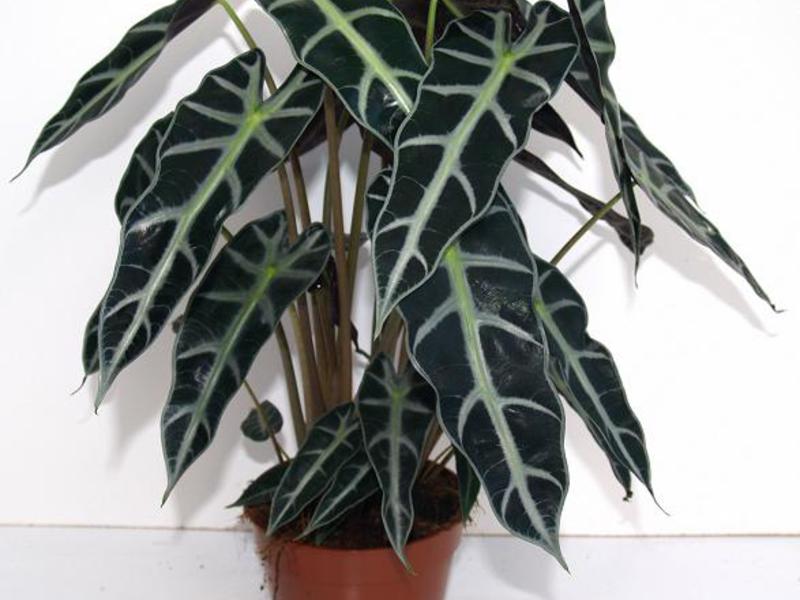
Alokazia Polly: care and features
Flowers require proper care for normal development.
Consider how to care for a plant? Much attention should be paid to irrigation, lighting, fertilization, temperature conditions
This flower is quite picky about natural light.
Watering
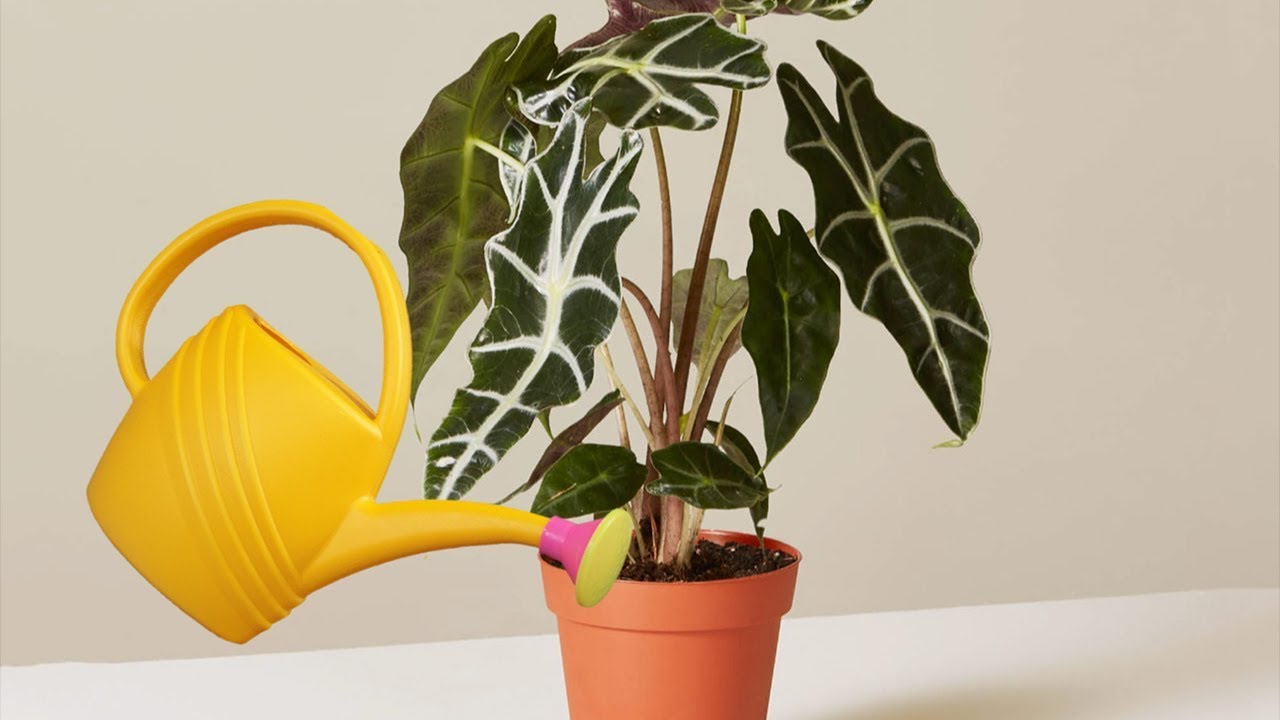
The Alokazia pot is best placed on a pallet already covered with moistened pebbles or expanded clay. The bottom of the pot should not come into contact with water, this will cause rotting of the roots. Watering is carried out the next day after the top layer of the earth dries up. This rule is valid for summer, winter and spring soil moisture. The amount of watering of the flower will depend on the temperature in the room, the intensity of the light and the humidity in the air.
Soil for Alokazia and groundbait
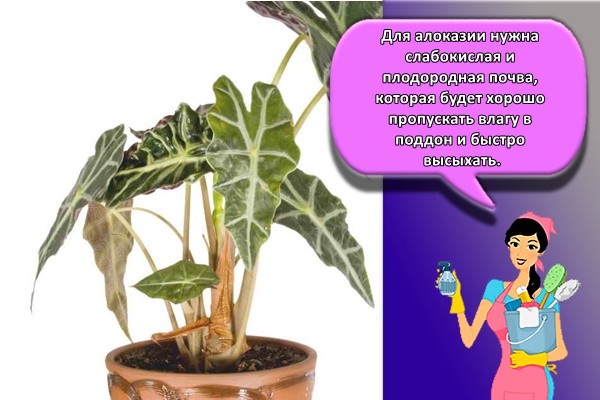
For the proper development of this flower, a moisture-absorbing and well-aerated soil is required, with an acidity of pH 5.6. A nutrient substrate at home can be made from the following components:
- one part of peat;
- 0.5 parts of sand;
- one piece of land taken from under coniferous trees;
- one piece of leafy land.
Groundbait is produced at least twice a month. Most of all nutrients are required for flowers during active growth (summer). The bait for this plant must contain high concentrations of nitrogen.
Reproduction
There are several ways of reproduction of Alokazia.
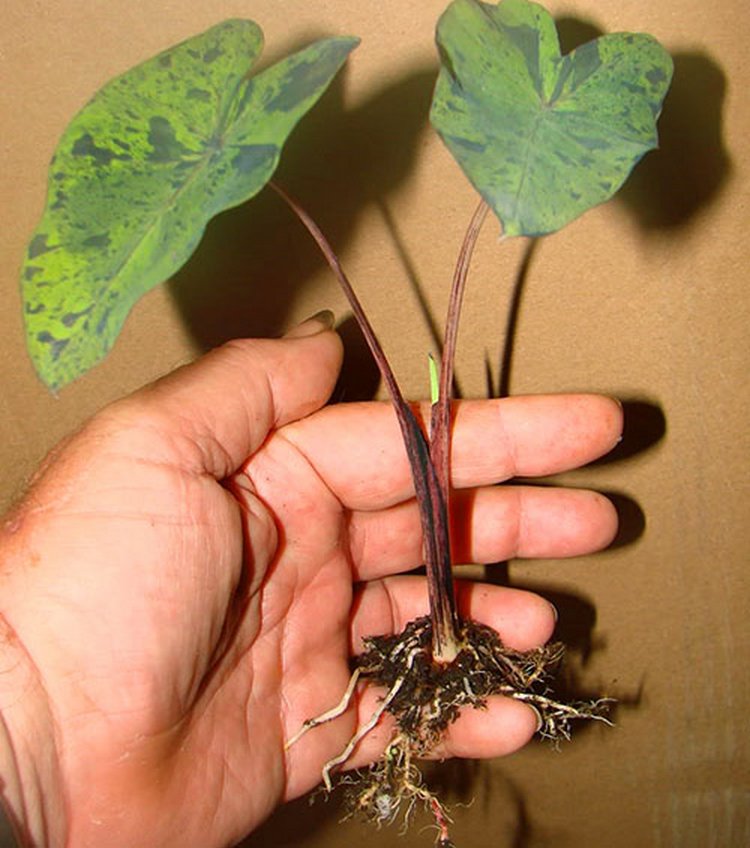
The main option for obtaining new flowers is to use tubers. Small formations - babies, can be seen on the roots of an adult plant
They are carefully cut from the rhizome and placed in a nutrient soil. At first, the baby can be transplanted into a small disposable cup, but when the plant forms at least one leaf, it must be moved to a spacious pot.
Another breeding method is to use the leaves of the plant.
To perform the procedure, it is necessary to take the lower leaf with a piece of the cutting. After about a few hours, the bottom of the petiole should be trimmed and treated with a growth activator. Then the leaf is placed in moistened special soil for rooting. When germinating, the future flower needs to provide sufficient moisture. The plant is protected from drying out of the soil and drafts, it is not advised to allow waterlogging of the soil.
The seed propagation method of Alokazia is the most laborious. It's just that this plant rarely throws out inflorescences, because the seeds of this culture are in short supply. The seeds appear in the middle of red or yellow inflorescences, their moisture can be preserved until the moisture is weathered from the shell. Therefore, the grains must be sown into the prepared soil immediately after harvesting. The soil for seedlings must consist of humus, sand and peat. The seeds are placed on the ground, moistened with a flower sprayer and covered with clear glass or plastic wrap. Taking into account the development of the flower, it is transplanted into larger pots.

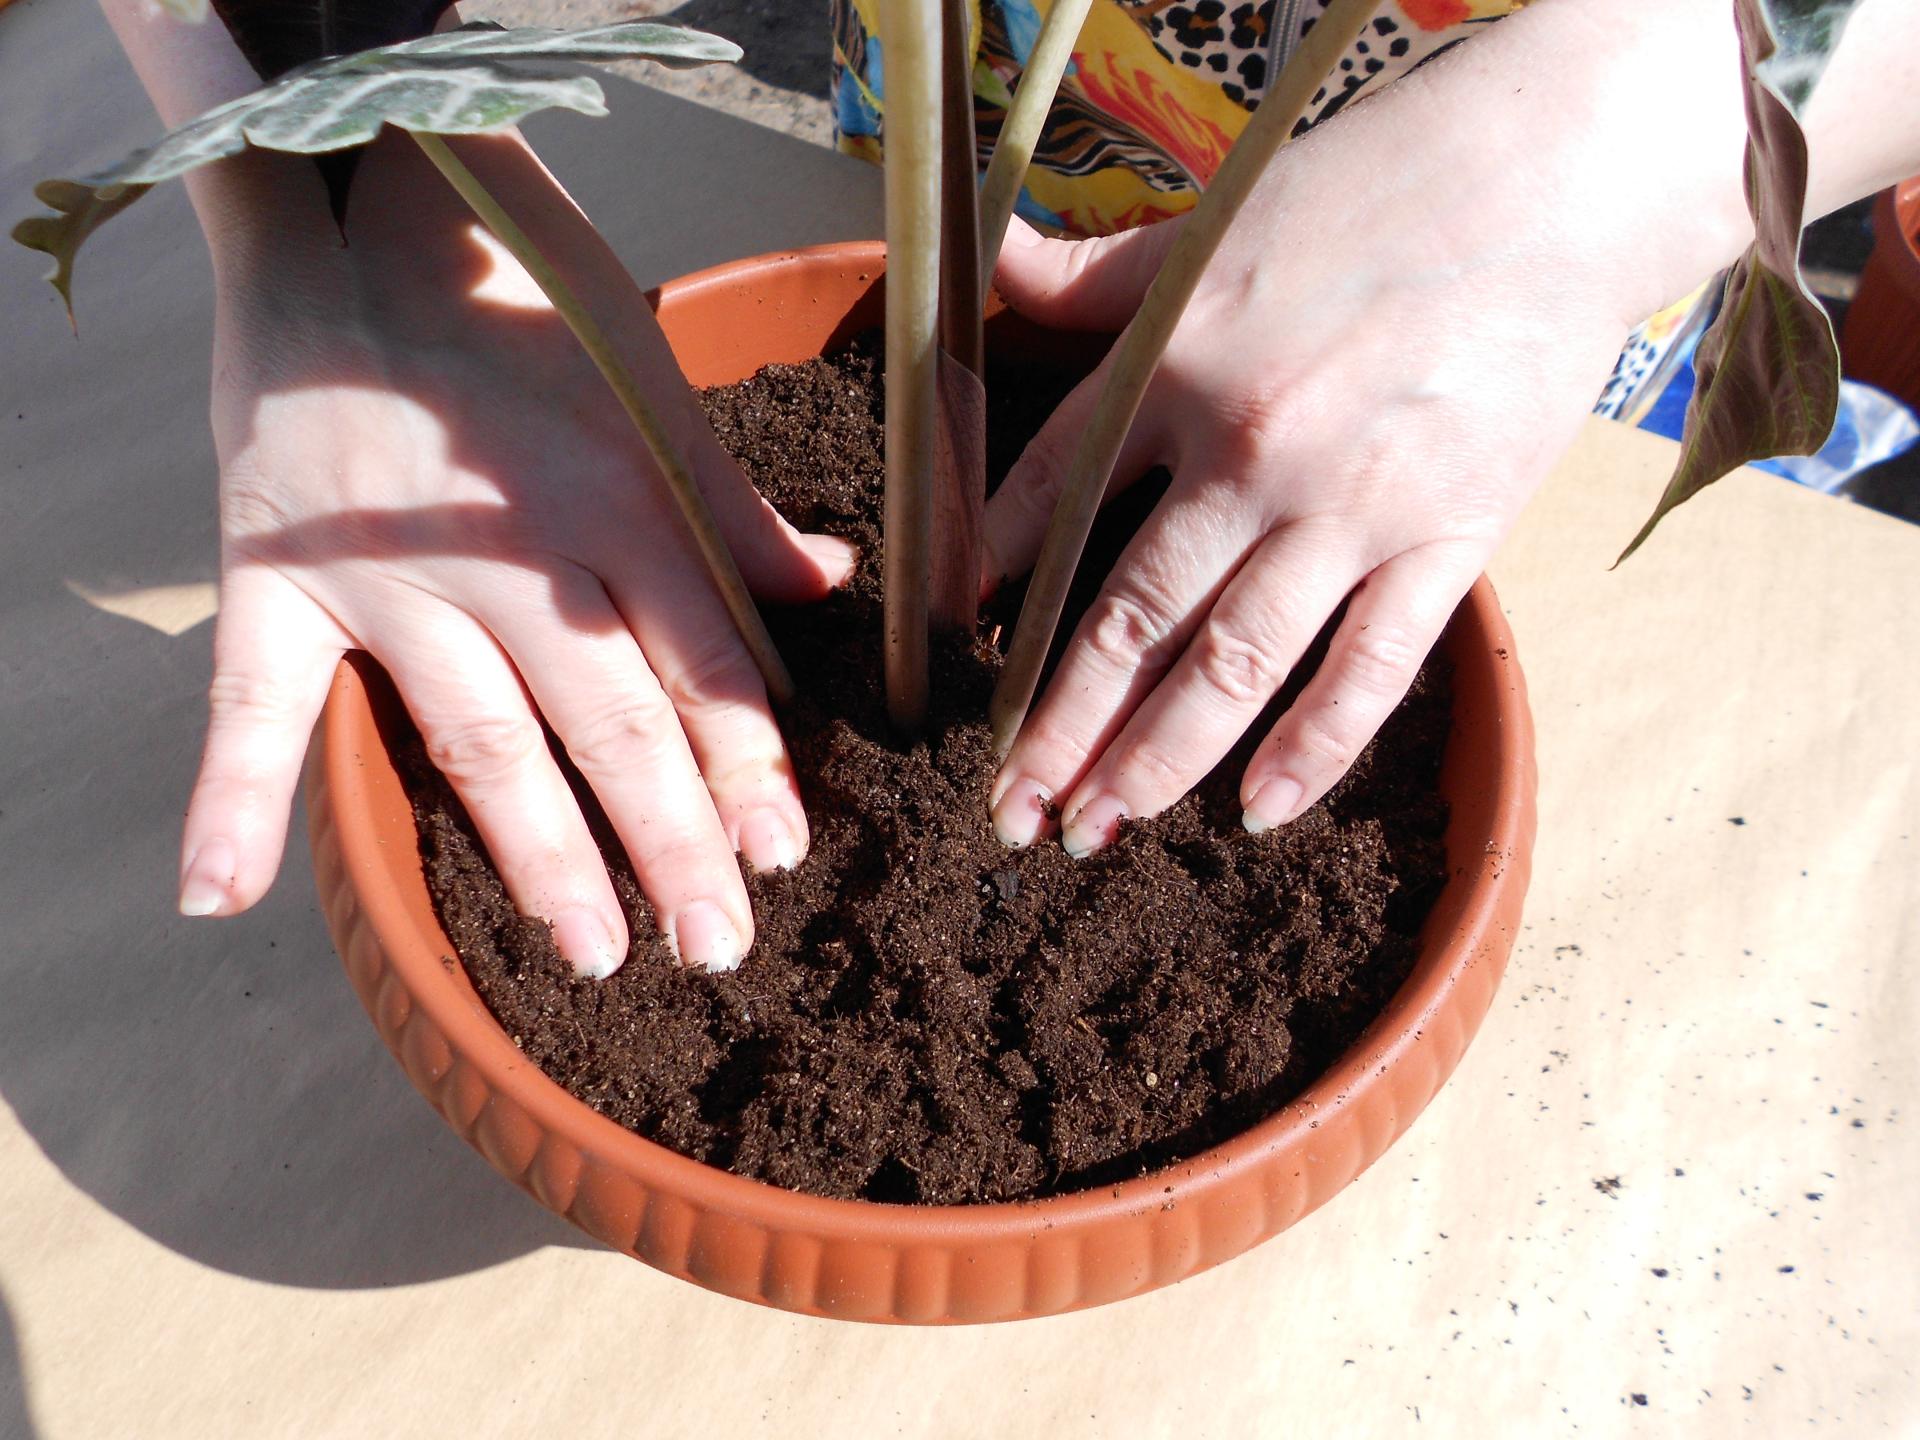

Alocasia: plant transplant
The Alokazia transplant procedure consists of the following stages:
Choosing a flowerpot. It is advisable to stop your choice on a not very wide and high pot, since the root system of this culture is large in length
Attention should be paid to the fact that the diameter of the new pot must be several centimeters larger than the old one. It is not recommended to transplant the flower into large pots, due to prolonged drying of the soil, its souring may occur.
At a further stage of work in the pot, several holes are made for drainage (when they are not provided by the manufacturer)
The easiest way to make the holes is with a red-hot nail.
We make or buy a nutrient soil for Alokazia
The main requirements for the soil are good moisture holding capacity and aeration.
We take out a flower from an old container, gently shake the roots, cut off dead and rotten roots.
We put expanded clay or other material for drainage at the bottom of the new pot, transplant the plant. We cover the emerging gaps with new earth.
The first watering of the plant is done after the soil dries up to a third of the container.
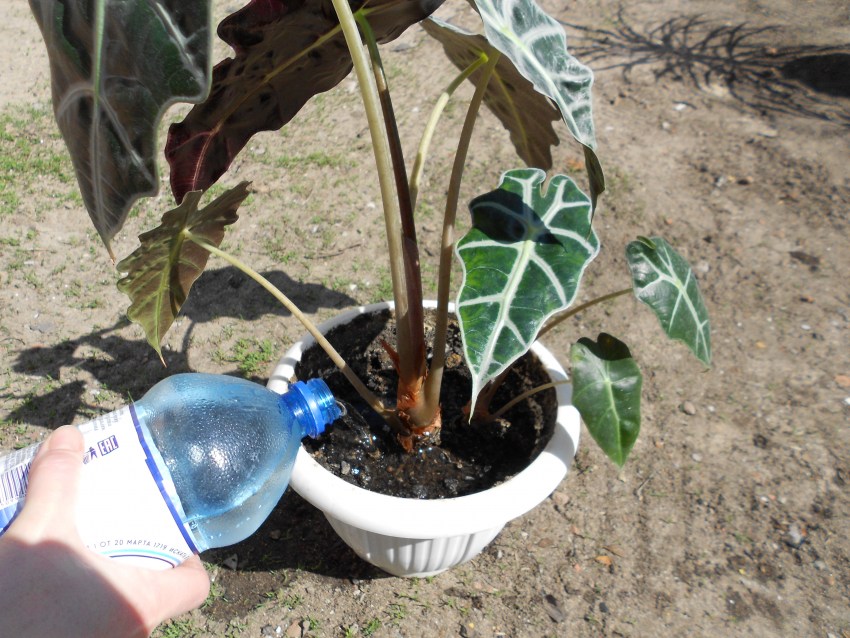
Attention: in order to avoid stressful situations after transplanting, the plant must be sprayed with epin. These operations must be performed with rubber gloves, since the juice of the described flower is poisonous
Landing
Germinating seeds is the longest and most laborious way to get a plant. In addition, the seeds of alocasia quickly deteriorate and it is rather difficult to determine when buying.
You should carefully choose seeds in the store, while you need to pay attention to the following points:
- The packaging must be strong and free of any defects.
- The information on the packaging must be clearly legible, the labels must be clear.
- The expiration date should be normal.
 Seeds should be sown in spring when the air temperature gradually rises and daylight hours increase. Germination requires at least ten hours of intense lighting. If sowing is planned in February, then additional lighting will be required.
Seed soil is required the same as for adult plants.
- Seeds should be sown on damp soil without burying them.
- From above you need to cover with glass and put on the windowsill.
- The seeds must be periodically moistened with a spray bottle, since the soil must not be allowed to dry out.
After about 20 days, they will hatch if the seed was of good quality. When sprouts appear, they need daily ventilation.
If you can't grow alocasia from seeds or it seems too difficult, you can ask your friends for a tuber or leaf cutting of a plant.
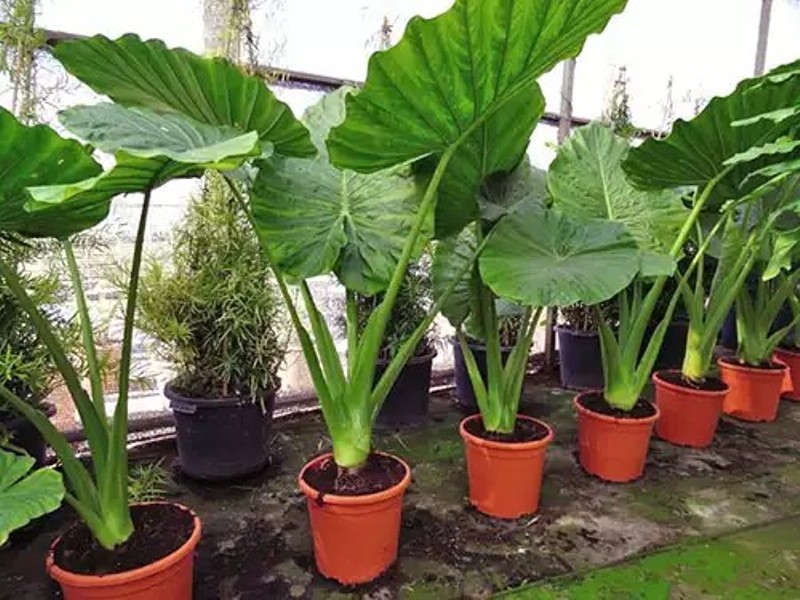
Pot selection
Alocasia needs a tall and not too wide pot. You can even use narrow, spacious pots, because the plant has long roots. If you plant this plant in a wide and low pot, then very soon you will need to transplant into a new one, since the roots will grow into the drainage holes.
As for the choice of pot material, this moment does not matter. It can be of any material. However, the best option is always a ceramic pot without glaze.
What should be the soil?
The soil for this plant should be light, loose and airy. It should also dry out quickly, as excess moisture causes the sensitive roots of the plant to rot. A good mix for alocasia can be made by mixing:
- Horse peat.
- Ready-made soil for orchids.
- Garden land.
Such a mixture will be an excellent soil, which contains the nutrients necessary for the plant. And it will be able to develop correctly and not lack oxygen access.
Planting and leaving
In order for the tropical beauty to retain her beauty longer, as in the photo, alocasia needs home care
There are several basic requirements for growing this crop that you need to pay attention to:
- Lighting - requires a lot of light, additional lamps are installed in winter. In summer, direct sunlight should be avoided, otherwise burns will appear on the leaves. Houses are placed not on the window, but near it. In the open field in the middle of the day in the heat, provide shade.
- Temperature conditions. Alocasia came from the tropics, so it loves warmth. Feels comfortable in summer with thermometer readings at 22-27C. In the winter cold, 15-18C in the room is enough for her.
- Humidity. This culture needs high humidity. The specimens growing in the garden should be watered and sprayed regularly. In a closed room, installing a number of containers with water will help to raise the humidity level. Central heating dries up the air and has a detrimental effect on the condition of this flower. Therefore, the leaves are systematically sprayed.
- Watering.Watering the crop in summer is recommended often and abundantly; in the fall, the amount of moisture is reduced. In winter, watering is enough for alocasia twice a week. Excessive soil moisture can greatly harm the root system.
- Top dressing. The plant needs additional introduction of nutrients into the soil of fertilizers. A home specimen is fed twice a month with complex preparations with potassium.
Taking care of this flower is quite simple. During the flowering period, the growth of alocasia stops, the foliage falls off. This process takes too much energy from the plant. Therefore, it is better to cut the flowers, and the cut points must be treated with charcoal.
Important! So that the roots do not suffer due to waterlogging of the soil, drainage material is pre-laid with a thick layer before planting
Reproduction of culture


There are 4 main ways to do this at home:
Seeds - they can be obtained from the fruits of the plant; before sowing, they must be well dried. Sowing is carried out in early spring. For this, the soil should be loose, the seeds are not buried in it, but left close to the surface
Rhizome division - the flower is carefully removed, the rhizome is washed. An incision is made with a sharp knife so that at least one sprout remains on the part to be separated.
It is useful to treat the cut sites for disinfection purposes. Tubers - Tuber propagation is considered the most convenient method. When transplanting a flower, the tubers must be carefully removed. Then they are placed in plastic cups, in which drainage holes are made. After 2-3 months, the planting material takes root. After the first leaves appear on the young shoot, it can be transplanted to a permanent place. Cutting - a knife is required for this procedure. The shoot is carefully cut at an angle of 45 degrees. The sharp part is placed in soft soil. For another 3 months, the young plant will need greenhouse conditions. In this case, it is necessary to air the plantings daily. Then the formation of tubers begins.
Everyone chooses the most convenient way to reproduce this exotic plant. The main thing in this is to clearly follow the recommendations.
How to transplant a flower
If there is such a need, it is necessary to transplant any types of alocasia in the spring. The roots of this plant need space, so the container must be deep. The soil must be made looser. To do this, add tree bark, sand or coconut flakes to it. A drainage layer at the bottom will protect the root system of alocasia from decay.
The layer height should be at least a third of the pot. The flower is carefully moved into a prepared container and sprinkled with soil. Then the soil is lightly tamped and watered abundantly. The first top dressing can be applied in a month. Further, the plant requires regular care.
Important! Watering is better with soft, filtered water. Hard water inhibits growth.
How to care for
Room conditions are suitable for alokazia. The plant can be placed on a windowsill, but the leaves must be protected from direct sunlight.
Landing
Immediately after purchasing, alocasia can be planted in a larger pot and added fertile soil. The best time to plant is spring. True, a plant purchased in winter can also be planted in a new pot. It's just that the adaptation will be more painful.
Ground requirements
For alocasia, a slightly acidic and fertile soil is needed, which will pass moisture well into the pan and dry quickly. The basis is leafy or sod land. Peat, sand, vermiculite, pieces of bark, chopped moss and a little humus are mixed with it.
Pot selection and arrangement
In alocasia, the roots do not grow in breadth, but in length. The plant needs a deep but narrow pot. Better that it is ceramic. There should be a drainage hole at the bottom. A little expanded clay is poured into the pot for drainage, then the roots of the plant are sprinkled with the prepared soil mixture.
How to plant
The transshipment method is not suitable in this case.
The plant, together with the earthen lump, is carefully removed from the pot, and then the roots are cleaned of the earth. This procedure is carried out in order to inspect the roots well - whether there is rot on them.
Before planting, the plant can be placed in water with a growth promoter for 30 minutes. Then alocasia is placed in a pot and covered with soil. The root collar should be above the soil surface.
Bloom
Alocasia blooms very rarely. A mature and fully formed plant produces an ear in the spring or summer. Flowering lasts only 5-12 days. During this time, the plant has time to shed almost all the leaves. After flowering, alocasia restores strength for a long time. If you cut the peduncle at the very beginning, the plant will not lose its leaves.
Temperature and illumination
In the room where the alocasia is located, the air temperature should be 20-25 degrees Celsius. In winter, the thermometer can be lowered to 16 degrees above zero. At lower temperatures, the plant will begin to shed its leaves. A short stay in the cold can completely destroy this heat-loving culture. In summer, the plant has enough sunlight. In autumn or spring, in the evening, it can be illuminated with a fluorescent lamp.
Air humidity
This tropical plant with large leaves loves a humid environment. Air humidity should be 70 percent.
Spraying
In the heat, the leaves of alocasia should be sprayed 2-3 times a day. The water is sprayed as a mist, not in droplets. In winter, this procedure can be carried out less frequently.
Watering mode
Alocasia is watered abundantly, but so that the water does not stagnate in the pot for a long time, otherwise the roots will begin to rot. Watering is carried out every other day. The land should be constantly moist, but not marshy.


Top dressing and fertilization
In the spring, when the period of active growth begins, the plant begins to be fed with nitrogen, phosphorus and potassium substances. A small amount of universal fertilizer is added to water for irrigation twice a month until autumn.
Transfer
Once every 2-3 years, alocasia is transplanted into a larger pot. Drainage stones are laid at the bottom, the rest of the container is filled with slightly acidic soil. Alocasia, together with an earthen lump, is removed from the old pot and transplanted into a new one.
This plant does not need any pruning. You can only cut off yellowed and dried leaves. True, they should turn yellow one at a time, and not all at once. A healthy plant throws off old leaves gradually, so it renews itself.
Houseplant care
Lighting
 The flower is photophilous, but it should not be allowed to hit the plant direct sunlightas they can burn the leaves. It is best to place the flower in a bright room with diffused light.
In winter, additional lighting is recommended for the plant. A signal that the flower lacks light is the color of the leaves. They begin to fade and lose their bright color.
Watering
The plant needs moderate watering, while the earthen coma should not be allowed to dry out. If it suddenly becomes noticeable that the leaf plate is drooping, this indicates a lack of water. The plant should be watered with soft, settled water. In summer, watering is required once every two days, and in winter, twice a week is enough.
The plant needs humid air, so the flower feels best in the bathroom and in the kitchen. In order to create the most comfortable conditions for the plant in a room with dry air, a flower pot can be placed on a pallet with expanded clay. Thus, evaporation can be achieved.
It is necessary to wipe the leaves with a damp sponge as often as possible and spray water over the plant.
Top dressing
The plant needs feeding with specialized fertilizers based on potassium and nitrogen. Fertilize them once every three to four weeks. In winter, feeding is required half as much.
Pruning
Yellowed leaves should only be cut off when they are completely dry.After pruning, be sure to wash your hands well, since the plant sap contains poisonous substances. Pruning is done with a sharp knife.
Transfer
Plant transplanting is best done at the beginning of the growing season, in the spring. Young plants need to be transplanted annually, while adults should be transplanted once every two to three years. Adult specimens do not have intensive growth, so it will even be enough to just change the pot and add fresh soil once every three years. The size of the pot must be larger each time.
Flowering care
This plant blooms extremely rarely. This can only happen in an adult specimen that has reached six to seven years of age. And only if the ideal conditions for life have been created. But in alocasia amazon in room conditions, this almost does not happen.
What if the buds are not forming?
The flower of the plant is not considered decorative, it only takes away the strength from the plant, so it is not needed at all. The decorativeness of the plant in its leaves. Therefore, it is preferable to even remove the inflorescence so as not to stress the plant.
Features of home care
Alocasia tropical culture prefers home care as close as possible to natural.
Lighting
Bright, but diffuse for variegated species, slightly darkened for green-leaved species. The windowsills of the western and eastern directions are optimal, if the windows are south - the plant needs to be shaded.
Reference! Variegated varieties require more light. With a lack of light, the foliage loses its spectacular color.
Watering
During the growing season, abundant watering with soft, settled water, but only after the topsoil has dried out. In the autumn period, a gradual reduction and during the rest period - moistening 1-2 days after the soil surface dries out.
Room temperature and humidity
In the spring-summer period 20-27 degrees, in the winter period - 18-20. Elimination of drafts, sudden temperature changes.
High air humidity, systematic soil moistening by wiping, spraying. On very hot days, you can put damp pebbles or expanded clay into the pallet.
Soil and dressing
During the growing season (spring-summer-autumn), fertilizing with complex mineral fertilizers for decorative deciduous crops and organic matter every 2-3 weeks. It is important not to overdo it, fertilizers need to be diluted, reducing the concentration by 2-3 times. The soil mixture should consist of coniferous, leaf and peat soil and sand (coconut, sphagnum - for aeration, soil permeability), add a handful of charcoal
Acidity - weak pH 5.5
The soil mixture should consist of coniferous, leaf and peat soil and sand (coconut shavings, sphagnum - for aeration, soil permeability), add a handful of charcoal. Acidity - weak pH 5.5.


Plant pruning is almost not required. Dead dried leaves are removed with pruning shears to healthy tissues, the cut site is treated with charcoal.
Note! It is unacceptable both for the soil to dry out in the pot and overflow. Excess water after 15 minutes is drained from the pan
Features of care during the rest period
It starts in mid-autumn (October) and ends in early spring (late February - early March). In the fall, yellowed leaves must be removed, the plant must be removed from the windowsill to a moderately lit place, and watering must be gradually reduced.
The temperature of the content for the winter should be about 20 degrees. In the spring, the usual care is gradually resumed.
There are varieties that do not go into complete rest, continue to grow to a partial strength. Therefore, in winter, it is possible to continue fertilizing and watering the plant, occasionally and in very small doses.
Pruning
This procedure is practically not required. The only pruning that can be done is the so-called cleansing. It is needed to remove dried or rotten leaves.
Pruning methods
The dead, dried leaf is removed with a pruner to healthy tissues and the wound is covered with wood ash.
You can try to renew the plant by cutting off all the leaves and leaving a bare trunk. This procedure will wake up dormant kidneys and make them grow. However, this is a rather risky procedure that does not guarantee a successful completion. And not too necessary! Smart alocasia throws off old and extra leaves, renewing itself.