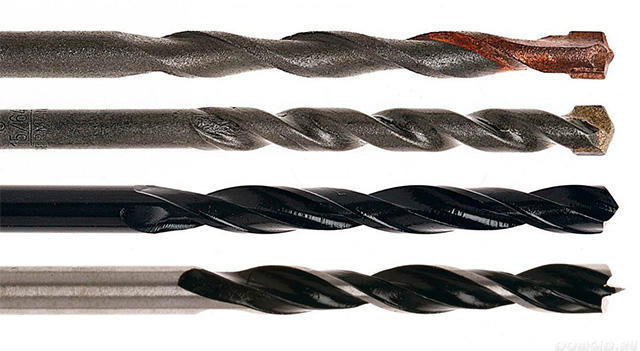
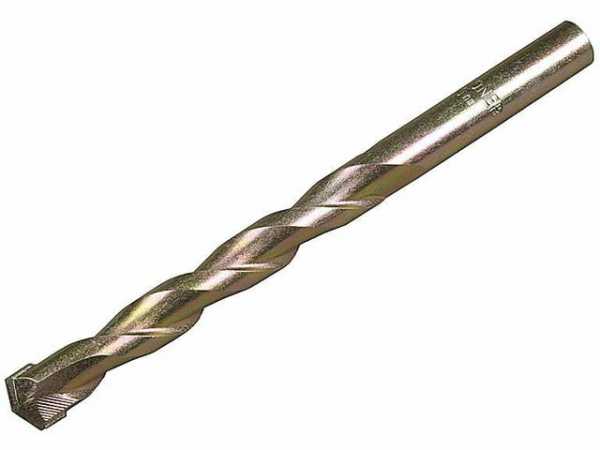
Convenient storage for drills and cutters
Let's talk about the fixtures for storing drills and cutters, which masters use in production and at home.
Storage of drills and cutters on special stands
Using a stand with holes is a great way to organize your drill or cutter storage system. Buy a suitable model and install it in your home workshop or work.

Photo # 4: Stand for storing drills and cutters
By the way, if you don't want to spend money, you can make a storage system for drills and cutters out of wood or plexiglass with your own hands. We will tell you how to do it.
-
Take a rectangular piece of wood, or its Plexiglas counterpart, sized according to the dimensions of the metalworking tools you need to store. If you don't have a suitable blank on hand, make it yourself from several sheets of plywood.
-
Drill holes in the workpiece, the diameters of which correspond to the diameters of the drills and / or cutters. In this case, make the holes in rows in order of increasing diameters.
-
Remove shavings. If using wood or plywood, sand the product and apply impregnation. The drill stand is now ready.

Photo # 5: homemade tool holders
Storage of drills in homemade individual packages
This is another option for organizing a storage system for metalworking tools.

Photo # 6: storing drills in homemade individual packages
This method of storing tools has the following advantages.
-
Complete tightness. The tools are protected as much as possible from mechanical damage and the influence of negative environmental factors.
-
Convenience. You can carry a large number of drills at the same time without fear of damage to the cutting edges, for example, in a bag or bag.
-
Quick search. You can easily find the drills you need by looking at the color of the plugs and the information on the labels.
The only drawback is the need to waste time making cases and plugs. We will tell you how to make them yourself.
-
Buy transparent hoses with the required diameters. The best options for organizing a drill storage system are 10, 12, 15 and 30 mm. The lengths depend on the number of instruments needing to be stored.
-
Buy a glue gun and sticks in three colors. For example, red, green and blue.
-
Make plugs. To do this, cut the hoses into 10 mm lengths. However, remember that you will need 2 pieces for each container. Place them on a flat surface and fill with glue just above the edges. After it has solidified, carefully cut the hoses. As a result, traffic jams will form.

Photo # 7: caps for homemade containers
Cut the hoses to the required length. They should be 30–40 mm longer than the drills that need to be stored.
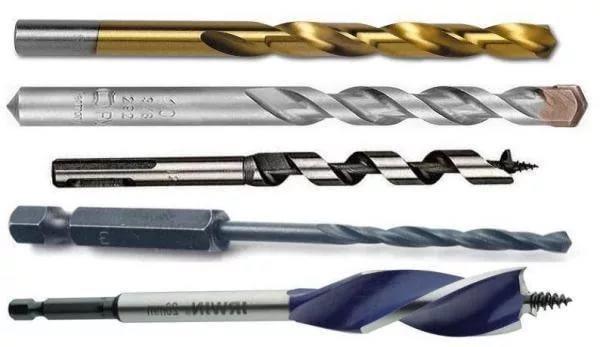
Place the tools in the hose sections and close them with a color-coded plug. For example, use blue corks for metal drill containers, and green and red corks for wood and concrete tool containers.
Make labels in any convenient way. The easiest and cheapest option is to write the diameters on rectangular pieces of colored paper with contrasting markers and stick them on homemade containers with tape. But you can do it beautifully, for example, like this.

Photo # 8: homemade container labels
Apply labels to containers according to drill types and diameters. All is ready.
As you can see, there is nothing difficult in the correct organization of storage systems for drills and cutters in everyday life and in production. By the way, you can also make tool cabinets, racks and racks with your own hands according to various drawings available in the public domain. Good luck in your work!
Device, types and characteristics
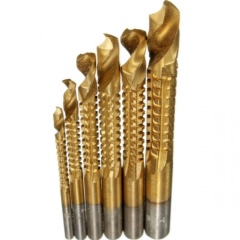
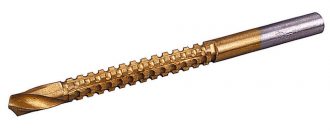
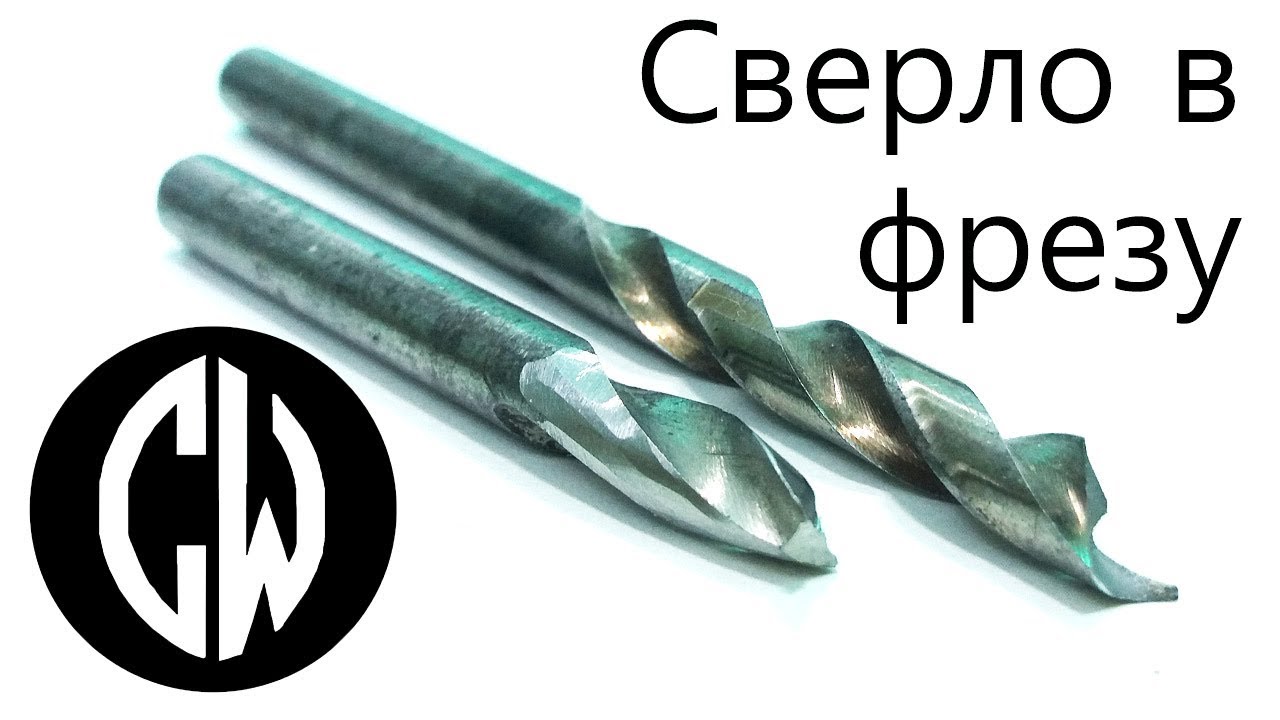
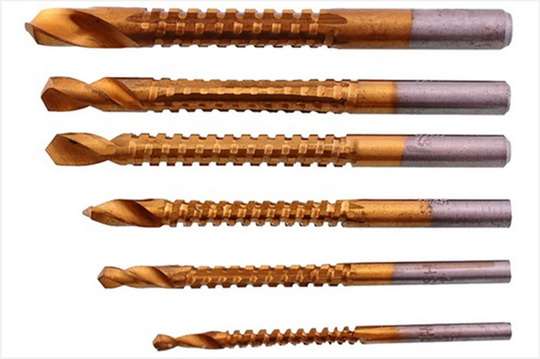
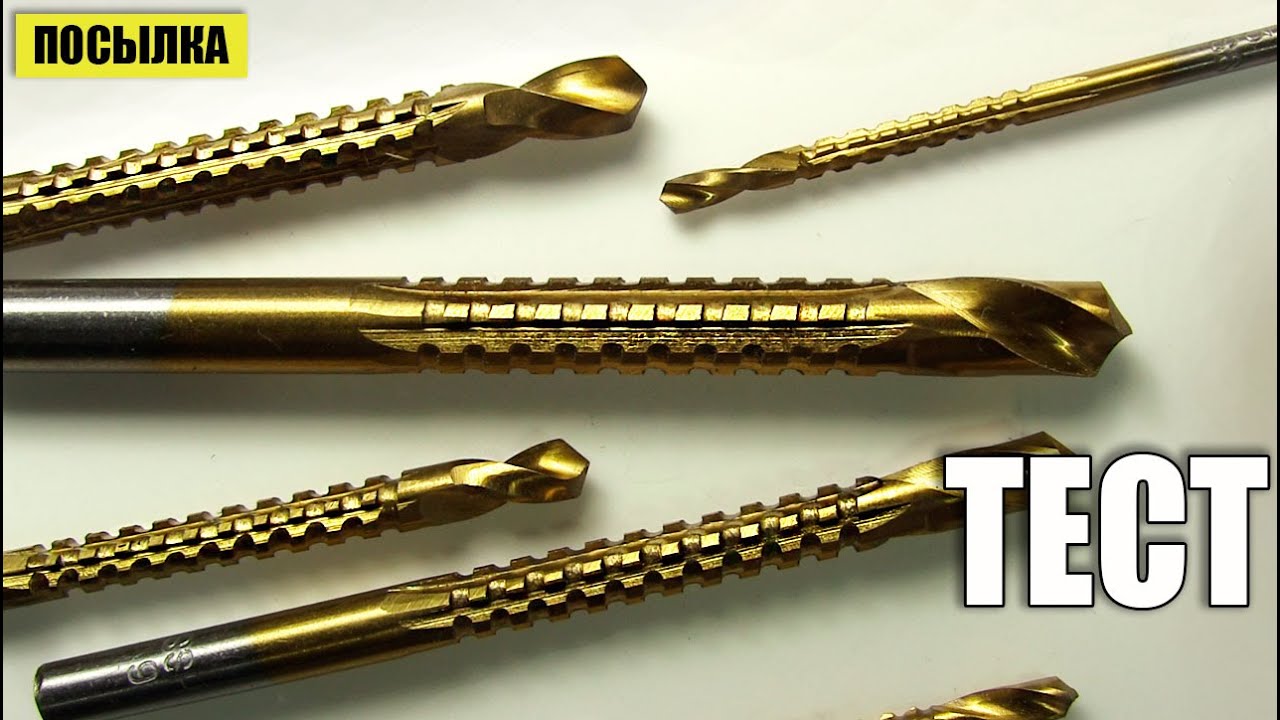
Structurally, a milling drill consists of a shank, a milling part and a drill. Products with two working surfaces are usually classified according to the following criteria:
- material (high-alloy tool high-speed steel, hard alloys);
- tail section designs (cylindrical, hex);
- shank length (short, elongated, long);
- processed material (for metal, wood, universal);
- manufacturing method (solid, composite);
- diameter (from 3 to 12 mm);
- total length;
- the length of the working parts;
- hardness (61 ÷ 68 HRC).
The drill-milling cutter, working for metal, is a universal cutting tool. They perform operations to make shaped holes in any thin-walled material. The advantages of the product, firstly, include the fact that with the help of one tool it is possible to perform two operations, which reduces the time for making a hole of the required configuration. This fact increases labor productivity, which is a decisive factor in production. Secondly, any tool that has an appropriate clamping device can be used to rotate the milling drill.
This is important for DIYers and small workshops. They can use a hammer drill, drill or bench-type boring or milling machines.
Thirdly, the product is subject to regrinding, that is, the angle of sharpening of the drill can be restored in case of dullness.
Sharpening rules
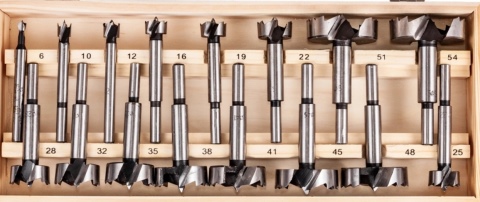
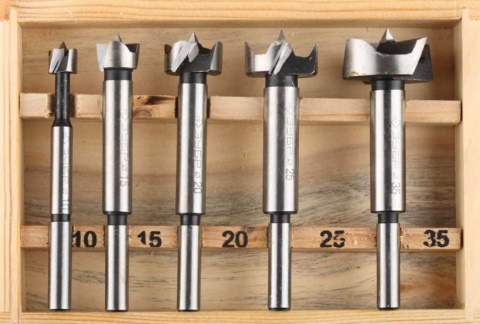
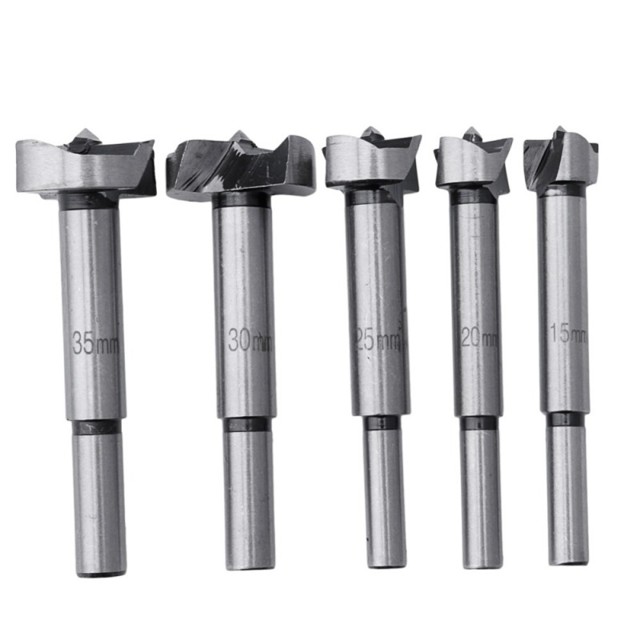
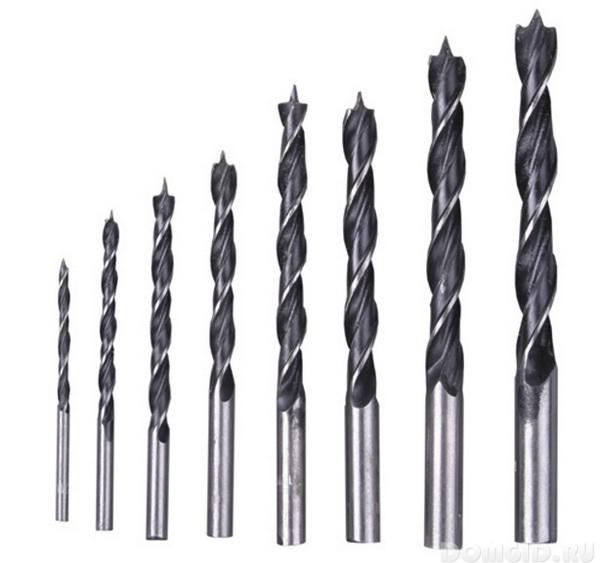
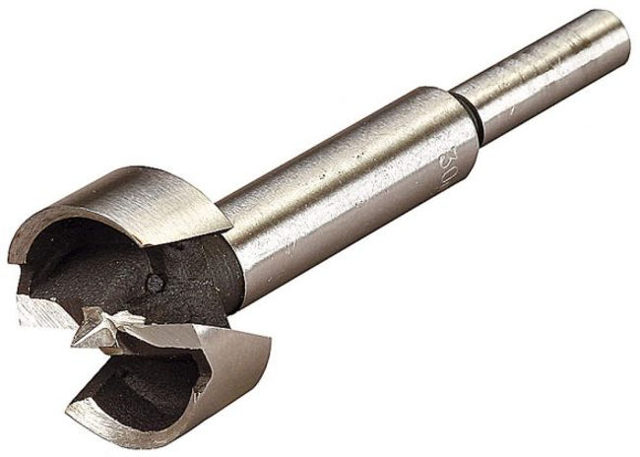
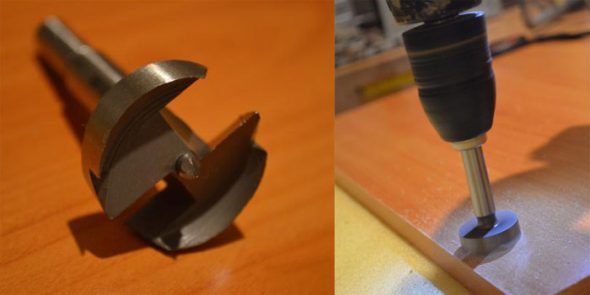
To perform high-quality sharpening of Forstner drills, you can use the following recommendations:
For drills of this type, you should never sharpen the rim, the working part of which must be located strictly in the same plane, and it is simply impossible to achieve this by manual sharpening.
Particular attention should be paid to sharpening the internal incisors, for which you can use a fine-grained whetstone, a file with the smallest notch or a belt-type sharpener. Only the front edge of each cutter is sharpened, after which burrs are removed from their back side, for which a fine-grained stone can be used.
The geometric parameters of the internal incisors are well restored using a belt sharpener
Do not remove too much metal, especially in the area near the bezel.
The outer cutting edge is only sharpened from the inside so that the rim size does not change
For finishing the cutting edges, it is better to use fine-grained whetstones rather than files.
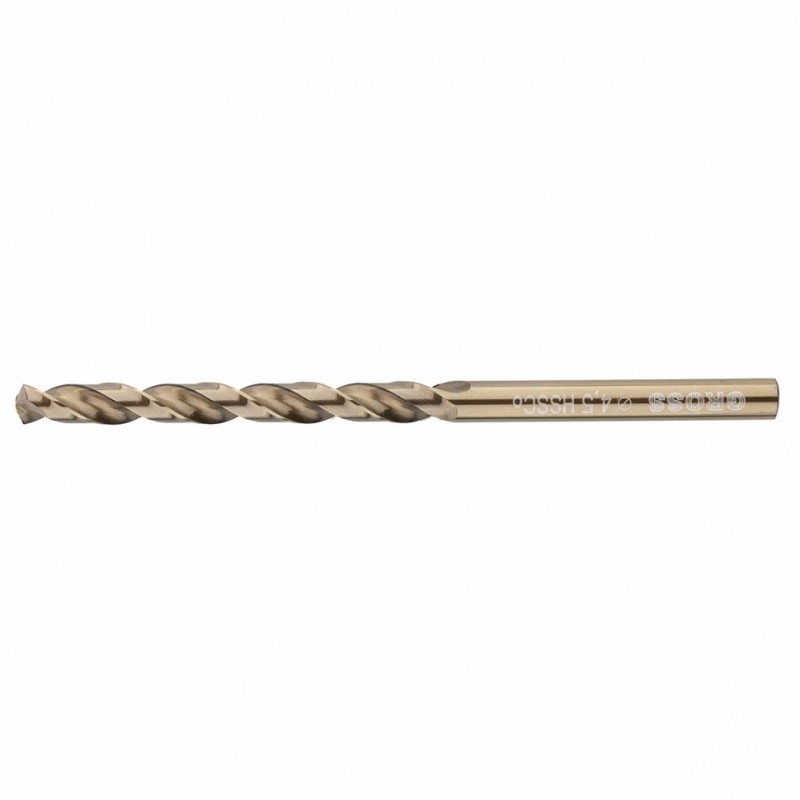
Twist drills
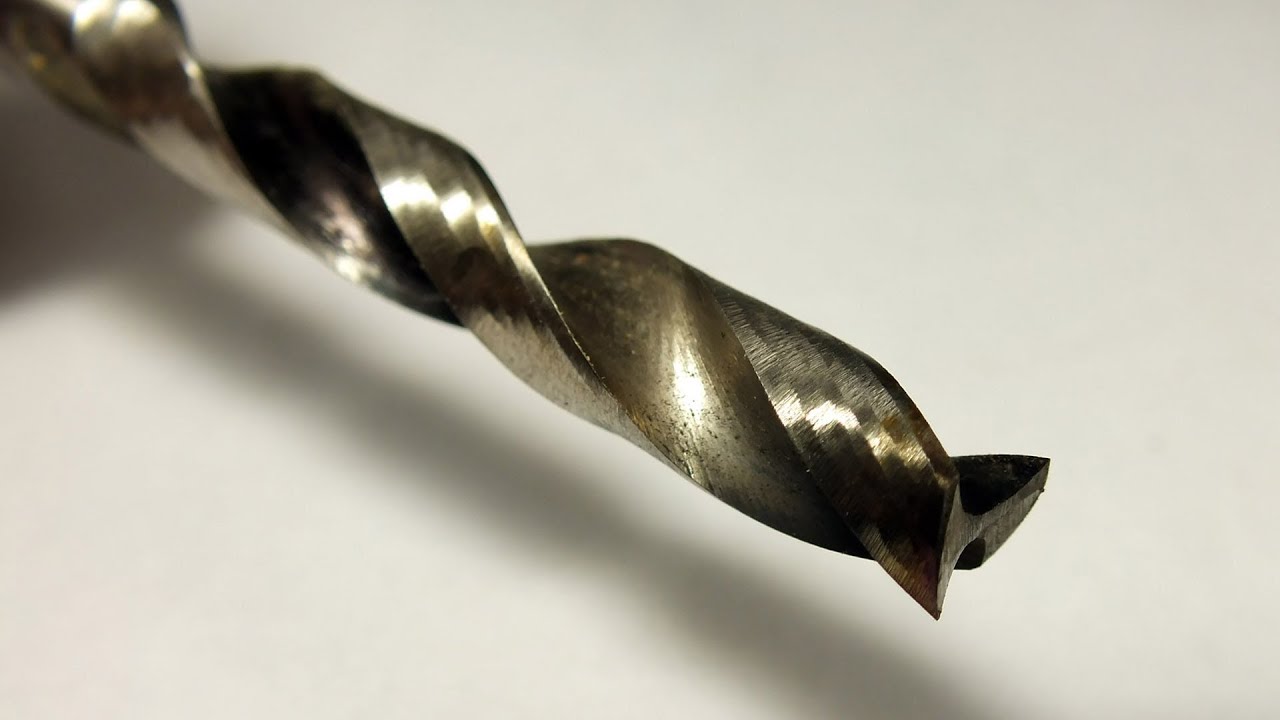
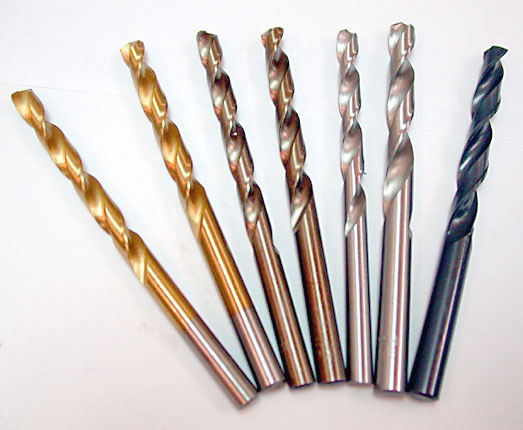 The ubiquitous twist drill was probably the first cutting tool that each of us once began to use, well, for example, in a hand-held electric drill. While end mills are only available to machine tools, twist drills are available in almost every hobbyist's home.
But everything is not as simple as it seems at first glance. Statistics show that holes make up the vast majority of all operations performed on CNC machines. In addition, the material removal rate with twist drills is very high and usually exceeds that of end mills. Sometimes it can make sense to drill multiple holes and then machine the mesh between the holes using an end mill.
Like end mills, twist drills come in a variety of sizes, coatings, materials and lengths.
Twist drill dimensions
Twist drills have a wider variety of diameters and sizes than end mills. This is not surprising, however, given the prevalence of hole making operations and the difficulty of using a single drill for different hole diameters, while end mills are much more flexible in this regard.
In addition to metric and imperial sizes, there are also special sizes such as numbers and letters.
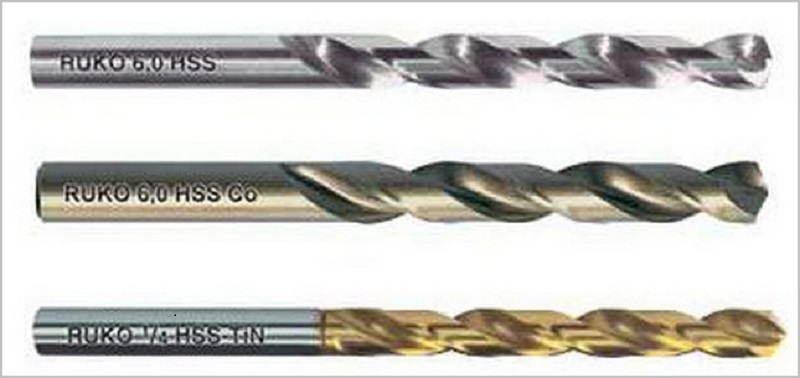
High speed steel, cobalt and tungsten carbide + Coated or uncoated
If you need the toughness and toughness of tungsten carbide for fast machining of tough materials, there is no alternative. Otherwise, just buy a complete set of HSS or cobalt drills.
Coating, or lack thereof, is a matter of taste. Coatings can be beneficial, although not as much as in end mills, perhaps because most twist drills are not made from tungsten carbide.
Threading machine and short series length
The length of the twist drill can vary. Most non-professionals use short series twist drills. Here's how they differ:
The drill length for a threading machine has the same diameter, but is much shorter than the drill of the short series. It is also more durable.
Because they are shorter, they are much stronger as well. The hole produced by such a drill will be more accurate, and the likelihood that you will break the drill will be less. Most machine operators prefer to use twist drills for the threading machine precisely because of these advantages.
A little about cutters
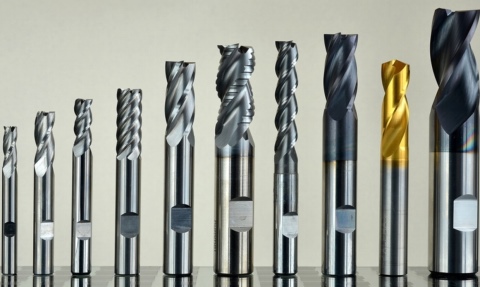
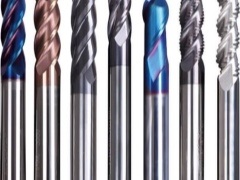
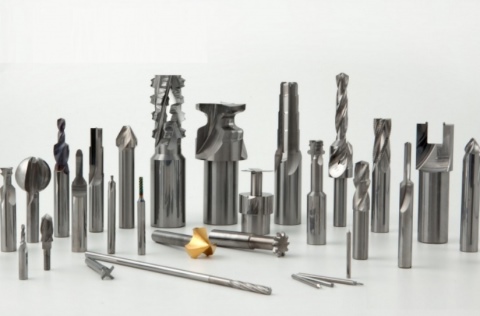
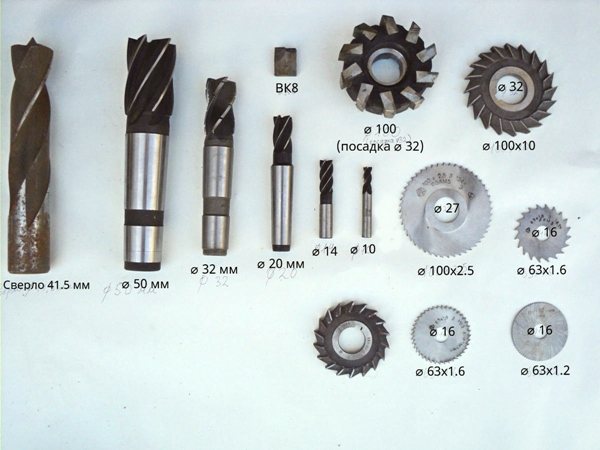
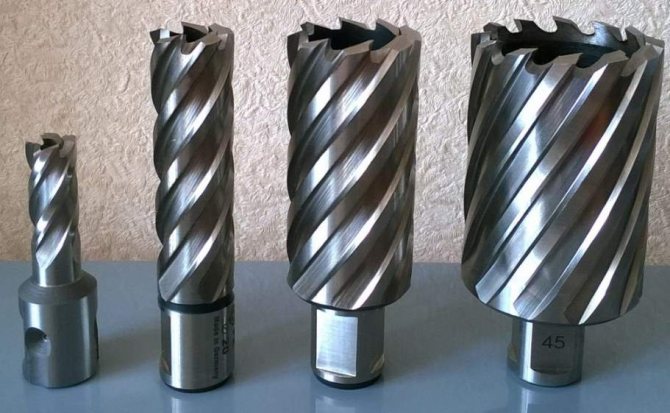
Structurally, there is a huge number of cutters, depending on the tasks performed, the milling tool used, the material to be processed and the format of the processed parts. The largest division of the cutters is according to the type of installation on the milling tool. According to this type, end mills and shell cutters are distinguished.
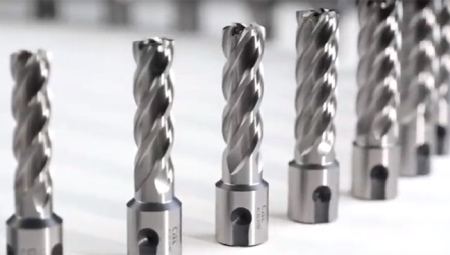
Shell cutters are also called disc cutters, since they are really discs in the holes in the center, which are mounted on the axis of horizontal and universal milling machines.
An example of a disc cutter.
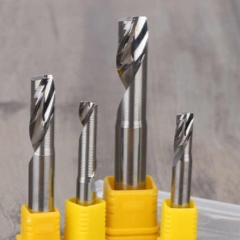
End mills use cutting surfaces located at the tip of the milling cutter, which is clamped in the spindle of a milling machine like drills in a drill chuck. Moreover, many of the cutters even resemble drills in appearance.
An example of an end mill.
However, there is a fundamental difference between drills and end mills, no matter how similar they may be. The fact is that the drills are designed for workload only in the axial direction. Any displacement or deviation from the axial load is fraught with destruction of the drill. Milling cutters in the most general sense are just used for spatial off-axis displacements and material processing in different directions. The cutting edges of such cutters can be both along the axial part and along the end of the cutter.
The presence of several cutting surfaces and the ability to use this for spatial processing of the material is also characteristic of disc mills, which distinguishes them from cutting wheels.
It is this ability - the use of multiple cutting surfaces for spatial, rather than axial or flat processing of the material - and makes cutters a versatile tool that can be used for almost any purpose and task. And the combination of a CNC milling machine allows you to create real works of art and even miracles.
Examples of work on a milling machine.
Attack end mills are represented by a wide range of milling cutters that can be used both in home appliances and hand-held milling machines, as well as for production purposes. Grooving cutters, edge milling cutters, fillet cutters, etc., as well as sets specially selected for the most common milling work.In addition to a wide assortment, Attack cutters are distinguished by precision and accuracy of surface treatment and a long service life.
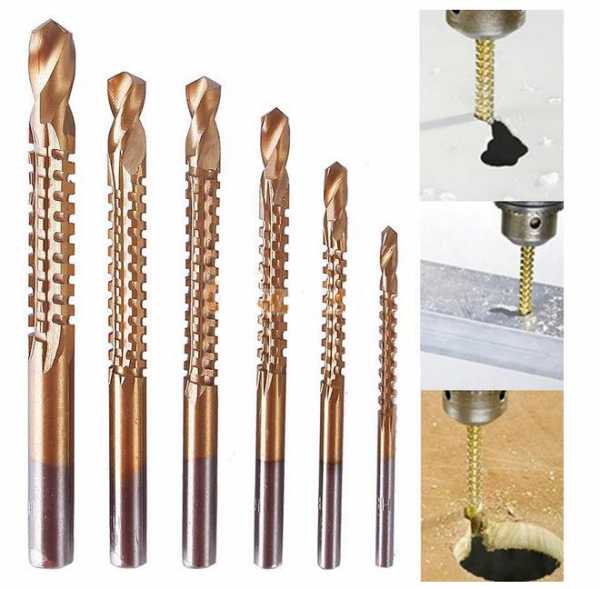
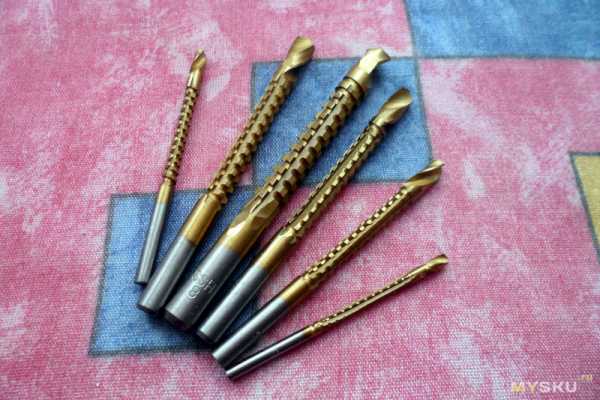
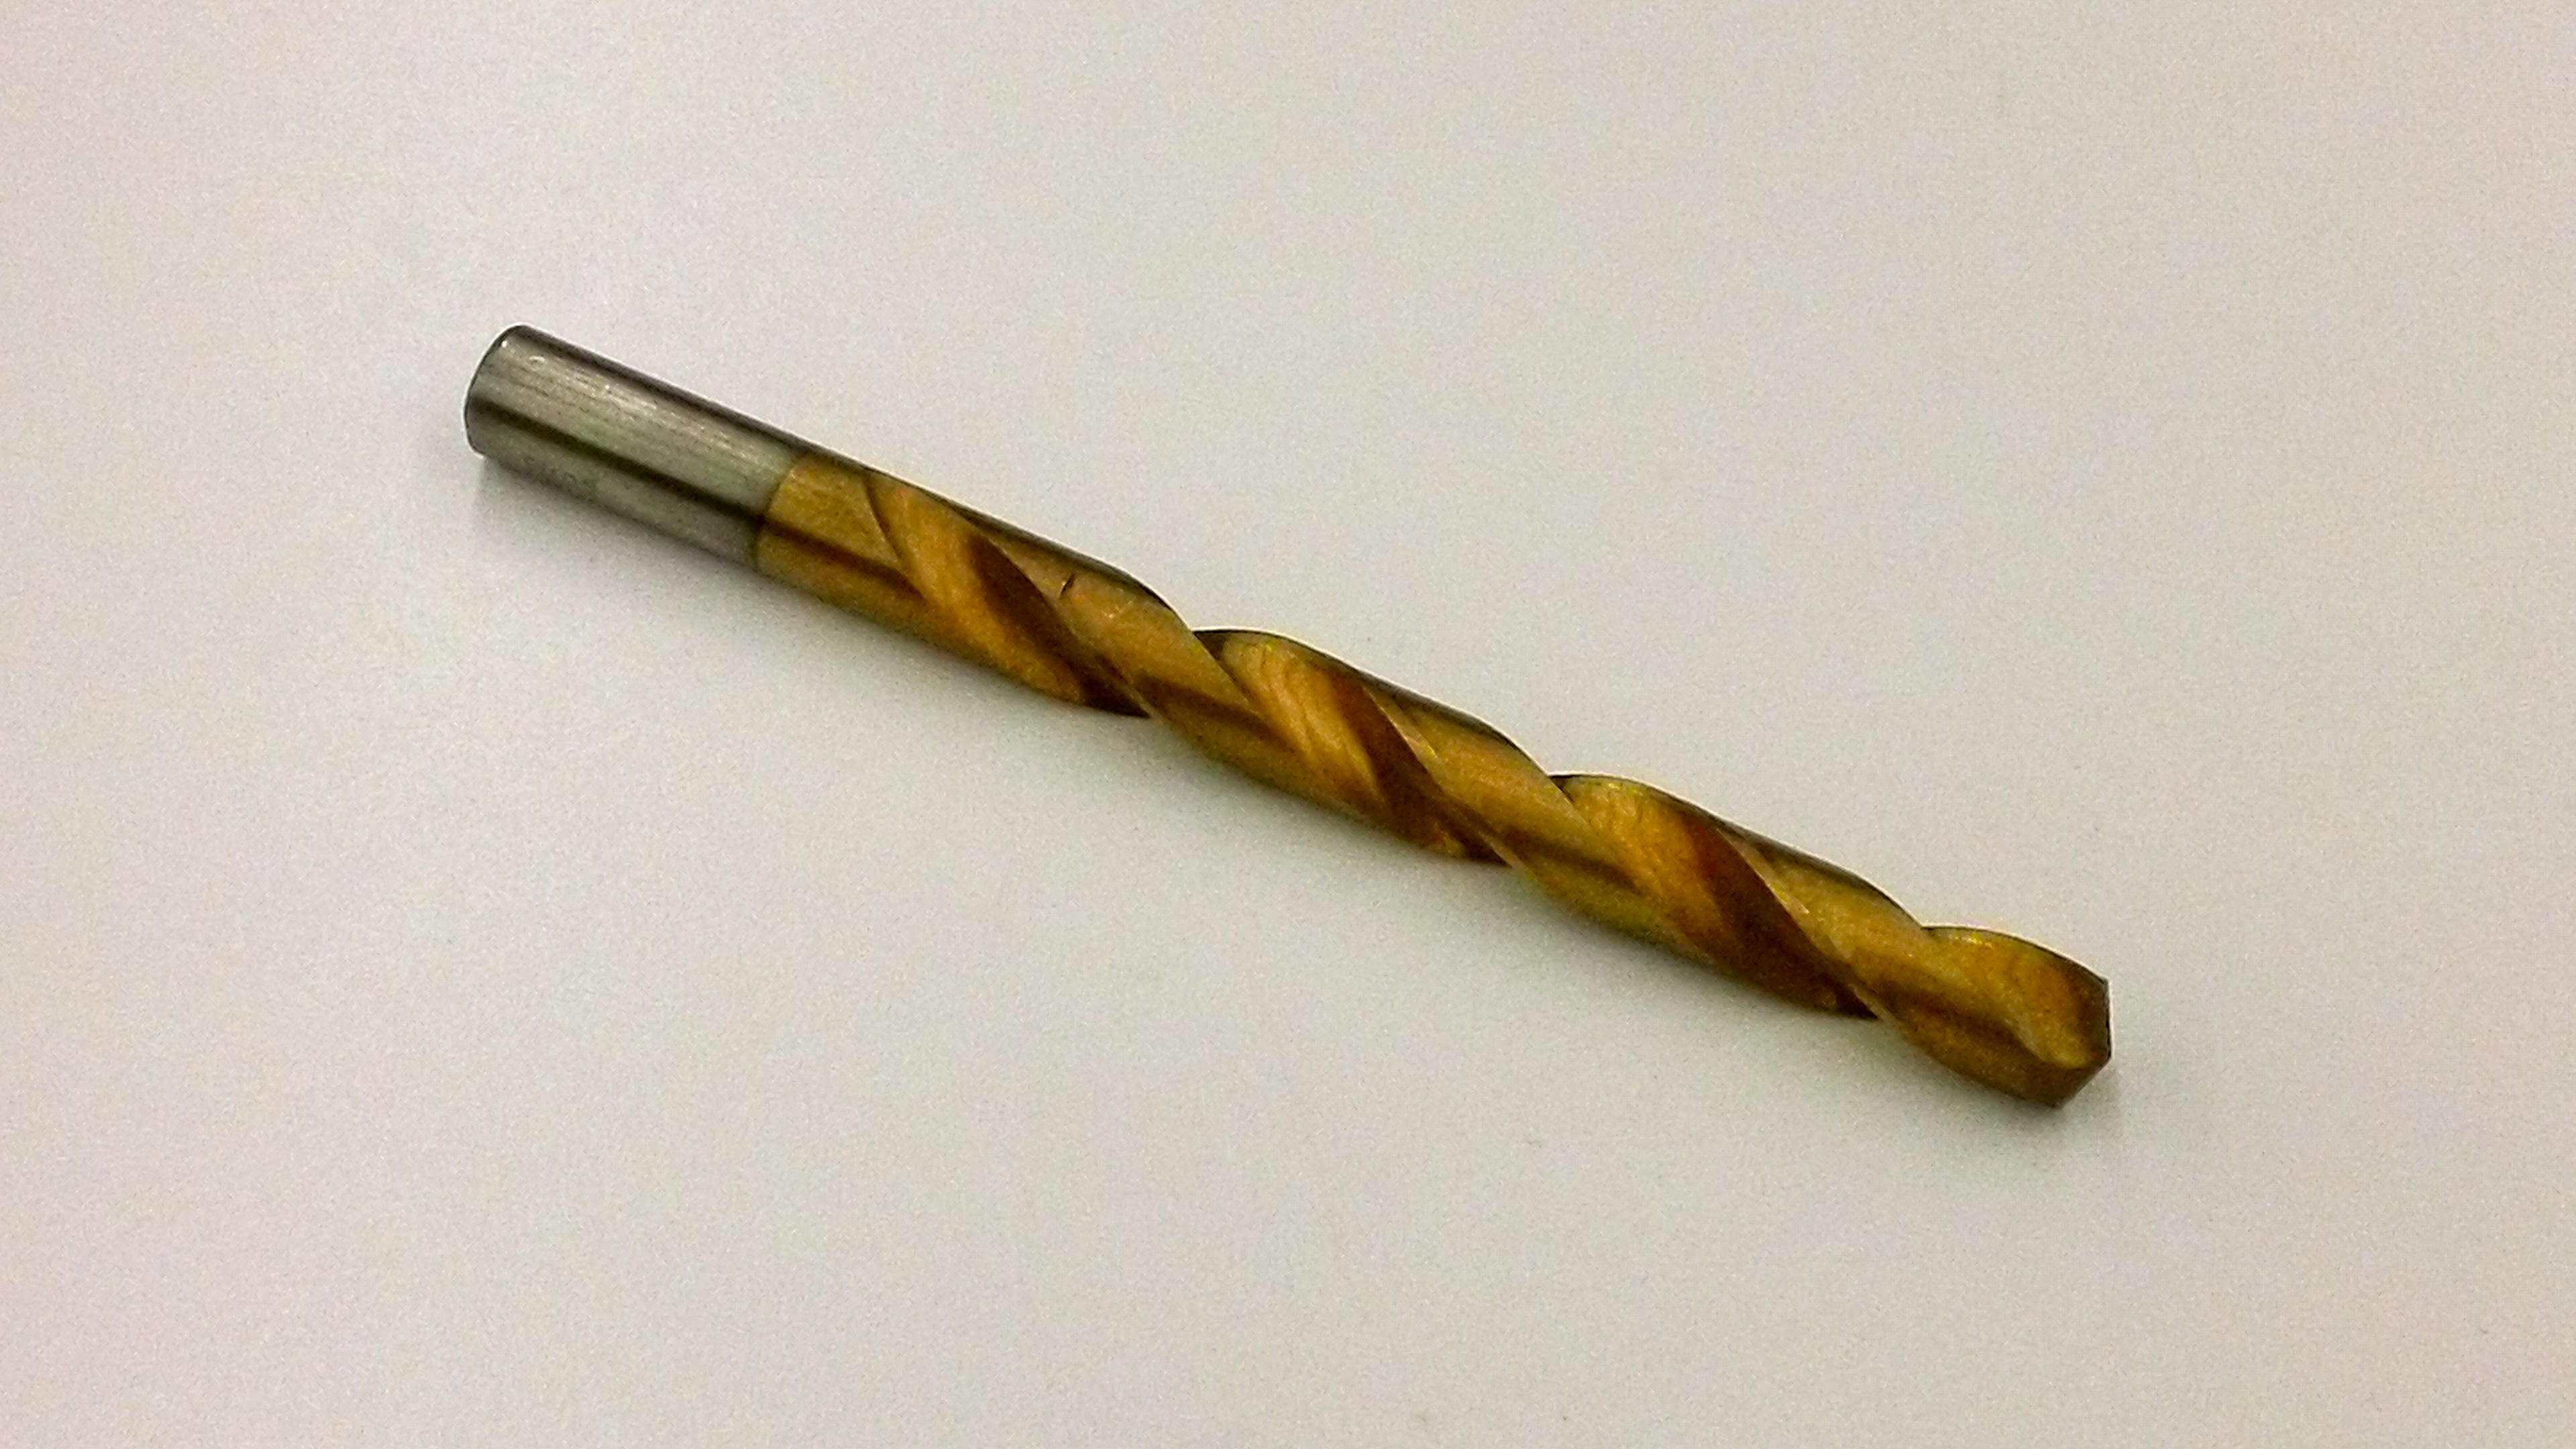
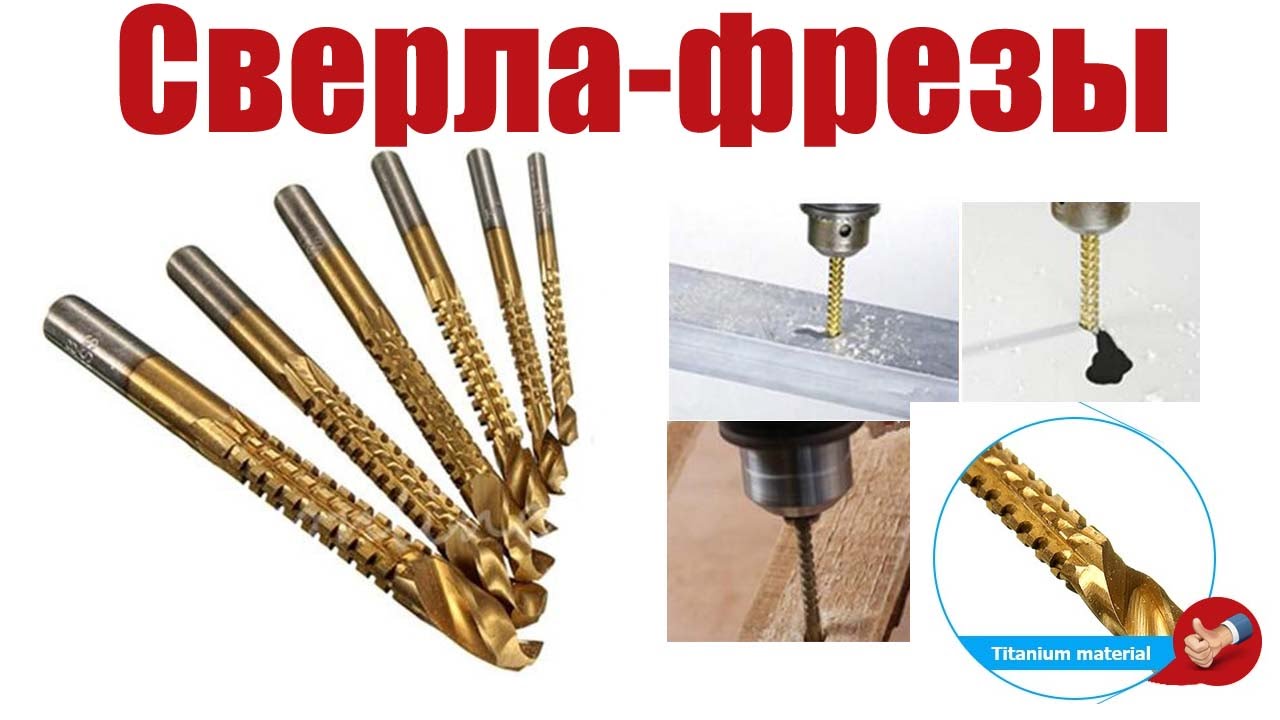
Drill-milling cutter is a type of cutting tool that is used in the manufacture of holes, including figured ones, in materials of different purpose. Combines the functions of a drill and a milling cutter. A hole is made with the drilling part, and its expansion to the required shape and size is performed with a cutter, which is the lateral edge of the tool. Manufacturers from different countries produce such universal type drills or milling cutters for performing operations on a specific material - wood blanks or metal. This is indicated in the passport data that the manufacturer puts on the packaging of the product. Due to the presence of two working surfaces, the tool is called a milling drill.
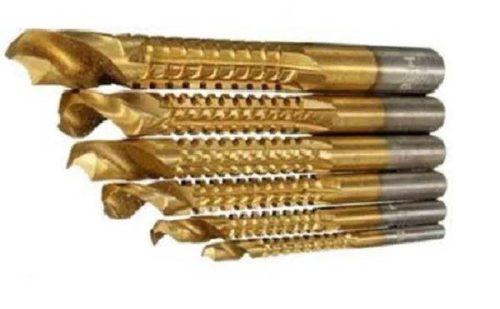
With the help of drill-cutters, holes are obtained not only in metal and wooden blanks, but also in plywood, drywall, fiberboard, chipboard, MDF, plastic. To rotate the tool, use a perforator, drill or drilling and milling machines.
What speed of rotation of the drill to prefer
When processing with Forstner drills, you should adhere to the following recommendations for choosing their rotation speed.
- For drills of larger diameter, in order to prevent them from overheating, a lower rotation speed should be set.
- On the packaging of any Forstner drill, the maximum speed is indicated, which should not be exceeded under any circumstances.
- Even when drilling with such drills at a low speed, you will not degrade the quality of the hole being formed, but only slightly reduce the processing productivity.
To understand at what optimal frequency a Forstner drill of a certain diameter should rotate, you can use special reference tables.
Drilling modes in various materials
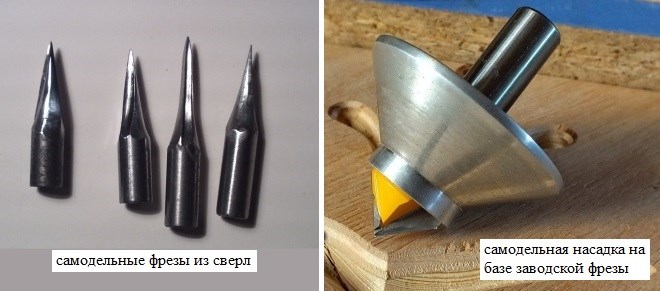
Do-it-yourself vertical milling cutter
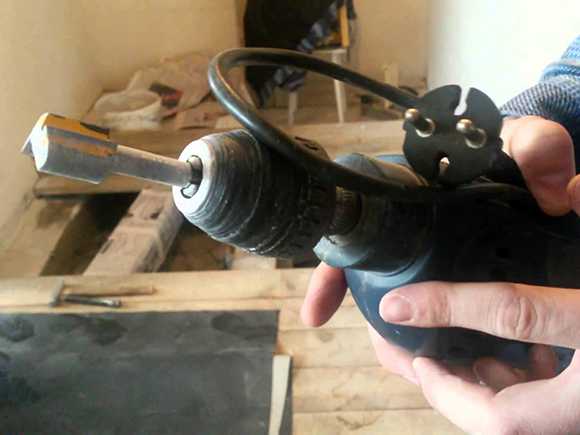
It is quite difficult to work with a drill, in the cartridge of which such a nozzle is installed, and it is almost impossible to get a final result. If you do not have a milling machine at hand, but you need to use a milling nozzle to perform rough work, then a regular drill will do. To do this, it is recommended to fix it in a vertical position and secure it securely.
It is interesting! In order to be able to regulate the rotation speed of the tool chuck, it is recommended to use a voltage regulator.
Homemade milling machine
In order to make rough processing of wood, you will need an appropriate set of wood cutters, as well as a homemade machine from a drill, which you can do yourself. The manufacture of the installation does not require any skills and knowledge, and in each individual case, the design may differ. The main rule of this installation is to secure the tool securely.
To make a homemade milling machine from a drill with your own hands, you will need to perform a number of the following steps:
- A table is being made, for which you need wood. The amount of wood required for making a table depends on the size of the future device.
- Creation of a platform with a limiter. The drill will be fixed in this area and moved using the appropriate guides. For the manufacture of the site, you can use chipboard and steel pipes.
- Installation of the instrument on the platform. To secure the tool, use steel plates and threaded connectors in the form of bolts and nuts
- Making a handle, by means of which the tool moves vertically up and down
Homemade wood milling machine
The milling machine from the drill is ready to work. You can install the appropriate cutters in the chuck, and start testing it
Do not forget that work must be done with extreme caution, since the slightest incorrect movement, and the tool can pull out from the installation structure.
If the constructed device passes the first test with your own hands, then you can make a control panel for it to facilitate work. Such a tool has one significant advantage - it can be used for both milling and drilling. At any time, the drill can be removed and used outside the structure. Do not forget about the negative impact on the drill when working with attachments, which greatly reduces the service life of the tool.
Related publications
Cutter for metal on a drill, their types of purpose and application
Blades for hand saws for metal - the right choice, types and installation
Grinding and polishing with attachments for a drill and screwdriver types and purposes
Drill for a drill for concrete design selection and tips for use
Large diameter drills
Standard twist drill sets only have diameters up to 14 mm. For larger holes, you can use taper shank or reduced shank cutters (in the West, similar drills are called Silver-Deming drills).

These drills have a 14mm shank and larger flutes. The shank is small and therefore fits standard drill chucks.
What I would also like to say. First, the standard jaw chuck is not very accurate, and for CNC machining we will often use a collet instead. Second, large twist drills require a powerful spindle, so make sure your machine can pull on the larger drill.
Parabolic grooves for deep holes
Drilling really deep holes is challenging. Once the hole is deep enough, it becomes very difficult to remove the chips while drilling. If chips accumulate and block the flutes, the twist drill will break in the hole, which is always a tricky nuisance to fix. An innovation that greatly helps when drilling deep holes is called "parabolic grooves." These types of drills are more expensive than conventional twist drills, but they can produce significantly deeper holes and are worth buying if your operations require such deep holes. The depth depends on the diameter of the twist drill.
On the edge
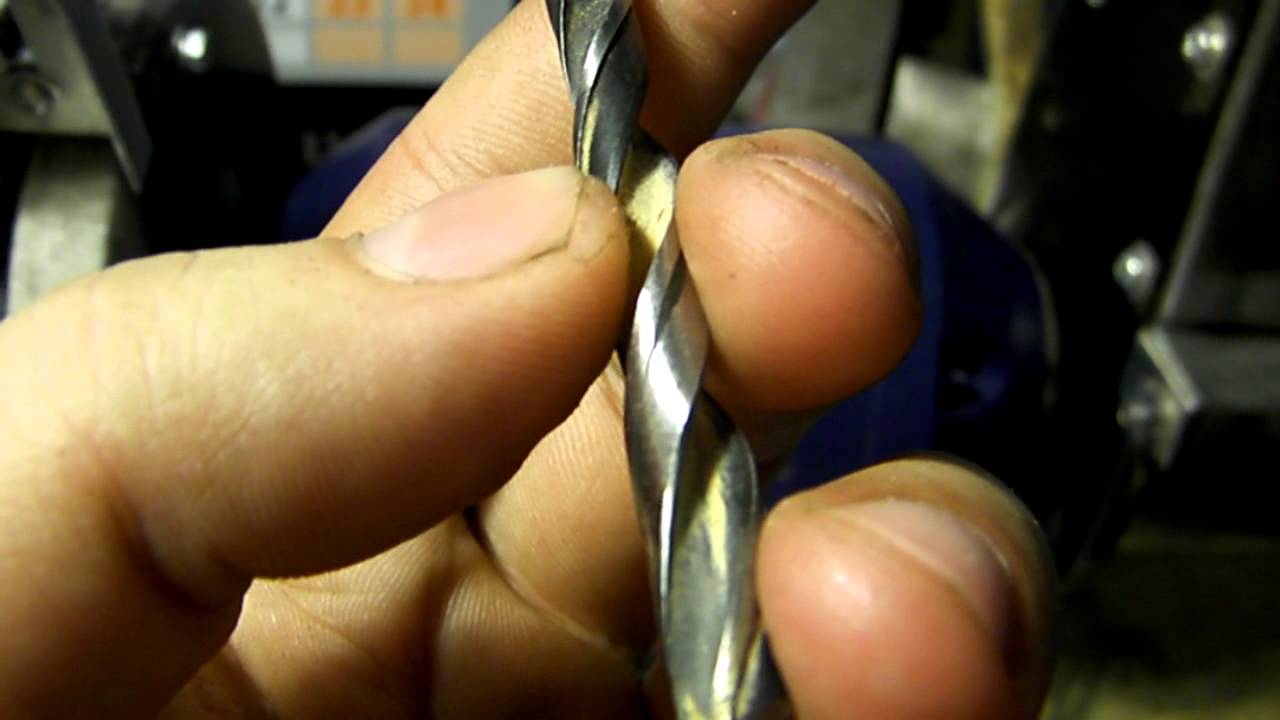
You will use twist drills a lot and there is nothing more annoying than a blunt tool. If you can sharpen the drill, it can serve you for a long time. Drilling machines are available in different price ranges. It is also possible to sharpen the drills by hand on a grindstone.
Spot and center drills
These are drills of a special type, but their scope of application is quite wide. In theory, it makes no sense to use a center drill on a milling machine. Center drills are designed to create holes at the end of a workpiece, for a quill on a lathe. Their secondary “pilot” tip makes them thinner than spot drills. However, most operators will gladly take them if they are comfortable and will use them as spot drills.
Spot drill on the right, center drill on the left
Drills of this type do not have too long flutes. They are only used to mark small indentations before starting the twist drill. It is not always necessary to map out the hole.
Drill with mechanical fastening of polyhedral plates
Given how often our machines have to produce holes, and the benefits of indexable insert tools for milling with end and end mills, it is no surprise that multi-edged insert drills exist. They are generally best used for larger holes. You don't need to know more about them at this stage. Just remember about them and that they can make work easier.
Types of rotary cutters for woodworking
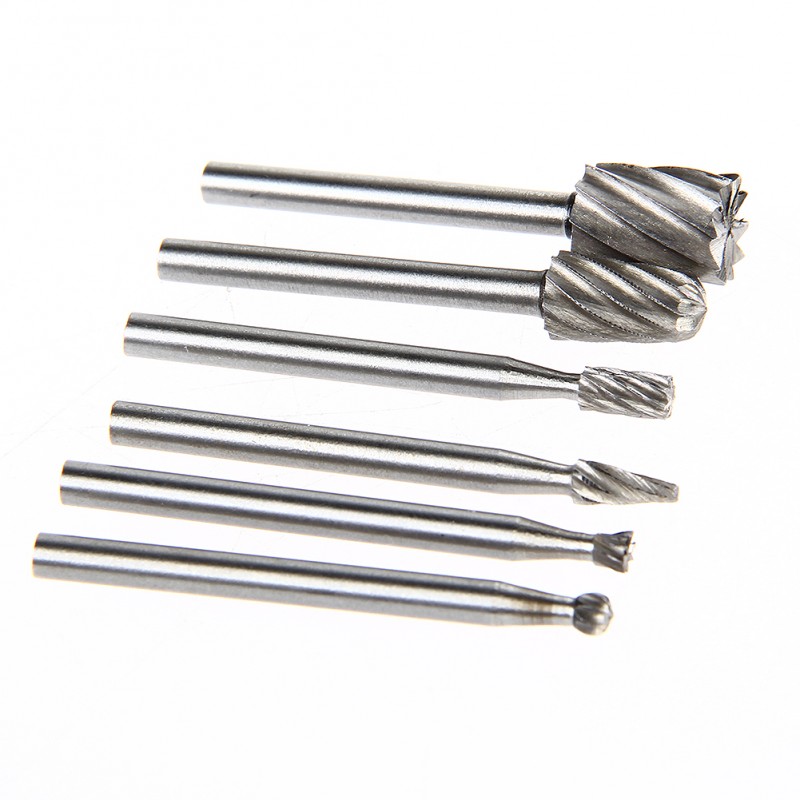
As a material for the manufacture of rotary cutters, with the help of which both wood cutting and engraving on metal, plastic or stone are performed, metal is mainly used. For softer materials, tools made from carbon steel are suitable. For the same, in order to perform cutting of products from wood of harder species, it is necessary to use cones with diamond dusting or with a cutting part made of hard alloys.
Naturally, the most inexpensive burrs are made of carbon steel, but their service life is much shorter than that of diamond and carbide tools. Carbide cutters not only have an increased resource of use, but also allow you to efficiently process hardwood, as well as the surface of products made of metal.
Geometrical parameters of the burr
Any burr, regardless of its purpose, consists of two main elements:
- a shank with which the tool is fixed in the equipment used;
- the working part that performs the main work.
The working (or cutting) part of the burr for wood can have different configurations. It is the shape of the cutting part that determines the profile of the groove cut on the surface of the workpiece.
Rotary cutter shapes
Wood carvers use burrs that have a conical, oval, semicircular or round cutting edge. In order to always have the required tool on hand, it is better to immediately purchase a set of cones, in which burrs of various sizes and with different shapes of the cutting part are assembled. At the same time, it is better to buy rotary cutters from a trusted manufacturer: they will last much longer and will allow you to perform wood cutting with a higher quality.
Wood cutters are available with a variety of teeth, shanks and finishes
A novice woodcarver should take safety measures very seriously. Since wood cutting is performed with a burr rotating at a high speed, pieces of cut material fly out of the cutting area in all directions. In addition, it is not uncommon for not only the cutting teeth of the tool to break in the process of such processing, but also its entire working head. Such situations are typical for the use of low-quality rotary cutters. In this regard, in order to protect yourself from injury, all procedures for processing wood products must be performed with protective goggles and gloves.
General rules for storing cutters and drills
Compliance with the following rules for storing cutters, drills and other metalworking tools will maximize their service life and maintain cutting properties.
-
Store cutters and drills in a heated room with normal air humidity. In this case, metal products will not corrode. Tool cabinets and boxes are best suited for storing cutters and drills.

Photo # 1: special tool cabinet for storing cutters
Take only the necessary tools into work. Leave the cutters and drills that are not needed at the moment in storage places.
Arrange the instruments in order of increasing diameters. It will be much more convenient to navigate this way.
Remember to clean and lubricate tools before storing.
It is strictly forbidden to store cutters and drills in bulk. The most negative influence on the performance and service life of products is exerted by the contact of the cutting edges. Bulk storage is only permitted if each tool is in its own protective packaging.

Photo # 2: Incorrect storage of cutters

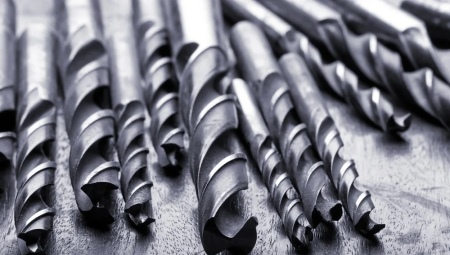
Photo # 3: an example of proper storage of burrs
It is advisable to store diamond tools in individual packages on a permanent basis.
Shelves in cabinets and on racks should be covered with soft or rubber covers.
Rules for using cones for a drill
The manual method of using these heads does not allow for perfect surface quality, which remains uneven. In addition to this, this negatively affects the tool itself, which has serrated edges and as a result, its service life is reduced.
The advent of the CNC has made it possible to improve certain characteristics. First of all, manufacturers can now select the desired frequency and depth of the grooves, their concentricity, as well as the angle of inclination. All this made it possible to increase the service life of the nozzle. As a result, it became possible to provide a more efficient processing result.
The negative moment of manual processing is the increased wear of the working part of the cutter
To increase the service life of the tool, it is important to follow the rules of its operation exactly.
First of all, you need to pay attention to the following points:
It is important to achieve the most complete interaction between the burr and the workpiece. Due to this, the quality of processing can be improved.
However, during such an operation, it is important not to allow the workpiece to come into contact with the tool shank, since overheating can occur due to this, and this is fraught with the destruction of the solder.
Significant pressure on the burrs must be avoided. If the load on the head is significant, it will reduce the processing speed. The increased pressure will cause the tool to overheat and, as a result, reduce its service life.
Worn cutters need to be replaced as necessary. If the head is worn out enough, the operator is forced to put more and more pressure on the workpiece. And most often it ends with damage not only to the nozzle itself, but also to the pneumatic machine.
It is necessary to regularly treat the tool with a special lubricant, which will help to avoid overloading and improve the sliding of the bit. To ensure better performance, it is advisable to periodically dip the nozzle in a special lubricant, which is usually a synthetic substance or liquid wax.
In the process of using a cutter, it is important to ensure a high processing speed, which will not only extend the service life of the tool, but also help to avoid unnecessary costs. When working in high-speed mode, the risk of unevenness and burrs on the workpiece is reduced
In addition to this, it becomes possible for free processing of grooves and corners of the working metal. It also minimizes the chance of burrs getting stuck. When choosing a speed, it is recommended to focus on the following indicator - 450-950 meters per minute.
This parameter is considered optimal to ensure efficient operation of the pneumatic machine. The exact value is determined taking into account the diameter of the nozzle used
In addition, it is important to periodically service the air supply systems of the workplace. If the working speed is correctly selected, it will provide a high-quality result and speed up processing.
To work with metal products, it is important to choose the right tool for processing, including the attachments used. That is why it is recommended for both professionals and amateurs to use such a type of tool as cutters for a drill.
In addition to the fact that they are able to simplify such work, it becomes possible to reduce the time required for processing working metal.
However, in any case, the first step is to select the appropriate type of nozzle, where the strength of the material to be processed should be taken into account. This is the main parameter that can significantly affect not only the efficiency of processing a metal product, but also the service life of the tool.

