Manufacturing technology
A self-made metal clamp is much more reliable and practical than a wooden structure. For the manufacture of self-made units, you will need welding equipment and locksmith units.
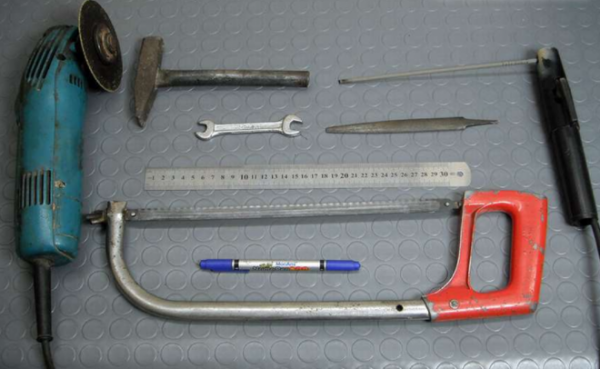
Tools for making any type of clamp
Option 1
Following the instructions, you can make a homemade clamp from metal fittings.
Let's start:
-
We cut the reinforcement into separate elements in order to start making the jaw for fixation, as shown in the photo with instructions.
Stage 1
Stage 2
Stage 3
Stage 4
5-stage
-
First we make the sliding part and add the nut to the movable arm.
6-stage
7-stage
-
Then we start to make a screw and a rotating stand for turns.
8-stage
9-stage
-
We cut the threads in the rod, then we construct the shoulder.
10-stage
11-stage
-
The finishing step will be the manufacture of handles and panels on the jaw.
12-stage
Option 2
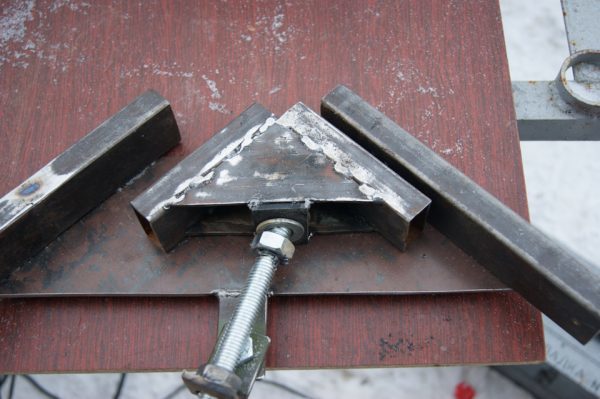
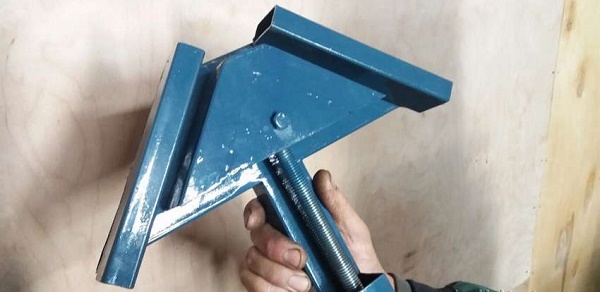
To make an angular clamping tool with our own hands, we need the following materials: steel trimmings from a corner 40 * 40, 50 * 50 and 30 * 50 200 mm each, 2 F-shaped clamps and a strip 10 * 50 to 250 mm long.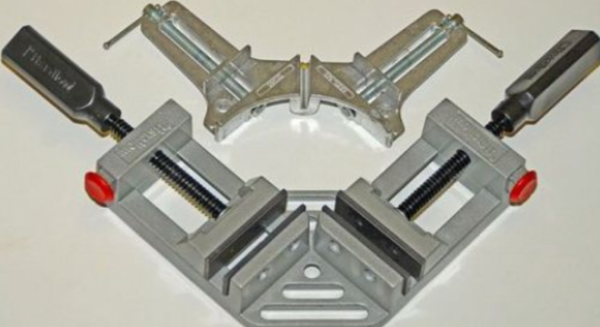
Let's get started:
Buying clamps in hardware stores is quite expensive. Everyone wants to save themselves the extra costs if there are alternative options. You may need several such tools at once, this is especially true when assembling, manufacturing or repairing pieces of furniture. Homemade clamps will replace your manual vise, as you can choose the model, type and size of the tool. Following the instructions in the photo and video, you can quickly figure out the manufacturing mechanism and quickly make a manual clamp from scrap materials.
F-clamps
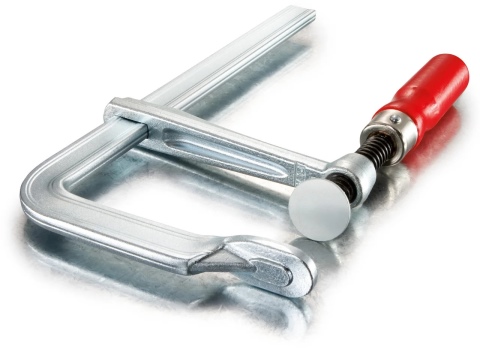
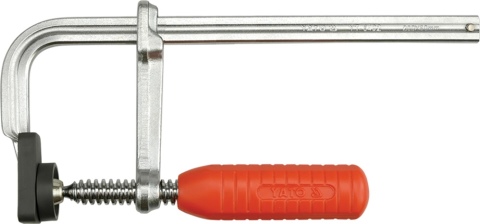
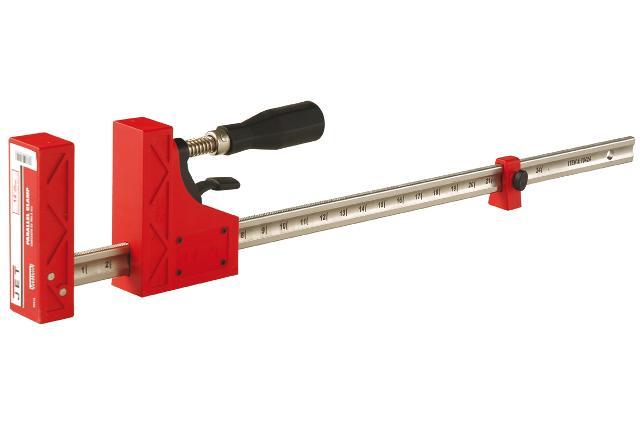
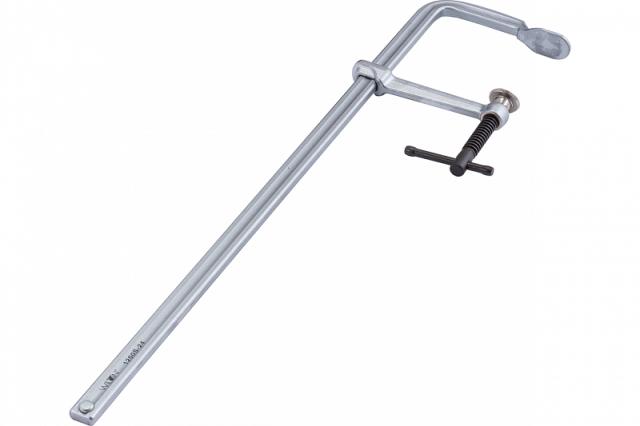
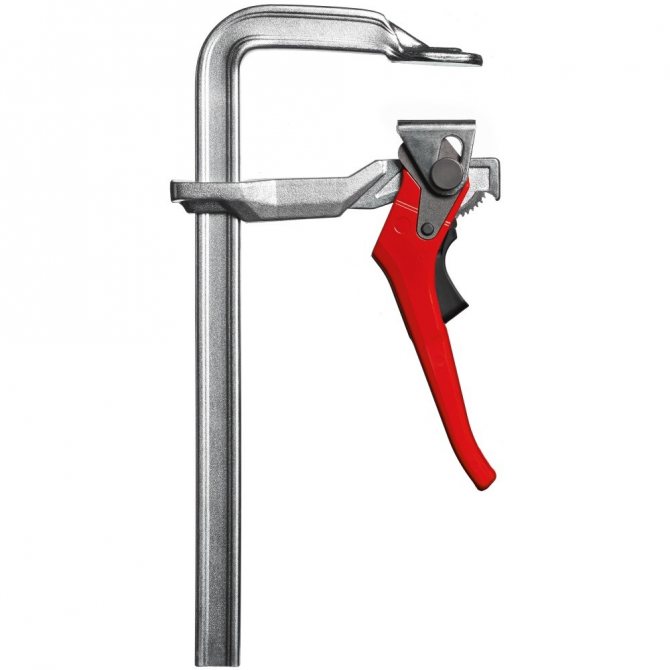
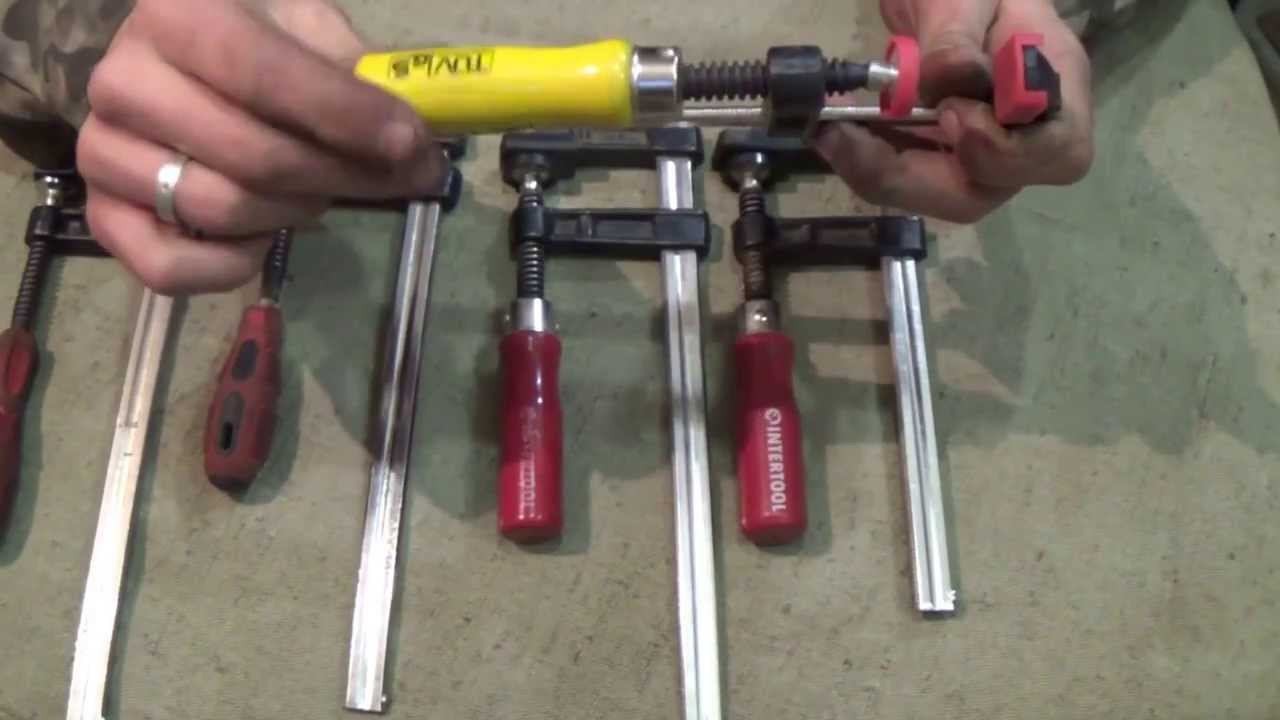
If G-clamps have only one adjustment (pressure height), then F-clamps have several adjustments. This is directly the height of the clamp itself and the so-called "press", which gives a guarantee of the most reliable fixation. An example of an F-shaped clamp in the photo below.
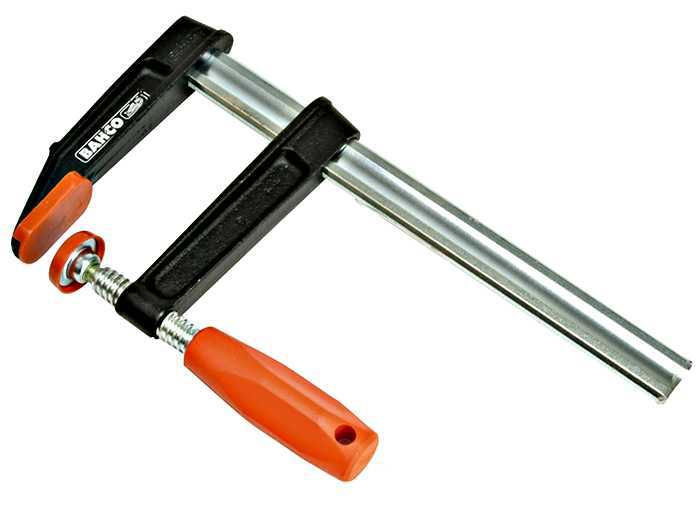
F-clamps adjust the pressure height by means of a guide bar along which the lower pressure jaw walks. The fixing principle in such clamps is simple. Resting against the workpiece, the lower jaw wedges on the guide bar. To strengthen the wedge, you just need to tighten the auxiliary screw clamp.
F-clamps for welding and joinery are usually characterized by a guide bar. In welding clamps, the bar is usually flat, and in joinery, the guide bar most often uses a ribbed surface.
In contrast to G-fixtures, F-profile clamps allow you to fix sufficiently tall workpieces. Of course, there are also very small F-clamps. The spreading height of the jaws in F-clamps can be from 100 to 300-500 (mm). The specific clamping height will depend on the clamp model. In the video below, you can learn how to choose a welding clamp.
Design features
The clamp can quickly fail, which is why it is so important to know how to make a homemade tool. The component parts of this metal structure are the lever part, the frame, the jaws of the clamp and the moving part.
What are the advantages of clamping tools:
- Reliability and quality. Hand vise parts and fasteners made of metal are strong and durable. Thus, it is possible to produce a tight screed of parts with different elasticity coefficients.
-
A light weight. This unit, unlike ordinary vices, is mobile and transportable. The design can be made, if desired, and stationary.
Semantic image of the clamp
- Secure grip. The metal parts of the tool allow for the most tight grip, excluding any twisting, sliding or falling out of the elements.
-
Multifunctionality. Modern metal clamps are universal, they are used to work with various materials: parts made of metal, wood or plastic. In addition, the shapes of objects can be voluminous, smooth and even tubular, and the sizes can vary from a few centimeters to tens of centimeters.
Using a homemade steel clamp
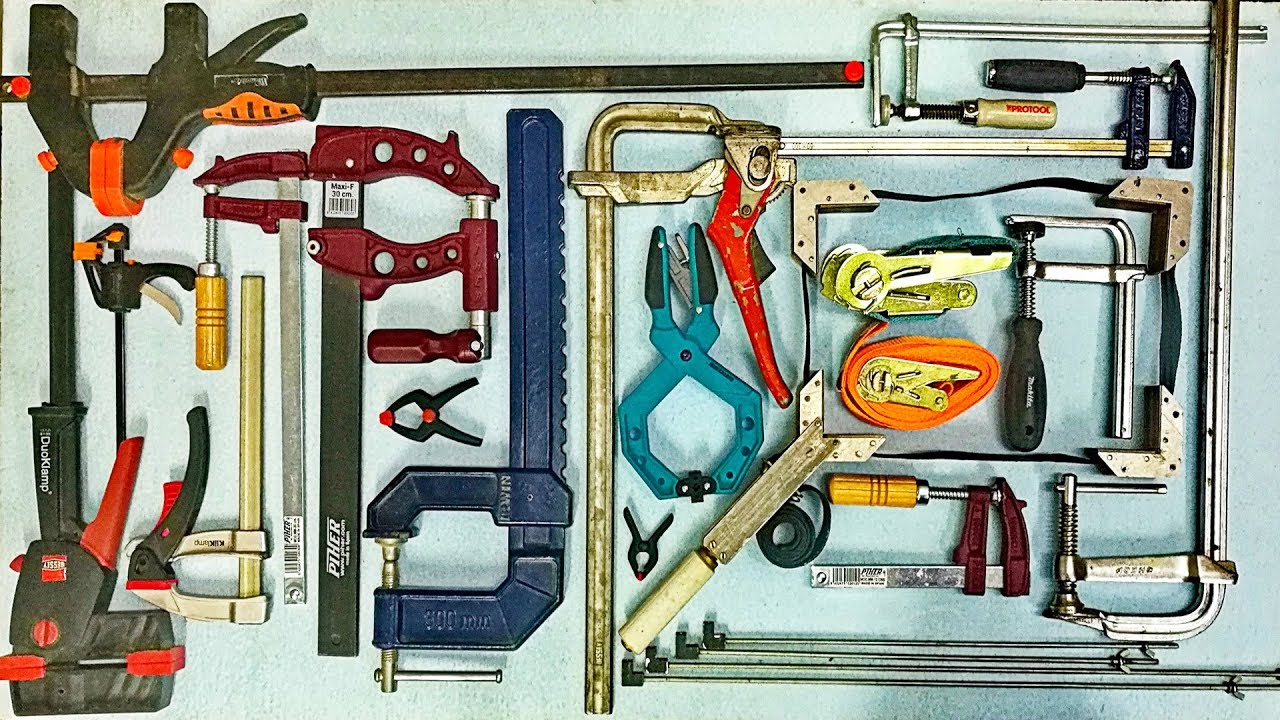
Clamping tool models are divided into the following classes according to mechanism operation and structural features:
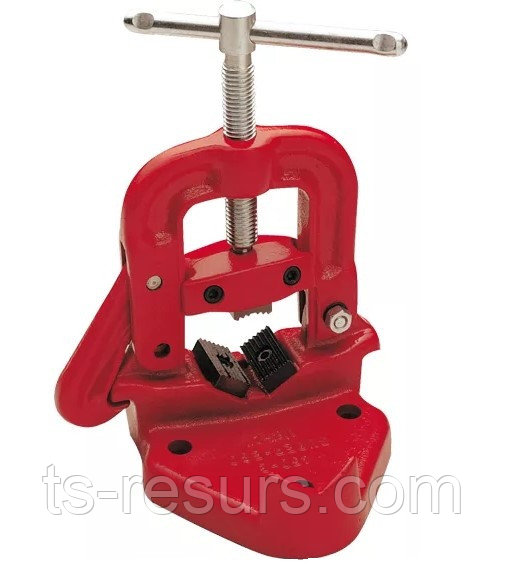
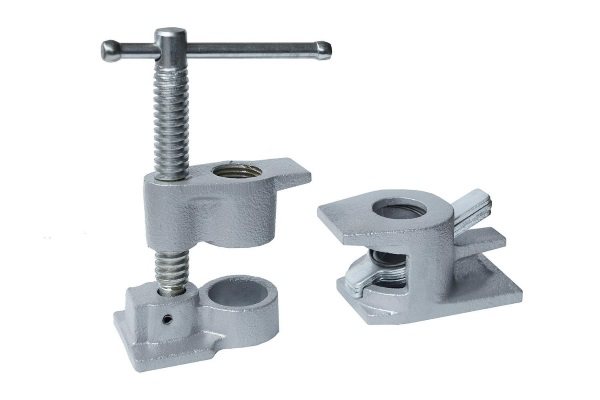
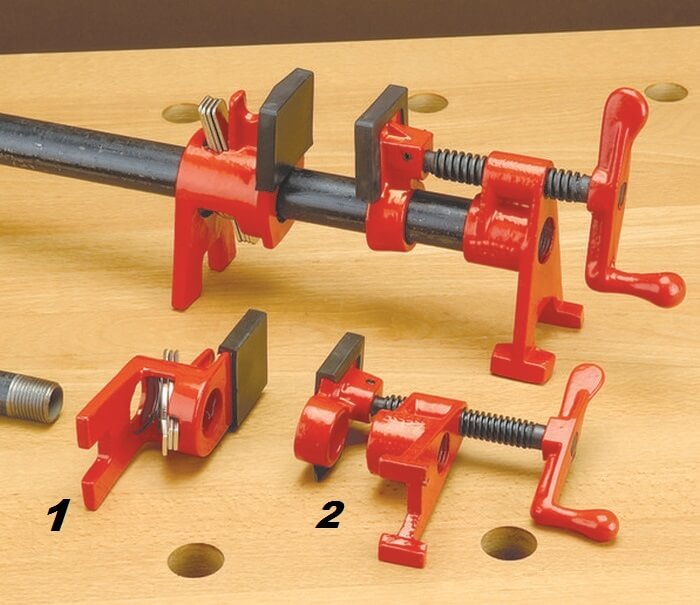
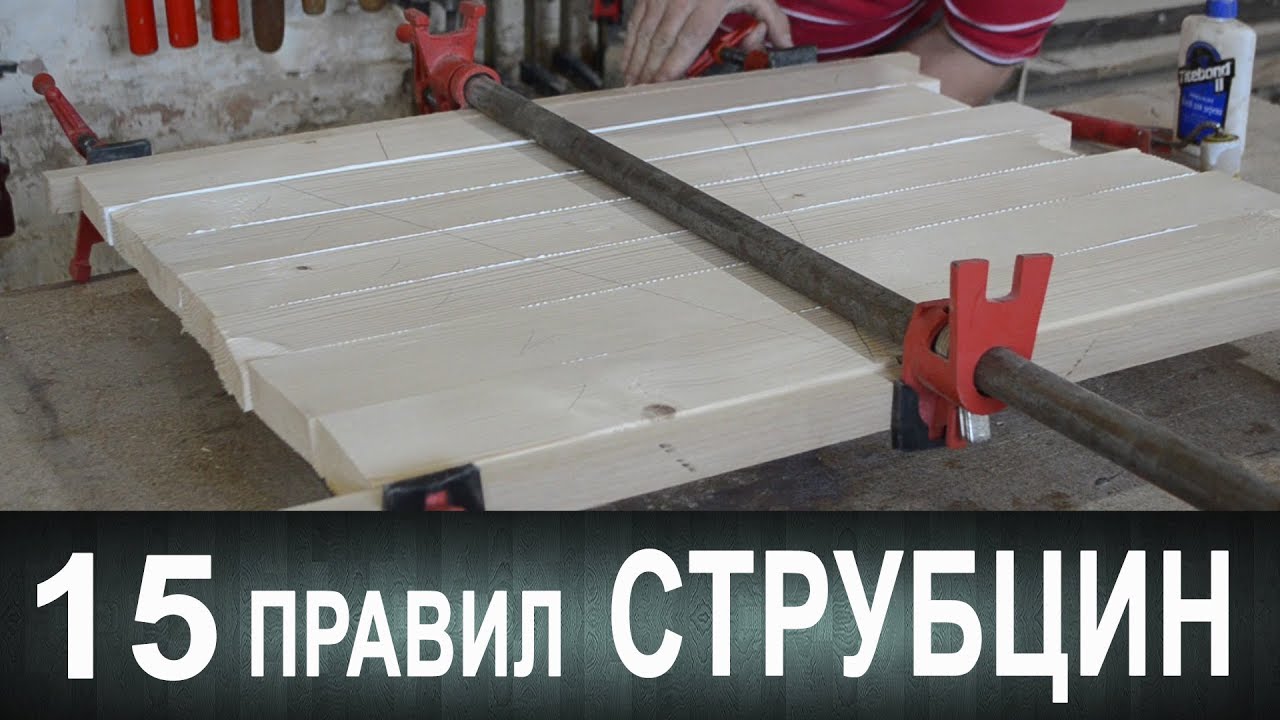
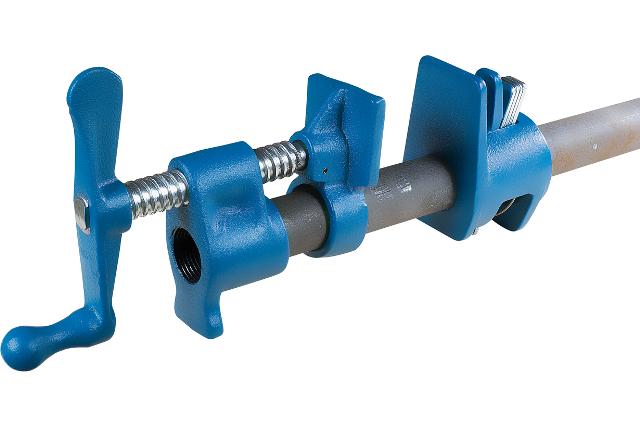
- Pipe. It is used to fix large-sized items, while the length of the pipe can be changed. Differs in a complex operating principle.
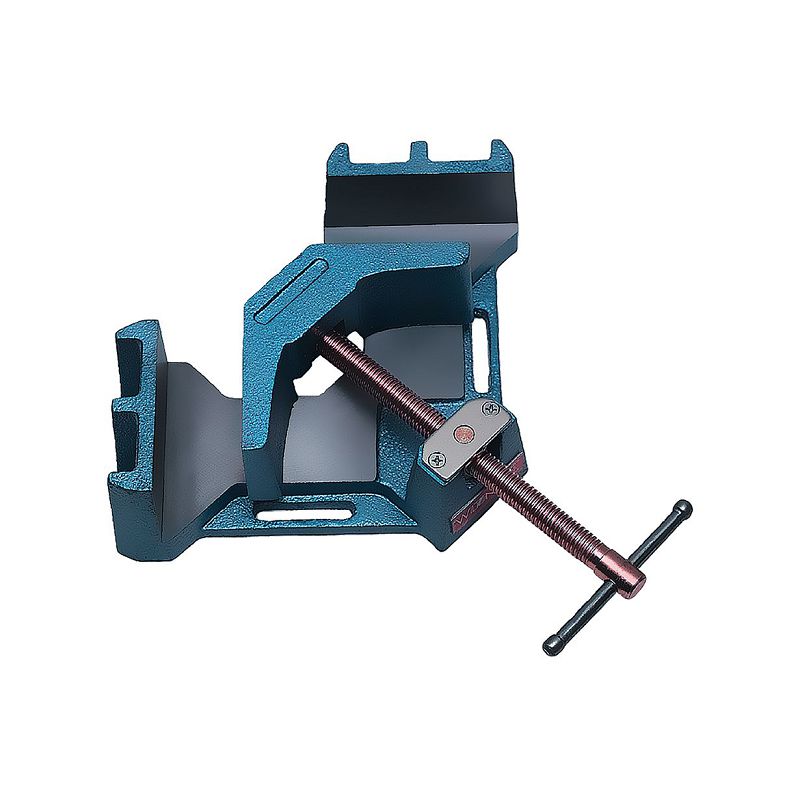
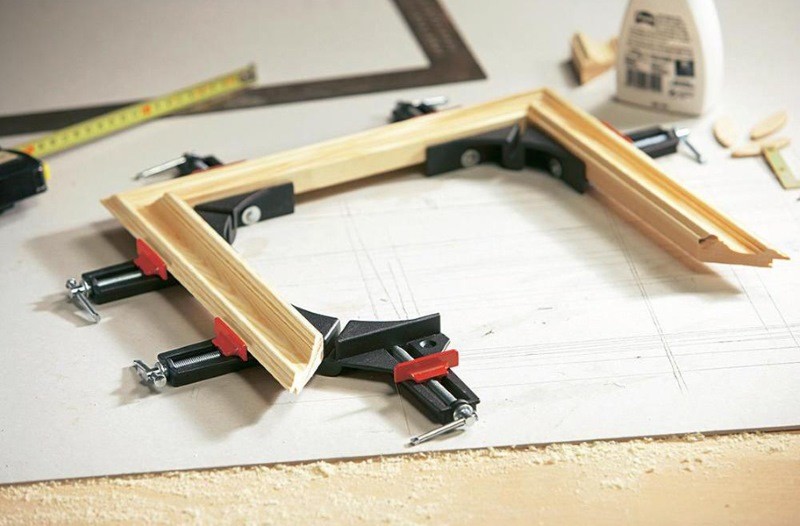
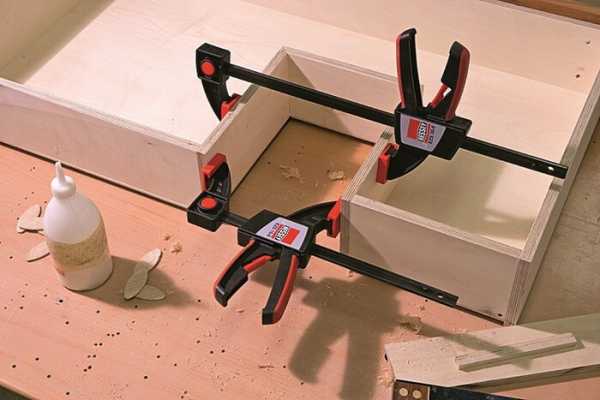
- Angular. The most common type of clamping mechanism is used in order to bring wood blocks strictly at an angle of 90 degrees.
- Tape. More often used in carpentry, the component is a floating flexible element, the tension of which can be adjusted.
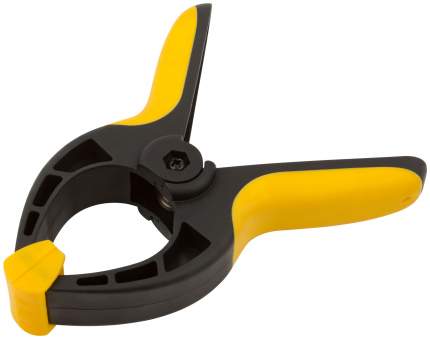
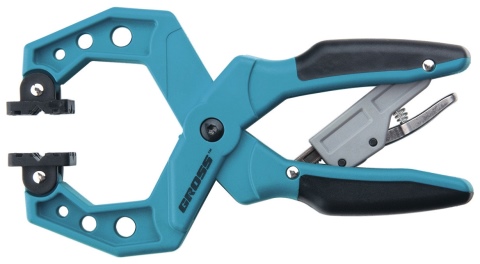
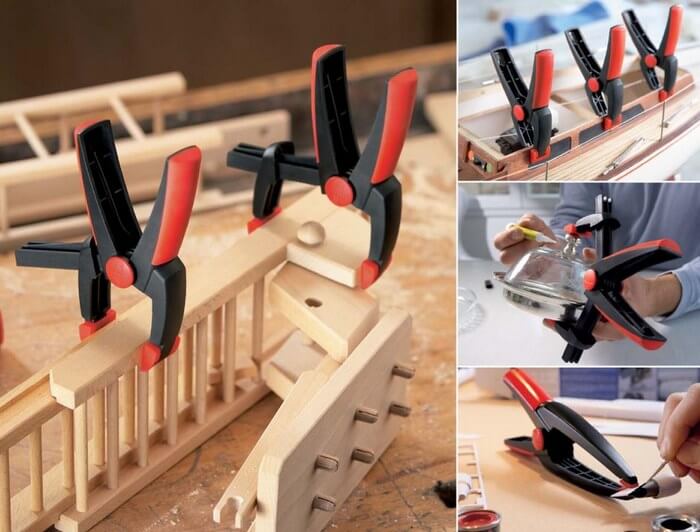
- Spring loaded. Such a clamp is more like a clothespin for fixing, the force is created due to the work of the spring inside the structure. The spring mechanism can be operated with one hand and is used with low compression forces.
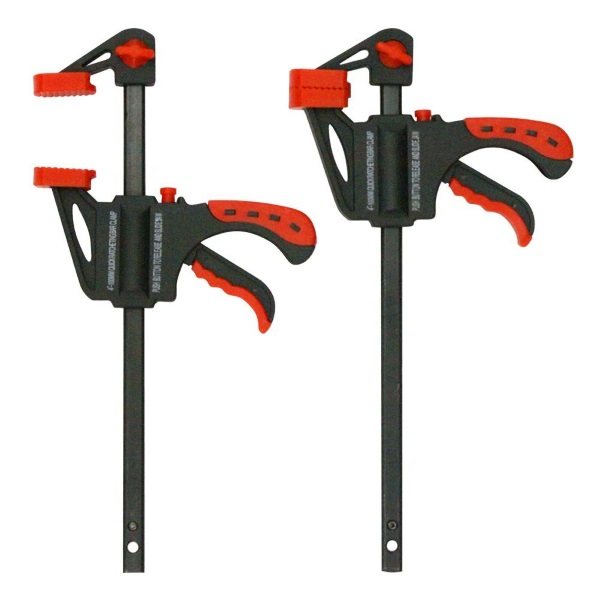
- Auto. This type can be attributed to quick-clamping structures, it has a simple and understandable principle of operation. Sometimes there are models with weak fixation, but most often this drawback applies only to inexpensive tools.
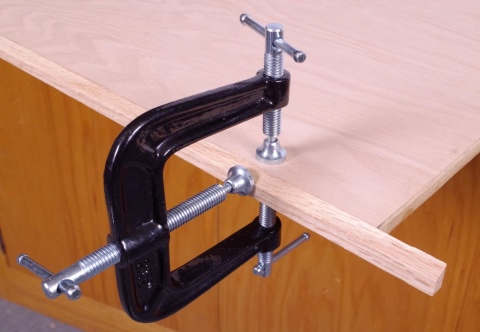
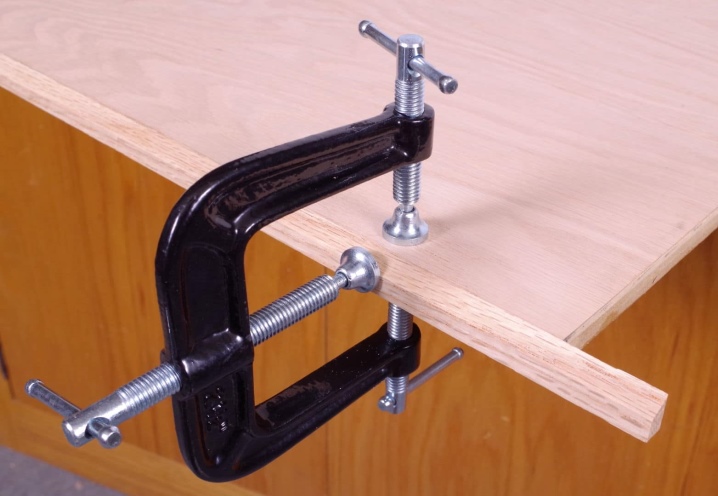
- End. These models have a C-shape and three screws, more often used to fix the overlays on tabletops and other furniture.
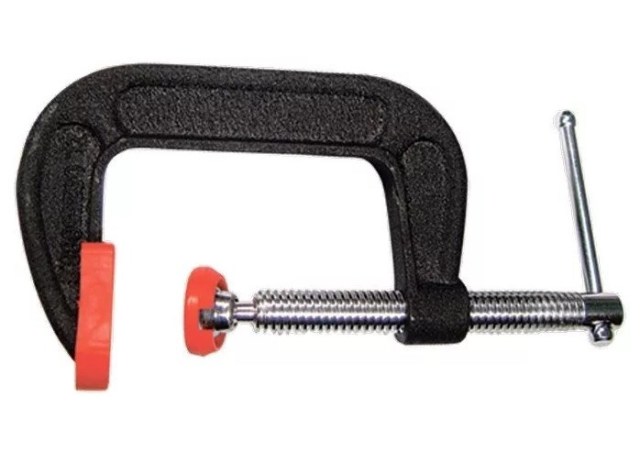
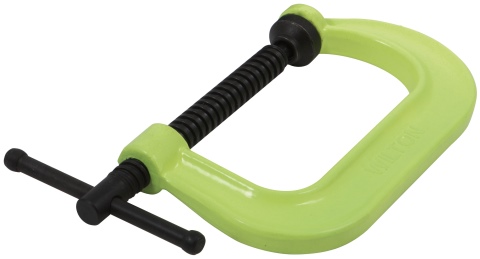
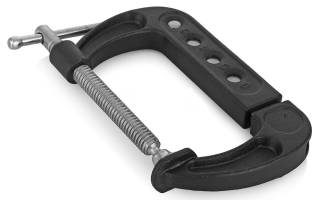
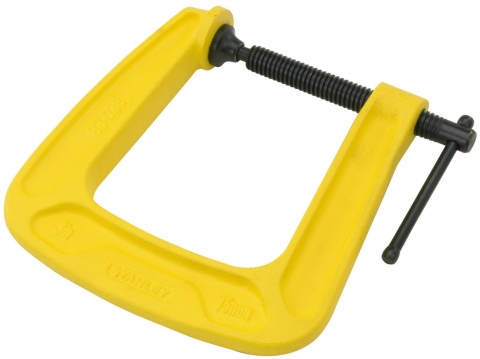
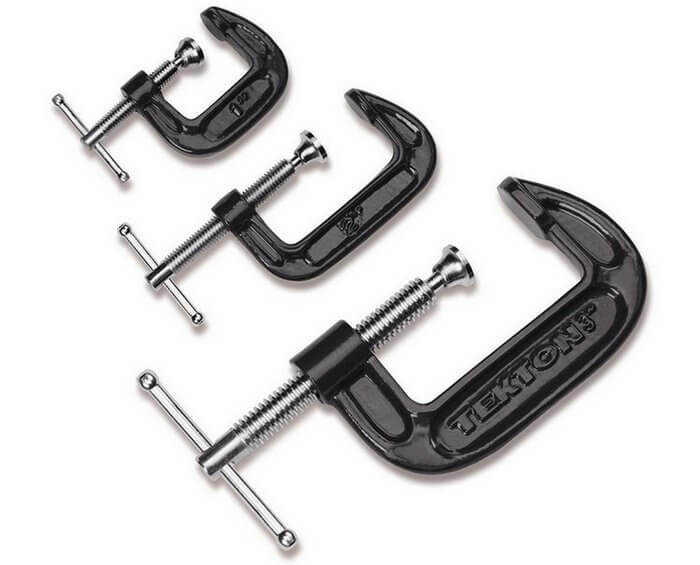
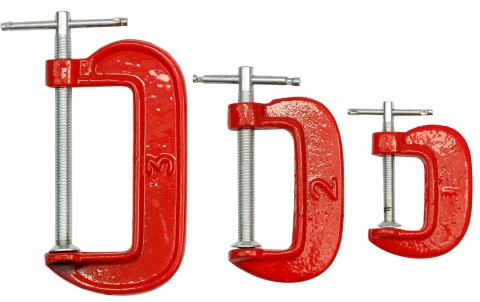
- G-shaped or quick-clamping. One of the most common types of clamps, often the budget vise option. In the process of work, the object is fixed to the edge of the countertop or other plane. Such a tool allows you to make a simple summary of elements for gluing or fixing parts for grinding or sharpening.
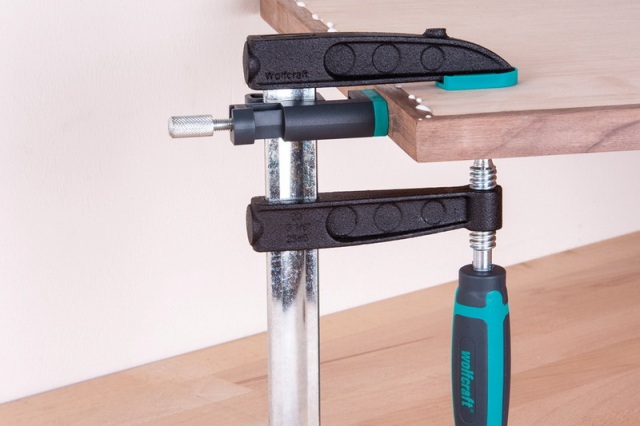
- F-shaped or screw. It is characterized by great adjustment possibilities due to the location of the guide rail; as a rule, both hands are involved in working with such a tool. It is possible to change the working width by connecting objects of different thicknesses. Such a unit is shown in the photo.
It is interesting: Do-it-yourself drywall lift - drawings and diagrams
Handle, screw and main assembly
 Square blanks of 25 mm are made and cut to 100 mm for each handle. The central part is designated and a fragment of 10.5 mm 60 mm is drilled out with a drill. As an analogue, you can drill a fairly wide hole, and then cover it with epoxy. But this method is considered insufficiently reliable.
Grind the workpiece to make a more comfortable handle and glue it to this clamping screw. Start the main assembly. It is a simple task to adhere the film to the stationary head. Reinforce the lock nut and make end caps. They must prevent the head from sliding off the rod. Therefore, it is advisable to screw a small plate onto the heel. This prevents the nut from slipping out of place. It acts like a hook.
It catches on the nut. The work can be considered completed. Steel clamps are somewhat heavier, but they are also reliable. The clamps use the same stem. They are quite durable and last a long time.
How to use?
The use of clamps does not raise any particular questions. Regardless of the type of construction, they are used to clamp parts or objects, materials in a given position. It is enough to place the object between the jaws and then fix it.
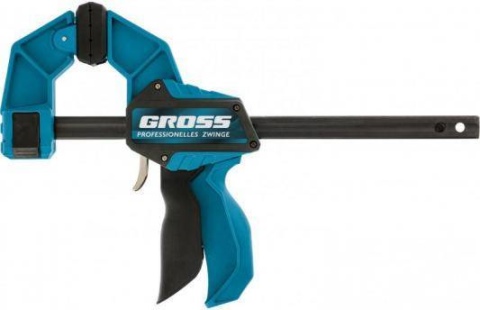
Quick-action clamps are similar in principle to a pistol with a trigger. It is enough to use the lever, and the jaws will close with the required effort. Their convenience lies in the fact that you can do all the work with one hand. Pliers have the same lever principle, but the compression force is controlled by a spring element. Working with them is like using a pruner - it is not the easiest and most comfortable tool.

End clamps differ in that they have a spacer not only on the sides, but also in the center, the clamping force is created at 3 points. First you need to clamp the material itself between the jaws, and then use the third platform. This tool is mainly used for gluing decorative end edges.
In the next video, you will learn the rules for choosing and using clamps.
Best corner clamps
Such devices are needed to deduce angles on products. The structure is equipped with 2 pressure elements, each of which presses on different planes
When choosing a tool, it is important to evaluate the board height as well as the working width. The VyborEksperta team reviewed more than a dozen proposals in this segment and chose the 2 best options
Fit 59275
A good inexpensive angle clamp for welding or making any structure. It is comfortable to work with most materials, including metal, wood, glass. The model is made entirely of metal. There are no plastic inserts. This makes the Fit tool a versatile, reliable tool. Powder coating protects the structure from corrosion and prolongs its service life. The wide clamp allows you to work with thick logs or massive metal structures.
Dignity
- Low price (about 200 rubles);
- Lightweight construction (150 g);
- Stainless screws;
- Small size.
disadvantages
- Slim handles that turn the screws;
- There is a backlash on the lips.
If necessary, the device can be securely fixed on a plane. For this, special holes have been thought out in the design. This eliminates the risk of the tool falling to the floor along with a large, clamped object.
Stanley Bailey 0-83-122
The best corner clamp for furniture according to the Expert's Choice. The handle of two materials fits perfectly in the hand, does not slip, and allows the application of maximum torque. The upper jaw can be turned over, allowing the model to be used as a parallel clamp. Also, the structure can be made tabletop by attaching it to a workbench for greater stability. For this, the device has mounting holes.
Stanley's tools are especially good for assembling furniture. It pulls together parts of the same or different thickness at right angles, fixes them securely. The die-cast aluminum construction is robust, ensuring a long service life even under heavy loads. You can buy a Stanley corner clamp at almost every hardware store or hardware store.
Dignity
- Fast installation;
- Ergonomic non-slip handle;
- Powerful screw;
- Does not scratch the workpiece;
- Fast fixation.
disadvantages
- Small backlash on the lips;
- Weak plastic thread.
How to do it yourself?
The vice is considered an indispensable carpentry tool. Since buying a new clamp is expensive, you can try to make a device yourself. Homemade pipe or metal tools should be made using drawings.
To make a clamp at home, you will need to prepare a grinder, welding and a drill. In addition, the master will need the following materials:
- profile tube with dimensions 50x25;
- corner 30x30;
- bolts m16 and m8;
- extended nut m16;
- bearing 202;
- iron strip 10 millimeters thick;
- timber made of wood with dimensions 40x40.
First, you need to cut off a meter of pipe and weld an M16 nut to its end. In this case, the master should put a 10 mm strip under the tube. After that, you need to tighten the bolt and fill the bearing.A corner is welded to the bottom of the product.
The next step is to make a thrust area that should move freely through the tube. In the latter, it is worth drilling a hole for mounting the m8 bolt. An adjustment hole is drilled after 5 centimeters. In the bar, you need to make a hole for the bearing.
From the following video, you will learn how to make a carpentry clamp with your own hands.


