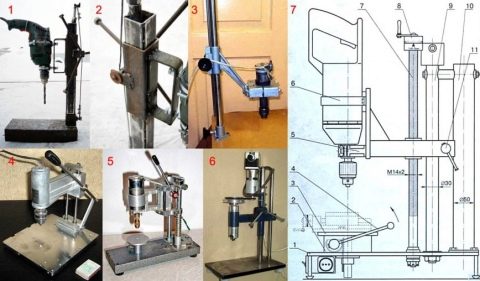
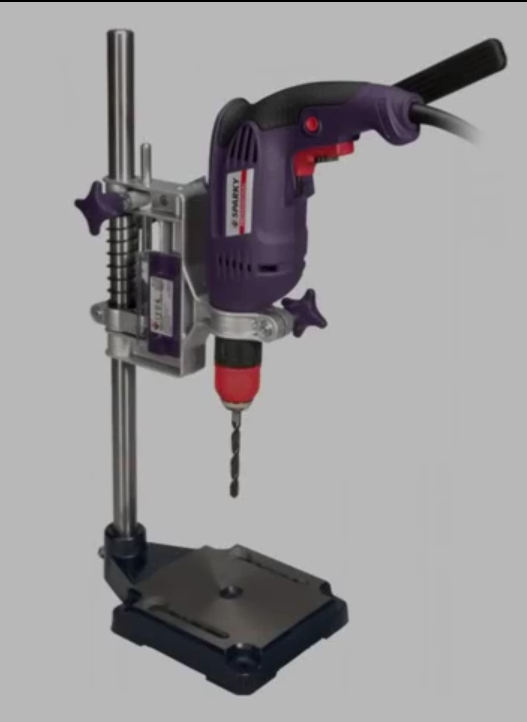
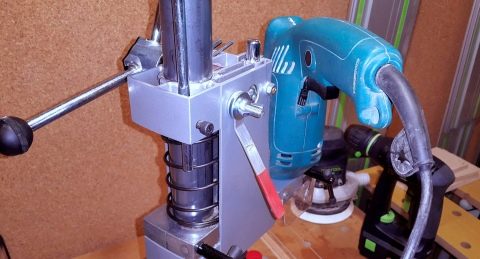
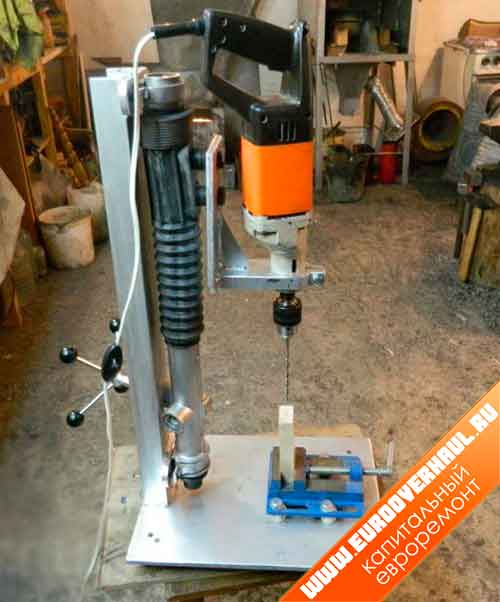
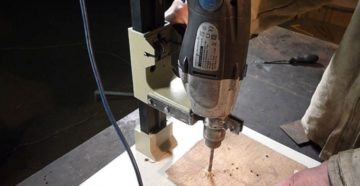
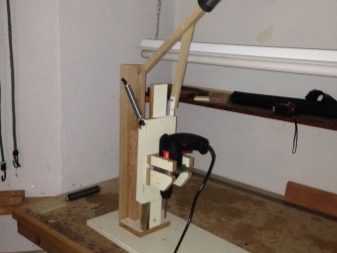
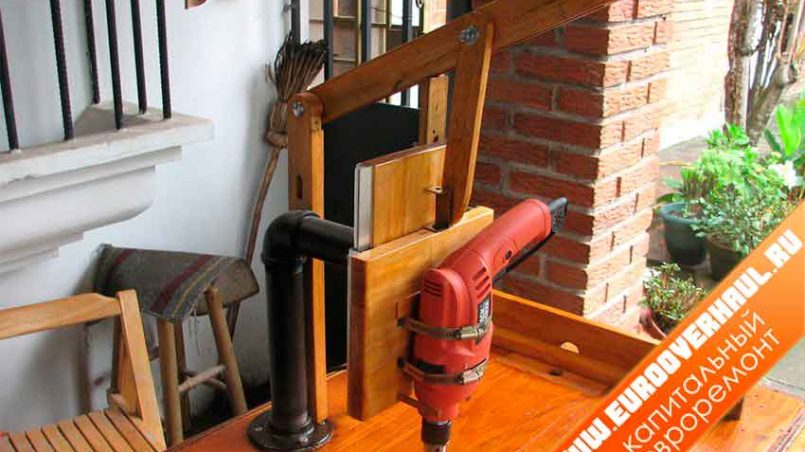
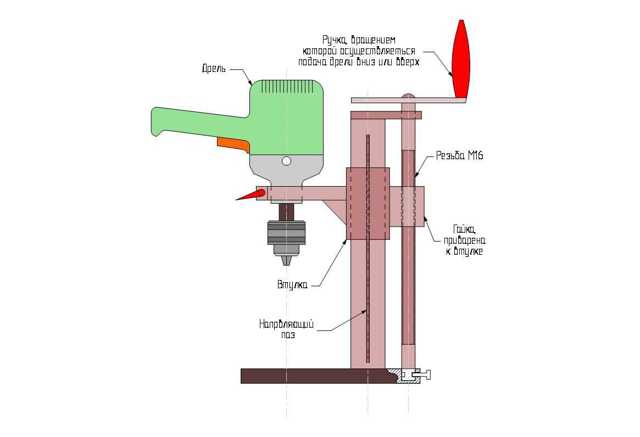
Advantages and disadvantages of a homemade rack
The following advantages of homemade devices are distinguished:
- Homemade machine is very cheap.
- When designing the device, you can use parts left over from old technology.
- You can find all the drawings and detailed manufacturing algorithms in the public domain.
- You can make a very high-quality and technologically advanced model. You have the opportunity to make a really high-quality device.
However, there are also disadvantages:
- For the manufacture of parts, special equipment is required.
- If the guide is of poor quality, it will greatly affect the drilling accuracy.
- It is very difficult to make a mechanism superior in quality and functionality to the factory one.
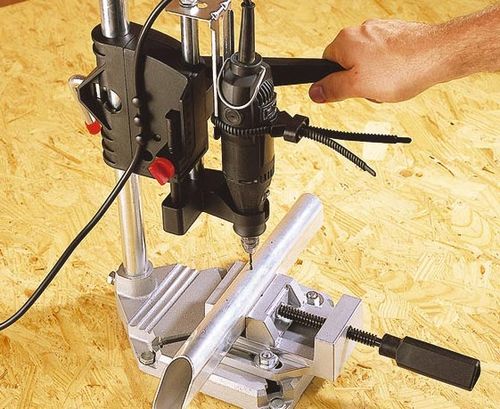
Guide frame
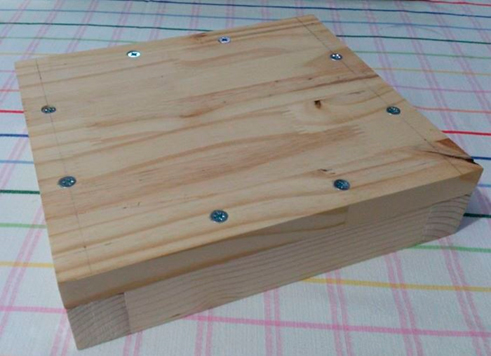
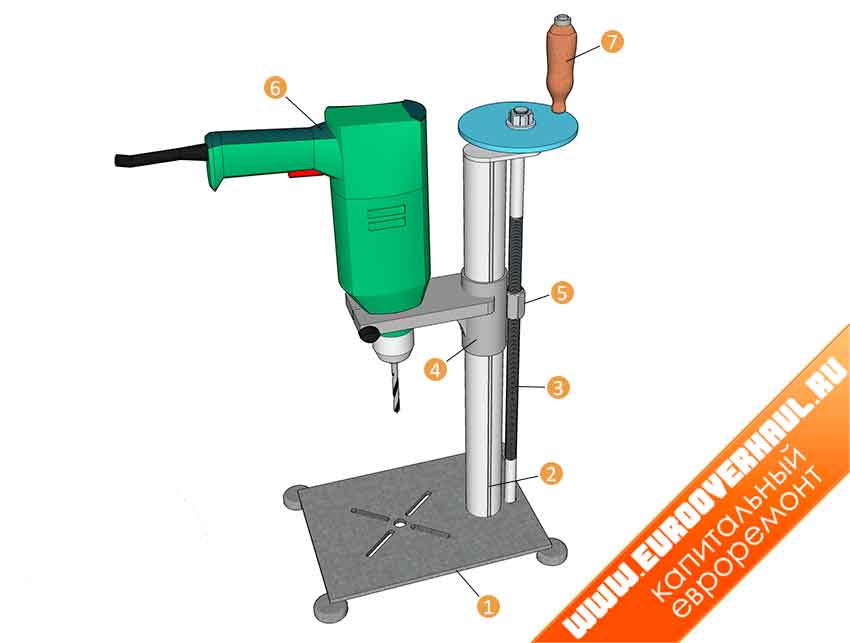
The bed is one of the most important parts of a drill machine. It can be constructed of metal or wood. The thickness and dimensions of the bed depend on the weight of the structure and the tool. The size of the bed also depends on the type of operations performed on the machine:
- Dimensions 50 to 50 millimeters are used for drilling.
- 100 to 50 for more complex operations.
A stand is attached to the bed, which can be attached with screws, it is important to understand that it must be strong enough

Rail stand
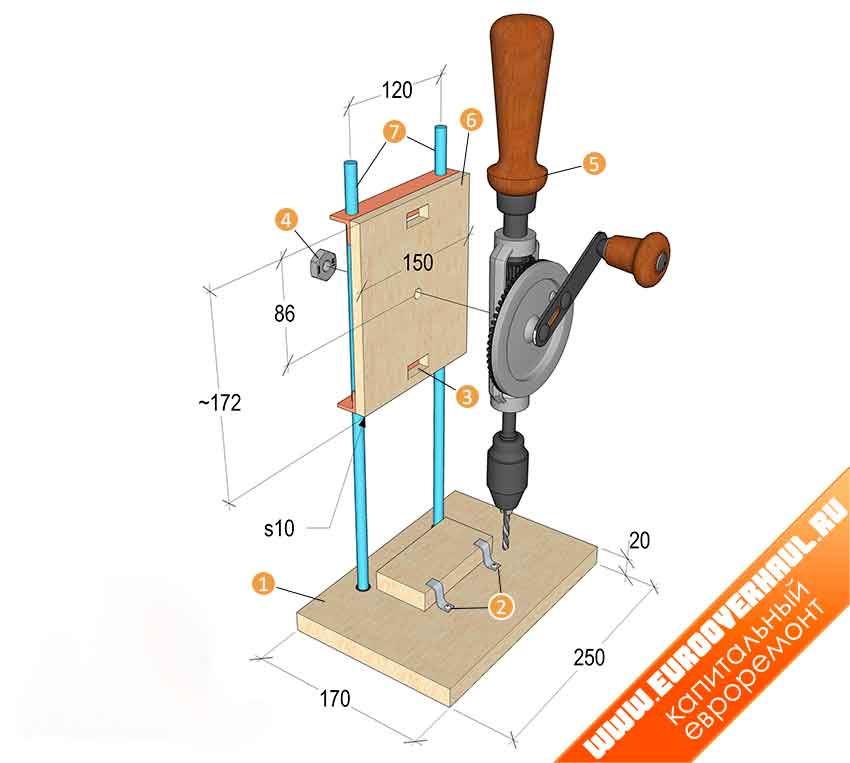
The stand can also be made of wood or metal. It consists of guides (rail for the movement of the tool) and a clamp for fixing the tool at one level. Its manufacture is as follows:
- Fix the stand to the bed.
- Attaching the rail to the rack.
- Install the carriage, which should be positioned on the rails.
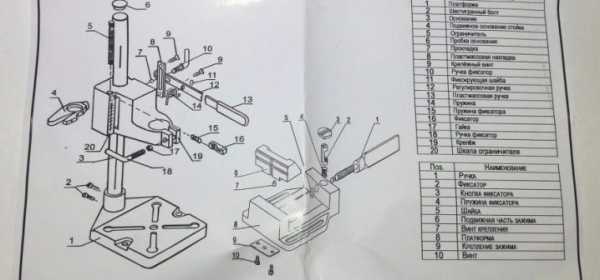
The tool can be mounted on a stand using clamps or a special block
How to make a machine for a drill with your own hands.
To make a machine for a drill, we need the following materials:
- Plastic bottle.
- Plastic cover.
- Drill.
- Stationery knife.
- Marker or felt-tip pen for marking.
- Universal adhesive.
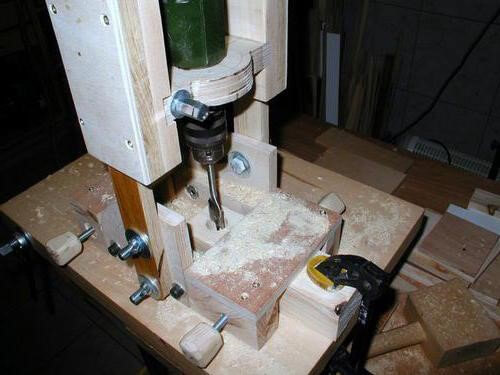
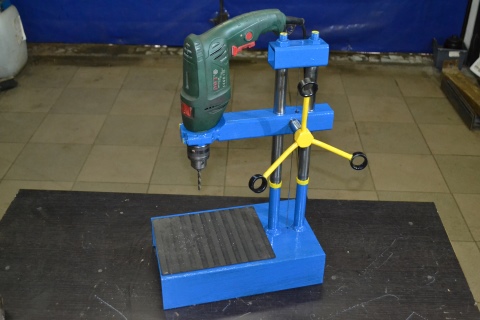
Homemade fixture guide rack
How to make a drilling machine
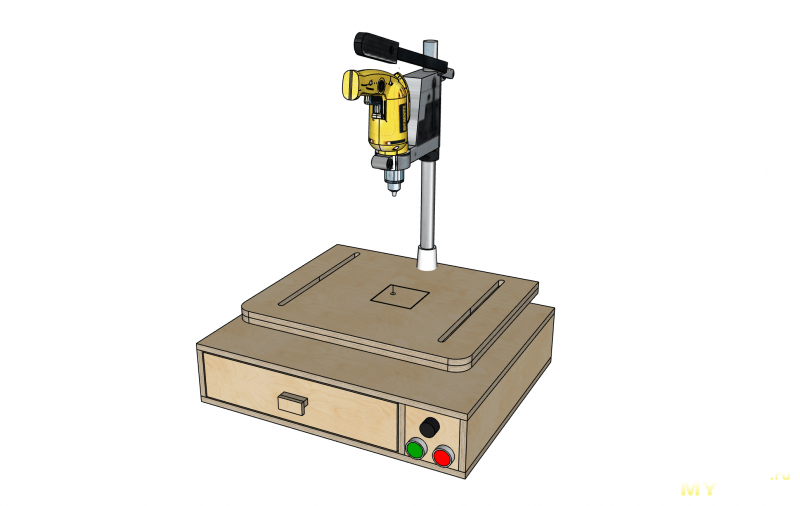
A drill stand for vertical drilling is not difficult to make. More effort will be needed when building a drilling machine. This device is large in size. But if you follow the recommendations, you can make an improved compact device.
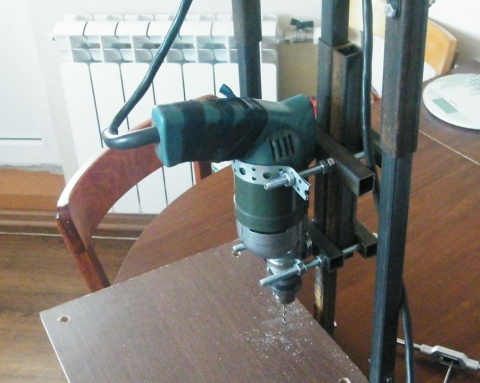
To make a drilling machine yourself, you must use a stand, the creation of which was described in the last paragraph. Next, you need to complete the following points:
- Disassemble the drilling tool and remove the motor and starting device from it.
- Fix the engine to the stand with clamps.
- Prepare a separate box in which you want to install the starter.
- Increase the length of the wires from the trigger and install the box on the base of the stand.
- Firmly fix the chuck by placing it on the shaft.
The small drilling machine is ready. You do not need to disassemble the tool, but then the machine will turn out to be cumbersome. Or it is possible to use engines from any household appliances. In this case, you will need to additionally purchase a cartridge.

Drilling machine device
How to choose a material?
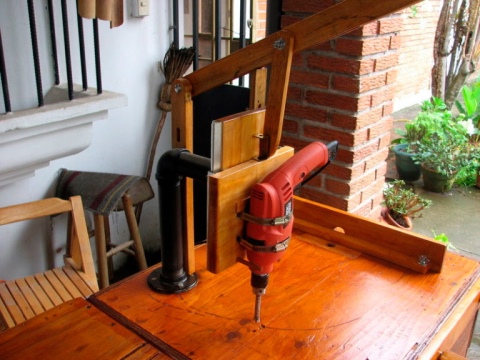
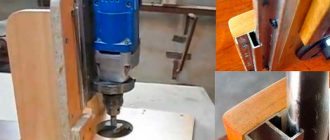
The choice of material for the rack is determined depending on the further functions of the resulting machine. If you only plan to drill with it, then it is allowed to assemble the structure from ordinary wood blocks. If the stand should turn out to be more mobile and functional, then it is worth making some parts of steel.The drill stand is traditionally made either from a piece of wood with a thickness exceeding twenty millimeters, or from a metal plate at least ten millimeters thick. The specific choice of material and its thickness should depend on the power of the drill used. In addition, it can be reinforced with an additional layer of plywood of the required size - so the surface will turn out to be perfectly flat and more convenient for use.

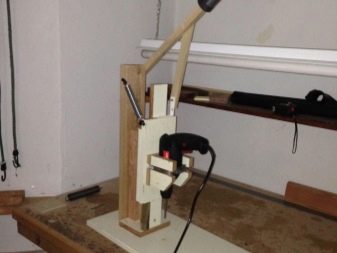
The stand on which the drill itself will be located is also made of either a metal or wooden plate. In addition to the guides, a clamp must be created on it to fix the drilling tool. The carriage, again, can be made of wood or metal.
Such a system is usually equipped with a suitable bed and stand, and even a control mechanism equipped with a handle. In this case, the drill will be moved using the enlarger handle, which should be turned. Before use, it will be enough just to remove the tank with a light bulb and lenses and install a drill clamp on the vacant space.
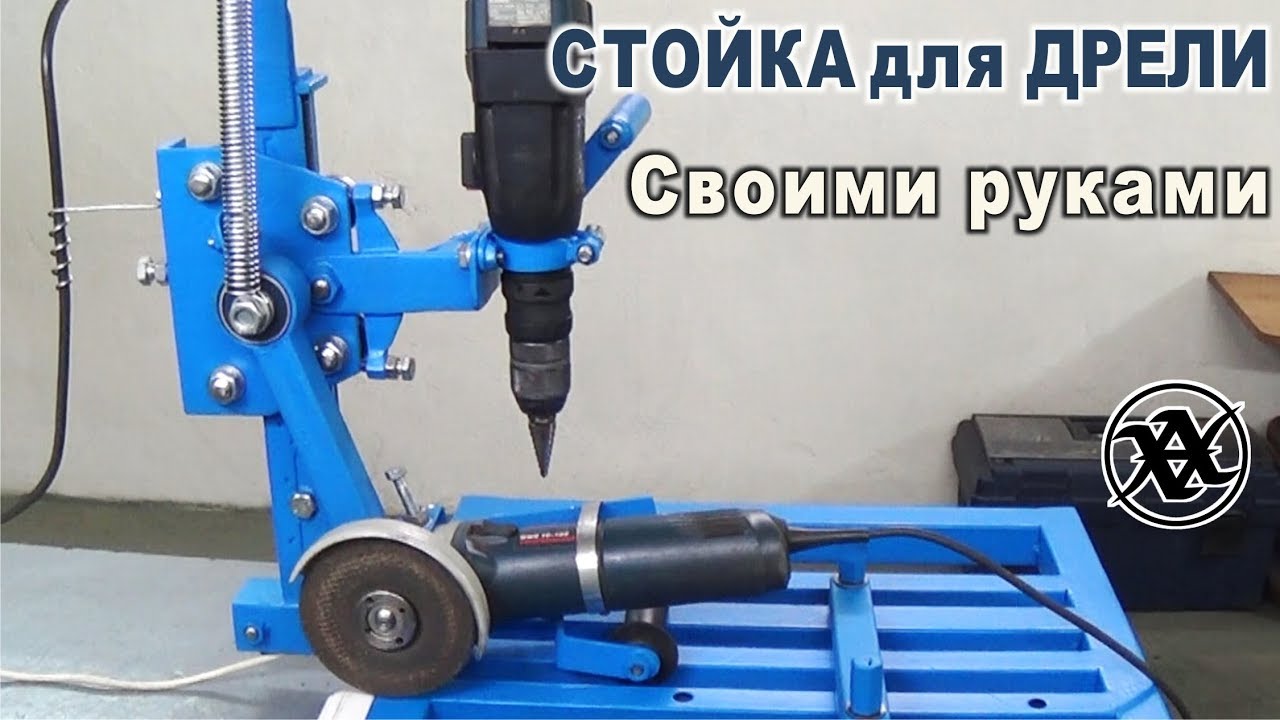
In addition, it will be possible to create a machine from the steering rack. In this case, the part is taken most often from cars of the domestic auto industry, for example, VAZ, Tavria or Moskvich, and serves as a rack and lifting mechanism. The foundation will need to be made by yourself. The advantages of a handmade design are called the low price and availability of materials that can be purchased at enterprises or even found on their own among the waste - previously used parts are not a problem. Among the disadvantages of such a specific machine tool is called its unpresentable appearance, as well as not too outstanding accuracy.
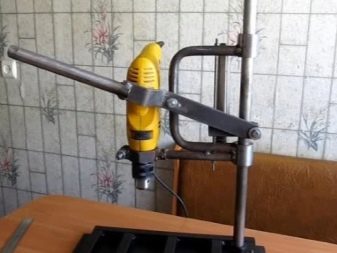
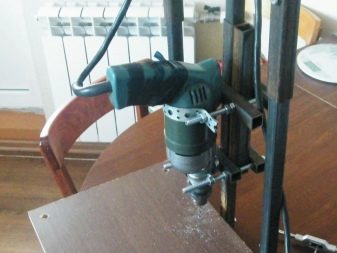
By the way, for the manufacture of a home-made machine, one important rule applies: the more powerful the drill, which is intended to be used, the stronger the entire auxiliary structure should be. In a situation when the stand is made of wood, it should be understood that this material is rather weak, capable of deteriorating when the humidity in the room changes, and is also often subject to backlash.
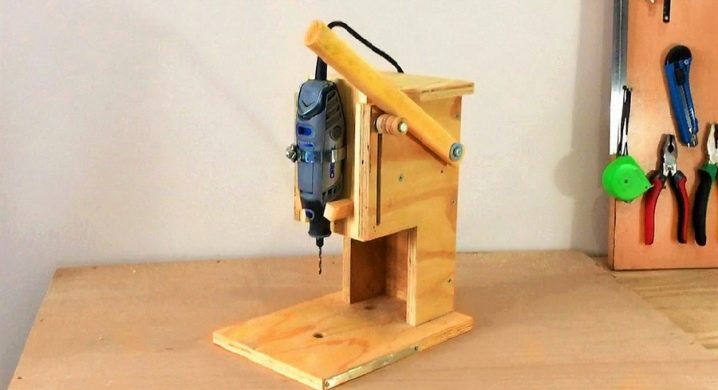
Drilling device
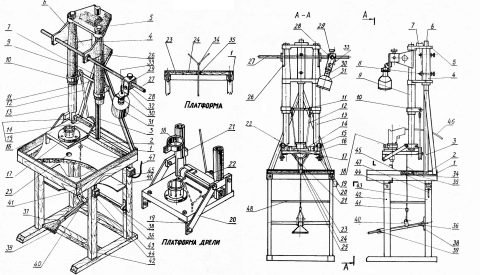
Fantasy is an indispensable condition for any creative success, but in mechanical engineering it is useless without accurate calculations and verification with proven solutions. The history of machine tools goes back millennia - foot-operated bow lathes and boring machines were already in use at the end of the Stone Age. On the subject of this article, the tested sample is a benchtop vertical drilling machine of an industrial design. We will check on it, choosing and deciding how best to make a drilling machine with our own hands: there are single copies of drills in operation, which have exceeded 100, and they still maintain accuracy.
The device of a desktop vertical drilling machine is shown in Fig.:

Desktop vertical drilling machine
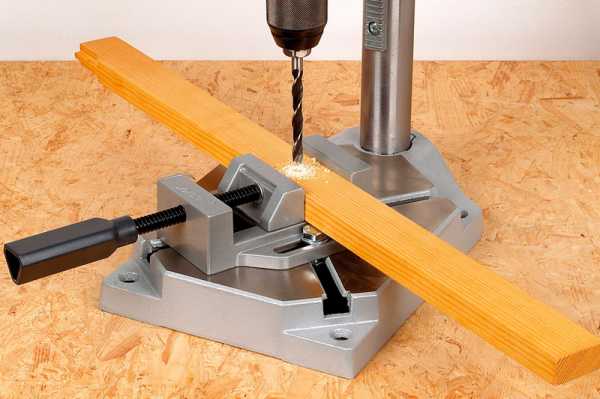
Its main modules are the bed, column, console and table for the part. The constituent parts of the main nodes are lightly highlighted, and their components are brighter colors. The simplest table (not counting the wooden block) is a vice. The swivel-and-slide table allows, in addition to drilling, to also perform some milling operations. The bed is usually tightly attached to a workbench or other reliable support.
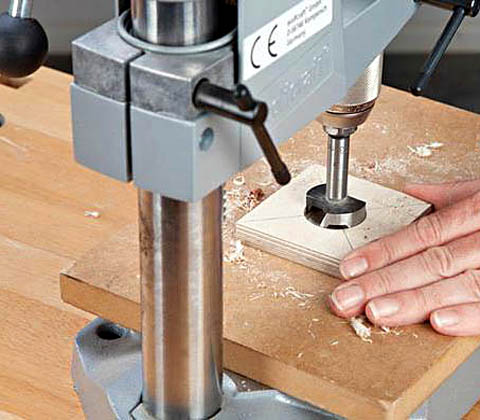
Screw clamp - fixing the console of the mini drilling machine
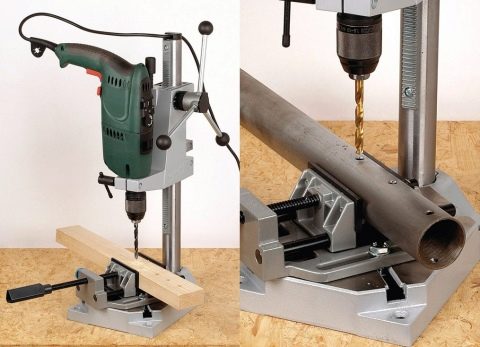
In operation, the console is set in the required position in accordance with the size and configuration of the workpiece with the help of the lifting-rotary mechanism of the slider, and fixed. The spindle is fed to the working stroke by a separate feed mechanism. In amateur and industrial for home use structures, the lifting-slewing mechanism is most often the operator's hand, and the retainer is the screw clamp of the slide, see fig. on right; for TB, both are permissible.But what must necessarily be in the design of the drilling machine according to the requirements of the same PB is a fender or just a bump stop: if you throw the feed handle, the spindle or carriage with it should automatically bounce up to the stop. In home drills, the bump stop is most often a spring installed in a suitable place, see below.
Preparation
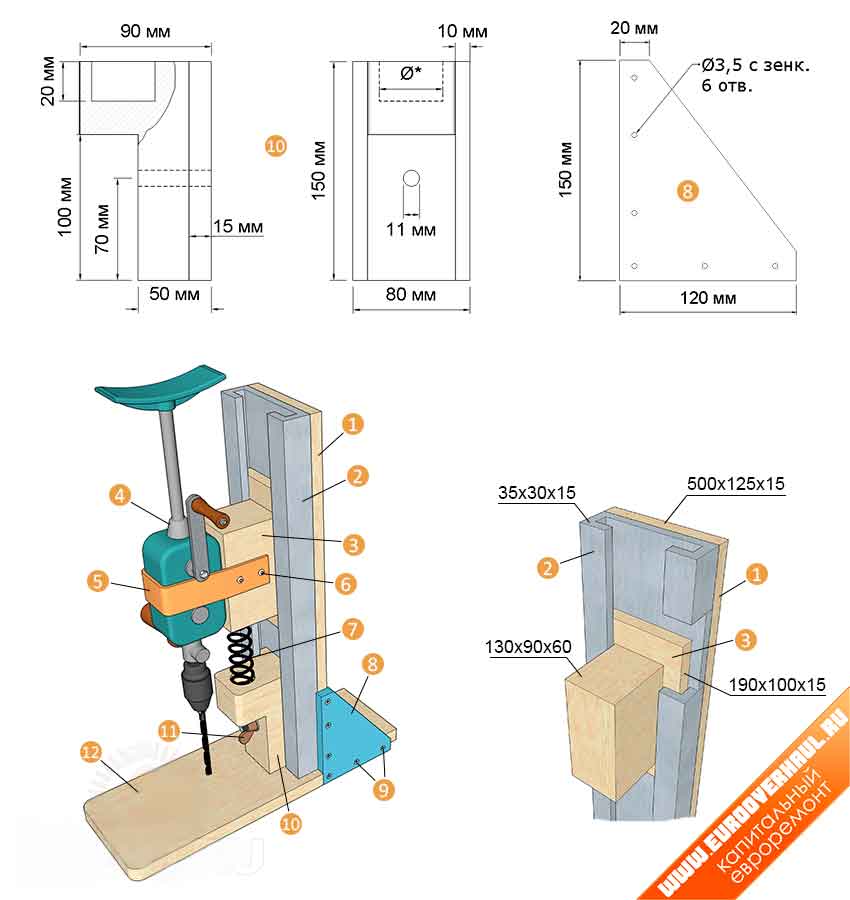
There are two main steps to be taken during the preparation phase. The first is to find drawings of the most suitable design on the Internet. The second is to prepare the required tools and materials.
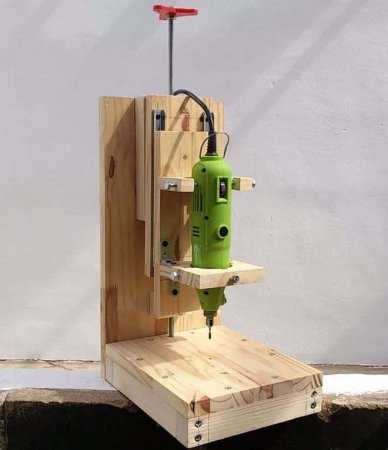
For example, to create the simplest drill stand you will need:
- wood planks, the thickness of which reaches twenty millimeters;
- medium-sized wooden box;
- furniture guides;
- a threaded rod, which is responsible for the possibility of movement in the structure;
- about twenty screws and thirty self-tapping screws;
- joiner's glue.
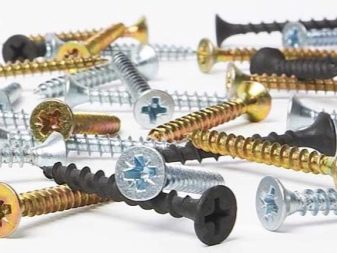

In addition, it is worth preparing a saw, a clamp, screwdrivers, sandpaper and, of course, the drill itself.
Advantages and disadvantages of a homemade rack
A homemade drill stand has a number of advantages, the most significant of which are the following:
- the manufacture of such a drilling machine is much cheaper than purchasing a serial model of such a device;
- you can make such a tripod for a drill from improvised means, using components from old and unused equipment, which can always be found in any garage or home workshop;
- drawings of such devices of various designs and even video instructions for their manufacture are in the public domain, it will not be difficult to find them;
- if desired, you can always create your own design, which, in terms of its characteristics and ease of use, will surpass all available models.
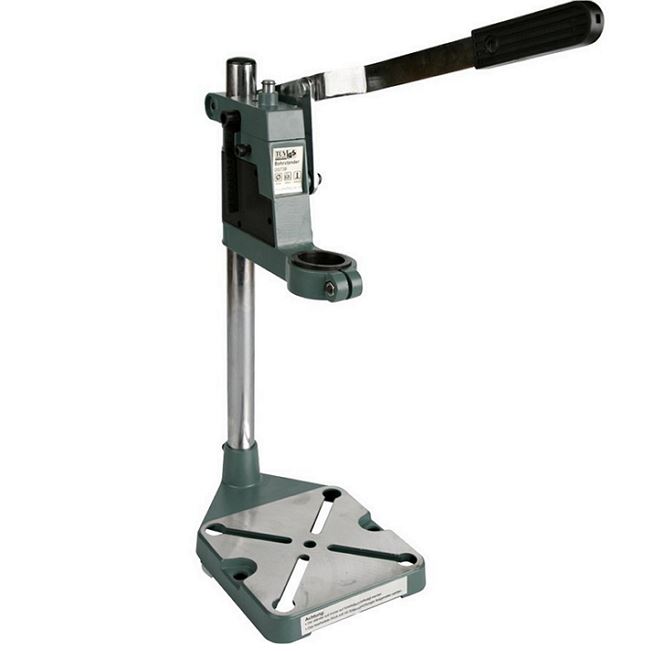
The simplest Chinese-made factory rack can be bought very inexpensively (from 1200 rubles), but its functionality and quality will not satisfy all masters - too often there are complaints about significant backlash in budget models
But, of course, the independent manufacture of a device for fixing a drill also has its drawbacks, which include the following:
- in order to manufacture some parts of such racks, the use of lathes, welding and other equipment is required, which, of course, increases their cost;
- due to the fact that the structural elements of such drilling devices are not fitted too well, play often occurs in them, and this negatively affects the accuracy and quality of the processing performed with their help;
- a homemade drill stand is quite limited in its functionality, with its help, for example, you cannot make holes located at an angle.
Drilling machine using asynchronous motor
If there is no drill on the farm or it is not desirable to use it in the machine, you can make a design based on an asynchronous motor, for example, from an old washing machine. The scheme and manufacturing process of such a machine are quite complex, so it is better to do it by a master with sufficient experience in turning and milling work, assembling electrical circuits.
Estimate the complexity of the work on the drawings that we give in this article.
The device of a drilling machine with a motor from household appliances
To get acquainted with the design, we present assembly drawings and detailing, as well as the characteristics of assembly units in the specifications.
Drilling machine drawing with motor
Details and materials for the manufacture of the machine are shown in the table:
Table 1
| Pos. | Detail | Characteristic | Description |
| 1 | Stanina | Textolite plate, 300 × 175 mm, δ 16 mm | |
| 2 | Heel | Steel circle, Ø 80 mm | Can be welded |
| 3 | Main rack | Steel circle, Ø 28 mm, L = 430 mm | One end is turned to a length of 20 mm and an M12 thread is cut on it |
| 4 | Spring | L = 100-120 mm | |
| 5 | Sleeve | Steel circle, Ø 45 mm | |
| 6 | Locking screw | M6 with plastic head | |
| 7 | Lead screw | Tr16x2, L = 200 mm | From the clamp |
| 8 | Matrix nut | Tr16x2 | |
| 9 | Drive console | Steel sheet, δ 5 mm | |
| 10 | Lead screw bracket | Duralumin sheet, δ 10 mm | |
| 11 | Special nut | M12 | |
| 12 | Lead screw flywheel | Plastic | |
| 13 | Washers | ||
| 14 | Four-strand block of the leading drive pulleys of the V-belt transmission | Dural circle, Ø 69 mm | The change in the number of revolutions of the spindle is carried out by rearranging the drive belt from one groove to another |
| 15 | Electric motor | ||
| 16 | Capacitor bank | ||
| 17 | Driven pulley block | Dural circle, Ø 98 mm | |
| 18 | Recoil spring restraining rod | M5 screw with plastic fungus | |
| 19 | Spindle return spring | L = 86, 8 turns, Ø25, made of wire Ø1.2 | |
| 20 | Split clamp | Dural circle, Ø 76 mm | |
| 21 | Spindle head | see below | |
| 22 | Spindle head console | Duralumin sheet, δ 10 mm | |
| 23 | Drive belt | Profile 0 | The drive V-belt has a "zero" profile, therefore the grooves of the pulley block have the same profile |
| 24 | Switch | ||
| 25 | Mains cable with plug | ||
| 26 | Tool feed lever | Steel sheet, δ 4 mm | |
| 27 | Removable lever handle | Steel pipe, Ø 12 mm | |
| 28 | Cartridge | Tool holder No. 2 | |
| 29 | Screw | M6 with washer |
Drive console
Four-ribbed drive pulley block
Driven pulley block
 Recoil spring restraining rod
Split clamp
Spindle head console
The spindle head provides both translational and rotary movement. It is mounted on its own base - a duralumin console.
 Spindle head drawing
Details and materials for the manufacture of the spindle head are shown in the table:
table 2
| Pos. | Detail | Characteristic |
| 1 | Spindle | Steel circle Ø 12 mm |
| 2 | Travel bush | Steel pipe Ø 28x3 mm |
| 3 | Bearing 2 pcs. | Radial rolling bearing No. 1000900 |
| 4 | Screw | M6 |
| 5 | Washers-spacers | Bronze |
| 6 | Lever arm | Steel sheet δ 4 mm |
| 7 | Travel sleeve stopper | Special screw M6 with knurled button |
| 8 | screw | Low nut M12 |
| 9 | Stationary bushing | Steel circle Ø 50 mm or pipe Ø 50x11 mm |
| 10 | Bearing | Radial |
| 11 | Split retaining ring | |
| 12 | End adapter sleeve | Steel circle Ø 20 mm |
 Spindle
 Travel bush
 Travel sleeve stopper
Stationary bushing
End adapter sleeve
Drill head assembled
Drilling machine assembled
The wiring diagram depends on the type of engine.
 A simple electrical diagram for a factory machine 2M112
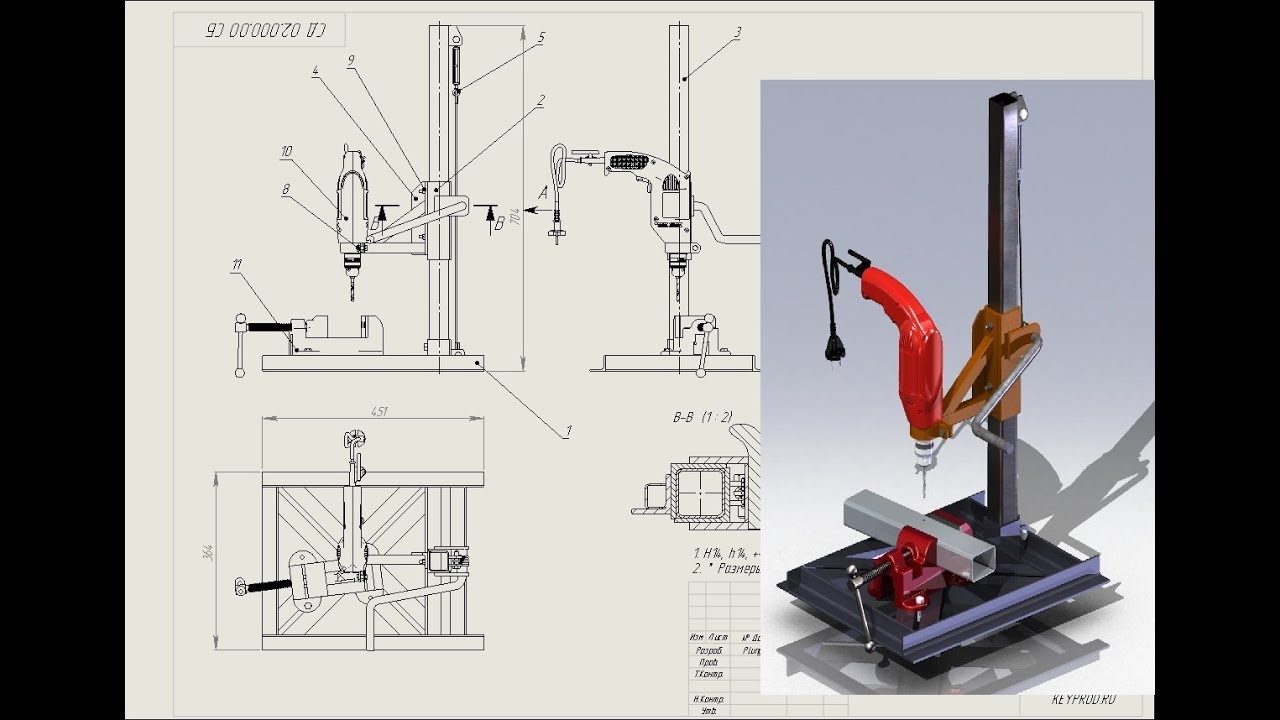
How to make a drill machine
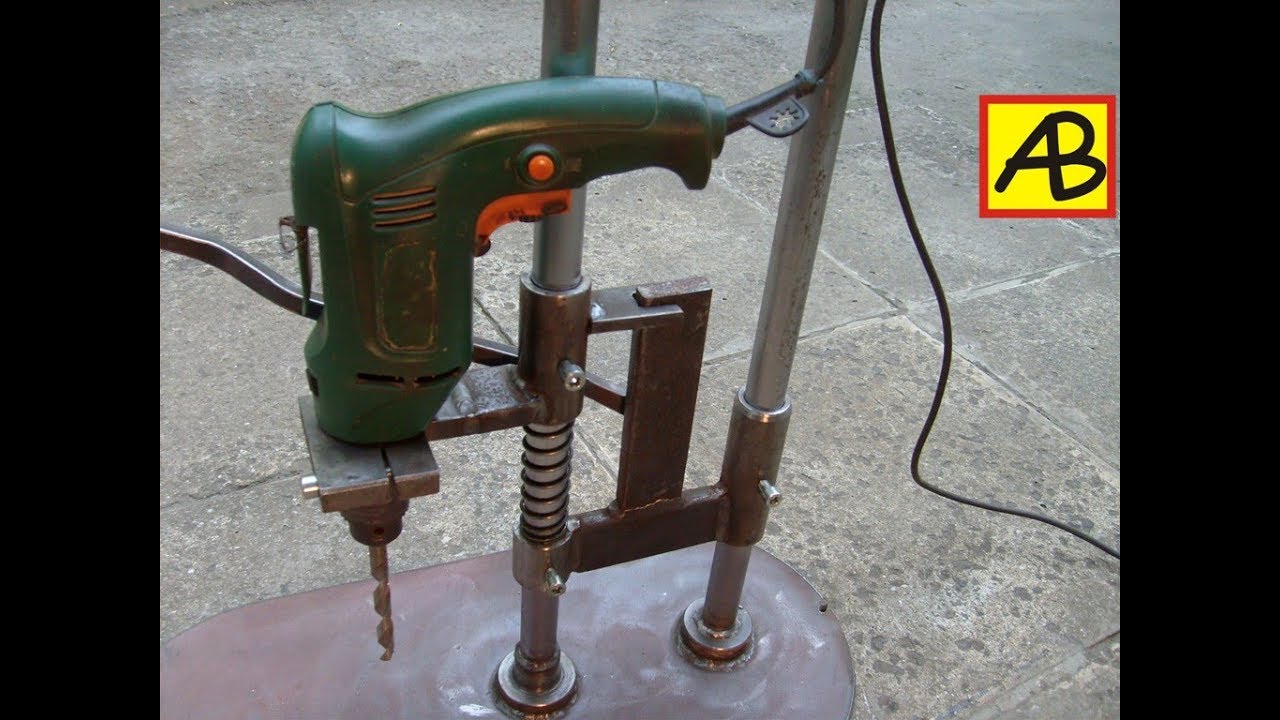
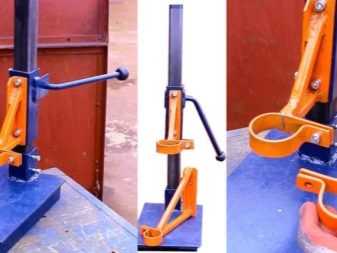
To begin with, we take a small part of a metal square pipe and weld two bushings along the edges. Then we take a small round ring (can also be made from a part of a round pipe) and weld two nuts. We screw the bolt into the nuts. We make a U-shaped base from three metal plates. Then we take two metal pins and weld them to the base. We get racks with guides. Springs need to be put on the racks. Next, we put on a rectangular tube with bushings on the rods with springs.
You can also watch a video on creating metal machines.

