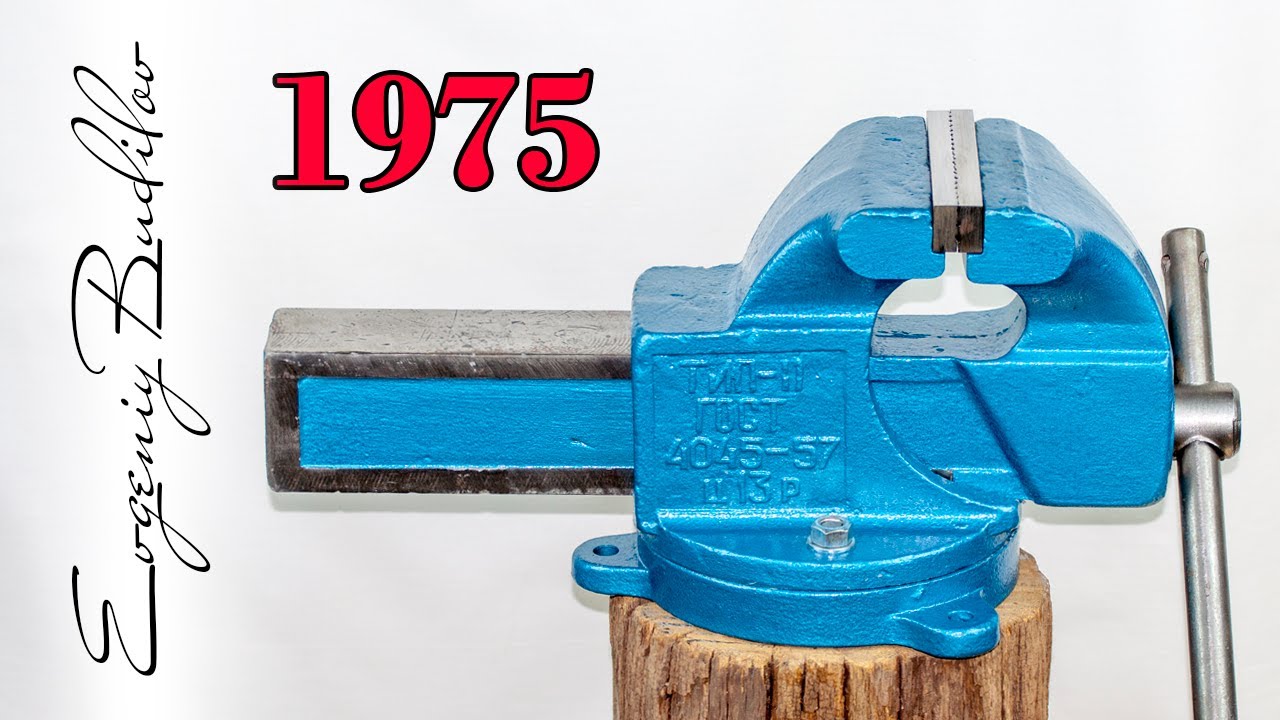
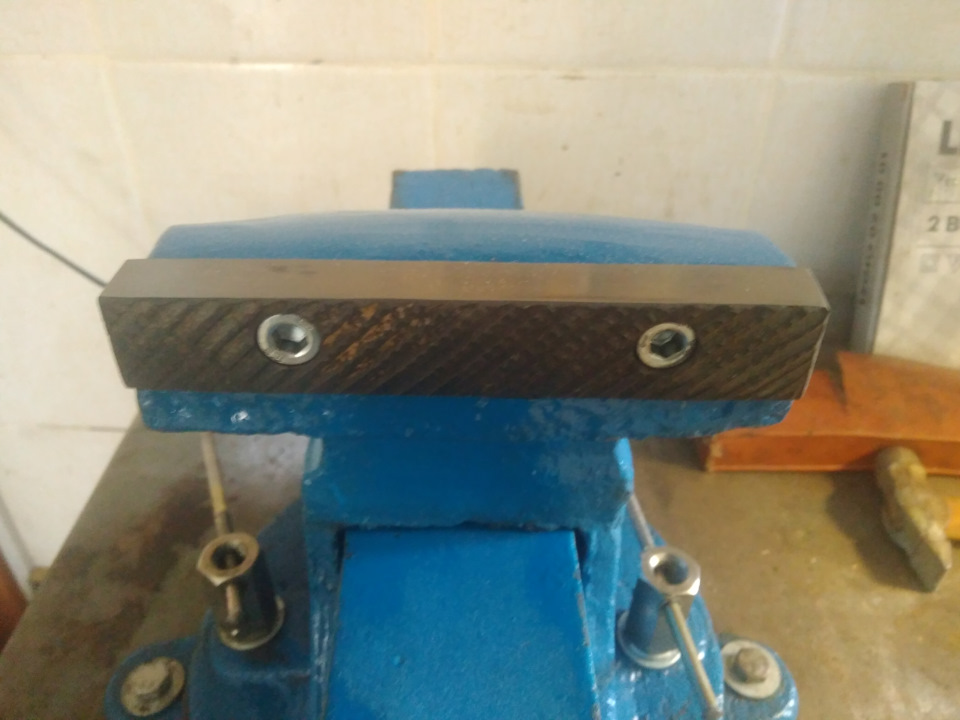
How to paint?
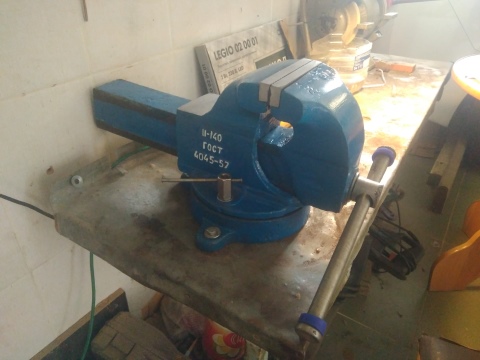
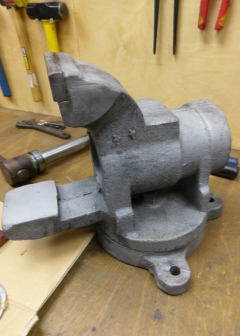
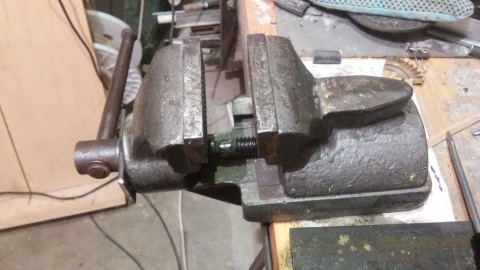
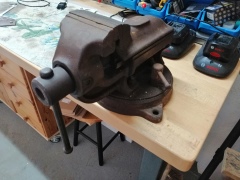
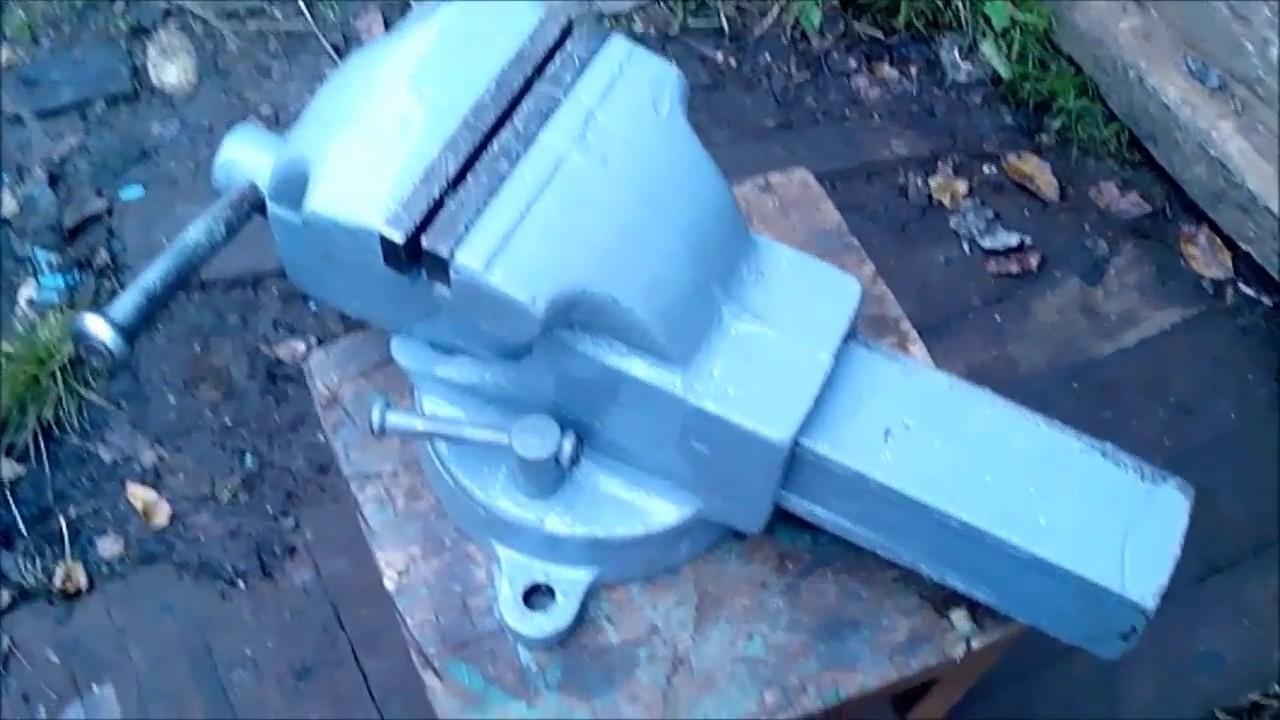
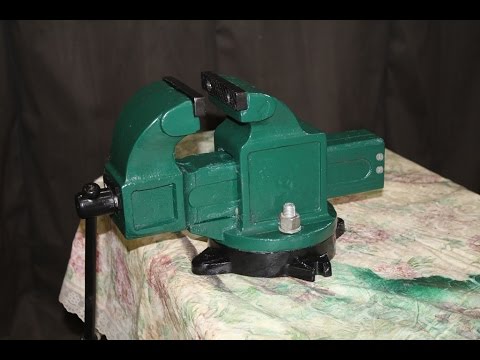
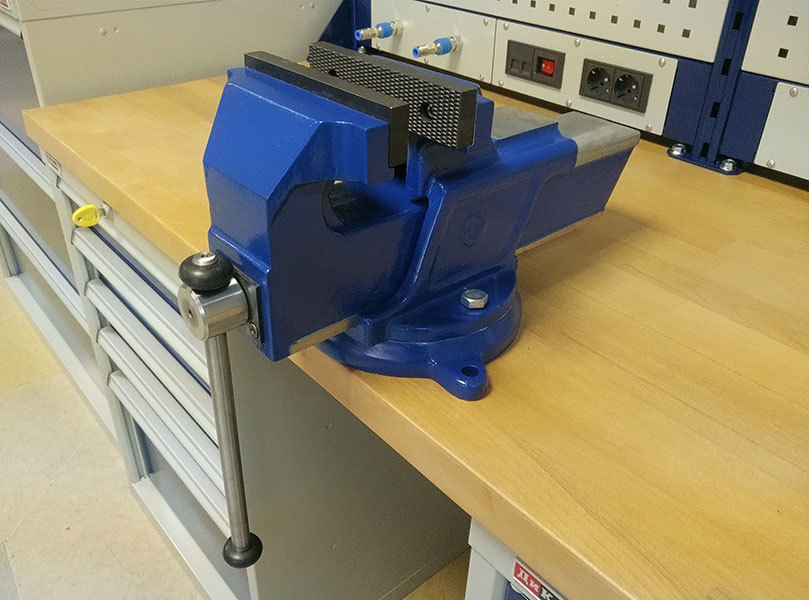
Tools for painting a locksmith's vice can be like this.
- Hammer enamel. This type of painting leaves behind an attractive appearance of the tool. But it should be borne in mind that with mechanical action, the paint is easily chipped off.
- Epoxy paint. Reliable type of painting. It has no minuses. The small color palette of the presented assortment is considered a minor drawback.
- Sadolin paint. Car paint. Before work, the surface should be well primed.
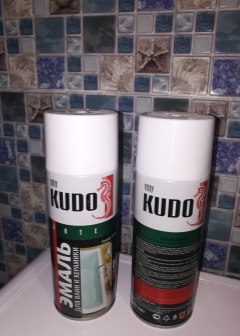
- Bath painting set. A white epoxy two-pack paint is suitable for a locksmith vise.
Those parts that are not planned to be painted can be sealed with tape. Some masters advise using soapy newspaper. It also adheres perfectly to the surface. There is no need to paint the threads and those places where some parts move or are inserted. With further use, scrolling the handle will be quite problematic.
As you can see, it is quite possible to restore the locksmith's tool at home. Of course, it is not worth bringing the device to a deplorable state. But some recommendations will help restore even those tools that have not been used for a long time and are covered with rust.
Also, when performing work, it is necessary to observe safety precautions. It is worth remembering that you should wear a mask and goggles when working with paints and varnishes and grinding tools.
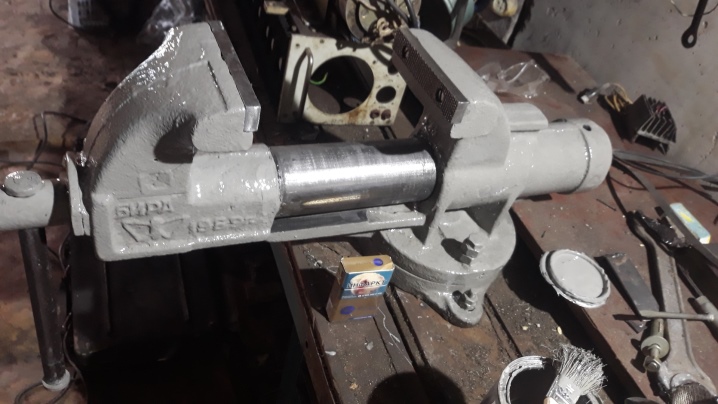
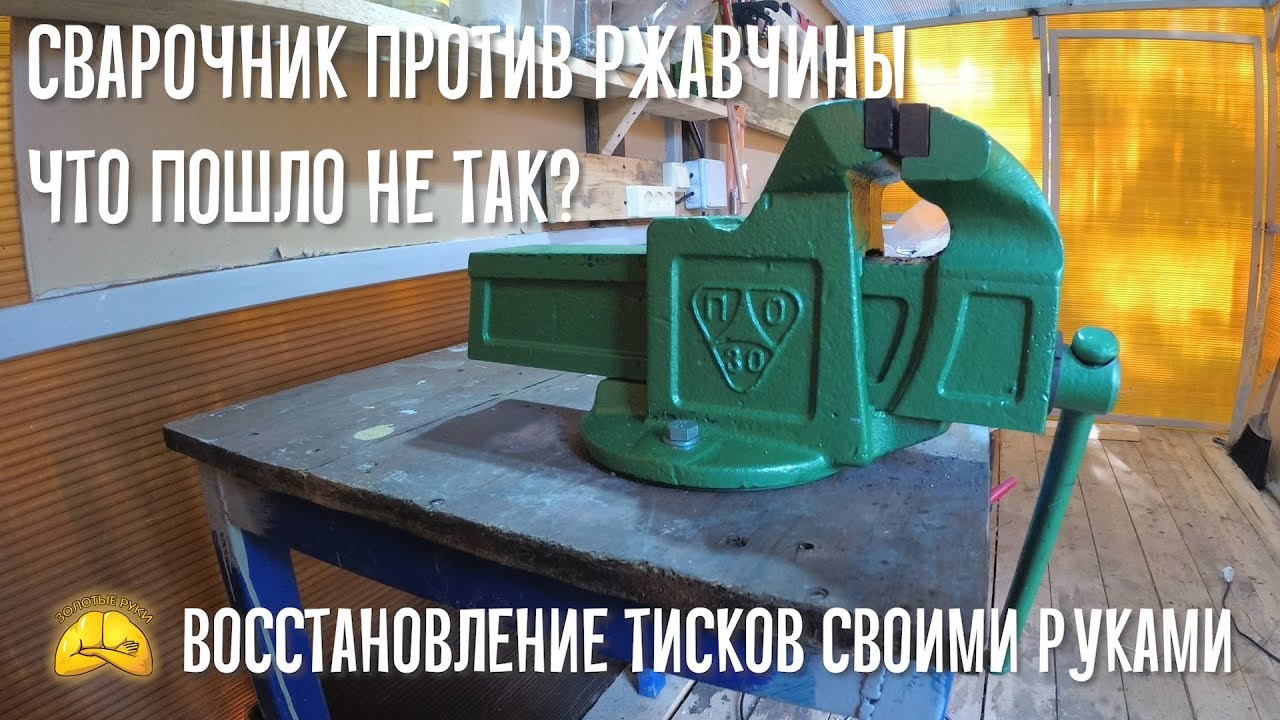
The restoration of a locksmith's vice is presented in the video below.
Workbench vise
These vices are also called Moxon vices or bench vices, they are quite successful in clamping large-sized boards, plywood, and various panels. The advantage of this type is that they do not take up a small area in the workshop, but are made of wood.
The dimensions must be selected independently; do-it-yourself carpentry vice for a workbench can be made using a minimum of tools and material.
The construction looks like this:

For manufacturing, you will need two studs, four nuts, three boards. After the boards are prepared and cut to size, it is necessary to drill two holes in the fixed and movable part. Then, in the fixed part, insert the nuts into the drilled holes, having previously greased them with glue on both sides. A small nuance: the holes in the stationary part should be slightly smaller in diameter than the nuts themselves, in order to avoid the nut turning in the hole. First, you need to weld the studs with a knob for convenience or make a wooden handle. The base for the stationary part can be made in the form of a step. Screw the finished structure to the workbench with self-tapping screws or bolts.
Locksmith yew
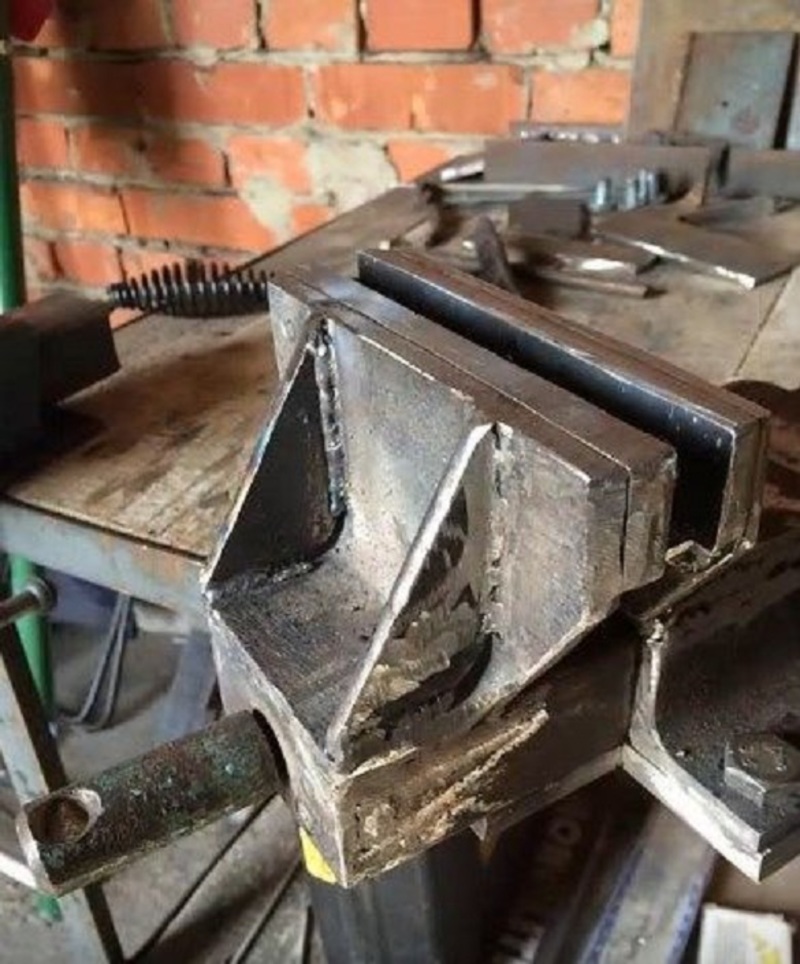
If you often have to work with metal, then for these tasks you need a strong metal vise that you can make with your own hands.
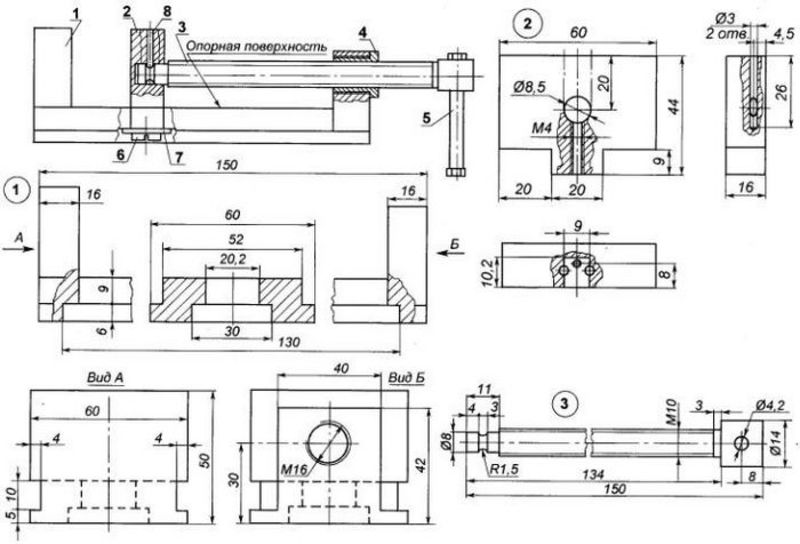
In order to assemble a locksmith vice with your own hands, you need the following tools:
- Welding machine.
- Electric drill.
- Grinder with a cleaning wheel.
- A square to comply with the required angles.
- Drills of various diameters.
In addition to the tool, you will need:
- Steel channel with a diameter of 6 mm.
- Sheet metal 5-6 mm thick, as much as possible.
- Corner 70 by 70 or 50 by 50.
- Twenty bolts and nuts.
If you have a 16 mm diameter pin, you can use it as a clamping screw that will move the moving part. It is rather difficult to make two nuts into which the screw will be screwed in, and besides, the rest of the parts are rather non-standard and it is rather difficult to find them, so it makes sense to turn to a turner.
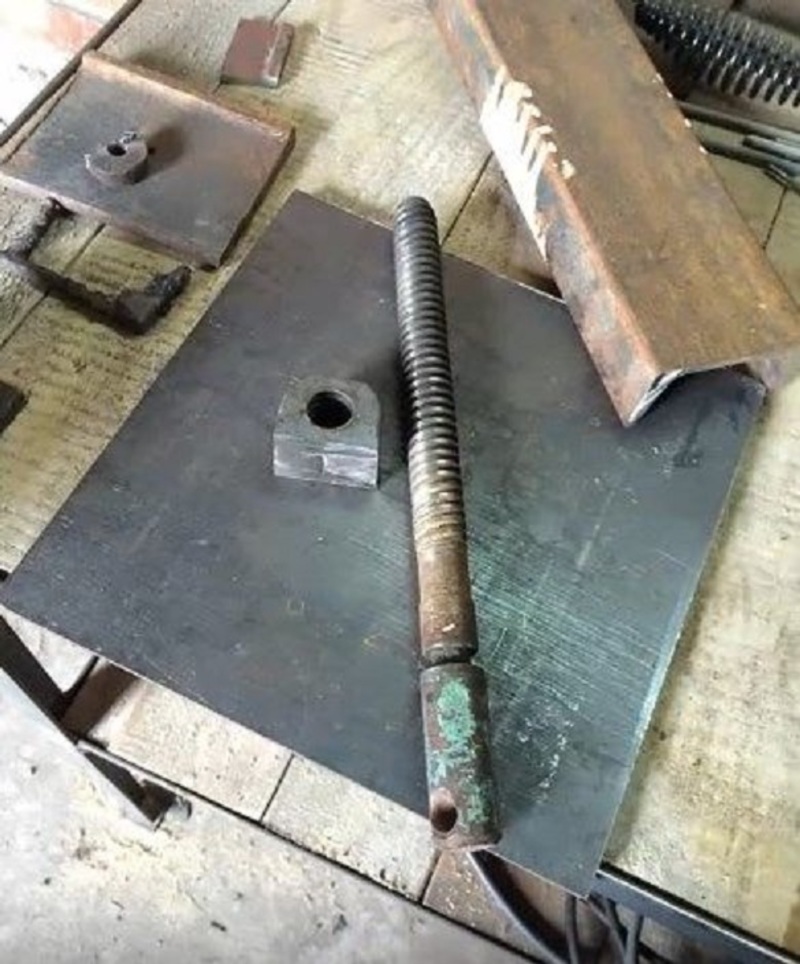
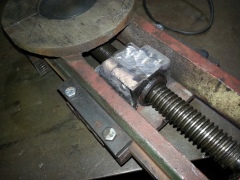
Then weld the nut to the channel, this must be done coaxially.
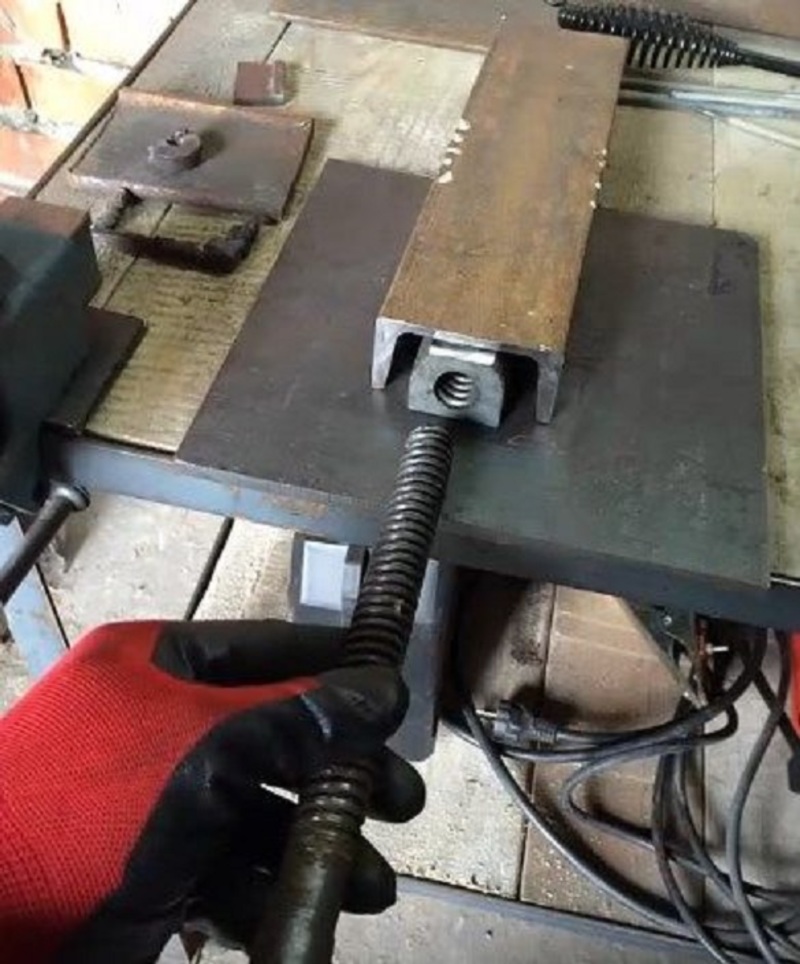
The ends of the channel must be closed with a piece of sheet metal and a screw hole must be cut in the strip.

Using a grinder, cut two corners and a plate. Lean the corners against the channel on both sides and cover with a piece of sheet metal on top. You will get a kind of U-shaped design.

The bed can be cut from 7-10 mm metal and drilled four holes on each side, as well as 6 holes in the U-shape.
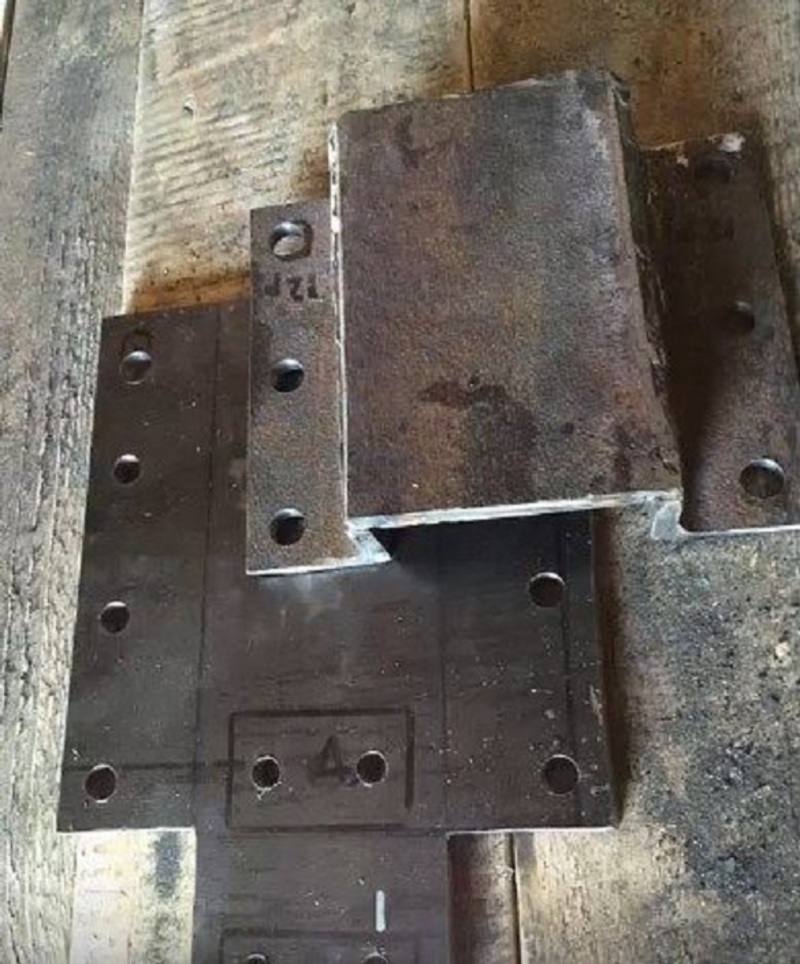
Weld one nut to the bed, and weld two metal stoppers on the sides of the nut.
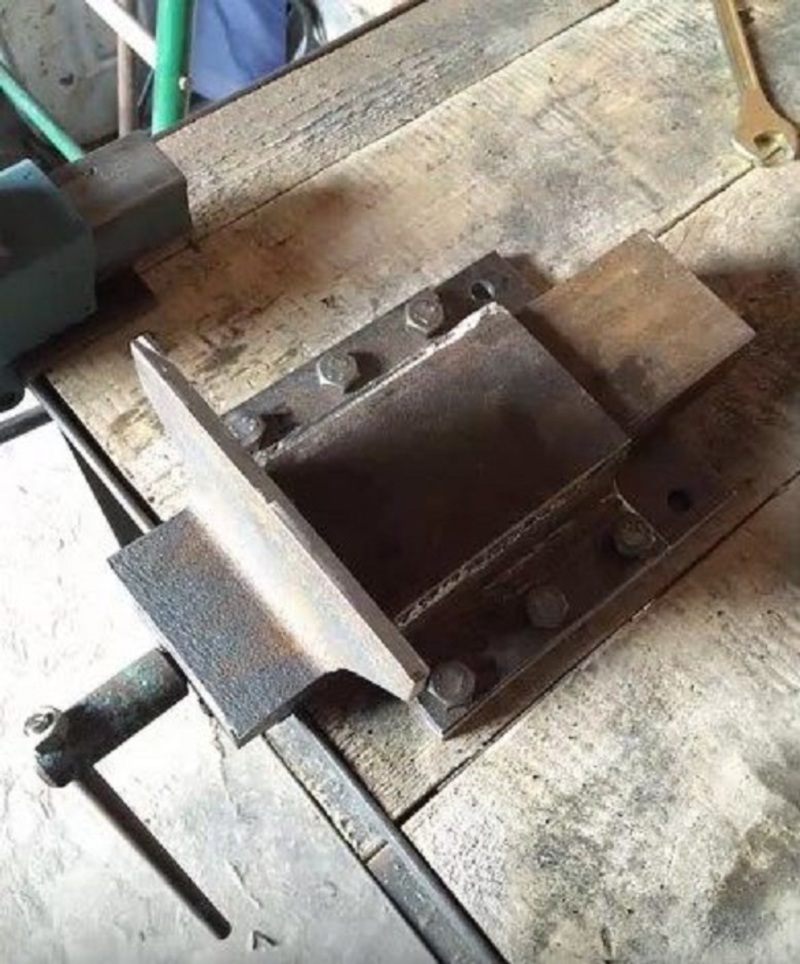
Then weld the second workpiece onto the moving part. On the sponges themselves, you need to make a kind of heels of thick metal. They can be welded or bolted.
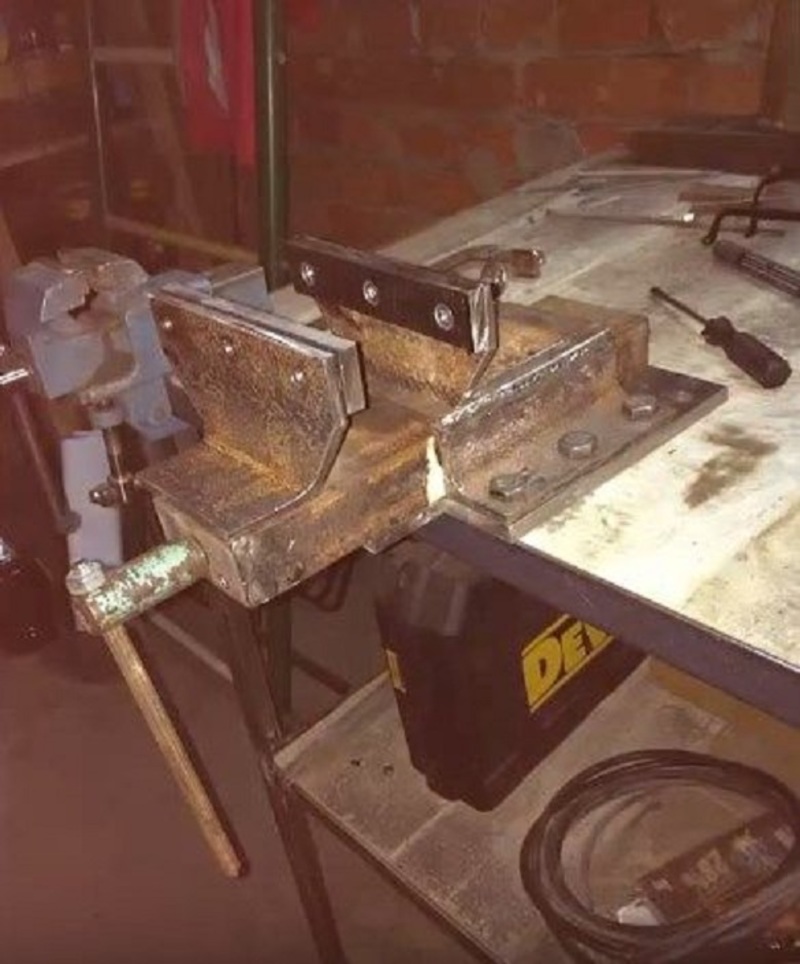
If desired, you can reinforce the jaws on both sides with thick metal corner gussets.
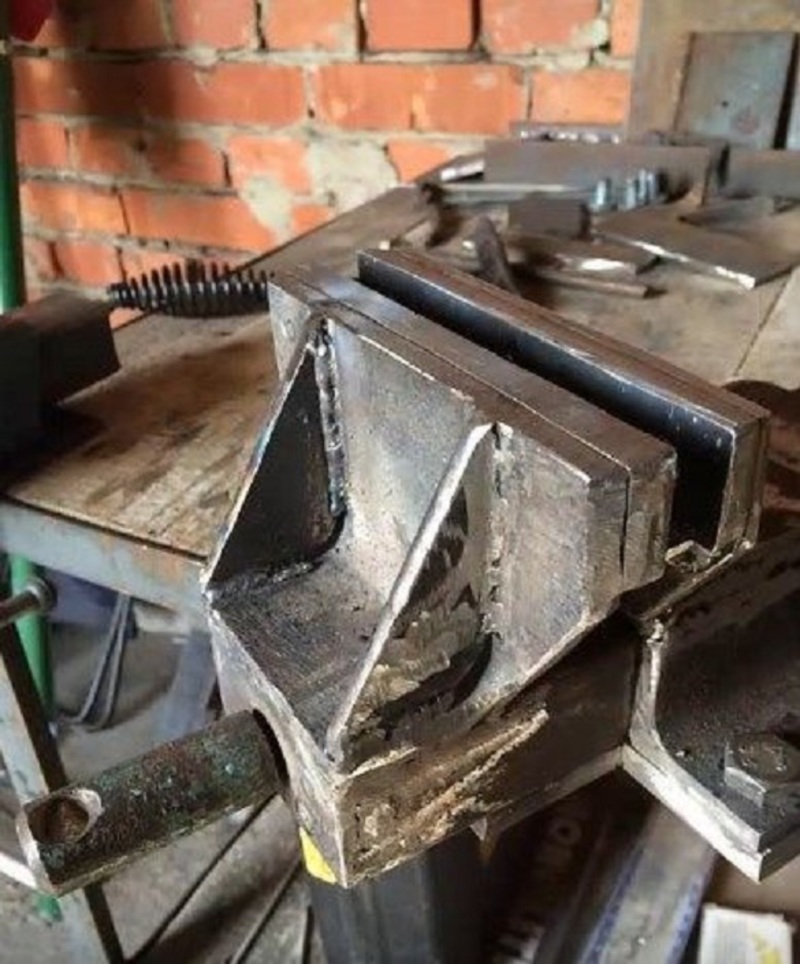
These vices are no worse than purchased ones, and a minimum of material costs will be required. By this principle, you can make another version of yews from a hand jack. The finished product can be painted to give an aesthetic look.
How to repair?
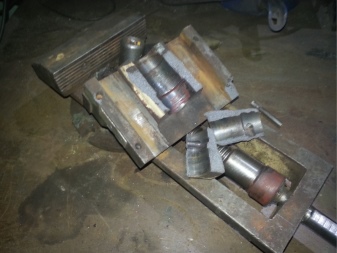
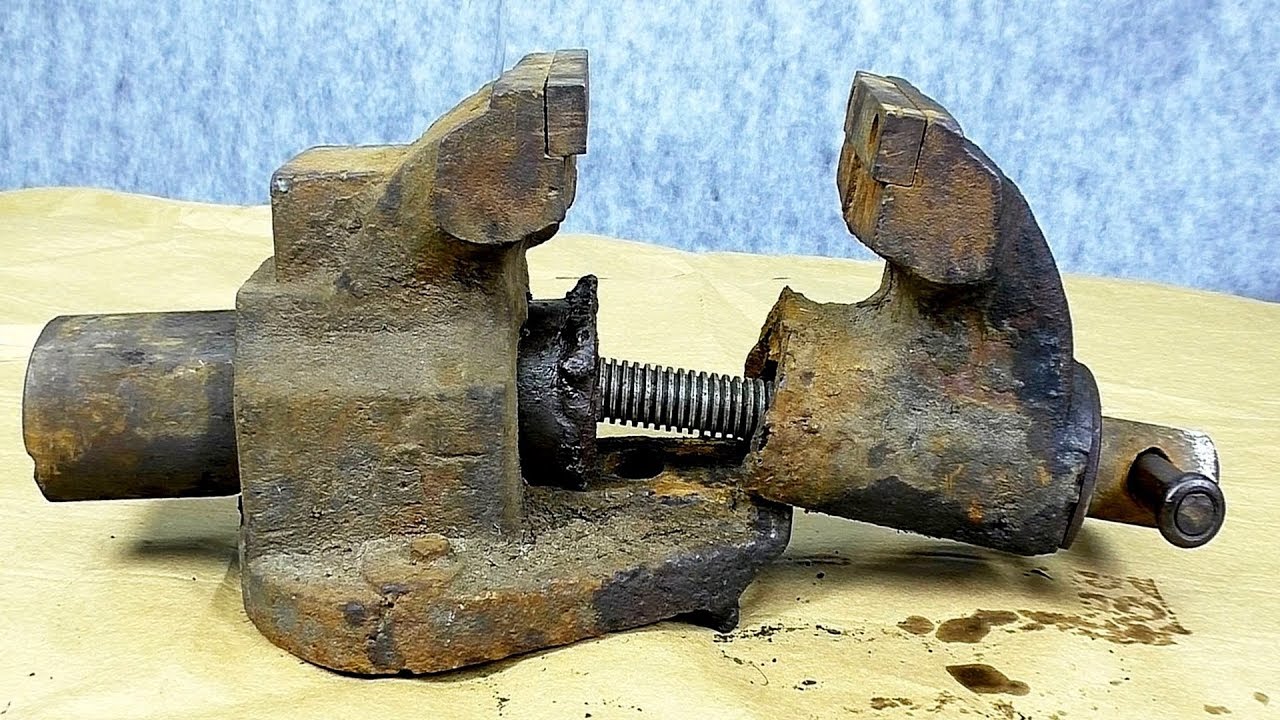
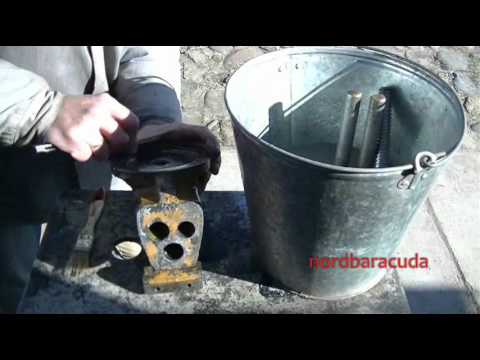
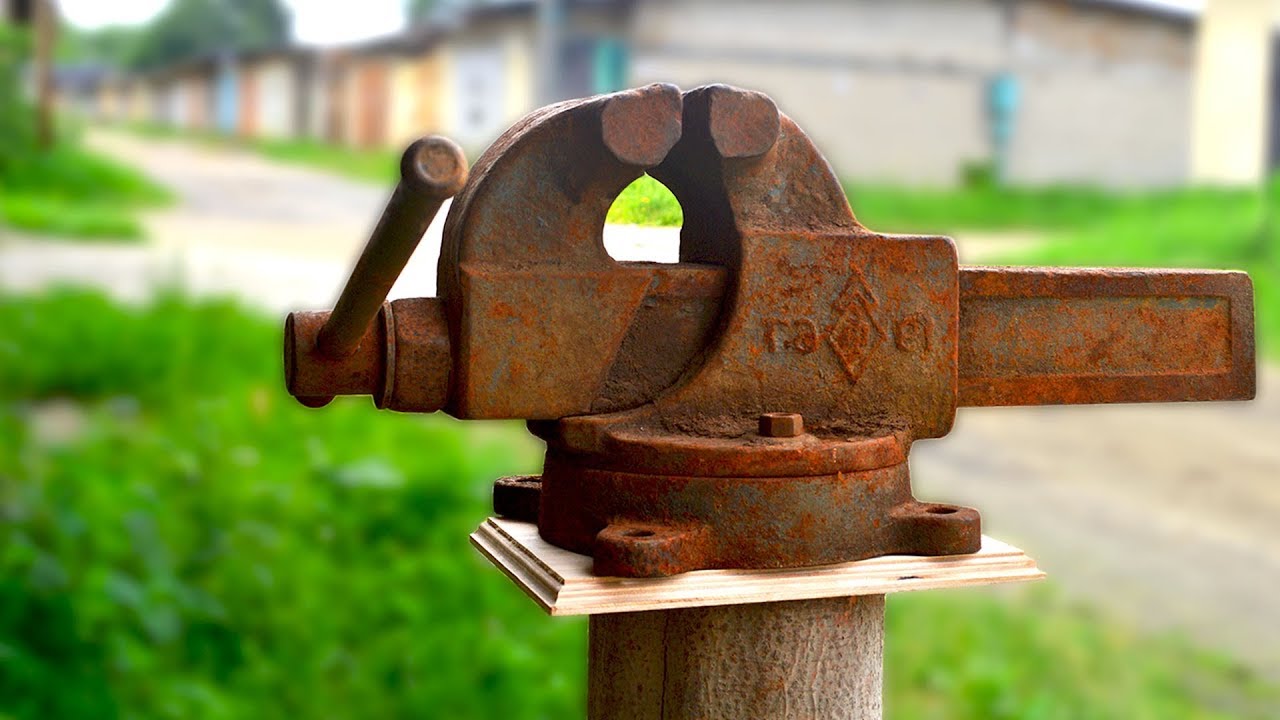
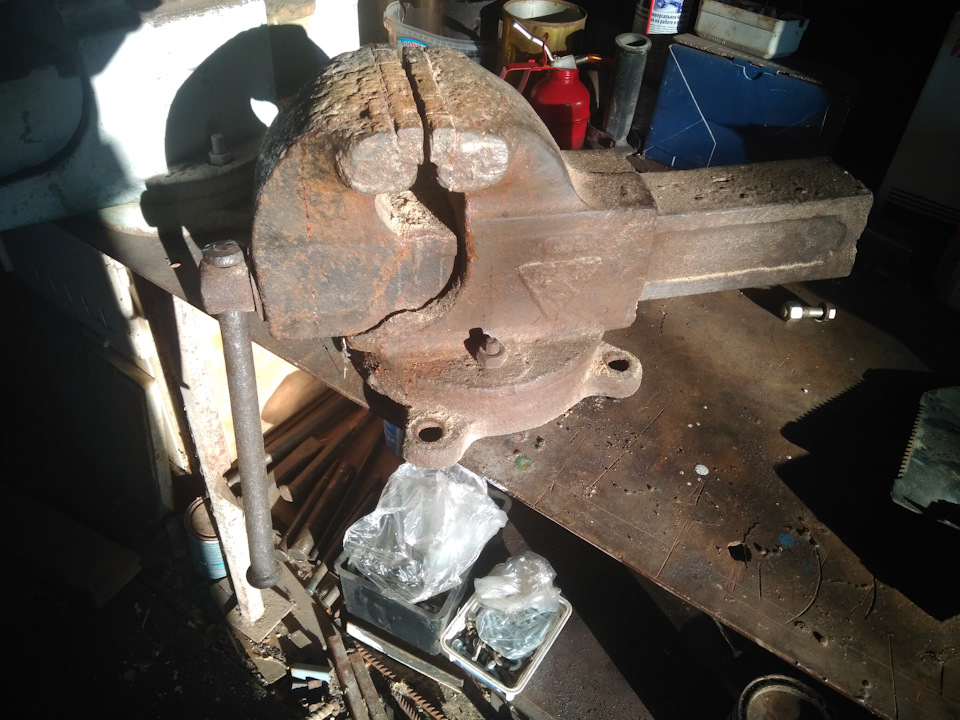
Before you repair the tool with your own hands, you need to disassemble it and wash every detail. If the fixture is covered with rust, it must be removed. For this, you can use both a professional rust converter and home remedies. Vinegar or kerosene will help get rid of plaque. The product should be soaked in liquid and left for a while. Later, you should walk over the instrument with a stiff brush. The vice should be polished until the native shine of the metal appears.
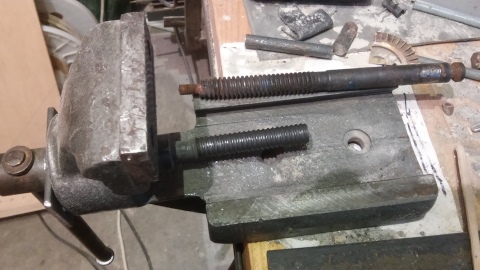
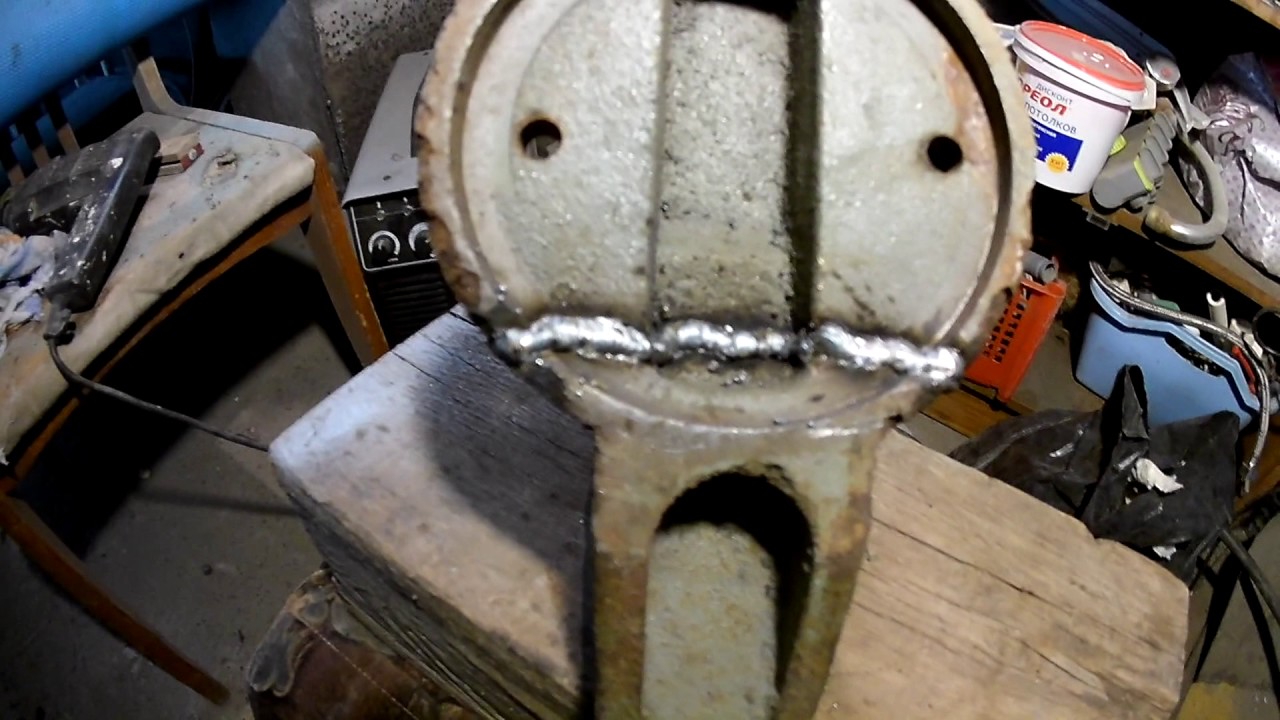
After the cleaning and disassembly procedures, you should proceed to the repair process itself. If the cause of the breakdown is the twisting of the screw in the nut, then it is necessary to cut the nut lengthwise into 3 parts and renew the thread. This will require a grinder. Then you need to restore the integrity of the nut by welding the cut parts into place.
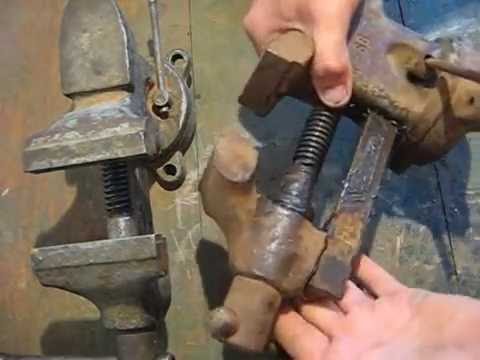
Now you need to reassemble the tool. The procedure for collecting the vice is as follows:
- the main legs are pushed onto the base;
- the legs are advanced as far as possible to the left, this will help to easily install the planks in the next step;
- first one bar is attached, then the second;
- for the final fixation of the planks, it is required to move the legs to the right;
- after that it is necessary to insert the nut and fix the screw in it.
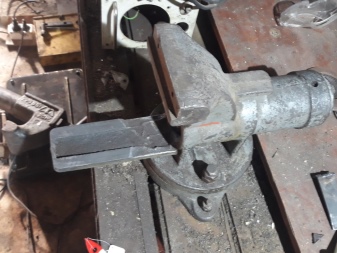
If the vise is in disrepair, it is recommended to use kerosene to unscrew the rusty bolts and parts. You should lubricate the parts and wait a few minutes. After which the rusted bolts begin to gradually scroll. After repair, you can grind the fixture. You should not do this manually. Plus it will take a long time. For grinding, take a special brush for the grinder. Protective goggles must be worn during work. To eliminate minor defects (scratches, shallow cracks), the surface of the product must be cleaned or soldered.

Fly Tying Tool
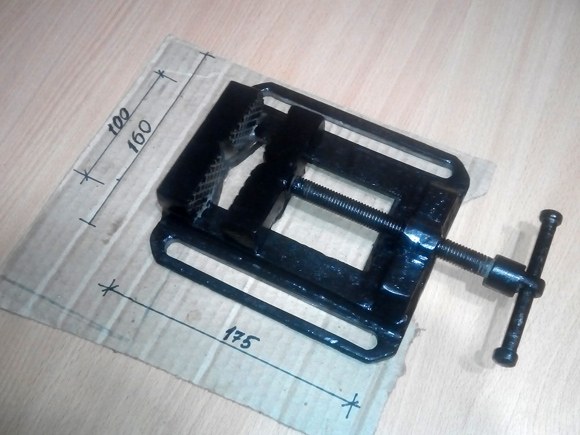
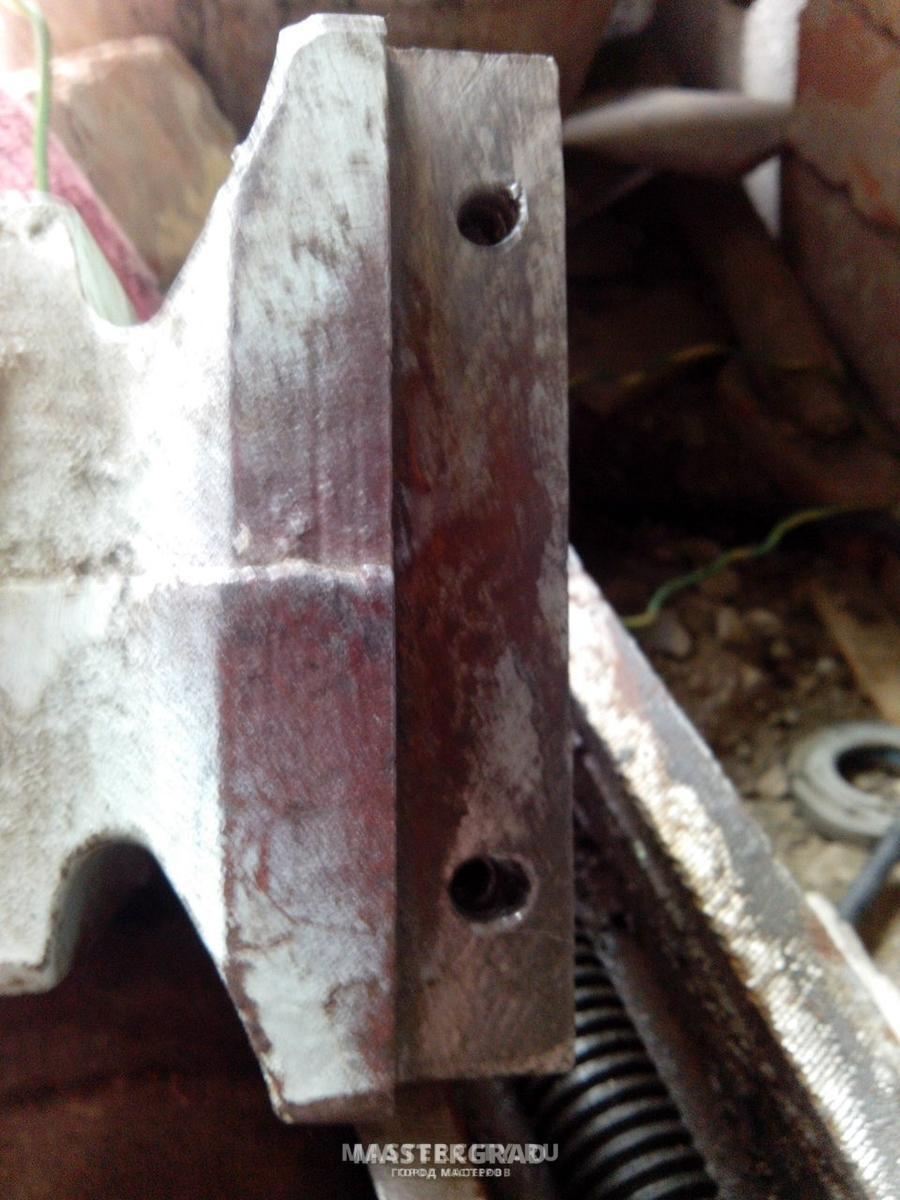
Most anglers prefer a homemade fly tying vise rather than a store-bought one. The device itself has a fairly simple design, which allows them to be made in a short time and without special tools at home. The most difficult step in making a vice is the jaws themselves. They are made of rectangular steel bar. In the finished jaws, two holes are drilled for attaching to the yews and one for the adjusting screw. The holes must be tapped (M6) with a tap.
Next, you need to tighten both jaws with a screw. After tightening, disassemble the jaws and install the clamping screw, and choose the angle of dilution for yourself. On the lips, you need to make a small groove for the hook.
The yew support can be made from T-shaped or L-shaped steel bar. Sponges are welded to the end of one of the blanks. The bar must be welded to the support, and if you need to make the support adjustable, then a piece of trim pipe is welded to the workpiece, the diameter of which is equal to the diameter of the workpiece. It is recommended to make the length of the support about 20-50 cm high for more comfortable work.
If the vice has become unusable and there is no way to fix it, then you should not buy new ones right away, but try to do it yourself. Such a tool will serve for quite a long time and will cost several times less.
Signs and causes of breakdown
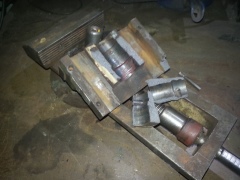
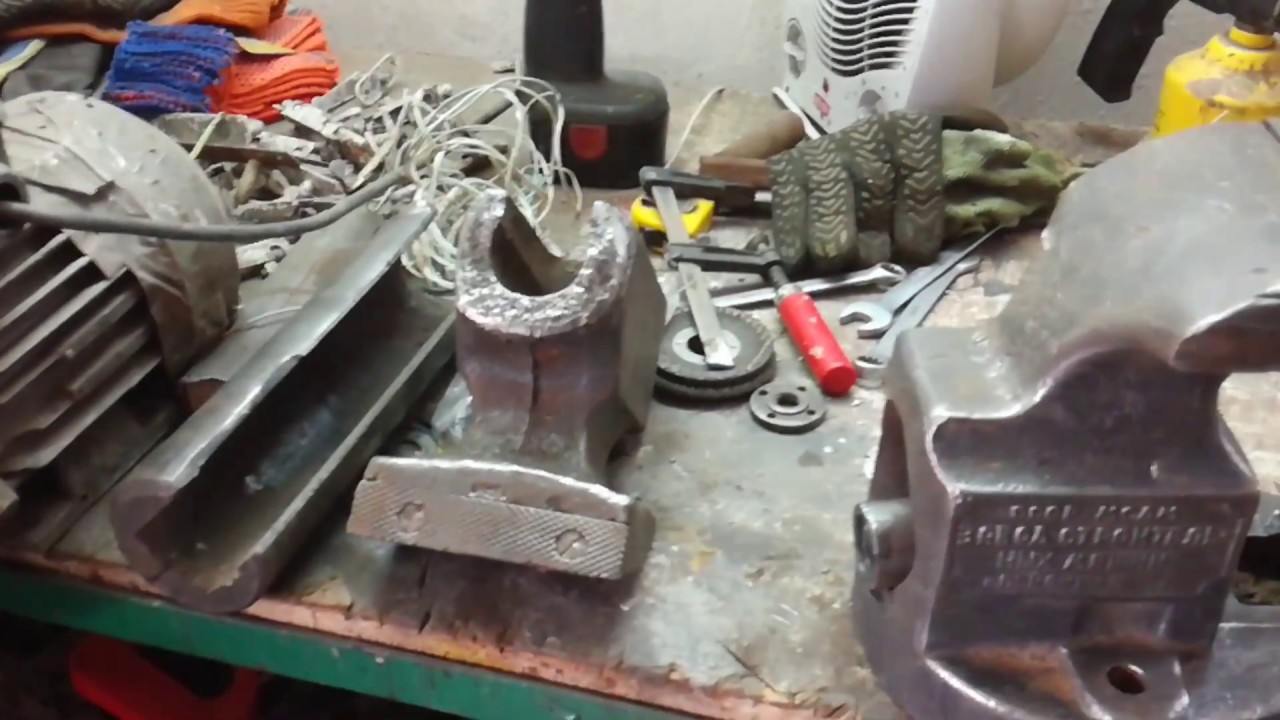
The main reason for the breakage of a locksmith's vice is the excessive force applied by the master when tightening the workpieces. The second reason may be the use of the tool for other purposes. Breakage detection occurs later, after several years or even more. As a rule, cast iron models of locksmith vices are subject to deformation.
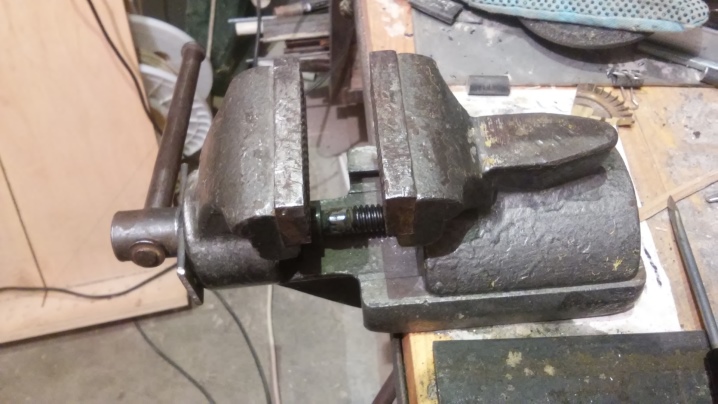
Signs that the vise has broken:
- destruction of movable legs;
- breakage of the nut in machine models;
- destruction of the anvil in cast iron fixtures;
- curvature of the fixing legs;
- screw backlash;
- the shaft is unscrewed when trying to unclench the workpiece;
- the inability to unclench the workpiece;
- cut off pin;
- poor fixation of workpieces.
After identifying signs of breakage, the vice should be repaired. You can do this at home.
