Battery Repair Tips
The recommendations below will help you avoid mistakes when repairing batteries for a screwdriver:
- batteries should be purchased according to the nominal voltage and capacity, as well as size;
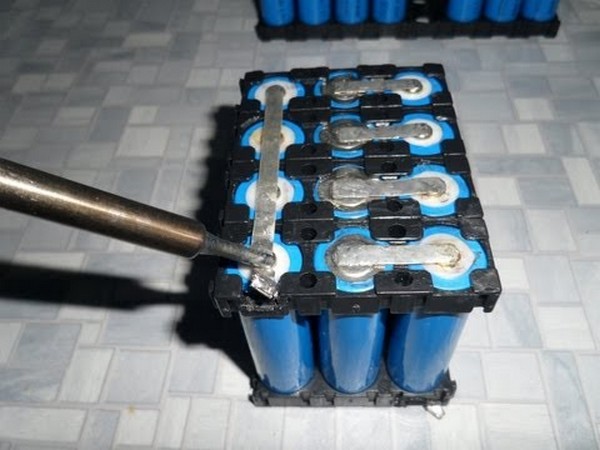
- the batteries are spot welded at the factory. Replacing the battery is done by soldering. When performing soldering, you will need to do it quickly so as not to damage the battery by overheating;
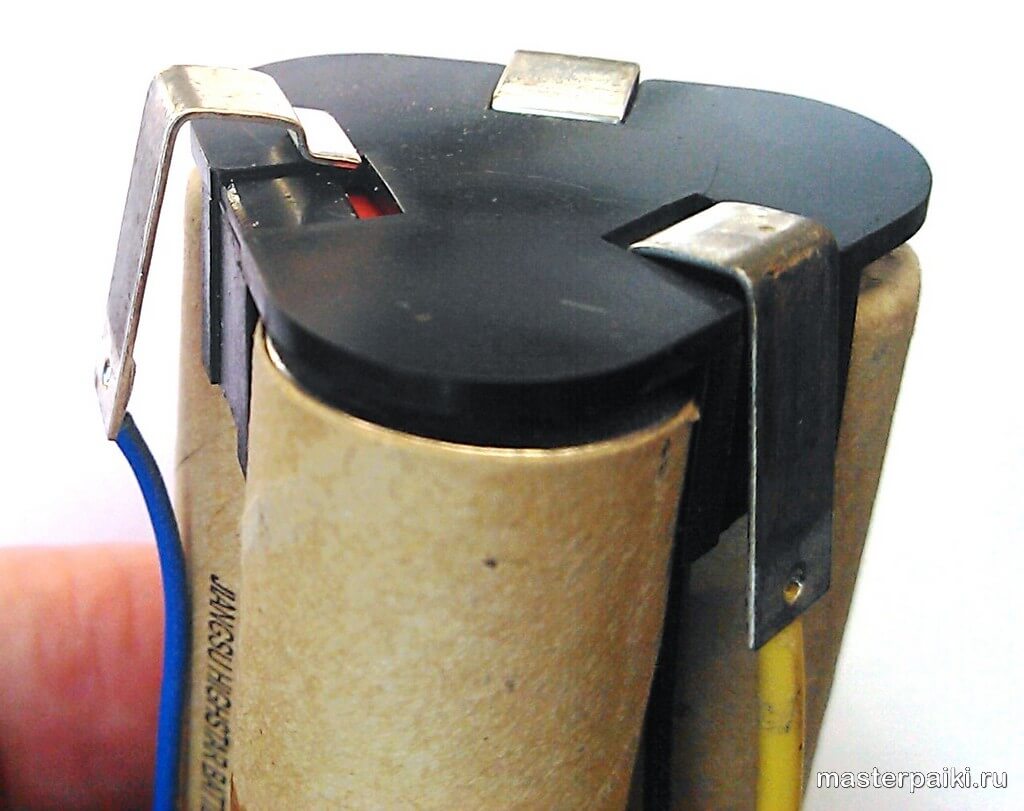
- The connection is made using factory plates or using copper plates of the same size, since a large current flows during charging (operation). Observe polarity.
After repacking the screwdriver batteries, you need to equalize their potentials by charging the cans for 8-10 hours. After cooling down, the voltage on the elements is measured. If everything is done correctly, the voltage will be in the range of 1.3-1.4 V. Then the cans are discharged to the end by using a screwdriver (it is necessary to charge-discharge 3 times). This procedure is recommended to be carried out once every 3 months to eliminate the memory effect.
Replacement
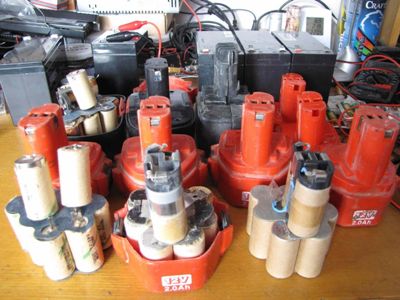
If it is not possible to repair the components of the power supply in the battery, then they must be replaced. You can also do this with your own hands. This is no big deal
The main thing is to act carefully, carefully and according to the instructions. Try not to damage anything in the process
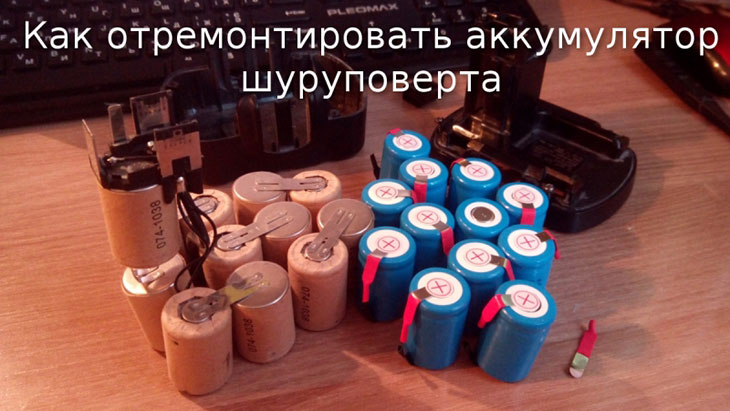
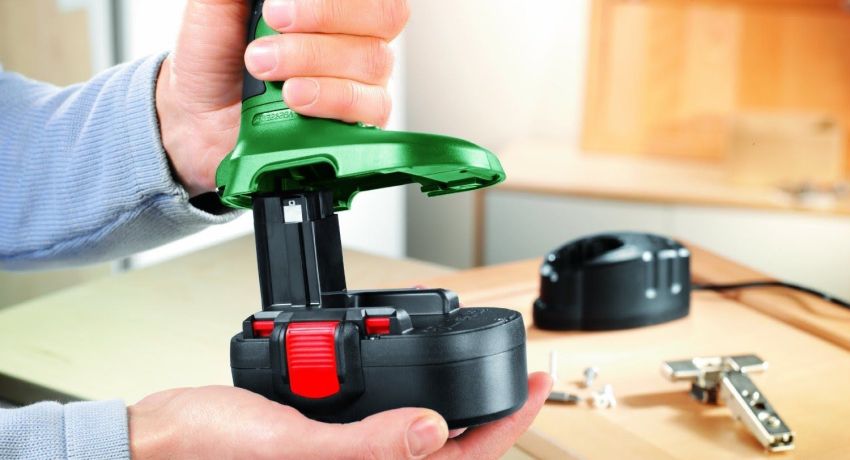
Of course, you can buy a new battery and install it in a screwdriver (they are interchangeable). You can replace the damaged can in the battery itself.
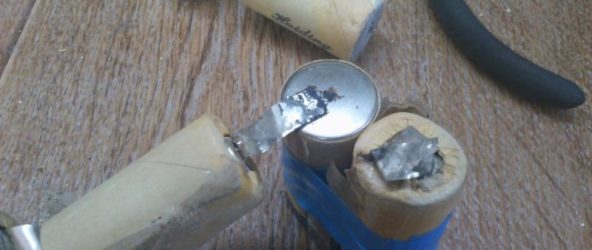
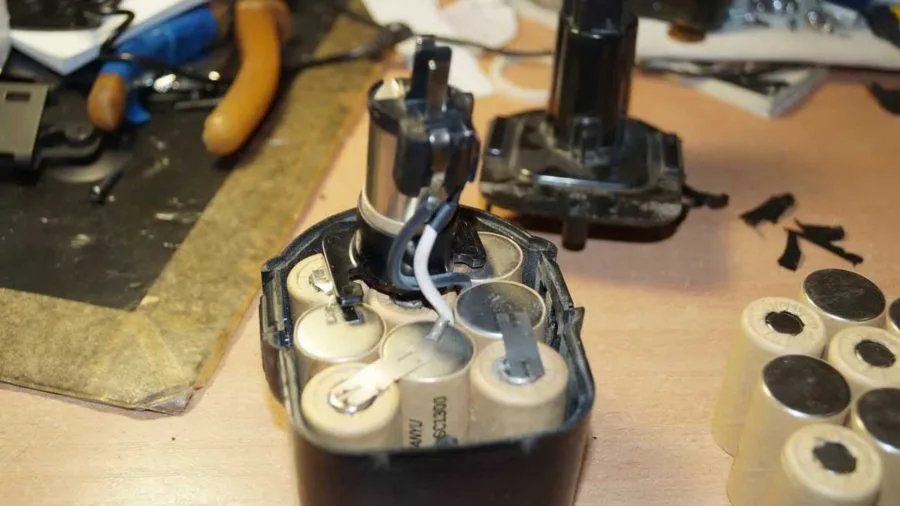
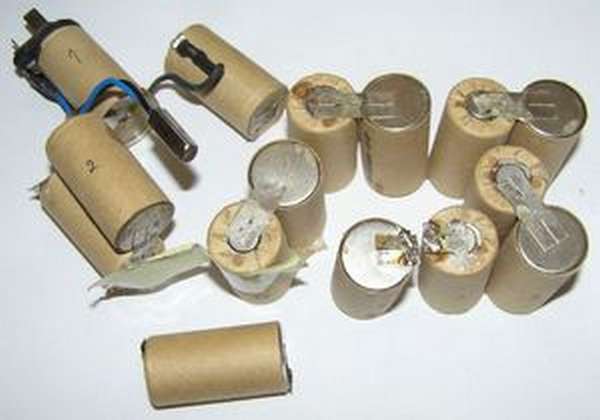
- First, remove from the chain of the device the battery that has ceased to function correctly. Given the fact that they are connected to each other with special plates built in using spot welding, it is better to use side cutters for this. Remember to leave a normal length (not too short) shank on a properly functioning jar during the process so that you can attach it to a new power part.
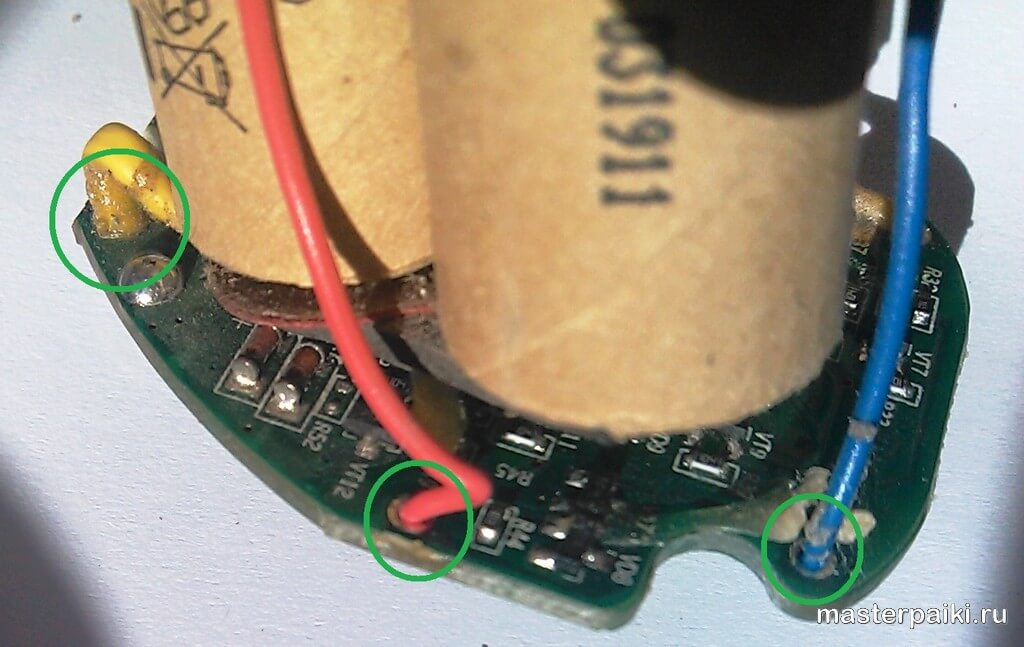
- Attach a new part with a soldering iron to the area where the old defective jar was. Remember to keep an eye on the polarity of the elements. The positive (+) lead must be soldered to the negative (-) lead and vice versa. To do this, you will need to use a soldering iron, the power of which is at least 40 W, as well as acid for it. If you did not manage to leave the required length of the plate, then it is permissible to connect all the jars using a copper conductor.
- Now we need to return the battery back to the case according to the same plan according to which it was there even before the repair work.
- Next, you need to equalize the charge on all the jars separately. This should be done by several cycles of discharging and recharging the device. Next, you need to check the voltage potentials on each of the available elements using a multimeter. They should all be kept at the same 1.3V level.
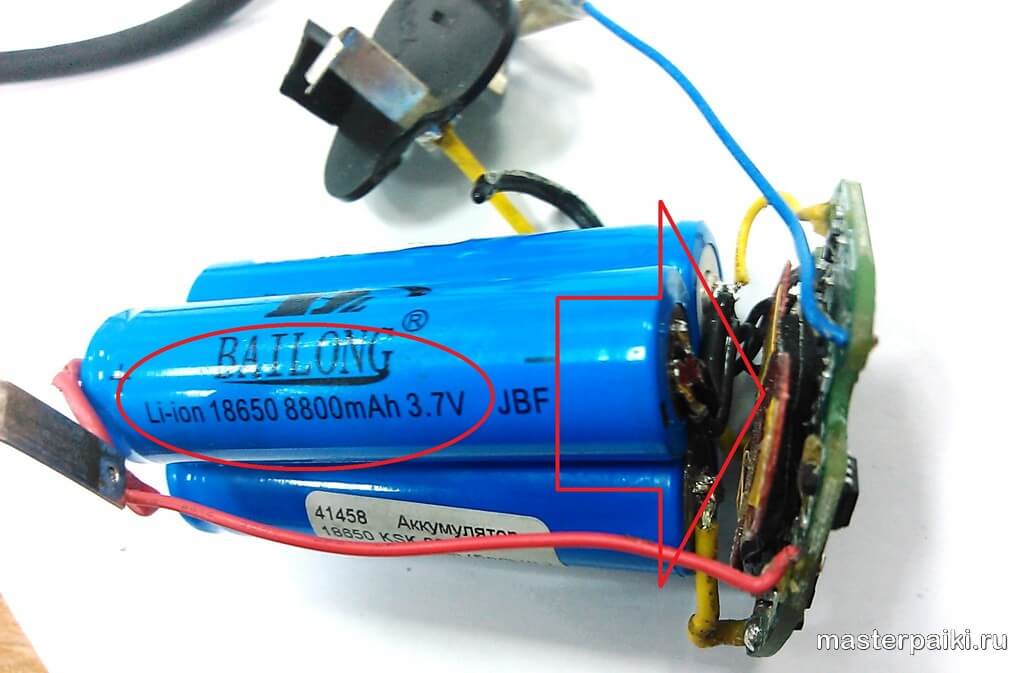
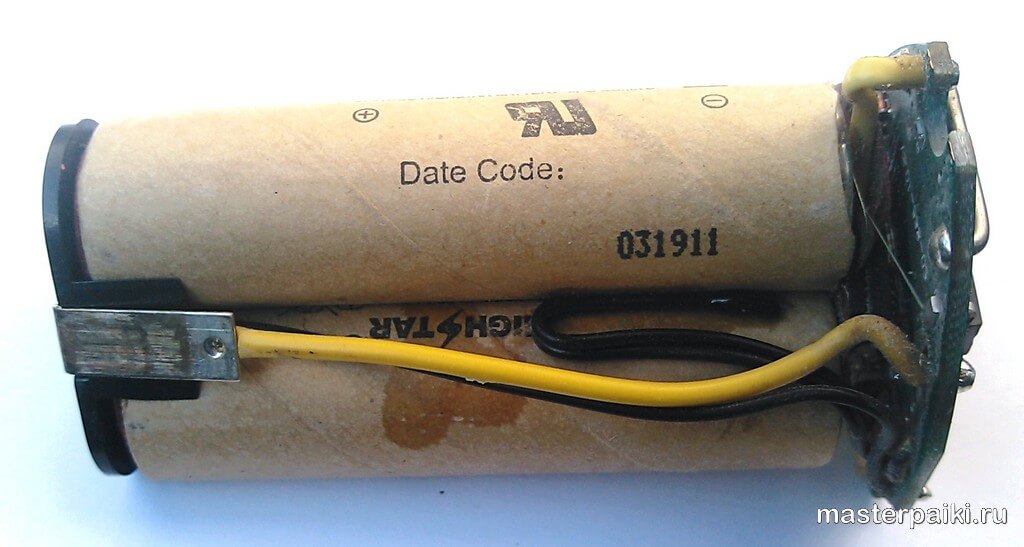
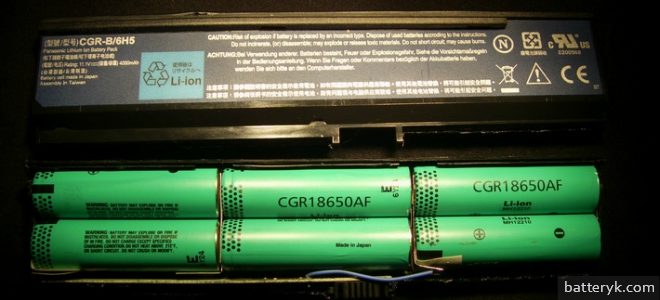
If we are talking about repairing battery blocks with lithium-ion banks, then you should act in a similar way. However, there is one nuance that can make the task a little difficult - this is the disconnection of the battery from the board. Only one way will help here - replacing the damaged bank.
How to determine if repair is possible?
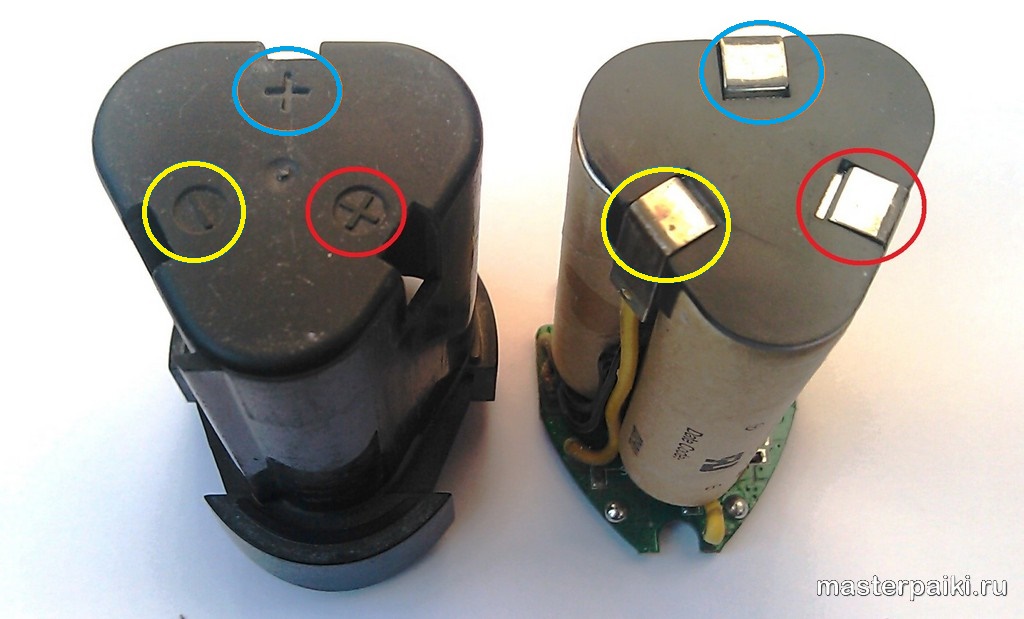
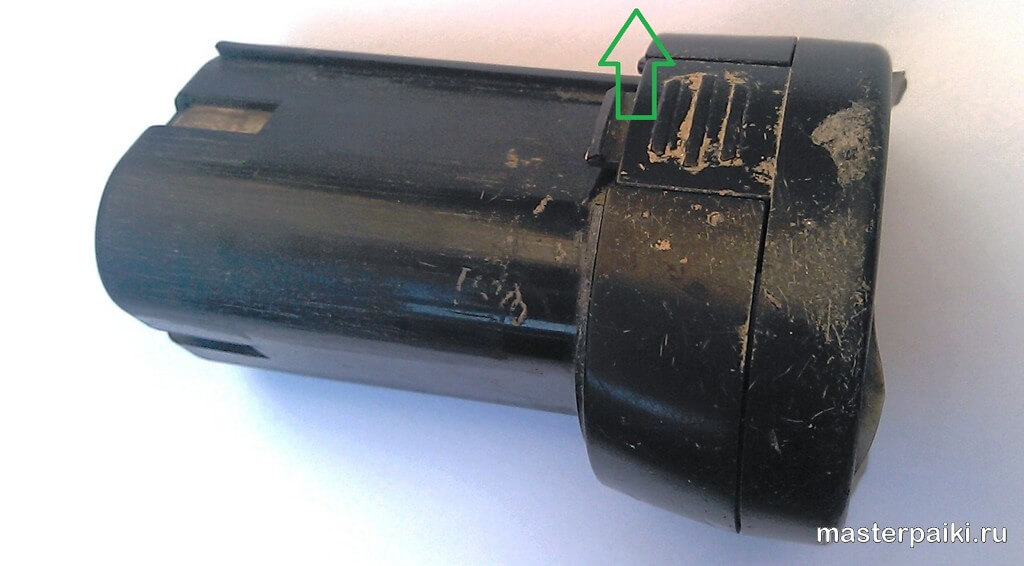
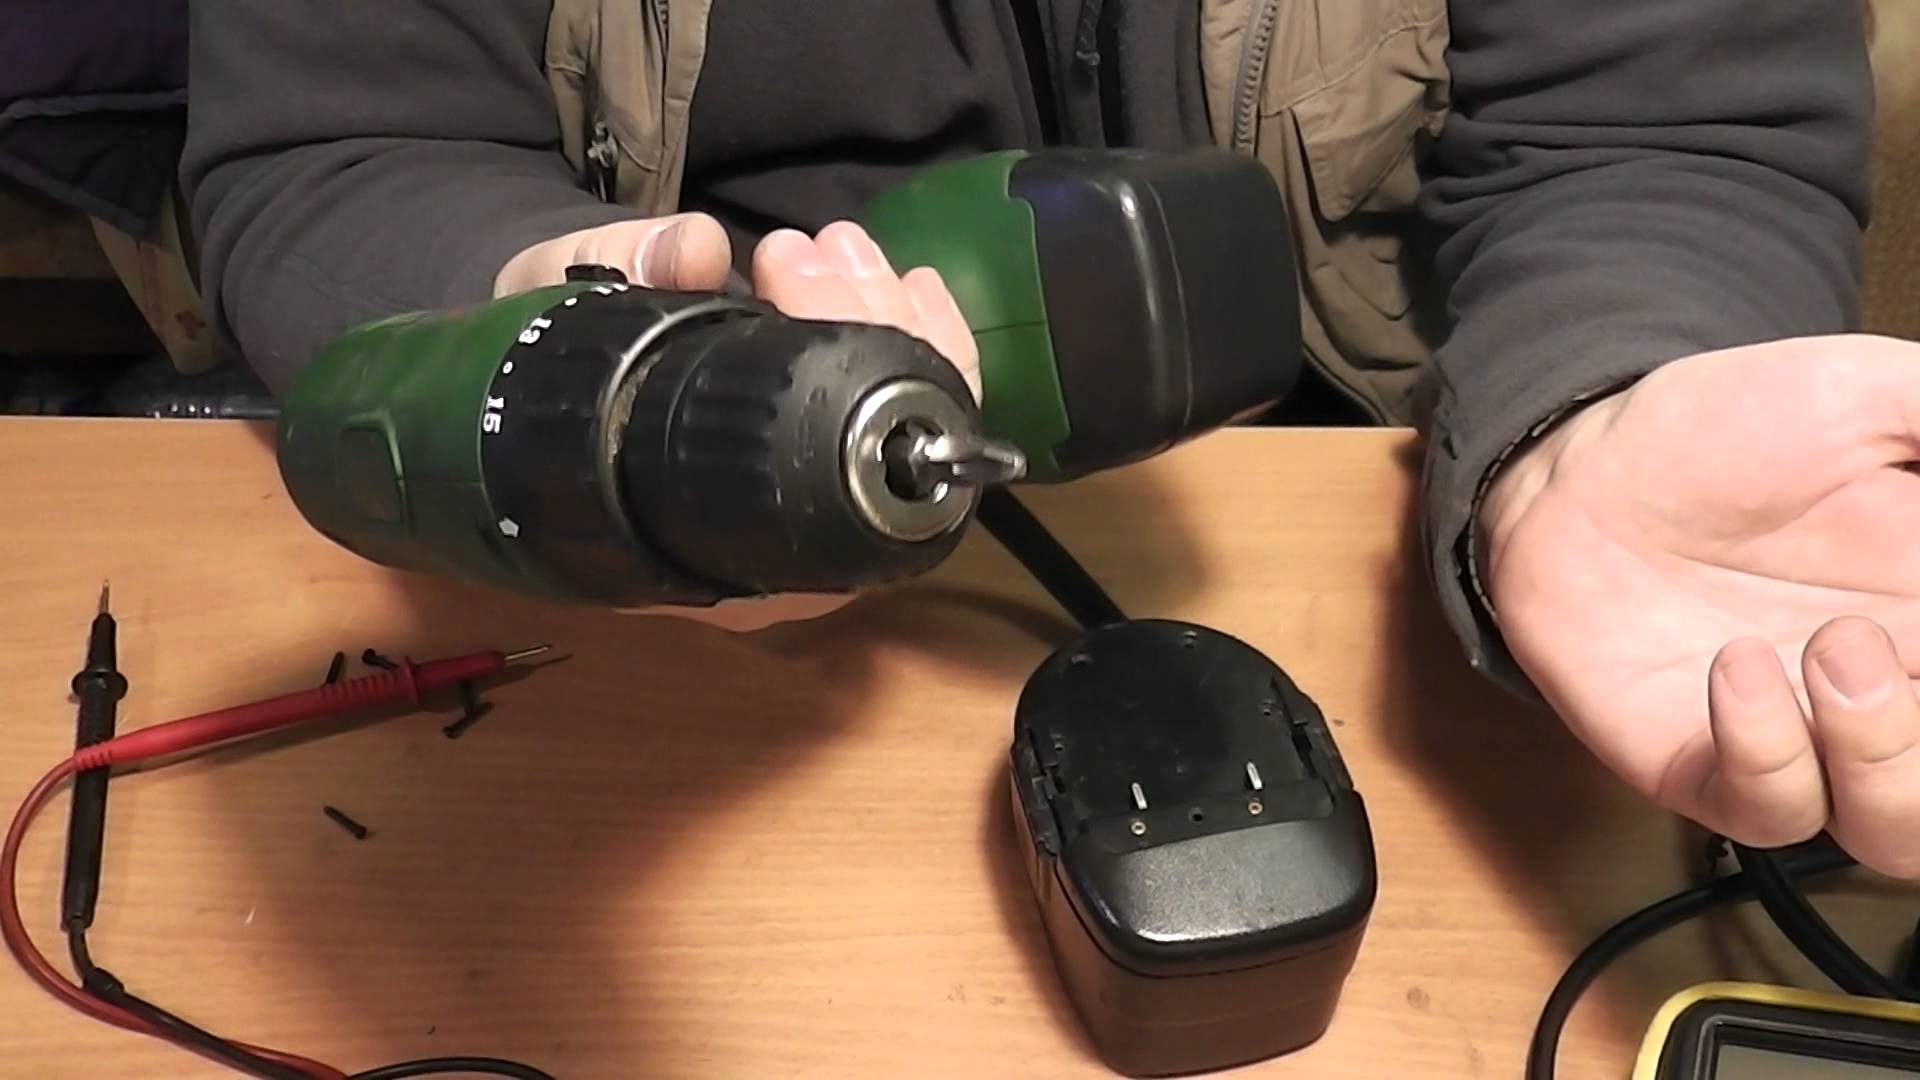
If you notice that your screwdriver has stopped working properly and found out that the root of the problem lies in its battery, then the next step you need to determine is whether it is possible to repair it. To do this, you need to go to the disassembly of the tool body. It consists of two main parts, which are interconnected with screws or adhesive (depending on which model you have).
If the two halves of the case are fastened with screws, then you should not have problems disassembling it. Just unscrew the screws and separate the body structure. But if these components are glued together, then at the junction between them you will need to carefully insert a knife with a sharp blade and screw a self-tapping screw into this section
Very carefully, so as not to damage important elements, run the knife along the joint, thereby separating the halves of the case
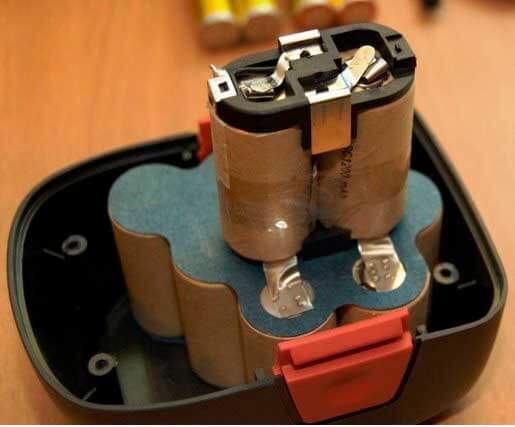
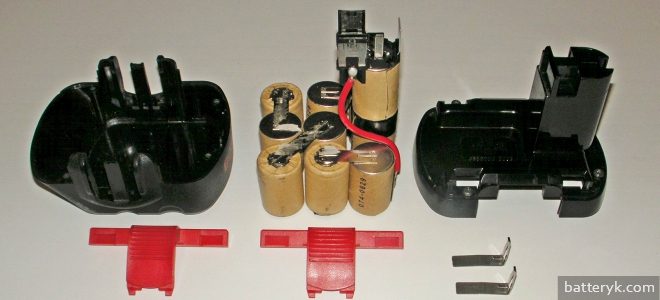
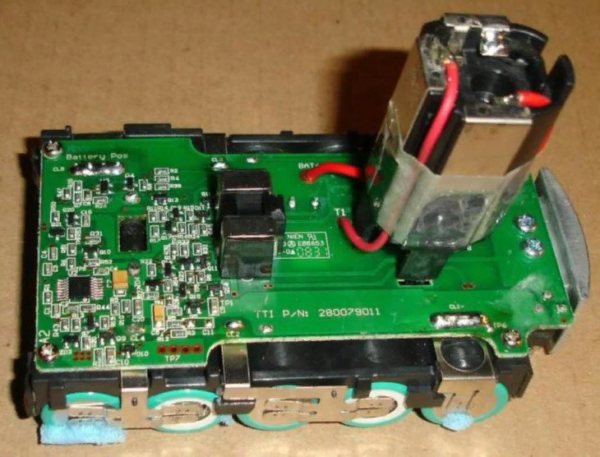
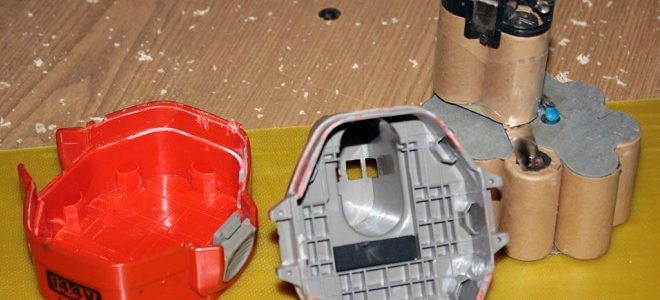
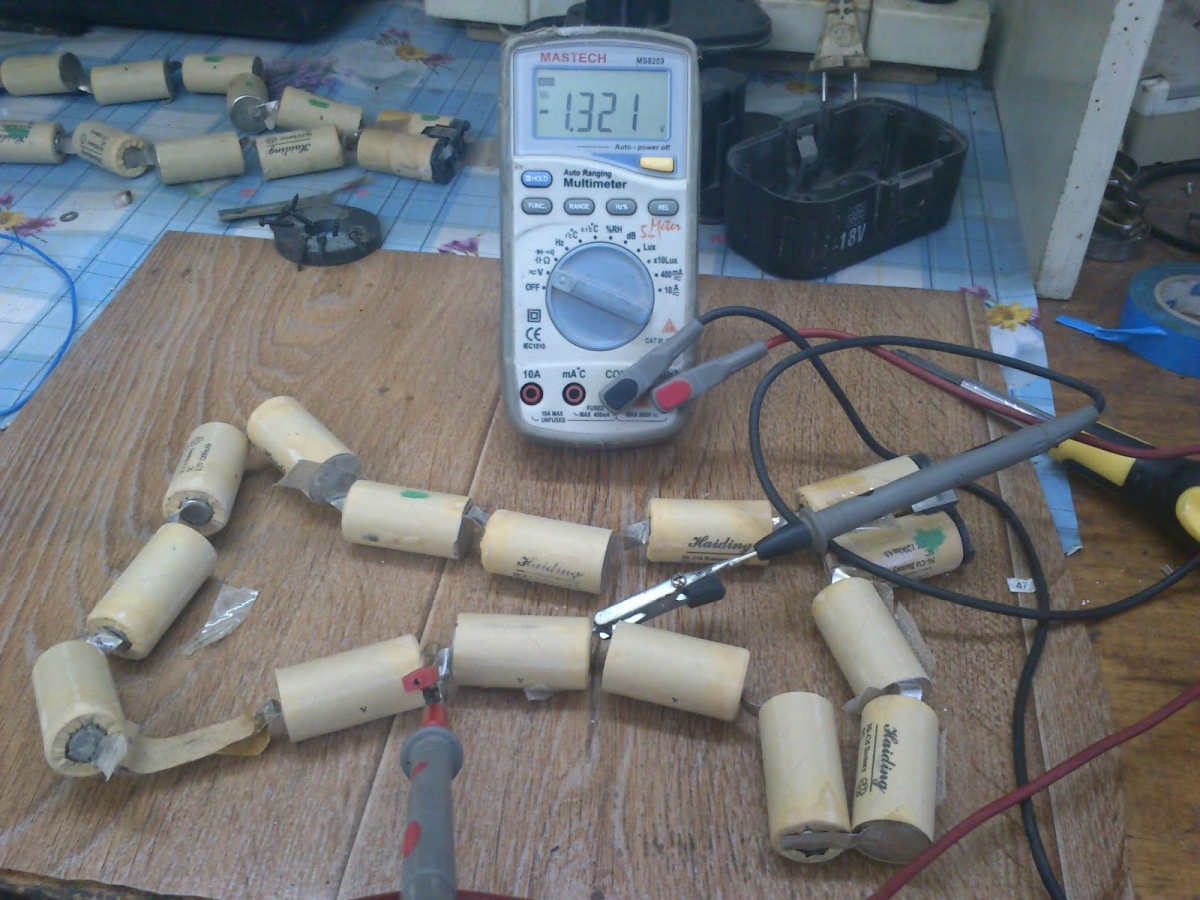
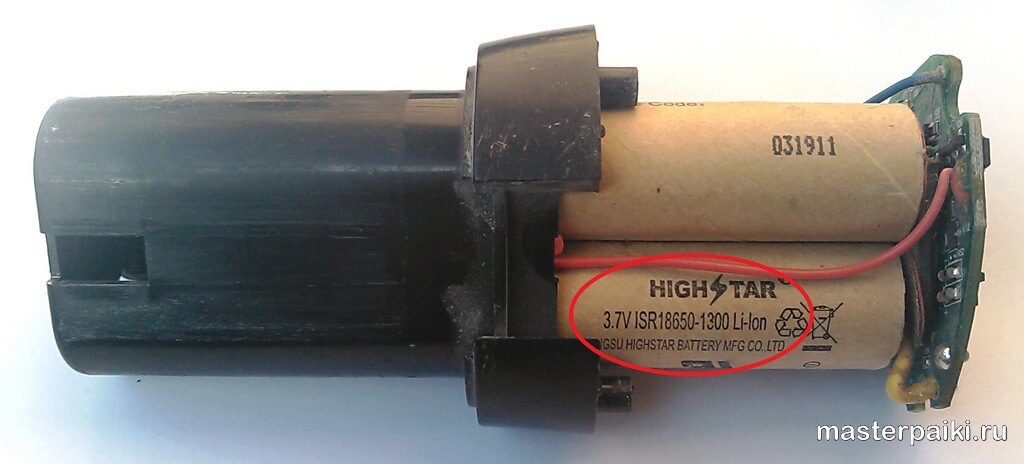
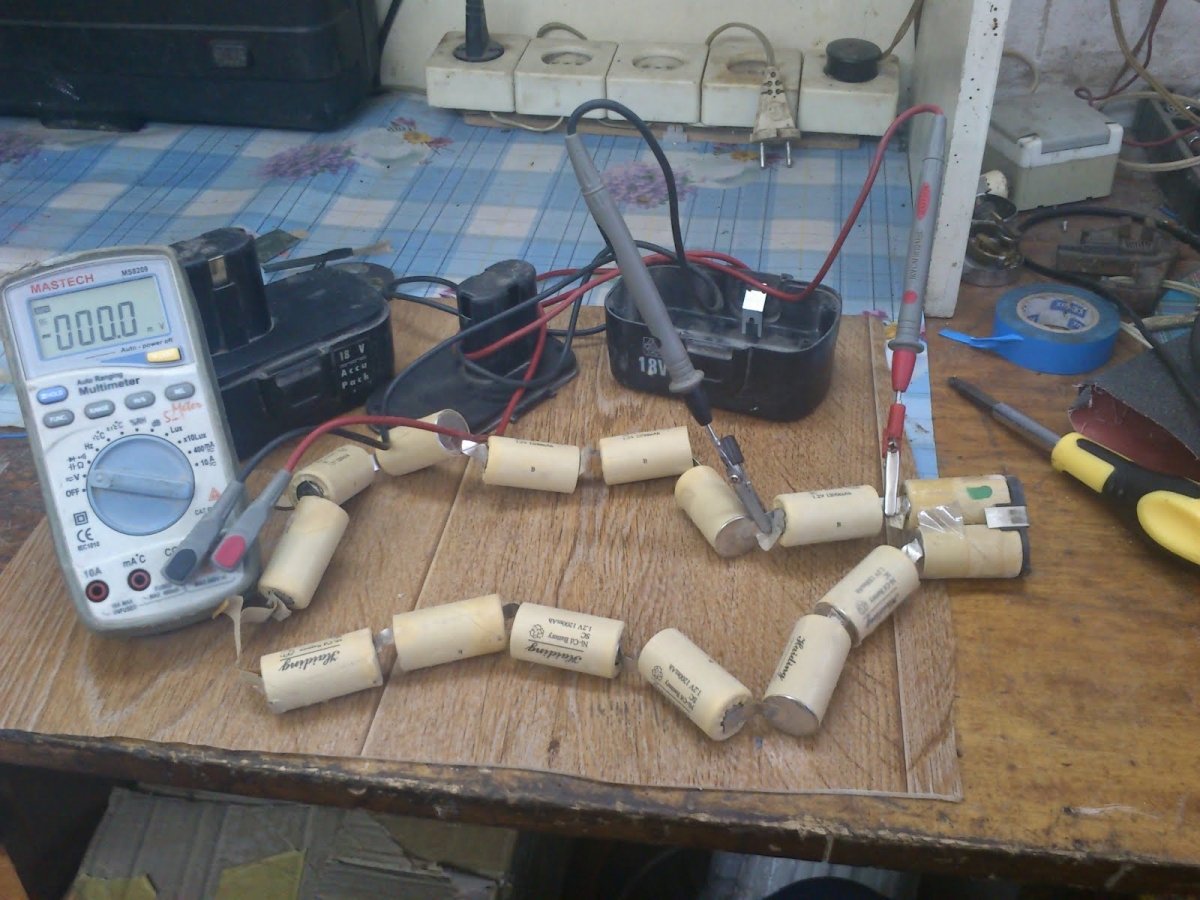
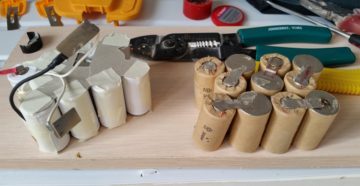
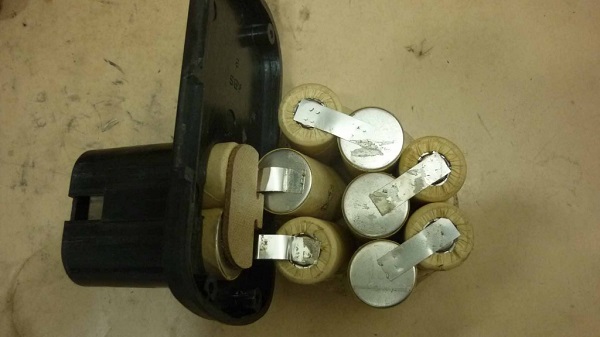
Having disassembled the body base, you will see the banks connected in series with each other. This structure suggests that, even if only one of them is damaged, the battery will not perform well as a whole. You will need to find the weak link in the chain that opens in front of you. Take the cells out of the case and carefully lay them out on the table so that you have unhindered access to absolutely all the necessary contacts. Now take the required voltage measurements of each individual element with a multimeter. To make the check easier and more convenient, write down all the indicators obtained on a separate piece of paper. Some people write them down right away on the corpus - do it as it suits you best.
The voltage value on the nickel-cadmium battery should be 1.2-1.4 V. If we are talking about lithium-ion, then other indicators are relevant here - 3.6-3.8 V. Having measured the voltage values, you will need banks re-install carefully in the housing. Turn on the screwdriver and start working with it. Use the tool until its power is used up. After that, the screwdriver will need to be disassembled again. Write off the voltage readings again and fix them again. Cells with the lowest possible voltage after a full charge will once again demonstrate its impressive drop. If the indicators differ by 0.5-0.7 V, then it should be borne in mind that this difference is very significant. Such details will soon completely "weaken" and become ineffective. They either need to be reanimated or replaced with new ones.
If you have a 12-volt tool in your arsenal, then you can resort to a simpler method for troubleshooting - exclude double disassembly-assembly. The first step is also to measure the voltage value of all fully charged parts. Write down the metrics you find. Connect the load in the form of a 12-volt bulb to the jars laid out on the table. It will discharge the battery. Then determine the voltage again. The area where the strongest fall is present is the weak one.
Fault definition
The most common cause of failure is the failure of only one element. They are connected in series, which means that even a drop in capacity on one battery will lead to a complete malfunction of the entire battery. In this case, we need:
- Screwdriver. Usually the body is connected with Phillips screws. Some models have foolproof protection and there may be vandal-resistant sprockets, triangles or even spanners.
- Multimeter. Any model is enough, even the cheapest DT-830. Since measurements are taken in millivolts, Soviet dial voltmeters will not work.
Next, you need to follow the instructions:
- The battery is disconnected from the screwdriver. It must be fully charged.
- The case is disassembled.
- Now you need to remove all the jars. There are more of them in Ni-Kd, since the nominal voltage of one section is less.
- Voltage is measured on each bank. For nickel-cadmium, 1.2 volts is nominal. For lithium - the normal voltage is in the range of 3.6-3.8 volts.
- After measuring, you need to look at which banks the voltage is reduced. For example, if the voltage on two lithium batteries is 3.8, and on one it is 3.5, then it is she who is defective.
- The battery is assembled and installed in the instrument. Now it needs to be set to zero.
- The battery is disassembled and the voltage is measured again. If the voltage on the alleged element is much lower than on the others, then it is being replaced or repaired.
Checking the screwdriver battery
A test is carried out to determine the actual basic parameters of the battery.
battery cells can change their capacity
The battery of the screwdriver is checked when it is fully charged. A complete check takes place in several stages.
Inspection tools
The electrical storage can be checked using:
- DC voltmeter 15 V;
- ammeter and DC voltmeter;
- tester;
- multimeter.
From the tools you should acquire:
- pliers;
- a screwdriver;
- with a knife;
- soldering iron.
The first stage of verification
Readings are taken periodically
So, half an hour after the start of charging, the voltage value will be 13 V. If you measure it after another half an hour, then the voltage will be 13.5 V. 2 hours after the start of charging, the voltage will already be about 14 V. This indicates that the maximum has been reached. A fully charged battery has a voltage of 17 V.
You can assess the quality of the drive by measuring the current during the charging process. If the battery is in good condition, then it is characterized by a steady rise in current of 1 hour during the charging process. The passage of the current value of the 1 A mark indicates the normal functioning of the drive.
some of the cells in the battery are inoperative
Based on the results of the first check, you can get an initial impression of the health of the battery cells. This will help determine if the battery needs to be disassembled.
Checking under load
To answer the question for how long the battery will be discharged, you should check the drive under load. The load must be selected based on the capacity of the drive. If it is unknown, then it is considered that the load power is equal to half the product of the current that is given to the battery during operation by the voltage of the drive. As a rule, this value is taken equal to 35-40 watts. Thus, as a load, you can use a car headlight (35 W) or use a 12 V spot lamp with the same power.
the battery contains a damaged cell
Checking the Drive Batteries
So, let it turn out that with the help of preliminary checks, the presence of faulty elements in the drive was established. Then it is necessary to disassemble the battery and remove the batteries connected in series - "banks". As mentioned above, the battery consists of 10-12 such cells with a voltage of 1.2 V.
After inspection, you should measure the voltage of each of the "cans". The voltage of one cell should not be less than 1.2 V. During measurements, the battery cells should be disconnected from the connections with any kind of sensors. The measuring device is connected to the battery poles. "Banks" with reduced voltage must be replaced. If during a simple measurement no faulty elements were found, the "banks" should be measured under load.
Checking by resistance value
The normal functioning of each battery can be verified by comparing the internal resistance of the "banks". The value is determined by dividing the operating parameters voltage by current and deducting the load resistance.
A 10 ohm resistor should be taken as a load.
For a better understanding, here are some approximate calculations. Let's say, during the measurement under load, data were obtained for one "can": operating voltage - 1.19 V and operating current - 112 mA. Before making a calculation, do not forget to convert the current value from mA to A - 0.112 A. We perform the appropriate actions (1.19 / 0.112) - 10 = 0.63 Ohm. Recall that the subtracted in our expression is the load resistance of the resistor (10 ohms).
Checking other parameters
Each type of battery has a certain self-discharge rate.
So, within a month of storage:
- Nickel-cadmium battery can be discharged by 20%;
- nickel metal hydride - 30%;
- lithium-ion storage - up to 8%.
Checking the power supply elements for the presence of the "memory effect" is carried out by fully charging the battery and completely discharging it. Several charge-discharge cycles (3 or 4) are performed. The battery can be discharged using a 12V lamp. In the course of action, the residual operating voltage and the open circuit voltage are measured. After repeated cycles, the “memory effect” will disappear.
Battery Malfunction Detection Method
Taking into account the serial connection of the batteries, the primary task of the contractor will be to find the "weak link", because if at least one cell fails, the battery will function with significant technical deviations. If we consider that the simultaneous breakdown of all components of the circuit is not possible, it should be understood how to determine the deviations of individual batteries.
Method 1. Using a multimeter
Given the identical voltage level of all components of the circuit, you can determine the faulty element using a multimeter (switching it to DCV voltage measurement mode). It should be remembered that the nominal voltages for different types of batteries have different values:
- Ni-Cd and Ni-MH (voltage 1.2V);
- Li-Ion (voltage 3.6V).
The very same method of determining a failed battery is made according to the following algorithm:
The battery is set to a full charge;
The body of the device is disassembled, and alternate voltage measurements (using the device) are made on each of the cans;
Cells are marked, the voltage on which is below the established norm (for Ni-Cd and Ni-MH batteries, the voltage should vary in the range of 1.2 - 1.4 V; for Li-Ion - within 3.6 - 3.8 V).
The battery is collected and installed in a screwdriver, after which it should be discharged to a noticeable decrease in power, for which a number of power operations can be performed using a power tool.
After discharging, the battery case is disassembled again, and the voltage is measured again in all sections of the circuit (special attention should be paid to the marked elements)
In the event of a voltage drop across the cell of 0.5 - 0.7 V, such a battery is considered unusable.
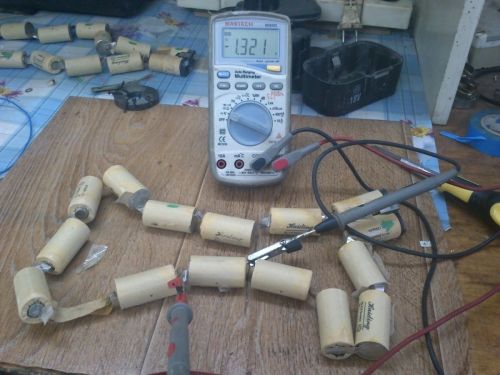
Method 2. Using a load
The technology for detecting weak batteries in this case is similar to the one described above, with the only difference that a 12 volt lamp (for example, 40 W) is used to discharge the battery, which will act as a load. And in order to solve the problem, you will not need to assemble / disassemble the battery pack several times.
After completing all the above manipulations, all unreliable elements of the battery circuit are determined, and only after that a decision is made to replace or restore them.
Types of batteries used in screwdrivers and their differences
The cordless tool uses a nickel-based or lithium-based power source. The bank is equipped with a waterproof case made of shock-resistant plastic, inside there are batteries connected in a common circuit.
Nickel metal hydride
They are distinguished by a high density of stored energy, but by the value of the maximum current in the circuit they are inferior to cadmium batteries. Products have a reduced self-discharge rate; during normal operation, a slight decrease in voltage is observed. The materials used in the construction are environmentally friendly; to restore the battery, a current strength of no more than 30% of the nominal capacity is required.
Nickel-cadmium
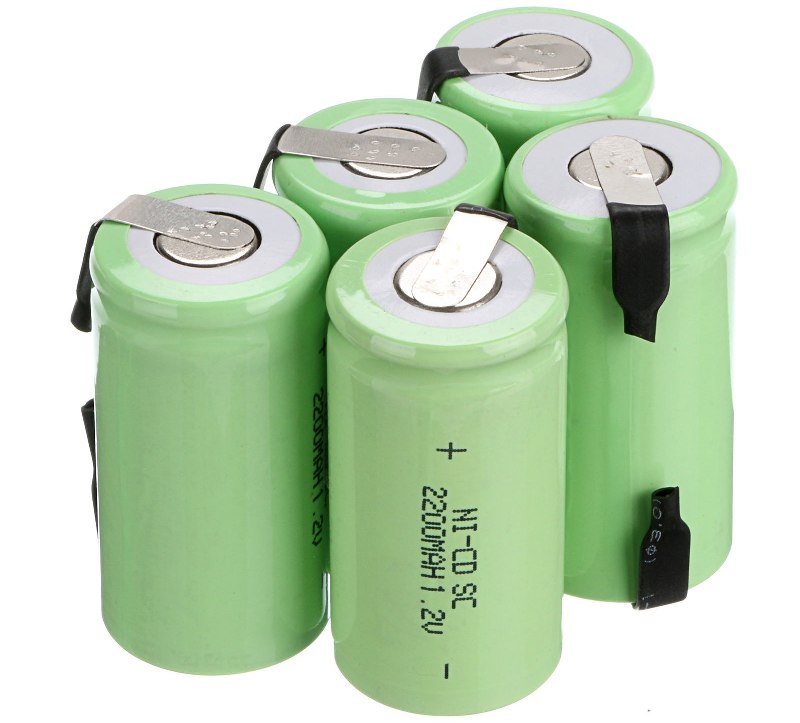
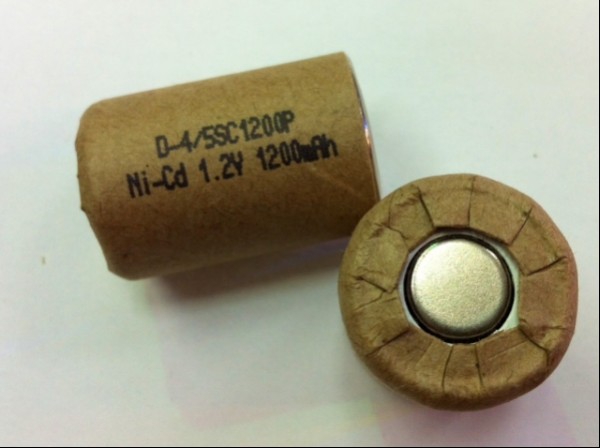
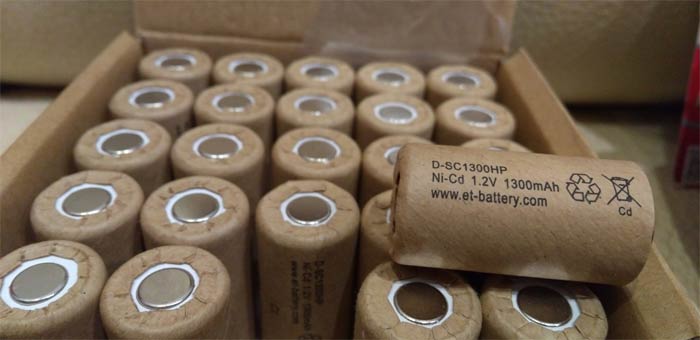
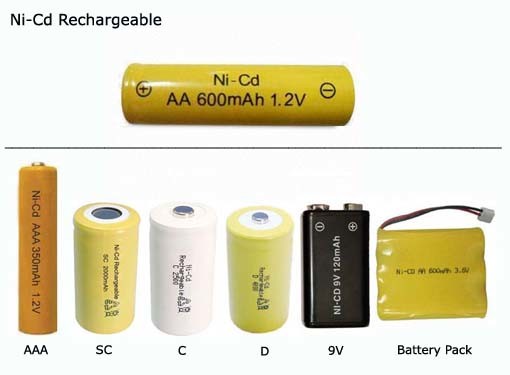
The battery for the screwdriver is based on Ni-Cd batteries.
These elements are most commonly used to drive the electric motors of the tool. Each section has an operating voltage of 1.2 V, the parts are collected in common banks.
The advantage of batteries is the ability to deliver an increased nominal current, but with partial discharge, a drop in capacity is observed.
This process is reversible, with successive periods of discharging and charging to recover. The resource of the cadmium-type power supply is up to 1000 cycles.
Li-ion
They differ in reduced self-discharge and increased capacity (without increasing dimensions). No maintenance required during operation. For charging, special devices are used, since if the procedure is violated, the element may ignite or explode. Mechanical defects negatively affect the stability of the battery, which breaks down or catches fire when attempting to charge.
Lithium-ion batteries are equipped with protective mechanisms that are triggered at the time of discharge with an increased current. To reduce the likelihood of an explosion, an anode made of graphite was introduced into the structure.
But the tendency to spontaneous combustion in violation of storage and operation conditions persisted. Power supplies do not tolerate deep discharge, an increase in voltage in the charging circuit leads to an irreversible drop in capacity.
Lithium polymer
The lithium polymer type power supply has a reduced voltage drop as the terminal voltage decreases. Operation at an air temperature of -20 ° C is allowed. Polymer material allows making thin and flexible batteries (thickness from 1 mm).
Li-Po batteries, unlike other types, are more compact, which makes them somewhat difficult to repair.
But the batteries retained a high fire hazard if the operating conditions were violated. The jar has an electronic protective board that limits the maximum current in the circuit. To restore capacity, you need to use a special charger; the power supply can withstand up to 900 operating cycles.
Deep discharge must not be allowed; during long-term storage, the product breaks down. To reduce natural wear and tear, special inhibitors are introduced into the electrolyte composition.
Screwdriver battery repair work
So, during the checks, non-working batteries were identified. What to do in this case? There are two ways out - an attempt to "reanimate" the elements or a simple replacement of non-working "cans".
"Reanimation" of storage elements
the reason for their failure lies in the decomposition of lithium
- The control scheme should be changed. If the batteries are working, then the circuit itself needs to be repaired.
- The battery is supplied with a regulated charger at 4 V with a current of approximately 200 mA. An increase in the voltage on the "bank" to 3.6 V indicates the health of the element and, therefore, either the control circuit or another battery is to blame for the malfunction.
To "reanimate" the battery of the screwdriver battery, two methods are used:
- Restoring the working capacity of "cans" by compression or compaction.
- Supply of high voltage and current to the storage element. In this case, it will be possible, although not completely to eliminate the lost capacity and get rid of the "memory effect".
However, these methods cannot completely solve the problem of battery failure. They will only delay the inevitable. Sooner or later, you will have to change banks anyway.
Replacing the "cans" in the screwdriver battery
the parameters of the capacity and dimensions coincided with the replaceable elements
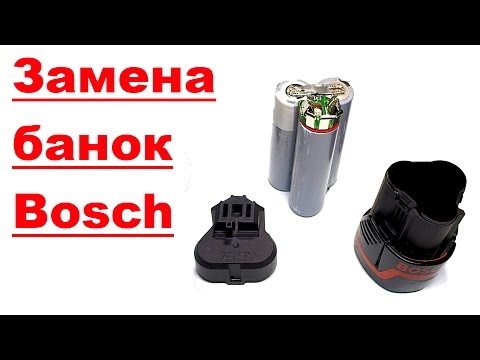
The task itself is simple. It is good if you have experience in soldering. In the connection of the elements, the faulty battery is cut off, a good one is put in its place, then soldering is performed. As you can see, nothing complicated.
However, in this case, several important nuances should be taken into account:
- you need to solder quickly so that the "banks" do not heat up - this may affect their performance;
- to connect the elements, it is better to use native plates, or copper, but of the same dimensions;
- when attaching a new element to an old one, do not confuse plus and minus. When connected in series, the minus from the previous battery goes to the plus of the new battery.
After soldering, you should carry out a charge-discharge cycle, and then measure the voltage on the "banks". It should be around 1.3 V.
Diagnostics of malfunctions of the battery
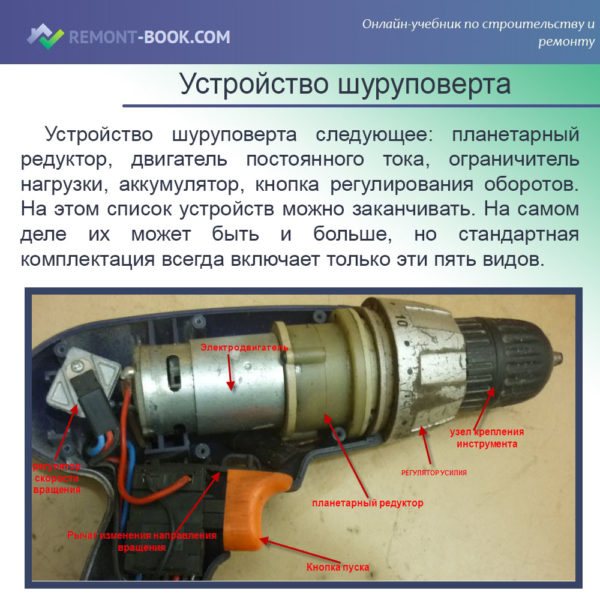
It is not necessary to suspect a screwdriver battery malfunction or to restore it immediately, but first try to replace it with the second one from the kit, before charging it properly. If the screwdriver does not rotate well, then this may be caused by breakdowns in its mechanics (motor or gearbox). If in doubt, replace the power supply, if possible. If everything points to the battery, then you can start diagnosing and restoring it.
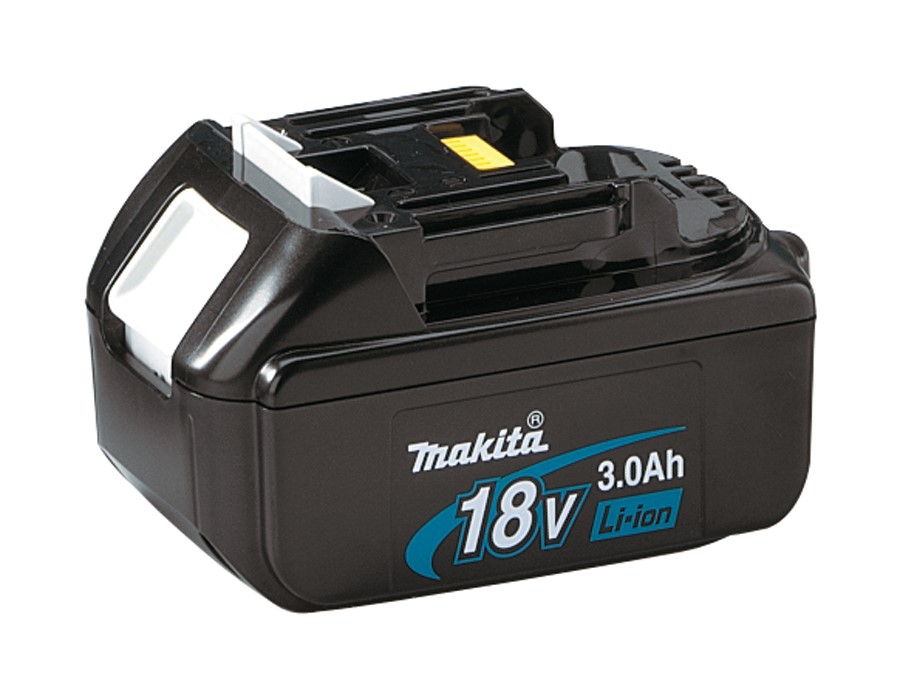
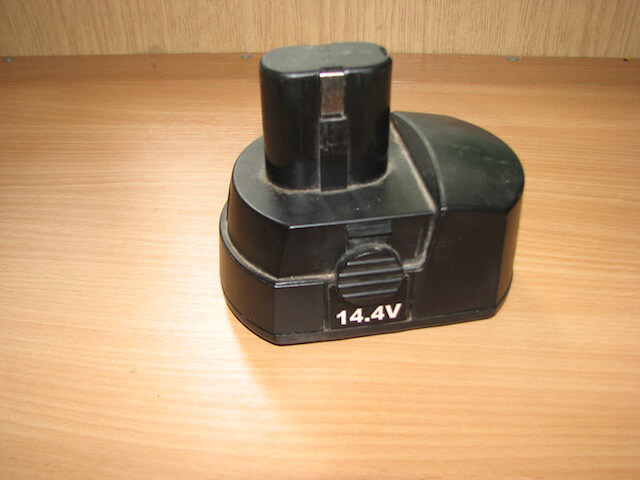
First of all, you need to find out the type of battery. This is written on its case and the possibility of recovery depends on it. The rated voltage should also be indicated. It usually lies in the range of 14 ... 19 V. Then, without disassembling the case of the battery block, they check it. You can use two methods for this:
- Checking with a multimeter;
- Load check.
Multimeter method
The multimeter can be used in two modes: voltage measurement and current measurement. If there are two devices, then this is even better, you do not need to make unnecessary switches.
The measurement setup is shown below: One multimeter switches to voltage measurement mode (voltmeter), the other to current measurement mode (ammeter). If there is only one device, then instead of an ammeter, you will have to use just a wire. The wires from the battery to the voltmeter can be thin, and the wires from the power source to the battery are thicker, but do not get too carried away, in the end, wires of 0.5 mm.kv are suitable for the entire circuit.
If the voltage on the battery is normal, but the charge current is small, much less than one ampere, then for a Ni-Cd battery this may mean a malfunction of one of the battery cells. The restoration of the screwdriver battery is canceled here, repair is needed. For Li-ion, this means that either it is normal, or also a malfunction of one of the elements.
Let the Ni-Cd battery have a nominal voltage of 18 volts. Then it is easy to find out how many elements are inside without opening the case. Knowing the nominal voltage of Ni-Cd 1.2 V, divide: 18 / 1.2 = 15. This means that there are 15 elements in the case. If the voltmeter shows an open voltage of 16.8 V, then this may mean a short circuit of one of the cells, and simply a discharge of a normal battery. Such a battery in a discharged state gives 15 V. If a charged one shows 16.8 V or so, then one of the cells is short-circuited. It will not work either, you will have to replace it.
If the battery passes a current of more than one ampere while charging, and the voltage gradually increases, increasing by 0.1 V every 5-10 minutes, and at the end of the charge the voltage is slightly more than the nominal value, then the battery is in order, no recovery is required.
Load method
This method is similar to the previous one and is perhaps simpler. No need to disassemble the charger, or use a laboratory power supply. You only need:
- Car bulbs;
- Multimeter;
- Pieces of wire;
- Soldering iron with solder and flux.
Testing scheme:
If the battery delivers the rated current for several minutes, the voltmeter shows a voltage slightly lower than the rated voltage, and the bulbs do not fade, then the battery is in good order. However, it may happen that for Ni-Cd the current will soon begin to weaken. This is a manifestation of "memory". In this case, you need to carry out the restoration. Lithium-ion batteries do not have a memory effect, although in theory it exists, in practice it is believed that it simply does not exist.
Item-by-item check
This method requires disassembling the battery case. It is used when the battery or its cell stops delivering good current and recovery attempts fail. One bad link is enough here, since they are connected in series. But to find such an element, you need to check the internal resistance of each of them.
Of course, you need to start with a general inspection of all cans: are there any cracks, leaks, etc. A defective element will immediately give itself out in appearance.
Checking for current output is carried out using Ohm's law for a complete circuit (aka the first Kirchhoff's law). To do this, you need to take a resistance with a nominal value of 10 ohms, designed for 25 watts, and an ammeter. The element under test is short-circuited to a resistance connected in series with the ammeter.
For example, suppose a current of 100 mA is obtained for a 1.2 V Ni-Cd battery. Let's write it down and re-measure, but not the current, but the voltage across the element. First, we will measure the open voltage, without connecting the resistor, and then connect the resistor and see how much the voltage has dropped. Let the first time it was 1.2 V, and after connecting the resistor it became 1.05 V. Then the internal resistance of this element:


