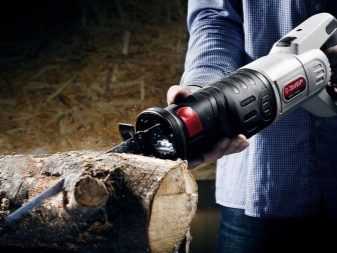
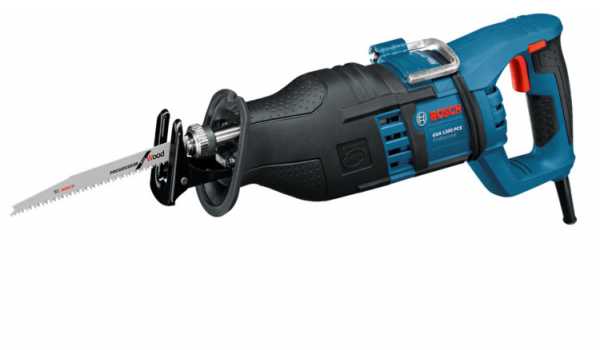
Additional accessories
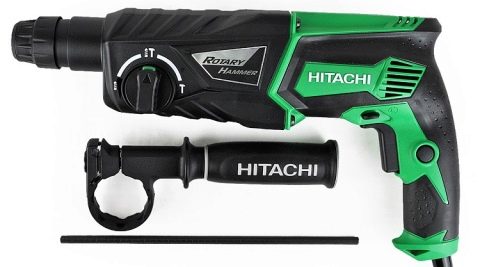
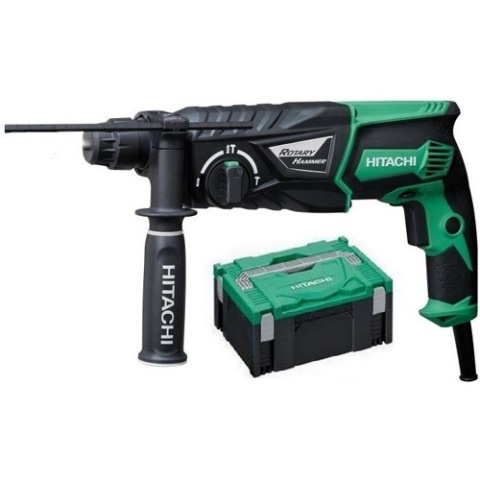
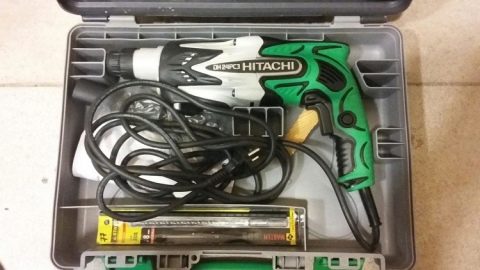
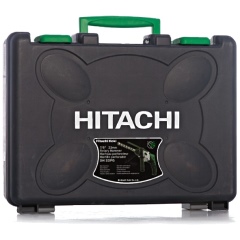
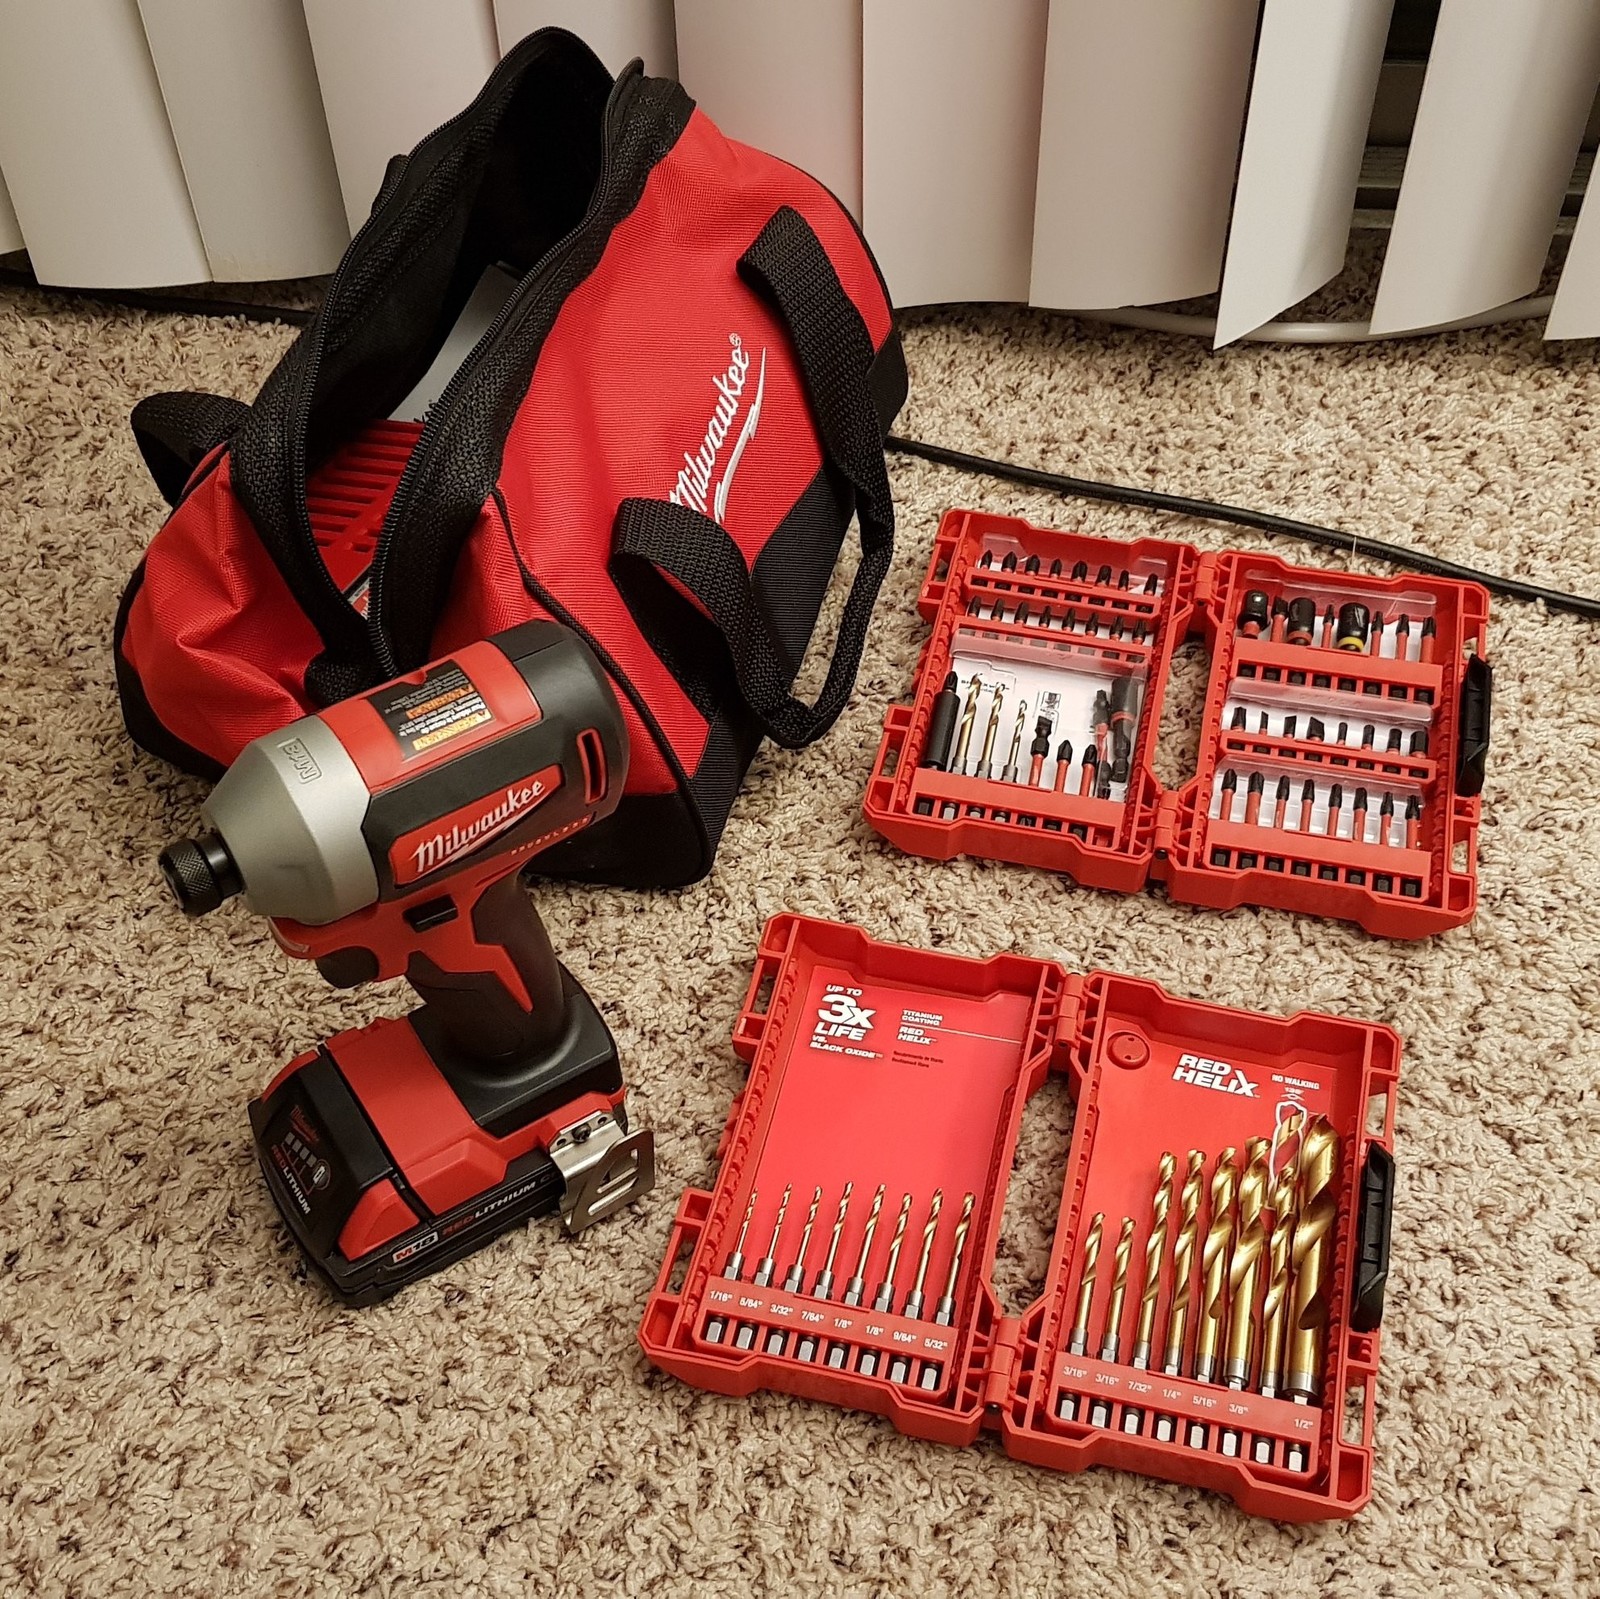
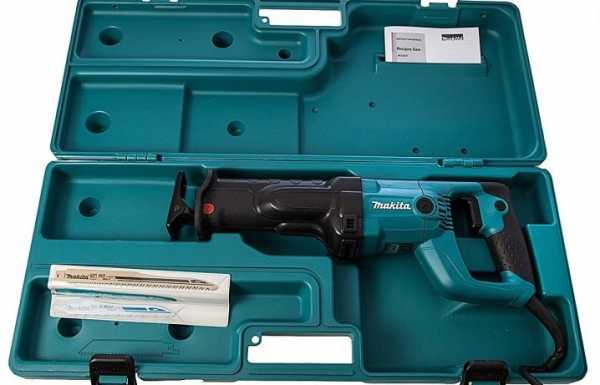
When buying a Hitachi rotary hammer, the user receives the tool itself with all the components in the assembly and a case for storing and carrying it. It is recommended to consult with the store's specialists before buying, what other additional devices may be needed for its further operation. As a rule, the assortment always contains a variety of attachments, add-ons, consumable components.
There are the following types of attachments:
- construction drill;
- drill bit;
- chisel;
- peak;
- scapula.
The brushes and the barrel are already included in the general kit of the purchased rotary hammer. However, the technique tends to break down. Any component part can always be found and bought in specialized stores, replacing the broken one with a new one yourself or by entrusting it to professionals. Purchasing add-ons or spare parts for repair will not be a financial problem for the owner as Hitachi has an Affordable Price policy.
Repair of striking mechanism strikers
In the barrel of the percussion mechanism, two types of strikers are used. Striker poz.37 of the cylinder liner of the percussion mechanism and the striker of the barrel poz.29.
On the striker poz. 37 a rubber ring poz. 38, and on the firing pin, pos. 29, a rubber ring, pos. 30, is mounted. and a rubber gland pos. 32.
In addition, on the firing pin, pos. 29, a holder of the impact mechanism, pos. 31, is installed, on both sides of which O-rings, pos. 30, 32, are installed. Then, the damper holder, pos. 35, is mounted on the firing pin, which is fixed with a retaining ring, pos. 36. Item 34 is a rubber gasket.
The main breakdown of the strikers is their wear, wear of the O-rings during shock loads. The striker can bend, flatten.
Breakdowns of this kind are eliminated by replacing the parts of the percussion mechanism and the obligatory replacement of all rubber sealing rings.
To purchase new spare parts, you need to know the part numbers of the ordered parts, which are indicated in the photographs shown.
Intermediate shaft clutch repair
When using the punch in the "Impact" mode, do not try to press hard on the tool.
The loss of the shock pulse leads to slipping of the clutch, pos. 51, on the intermediate shaft, pos. 52.
The teeth of the clutch are licked during strenuous work. This occurs when increased pressure on the working tool during work or weakening the pressure of the spring (pos. 50) on the clutch.
The tooth profile can be restored using a file. If the tooth is not too licked, then with a round file the tooth profile is corrected by restoring its angles on the clutch and on the intermediate shaft pos. 52. Otherwise, it should be replaced with severe wear.
Replacing rubber O-rings
Multiple O-rings are used in the shock impulse chain.
The loss of the shock pulse on the working body occurs due to abrasion of the O-rings. The malfunction manifests itself gradually, as the seals wear out.
What to do if there is no impact in the hammer drill
If the tool refuses to hammer, it is not necessary to immediately disassemble it or plan a trip to the service. Sometimes the reasons for refusal can be elementary.
In some models of hammer drills, the impact mode is blocked by reverse. It is enough to move the lever to the desired position. A similar effect can be from not fully turned the mode switch.
When drilling vertically, dust and small debris can clog the chuck and firing pin under the drill.Having taken out the drill, it is necessary to clear the debris from the cartridge and push the firing pin down.
Using cheap consumables can also cause a malfunction. The shank of a low-quality drill sometimes turns out to be riveted in the form of a "fungus" inside the chuck. It is not always possible to remove such a drill without disassembling the cartridge.
High-quality consumables, timely prevention and maintenance are guaranteed to exclude tool failure at the most inopportune moment. If there are hints of a malfunction, it is better to immediately contact the service or, if you have experience, make the repair yourself.
Dismantling the punch
 The body of most devices is made of two halves: back and front. Between themselves they are tightened with screws located parallel to the direction of the axis of the installation of the drill. But it so happens that the halves are also attached using side mounts. Before unscrewing the fastener connecting the halves of the case, you will need to remove the cartridge.
The cartridge is used in accordance with the SDS-plus or SDS-Max standard. To disassemble it, you need a flat-edged screwdriver. At the first stage, the chuck clamp is released from the installed drill. If the mechanism itself is jammed and it does not lend itself to untwisting, then it should be knocked in a circle with light blows of a rubberized hammer. Application and flushing liquid will not interfere. At the next stage, the plastic casing is pulled down, the rubber boot is removed with a screwdriver. After that, it remains to remove the retaining ring, using the same screwdriver, remove the spring with the ball and the retaining plates.
When the cartridge is removed, the body parts are removed. When disassembling the tool, you should be careful noting the order in which the elements were removed and where they were located. If an overlay is put on the handle, then detach it as well. After that, it remains to carefully spread the housing and the gearbox in different directions. Using the resulting gap, gets the switch button. The brush holder is removed.

The button for setting the operating modes, despite the variety of devices, is removed in the same way. The switch is set to the blow position (depicted in the form of a hammer on the body), after which it is slightly pushed off and rotated counterclockwise by one or two centimeters. Then, the shift pad is removed by a pulling movement towards itself and the seat is released.
Pros and cons of Hitachi punchers
Advantages of Hitachi punchers:
A wealth of choice
Hitachi offers the widest range of rock drills weighing from 2 to 18 kilograms, of various configurations and functionality.
Low price with optimal quality distinguishes all Hitachi products.
Choosing a hammer drill from this company, you should pay attention to the individual advantages of models of various classes. The DH30PC2 is the smallest in its class yet has the fastest drilling and chiselling speeds
The assembly is Japanese. The three-mode DH28PC is equipped with a shock-blocking mechanism. Assembly - China.
The availability of parts for repair and the ability to repair perforators in private offices. Original Japanese spare parts are an order of magnitude more expensive, but also an order of magnitude better.
Disadvantages of Hitachi punchers:
- Inexpensive Chinese-assembled devices quickly heat up - you can work with such a tool continuously for no more than 30 minutes. During use, there is often a specific smell of heated plastic.
- Consumables quickly fail - plugs, cables, rubber bands on strikers, regulators.
- A large number of Chinese counterfeits are sold in stores and dealers, which have nothing to do with Japanese original technologies or Hitachi itself.
Reasons for not hitting
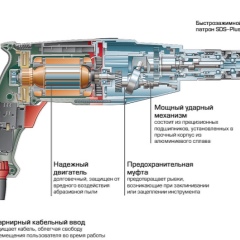
At first glance, it seems that the striking mechanism has a simple design, and there is nothing to break there. Load, dust and vibration gradually take their toll.Typically, the force of impact decreases as the mechanism wears out and eventually comes to naught. The abrupt disappearance of the impact is due to the deformation or destruction of some parts.
Striker and drummer
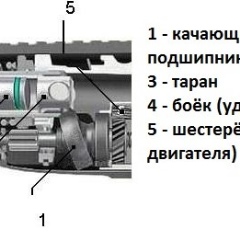
These parts are made from high strength steel. The striker rarely fails, but the bushing in which it moves absorbs some of the shock energy and collapses over time. Shrapnel jam the firing pin and the hammer stops hitting.
The striker ("flying piston") has a compression ring. When it wears out, part of the air passes into the gap between the cylinder in the barrel and the striker. The more wear and tear, the weaker the impact. The problem is solved by replacing the ring with a new one.
Sometimes the striking part of the "flying piston" breaks against the firing pin. This is usually the result of pressure on the rock drill while drilling holes. The drilling speed does not increase, but the load on the mechanism increases, which accelerates wear. Repair consists in chamfering on an emery machine or replacing a part.
"Drunk" bearing
It is mounted on the shaft at an angle and drives the piston. If there is a depletion or destruction, the bearing must be replaced.
Mode switch
Mechanism parts can come out of the guide grooves. This may be due to deformation, wear, or frequent use of the tool in an incomplete mode. The malfunction is eliminated by installing parts in their places or replacing them with new ones.
Grease
Failure to change the grease can also be the reason for the lack of shock. Working with a hammer drill implies the presence of dust, which does not in the best way affect the properties of lubricants. Dust can clog the holes in the cylinder that allow air to circulate when the hammer is operating. The same effect is possible when using a grease that is too thick, not intended for rock drills.
Replacing brushes yourself or at a service center
What to do if the puncher fails, each master decides for himself. You can use the services of a service center and fix the problem there.
Benefits of service in a service center:
- Professional work.
- Use of original parts corresponding to the model of the tool.
- Availability of warranty service.
- Full inspection of the tool accessories, their cleaning and lubrication.
In this case, you need to be prepared for the following features of the repair in the service center:
- At the end of the warranty period, all subsequent repairs are made for a fee.
- The repair will take several days.
- Services are often not located nearby.
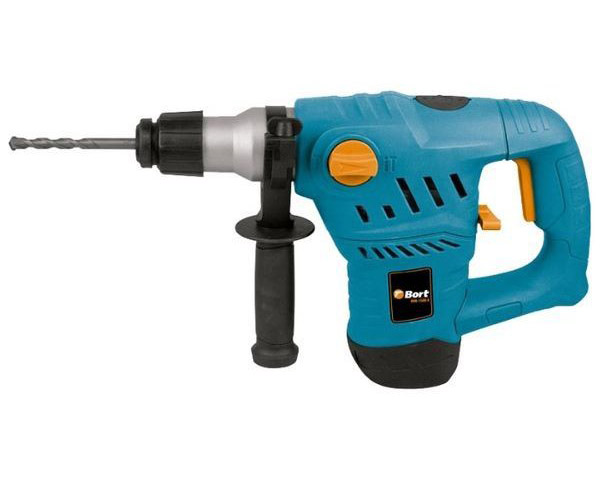
Therefore, those masters who prefer to save time and money replace the brushes on their own. How to repair a perforator that sparks due to worn parts, the algorithm will tell you:
- in a de-energized tool, unscrew the screws and remove the top cover;
- carefully remove the brush holder and remove the worn out parts;
- new brushes are fixed in the holder, pressed to the edges and installed in their original place;
- close the lid and tighten the screws.
Disassembly and assembly procedure
Having freed and cleaned in the workshop a place for repair work with electrical equipment, and having prepared the necessary set of tools, the puncher begins to be sequentially disassembled to determine the malfunction, carefully examining each assembly and detail. The tool is disassembled according to the following scheme.
Removing the cartridge
After making sure that the perforator is de-energized, the installed nozzle is removed from the cartridge head, after which the cartridge is separated and disassembled. For this:
- Use a flat screwdriver to detach the rubber boot.
- Using pliers, open and remove the retaining ring.
- Carefully detach the plastic anti-invasive casing tube, making sure that the bearing balls, washer and spring do not fall out.
- Parts are laid out and cleaned of grease, after which they are inspected for damage.
How to remove the mode switch
To diagnose internal components, it is necessary to remove the punch body and clean the surface of the components from dust. Analysis begins with the separation of the operating mode regulator.
It is transferred all the way - as a rule, this is the extreme right position (below the bump mode icon), after which, prying it with a flat screwdriver, remove the regulator from its socket.
How to check the start button and brushes
Further, the master unscrews the fasteners of the case, removes it and starts servicing the inside of the device.
The first thing that is checked is the button for starting the rotation of the tool. The button is separated from the power supply wires and tested with a multimeter.
If the plastic from which the button is made is not melted, then the starting mechanism and the speed regulator installed in it are working properly. Otherwise, the unit is replaced with a new one.
The next step is to remove, check and clean, and, if necessary, replace the brushes of the power unit.
The brushes are removed by picking them up with thin tongs or a screwdriver. Based on the design features of the engine, the brush channels are equipped with special plugs. They are pulled out, the springs and retaining screws are squeezed out. The brushes can now be removed without the need to disassemble the moving part. The brushes and the channels in which they are stretched clean
When installing them in their original position, it is important not to confuse left and right. If the graphite structure of one of the brushes is damaged, it is replaced with a new one, suitable in size and cross-sectional configuration.
As a rule, modern models include 2-3 suitable brushes for replacing worn-out ones.
How to disassemble an electric motor
To inspect the propulsion part, the first thing the master does is to separate it from the percussion mechanism and the gearbox. To do this, unscrew the retaining bolts (there are four of them), after which:
The rotor (or rotor armature) is removed from the hub of the gear drive.
The separated motor is removed from the housing.
The rotor and stator windings are diagnosed separately.
The rotary armature is checked for the integrity of the windings and the absence of bridging and twisting turns
Also, the master will pay attention to the bearings - if their integrity is broken, they are removed and replaced.
After unscrewing the retaining screws, the master removes the stator by gently shaking or tapping on it.
The rotor and stator windings are inspected with a multimeter, measuring the resistance on the lamellas.
How to disassemble and check other elements
Having dealt with the electrician, the master will begin to examine the mechanical assemblies:
- Separate the plastic cover from the gear drive. In doing so, it is recommended to run a magnet over the casing so that individual parts, such as ball bearings, do not roll out.
- Will extract the axial shaft from a "drunk" or floating bearing, it is his "swing" that transfers the shock impulse to the chuck.
- He will remove the drive gears (with curved and straight teeth) by removing the circlips, after which he will separate the bearing.
- Separate the retaining ring from the flare sleeve and unscrew the impact bolt, and then check the integrity of the hammer made of durable metals.
- After examining the units and, if necessary, replacing damaged elements, the structure is assembled in successive blocks. Craftsmen recommend lubricating every part and assembly during assembly.
Mechanical group of faults in Interskol perforators
Let's consider all the malfunctions using the Interskol P-26 / 800ER perforator as an example.
The first group of malfunctions includes breakdowns associated with the failure of parts of the percussion mechanism.
This group of faults is manifested in the fact that during operation the hammer drill drills, but cannot hammer.
Worn rubber O-rings
The weakening of the impact force occurs gradually. As the rubber rings wear out, air leaks into the pneumatic impact system. The force of the blow weakens, the blow becomes hard.In addition to the loss of pneumatic properties, the destruction of strikers, strikers, press masses occurs.
A set of rubber sealing rings for the Interskol perforator
Repair of the Interskol perforator when the O-rings are worn out consists in replacing them with new ones.
The installation of new rubber rings is carried out at any disassembly of the perforator with the obligatory application of lubrication of the O-rings with lubricants inert to rubber products. Such greases include a domestic grease of the Tsiatim-224 type, manufactured in accordance with GOST 9433-80.
The rubber O-ring is lubricated with a thin layer of Tsiatim-224 grease and put on the desired part, previously washed from the old grease in a solution of a mixture of kerosene and gasoline.
Destruction of strikers, strikers, barrels, pistons
If the rubber O-rings are very worn out and if they are not replaced in time, the press mass, pos. 16, the barrel, pos. 36, the body of the safety device, pos. 40, and the striker, pos. 45, are destroyed. Hardening, cracks, curvatures, jamming appear on the parts from impact.
Malfunctions are eliminated by replacing parts with new ones with a mandatory change of seals.
Details of the percussion block perforator Interskol P-26 / 800ER
The destruction of the piston pos. 47 is of two types:
- The piston skirt collapses;
- The ears of the installation of the finger, pos. 48, are broken off.
Repair of the Interskol P-26 / 800ER perforator and its destroyed piston is performed by replacing the piston with a new one. When purchasing a piston, carefully check the roughness of the inner surface of the piston. It should be finished to a mirror finish.
Barrel failure pos. 36 does not appear often. The main reason is scratches on the inner surface when strikers, strikers, industrial mass fail.
If the depth of the scratches is not large, then the scratches can be removed by grinding. With a large depth of scratches, it is impossible to ensure tightness, and this affects the operation of the hammer drill in the "Impact" mode.
Destruction of the rolling bearing
The shock impulse is created not only pneumatic shock system mechanism, but also by converting rotary motion into reciprocating due to the operation of the rolling bearing pos.60. There are cases of destruction of the bearing race.
If the rolling bearing is destroyed, the repair of the Interskol P-26 / 800ER perforator consists in a complete replacement of the part.
Violation of the transfer of torque to reciprocating can be interrupted due to slipping of the splines of the gear combined gear wheel pos. 62 in the splines of the rolling bearing pos. 60.
The malfunction is eliminated by correcting the tooth profile with a round file.
The disappearance of the impact mode is manifested when the mode switch is not working properly. Moving the mode switch knob does not move the switch leash, pos. 55.
The breakage is eliminated by correcting the assembly of the intermediate gear shaft pos. 58.
A group of faults in which the hammer hammer hammers, but does not drill.
Views
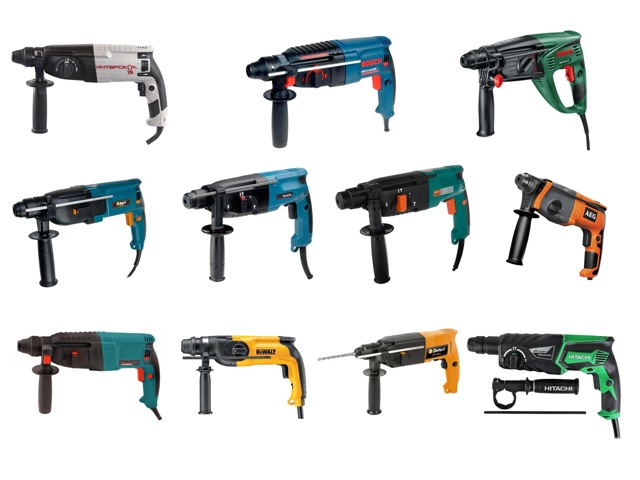
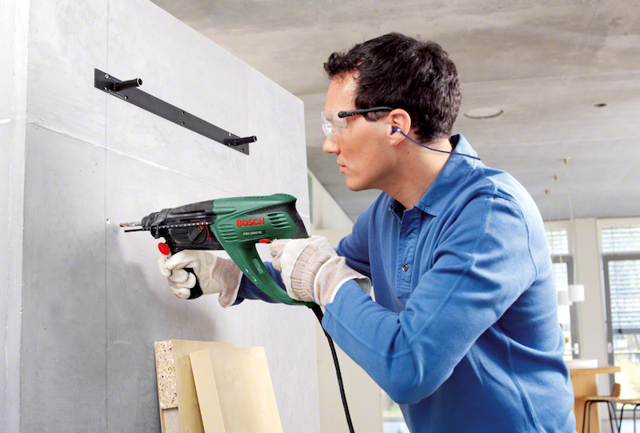
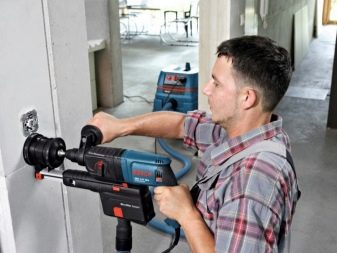
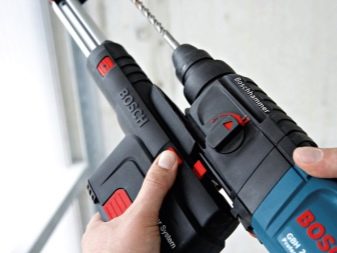
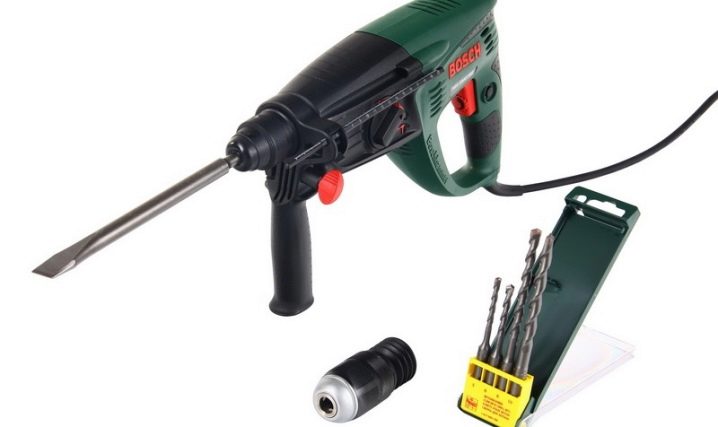
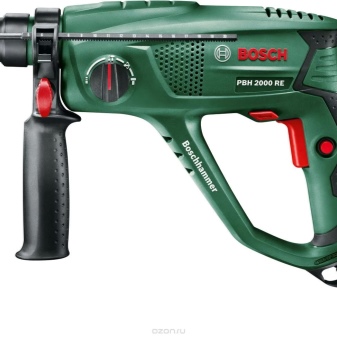
Rotary hammers from Bosch are divided into types:
Household models (engines 410-720 watts). Such units have three standard modes, their weight is small (no more than six kilograms).
The letter "P" defines the model as a unit for domestic use. Usually such a tool is marked with a green color scheme. The disadvantage of such machines is not the best cooling and increased efficiency.
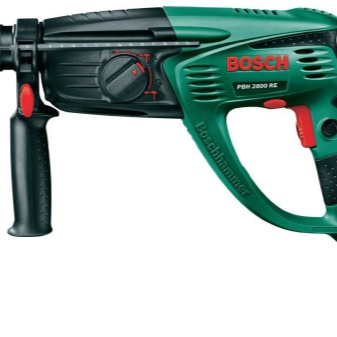
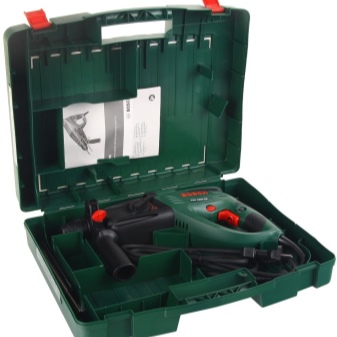
Such models have much more advantages than disadvantages, among which it is worth mentioning:
- average price;
- light weight;
- compact size;
- good performance;
- reliability in work.

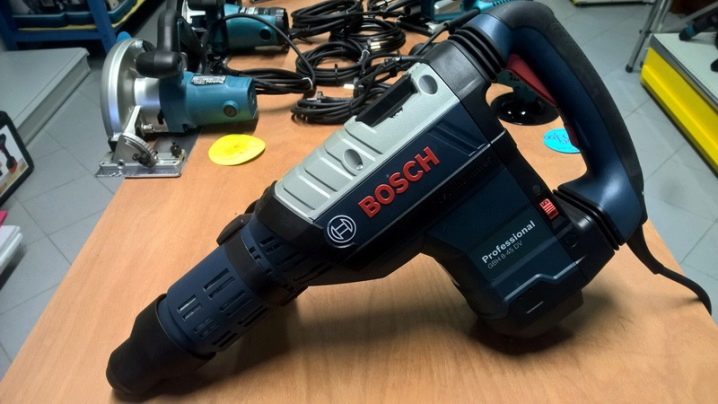
The advantages of this model are effective cooling of the unit, minimal vibration, and reliability in operation. If we talk about the shortcomings, then we should mention the large size of such devices and the high price.
-
Drill perforator. Has the following technical indicators:
- power - up to 1.6 kW;
- rotation - no more than 3980 revolutions;
- the number of beats is about 50 per minute.

DIY electric jackhammer repair
Repairing an electric jackhammer is not an easy task. In order to perform it, you need to understand: as a rule, hammer repair consists of two main stages:
- Fault detection - identification of a problem node that has already failed or its resource is close to zero.
- Replacement of defective parts.
Of course, it would be more correct to repair the electric hammer that needs it and contains a certain supply of working life. It is necessary to determine this so that the repair does not turn into a useless waste of time, effort, money, and the tool after the repair has worked for a certain period.
Important! If the jackhammer is in poor condition, then repairing it is extremely unprofitable. The prices for spare parts (spare parts) are quite high, and spending on them will call the profitability of repairs into question
Remember! In order for the tool not to remind of itself of breakdowns as long as possible, its maintenance must be carried out regularly.
This does not require the presence of special devices. As a rule, disassembly of the jackhammer is possible with a rather limited number of tools.
The market provides a limited list of spare parts. As a rule, these are springs, valves, air distribution units, strikers. Therefore, not every breakdown can be eliminated without contacting a service. Nevertheless, it makes sense to consider some problems that can still be solved with your own hands.
Interesting! A positive point. Many spare parts for demolition hammers that can be found on the market are universal. That is, one spare part is suitable for several hammer models that differ from each other not only in power, but even in the manufacturer.
It will be correct to note that if we take into account the Chinese electric hammer, then in the event of a breakdown, one should not count on successful repairs. They are often disposable due to the poor quality of the materials used in the manufacture. Consider a classic renovation plan:
Consider a classic renovation plan:
- Disassembly and cleaning of dirt from a jackhammer.
- Defect detection (if it is not obvious).
- Repair or replacement of damaged parts.
- Assembling the tool.
- Functional check.
As a rule, such a plan is used by highly qualified service employees who do this professionally. We are considering the possibility of repair with our own hands, and, as a rule, this moment comes when the problem is obvious and requires an immediate solution. So, let's look at some of the most common breakdowns of electric jackhammers for models from the giants Makita and Hitachi, which you can do yourself.
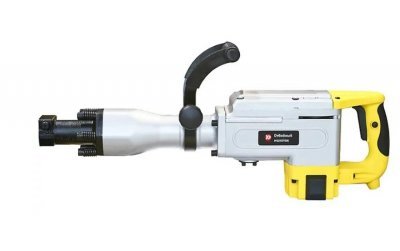
Repair of jackhammers "Hitachi"
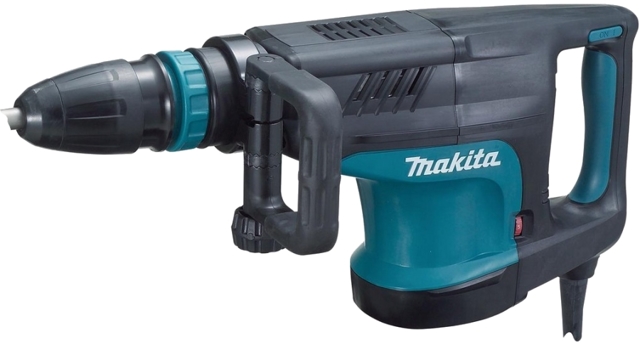
One of the most common problems with the Makita bump stop is the pinching of the lance in the barrel. As a rule, the reason is the wear of the retaining bodies, but a banal defect of the peak is also possible.
In order to fix the problem, you must act according to the following algorithm:
- The top cover (protection) is removed.
- The retaining ring is removed.
- Dirt accumulations are removed.
- The oil seal is removed (at this stage, the peak will fall out of the barrel).
Identifying the problem:
- The locking body is inspected. If it shows obvious signs of wear (rounded edges), then it must be replaced.
- Inspection of the splines of the barrel. They are normally square in shape. If they have a sharp shape, then the barrel needs to be replaced.
- Replacement of a worn-out element and assembly.
- Blockage in the hose. As a rule, it occurs due to a fracture. Fixing the problem won't be a big problem. You just need to find the damaged area and remove it. Unfortunately, if the removal of a part would result in unnecessary shortening of the hose, it will have to be replaced completely. The list of tools to fix this problem is minimal:
- knife;
- clamps of the appropriate size.
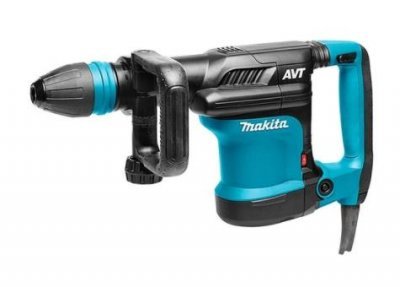
Repair of jackhammers "Makita"
There is often a problem of increased frequency of impacts with a weak single impact.
Reason: Excessive clearance between the barrel receiver and the distributor.
To fix the problem, you must:
- Disconnect hammer and muffler.
- Remove the retaining ring and retainer.
- Tighten the link to the "dead" point.
- Despite the reliability of the tool and the efforts of the manufacturer, there is often a problem with the point of contact between the end of the barrel and the valve box. The problem is eliminated if the assembly is cleaned in time.

