General points
To ensure the normal storage of firewood in the woodshed, they should be properly prepared. Wood is stored in the form of logs, which are obtained from chopped blocks. If you bought wood in the form of long logs, which is very profitable, then in order to be able to store the wood, they should be cleaned of branches and twigs, cut into logs, and they should already be chopped into more or less uniform logs.
At the same time, it is necessary to saw the logs into logs of the same length, so that they not only fit into the shed, oven, but also fold into a neat pile. In a well-assembled woodpile, the wood dries better, since it is well ventilated.
During the cut, the easiest way is to prepare a wooden stick, a branch and use it to check the size of the next block, or mark the entire log with a chainsaw for preparing firewood on a tape measure at once, and then start cutting. For the convenience of cutting logs, you should prepare goats, stands of the original type, since it is inconvenient to cut wood on the ground.
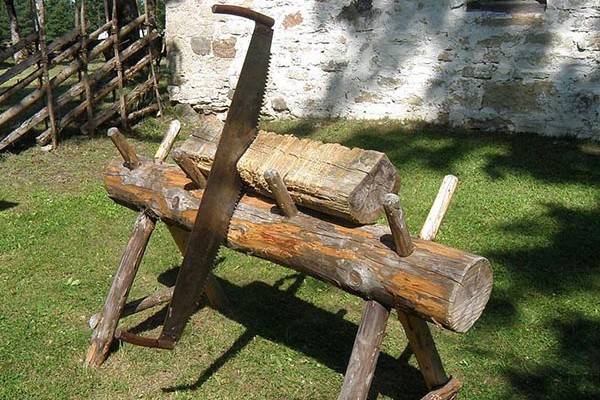
Previously, two-handed saws were used to cut logs on gantries.
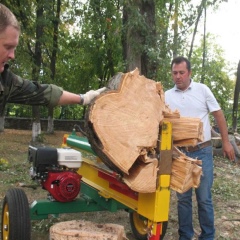
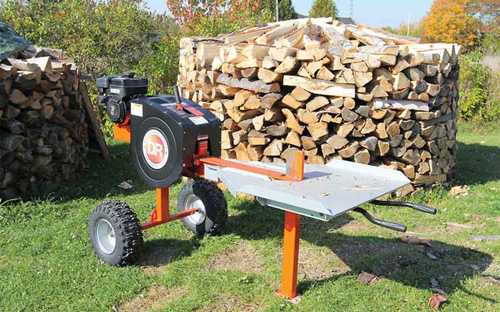
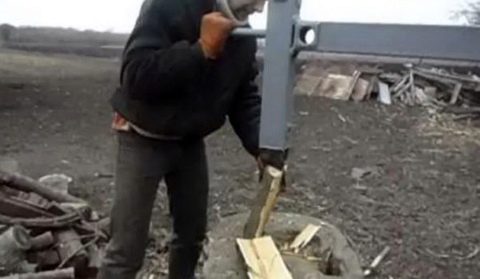
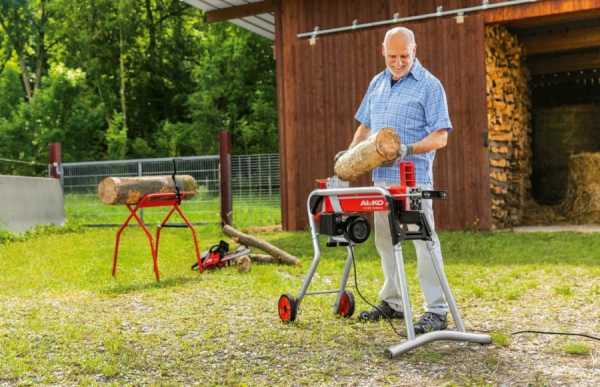
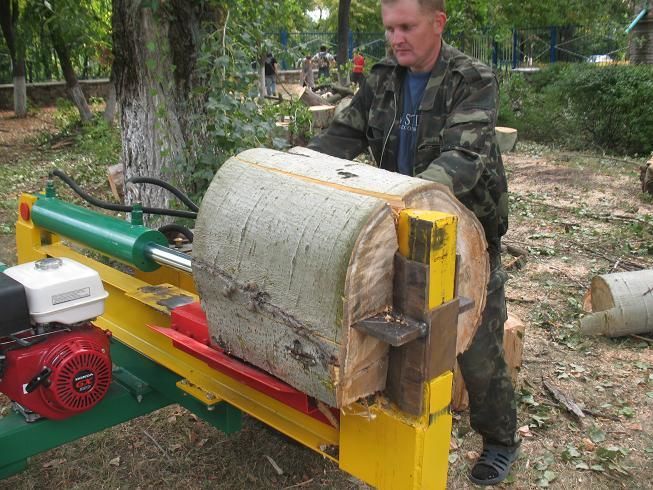
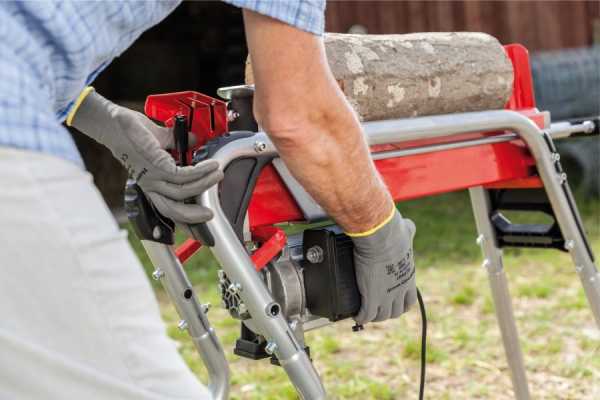
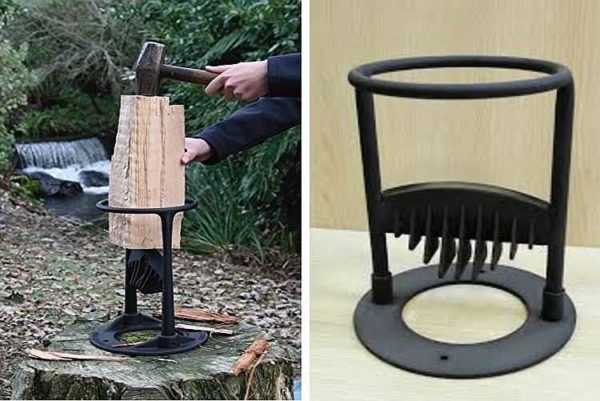
After the blocks of about the same size are prepared, you can start splitting them. The classical chopping of wood involves the use of an ax or a cleaver, but there is also an alternative, mechanical option, when the wood is split with a special machine, a wood splitter. It is worth noting that working with an ax is very laborious, so the use of a special machine not only speeds up, but also facilitates the work.
If you live in a house that is heated exclusively by firewood, if you have a bathhouse, then to simplify and facilitate the process of preparing firewood, you should definitely consider purchasing a wood splitter. This device will facilitate the annual winter logging activities for the next year. By the way, the system is so simple that it is quite possible to do it yourself.
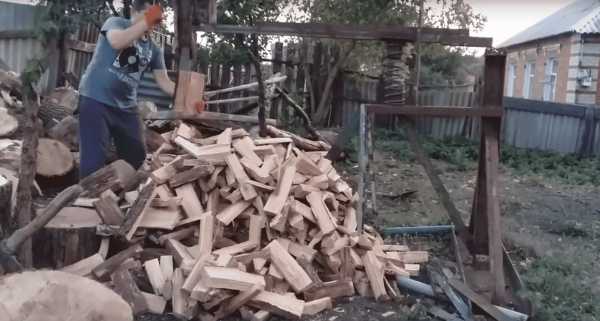
If there is no wood splitter, you will have to chop wood into logs with an ax. If you also lack experience and dexterity in this matter, then this occupation will be very dangerous for you, so we decided to give some recommendations for such work.
Recommendations from our expert
In order for the wood splitter to be reliable and serve as long as possible, it is worth listening to the following tips:
- Do not ignore the painting of the structure, especially when it is planned to be installed outdoors.
- Make calculations with a margin. This applies to the power of the engines, the thickness of the steel and other indicators.
- Start with diagrams and drawings. Proper preparation will save installation time and help avoid material loss due to mistakes.
- First try on, and then do welding or other fixation.
The log splitter makes life much easier for users who often have to deal with logging. Once assembled, the structure will save time and effort in the future. Making it yourself allows you to avoid unnecessary expenses.
Self-production of the machine
It is possible to make a wood splitter with your own hands even in the absence of some of the necessary parts. However, if you do not have the skills to carry out welding work, then it would be better to purchase such a machine in a store or order it from a specialist. Poor welding can result in serious injury.
To make a homemade wood splitter, you will need:
- profile pipes or corner;
- sheet metal;
- electric motor with a starter;
- screw cone;
- support with bearing assemblies and shaft;
- pulleys and V-belts;
- fasteners.
Drawings for the manufacture of a machine, if you have certain skills, can be drawn up independently or found on a thematic forum on the Internet. Many craftsmen who made such a unit on their own post not only them, but also a video with a sequence of actions.
Work begins with the manufacture of the bed. For this are used shaped pipes 40x25 mm or a corner of 40x40 mm. The dimensions of the frame will depend on the dimensions of the parts used and can be approximately:
- height - 70-80 cm;
- width - 50-55 cm;
- length - 70-80 cm.
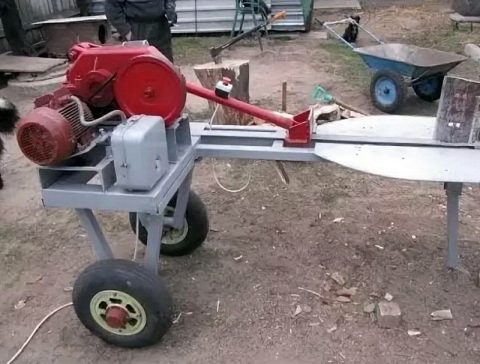
Structurally, the bed consists of 4 legs (supports), connected by welding by horizontal pipe or angle sections. In the lower part, a place is arranged for installing an electric motor. This can be an additional frame made of the same material, or a sheet metal platform.
The jumpers in the upper part are welded flush with the ends of the legs. The resulting frame is sheathed with sheet metal at least 1 mm thick. On one side, a screw mechanism with a pulley is attached. A wedge is welded under the screw, which will fix the wooden block during splitting. An electric motor is installed on the lower platform. Both pulleys must be in the same plane. The starter is mounted on one of the supports in such a way that it is possible to conveniently and quickly turn off the unit in case of an abnormal situation.
It must be remembered that all the load is concentrated on one side of the structure. This must be taken into account when installing it for work. To make the machine easier to move, it is equipped with wheels, which are located on an axis mounted under the electric motor. Before you turn on the unit for the first time, you must make sure that all parts are securely fastened. The finished cone log splitter is cleaned of rust and painted. The connection of the electric motor to the network is carried out with a 4-core cable of the appropriate cross-section with obligatory grounding.
A step-by-step guide to making a spring wood splitter
To complete the work, you will need tools:
- Angle grinder (grinder) with a set of cutting discs and cleaning flap wheels.
- Welding machine, modern inverter-type household appliances for welding steel structures are relatively small in weight. The process is carried out on direct current, so the welds are neat, the molten metal of the electrode completely fills the joints between the parts.
- Clamps will help to connect the parts to be welded.
- Measuring and marking tools will help to make blanks for the future design.
Materials needed:
- Channel No. 10 ... 16 (the number determines the height expressed in centimeters).
- Profile tube 40 60 mm (30 60 mm).
- Rail 300 ... 400 mm long.
- I-beams No. 12 ... 16.
- Corner number 30 ... 50.
- Car suspension bushing (may be worn).
- Pipes with a diameter of 40 ... 70 mm.
- A suspension spring for a passenger car, for example, from a VAZ.
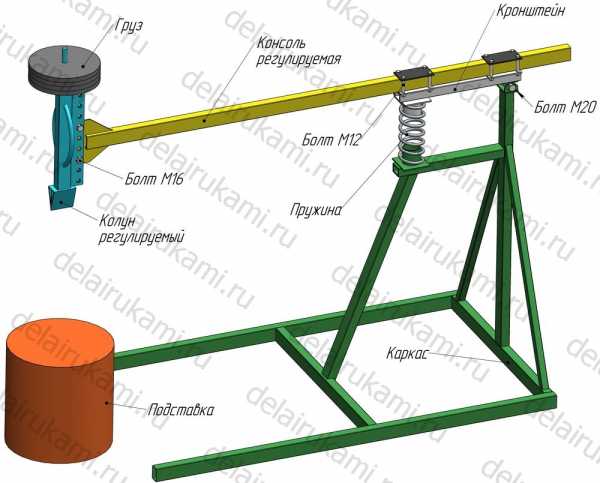
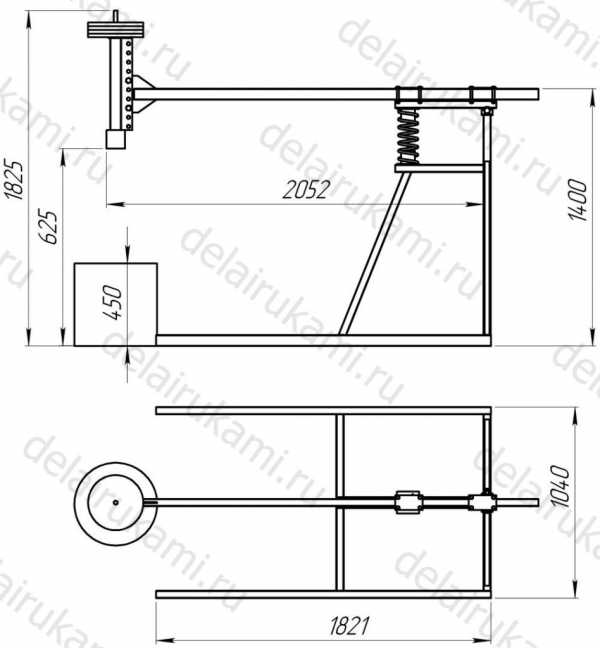
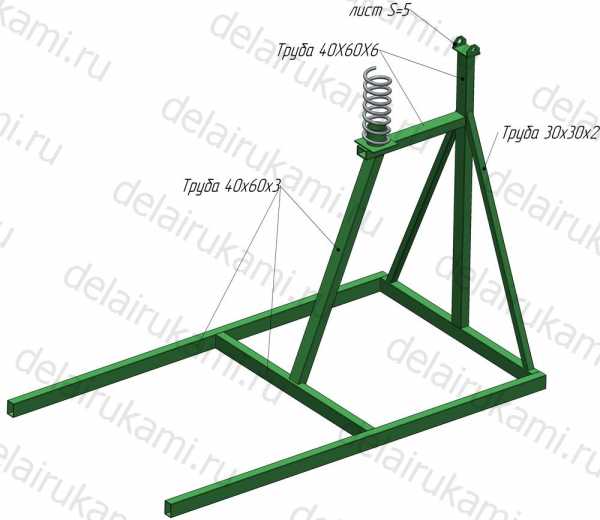
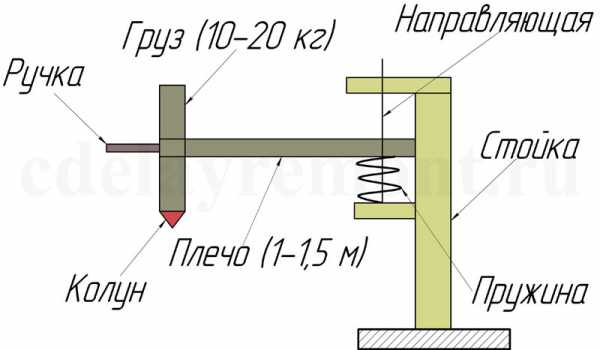
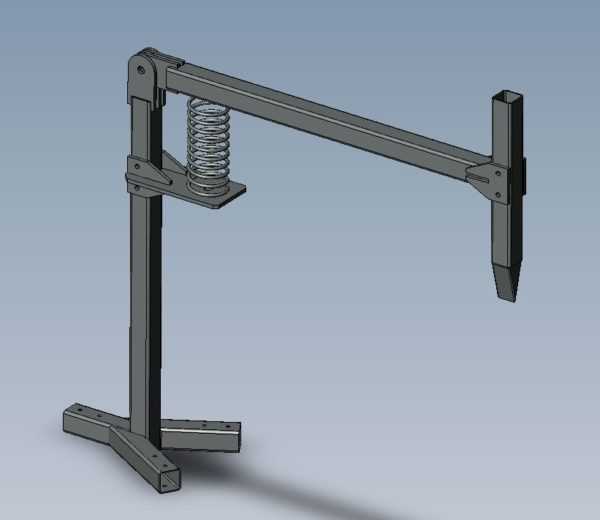
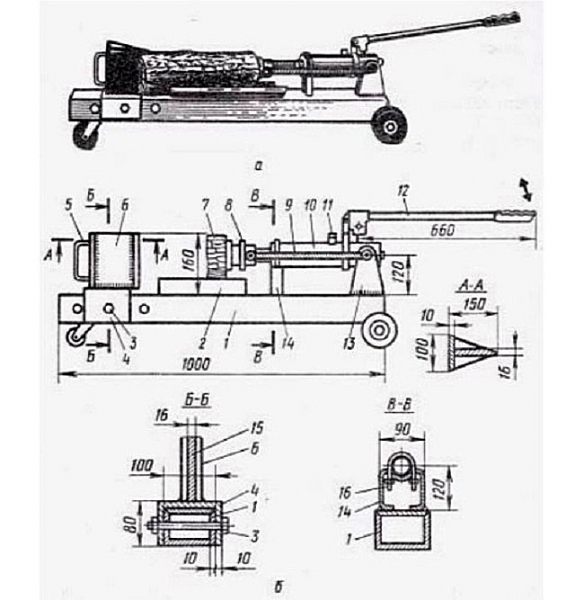
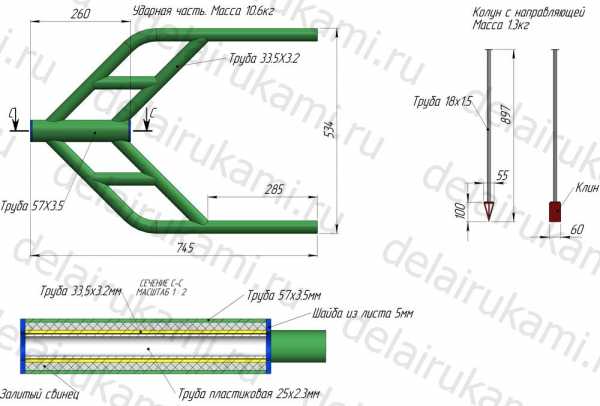
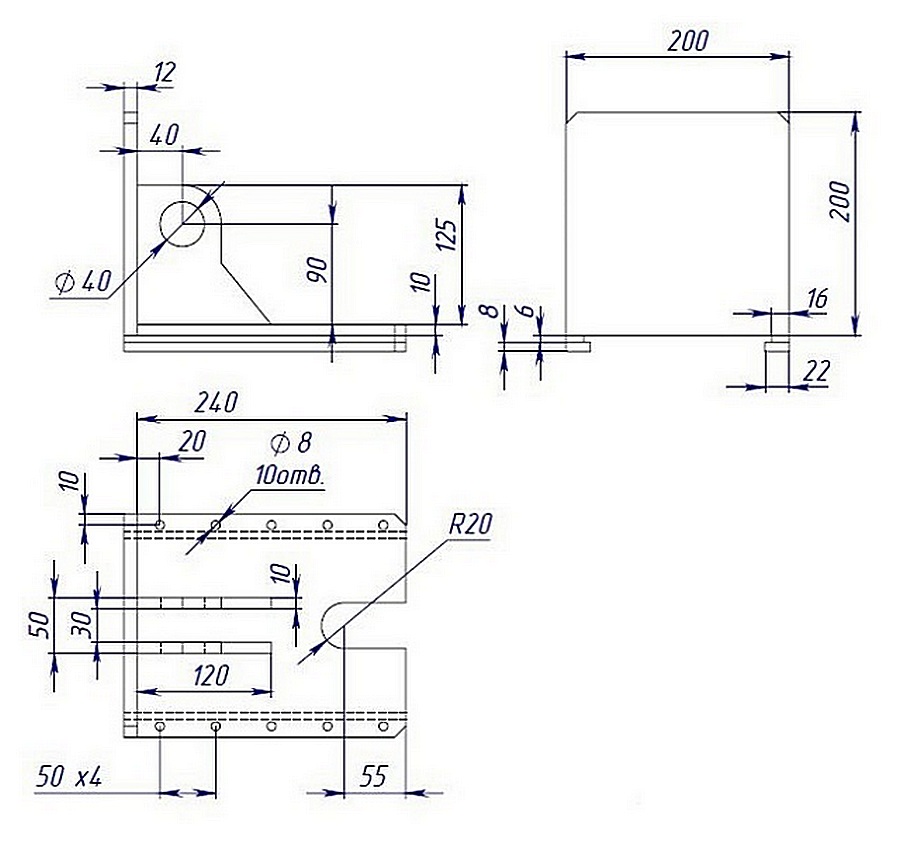
Before starting work, a sketch project is drawn. Some craftsmen have mastered engineering design programs, with the help of which they can work out the details of the future product. Manufacturing details are shown below.
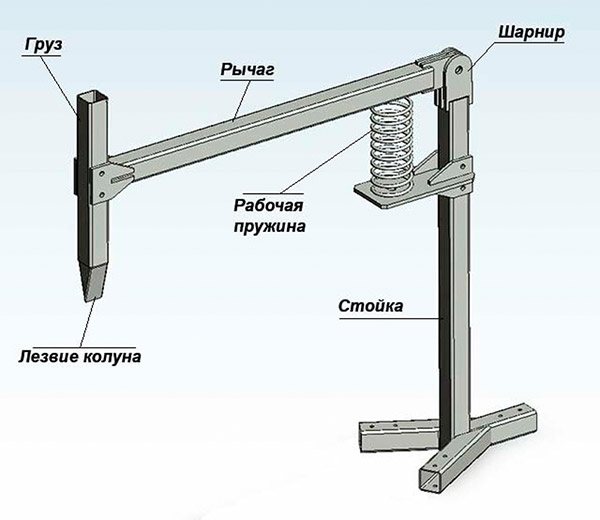
An approximate diagram will help you navigate the process of manufacturing the installation.
A support is made from the channel. A rack is welded to it. It is best to use an I-beam for a rack. This type of rolled steel has high rigidity. It is quite difficult to bend such an element under prolonged loads.
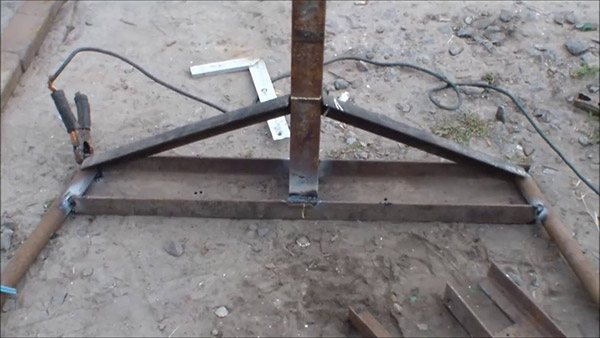
To ensure the stability of the base, jibs are welded to it. Additionally, stops are created from the existing pipes, they will prevent the possible fall of the entire product.
A spring support is cut out of the channel. A square hole is sawn in it. It will allow in the future to securely fix the element on the rack.
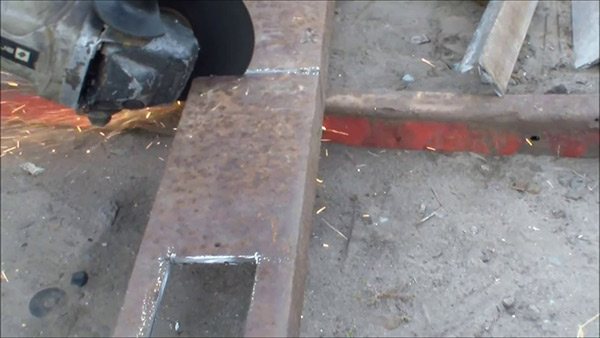
The height of the support is determined by the length of the existing spring.Along the way, they are guided by the height of the entire wood splitter, as well as its ease of use for a person. It is convenient to lift the load located at the height of the belt. You will have to lift it slightly above chest level.
All these considerations will allow you to choose the height of the spring support on the rack.
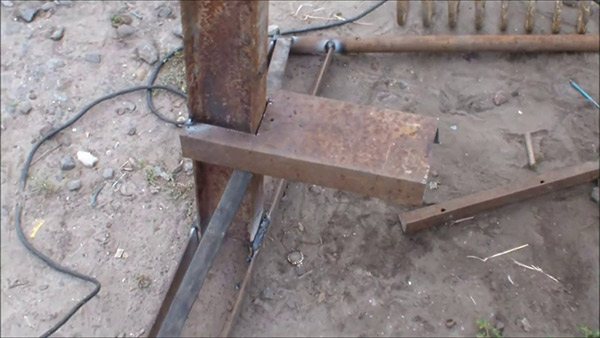
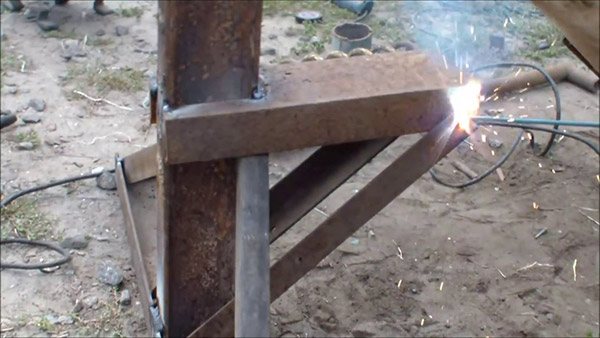
Jibs are made from the corners. They will hold the support. Then, under dynamic loading of the wood splitter, there will be no displacement of the supporting surface.
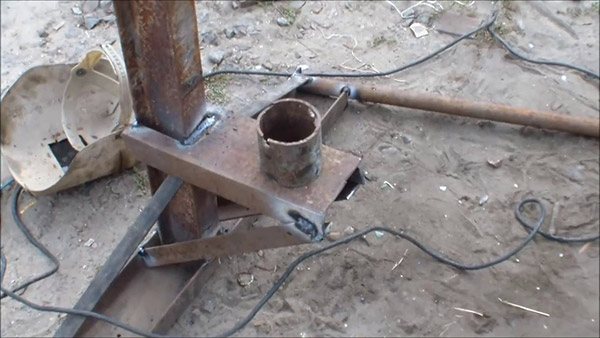
To fix the lower end of the spring, you need to make a cylindrical retainer. For its manufacture, a small piece of pipe is used. It is advisable to select the pipe according to the inner diameter of the spring. Then it will not shift in the process.
A slot is made in the upper part of the rack. A sleeve is installed in it. Then it is boiled. During installation, you must maintain perpendicularity to the rack. The hub axis must be parallel to the ground. A jig is used for welding, which will allow the specified conditions to be fulfilled.
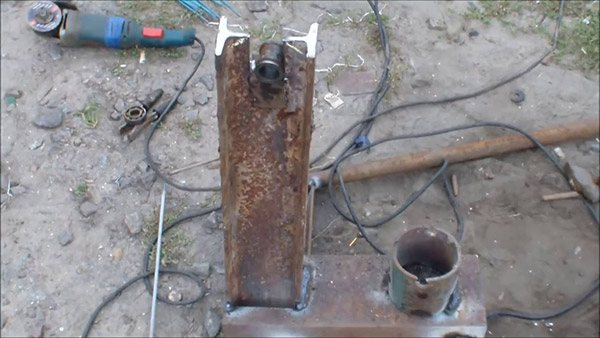
A shaft is installed in the sleeve. A rocker arm is welded to it (a channel is used). A small piece of pipe is mounted on the lower part of the rocker arm. The upper part of the spring will be fixed in it.

In order for the rocker arm to move freely, a window is cut through it, its dimensions depend on the parameters of the rack.
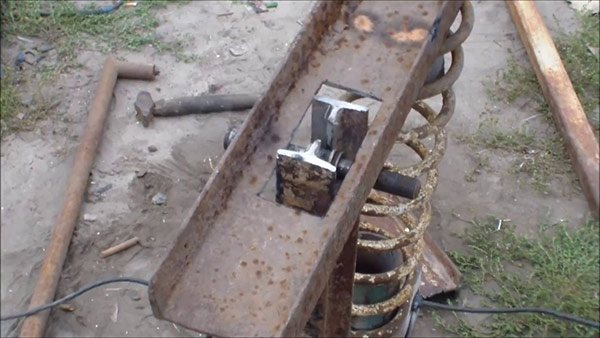
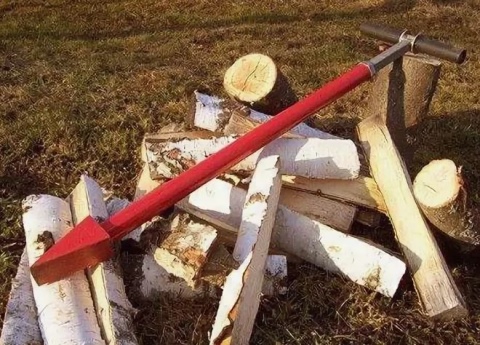
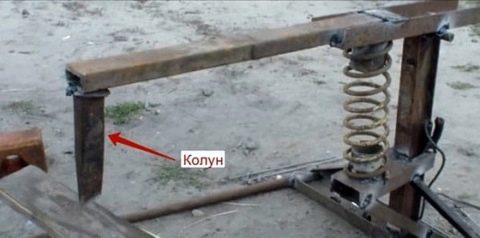
A profile pipe is welded to the rocker arm. A chisel is installed at its end. These tools are made of U9 ... U10 carbon steel. The hardness of such a metal is HRC 60 ... 63. Such a tool will last a long time. During operation, it is easy to sharpen it with a grinder and a grinding wheel.
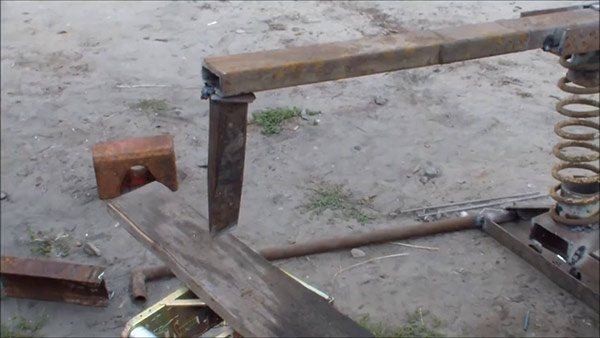
The wood splitter takes on a working look. Above the chisel, a load (part of the rail) is welded. The handle is welded for ease of use. To less damage to the hands, wear rubber elements. They will dampen vibration when struck.
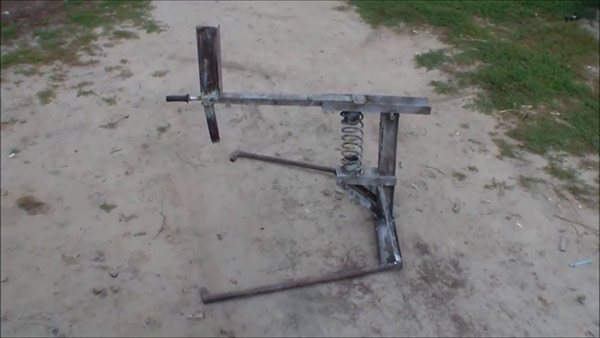
For work, you will need to install a large-sized piece of log. Logs will be installed on it, which will have to be chopped.
The block is held with one hand. Raise the cleaver and then strike.
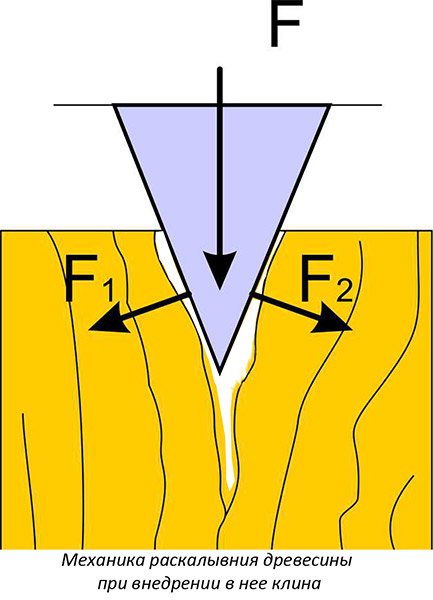
The cleaver goes down. The fragment underneath splits. The chisel drops below. If full splitting occurs, the point strikes the wooden support and does not dull.

Tools and materials
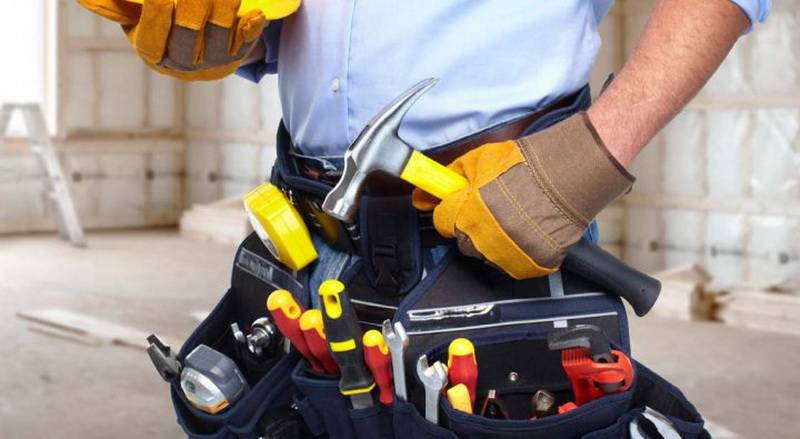
To make a blade, you will need the following:
- Bulgarian. Preparing the blade of an old ax or spring requires chipping and shaping. This can be done with an ordinary hacksaw, but the labor costs will be disproportionate. A cutting wheel is required for the grinder. Since you will have to work with spring steel, it is better to use a diamond-coated disc.
- Abrasives. The metal finishing will have to be done manually. You can use an engraver with diamond tips and stones. If not, sandpaper, files and files will do.
- Hacksaw. To make a hatchet, you need a hand saw. Wedging and trimming are easier to do on machine tools, but regular hand tools will work as well.
- Welding machine.
The following are used as the basis for the chopping part:
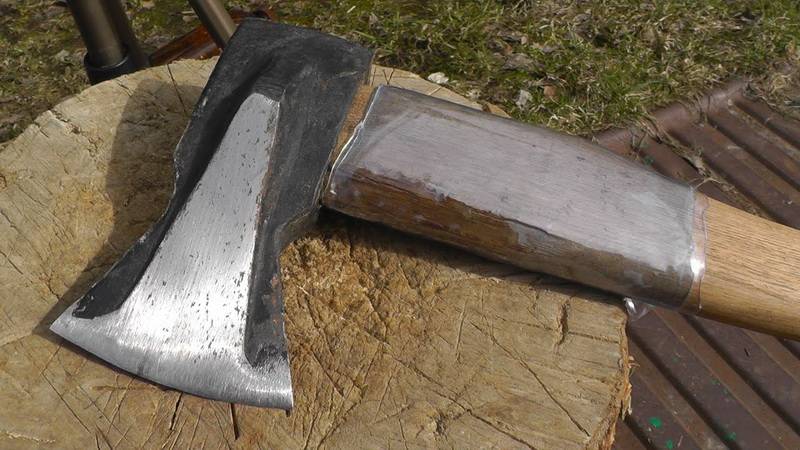
- Old ax. You can buy them at a flea market or in a metal bin. Old Soviet axes are made of good steel, which does not chip from a miss on a log.
- Spring. Spring steel has a high carbon content. Practically does not chip, is able to withstand constant shock loads. At the same time, it is easy to heat treatment. A device for chopping wood with your own hands from a spring is appropriate, since the shape of the blade can be selected according to your own requirements.
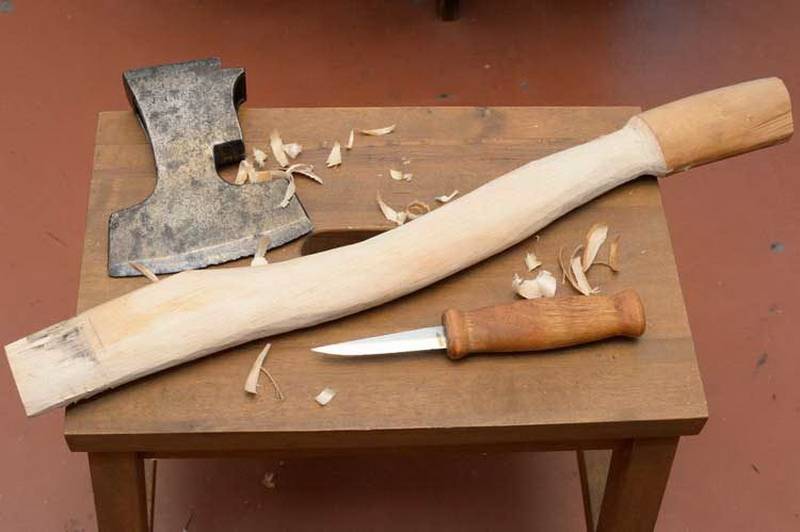
The hatchet must be made of hardwood. Soft pine, spruce, fir and larch will not work. It is possible to choose:
- Oak. You can take the same log that will be pricked. Oak is hard, cheap and affordable.
- Beech. The wood is inexpensive, but beautiful. It has a porous structure, so it is easy to saw, but keeps its shape well.
- Birch.The birch is hard, but wood choppers must be impregnated with linseed or tung oil.
- Nut.
Electric wood splitters
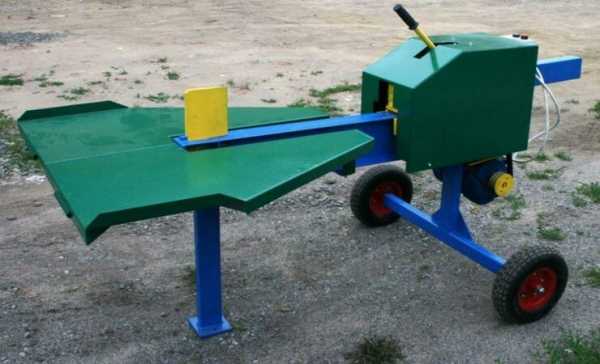
A manual wood splitter, of course, makes it easier to harvest firewood, but it still requires solid physical effort. Not so much as they are spent waving with an ordinary cleaver, but still ... The electric motor helps to make the efforts even less. On its basis, wood splitters of various designs are made. But making such a wood splitter with your own hands is more difficult. Here and the device is more complicated, and at least minimal knowledge of electricians is required - it is desirable to connect the motor through the starter, and with the buttons "start" and "start".
Screw (conical)
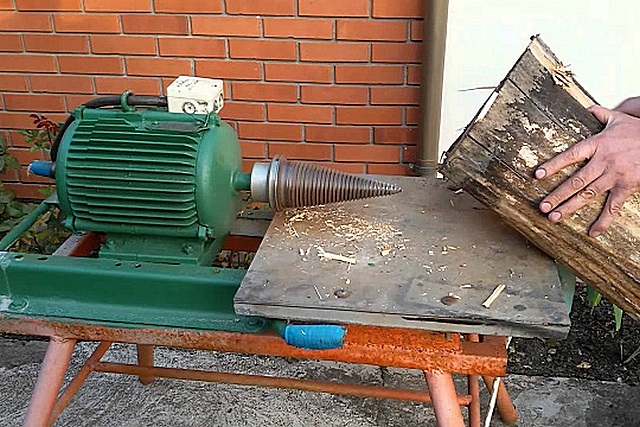
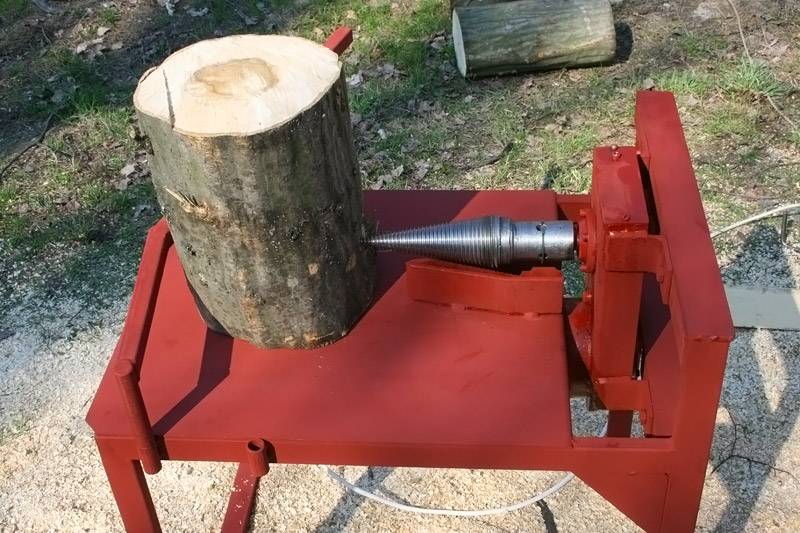
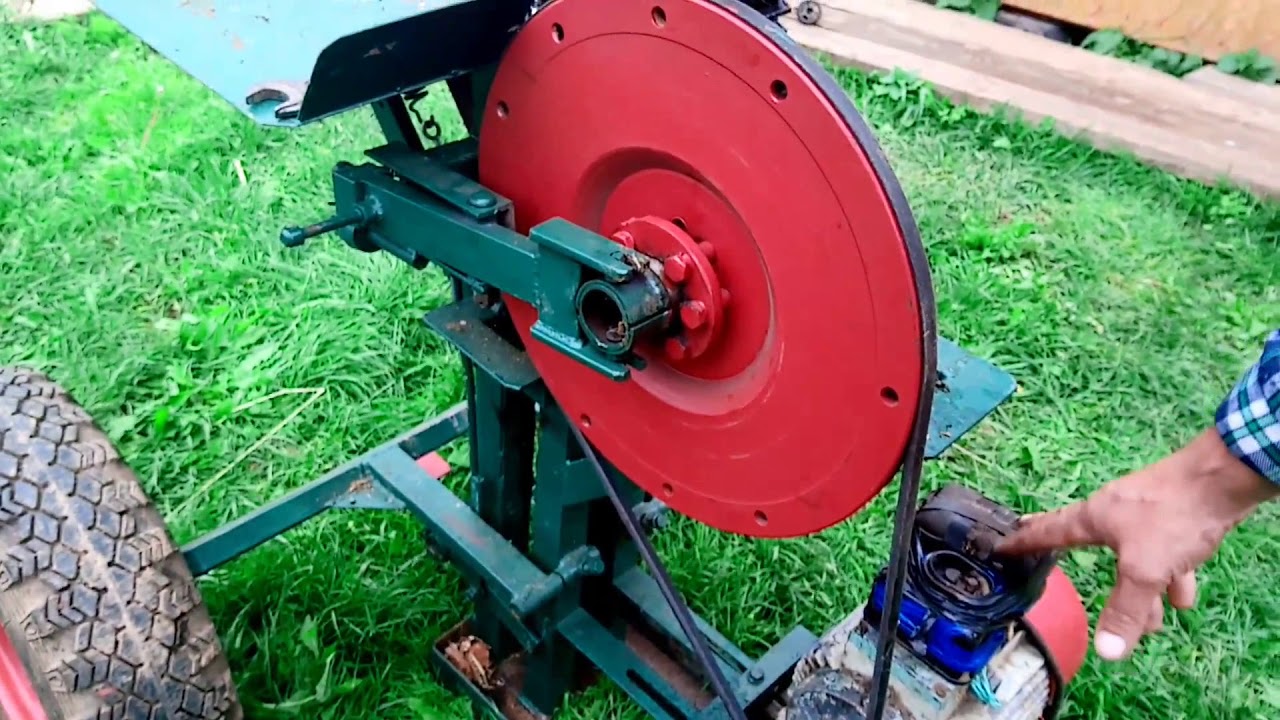
One of the most common models is a cone or screw log splitter. The difference between them is only in the absence / presence of threads on the piercing element, which in this model is made in the form of a cone.
The cone splitter speeds up the harvesting of firewood
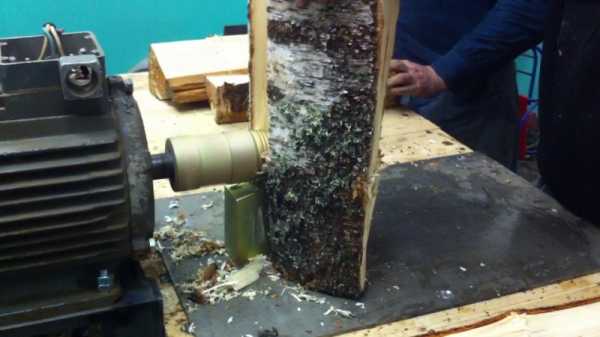
Churbaks split due to the fact that the cone rotated by the motor cuts into the wood, gradually tearing it apart. In large logs, the edges are first chipped off, then the middle is torn apart.
Taper and thread options
First, the cutting part was turned into a smooth cone. If you use a smooth cone, you have to lean on the block rather strongly during work so that the cylinder "bites" into the wood. The process is much easier if a thread is cut on its surface. In this case, the block is somehow screwed onto the screw, and then cracks.
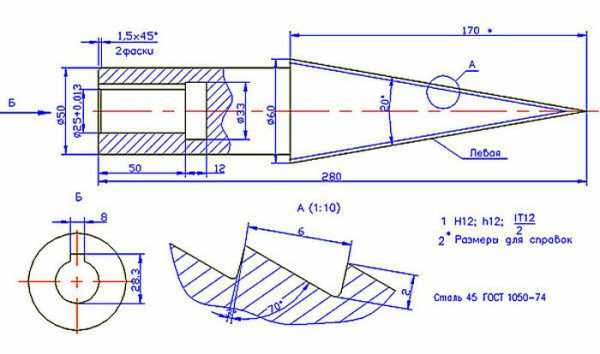
Dimensional drawing of threaded cone for screw wood splitter
The main thing is to correctly make a threaded cone. If you have a lathe and work experience, you can try to do it yourself. If not, you will have to order. The thread is made in different ways, but the following parameters are recognized as optimal: a step of 7 mm, a depth of 3 mm (minimum - 2 mm). Another important point is that the depth of the seat on the motor gearbox is at least 70 mm.
Wood splitter screw
If there is a threaded cone, it will not be difficult to make this wood splitter with your own hands.
Electric motor and gearbox
You need an electric motor powerful enough (2 kW and above or 5-9 l / s), but with a low speed: 250-600 rpm. At 250 rpm and below, it splits very slowly, and if the rpm is more than 500, it is dangerous to work, as it can pull the log out of the hands.
Wood splitter with a screw fitted directly to the crankshaft
If you managed to find an engine with such parameters, you can put the lance (screw) made directly onto the crankshaft (pictured above). If there are more revolutions, it is necessary to install a reduction gear or make a chain or belt drive to reduce the speed.
Calculate the ratio depending on the engine speed. For example, there is a 900 rpm engine. Having made a 1: 2 gearbox, we get 450 rpm. Just the best option.
Reducing reducer for screw wood splitter
Transmissions can be belt or chain. Chains work many times louder, require constant strokes, and it is usually more expensive to carve sprockets with the necessary parameters. A double belt drive is desirable (as in the photo above). In this case, there will be less slippage.
Where to locate the motor
If the design provides for the presence of a transmission, it is better to put the motor below, and fix the screw itself on the working surface. Choose the height of the working surface for your height so that you do not have to work in an incline.
A safer model. Making such a wood splitter with your own hands will make your life much easier.
There is also such a parameter as the height of the screw above the working surface. The gap from the table to the cylinder should be in the region of 8-20 cm. It should not be placed higher - it can turn small-diameter blocks of wood. The optimal distance is 8-12 cm. Even small blocks of wood do not turn.
Hydraulic wood splitter
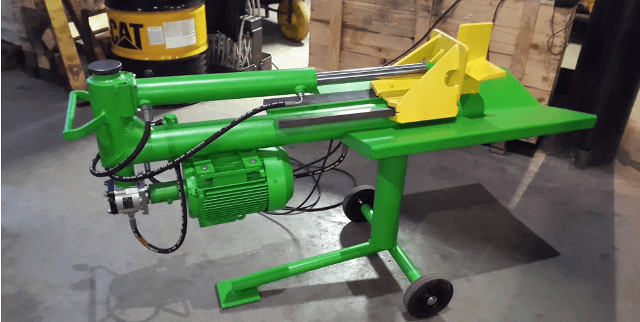
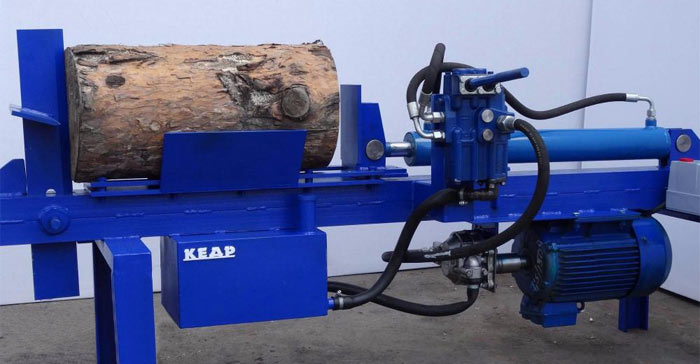
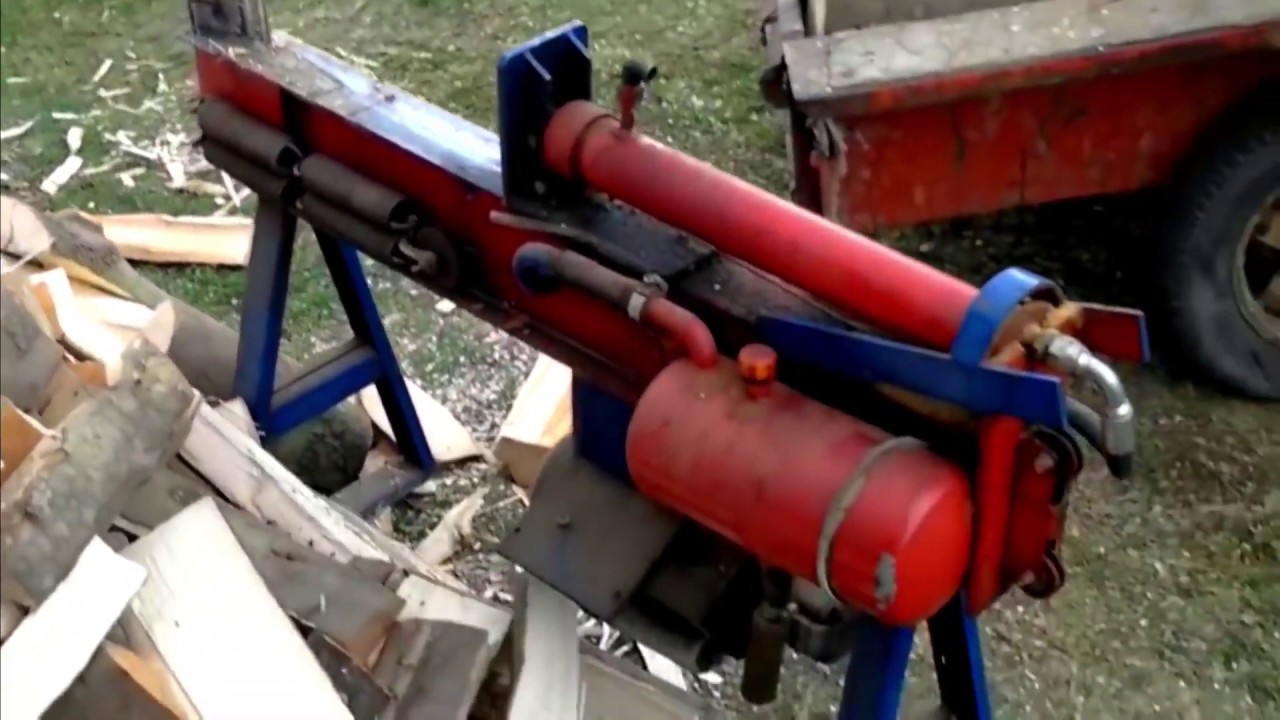
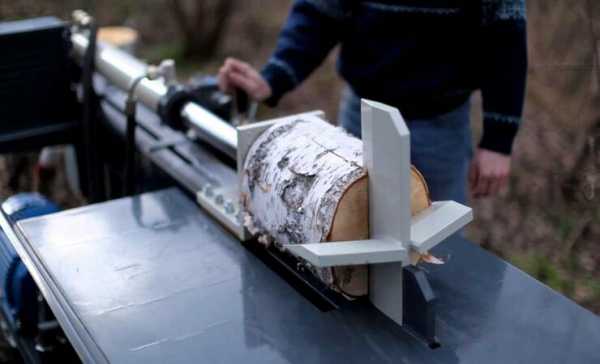
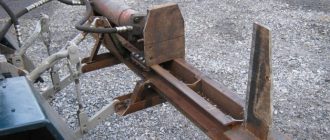
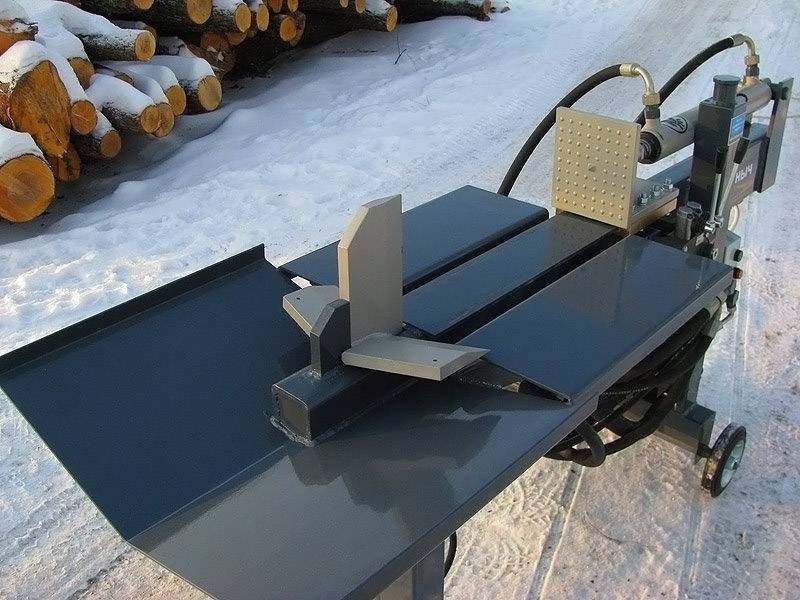
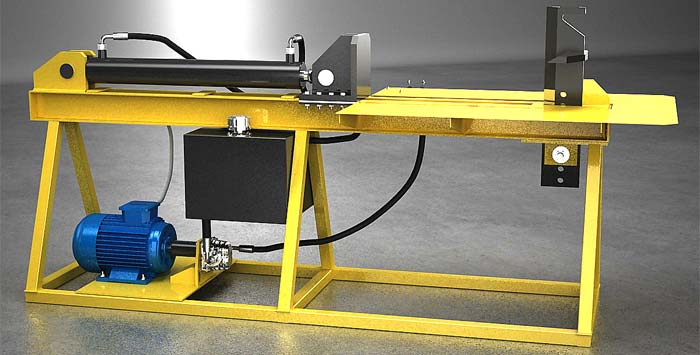
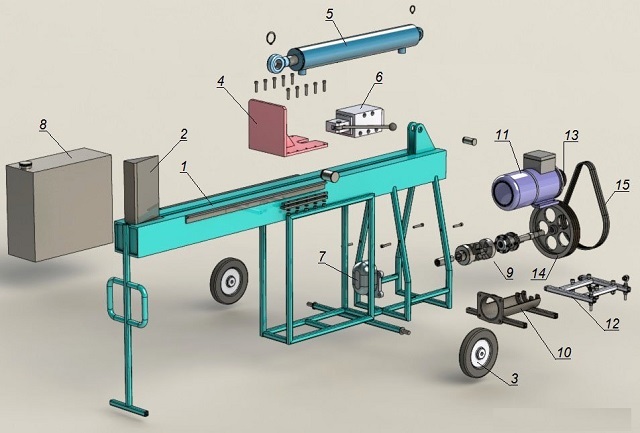
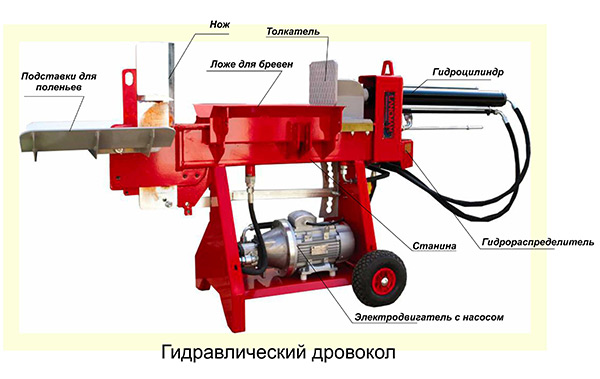
A hydraulic log splitter is the most powerful, but also the most difficult and expensive to manufacture. In addition to the bed, engine and cutting knives, a hydraulic cylinder with sufficient power is needed.They are not cheap. In addition, you also need an oil tank and a pump.
Hydraulic splitting device
A hydraulic splitter for firewood develops solid efforts, therefore, in its manufacture, metal of considerable thickness is used - 6-10 mm, depending on the drive power. The developed effort is quite enough to break the chock into 6-8 logs at a time. Therefore, knives are made in the form of an "asterisk".
A hydraulically driven cleaver is equipped with a complex cutter, which breaks a block of wood into several logs at once
When making knives, they are spaced a few centimeters apart. So that there is only one in the work. For example, first - horizontal, then - vertical, then - right and at the end - left. At the same time, reinforce each of the knives by welding reinforcing plates on the back. It is advisable to use hard steel, having previously sharpened it according to the same principle as on cleavers.
How to do it?
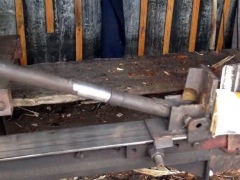
The easiest way is to make a mechanized wood splitter (Scheme 1). The assembly is very simple: the cutting part is mounted on a vertical rod with a sole made of any profiled metal, but leaving the possibility of free movement of the rod. The movement unit can consist of two welded ears with holes on the stand and a metal pin-pin that serves as a shaft for turning the mount and the splitting ax.
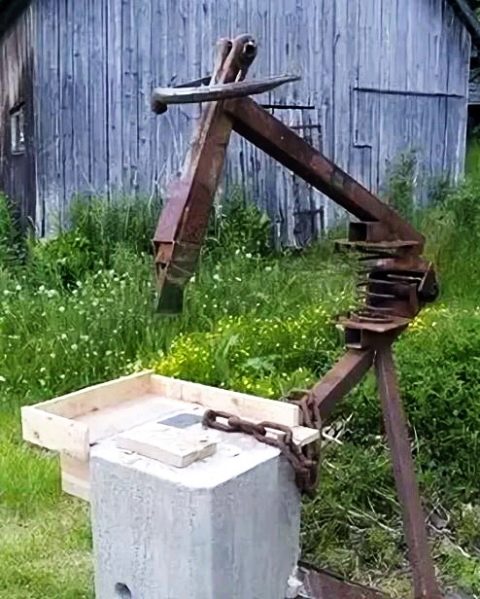
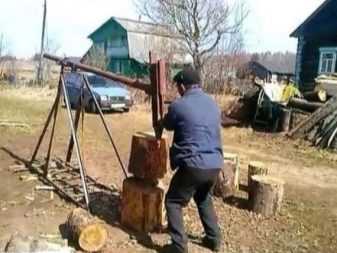
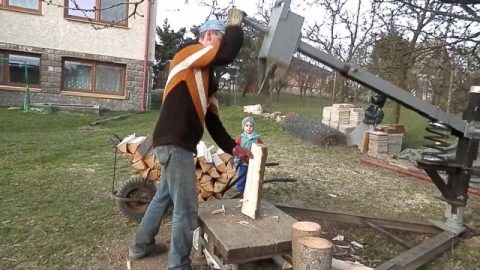
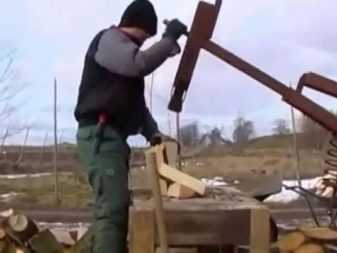
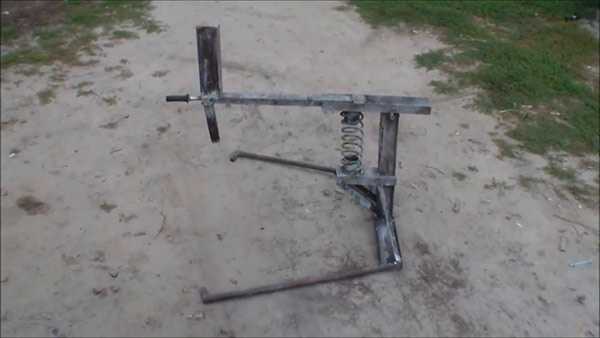
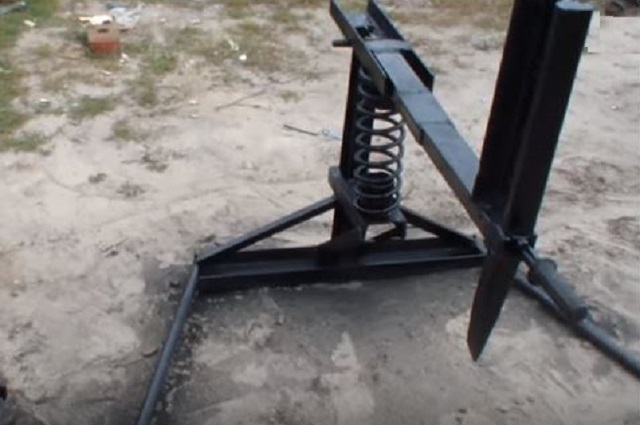
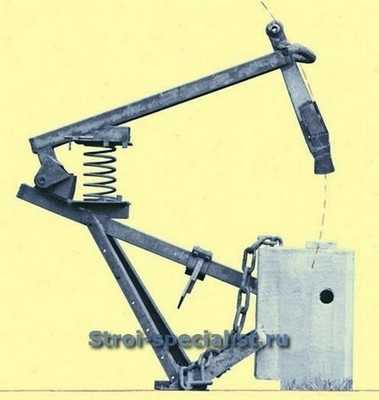
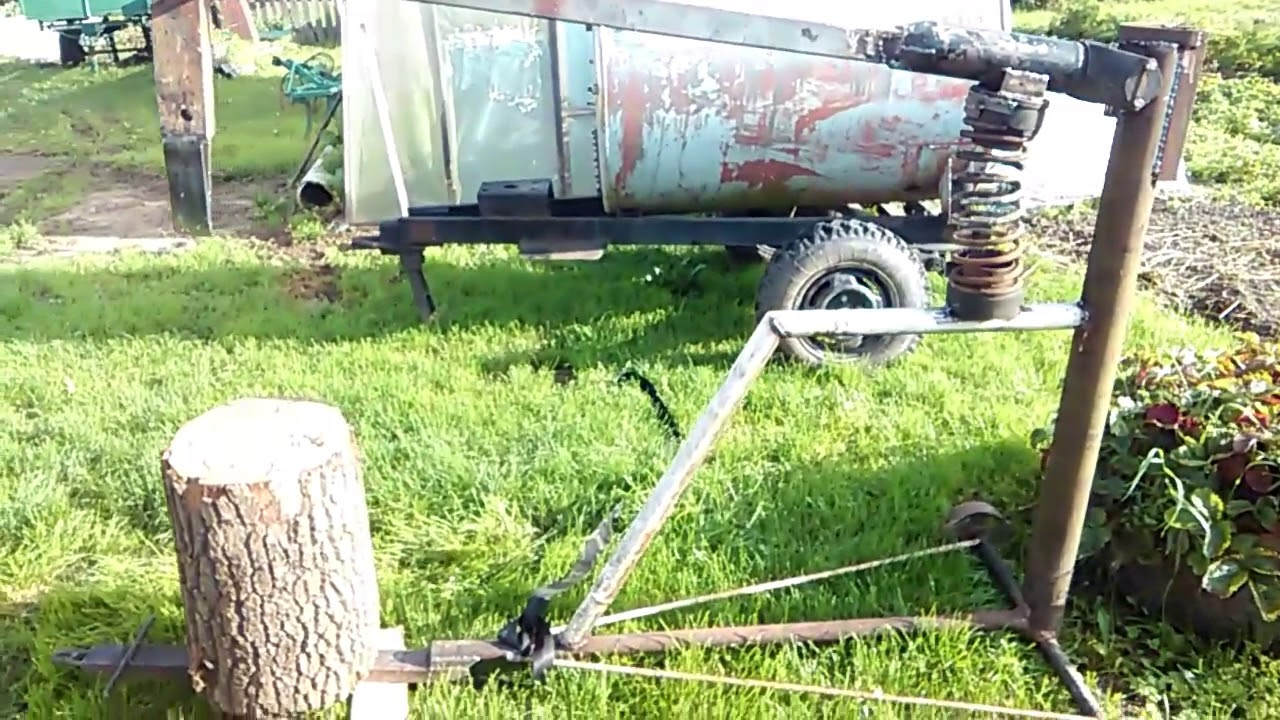
A press or spring log splitter will require a little more effort to manufacture. A shelf is welded between the bed and the horizontal movable arm with the cutter, on which the spring is installed and fastened, the second end of the spring is attached to the horizontal arm of the wood splitter, damping the blows to the cutter (cleaver). Taking into account that the executive part of the wood splitter becomes heavier, then the blow on the split deck is made with a minimum of effort (Fig. 2). However, some effort is still necessary, since recoil will appear due to the spring.
At this point, attention should be paid to the spring used in the device so that the cleaver remains effective on impact, can calmly chop wood, and at the same time the shoulder of the structure would be easier to hold during recoil
It is very easy to assemble the vertical inertial log splitter. First you need to weld the first pipe to the base plate. The length of such a pipe is slightly more than a meter (Fig. 3). Then, from a pipe of a larger diameter, it is necessary to cut a piece that will be greater than the length of the splitter. Then it is necessary to weld the cleaver to a piece of a tube of a larger diameter and put it on the base tube. The principle of operation is extremely simple - they set the log on the base under the cleaver and beat it from above with another log or sledgehammer.
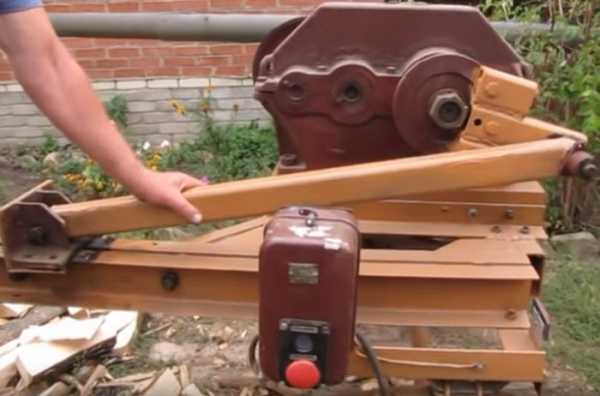
An engine is installed on the frame, it is connected to a gearbox, which transmits movement to the cone directly or through a belt drive. In order to power such an electric motor, certain skills are required, since the special parameters and requirements for the motor are taken into account. The motor power should not be less than 2 kW, and the number of revolutions, as a rule, from 250 to 500. Such a motor can be connected directly to the cone.
It doesn't matter if you can't find a suitable engine. In this case, you need to purchase a gearbox - increasing or decreasing the number of revolutions, depending on the number of engine revolutions. Therefore, a motor with a number of revolutions from 250 to 500 can be installed directly with a cone, and a motor using a gearbox is better placed at the bottom of the frame and transmitted by belts.
How to make a cone-type wood splitter with your own hands
The main difficulty in this device is the tapered part itself. It must have a certain thread pitch and shape.
Any electric motor (including gasoline or diesel) of suitable power can be used as a drive.
The schematic diagram of the device is quite simple.
If the screw splitter is mounted directly on the motor axis, then the maximum permissible shaft rotation speed should not exceed 500 rpm. Power is desirable from 3 kW. Finding such an engine is not easy, so it is better to use transmission mechanisms. The easiest option is drive belts on pulleys. Greater productivity will be given by a gearbox, for example, from a motorcycle.
Manufacturing sequence:
- weld a table with a shelf, focusing on the height of your height (a tabletop at a height of 70 ... 85 cm from the floor is convenient). The position of the shelf depends on the length of the drive belt. It is better to weld it AFTER the cone is installed and the position of the electric motor is determined;
- using spacers or car cardan supports, install a cone on the bearings;
- determine the position of the electric motor shaft, weld the shelf and install the engine on it;
- insert a spacer from the squeegee of the nut and pipe between the engine and the cone support;
- tension the chain (drive belt) and check the correct movement of the cone.
Important: you can install chocks for splitting ONLY VERTICAL! Otherwise, the wood can get caught under the cone and jam it or bend the shaft.
For a better understanding of the principle of operation, we suggest watching a video about a screw wood splitter based on a washing machine engine.
See the video below for the assembly sequence and the nuances of turning, as well as threading on a taper.

