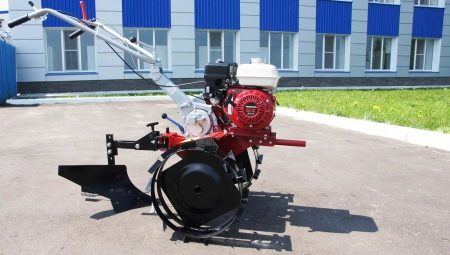
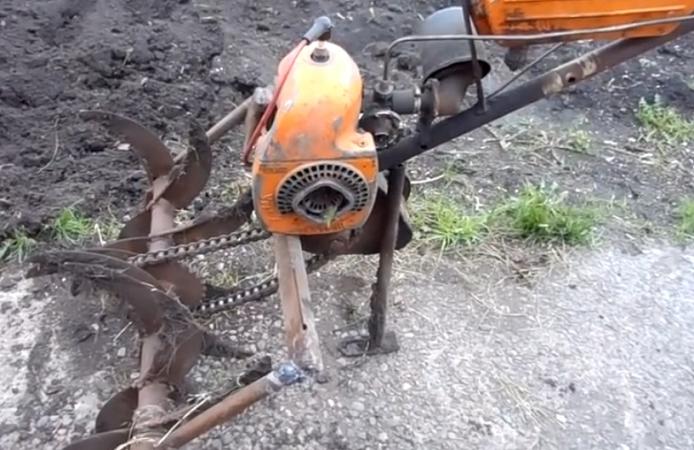
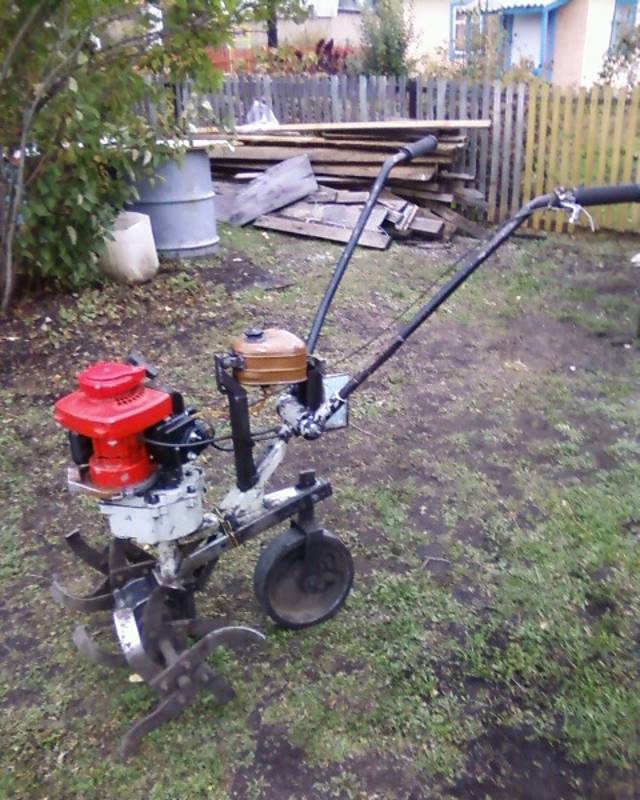
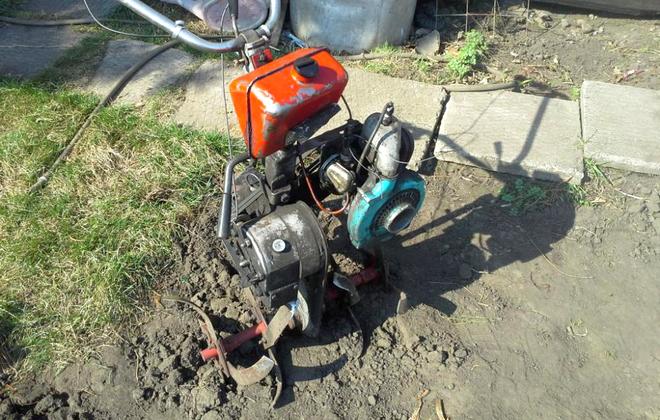
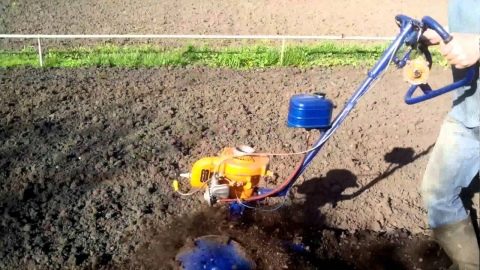
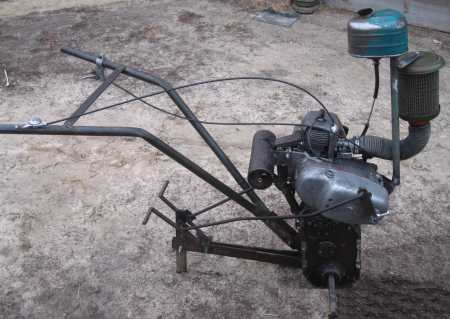
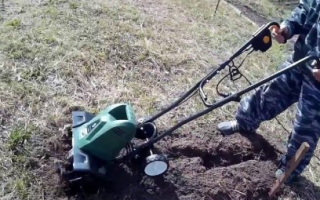
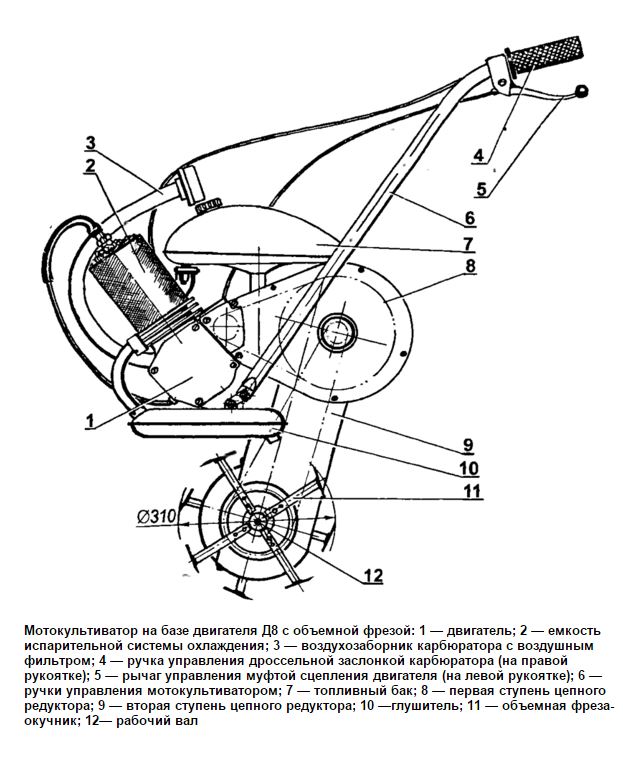
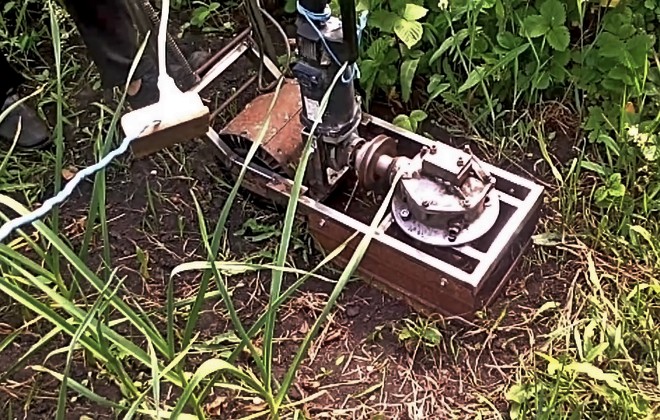
Step-by-step instructions for making a walk-behind tractor from "Friendship"
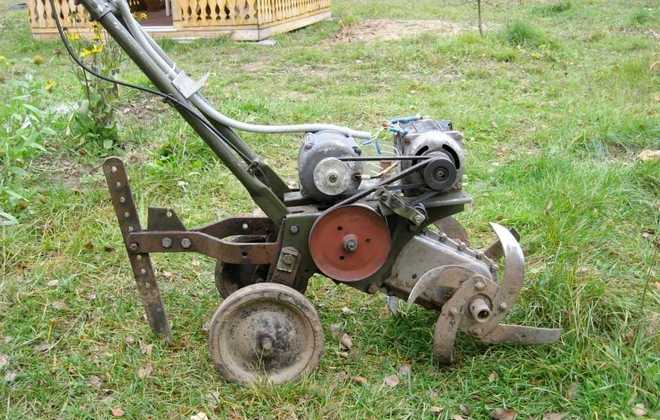
The manufacturing process depends on the chosen design option, drawing. Step-by-step analysis of one of the modifications:
- Two bases (spars) are made of a steel pipe or profile with a diameter of at least 20 mm. The fold is done so that the ends are bent upward.
- On the long part, a steering wheel is welded, welded randomly or taken from motor vehicles. The bases are connected and reinforced with crossbars. Also, platforms for the battery and gas tank are welded or screwed to the bend of the base.
- To mount the engine from pipes or a profile, a structure in the form of a slide is made. The motor is attached to it, and then to the base.
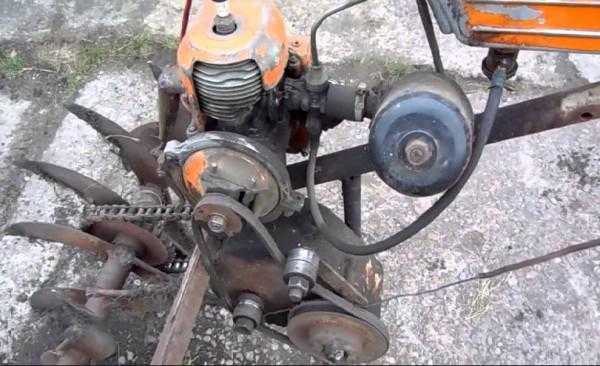
- Next, the RU-32 collar flange from the VAZ car is mounted. Thanks to it, the shaft that transfers the forces from the motor will be fixed. It is also recommended to use the VAZ gearbox shaft as a shaft. To fix the shaft in the flange, bearings with a diameter of 30 mm are used.
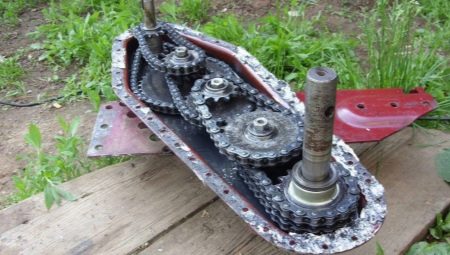
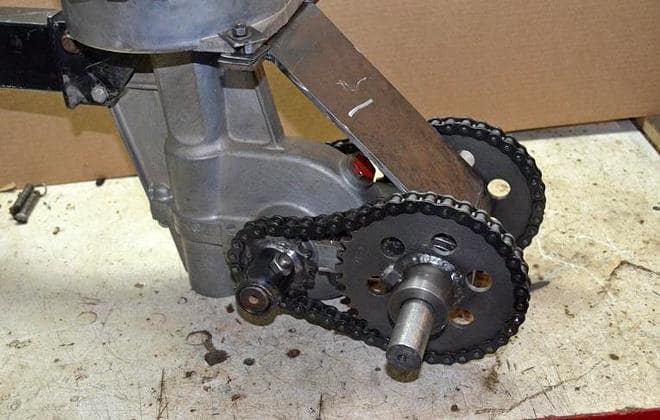
- The transmission link is made of sprockets from any old car or moped. One is mounted on the gearbox shaft, the other on the shaft on which the cutters or wheels are located. A chain from old motor vehicles is connected to each other.
- Further, installation and connection of all parts is carried out.
- Wheels and cutters can also be made independently, using old discs from a car or from agricultural equipment as a basis. The resulting parts are mounted on a steel pipe or circle of the required diameter.
You also need to consider an effective forced-type cooling system. Several options are offered. The simplest option is to install a fan. More complex designs suggest the use of water cooling.
Homemade cultivator: what you need to build
Before you figure out how to make a homemade motor cultivator, you should find drawings and find out what parts may come in handy. First of all, these are:
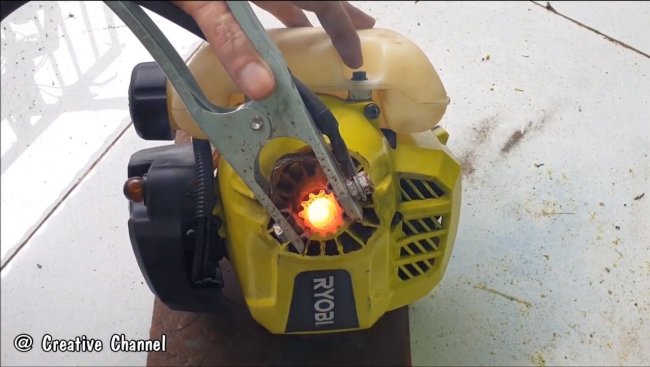
- ICE (you can take a moped or from a chainsaw) or a compressor motor.
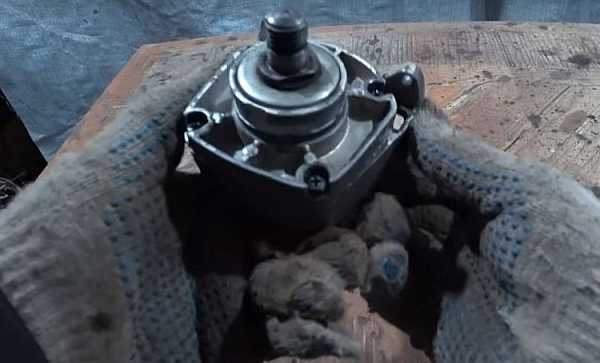
- Reducer. It is irreplaceable and a must for collection. Due to it, the speed of rotation of the shaft decreases, but the force of rotation increases.
- If the machine is planned to be self-propelled, then a pair of wheels will be required. If not self-propelled, then cutters.
- A frame made of any strong pipe or profile + handles that will be controlled.
- Sometimes a creeper is required. Attachments especially need it, but some people solve the problem of excessive speed by choosing wheels with a large diameter.
Homemade electric cultivator
If the necessary materials are available, the owners also make a creeper for a motor cultivator with their own hands, drawings and diagrams for both the entire structure and for each element are on the network, or they are made individually.
Principles of using electric motors
The electric motor can be single-phase, 220 V, or three-phase. When connecting the motor, all safety rules for working with electrical appliances must be observed. RCD protection for a single-phase electric motor must be performed, and a powerful three-phase device must have capacitors in the circuit corresponding to the capacity.
On this topic:
BACK
FORWARD
1 in 131
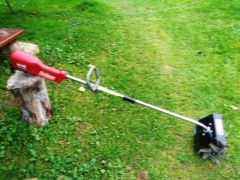
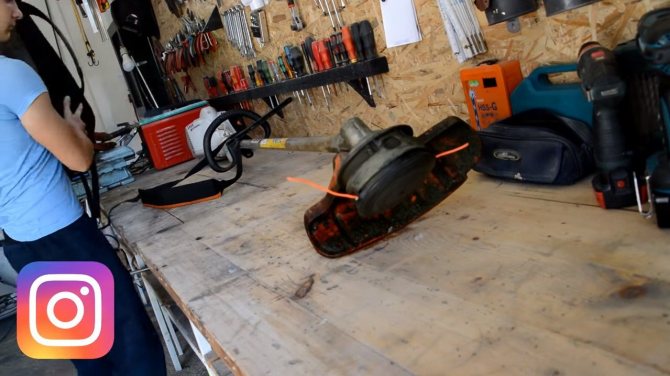
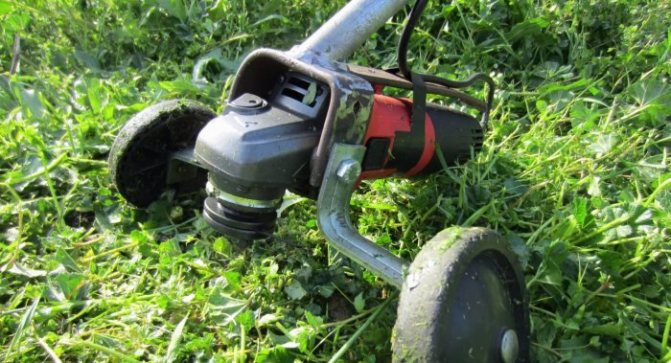
For a do-it-yourself electric lawn mower, you can use a powerful slow-speed drill with a speed of 1500-3000 rpm. It is necessary to correctly select the ratio of power and swath width so as not to overload the motor.Mounted on a platform, a cordless or corded drill will generate the required torque and the grass will be cut. In the process of work, do not forget to observe the rest intervals to cool the brush motor. Such a tool will help to clean the local area, folds easily and does not require a lot of storage space. The platform on which the engine is installed must be narrow so that the wall platform can be processed. Stability depends on the location of the center of gravity. The lower it is, the less the overturning moment at the platform. How to properly cost a lawn mower with your own hands, watch the video:
More sophisticated models with a motor with a power of 1.5 to 6 kW are installed on a specially made sole. It is better to use an asynchronous motor, it is less noisy. The undercarriage consists of metal rubberized wheels with a wide tread to make the grass less wrinkled. Bearing assemblies in bushings on the axle are more reliable than plastic bushings.
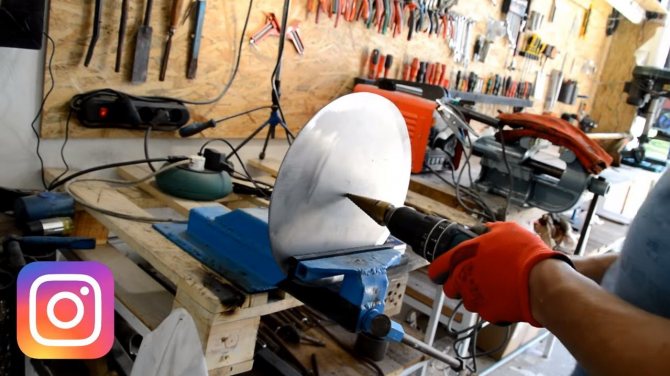
You can make a deck and knife using an old frying pan and a tool steel plate. The design when knives are attached to the mandrel is more efficient
It is important to observe the proportions and profile of the sharpened edges, using the drawings in the photo of the do-it-yourself lawn mower
On this topic:
BACK
FORWARD
1 of 67
Correct alignment is of great importance for the performance of the high-speed unit. A slight beating can create strong vibration, destroy joints, create backlash due to the development of seats.
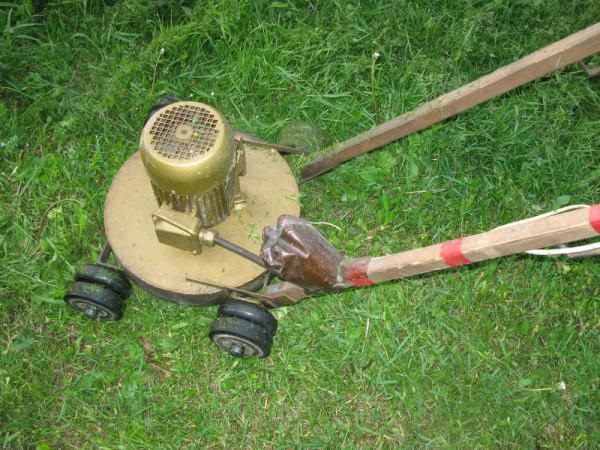
The household always accumulates mechanisms and parts that have served their time. Something can be found in household waste dumps of old things. Unfortunately, such cemeteries surround any residential area. Wheels from a baby carriage are perfect, and a handle from it will also come in handy. Be an example of a do-it-yourself lawn mower from a Soviet-era washing machine. They were then made of strong metal. The engines from these machines are the best in terms of parameters and power suitable for use in a lawn mower.
The quality steel body will serve as a protective skirt and guide when throwing grass sideways. In addition to the motor, two pulleys and a belt are used to transfer rotation from the motor to the knife drive. The motor is fixed on the platform and connected to one phase.
A similar homemade mower works in the local area, as it is tied to the network with a power cord. You can use a special coil wire with an extension cord, choosing a cross-section corresponding to the power of the engine. Such a device is produced with a length of at least 40 meters and should provide mobility.
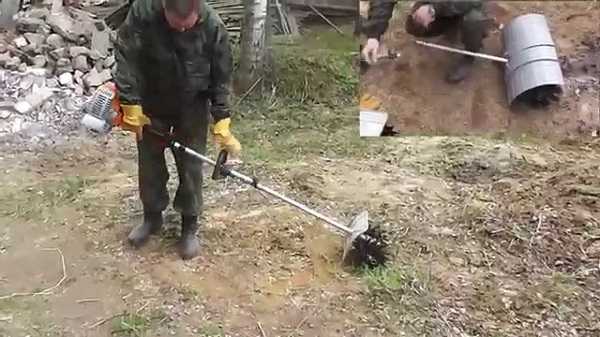
How to make a mobile lawn mower with your own hands? Drill-based tools depend on the capacity of the battery and require recharging from the mains. In the absence of electricity, it remains to build a lawn mower based on an internal combustion engine. All small equipment that is fueled with gasoline or a combustible mixture can become a donor for a homemade lawn mowing machine.
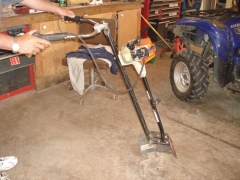
How to make a walk-behind tractor from a chainsaw with your own hands?
To create such a homemade unit, it is recommended to use special drawings. You can draw these diagrams yourself if you have certain knowledge and understanding of the walk-behind tractor, or choose one of the proposed options
A homemade walk-behind tractor from a chainsaw is created in several stages, while it is important to observe all the nuances indicated in the diagram
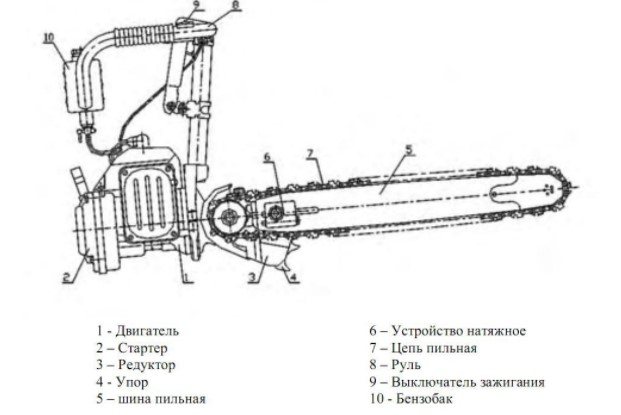
- Frame manufacturing. To do this, use a thick-walled pipe, from which a cube with angles of 32x32mm should be created.
- Installing the motor on the upper frame corners of the frame, which are transverse. You also need to attach the fuel tank using brackets for this (the tank should be placed below the engine).
- The frame at the front is equipped with vertical struts that serve as intermediate shaft supports.
- Special supports are attached to the longitudinal corners, which will then allow the installation of the shaft travel bearings.
- A metal load is installed on the front frame element, which will ensure the stability of the walk-behind tractor.
- Handles for control are constructed from small metal pipes.
- The walk-behind tractor is equipped with old small wheels, and it can also be made of metal plates.
As a result, you can get a good walk-behind tractor, in which the center of gravity is located above the wheel support surface.
What is a cultivator?
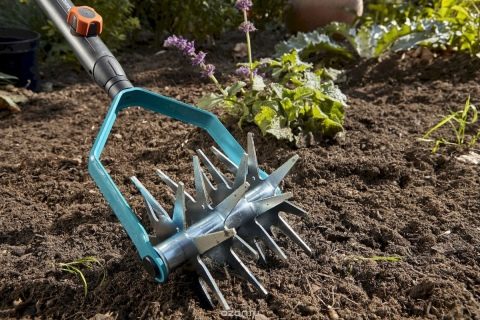
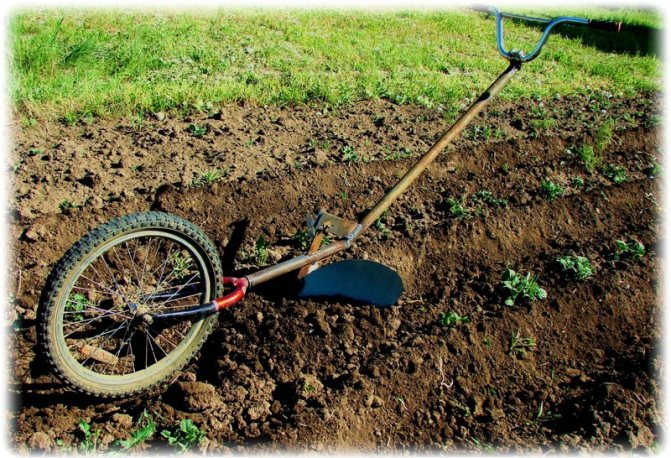
The machine is used as a soil cultivator, an assistant in the fight against weeds and for various soil treatments, with it you can plant and harvest. They are divided into two large groups - fallow and tilled (the former cultivate the soil with a solid forest, and the latter are created only for sowing).
In addition to their purpose, all cultivators are subdivided according to the type of movable knives, so in some they are passive (motionless), while in others they are active (driving knives). By the type of drive, simple cultivators, motor-cultivators and cultivators connected to a tractor are distinguished.
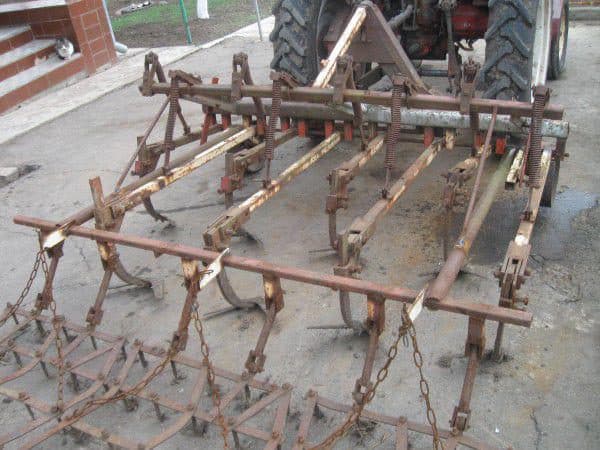
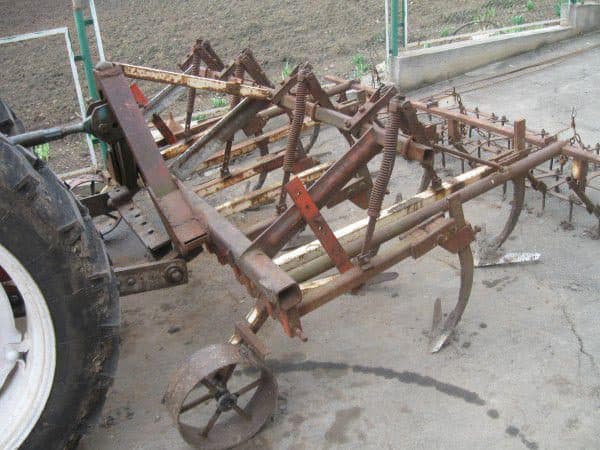
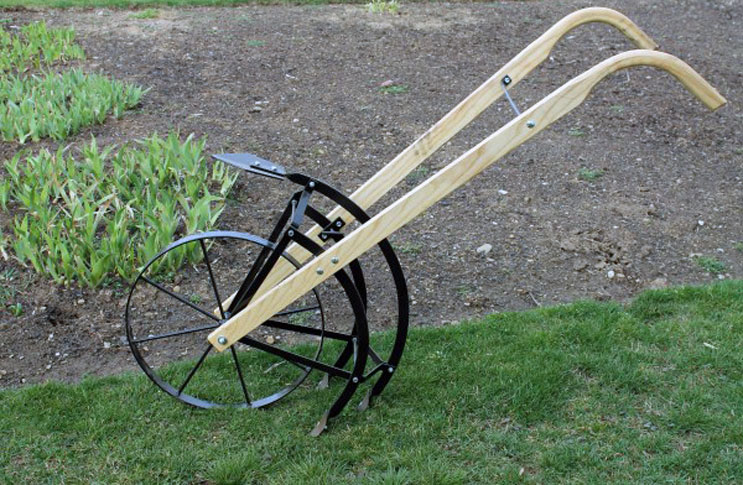
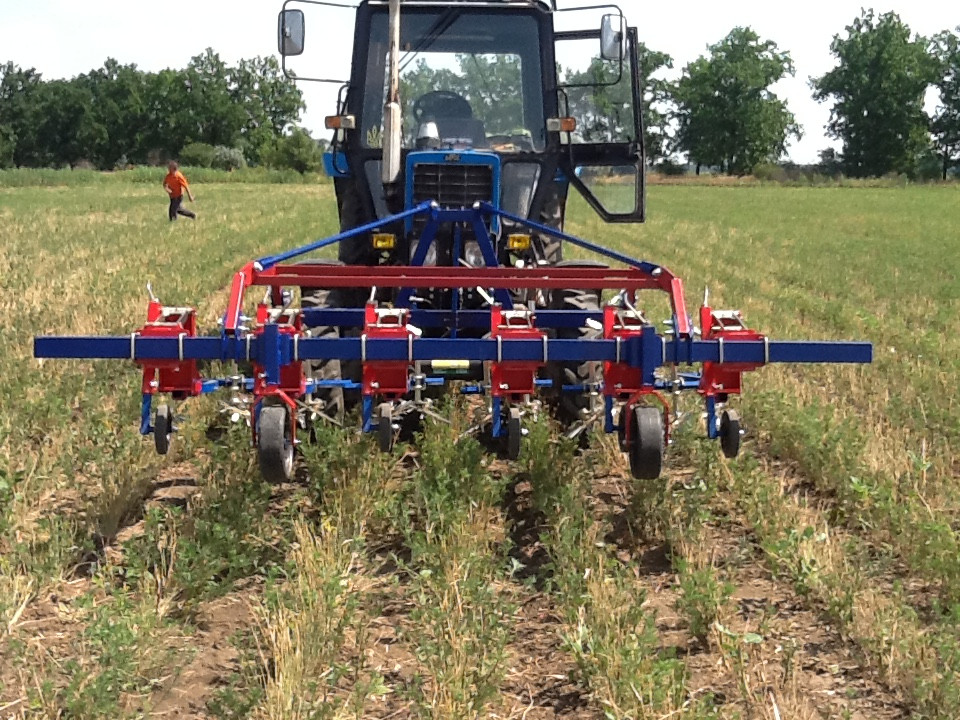
Front suspension weeding cultivator
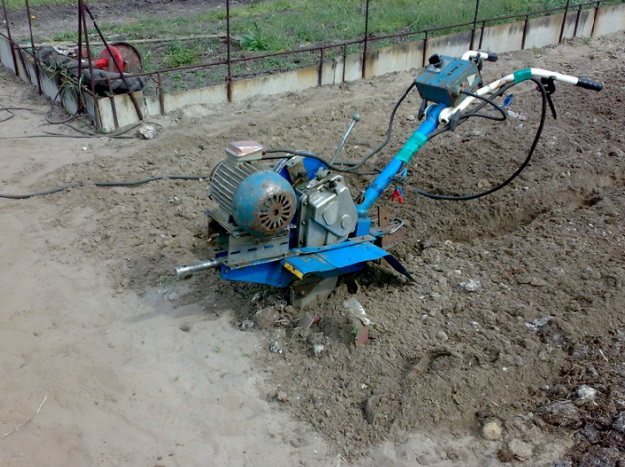
Distinctive features of a motor-cultivator are that the soil is cultivated by means of milling cutters. He must have an engine (gasoline two- or four-stroke, electric, diesel). Depending on the size of the cultivated area, light, medium and heavy cultivators are produced.
Now for most owners it is more convenient not to purchase a gardening tool on the market, but to make a cultivator for a walk-behind tractor with their own hands. The main thing that is needed for this is a motor: electric or internal combustion engine. Internal combustion engine is the best solution when creating a cultivator. The device does not depend on the outlet, and if there is a powerful engine at hand (more than 4 hp, then the cultivator has every chance of developing into a walk-behind tractor).
Note! Many do not distinguish between a motor cultivator and a walk-behind tractor. Indeed, they are similar, but the cultivator is much smaller and without a power take-off shaft.
In addition, on a walk-behind tractor with a trailer, you can transport goods and people, but not on a motor-cultivator.
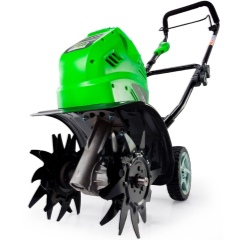
An electric cultivator is also created with your own hands, but it is good to use it only in small areas, where there will be no problems with how to stretch the cable. The electric motor is installed if there is a three-phase network, and the motor power should not be less than 2 kW.
In fact, the design and functionality of the device, which is assembled on its own, is not as significant as the type of motor, because first you need to choose it. The following information will help to suggest an idea or a solution about what and how to assemble a cultivator.
Homemade design modernization
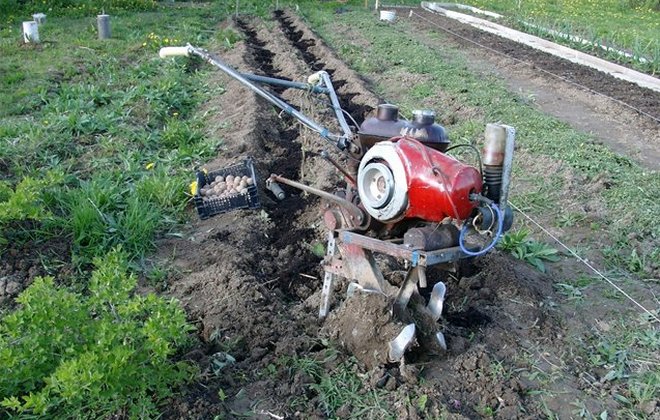
 Arkhipov's motor-block is very popular among a wide audience of summer residents and gardeners due to its versatility. Very often it is used as a plow or cultivator. To expand the functionality, it is enough to replace the detachable parts for the plow with parts with the removed cultivator blades. As it moves through the garden, the device will deepen the furrows into the ground, placing potato tubers there. To plow the planting material, it is enough to equip the unit with dumps and re-walk between the planted rows.
Hilling of germinated plants occurs in a similar way. The agricultural walk-behind tractor is characterized by excellent productivity and ease of use, even for purposes such as harvesting. To change the working width, it is enough to use different blades. In addition, the unit is able to collect missed potatoes and the remaining tops in the presence of a rake or harrows.
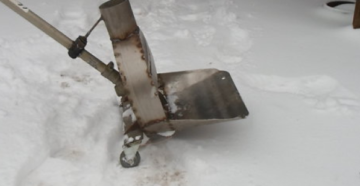
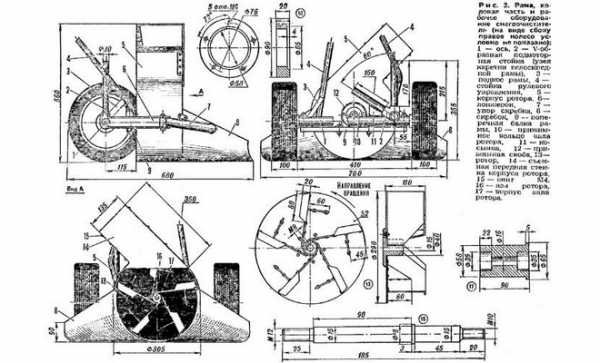
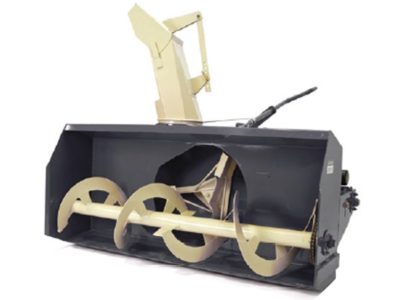
The versatile design is indispensable not only for agricultural applications. It can also be used for snow removal in winter. Such a faithful assistant will be a good tool when cleaning paths and backyard areas from leaves or debris.It is enough to equip it with a roller with a round brush and an additional sprocket, which will allow you to clear sidewalks.
Every self-respecting summer resident sooner or later comes to the question of buying or making a motor cultivator. Such an aggregate is a really valuable find for people engaged in organic farming. With its help, you can process both small gardens and large areas from 30 acres.
Despite its compact size, such a miniature "truck" is not inferior in productivity to some tractors. The powerful engine is capable of handling the toughest soil, and the ease of use allows it to operate even in the absence of specific experience. In addition, it is much easier to make such a device than it might seem at first glance.
It is enough to pay attention to the existing instructions and use the recommendations of professionals
Benefits of a homemade item
The possibility of self-production of a cultivator-hiller for a mini tractor allows you to significantly save money. In addition, such an element is easy to assemble: you need a diagram of nodes from the Internet, but you can also draw up drawings yourself in order to design a mini-tractor with your own hands.
Among the advantages of homemade cultivators for a mini tractor are the following:
- availability of necessary materials;
- ease of assembly;
- significant time savings when cultivating the soil on a personal plot;
- high-quality loosening and hilling of the soil, fast disposal of weeds;
- in order to make a good tool, a minimum amount of money is enough - basically, the summer resident already has all the necessary materials and tools and is used for other needs.
The main thing to remember before deciding to make a tool on your own is that it will not work without careful preparation of a quality cultivator. Therefore, before proceeding with the assembly, all materials must be treated with special anti-corrosion agents.
Remember a couple more recommendations that will help make the tool the most effective at work.
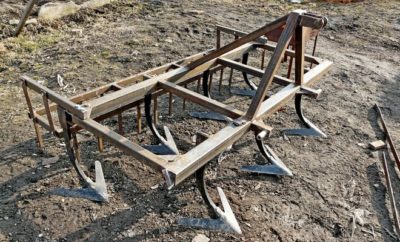
When designing, you need to pay attention to the crumbling angles - they can be both universal and flat-cutting. And so that after loosening the furrows remain even, it is necessary to install a loosening paw on the walk-behind tractors
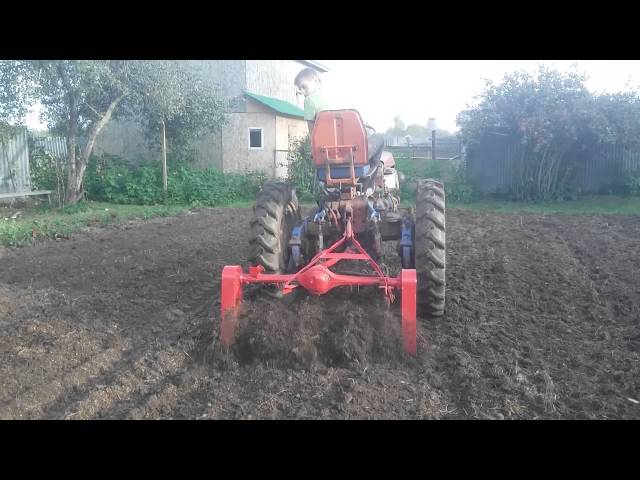
Hello readers! If you have your own garden, then you cannot do without equipment, plowing, cultivation of the soil, for these purposes people came up with tools to make life easier. I was younger, I had a walk-behind tractor in my work, but Years go by and no longer get high, run after him around the garden, besides, Vladimir t25 appeared on the farm. Then the experiments began, the idea to make a cultivator appeared, at the beginning I wanted to buy, but the prices for the standing unit are not small! So it was taken as a basis from the nearest scrap metal, the bridge from the classics, disassembled it, welded the differential, changed the bearings, changed the oil seals, then bought in the nearest motorized parts, 4 stars from Izh350 by 18 teeth, a drive chain from Izh350, cultivator blades, from a walk-behind tractor neva, mb 2k ordered through the online store, found a corner in the bins)) Shaft, bought on a metal base, machined for bearings from a turner very good, I try not to strain it too much, I am happy to pass it twice, although I tried it in one pass, but I think this is an extra load on the PTO! There is not much photo, but I tell everything in detail in the video!
And a video of the cultivator's work!
Thank you for your attention, I think it will be useful to anyone!
A good harvest is essential for a successful and productive household.To achieve it, you need the right technique - the technique of caring for the land and the technique on which you need to care for the land. Therefore, the presence of a large amount of household inventory and a variety of equipment is a sign that a person knows how to do household business. But, any factory product costs money that can be spent on more important needs. A home-made cultivator can be made by purchasing parts for it only, as a last resort - when it is physically impossible to make it completely yourself, from scrap materials.
Traction wheels
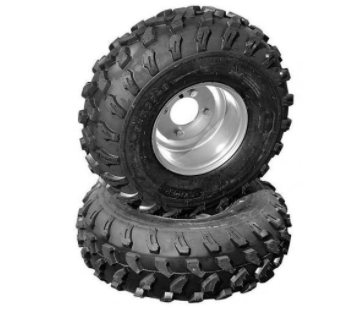
Designed for motoblock operation in different conditions. They will perfectly cope with the load when transporting heavy loads, they will be useful simply for driving on roads and flat surfaces.
Thanks to the special herringbone tread pattern, the pneumatic traction wheels can also be easily used for heavier work - plowing, cultivation, hilling, etc. This type of tread allows you to easily work on sticky or loose soil, without fear of that the machine gets stuck.
Typically, this type of wheel has fairly wide tires (over 20 cm) and a large disc diameter (40 cm or more).
Solid and lugs are special types of traction wheels for the walk-behind tractor.
Solid wheels are characterized by increased durability and stronger tread.
Grousers are a special type of wheel consisting of steel rims and special teeth that resemble the same herringbone tread. Although this type of wheel does not have large dimensions, their weight and design allow them to perform work even on the most difficult soils.

Description of a walk-behind tractor with a chainsaw engine
So, we have a chainsaw that is not used very often or is completely lying around. In this case, after making some calculations and preparing the necessary materials, our saw turns into an excellent walk-behind tractor. The principle of assembling homemade agricultural equipment, depending on the manufacturer's brand, may vary, but the general principles are as follows:
- The most important step is the preparation of the drawing, guided by which, you will assemble the required structure. Drawings and diagrams of a walk-behind tractor from a chainsaw with your own hands can be made both by yourself and by downloading ready-made calculations from the Internet. It will not be difficult to find them, it is enough to drive a query into a search engine and select the assembly option you like.
- The drawings have been found, which means it's time to assemble the frame for our motor cultivator.
- Once the frame is ready, the saw motor and its gas tank are attached to it.
- In the last turn, additional elements of the system are installed, which are responsible for controllability and other functionality.
In this video, we will consider a motorcycle cultivator from a chainsaw friendship:
To implement the idea, prepare the following materials:
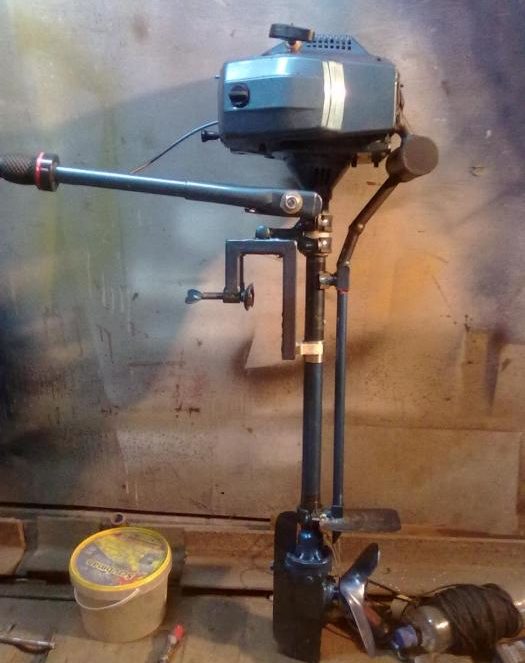
- Motor from any existing chainsaw. The Druzhba and Ural saw is best suited for this.
- A handlebar removed from a moped or motorcycle.
- Welding machine.
- Pipes and sheets of metal, in the amount necessary for assembling the frame of the walk-behind tractor.
- Wheels from non-working equipment.
- Transmission.
Having prepared all structural elements and assembled them in accordance with the drawing, you will receive a device with the following characteristics:
- Powerful. Some homemade designs have 9 horsepower.
- Lung.
- Small-sized.
- The motors used in chainsaws have a large margin of safety, which allows you to work on a home-made installation for a long time.
- Economical.
As an example for assembly, consider 2 options for engines taken from Druzhba and Ural chainsaws. They are considered the most suitable for our venture, and here's why.
friendship
Chainsaw friendship has the following characteristics:
- 3.5 horsepower motor.
- Weight - 7 kilograms.
- The volume of the gas tank is 0.55 liters.
- The volume of the oil tank is 0.26 liters.
It is recommended to use the 4th generation Friendship model for assembly.
Ural
Products manufactured under the Ural trademark have characteristics that are different from Druzhba. The differences lie in the following details:
- The power of the Urals is higher than that of Friendship, and amounts to 5 horsepower.
- The engine generates a lot of soot during operation.
- The gearbox installed on the saw tends to wedge from time to time.
- Small specks, getting into the engine of the Ural saw, burn out without causing any special damage to it.
As you can see, each model has its own pros and cons. Making a walk-behind tractor from a Ural chainsaw motor or constructing a home-made walk-behind tractor from parts of a Druzhba chainsaw is up to you.

