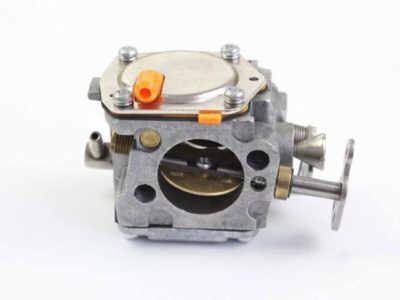
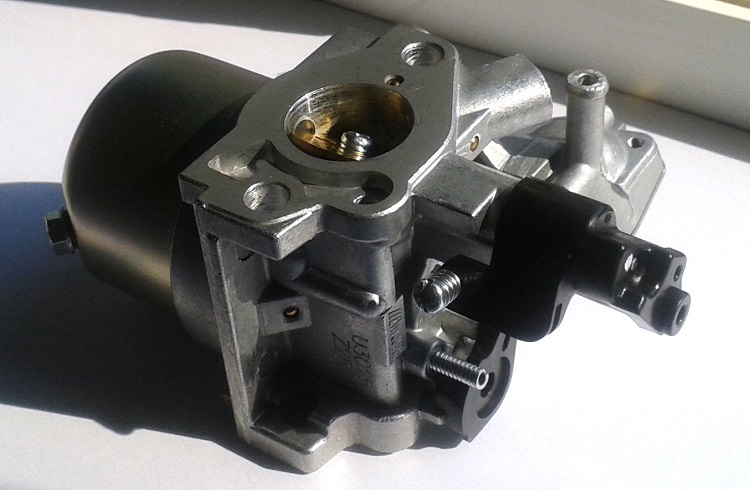
How to adjust the carburetor
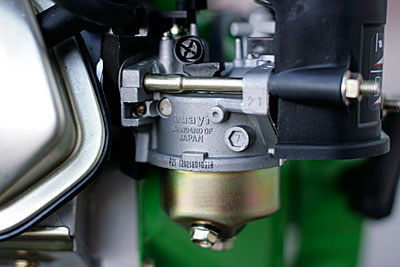
There are several signs that the carburetor of your walk-behind tractor needs adjustment. Let's list them:
- the engine power of the unit has dropped sharply;
- the amount of fuel consumed has increased rapidly;
- the volume of exhaust gases has increased;
- after starting, the engine turns off spontaneously;
- idling, the motor block motor is unstable.
This is interesting: adjusting the carburetor of the walk-behind tractor.
Each of these problems may have several reasons, including increased loads on the unit or, conversely, a long downtime of the walk-behind tractor. An effective measure to eliminate them is to adjust the unit. Doing it yourself is not at all difficult. This requires several steps:
- Before tuning, start the engine and warm it up - leave it running for 5 minutes.
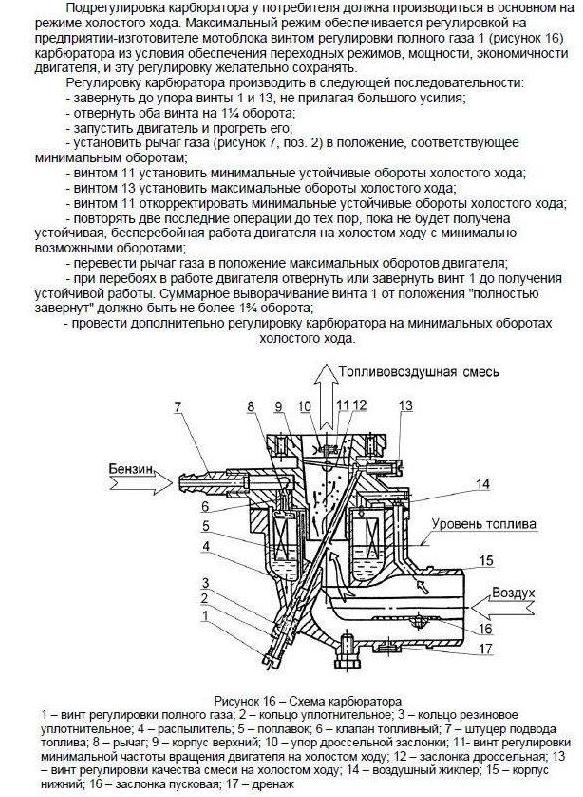
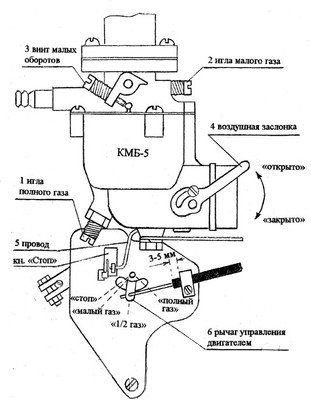
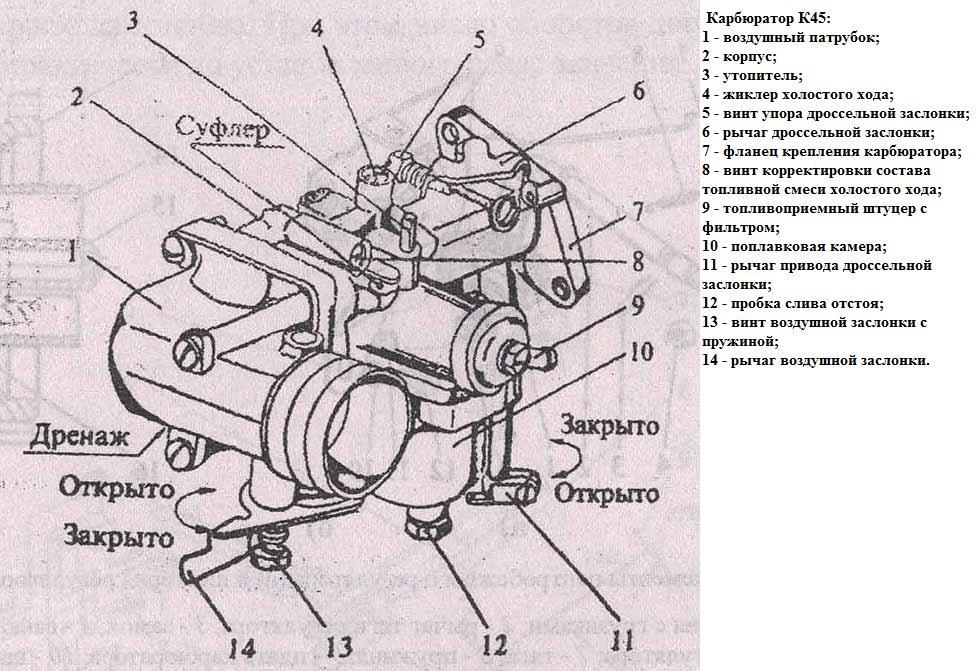
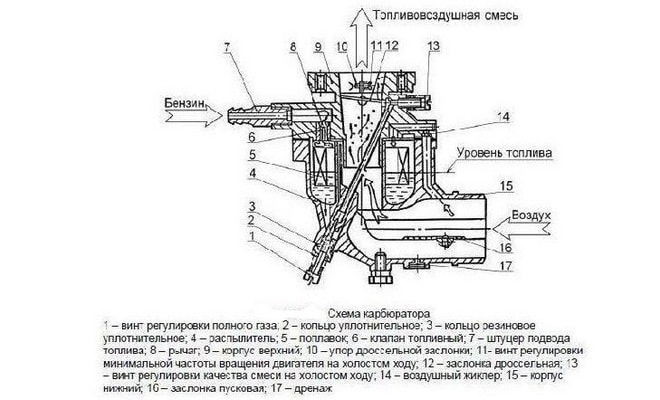
- Switch off the device and leave it still on a horizontal surface. After that, turn the full throttle and idle throttle screws, first to the stop, and then one and a half turns in the opposite direction.
- Start the engine again and warm up for 5 minutes.
- Without shutting down, adjust the engine speed control lever to the lowest speed.
- Adjust the throttle screw to the desired position - the one in which the engine will be the most stable.
- Turn the carburetor low speed adjustment screw to the maximum position.
- Set the throttle valve to the minimum position.
- Adjust both of the aforementioned screws until the engine of the unit shows maximum trouble-free operation.
- Having adjusted both screws, it is necessary to set the engine speed lever to maximum throttle.
- Verification is required at the end of the setup. To do this, the screw for adjusting the maximum speed is turned in one direction or the other two and a half turns in order to check the uninterrupted operation of the motor.
Operating rules
The device will last a long time if you follow the guidelines below.
To keep the mechanism in working order, it is important to monitor the composition of the supplied gasoline - it should not contain mechanical impurities.
Before starting repair work, the parts must be treated with the same fuel. It is not recommended to use a solvent, as it can reduce the elasticity of rubber parts and damage the washers.
It is best to blow dry the parts with compressed air.
Do not clean small holes, for example with a needle or wire.
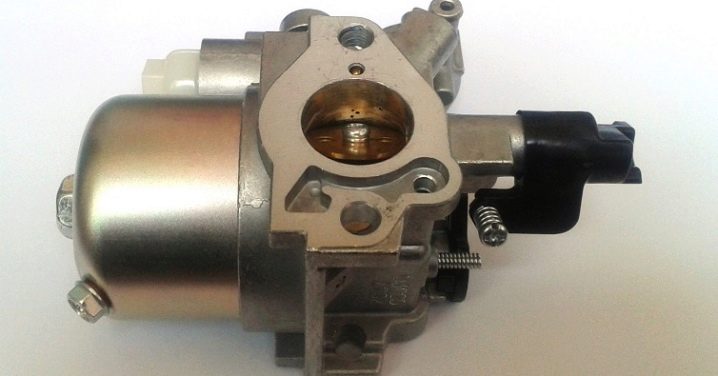
- Make final assembly, install parts evenly - this way you can avoid deformation or bending of carburetor parts.
- Make sure that the float chamber is tightly connected to the body - future success lies precisely in their tightness.
- Before starting the mechanism, check how the air filter is connected - you should be afraid of fluid leaks.
- To avoid leaks, open the fuel valve, then close the air damper, tighten the control lever tightly, open the throttle valve 1 \ 8-1 \ 4. The sinker should be squeezed until drops of fuel appear (if the temperature has dropped to 5 degrees).
- When starting, the air damper must be slightly opened. As soon as the engine warms up, open to full.
Features of adjustment for different brands
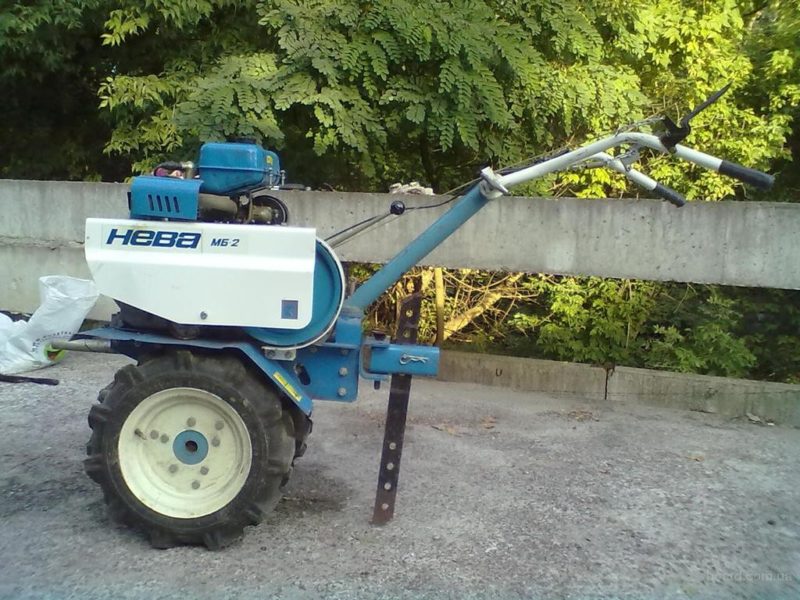
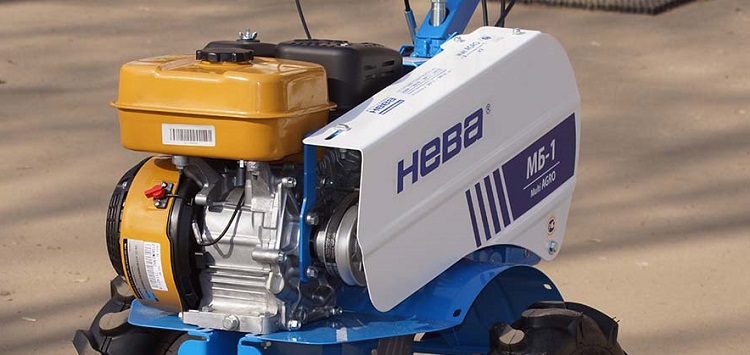
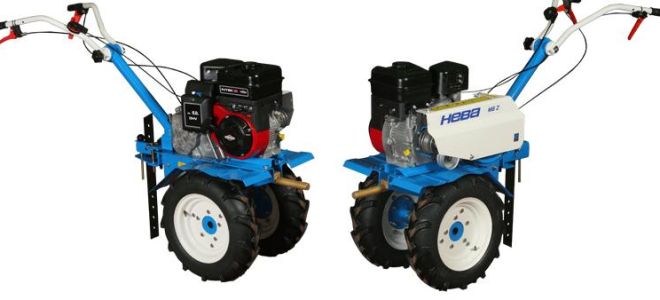
As noted earlier, the carburetor of the walk-behind tractor is configured in the same way, regardless of the brand: Neva, Cascade, Agros (or Argo, as it has been called since 2012), Lifan and others.
If, after carrying out all the manipulations described above, the carburetor continues to work incorrectly, it will need to be removed and inspected. The assembly may need repair, cleaning or flushing of parts.
After adjustment, be sure to check the spark plugs for contamination: clean them from carbon deposits or replace them if they are faulty, adjust SZ.
Caring for the carburetor of the walk-behind tractor
It will be possible to prevent the walk-behind tractor from frequent breakdowns or repairs only with careful monitoring of the operation of the mechanism
As it has already been found out, it is important to carry out timely idle speed adjustment. In addition, do not forget to clean the carburetor, inspect the condition of the parts, for this you must first remove them, perhaps they need a complete replacement.
For example, gaskets often wear out. Due to the constant interaction with fuel fluid, the engine is heavily contaminated with air. Filters that are installed on the unit will help to reduce manual cleaning. In this case, they will have to be cleaned as they become heavily soiled.
The condition of the equipment is influenced by the composition of the poured fuel. A flammable liquid of poor quality degrades the functioning, service of parts, the mechanism as a whole. It is for this reason that craftsmen often resort to replacing or repairing agricultural machinery. You can buy new parts in car markets or in stores where qualified specialists work.
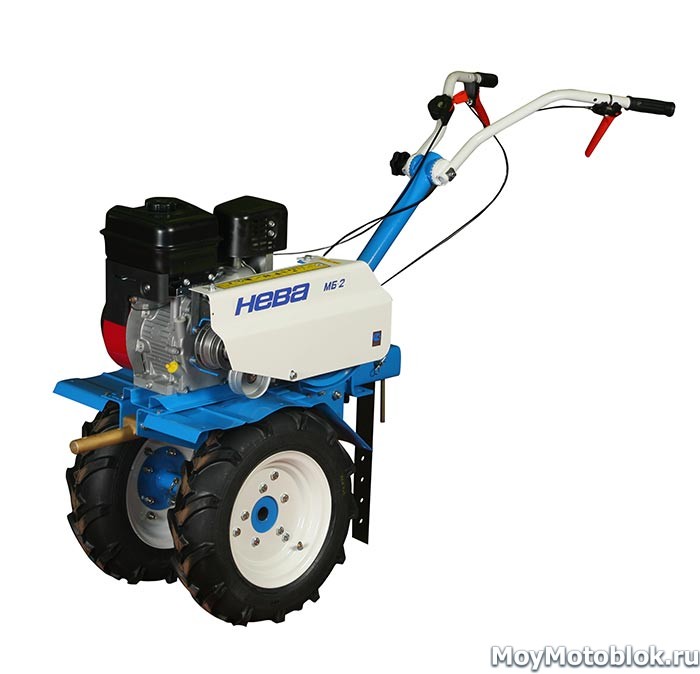
It is quite easy to adjust the device of the "Neva" brand even with your own hands. The main thing is to adhere to the above rules. It will not be superfluous to purchase a connection diagram for each part after repair work or adjustment, since incorrect installation of spare parts will lead to equipment malfunction - it simply will not start. Try to use high-quality fuel, make adjustments on time, and also do not need to save on spare parts. After all, the operation of the entire mechanism depends on every detail.
In the next video, you are waiting for cleaning and flushing the carburetor from the Neva Mb23 walk-behind tractor.
Let’s block ads! (Why?)
Repair of the carburetor of the Mole walk-behind tractor
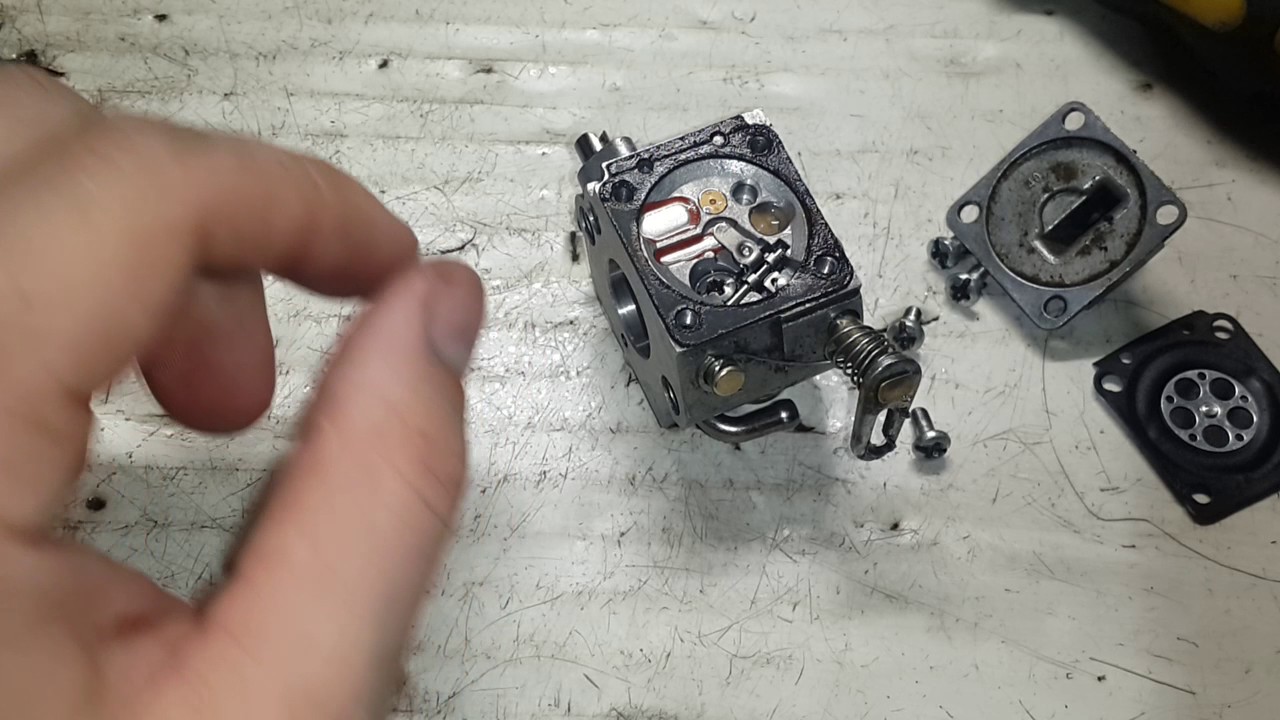
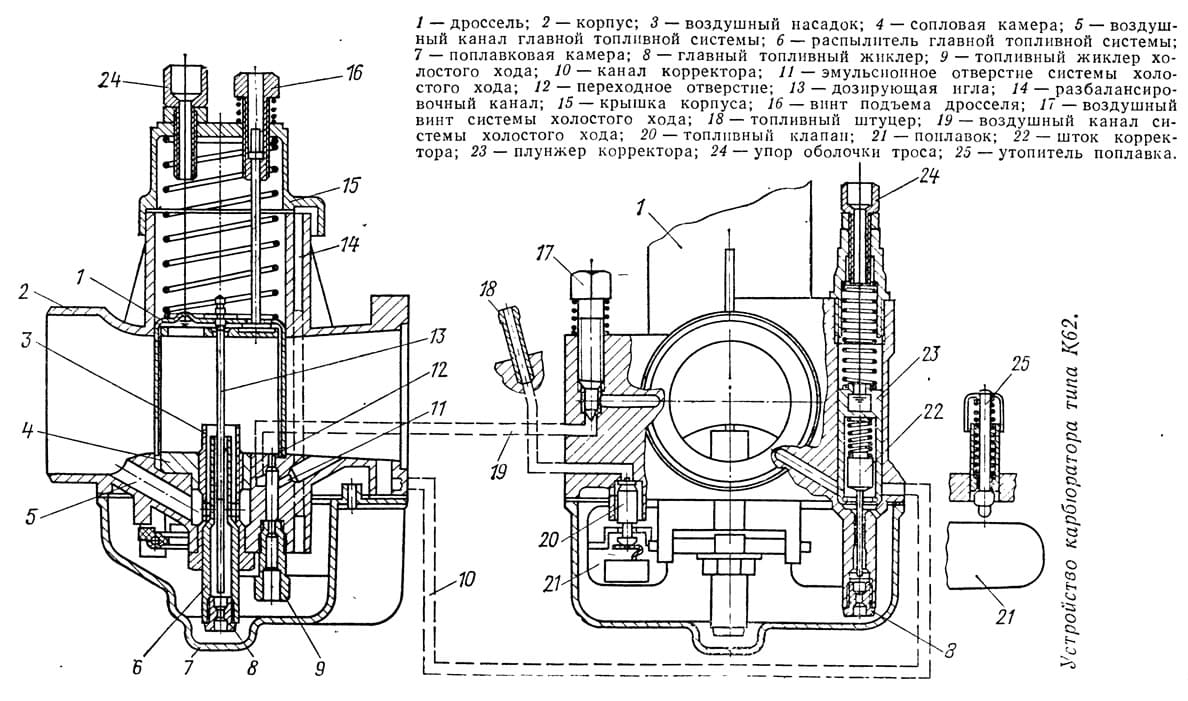
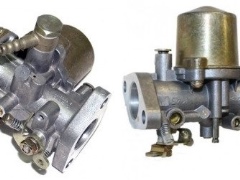
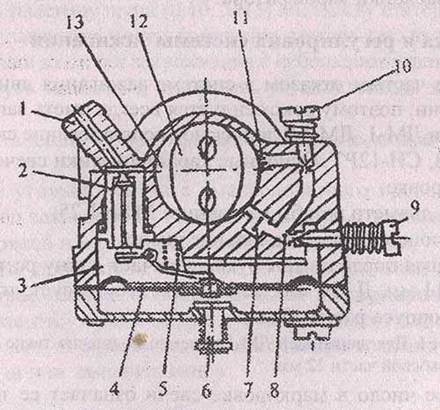
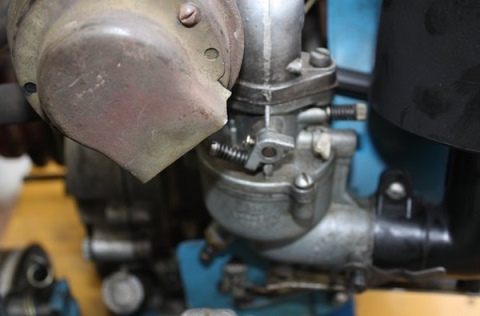
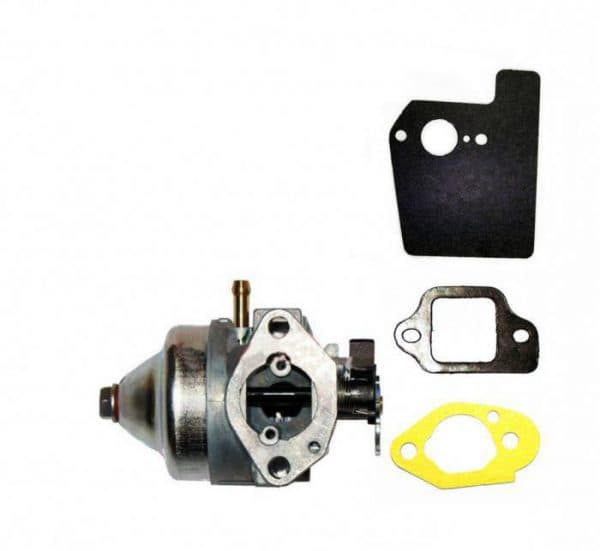
The carburetor of the Mole walk-behind tractor was made in Soviet times. Despite the fact that the Soviet industry was famous for its high level of performance and reliability, this carburetor still had several flaws. To understand them, you first need to make a complete analysis of it into its components:
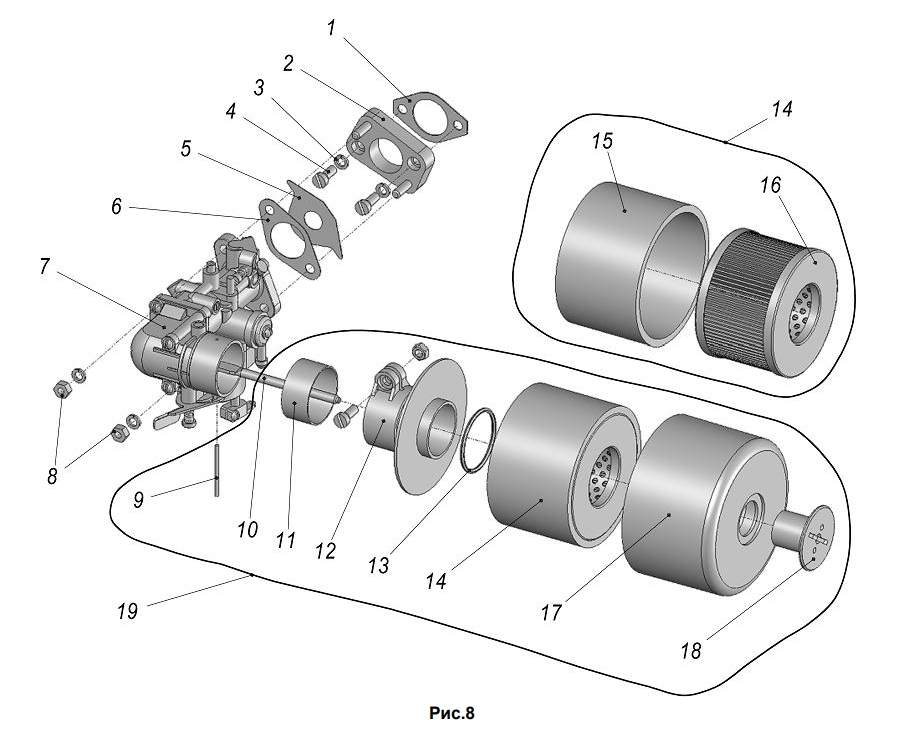
- Remove the cover by unscrewing the bolt on it. Under it, we find a gasket made of a gas-resistant material, as well as a spring that must be pulled out.
- We take out the flap, which is in the same place, under the lid.
- On the reverse side there is a float chamber, which also needs to be unscrewed. Remove the gasket.
- Then it is necessary to remove the float by removing the pin from the corresponding hole. There is a special needle under the float, which also needs to be removed. On it we find a small elastic band, which in no case should be lost, so we carry out all the manipulations extremely carefully.
- We unscrew the fitting, under which the gasoline filter is located.
- Then you need to remove the jet. After that, we need to pull out absolutely all the "insides" located in the carburetor body.
Such disassembly is necessary, because we get access to the internal content, which is considered the most problematic.
Disassembly
In other words, we turn this screw, and the mixture does not change, it remains constantly unchanged.
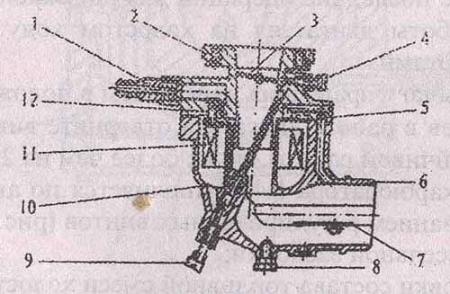
To change this, you need to make a certain repair of the carburetor located inside the Mole walk-behind tractor. The main reason for problems with regulating the mixture is one circumstance. The fact is that inside the carburetor there is a special channel that goes to the tube located in the center of the carburetor.
In this pipe, in theory, there should be a through hole connecting this very channel.The problem is that on some factory units this pipe is put obliquely, which leads to the fact that the channel and the hole on the pipe do not match.
There are times when this hole is completely absent on the pipe, or it is of insufficient diameter. To make repairs, we need to perform several sequential steps:
Unscrew both adjusting screws
Pay attention to the fact that the screws have different taper - the screw of the mixture quality has a larger taper.
To pull out the pipe that is inside, we need to slightly heat the part of it that is outside.
To do this, you can use a small fire on a gas stove, or heat it up with an ordinary lighter.
We keep warm as long as it can hold the body in our hands
After that, we push the pin into the hole where the cover bolt was located.
Using a hammer, carefully hit the inserted studs until the pipe pops out.
As practice shows, the hole is drilled only on one side of the pipe, i.e. it is not end-to-end
We need to make a symmetrical hole on the other side of this tube, or modify the one that is.
If there is a second hole, but it is smaller in diameter than the first, then we need to refine it a little. To do this, use a regular round file, bore the edges of the hole.
Then we install the tube in its original place. This must be done in such a way that the through hole on it and the hole on the channel exactly match.
Before inserting the tube into place, you need to heat the carburetor body a little again so that it fits into its place without problems.
We insert the tube into place and using the same hairpin with which we pushed out the pipe, insert it into place. We knock lightly so that the pipe does not go far inward - on the back side we should see a hole located just above the through one, which should coincide with the channel.
It is necessary to ensure that the hole is strictly in the center.
We take a dense wire and insert it into the hole of the channel. If everything is done correctly, then the wire should freely pass further, through the through hole on the pipe, and exit from it into the continuation of the carburetor channel.
If the wire rested, then you need to knock on the hairpin a little more, pushing the pipe a little further.
Next, you need to reassemble the carburetor in the reverse order.
This is the whole process of the necessary changes in the design of the carburetor. Thanks to them, the adjusting screw fully fulfills its duties to change the quality, which, in fact, was required of it.
how to adjust the valve on the Chevy Niva | Topic author: Anastasia
I can't figure out the hydraulic lifters. SOS
Zoya In my opinion, valves with compensators are not regulated, but when some kind of computer fails, priest, because it's hard to say for sure, but you have 8 of them, it's probably easier. sound on an unheated car, he was told to go and not turn around, attacks on the mind need to shoot his head off.
Victoria If one or more valves are knocking Daria, of course, something needs to be done. To wash or clean or replace one or two or all hydraulic lifters, anyway, you need to dismantle the block head - they are sitting under the camshaft. It's like disassembling a half-engine - the throttle, manifolds, injectors, timing belt, and - finally, the camshaft. Hemorrhoids, in a word. I overhauled my Deushka 8-valve engine this fall, all this I say firsthand. And there is no need to regulate the valves in the Zhiguli or Muscovite sense, as we used to climb there with probes. The compensator sets the required clearance by itself, using the same oil pump.

