Troubleshooting
In situations where the drill is used only for narrowly targeted purposes and from time to time, users tend to send it for repair at the first problems that arise. However, in most cases, it is enough to be able to bypass the non-standard situations that have arisen. To fix minor problems, you need to know how to change the drill, whether it can be done without a key and how to act in the event that it is stuck.

Replacing the drill
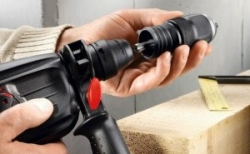
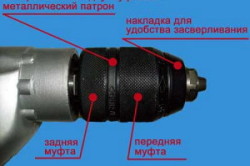
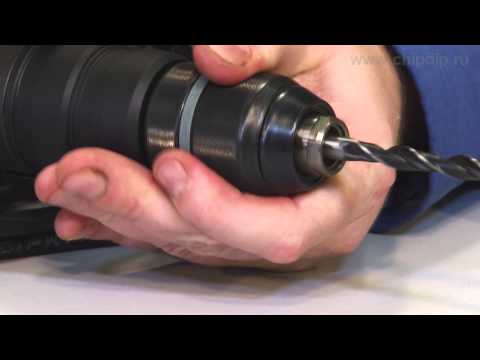
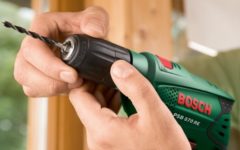
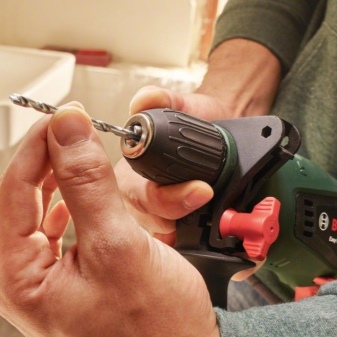
To carry out this procedure, you first need to get the old drill according to the scheme described above, and then put a new one. Electric drills with keyless chucks often have problems due to the fact that the drill is firmly seated and it is not possible to unscrew the coupling. In this case, you can use a piece of cloth that will give more grip on the clutch and try to unscrew it. If this method does not help, then you need to firmly fix the drill with your hand and hit the chuck tangentially in the direction of unwinding with the palm of your other hand, continuing to fix the tool.
Keyless drill removal
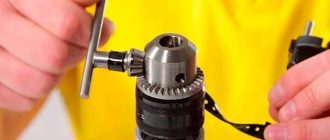
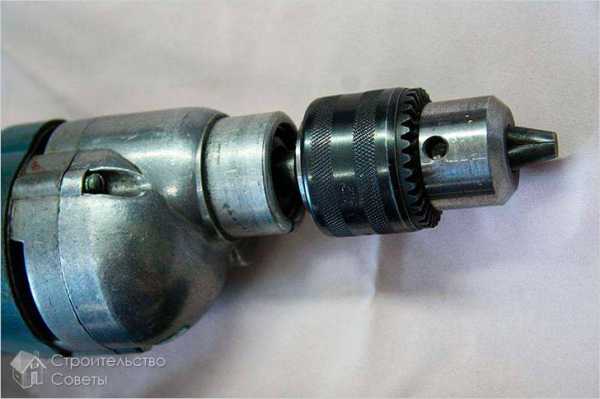
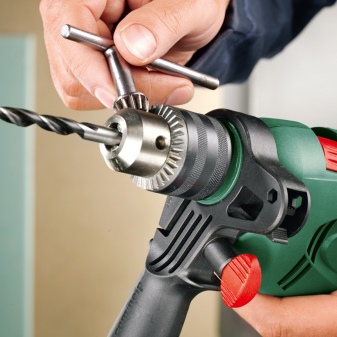
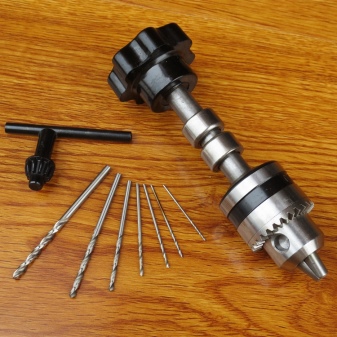
Key chucks have a definite advantage - the fixation of the drill is very powerful, but there is also a drawback - it is necessary to have a key at hand. If the key is not in place, it is quite easy to make up for this deficiency. You will need to find an object that can fix the cartridge on one side. This can be a nail, Phillips screwdriver, screw, hexagon of a suitable size. To the second half, you need to make an effort with your hands and try to untwist it - this way it is possible to pull out the drill without a key. But if you can't handle it with your hands, you can use a vice or a large gas wrench of a suitable size.
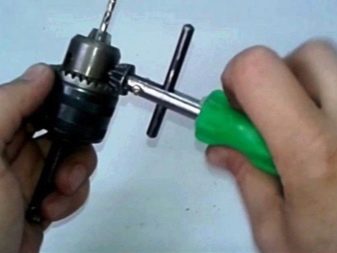
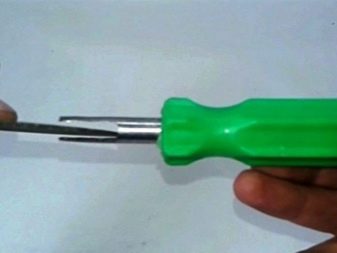
The drill is stuck
There are situations when at the end of the work it is not possible to remove the drill. Neither unwinding the couplings by hand, if the chuck is keyless, nor the key, if the chuck is key, helps. You tried to turn on the drill and, using the reverse, tried to reach the object, but it did not work. We fixed the drill firmly and tried to loosen the cartridge with tangential blows, but this did not bring the desired result either. So it's time to turn to more massive equipment.
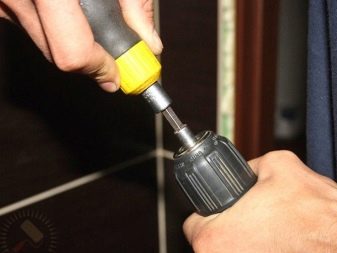
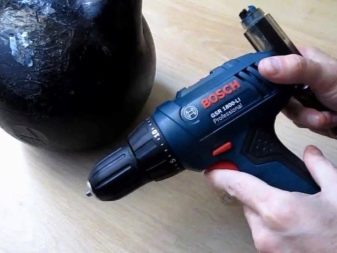
There are not so many ways to remove the drill from the drill:
- Vise and gas wrench. The method involves the use of two gas wrenches or one wrench and a vise. It is necessary to firmly fix one half, and try to shift the other with a key.
- Vise and hammer. One half is fixed in a vice, and the other - with tangential blows of a hammer, moves from a dead center. With the help of the generated vibrations and sharp point effects, it is possible to solve the problem.
If the methods given above did not work, then you can completely unscrew the chuck together with the drill, fix it in a vice and, picking up a screwdriver or some metal rod of the required diameter, knock the drill out of the chuck.

For information on how to properly fix the drill in the drill, see the next video.
Installing a drill into a drill
The way the drill is inserted into the drill will depend on the type of chuck that is on the tool.
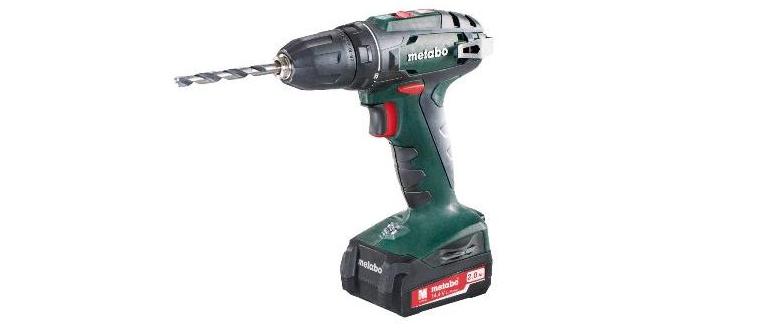
Consider how to change a drill in a screwdriver and drill:
- Disconnect the tool from the power source.
- Select a drill bit suitable for the planned job. Clean the drill, especially the tail section, from dirt and build-up.
- Open the chuck jaws by hand if the chuck is a keyless chuck, or with a wrench if the chuck is a serrated type.
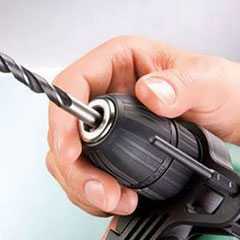
- Guide the drill into the chuck with the shank until it stops.
- Next, fix the drill in the chuck, depending on the type of chuck clamping mechanism.
- Check that the drill is securely seated and that there is no significant play.
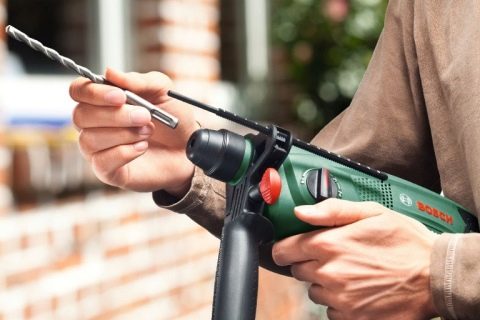
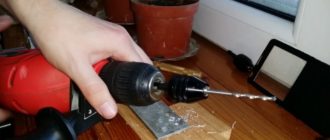
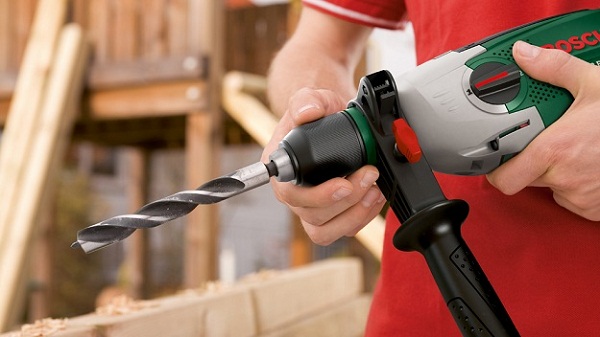
If you do not know how to change the drill bit in the drill, then follow the next instructions. Unplug the drill from the mains. Then open the chuck jaws to loosen the drill hold. If you have just finished using the tool, be careful, the drill may be hot. Spread the chuck, depending on the type of fixation - manually or with a key. Pull out the drill and replace it with a new one. To fix the drill correctly, follow the instructions above.
How to use the punch in different modes
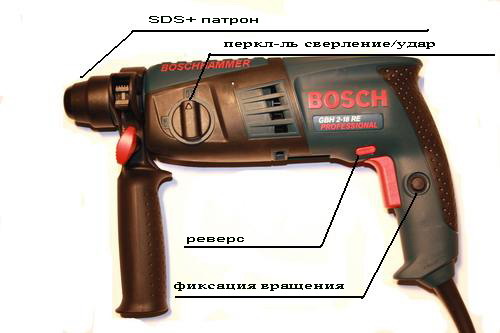
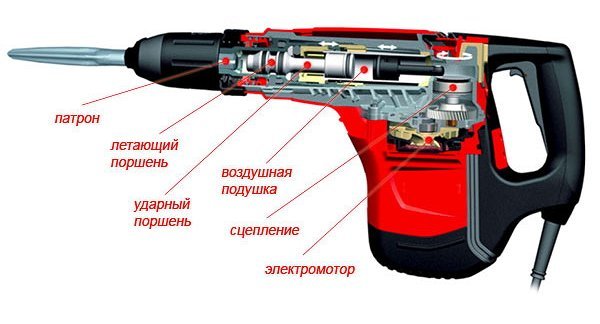
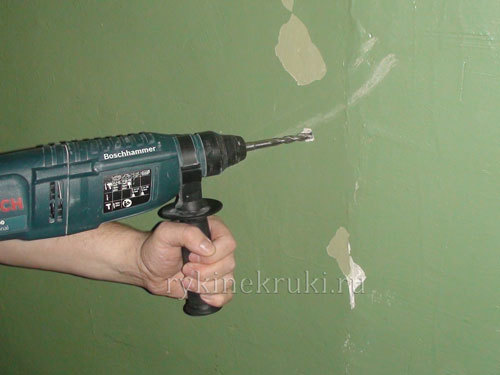
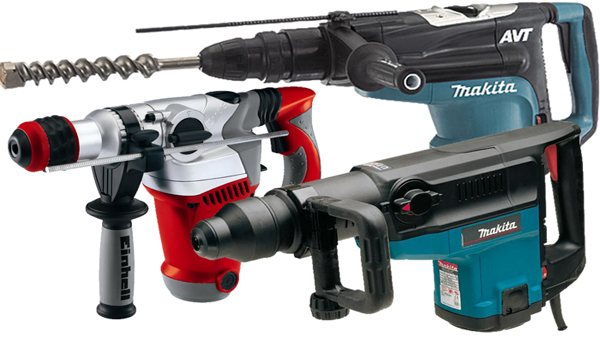
For convenience and the correct performance of different types of work, rotary hammers have several operating modes. A toggle switch is provided to switch them.
Most modern rock drills work in three modes:
- drilling;
- hammer drilling;
- chiselling.
Operating modes and their standard designation: drilling, hammer drilling, chiseling. You can adjust them using the switch
Drilling
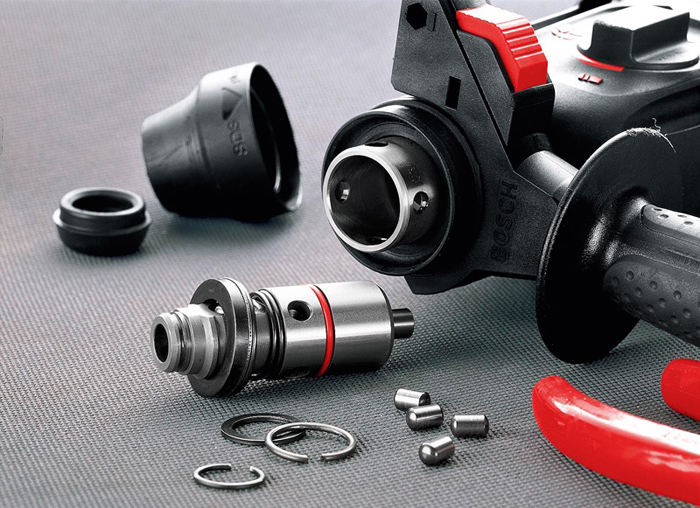
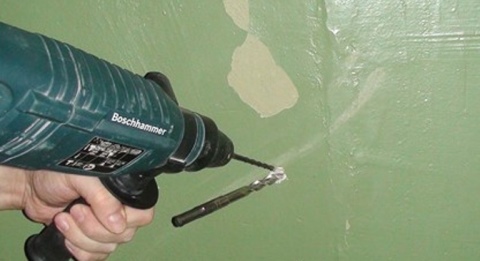
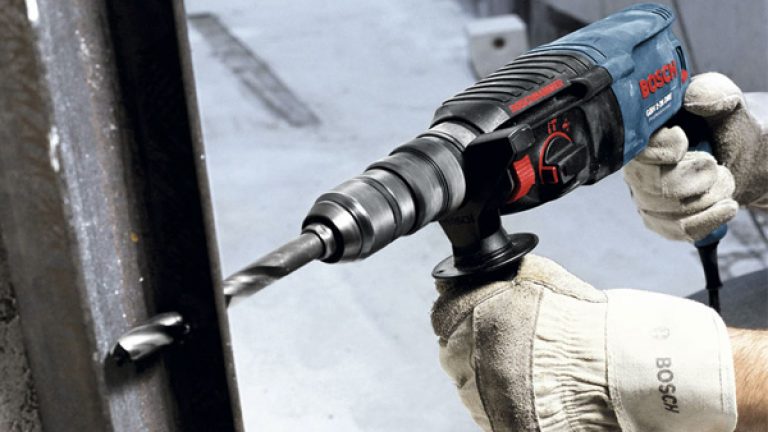
The mode switch is set opposite the drill symbol. To perform drilling work, use SDS shanks: a removable jaw chuck or drills for a hammer drill. This mode is necessary for the formation of holes in wood, metal and other materials.
Impact drilling
The switch is installed opposite the designation "drill + hammer". This mode is intended for drilling holes in concrete, brick, reinforced concrete structures and other building elements. The cutting tool performs both rotational and translational movements at the same time. When drilling reinforced concrete structures, the likelihood of collision with reinforcement should be taken into account, this is dangerous for both the tool and the person. In this mode, drills are used - drills with special carbide taps.
Hammer drilling mode is on
Chiselling
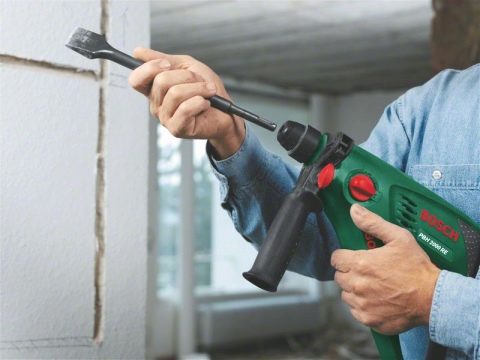
The switch is installed opposite the designation "hammer", in this mode the working tool does not rotate. They are used for punching strobes, destroying building structures, during firing work
It is important to hold the drill firmly and firmly. For chiselling, a special tool is used - chisels, lances, blades
To drill a hole, you need special tools - chisels, lances, blades, hammers
Reverse
Reverse rotation mode reverses the direction of movement of the drill or drill. In budget models of rotary hammers, electric reverse is used - the electric motor armature rotates in the opposite direction. Disadvantage: more intensive wear of the brushes and braking of the armature. In professional devices, a more complex mechanism is used - a gearbox, in which the direction is switched mechanically, with the help of gears. This method is more reliable, but models of rotary hammers with mechanical reverse shifting have a higher cost.
Other modes
In some models of rotary hammers, there are additional modes of operation. For example, turning the bit is designed for effective chiselling. In this mode, the bit rotates a certain degree after each stroke.
How to Switch and Adjust Punch Modes
Switching modes of the punch should be performed only after a complete stop of the working mechanism of the punch. In this case, you do not need to disconnect the instrument from the mains. It is necessary to make sure that the mode switch is clearly fixed in the desired position.
Reasons for Difficulty Removing the Drill
Drill types: a - centerless spiral; b - spiral with a center and cutters; c - spiral with a screw center; g - first center; d - center; e - gimbal; g - countersink; h - groove; and - cork.
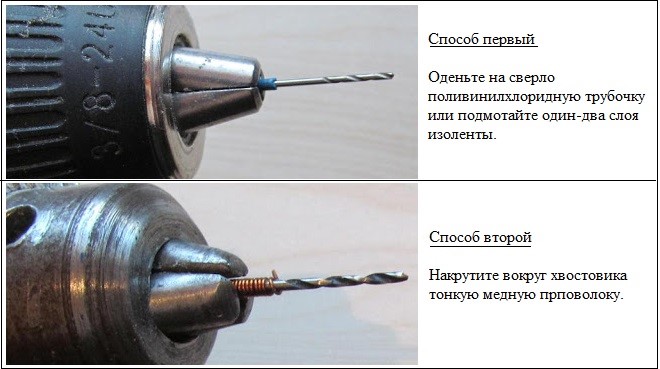
In the process of working with a drill, sometimes difficulties arise when replacing a drill associated with removing a previously used drill from the chuck.This problem can be of varying degrees of complexity, depending on the cause of the occurrence. The simplest and most common reason is the application of excessive force when clamping the drill, in the absence of restrictive mechanisms in the chuck design. This phenomenon most often occurs when using a percussion method of impact to tighten the drill in the final stage, for example, the use of a mallet. Drill jamming can also occur if it is forcefully tightened when it is incorrectly placed in the space between the jaws. This is typical when using a small diameter drill.
A more complex tool jamming mechanism can occur when using a low-quality drill. So, if it is made of a soft material, then when it rotates, metal shavings can occur, removed from the surface, which clogs the gap between the cams and the drill, as well as between the cams. This can make it difficult to open the jaws when trying to loosen the drill. Difficulties in removal can arise if the drill has sunk too deep into the chuck during operation. The task becomes more difficult if the drill, in addition to such jamming, also breaks at the level of the upper end of the chuck.
The breakdown of the drill in the drill chuck can be caused by a violation of the drilling mode.
The cause of destruction, in addition to the use of low-quality material, may be a violation of the drilling mode: an unexpected tilt of the drill, excessive vertical load, an attempt to drill a heavy-duty material, etc.
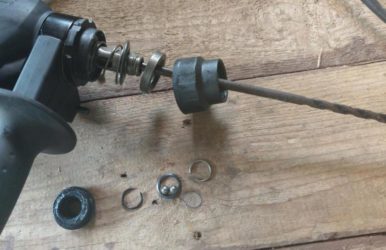
Finally, the reason that the drill cannot be removed is a jamming of the cartridge itself. Several possible reasons should be highlighted. The first reason, not related to the failure of the cartridge, is explained by the ingress of foreign particles that impede movement into the area of the threaded connection of the regulating element and the body. Such particles can be dirt, metal dust or small chips, etc. In this case, it is not possible to ensure the rotation of the adjusting sleeve or key.
The reason for the fact that you cannot get the drill can be the failure of the chuck. This can be caused by both the presence of a factory defect and temporary wear of the cams or the regulating element. The reason may also be the failure of the spring locking mechanism, which does not release the regulating element when the button is pressed.
Drill bits
To work with them, special attachments are provided (grinding, cutting and sharpening).
They should be clamped in the chuck in the same way as conventional drills.
Polishing attachment
It is used to polish the material with an abrasive layer. As it is used sandpaper or felt base with GOI paste. The attachment looks like a circle with a rotating flat surface, which is used for grinding objects.
For coarse cleaning of materials
For cleaning hard surfaces, wire accessories (brushes) are used. They are made in the form of a cylinder with rigid metal bristles. The stiffness of the bristles varies. Both thin wire and thick rope pieces are used.
"Cricket"
This tool turns a drill into a metal nibbler. When using it, you can cut metal sheets if their thickness is less than 1.6 mm. Such a nozzle will come in handy for working with the roof (fitting, cutting).
File attachment
Tooling made using abrasive particles makes it much easier to work when sharpening parts, as well as adjusting grooves and holes. Most often, a whole set of stones with different shapes and sizes is sold. They are made in the form of a cone, cylinder or sphere, there are also flat nozzles.
Milling
Such nozzles are most often called cones. In the process of working with them, grooves, grooves and notches of the required shape and size are obtained.They are disc, cylindrical, shaped, end and end. The specific type is selected depending on the power of the device and the thickness of the material.
Other
There are nozzles for other tasks as well. All of them can be divided into several groups by purpose:
- For sawing. The way of working is similar to using a jigsaw. Wood, plastic or metal up to 20 mm thick can be used as blanks.
- For drilling large areas. Crowns, bar and feather drills, as well as Forstner drills are used as accessories. Drilling materials can be wood, plywood, beams.
- For tightening fasteners. The attachments are designed to fit screws, nuts and bolts. If the device assumes the presence of a low-speed mode, then it can be used as a screwdriver.
- Drill mixer. The nozzle is designed for mixing paints, plaster and other substances. A special whisk helps to obtain the desired color of paint or to stir the wallpaper glue.
- Drilling machine. For ease of use, you can buy a special clamp for the device with a lever and a vice. It will help you make holes in workpieces of non-standard shapes and at different angles.
Various exotic drill bits can also be found on sale. Among them can be a pump nozzle (helps to pump fluids) or a rig for plucking feathers from birds. In ordinary life, such things are required much less often than the usual carpentry and locksmith tools.
An electric drill is one of the most useful tools in the home. It will help you save a lot on the purchase of many devices. With a drill, it is easy to drill holes, cut surfaces, knead compounds, gouge walls, as well as grind materials and sharpen tools. It is recommended to purchase individual attachments for each task. In order not to learn injuries in the process of performing work, it is necessary to follow safety rules.
Possible problems with the chuck when working with a drill: causes, description and solutions
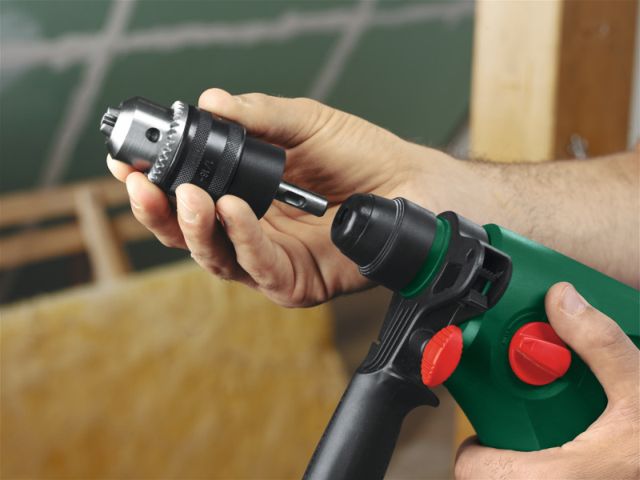
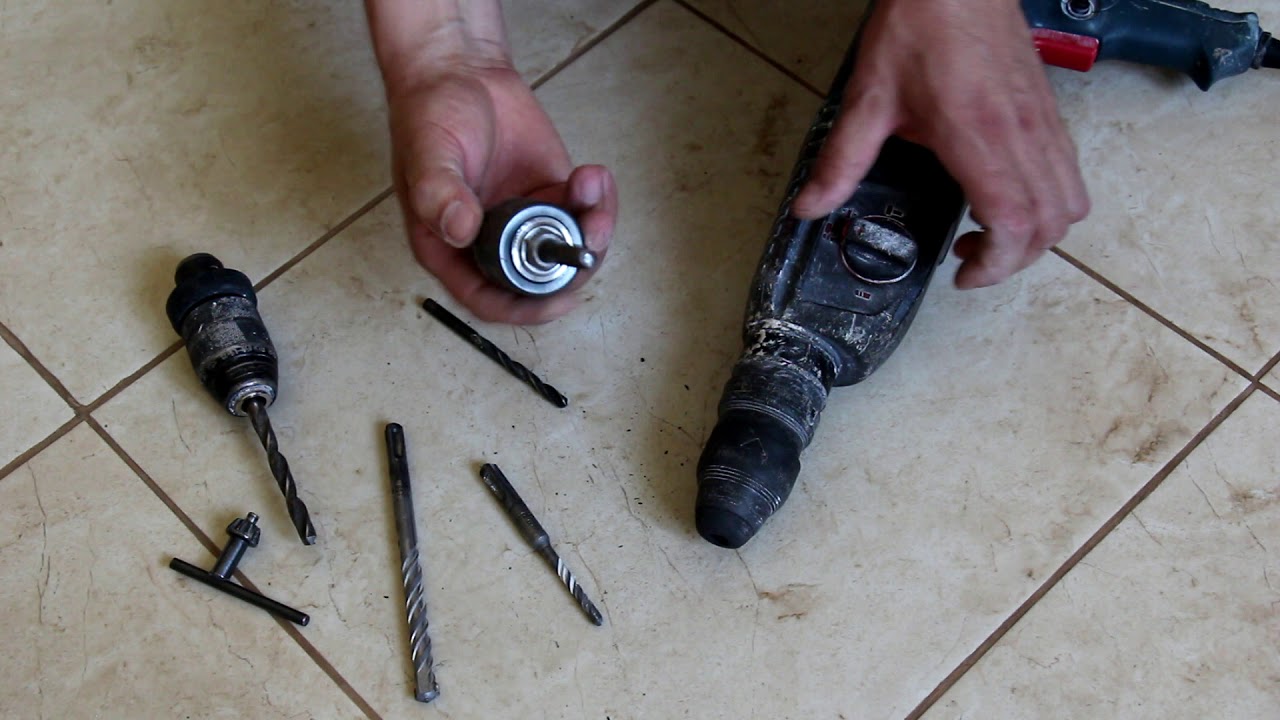
To avoid problems with the drill, you need to be able to work correctly on it. A drill is a versatile tool, with its help you can drill wood and metal, plastic and tiles, stone and glass, concrete and brick. In everyday life, a medium-power rotary percussion drill is usually used. It is equipped with a cartridge for the SDS system, which was invented by BOSH. The SDS chuck is not very accurate, but it is ideal for drilling concrete, stone, brick. That is, those building materials where drilling is needed with a blow.
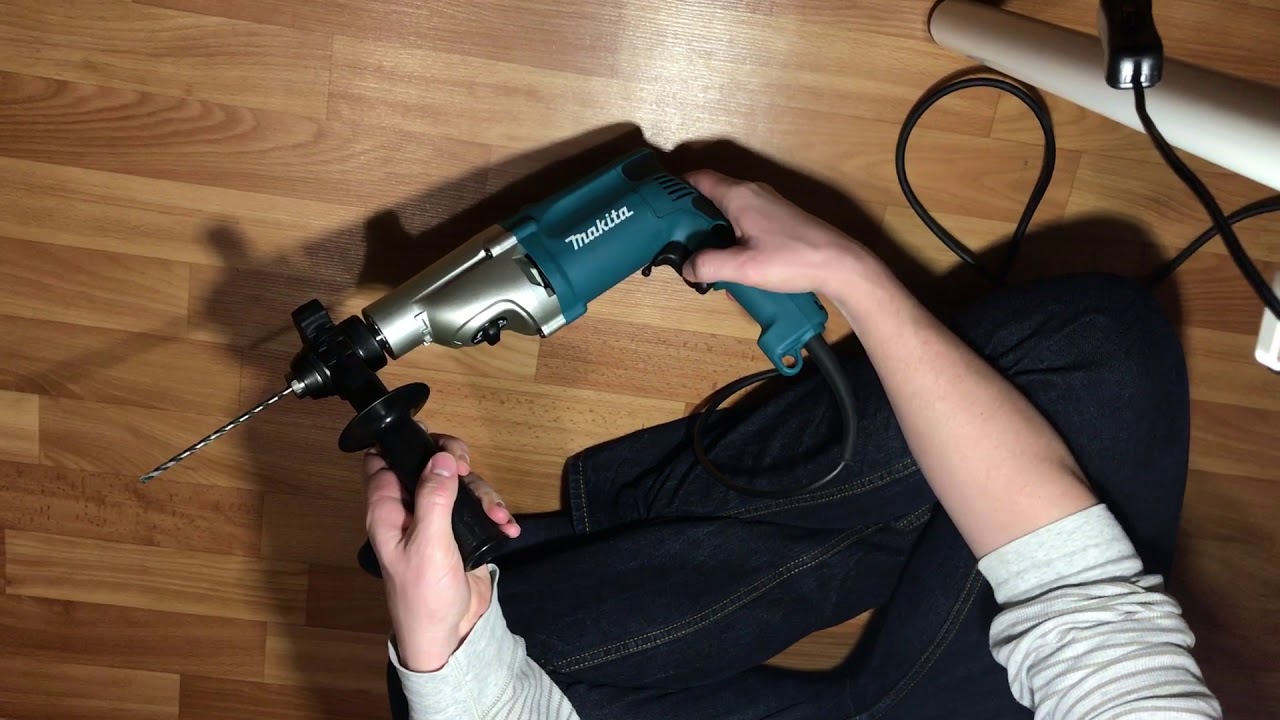
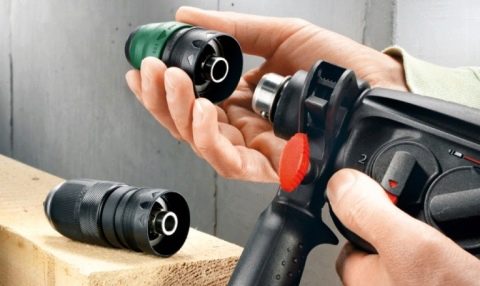
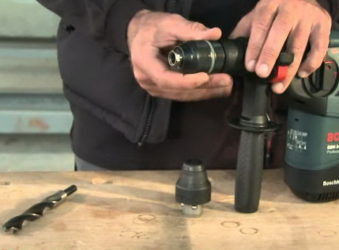
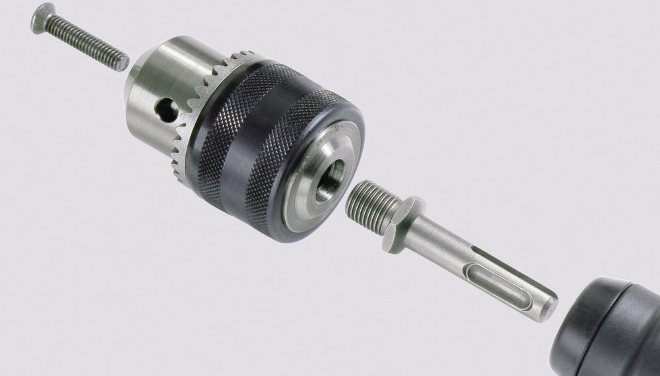
For more accurate drilling of metal and wood parts, it has a special adapter for attaching a jaw key or keyless chuck. The drill must not be used for milling work. The drill chuck is not designed for lateral loading and will fail quickly. Of great importance is:
- the right choice of drill;
- correct sharpening of the cutting part of the drill;
- mandatory marking of the center of the holes using a core.
It is necessary to skillfully use the choice of the desired speed, feed, operating mode, depending on the material of the workpiece. All these factors directly affect the reliable operation of the drill chuck.
The detail flies
Does the cartridge fly off? This problem is quite common even on newer drills when the chuck is tapered when a deep hole is drilled. You need to raise the drill to free it from the chips, and at this moment the chuck flies off the cone. The situation can be corrected by increasing the tightness in the taper mate. To do this, the cartridge is heated in oil or an oven to a temperature of 110 degrees and placed on a cold drill mandrel.
Jaws jammed
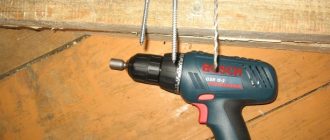
The drill always works in dirty conditions. These are dust, dirt, shavings, sawdust and other small debris. If it gets inside the chuck, this can cause seizure of threaded connections, in particular at the cams. There is only one way out.Disassembly of the cartridge, cleaning and rinsing of moving parts is required. Before assembly, all moving parts are lubricated with lithol. Especially a lot of waste is poured into the chuck when drilling overhead surfaces. Here you can think about protecting the cartridge with a half of a small rubber ball.

