Homemade jigsaw accessories
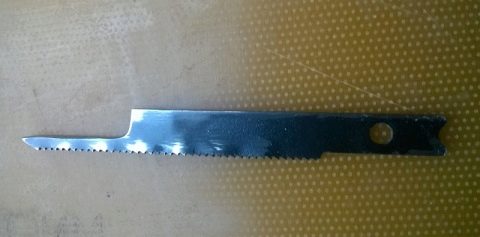
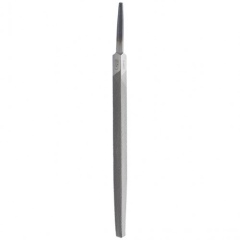
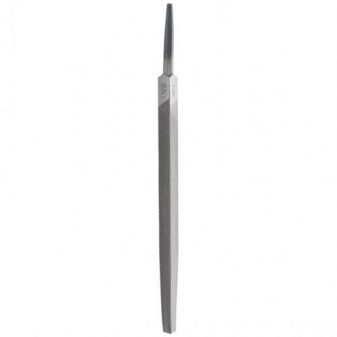
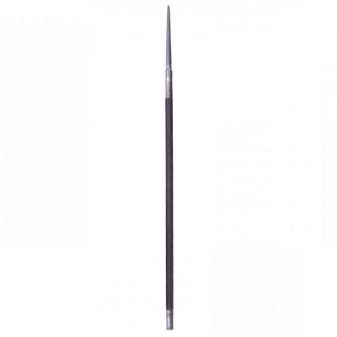
It often happens that the file goes to the sides during the operation of the jigsaw. To prevent this from happening, you can use a homemade attachment. For the blank, we need a file in the shape of a triangle. A shank is made on it, like on the file itself. It is enough to insert it into the power tool and start working.
You can also create a shank from a round file. To do this, cut the file along the length of the saw. On the sharpening machine, we orient along the edge and grind off unnecessary metal up to 1.5 mm thickness or another size, depending on the type of device. After that, we insert it into the hole of the jigsaw, and you can start working.
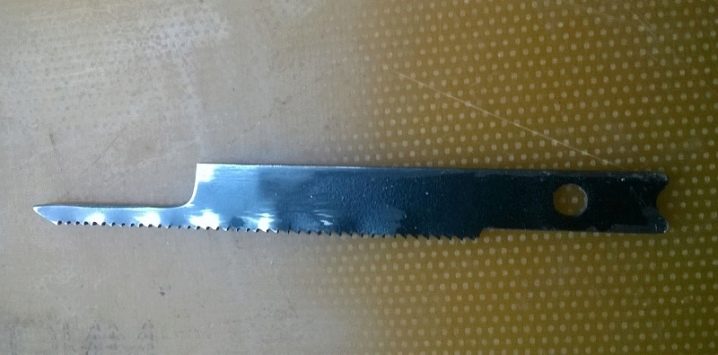
You can also make a saw for a jigsaw. To do this, we will need an ordinary jigsaw file, so that we can use it to make a blank from the panel. She has maidens functions - sawing wood and sawing metal. First, using a ruler, we divide the workpiece into two equal parts, after which we make it deeper and draw 2 lines.
With the help of two nippers along the cut, we break it and get a couple of blanks. One of them is intended for working with wood, and the other with metal. Now we apply the file to the workpiece and repeat the contours. A place for the lock should be cut out where the file will be attached to the jigsaw, and mark the length.
For information on how to make a jigsaw from a sewing machine, see the video below.
Tool selection
To choose a good machine that is suitable for a specific task, you need to pay attention to its power. Most of the models are equipped with an electric drive with a power of 90 to 500 W
For home use, the optimal power is 150-200 watts.
An important selection criterion is the presence of two speeds of the unit. The standard version is 600 and 1000 rpm. This makes it possible to select the appropriate mode for working with materials of different densities.
The working table is fixed and rotary. Fixing the table at an inclination allows you to cut material at predetermined angles other than 90 °. There are also models that provide table height adjustment - this allows you to extend the operational life of the saw, since you can use different sections of it for work along its entire length, and not just the central part.

Manufacturers equip jigsaws with a variety of options, including:
- a compressor to remove chips from the marking line with an air stream;
- drilling unit;
- illumination of the working area;
- blade guard (will not allow fingers to come into contact with the moving file);
- clamping device (prevents vibration of thin sheet material).
How to make a machine from a hand jigsaw?
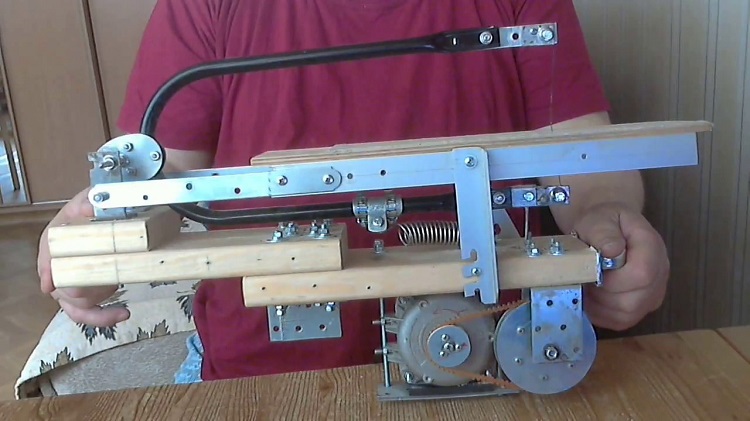
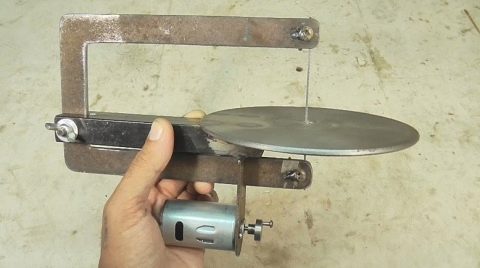
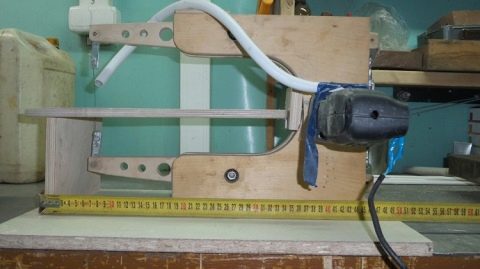
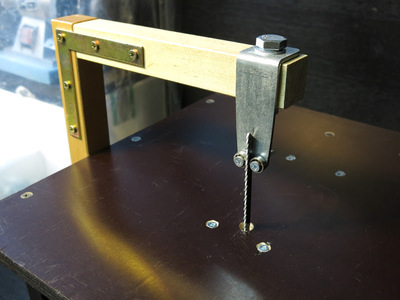
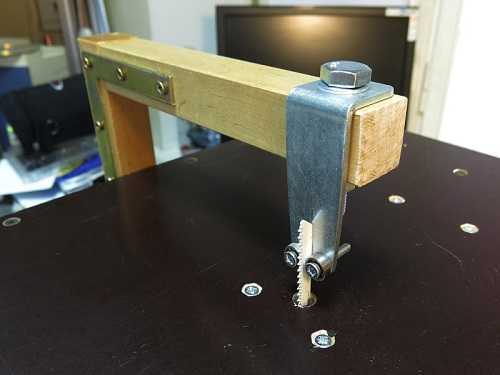
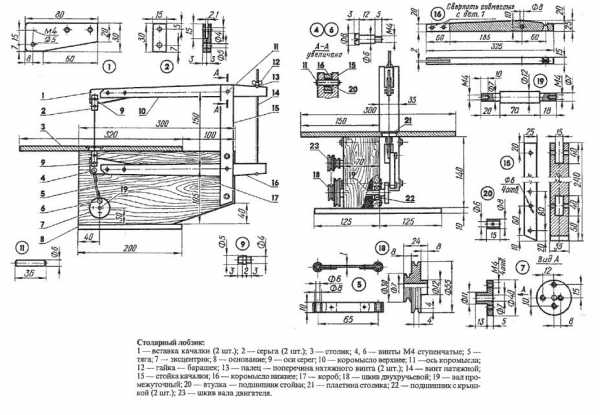
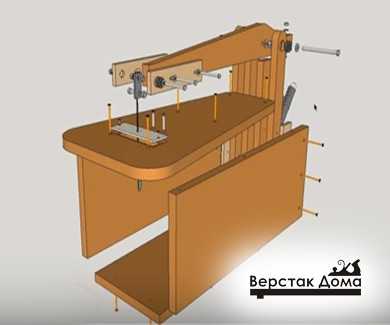
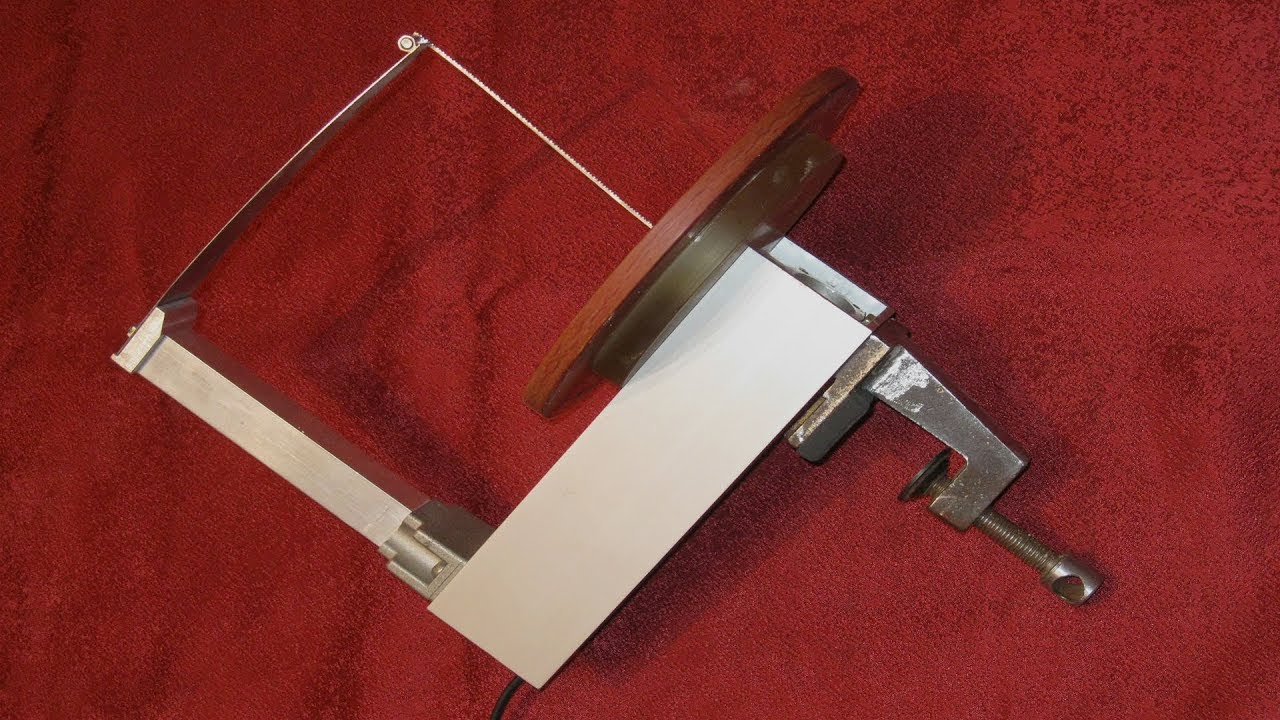
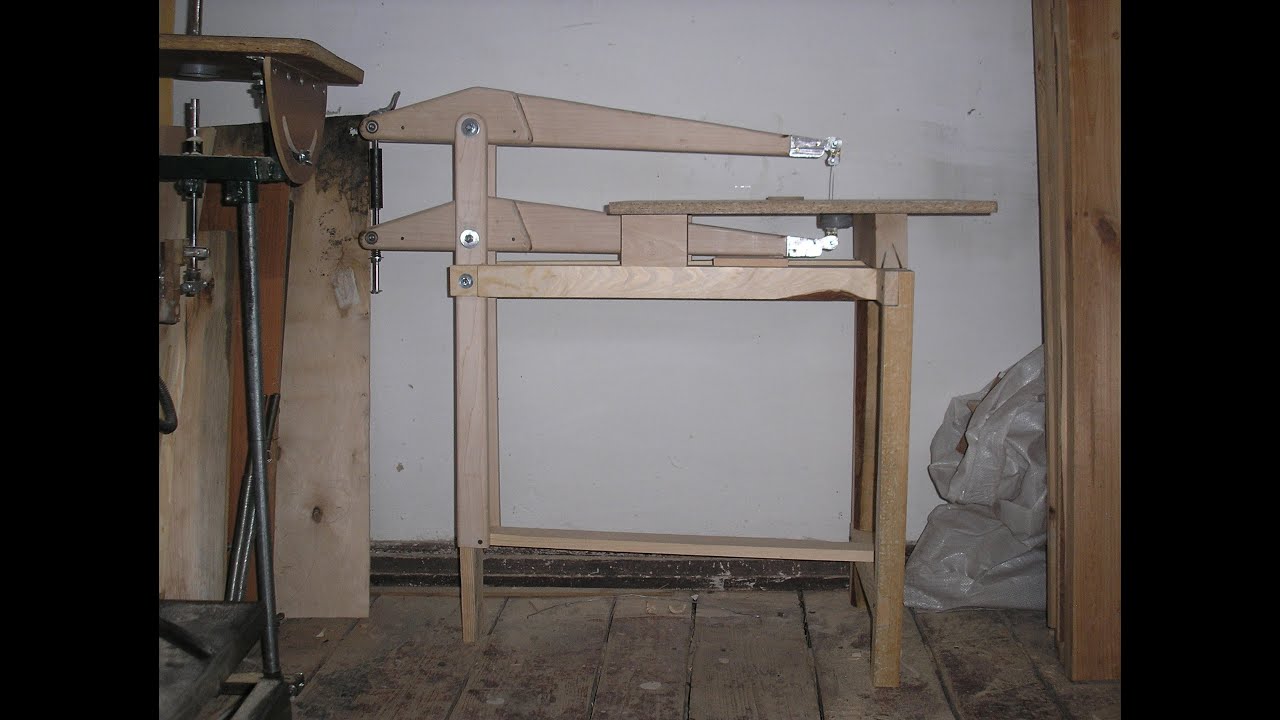
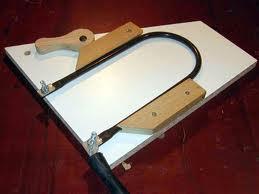
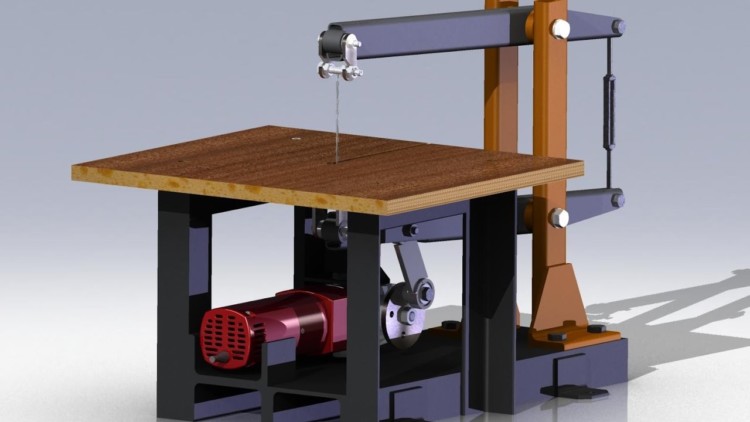
Consider the procedure for making a jigsaw. The design is a work table with a jigsaw fixed from below. The rocker arm consists of a rigidly reinforced stand with a movable spring-loaded arm. This option is considered affordable and reliable, devoid of unnecessary components and parts.
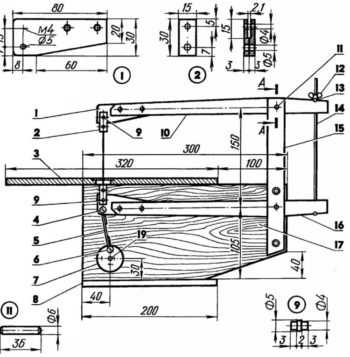
For simplicity and clarity, it is recommended to sketch working drawings that will clarify some design features and answer questions that arise regarding dimensions, connection points and other details of the assembly process.
The creation of a machine can be roughly divided into three stages, which should be considered separately:
Preparatory stage
Before starting the direct manufacture of the machine, it is necessary to make some preparation. First of all, you need to make a special adapter for installing the file. In most jigsaws, the seating end of the saw is inserted into a socket and clamped with a screw.
The cutting body of the machine is a thinner and longer file with holes at the ends, which are put on special pins (or through which the fastening screws pass). Therefore, it is necessary to make an adapter, the lower part of which copies the shank of a standard saw for this jigsaw, and the upper part is equipped with a hole for a screw with a nut, with which the adapter is connected to the machine saw.
Here, the procedure is not limited by anything - some grind out a part of the desired shape from a metal plate, others take a piece of a finished file with a shank and weld a steel washer to it, followed by processing for accuracy.
In addition, you need to prepare the necessary tools and materials, including:
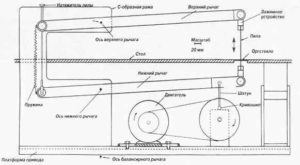 Figure 3 - Drawing of a jigsaw
- Bulgarian;
- electric drill with a set of drills;
- screwdriver;
- welding inverter with electrodes;
- pieces of chipboard or plywood for the work table and bed;
- connecting corners;
- fasteners (screws or bolts with nuts).
This list is not exhaustive, additional tools or materials may be required.
Creating blanks
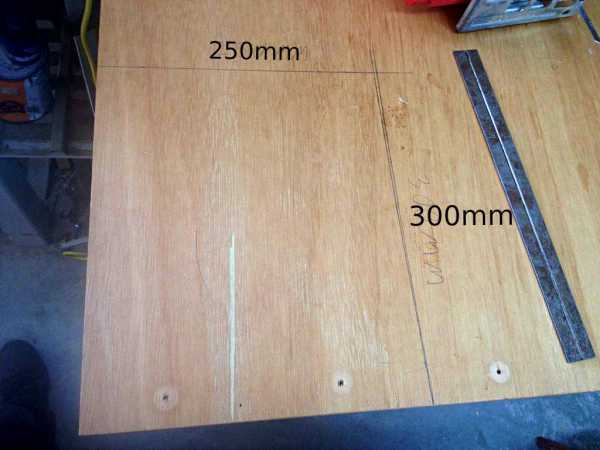
The first step is to make a desktop. A piece of plywood or chipboard of the planned size is cut off. There are no special restrictions here, but you will have to take into account the size of the room in which the machine will be located. A table that is too small will be inconvenient for working with large parts, and an excessive table area will take up a lot of space in the room (or workshop).
As a rule, when choosing the size of the table, they are guided by the size of the parts that will be processed on the machine. Holes are made on the table for attaching a jigsaw and for a file. To do this, unscrew the sole from the tool, apply it to the table and mark the centers of the holes for the connecting bolts.
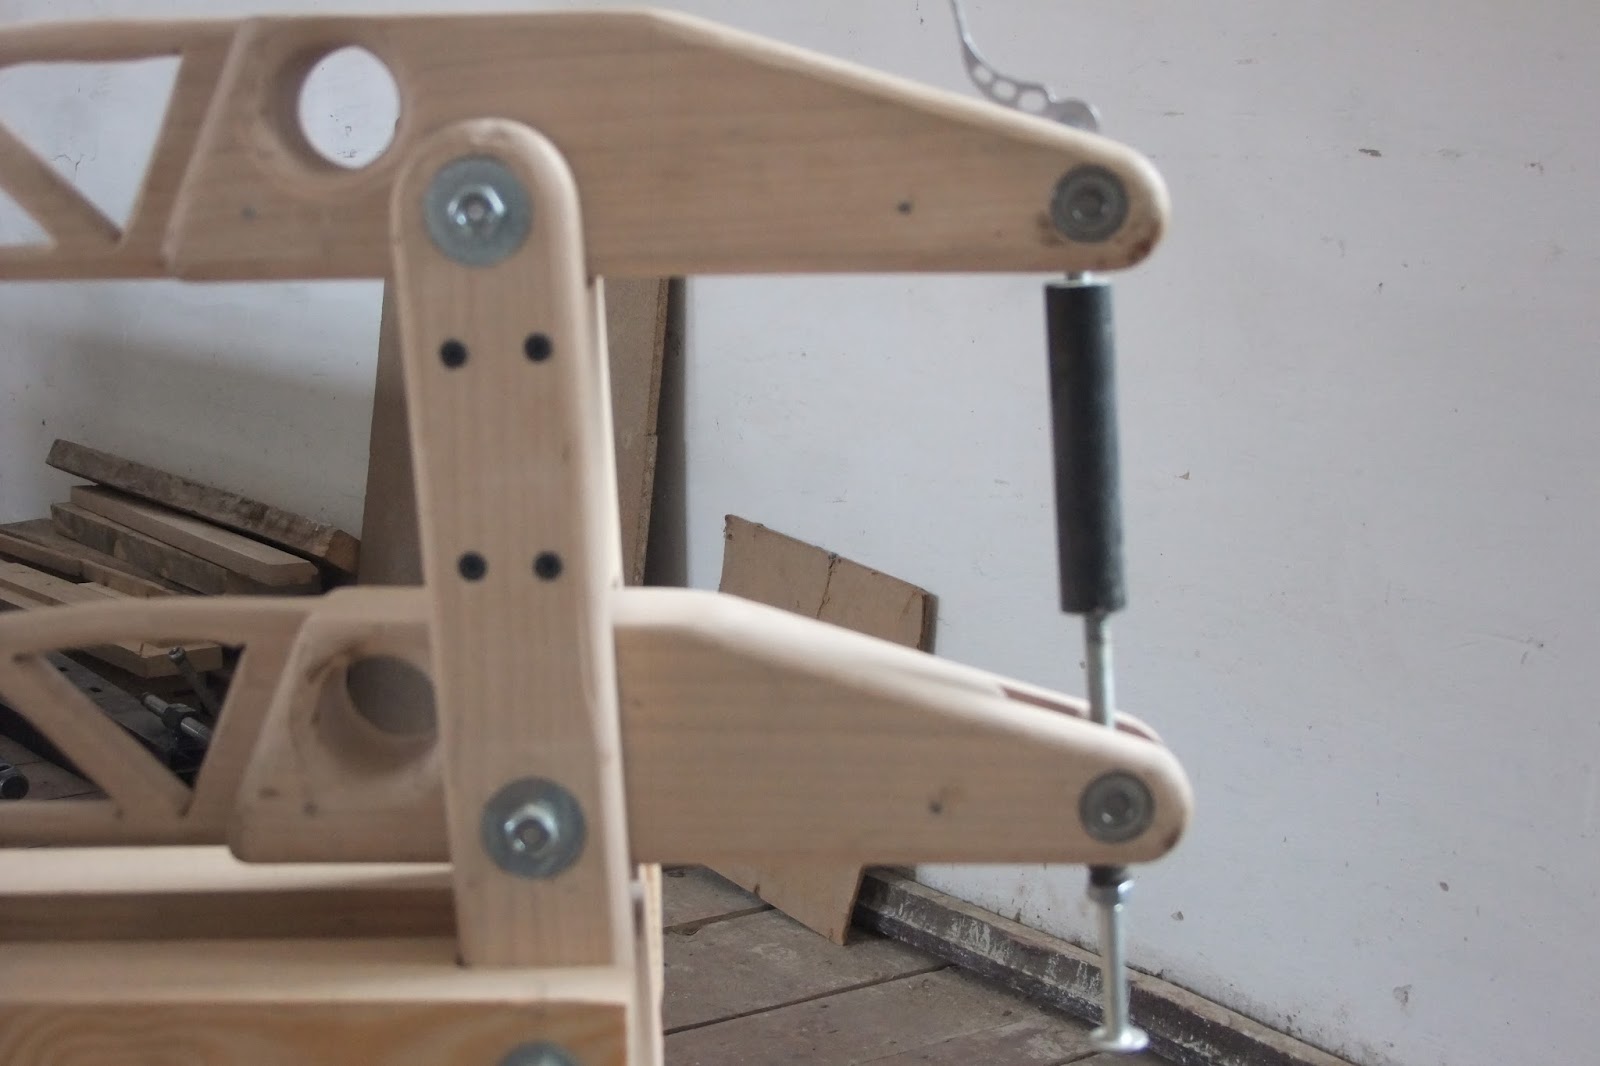
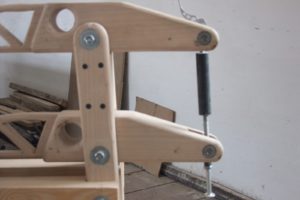 Figure 5 - Jigsaw rocker
The second step is to make a rocker arm. It will need two elements:
- rack;
- movable arm.
For the rack, take a rectangular profile pipe and weld the support platform in the lower part.
Its size should ensure the stability, stability, and reliability of the rack while operating under load.
The height should correspond to the length of the file in the maximum raised state, plus a small margin for the size of the attachment point.
The best option - in the middle position of the saw, the movable arm is in a horizontal position.
The movable element is a beam mounted on a rack using a hinge joint. The length of the front part ensures that the saw attachment is positioned exactly over the corresponding element of the jigsaw. The back of the arm is connected to a spring that provides tension.
Then you need to make a tension knot. It is a conventional spring that is tensioned with an adjusting screw. It is attached to one end of the spring, threaded into a special loop on the bed and tightened with a nut and washer.
Assembly
The assembly process is not difficult. You need to do the following:
- Connect the work table and bed.
- Install the jigsaw.
- Bolt the stand.
- Install the lever.
- Attach the tension spring and secure on both sides.
If the calculations were done correctly, the file will move exactly vertically without yawing to the sides. It is recommended that you check the progress of the jigsaw before starting the jigsaw and make sure that no unforeseen situations are expected.
How to make your own rig
The desire to create a homemade jigsaw can arise for several reasons:
- There is no power supply in the workshop, but it is possible to use low-power internal combustion engines.
- There are pneumatic motors, but the compressor power is not enough for a serial tool.
- The electric motor is powered by batteries or solar panels, the power source is not enough to use the power tool.
- It is required to obtain the parameters of the saw movement that are unattainable when using a serial tool.
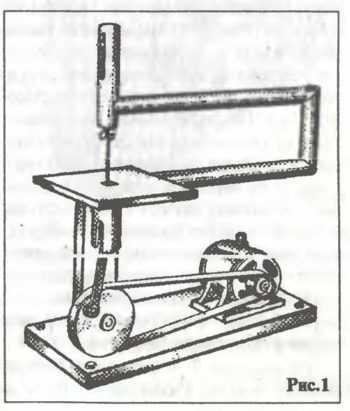
It is not difficult to design a jigsaw. A typical structure looks like this:
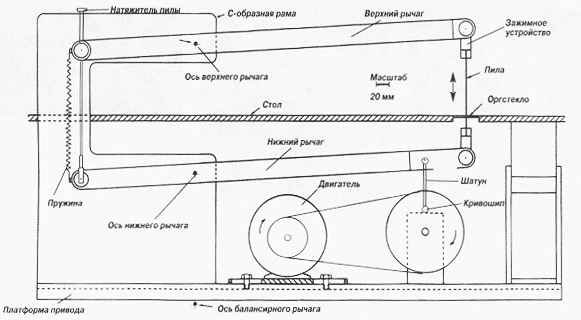
The unit is easy to adapt to any torque source. A pair of pulleys (one is located on the engine shaft, the other - drives the crank mechanism) allows you to vary the gear ratio, reducing the load on the power unit and allowing you to get the required revolutions (they are also responsible for the number of saw strokes per minute) on the actuator.
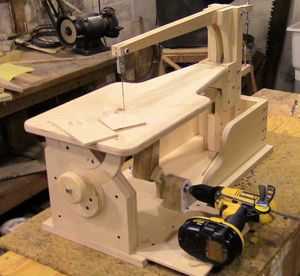
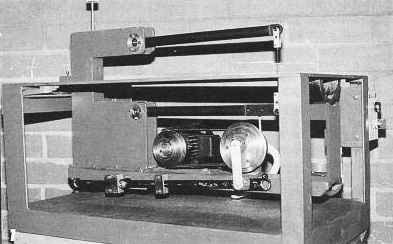
The machine, built according to the above scheme, can have a very different configuration, the material of manufacture is also selected individually. An example of a complete installation looks like this:
13 Replies to “Knife from an old jigsaw file”
Of course, I understand that the handle made of blue electrical tape is stronger ...

Thanks for the idea, the steel in the files is good and the knives will be great, especially for wood carving.
... then show what happened!
useful thing I just have a few used files
and I made this out of my dead jigsaw.

There is also a dead man lying around somewhere, to find him again!
a very useful unit turned out. always in a backpack. and files in the handle of all calibers.
A very interesting idea, this has never occurred to me, thanks for the idea
Yes, not for some reason! Use it!
Yes, not at all! Use it!
"You can make a knife from a good (not used) file": good - new, that is, do not grind the teeth, as I understand it.
P.S. You can make a knife from a good (unused) file, there will be a universal tool. I do not quite understand about universality. Wash off the other side?
Alteration of the place of attachment of the needle under the file
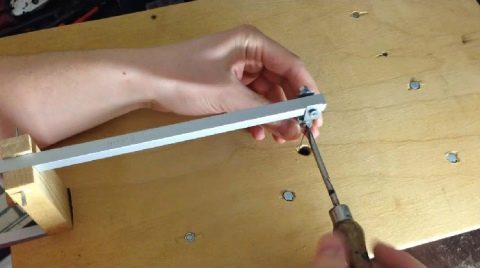
There is a threaded hole in the working rod of the machine, allowing you to attach the saw fixing mechanism. There are several options for such home-made devices, but the most durable and reliable is a tube put on a stem and fixed on it with a bolt. To do this, a hole is made in the upper part of the tube for a bolt, which is screwed into the hole on the rod. Another hole is made in the lower part of the tube, in which the M3 or M4 threads are cut.
The file is inserted into the tube and securely fixed with a screw. This method of fastening is the easiest, but even it seems unreliable to some users. Therefore, there is another option - instead of a tube, a rod with a diameter of 10-12 mm is taken, a hole for the rod and a transverse hole is drilled from one end to fix the saw holder on the rod. To install the file, a slot is made in the longitudinal direction, into which the file is inserted. Fix it with a bolt, which is screwed into the prepared threaded hole.
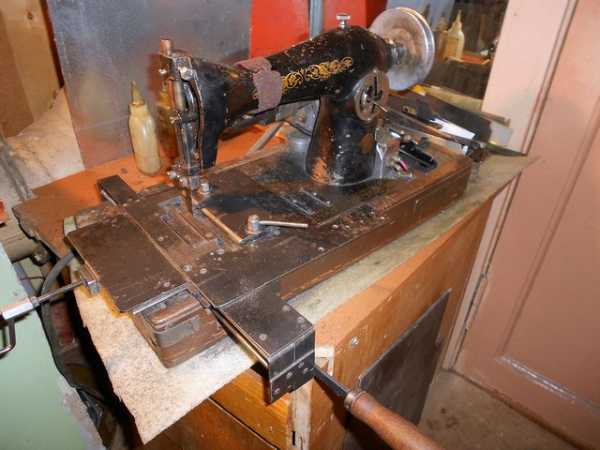
Making a jigsaw machine from a sewing machine is a simple and short-lived process. The result will be the appearance of a convenient and compact device that allows you to accurately and accurately cut complex curvilinear shapes. To increase the service life of the file, additional pieces of chipboard can be used, which are placed on the working table, and, as the quality of sharpening decreases, they are removed. The area with which the blade cuts the workpiece changes, sharp teeth are used again. This procedure can be repeated several times.
Modification of the stem from a broken factory-made electric jigsaw
Having finished disassembling the sewing machine, I took up the stock from the broken jigsaw. It had to be sawed, removing the excess part, and then mounted in a new place.To do this, I measured about a third of the entire length from the saw clamp, marking the cut with a marker.
It only at first glance seems that the stock of an electric jigsaw is all-metal. In fact, this is a hollow tube, which is quite easy to saw off with an ordinary hacksaw for metal. But at the same time, in order not to waste extra forces on the steel core located inside it, it is better to rotate the tube. And when it is completely cut, just remove it from the core. I used a grinder: what's the point of wasting extra time?
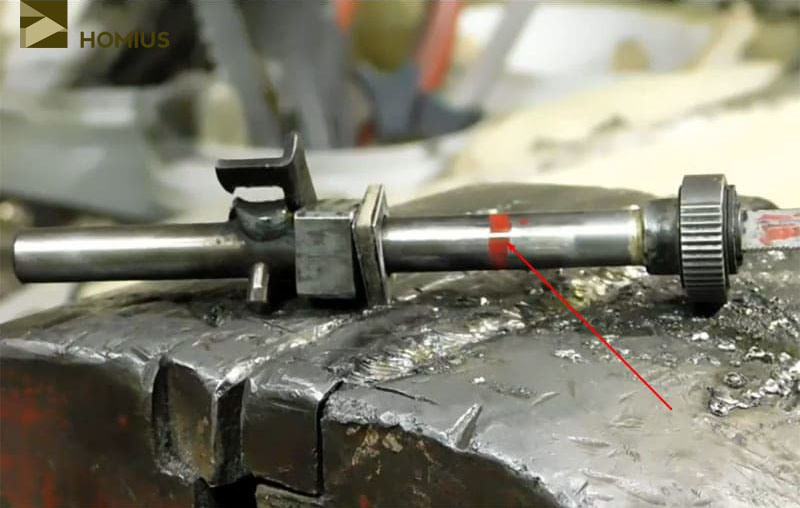 Mark the place of the cut on the stem from a broken electric jigsaw
Installing part of the jigsaw stem on a sewing machine
The stem was cut off, and now all that remained was to install it on the sewing machine. To do this, it was necessary to drill a hole with a diameter of 3 mm both on it and on the rod of the machine. Here you should be careful. The drill had to go exactly perpendicular to the blade. Also on the stock of the machine - exactly parallel to its axis. A mark was made on the sawn-off part at a distance of about a centimeter from the edge.
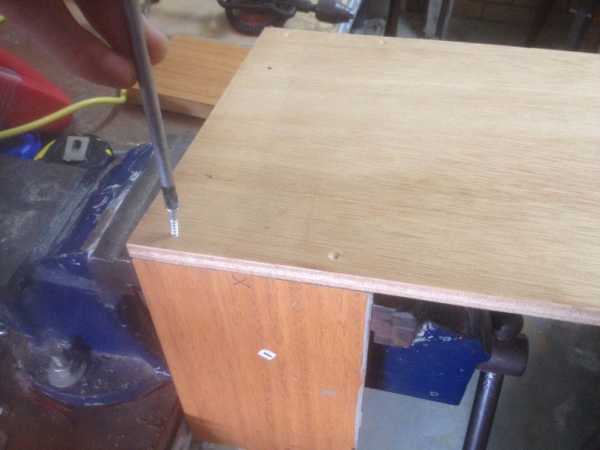
In order to properly drill the hole, I used a machine. If there is none, I advise you to clamp the part in a vice. Before starting work, it is worth checking the drilling point. Otherwise, the drill will slide off the rounded surface of the stem.
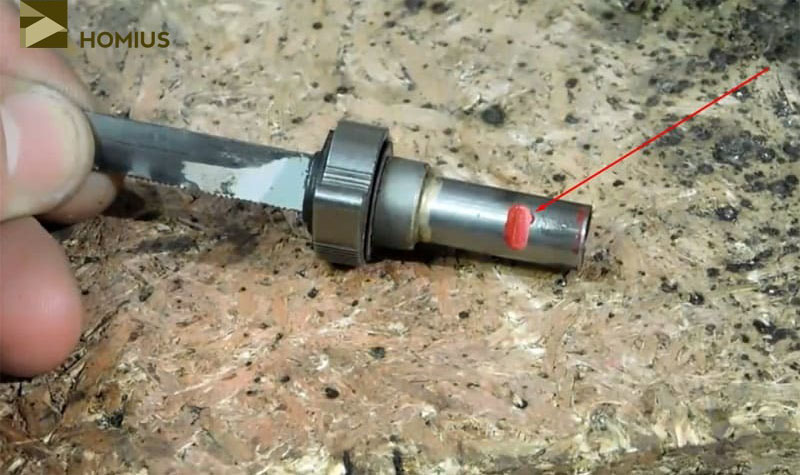 The drilling location is marked, you can start
After both holes were ready, the stem from the broken jigsaw was put on the same part of the sewing machine, the holes were aligned, and the elements were fixed with a bolt and nut. Of course, it was possible to spend a little more time (perhaps I will do so later) to thread the holes. This will secure the connection even more securely. However, even after the thread to the required diameter has been cut and the screw is screwed into it, you should not neglect the additional nut on the back side. Still, the speed will be great, and the load during work is very significant.
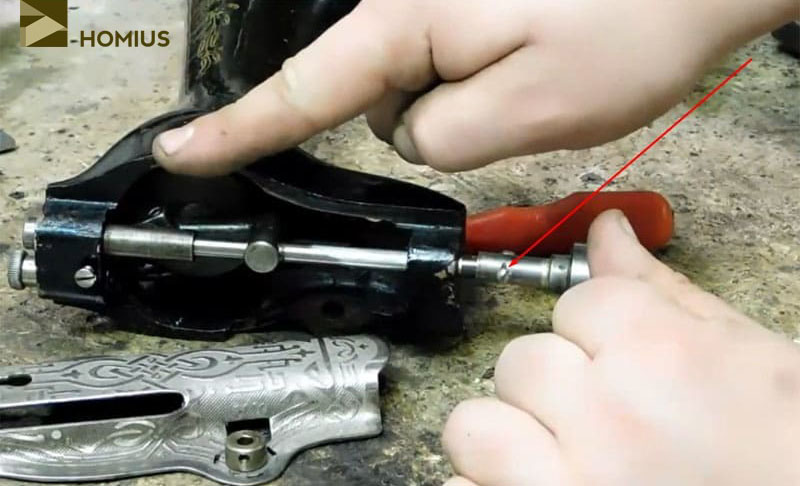 We fix the connection with a bolt with a nut and stretch it
Step 7: making a file guide


The guide will prevent the blade from wandering to the sides during cutting, especially at high rpms.
I made the guide from a small strip of PVC plastic. At one end of the strip, use a jigsaw to make a small cut at an angle to the middle of the strip. We fix the strip behind the file by screwing it to the wooden L-shaped piece fixed to the lid of your machine. The guide can be oiled for better movement.
- The guide should never be higher than the blade at the lowest point of the blade's path.
- The guide limits the size of the material you are going to cut due to its height and attachment point on the surface. Therefore, it is better to fix the guide as high as possible (taking into account the previous remark), and as far away from the canvas as possible, with a bias to the side, as soon as possible.
Electric Jigsaw Parts
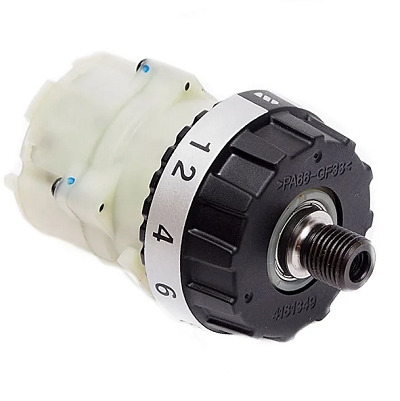
When assembling an electric jigsaw, it is important to find a suitable motor that will drive the working tool - the saw. For such a purpose, a motor from a drill, blender, food processor or other equipment of the same type is excellent.
The jigsaw frame is best made from an aluminum pipe.
The movable frame is made of metal profiles, wooden planks or sturdy plastic slats. It is most convenient to work with square-section aluminum tubes, since they are easy to process, have a low weight and a significant margin of safety.
To fix the jigsaw in the desired position, a reliable frame of wood or metal should be made for it. The dimensions of the frame do not have much effect on the performance of the jigsaw. They only depend on which version of the tool you need - a compact benchtop or a full-size floor-mounted one.
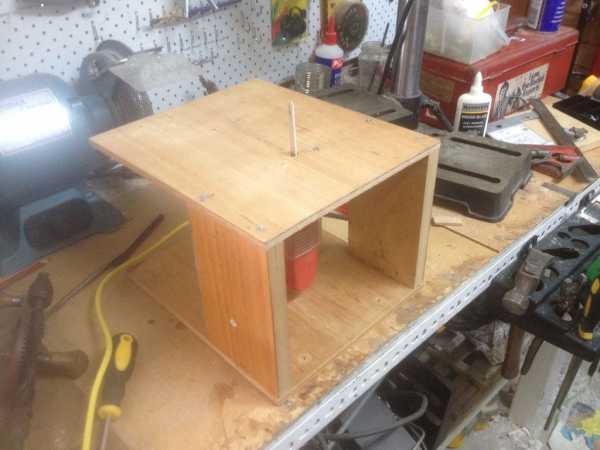
A jigsaw table is made of a thick sheet of plywood, in which a small diameter hole is made where the file will move (Fig. 2).
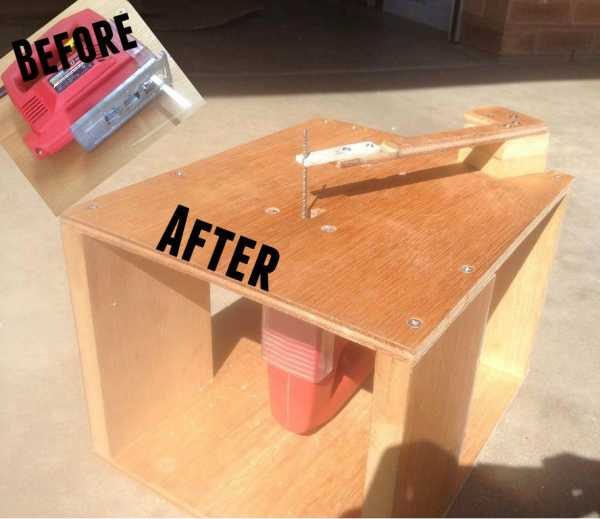
There is also an easier option for how to make a homemade jigsaw. It consists in the fact that a manual electric jigsaw is mounted in a vertical position in a table-stand, while its file is attached tightly to the movable guide strips - levers.
Design and characteristics of a standard machine
The factory-made jigsaw is a reliable device, the operation of which is guaranteed by the manufacturer. Manual models are low cost. Stationary devices are expensive, but provide adequate comfort when processing wood. The set of components in the device is largely the same for everyone.
The structure consists of the following parts:
- Files.
- Crank assembly.
- Drive.
- Devices for tensioning the file.
- Work table or bed.
- Additionally, auxiliary mechanisms may be present.
The part for processing is laid on the desktop. The size of the workpiece depends on its size. Some models have a turntable, which makes it easier to work with the part - improved visibility. The presence of the graduation makes it easier to mark the material.
Average characteristics of factory machines:
- The size of the table ranges from 30 to 40 cm. This is the optimal size.
- The drive has a power of about 150 W. This is an achievable value for a homemade device.
- The rotary motion into a reciprocating motion converts the crank mechanism. The force is then transferred to the saw.
- The saw has a frequency of fluctuations from 800 to 1 thousand per minute. The vertical range of motion usually does not exceed 5 cm. In some models, there is an adjustment of the speed of movement, which allows you to adapt to the properties of the material.
- The hand band jigsaw allows you to work with plastic and wood no more than 10 cm in thickness. The length of the parts should not exceed 35 cm.
- There are many types of saws, which vary depending on the material being cut. The file width ranges from 2 to 10 mm.
- Smooth operation of the file is ensured by its tensioning mechanism. It consists of coil or spring springs.
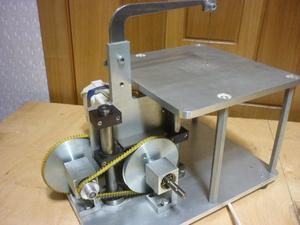 Specialized models can have radically different characteristics. There are small size specifications for machining small parts. As well as models of large sizes, the industry also produces for retail sale. But such options will be of high cost.
In the middle class, there is high competition for the consumer, so the devices will be cheaper. The characteristics are also sharpened for the typical tasks of the carpenter. Starting from them, you need to make drawings of the jigsaw machine with your own hands. Complex components for it are purchased in the store.
Making a jigsaw with your own hands
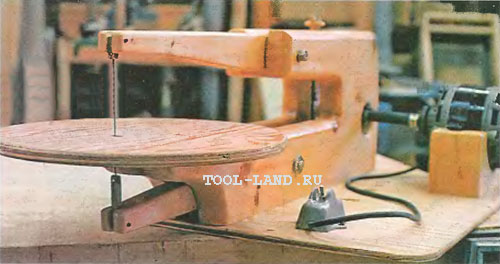
A home-made machine, made to replace a conventional jigsaw for wood, is able to provide high-quality performance of the main set of operations for curly cutting of sheet materials. Depending on the purpose, it is possible to design a compact electrical model or a stationary unit designed for high loads.
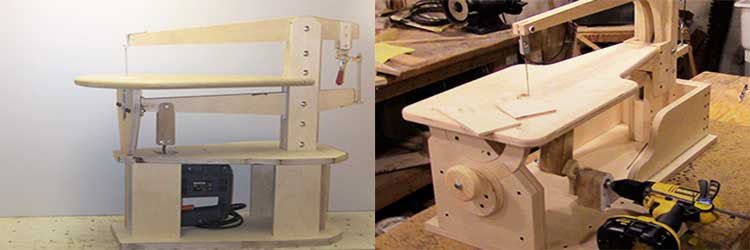
Materials (edit)
As a basic diagram, it is most convenient to use a drawing of a simple wooden jigsaw machine with a flywheel and pedal assembly and replace the mechanical drive with an electric one. If the machine is supposed to be used only from time to time, you can do without a special electric motor. Instead, connect any suitable power tool. It is convenient to use a screwdriver with adjustable rotation speed.

The material for the manufacture of the machine itself is wood, while:
- the bed and the support pedestal for the arm bar is best made of high-strength plywood (minimum thickness - 18 mm);
- for a lever structure, it is necessary to take dense wood that is not prone to cracking under load - this is beech or oak (instead of buying bars, you can use straight legs of old chairs that are suitable in size);
- for the crank mechanism, plywood with a thickness of 10-12 mm is required;
- for the rest of the structural elements, pine lumber, various scraps are suitable.
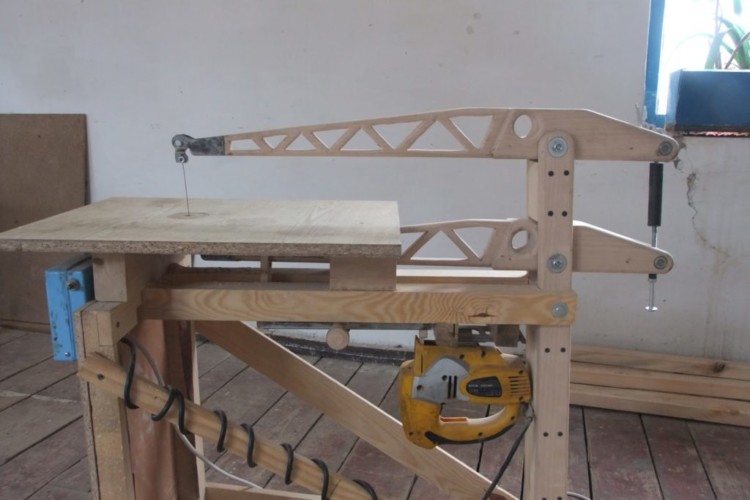
According to the jigsaw diagram, the bed and the support pedestal are made. Self-tapping screws for wood should be used as fasteners, it is recommended to coat the joints of wooden structural elements with PVA emulsion
It is important that the structure is strong and there is no backlash, otherwise the accuracy of the machine will be low
3> Parts preparation and assembly
Next, the levers of the required length are cut, at their ends cuts are made for the saw attachments. The mount is made of a steel plate with a thickness of 2-3 mm, with a couple of holes. The upper hole allows you to fix the plate on the arm, and the lower one is for attaching the saw shank. Fasteners - screws of a suitable diameter and nuts - it is more convenient to use wing nuts. The mount on the lower arm is installed in the same way.
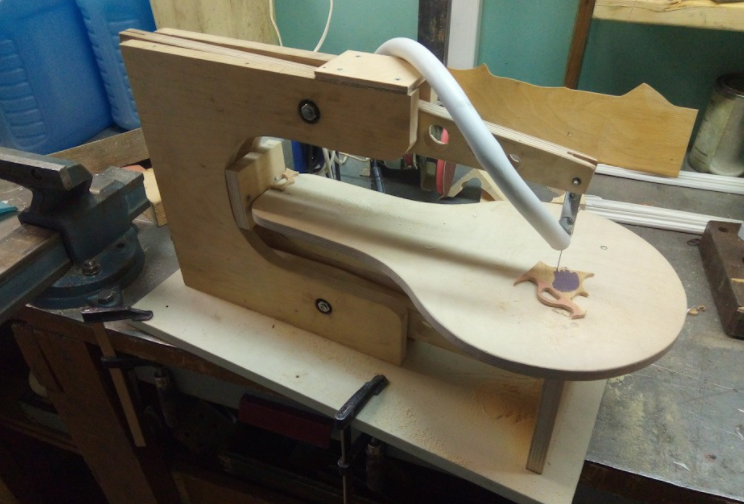
In the next step, the linkage system is mounted on the bed. To connect the free ends of the levers, a screw tie (lanyard) is used, which makes it possible to easily adjust the tension of the saw blade.
Further, the crank mechanism is manufactured. To fix the axis of rotation, embedded bearings are installed in special holes in the racks.

The struts need to be fastened together to create a solid support for the flywheel. The axis can be a stud or bolt of at least 8 strength class. The flywheel with the lower arm is fastened by means of a connecting rod made of the same plywood, while the rods connecting to the arm must be metal.
At the next stage, a working table with a rotary mechanism is made - a rotary arc with a slot must be cut out of plywood. The table is installed on the bed. To easily fix the swivel mechanism in the desired position, use a wing nut.

In this model, a screwdriver serves as an electric drive - for work, it is enough to connect its cartridge to the flywheel axis. You can adjust the speed using a variable force clamp made of a strong strap and a small clamp (or other screw tightening).
The homemade machine, simple in design, is easy to use.
Standard solutions
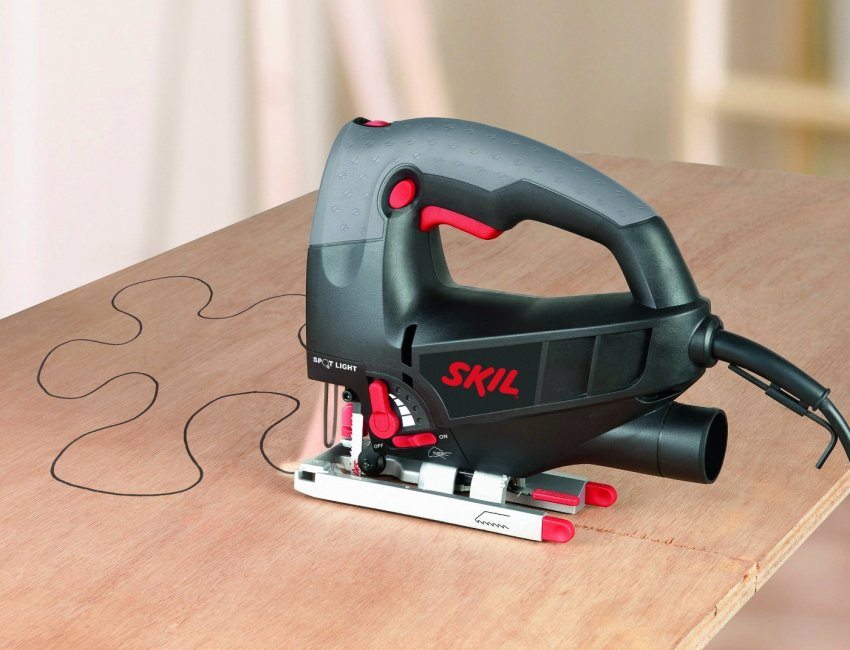
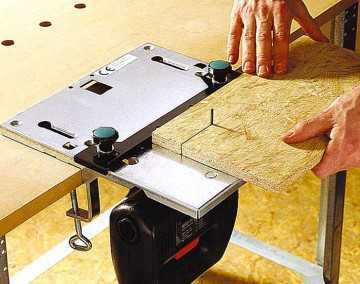
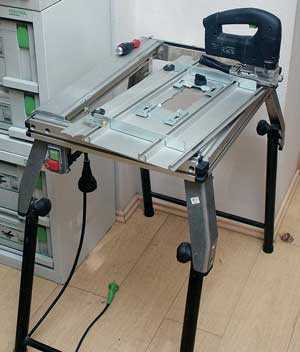
The machine from a manual jigsaw is made on the basis of a simple table. This device is widespread, it is mass-produced, samples can be seen in the photos below.
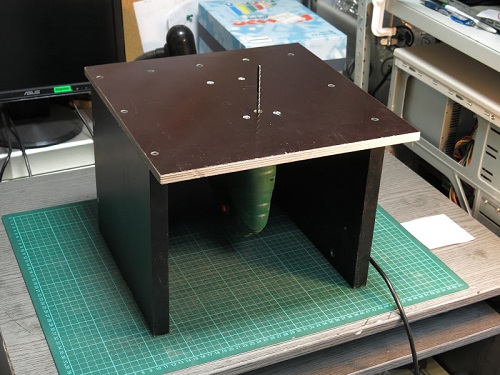
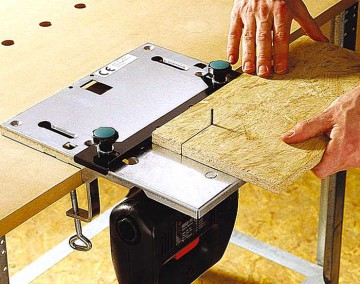
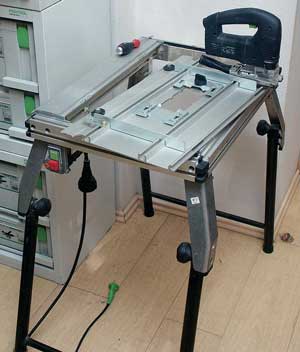
The mechanics of the work are simple:
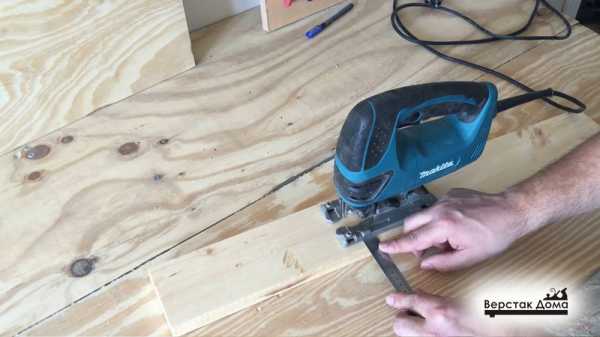
- The jigsaw clearly fixes the tool, ensuring that there is no human factor (the hand can lead the jigsaw unevenly).
- The presence of the support allows you to move the device without deviations along the path.
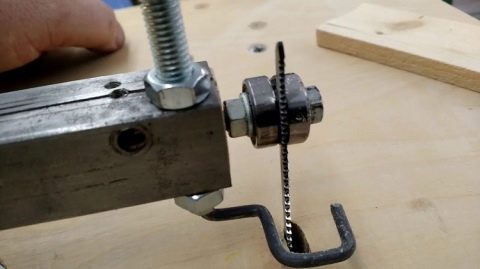
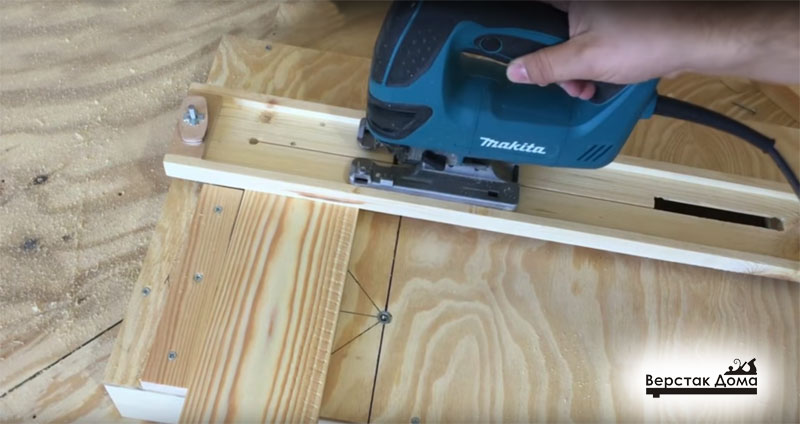
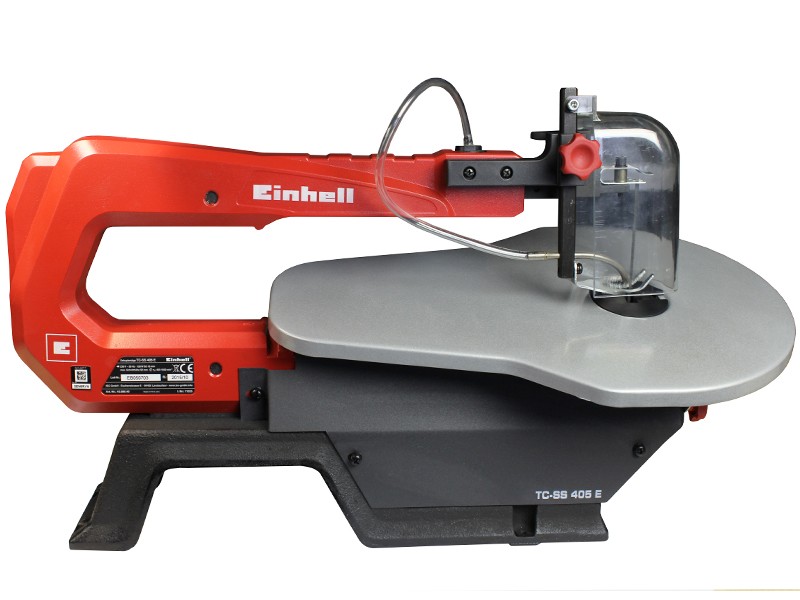
With the help of the table, jigsaws begin to cut in a straight line, but the possibilities of such a device are limited. If you remove the side stop and try to guide the workpiece, forming a curved cut, the same saw deflection problems arise. The problem can be solved by using a simple saw rigidly fixed with a pair of rollers. Making curved cuts is now convenient and fast. How homemade and industrial products of this type look like is shown in the following photos.
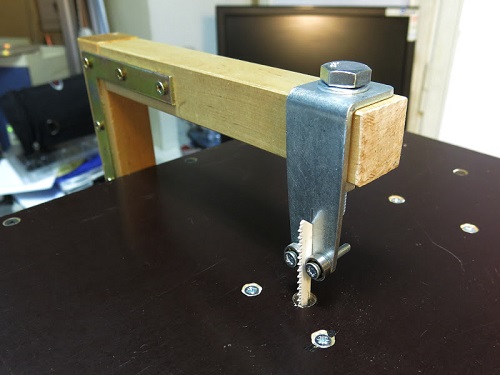

Working with a tabletop jigsaw
A jigsaw, like a hand tool, allows you to work with wood, plywood, thin plastic or plexiglass. Homemade products made with this device are distinguished by high accuracy and complex shapes. With an electric jigsaw, they cut out holes for sockets in wooden panels, make curly cutting of materials.
When working with the jigsaw, you need to protect your eyes.
There are a number of rules used when working with this tool:
Do not apply excessive force to the material. The saw must cut at an optimal speed, otherwise it will not be possible to avoid damage to the blade or the entire tool.
For different jobs, use canvases of different widths. For example, a wide file is used for long, straight cuts.
A plywood backing is used for cutting thin materials. So the future product will be protected from damage.
It is necessary to use eye protection, as during operation the jigsaw lifts a large amount of fine sawdust into the air.
When working with sheet plastic, the speed of the saw should be set to the minimum. At high speeds, the material overheats, as a result of which it begins to melt.
When cutting round holes, a small hole is first made in the plywood with a drill, after which a saw blade is threaded through it and fixed in clamps. Rectangular holes are made according to the same principle, but right angles are not cut immediately. To begin with, they are made rounded, and after passing the saw around the entire perimeter, the remaining triangular fragments are cut out.
In order for the plywood not to vibrate when working with it, the material must be securely held with both hands, pressing it against the table
It is important to ensure that no sharp turns of the material occur during cutting, otherwise the saw may simply jam and break. In places of turns, plywood should be held in place for a few seconds, giving time for the tool to expand the space for action, and then move on.
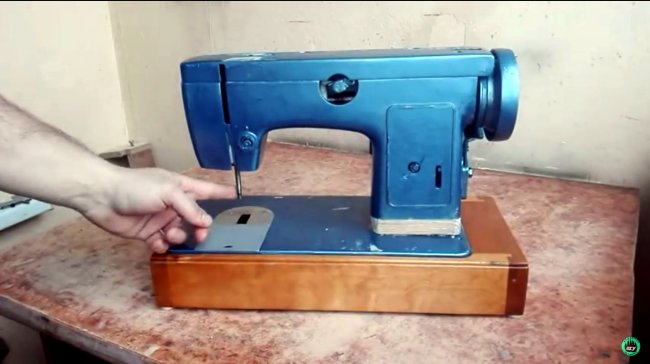
DIY jigsaw from an old sewing machine
- Hello dear readers and homemade products!
- Perhaps you have an old sewing machine lying around and covered with dust.
- In this article, the author of the YouTube channel "Vladimir Natynchik" will tell you how you can make a completely suitable and functional electric jigsaw from it.
This homemade machine will not require turning work in the manufacture. All you need are screwdrivers and wrenches.
- Materials.
- The tools used by the author.
- - Screwdriver, wood drills.
- Manufacturing process.
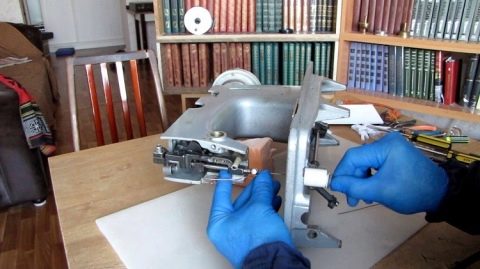
- Old electric sewing machine - Blades for an electric jigsaw - Spray paint blue metallic - Sheet plywood - Bolts, nuts, washers M6 - Seconds glue, soda - A pair of bearings, such bearings are suitable 6000 ZZ - Gas burner - Hacksaw - Wrenches, screwdriver So , Vladimir found an old sewing machine "seagull".
To make a machine from it, you will have to remove the fabric feed mechanism and the bobbin rotation. Those bolts that did not loosen, the master warmed up with a gas burner. After such a procedure, everything is very easy to understand.
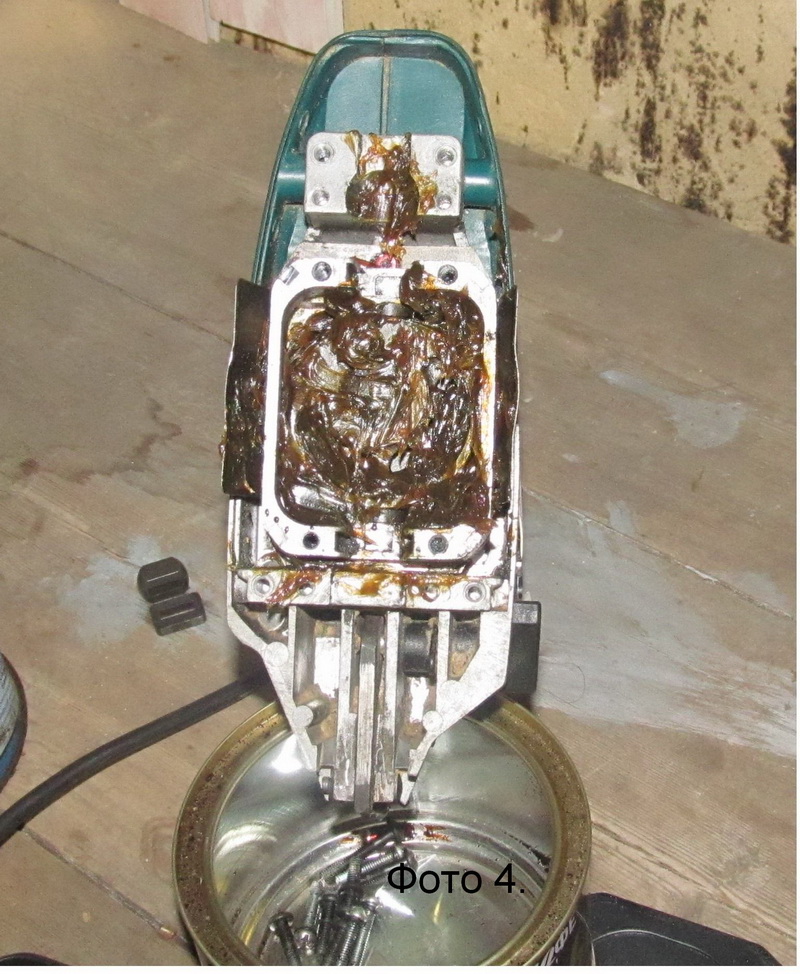
In the upper part of the mechanism, the author made a small revision, oiled important components, and removed the regulators. The old electrical wiring was also replaced. Then the master painted all surfaces of the machine with metallic blue spray paint.
He hurried a little with painting, the machine needs to increase the stroke of the rod. After all, now plywood will be cut, and not sewn together. He made a 20mm thick plywood lining and screwed it between the base and the top of the machine.
In order to prevent the bolts from loosening from vibration, the author filled them with paint. The first check for operability and the size of the blade stroke. A small problem arose. When the blade is loaded, it does not hold well on the rod, and shifts back.
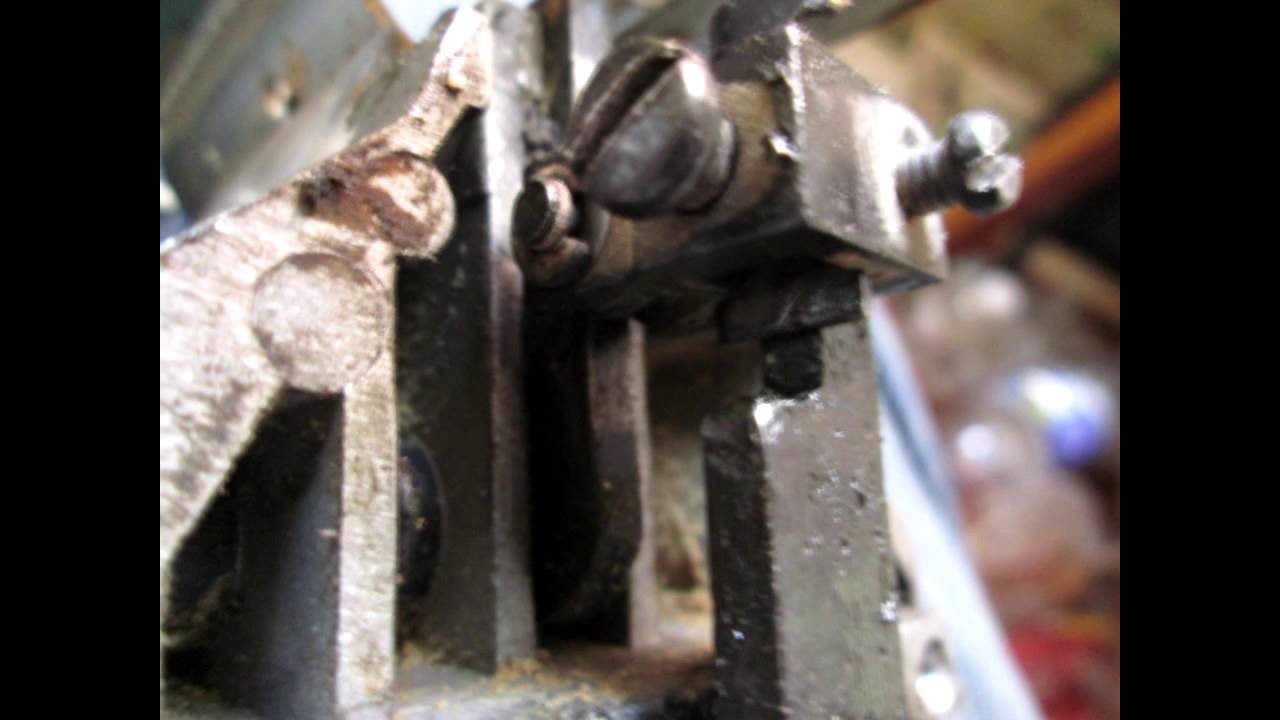
In order to resolve this issue, the master made a special stop from an M6 bolt and two bearings with washers inserted between them.
Having made a cut in the plank, fixed the bearings in it, and cut off the excess bolt. From the underside of the machine, he fixed the thrust mechanism with superglue and baking soda.
Now a small test on sawing a piece of plywood. Cuts very quickly and without chips. Well, Vladimir gave a second life for an old car!
Thanks to the author for the great idea of converting an old machine into a usable machine! Good mood, good luck, and interesting ideas to everyone! The author's video can be found here.
- A source
- jigsaw sewing machine tool


