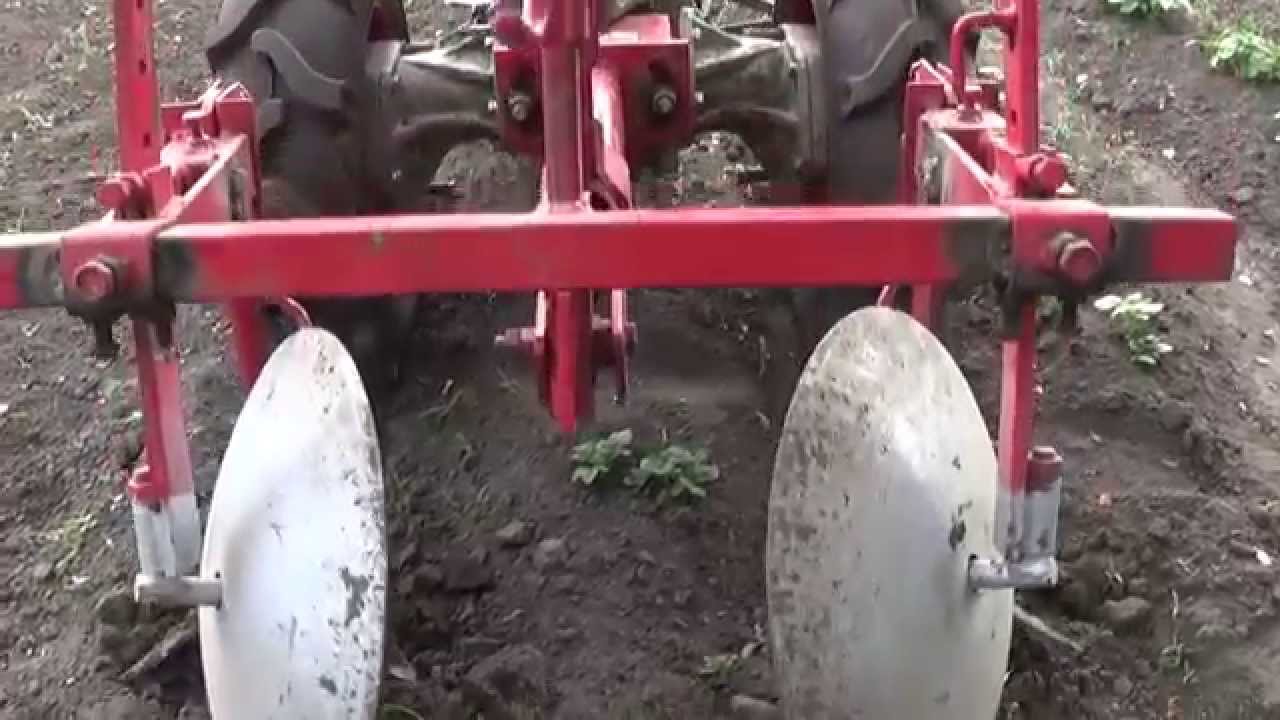
Variety of models
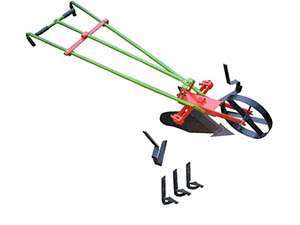
On the market of products for agriculture, you can find a manual hiller "Druzhba". It is equipped with adjustable fenders that allow you to change the working width and the addition of a front iron support wheel. The equipment is operated by two operators. Product dimensions are 55 cm wide and 48 cm high. Unit weight - 17 kg. It is produced in the city of Cheboksary, and its cost varies from 3000 to 4000 rubles.
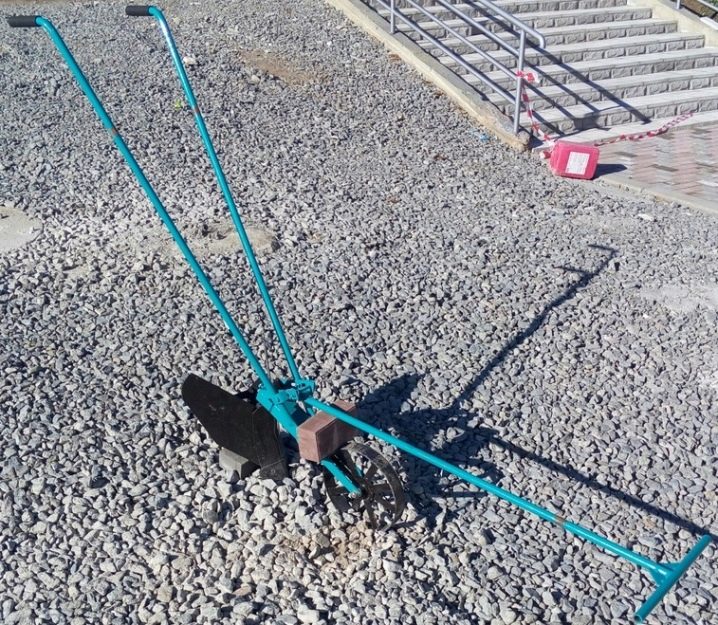
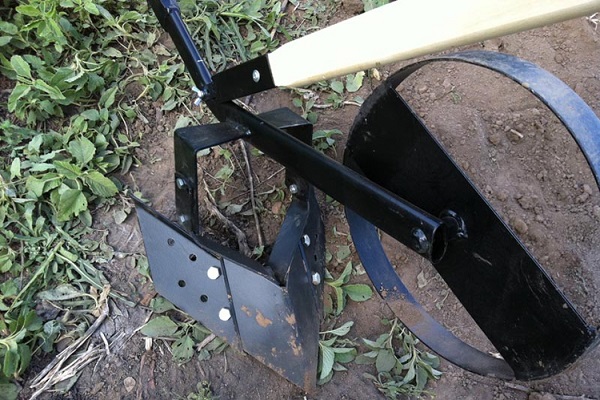
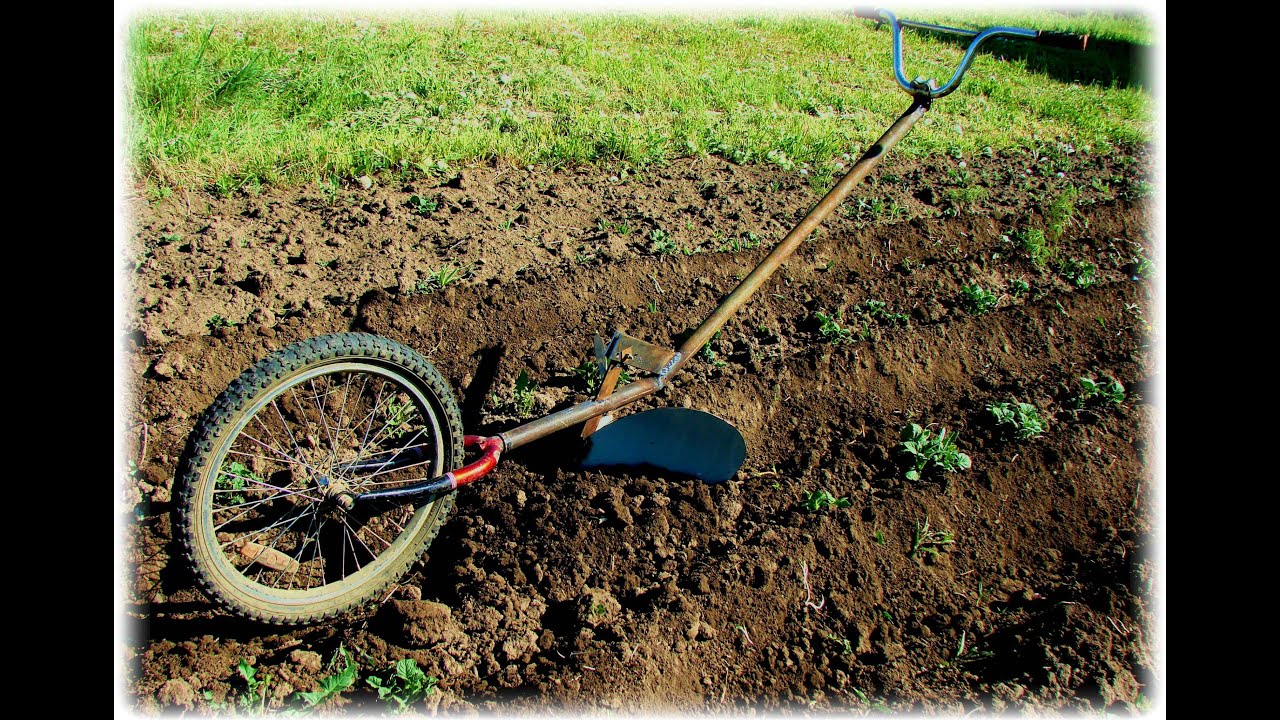
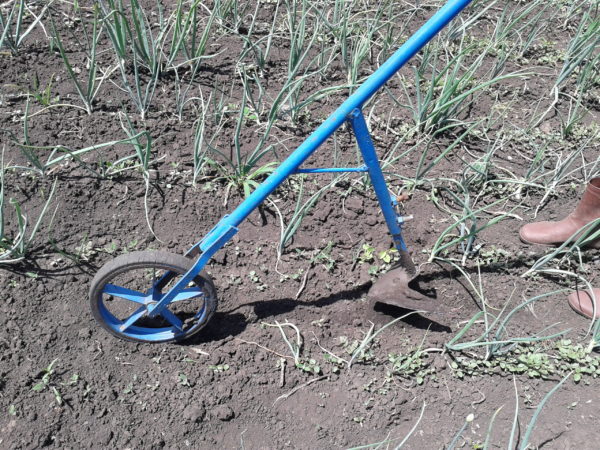
Another version of the hiller is "Tiani-Push", which is popularly called a manual plow. It is unregulated. The design of the tool allows them to cut furrows, weed weeds, and huddle planted potatoes. The product is 45 cm wide and 90 cm high (including handle). The unit has a weight of 7 kg. It is lightened by rubberized handles. The price of the instrument is from 1,500 rubles. It was produced in Kiev.

A popular hand-held tool is the "Hairdryer". The design provides for the ability to work with both two and one operator. The hiller is adjustable both in the height of the handles and in the width of the cultivated ridge. As an additional tool to the hiller, a flat cutter is offered, which is connected with a handle with ordinary bolts. Product dimensions - 16x40x40 cm, and weight - 10 kg.
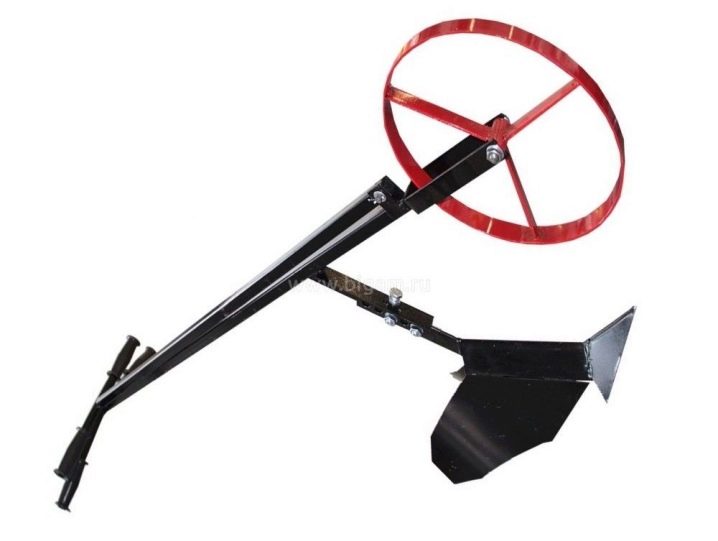
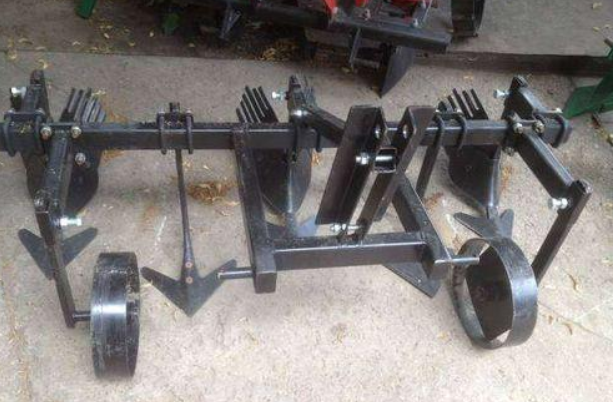
Modern manufacturers offer flat cutters. This tool is a bent plate with sharpened edges. With the help of the equipment, you can remove weeds and loosen the soil. To weed several row spacings at the same time, several plane cutters are combined on a special hitch. On the market, it is called a wide row weeder.

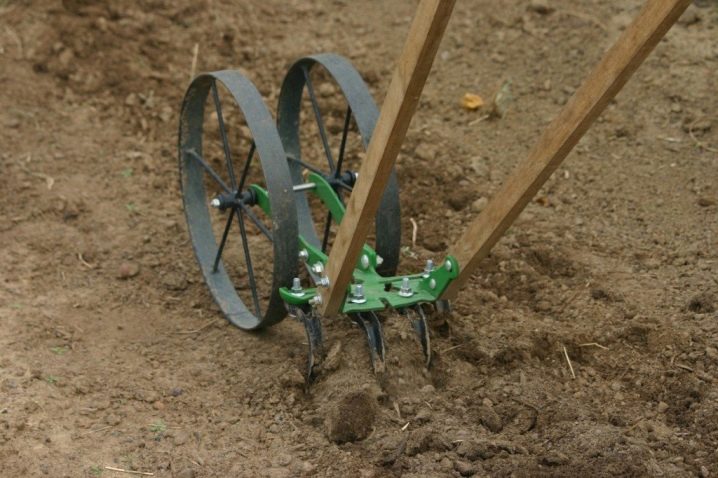
The Tornado cultivator became famous among hand tools for loosening. It features a simple design with curved teeth connected to the handle. In relation to the base, they are turned counterclockwise. To work with the tool, it is enough to rotate it around the axis in a vertical position.
How to make a manual plow-type hiller
The list of tools for making a hand-made lister hiller for potatoes with your own hands does not differ from the previous one. Also pre-purchase materials.
Table 4. List of blanks for the manufacture of disc hiller.
| Materials (edit) | Size, mm | Quantity, pcs. | |
|
Electric-welded steel pipe by standard sizes |
21 x 2.2 | 400 | 1 |
| 1000 | 1 | ||
| 1700 | 1 | ||
| 32 x 2.5 | 700 | 1 | |
| 1000 | 1 | ||
| 45 x 6.5 | 1000 | 1 | |
|
Steel sheet 3 mm thick |
400 x 1000 | 1 | |
|
Electrodes E46-ANO |
3 (diameter) | 1 kg | |
|
Bolts М10 |
25 | 4 | |
|
Nuts М10 |
— | 4 | |
|
Fabric belt |
2000 | 1 | |
|
Lanyard |
250 | 1 |
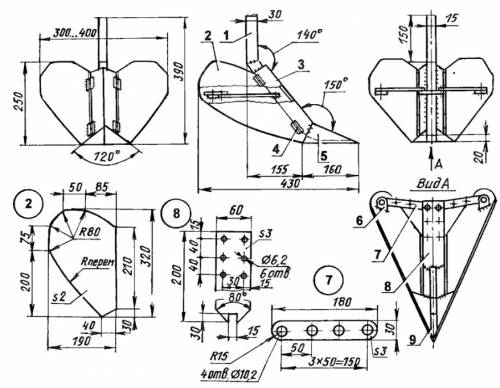
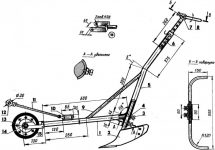
The lister soil cultivation attachment consists of the following components: a double-mold tool, a stand, front and rear handles. Preparation stages:
- The rack is made from a pipe 45 x 1000 mm. It is bent in the middle at an angle of 30 °. On the one hand, five holes with a diameter of 12 mm are drilled with a pitch of 50. On the other, two ears are welded for attaching the front handle and lanyard.
- The rear handle is made from a 21 x 1000 mm tube. On both sides, it is bent at an angle of 90 ° at a distance of 150 mm from the edge. In the middle, a pipe 32 x 700 mm is welded to it with an end face and five holes are drilled. The pitch of the latter is 50 mm.
- The front handle is made from pipes 21 x 1700 mm. They are bent in the middle at an angle of 45 °. They are welded together. A 21 x 500 mm pipe is attached to the junction. An eyelet for a lanyard is welded in the upper part, and from the end - for fastening to a rack. Brackets for the traction belt are attached to the side handles.
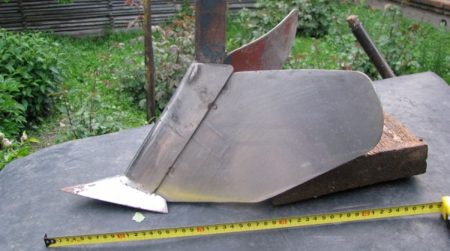
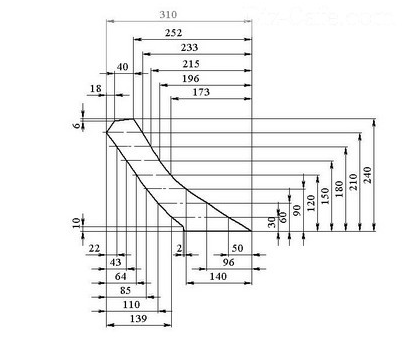
- The working body is cut out of sheet iron. To do this, a blank contour is applied on the metal and cut with a grinder. The parts are given a smooth bend in the vertical plane, welded together. The front cutting edge is sharpened at an angle of 45 °. Welded to the rack.
After the end of the work, the welded seams are cleaned with a grinder or a file, scale and rust are removed, and covered with paint.The handles are wrapped with electrical tape for convenience, you can put on bicycle rubber handles. Final assembly is performed:
- Insert the front handle into the eyelet on the rack. Fasten them with a bolt and nut.
- Attach the lanyard.
- Secure the back handle.
- Thread the belt into the brackets and adjust its length.
Operating principle
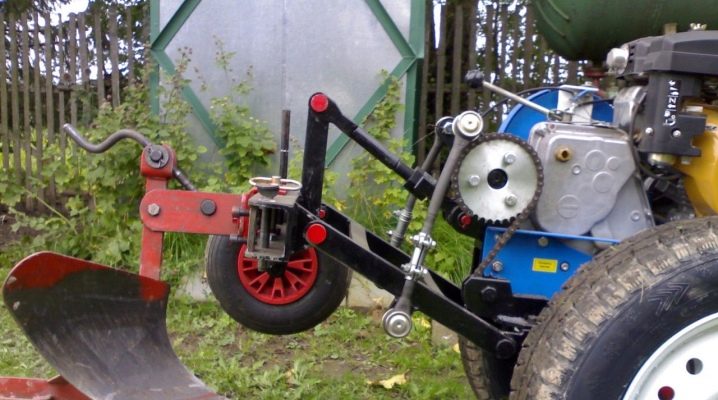
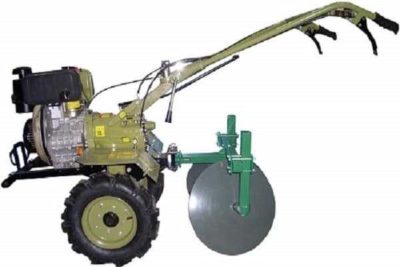
The device is connected to motor vehicles on the bracket of the coupling device (hitch), which does not have a bedside bed. This is done by means of a locking component - two screws and a flat washer. More comfortable and quality work is done at the first reduced speed. This will make it possible to increase traction by reducing the forward speed.
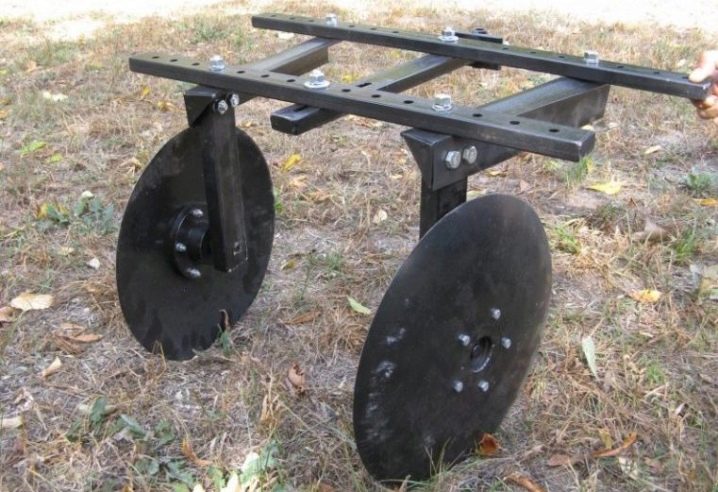
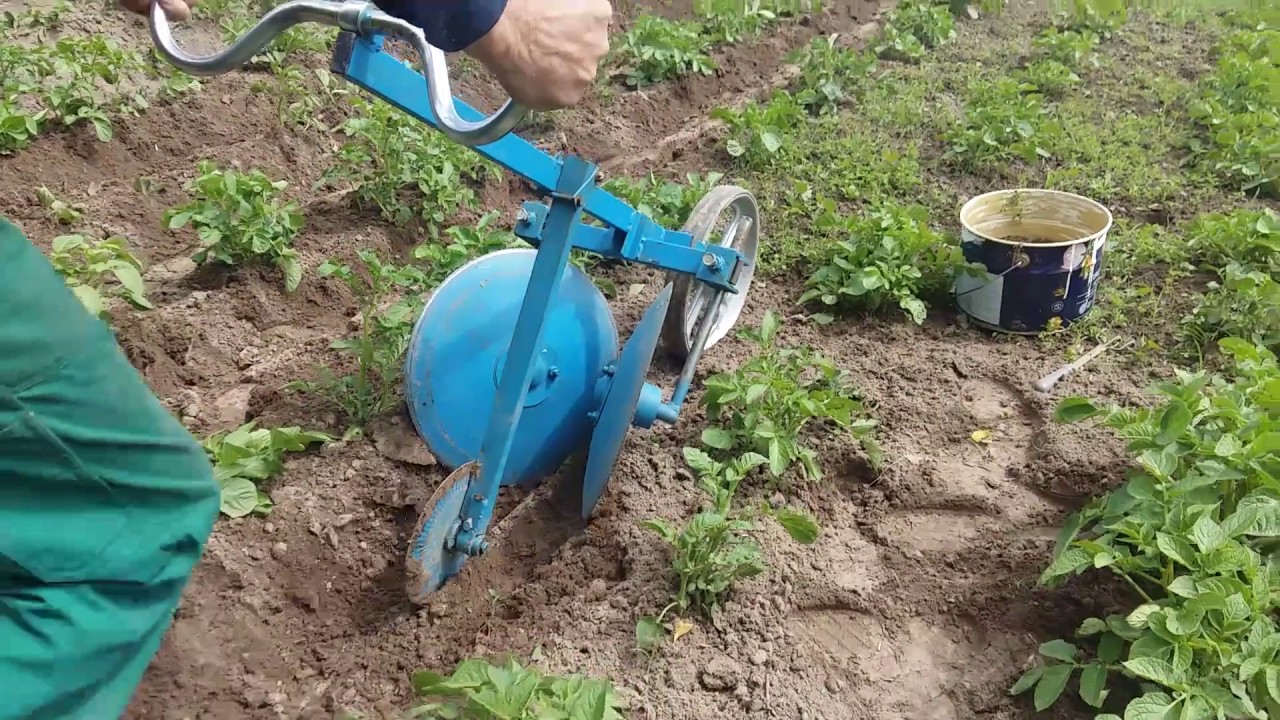
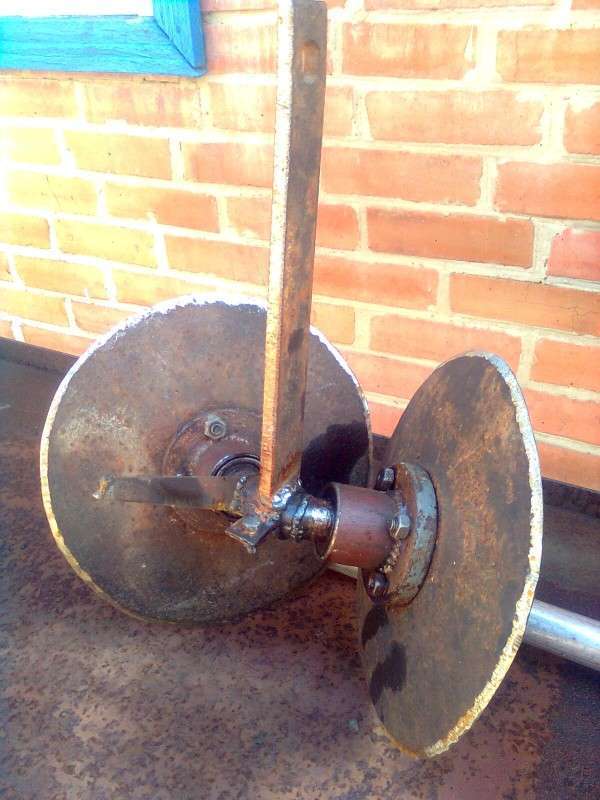
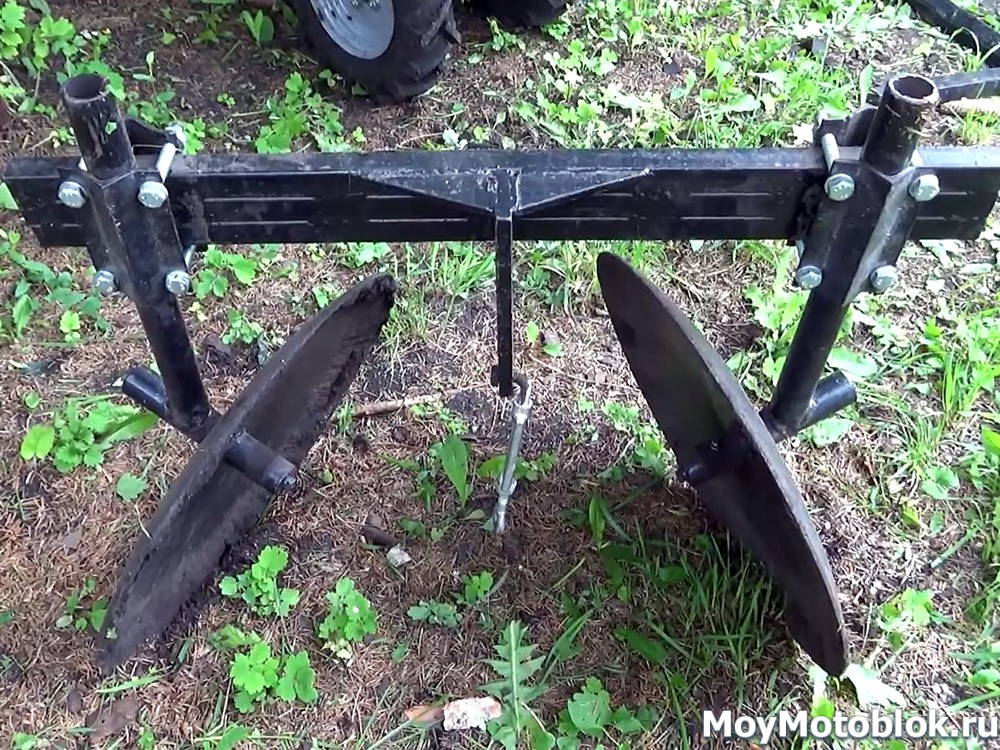
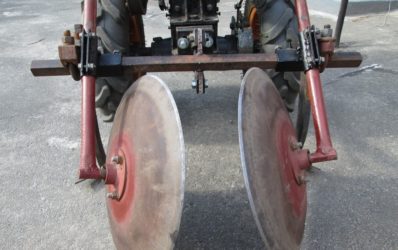
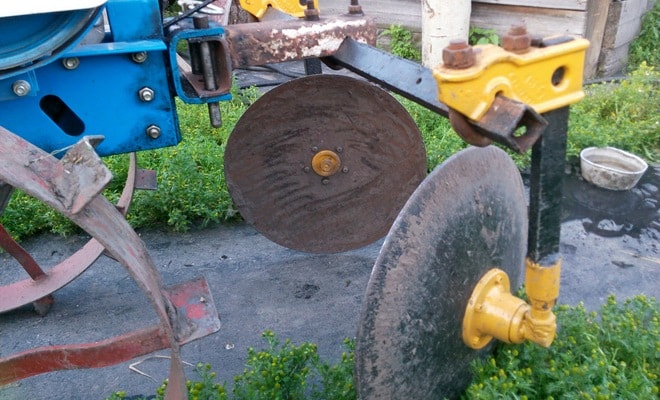
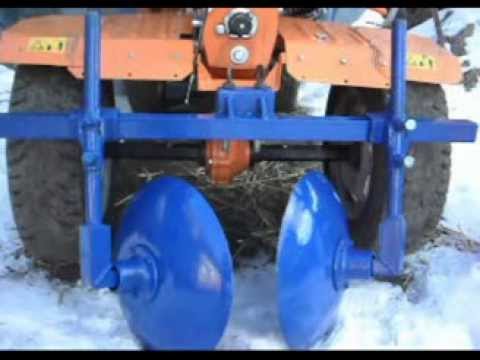
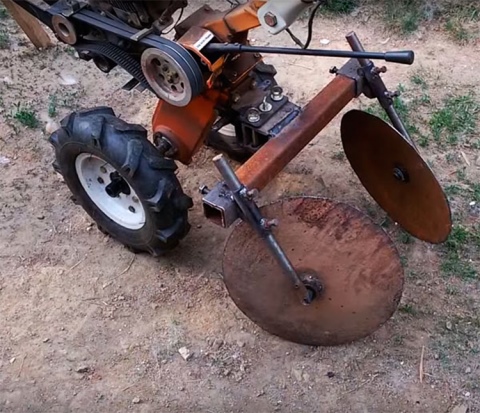
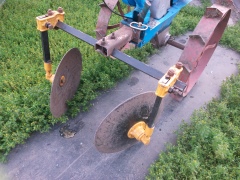
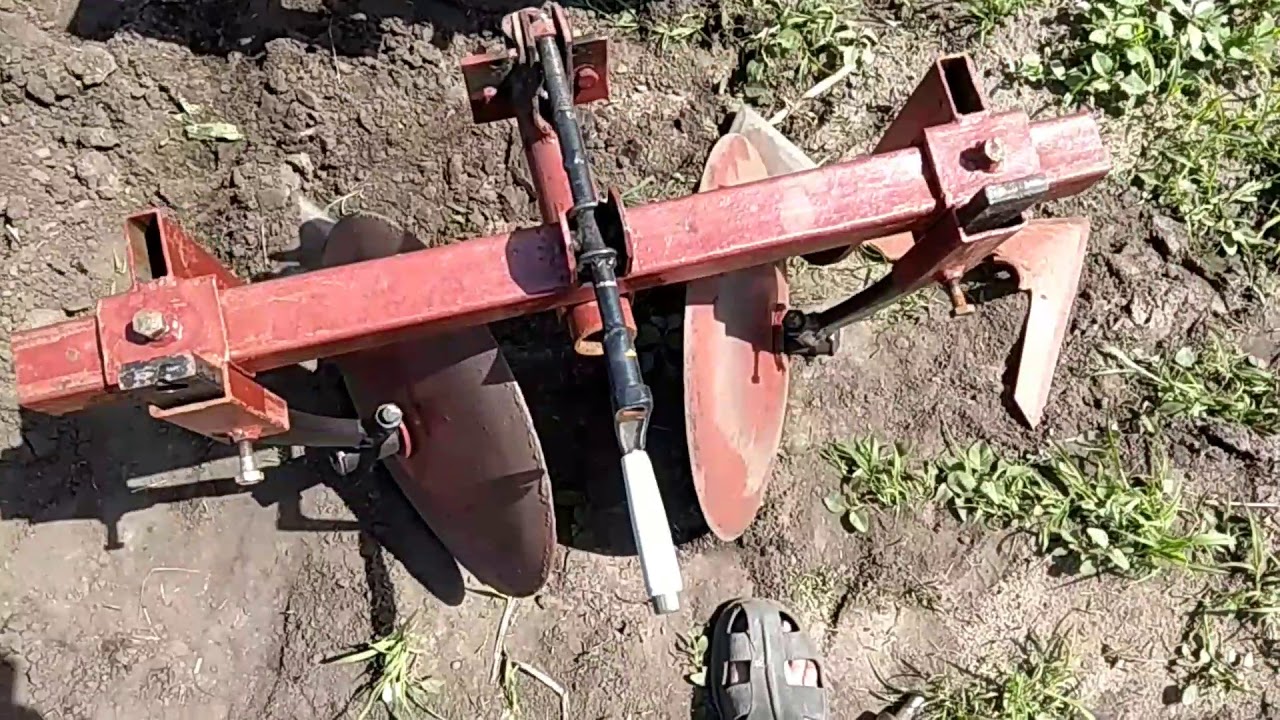
The principle of operation of the disc hilling tool is simple: the discs, when moving, capture the ground and form a roller in the process of hilling, sprinkling the vegetation with soil. The movement of the discs makes it possible to additionally crush the soil and loosen it.

The disc device for hilling has some advantages compared to its relatives: it builds ridges higher and more evenly, it is easier and more interesting to operate, while the energy consumption is much lower. It is easier for an employee with such a device to work.
Of course, not everything is so beautiful. You always have to pay for the convenience. And the cost of the disc hiller is proof of that. The cost of being able to use a comfortable and easy-to-use disk device is approximately 3-4 times higher than other types.
The cost of agricultural equipment depends on the following characteristics:
- thickness and lateral dimensions of the discs;
- material of manufacture: ordinary metal or alloy steel;
- application in the structure of roller bearings or sleeve bushings;
- setting device.
When purchasing a disk tool for hilling, all these points must be taken into account.
Taking into account that this equipment is not cheap, a natural question arises as to whether it is possible to make a homemade disk device for hilling to a walk-behind tractor
Inventory specifications
The advantages of this equipment:
- ease of use - the device is attached to a walk-behind tractor or a metal handbrake;
- strength - the structure is securely fastened with bolts and washers;
- durability - the service life of the equipment is more than 10 years (with proper care);
- versatility - the equipment can be used for hilling any vegetable crops.
In the garden, you cannot do without such a device. It can be purchased ready-made or made by yourself. Hillers, which are sold in specialized stores, are endowed with excellent technical characteristics. They have one drawback - high cost. Homemade products can be built from scrap materials. This will save you a lot of money.
Why do you need a tiny pocket on jeans? Everyone knows that there is a tiny pocket on jeans, but few have thought about why it might be needed. It is interesting that originally it was a place for the Chr.
How to look younger: the best haircuts for those over 30, 40, 50, 60 Girls in their 20s do not worry about the shape and length of their hairstyles. It seems that youth is created for experiments on appearance and daring curls. However, already the last.
20 photos of cats taken at the right moment Cats are amazing creatures, and, perhaps, everyone knows about this. They are also incredibly photogenic and always know how to be at the right time in the rules.
What does the shape of your nose say about your personality? Many experts believe that looking at the nose can tell a lot about a person's personality.
Therefore, when you first meet, pay attention to the nose of the unfamiliar
7 parts of the body that should not be touched by hands Think of your body as a temple: you can use it, but there are some sacred places that should not be touched with your hands. Research showing.
Surprisingly: Husbands want their wives to do these 17 things more often. If you want your relationship to be happier, you should do the things on this simple list more often.
Manual potato hiller: diagrams and recommendations for self-assembly
Potatoes have always been and are an important crop that many summer residents grow on their site. Of course, self-grown potatoes are always delicious and of high quality.
However, do not forget about getting tubers of excellent quality; in the process of growing it must be hilled. This is due to the fact that the roots of the plant grow in the loosened soil, and due to this, a large number of potato tubers are formed.
Usually hilling is done with hoes. If the area is large, then this process takes a lot of time and effort. Therefore, it is worth thinking about a more convenient device for hilling.
The manual potato ridger is the most optimal tool for loosening the soil. In addition, with the help of this simple device, you can rip out a large piece of land measuring almost 10 acres in a matter of time.
So what is this interesting tool and how can you make it yourself? In order to understand this issue, it is worth considering all the properties and advantages of this device.
How to install a hiller on a walk-behind tractor?
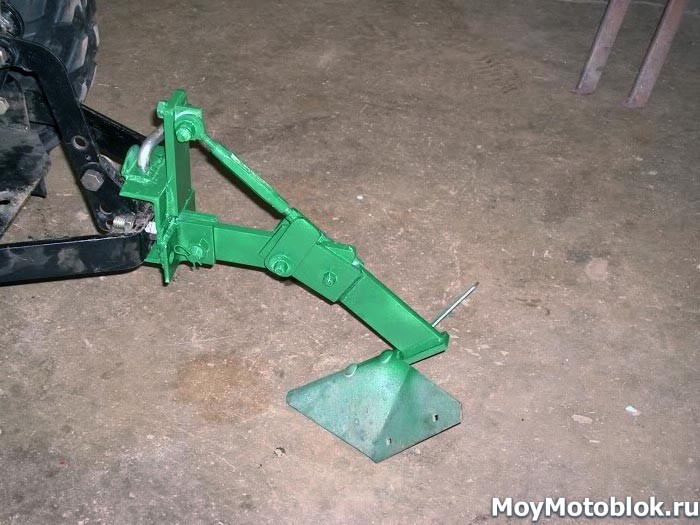
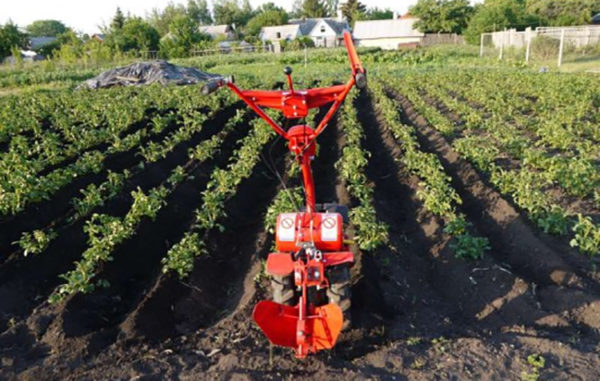
Installing and setting up a potato hiller for a walk-behind tractor is not a very complicated procedure. It is attached to the hitch with bolts and washers. When working with a simple hiller, you need to adjust its angle of work and the depth of immersion in the ground. The plowing depth at the hiller is less than that of the plow, so you don't need to put the walk-behind tractor on a hill to set it up. Just adjust the hiller post vertically. The required angle of attack is determined by how deep the hiller enters the ground in the working position. This depth should be about 15 cm.
If in the process of work you notice that the hiller is deeply buried in the ground, tilt the stand forward. Otherwise, if the hiller deepens insufficiently, the stand, on the contrary, is tilted back.
Setting up and installing the disc tiller is a little more complicated. First you need to set the distance between the lower points of the hiller discs. It will be 40-70 cm, depending on the upcoming work. Next, the angle of inclination of the discs relative to the horizontal axis is set.
The settings of both disks must be identical, since otherwise the walk-behind tractor can skid to the side.
Operating tips

Before loosening the soil in the beds, it is necessary to remove the weeds. It can be left in the area to prevent moisture from evaporating in the sun, using it as mulch. After harvesting the weeds, they start to work. In order to properly huddle potatoes, it is necessary to adjust the device to the desired bed size. To do this, the distance between the cutters is set on the disk device, and the penetration angle is set on the plow. The latter is changed by rotating the lanyard.
For your information! A properly tuned instrument will not damage the plant roots. The effort required to move it will be minimal.
When the hiller is set up, they make a test run in a place where there are no plants. After satisfactory results are obtained, you can start working. Cultivation is best done in cloudy weather or in the evening: moisture loss from the soil will be minimal, and exposed tubers will not get burned in the sun. If, after the first hilling, a ridge of insufficient height is formed, a second run is made. The hard earthen crust that remains after processing is broken with a hoe or hoe.
 You may be interested in:
How to huddle potatoes with a cultivator, walk-behind tractor, disc hiller: tips Hilling potatoes is a mandatory procedure for the proper cultivation of a vegetable crop. This procedure ... Read more ...
What are the types of hillers
Depending on the design features, hilling nozzles are divided into several types.
Lister
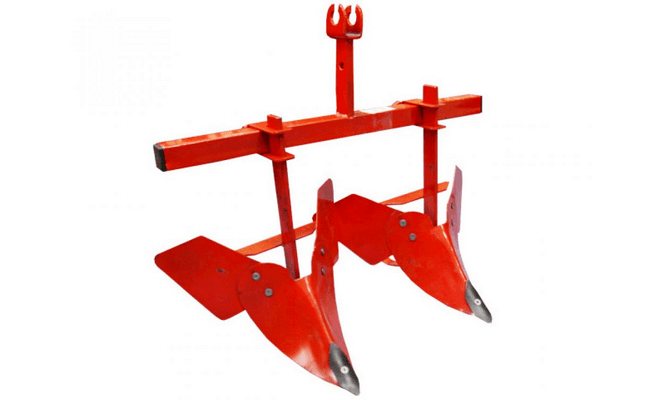
Outwardly it resembles the wings of a butterfly. Differs in a fixed working width. Due to the sharp ends, it descends to the set depth.
Mechanism advantages:
- simplicity of design;
- low energy intensity;
- light weight - does not require powerful units;
- the price is lower compared to other types of hillers.
It is important to plant potatoes evenly, strictly observing the same row spacing. The device does not do well in wet and heavy ground
Doubled
This is a two-row or swing mechanism for cutting flat parallel furrows in large areas and hilling them. The height of the ridge varies from 10 to 20 cm and is limited by the lifting of the gearbox relative to the soil level.
Unit advantages:
- versatility of application;
- ease of building even furrows over large areas;
- adjustable distance between plowshares;
- the ability to make ridges simultaneously from both sides of the planting.
The nozzle requires regular cleaning and anti-corrosion treatment. The device is designed for light, pre-prepared soils.
Dutch
The design of the potato tiller allows the blades to rotate horizontally and vertically. The lower edge of the wings resembles a ridge.
Mechanism advantages:
- improving the quality of work;
- the use of low-power motoblocks;
- profitability (the device has a low price).
The attachment functions in tandem with a machine weighing from 30 kg, it is recommended for use on all types of soil.
Plow-shaped
This is a streamlined mechanism. Its advantages:
- low intensity of soil eversion;
- preservation of moisture in the ground due to less aeration;
- ease of tilt angle adjustment;
- processing of a large area.
By using this model, farmers can reduce the time and effort involved in cultivating. The plow-shaped attachment is best used with a powerful walk-behind tractor.
Disk
The working elements of the hiller are circles that penetrate the soil to the adjusted depth.
The mechanism is popular for the following reasons:
- high reliability and durability;
- ease of use;
- compatibility with all types of cultivators and increasing their power;
- the convenience of rolling root crops.
Basically, the nozzle is used to process potato plantings.
Propeller
Mechanisms of this type are also called active, or rotary, they are similar to fan blades. The principle of operation involves 2 forces of rotation and a translational movement.
The positive aspects of the unit:
- the nozzle not only spuds the plants, but also throws the earth from place to place;
- the device effectively fights weeds;
- the beds are collapsed with loosened soil - the growth of plantings is improved.
The model is not compatible with all types of cultivators. They use the propeller attachment only on walk-behind tractors with two forward gears.
Do-it-yourself hiller for a walk-behind tractor
To make a hiller for a walk-behind tractor with your own hands, you will need the following tools:
- Welding machine for iron, preferably arc.
- Bulgarian, with accessories.
- Drill with different attachments.
- Electric emery.
- Gas burner for hardening and heating metal.
- Workbench or vise.
- Consumables (bolts, nuts) and files.
You will need parts that will make up a homemade hiller for a walk-behind tractor.
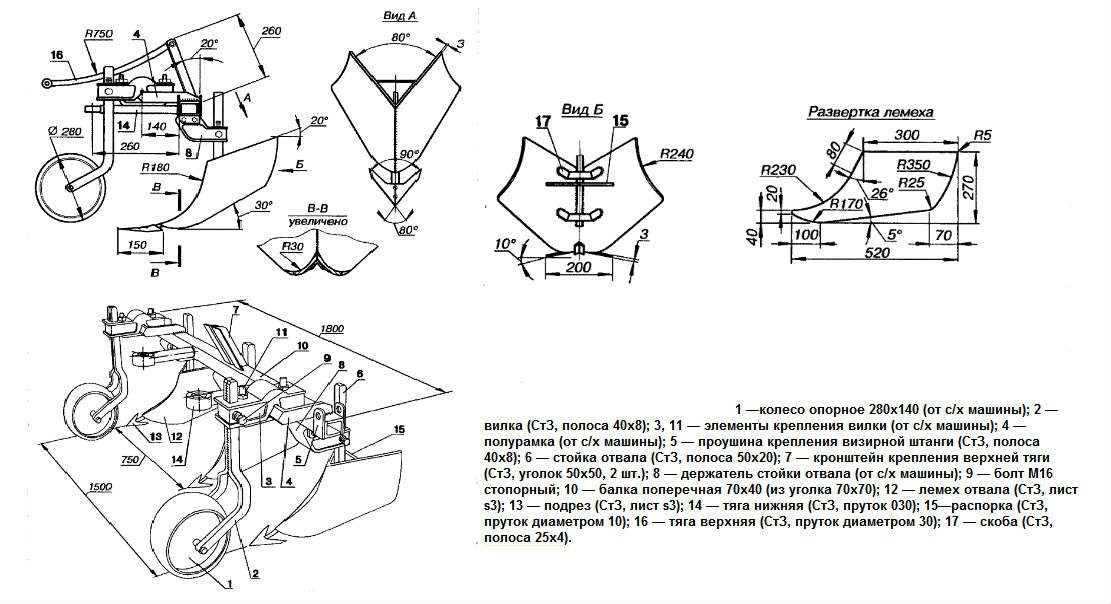
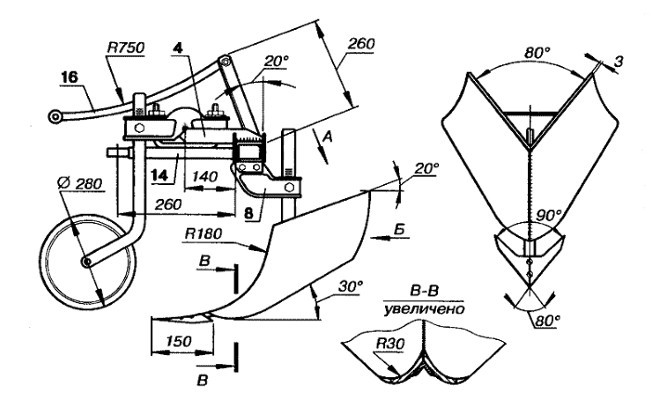
In order to get started, you need to acquire drawings and diagrams of the hiller.

Manufacturing diagrams and drawings of a hiller for a walk-behind tractor can be found in special literature or in the operating instructions for a motor-cultivator.
The diagram indicates the tool sizes that will best fit the device. Please allow 1-2cm deviations.
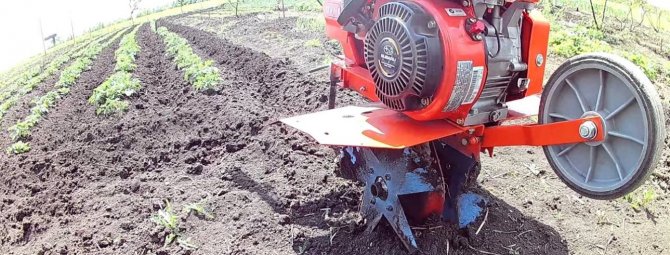
Disk devices are good helpers for doing heavy work on the land.
A do-it-yourself disk hiller for a walk-behind tractor is the easiest to manufacture.
You will need the following tools and materials:
- metal layers 2 mm thick;
- bearings and oil seals;
- screw lanyards;
- T-shaped leash;
- rack.
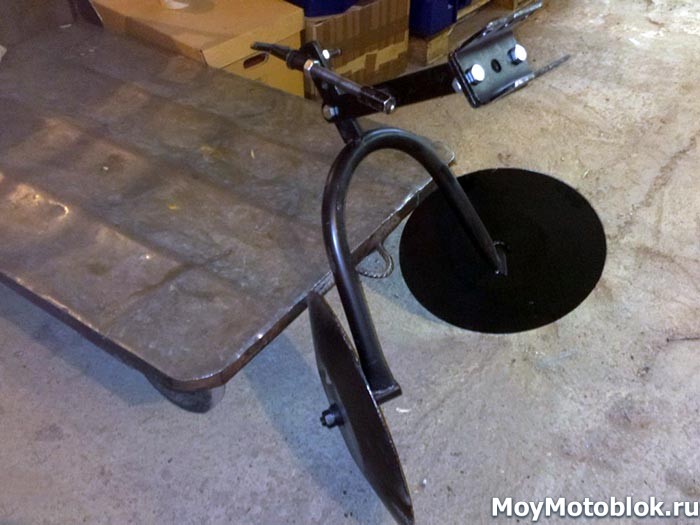
The discs are installed at an angle to each other, the top of the formed triangle is directed forward. The other 2 angles must be equal. If this condition is not met, then the walk-behind tractor will be constantly skidded, which is not very convenient when working and additional configuration will be required.
The sheets of the disc hiller for the walk-behind tractor are connected to each other by welding or bolts. Lanyards are attached to them, which perform the function of adjustment when double turning.
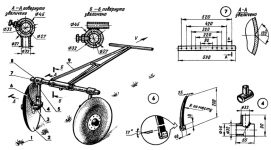
It is better to assemble a homemade disc hiller by following the instructions in the drawings.
There is a second way to self-assemble disc products: the plow is connected to the cultivator using a bracket. The leash is attached to the hitch with a stopper, bolted together. The stopper is inserted into the square tube and then tightened.
Do-it-yourself hillers to the walk-behind tractor
Vertical stand
Multifunctionality is a mandatory feature of any device, in this regard, attention must be paid to adjusting the device. The height can be adjusted by means of the telescopic device of the central part
It is required to insert into the pipe into a pipe that is smaller in cross section than the other, it goes into the rear thrust. If you use this method, you can easily adjust the hiller to the growth level of the gardener
It can be adjusted in height by means of the telescopic apparatus of the central part. It is required to insert into the pipe into a pipe that is smaller in cross section than the other, it goes into the rear thrust. If you use this method, you can easily adjust the hiller to the growth level of the gardener.
Adjustment
The angle of inclination is adjusted using a lanyard
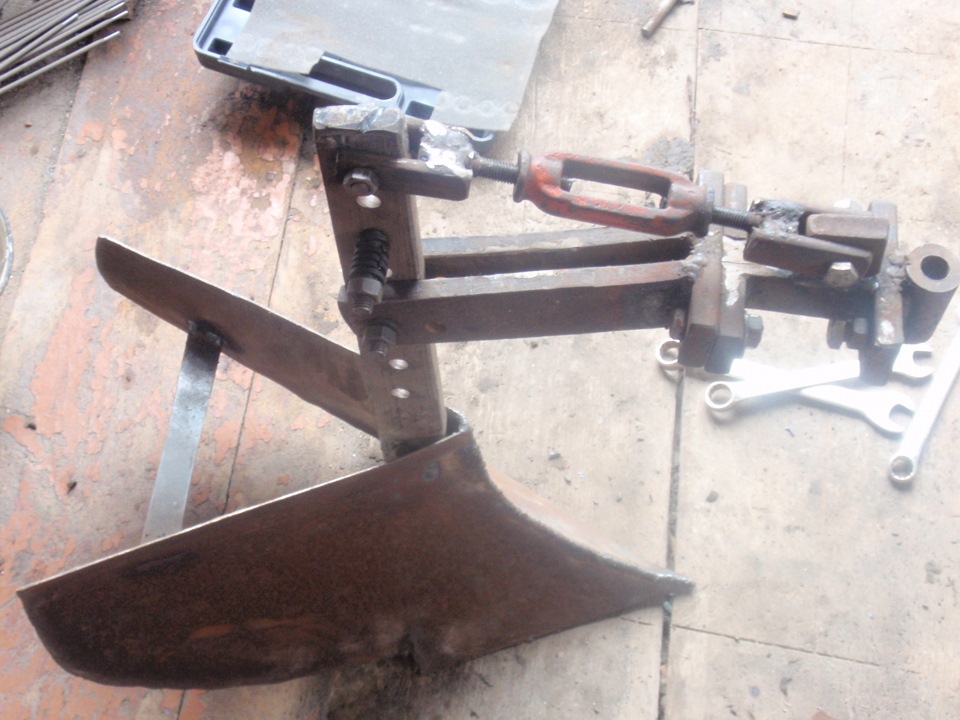
The tool bed must be movable. To fulfill this condition, the front link is attached to the main strut with a hinge, the adjustment is carried out using a lanyard, which allows you to change the angle of inclination. In the case when there is no lanyard, a metal plate is used, it is fixed in the desired position and fixed with bolts.
Welding
The rear link and the blades need to be welded to the rack, then the front link is attached. Rear link width - 0.5 meters. Handles - 0.2 meters. A 0.3 meter long pipe is welded to the center of the fork, with this end the structure is inserted into the vertical rod cavity.
To adjust the height of the rack, you need to drill out the openings that are located at its upper end. Exactly the same manipulations must be done with the vertical fork. The front and rear links must have the same width.
Making a double-plow plow
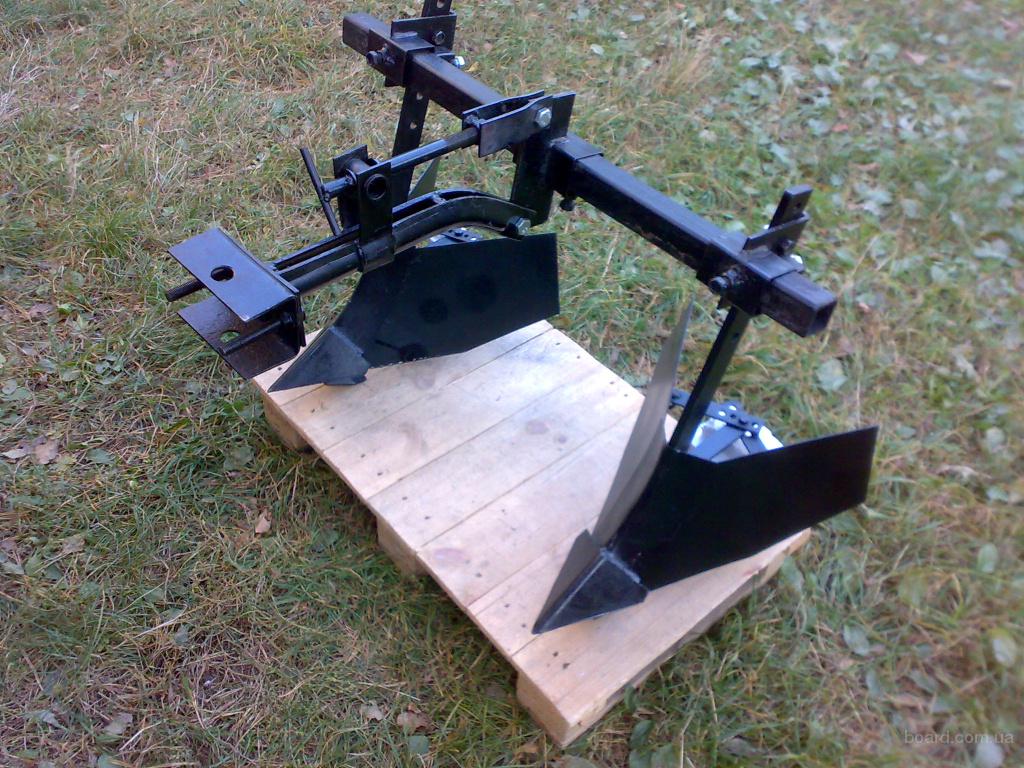
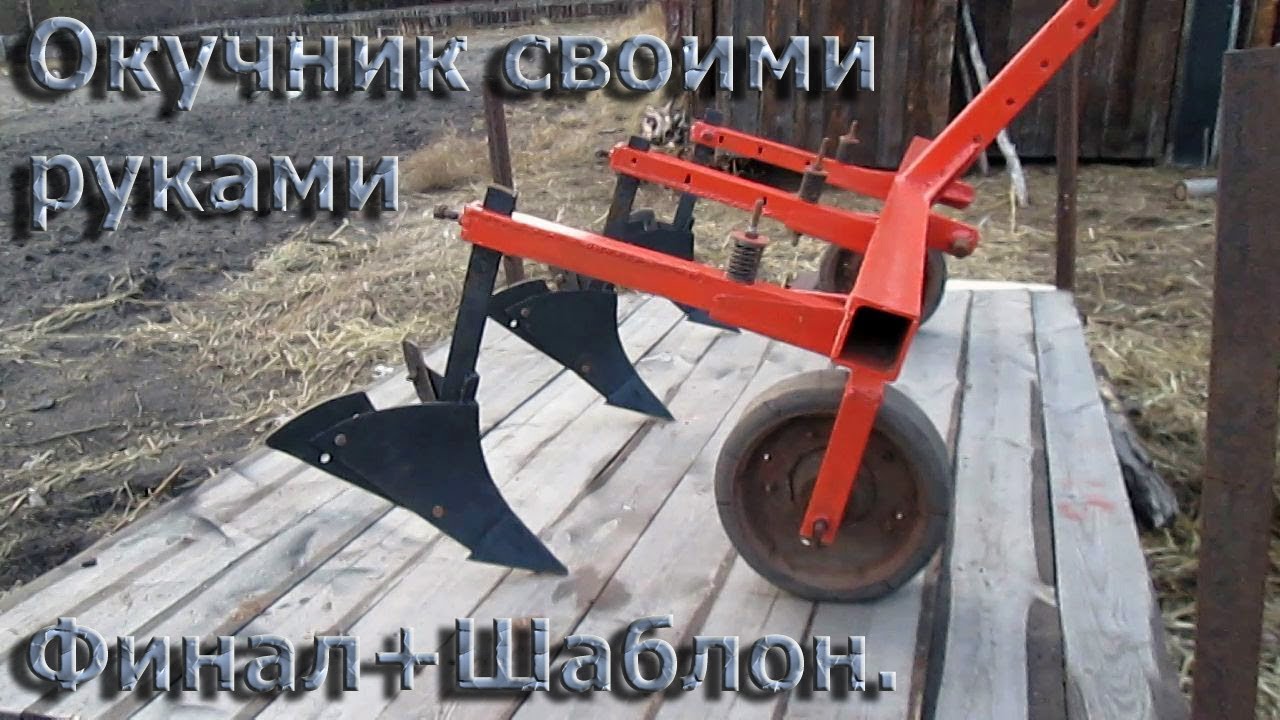
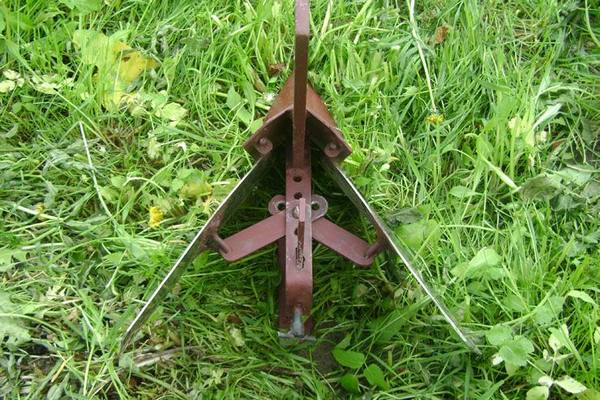
To make a double-plow plow, you need plates, each two millimeters thick. They need to be given semicircular bends. Then the process of welding the two halves to the rack is carried out.
Two important aspects of work: the seam in the place where the parts are joined must be even, the plates must be sanded with a grinder.
Double-mold plow
Making a pruning knife
To craft a Trimming Knife, you need to obtain steel with a high concentration of carbon.
Then you should cut out a knife, which in its shape should look like an arrowhead, and sharpen it carefully (the angle between the surface and the knife should be 45 degrees)
Why exactly 45? If you grind the knife at this angle, then it will not lose its sharpness for a long time. Next, you need to weld the trimming knife to the bottom of the rack and grind it.
Disks
First, you need to cut 2 plates from a steel sheet, then you should give them the shape of a semicircle. Both discs are fixed to the rack. The weld must be straight.
Previously, all parts that are to be welded must be grinded with a grinder, and the discs must be carefully sharpened.The undercut takes almost all the soil resistance.
Drawing of disks for a hiller It is not necessary to purchase magazine disks, since the grinder is not capable of sharpening the metal from which they are made.
A hiller is almost an indispensable tool that every gardener who respects his time and strength must have.
As for garden tools, hillers are quite an expensive pleasure that can really help in the household. In any case, even this expensive equipment can be made with your own hands, it is enough to be able to use tools and use drawings.
The entry How to make a potato hiller with your own hands first appeared About the farm.

