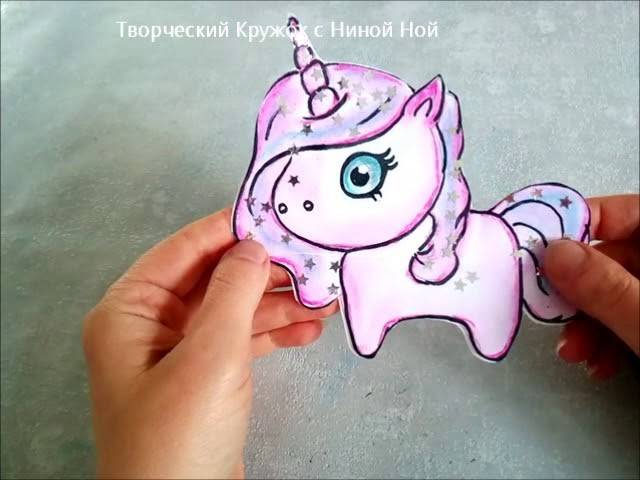
How to make a unicorn bookmark from cardboard, paper and thread
This option is very simple, but very convenient. For those who don't like origami folding, it is perhaps one of the best. Using this method, you can make a bookmark from any picture, or you can draw the cutest unicorn and glue it to the cardboard.
You will need cardboard, you can take any, even a paper plate or any box. You also need a large paper clip, which, in fact, will serve as a bookmark, and the unicorns will only be a decor.
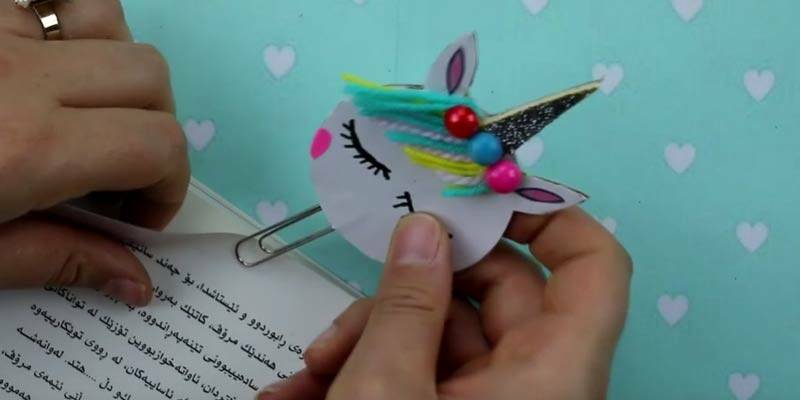
Draw a circle on cardboard, you can circle any object that is suitable in diameter.

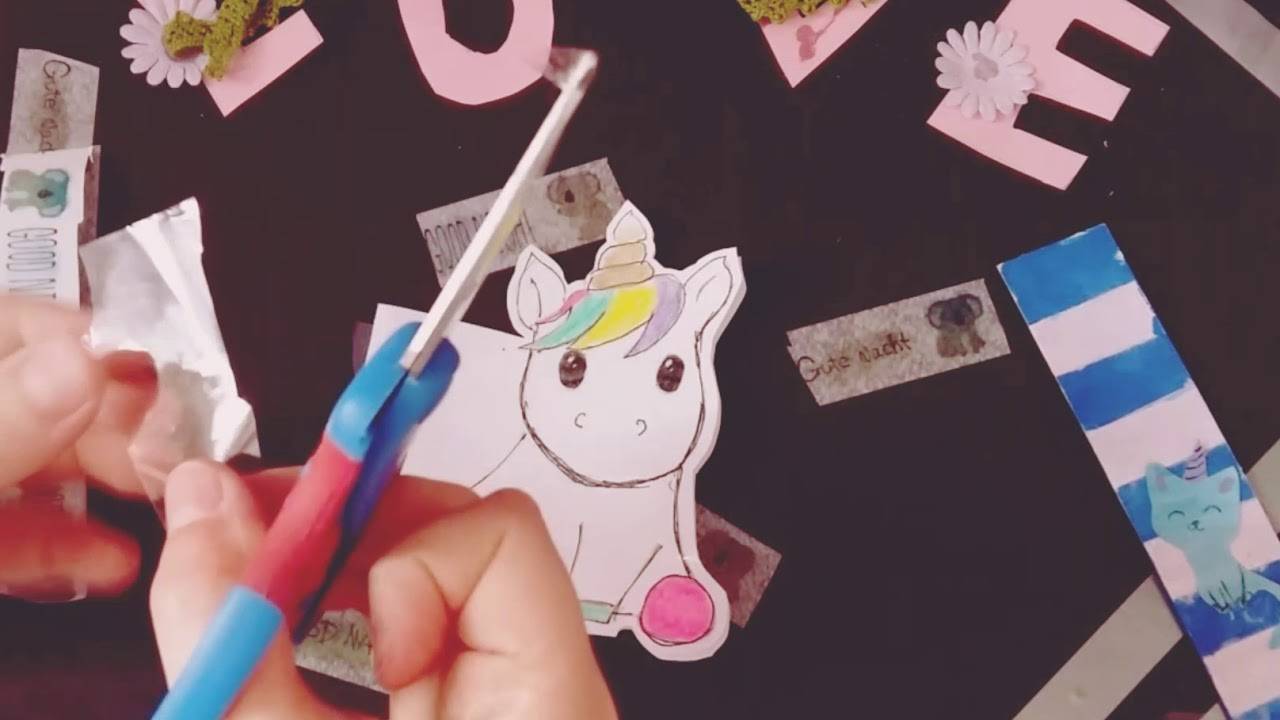
Draw a horn and two ears to the circle. Cut out a piece from cardboard and two more of the same from plain paper. We glue the cardboard on both sides with paper parts.
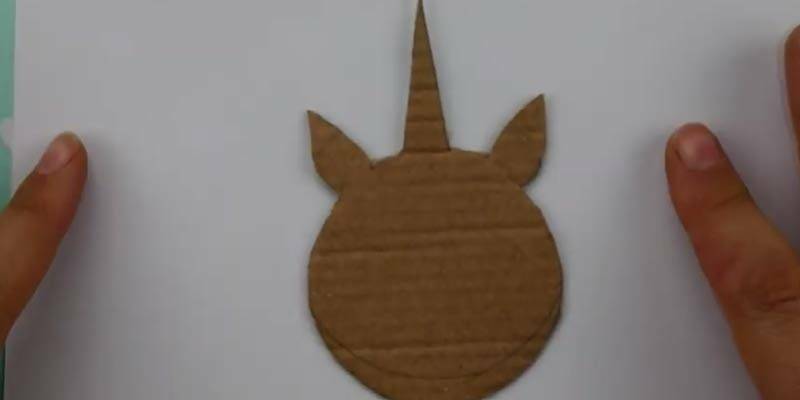
We decorate the horn with glitter foamiran. If not, then you can use foil or any shiny wrapper.
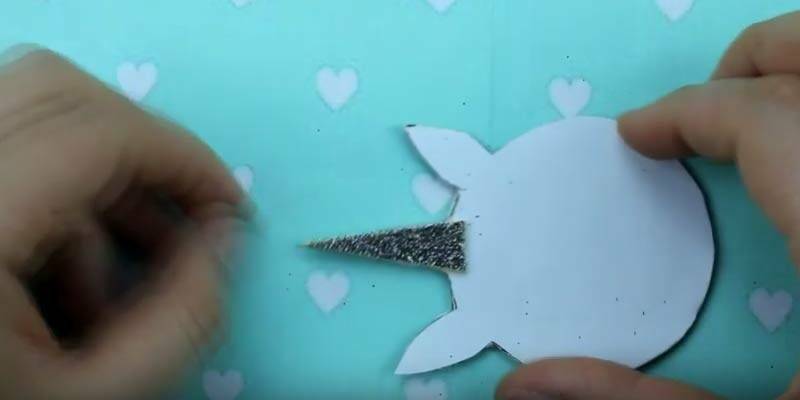
Cut the threads of bright colors into equal lengths.
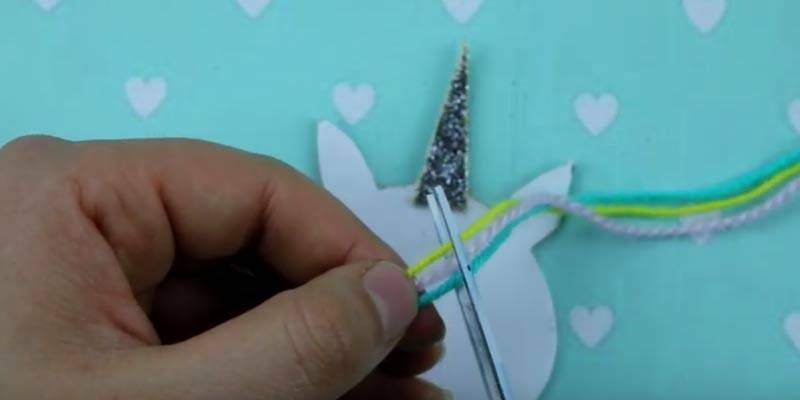
We fix the threads on the face with double-sided tape - this is a bang.
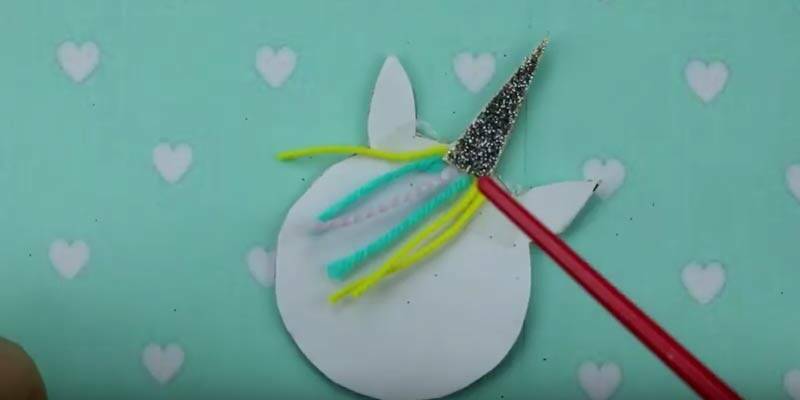
At the top, we close the threads with decorative beads, flowers or something else. We draw eyes, eyelashes.
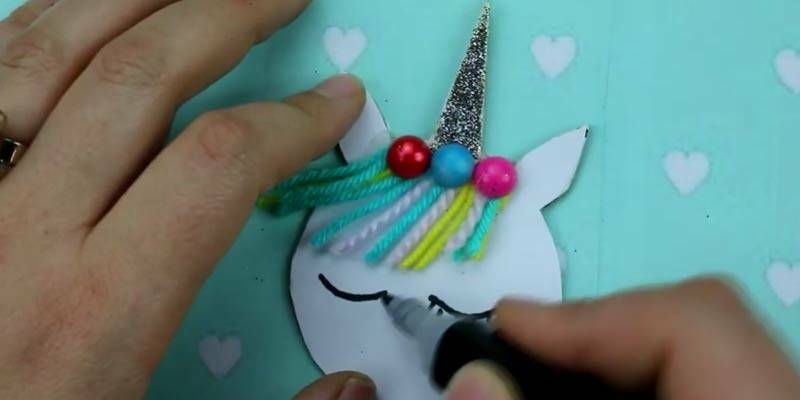
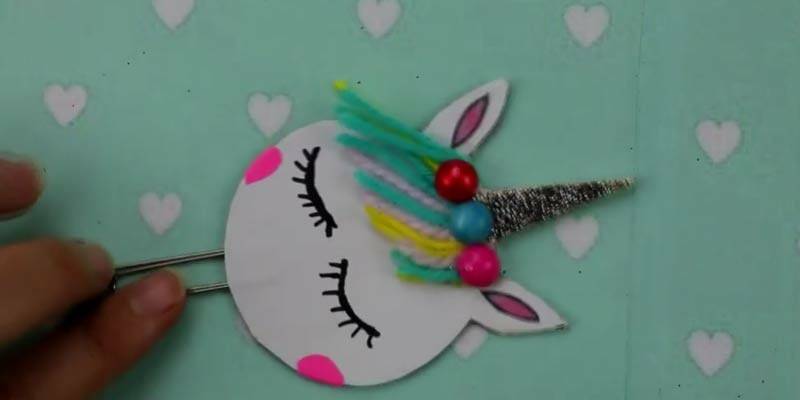
We decorate the ears and cheeks, glue a large paper clip.
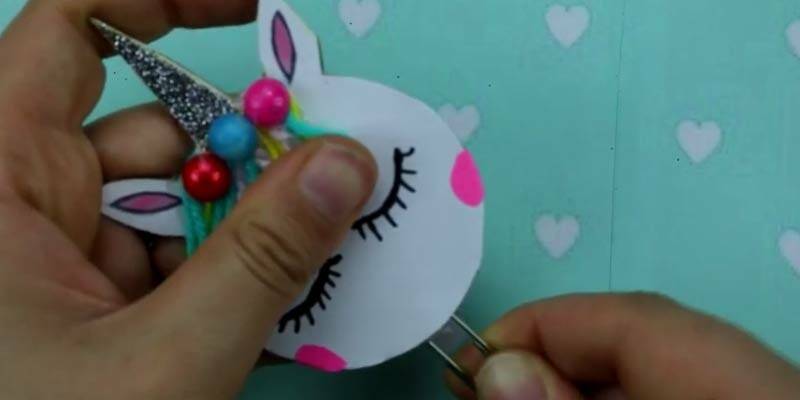
Ready! Can be used for both books and notebooks. Very convenient, agree?
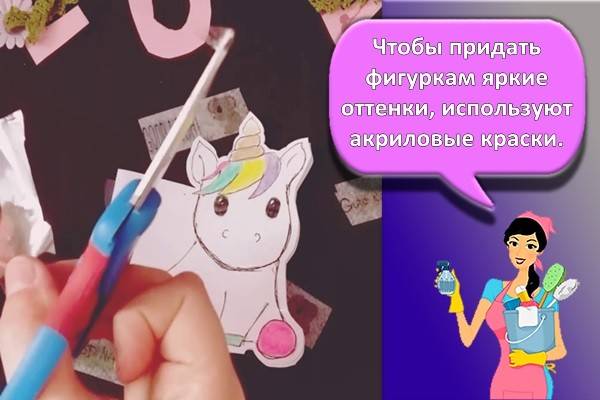
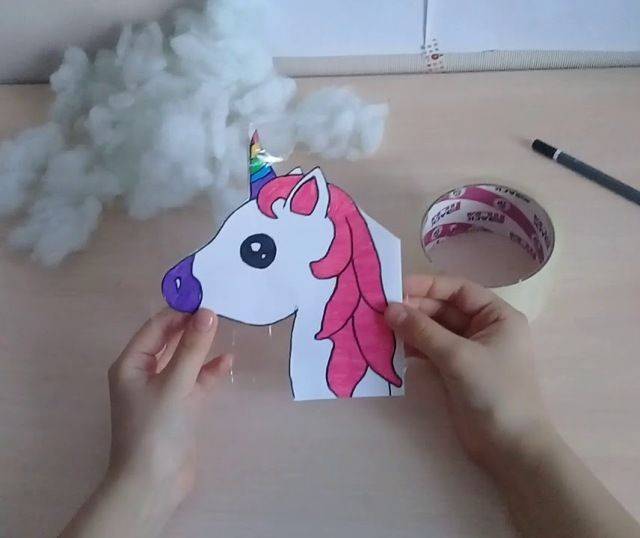
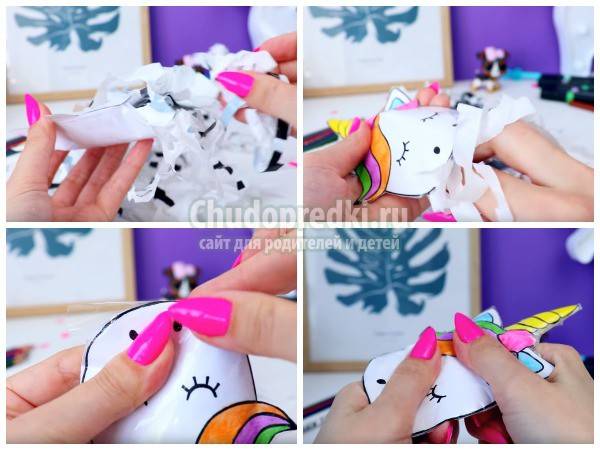
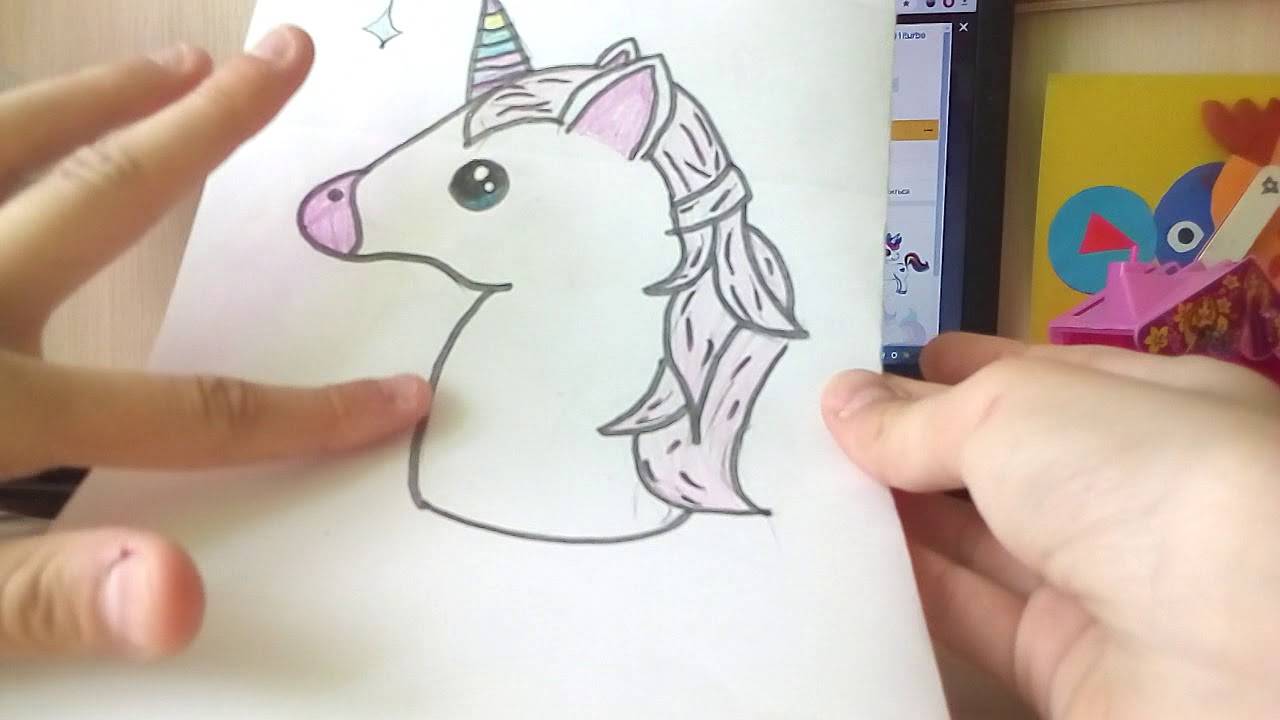
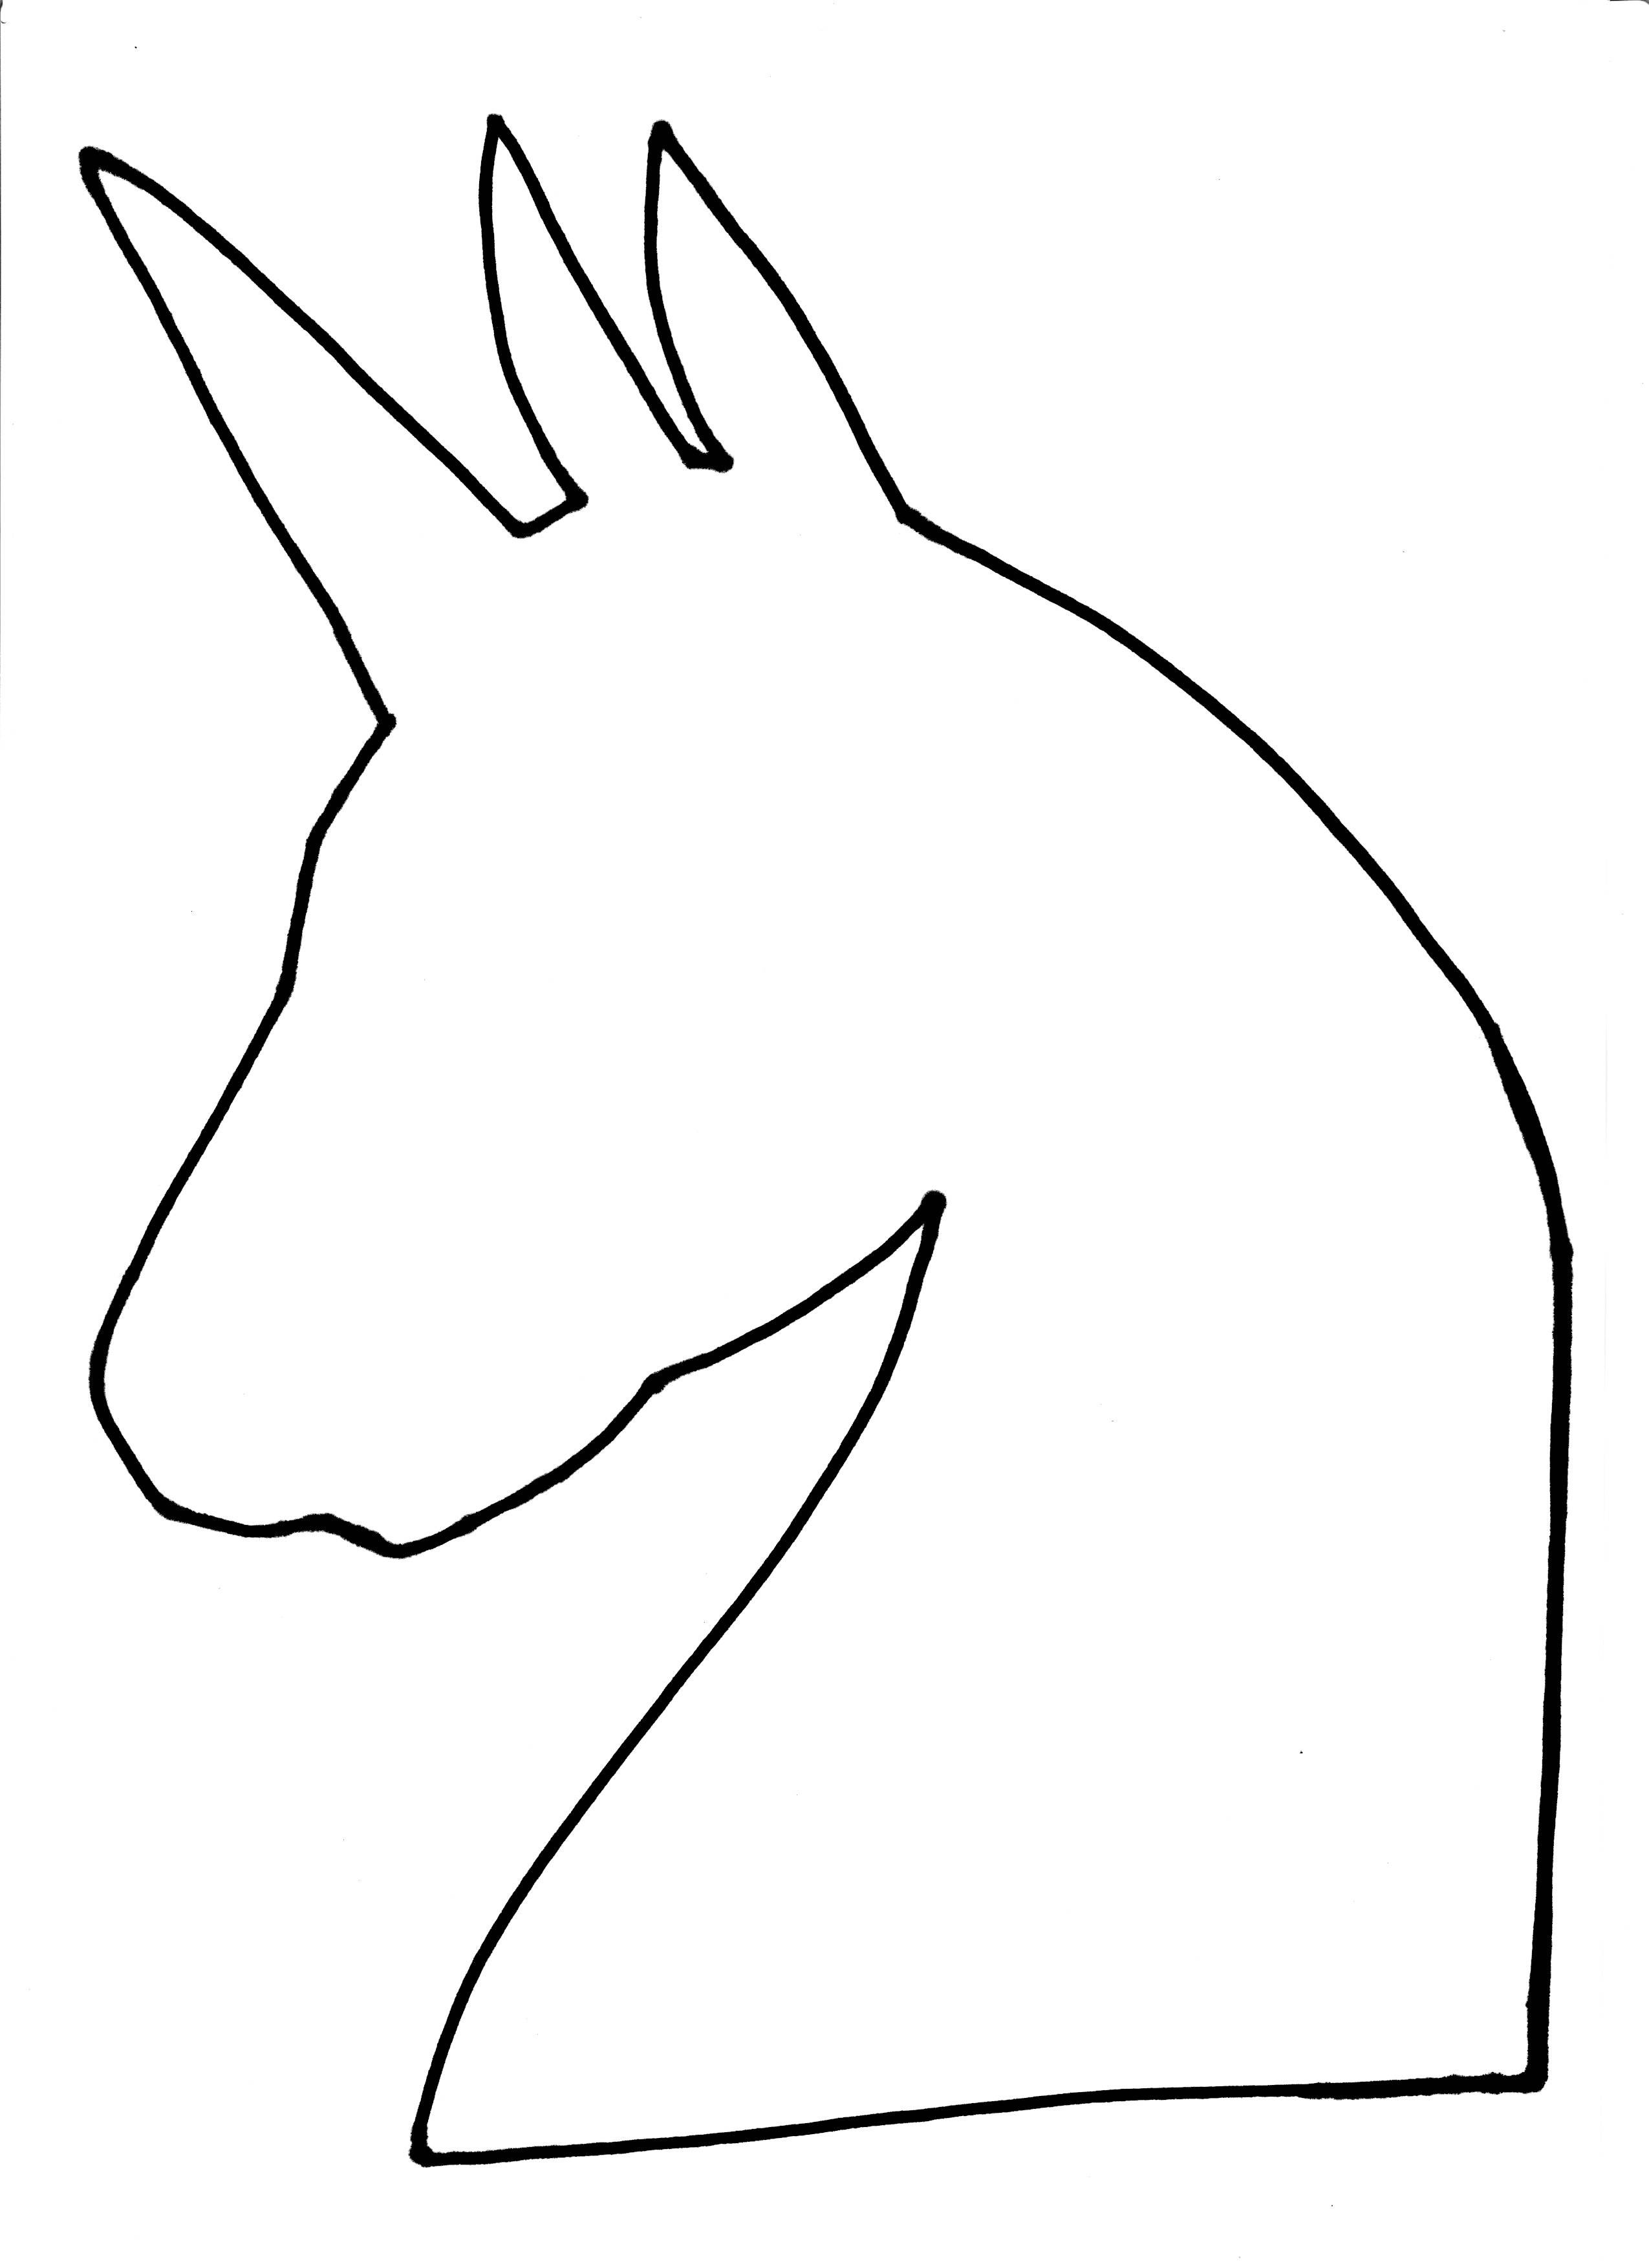
Another option is to print or circle the silhouette of a unicorn from the screen, transfer it to glitter or any beautiful, preferably double-sided, cardboard. Make a hole in the back with a hole punch, stretch a bundle of yarn into it and tie it up. You will get a unicorn with a fluffy tail made of threads.
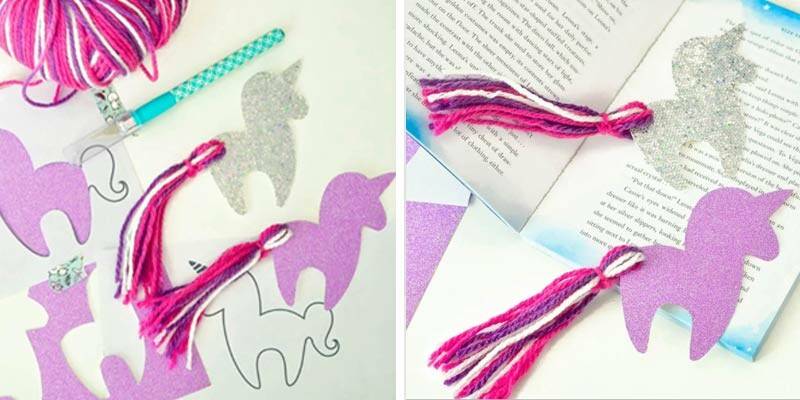
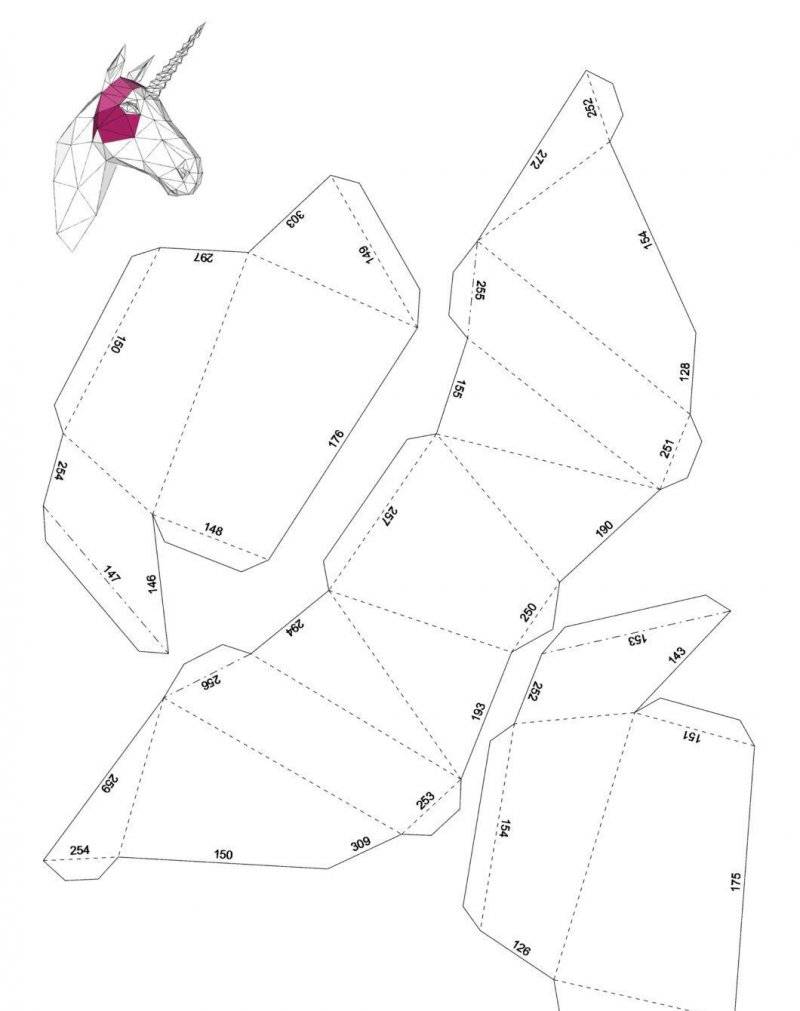
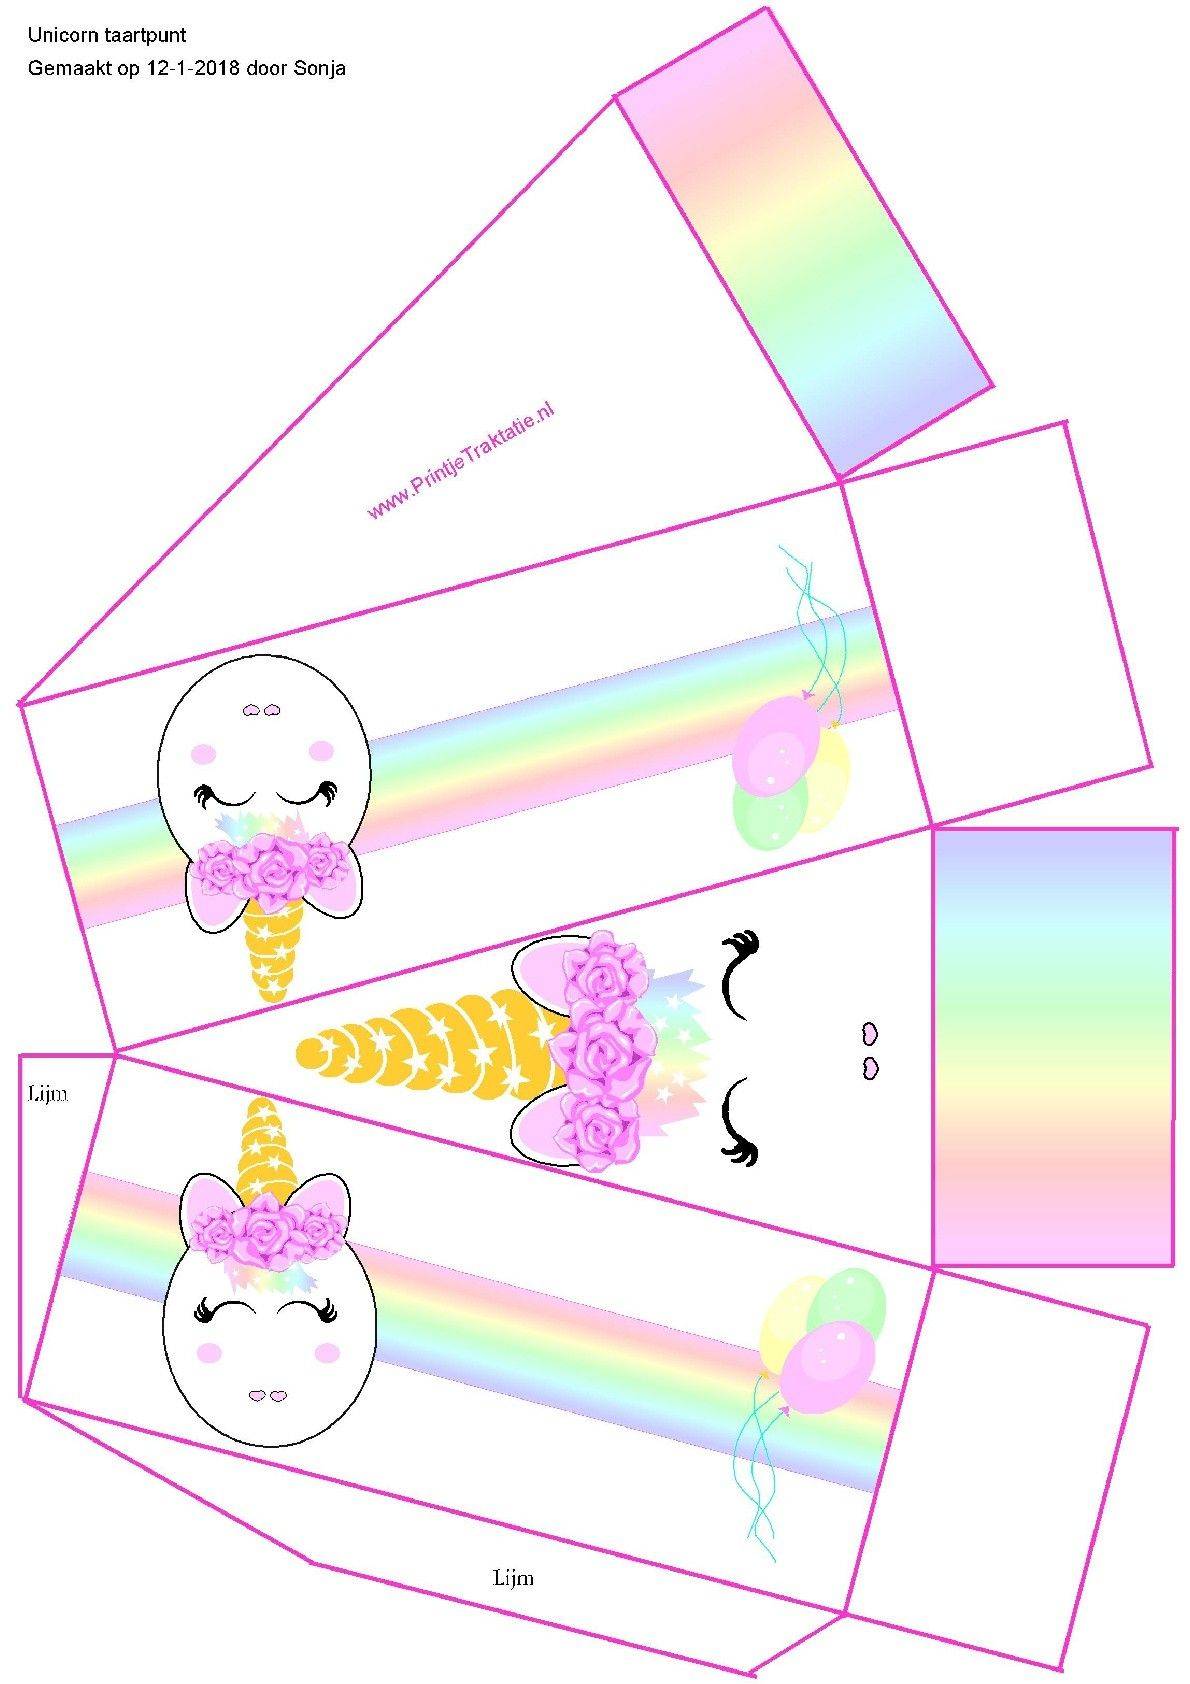
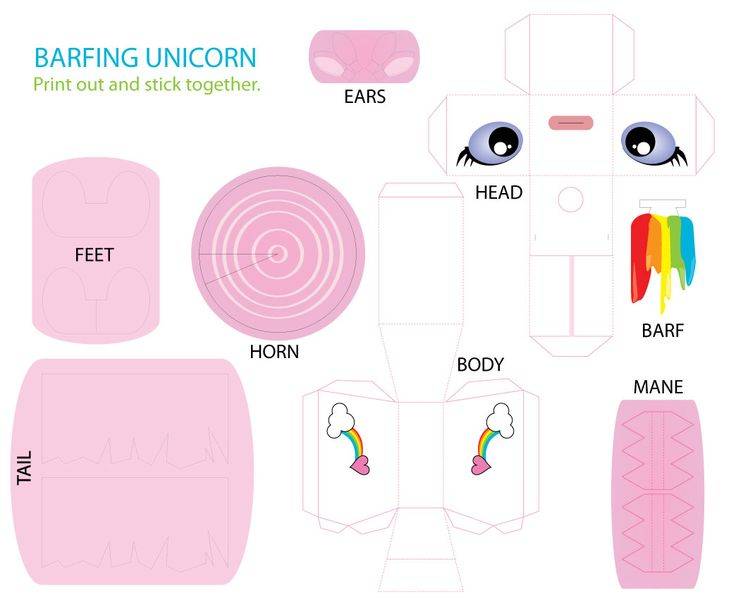
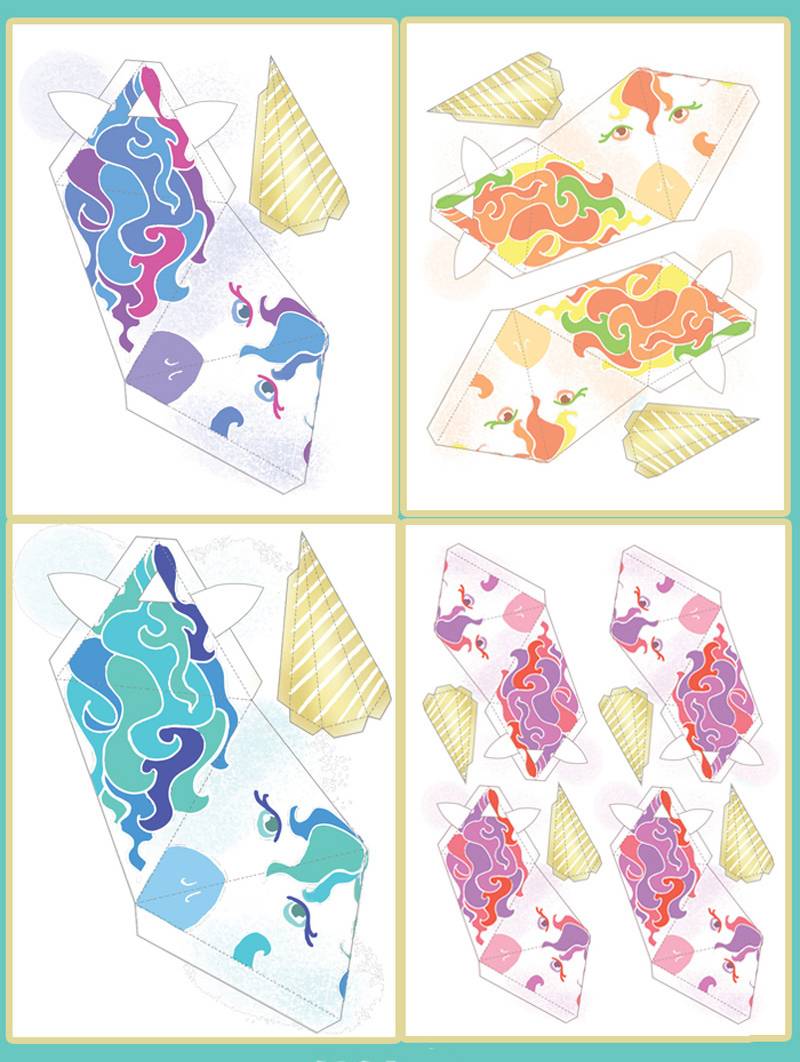
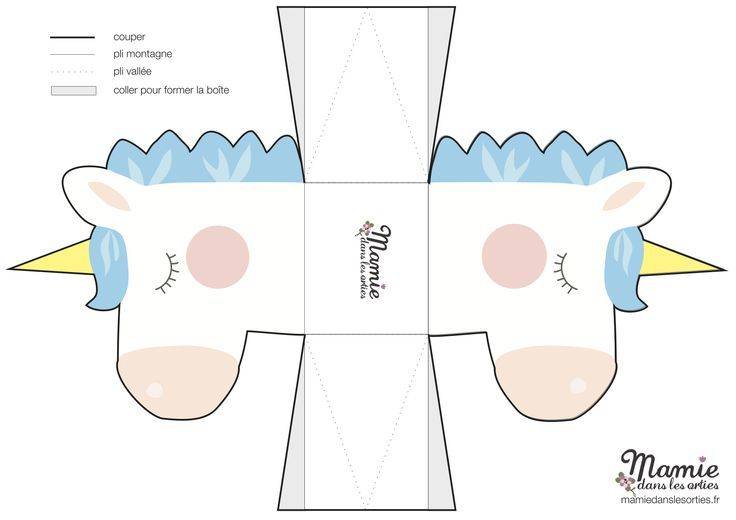
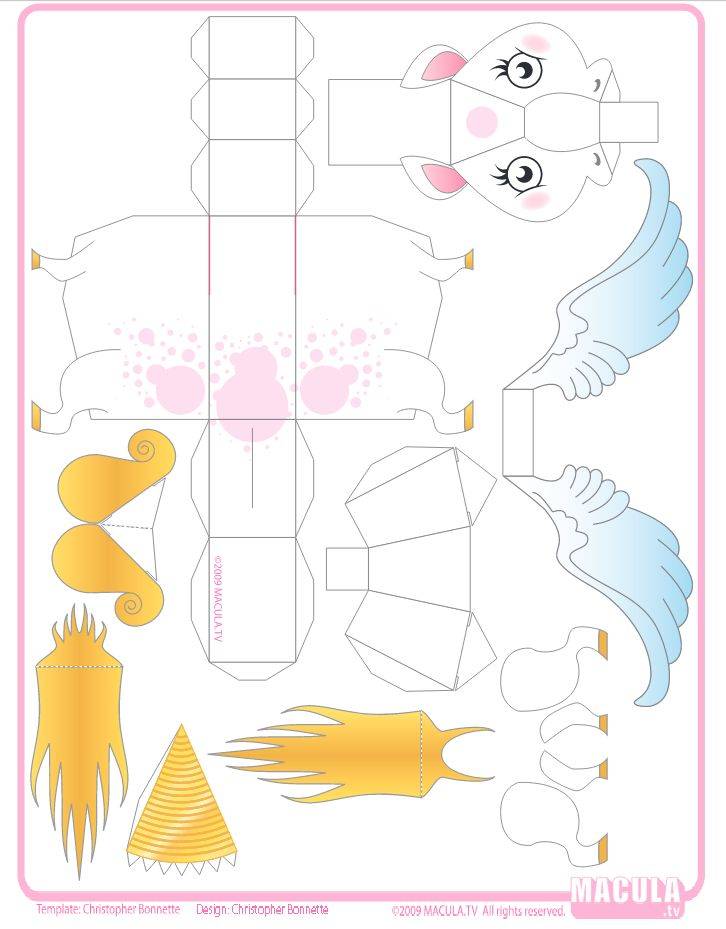
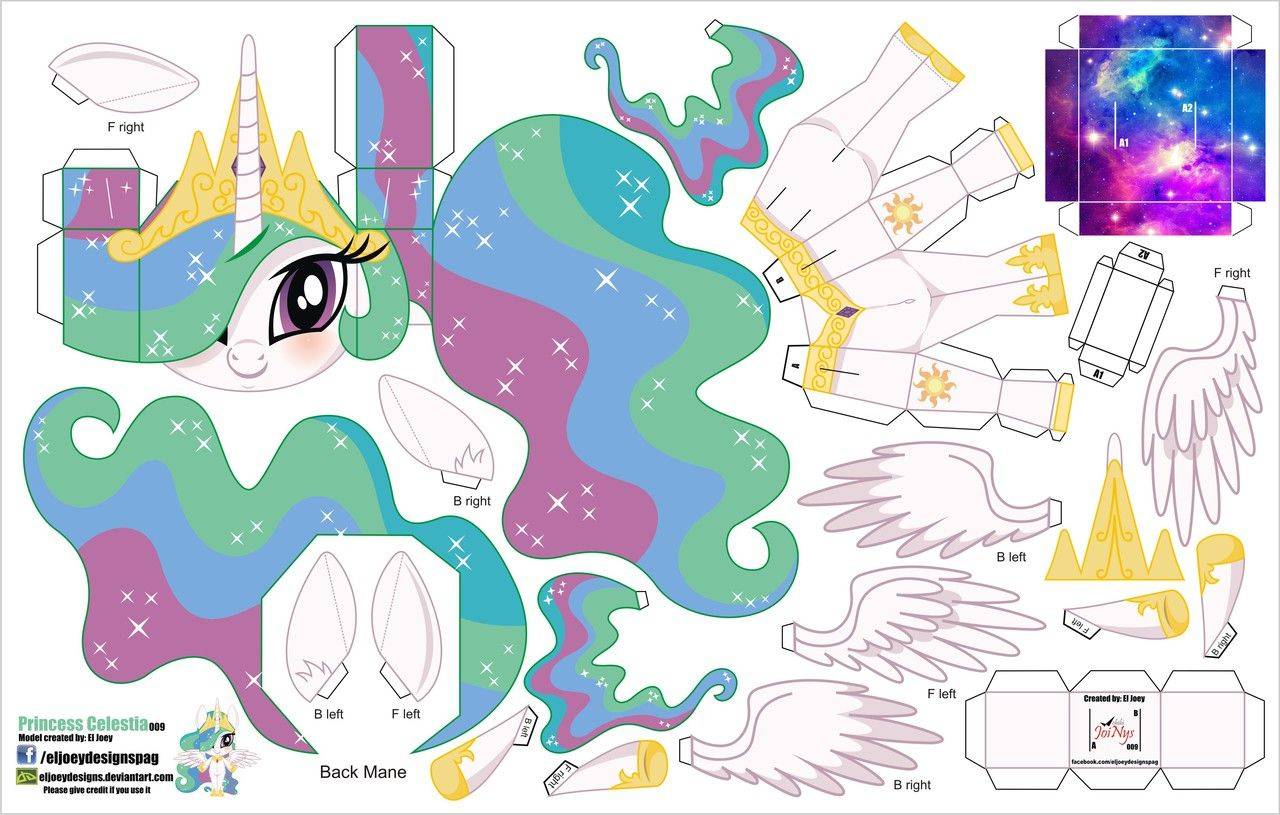
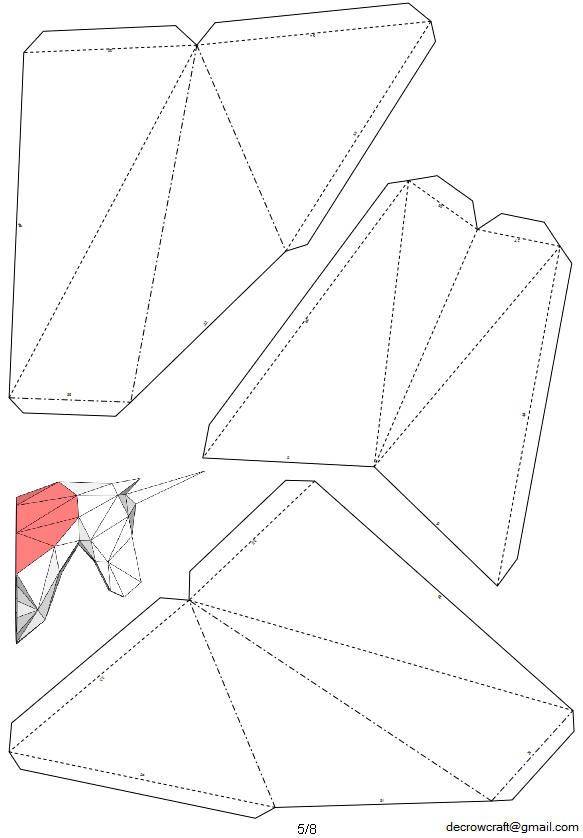
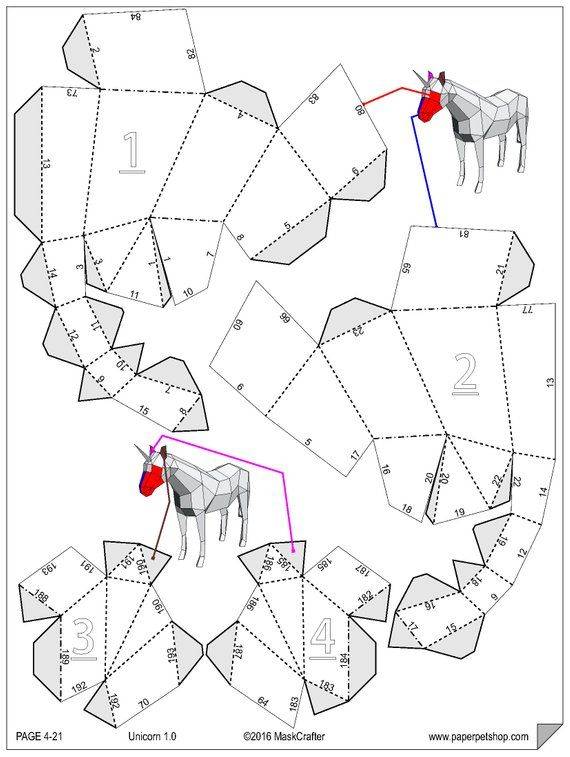
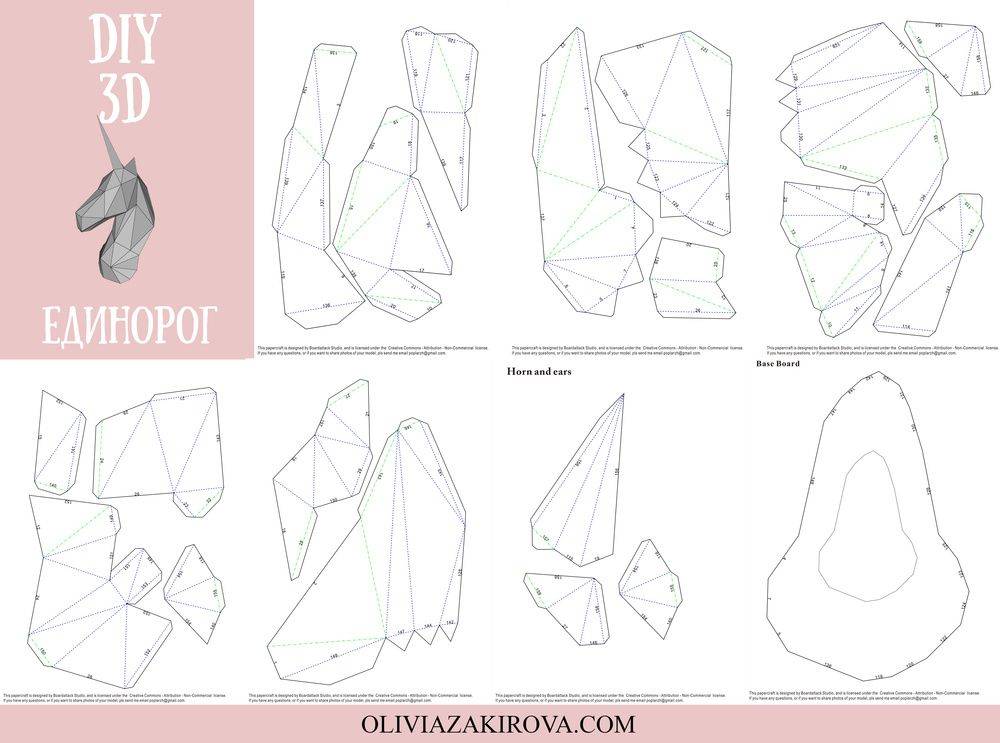
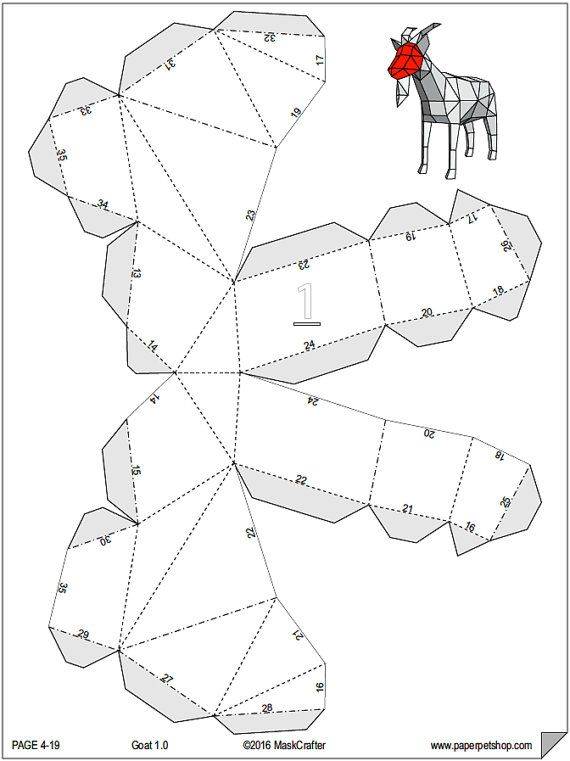
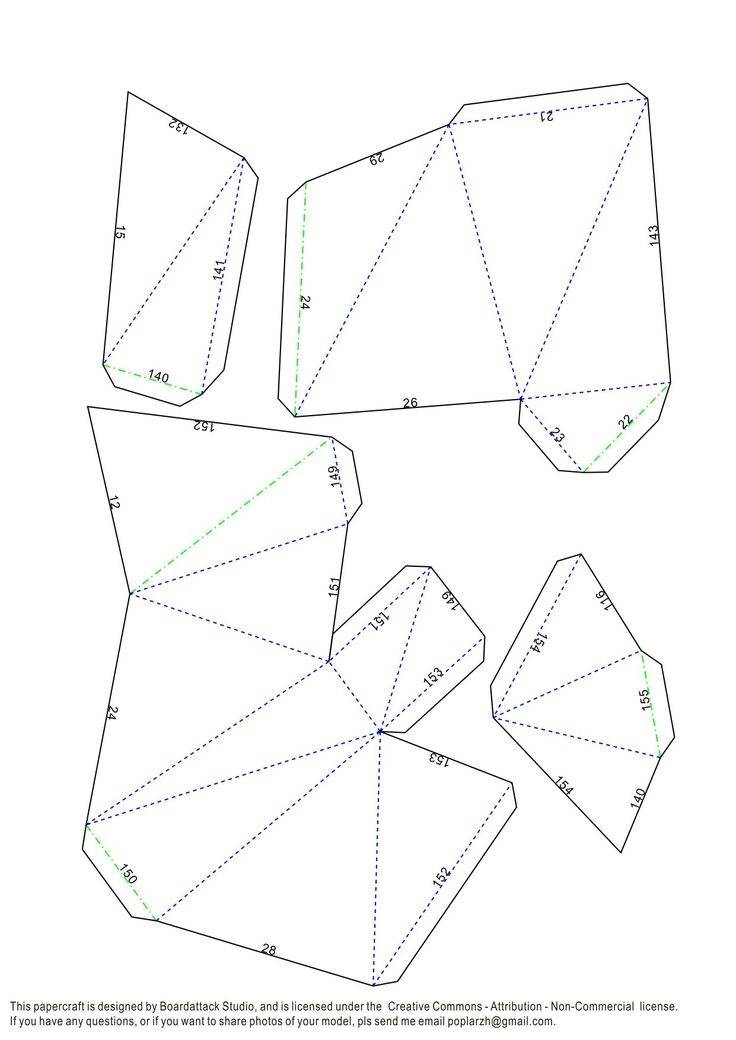
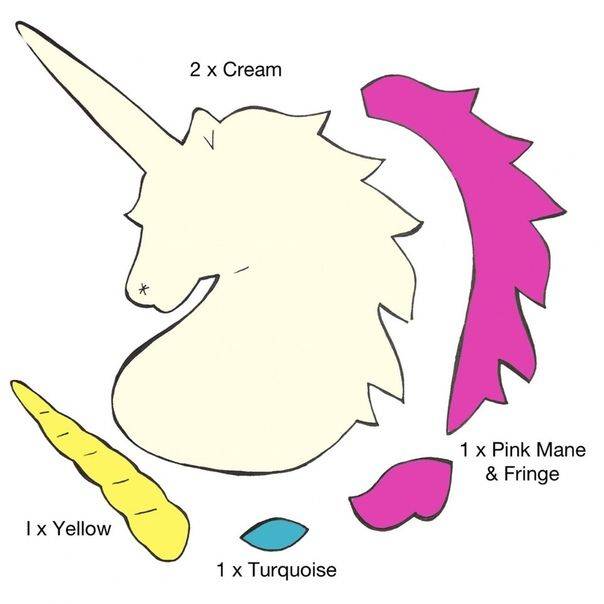
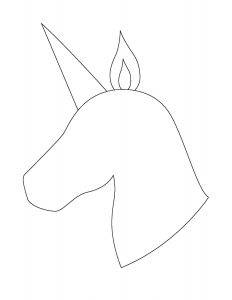
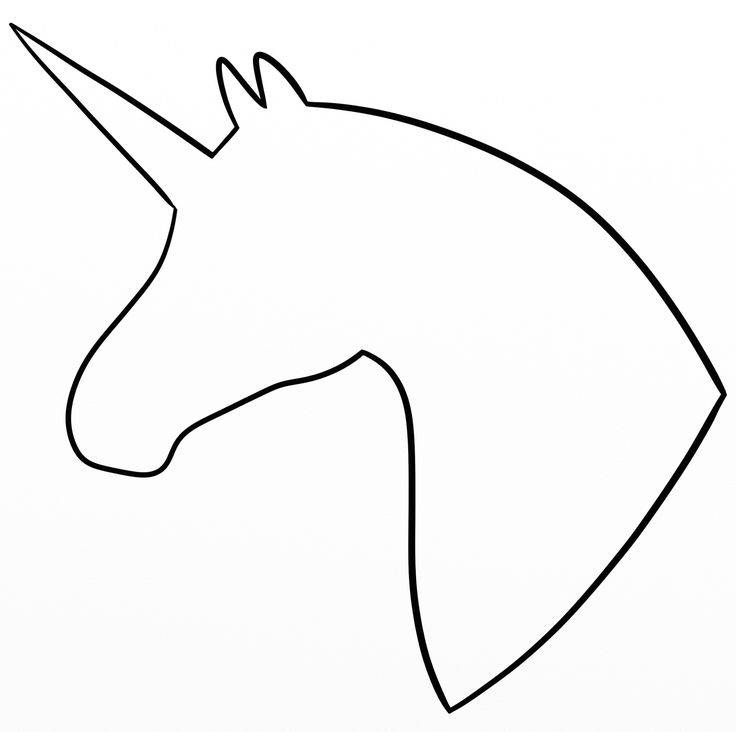
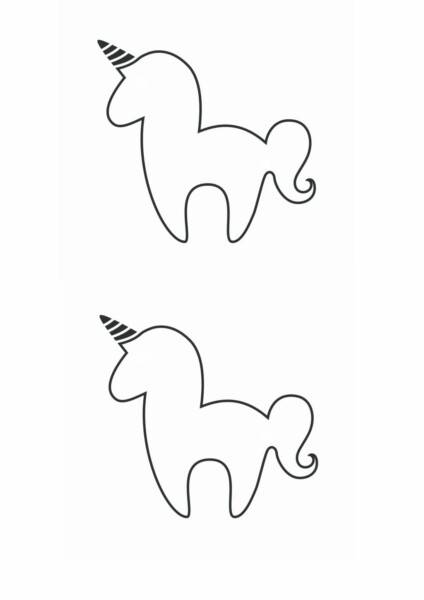
And here is the unicorn template itself.
What is squishy?
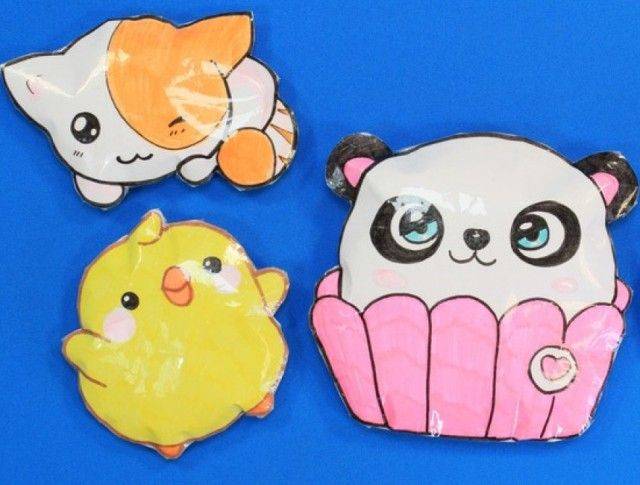
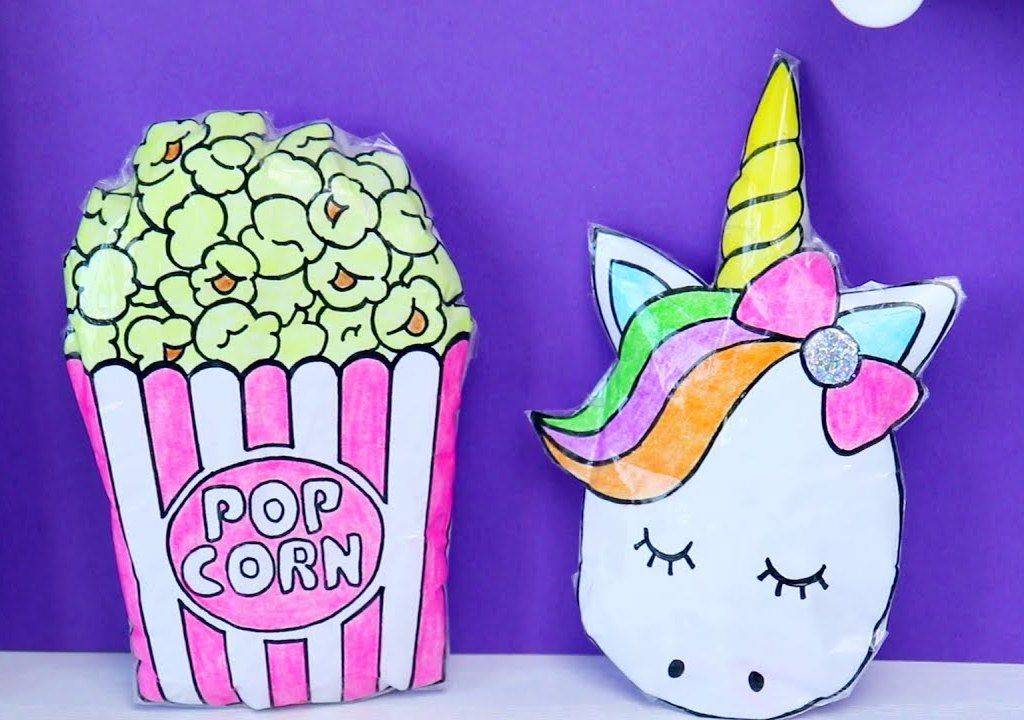
The idea was born in Japan. The original antistress toy is made of rubber, plastic, but paper models are also possible. Unlike slime, squishies have a clear shape, squeeze well and do not stick to your hands.
The traditional size of the product is from the palm of your hand. But if you are thinking about how to make squishies out of paper yourself, any options are possible. As a basis for the product, matchboxes, bags from milk and other products or things, colored film (it is more durable than paper) will serve. It is recommended to fasten parts of the product with tape or a stapler.
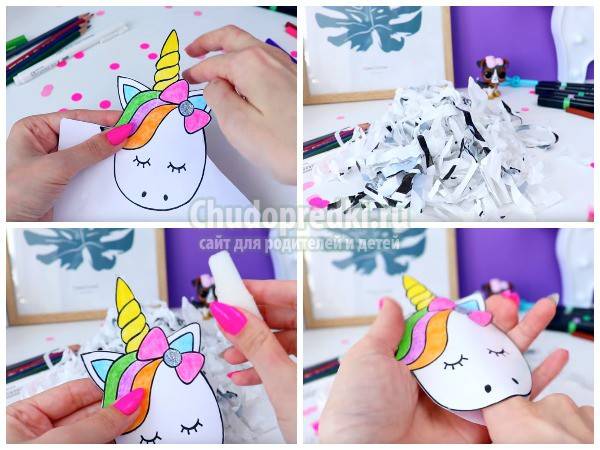
A frame is made from a paper base. Inside, the toy is filled with cotton wool, foam rubber, padding polyester, small balls. Any filler is possible, which is convenient and pleasant to wrinkle with your hands.
Drawing for a squishy can be any. Draw a figurine on a piece of paper or print, you can choose a sample on the Internet. Cut along the contour. One of the main things to do when making homemade paper squishes is to avoid sharp corners. They are difficult to hold and fill with filler. The ideal shape of the toy is a circle or an oval.
Knowing the basic rules for making anti-stress products, get to work. Choose interesting ideas for squishies from paper, prepare materials and stock up on imagination. And if your imagination has let you down, below will be presented original ideas, what are paper squishies.
The main advantage of a homemade toy is its cheapness. For manufacturing, use the materials at hand. They are inexpensive, it is not a pity to use them for children's play.
Another plus is the independent choice of the picture. Choose an image that suits you or your baby. Color the squishies the way you like. Decorate it with sparkles as desired.
The disadvantage of paper squishy is the material of manufacture. The paper quickly deteriorates, and the toy becomes unusable. If you wish, you can make another in a short time.
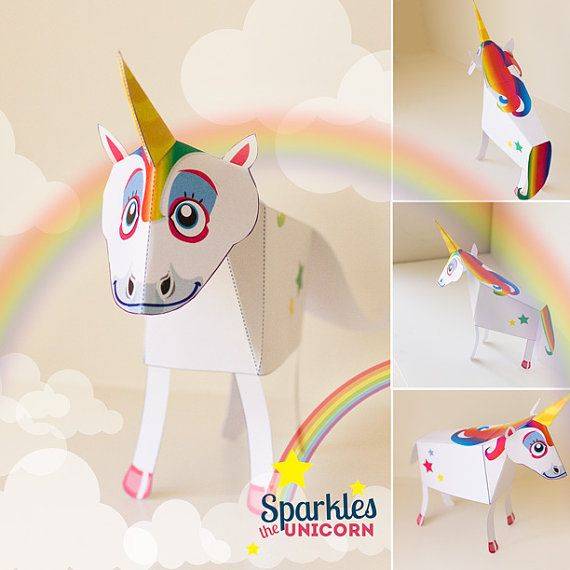
How to make a paper unicorn?
We know how children love magical unicorns, so our editorial staff at imom.me has prepared a master class on How to Make a Paper Unicorn.In it, we showed each stage of work on a volumetric unicorn made of paper and gave valuable tips that will help your kid work with scissors and paper. A child can himself, peeping in a video tutorial, make a charming unicorn.
Before getting started, check all the materials you need to create your craft. Then you will not need to be distracted by looking for scissors or a pencil. For this craft, only the simplest, readily available materials are used that are likely to be found in your home.
We need:
- white sheet of paper - 2 pcs;
- sample;
- twine;
- scissors;
- paper;
- paper glue;
- marker;
- pencil;
- pieces of colored paper.
How to make a unicorn out of plain paper: step by step instructions
No way to watch the video or want to keep yourself instructions on how to make a unicorn out of plain paper? For this case, we have made a step-by-step description of how to create this craft in a text version. Save so as not to lose!
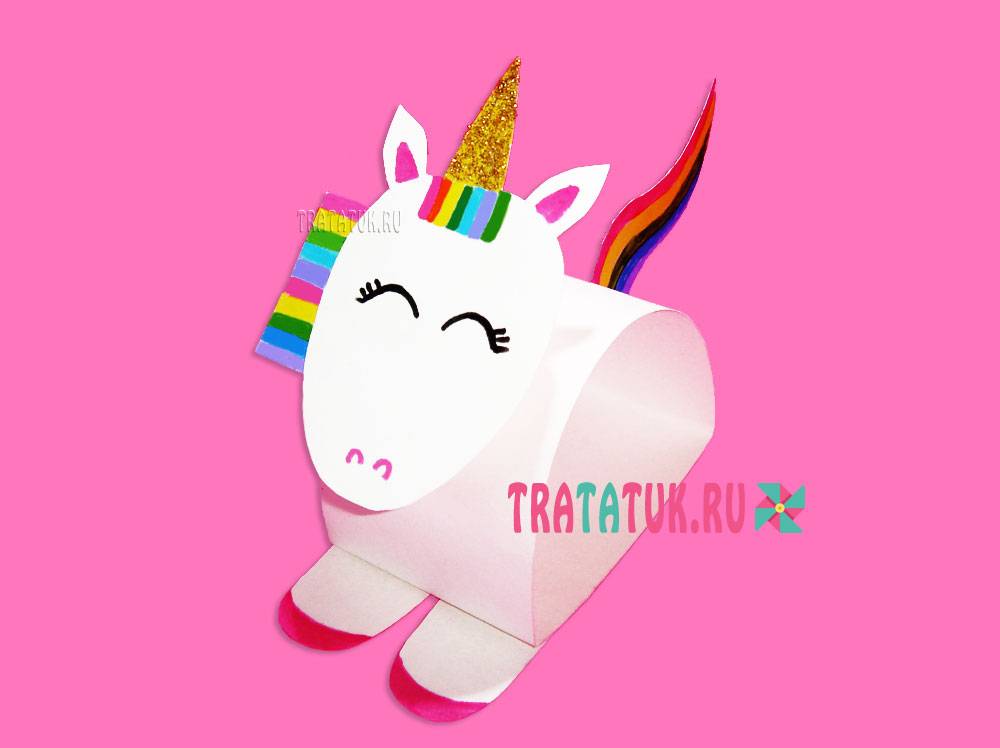
- Cut out patterns - a circle, a unicorn head and a rectangle. You can find the template we used above in this article.
- We apply the template to the paper, outline and cut out. We need 8 circles. To cut them faster, you can fold the paper in half and cut two pieces at once. For the circles, we needed two sheets.
- Do not throw away leftover paper. From it we cut out the head of a unicorn in duplicate, as well as 4 legs. To do this, we also outline the templates. For all the details, two sheets were enough for us.
- Now we take one circle and grease it with glue. We lay a rope in the center. We attach another circle, but do not glue it tightly. We still need to insert other details between them.
- We connect all the circles together, bending them slightly in the center. Make sure the string is well centered on the ball.
- Create a mane for our unicorn. To do this, cut out small stripes from colored paper. It is not necessary to take whole sheets of paper, you can use small pieces of paper. The same pieces will be needed in order to make a unicorn ponytail.
- Cut out a triangular horn from yellow or gold paper.
- Lubricate one part of the head and glue the stripes. It's okay if they are of different lengths. This can be adjusted with scissors.
- On the forehead of the unicorn we glue a couple of stripes and a horn.
- We glue both parts, hiding the place where the curve is attached. Draw the eyes with a marker.
- Now we insert the head into a ball of circles and glue it. We also glue the legs and tail symmetrically. Ready!
Such a pendant can be an excellent decoration for a child's interior. By the way, you can add colored beads to the string. Then she will look even more magical and fabulous.
Cover squishies
To make a shiny iridescent toy, you will need the following materials and tools:
- main material: transparent cover and paper;
- for coloring: felt-tip pens, black permanent marker, gouache, which, if desired, can be replaced with dry pastel (it is better to take a soft pastel for drawing, it has a free-flowing structure);
- for decoration: sequins;
- filler: synthetic winterizer or cotton wool;
- scissors;
- Scotch.
Suppose a gem is used as the shape, for example a diamond:
- On a sheet of paper, depict the shape of a faceted stone, you can print a finished drawing from the Internet, and then cut out a stencil.
- Put the paper blank between two layers of the cover and redraw on transparent sheets.
- Cut out both cover images.
- Dry pastels need to be grated on a fine grater to get a colored powder. For a gemstone, beautiful shades are suitable: pink and blue, purple or blue.
- Divide the cotton wool into separate small pieces, each of which sprinkle with colored powder. In order for the paint to rub well into the cotton wool, you can put the filler in a plastic bag and rinse it well with your hands.
- To add shine, glitter can be sprinkled on colored cotton wool.
- Both parts of the cover blank are glued to each other with tape, leaving a hole for the filler.
- Through the hole, the product is stuffed with colored cotton wool, then sealed with tape to the end.
- On the finished transparent squishy, you can make various inscriptions or drawings using a marker.
For a change, you can make a voluminous product. To do this, you need to cut out three sides of the figure from the cover, which are sequentially glued together with tape. The resulting form is filled with colored filler. Thus, 3D squishes are obtained.
Squishy rolls from a sealing bundle
For sushi lovers, soft squishy rolls are suitable, which can be made from small pieces of white sealing cord. It looks like an airy rice filling, and if you paint it, you can get a completely believable roll.
To make a toy you will need:
- sealing harness;
- gouache and brushes for painting rolls;
- hot glue;
- scissors.
To get three different rolls, you need to do the following:
- Cut identical pieces from the rope, which will resemble real sushi in size and have the shape of a cylinder.
- Paint the first piece on the outside with black and green paint, which will imitate nori leaves.
- The second piece can be left white, but apply bright red dots on the outside, which will resemble salmon roe.
- The third cylinder can be arranged as a roll, wrapped in nori and sprinkled with sesame seeds. For this, the main background is painted over with black and green paint, and light yellow specks are applied on top.
- In order for each roll to have its own filling, grooves must be cut out in the center of each cylinder using scissors.
- Small pieces are cut from the remainder of the sealing cord, which will need to be painted in different colors. For example, green chunks might mimic cucumbers or avocados, orange-red chunks might look like salmon meat, and small yellow slices might mimic cheese.
- The dried "filling" is glued to the center of the roll cylinders with hot melt glue.
Squishy from a plastic bag
A regular bag can be used to make a large soft ice cream quickly and easily.
To make a bright antistress toy you will need:
- a plastic bag that does not rustle when squeezed;
- filler: cotton wool, napkins or toilet paper;
- transparent tape;
- narrow colored tape of red, yellow and white shades;
Instructions:
- Place filler in the corner of the bag.
- Fold the edges of the filled corner to make it look like a cone, secure the figure with tape.
- Add filler to the rest of the bag and form a ball over the cone.
- Secure the bag with tape, the result should be the shape of a large ice cream.
- Spiral over a ball of ice cream with strips of colored tape, alternating red and white ribbons.
- Glue the cone with strips of yellow tape.
The article provides step-by-step instructions detailing how to make squishies. Such soft and funny toys can be easily made at home, not only from paper, but also with the help of many other materials at hand.
Article design: Vladimir the Great
The best templates and patterns to create a paper unicorn
Below you can find the simplest and best options for making crafts.
Option 1 Suspension
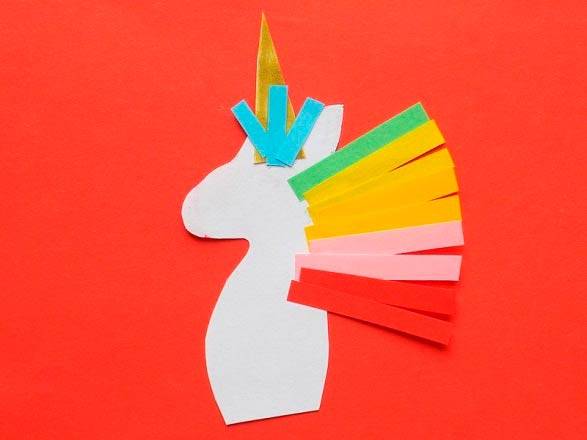
Cut different colored paper into thin strips to decorate the unicorn's tail and mane.
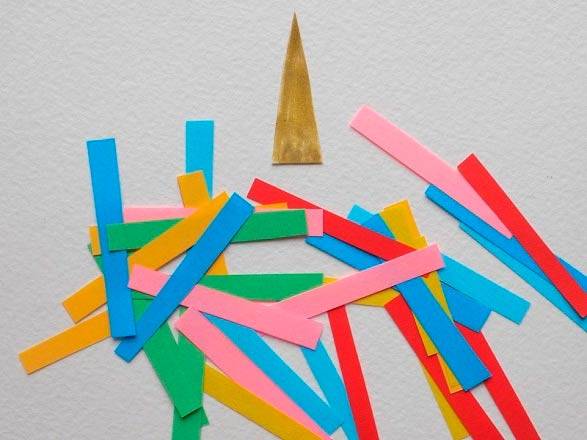
Cut the head out of the material and start decorating it. Draw the eyes at once, and then glue the mane.
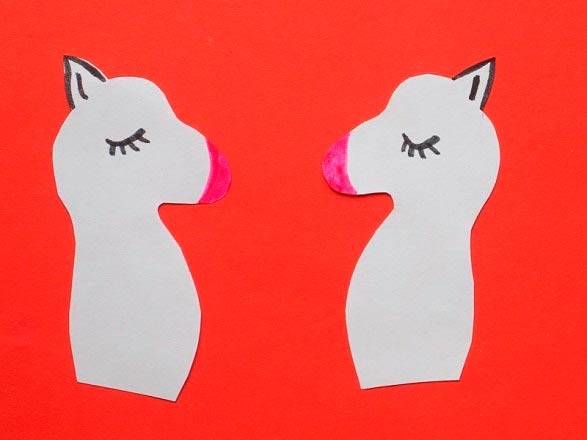
Cut out a small golden cone and glue it on. The head is ready.
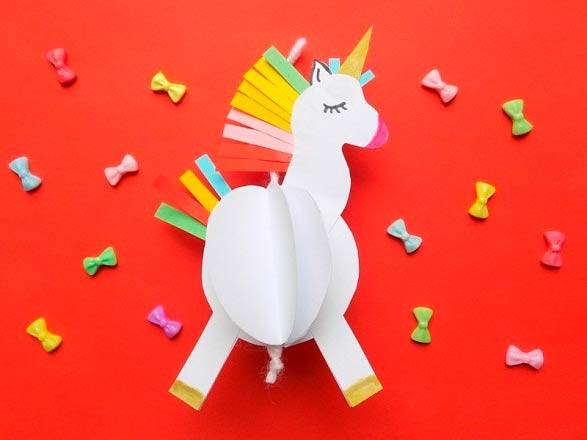
Next, start doing the body. Legs are not done in this model. On a white A4 sheet, draw 9 circles using any round object. Cut everything out. Start gluing them together with the sides to each other. Secure the thread in the center and make a large loop. Glue the head to the torso. This is how a unicorn turns out.
Option 2 Craft with threads
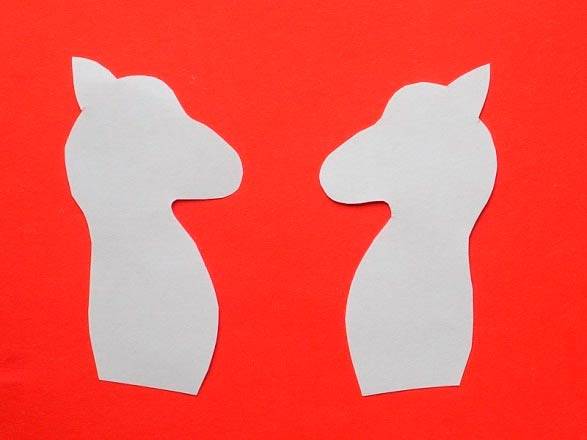
Choose a suitable color for the material, make it the main one. Cut out a rectangle from it with a width of at least 7 cm. Draw a template on it with a simple pencil and cut it out. You should get this option.
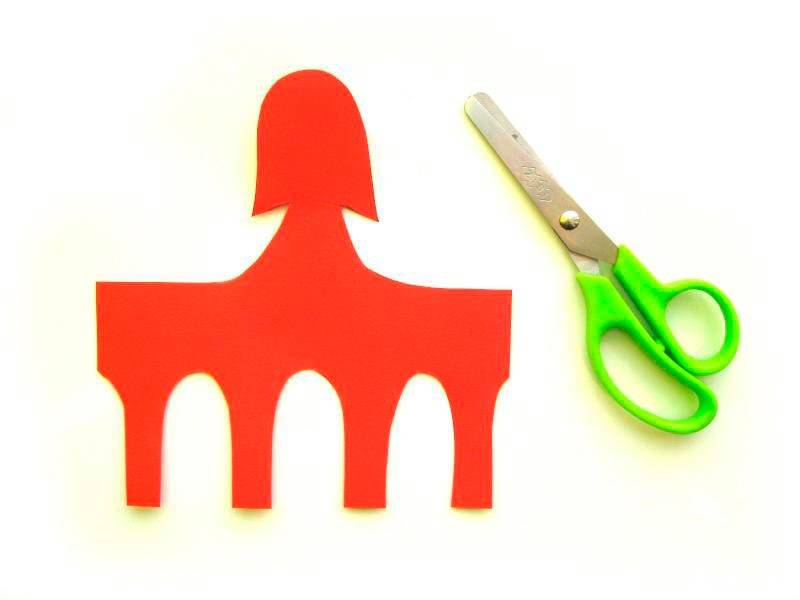
Next, glue the backs near the rectangles with glue. Cut the head along the contour, turn it over and glue in the same place.
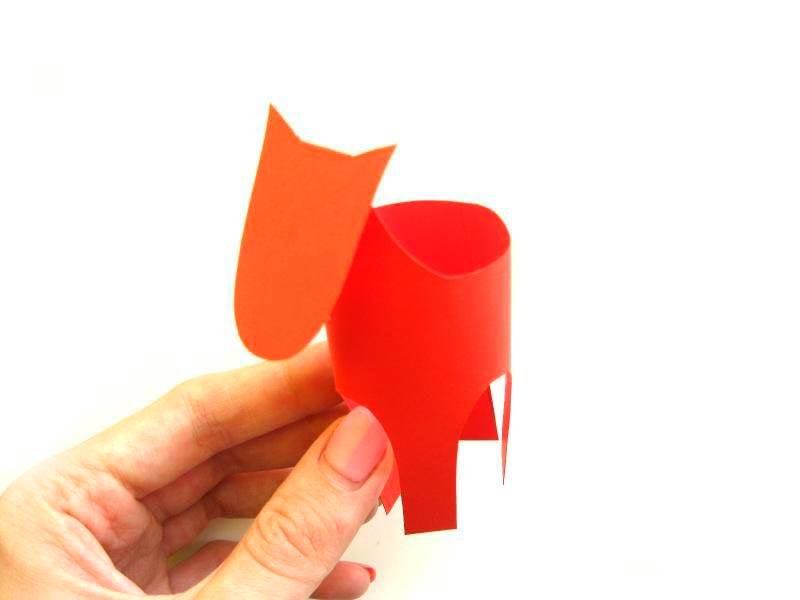
Fasten the threads on the head. They will play the role of a mane, draw the eyes. Cut the horn out of cardboard and glue it to the top of the head.

Cut out the wings from paper of a different color and glue them on the back. Color the craft as you see fit. In finished form, it looks like this.

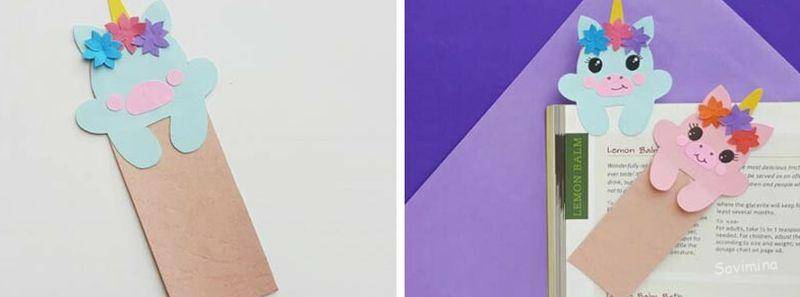
Option 3 Bookmark
Bookmarking for textbooks and books is done in stages:
- Take a sheet of paper 15/15.
- Fold it in half.
- Unbend, turn the corner towards you. Fold the two outermost corners towards the center. It should look like the photo below.

Further, manufacturing takes place like this:
- Fold the bottom square up.
- Fold the entire structure in half.
- Bend the top to the side, get a head.
The photo below shows everything in detail.
The following steps are related to decoration:
- Round the nose a little, hide a piece of the corner inside.
- Glue the cone to the top.
- Cut and glue the ears.
- Draw the eyes and mane for the unicorn.
This is what the finished bookmark looks like.
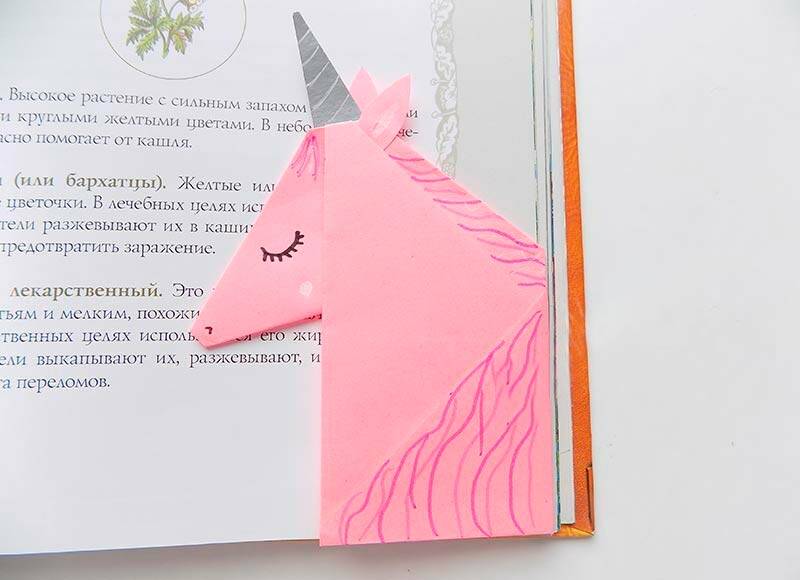
If you want to create an applique with a unicorn, then print any image of the figure on A4 sheet. Cut it out, glue it to a thick piece of cardboard, start decorating. Get a wonderful picture.
Any DIY crafts bring a lot of joy. Making a unicorn is not difficult. Such a fantastic animal is every little girl's dream. It is simple to implement. A pet can be made out of paper. The child will be carried away by such an activity and will be satisfied with the result.
Squish Making: Unicorn Cake
It is easier for kids to make figures and appliqués out of paper. It is interesting for schoolchildren to work with foam rubber, to do more complex squish. To make a unicorn cake, in addition to a sponge, you will need:
- silicone glue;
- plasticine;
- gel pen;
- scissors.
To make a bright toy, you need to use foam rubber in red, crimson, orange, green or blue.
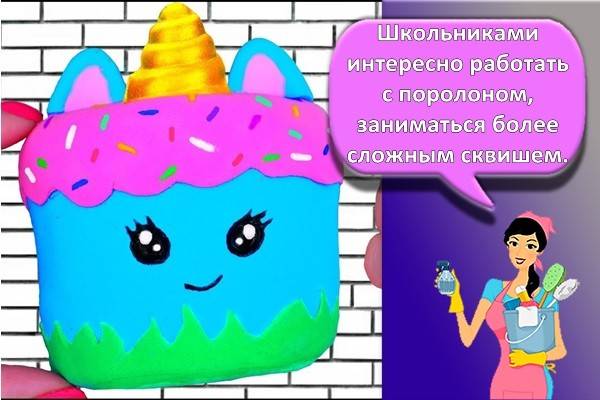
A triangle is cut out of a sponge for the mouth of a unicorn, blanks for the base of the cake. Plasticine of different shades is rolled out with a rolling pin. A thin sheet of blue color is divided into strips in width and covered with a foam rubber cylinder. The same manipulations are performed with raspberry plasticine, with the help of scissors you need to form wavy edges on it and decorate the top of the cake like icing.
The horn and ears are molded from an orange material, greased with glue, decorated with sparkles, on which varnish is applied. Squishies are placed on an open window to dry out the product. The plasticine will harden, and all the elements of the cake will stick tightly to each other.
Bookmarks for books with your own hands origami unicorn
The second version of a paper bookmark in the shape of a unicorn, which can be a great gift in addition to a book. And of course it will look very beautiful in your book! Try making a little unicorn on a stick as well!
You will need:
- square sheet of paper
- paper for mane, horn and ear
- scissors
- glue
- foil (can be made without foil)
- pen black, white (or colored) and pencil
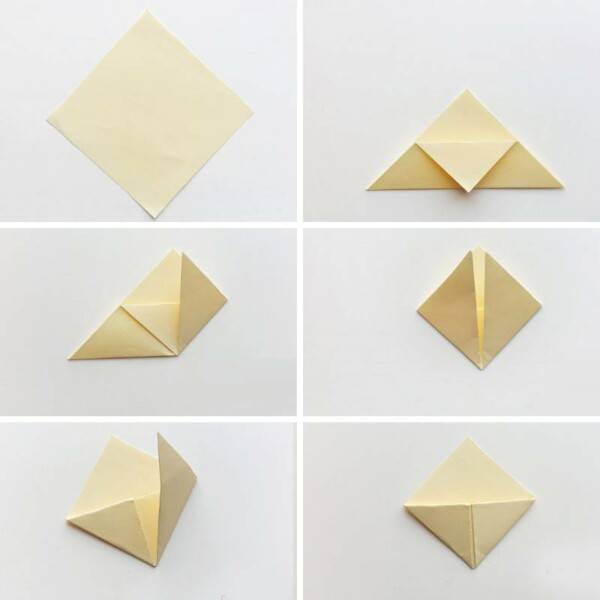
The basis for the bookmark in the form of a unicorn will be a square with a side of 16 cm. We make 2 diagonal folds on it.
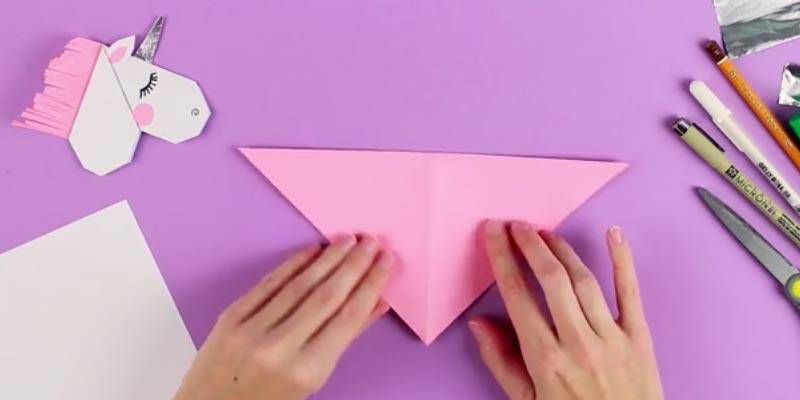
Now bend the bottom corner of the triangle up to the intersection of the folds.
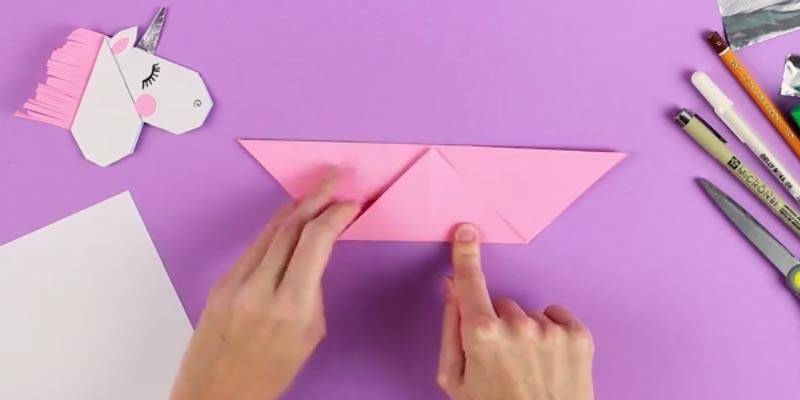
We straighten, then bend the side corners to the same point, straighten again.
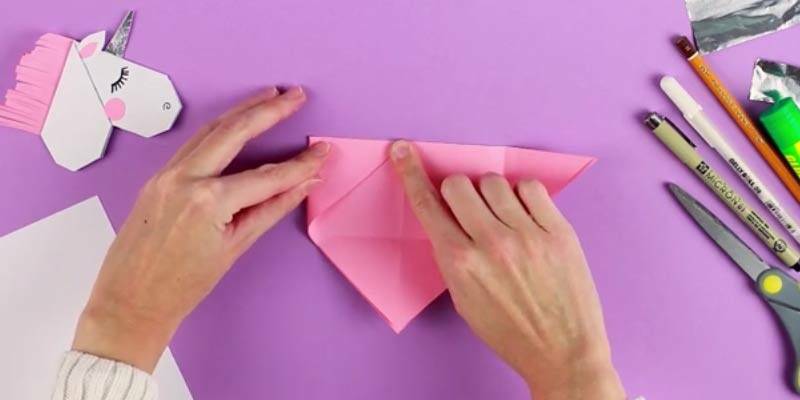
Bend the bottom corner in one layer along the marked line.
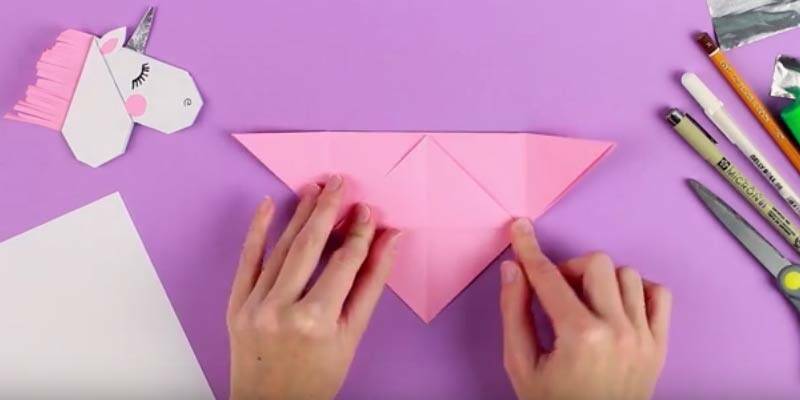
Bend the right corner to the bottom corner.
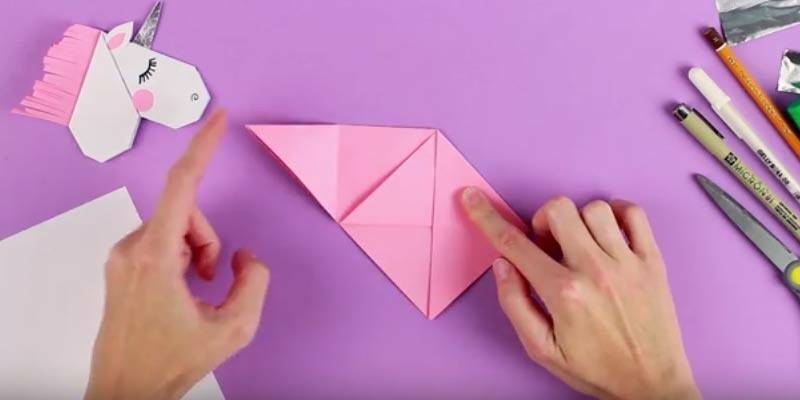
We also bend the left one, we get a rhombus.

We take it in our hands, squeeze it a little.
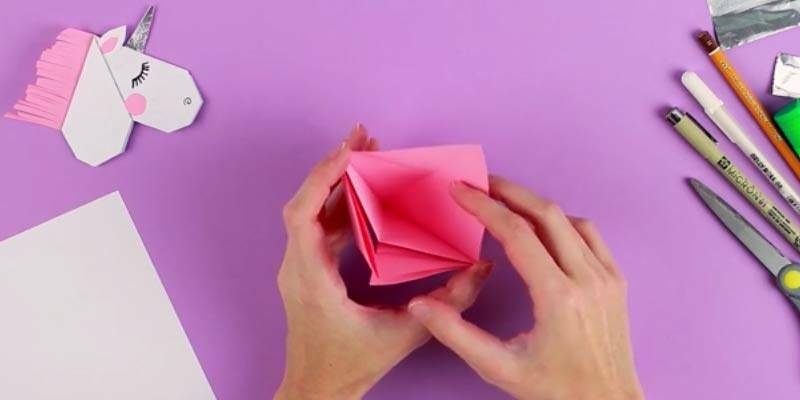
Bend the corners into the formed pocket.
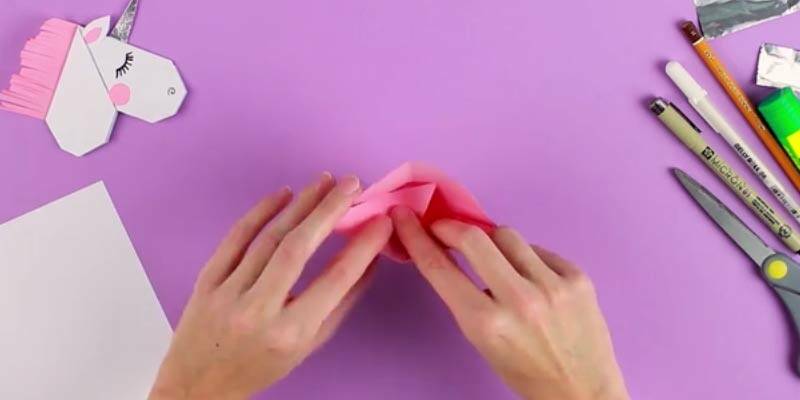
And we also bend the back corner inward.

We get a bookmark - a corner.
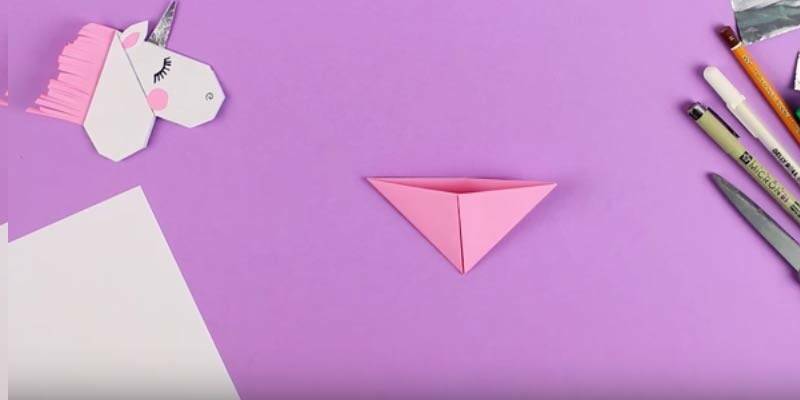
Cut off the left corner and cut out the corner in the middle. Cut off the corner on the right as well as on the left.
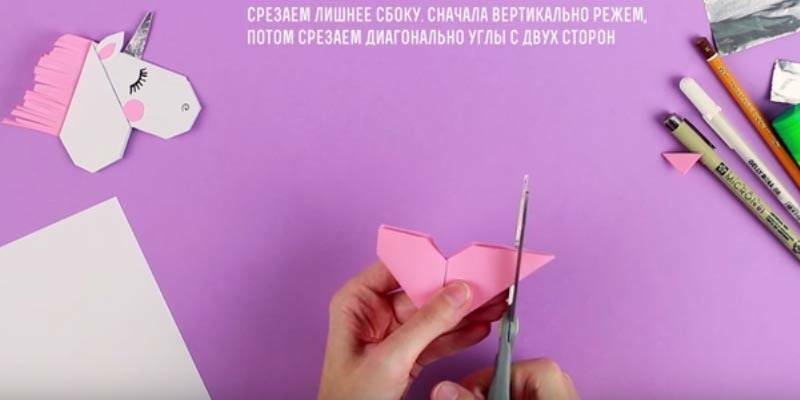
Then cut the corners diagonally to get the heart.Remember we did this for Valentine's Day.
We glue the foil to the rectangle of pink paper with clerical glue, cut off the excess.
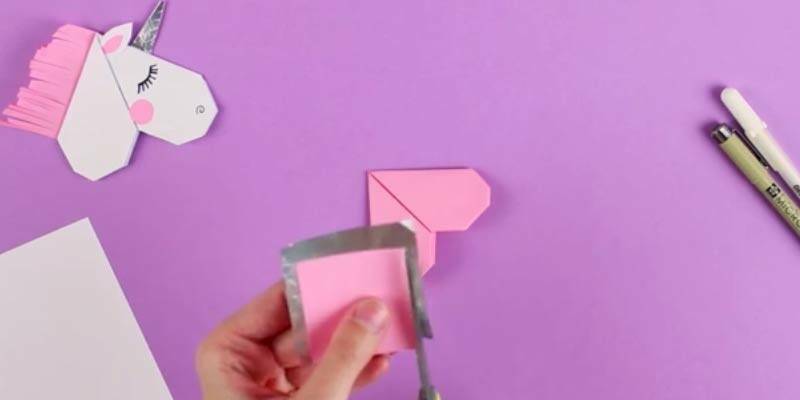
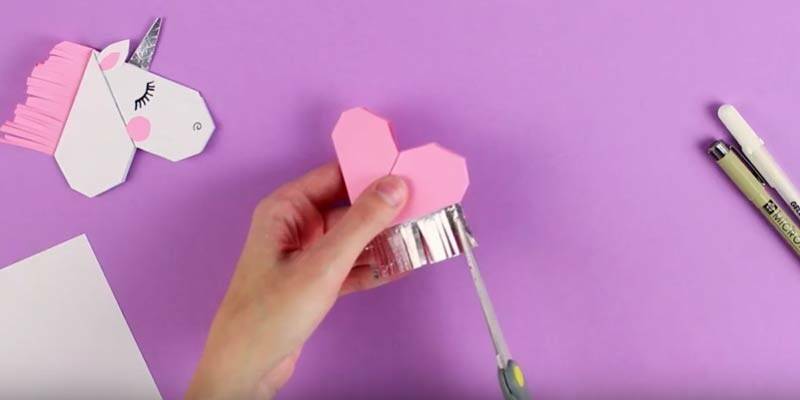
This rectangle is the future mane. We glue it to one side of the heart. And cut into thin strips, without cutting to the edge, fluff up, if necessary, twist.
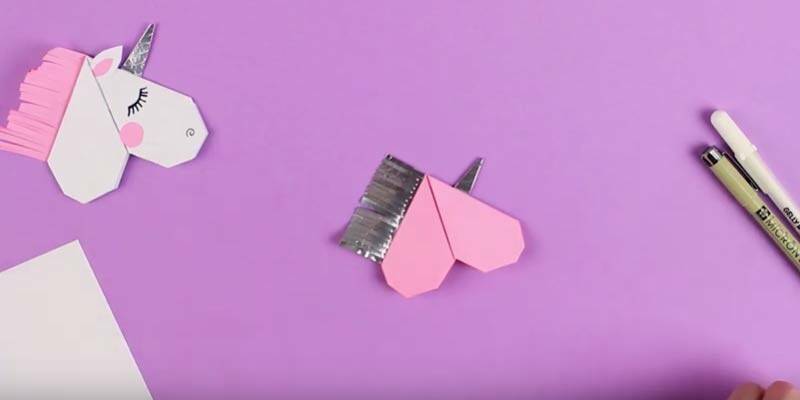
We make a horn in the same way.
It remains to glue the eyelet, cheek, draw a nose and an eye.
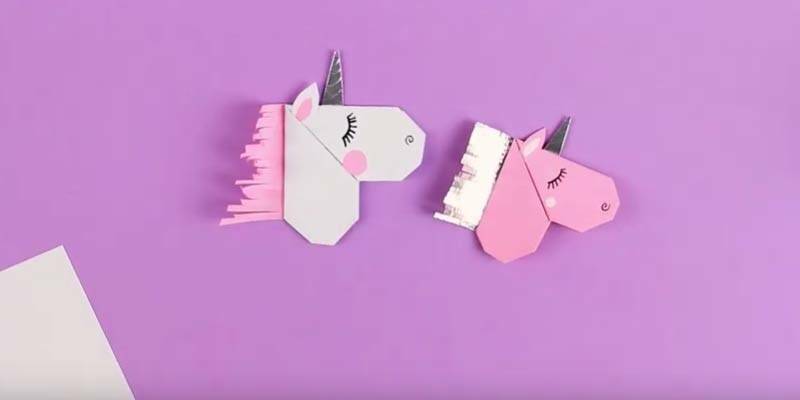
Can be used as a corner, or can be glued to a stick.
 author
The second option for laying on a corner is even easier. We just fold the corner, as in the first case, but we do not cut anything.
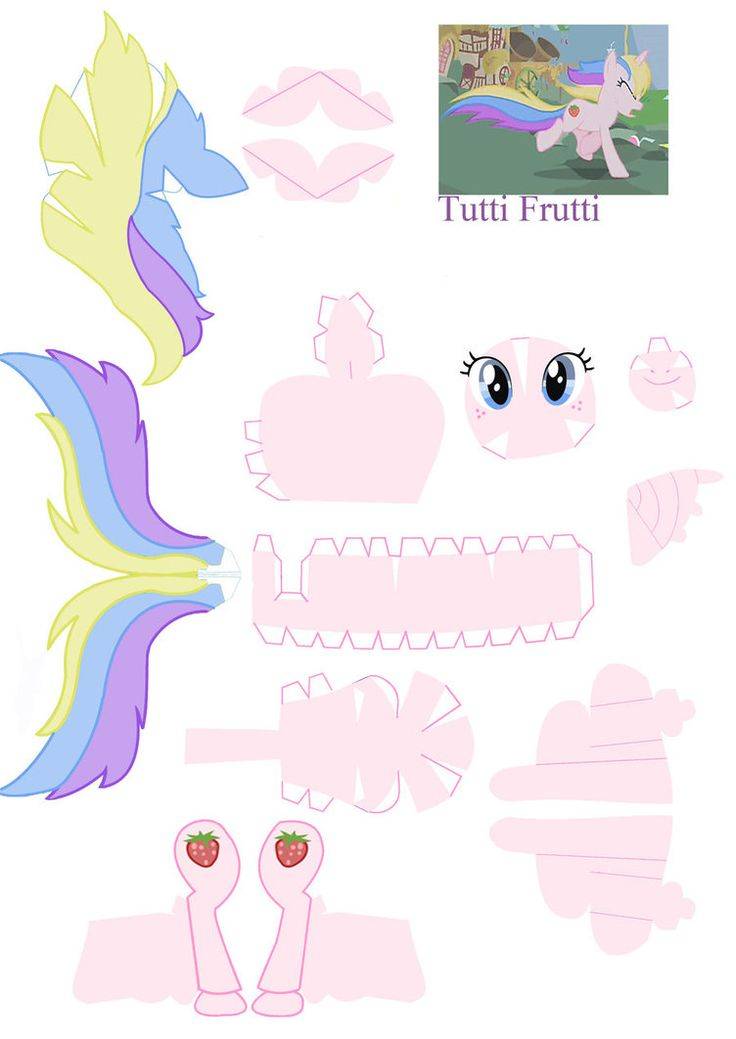
Now let's just make an applique, for this we print out the template and cut out all the necessary details from colored paper, stick them like in the photo, draw the eyes and you're done!

Author MK

