Original decor
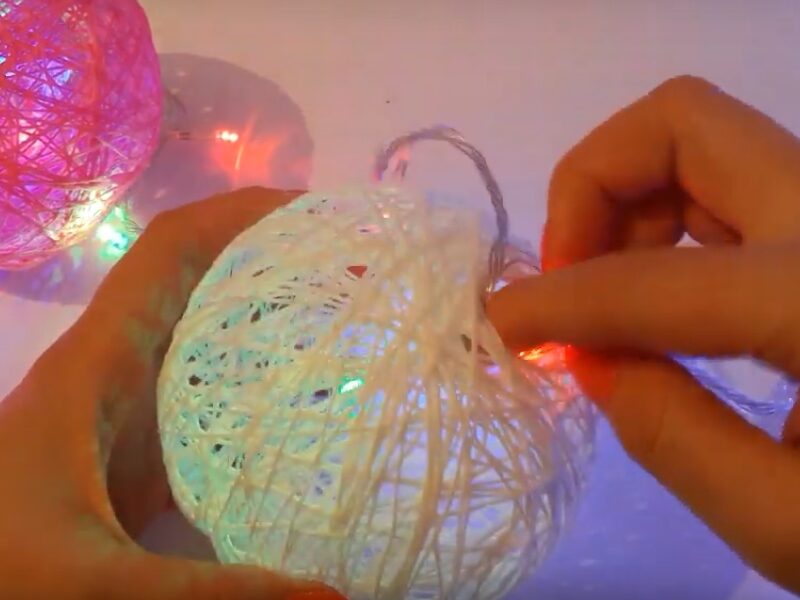
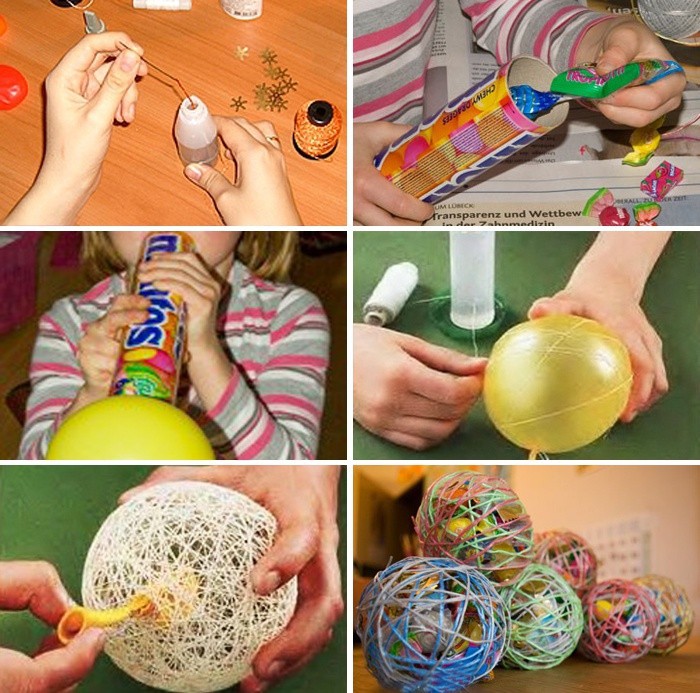
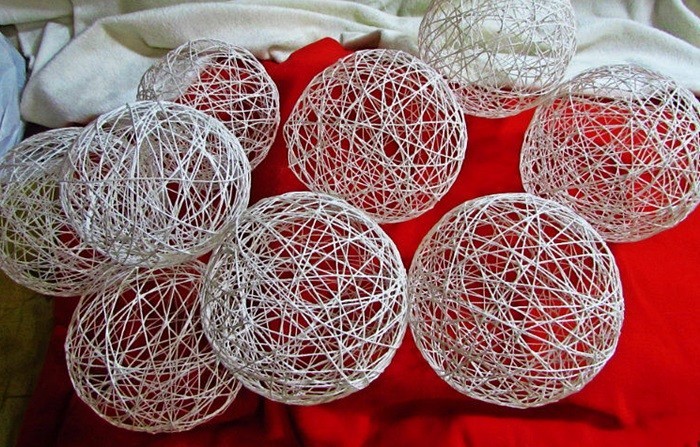
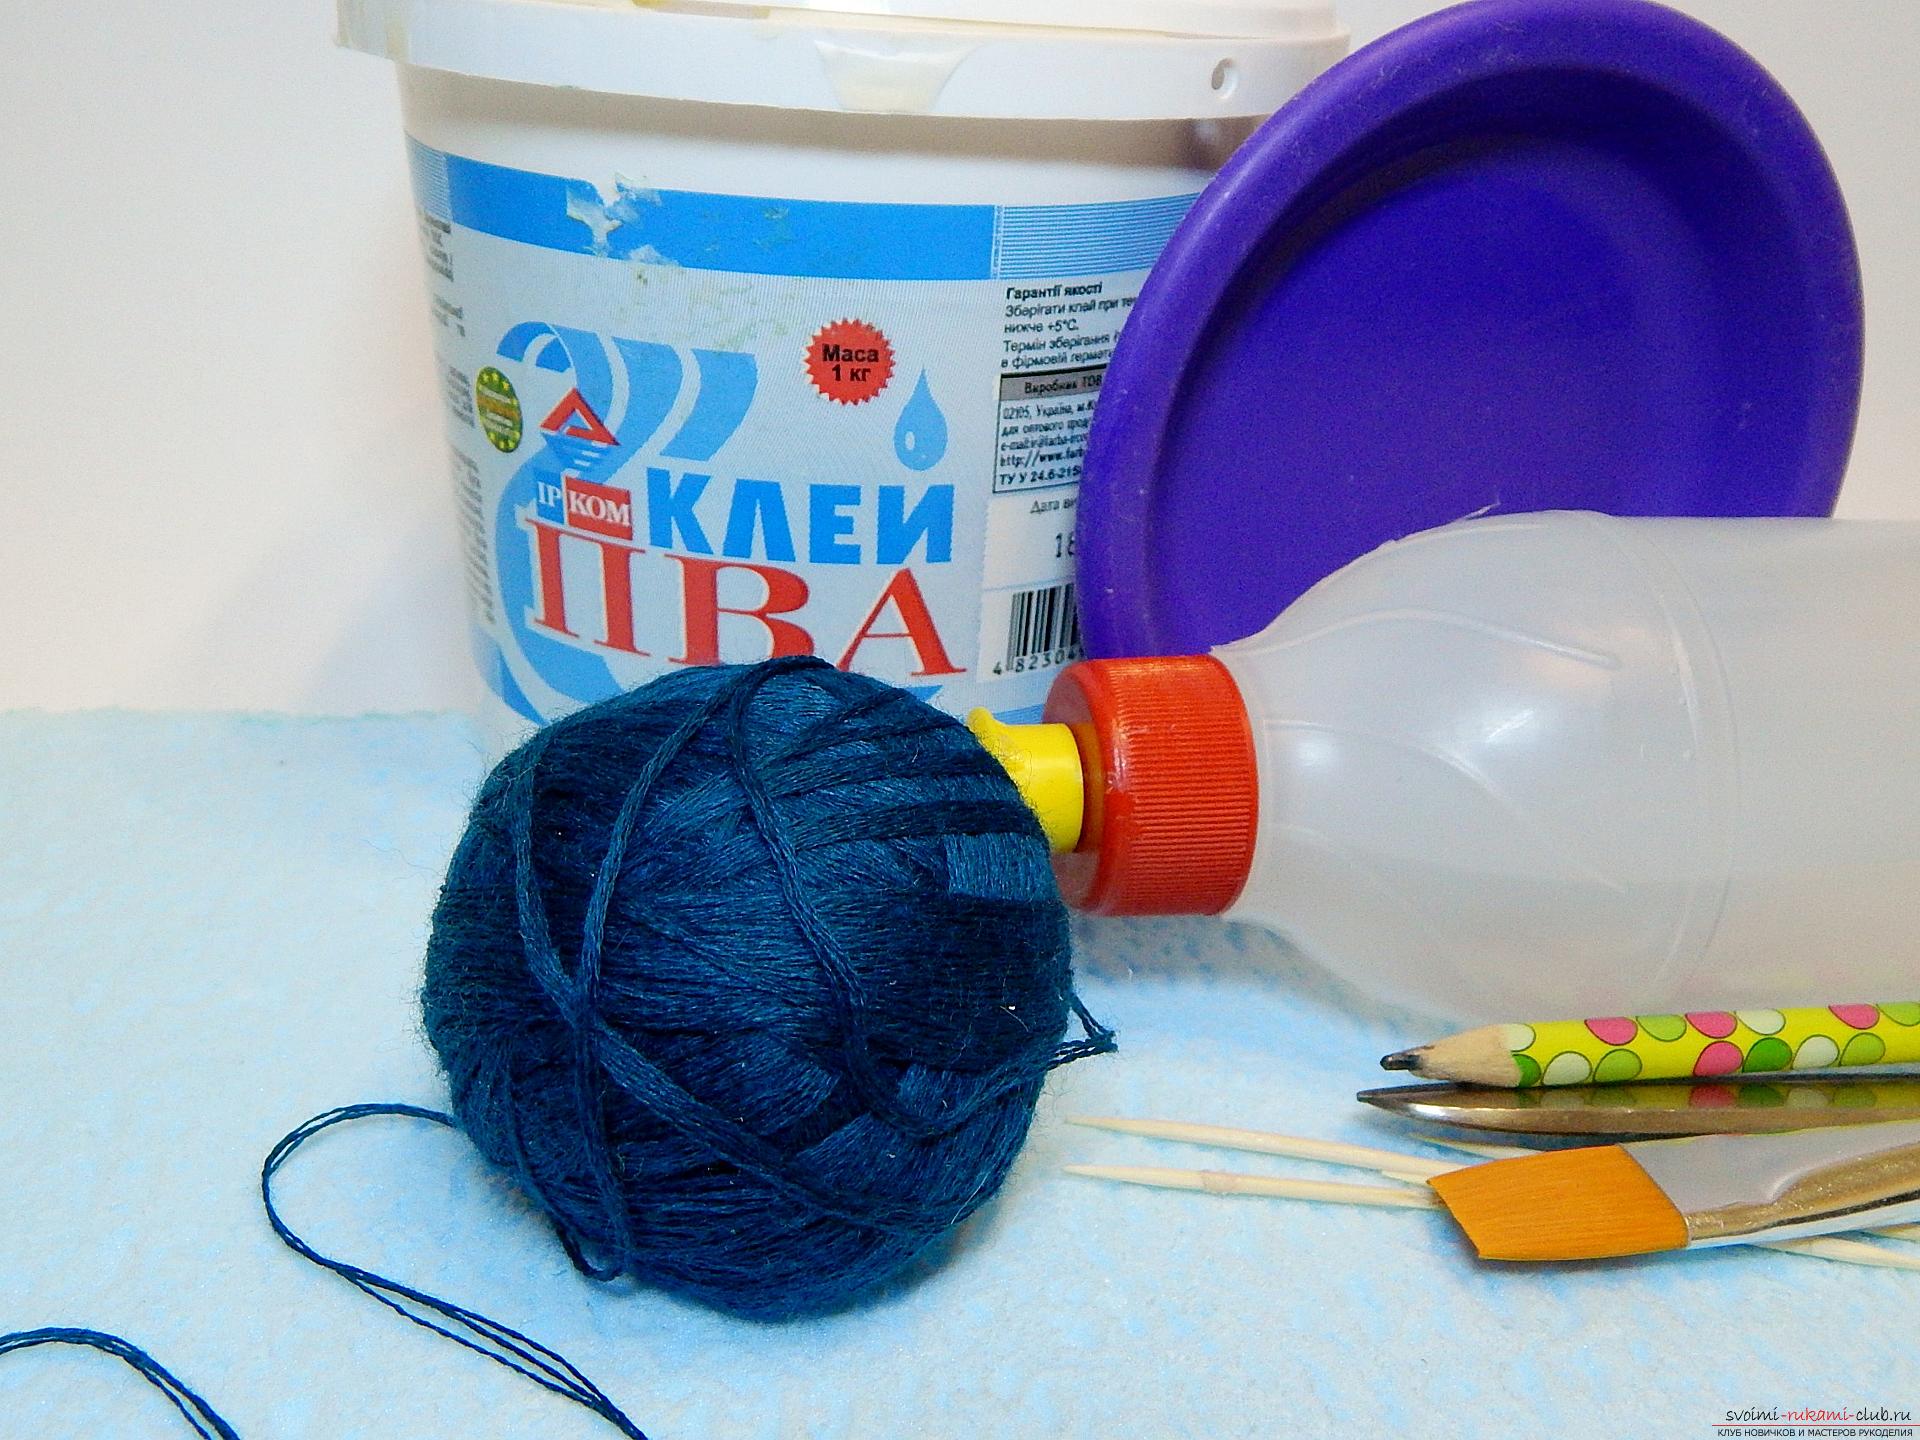
From threads, you can create interesting decor elements for the home or decoration of halls for celebrations. The thread ball will play the role of an unusual lamp or lampshade. To make it, you will need a balloon, threads of one or more colors, PVA glue. To create an original lamp you need:
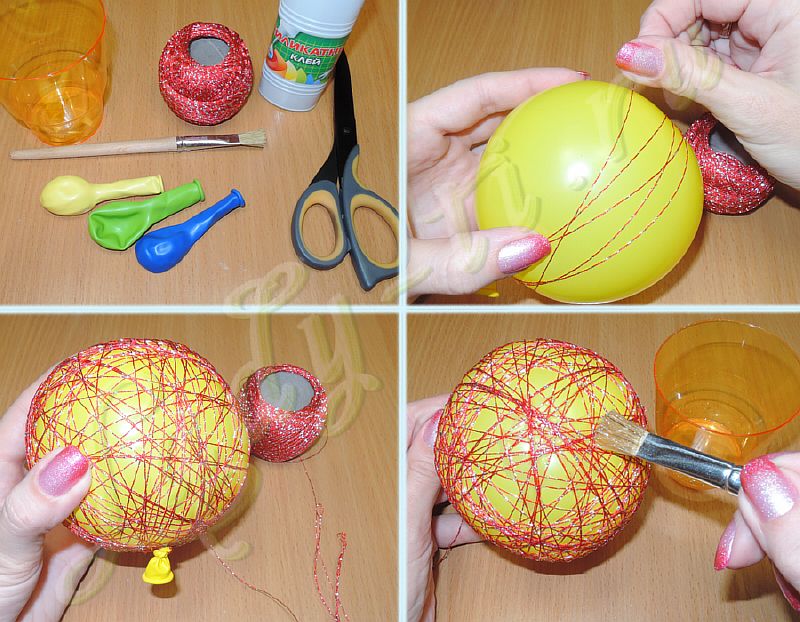
- inflate a balloon of the right size
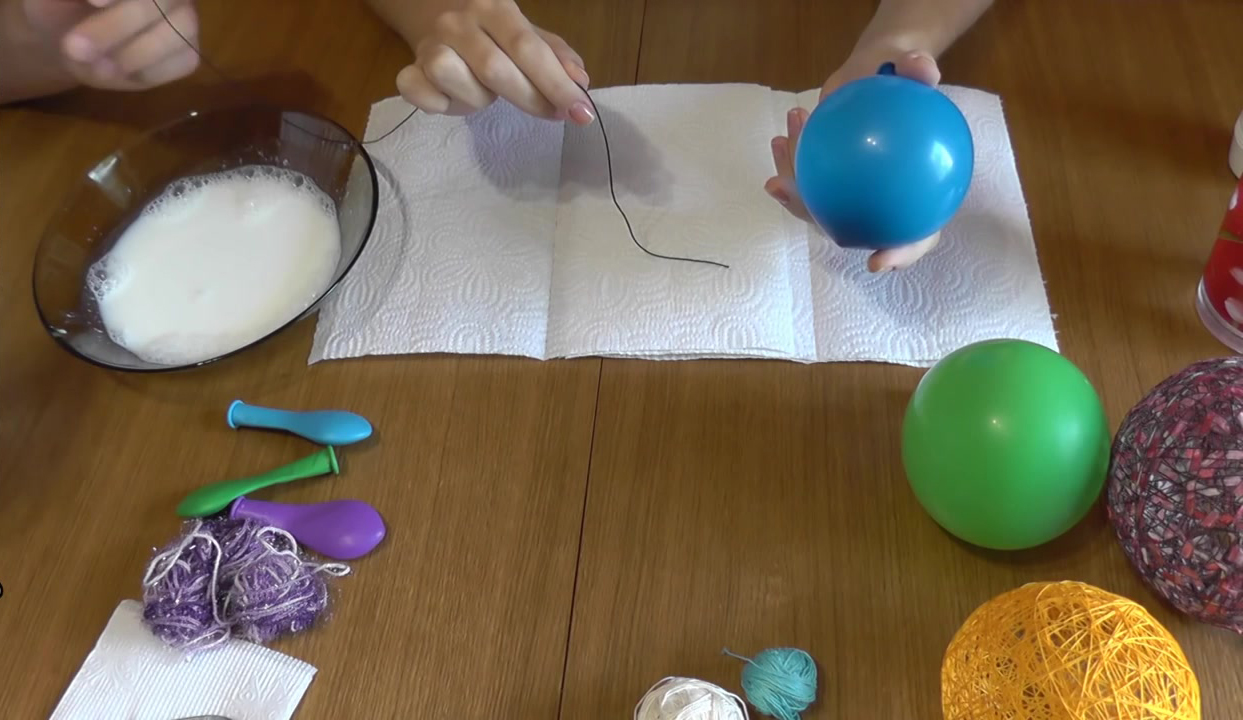
- pour PVA glue into a plastic container
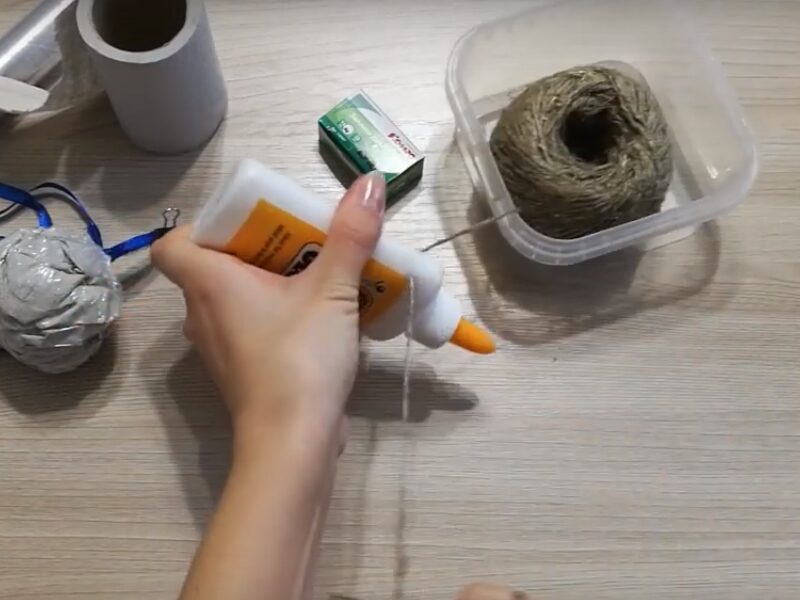
- use a needle to make holes on two opposite sides of the container
- use a needle to pull the thread through the holes so that the thread sinks into the glue
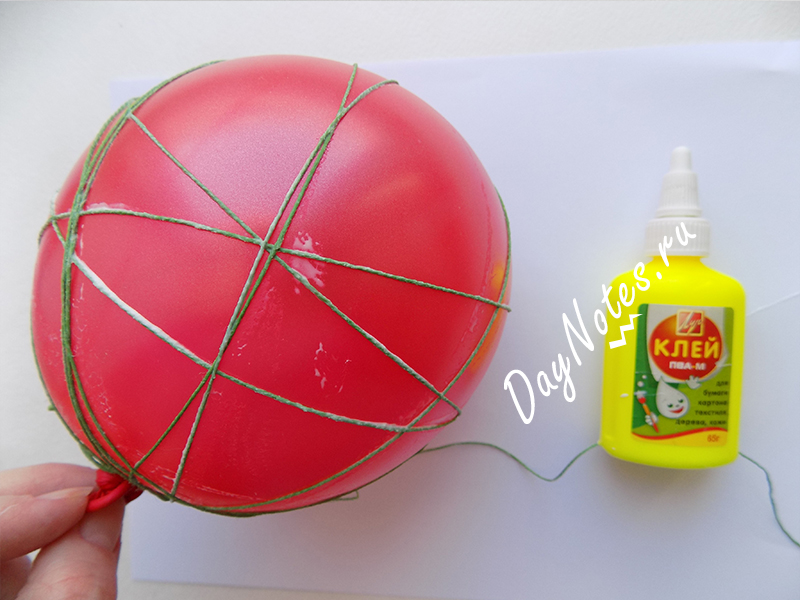
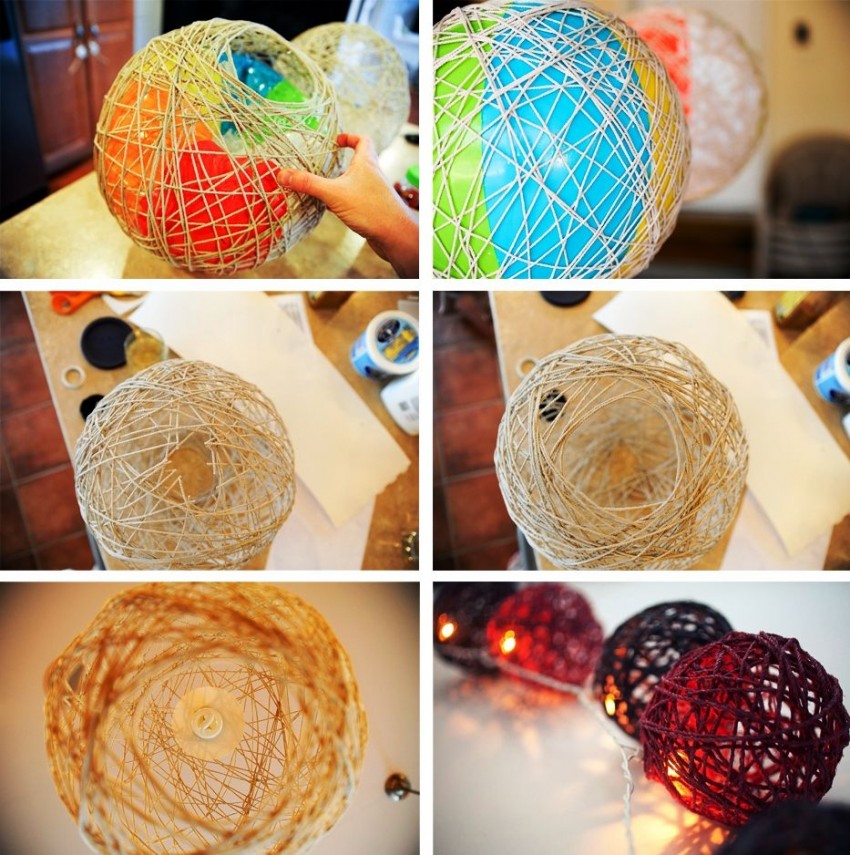
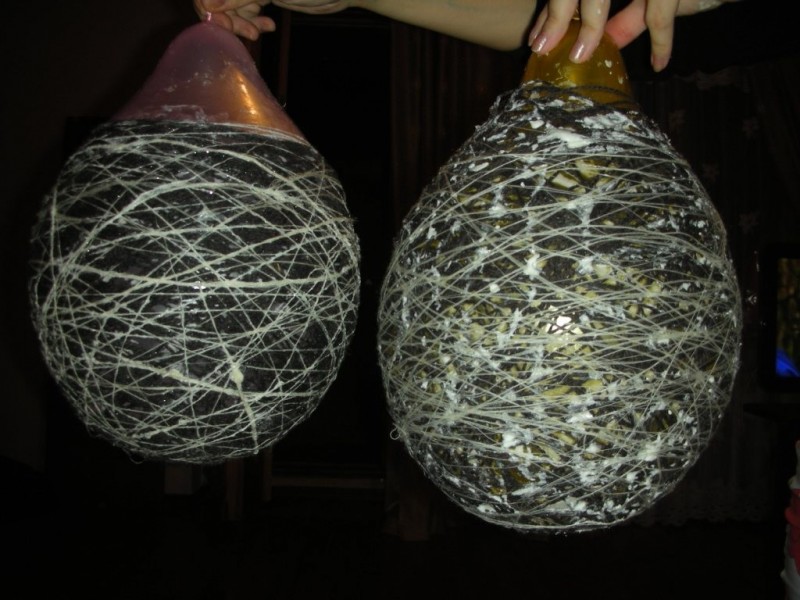
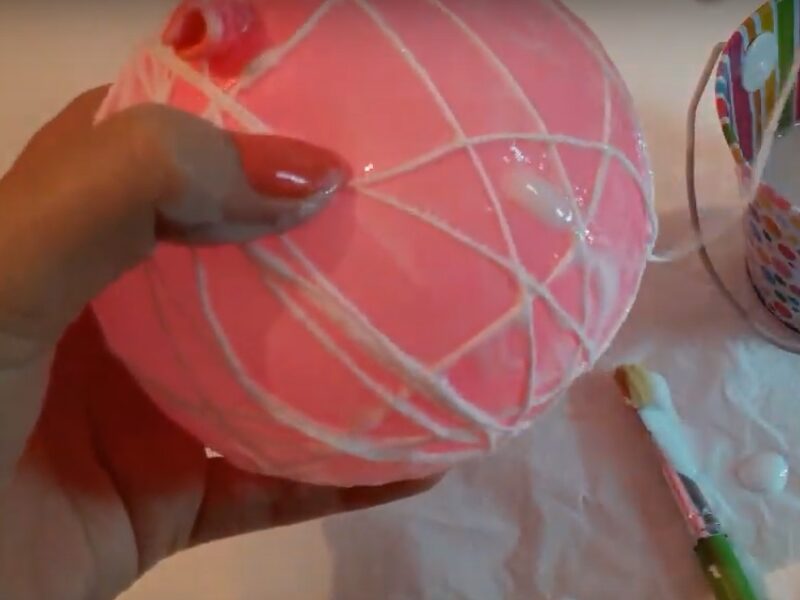
- put a rubber glove on your right hand and wind the glue thread around the ball in a chaotic manner.
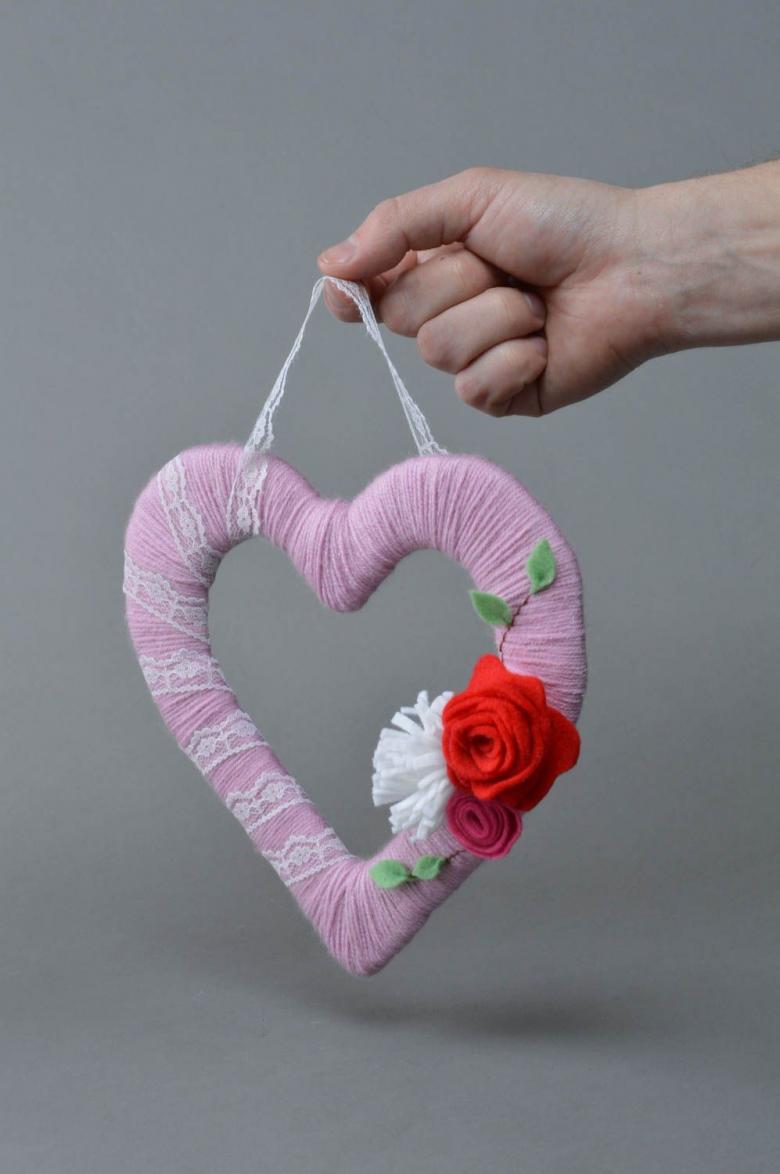
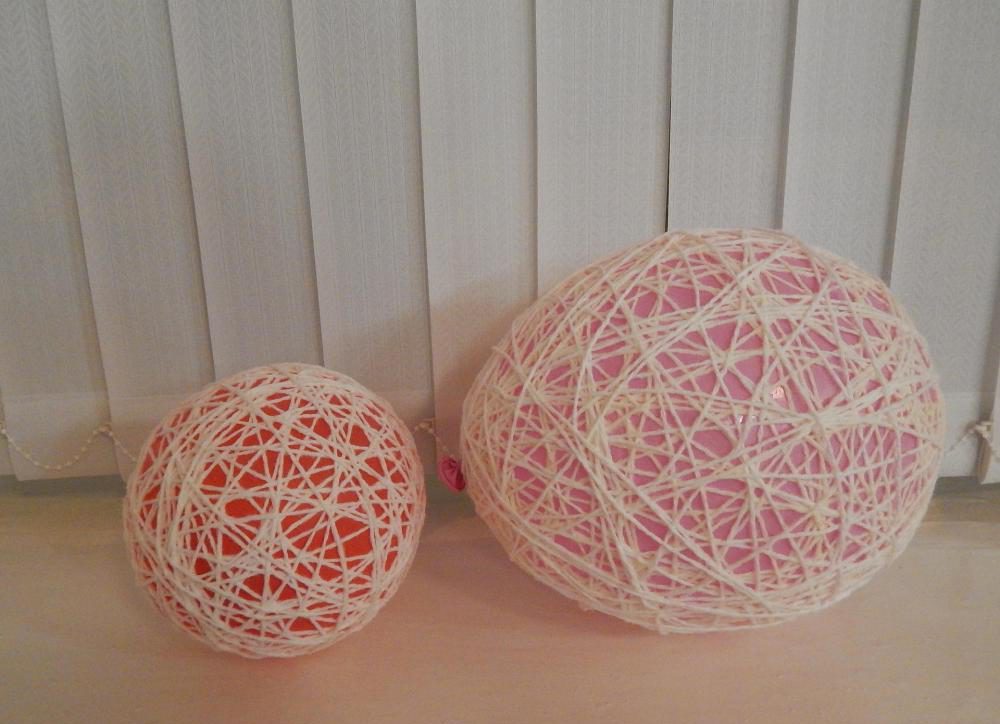
Less threads are needed for a translucent lamp. For a tighter coverage without gaps, more threads of one or more colors are required. When the workpiece dries well, you need to pierce the balloon with a needle and remove it through the hole. For festive decor, fill a ball of thread with chopped foil or confetti.
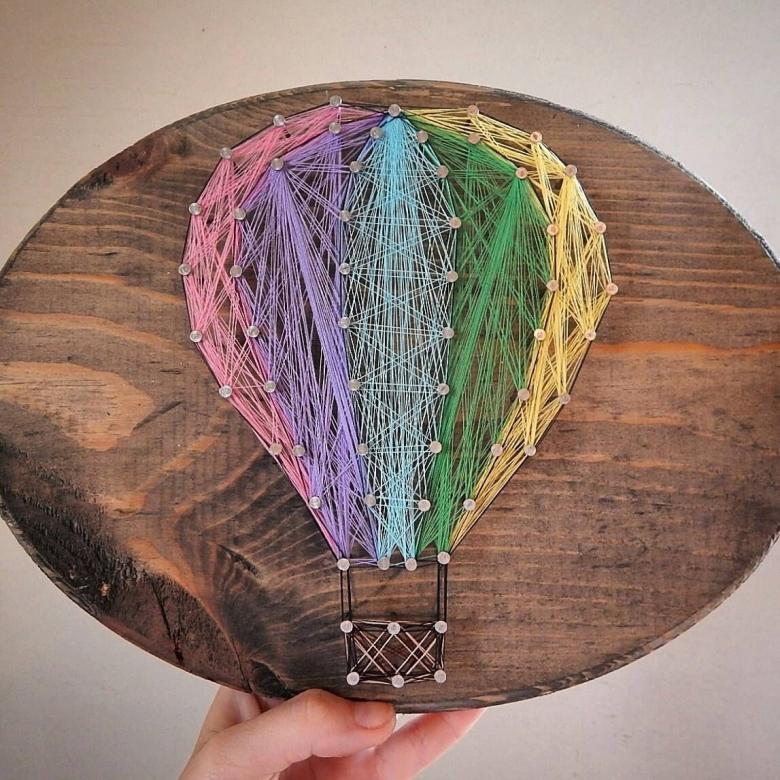
Such original decorations do not have to be a lampshade for luminous objects, but also an independent design element. You can make a hanging garland out of many such small balls, and create voluminous characters from fairy tales and cartoons from two or three balls. You just need to color the thread products for the appropriate image. Oval blanks can become nesting dolls dancing in a round dance.
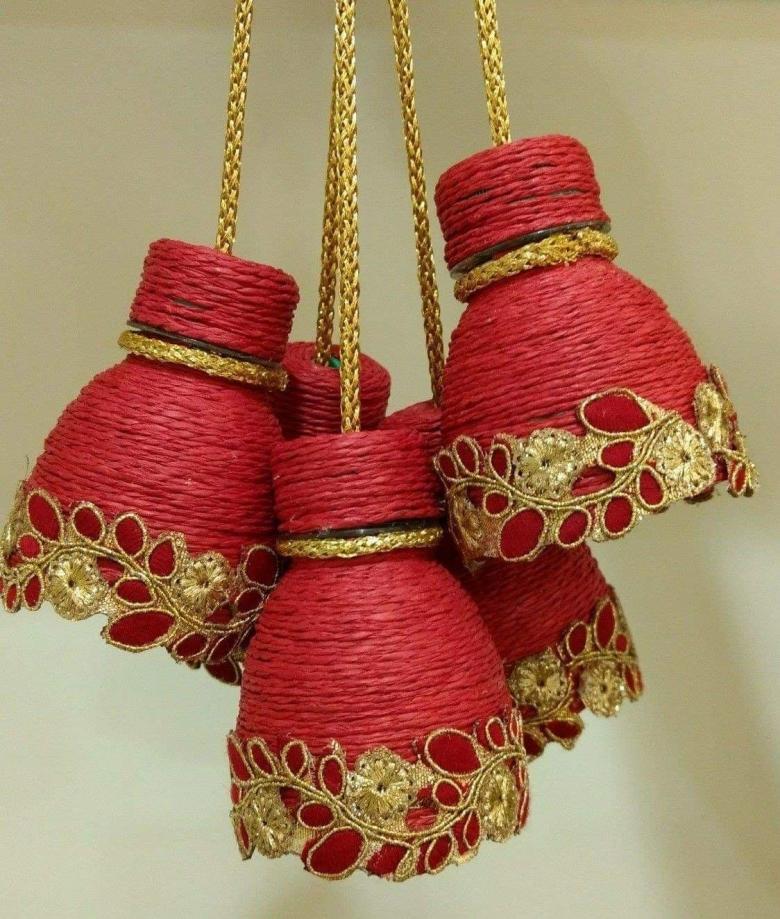
Woolen watercolor
Fluffed thin strands of woolen yarn can be "painted" like watercolors. Different colors of yarn residues create delicate color transitions on the thread picture, and unsuccessful "strokes" can always be corrected. With this method of working with wool, you do not need needles, but you will need scissors to cut the threads into small pieces, tweezers for ease of work, and a base on which the image will be created.
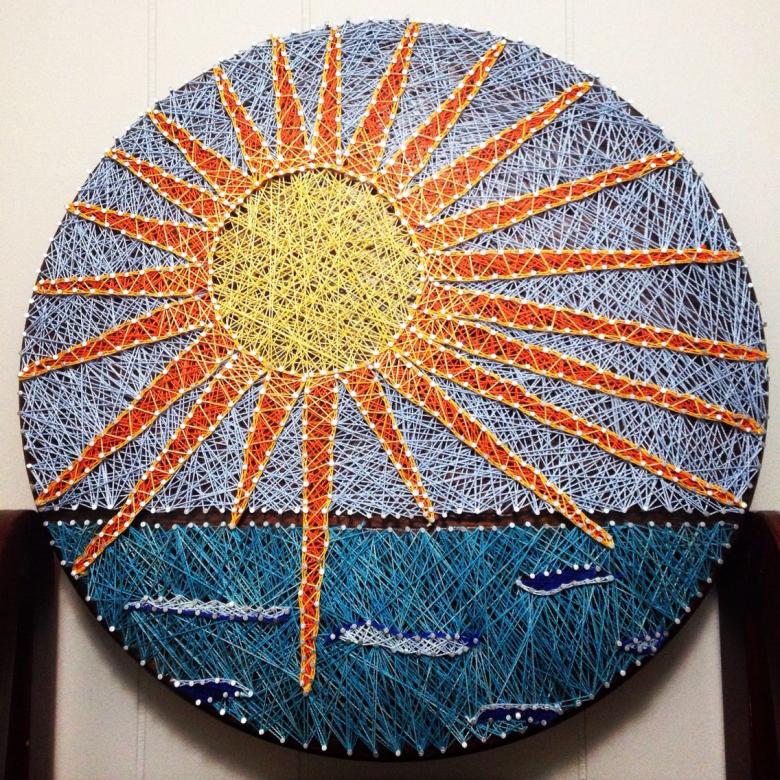
The plot can be invented by yourself or armed with an idea from the Internet. Transfer the drawing or stencil to thick cardboard or thin plywood. Color the parts of the picture with colored pencils and lay out, step by step, the segments of the thread of the corresponding color on the surface greased with PVA glue.
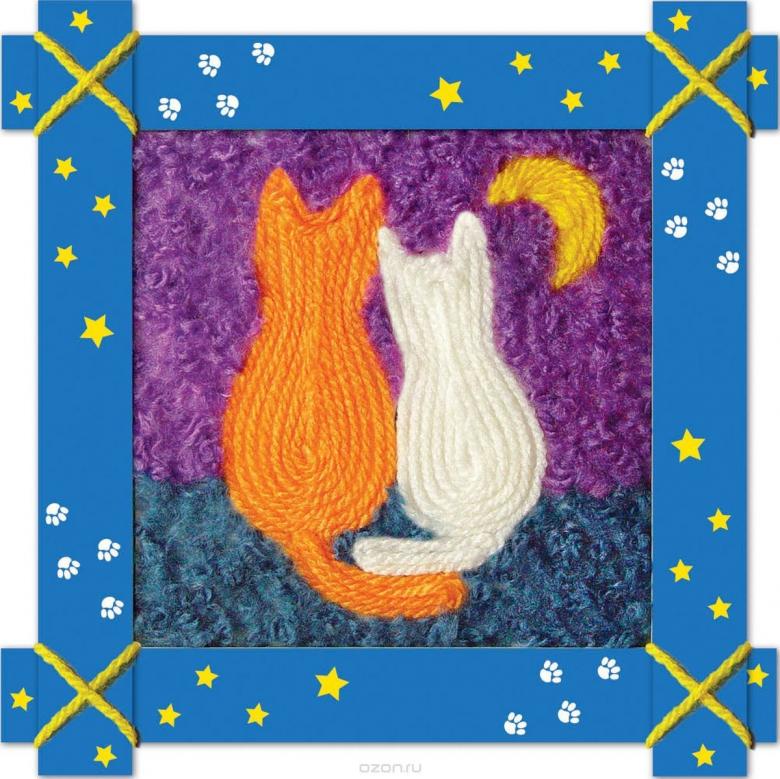
The denser the filament layer, the more colorful and brighter the image will turn out. Compositions with complex color transitions imitate watercolors. Each product made using this method is unique. Framed with a frame, the created craft can become a wall decoration in any room.

Getting started
Step 1
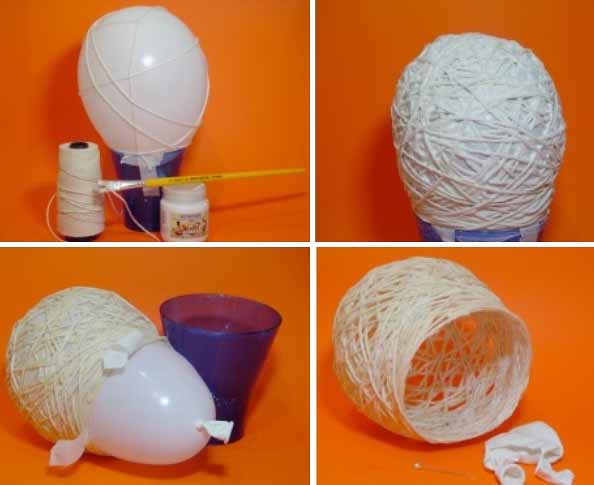
First of all, it is necessary to inflate the balloon of the desired diameter. The size of the future ball depends on the space to be decorated and the overall composition. To begin with, let's practice on a ball of medium diameter, about 8-10 centimeters. Inflate the balloon and tie the hole firmly, leaving a rather long end free.
Step 2
Thoroughly coat the entire surface of the balloon with petroleum jelly or cream. This is necessary so that the threads do not stick to the base ball, and we can easily remove it at the end of the work.

Step 3
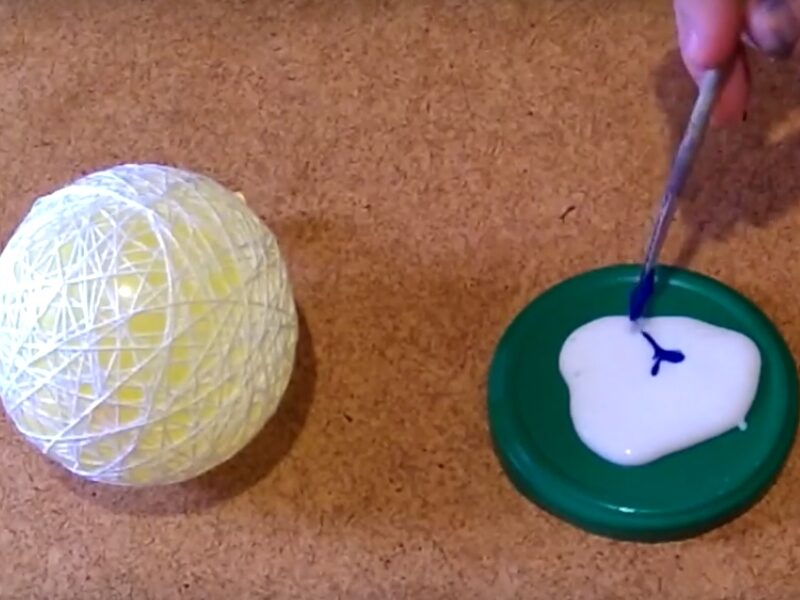
The next step is to prepare the glue. It is necessary to take a flat, narrow dish and dilute PVA glue with water in a 1: 2 ratio. The total amount of glue that we need in the process of work cannot be determined in advance. This understanding will come with experience. For example, let's start by taking one tablespoon of glue and stirring it with two tablespoons of water. For the strength of the structure, 2-3 teaspoons of sugar can be added to the solution with glue. In this case, it is better to take warm water.
Step 4
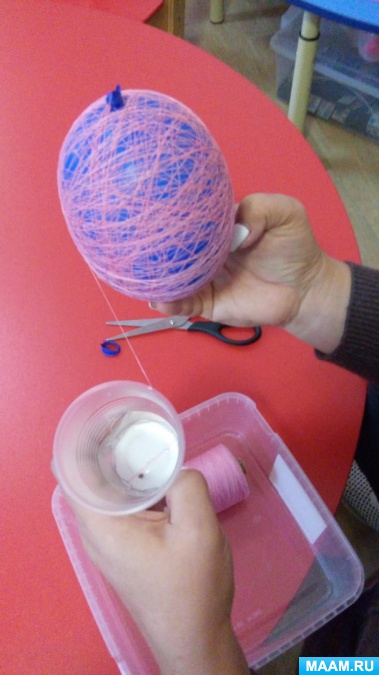
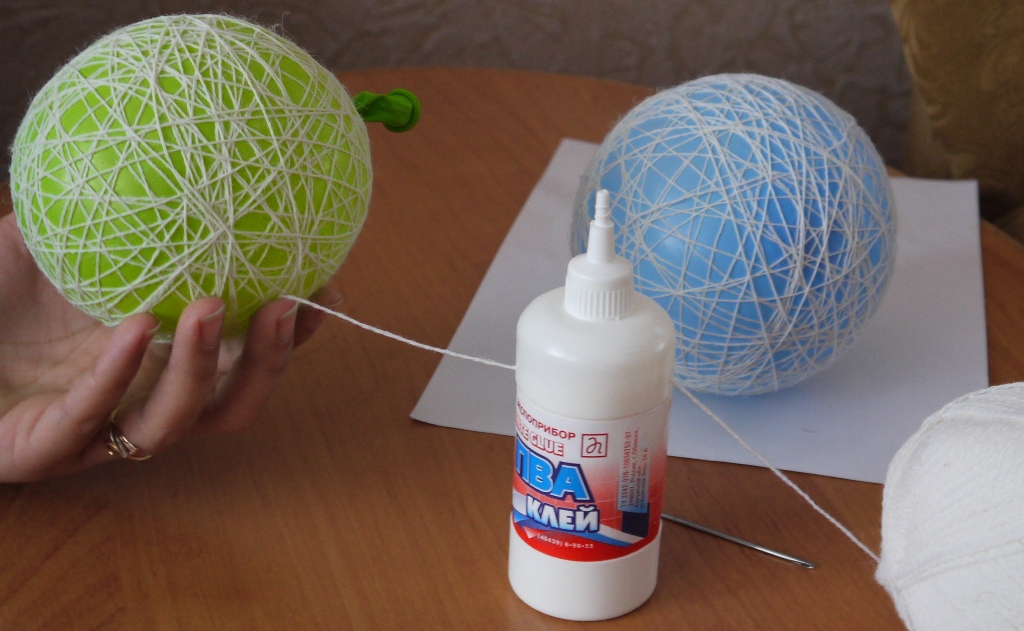
On the table, previously covered with a working oilcloth, we put a container with the prepared glue and put a skein of threads next to it.Pulling the thread through the glue, gently wrap a ball smeared with petroleum jelly or cream with a moistened thread. Pulling the thread slightly, we lay the turns on the ball in different directions. The density and direction of the wrapping also depend on your desire and imagination.

Step 5
The balls wrapped with a thread soaked in glue must be hung to dry. Try to find enough space so that the balls do not touch other objects and each other. It is not recommended to speed up the process with heating devices. It usually takes 1-2 days to dry.
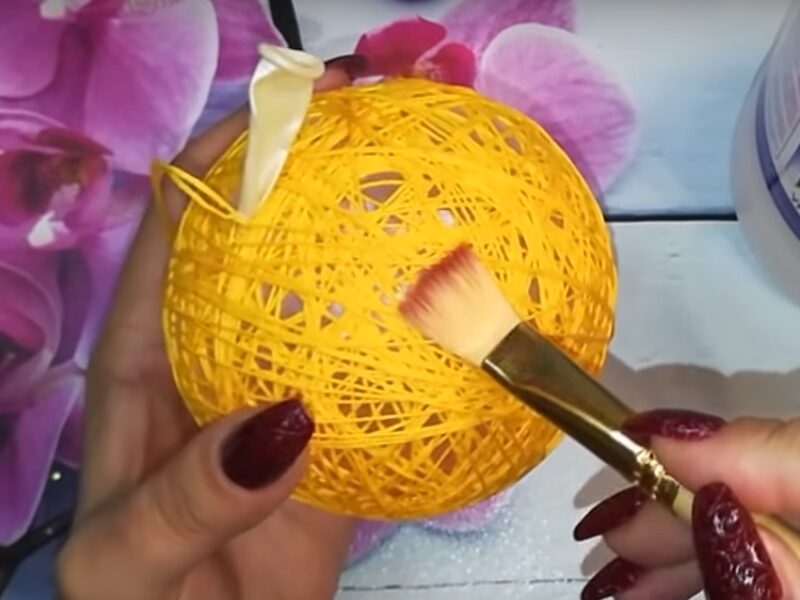
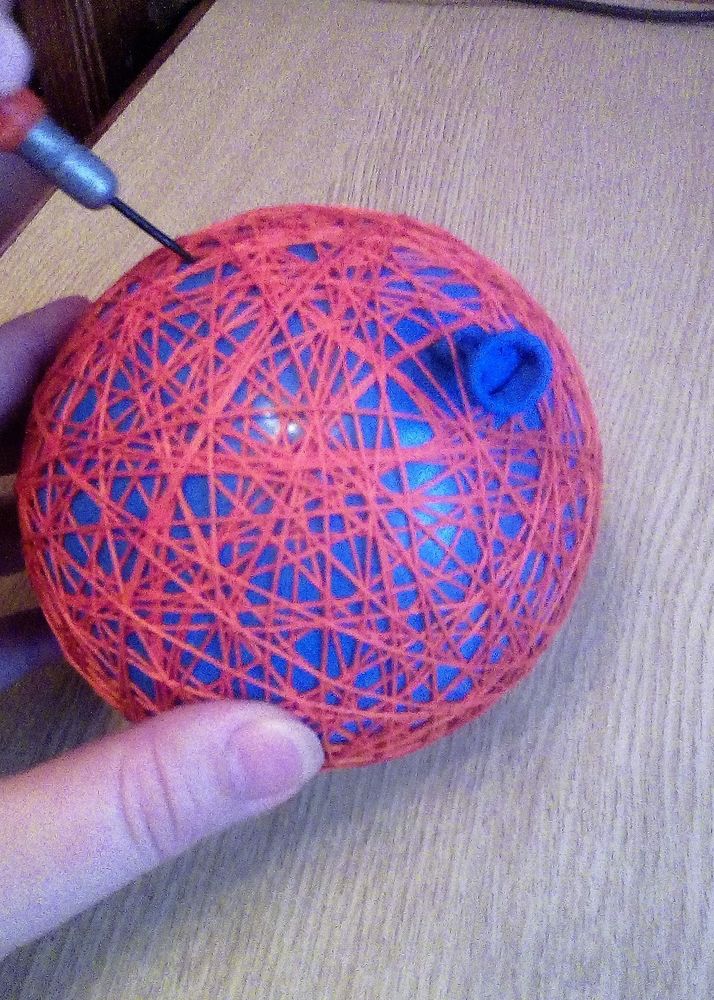
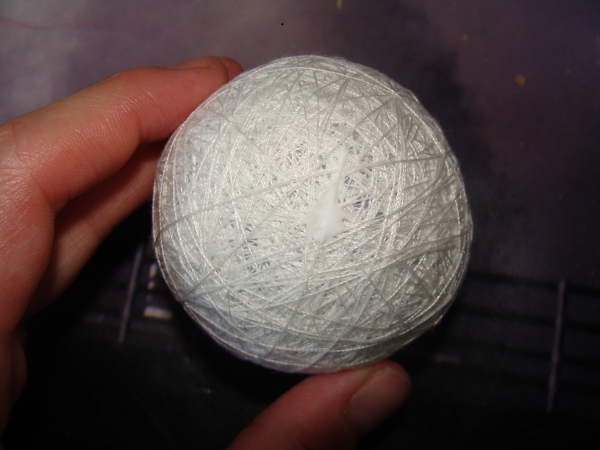
Then we take the dried and hardened ball and carefully pierce the base ball with a needle. It remains only to carefully pull out the deflated ball between the threads
A crochet hook can help with this.
Step 6
It remains to decorate it at your request with sparkles, beads, rhinestones, sequins, beautiful buttons, artificial flowers ... What a huge scope for your taste and imagination! Self-made balls of thread and glue will enliven any interior and will delight others for a long time.
How to decorate?
The resulting crafts can be decorated as you like. Everything will depend on the reason. Perhaps you just want to somehow decorate the interior in an original way, make an egg for Easter, balls for the New Year, or make someone an interesting gift. To do this, you can use pom-poms, beads, sparkles, as well as beads, ribbons and other similar decorative elements. Pom-poms are most often used to decorate lampshades. They are usually attached to the edges of the product or hung on strings. For the same purpose, you can use brushes.
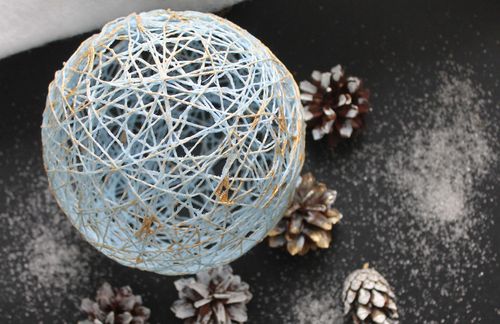
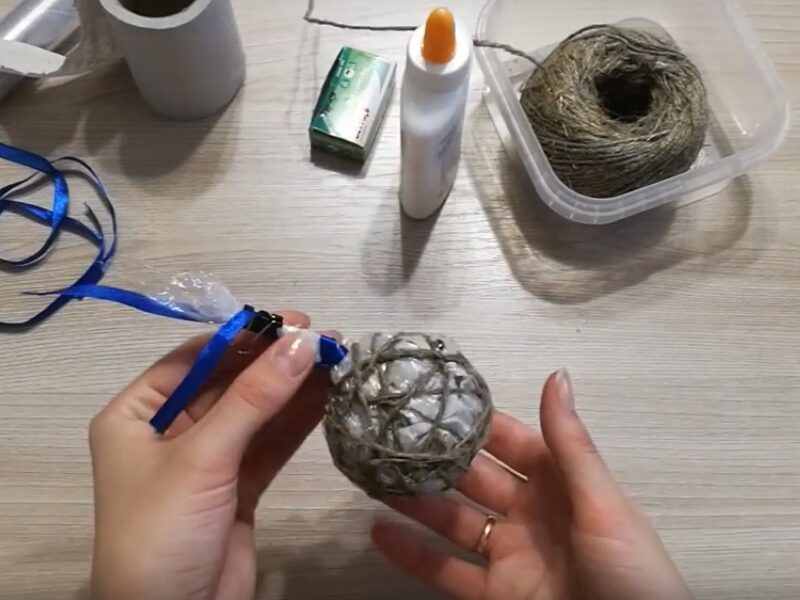
If the product will be used to decorate the interior, smaller details can be used to decorate it: beads, beads or sparkles (see photo), which, like threads, are planted in an adhesive solution. They can cover either the entire structure or only part of it. But with satin ribbons, the main thing is not to overdo it. Most often, one ribbon is enough to decorate the ball.
How to make a ball of threads and PVA glue
Now we go directly to the master class itself and, step by step, with a photo for beginners, we will tell you how to make a ball from threads and PVA glue.

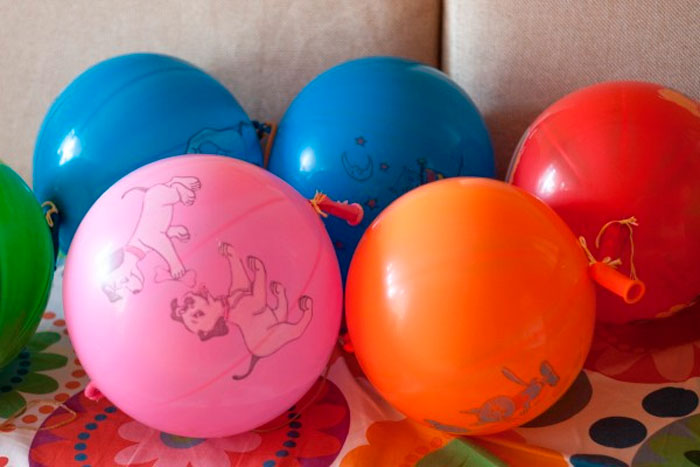
Inflate a balloon of the required diameter, tie it with strong threads, if you plan to use the balloon again.
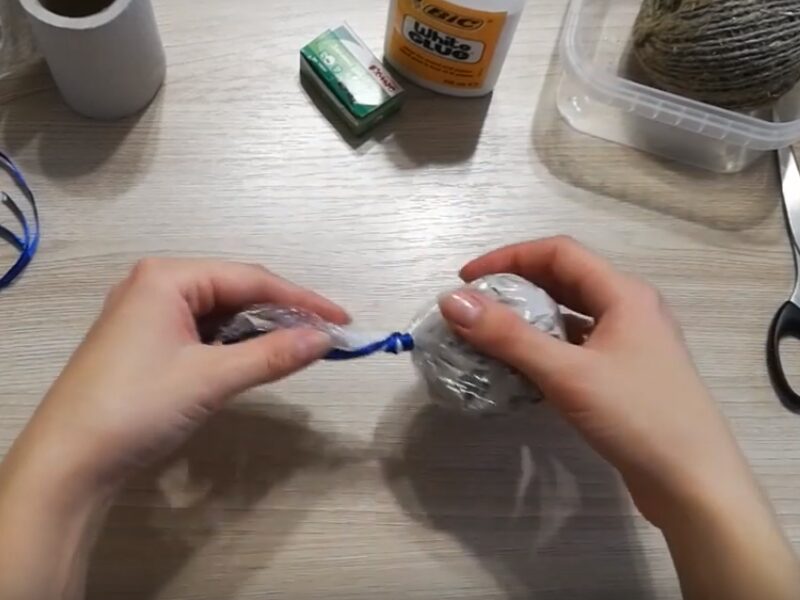
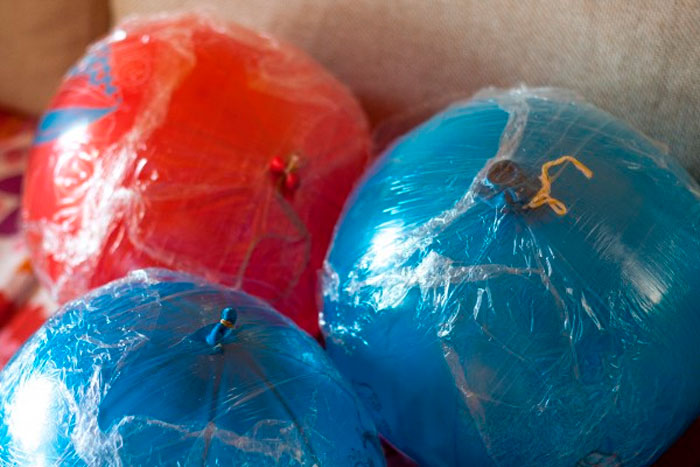
Gently wrap the ball with cling film and cover with a thin layer of petroleum jelly or cosmetic cream, only greasy.
Pour the glue into any container convenient for work, place the yarn and leave for 30 minutes so that the threads are well saturated with the adhesive.

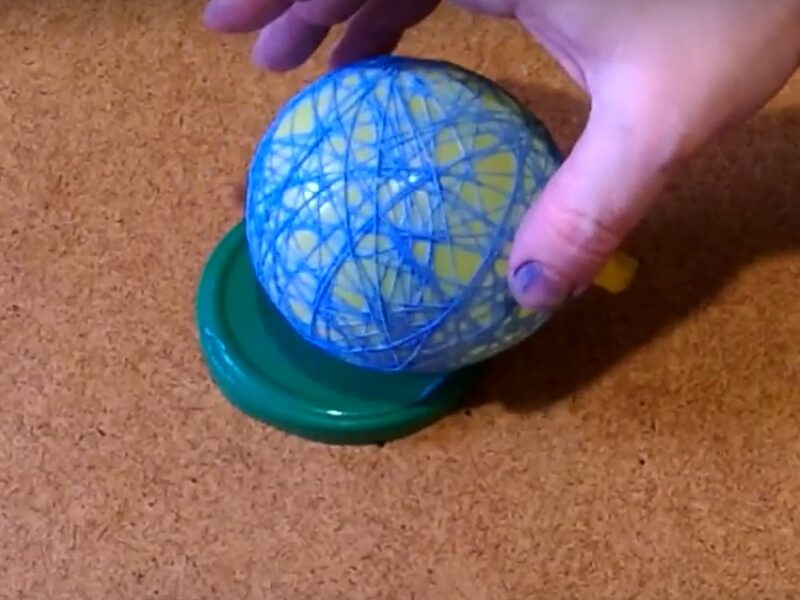
Then we press the end of the thread to the surface of the ball, wrap the ball several times so that the thread is well fixed. And then we completely wrap the ball in a chaotic manner. If you want the surface of the ball to be combined, then we use threads of different colors and thicknesses. We wrap the surface with them in stages and create a pattern. We leave a little free space near the tail of the balloon, so that later the balloon can be removed from the finished product.
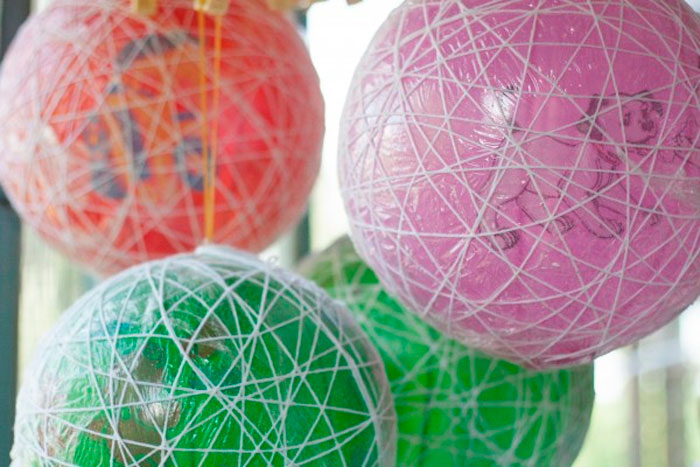
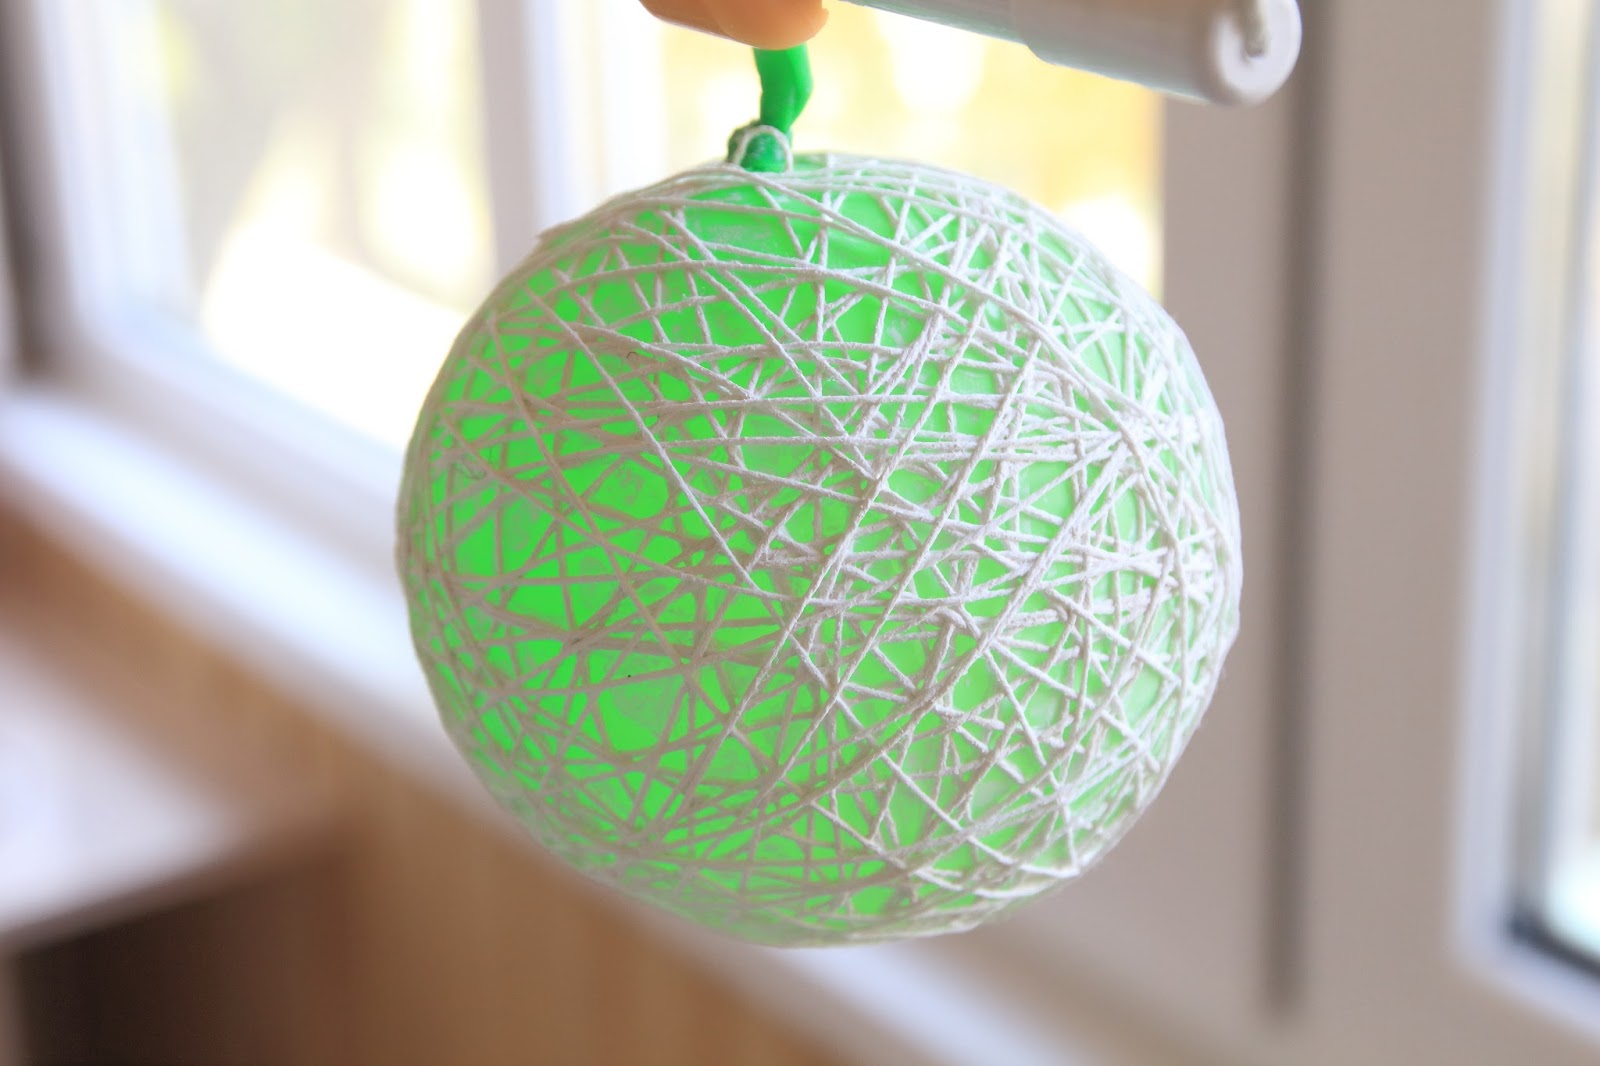
- After the main stage of work is completed, we leave the ball to dry, but just do not put it on a horizontal surface, otherwise it may deform. It is best to hang it on a crossbar. We leave the ball to dry for 7 hours, but better for a day. It's easy to check the readiness of the craft, lightly press on the frame and if it is dense and firm enough, then we continue to work.
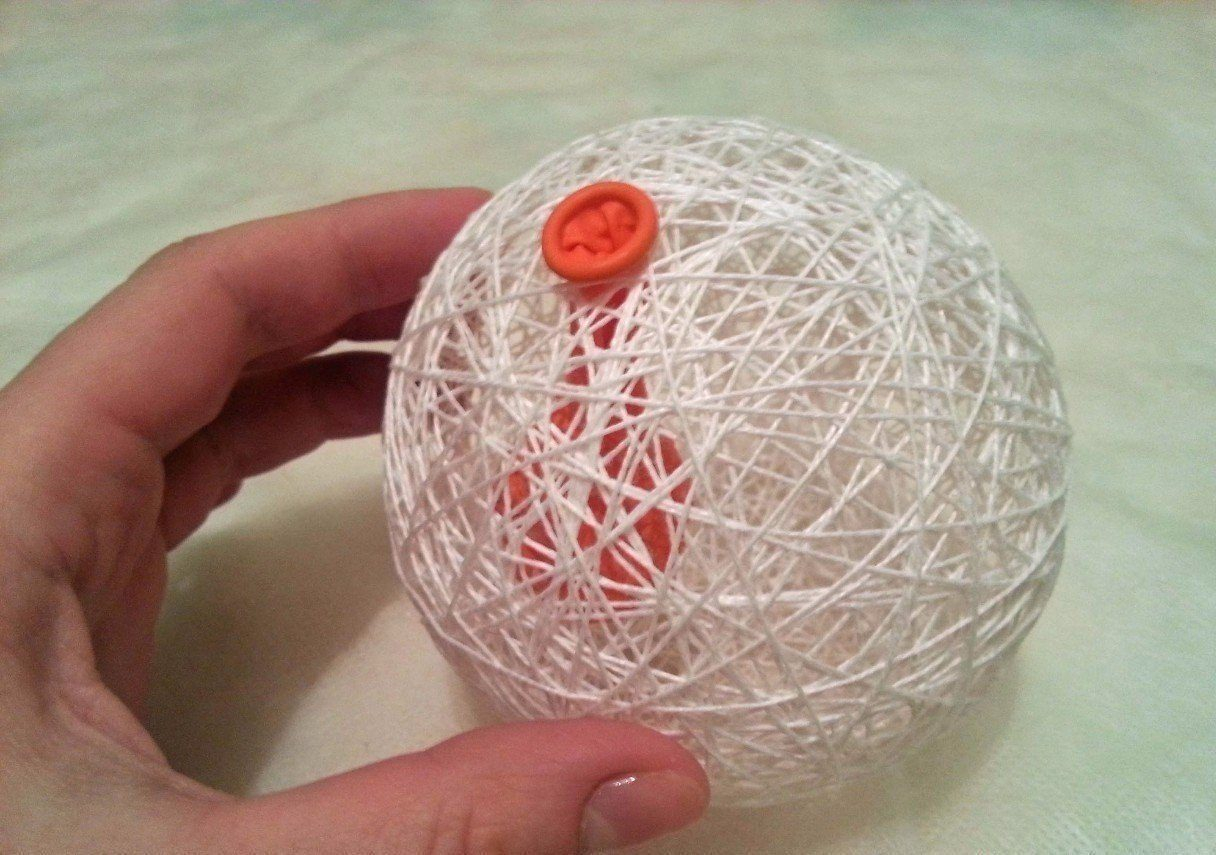
- Now we take out the balloon, if it was tied with threads, then we simply untie it and blow it off, and if not, then we pierce it with a needle, but in no case let it burst. Through the hole left, carefully take out the ball along with the remnants of dried glue.
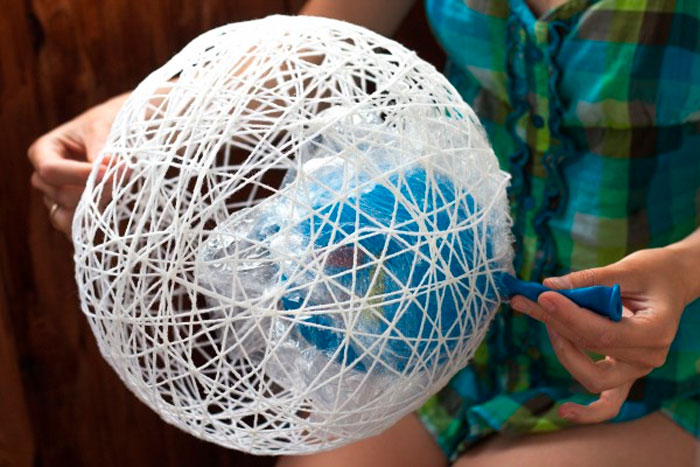
Here is such a ball of threads and PVA glue turned out, the master class with a photo turned out to be simple, the main thing is to do the work in stages and then make both a beautiful and an original decoration even for novice craftsmen.The main thing is to make a frame of 3-4 filament overlays so that it turns out to be strong and does not deform in the future.
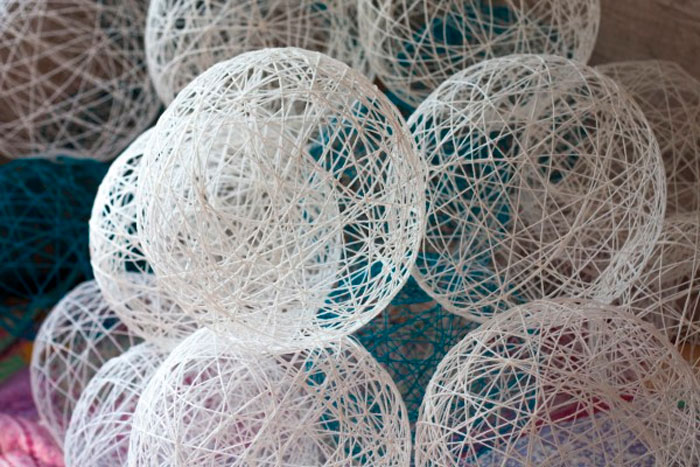
Detailed instructions for making balls of thread
To make a ball of threads and PVA glue with a diameter of 25 cm will take about 30-40 minutes. The drying time of the craft depends on the thickness of the winding and threads. A tightly wrapped base can dry for up to 5 days.
Preparing threads for work
In order for the threads to stick together and create a strong frame, they need to be well impregnated with adhesive material. Use a teapot for convenience. Unwind a small ball so that it fits freely in the teapot.
Pull the free tip out of the spout. Pour glue into the kettle so that it covers 2/3 of the ball. Pull out the soaked yarn gradually and keep an eye on the level of glue in the teapot.
Wrap the ball with threads
Prepare the ball before attaching the threads to the base. If you plan to reuse the ball, tie the tip with a coarse thread. Wrap it in plastic wrap and cover with a layer of cosmetic.
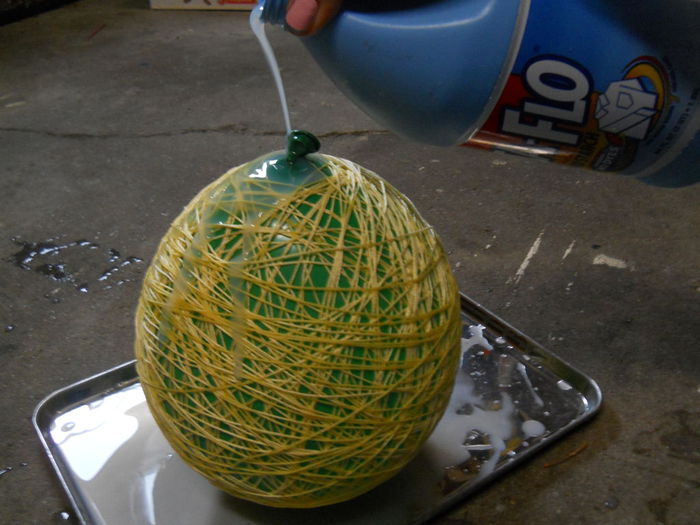
Press the free end of the thread to the surface and wrap the ball several times. So that the thread is secured under 2–3 overlays. Continue wrapping the workpiece in any direction.
To get a combined surface, take threads of different thicknesses and colors. Wrap them around the base in stages, creating a pattern. When finished, secure the free end under the top layer of the winding and coat with extra glue.
After wrapping, hang the balls on the bar to dry. Do not dry the workpieces on a horizontal surface - they may deform.
After a day, check the readiness of the craft. Press down gently on the frame, if it is firm enough you can continue.
Removing the ball
If you no longer need the balloon, you can simply burst it with a needle. When piercing, hold the tail of the ball. If the balloon is reusable, untie the tip and deflate.
Gently pull the ball through the hole you left. Remove the remaining film with the ball. If it does not lag well with the thread frame, pry it off with a clerical blade.
What do we need
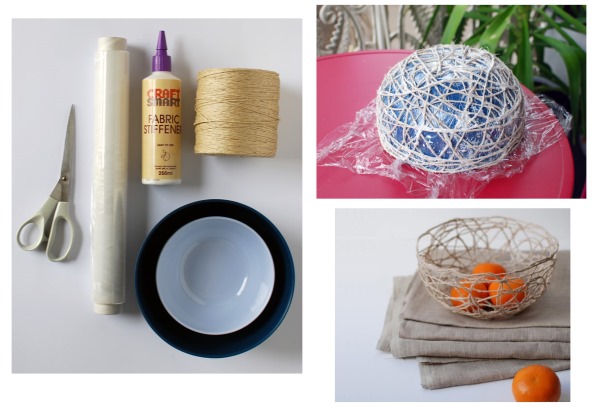
To make DIY Christmas balls from threads and glue, you need to prepare:
- Thread - one or different colors, and different thicknesses are permissible.
- Balloons.
- Ready PVA glue.
- If you are preparing the glue mass yourself, then prepare the ingredients.
- Cream, petroleum jelly - used to facilitate the separation of the thread from the ball material.
- Clay wrap - protects the base of the ball from the effects of adhesive, which can contribute to premature deflation.
- Scissors.
- Thick needle.
- Plastic cup or container.
- Jewelry (beads, ribbons, sequins, rhinestones, etc.).
- Glue gun for gluing jewelry.
In order not to stain the clothes and the table with the compositions, it is better to cover everything with oilcloth, put on oversleeves or clothes with short sleeves on your hands.
What glue is right
Masters in this business, who have repeatedly made New Year's crafts from threads and glue, recommend using furniture PVA with a mark M. In appearance, it is a viscous mass of white or slightly yellowish color, without lumps, foreign inclusions. Such a composition is thicker, it holds the thread better after drying.
An adhesive composition is also made independently according to this recipe: 1.5 cups of PVA glue is diluted with ¼ a glass of water and 0.5 cups of starch. The mixture is diluted until smooth. It is used as a regular composition.
Another option involves the use of sugar, which stiffens the finished toy: one hundred milliliters of glue, two tablespoons of water, 14 teaspoons of sugar. Stir until the sugar is completely dissolved.
Another recipe with starch: in a small saucepan or bowl, mix 200 ml of cold water and 3 teaspoons of potato starch, stirring to bring to a boil. After complete cooling, use as directed.
Unfading flowers
Artificial flowers are created from fabric, ribbons, pieces of leather, paper. Flowers made of threads look no less beautiful. Light, airy, incredibly beautiful crafts can be created from ordinary cotton threads, floss, iris, yarn.
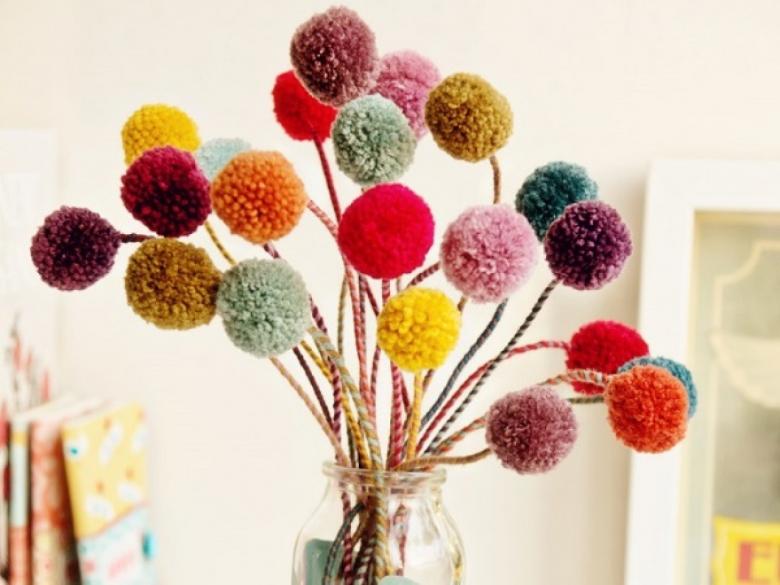
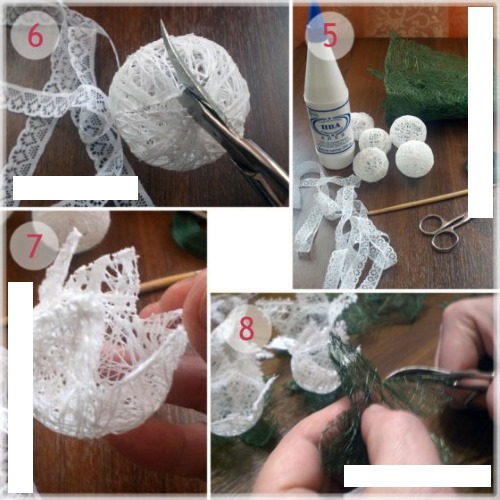
The first method consists of winding the thread around a ball of paper and covering it with glue. After drying, divide the ball into two bowls and cut out a base with petals of roses, lilies, tulips, dahlias, asters or other flowers. By combining several clippings into one bud, very beautiful flowers are obtained.

The second method of making flowers is based on a wire frame. To create wonderful flowers, you need to do the following:
- wind the wire tightly around a thin knitting needle
- from the resulting spiral, create a contour of the petals, in the middle of which stretch a straight wire and leave the end of the wire at the base of the flower
- wind the threads, intertwining through the middle of the petal cross to cross, clinging the thread to the spiral line
- Fasten the filled thread petals into one bud at the ends of the wire.
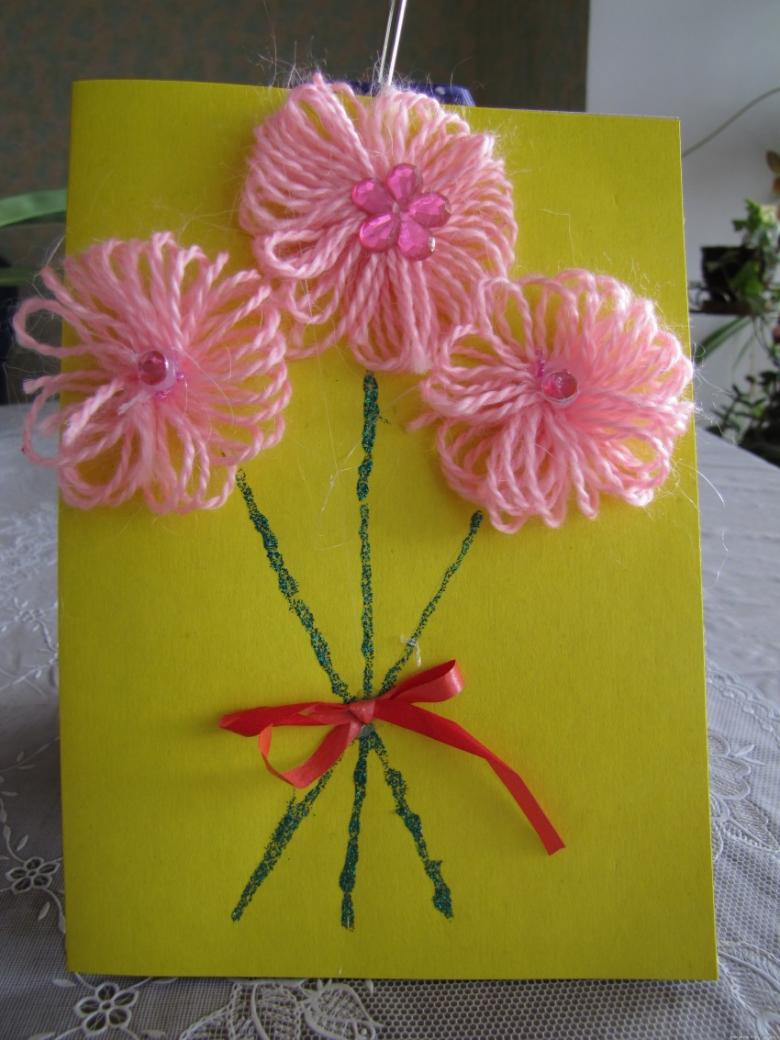
Make the leaves in the same way. Wrap the stem of a stronger wire with green threads or yarn, while attaching the leaves.
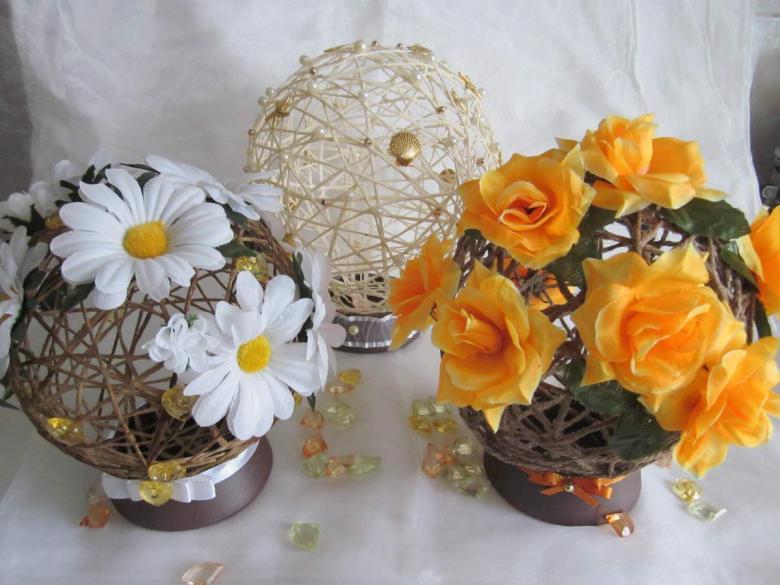
From the remains of the thread, needlewomen can create cases for glasses, a heating pad for teapots, cup holders, baskets, boxes and many other useful souvenirs. Balls of yarn that are not suitable for making large items can be useful for creating interesting and useful crafts. The products will not require additional finances, but they will delight you with their originality and uniqueness, emphasize the individual style and taste of the master, and cause admiration for talent.
Making toys in different ways
Knitted toys
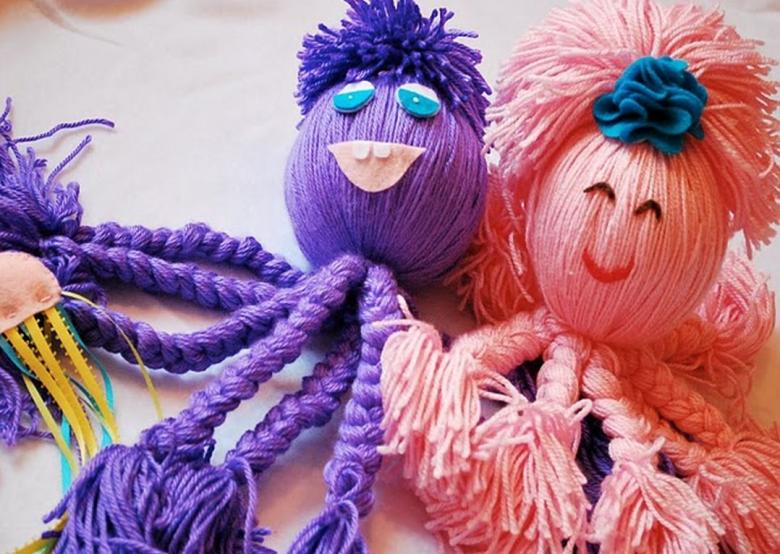
Very cute and touching funny toys can be knitted from the rest of the yarn. These can be dogs and kittens, bears and horses, frogs, bunnies and many other representatives of the fauna, knitted or crocheted. From these characters, you can create a toy farm or zoo.
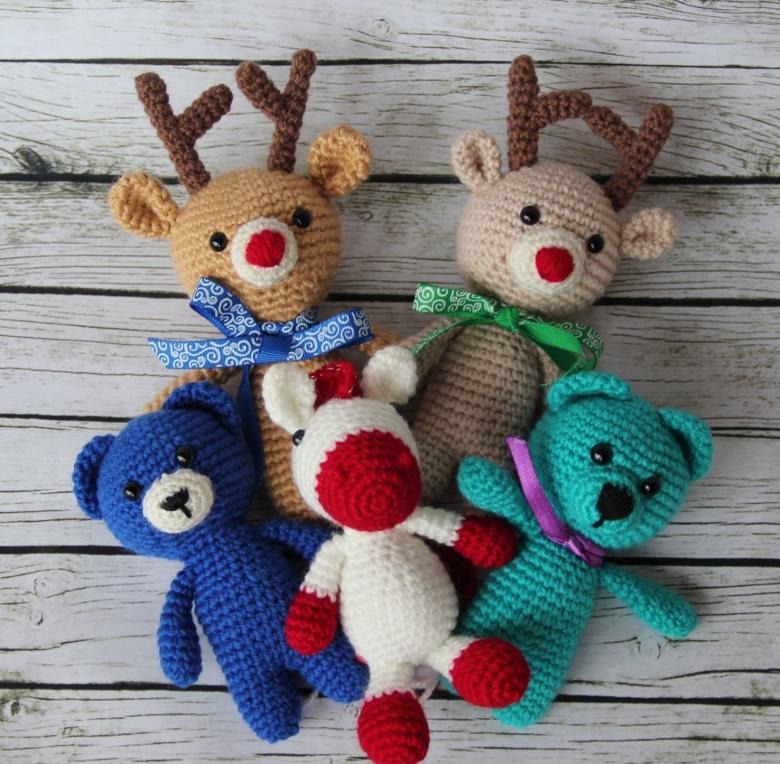
A knitted doll will become a favorite craft for every little girl. The hostess will definitely take the pet to her crib, talk to her and feed her. The head of the pupa, like the body, can be tied or made of soft felt. Eyes for characters can be beads, small buttons, or ready-made items purchased from specialized stores.

Make the noses and ears from a dense fabric of a similar shade. All parts of the body can be knitted from the same color or yarn in different shades can be used.
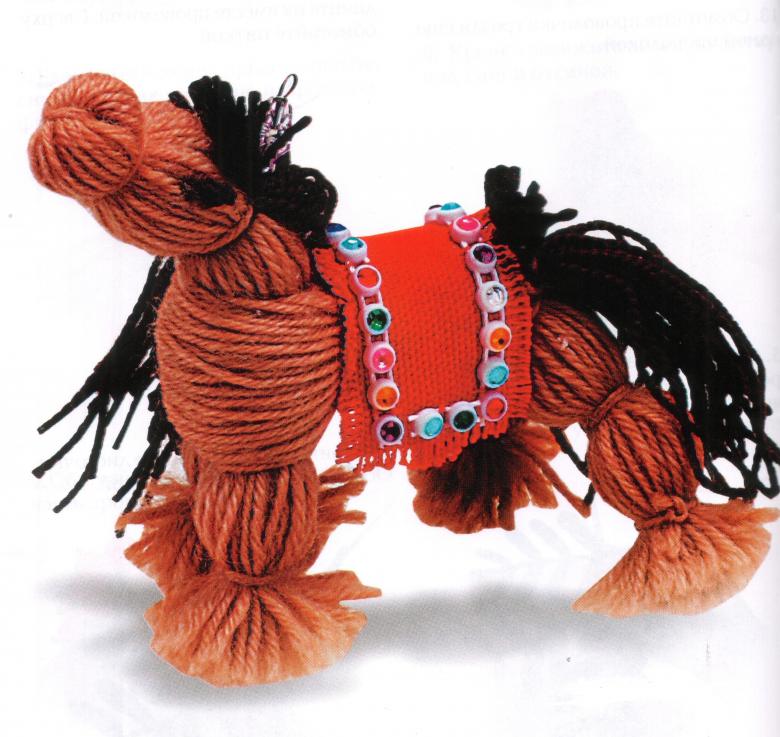
Animals made of pompons
Fluffy and miniature toy souvenirs are obtained from one, two or more pom-poms connected to each other. To create interesting crafts you will need:
- the remains of threads of different colors
- set of needles
- glue "Moment" or glue gun
- scissors
- thick cardboard.
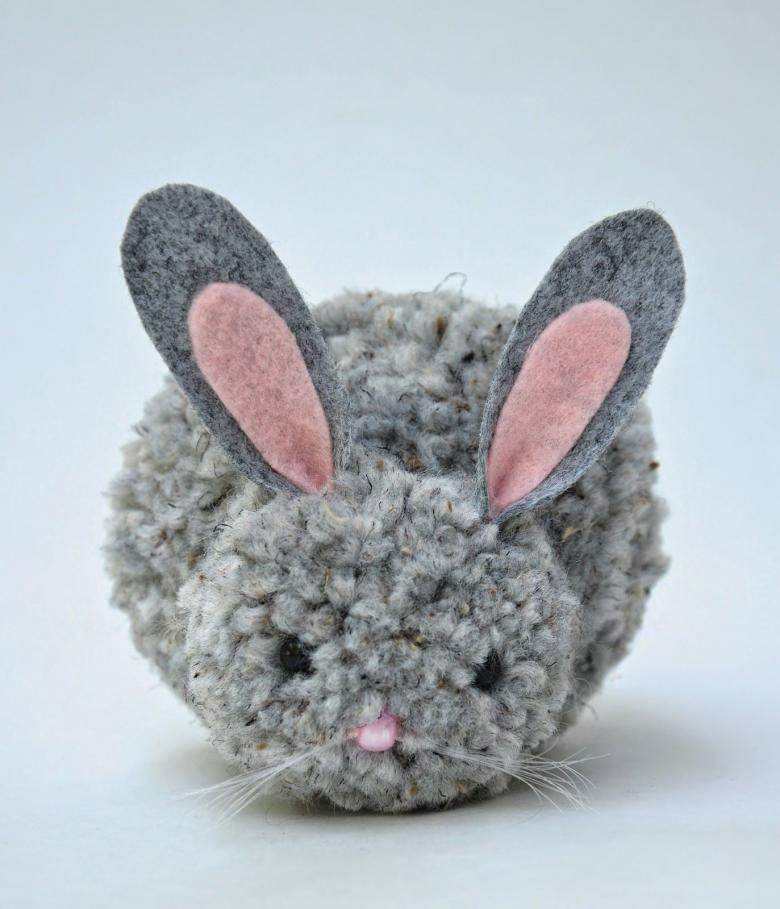
To create a fluffy pom-pom from thick cardboard, you need to cut out two identical shapes in the form of a donut (one circle with a larger diameter, and a small one inside, which is a hole). Wrap the folded two templates with threads, threading them through the hole. To make the pompom fluffy and voluminous, you need to wind the thread as much as possible.

Carefully cut along the edge of the large circles, and gather the inner circle with strong threads into one knot. Glue or sew additional details to the resulting fluffy ball: ears, tail, eyes, beak or nose. A pompom can become a hedgehog, chicken, gnome.

By connecting two pom-poms made of white yarn together, you can create a snowman or a funny funny animal. Paws and tails are made of yarn or felt, eyes, ears and nose are glued. A chain of several pom-poms will become an original caterpillar.
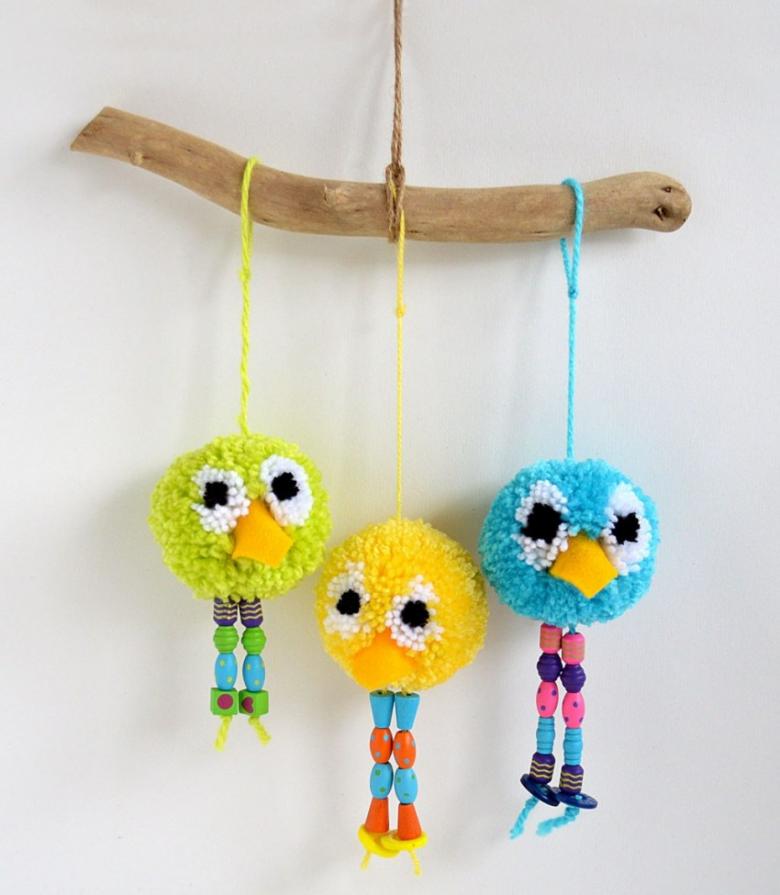
An entertaining type of handicraft will arouse the child's interest and develop his creative imagination. Creating a craft together with his mother, the child will remember this event for a long time and will cherish the creation, created by his own hands.
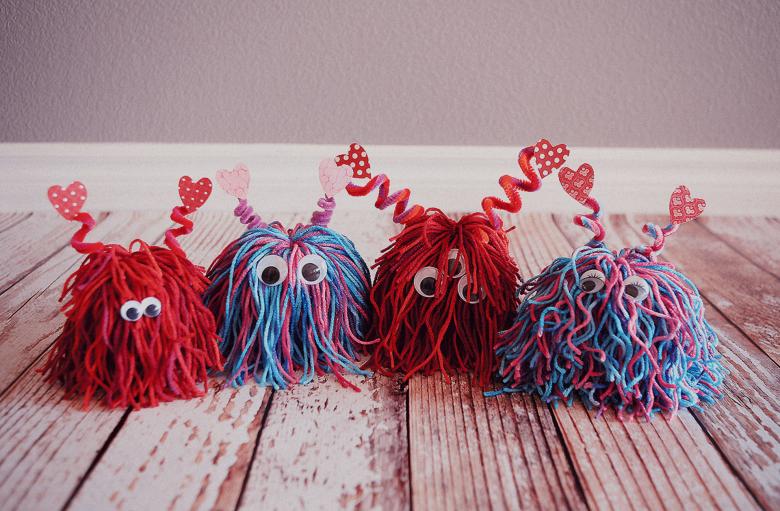
Numerous photos of thread crafts and master classes on the Internet will give a lot of ideas.Making toys is in tune with a sense of kindness and beauty. Each handmade toy seems to be especially light. Making the craft will not take much time, but this process will seem fascinating, will carry you into the world of childhood and will give you many joyful and unforgettable minutes.
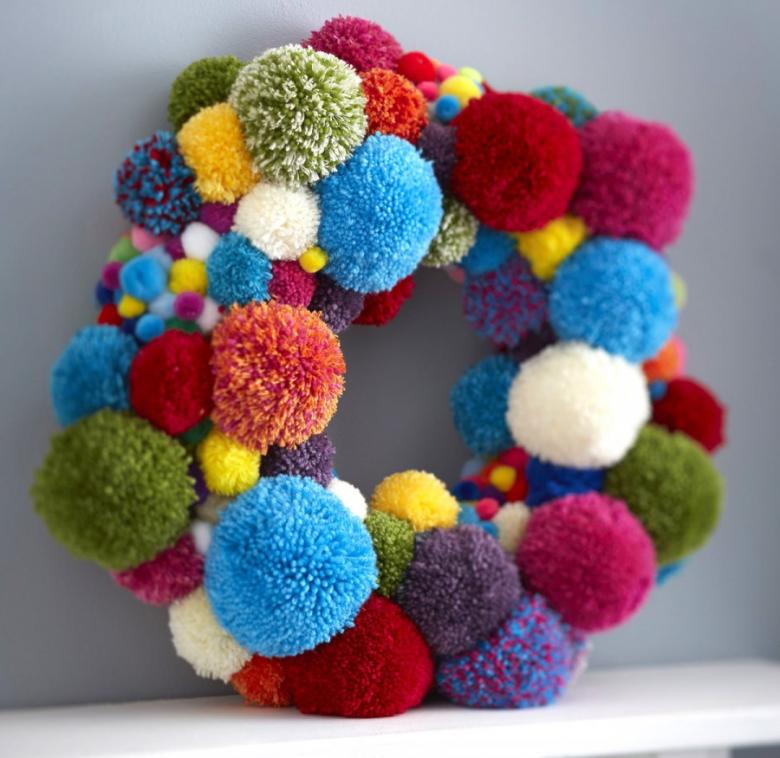
Working with threads and yarns, there are no problems and difficulties - the soft material is perfect even for a novice craftsman. Despite the wide selection of purchased toys, a hand-made craft will be more expensive and sweeter, because a piece of the soul is invested in it!
