DIY glass decor at home
In many homes, you can find a wardrobe with glass doors. It is considered an excellent item for home design, as glass is a decorative element that can be easily processed.
Today, there are two popular ways to finish it:
- painting technique with liquid glass;
- decor without the use of paints.
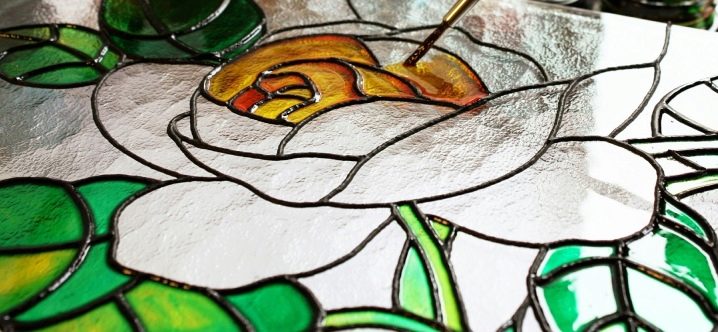
In addition, craftsmen often use a combination of glass with metal, polymer clay, plasticine and other materials. In order to make the glass look unusual, you will need to prepare sea salt, grains of non-ground coffee, glue, acrylic paints. Coffee beans are usually glued either in a specific order or randomly. It is preferable to apply the composition to the bottom and top of the glass.
The cabinet doors will also look stylish if they are decorated with sea salt. For this, the outer part of the glass is covered with glue, and then salt is applied and wait until it dries completely.


Glass is decorated with plasticine no less original. Before starting the design, you will need to draw patterns for the picture, choose its color. Then a picture is formed from different shades of plasticine. Such a decoration will fit well into the interior of children's rooms, it will help to unusually complement the marine theme, where sea salt turns into drops of water, plasticine into fish and algae, and shells will serve as the seabed.

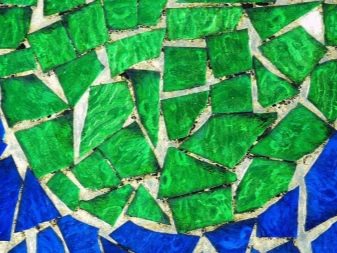
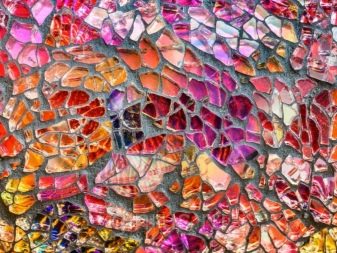
As for the decoration with broken glass, it is considered a real masterpiece and will decorate the doors of any cabinet. Broken pieces of material are glued with a special glue.
Before applying patterns, you will need to prepare glue, broken glass and acrylic paints, while the procedure for applying decoration elements is thought out in advance. First of all, the work surface is covered with a thin layer of glue, the decor particles are fixed and wait until it dries completely. Then the resulting ornament can be painted with acrylics and opened with varnish.
Painting polished furniture
Interior items made of natural wood and covered with a polished layer can be given an unusual look using cabinet paint. An old product refined in a modern design will become the centerpiece of the room and give the room a special charm.
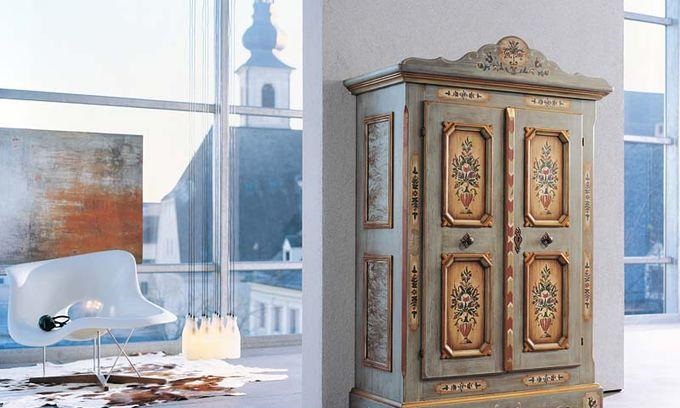
How to paint a wardrobe or refine a wardrobe:
- For work, use acrylic paint with a matte effect.
- Acetone or white spirit is used to degrease the base.
- You need brushes to apply paint, and new pens for decoration.
- Old fittings are removed from the cabinet, shelves and drawers are taken out.
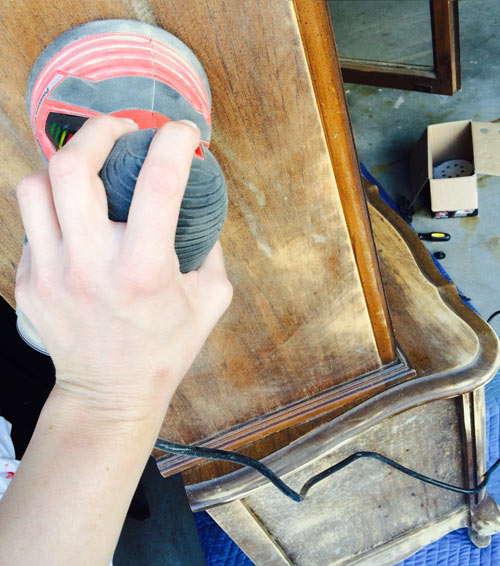
- All surfaces are processed with a grinder.
- For the tool, select coarse and fine-grained sandpaper.
- If there are large chips on the surface, they need to be putty.
- The furniture is treated with white spirit or acetone, dried.
- How to paint a cabinet - apply a thin base coat of paint.
- After drying, rub with fine-grained paper.
- Remove dust with a dry cloth, apply the next layer, dry.
- Rub again and apply another layer until the desired effect is obtained.
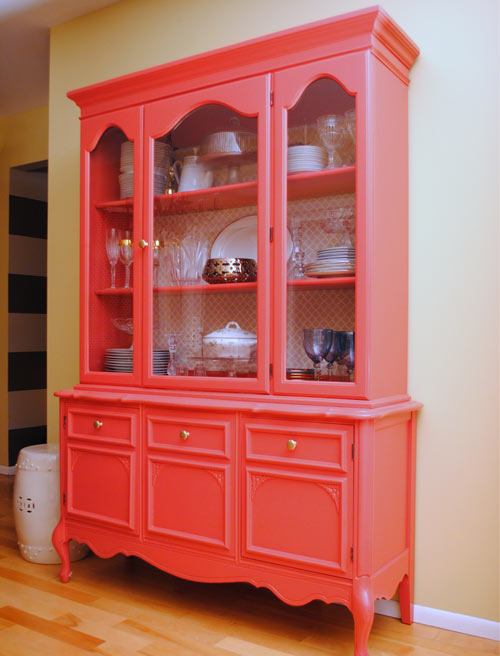
Using this method, you can transform an old polished wardrobe into original vintage furniture that will adorn a classic interior. The fittings are screwed into place.
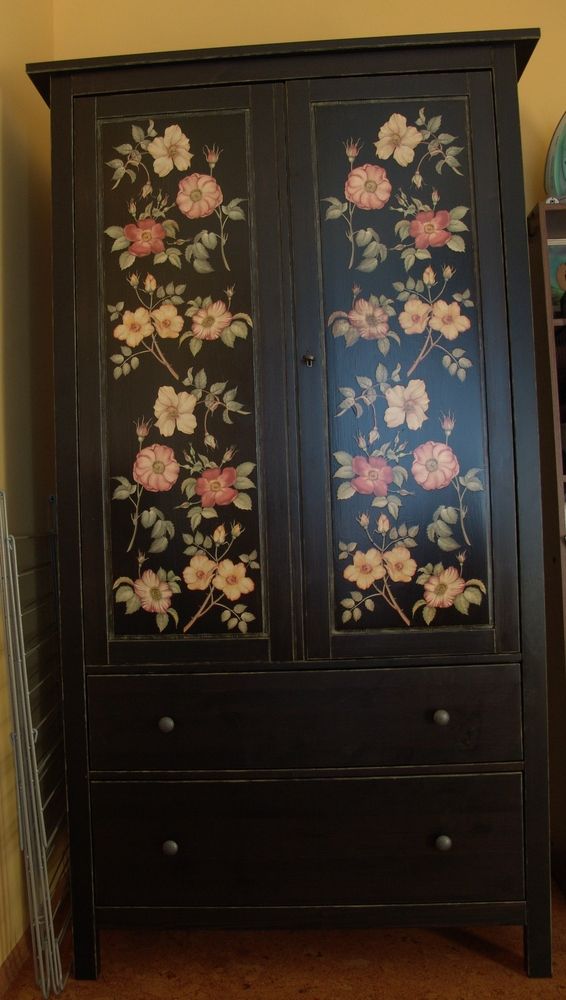
For exclusive work, you can use not full painting, but spot painting - a pattern is applied to the facades of furniture with a marker and the drawing is drawn with acrylic paint.
Renovation and decor
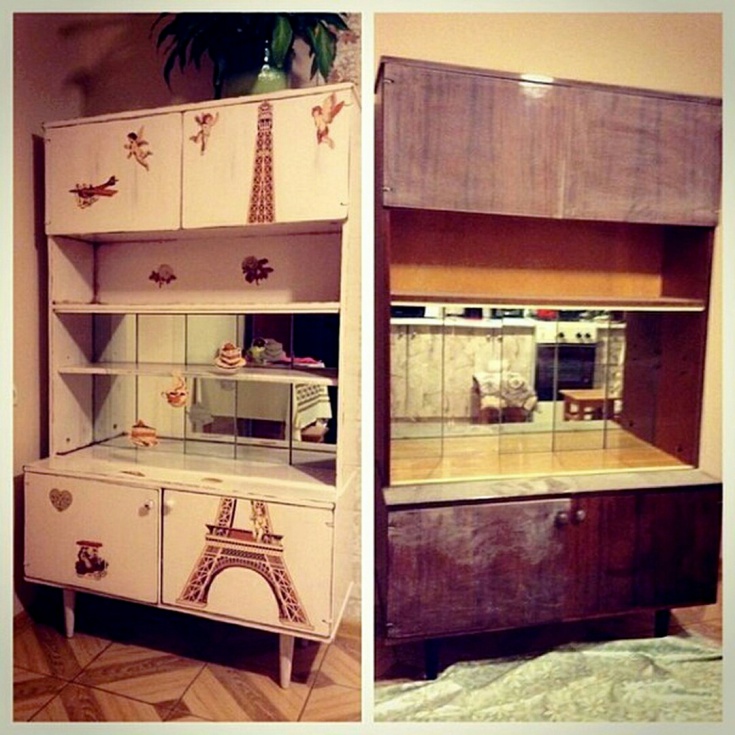
All work on the restoration of the old Soviet cabinet can be conditionally divided into two stages - repair and decoration. The first is common for cabinets of any kind, while the process of giving furniture a unique design directly depends on the tastes and skills of its owner.
Tool
In order to carry out repair work, you will need the following types of tools and materials:
- emery cloth;
- hammer and furniture nails;
- primer and putty for wooden surfaces;
- brush and spatula;
- screwdriver and a set of fasteners;
- various types of fittings;
- glue and pencil.
After preparing all the necessary materials and tools, you can proceed directly to the restoration procedure of the old cabinet.
Repair work procedure
- First, you need to free the inner space of the cabinet from foreign objects and place it in the central part of the room, which will allow you to have access to the interior item from all sides.
- The next stage in the restoration work of the lacquered cabinet is to check the strength of the connection of its elements. To do this, you should carefully inspect the furniture and, if necessary, replace the old screws with new ones.
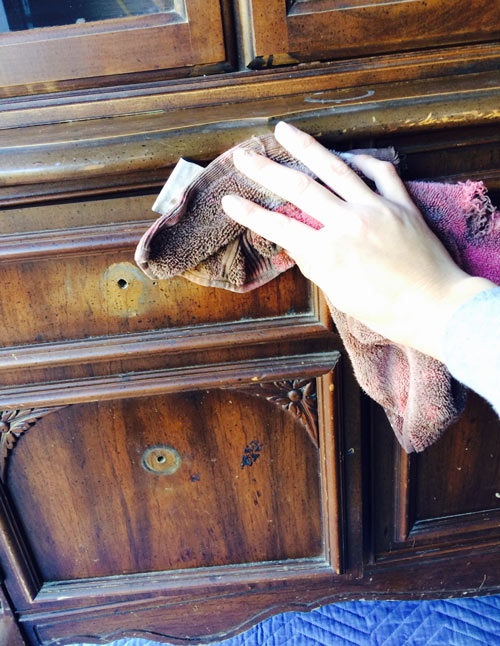
After carrying out this procedure, you should carefully wipe the surface of the cabinet with a damp cloth. Then you need to treat it with a primer, and after drying you can start to eliminate cracks and scratches.
Large depressions can be masked with a putty, while small scratches can be easily removed by applying clear furniture wax.
Having carried out such procedures, you can apply paint and varnish to the surface of the furniture (with its further polishing) or decorate the cabinet using other available means, which we will discuss below.
Also in our photo catalog you can see some other options for decorating an old cabinet, which do not require much effort on the part of the owner of such an interior item.
Decoupage cabinet
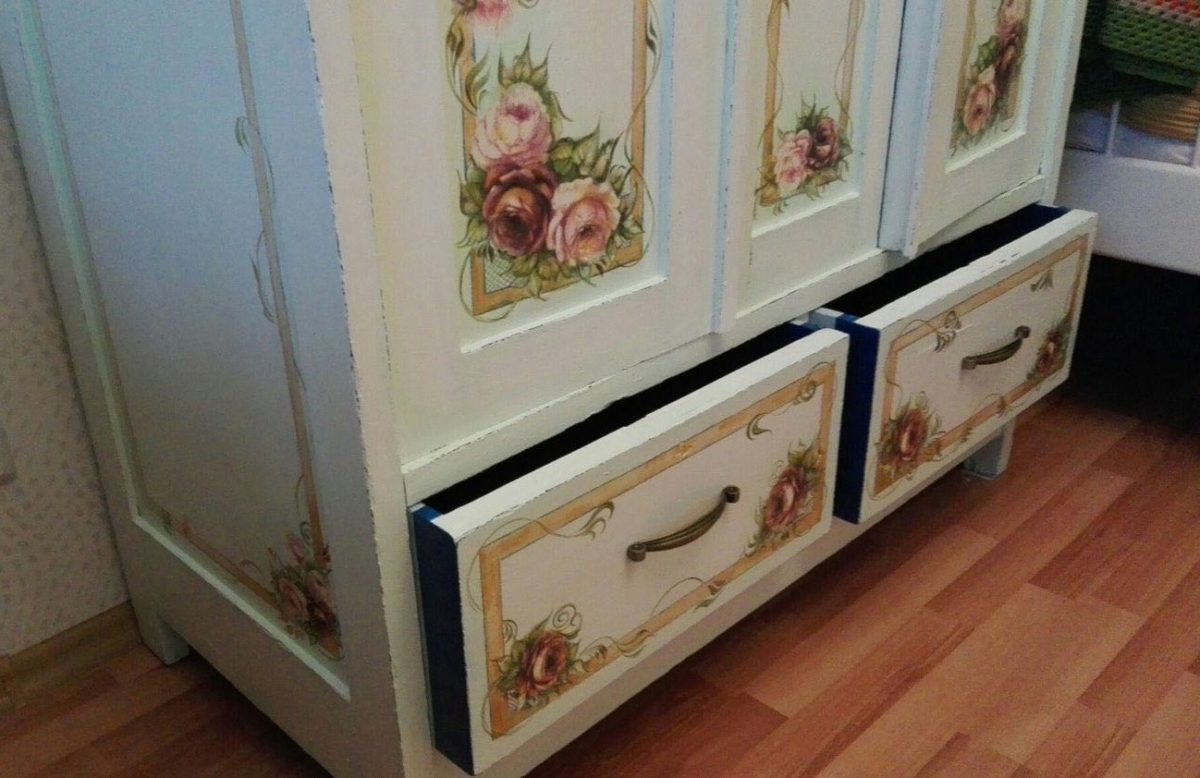
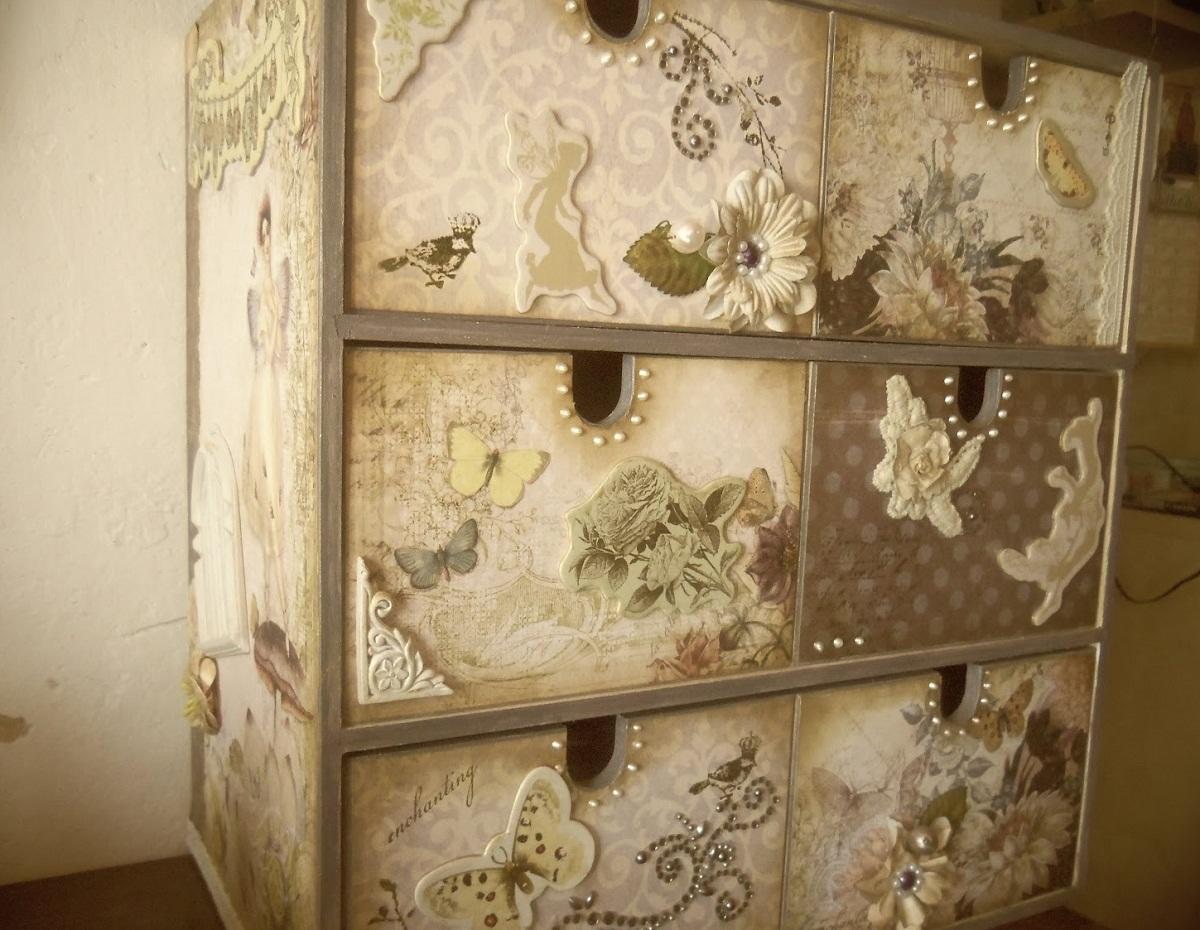
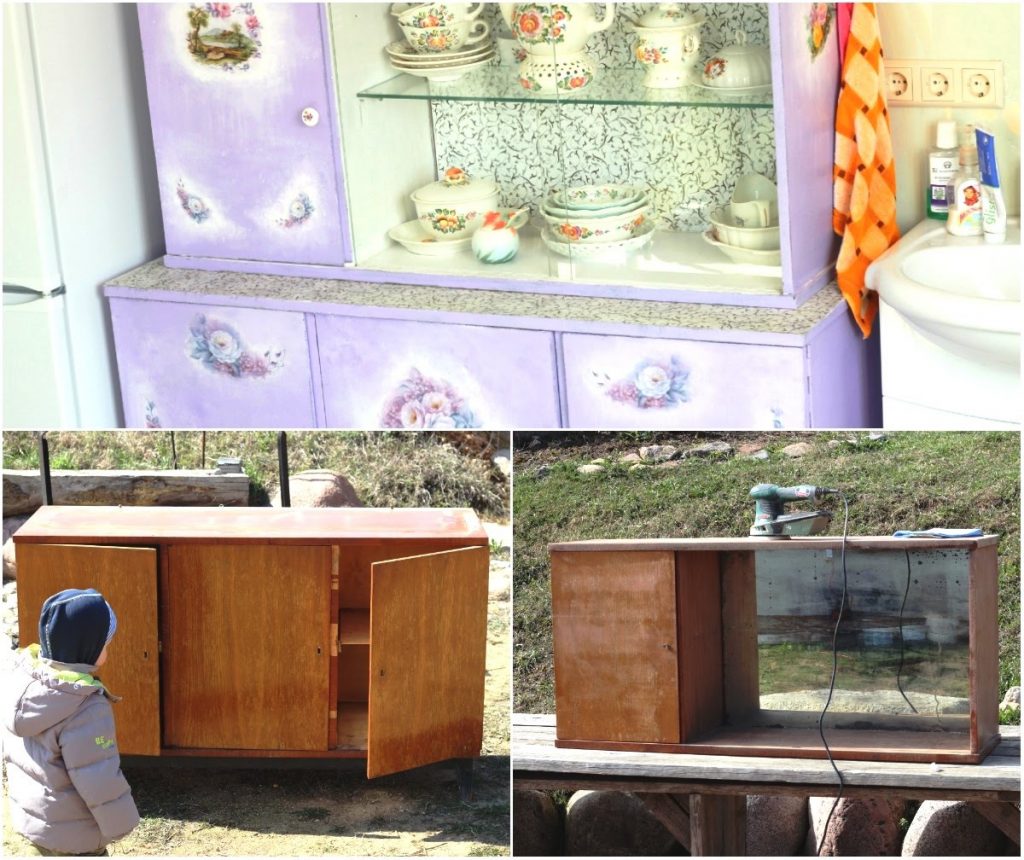
The decoupling procedure will allow you to turn an old wardrobe into an original piece of furniture that will look great in a bedroom or children's room.
In order to carry out decoupage of such furniture, you will need:
- a pair of paint brushes;
- varnish (colorless);
- napkins with a pre-selected pattern;
- warm water;
- glue;
- paints (acrylic).
After everything you need is prepared, you can proceed directly to the decoupling procedure itself.
First, with the help of masking tape, you should close those elements that will not be subject to restoration.
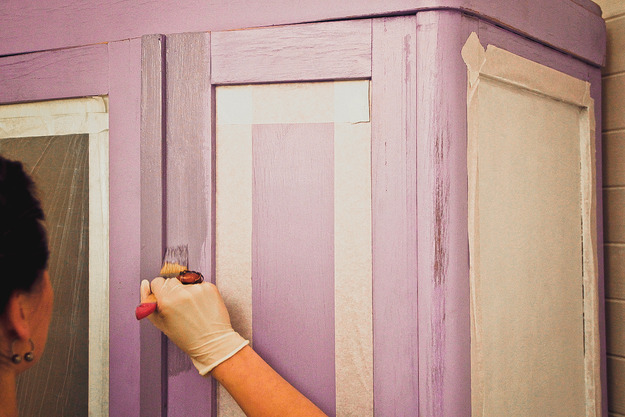
Then you need to shake up the previously prepared paint and apply to the primed surface of the piece of furniture.
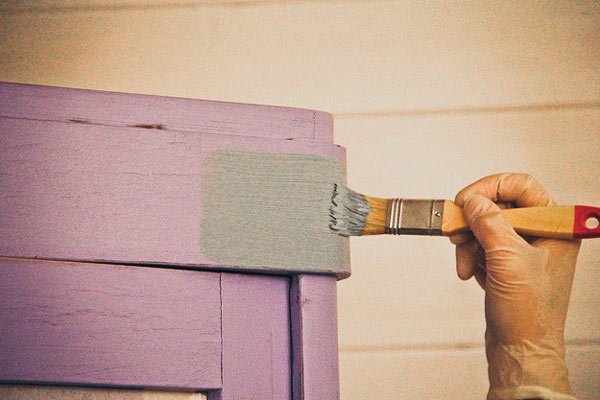
After the paint has dried, cut out the drawing from the napkins, attach it to the painted surface and trace with a simple pencil.
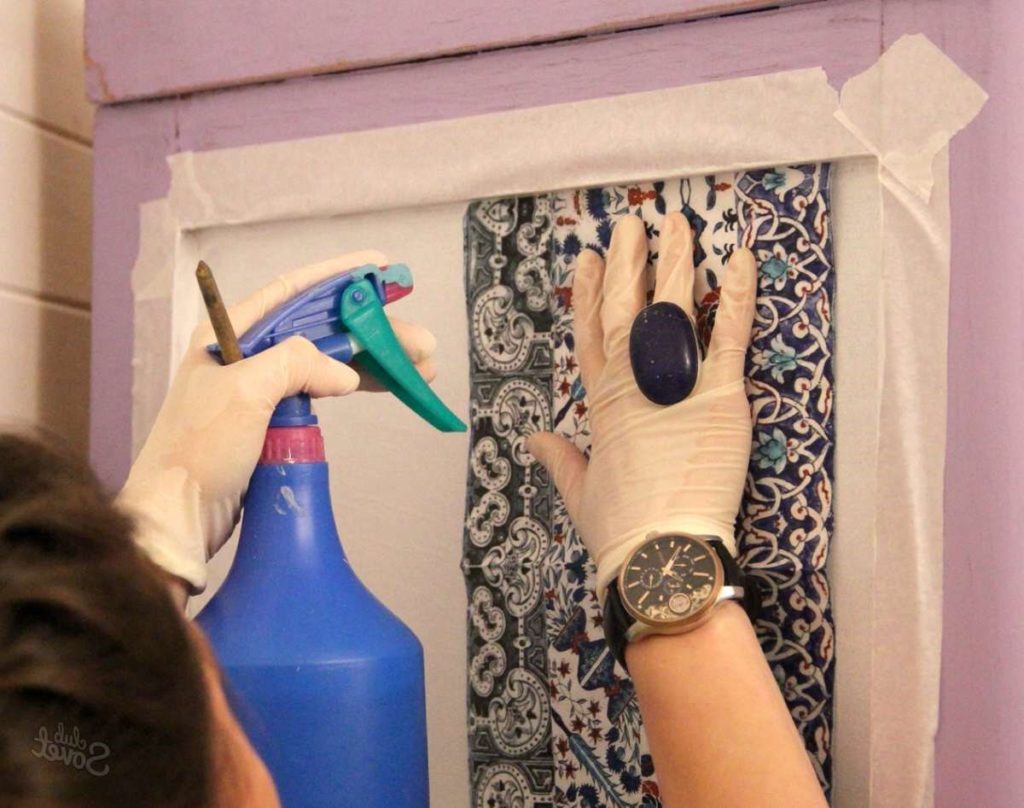
Having finished marking the surface, lower the drawing, cut from napkins, into warm water and leave it there for thirty seconds, then take it out and put it on cellophane.
While the napkins dry out a little, apply PVA glue to the place of gluing and alternately apply drawings to the prepared surface.
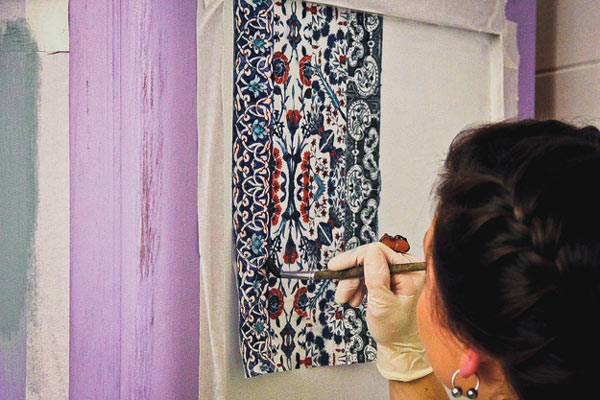
The final stage of the restoration and decoration of the old cabinet will be the application of colorless varnish, which will protect the decoupage places from possible mechanical damage.
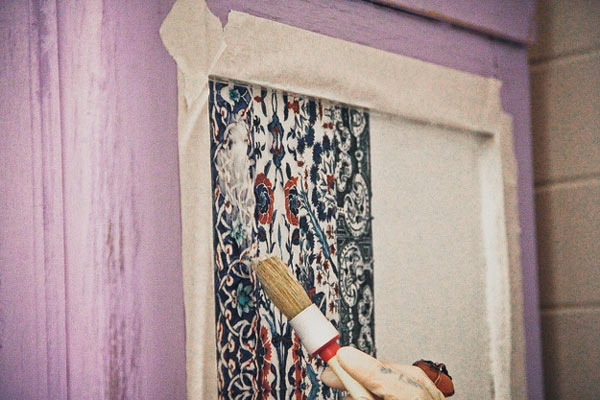
Craquelure
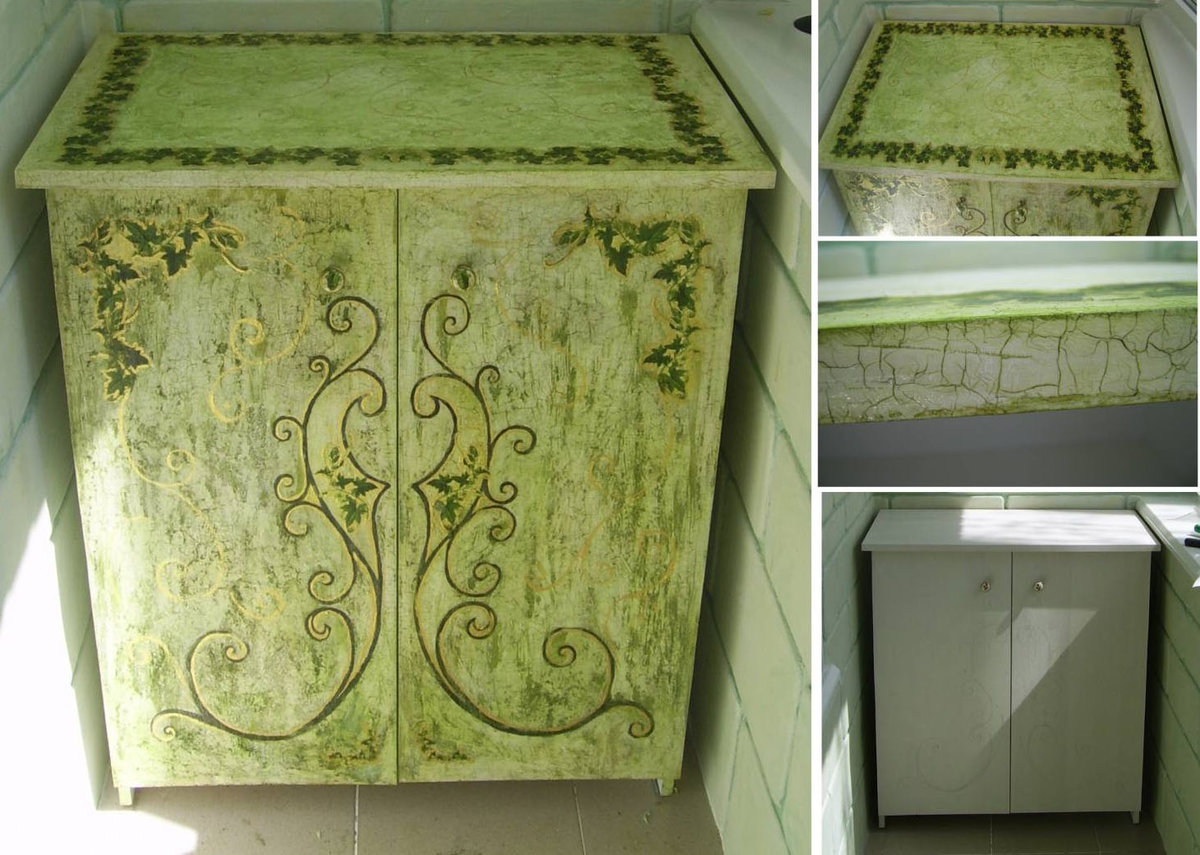
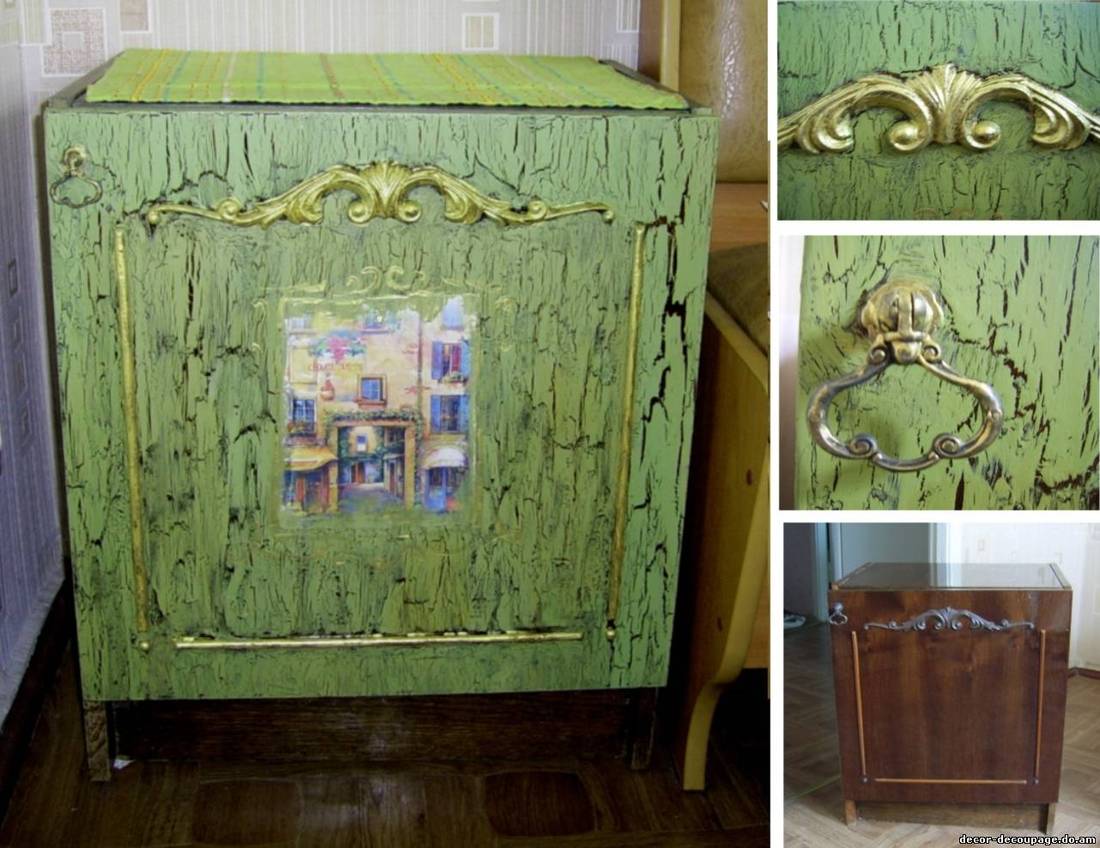
Another common way of decorating a renovated cabinet is single-phase craquelure, the essence of which is to give the furniture an artificially aged look by applying a special varnish.
First, the surface to be decorated is covered with a layer of acrylic, which will show through the craquelure cracks, giving the furniture the desired effect.
After the main layer has dried, a craquelure varnish is applied, on top of which a transparent varnish is applied.
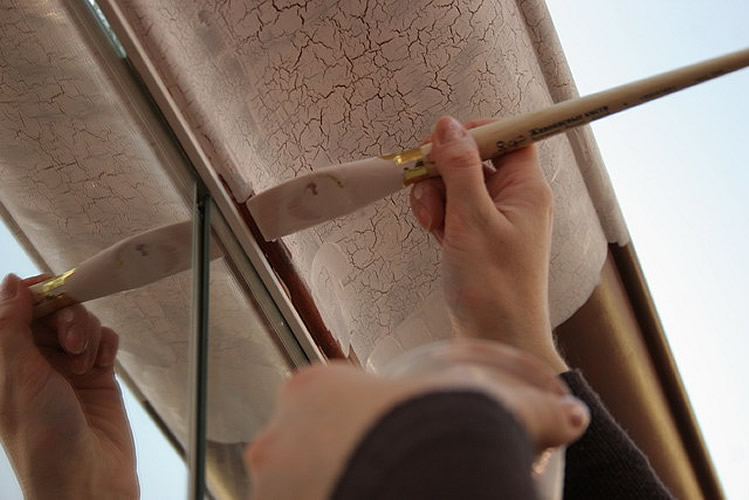
As you can see, the restoration of an old cabinet is not such a difficult procedure, which will allow you to give your furniture a unique design and significantly extend its life.
Simple tips for quick furniture restoration
It is not at all necessary to spend a lot of time and money in order to give old furniture a new attractive look. So, there are quick and easy methods for updating interior items:
- Cover with clear or white varnish. Light-colored wood can be simply sanded and then covered with a new coat of furniture varnish. For dark woods, you can use the dry brushing technique - the surface is also sanded, and then applied over with white varnish or paint, as a result of which the dark base appears through the topcoat.
-
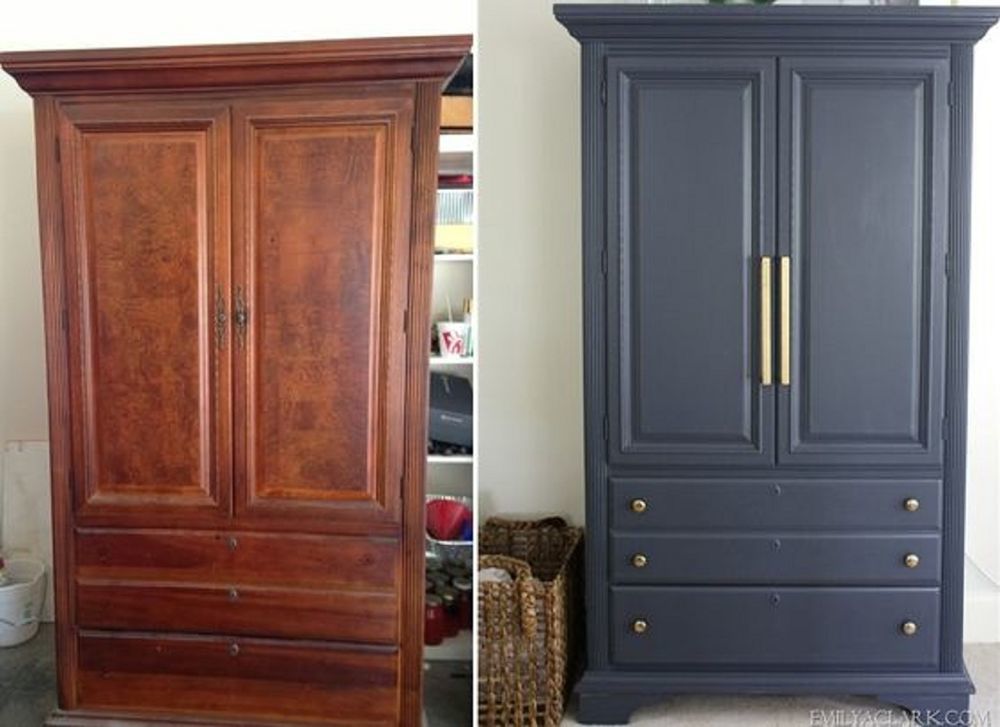
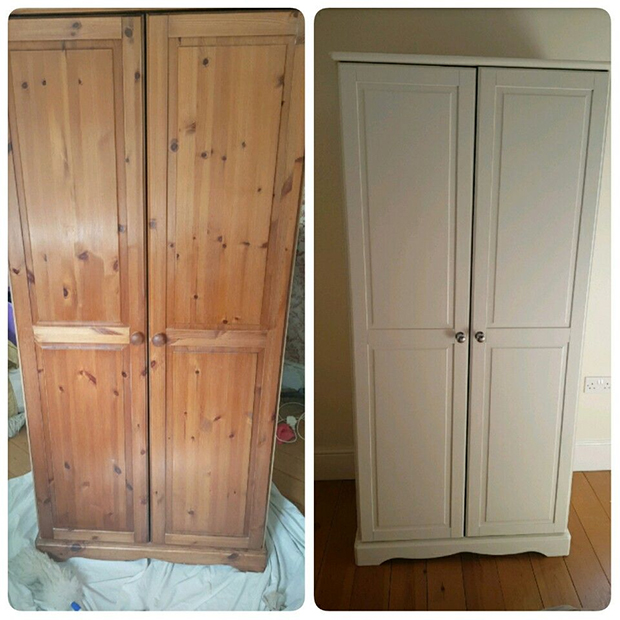
Just paint. If the purpose of the restoration is to change the appearance of the furniture, it is enough to repaint it. To do this, you need to remove dirt from all surfaces, walk with medium-hard sandpaper, and then apply a primer on wood and paint one or two layers. If the furniture is not damaged, the result will be excellent.
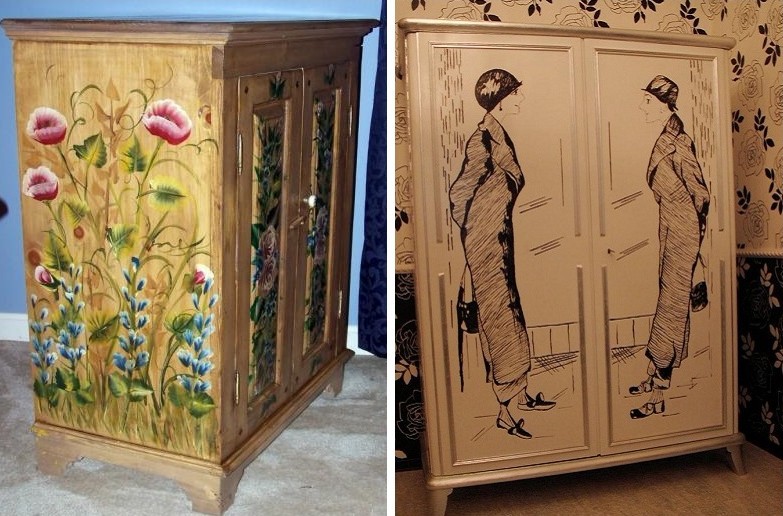
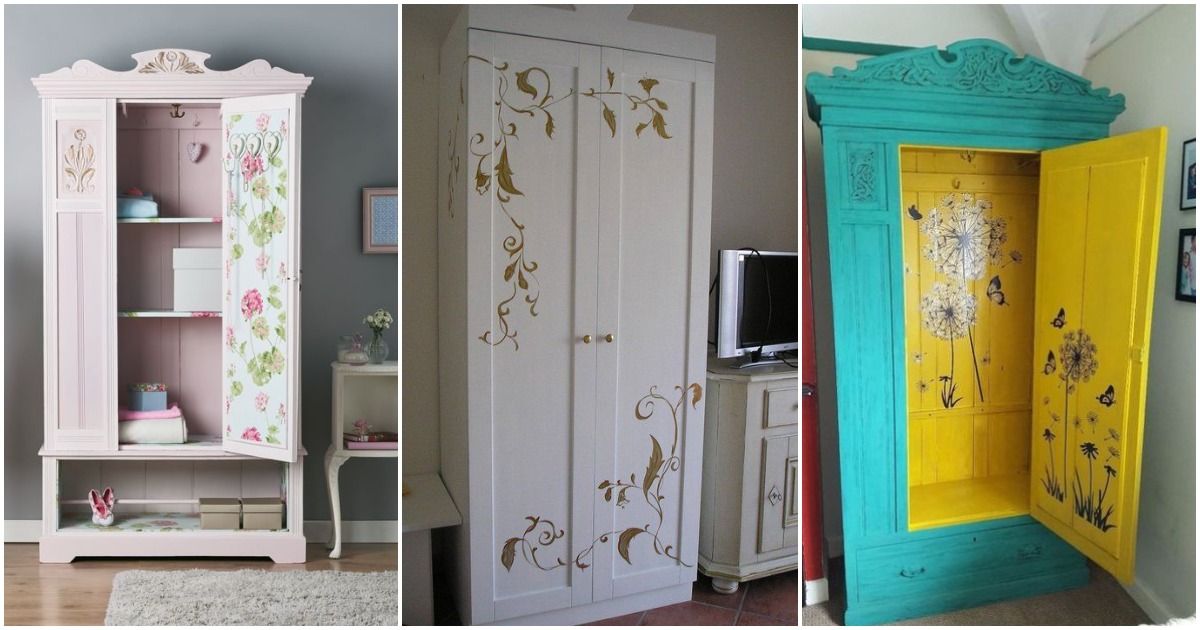
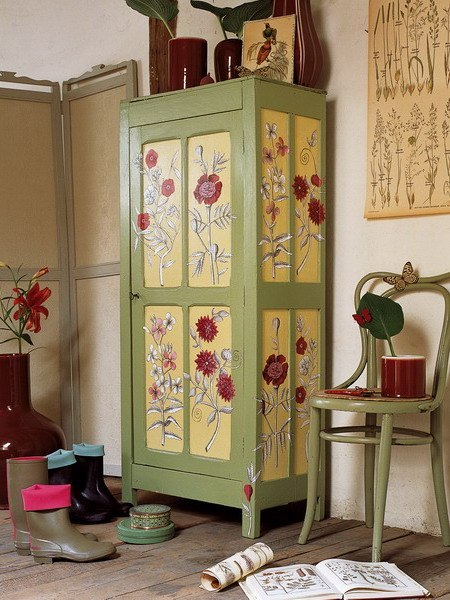
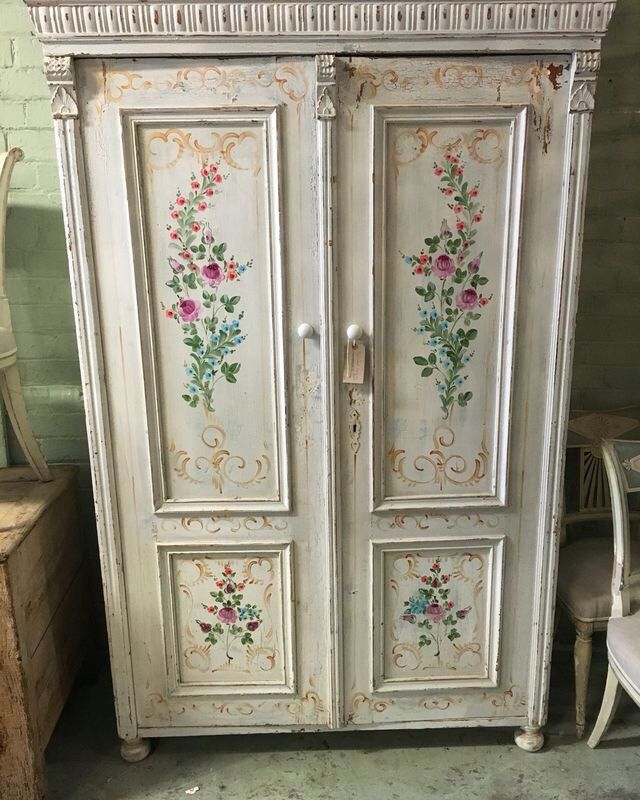
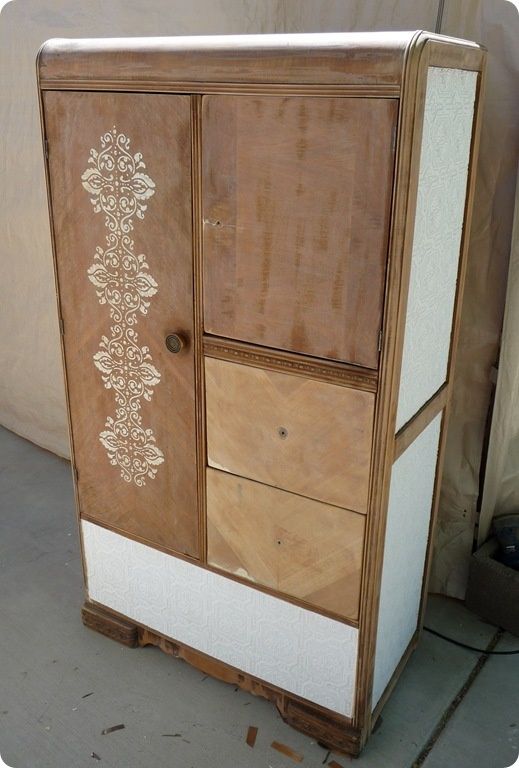
- Draw an ornament. Scratches, chips and roughness on some furniture can be masked by painting it with various ornaments. You can depict both abstract patterns and full-fledged plots - it depends on your artistic skills. If you don't know how to draw at all, it is easy to find various stencils on the Internet and simply transfer them to furniture. Drawings are made with acrylic paints and fixed with colorless varnish.
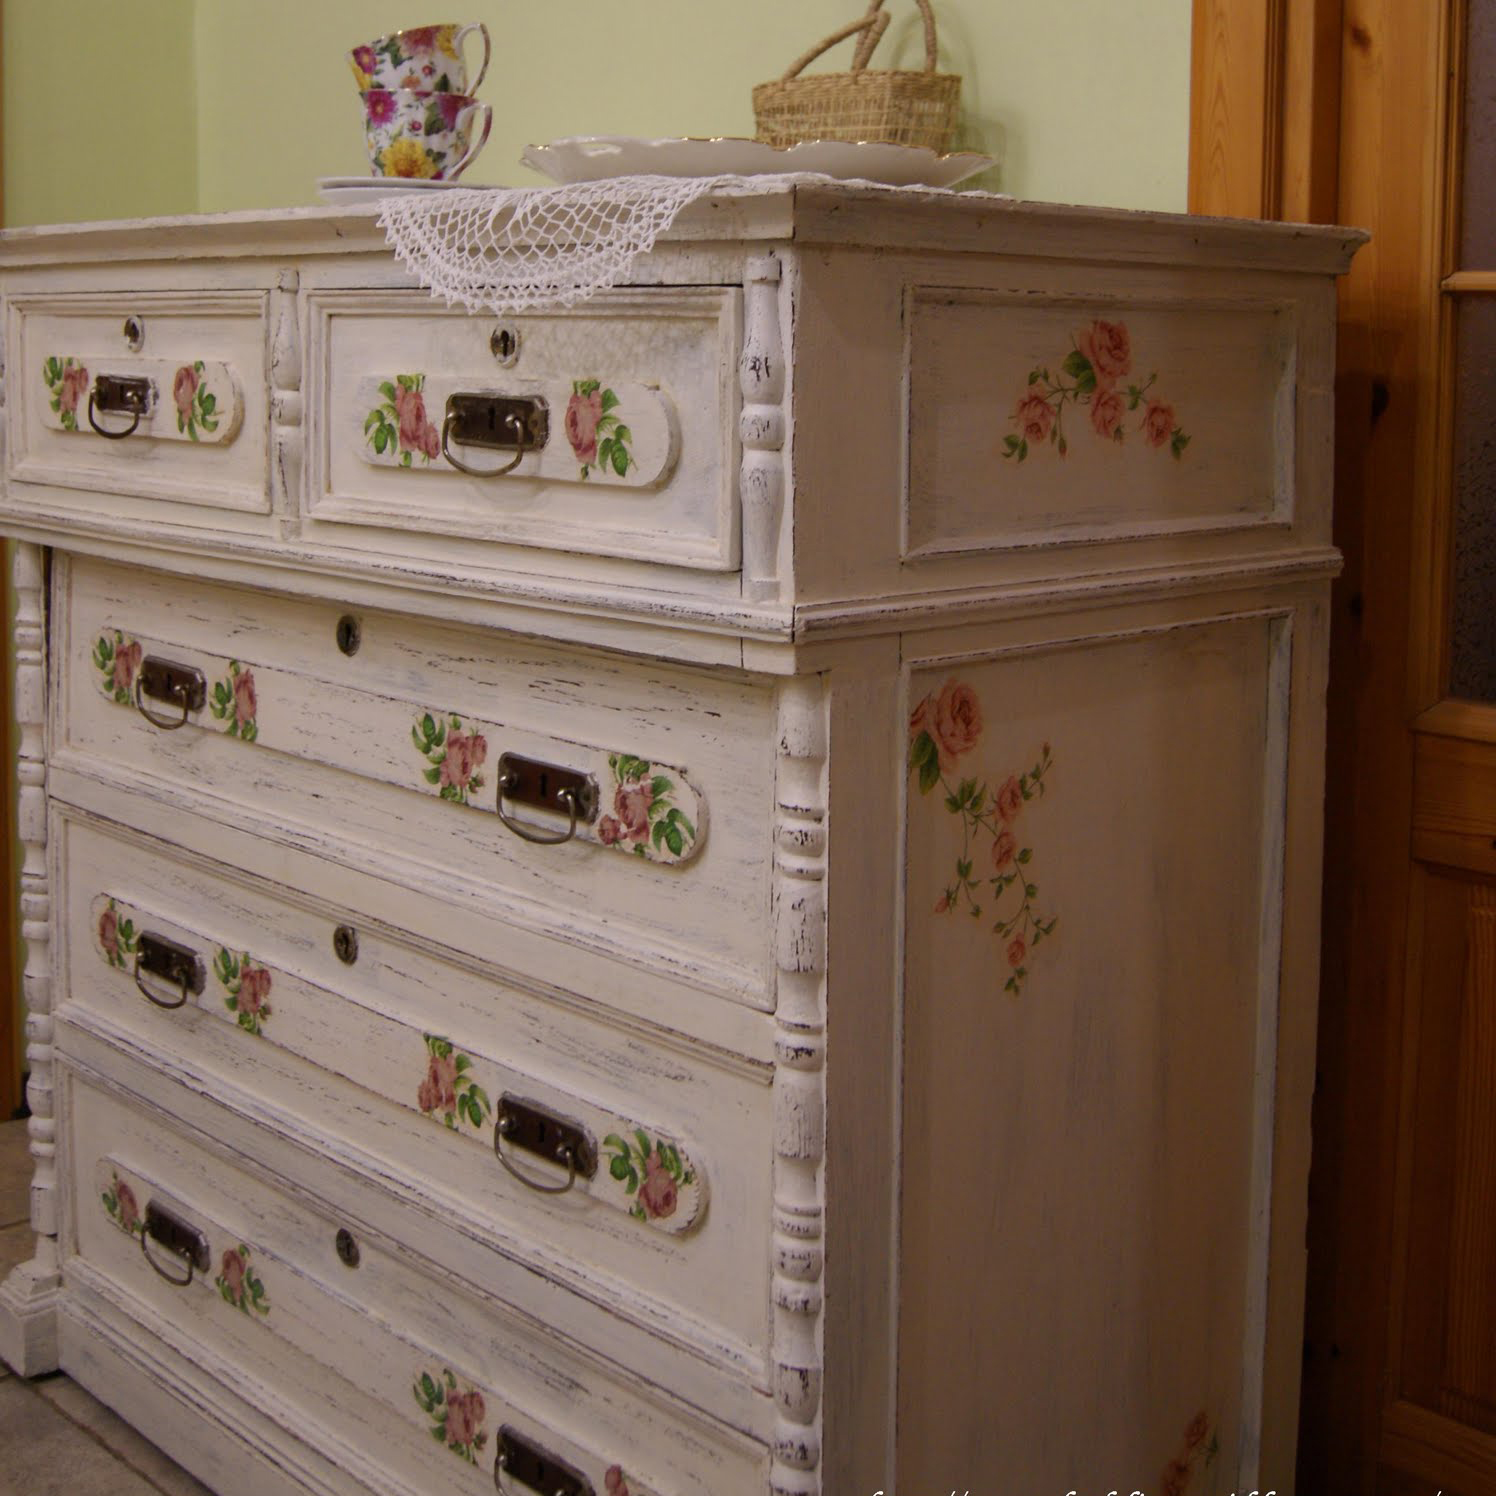
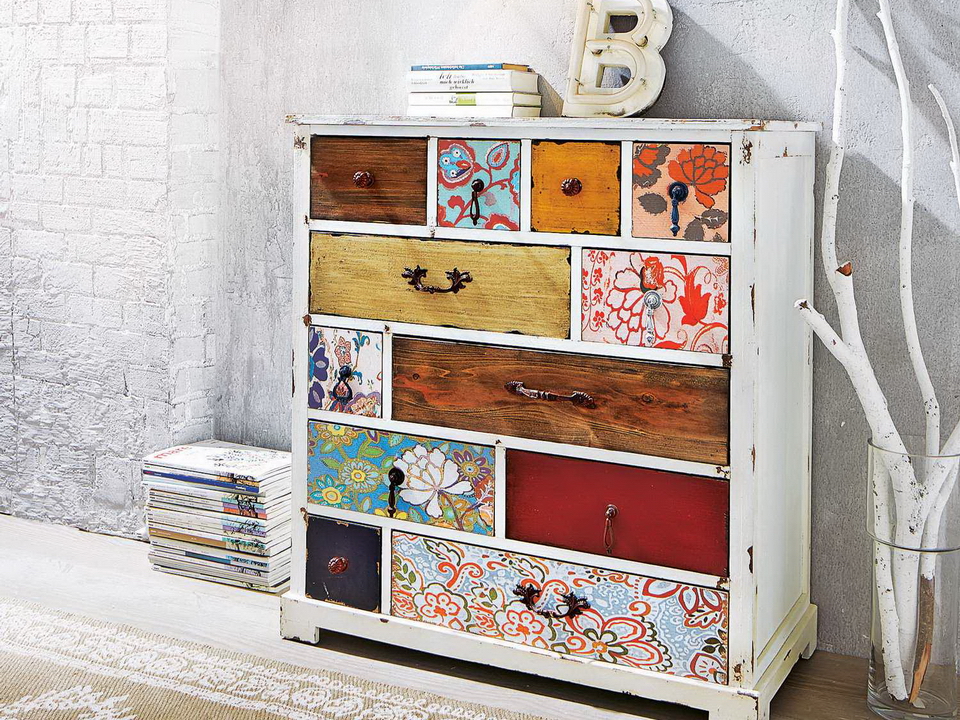
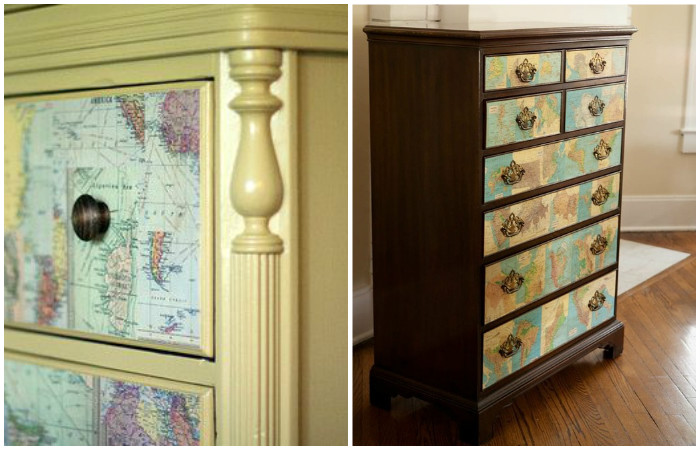
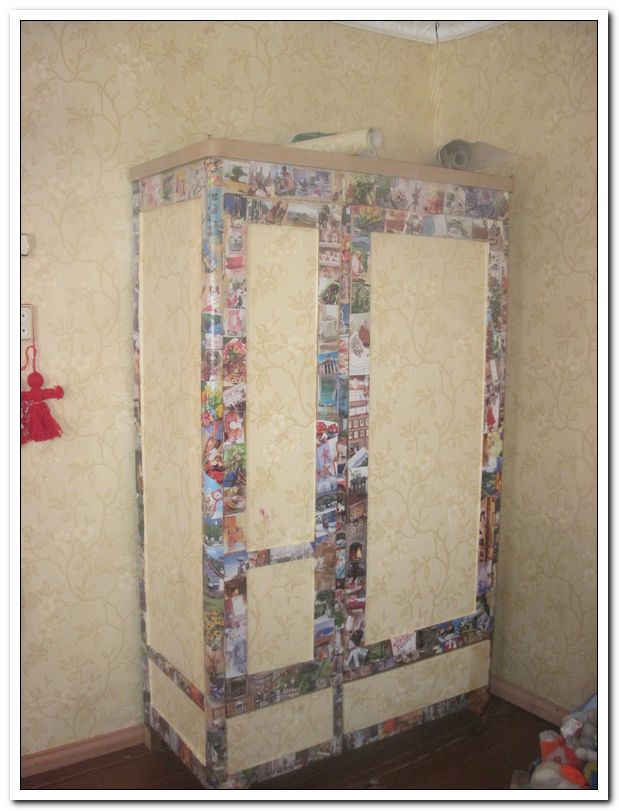
- Decorate with decoupage. The decoupage technique involves the transfer of various patterns to furniture from old newspapers, already shabby but beautiful geographical maps, from magazines, as well as with the help of special decoupage napkins. Furniture decorated with decoupage looks especially good in Provence-style interiors.
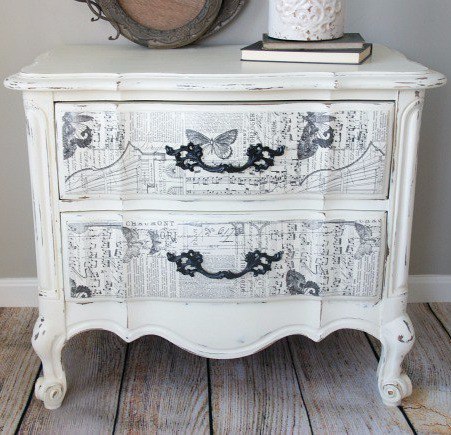
Decoupage technique is very often used when reworking furniture.
Self-restoration of furniture allows you to update your favorite interior items as you wish. This solution is suitable for those who are not ready to spend money on the purchase of new furniture, or who want to keep things dear to their hearts.
As practice shows, the issues of restoring pieces of furniture are quite solvable even in the conditions of an apartment, and the process of work can be mastered by every person who knows how to hold the simplest carpentry tool in his hands. Simple work takes one or two days, but if they are carried out according to all the rules - the master is in no hurry, carefully follows all the instructions, then the result will be excellent, and the old unsightly furniture, which has received a new life, will delight the eye for many years to come.
Helpful hints
It is a pity if you have to throw away old but high-quality furniture, especially wooden ones. But such products can be updated and used for more than one year.
For a competent choice of the decoration method, it is important to take into account the material and the degree of wear of the old cabinet
Natural wood
Previously, wooden furniture was made of very high quality. Remove dust with a dry cloth before updating. Then check the fasteners and if they are broken they need to be repaired or replaced. Inside the cabinet, it would be nice to perform an antibacterial treatment, a more budgetary option is simple vinegar. It will destroy the unpleasant odor.
Then the choice of the decoration method is made.
Toning. First, all surfaces are leveled with wood filler, matched to the tone of the cabinet. After the layer has dried, the uneven places are sanded with sandpaper. Treated and flat surfaces are treated with a special structuring wood stain. Choose a decorative tint color that is darker than the original cabinet shade. Such processing will completely transform the appearance of the product.
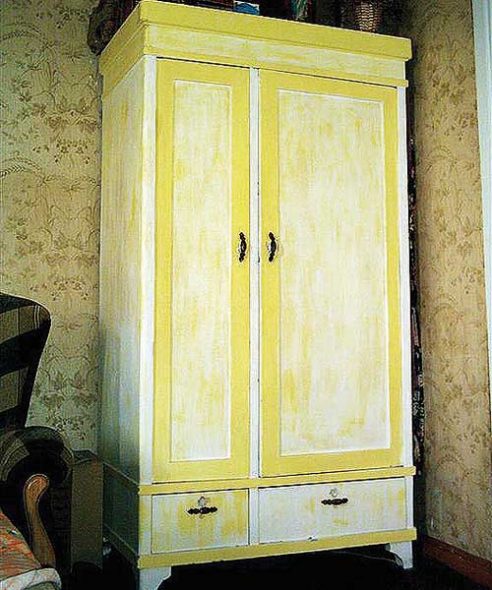
Aging. Natural wood furniture can be "aged".The effect of the antique worn surface of the cabinet is achieved as follows: the light tone of the wood is painted in any dark shade, depending on the color palette of the room. Then, after the paint has completely dried, it is necessary to rub several fragments with a candle, after which a light paint is applied, for example, beige, white, cream. When, after the second painted layer is rubbed with sandpaper, scuffs will be visible through some light places. which are darker. When a dark wardrobe is decorated, craquelures are made. For this, a craquelure varnish is applied to the surface. After it dries, small cracks form, which are highlighted with dry pigment or oil paint of the desired shade.
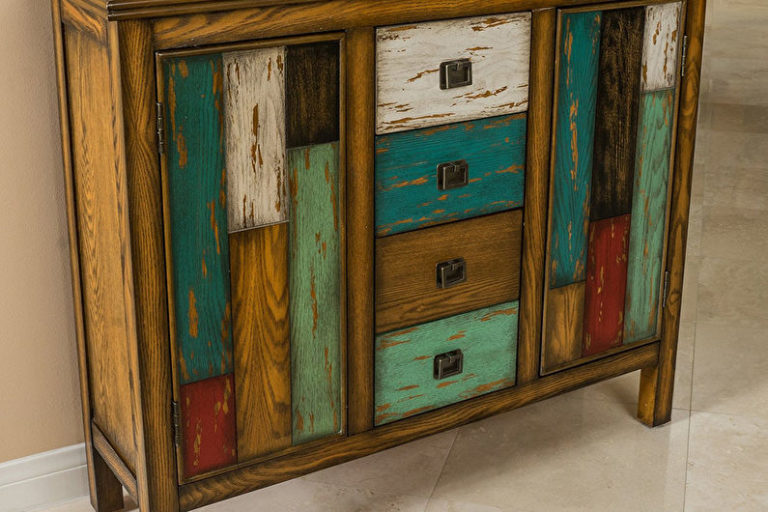
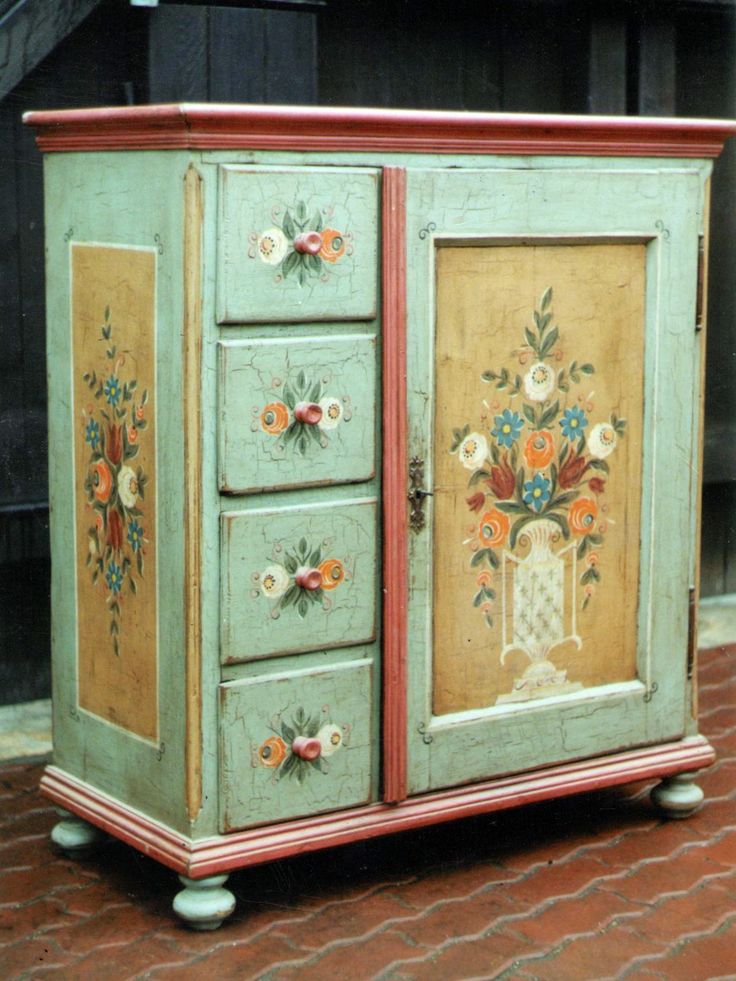
Painting. This option provides for preliminary painting with light-colored furniture paint. After drying, the cabinet fronts are painted with acrylic paints. If you do not have the skills of drawing and painting, you can paint the wardrobe using a stencil.
If the wardrobe is in good condition, it will be possible to use the same decoration options that are used in the decoration of wooden products for decoration, excluding tinting. A cabinet in poor condition requires replacement of doors.
Dark polished. In our country, the iconic model of such a cabinet was extremely common. The decor of this product is very difficult in terms of modernization, since the synthetic dark varnish, previously used for polishing furniture, is almost impossible to remove. In addition, other decorative materials do not stick to it. Here it is necessary to make a volitional decision and replace all the doors if they are in poor condition. A well-preserved cabinet can be redesigned in one of two ways:
Furniture restoration styles
To design such a decoration, they often use interesting and very expensive materials that will last for many years. A distinctive feature of this style is the various geometric patterns. Used for the interior, bright colors, which at the end of the work are diluted with lighter and softer tones.
This style is mainly used only on wooden surfaces. It is the gluing of cut out figures and patterns, if necessary, finishing them. A common and original way in this style is to use napkins with patterns and fix them with acrylic varnish in several layers.
- Coating with ordinary self-adhesive film
The name speaks for itself, various patterns are created using self-adhesive film. Stencils are often used. One of the easiest and most effective ways to restore old wood surfaces.
This interesting way, on the contrary, emphasizes the antiquity of your furniture with the help of a special craquelure, which creates cracks in the surface. The main thing in this style is the creation of deeper and wider cracks, for this it is necessary to apply thicker layers.
Getting started, inspect the location of your furniture, what colors, tones should be chosen.
Let's talk in more detail about the last method.
Wooden cabinets dry out, causing cracks. Our job is not to hide, but, on the contrary, to give beauty and grace to the cracks. There is a huge variety of varnishes now. Only you can choose the color that suits the interior. After you have chosen the desired color, you need to prepare for work.
The main advantage of home restoration is that a bulky cabinet does not have to be taken out of its monastery.
If you still doubt whether you made the right choice in the direction of this style, it is possible to experiment on any small wooden things. Only the surface should be wooden and preferably outdated for a more convincing effect.
The second plus is that you observe the whole process yourself and make any changes simply.
Materials for decorating the surface of an old cabinet:
- acrylic paint;
- craquelure varnish;
- matt acrylic.
When restoring a cabinet without the help of specialists, you estimate the cost of labor costs, which also positively affects your budget.
The main thing is to approach all work creatively and then your wardrobe will find a newer and brighter life.
Tools for restoring cabinet surfaces:
- brushes (different sizes);
- pieces of fabric without fine lint;
- capacity for diluting the product.
Only creative people can cope with such work, since you need to choose the right tones, shapes and more.
A construction hairdryer can be used to dry the surface quickly, but it also increases cracks.
When buying materials, be sure to make sure of their quality. The varnish should be pretty runny. When applying, in no case shake the bottle, otherwise the subsequent application will be of poor quality in the presence of bubbles.
They use bright colors, which at the end of the work are diluted with lighter and softer tones.
Do-it-yourself cabinet restoration consists of the following steps:
- replacement of cabinet fittings;
- cleaning the old cabinet;
- necessary repairs;
- decoration in craquelure style.
Wooden cabinets dry out, causing cracks.
You can check how dry the furniture is with your finger, if it sticks slightly, but does not leave marks, the surface is ready.
Other ideas for DIY cabinet restoration
- Some take the easier route and simply paint the polished cabinet to match the color. Painting is possible with a roller, brush or spray gun.
- You can resort to gluing tape, which also comes in different colors and textures. There are many types of adhesive with imitation of different coatings.
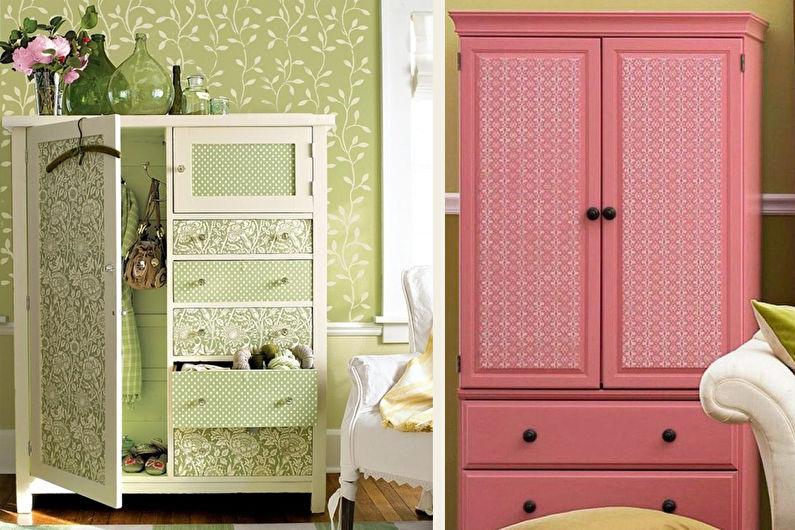
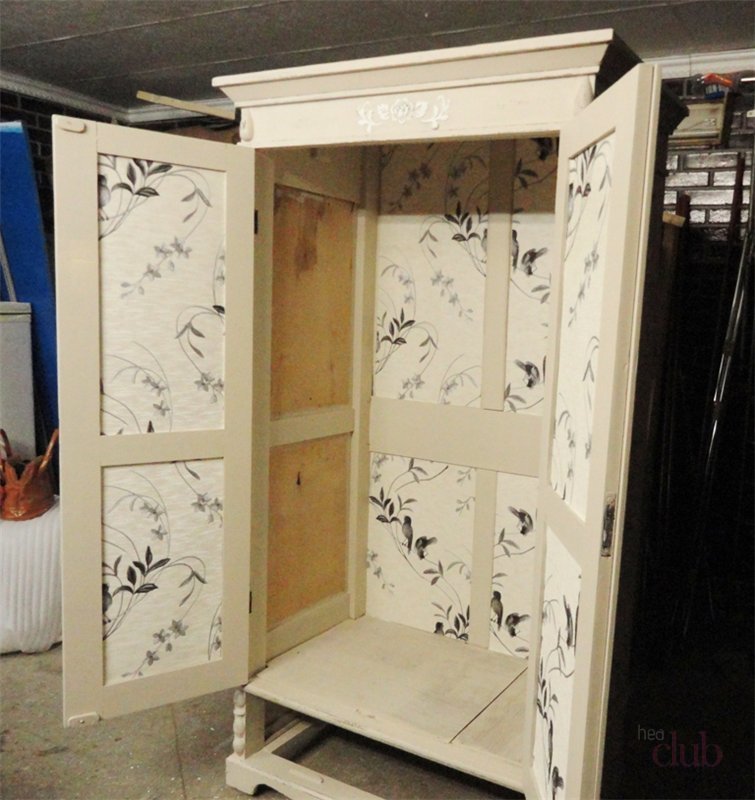
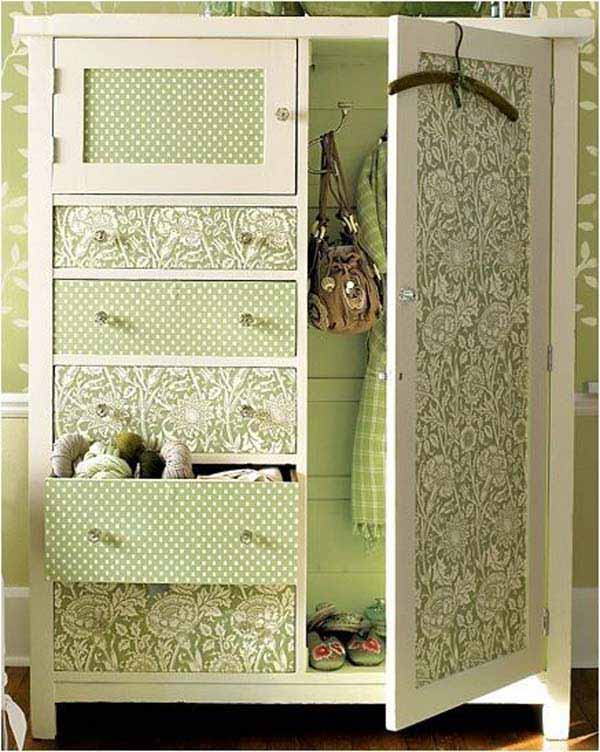
- Sheathing of the frame with fabric or wallpaper. Today it is the most popular type of furniture finishing.
It is worth noting that you should not choose very fragile materials for a large-scale do-it-yourself cabinet restoration. Take advantage of reliable elements, then the polished cabinet will serve you for more than one year, only now it will already be stylish, original and with a thoughtful design!
Refurbishment of chipboard cabinets
Furniture made from chipboard loses its attractiveness over time, no matter how carefully it is used. You can restore a beautiful appearance to the products and add fresh colors to the interior by painting old chipboard cabinets
It should be noted that chipboard does not absorb paint well, since the furniture is covered with a moisture-repellent laminated layer.

In addition, if the condition of the cabinet fasteners is unsatisfactory, it is recommended to replace the hardware and reinforce it additionally. How to paint an old chipboard cabinet:
- All removable elements are removed from the furniture so that an empty frame remains for painting.
- Using coarse sandpaper, remove the layer of old paint (if any) and varnish.
- Rub the surfaces carefully so as not to damage the base. The cabinet is swept with a dry dust-free cloth.
- Corners, edges, joints and protruding elements are processed with fine-grained emery paper.
- Water-based acrylic paint is a better option than painting on chipboard. The color scheme is chosen according to your taste.
- Before painting, the chipboard cabinet must be primed so that the paint is less absorbed into the material.
- The primer is applied in a thin, even layer and the composition is allowed to dry - usually acrylic primers dry no more than 12 hours.
- Apply several layers of paint with a roller or brush (more practical with a brush), each time drying the coating before painting.
- When the furniture is painted to securely fix the coating after complete drying, the chipboard cabinet is varnished, the product is assembled using new fittings.
For painting furniture, only high-quality tools are chosen that do not leave lint on the painted surface.The more layers of paint are applied, the richer the color of the decorative coating will turn out. You need to repaint with a brush in one direction - from top to bottom, apply the paint with a roller in a crosswise motion.
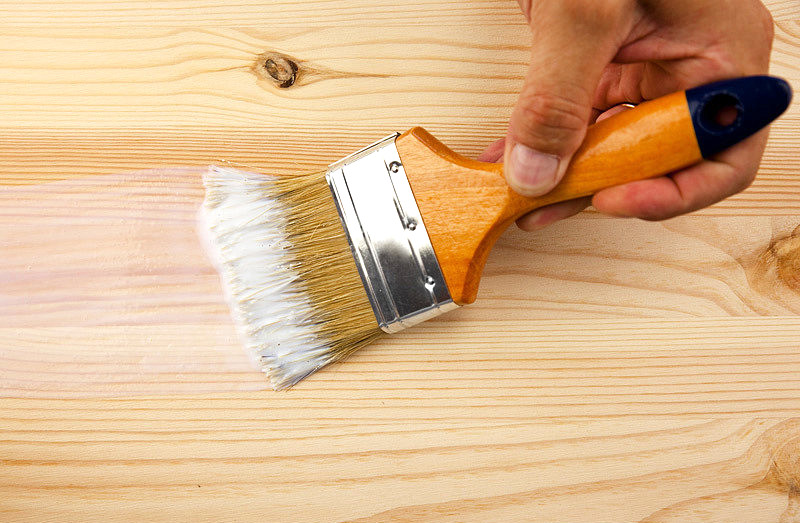
In the video: detailed instructions for updating an old chipboard cabinet.
Restoration of an old wardrobe
Very often, old furniture is so deeply rooted in our lives that there is practically no way to part with it. This is exactly the situation with an old wardrobe from the beginning of the last century. The world around him changed, the apartment acquired a modern look, and the closet stubbornly stood in its place, not wanting to give up its place to its modern brothers.
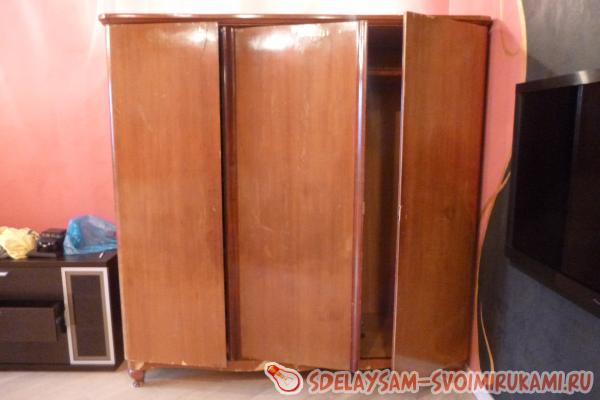
The old wardrobe did not correspond at all to the general style of the room, did not match the surrounding furniture and had a dull reddish color. But nevertheless, a bold decision was made - to restore the old man and leave it in the same place. A quick inspection revealed a lot of cracks, chips and chippings.

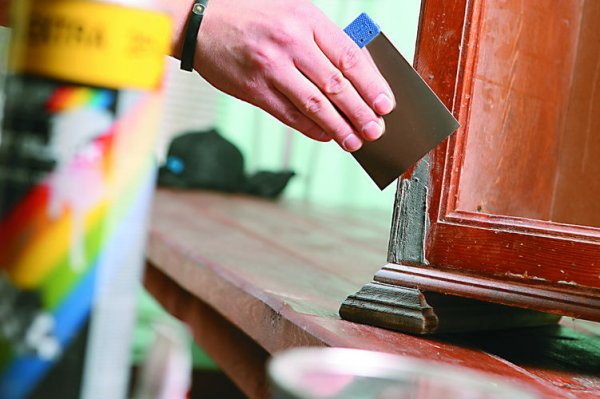
The first stage of restoration work is always to remove all loose elements and old varnish, if any. The wash is applied with a brush or steel trowel. After 20-30 minutes, the remover will dissolve the old varnish. After that, you need to thoroughly clean the surface with a spatula, and then with a hard sanding paper. The cabinet surface is now uniformly clean, dry and rough.
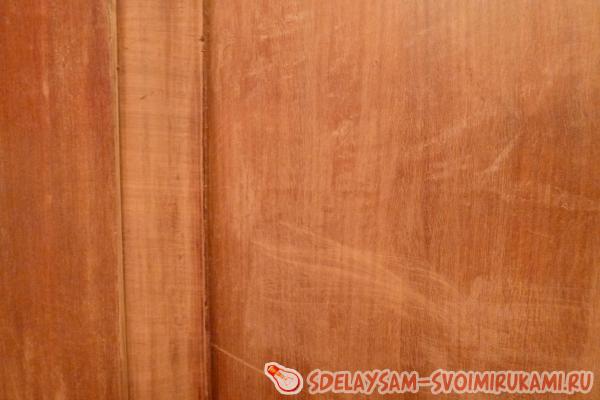
Now it is necessary to painstakingly and thoroughly "heal" all cracks and scratches on the wood surface. For this we need a special wood putty and a soft rubber trowel. All defects are rubbed with a putty and, as they dry, are sanded with fine sanding paper.
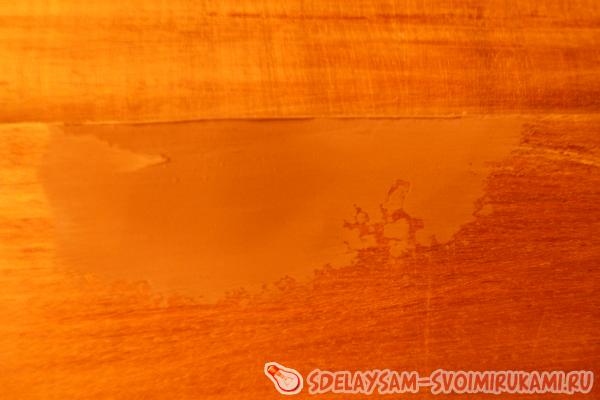
Next, cover all surfaces with a liquid tinted stain.
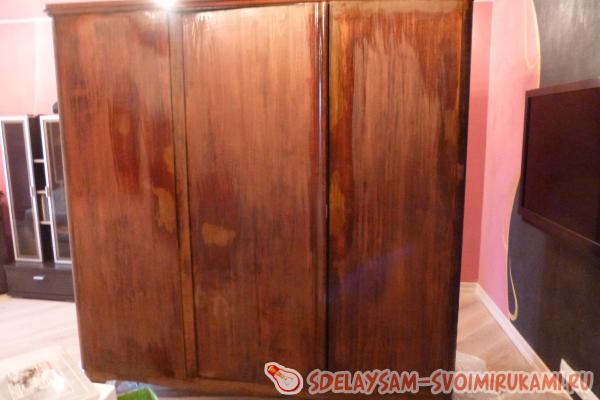
To achieve the effect of uniformity, you will need 3-4 layers with intermediate drying for 2 hours. After the final layer of wood stain, it is necessary to dry the wood for 20-30 hours at room temperature. Now you can start the initial varnishing. For this, it is best to use a modern water-based acrylic varnish. We evenly varnish all surfaces of the cabinet.
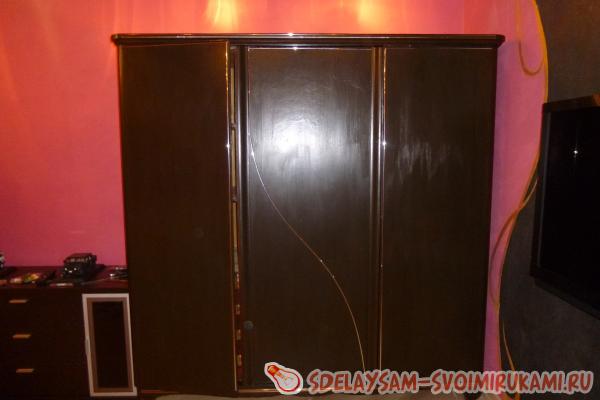
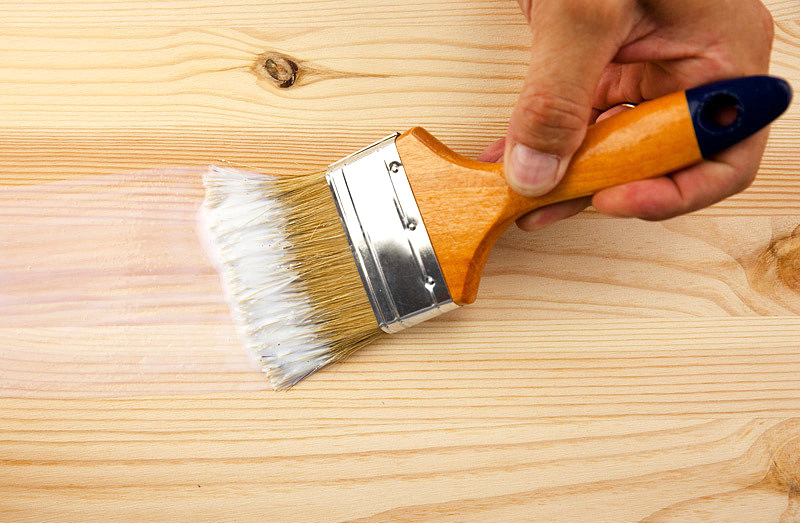
The varnish is applied to the surface using a special brush with a hard natural bristle. The direction of movement of the brush should be from top to bottom, and never vice versa.
When the varnish dries, you can start decorating the cabinet. For this we need a self-adhesive furniture edging with a gold effect. With this edging, we decorate the side walls of the cabinet, the facade and especially the central casement.
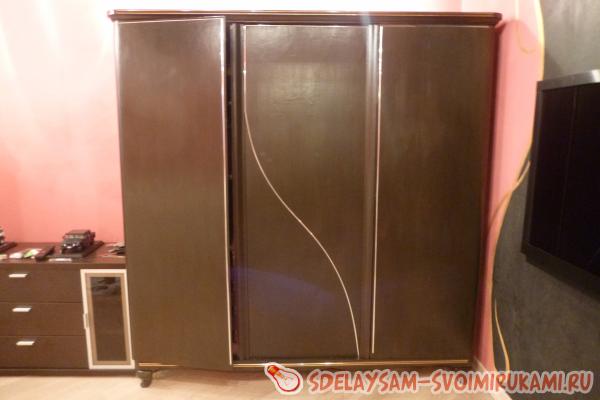
If necessary, you can replace the inner tire for your outerwear. In modern stores, you can pick up a metal or wooden bus and fasteners to it.
Now we proceed to the final varnishing. For this, a special ultra-glossy varnish in an aerosol can is used. This varnish is very easy and evenly applied and gives the product a novelty and chic.
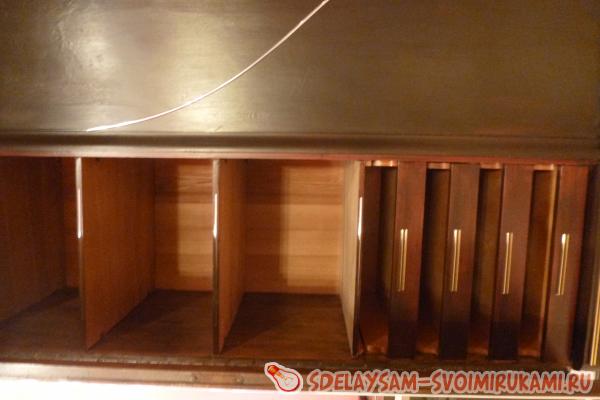
Furniture edging trims can be used to decorate interior drawers and shelves.

It is enough to spend only 3-4 days for all these pleasant chores, but now the old great-grandmother's wardrobe has found a second life and fits perfectly into the modern interior.
How you can decorate at home
To do the restoration of the product with your own hands, you should choose the technique you like and follow the rules of the procedure.
Decoupage
To use this method, it is recommended that you do the following:
- Sand the surface of the cabinet and cover with several coats of primer.
- Attach napkins to the closet and think over their location.
- Moisten a napkin with water and apply to the surface. Carefully smooth out all creases.
- Treat paper with a thin brush and special glue.
- After the layer has dried, open the surface with varnish.
Decorative plaster
To use this technique, the following rules are followed:
- The composition should be applied to the restored product.
- To simulate the desired texture, the cabinet is painted in a shade that is close to the color of the plaster.
- Contrast coloring will help to achieve the craquelure effect.
- Apply decorative plaster with a brush or spatula.
Fabric decor
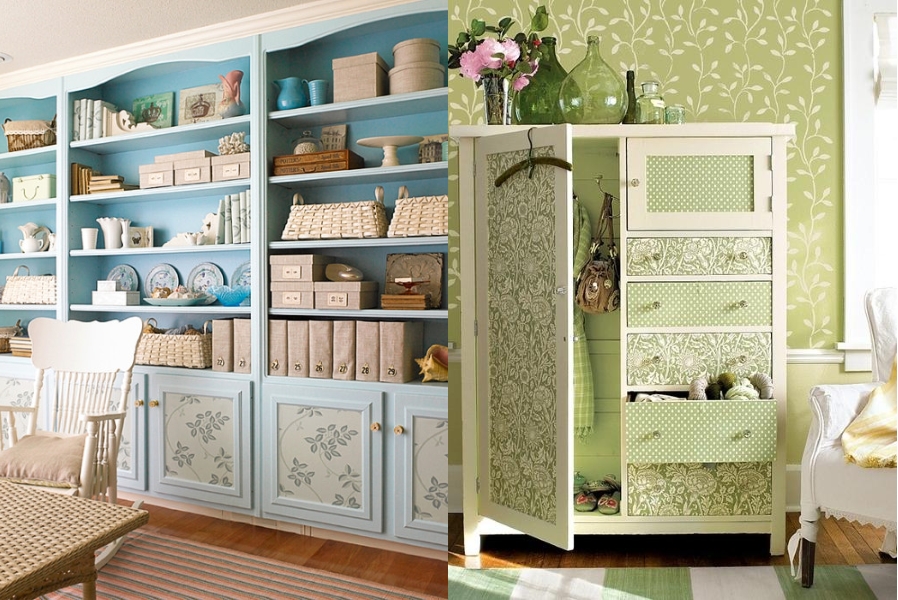
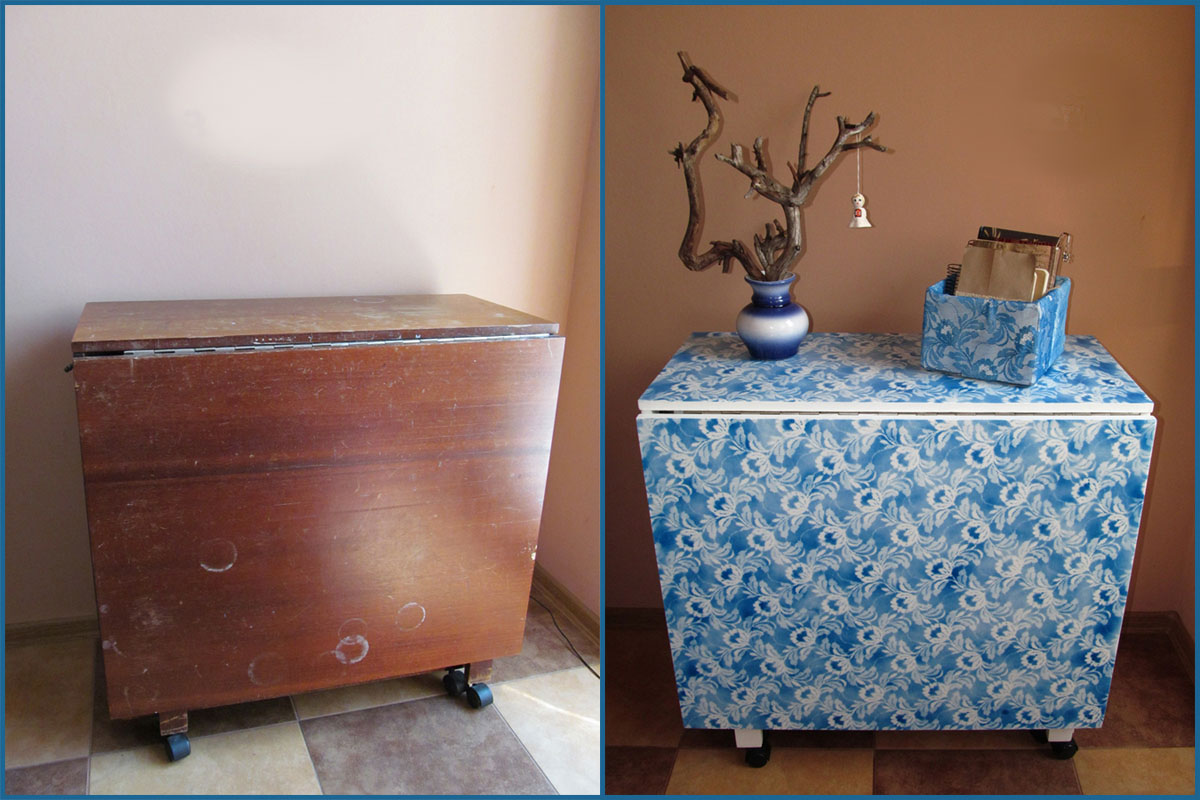
To decorate the wardrobe with fabric, it is recommended to use different textures. Smooth silk will perfectly fit into the refined interior, and rough linen will complement the Provence style. A classic product can be obtained using lace. Ordinary PVA glue will help to apply textile elements to the cabinet.
Stages of restoration using staining
Before studying a master class on dyeing a product for storing clothes, it is recommended to carry out preparatory work on wood. These include cleaning and sanding old coatings.
It is important to achieve a smooth surface so that when painting the brush evenly applies the composition
For small areas, use sandpaper; for large areas, use a sander. The final stage of preparation always involves the use of the finest grain sandpaper on wood.
As soon as the work with the defects is completed, the decorators advise to proceed to the primer. This stage is no less important than the painting itself. It is necessary to restore the old cabinet with your own hands with high quality, so the soil will be an excellent solution: it will hide all the cracks and fill the pores. In addition, a primed coating will absorb less colorant.
After waiting for the product to dry completely, we restore the cabinet with paint:
- we unscrew all the accessories that will prevent the brush from penetrating into narrow places;
- those elements that cannot be removed - we seal them with masking tape in order to preserve their original appearance;
- for painting wood, it is better to use special acrylic compounds - they fit better on the plane and create a protective film layer. Pour the paint into a roller container and get to work;
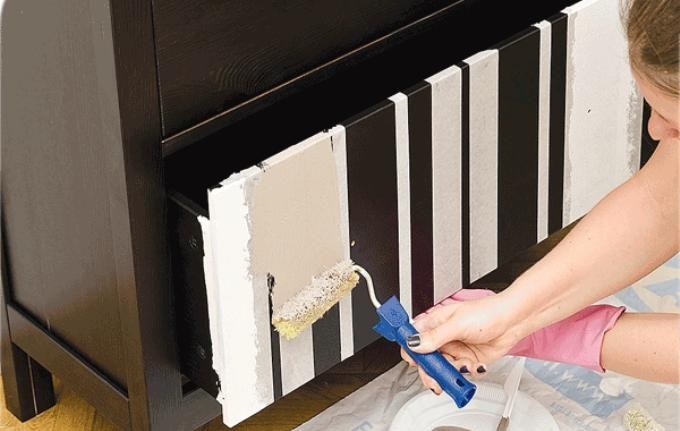
- first we process all the internal elements: shelves, compartments, mezzanines. After that, we move on to painting the facades, as shown in the photo;
- after the first layer has dried, apply the second, and if necessary, the third layer of paint. This is necessary to achieve the brightness of the color and complete filling of all gaps;
- a dry cabinet must be opened with varnish in several stages.
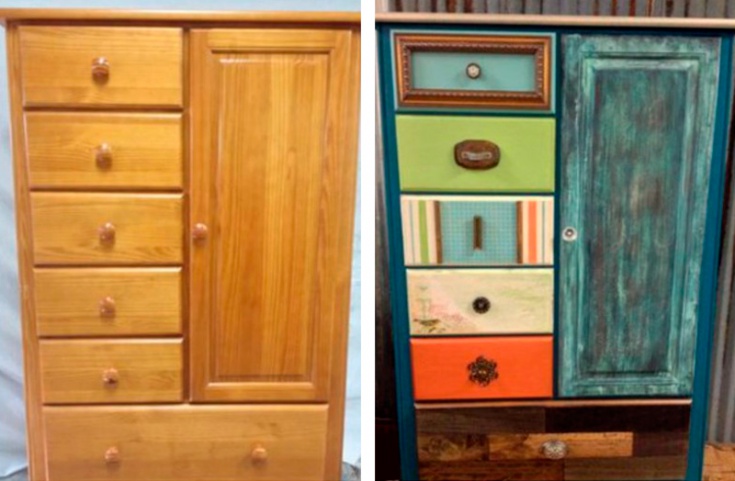
Restorers advise to show imagination and make the cabinet not in a monochromatic version, but to add several colors to the facades. The simplest option is geometric shapes. To do this, using masking tape, some part of the facade is sealed and the remaining area is painted in a different color. For originality, you can arrange a cabinet in a contrasting design.
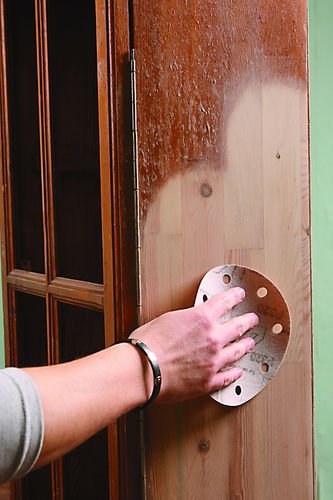 Removing the old coating
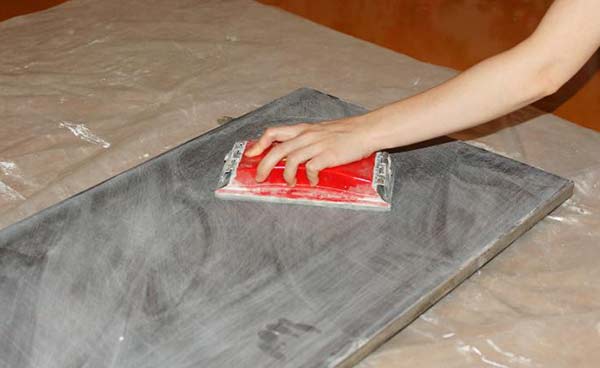 Grinding parts
 Chips are sealed with putty
 Surface priming
 Painting parts
 Varnishing

The main stages of work
To restore an old chipboard or solid wood cabinet, it is important to do the work in stages. The following steps are ahead of the master: Predetermining the final furniture style
Here you need to look around, evaluate the color scheme of the room. Understand her general style. Indeed, as a result, the furniture should actually fit into the overall interior.
Preliminary definition of the final furniture style. Here you need to look around, evaluate the color scheme of the room. Understand her general style. Indeed, as a result, the furniture should actually fit into the overall interior.
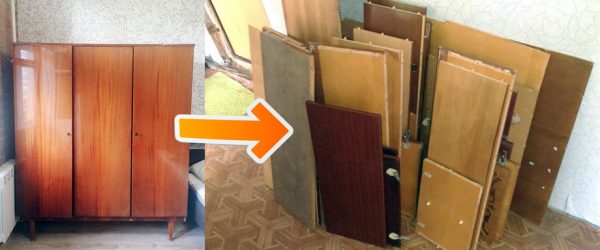
Dismantling the old cabinet. It is necessary if the doors are loose, sag. In addition, you will have to disassemble the furniture in order to change the sliding mechanisms at the drawer, check the fastenings of the shelves. Change them if necessary. In general, disassembly refers to the removal of all moving parts.
Minor repairs. At this stage, all cabinet elements need to be washed, cleaned of dirt, soot, dust
It is important to take the old hardware and go with it to the store to buy a new one. Be sure to stick to your chosen new cabinet style.
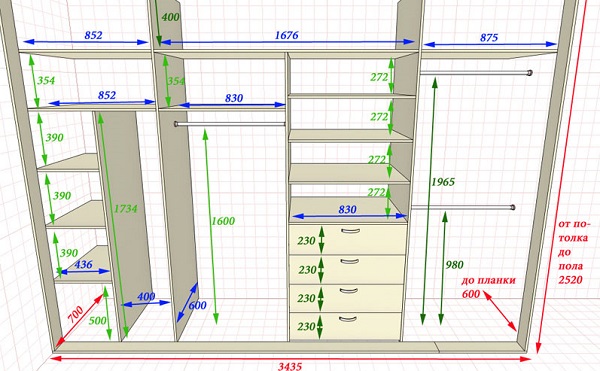
Tip: in order for the sliding mechanisms to be purchased correctly, measure the depth of the drawers in advance.

As soon as the most difficult stages of the repair have been carried out, you can start decorating.
Decor
Furniture is painted in one or more colors. Another decor option is patterns. They are applied through a stencil or with masking tape. An interesting effect is created with lace. It is fixed to the surface of furniture and then sprayed on.
Many different materials are used to decorate old furniture. It will be possible to decorate the wardrobe with self-adhesive film, decoupage cards, fabric, decorative plaster. Wallpaper is also used to update furniture.
Film wrapping takes the least amount of time. Another advantage of this decoration method is the large assortment of designs. The film can imitate the texture of wood or be produced in the form of a panel. Experts recommend buying a material with a protective layer, since it will last longer. The film is glued not only to the cabinet body - it is often used to decorate the interior space and drawers.
Master class on cabinet restoration with self-adhesive film:
- Remove all dirt and loose material.
- Degrease the cabinet surface with mineral spirits.
- Cut the film with a 2 cm margin.
- Gently glue the sheets to the furniture surface from top to bottom. Pull the backing paper slowly and firmly to avoid wrinkling.
- The bubbles resulting in the process of gluing must be pierced with a needle, and then straightened.
Decorative plaster
There are a lot of decorative materials on sale that can be used when renovating furniture. Interesting results are obtained when using various types of plaster. There are compositions for creating the effect of craquelure, imitation of marble streaks or wet silk.
Features of working with decorative plaster:
- The composition is recommended to be applied to the already restored furniture.
- To imitate the texture of a stone or fabric, the cabinet must be painted in a shade close to the color of decorative plaster.
- The craquelure effect is created by contrasting coloring.
- For applying decorative plaster, use: brush, spatula or trowel.
Decoupage cabinet
It is also allowed to restore an old cabinet with your own hands using decoupage. The easiest way to decorate in this way is already repainted furniture.
For decor you will need:
- decoupage napkins or cards;
- scissors;
- PVA glue;
- acrylic paint to match the cabinet cover;
- varnish;
- brush and sponge.
Work order:
- Cut out the necessary elements for the decor.
- Apply glue to the cabinet surface.
- Separate the top layer from the decorative elements. Glue them to the cabinet and spread them out with a damp sponge.
- Apply glue over the decor. Let the PVA dry.
- Apply a small amount of paint along the contour of the decor using a sponge.
- Cover the dried surface with varnish.
Fabric decor
At home, it will be possible to update the old wardrobe with the help of fabric. Different types of fabrics are chosen for decoration, including thick cotton and lace. The fabric is used to create accent spots. It is glued to the fronts of the drawers or to the back of the cabinet.
For decor you will need:
- the cloth;
- glue based on rubber (rubber);
- scissors;
- brush;
- stationery knife.
Work progress:
- Cut a piece of the desired size from the fabric with an allowance of 2 cm.
- Apply a thin layer of glue to the furniture surface. Wait 5-15 minutes.
- Place the cloth on the cabinet. Straighten the resulting folds.
- Cut off the excess fabric with a knife.
Dense material can be glued to an unprepared surface. If the fabric shines through, then the cabinet should be pre-painted in a similar color.

