Types and purpose of building blocks
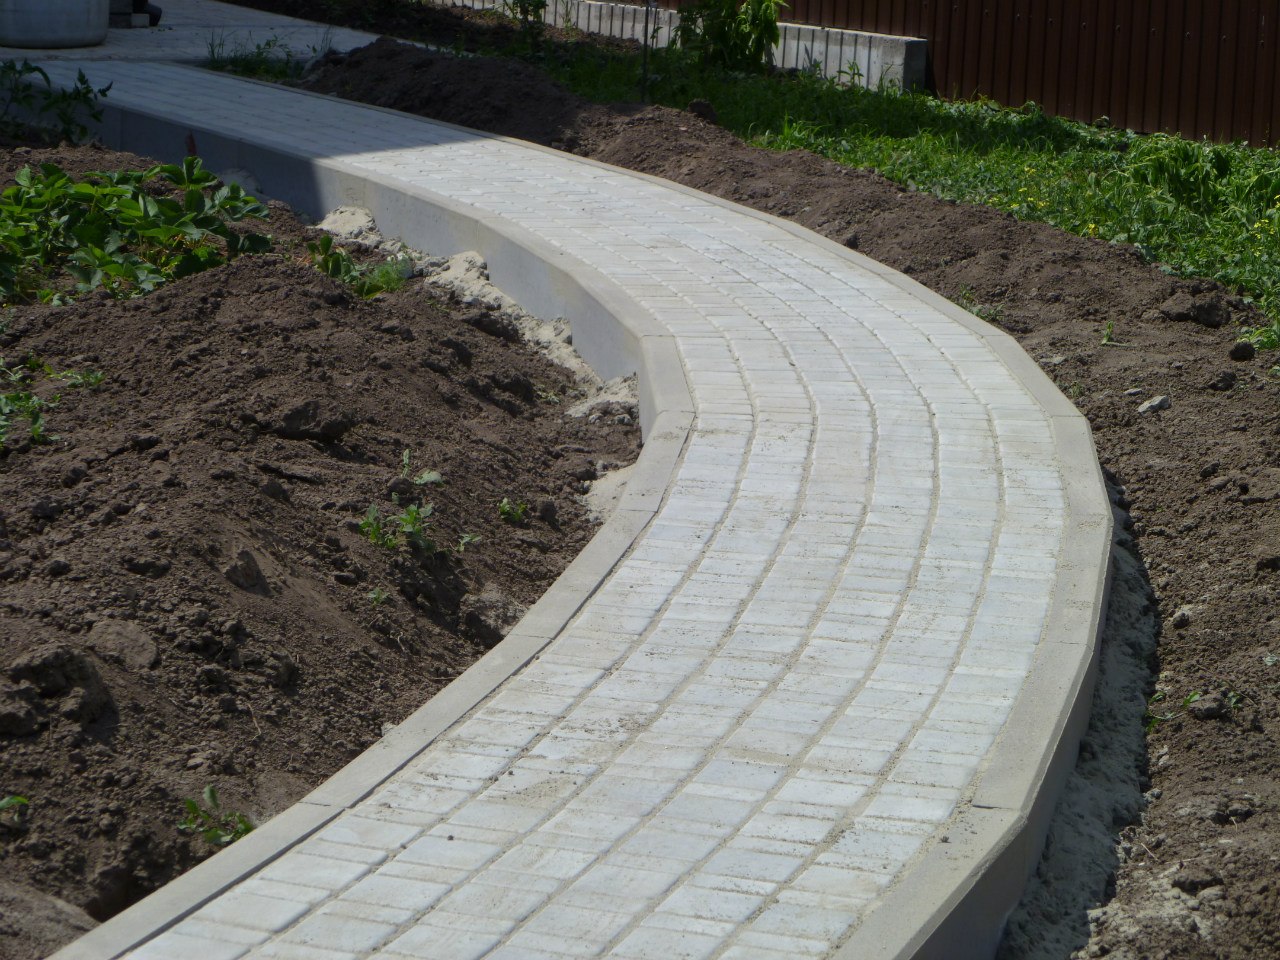
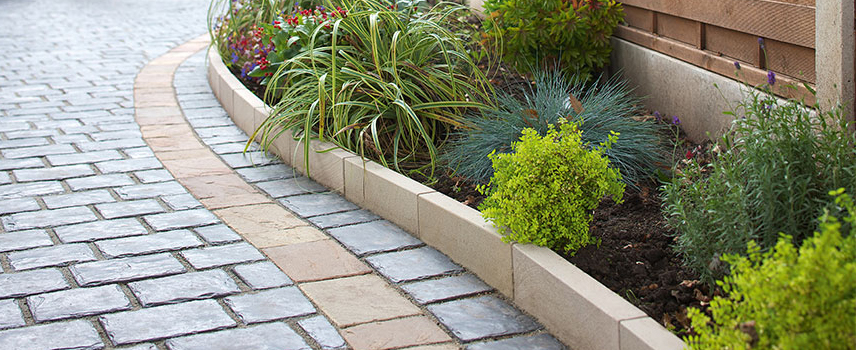
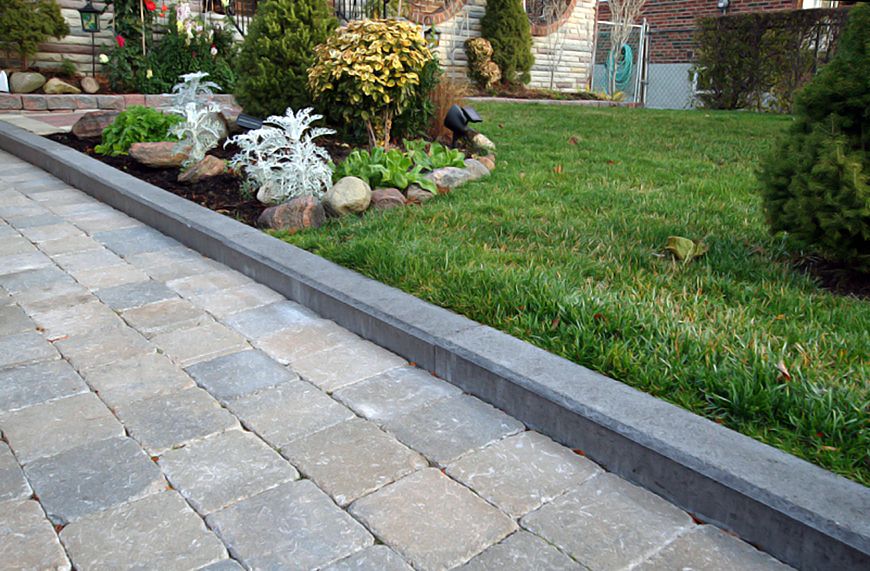
Sidewalk curb is one of the varieties of reinforced concrete products that are installed on the pavement blind areas. It should be noted that there are 4 categories of products on sale:
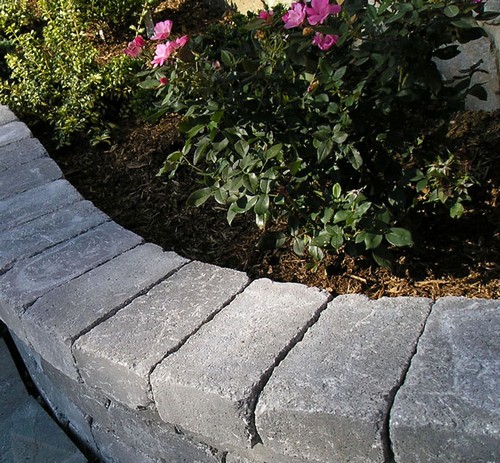
Curb. It is the most common type of stone used to delineate lawns, pedestrian areas and bike paths.
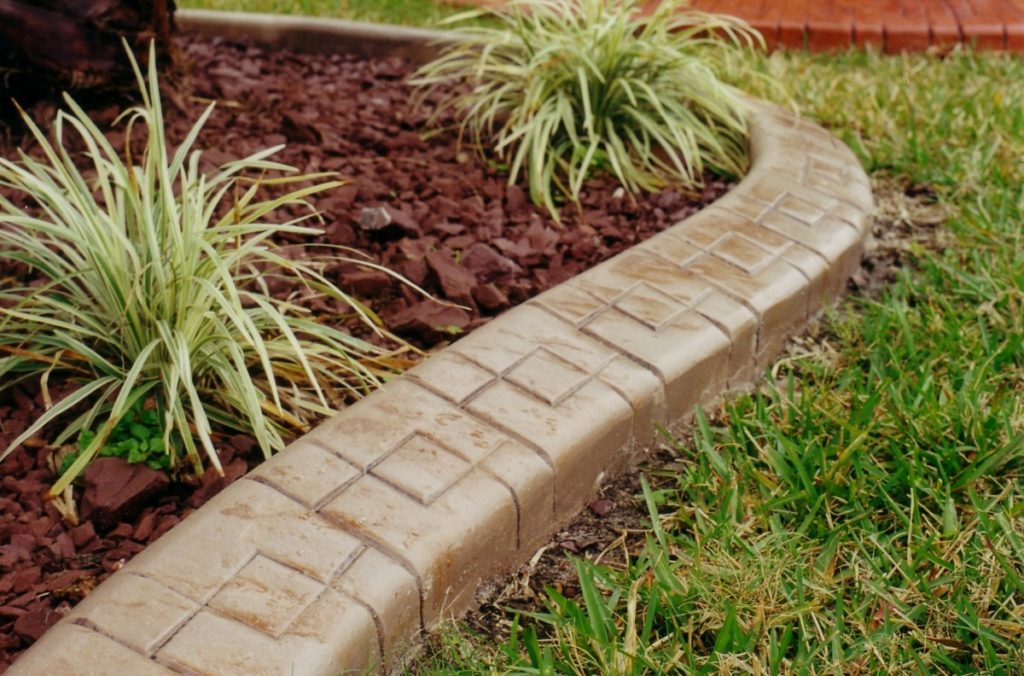
Vibrated curbs
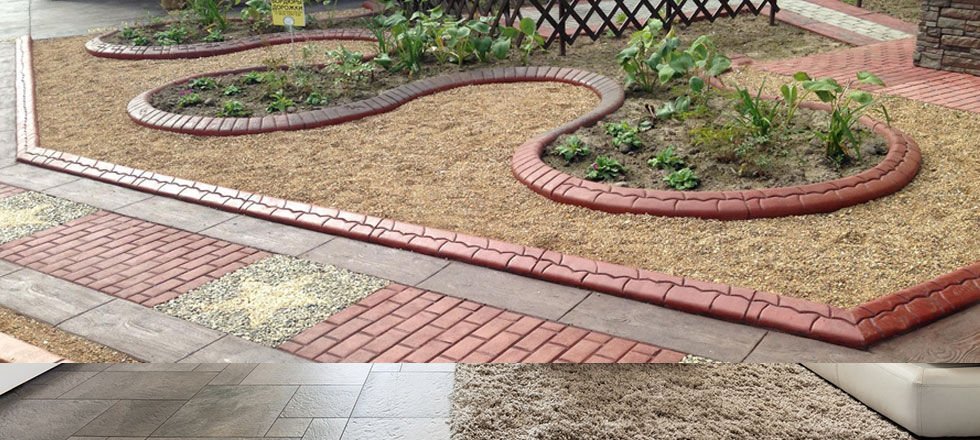
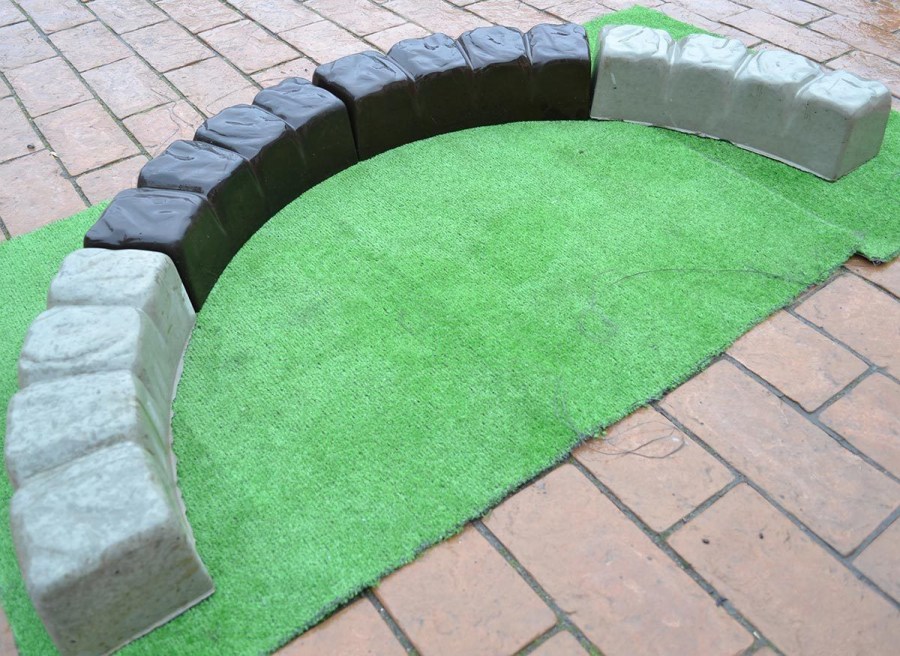
Such products immediately attract attention with their unusual shapes and colors. Products can be produced in the form of steps, waves or arcs
The usual gray color of concrete borders is changed by the addition of dyes and plasticizers. Vibrating cast stones are commonly used as architectural decorations.
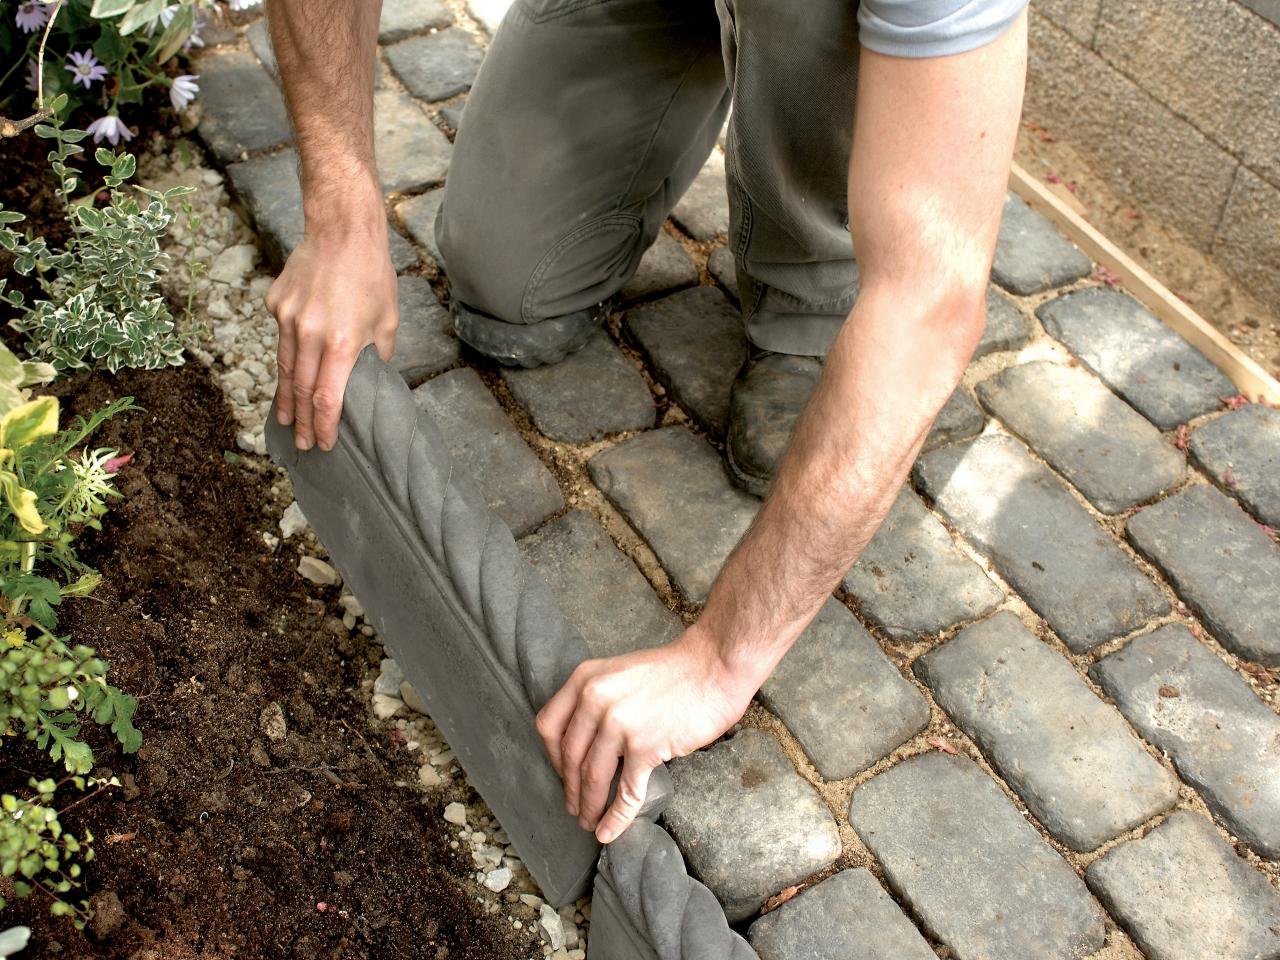
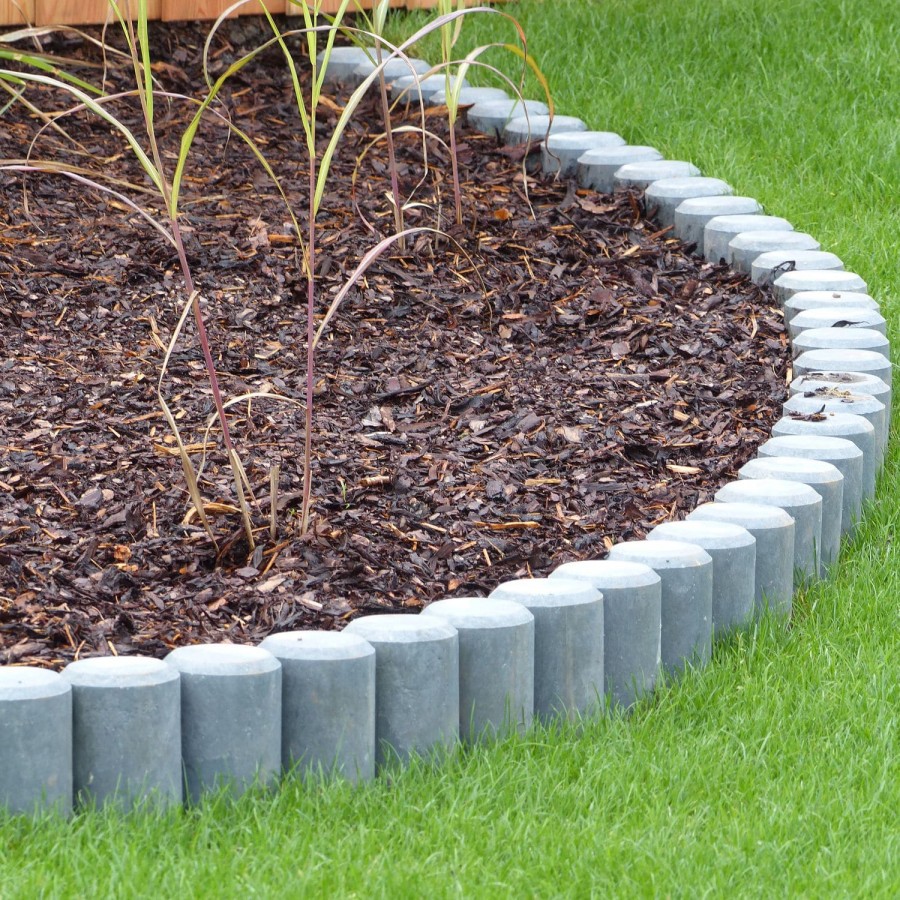
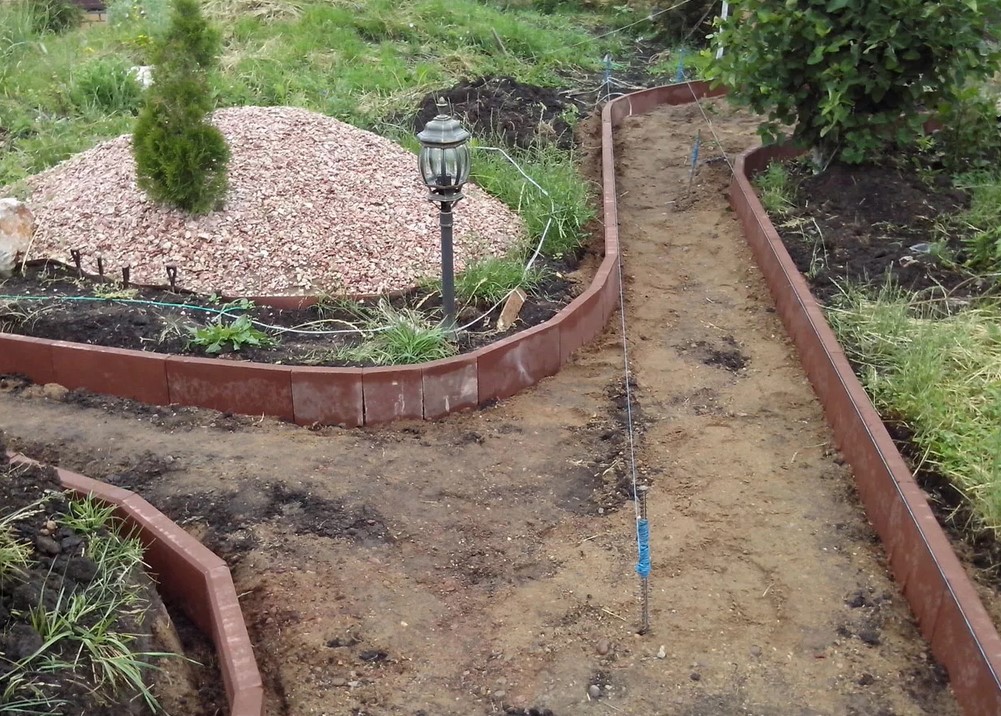
Lawn blocks. This is a type of curb that usually surrounds lawns to prevent the fertile soil layer from spreading.
Road stone. This variety can be considered a sidewalk curb at a stretch. They are used to preserve the integrity of the roadway, therefore, the products have massive dimensions, reinforcement is required during manufacture.
The technology for the production of sidewalk curbs involves the use of heavy concrete of the M 300 or M 500 brands. This is a prerequisite for the structure to have a high margin of safety and resistance to dynamic compression.
Varieties and features of borders
The types of curbs and borders are classified according to the distinctive features of the materials from which they are made. If garden paths are usually lined with stone, then curbs and borders can be made from various materials.
3> Plastic
This material is the most common because of its affordability and ease of use. Main types:
- collapsible structures, represented by the same sections;
- tape types, characterized by increased flexibility;
- solid fences imitating stone or wood products.
Plastic curbs are easy to use, easy to clean and can be quickly removed when needed. Gardeners consider the disadvantage of plastic material to be a tendency to cracks, chips and various damages.
Concrete
To create a concrete fence, the method of pressing or casting is used. This type of fencing is often installed to delimit highways and sidewalks. In garden design, concrete curbs are used if the garden paths are made of paving slabs, and in the future they are not planned to be transferred to another place.
Metal
Metal garden fences can be tape and sectional. The curbs are buried by 10 centimeters, which is an obstacle to the growth of the root system of various crops. Metal curbs are durable, effective at delimiting zones, but they have a significant drawback: the material that is underground is prone to rust and corrosion.
Wood
The wood curb offers a variety of installation options. Pegs, small logs or planks serve as a decorative element to decorate the site. The material is environmentally friendly, looks spectacular and is able to revive any area. The disadvantage of wooden borders is the need to additionally process the elements with special fluids that protect against decay.

Brick
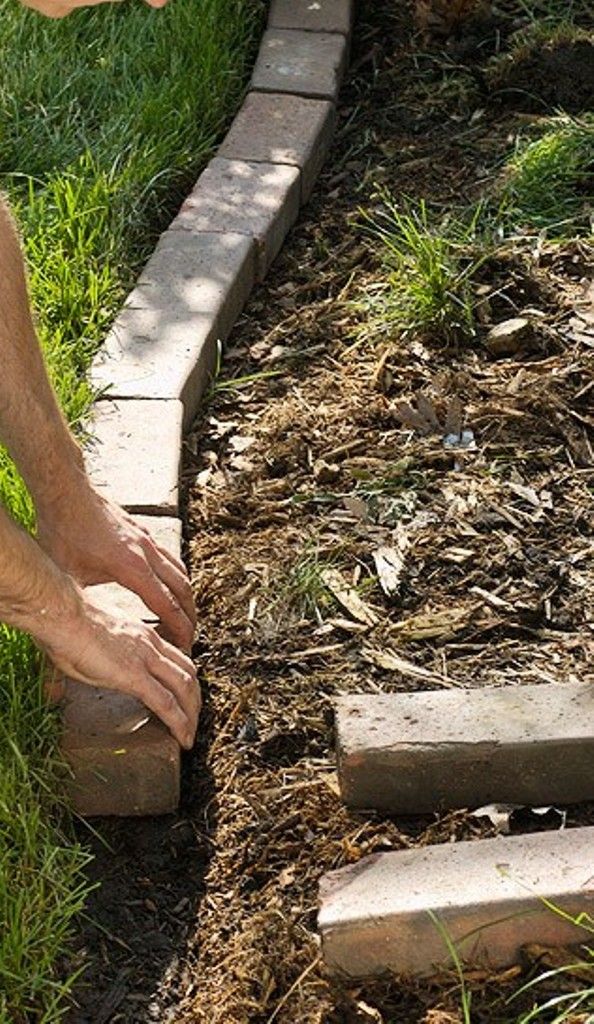
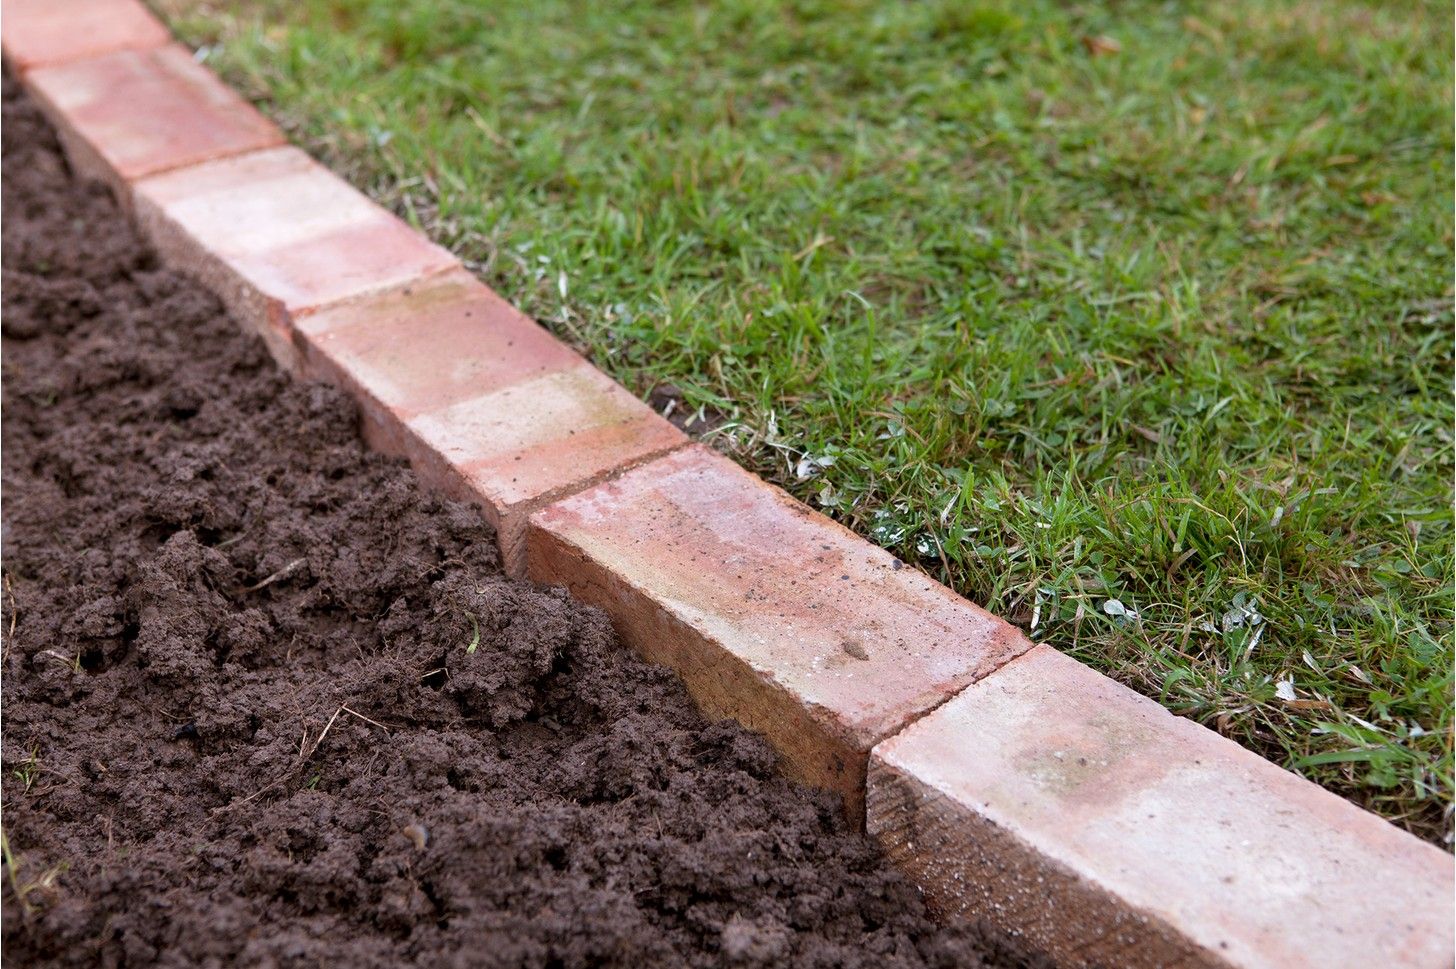
One of the most convenient and durable design options for garden paths is the use of facing bricks. The elements are laid along the entire length of the garden path on the edge, at an angle or on one side. Brick fences are durable, strong, resistant to temperature extremes, excessive moisture.
Stone
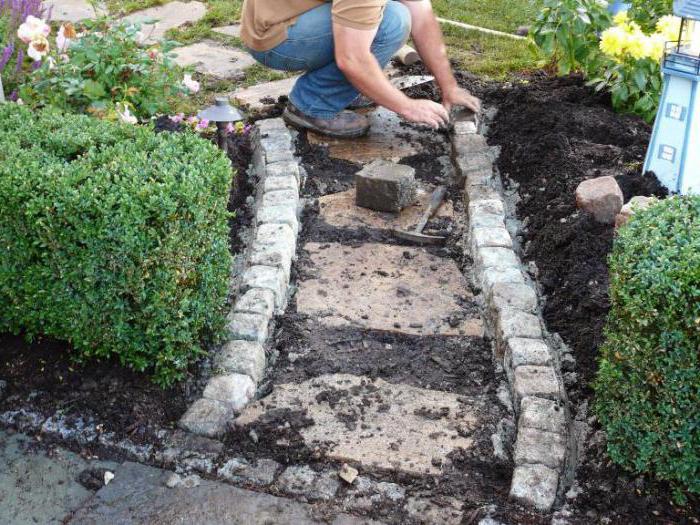
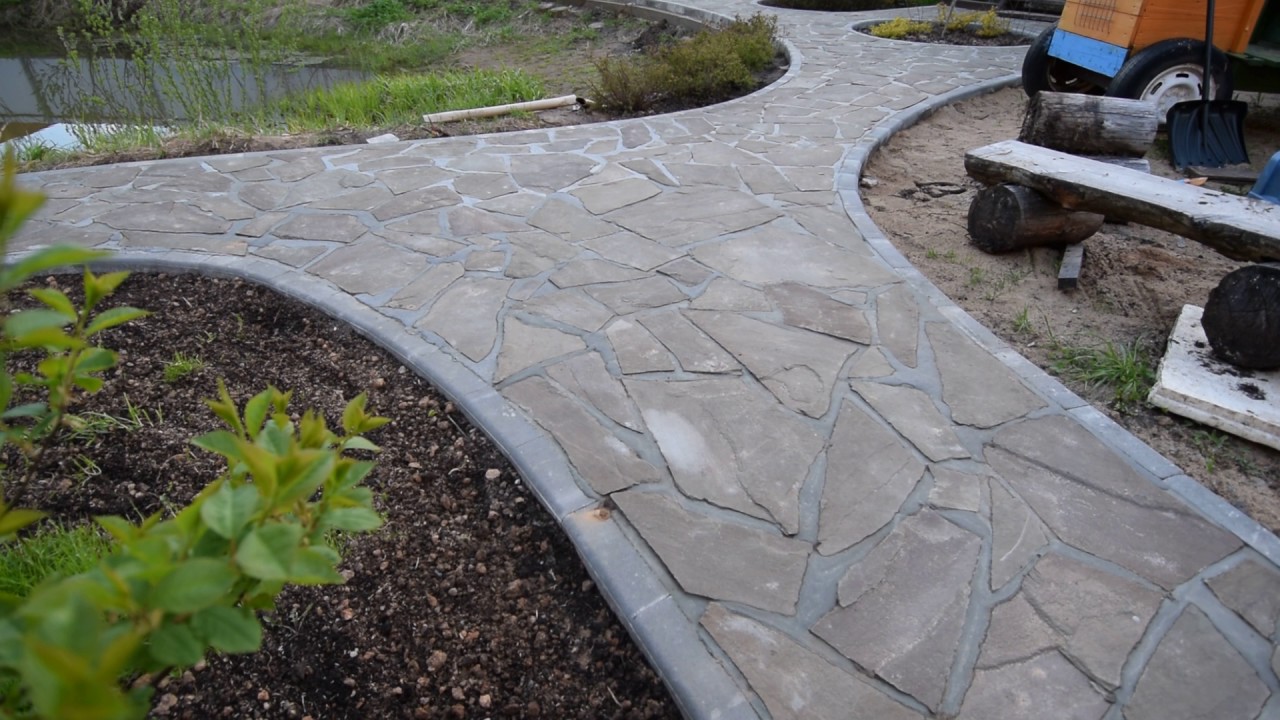
This type of borders is classified as decorative.Various compositions are laid out with a stone, it depends on the imagination of the owners or landscape designers. The stone is most often used to decorate ponds, flower beds. To overlay garden paths throughout the site with natural stone, you will need a lot of expensive material.
Green
An effective option is the design of concrete or gravel paths with a green border. For this, boxwood, cotoneaster, lavender, sage are suitable. The creation of a green border takes a long time, from planting to obtaining the necessary height of the grass takes from 1 to 2 months. At the same time, trimming the curb should be weekly, so that individual elements do not violate the overall composition.
From scrap materials
The budget option is the design of the track with improvised means. Delimitation using plastic bottles, glass, pieces of shingles is common.
Fences for flower beds
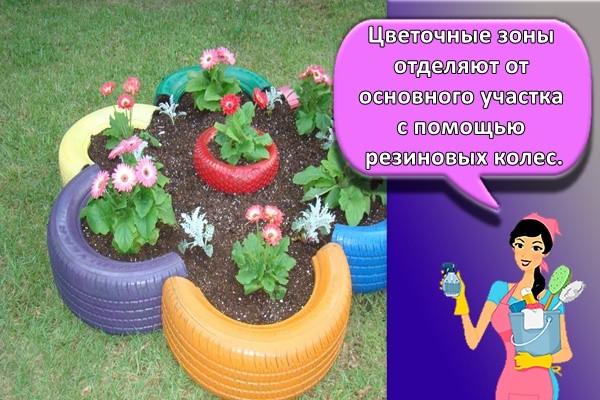
The flower zones are separated from the main area with the help of rubber wheels, cork structures. It is convenient to use stone or brick fences, then flower arrangements will look more impressive.
Network
Fences woven from thin rods are most suitable for decorating flower arrangements. Some types of flowers need additional support, which can be created from twigs, while forming a fence at the same time.
Unusual options
Gardeners on their own plots show imagination. The approach to the design of fences depends on individual preferences and characteristics of the site. One of the options for an unusual design is the installation of ceramic plates with the same ornament, elements of antique iron beds and much more.
Rubber
Over the past decade, rubber curbs have become common. Advantages:
- durability;
- strength;
- the convenience of use;
- moisture resistance.
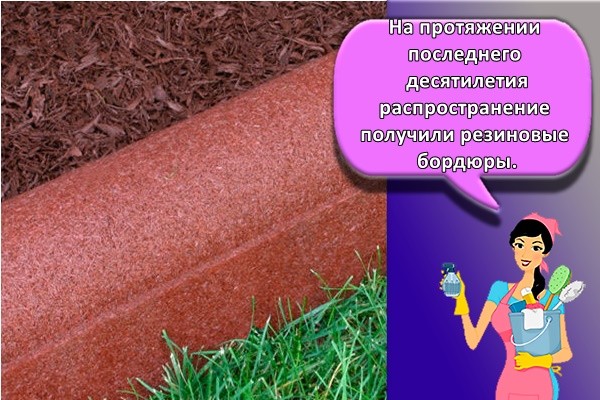
Information! Garden paths from any materials are made with rubber curbs.
Required materials and tools
To make a piece of concrete garden curb with your own hands, you need to purchase the following materials:
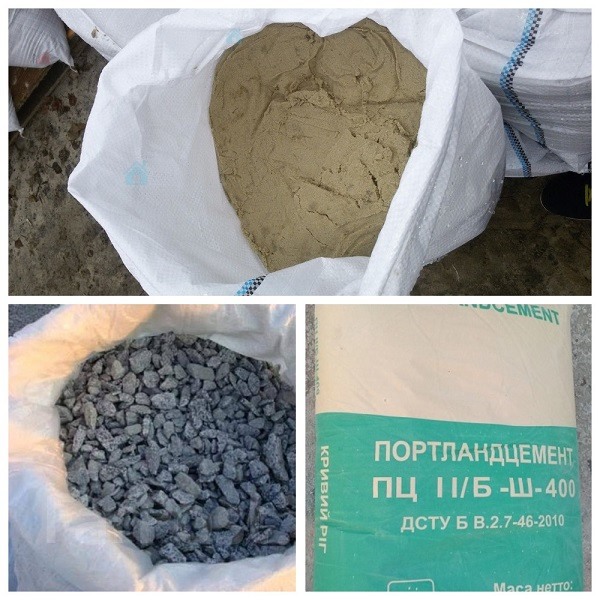
- cement grade M400 or M500;
- crushed stone or gravel (fraction up to 40 mm);
- coarse river or washed sand;
- plasticizer for concrete (can be replaced with liquid detergent);
- water in large quantities;
- pigment dye for concrete (if necessary).
For the manufacture of a monolithic curb to all the materials listed above, you need to add materials for the formwork device. It can be constructed from dense sheet material with a smooth surface (metal sheets, wooden boards, plywood). You can buy a ready-made small-panel formwork structure manufactured at the factory. To fix the formwork elements, metal pins, nails and bars are needed.
The concrete structure of the curb can be strengthened by using reinforcement with a rod diameter of 6 mm. The connection of the reinforcement is carried out using a special tying wire.
To work, you will need the following tools and equipment:

- concrete mixer;
- vibrating machine or vibrating table;
- container for solution;
- forms for pouring concrete;
- tape measure, building level;
- trowel, spatula, shovel;
- for prefabricated formwork - cord, hacksaw, hammer.
Homemade and purchased forms
Forms for the manufacture of curbs can be made in different ways. The main requirement for them is a smooth surface of the sheet material. Can be used:
- sheet steel with a minimum thickness of 0.7 mm;
- laminated or waterproof plywood;
- boards.
The finished form can be a channel with a marking of 16 and higher. Its preparation consists in closing the ends. This can be done by welding metal plates. If there is no welding machine, then you can do without welding by making grooves in the shelves at the ends of the channel, into which the plates are inserted.
The length of the curb should not exceed 2 m in length to avoid the risk of breaking the finished product.It is also not recommended to make a garden curb much wider than the recommended width. Otherwise, it will look rude.
Also, for self-production of curbs, you can buy or rent ready-made forms.
Setting stones on a prepared base
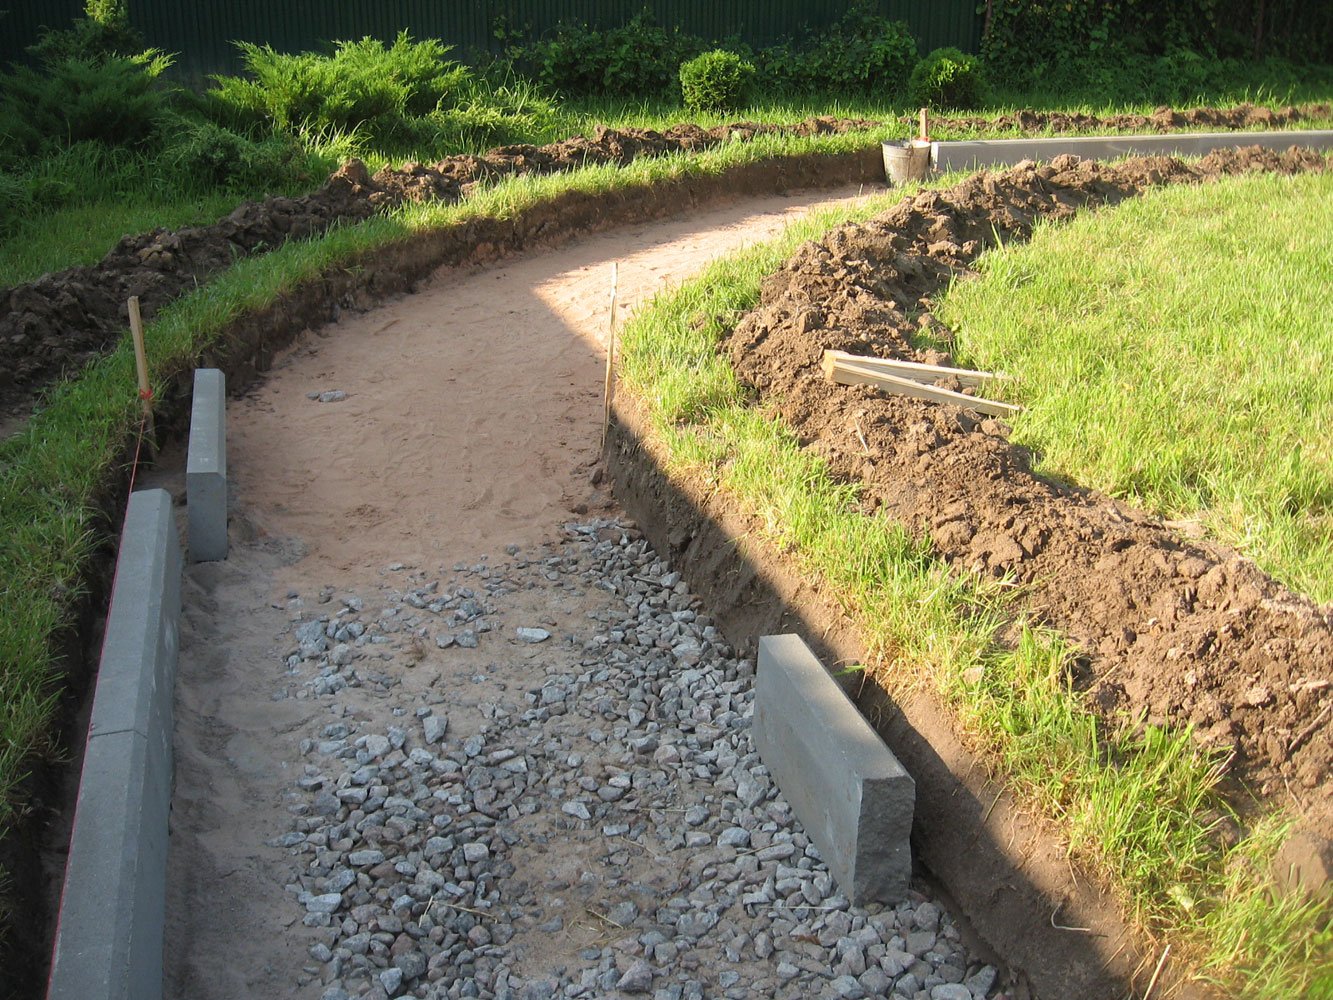
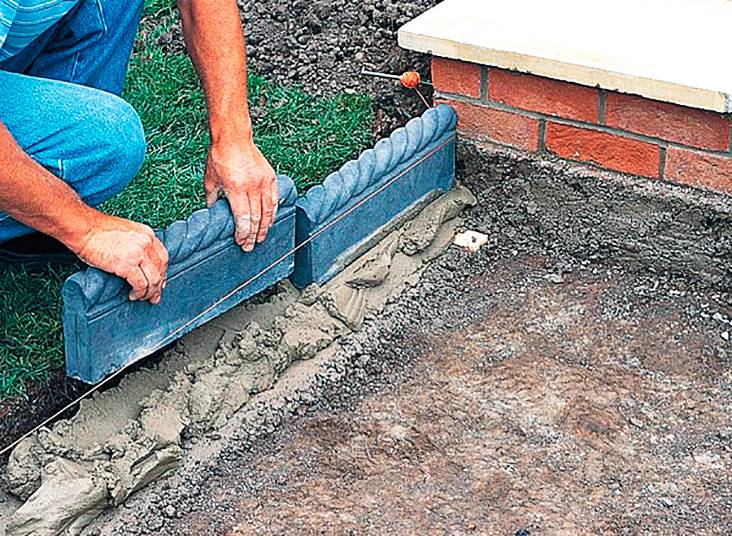
In all three methods, the curbstone must be placed along a cord, which is pulled over the pegs at the top and bottom points, depending on the slope of the longitudinal profile of the track, just before the curb is installed. In this case, the first stone is placed on the edge of the trench, along it.
It is imperative to check the correctness of installation not only along the tensioned cord, but also with the building level in all directions of a possible slope.
The cord is a tool for simple stone presetting, allowing you to see at a glance how to set the curbs correctly and evenly. Planting and leveling the enclosing material is carried out with a rubber or wooden mallet.
The necessary trimming of the stone is performed using an angle grinder (grinder) with a diamond wheel for wood. Do not use vibrating and pneumatic tools for installing sidewalk curbs.
After you have finished placing all the curb stones, they are fixed with cement mortar or concrete mixture poured on both sides using fine crushed stone.
Monolithic concrete curb

The process of installing a curb made of in-situ concrete is easier and faster than from precast, since there is no need to form curb blocks. In this case, concrete is poured directly into the formwork in the prepared area.
For the device of a monolithic border, you need to prepare the following tools, equipment and materials:
- concrete mixer;
- container for delivering the solution to the site;
- shovel;
- hammer;
- boards or metal sheets for formwork;
- bars made of wood and metal;
- metal pipe;
- crushed stone;
- cement;
- washed or river sand.
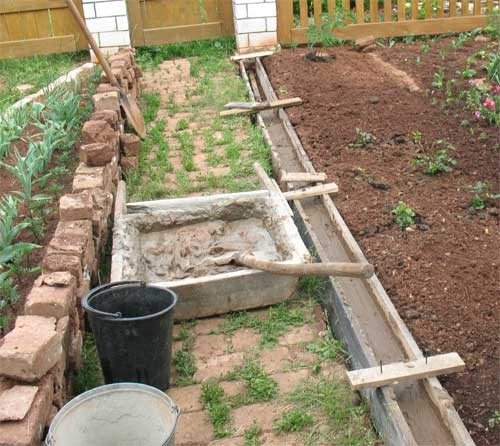
A phased arrangement of a monolithic border will look like this:
- The work begins with preparing the trench for the curb. It should be done with a depth equal to 1/3 of the height of the planned curb and slightly wider than it. The bottom of the ditch is carefully rammed and covered with a layer of sand and gravel.
- Formwork is constructed along the walls of the trench from a smooth sheet material, which will have the appearance of a rectangular shape. Concrete will be poured into it. The formwork is fixed with the help of beams, which will prevent breaks of the sides of the structure and prevent the solution from flowing out. The height of the formwork should exceed the depth of the pit and be approximately level with the upper plane of the curb.
- Preparation of concrete mix.
- The formwork is filled to the brim with the resulting solution. To prevent the formation of voids in the product, the solution is compacted with a metal pipe. To do this, it must be lowered into the solution and swung in different directions.
- The mortar poured into the formwork is covered with plastic wrap or other waterproof material to prevent the structure from drying out quickly. Once a day, concrete must be moistened abundantly with water. This will prevent it from cracking. After that, you need to wait about a week until the product hardens, and then the formwork can be removed.
Sand leveling device
After the installation of the bearing layer of the basement of the summer cottage, the distance from it to the top of the curb stone (the plane of the path) should be about 10 cm (3 cm - a leveling layer of sand and 7 cm - paving stones). First you need to lay a leveling layer of sand.
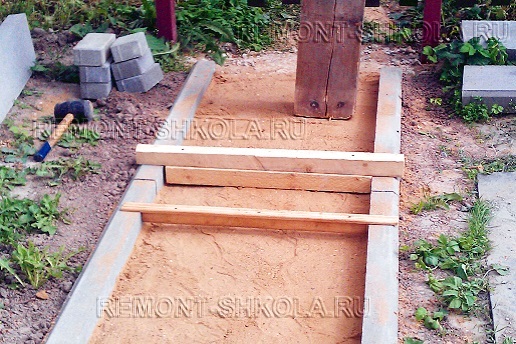
The guides along which the sand layer is leveled, in our case, are the curbs. We make two simple devices with different heights of the lower plank (No. 1 - height 4 cm and No. 2 - height 6 cm).
Important: the height of the planks depends on the thickness of the tiles! If the thickness of the tile is not 7 cm, but 6 cm, then the height of each lower plank is increased by 1 cm, etc.
We scatter sand over the entire surface of the supporting layer of the foundation.We align with the 4 cm high plank No. 1. We ram the entire surface.

As a result, we get a relatively flat surface of the leveling layer of sand with a distance from it to the top of the curb stone of about 5-6 cm.
Garden curb: description and types
The garden curb serves not only to visually decorate the garden, it helps to preserve garden paths and increase their service life, slows down the spread of weeds. Depending on the material used, the curbs are divided into several types: stone, brick, metal, plastic. A high-quality curb does not allow the path to creep along the sides, protects it from grass, does not allow water and soil to accidentally fall on the path.
Garden path curb
The curb for garden paths can have a different configuration and shape, choosing this element of the design of the dacha, you need to be guided by the result that you want to get, the money that you are willing to invest and the function of the element itself.

Garden path curb
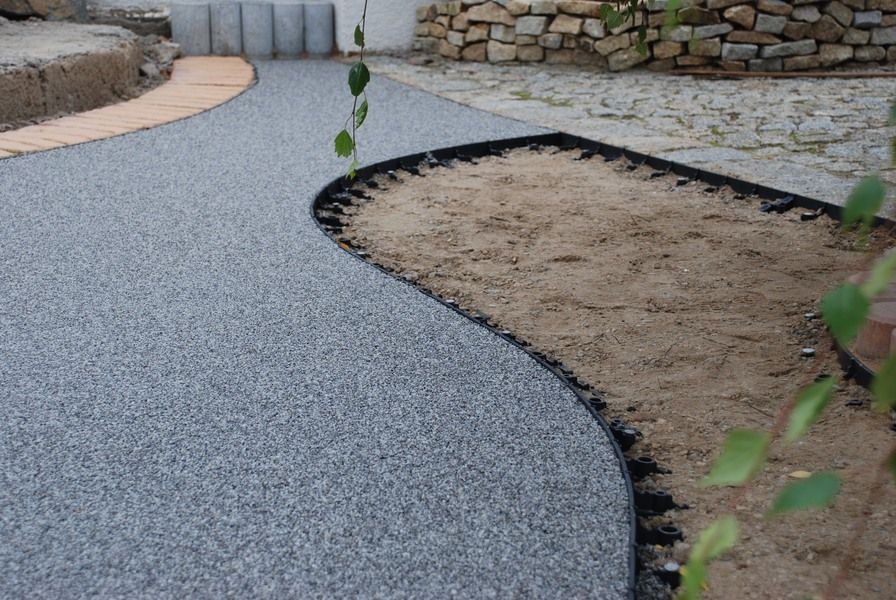
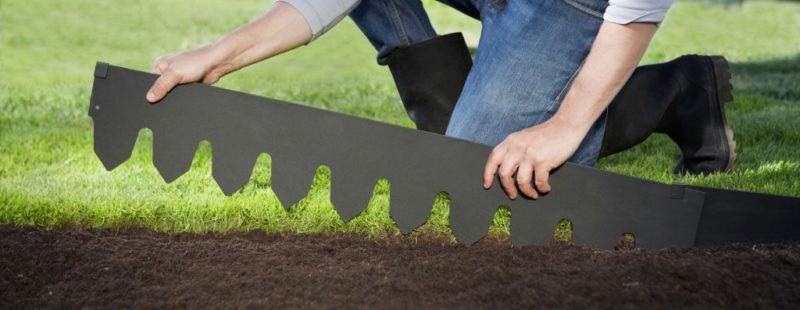
Plastic border
Refers to the cheapest material. With it, you can decorate the track with a minimum of effort. Despite its simplicity and low cost, this frame copes with its duties - it does not allow the track to creep. In addition, it is virtually invisible, allowing for a wide range of track framing designs. In addition, the plastic border will fit into absolutely any style of giving.
The advantages of this material also include a long service life, ease of installation, strength. In addition, plastic is resistant to environmental influences and easily tolerates small mechanical loads. The properties of plastic allow you to build any bend in the track.
It should be noted separately that no preparatory work is required for the installation of a curb made of this material. There is no need to dig trenches and create various drains. This device has special fasteners that allow you to easily fix the structure in the right place.
Among the disadvantages are low environmental friendliness of the product, low appearance characteristics. If there is a need to create a border that emphasizes the style of the cottage, you need to use a different material.
Plastic border
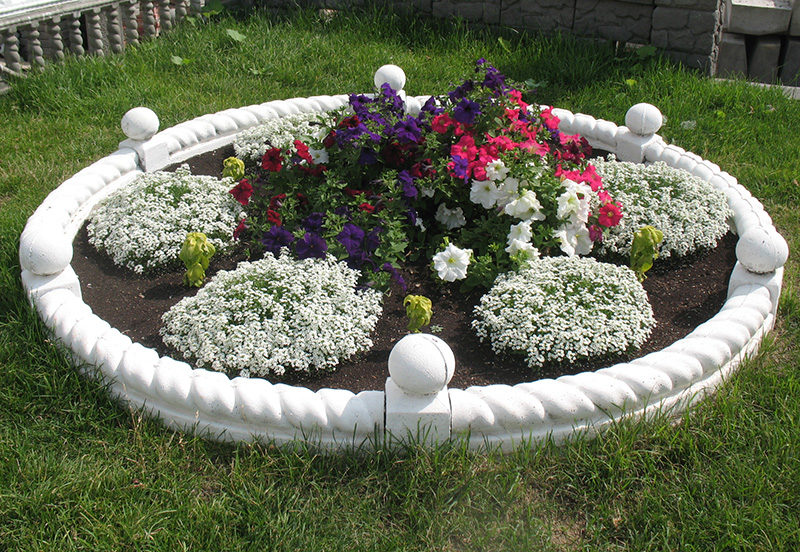
Decorative border
The decorative border perfectly complements and completes the image of the garden. You can show your imagination and build curbs yourself, you can use finished products.
For self-production, any available material is suitable: bottles, stones, wood, plates, even car tires. In addition, the use of unusual materials will positively highlight the appearance of the garden and make it unique. The main rule is that the border should be combined with the rest of the decorative elements of the summer cottage.
Decorative border
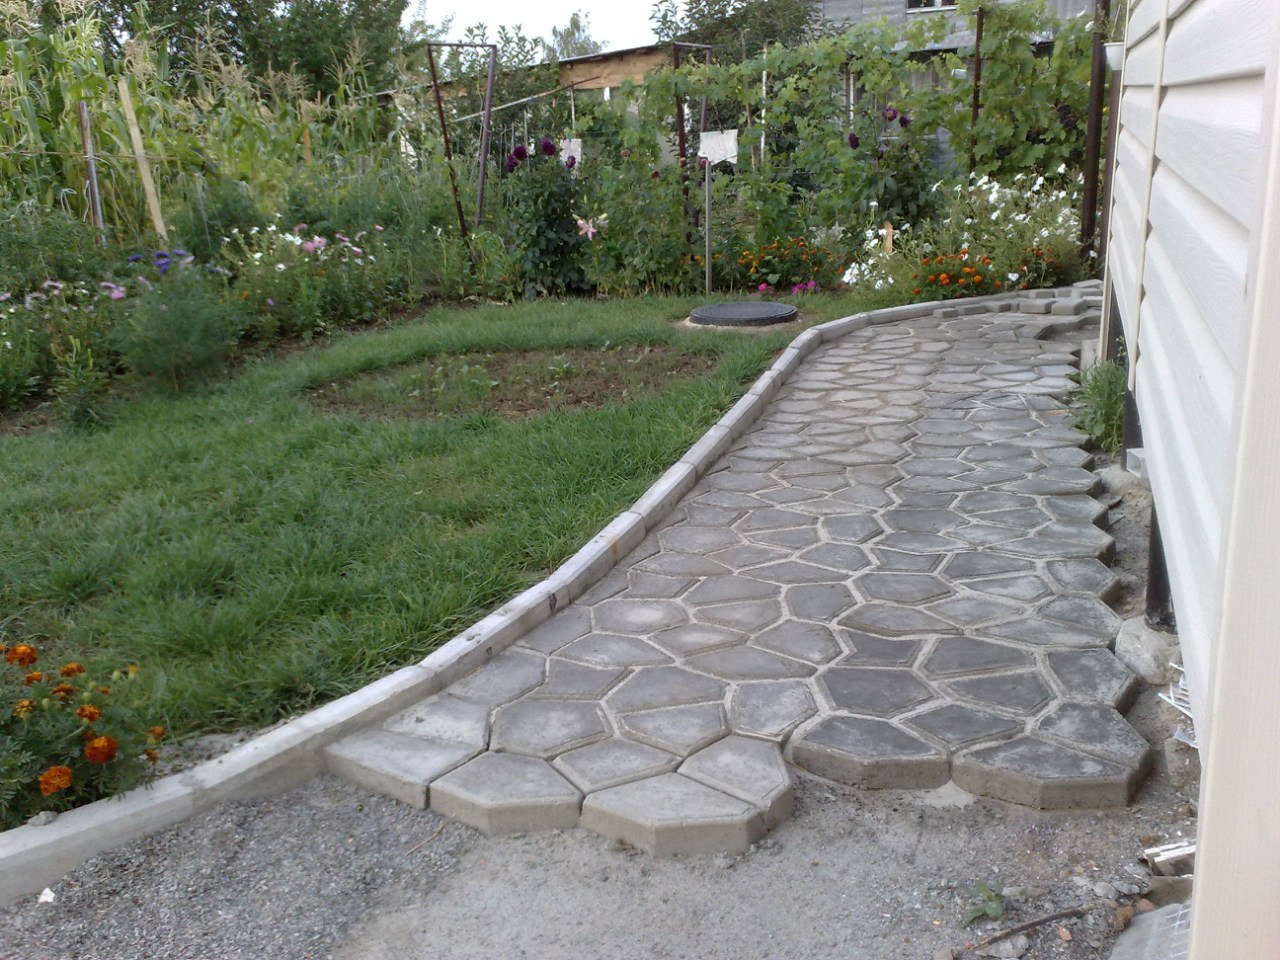
Concrete curb
The concrete curb attracts with its solidity and durability. However, its construction will take time and money. You can make your own curb elements or purchase them at a hardware store.
A feature of this material is the need to create recesses for a stronger fixation of stones. This can be done with a specially dug ditch, or simply deepen each stone. In order for the curb not to sink into the ground over time, you need to make a foundation. With such a curb, you can make a pavement from paving stones or flat stones. It will look very interesting and fresh.

Concrete curb
Country style border
If the dacha is decorated in country style, you can make a border that matches it. This will help the plastic element sold in stores. They perfectly cope with all the functions of a garden curb and stylistically fit into a stop. The advantages include the low cost of such elements, a pleasant and unobtrusive design, and ease of use.

Country border
Forms for borders with your own hands
Bumpers for flower beds and lawns, paving paths are sold ready-made, but you can create them yourself. Summer residents use forms for pouring concrete mortar, which are also made by hand.
There are 2 main ways: using a formwork structure and making a frame-form. The simplest and most affordable option is a removable formwork device. For this you need edged boards or metal sheets. The work is carried out directly at the site of the curbs.
The order of work is as follows:
- Site preparation.
- Marking for future fences with rope and pegs.
- Digging trenches. The depth of the trench is made 5-7 cm more than the height of the future curb, the width should be 20 cm, taking into account the thickness of the boards.
- Formwork installation. Planks are installed on both sides of the trench, secured for stability.
- Preparing the base for the curb. A crushed stone pillow is poured onto the tamped bottom of the trench, which should also be well compacted.
- Reinforcement. Twigs are laid on the crushed stone to strengthen the future curb.
After the preparatory work, a concrete solution is prepared, with which the trenches are poured. After the concrete has set, the formwork can be removed.
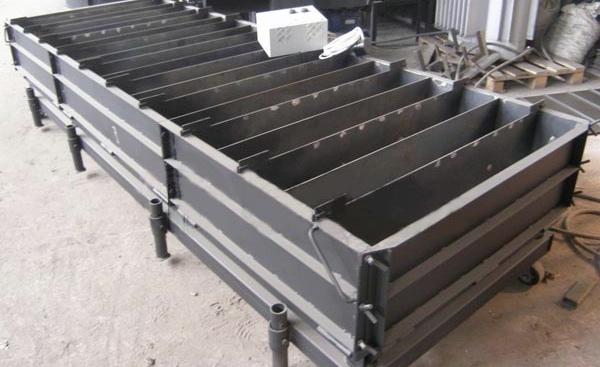
The second way is making forms for curbs. It differs from the first in that the fence is not monolithic, but sectional. For this purpose, an edged board of the required length is used, from which a frame is created for pouring concrete, and the resulting elements are cut at an angle on one side for standardization in accordance with GOST.
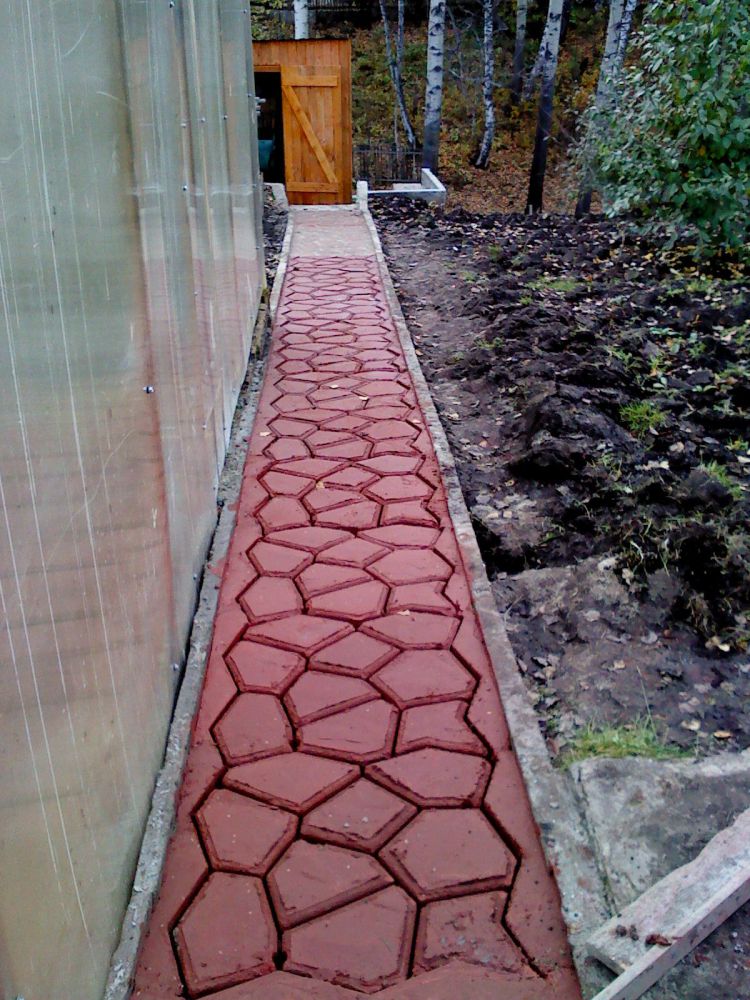
To create a curb of an unusual shape and color, you can also use a special device that resembles an auger receiver. A mixture of sand and cement with the addition of a pigment dye is poured inside, which, mixing, is squeezed onto the ground.
The advantages of this method are as follows:
- high performance;
- ease of solution processing and installation;
- no need to prepare the base for laying the fence.
An incompletely frozen concrete structure can be decorated with various patterns and carved elements.
Self-installation sidewalk curb
The sidewalk curb is easy to install, which is an indisputable advantage of this type of product. It is enough to follow the following procedure for performing work:
-
The marking of the territory is carried out taking into account the characteristics of the landscape.
-
According to the markings made, pegs are driven in, between which the thread is pulled. This will be the level of the top of the curb.
-
Then a trench is formed along the entire length of the marked area. The depth is 1/3 of the top of the stone, and the width is 10 centimeters larger than the block size.
-
The bottom of the trench is compacted to prevent subsidence of the soil.
-
A cement-sand mortar is poured. The recommended material ratio is 1: 3 for cement and sand respectively. The mixture should be flexible enough for pouring, but not too runny.
-
Set the curb to the level of the cord. The stones are leveled in height by placing a solution under the bottom.
-
The joints are also filled with mortar, the installed curbs are left for 24 hours for the mortar to set.
Then the free space of the trench is filled with soil, which must be carefully tamped. At the final stage, the sidewalk is being installed.
Laying tiles with deepening
Arrangement of a paving slab path in a country house without borders can be carried out by the method of deepening.
Preparatory work
The installation technology with buried tiles in the ground is only suitable for flat areas. Pegs are fixed along the perimeter and a cord is pulled. At least 30 cm of the topsoil is removed from the marked area.
The deepening lends itself to leveling with a rake or shovel, and the trench is made at a slope of 5 mm for each meter of length. To prevent the tiles from sinking, the soil is moistened and tamped.For these purposes, you can use a hand tool or a roller.
Then sand is poured out with a layer of 7 cm, leveled and moistened. The liquid must be added until small puddles form. After a couple of hours, the pillow is leveled and rammed again. Then a mixture of sand and cement is added. It is filled up to the level of the lace placement.
Laying tiled elements
After completing the preparation stage, you can proceed to the installation of the tiles. Before that, between the pegs around the perimeter, you need to pull a thread, which will indicate the upper edge of the paving elements
First of all, the extreme row is laid out (it is important to make sure that it does not touch the cord)

Subsequent paving elements are fixed away from themselves so as not to damage the cement and sand cushion. The elements are rammed with a rubber mallet by light tapping. This will prevent cracking of the material. With a strong subsidence of the tile, a mixture of cement and sand is added under it.
After the completion of the masonry, the tile joints are backfilled. In this case, the tracks are evenly poured with sand, and the remnants of the composition are swept into the seams. The pillow is moistened and dried, after which a mixture of sand and cement is introduced.
With this technology, you can equip a reliable surface with increased strength.
Concrete preparation
The solution is best mixed in a concrete mixer. Thus, the finished products will be durable and of high quality. Hand-kneading the concrete thoroughly with a mixer is a difficult task, since the solution contains crushed stone
This will negatively affect the end result of the work and the quality of the product.
It is important that the water and sand are clean. The sand should be free of clay impurities, which reduces the grade of concrete and reduces the operating life of the curb
Therefore, sand must be sieved before work. It is best to take tap water or from a well.
For easy extraction of finished products from the molds, it is recommended to lubricate their inner walls with machine oil.
M400 concrete solution is prepared from cement, sand and gravel in a proportional ratio of 1: 2.5: 3, and M500 brand - in a 1: 3: 4 ratio. First, half of the required portion of sand and crushed stone is poured into the concrete mixer, the resulting mass is mixed for 2-3 minutes. After that, cement and the remaining parts of sand, crushed stone are added and mixed again in dry form for 4-5 minutes.
A plasticizer or liquid detergent is diluted in water and gradually added to the dry mixture in a concrete mixer until a solution of the desired density is obtained. Colored borders can be obtained by adding a coloring pigment to the water. The concrete mixer must work continuously at all stages of adding materials.
The scheme for preparing a concrete solution for pouring into molds and into formwork is the same. The only difference is in the required amount of solution. The more forms, the faster the process of making borders will be. It is recommended to have at least 8-10 forms.
Installation of a curb on a sand-cement mixture or concrete
On soils prone to heaving, you need to install a curb stone on a bed of sand and gravel, on top of which a layer of concrete is laid, a curb is laid in it. With this installation, the curbs stand for years without problems. The procedure is as follows:
- With the help of pegs installed in key places and laces stretched between them, markings are made.
-
A trench is dug according to the markings made. The width should be such that there is a distance of 10-15 cm on the sides of the installed stone on each side. The depth is chosen so that the layer of compacted rubble at the bottom is at least 10 cm, at the top - at least 5 cm of sand-cement mortar, and the curb itself rises above the surface of the track by at least a few centimeters (how much depends on your desire).
- The bottom of the finished trench is leveled and tamped (when using a vibrating plate, the width of the trench is made along the width of the plate).
- Lay a layer of geotextile with a density of at least 160 g / m². This layer is needed so that sand and gravel do not mix with the ground. It increases the lifespan of the curb, reduces the likelihood of shifts during spring heaving.
- A layer of coarse sand or crushed stone of a coarse or medium fraction (20-40 mm) is poured. The minimum layer is 10 cm, the optimal one is 15 cm. Crushed stone is rammed.
-
A thick solution is mixed from sand (3-4 parts) and cement (1 part) (there is very little water, just so that you can stir). It fits 5-7 cm thick (preferably 7 cm) on crushed stone.
- A curb is laid on concrete, leveled in level (to the horizon or with a slope - depending on the geology of the site).
- Around the fragment installed and exposed in the desired position is laid a castle made of sand-cement mixture with a thickness of 5-7 cm and a height of about 10 cm.
- After the concrete has set, the remaining free space between the installed curb and the edge of the trench is filled with sand or crushed stone, rammed, sprinkled with soil on top.
If this technology is followed for installing a curb stone, the likelihood that it will move from its place when heaving is very low.
How to put on the sand
If the soils are not prone to heaving, concrete can be dispensed with. So you can only put curbs - a border for footpaths or a fence for a flower bed, a flower garden. With all this, this method of installation does not guarantee that the track will not be destroyed. The installation technology is similar to that described above up to the place where the concrete solution is to be laid.
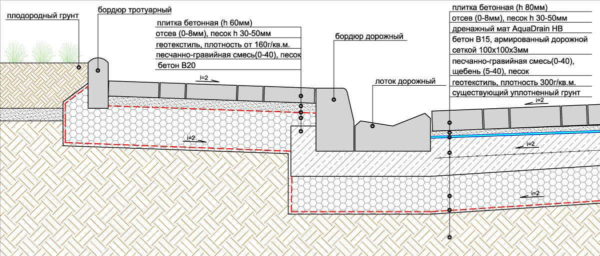
Installation diagram of a curb with a gutter
Only crushed stone is laid under the curb and is well rammed. The thickness of the layer should be at least 15 cm. After the curb has been inserted along the level, the gap between the sides of the stone and the walls of the trench is filled with the same rubble and is well rammed. With this installation method, you can roll up the fence even if you step on it at an unsuccessful angle. But as a temporary option - for several months - this installation method will work.
Tile features
Manufacturers produce paving slabs in various sizes and configurations. Therefore, this cladding was named by professionals FEM (curly paving elements). The general operational requirements for the construction of paths and parking lots made of FEM are:
- the presence of a rigid box, inside which paving slabs are laid;
- drainage of rain and roof drains due to gravity slope;
- partial replacement of heaving soil and fertile layer to ensure a stable geometry of the coating during operation.
The curb is dug into the ground deeper than the tile, and is additionally fixed in space with mortar. This allows for a high-quality compaction of the underlying crushed stone layer and the material on which the tiles are laid (sand, granite sifting, cement-sand mortar - gartsovka). Therefore, there is no spreading of elements along the perimeter, divergence of seams in the central part of paths and parking lots.
To do without a border, you can replace it with analogs:
- the tile can be recessed so that its face is flush with the adjacent ground or below it;
- lay a structure welded from a corner around the perimeter of the path so that the tile rests on its edges on all sides;
- fix the outermost row of tiles around the perimeter with a solution;
- use a recessed curb poured inside the earthen formwork in place;
-
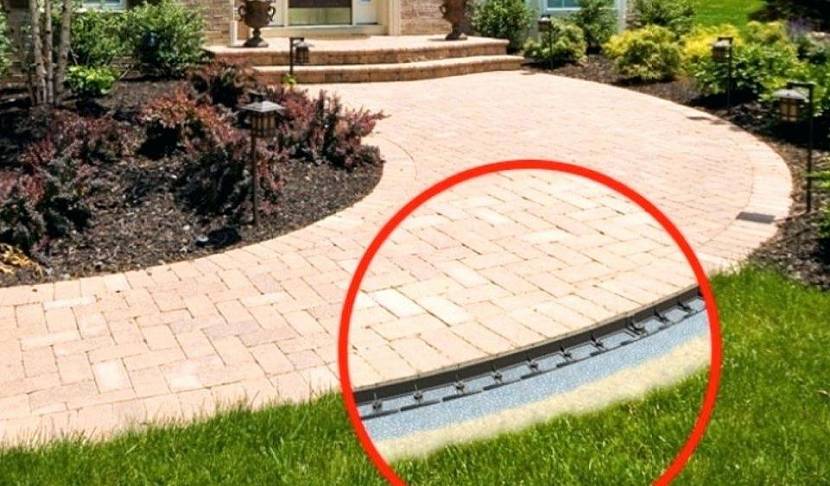
apply a plastic, almost invisible border, fixed to the soil with pegs or nails;
- mount stormwater trays around the outer perimeter, which will completely replace the curb.
Wooden curbs for paths
Wood, of course, is not such a durable material as cement or brick, but it looks great as a path curb, and it costs much less, if not completely free. Fences made of wooden chocks are especially original. They can be harvested in the fall after tree pruning.Chocks are installed both on one side of the track, and on both.
As a border, you can also use wooden sleepers, from which steps for stairs were previously made. Sleepers can be placed vertically or horizontally in the ground. When installed vertically, bars of different heights will look interesting.
Board curb for walkway with wood flooring
The simplest curb is made of wooden boards, which can simply be dug along the path, or the bars can be installed longitudinally. If the footpath is also made of wood, then the boards should be nailed to make it more durable.
From a decorative point of view, wood curbs have other advantages as well. The boards can be painted in any color and can be adjusted in height, given any shape and combined with a variety of garden accessories.
In order for wooden curbs to last as long as possible, they must be regularly treated with antiseptic agents. However, even with the best care, they "will not live" more than 10-12 years.
What can be done from wooden cuts with your own hands: a selection of original ideas
Do you have an old tree or a Christmas tree on your site that you just can't find a use for? We have already found it!
"Green" border
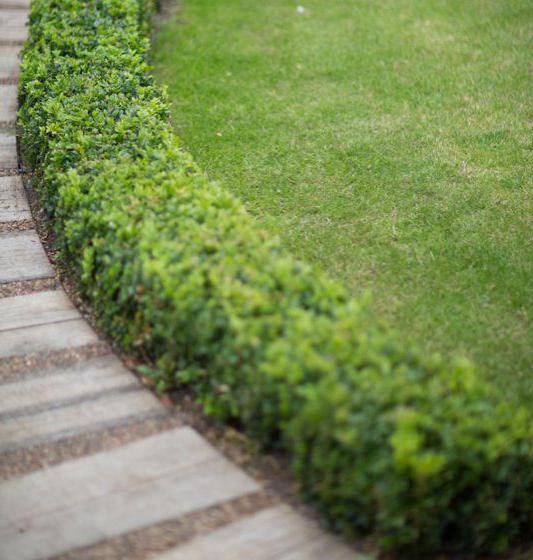
The easiest option to do without construction at all is the so-called green curb. This is a kind of hedge made of living plants. It is best to select plants that are undersized, but with dense interlacing of branches. A cotoneaster or boxwood is well suited for these purposes. You can also use garden cloves, lavender, heuchera, sage, marigolds, barberry, and some other plants.
It may seem to an inexperienced gardener that the construction of such a curb is much easier than a wooden or stone one. But actually it is not. A "green" border will require a lot more effort from you. After all, you will not only have to tinker at the stage of its creation, but also maintain proper condition throughout the year. The plant border will have to be regularly fed with fertilizers, cut and watered. But if done correctly, the result will be amazingly beautiful.
Wood border
Do-it-yourself wooden curbs for the walkway look no less nice. To install such a fence, you can use different options. Cuts, pegs, boards or bars of different sizes will do. It is not at all necessary to acquire all this on purpose. To install the curb, the remnants of lumber or thick branches left over from trimming the garden are quite suitable.
The advantages of such a border are obvious:
- excellent appearance;
- environmental friendliness;
- the ability to use scrap materials;
- strength and durability with proper care;
- easy installation;
- installation speed.
A wooden curb will perform well its main functions, but its durability can be questioned. In order for this figure to be as high as possible, the tree must be pretreated with agents against fungus and rotting, and then do this annually throughout the entire period of operation. But even with this kind of care, a wooden fence is unlikely to withstand more than 10 years.
Installation of a wooden curb is a simple matter. It is enough to dig a trench, fill in a drainage cushion of sand and gravel, and lay a waterproofing layer. Now cut the sticks or even thick branches into pegs of the desired length. Place the stakes firmly in the prepared trench, and fill the remaining gaps with earth and tamp. That's all. A do-it-yourself wooden border for a path or flower bed is made.
In the same section, one more type of wooden curbs can be distinguished - wicker. They are made of pegs and flexible rods and are similar to the Ukrainian "tyn". Such curbs are purely decorative and cannot be used to reinforce the edges of the track.


