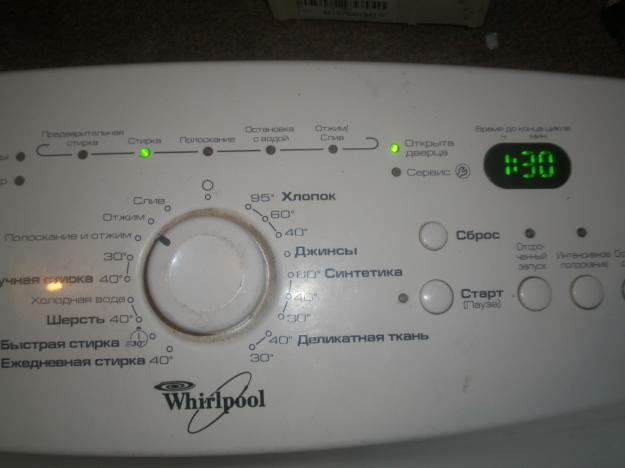
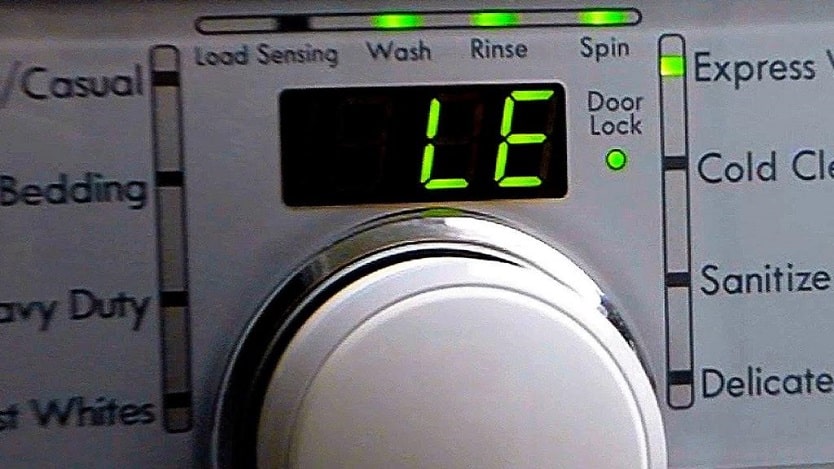
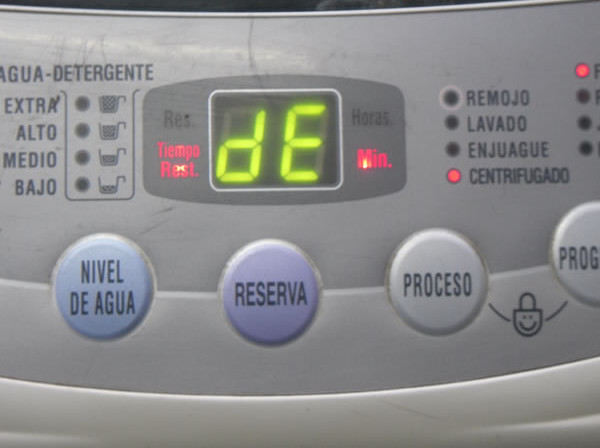
Trying to fix the breakage
To correct the “Sel” error on Atlant washers, it is necessary to act consistently. To begin with, we restart the machine by disconnecting the machine from the electricity for 15-20 minutes. If the fault was a system failure, then restarting will reset the error. Otherwise, we continue to look for the cause of the malfunction. A problem area is identified by checking a number of machine parts.
- Wiring, pins and connectors brought to the dashboard from the control board. Carefully remove the top cover and visually assess the condition of the cords. If a burning smell, darkened or damaged insulation, or loosening of the terminals is detected, we replace the old one with a new one.
- Control board and selector. It will not be possible to visually assess the performance of these elements. A thorough diagnostics is required, for which the parts must first be removed from the case.
 To assess the condition of the selector and board and start repairs, you will have to get them out. We act like this:
we disconnect the Atlant machine from electricity;
pay attention to the powder receptacle, find a latch in the middle of the tray, by pressing which you can disconnect the dispenser from the body and remove it;
we release the bolts behind the tray;
remove the front panel.
It is recommended to record in the photo all connectors and wires connected to the panel - so that during reassembly they do not confuse their location. Next, we remove the wiring, disconnect the bolts holding the module and take out the board. We release the selector in the same way. Next, we change all parts for new ones.
Checking and replacing the noise filter
Atlant washers are equipped with a capacitor that protects equipment from power surges. The noise filter only handles small drops. Sensing a strong impulse, the capacitor will burn out, and in the worst case, the control module of the machine will also fail.
How to check the noise filter of the Atlant washing machine?
- De-energize the machine.
- Unscrew the bolts securing the "top" of the washer, remove the cover.
- Find the capacitor, it is located on top.
- Inspect the surge protector for swelling, carbon deposits.
- Remove the back cover of the case.
- Disconnect the wiring to the condenser.
- Remove the mains filter from the machine.
- Attach the test leads of the multimeter to the contacts of the element.
- Measure the voltage of the capacitor at the input and output.
If there is no voltage at the output, then the noise filter is no longer functional. The device cannot be repaired; the capacitor will have to be replaced. If this is not the case, it is necessary to diagnose the control board.
How to fix it?
If you have problems with washing machinerelated to the electronics of the device itself, the following actions must be taken:
- disconnect the device from the electrical network;
- unscrew the back cover of the device;
- remove the belt;
- carefully unscrew the bolts holding the engine and tachogenerator;
- remove the freed parts from the car body;
- inspect the parts carefully for damage, exposed pins, or disconnected wires.

If breakdowns were found, they should be eliminated - clean the contacts, replace the wires. If necessary, you need to replace the main parts - the motor, brushes or relay.
In cases where errors have arisen due to problems with the supply or drainage of water, you must perform the following steps:
- disconnect the device from the electrical network and turn off the water supply;
- check the inlet hose and water pressure in the line;
- check the drain hose for blockages;
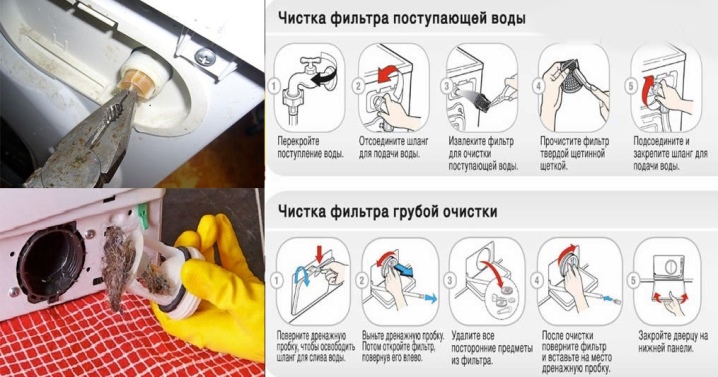
- remove and clean the filler and drain filters;
- reboot the device and re-select the required operating mode.
If these actions did not help, then it is necessary to open the door of the machine, drain the water from it manually, free the drum from things and check the operation and integrity of the heating element, as well as the serviceability of the pump.
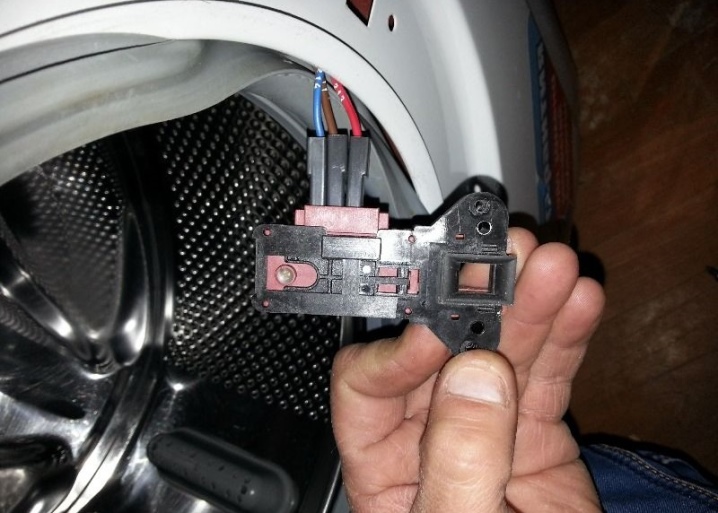
When the machine does not work because the door is not closed, you must try to close it again more tightly and check if things are stuck between the body of the device and its hatch. If this does not help, then you should check the integrity and serviceability of the blocking lock and door handle. In case of their malfunction, they must be replaced in accordance with the recommendations from the instructions.
In case of excessive foam formation, the situation can be corrected as follows: drain the water from the automatic machine, select the rinsing mode and, after removing all the things from it, rinse all the foam from the tank in the selected mode. Next time, add several times less detergent and use only the one recommended by the manufacturer.
If the indication of the device is faulty, then you need to check the degree of loading of the tank, the correctness of the selected mode. If this does not help, then you should look for the problem in electronics.
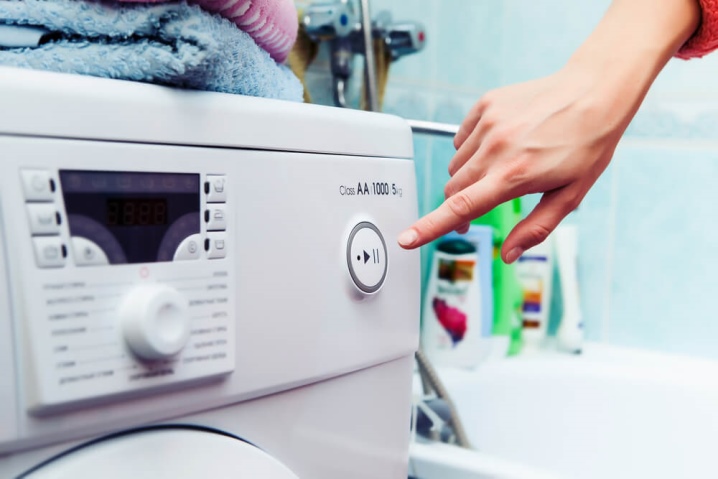
And most importantly, if any error occurs, the first step is to reset the device program. To do this, disconnect it from the network and leave it to rest for 30 minutes.
Then the start of the device is repeated.
You can do this yourself, but if there is at least one doubt that all the work will be done correctly, you need to call the wizard.
Some of the errors of the Atlant washing machine and how to fix them can be found in the following video.
Causes
In order to get ahead of the severity of the problem and find ways to fix it, you first need to understand the reason for the appearance of such an error.
Electronics related
Here it is necessary to say right away that these problems, directly related to the electronics of the device itself or to the problems of connecting to the electrical network, are considered the most difficult and rather dangerous to solve. Therefore, it is possible to eliminate them on your own only in cases where there is already a similar experience and the necessary tools are at hand. Otherwise, it is better to seek help from specialists.
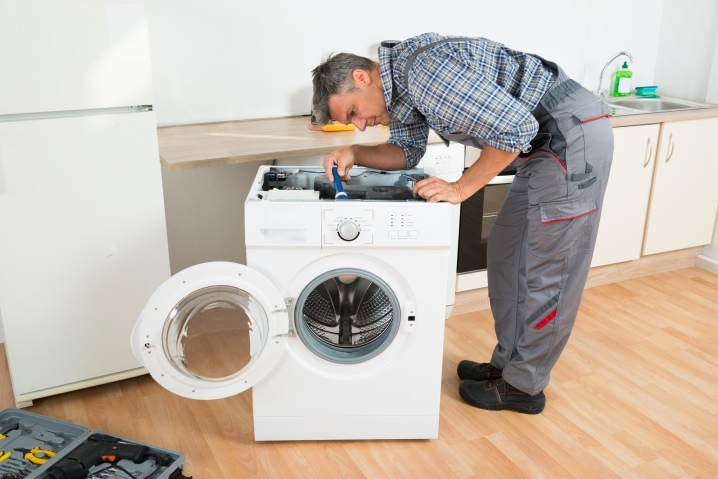
Such problems are indicated by the following codes.
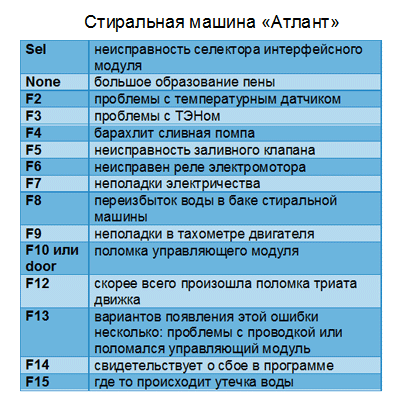
- F2 - the sensor that determines the water heating temperature is faulty.
- F3 - there are problems in the operation of the main heating element. In this case, the device does not heat the water at all.
- F7 - errors with the connection to the electrical network. These may be voltage drops, too high / low voltage in the network.
- F9 - malfunctions in the engine, there are problems with the tachogenerator.
- F12 - problems with the motor, contacts or winding.
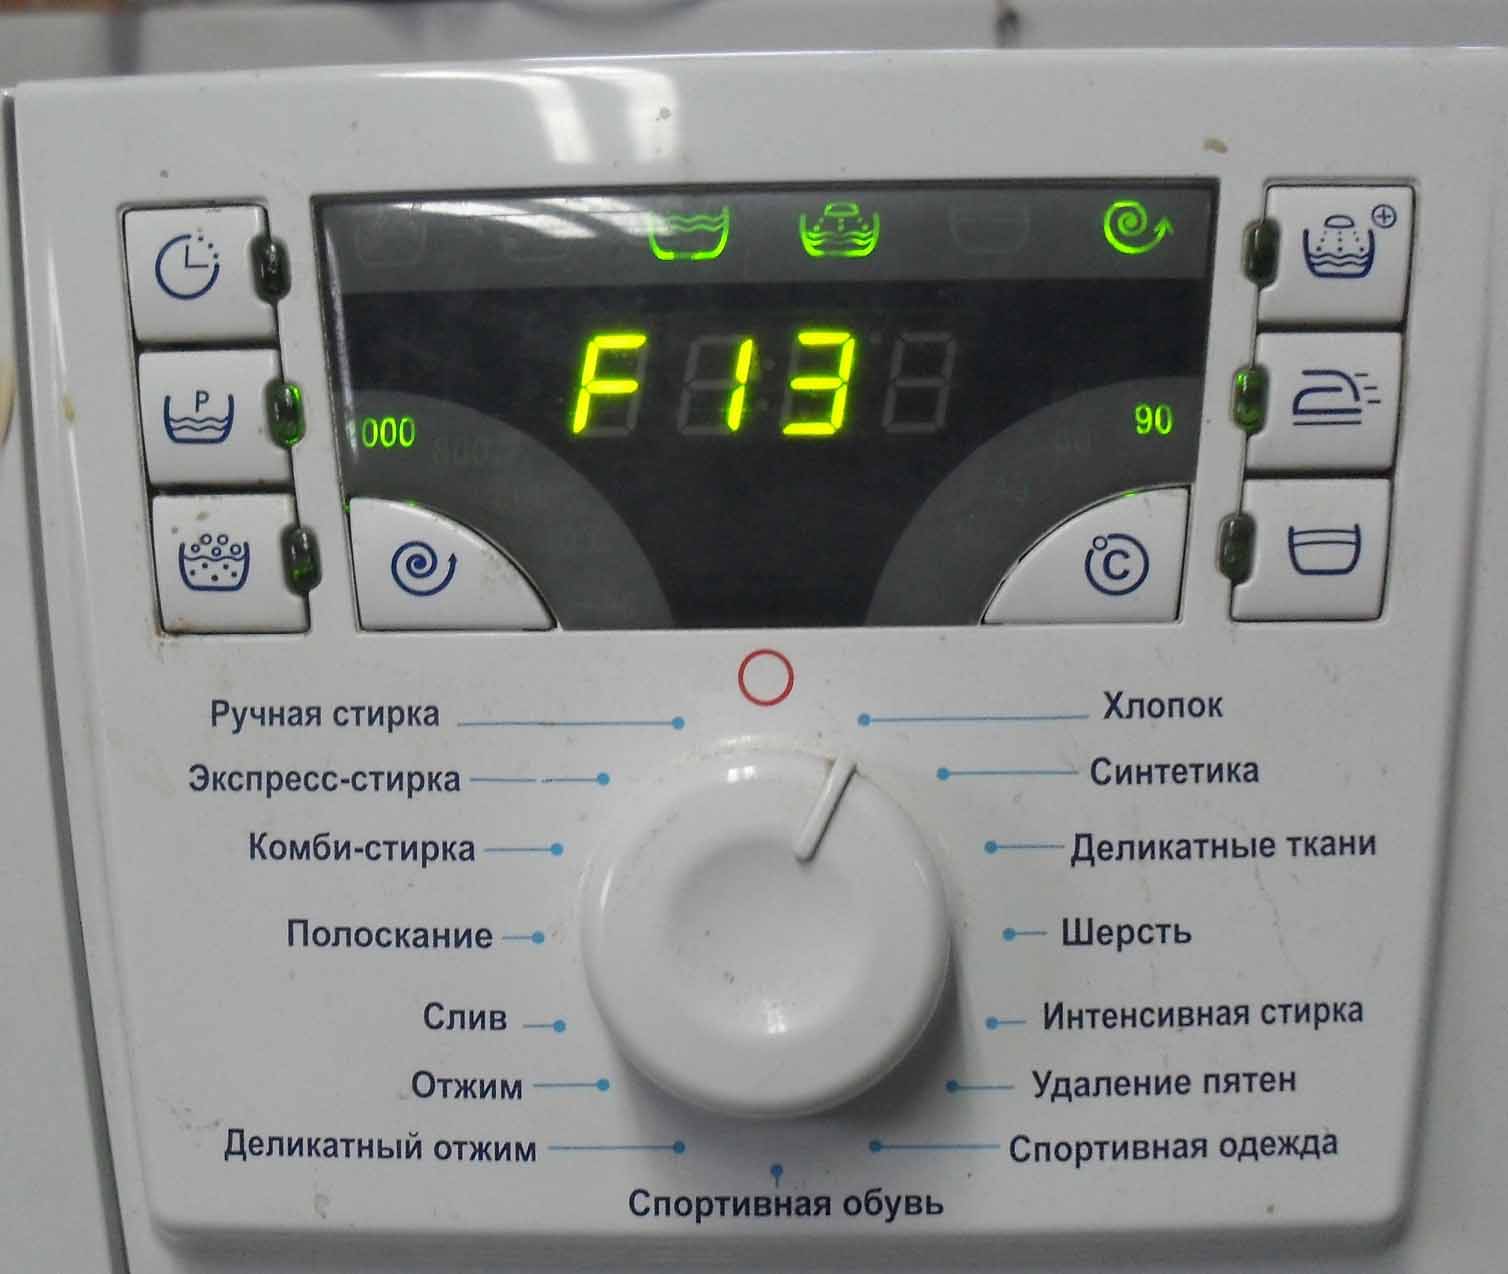
- F13 - somewhere there was an open circuit. Could burn out wires or break contacts.
- F14 - there was a serious breakdown in the operation of the control module.
However, electronics problems are not always the only reason for the malfunctioning of the washing machine.
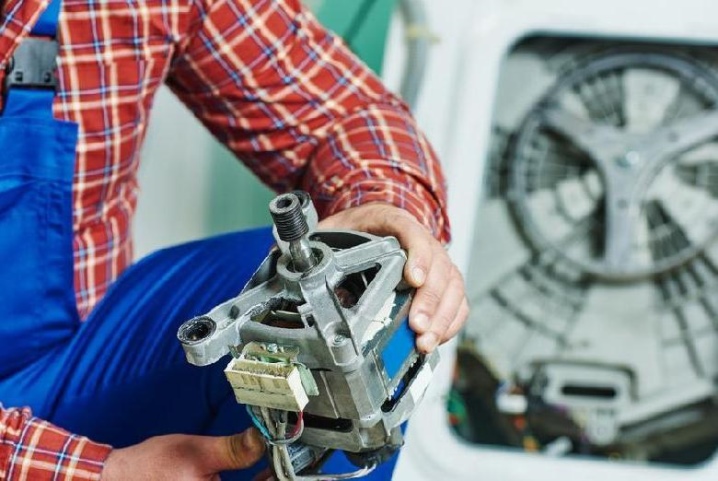
With water supply and drain
The following codes indicate such problems.
- F4 - water is not drained from the tank. This can be due to a blockage in the drain hose, pump malfunction, or a blockage in the filter itself.
- F5 - water does not fill the tank. It either enters the machine in very small volumes, or does not enter at all.
- F8 - the tank is full. Water either enters it in too large quantities, or does not drain at all.
- F15 - water leakage occurs. Such an error may appear for the following reasons: a break in the drain hose, too much clogging of the drain filter, due to the leakage of the machine's tank itself.
There are also a number of other codes that also inhibit the operation of the automatic machine.
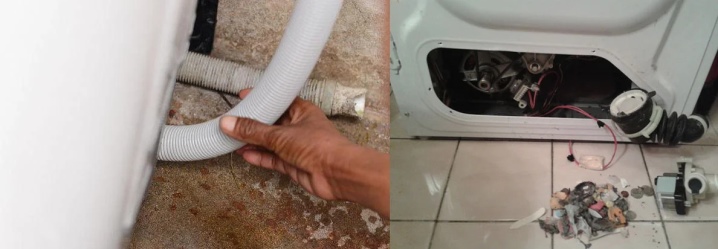
Other
These errors include the following.
- None - This error indicates that too much foam is forming inside the tank.This may be due to the large amount of powder used, the wrong type of powder, or the wrong wash mode.
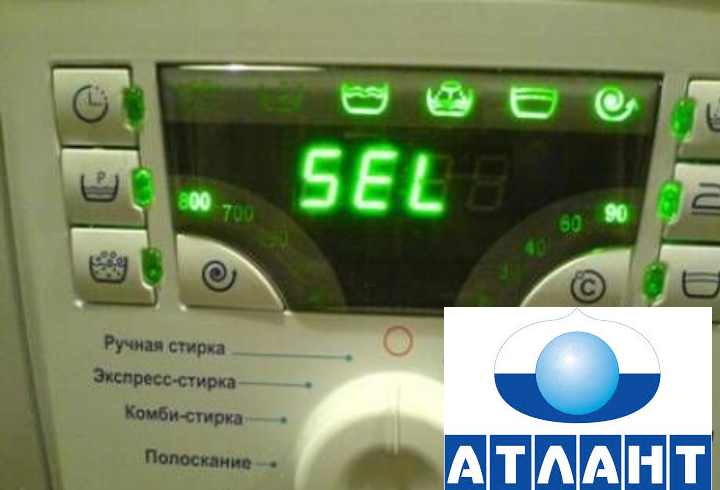
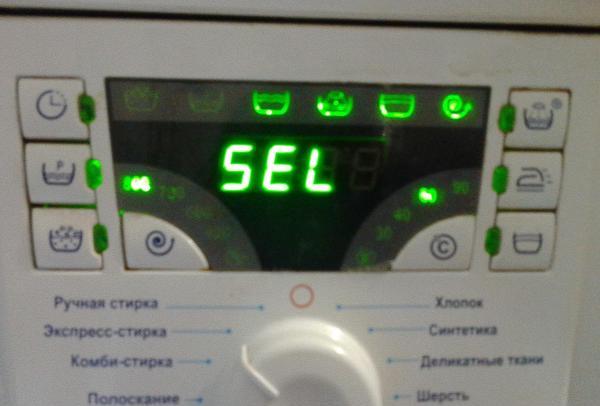
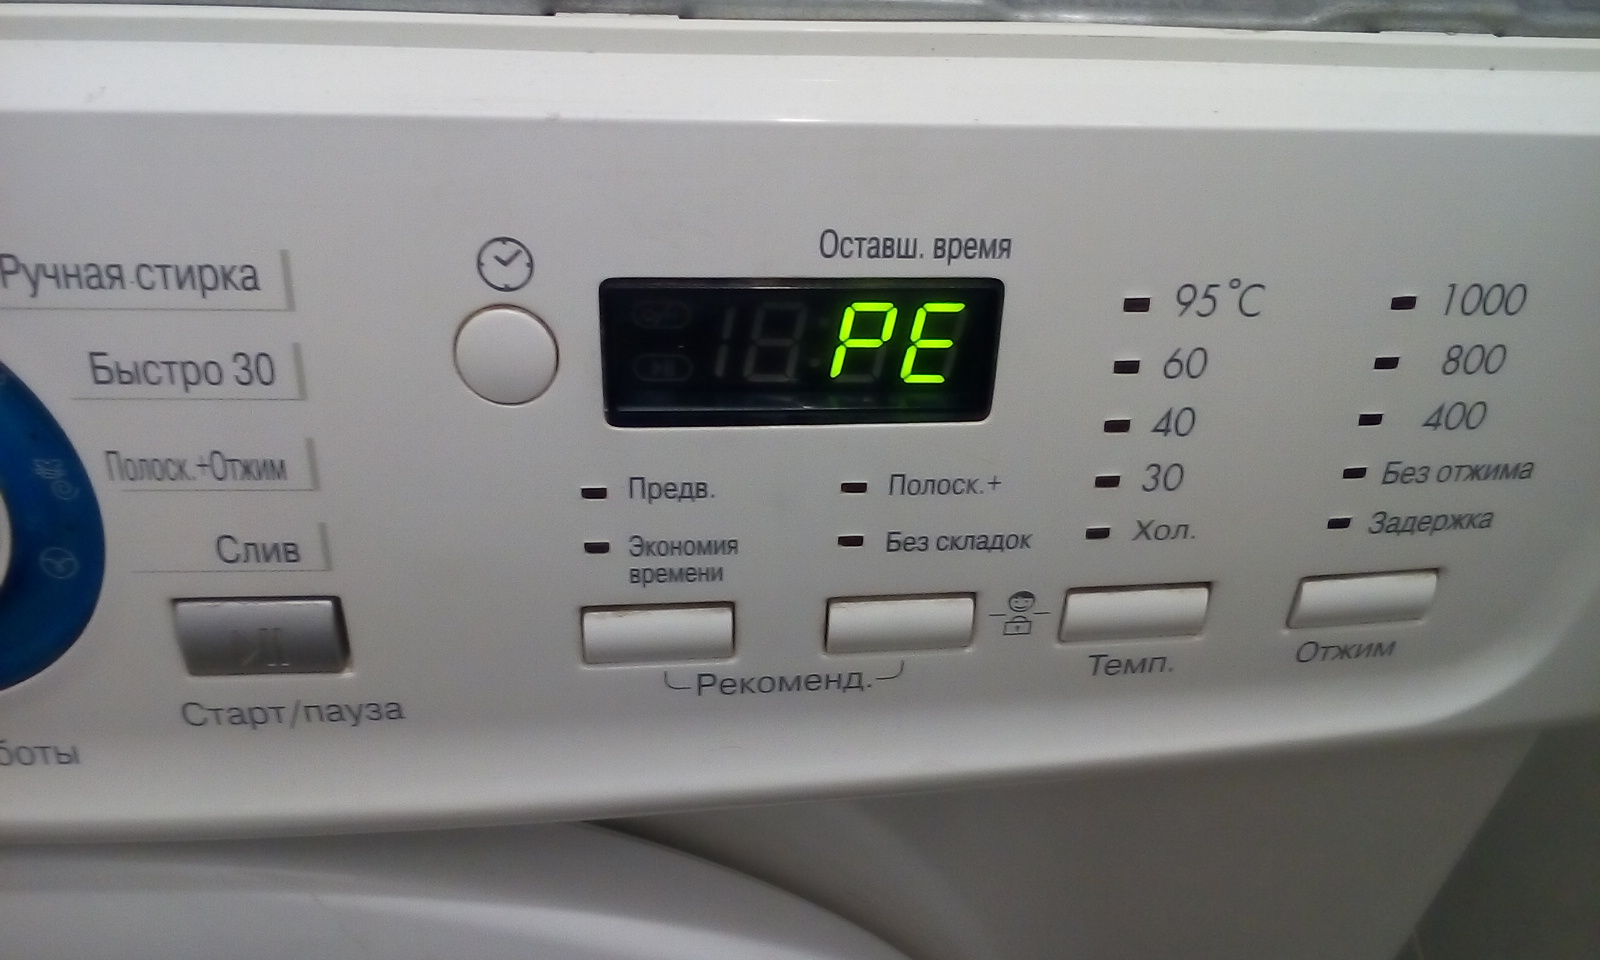
- Sel - indication does not work. Such an error can be attributed to the categories of those that arise due to electrical problems. But sometimes the reason may be different - overloading the tank, for example.
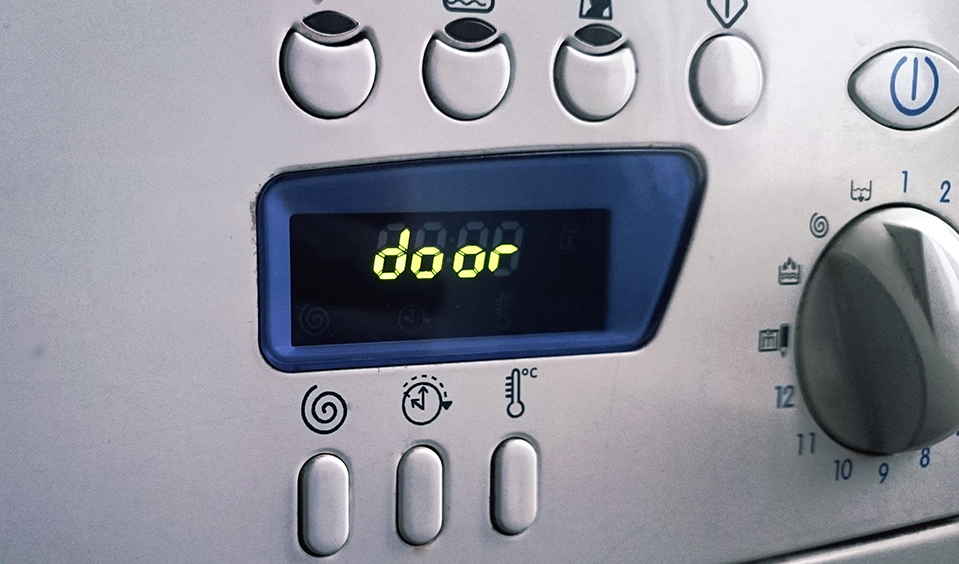
- Door - the door in the machine is not closed. This happens if the hatch was not closed completely, if the thing got between the elastic bands of the door, or because of a broken blocking lock.

Let's decipher the code
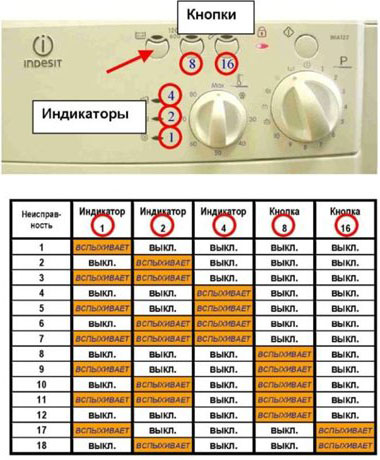
Almost every Atlant washing machine has a rather informative display, on which, in the event of a malfunction, one or another error is displayed, in our case the F4 error. But there are models of "home helpers" of this brand, which do not have a display, but there is a self-diagnosis system. A natural question arises, how to recognize the F4 error, if the machine simply has nowhere to display it?
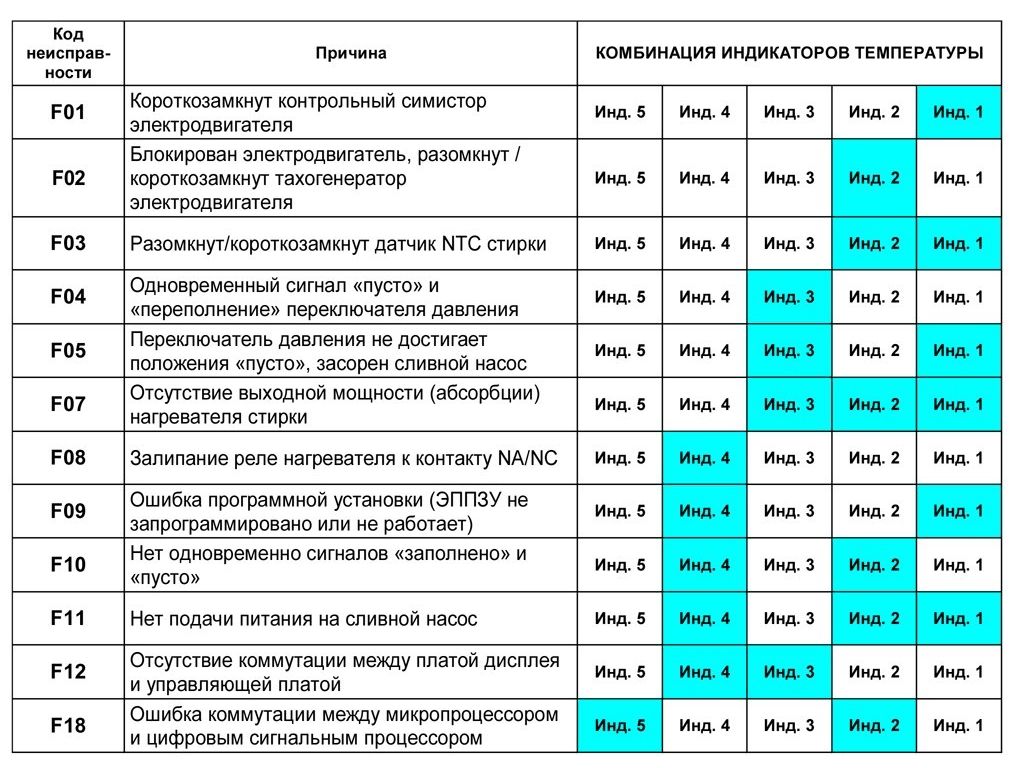
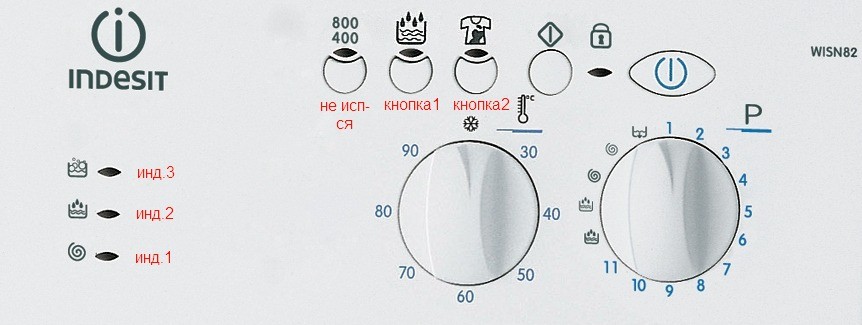
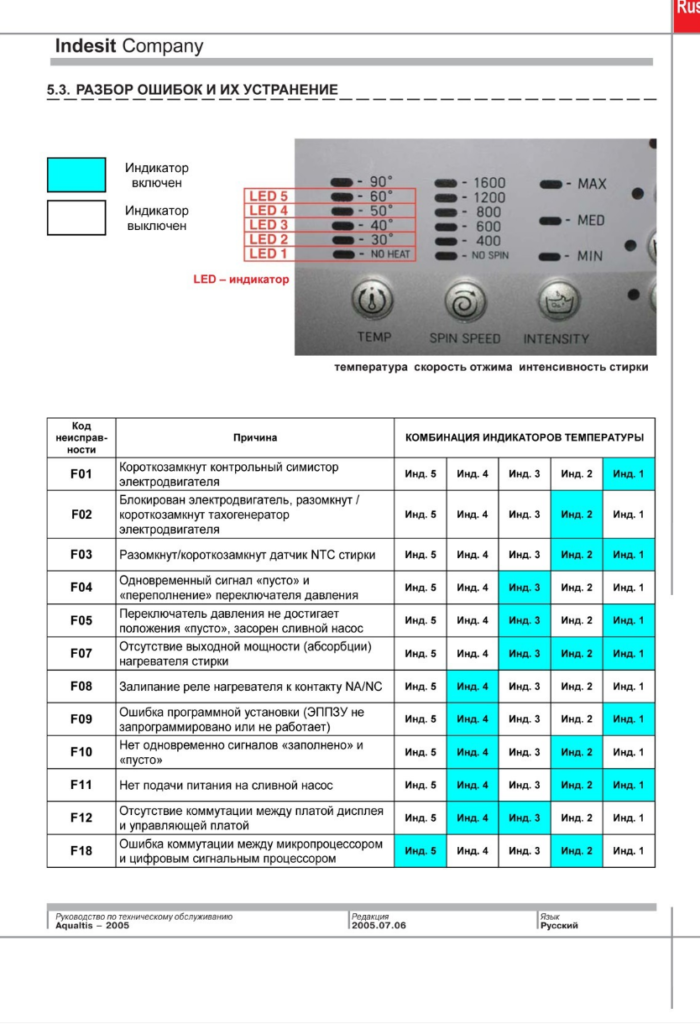
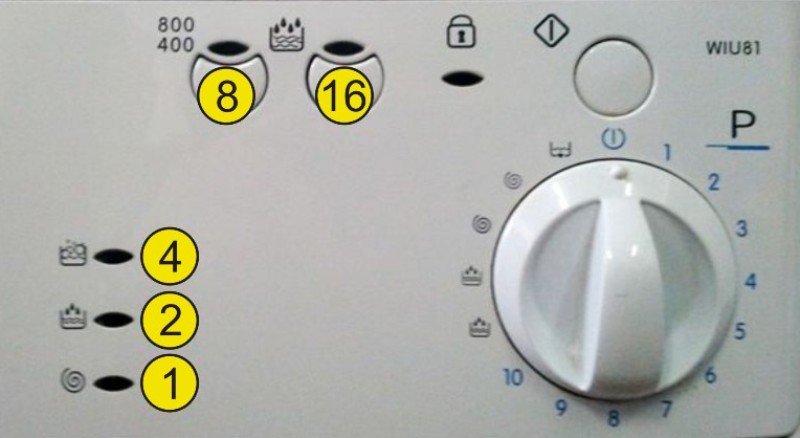
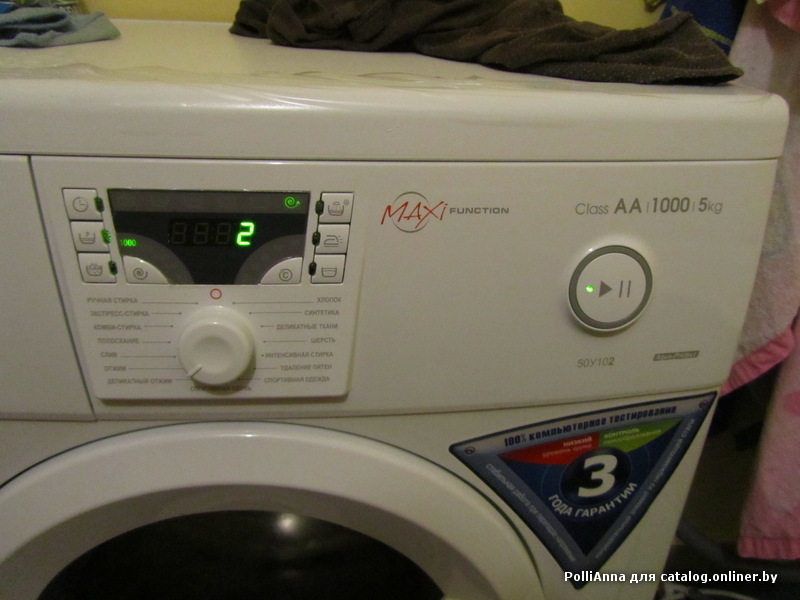
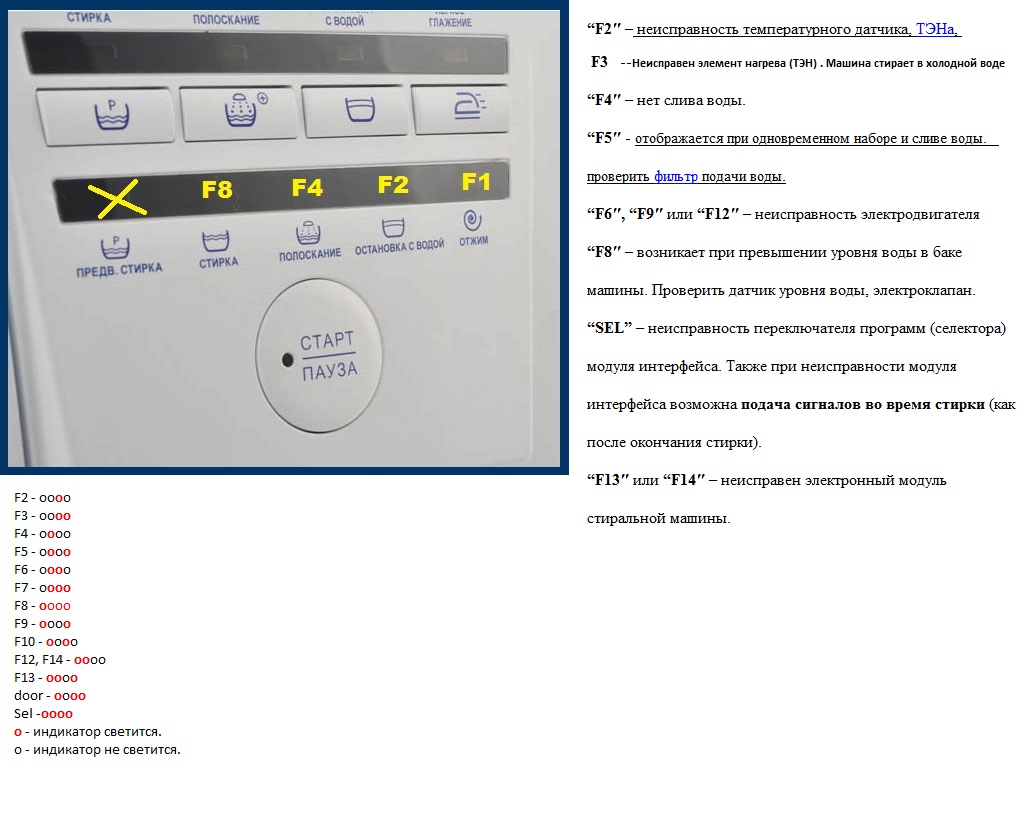
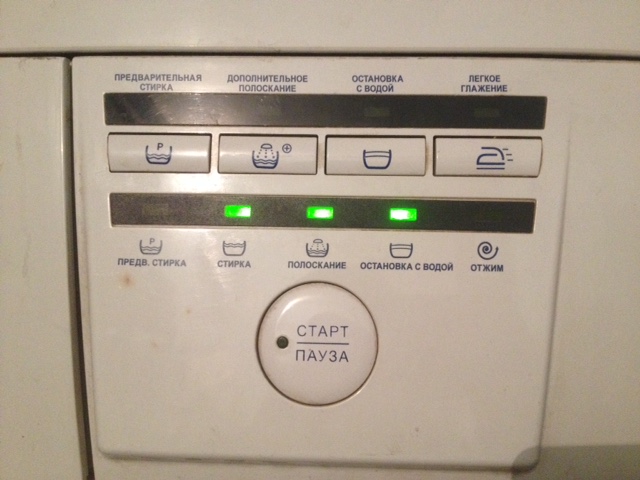
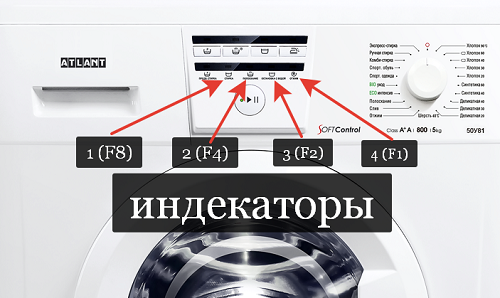
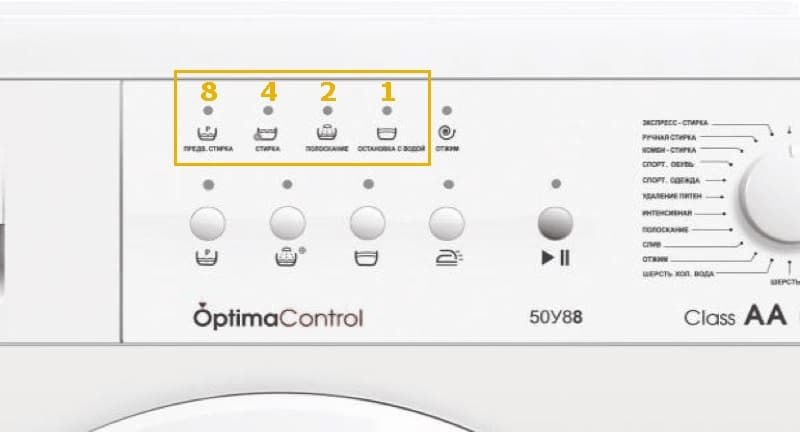
Not quite a correct question, and here's why. The Atlant machine in this case gives an error using the LED indicators located on the control panel. In particular, in our case, you need to look at the bottom row of bulbs. The figure below shows the control panel of the Atlant washer without a display, on which the F4 code is displayed
Pay attention, the "on / off" light and the second LED in the bottom row are on

No matter how the F4 code is displayed, its decoding is the same. Its essence boils down to the following: there are problems with the discharge of waste water from the tank. A more lengthy transcript shows us a list of reasons why this error appears. Let's take a look at this list under the next paragraph.
Why does this code appear?
The appearance of the F4 error can be associated with all sorts of breakdowns, these include:
blockage of the drain system and in particular the drain filter or drain hose;
- pump malfunction, namely impeller jamming or malfunction of its electrical part;
- breakdown of electrical wires between the pump and the control module;
- breakdown of the control module (triac or resistor burned out).
Eliminating the causes of the appearance of the code
So, what this error means and the reasons for its appearance are clear, it remains to figure out what to do in this situation and how to fix it. Start with the simplest, namely unplug the machine and inspect the drain hose for kinks. If you moved the car the day before, then it is quite possible that you accidentally bent the hose, so the water does not leave the tank.
Next, check the drain filter, which is located behind a special small door in the lower right corner. Unscrew the filter by placing rags under the machine or by placing a low container under water. Rinse the part if necessary and then replace it in its place. This completes the simplest steps, prepare the tools, you will need: screwdrivers, pliers, a multimeter. Now get started:
- disconnect the machine from the network, water and sewage;
- drain the water from the tank, if necessary, through the hole for the filter;
- pull the typewriter to a convenient place;
- turn the equipment over to its left side, you can put a rag or an old blanket under it;
- from the bottom side you will see a pump, you need to disconnect the chip with wires from it;
- then unscrew the three screws holding the pump and remove it from the machine;
- install a new part and assemble the equipment.
If the washing machine gives an F4 error not due to the pump, then take a multimeter and consistently check the wires between the drain pump and the electronic module. Due to the broken wire, the pump does not start, and therefore water remains in the tank. The work is simple, but an ordinary user may not be able to perform it, keep in mind the electrician this is the case.
The last on the list of faults is the electronic module, firstly, because its breakdown is not so frequent, and secondly, it is not easy to repair it.To do this, you need special tools, a circuit diagram of the electronic module of your washing machine, and minimal knowledge of electronics. Let's give an example of a module of the 5521xx, 5522xx, 5523xx series for the Atlant machine.

A 230V and 0.3A synchronous motor for the drain pump is connected to pins 1 and 2 of J2, circled in red in the picture above. The operation of the pump is monitored by a triac of 0.8 A. It is these elements and their contacts that are checked first of all, and the module is also examined for other damage, possibly burned out elements that need to be replaced are visually visible.
Thus, in the event of an F4 code, the Atlant washing machine can be repaired on its own, because in most cases the reason is a faulty pump. This part can be replaced independently, in other cases it is better to contact the master. Good luck!
Let's decipher the code
It is not difficult to understand what this code means. In the factory instructions, the combination "F6" stands for "failure of the reverse relay". In simple words - the engine of the Atlant washing machine does not start.
From the technical side, a normal engine start looks like this:
- the user starts the car by turning the selector and pressing "Start";
- the control board gives the command to start the machine;
- a starting current is supplied to the engine, more precisely to the relay coil;
- a magnetic field is formed, which gradually tightens the core;
- the core, in turn, sets the contact in motion and closes the circuit;
- the motor winding is activated, the engine starts and picks up speed.
If the engine fails to start, then a failure occurred in the fourth step. The main reasons are overheating of the winding or damage to the relay contacts. Damaged electric brushes and peeling lamellas also lead to a malfunction.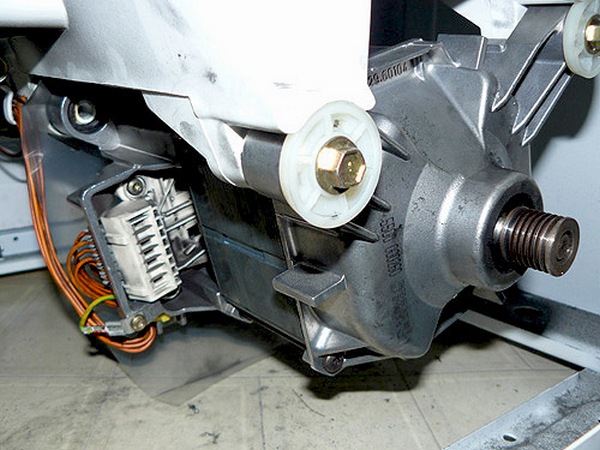
Diagnostics will help to more accurately determine the nature of the malfunction. But before you start testing the engine, you should exclude an accidental "glitch" of the system. Therefore, we disconnect the power cord from the outlet, wait 15-20 minutes and repeat the launch. If the error is not reset, then you will have to identify the breakdown.
Diagnostics and troubleshooting
What should be done to fix the breakdown? It is necessary to accurately identify the problem that caused the failure. Since there may be several options, you should check each of them, starting with simpler operations.
First of all, we fulfill the safety requirements - we disconnect the washing machine from the mains. Repair of electrical devices is only allowed when the unit is completely de-energized.

To begin with, it is recommended to check whether the pressure level in the water supply system is sufficient, whether the valves on the taps mounted in the risers and at the entrance to the machine, directly in front of the intake hose, are fully open. After making sure that the water is supplied normally, you will have to carefully inspect the hose from the outside. Probably, it is twisted somewhere or crushed by the body of the washing machine.
It may seem to many that this is all elementary, but in practice it has been repeatedly proven that a third of the cases occur precisely in such situations.
The next step is to turn off the water supply to the unit, disconnect the water filling hose. The main task in this case is to make sure that there is nothing inside the hose. At the same time, the strainer on the intake valve is checked. It is easy to find as it is located at the point where the hose connects to the washer.

When your machine, after the operations performed, continues to give an alarm signal in the form of the F5 encoding, we begin to penetrate into its body. To do this, unscrew and remove the cover of the machine. In the upper left corner, near the rear panel, is the intake valve. It is necessary to check it and all the pipes for clogging, then, using a multimeter, we make sure that the valve itself is not out of order, we check the operability of its electrical circuit.It is possible that the device itself is working, and the wiring in a certain place is worn out, or the contacts are oxidized.
It will not be superfluous to visually assess the condition of the wiring, since traces of carbon deposits and oxides are often visible to the naked eye. If the electrical circuit from the valve to the control unit is intact, and the valve itself is in working order, you can proceed to the next part - the sensor that controls the water level (pressure switch).
One important clarification is needed here. If the machine does not pump water at all, then the sensor is no longer worth checking
And when water is poured into the tank and immediately drained, and at the same time a characteristic error is lit, the inspection of the machine can be immediately started from the level sensor. It is located near the back of the washing machine, in the immediate vicinity of the water intake valve, at the top cover.
First of all, blow out and rinse all the tubes well, then check the electrical circuit with a multimeter. If the result is positive, one thing remains - to look for the problem in the management module. But here you have to think carefully about how prepared you are for such work. It is probably best to invite a competent specialist from the service center.
Elimination
The design of the Atlant washing machine does not particularly differ from the designs of models from other manufacturers. Therefore, getting to the complex elements of the device will not be difficult. When starting the repair, assess its economic feasibility. And also follow the safety rules, do all work only disconnected from the network equipment.
Defective tachometer
To understand that the tachometer is out of order, first of all, you need to pay attention to how the unit works. The main "symptoms" of this malfunction:
- the rotation speed of the drum changes sharply;
- in the "spin" program, the drum rotates slowly, but should increase the speed;
- with the "wash" program, the revolutions are too frequent;
- clothes remain wet after spinning.
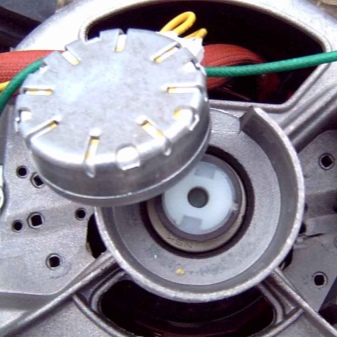
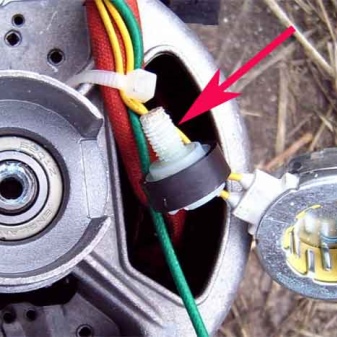
To fix this breakdown, you first need to make sure that the F9 error occurred due to the tachogenerator.
- Disconnect the washing machine from the mains.
- Remove the back cover of the device by unscrewing the fasteners.
- At the very bottom there is a motor that needs to be disconnected.
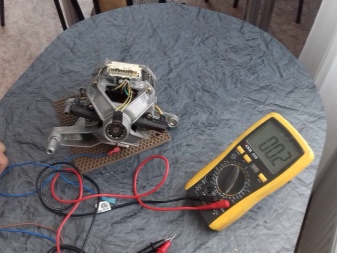
- After that, you need to disconnect the electrical wires from the tachometer and check the voltage resistance value at the contacts with a multimeter. The indicator should be within 60 ohms. Then measure the voltage. When you turn the engine by hand, it increases and should be 0.2 V.
- If the sensor is defective, it should be replaced. To do this, unclench the harnesses and disconnect the wires. Opening the latch, remove the protective cover and unscrew the fastening bolts. Remove the broken device and install a new device by performing the above steps in reverse order.
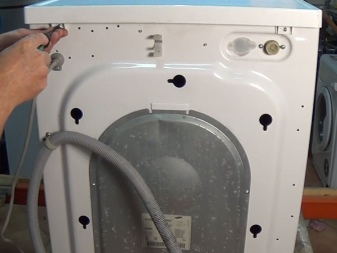
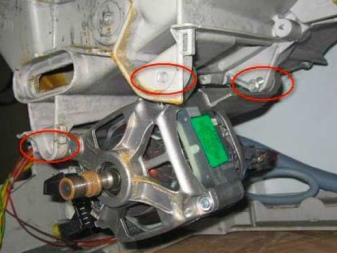
The electric motor is damaged
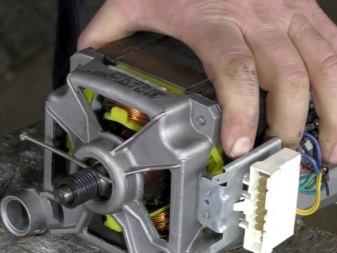
To eliminate this damage, it is necessary to remove the motor for inspection purposes. You should disconnect the electrical wires from it, unscrew the bolts, and pull the engine towards you. First you need to check the condition of the brushes and mounting holders.
Brushes are an important element of movable contacts - after a certain period of time they begin to wear out, which negatively affects the work of the "heart" of the unit. Their wear can also give an error code F9. It is not difficult to determine this: they will be too short. Worn brushes must be replaced.
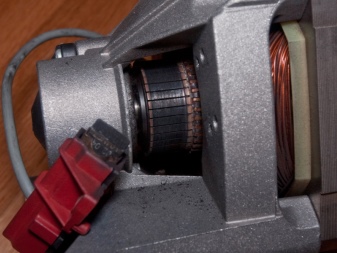
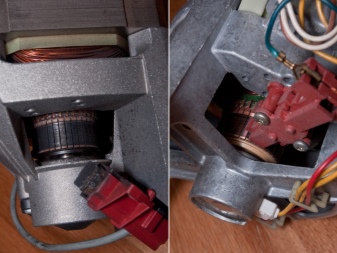
If everything is in order with these objects, you need to check the electric motor for current leakage to the case with a multimeter. Each turn of the winding should be checked for breakdown. If all malfunctions are excluded, and the error code is still issued, you should continue the diagnosis further.
Control Module and Circuit Problems
You should start by checking the electrical communication circuit. This element is located near the engine. It is a piece with wires.Each wiring should be ringed with a multimeter several times to eliminate possible errors. Replace defective wires.
If everything is in order with the electrical network, and there are no faults, there is a need to eliminate the error in the control module. It is extremely difficult to fix this problem on your own. Certain knowledge and skills will be required, since it is one of the main elements of any household appliances, complex in design, execution and functioning.

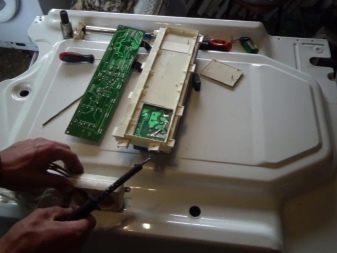
This and other codes of the ATLANT washing machine are given below.
Motor test
It is better to entrust the engine diagnostics to a professional repairman. However, you can figure out what to do and in what sequence on your own. The main thing is to first study the motor device and remember about safety. Our instructions will help to cope with the task.
Before starting the repair, remember how the engine works. Atlant washers are equipped with a collector motor, which is compact and has a higher power. In this case, the drive is belt-driven - the motor and the drum shaft are connected by a belt through the pulley wheel. Inside, the part consists of several main parts: rotor, stator and electric brushes. There is also a tachogenerator that controls the acceleration speed.
To start checking the motor, you need to get it out of the machine, proceeding as follows:
- remove the back wall of the machine by unscrewing the corresponding screws;
- by rotating the pulley, unhook the drive belt;
- take a picture of the position of the wiring connected to the engine;
- release the wires;
- loosen the bolts holding the engine;
- swing the part and pull it towards you.
Having taken out the engine, we put it on a dry flat surface and start checking. We connect the wiring from the stator and rotor windings, and then supply 220 V. Under voltage, the engine should start to gain momentum. If this does not happen, then the motor is damaged and needs to be repaired.
This method has its drawbacks. First, it is impossible to test the operation of the motor in different modes. Secondly, connecting the engine directly is risky due to the possibility of a short circuit. Although, as a last resort, you can reduce the risks by including ballast in the circuit in the form of a heater. The latter, if it leaks, will begin to heat up, protecting the engine from fire. But the supply of current is only the initial stage of diagnostics, then it is necessary to check other elements of the device, brushes, lamellas and winding.
How to check an electric motor?
A washing machine of the Atlant brand can signal a malfunction with an error F9 in the event that there are problems with the electric motor. If there is a current leakage to the case, the armature is broken, you cannot do anything, the part cannot be repaired and you will have to change the block. And this part is expensive. Of course, in theory, the engine can be repaired. But this is inexpedient from an economic point of view. Such repairs will cost more than buying and replacing a broken part with a new one.

So how do you know if you need an engine replacement? To do this, the motor must be removed. Disconnect the wires from it, unscrew the bolts and pull the motor towards you. Next, you need to find brushes, unscrew the holders and pull out these parts for inspection. If the brushes are worn out, they must be replaced. Determining that the brushes are worn out easily, they will be too short. By the way, always change the brushes in pairs. And if: buy only original brushes, otherwise there is a risk of spoiling the collector lamellas and then the repair price will increase significantly.
After that, we open the device case and check with the same multimeter the leakage to the case, as well as the motor winding for breakdown. If there are no problems with the brushes, the motor winding, there is no leakage to the case, then everything is in order with the motor. We need to look for another reason.
How to fix it?
In order to find the exact reason for the appearance of such an error on the display and correct it correctly, it is necessary to carefully remove the motor itself from the device case. To do this, follow these steps.
- Free up the space around the machine so that the device can be placed on the floor and can be easily accessed from all sides.
- Using a screwdriver, you need to unscrew the back of the case, that is, the wall. Carefully remove the drive belt and set it aside.
- Release the chips from the drive and remove them together with all the wires. Using a screwdriver, remove the bolts that hold the motor in the housing.
- Remove the motor from the housing.


First of all, you need to carefully examine the brushes. If the reason for the error is really in their wear, then the problem can only be solved by replacing them completely. To do this, in a specialized store, you need to purchase original brushes and install them in place of the old ones. Old elements are easy to remove - their side parts are removed from the sinuses by light pressure.
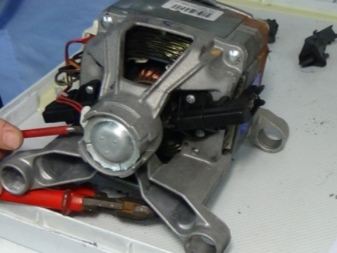

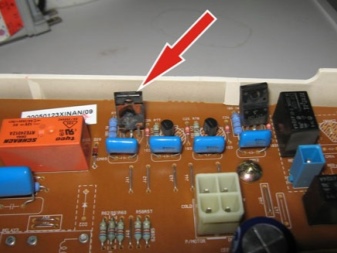
If the triac is out of order, then here you also need to go to the company store and purchase a new one. A burnt out or even partially faulty triac is unsuitable for further work. Only its replacement is necessary here.
In the event that the cause of the error lies in a faulty wire contact, you must proceed as follows:
- carefully remove all terminals from the engine itself;
- conduct a visual inspection for burnt wires;
- clear all wires;
- if a disconnected wiring is found, connect it in accordance with the diagram.
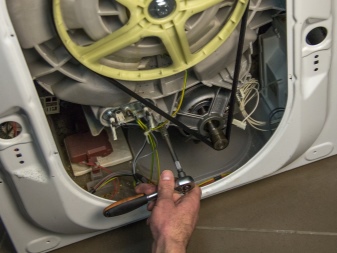
Error code F12 can appear on the display of the device at any time
However, simple precautions can help prevent this:
- it is regularly necessary to clean the filters and pumps of the automatic washing machine from dirt and debris;
- it is necessary to inspect and repair all spare parts of the device in a timely manner;
- in case of serious breakdowns, you must contact a specialized service center.
And one more thing: if you doubt that you can repair the washing machine correctly and safely, it is best to seek help from a specialist.
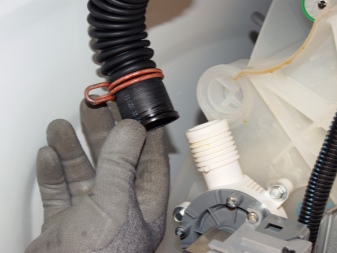

For decoding of codes of ATLANT washing machines, see below.
Atlant error codes.
| CODE | CODE WITHOUT DISPLAY | PROBLEM | CAUSE AND REMEDY |
| SEL | Indicators are off | Control panel buttons malfunction. | We check: 1. malfunction of the control buttons, they could "stick" due to dirt, grease, or squeezed through, then they need to be replaced; 2. malfunction of the mode selector, replace if necessary; 3. indication board, change if necessary. 4.main board (electronic controller), repair or replace. |
| NONE | All indicators are lit at the same time | Increased foaming in the tank. | 1.Use a machine washable powder. 2.Reduce powder dosage. |
| F2 | Malfunction of the NTC temperature sensor. | We check: 1. temperature sensor (the resistance of a working sensor is approximately 10 KOhm); 2.wiring and NTC connector. |
|
| F3 | Defective heating element (heating element). | Checked: 1.then (working resistance is 25-30 Ohm); 2.wiring and connectors of the heating element; 3.Ten relay on the board. |
|
| F4 | No drain. | We check: 1. the permeability of the sewer pipes; 2. the permeability of the drain hose, internal nozzles, clean; 3. filter of the drain pump, clean; 4. malfunction of the drain pump and (the resistance of the windings of a serviceable pump is approximately 170 Ohm), and also we look at its impeller (it can jam, fly off due to wear), if necessary, replace the pump; 5. if, when the drain mode is on, the pump does not receive voltage from the board (we measure it with a tester), the wiring, board is checked. If necessary, we repair or change the board. |
|
| F5 | There is no bay. | You want to check: 1. whether there is water in the water supply system; 2. is the tap open; 3. the permeability of the inlet hose, clean the filter, the mesh of the hose and the valve; 4. the filling valve, if required to be replaced; 5. Is there power from the board, if not, then you need to check the wiring, board. If required, we repair or change the board. |
|
| F6 | Reverse engine does not work. | Checked: 1.reverse relay on the control module, we repair or replace the controller; 2. Faulty drive motor, replace. |
|
| F7 | The voltage of the electrical network does not correspond to the normal value of 180-230 Volts. | We check: 1.voltage of the electrical network; 2.CMA power supply circuits; 3. malfunction of the control module. |
|
| F8 | Overflowing water (tank is full). | You want to check: 1.Filling valve (possibly stuck open), change; 2. water level sensor (pressure switch) and its wiring, change; 3. Integrity of the pressure switch tube (may be clogged or leak air), replace. |
|
| F9 | Defective TAKO sensor (engine speed sensor). | We check: 1.taho sensor and its wiring, change; 2.electronic controller, we repair, replace. |
|
| F10 | Malfunction of the sunroof locking device (UBL). | We check: 1. malfunction of UBL and its wiring, connector; 2. whether the module is powered, if not, then the module needs to be checked and repaired. |
|
| F11 or DOOR | Loading door not closed. | 1. It is possible that the hatch is not tightly closed, close it more tightly. 2. Inspect the door opening mechanism (the hook in the door could break). 3. Inspect the hatch hinges. Perhaps the hinges are loose, and the hatch is warped, adjust. 4.We see if the UBL is working properly, the wiring. 5.We look at the controller. |
|
| F12 | Drum drive motor defective. | Checked: 1.motor, its brushes, windings, wiring and connector, if necessary, change the motor; 2. The control module is defective, repaired or changed. |
|
| F13 | Faulty control board or wiring. | The electronic controller and all wiring is checked, if necessary, it must be replaced. | |
| F14 | Software malfunction. | Re-flashing the memory is required, if replacing the firmware is not possible, we change the module. | |
| F15 | Water leakage (the leakage sensor located in the pan has been triggered). | Checked: 1. rubber hatch (carefully inspect the rubber, it could break); 2. all connections inside the machine, nozzles, tank, connection points of the filling and drain hoses; 3.the inner part of the powder loading tray; 4. filter drain pump. |
Our site contains many articles on the repair of washing machines of other brands, which you can find here.
The troubleshooting methods described in this article assume that the contractor has certain knowledge, skills and tools. Therefore, in the event that you are not confident in your abilities, contact a repairman for help.
Identification of faults by code
Atlant cars are equipped with a display that shows the selected operating mode, the amount of time remaining and the error code. The latter are of the following types:
- None;
- Door;
- F2 to F15.
The appearance of one of these codes does not always indicate a malfunction. Knowing what a specific error means can help you narrow down the search for the problem. A specific code indicates a failure of a specific part. However, this only indicates problems with this element, although the malfunction may be hidden in other parts of the machine.
None
This signal indicates that due to the large amount of foam, the drum cannot spin. If None appears frequently, it is recommended to replace the current washing powder with a different one or to choose suitable operating modes.
Door
Door indicates that the door of the clipper will not close. This problem occurs due to:
- breakage of the door lock;
- damaged wiring supplying the central board;
- violation of contacts;
- improper installation of the washing machine;
- a defect in the guide or retainer;
- misalignment of the hinges.
Some of these faults can be eliminated by yourself. Other problems will require specialized equipment to help assess the condition of the wiring.
F2
The F2 code indicates a failure of the temperature sensor, which occurs due to a violation of the integrity of the contacts (wiring) or a breakdown of the control unit.
F3
This error appears when the electronics of the washing machine detects a malfunction of the heating element. Failure of the heating element is caused by accumulated scale or broken contact.
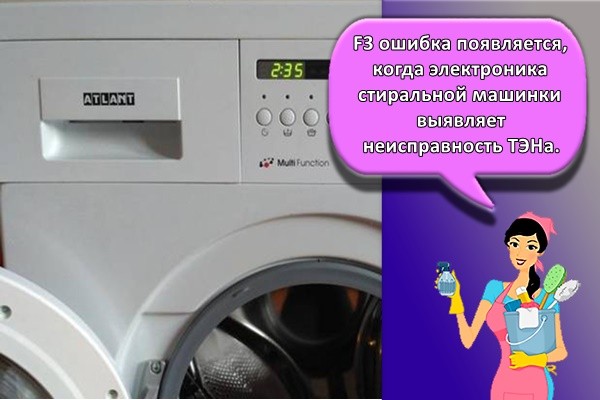
F4
F4 appears if the water drain is disturbed (water slowly leaks out or stagnates in the tank). Basically, this code appears when the hoses are clogged or the pump fails.
F5
This signal indicates a blockage in the water supply hose. Also, the F5 error occurs if the inlet valve breaks.
F6
F6 appears on the washing machine screen if the reverse relay fails. Also, this error occurs in cases where the motor is faulty or the contacts are damaged.
F7
F7 indicates insufficient voltage in the mains or a broken noise filter. In this case, it is impossible to restore the operability of the machine without the involvement of a master.
F8
The F8 error occurs if:
- the water inlet valve is stuck;
- the pressure switch has broken;
- the control board is out of order.
Due to each such breakdown, water remains in the tank of the machine.
F9
F9 indicates a failed sensor that measures the engine speed. This malfunction also occurs due to a broken contact or a break in the wiring.
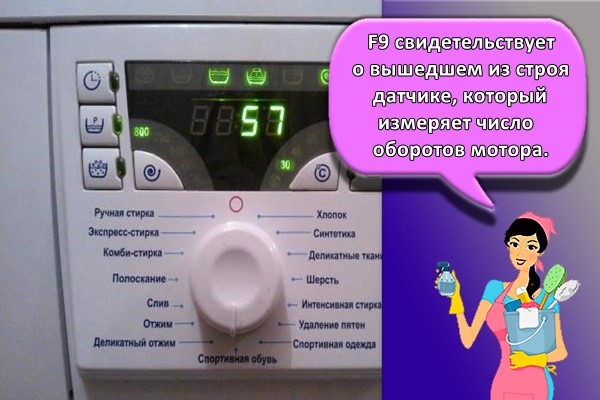
F12
This error appears when there is a problem with the motor or the control unit (triac on the central board).
F14
The appearance of this code indicates a software malfunction. The malfunction is eliminated by rearranging the software.
What does this code mean?
After studying the relevant instructions, you can quickly come to the conclusion that error F14 means a breakdown of the control module of the Atlant washing machine, but in fact this is not always the case. The causes of the error can be hidden much deeper, in particular, its occurrence can be influenced by:
- clogged waste filter;
- incorrect connection of the machine to the sewer;
- power surge.
Before reflashing and even more so changing the control module, you need to check the above reasons. Let's hope that we are talking about a banal short-term failure in the operation of the electronics of the Atlant washing machine.
It is worth checking the filling valve
Could not find a breakdown, then you need to check the inlet solenoid valve. It is located in the same place, under the top cover of the Atlant washing machine, only on the back wall, just behind the powder receptacle box. First, disconnect the valve coil and check the contact resistance. In normal working condition, the multimeter should show a resistance of 2-4 kOhm, if it shows much less or much more, then the inlet valve is faulty and needs to be replaced.
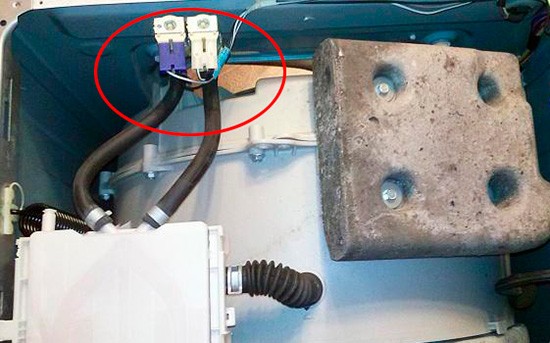
In the event that the inlet valve coil is in order, do not rush to rejoice. It is very possible that the flow filter is clogged and is now preventing water from entering the machine. The solution to the problem is to clean the flow filter. First, unscrew the inlet hose from the machine body. There is a small plastic mesh in the place of its connection inside the fitting. This is the flow filter. We carefully remove it and wash it from dirt. If the mesh is overgrown with limescale, it can be soaked in a citric acid solution, and then washed.
In some cases, the cause of the F8 error is the electronics, specifically the control module. Atlantis' firmware often crashes, so you can call a wizard who will reset or replace it for you. As a last resort, the replacement of the control module will be required, but this will be decided by the master. In matters with electronics, amateur performance can be disastrous, so in any case, entrust this matter to a professional.

