Post-transplant care
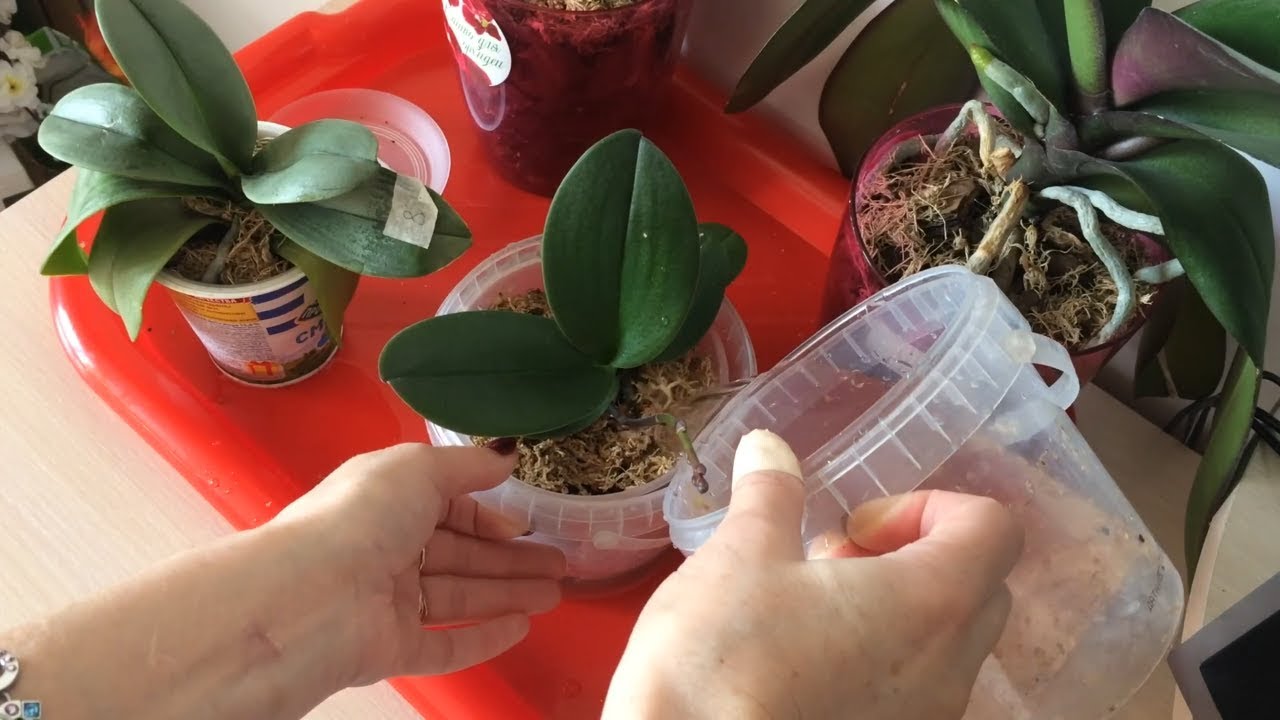
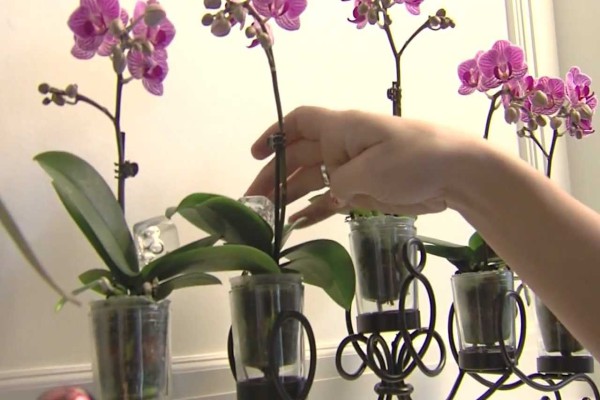
Care after transshipment of the phalaenopsis plant consists in shading it from the sun's rays for a week, as well as maintaining the temperature no higher than 20 degrees.
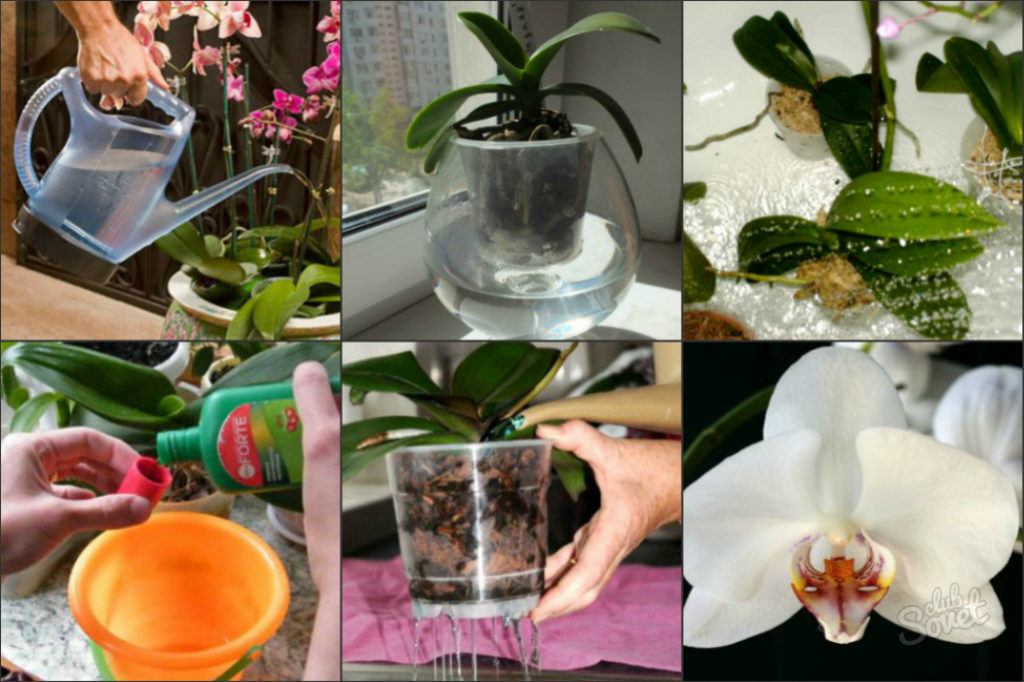
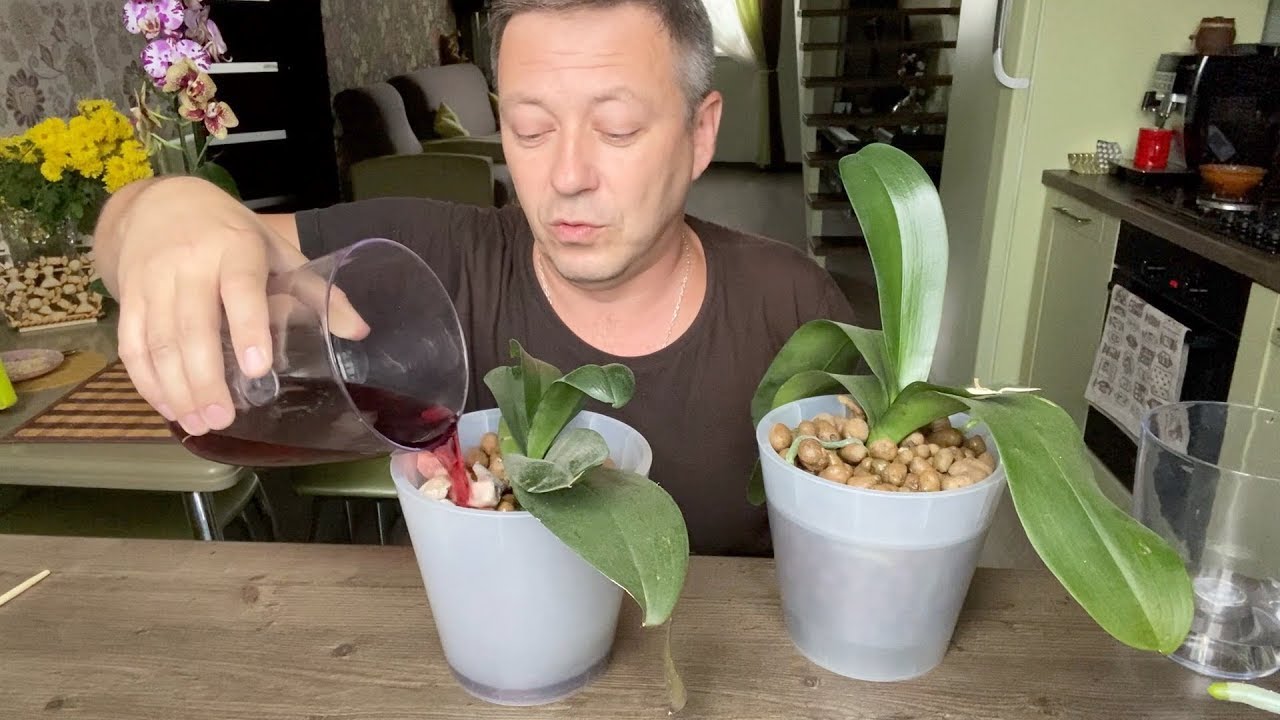
After 10 days, you can carry out the first top dressing with watering, but do it carefully:
dilute fertilizers in boiled water;
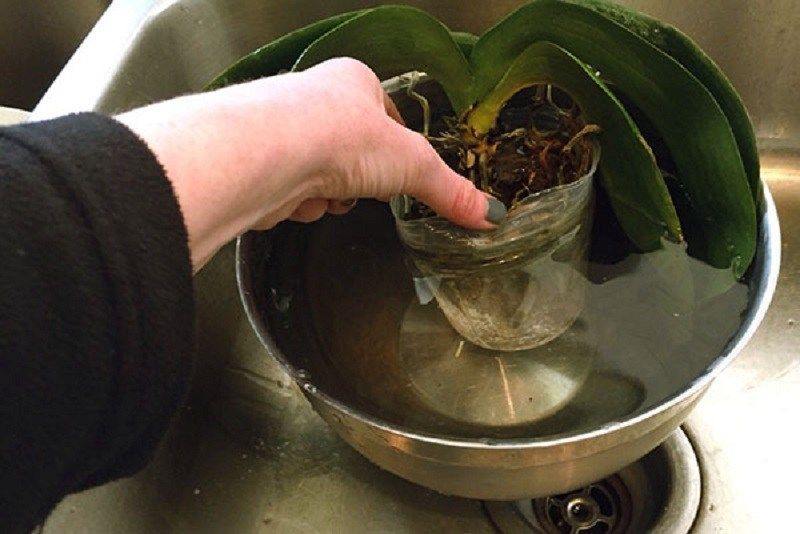
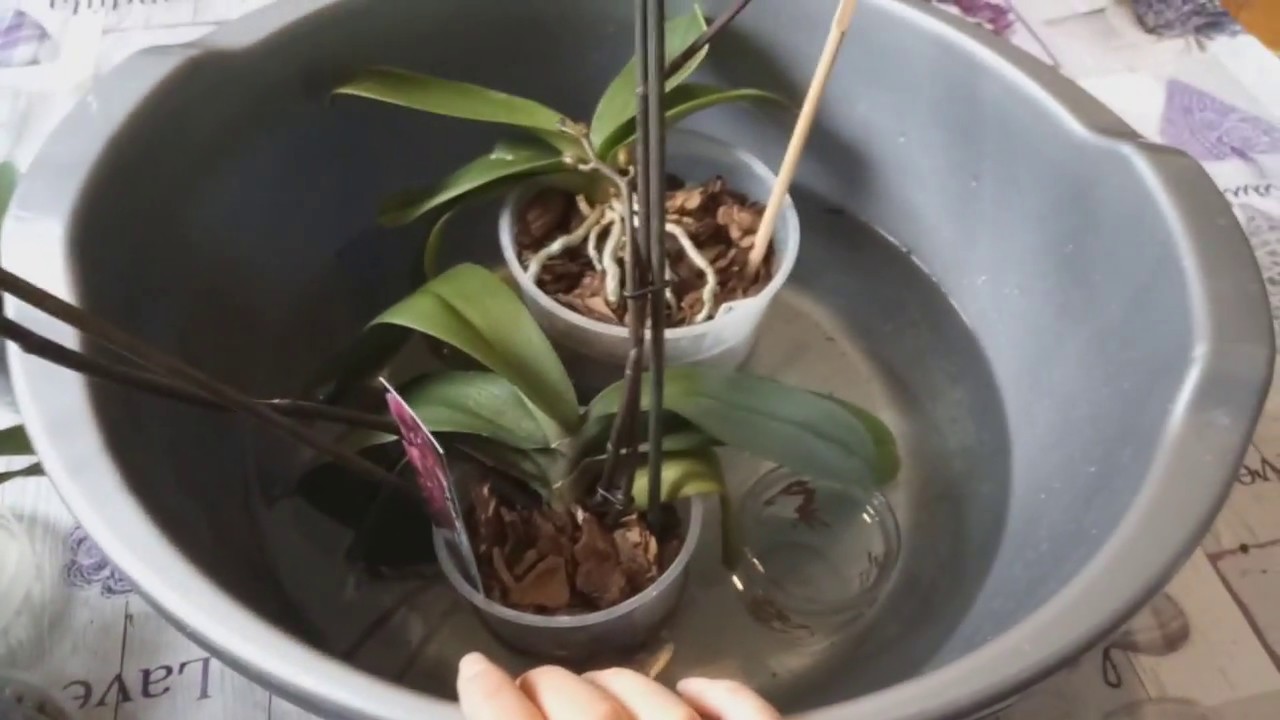
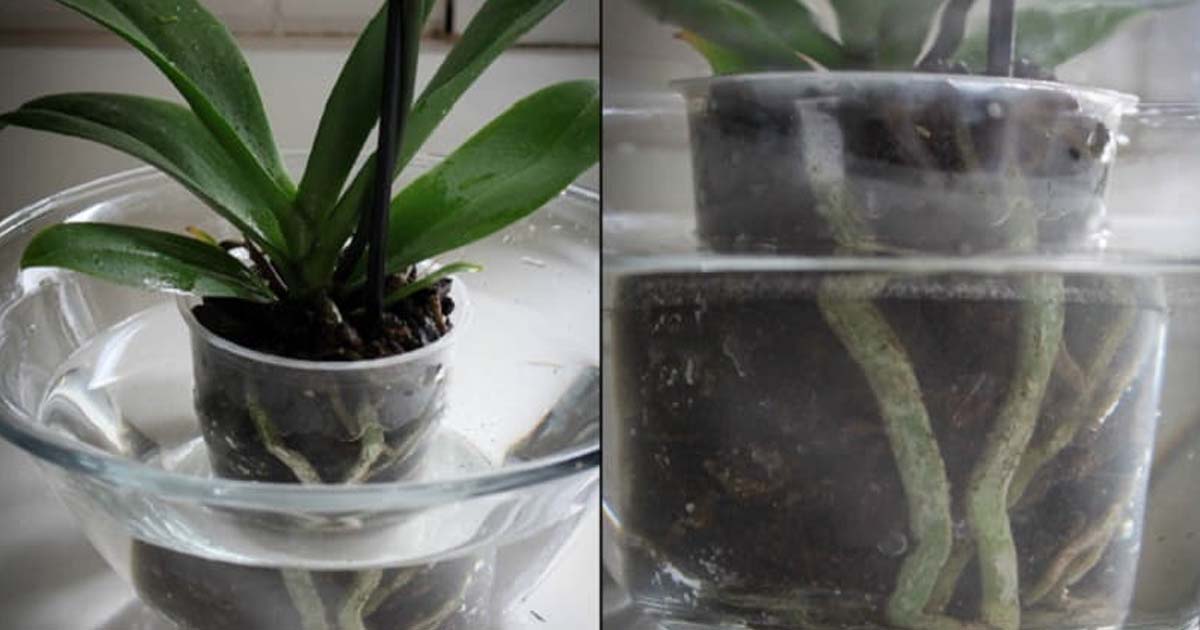
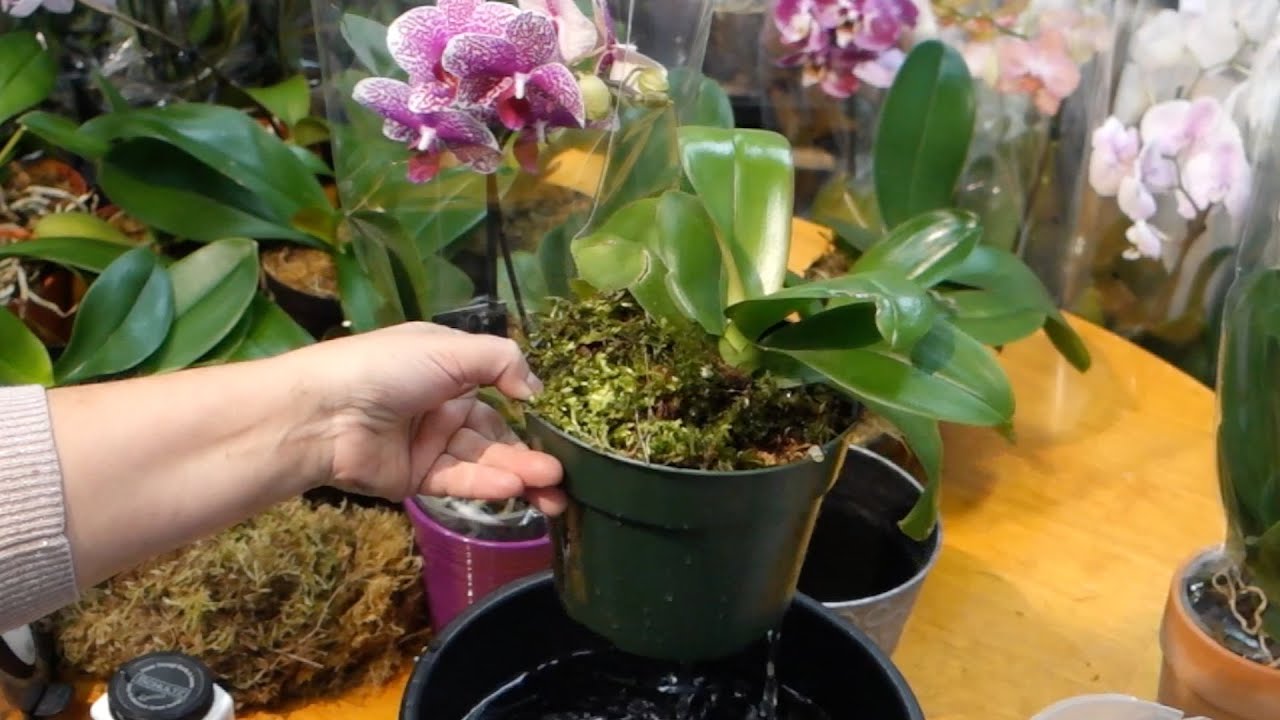
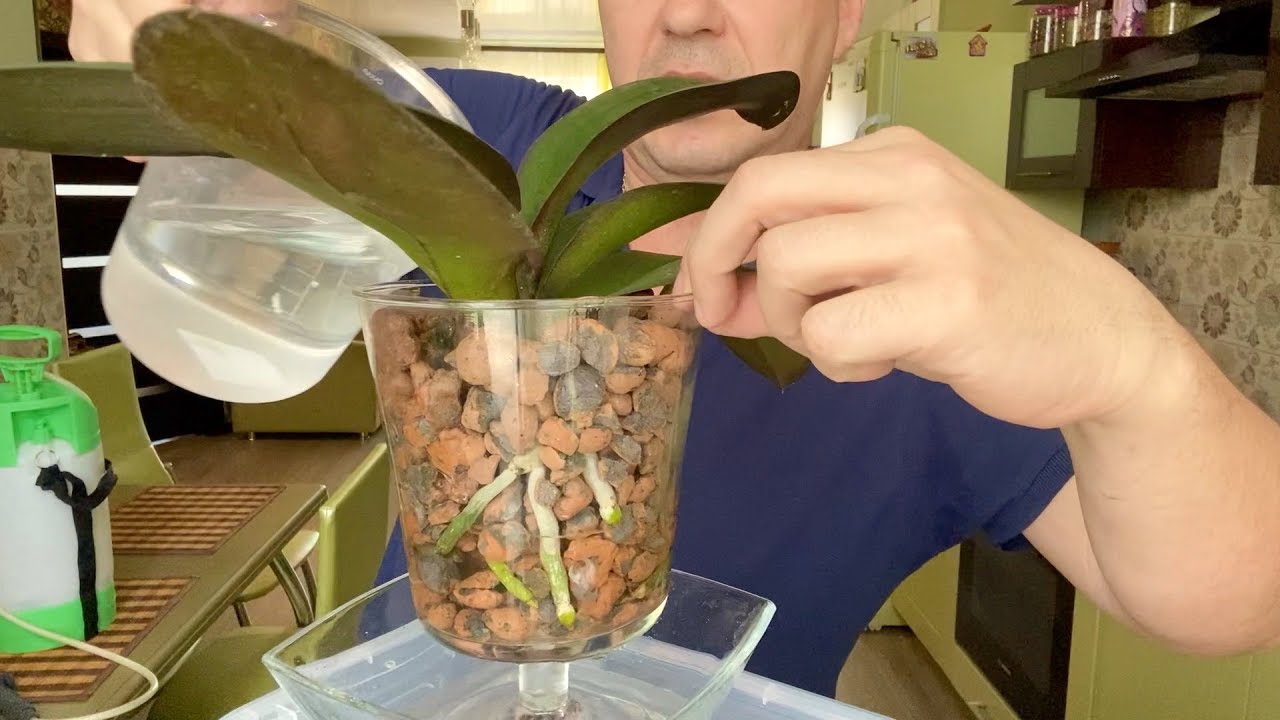
put the pot in the nutrient liquid for an hour, then remove.
The substrate absorbs trace elements, which the orchid will then receive. You cannot water directly.
If dry bark was laid, and the plant has healthy roots, the first time it is watered 3 to 4 days after transshipment. With a wet substrate, the watering procedure is postponed and carried out after 2 weeks.
Important! The liquid should be soft. Is it filtered, melt or rainwater
Orchid roots cannot actively feed if there is a lot of salt in the liquid. They clog the pores and the process of absorption of nutrients is slowed down, which affects the appearance of the plant.
How to get rid of most types of weeds very quickly? Weeding is no longer needed. New development from agronomists - here
You will also be interested to read:
Phalaenopsis orchid transplant
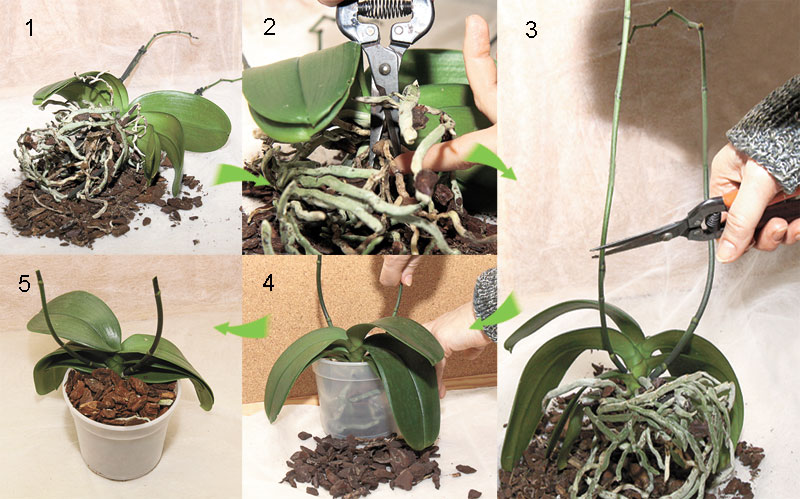
Step 1
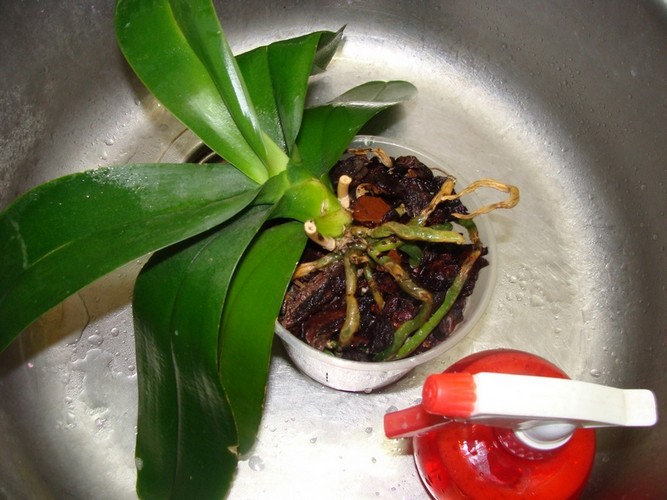
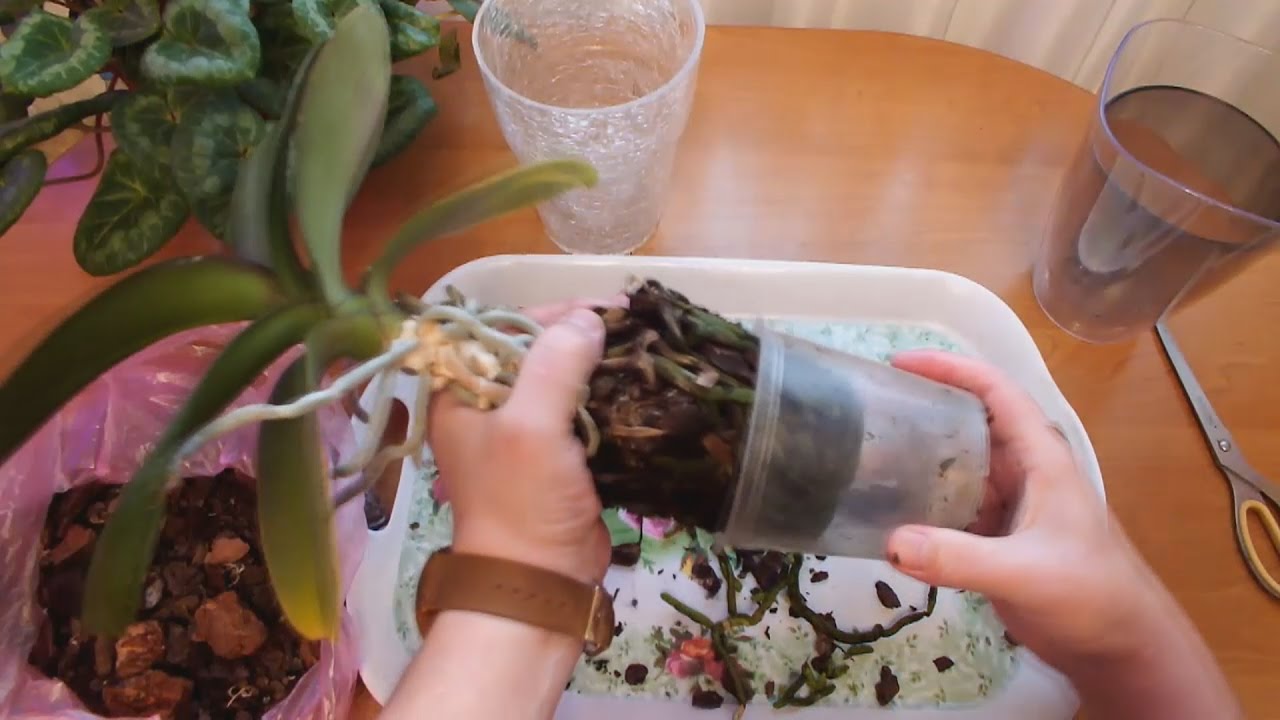
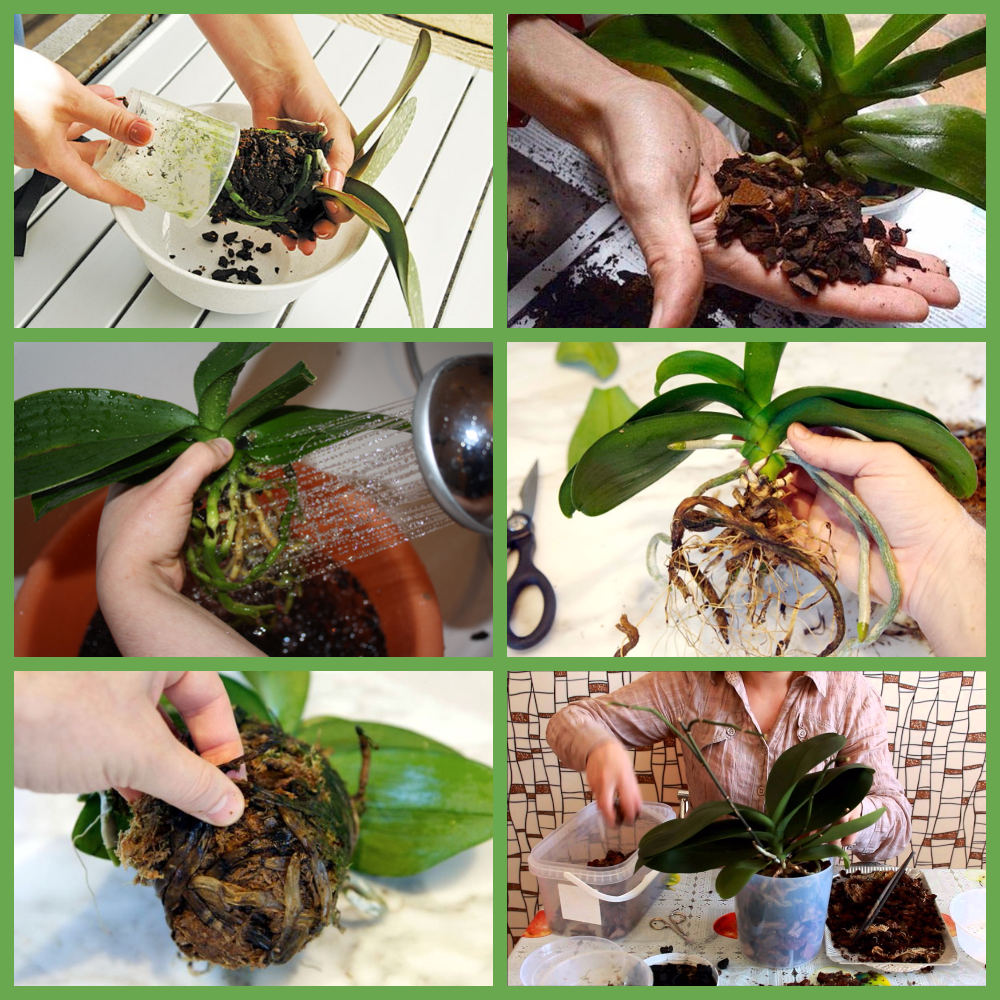
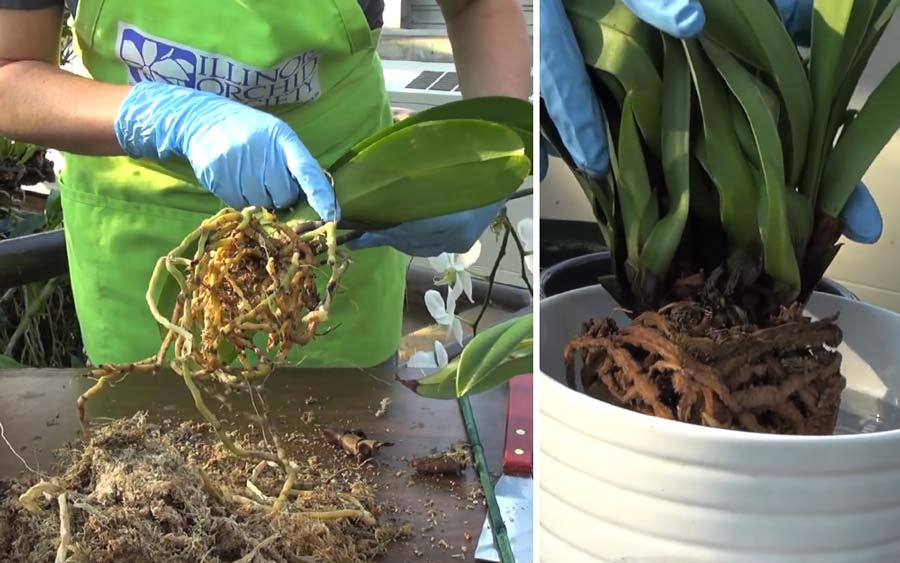
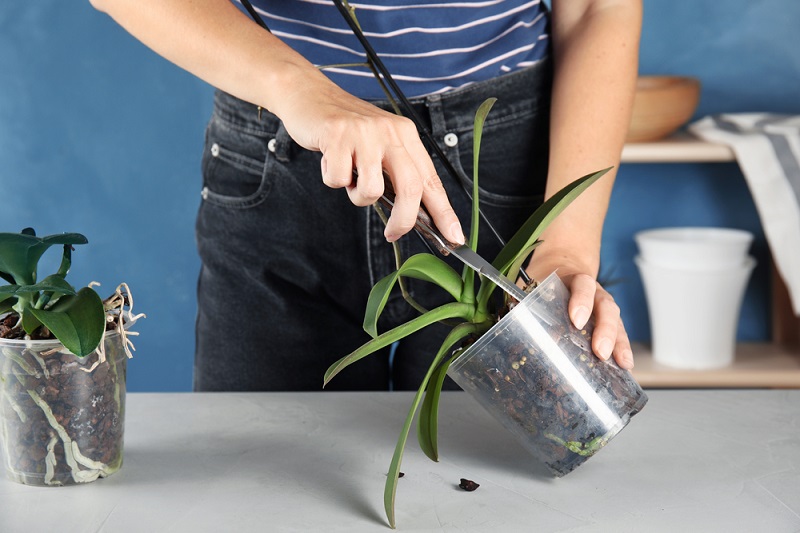
Remove the orchid from the pot and place it in a wide basin. To make it easier for you to pull out the orchid, remember slightly the walls of the pot. If this does not help, carefully so as not to damage the aerial roots of the phalaenopsis, cut or break the old pot.
Usually, the more developed the root in phalaenopsis, the more firmly it "holds" to the pot, and the more difficult it is to release it.
However, if the orchid is weakened or sick, it has few living roots, then it easily comes out of the pot, it is enough to slightly pull it by the stem.

Step 2
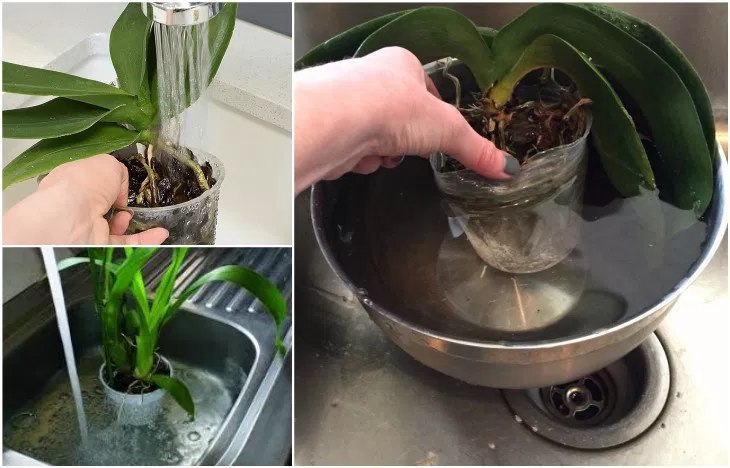
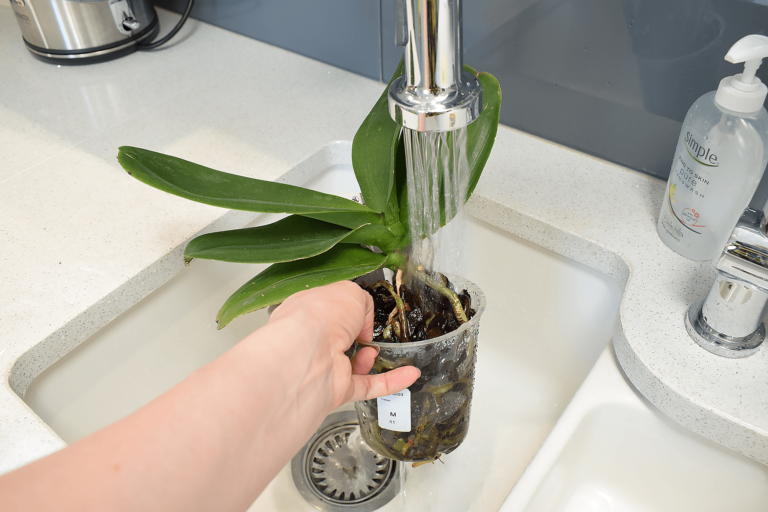
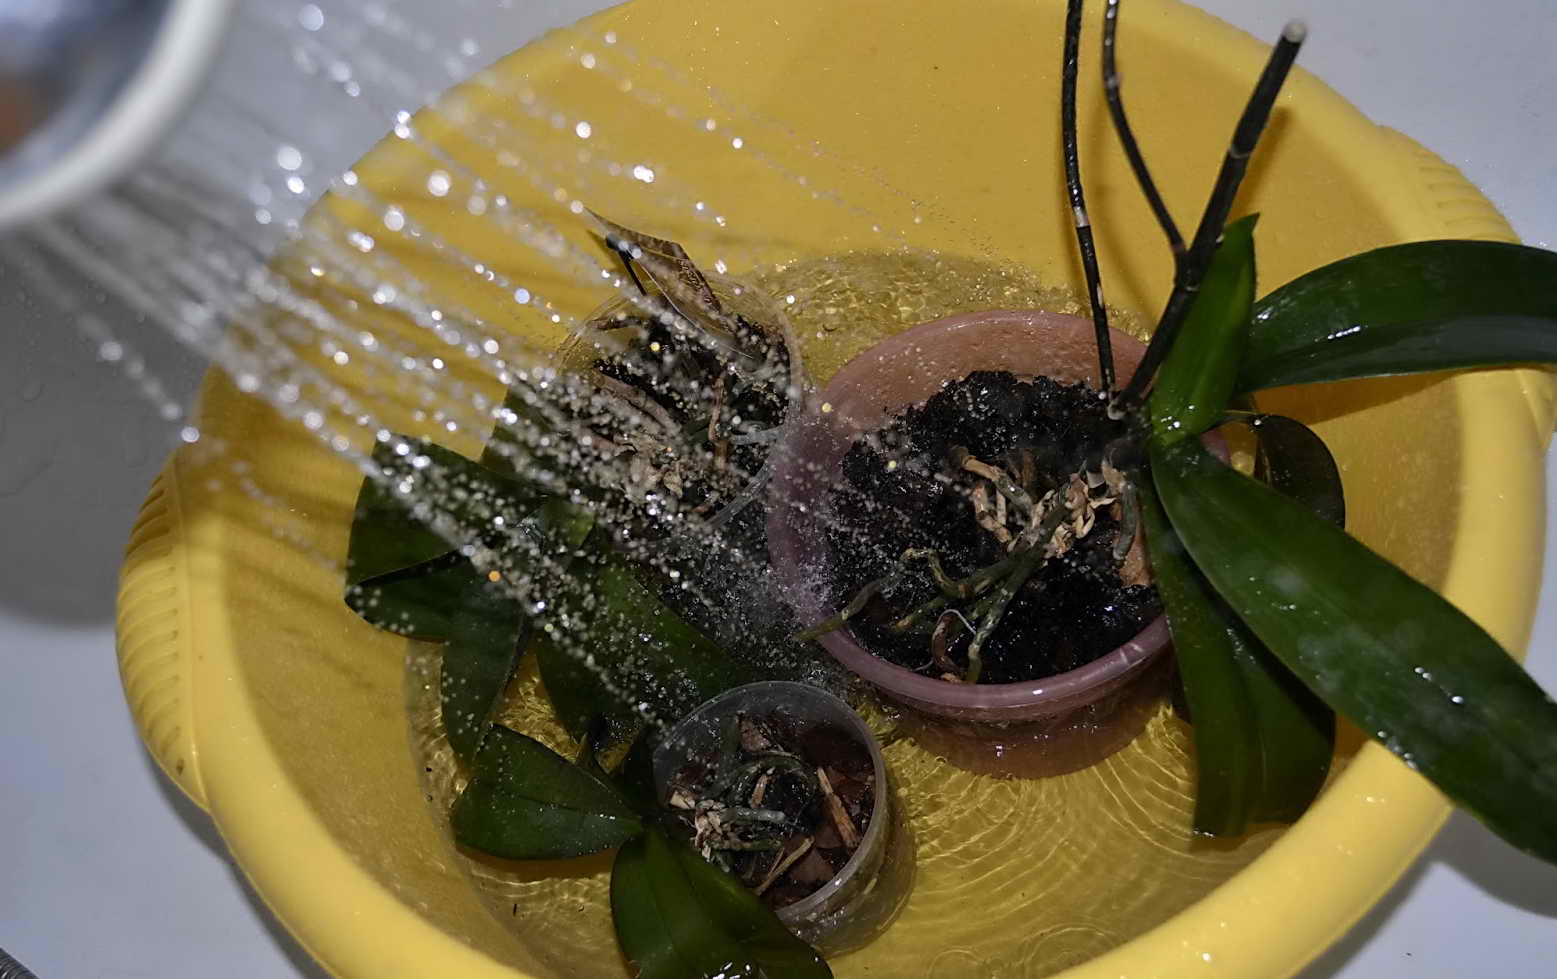
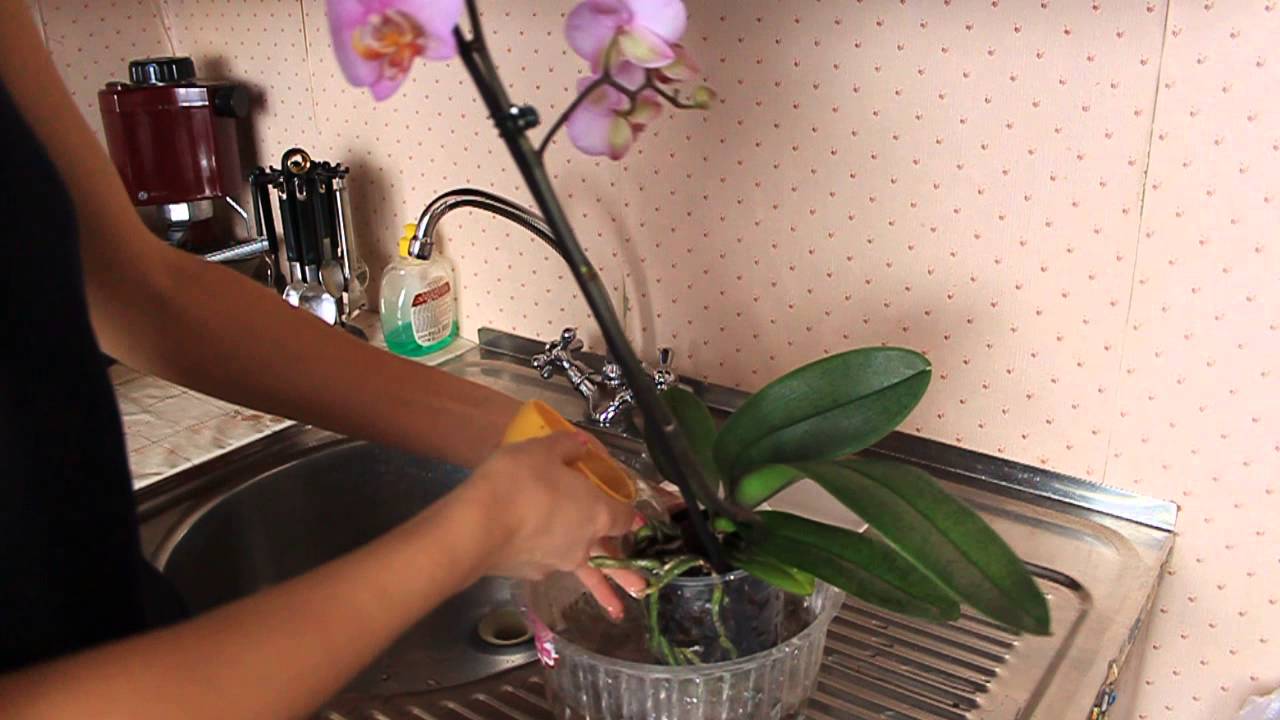
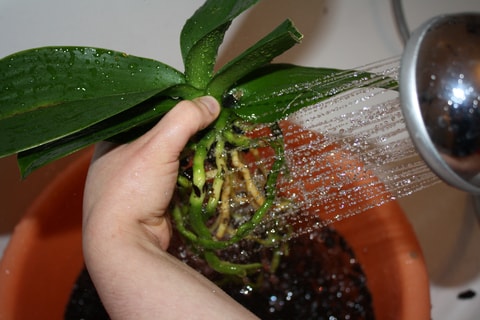
It is necessary to rinse and clean the roots from the residues of the substrate. It happens that they are strongly intertwined with each other and it is very difficult to free them from the substrate. To easily clean the roots, pour some lukewarm water into a basin and immerse them in the water for 10-20 minutes to soak.
Do not leave the entire orchid in the water along with the leaves, only the root system.
Then try to untangle it with your fingers. Help yourself with a shower, direct the stream of water to the remnants of the bark to rinse them off.
If some roots are firmly embedded in the bark, do not try to free them, so as not to injure.
Step 3
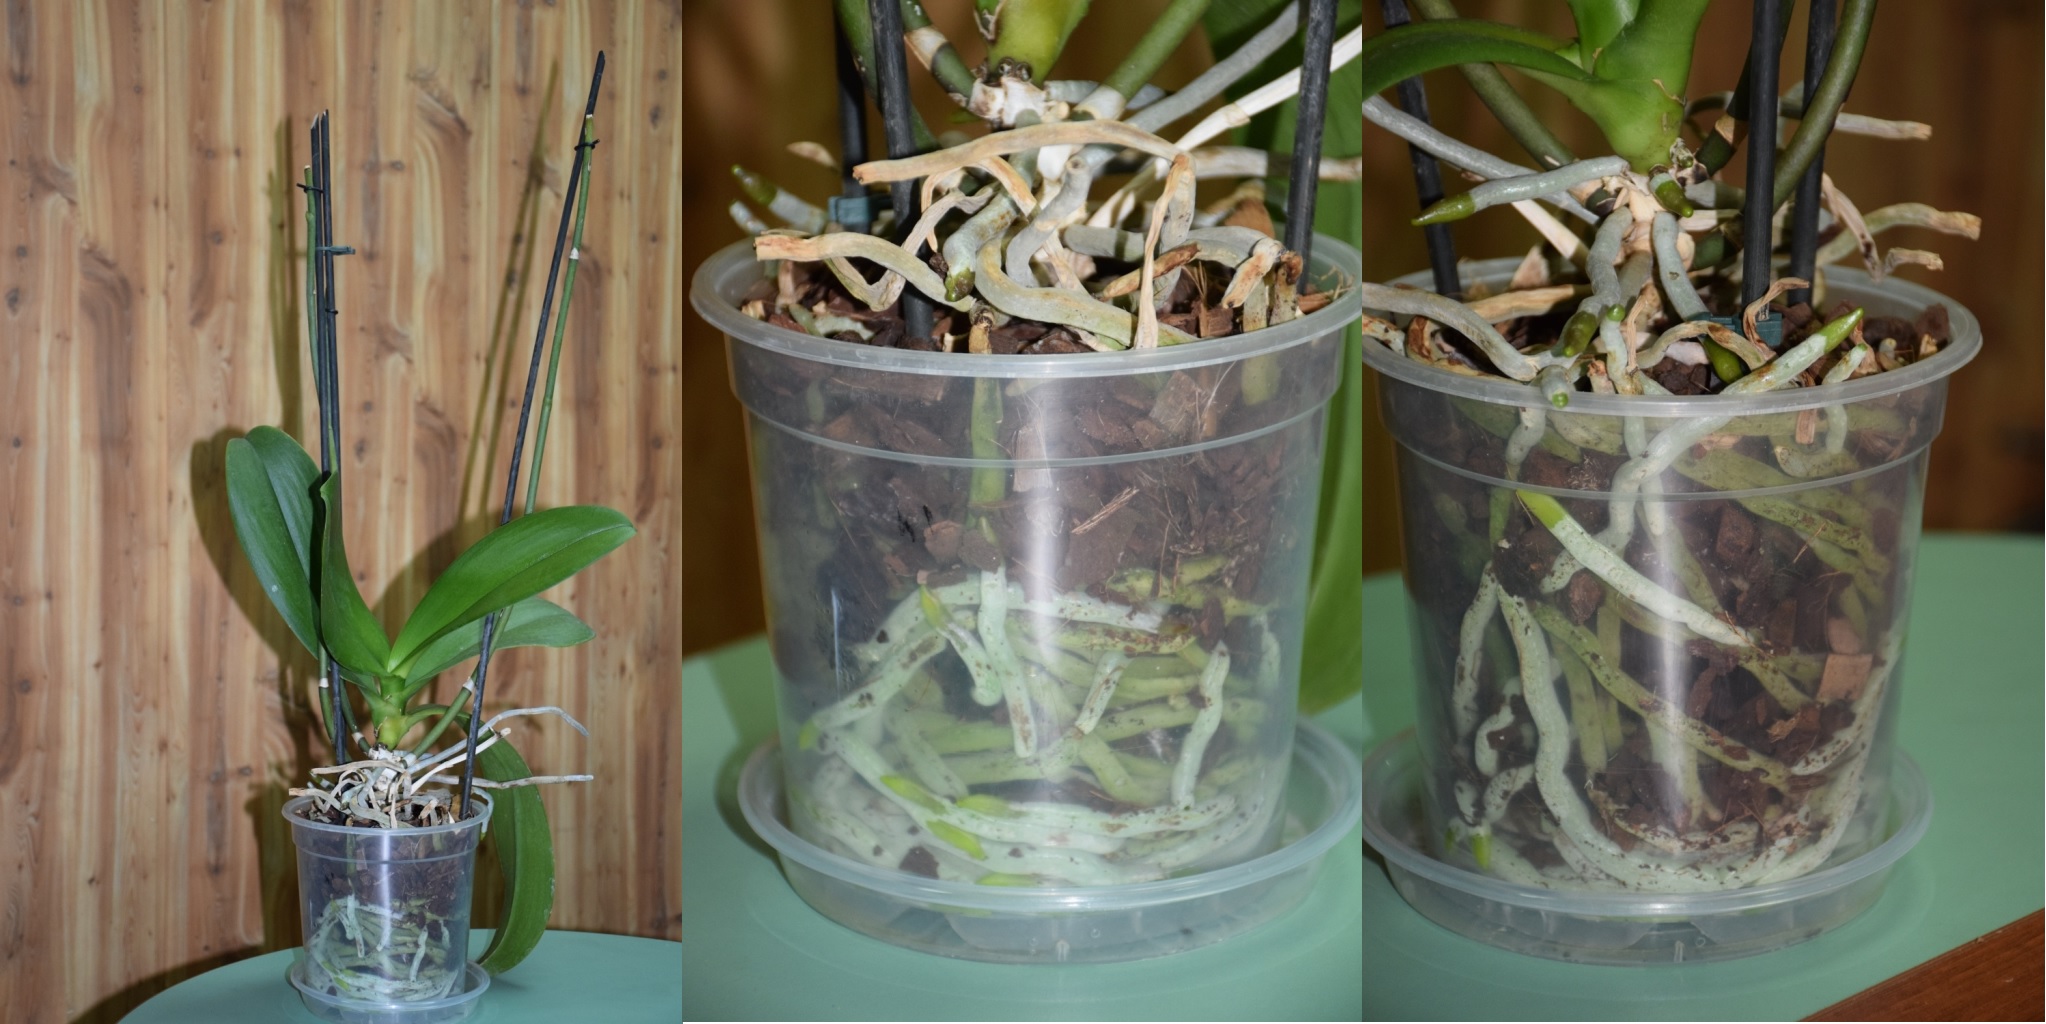
Examine the root carefully for rot. All rotten and dry roots must be removed.
If only part of the root is damaged, cut only this part to healthy (green or white) tissue.
Before the "circumcision" procedure, the scissors must be disinfected with alcohol or held over a fire so as not to introduce any infection through the open sections.
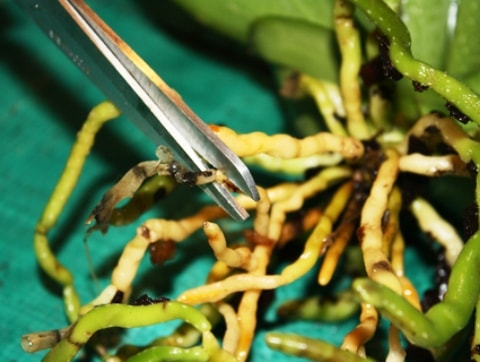
Sometimes it can be quite difficult to distinguish between good healthy roots and rotten ones, especially for those who transplant phalaenopsis for the first time.
They can sometimes be similar in color. But remember one thing: healthy roots are always firm and dense, and rotten ones are hollow.
To check this - click on the root. If it is rotten, water will flow out of it, the shell will peel off and the root thread will be exposed. Alternatively, you can cut off the tip of the root and inspect the cut.
After all operations, be sure to treat the wounds.
What do phalaenopsis suffer from and how to treat them?
In the list of diseases that phalaenopsis can pick up, there are infectious and non-infectious. It should be borne in mind that with proper care, orchids rarely get sick. Let's see what diseases most often affect orchid flowers.
Fusarium
This disease is fungal in nature. The infection first penetrates and affects the roots of the phalaenopsis, and then the disease spreads to the terrestrial part. The main cause of fusarium disease is waterlogging of the soil in the pot.
Unfortunately, it will not be possible to cure a flower from such a disease. In order to prevent the spread of the disease to other healthy indoor flowers, orchid bushes affected by fusarium should be carefully removed from the house and put on fire.
Hives
Less insidious than fusarium, but a fairly common orchid disease is urticaria. If your flower suddenly begins to have large spots on the leaves, reaching a diameter of up to 3 cm, it means that he was struck by urticaria.
A similar ailment arises as a result of high air humidity and its low temperature, as well as due to the lack of air exchange in the room. In order for the flower to quickly overcome this ailment, it is necessary to resume proper care for the phalaenopsis orchid.
We recommend viewing: Geranium flower: home care, photo, reproduction, transplantation and pruning
Botrytis
Lack of ventilation in the room and excessive humidity can lead to botrytis disease of orchids. The disease affects orchid flowers. At the onset of the disease, dark brown spots form on the petals. In the next stage of the disease, the flowers wither.
To combat the disease, you need to raise the temperature in the room, establish normal ventilation and treat the orchid with one of the bactericidal agents.
Non-infectious orchid diseases are the reaction of plants to improper maintenance. This kind of disease can occur for the following reasons:
- too strong light in the room;
- violation of the irrigation regime;
- improper feeding;
- mistakes in the use of pesticides.
In orchids that are sick with non-communicable diseases, the tips of the leaves may begin to dry, the roots and other living tissues of the plant die off. Often, as a result of such an ailment, various spots may appear.
If you find this in your orchids, then the first step is to identify the true cause of the disease and eliminate it. This will take patience and time.
Flower rejuvenation
Older plants can be successfully rejuvenated. If the trunk is elongated, since the leaves naturally died from below for a long time, you can carry out the procedure for rejuvenating the phalaenopsis:
Cut off the top so that under it there are air layers and the beginnings of new roots. Treat the area with activated carbon.
Prepare the substrate or bark.
Place large pieces of bark on the bottom of the pot.
Put a piece of polystyrene under the cut site - this technique prevents moisture from entering the cut area and rotting.
Place the orchid and sprinkle with fine bark on the sides for stability. The bark should cover the area where the root buds are located so that they begin to grow faster.
The rest of the plant with roots can also be cleaned and left in the substrate. Soon a new rosette of leaves will grow out of it.
About feeding phalaenopsis
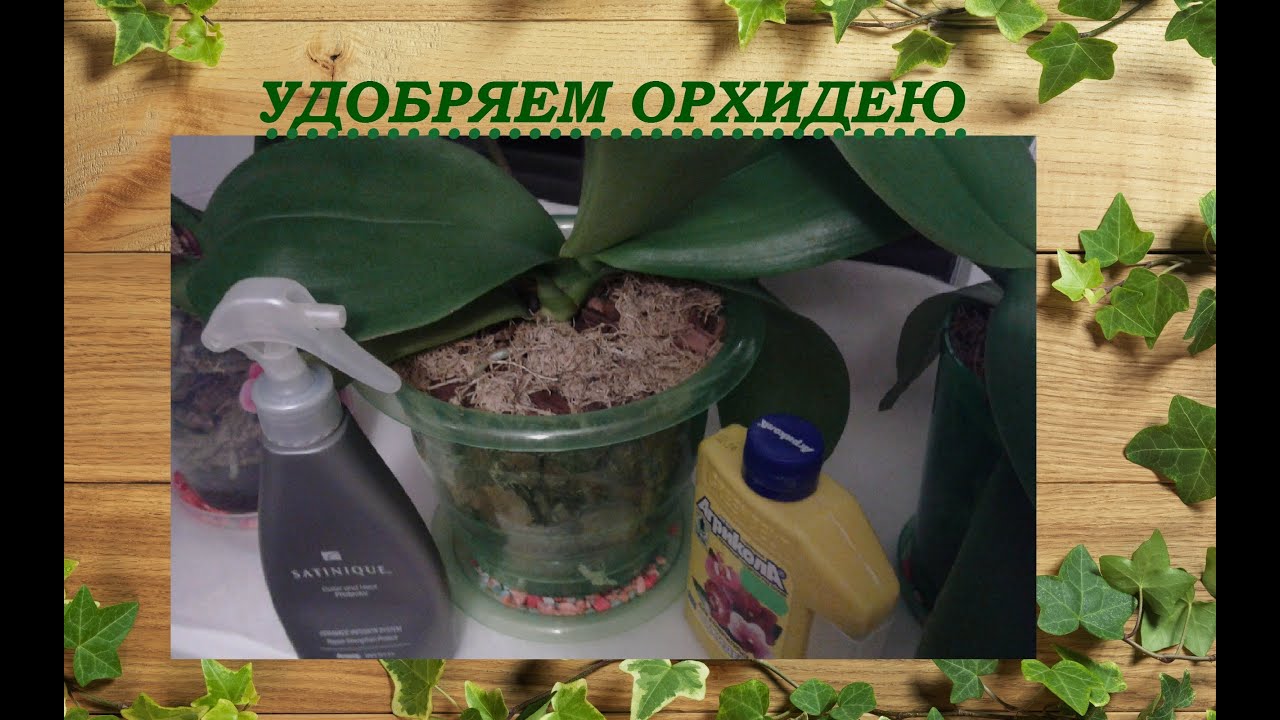
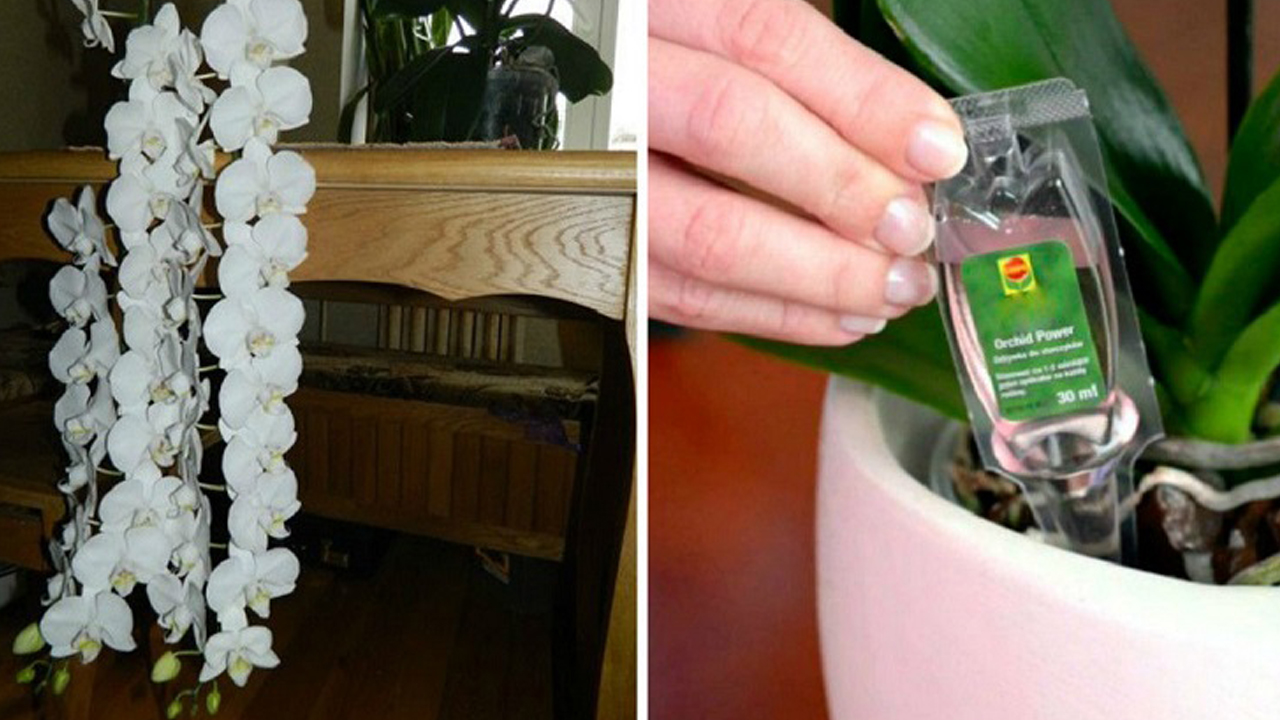
The orchid needs additional minerals while it actively forms leaves and buds. Top dressing is carried out during watering, diluting fertilizer in water, until the first flower opens on the plant: if you continue feeding, the flowers will fade ahead of time.
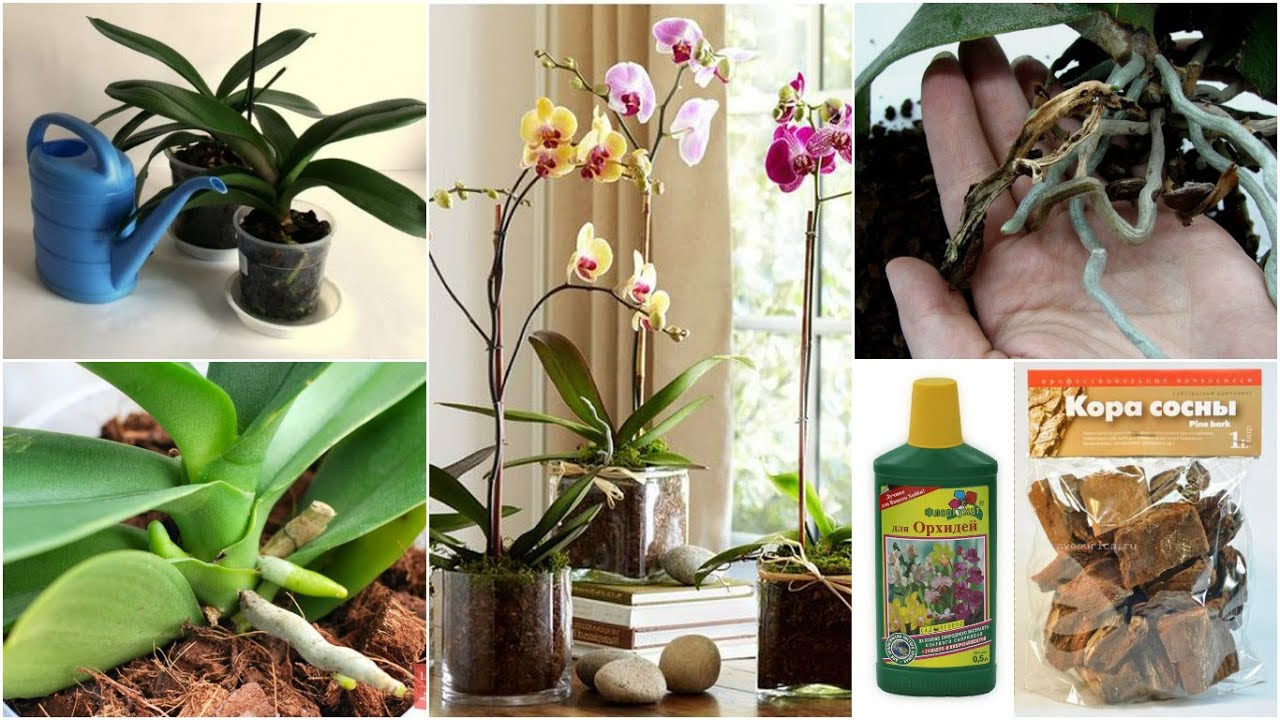
Phalaenopsis needs to be fed only with fertilizers for orchids, complexes for other flowers will not work.
Watering is a very important component of the health and beauty of the Phalaenopis orchid. We hope that the tips in this article will help you grow this beautiful and delicate plant.
Despite the fact that phalaenopsis is considered the most unpretentious plant among all types of orchids, you need to know several rules for caring for it, especially after buying a flower in a store. From our materials you will learn how to plant a root baby, on a stem or peduncle, as well as how to transplant a plant.
Planting and transplanting
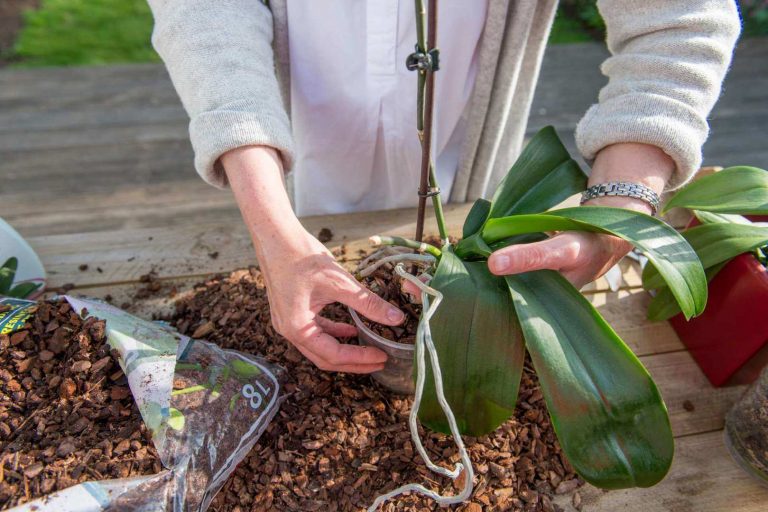
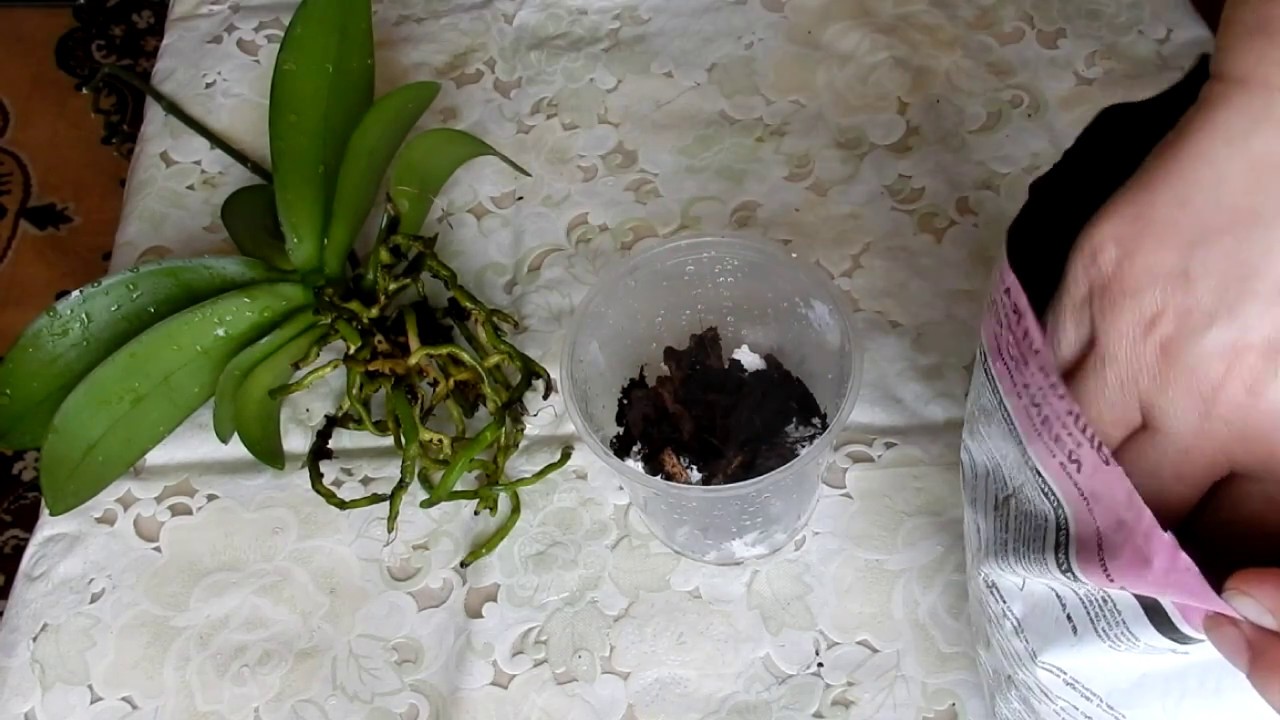
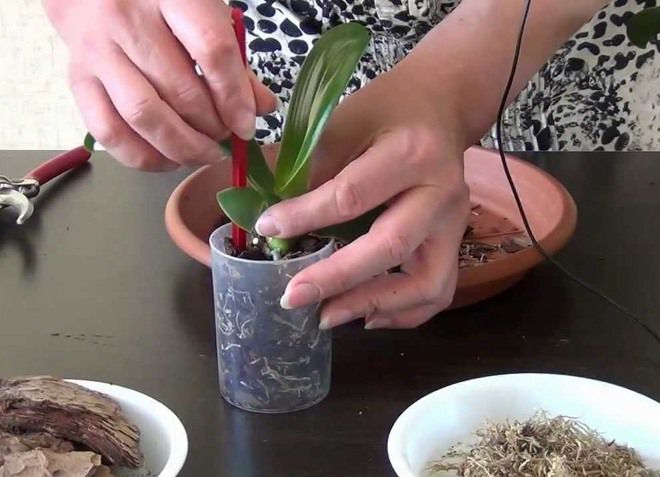
The process of how to transplant orchids can be divided into several stages:
- Choosing the right soil for the plant.Preference should be given to the soil substrate, which consists of large particles of moss and bark, which have a beneficial effect on the growth of the mini orchid, rather than ordinary soil;
- The choice of container for planting and transplanting a plant. For transplanting, it is worth choosing a container that is larger in size than the one in which the flower is currently growing. The roots must have plenty of room for growth and development. But overdoing it is also dangerous, the size of the container must correspond to the size of the flower, you should not take the container "for growth";
- Experts strongly recommend refraining from watering the plants for the next 10 days after transplanting.
Step-by-step photo of orchid transplant.
Experienced growers recommend replanting a healthy plant only if the flower pot has become small, or after 2-3 years, when the bark begins to decompose, the roots receive an insufficient amount of oxygen, which leads to the death of the mini orchid.
With continuous flowering, an orchid transplant should be treated with special care, the main task is not to damage the roots of the plant.
Features and nuances
With non-standard cultivation
After insufficient watering, it is often necessary to reanimate Phalaenopsis orchids, which have no horses at all.
How to water them? How will the plant absorb the required amount of moisture?
As you know, epiphytic plants can absorb moisture from the environment not only by the root system, but also by the leaves.
It is in this way that the bole will eat during the resuscitation period, when it will completely lack roots.
The watering process is carried out as follows:
- Acidified water is collected in the container;
- A plant is placed over a vessel with water so that it does not touch the water;
- As it evaporates, the leaves of the orchid will absorb the required amount of moisture;
Sometimes tropical plants are grown without flowerpots, this gives a certain exoticism to the room.
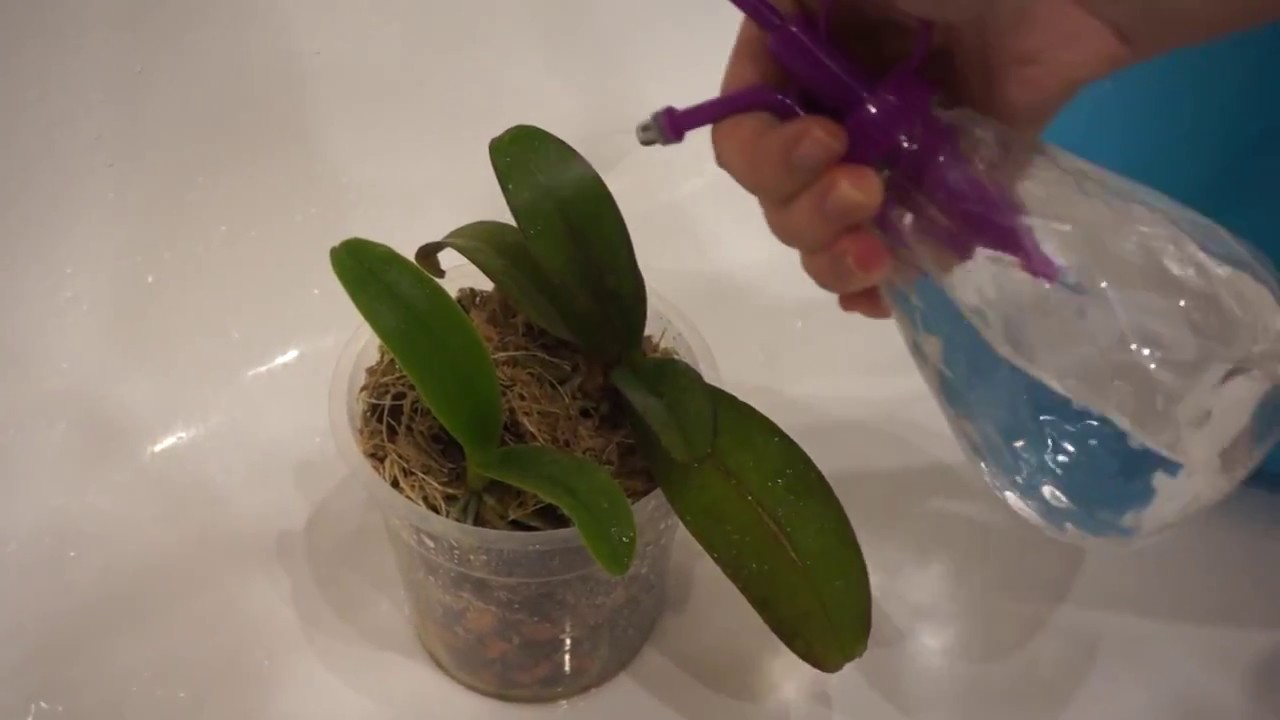
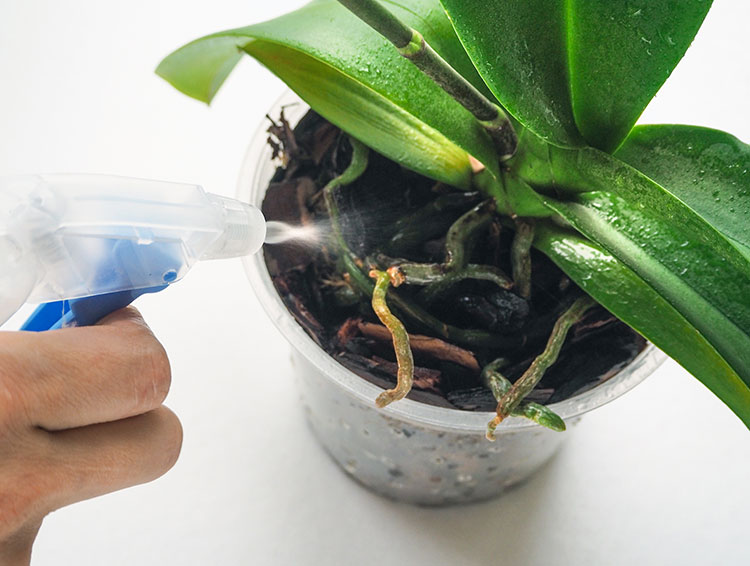
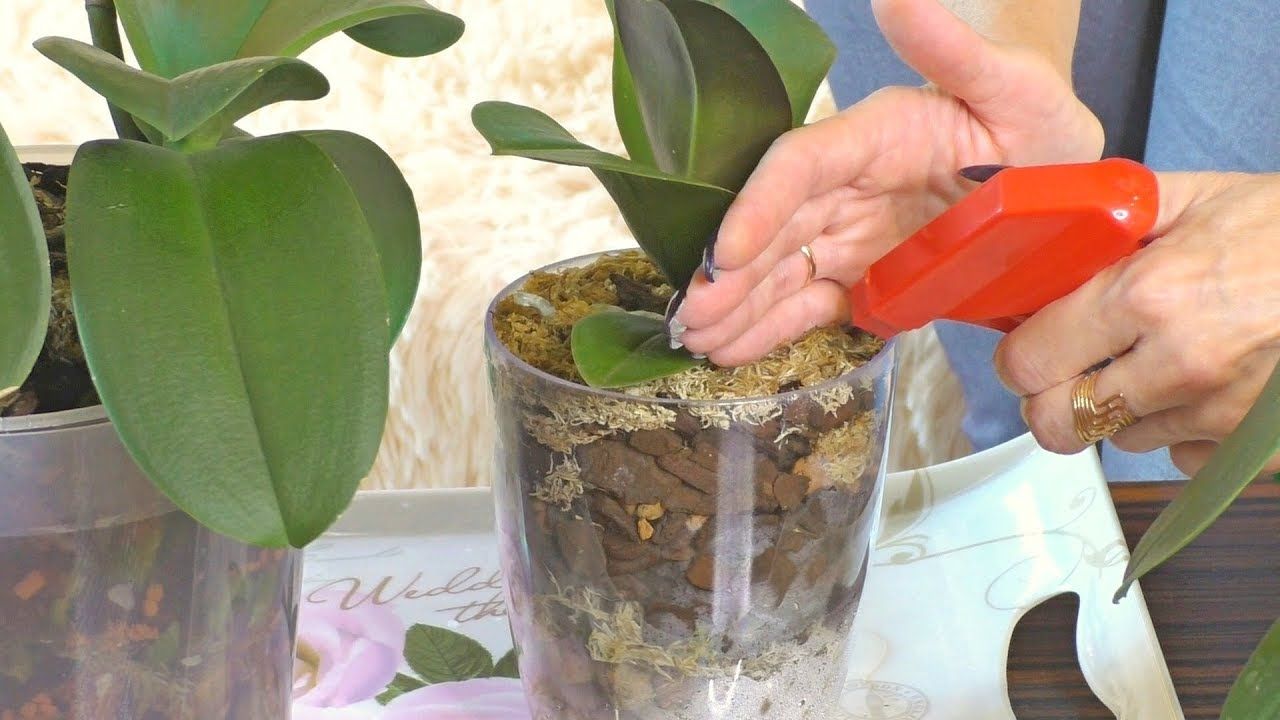
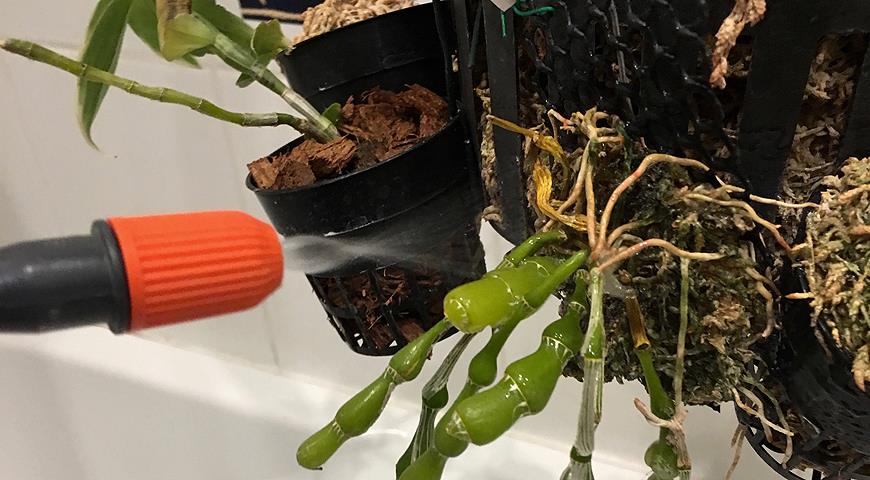
In such cases, watering is carried out using a sprayer, the water must be warm at any time of the year.
If we talk about how often to water the phalaenopsis orchid at home, then this procedure is repeated once or twice a week, depending on the temperature in the room and its illumination.
When transplanting
After transplanting a young or adult plant, it is not recommended to water it for 7-10 days.
After transplanting, orchids are not watered for some time.
There are several reasons for this:
- Before transplanting, an adult plant is usually cleaned of the old substrate by the method of abundant watering, during this period the plant accumulates moisture in the roots;
- The filler is washed in a pot or bowl before laying and soaked for a short time in water, the substrate is saturated with a sufficient amount of moisture for several days.
If you start watering the plant earlier than expected, the risk of root rot increases.
If foam is used in the substrate, watering is done more often. Moss and expanded clay will extend the plant's residence time without watering by 2-3 days.
Moss extends the time between waterings.
In dry microclimate
Dry air in an apartment can negatively affect the growth of the phalaenopsis orchid.
This microclimate can destroy the plant. To prevent this from happening, it is necessary to regularly water and spray the stem.
Important! The intervals between waterings in rooms with dry air are reduced to 2 days in summer and 4-6 days in winter. Spraying can be carried out daily, but before that, you should take a good look at the plant.
With dressings
For weakened boles, watering can be carried out using dressings prepared from scrap materials:
- With insufficient watering, the orchid leaves wither, you can fight this with the help of sweet water, which is watered with the stem. It is prepared simply: a teaspoon of sugar is diluted in a liter of water and the plant is watered once a week. If you do this more often, you can provoke a violation of the microflora of the substrate;
- Succinic acid will help the Phalaenopsis orchid cope with the adaptation period after transplantation, will facilitate the absorption of nutrients from the substrate. Watering with the addition of this drug is carried out once a month, this is quite enough to stimulate growth and distillation of peduncles.
In addition, other equally effective care products are often used, this is a topic for a separate article.
Do I need to immediately water the plant transplanted into another pot and can the root be used?
Immediately after transplanting, it is necessary that the new substrate is completely saturated with moisture
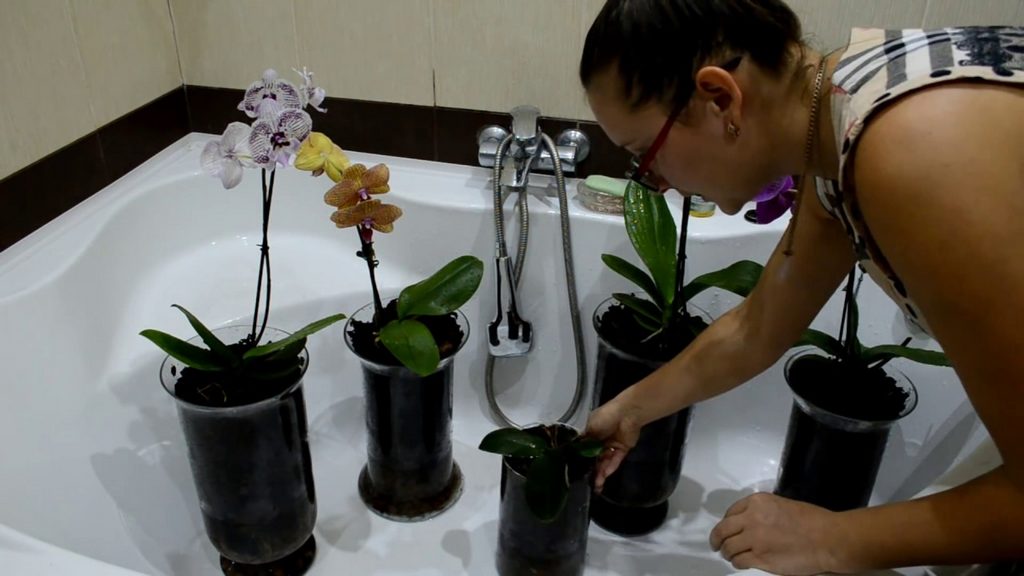
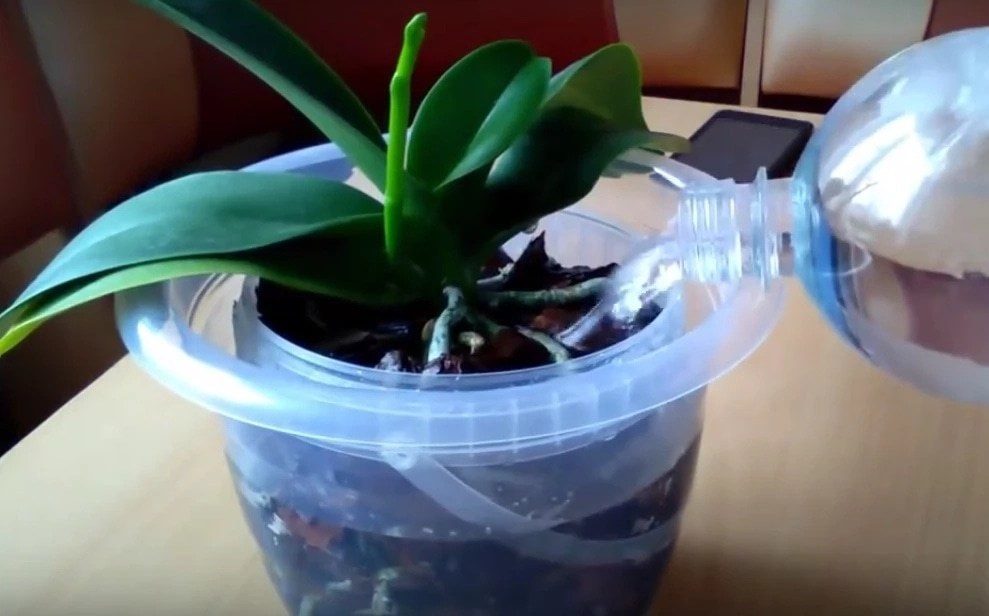
It is important to remember that watering orchids is significantly different from other indoor flowers. The best option would be to place the pot with the transplanted plant in a container of warm water for 20-30 minutes (what other watering methods are there?)
The water should not be hard, and for optimal results, you can add a little soluble fertilizers (potassium, nitrogen, magnesium) to it.
You can also use root. This tool is used in two different ways:
- for dusting the roots in places of damage and cuts;
- for watering after transplanting (1 gram of root per liter of water).
In both cases, it is necessary to stimulate the enhanced growth of the root system, which contributes to a successful rooting process.
After the end of watering, it is necessary to allow the excess moisture to drain completely through the drainage holes. Otherwise, the roots may start to rot and become moldy.
Reasons for the lack of flowering
After each flowering phase, the orchid falls into a dormant state that lasts 2-3 months. After that, the phalaenopsis should bloom again. But it so happens that after 3 months of rest, the flower begins to wake up and grow and at the same time does not enter the flowering phase.
We recommend viewing: Shrub barberry - planting and care in the open field, types and varieties with photos
An orchid may refuse to bloom for the following reasons:
- The lighting is poor. After providing optimal lighting, the plant will bloom soon.
- An excess amount of nitrogen fertilizers was applied during top dressing. To correct the situation, you need to wait until the flower consumes excess nitrogen and feed with phosphorus fertilizers.
- After abundant flowering, the plant is exhausted and does not have enough strength to lay new buds. In this case, you need to give the flower time to recover, and then perform the flowering stimulation procedure.
Important!
Stimulating flowering involves lowering the night temperature so that the difference from the daytime is about 7 degrees. In addition, the irrigation rate is reduced and stimulating substances are added to the irrigation water - "Bud" or "Ovary".
Orchid pests and how to deal with them
Such a beautiful flower as an orchid has a lot of different pests. The most harmful of these are the insects described below.
Mealybug
When an orchid bush infects a mealybug, as a result of its unseemly activity, the leaves turn yellow and fall off. Florists fight this pest by spraying plants with a solution of water and laundry soap.
Spider mite
This pest loves low air humidity and appears indoors under such conditions. If on a bush of orchids, you suddenly find a silver web, then it is affected by a spider mite.
To combat it, you must first try spraying with soapy water, simultaneously getting rid of aphids and worms. If soap does not help get rid of the pest, then one of the purchased acaricidal products should be used.
Thrips
Thrips live and harm various plants, including phalaenopsis. This pest sucks sap from flower petals and leaves, weakening the plant as a whole. As a result of insect pricks, brown spots appear on them.
To eradicate thrips, flower growers practice spraying with such insecticidal preparations:
- Actellik;
- Fitoverm;
- Isatrine;
- Hostaquick.
Shields
Sometimes in the process of caring for an orchid, swelling appears on its leaves. This is a sure symptom that a scale insect has settled on the plant. She also feeds on the sap of orchids, causing them to gradually wilt.
The fight against scale insects is carried out by spraying the plants with soapy water. The soap treatment will need to be duplicated in a week.
Slugs
This pest is quite large and can cause enormous damage to the orchid. The slug can eat all the shoots, leaves and flower buds of orchids in the shortest possible time. They fight him with baits:
- slices of cucumber or carrots are laid out in the immediate vicinity of growing orchids;
- wait until the slugs crawl out of their hiding places and start eating treats;
- collect them by hand and destroy.
Important!
If by means of baits it is not possible to eliminate slugs, then the bushes should be treated with mesurol.
Phalaenopsis compares favorably with other types of orchids in ease of cultivation. With proper and timely care, the impact of harmful insects as well as diseases will be limited, so orchids will grow strong and viable. In the conditions of apartments, having organized the right care, you can ensure that the orchid will live side by side for decades, delighting households with its unique flowers.
When to water an orchid after transplanting?
Many owners of this wonderful flower are interested in watering issues, whether it is necessary to water immediately after transplanting. Often on thematic forums there are questions of the nature "Transplanted an orchid, when to water?"
The bottom line is that the store substrate is sold dry and must be saturated with water. If the soil is not moistened, the flower will begin to dry out, hurt and may die. If you add trace elements to the water, the orchids can more easily overcome stress.
When transplanting, the substrate must be saturated with water.
For the first time
Watering should be started immediately after transplanting the plant. This agricultural practice must be treated responsibly and strictly follow our recommendations. For irrigation, use soft, clean water, pouring it into a pot until the soil has settled. Then, after ten minutes, the pot should be immersed in a bowl of water.
However, there is no need to apply extra diligence when moisturizing. The flower does not tolerate stagnant water. If excess moisture is in the root zone, the process of decay will begin. Then the decomposition process can go to the core and leaves. Therefore, it is recommended to inspect the roots of the plant from time to time. After watering, the pot is placed in a dark place for 1-2 weeks.
Methods
People who have experience growing an orchid recommend that the first watering be done by immersing the flower pot in water. The absorption of life-giving moisture into the substrate will occur through the drainage holes.
To do this, the pot is immersed in a bowl of water for 25 minutes. The water should not be hard. It is good if insignificant amounts of nitrogen, potassium and magnesium mineral fertilizers are dissolved in the water.
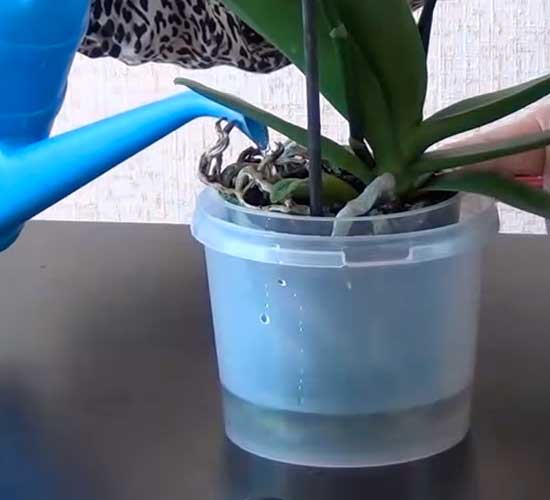
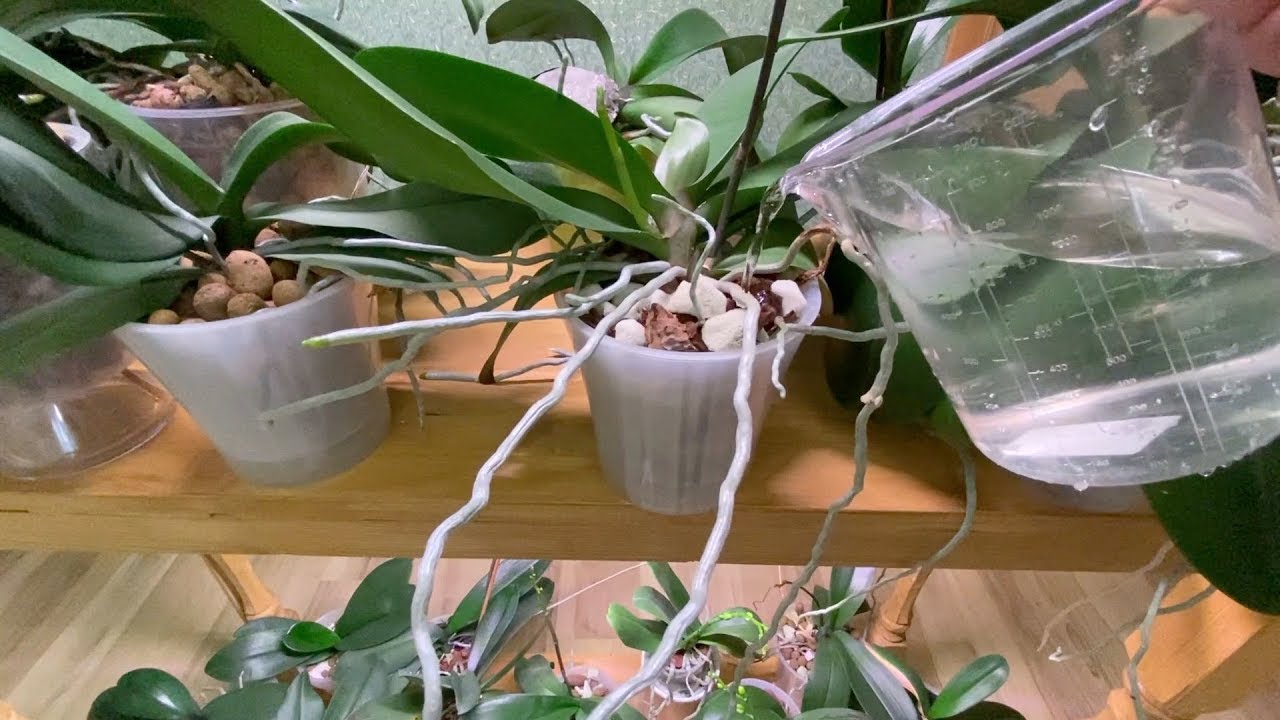
Important! If the flower is transplanted into a glass vase that has no holes, watering should be done with a watering can, and then manually drain the excess moisture.
Drying after the first watering
The next important question is how many days it is watered for the second time. You need to go to the second watering in 10-14 days, after waiting for the substrate to dry out. It is necessary to wait for this time in order to have time to heal the damage that could arise during the transplant. This pause is aimed at reducing the likelihood of penetration of pathogens into the roots.
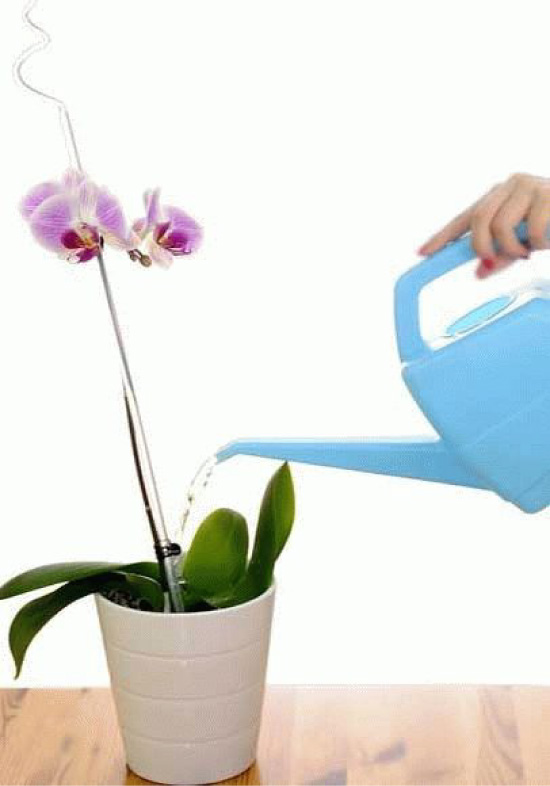
Watering can be done in the usual way using a small watering can. The substrate is spilled in a thin stream until water flows out of the holes. After the water has drained off, the operation is repeated, then the excess liquid is drained from the pan.The amount of water for irrigation can be different, it depends on the illumination, humidity and temperature in the room where the flower is located.
Subsequent watering can be done with a watering can.
Healing properties
This plant has been well known in the East since antiquity. Inhabitants of Japan and China have used it for the manufacture of medicines that help against dozens of diseases, ranging from back pain to infertility. The fact is that the drugs obtained from the orchid had strong antiseptic and analgesic properties.
They were also used as a means to prolong life. Modern scientists, studying this plant, have revealed an interesting property. The root of the orchid contains a substance that can accelerate the processes of secretion in the human body of a cytokine, a gene responsible for longevity.
Orchid substrate
Considering that under natural conditions orchids grow on trees, for their comfortable existence at home, a substrate is needed, selected with a certain composition. It will allow them to simulate their familiar environment. You can make it yourself or buy it at a flower shop.
It includes: charcoal, pine bark, perlite and sphagnum moss. A special condition for the preparation of the substrate is the amount of moss included in it. It is regulated depending on the humidity in the room. The higher it is, the less moss is in the substrate. In nature, orchids growing on trees consume water from moss and air.
But they do not like excess moisture, in which rot appears on the roots. Therefore, with high humidity in the room, the amount of moss that will absorb water during irrigation should be less than in a dry climate. At low humidity, the amount of moss should be one third of the total amount of the substrate.
A brief description of the requirements for growing conditions
For the successful cultivation of such a flower, it will be necessary to fulfill a number of simple requirements imposed by Phalaenopsis to the growing conditions.
Bloom. The plant is capable of blooming at any time of the year. The blooming phase can last from 2 to 6 months in a row.
Light requirement. The orchid requires bright, but diffused light, light partial shade is also allowed. The flower feels great on any window sills, except for the southern windows.
Temperature requirement. Phalaenopsis can tolerate a temperature of +42 degrees for a short time, and the lowest temperature of the content should not fall below +12 degrees. Otherwise, he may get sick. A comfortable temperature for a flower is considered to be from +15 to +25 degrees.
Irrigation regime. Watering is started only at the moment when the soil inside the pot is completely dry.
Humidity requirement. The optimal range of air humidity for an orchid is considered to be 30-40 percent.
It is also important to provide daily ventilation of the room or regular ventilation.
Top dressing mode. An orchid, the care of which must be comprehensive, loves periodic feeding.
It is enough to carry out 1 time in seven days of feeding with a complete mineral fertilizer, dissolving it in water in advance. When properly cared for, this will ensure consistent and regular flowering.
Rest period. The orchid does not have a pronounced manifestation of such a period.
When to transplant? The procedure for transferring a flower to a larger pot is performed every 3 years.
Reproduction method. Gardeners propagate Phalaenopsis vegetatively using side shoots.
Common pests. In the process of caring for the phalaenopsis orchid, you have to destroy such pests:
spider mites;
scale insects;
slugs;
mealybugs;
thrips.
Diseases. When deviating from technology, the flower can be affected by such diseases:
rust;
various spots;
fusarium;
anthracnose;
stem and root rot.
Reproduction of orchids by a peduncle
The best time for this is spring. As soon as a peduncle has grown between the leaves, without bringing it to the appearance of buds, it must be cut off with a disinfected knife or blade. Place the cut off shoot in a container with pre-filtered water. You can add a small amount of liquid mineral fertilizer to the water.
The scion should be immersed in water 6 centimeters. Conduct kidney awakening. How to do this is discussed above. Be sure to change the water and update the cut. If the room is dry, put a plastic bag over the container with the plant. A white bloom will appear on the remaining hemp of the appendage, do not worry about this, it will disappear after a while. After three months, the plant will give a new peduncle.
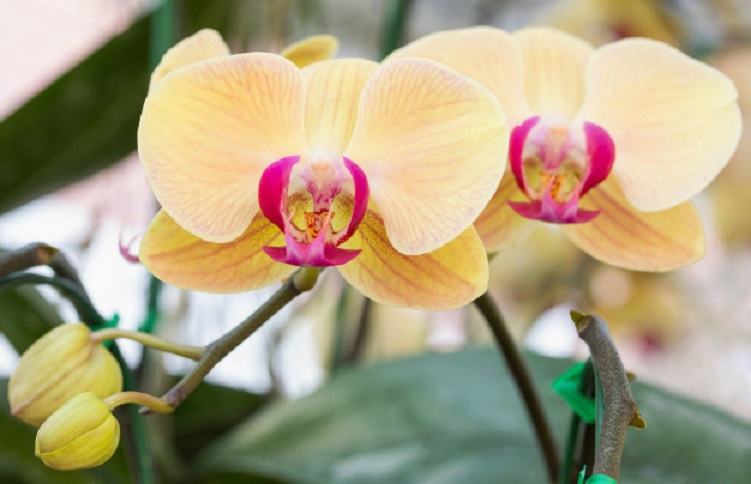
How can you tell if a plant needs moisture?
There are several options for this:
- Using your own finger. You need to dig a hole and place your finger in the ground to a depth of 4-5 cm. If you feel that the soil is still wet, then watering can be postponed for now.
- Wooden stick. If you don't want to get your finger dirty, any long, thin piece of wood will do. You can use a toothpick or pencil instead. The principle of use is the same as in the previous case.
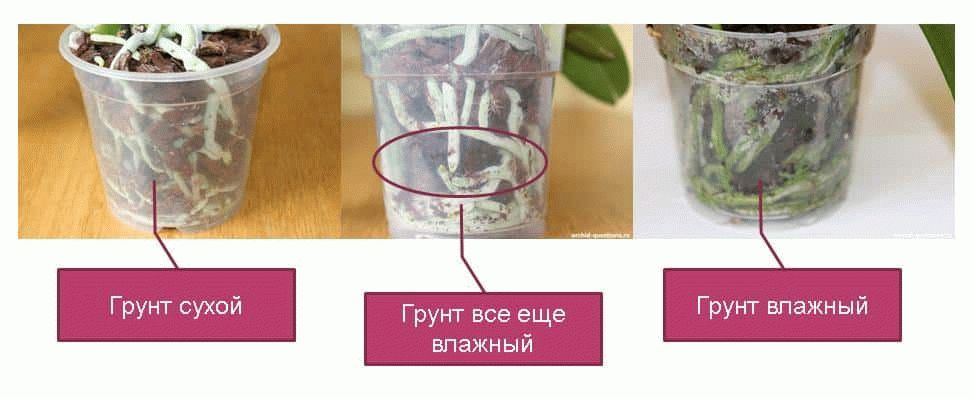
- Root color. Usually they are clearly visible among the earth coma. If the rhizomes have acquired a gray tint, then it is not worth tightening with moisture.
- The weight of the flowerpot. This method is most often used by flower growers. Since it is simple and reliable. The principle is as follows: after watering, take the pot in your hands and remember its approximate weight. Take the container in your hands from time to time and compare how much lighter it has become. If the mass is very small, then it's time to start watering.
How many times a week is it irrigated?
In the summer, watering is carried out every 3-4 days. With the arrival of winter, the frequency of watering is reduced as much as possible: up to twice a month. But in the intermediate periods (spring and autumn), the optimal regimen: once every seven days.
Attention! Try to water the phalaenopsis in the morning.
If watering is too frequent, then the plant will not have time to absorb all the moisture. As a result, root decay begins. If most of the rhizomes begin to rot, the ability to absorb water is reduced to a minimum, with the result that the plant dies.
When a plant feels a lack of water, it begins to shed parts from itself. It starts with the flowers that are the least important for the culture. Then the old leaf plates dry out, then the young leaves and the root system come. Due to the fall of the green part, the ability to carry out photosynthesis disappears. Because of this, the orchid does not receive the necessary nutrients.

