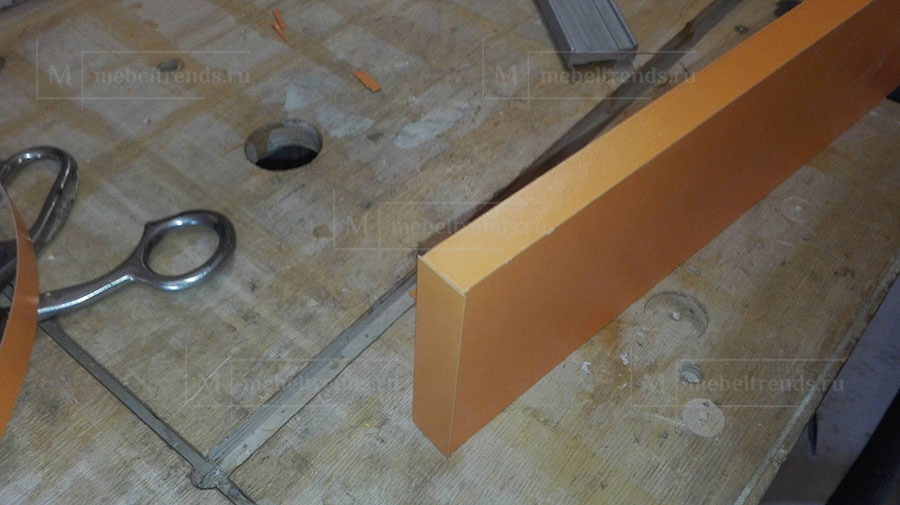
How is the preparation for pasting the edge
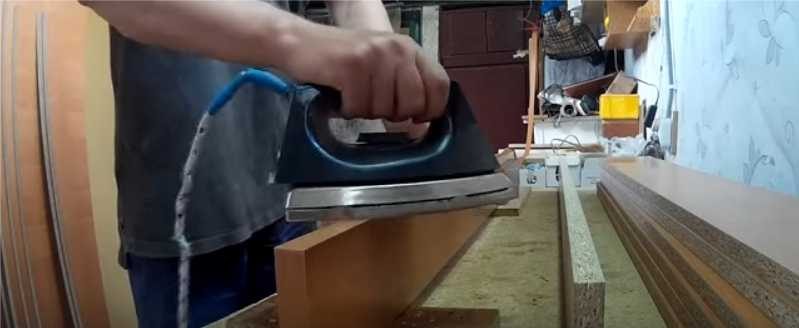
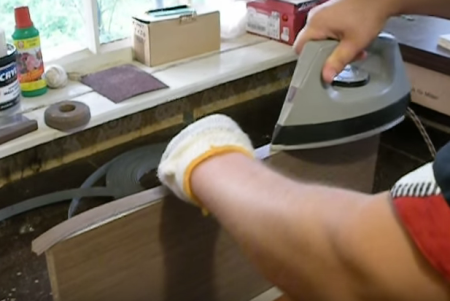
To make the final result of your work look perfect and look quite aesthetically pleasing when gluing the edge, you should use a good iron, preferably Teflon as the basis of the surface. Make sure that the ironing surface of the iron is clean - if there is any dirt, they must be removed. If you have picked up this tool, you can start pasting for the example of the shelves of the wardrobe.
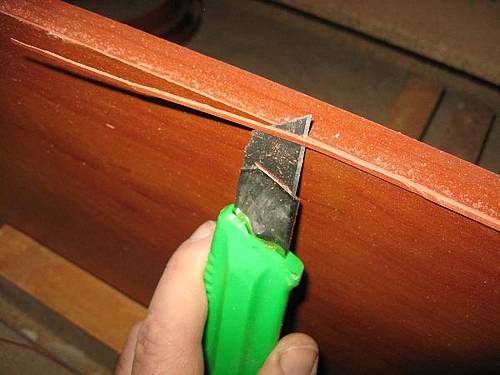
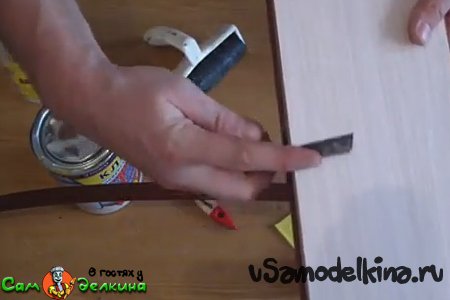
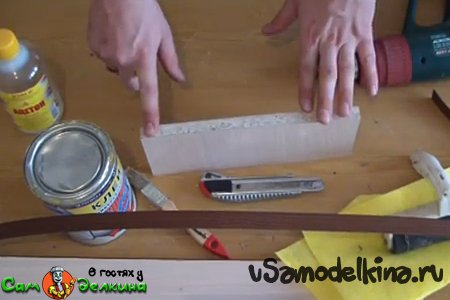
For the most convenient work, do not use ordinary knives, a cutter is ideal. If you do not have such a knife, then you need to find an old knife blade and construct a cutter from it yourself.
You can make a block yourself - you need to take even an ordinary piece of chipboard and paste over it with sandpaper on one side.
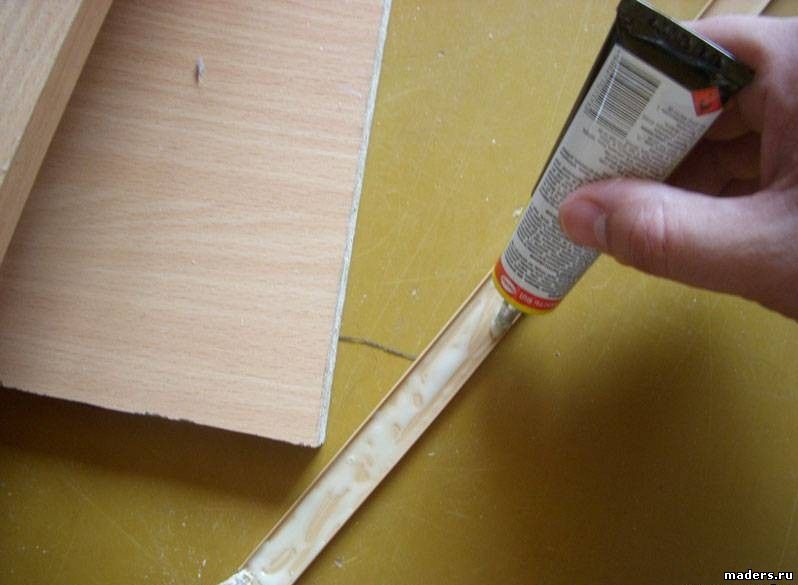
A melamine edge with an already prepared layer of glue on it is on sale, but if you are "lucky" to purchase an edge without an adhesive coating, you need to apply glue on it yourself.
The holder can also be easily constructed independently from the remnants of chipboard, for this you need to take two small pieces of material and stuff them at a short distance from each other perpendicular to the base.
Fastening of PVC and ABS edging
Plastic edging bands, in theory, can simply be fixed to the edge of furniture, but this is extremely unreliable. Additional glue fixing is preferred.
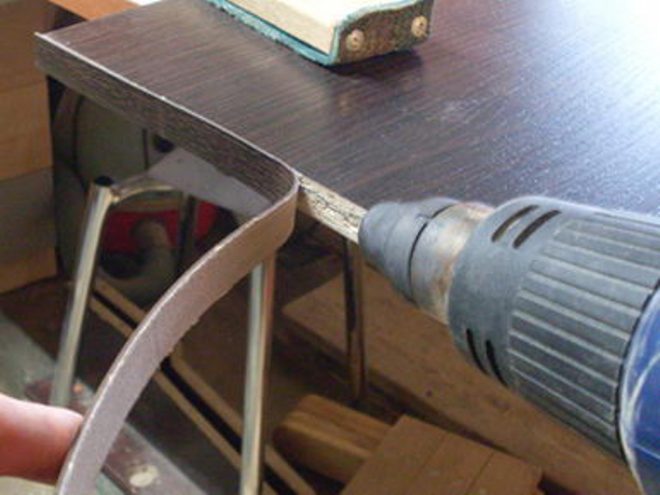
To attach the T-shaped profile, you will have to lay a recess along the entire edge to be processed. The easiest way to do this is with a milling machine. If you have the skill, it will be replaced by a drill with a circular nozzle. However, in general, the profile is intended for professionals.
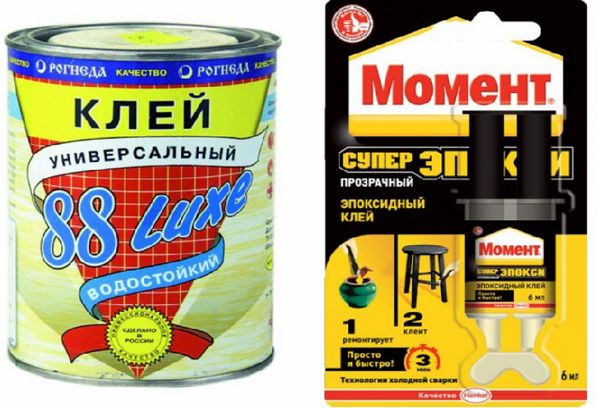
To fix the PVC or ABS edge at home, use PVC glue, as well as universal compositions "Moment" and "88-lux", it is desirable that they be marked "for PVC" or "for ABS".
Professionals use hot melt adhesives, which are included in the range of thermoplastics. When heated, they acquire high elasticity, and when cooled, they instantly turn into a solid state. The high fluidity and strength of the adhesives during drying is provided by the ethylene-vinyl acetate polymer contained in them. The main disadvantage of hot melt adhesives is, of course, the need for the proper equipment for the job.
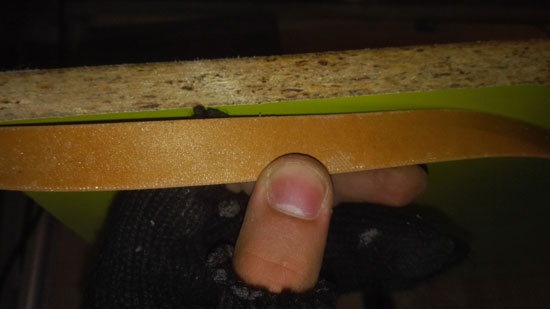
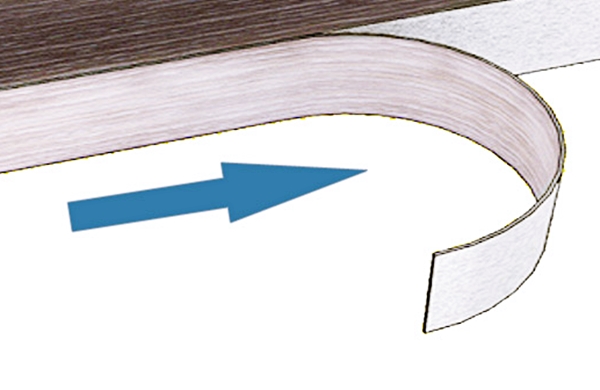
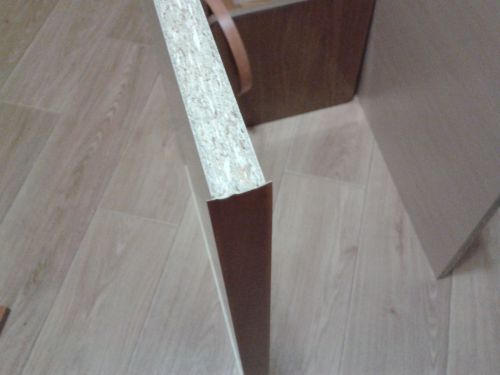
When working with any border, try to calculate the sequence of pasting so as to avoid seams. Bend around the corners with a profile - it is desirable that they are rounded. If the corners are regular, the thick (PVC or ABS) profile will not bend around them, and the melamine edge is likely to break. In this case, joints will have to be made at the corners, which at the end need to be sanded to make them smooth. If you run your hand around the edge of the part, then the roughness should not be felt.
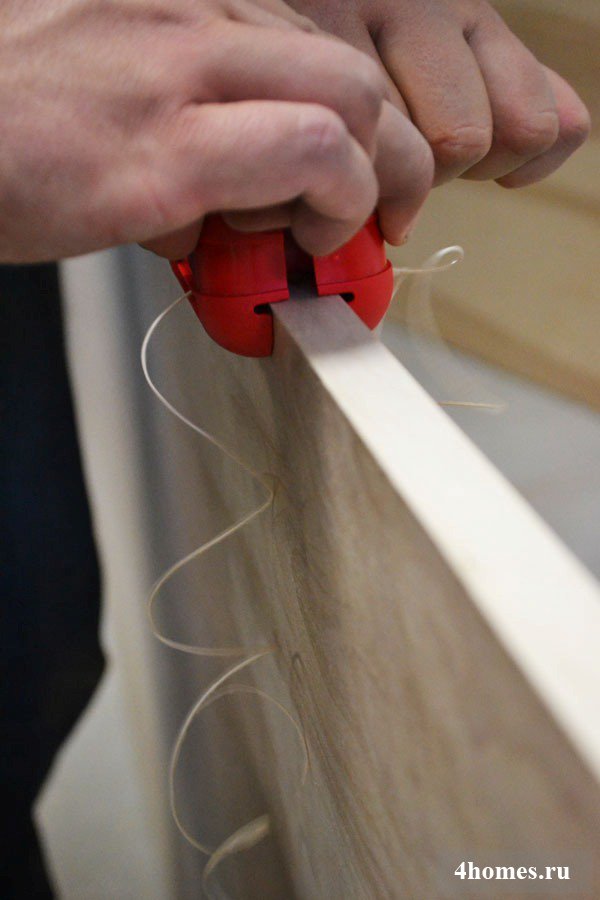
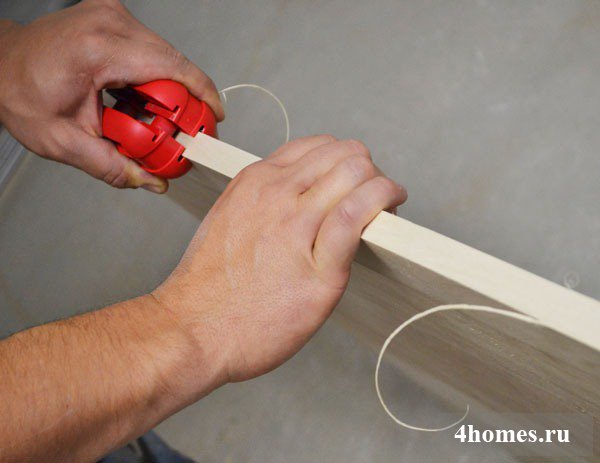
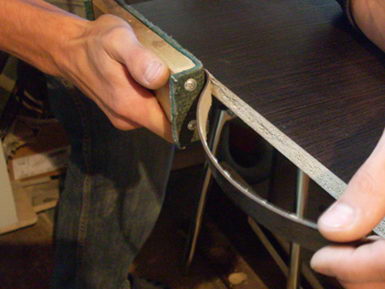
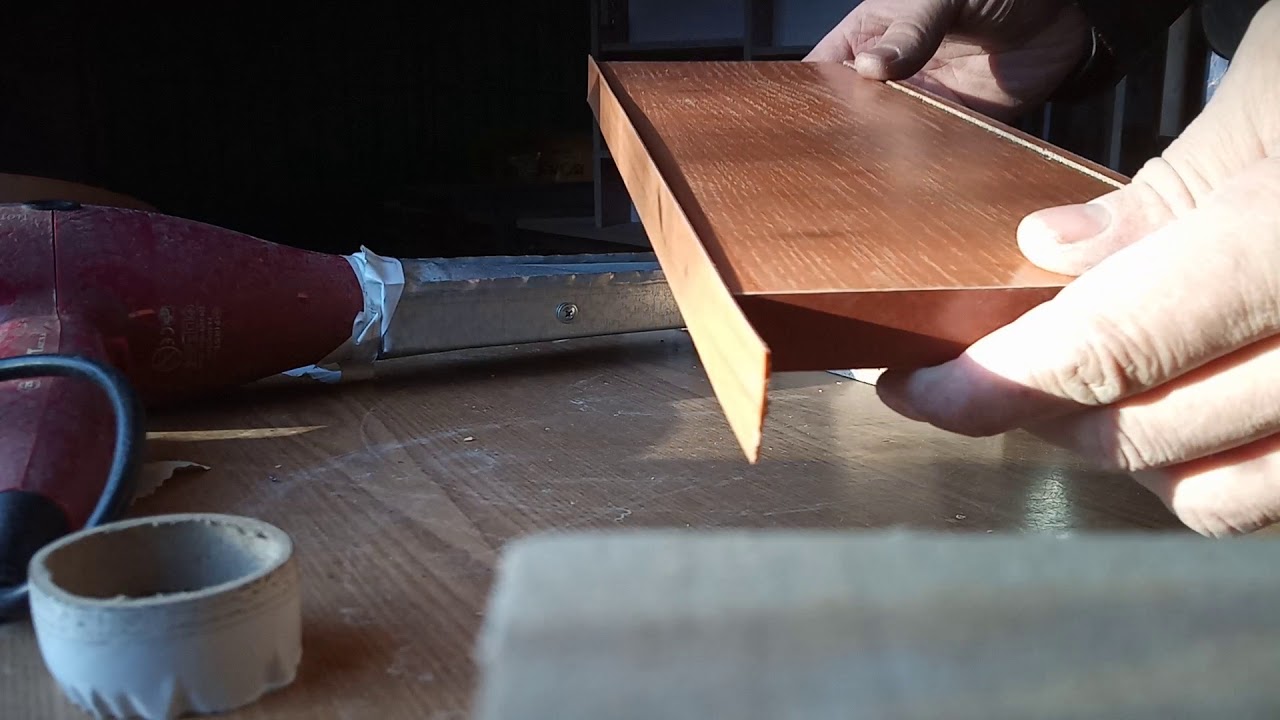
Advice! You can get rid of excess edging tape with a very sharp knife, and the ends are cut off first. Be careful not to accidentally damage the corners of the furniture. The direction of the knife should be towards the inside of the part.
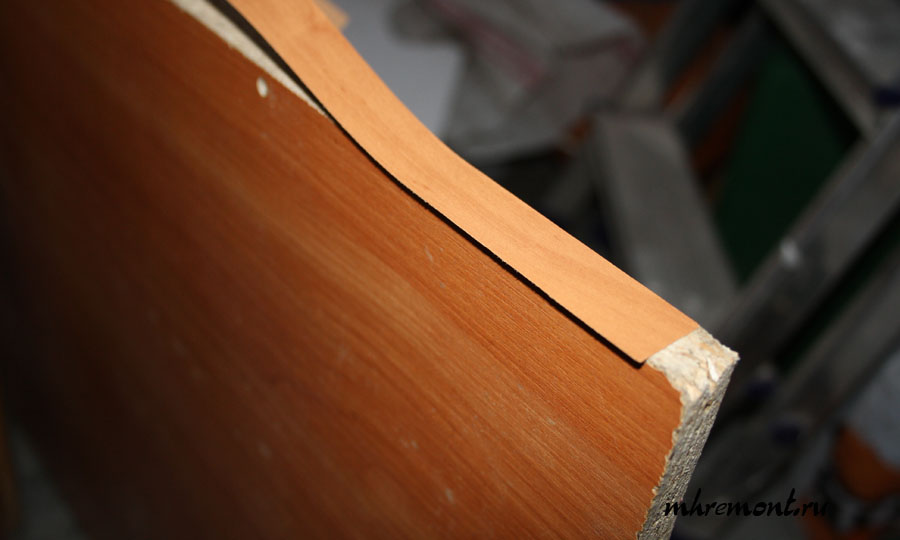
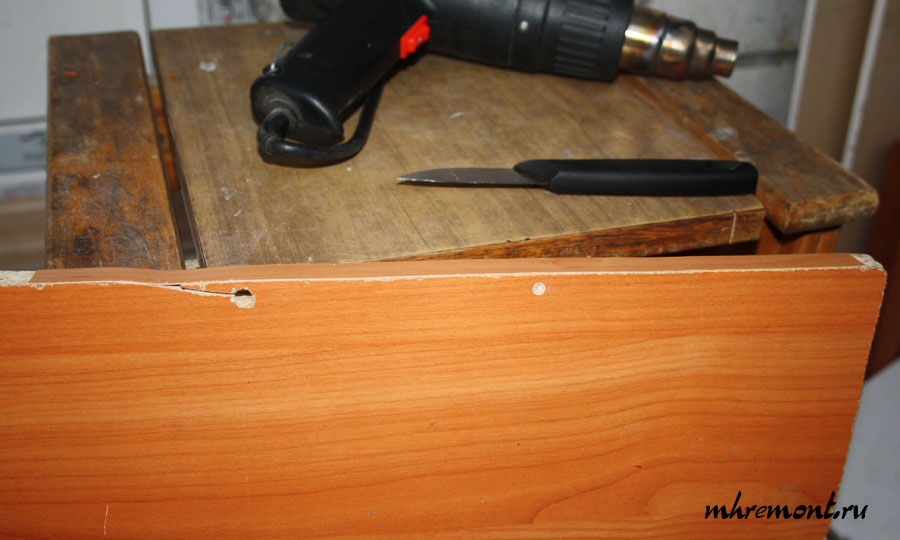
If the factory edge is damaged or partially fell off, remove it and replace it with a new one. A little effort and the table is as good as new!
Required tools
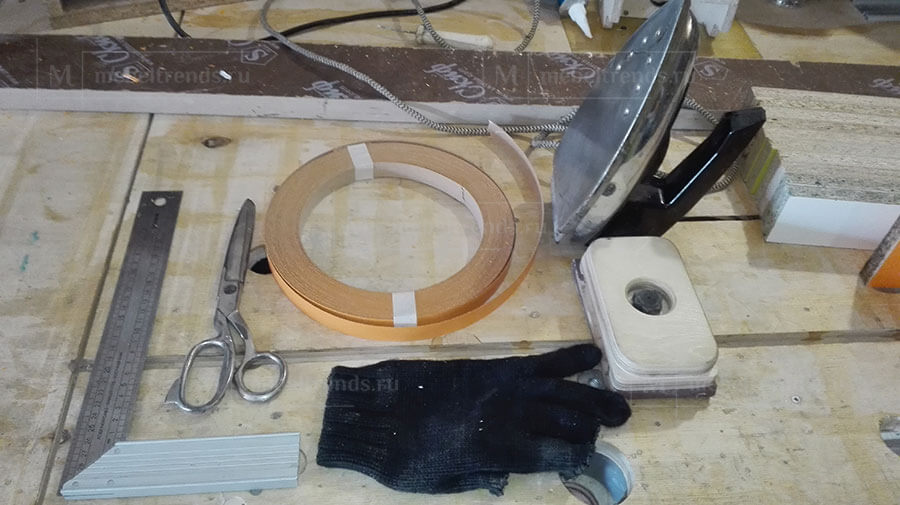
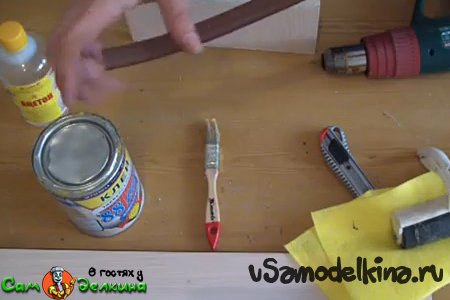
For edge trimming, it is not necessary to use professional equipment or ask for help from the masters. If you need to update old items, you can self-paste the surface with multi-colored tape. The question arises: how to glue the edge to the chipboard? It is enough to have the essential tools at hand at home:
- iron;
- sandpaper (fine fraction);
- file (optional);
- utility knife or scissors;
- rubber roller (optional);
- felt or other dense material.
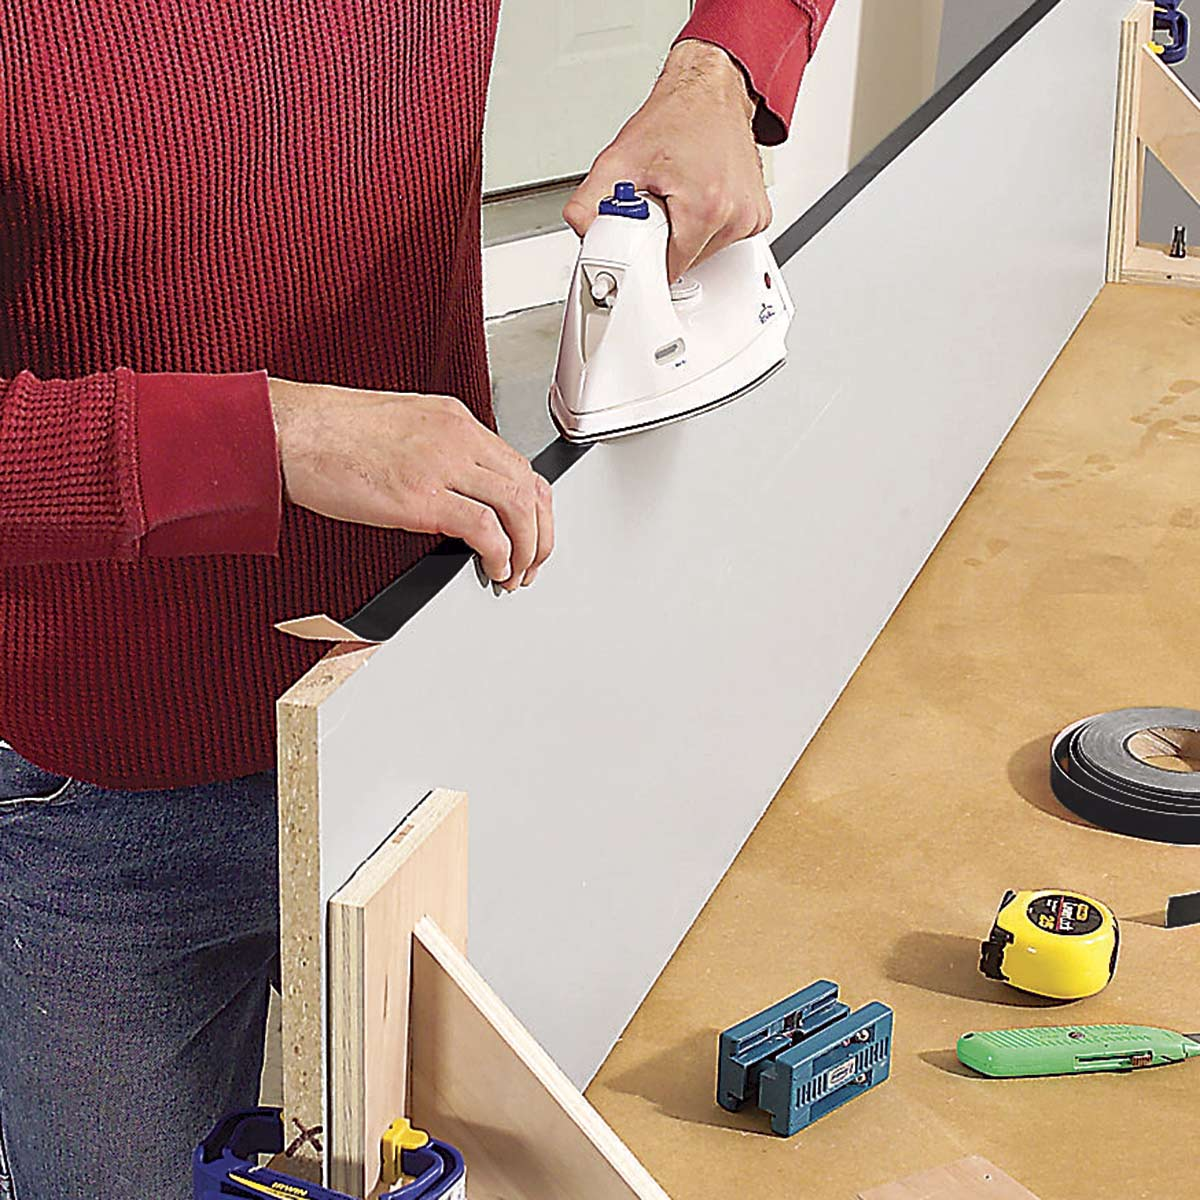
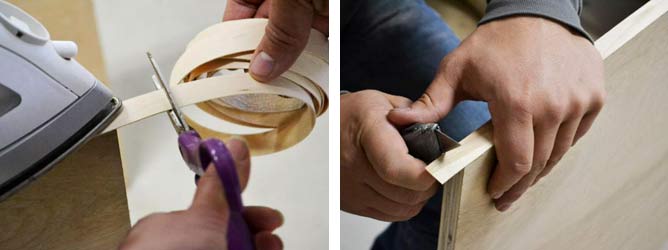
Adhering to some rules, the product will turn out to be neat.Use a utility knife to cut off excess tape, and an iron to glue it.
When the edge on the furniture has come off, you can glue it again with a hot iron, and if it does not work, then remove the old edge tape with the same movements of the iron and change the old one to a new one.
We glue the furniture edge with our own hands
There are two technologies for gluing furniture edging tape. The first is for those who have glue on the back. In this case, you need an iron or a hair dryer. The second is for gluing tapes without glue. In this case, you need a good universal glue that can glue plastics and wood products and a furniture roller, a piece of felt or a soft rag so that you can press the edging well against the cut.
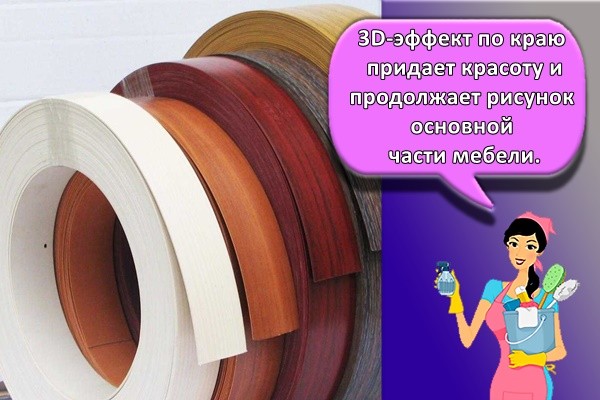
It's real to get such an edge at home
A little about how thick the edge to glue on what parts. Those edges that are not visible, according to GOST, can not be glued at all, but basically they try to process them so that moisture is less absorbed into the chipboard, and also to reduce the evaporation of formaldehyde. Melamine tape or PVC 0.4 mm is glued to these edges. The edges of drawers are also processed (not facades).
On the front ends of the facade and drawers, it is better to use PVC 2 mm, and on the visible sections of the shelves - PVC 1 mm. The color is chosen either to match the main surface or "in contrast".
How to glue a piping with glue yourself
The adhesive is applied to the melamine edge, sometimes it is on PVC. If you have chosen PVC, it is easier to start with thin ones - they are easier to process, any melamine is glued simply.
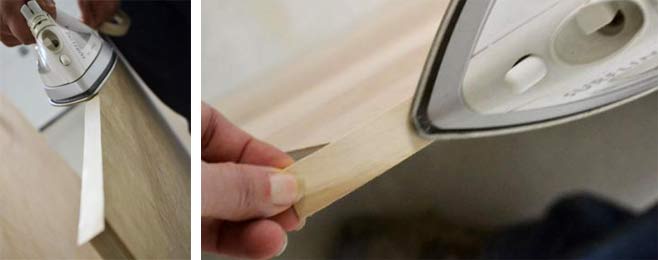
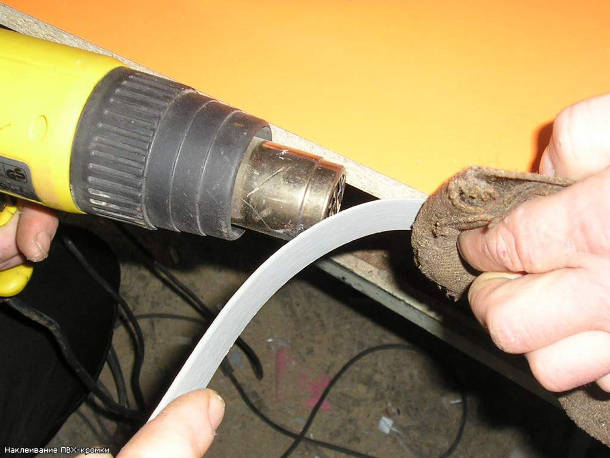
We take an iron and a fluoroplastic nozzle on it. If there is no nozzle, a thick cotton fabric will do - so as not to overheat the tape, but to melt the glue. A construction hair dryer is also suitable for this purpose. We put the iron on about "two", while it heats up, cut off a piece of tape. Length - a couple of centimeters longer than the workpiece.
We put the edging tape on the part
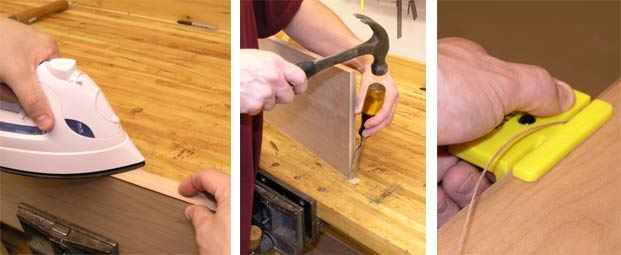
We apply the edge to the part, level it, smooth it out. There should be small pieces hanging from both sides. We take an iron and, through a nozzle or a rag, iron the edge, heating it until the glue melts. Warm up evenly over the entire surface. After the entire edge is glued, let it cool. Then we start processing the edges.
Warm up with an iron
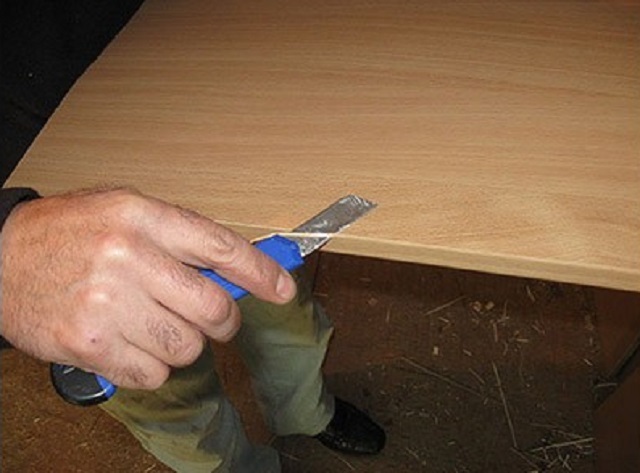
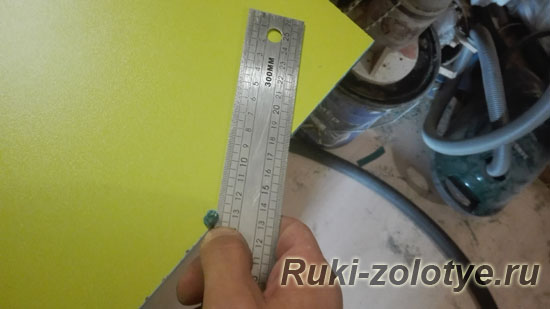
The edge can be cut with a knife, both with a sharp and a blunt side. Someone uses an ordinary metal ruler, someone is more comfortable with a stainless steel spatula.
So, take the tool of your choice, cut off the hanging edges of the edge. They are cut close to the material. Then cut off the excess along the part. Melamine and thin plastic can be easily cut with a knife. If the PVC edge is thicker - 0.5-0.6 mm or more, difficulties may already arise. Such edges can be processed with a hand router, if available. This guarantees a good result in a short time. The processing will take longer if you use sandpaper, but the result may not be worse.
Even a trowel with a hard blade can be used
One important point: when gluing thin edges, the cut of the part must be even, without protrusions and depressions. The material is plastic, which is why all defects are visible. Therefore, preliminarily go through the cuts with sandpaper, then carefully dust, degrease. Only then can you glue.
Edging with PVC tape (without glue on the back)
With this method of self-gluing PVC edges, you need a universal glue and a piece of felt or rag. We read the instructions for the glue, we carry out all the actions according to the recommendation. For example, for the Moment glue, it is necessary to apply and distribute the composition to the surface, wait 15 minutes, and firmly press the surfaces to be glued.
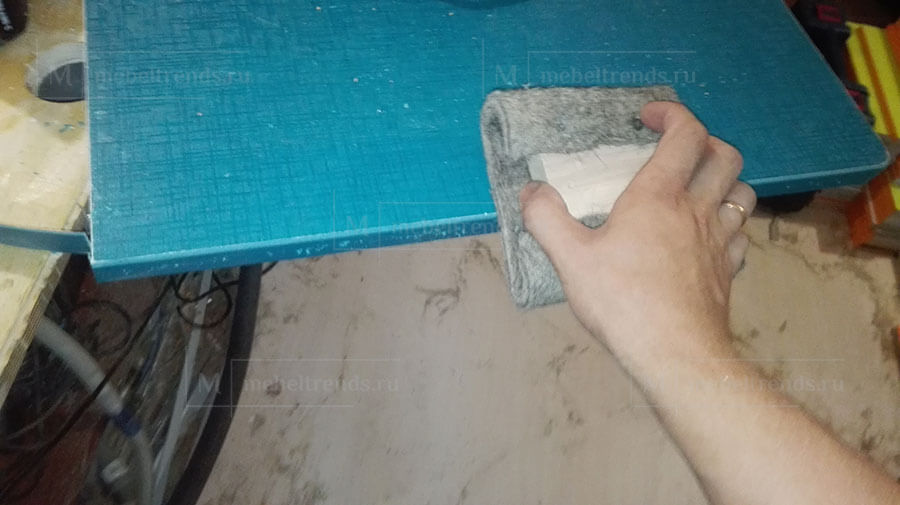
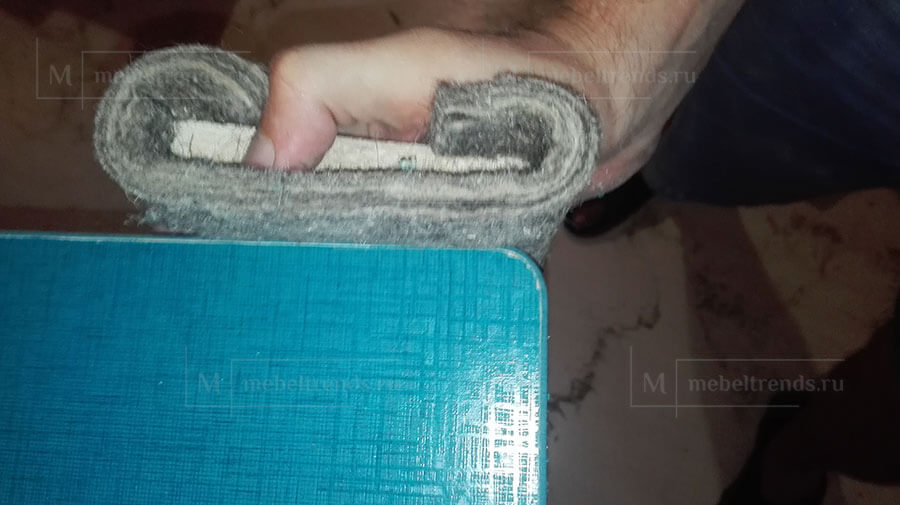
Apply glue and wait - no problem. To tightly press the edge to the cut, you can use a wooden block wrapped in felt. Instead of a bar, you can take a construction float, and fasten felt on its sole.As a last resort, you can roll up the dense fabric in several layers and thus press the tape to the surface.
Press firmly, leaning on with all the weight
The selected tool is pressed against the laid edge, pressed with all weight, pressing it against the surface of the chipboard. At the same time, the movements are stroking. So iron the entire edge, achieving a very tight fit. The part is left in this form for some time - so that the glue "seizes". Then you can start processing the edge.
Features of edge gluing
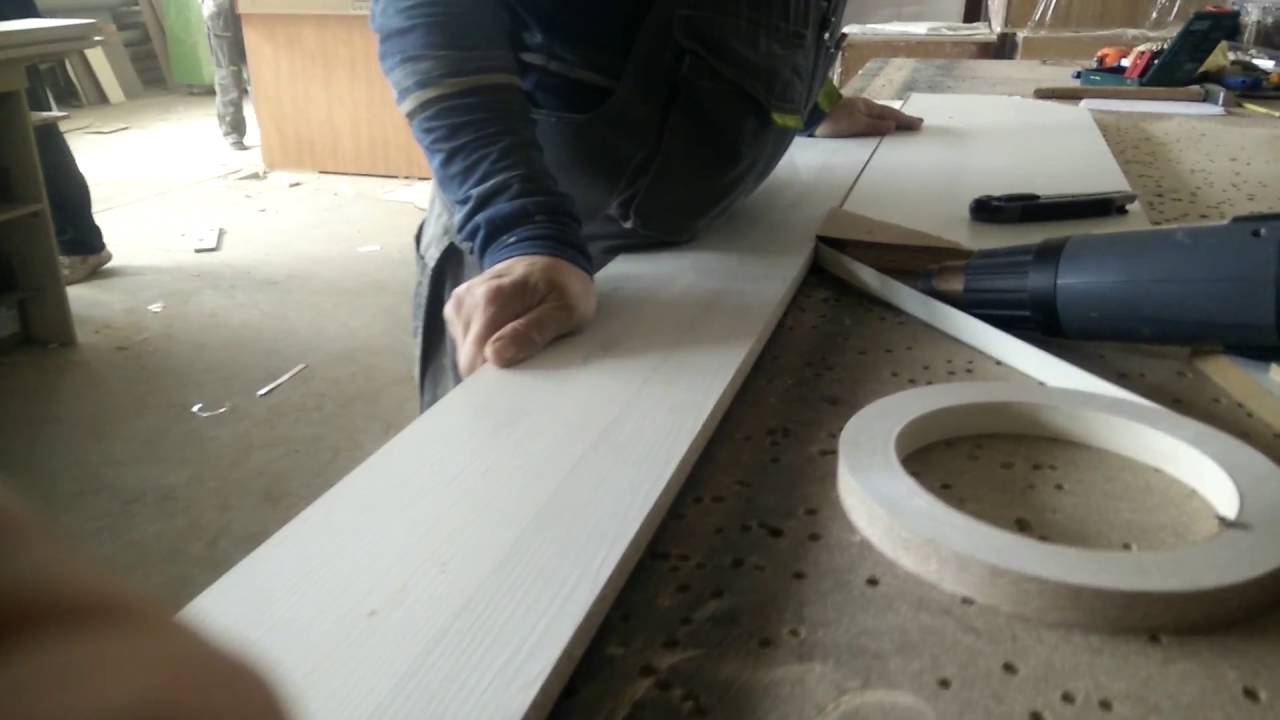
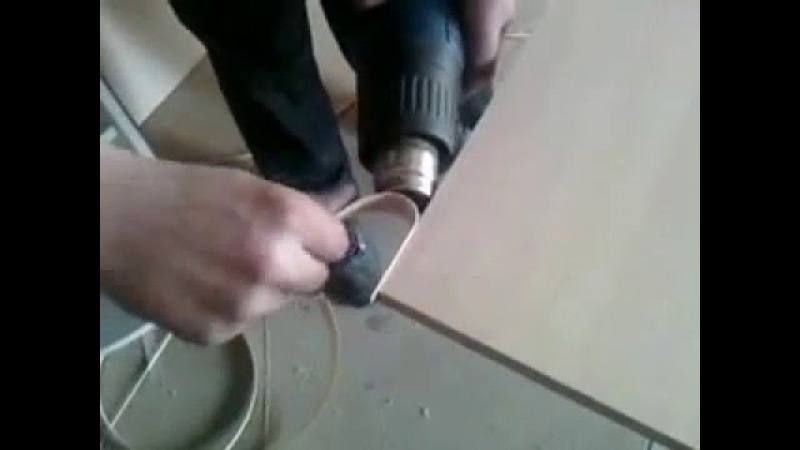
It is worth knowing how to properly glue the edging tape with glue. A strip of a certain length should be applied to the surface of the part. Using a hair dryer, you need to warm up the edge, then press it down.
To make it more convenient to glue, you can partially warm the edge, in segments of twenty centimeters
It is important to keep the temperature of the hair dryer at around 250 degrees. Adhesive melts quickly when exposed to hot air
But in order to reach such high temperatures, it is advisable to have a hair dryer.
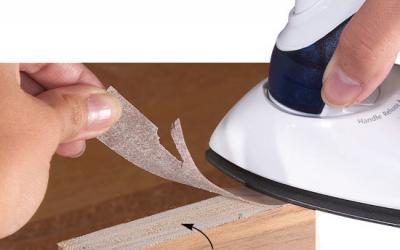
To understand when the glue started to work, it is worth looking at the bead strip. If it stops curving and straightens out, then the glue has melted. It is worth pressing firmly on the end of the strip so that it adheres firmly to the base. Do not forget about safety while working. It is recommended to wear gloves, as the edge will be hot after heating up the glue. Hair dryer cannot be directed at face and hands
You can easily get burned, so you need to work carefully
Work should be done in a heated room. The glue will harden more slowly than in the cold. The person will have time to correct the unevenness at the edge.
Melamine tape adheres better when it is partially warmed up, in lengths of no more than twenty centimeters. While the glue hardens, you can have time to eliminate defects and evenly stick the edge. If you need to glue the end of the surface, which is equal to sixty centimeters, it is better to divide the work into three stages. First of all, you should glue the initial segment, then the middle one. The final step is to glue the end of the tape.
Some people use an iron to warm up the glue. Professionals do not recommend doing this, there is a risk of ruining the iron, as the glue begins to flow off the edge when heated. When the surface cools down, care must be taken not to swell
It is important that the edge does not move during the polymerization process.
Chipboard edging
To make the edge for a worktop or cabinet look beautiful and durable, the best way is to order an edge banding in production. This is usually done in the same place where laminated chipboard is bought and ordered.
Approximate prices for application (for 1 running meter with material):
- PVC edge 2 mm - 40 rubles;
- PVC edging 0.4 mm - 25 rubles;
- melamine edge for chipboard - 25 rubles;
- you will have to pay additionally for the processing of curved sections.
The most popular in Russia is the Rehau PVC edge, it has a wide selection of colors, so you can choose a color for any chipboard. The width of the tape is different - from 15 to 45 mm. 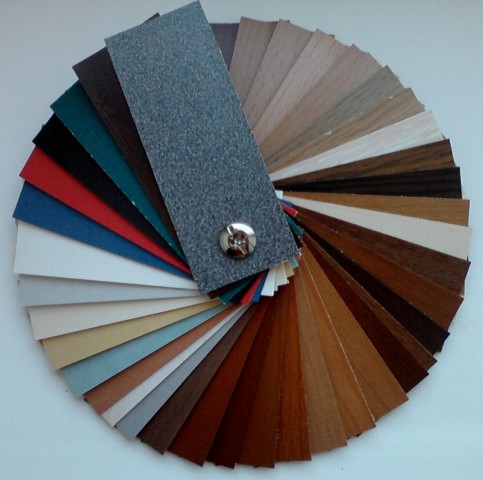 To order this service for a store, you must first prepare a diagram of how to glue the PVC edge: where to apply it and what thickness. Those areas that will not wear out can be covered with 0.4 mm PVC to save money (for example, back and bottom edges). All visible areas are processed with PVC 2 mm. Where the joint will be attached to the joint with another part, processing is not needed.
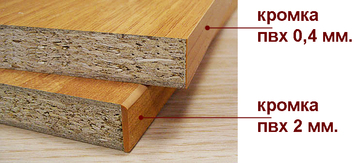 The difference between PVC coating 0.4 and 2 mm
- On the inner insert shelf, only the front edge is processed with a layer of 2 mm.
- Top cover plate - on all sides (back edge 0.4 mm, the rest - 2 mm).
- The drawer front is processed from all sides with a thickness of 2 mm.
To simplify the calculations, you can use special furniture programs, they create a project automatically. As a result, to assemble an average wardrobe, a PVC edge for chipboard will cost 1.5-2 thousand rubles. It will not come out very cheaply, but it will be of high quality, safe and durable.
Pasting with a plastic edge on the ends of a chipboard.
 Good day to all readers and visitors of the Secrets of the Master website! As you understood from the title of the article, we will talk about how to glue the edges of laminated chipboard with an edge on your own at home without special equipment. Until recently, this was very problematic for DIYers. Mostly at home it was possible to work with a regular paper edge on a self-adhesive backing. It was glued very simply, using an iron or a hair dryer by heating. I also processed a lot of furniture with paper edging. But everyone knows that the paper edge is not resistant to mechanical and other influences. In order to correct this state of affairs, they began to replace it with a plastic one. But in order to glue such an edge, you need to have a special edge machine (stationary or manual) and a router with a special cutter for processing the edge and removing excess. All this equipment is not cheap and therefore it makes no sense to purchase it for the piece production of furniture. However, everyone wants a cabinet made in a homemade way to look no worse than a cabinet made in a furniture workshop. Therefore, I want to share with you a method of pasting with a plastic (PVC) edge of chipboard parts using the example of a small wardrobe with a built-in mezzanine for the hallway. I use this method myself and it is quite good. For the manufacture of a wardrobe, we need such details. Made of laminated chipboard (16 mm). Mezzanine.
- 580 × 400 mm - 2 pcs. Lateral for mezzanines.
- 1120 × 400 mm - 1 pc. Top detail of the mezzanine.
- 1088 × 290 mm - 1 pc. Mezzanine shelf.
- 1088 × 300 mm - 1 pc. Bottom detail of the mezzanine.
- 300 × 290 mm - 1 pc. Stand-support for the mezzanine shelf.
It is required, you need it, because the shelf is very wide (1088 mm) and can bend without support. Cupboard.
- 1960 × 420 mm - 2 pcs. Side for the main cabinet.
- 1944 × 320 mm - 1 pc. Partition of the main cabinet.
- 1120 × 420 mm - 2 pcs. Bottom cabinet detail.
- 1088 × 320 mm - 1 pc. Top cabinet detail.
- 550 × 320 mm - 1 pc. Shelf for the left compartment.
- 521 × 320 mm - 1 pc. Shelf for the right section.
- 521 × 312 mm - 2 pcs. Shelves for the right section.
- 350 × 320 mm - 1pc. Additional rack for the device of drawers.
Drawers.
- 413 × 130 mm - 4 pcs. Transverse details.
- 300 × 130 mm - 4 pcs. Longitudinal details.
- 150 × 465 mm - 2 pcs. Facades.
Details from fiberboard.
- 595 × 1115 mm - Back wall of mezzanine - 1 pc.
- 1972 × 1115 mm - Cabinet back wall - 1 pc.
- 440 × 295 mm - Bottom for drawers - 2 pcs.
Components.
- Confirmation.
- Microlift 300 mm long - 2 pcs.
- Adjustable plastic supports 50 mm high - 6 pcs.
- PVC (plastic edging) - 10 m.
- Sliding system for two compartment doors + upper and lower guides.
- Furniture ties - 2 pcs. For attaching the main cabinet to the upper mezzanine.
- Telescopic slides for drawers 300 mm long - 2 sets.
The procedure for preparing and assembling a wardrobe with a built-in mezzanine. The preparation of the parts actually includes pasting with the edge of the ends.
How to glue on chipboard and chipboard at home
The structure of the chipboard is loose, it is sawdust and shavings mixed with glue and pressed. Due to this looseness, the material is resistant to deformation and splitting, as well as flexibility.
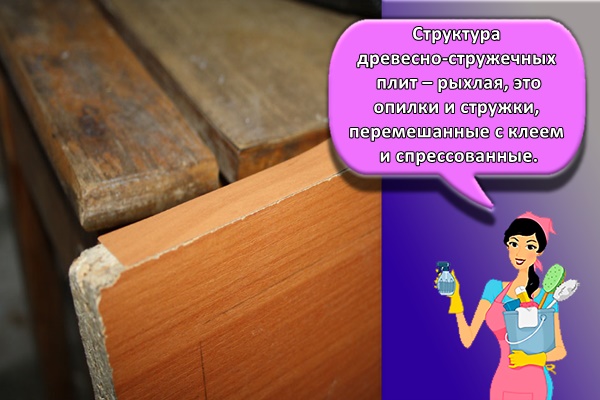
The unsightly interior is visible on the chipboard saw cut, the material is uneven, often crumbles. Experts recommend to putty the cut before sticking the tape in order to level the surface, to ensure a strong connection with the edge. Use universal acrylic fillers.
The cut is putty, wait for drying (carefully remove the excess funds from the facades). Then they are processed with medium-grain sandpaper. If there is no glue on the edge, choose the one recommended by the manufacturer. It is also worth stocking up on glue solvent to remove dried smudges if necessary.
Required tools and materials
To trim the slab with your own hands, you can use various decorative elements that differ in quality and material of manufacture, appearance, as well as cost. The choice will depend on the preferences and financial capabilities of the owner. But at home, two types of decorative stripes are most often used.
Melamine edging is the simplest and most affordable option.It is used to process inexpensive products and furniture structures. The main advantage of this material is the ease of gluing and affordable cost. Of the disadvantages, only a low service life can be noted, since melamine is quickly destroyed by moisture or mechanical damage. Therefore, it is not recommended to stick it on furniture structures in children's rooms or kitchens. Melamine tape is perfect for hallways, corridors, when assembling auxiliary structures, such as shelves or mezzanines.
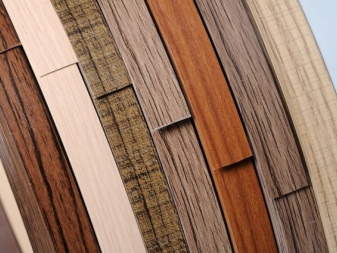
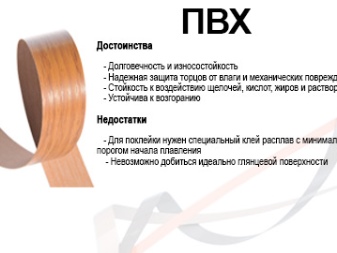
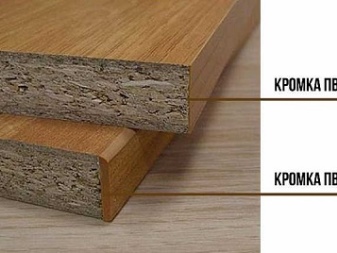
It is advisable to glue a thick PVC tape on the front parts of the structure, because they are more susceptible to mechanical stress. For hidden ends, a thin edge will be enough, because there it will be needed only to protect against moisture and insects. In general, the thickness of such a tape is selected individually according to the size of the chipboard itself. For the correct gluing of the protective edges, you will need the following tools and devices:
- household iron:
- metal ruler;
- fine-grained sandpaper;
- large stationery knife or edger;
- felt fabric;
- scissors.
To apply PVC edgebands, you may also need a construction hairdryer, this will depend on the choice of material - there are tapes on sale with and without adhesive already applied. Edges with factory glue, or, as it is also called, hot melt glue, will need to be heated so that it softens and reacts with a rough chipboard surface.

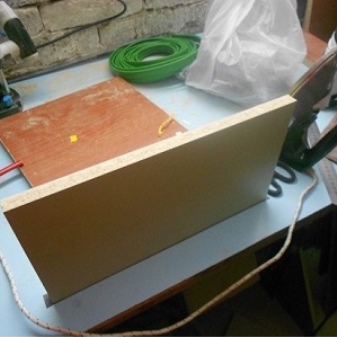
Furniture edge profiles
You can trim the edge of furniture not only with edge tape. There are also furniture profiles that are mechanically attached. They have two sections - T-shaped or U-shaped (also called C-shaped).
A groove is milled for the T-shaped furniture profiles in the edge to be processed. A profile is hammered into it with a furniture (rubber) mallet. The edges are trimmed at 45 ° to make the corner look attractive. It is brought to an ideal state with fine sandpaper. This type of profile is produced from PVC and aluminum, with the same installation method they look very different, and the differences are significant.
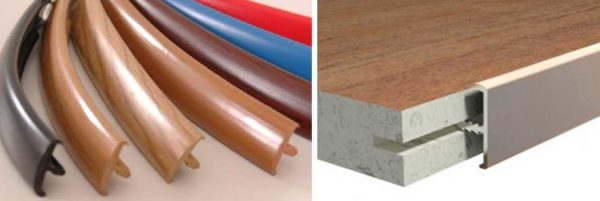
T-shaped furniture profile for furniture edging
In width, they are under laminated chipboard 16 mm and 18 mm. There are wide ones, but they are much less common, since they work less with such material.
C- or U-shaped profiles are most often mounted on glue. They coat the edge with it, then put on a plastic profile, press it well and fix it. These PVC profiles are available in both soft and hard. Hard ones are worse to bend and it is difficult to paste over curved edges with them. But they have great strength.

The gluing of the C-shaped furniture profile does not cause problems
If, nevertheless, it is required to "plant" a rigid C-shaped furniture profile on a bend, it is warmed up with a construction hairdryer, then given the desired shape and fixed with masking tape until the glue dries.
What are used as solvents and fillers
Before using the glue, it is necessary to familiarize yourself in more detail with the components from which it is made.
Chlorine compounds
Most rubber mixtures contain chlorine-containing compounds. Manufacturers try to add the minimum amount of such components, since they are characterized by a high level of toxicity. Therefore, when choosing an adhesive for further work, you need to familiarize yourself with its composition and make sure that it does not contain many compounds in which chlorine is present.
Eticelate with nephras
Many adhesive liquids are made with the addition of nephras and ethyl acetate. This chemical compound improves the quality of the mixture and increases its adhesion. Therefore, experts recommend using glue containing refined products mixed with acetic acid.
Latex with water content
Latex is added to almost all adhesives.However, this element is added to cheap rubber glue not in pure form, but together with water. The addition of liquid to the latex negatively affects the adhesive properties of the product and makes the connection less reliable. Because of this, such an applied rubber mixture adheres to the surface at times worse.
Resin and polystorol
In adhesives, which are characterized by increased strength, polystyrene with resin is often added. Therefore, in order to more reliably glue the surfaces, it is recommended to use just such means. However, buying glue with too much polystyrene and resin in it is not worth it. A large amount of these components negatively affects the elasticity of the joint.
Sulfur, amines and metal oxides
Adhesive mix firms often add metal oxides, amines and sulfur to them. It is thanks to these substances that the vulcanization process takes place, during which the plastic rubber turns into rubber. The amount of additives directly depends on how much rubber is contained in the glue.
Consistency stabilizers
Some inexpensive adhesives will gel over time and bond less well. Most often, this problem appears if there are no consistency stabilizers in the composition of the product. These include diethylamine or ethanol. These components maintain the liquid consistency of the glue.
Types of PVC edges
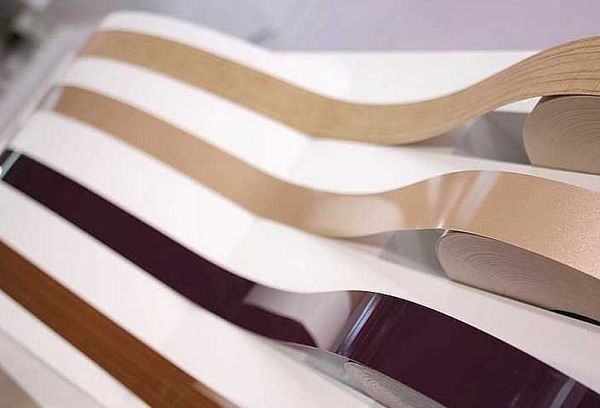
A large number of multi-colored finishing materials are presented on the construction market. The furniture edge not only covers the end surfaces, but is also a decorative element. Each type of edge differs in price, fastening, advantages and disadvantages. Consider the most common types of finishing materials.
Melamine (unoflex)

The edge consists of several layers of paper. The top layer is considered decorative, since there is a pattern on it, which is glued to the substrate. Borders are of two types - single-layer and multi-layer. Manufacturers produce tape with a thickness of no more than 0.6 mm, and a width of 16-55 mm. You can easily glue the edge on the chipboard yourself with an iron. The material is purely environmentally friendly, since it contains no synthetic impurities. It should be noted that due to the insignificant thickness of the tape, the paper structure, after 2-2.5 years, it loses its aesthetic appearance. Manufacturers produce the edge in coils of 200 Mp, but in the retail network it is sold from 1 Mp. The cost of the tape is low. For example, the price is 1 megapixel. edging 0.4 * 19 mm is 10 rubles.
It is not recommended to use melamine edging for kitchen constructions. Paper backed edging will not last long. It is recommended to use PVC material.
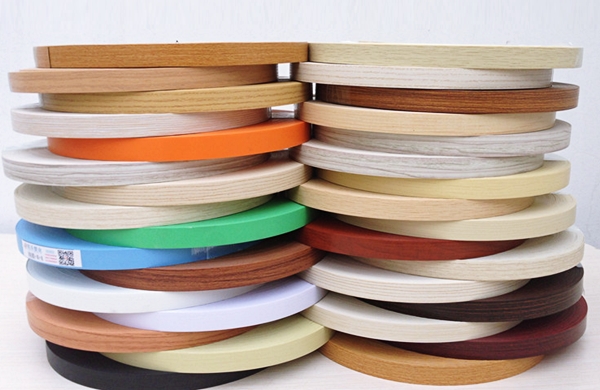
The highest quality plastic is used for manufacturing. On the seamy side there is a primer - this is a relief pattern, a protector, which contributes to better adhesion of the border to the chipboard. The sides and grooves hide the presence of chips. This cutting is quite laborious. On machines - edging, manufacturers produce PVC tape with a thickness of 0.2 - 10 mm, and the width depends on the thickness of the chipboard sheet, which can be from 22 mm to 54 mm. PVC tape is sold with and without adhesive. The price of the edging material depends on its width and thickness. For example, if the width of the edge is 19 mm and the thickness is 0.5 mm, then the wholesale cost of a roll of 200 Mp is 400 rubles. Today, manufacturers have launched an aluminum, chrome-plated, steel-colored edging to the market. At home, gluing the edge on the chipboard is carried out directly into the sheet, which makes the product durable. In order not to melt the polymer, you need to monitor the temperature regime, which should not exceed + 45 ° C. The protective functions of the edging material are designed for at least 5-6 years.
It is not recommended to use an EVA stick in a glue gun. There will be no good adhesion between the edging material and the edge. And a little physical activity will peel it off from the edge of the product.
ABS (ABS - Acrylonitrile / Butadiene / Styrene).
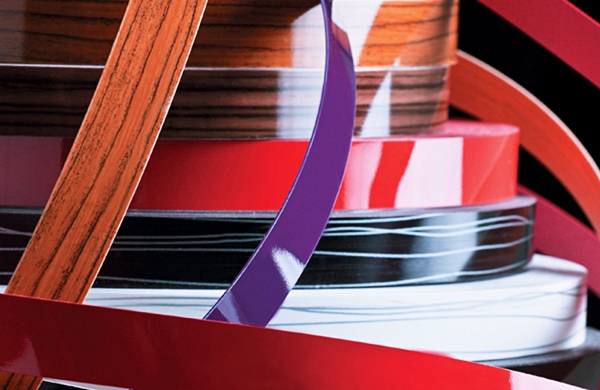
It is a shock-resistant thermoplastic that retains its appearance for a long time. It is not dangerous when heated and during processing, as there is no chlorine and heavy metals in the composition. The manufacturer produces finishing material with a thickness of 0.4 mm, 1 mm, 2 mm. Do-it-yourself edgebanding is done on furniture structures that can withstand low temperatures and high humidity. For internal processing of furniture boxes, the edging is performed with a tape of 0.4 mm, 1 mm, and for the front sides, 2 mm thickness is used. It should be borne in mind that when heated, shrinkage of the edge by 0.3% may occur. The edging material is available in different colors with glossy, semi-glossy and matte finishes.
The finishing material can be used to treat a countertop, a kitchen or office table, a hanging shelf and other interior items. In each type of tape material, a large assortment of colors should be noted. To decorate the surface, you can pick up a contrasting tape.
Pasting with PVC edge.
We will glue a plastic edge 0.5 mm thick, no thicker. Previously, there was no such edge on sale. Because of this, there were difficulties in work. ✓ We install the necessary part horizontally, for example, a lateral one (1960 × 420 mm) on special supports. This should be done for convenience.
Please note that I used homemade supports. Initially I used them for door panels, and later adapted them for furniture parts.
✓ Using a conventional sealant gun, apply liquid nails to the end face of the laminated chipboard.
Important! The glue must be applied evenly and spread thoroughly so that there are no gaps!
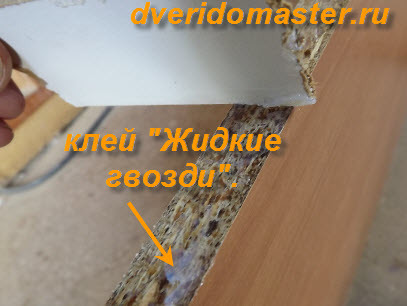 ✓Cut off the plastic edge with a margin, i.e. 10 mm longer than the required length.
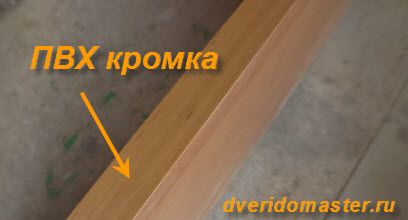 ✓ Press the edge to the end of the chipboard as tightly as possible. ✓ With the help of a small wooden block we drive out excess glue, which we gently wipe off with a dry, clean cloth. Leave the glued parts to dry until the next day. Perhaps this is the only disadvantage of processing the end of the chipboard at home. You can, of course, speed up the process by heating the edge with an electric hair dryer, but I did not do this, because I do not have serial production of furniture, but piece production. Therefore, there is no need to rush too much. Once dry, you can continue processing. ✓ Cut off the excess with a knife.

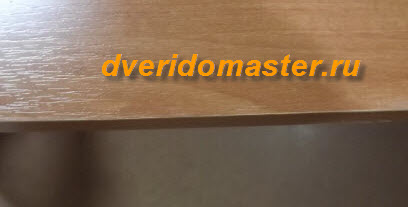 ✓ We finish the corners of the end with fine sandpaper without fanaticism, i.e. slightly. Everything. The ends are covered with plastic edging, which is what we needed.
In addition, I would like to say that not all parts can be processed with PVC edging - only external ones, and internal ones, such as partitions and shelves, can be pasted over with ordinary paper edging. It will be faster and cheaper this way. This is basically what I do.
✓ We make markings for the entire future design of our cabinet.
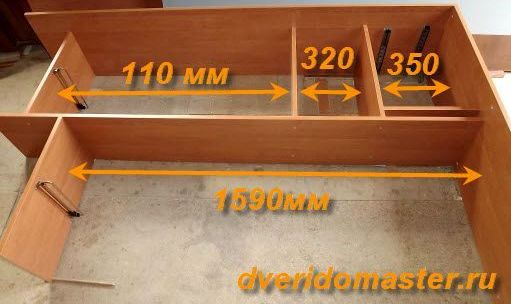 ✓ We drill the necessary holes with the help of the jig. The procedure for assembling a wardrobe with a built-in mezzanine. ✓ I start with the middle partition of the main cabinet.
 ✓ I attach shelves and an additional rack (350 × 320 mm) to the middle partition with confirmations.
Please note - this stand is needed to mix the drawers to the right, so that they slide freely and do not rub against the door. ✓ Attaching the right upright
 ✓ I attach the left shelf and the left rack.
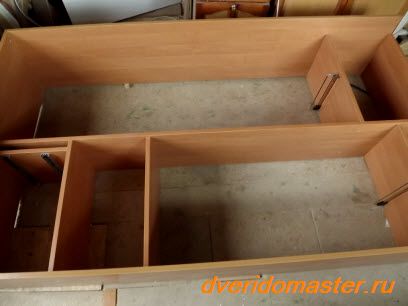 ✓ I attach the bottom and top parts of the cabinet. ✓ I fill the back wall of fiberboard for rigidity and preservation of right angles (90 °) of the structure. The mezzanine is also assembled.
 Calculation and assembly of compartment doors. I talked about this in this article. As a result, we get such a wardrobe.
If you have any questions about the article, please contact us via the feedback form (blue button on the left) or via the "Contacts" page. Also, do not forget to subscribe to the site news - it's free.
All the best! Respectfully yours Filippov Yuri. Dali bude.
Varieties of edge
You will have to choose the most suitable from the variety of edges.
Melamine
It is made in the form of a self-adhesive tape made of decorative paper impregnated with melamine resins.It is used, as a rule, for interior decoration of furniture. This is a budget option for chipboard edging, which is not characterized by high quality. It has a short service life, is susceptible to moisture and often disappears by itself over time.
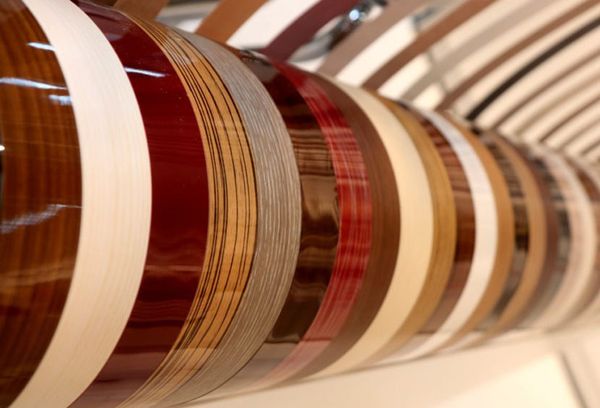
The undoubted positive property of melamine edging is the ease of gluing it, this can be done at home on your own using an ordinary iron. The second advantage is the absence of a side, a curb protruding above the edged surface, which sometimes annoys, getting under the hands when working with the keyboard, and also interferes with sweeping away small debris, for example, crumbs from the dining table in the office.
PVC edging
It is a flexible tape with curved edges that form a side. This edging is made of PVC (polyvinyl chloride). The types of edging differ in width and profile: in cross-section, the edge resembles either the letter "t" (T-shaped), or the letter "p" (U-shaped).
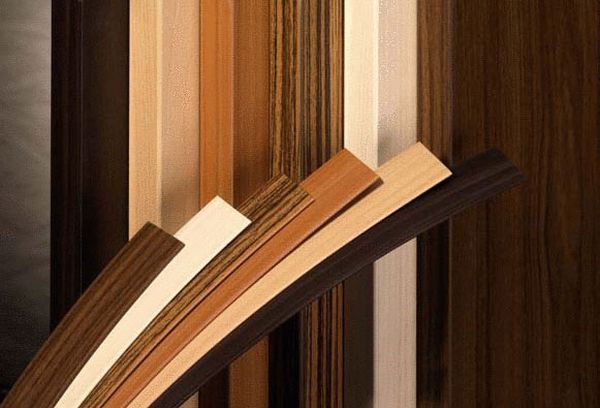
The latter is easier to attach, but less reliable; masters do not recommend using it on surfaces that are often subject to friction: on the seats of stools or benches, on the front edge of a computer table, which is constantly in contact with the forearms.
PVC edging increases the durability, wear resistance of furniture parts, reliably protects edges and corners from damage.
ABS plastic
The border is similar to the previous type of edging tape, but more environmentally friendly. Made of chlorine-free plastic. It has been successfully used in furniture production due to its heat resistance and impact resistance.
