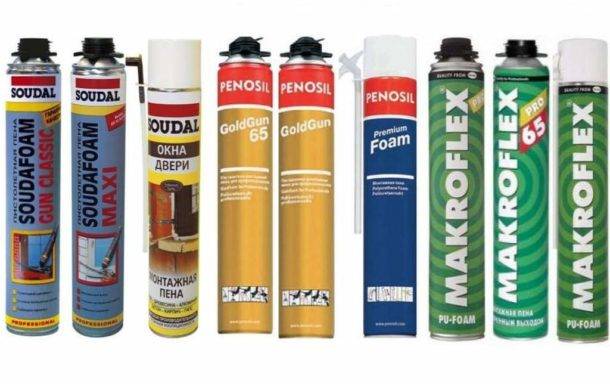
Is it possible to glue drywall onto polyurethane foam
Plasterboard is laid on the wall in several ways. The most reliable is the assembly of a frame made of wood or a galvanized profile. The frame gives strength and, if properly worked, guarantees durability. Also, between the guides, in the gap between the drywall sheet and the wall, an additional layer of insulation is laid, most often it is mineral wool. Communications are also hidden there - electrical wiring, switches and other details that will spoil the appearance from the outside.
With the help of a frame connection, you can even out any curvature of the wall surface by reducing the area, but this method is not suitable for apartments with a small area, because every centimeter is expensive there. Then another technology is used - fastening drywall to the wall with glue, but for this the wall must be flat, without sharp drops and have a curvature of no more than 3 cm.
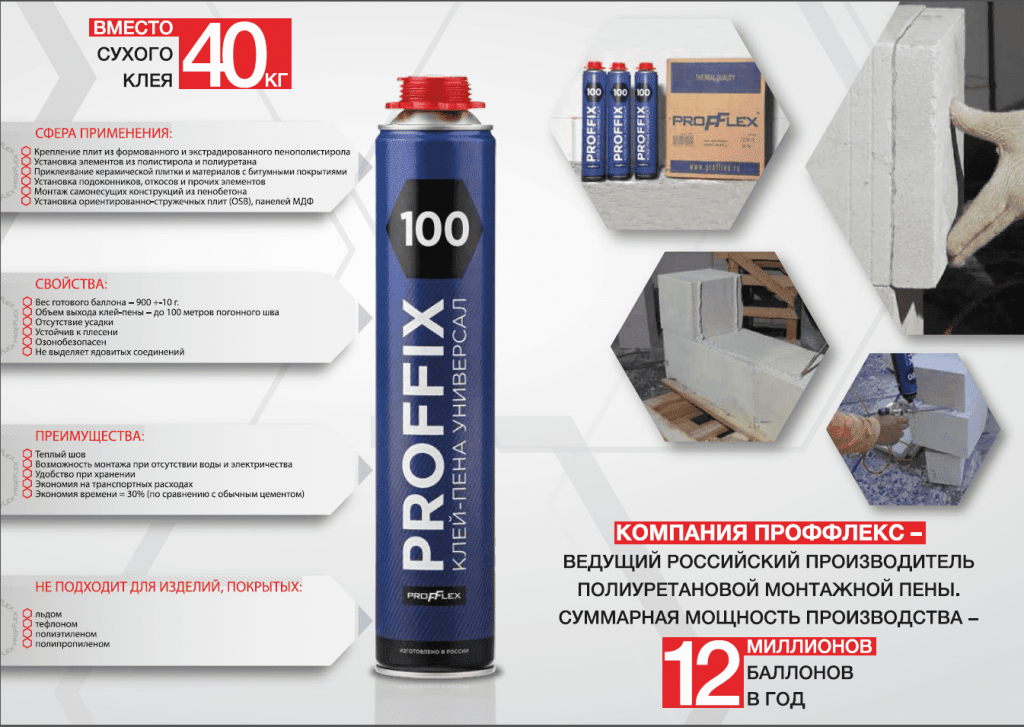
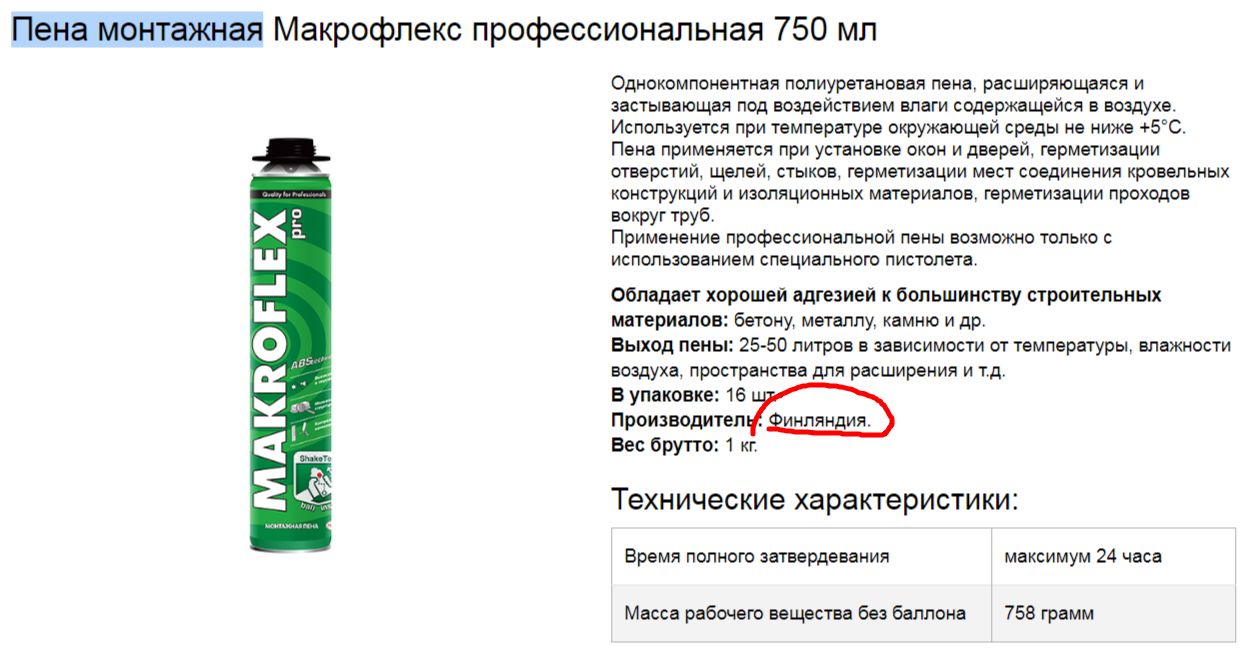
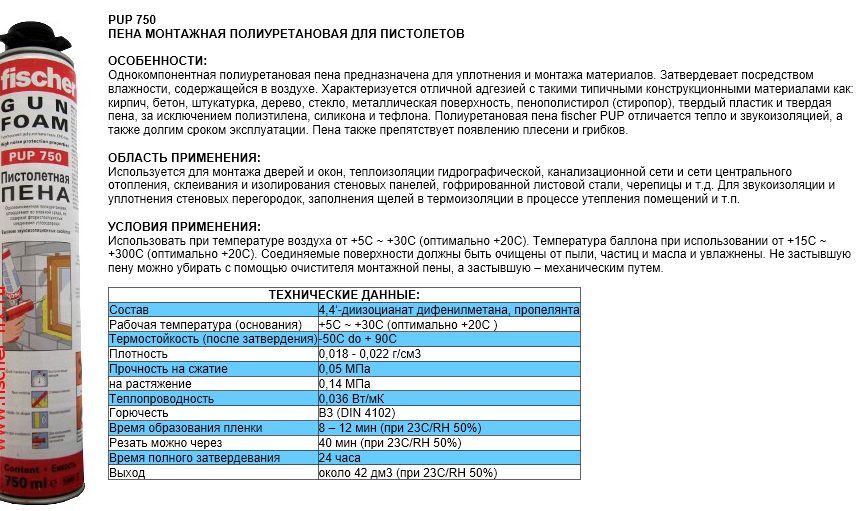
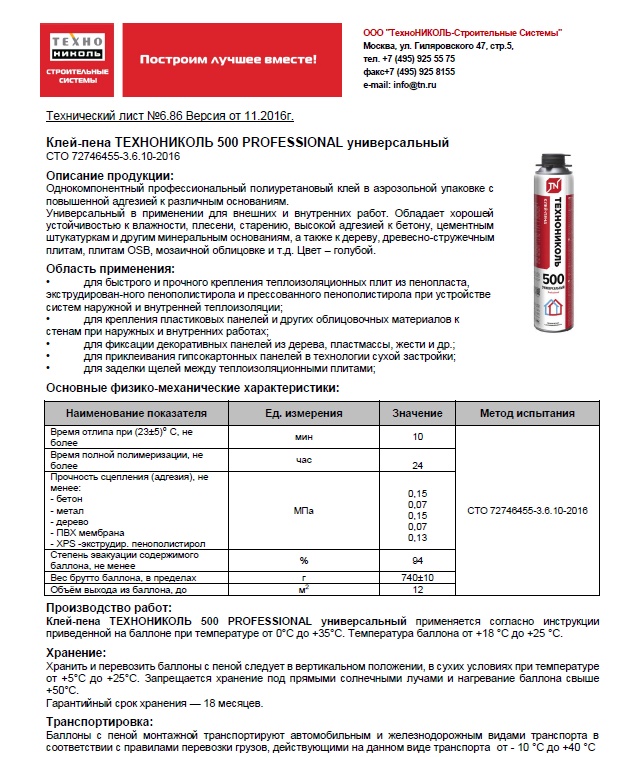
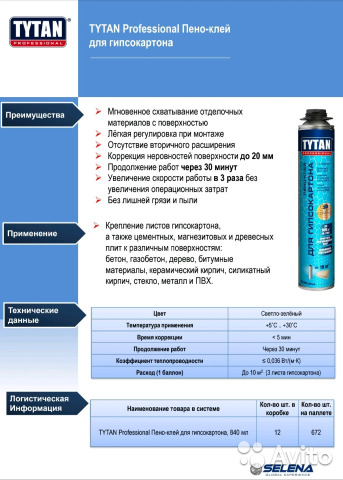
The rarest method is mounting drywall to the wall with foam. It has several advantages:
The foam will give additional thermal insulation, reduce the penetration of sounds from the outside, which is important when working with walls that go into the next apartment
The connection takes place with almost any material from which the wall is made - concrete, brick, wood, SIP panels
High fastening strength. When properly applied to the surface, the sheet cannot be torn off by hand. The only drawback is that for a good fixing of drywall to foam to the wall, you need to press it for quite a long time with an interval of 15 minutes for one hour.
Therefore, this method requires many efforts, sometimes not even one person, because for uniform gluing you will have to call someone for help.
The only drawback is that for a good fixing of drywall to foam to the wall, you need to press it for quite a long time at intervals of 15 minutes for one hour. Therefore, this method requires a lot of effort, sometimes not even one person, because for even gluing, you will have to call someone for help.
When to use glue and when to use foam? Polyurethane foam takes a lot of effort, but gives a lot of strength. Most often, this issue is solved based on the degree of curvature of the wall - if it is less than 30 mm, then you can use glue, more precisely, an adhesive composition specially designed for this. It can be purchased at any hardware store. If the curvature is more than 30 millimeters, and it is not possible to erect the frame, you can glue drywall onto the foam.
What to glue drywall on
The process of installing gypsum crate with glue can be carried out on flat reinforced concrete walls or on partitions, the basis of which is tongue-and-groove blocks.
Which tile adhesive is better to use during construction can be found in this article.
Manufacturers and prices
In this case, the following brands occupy a leading position:
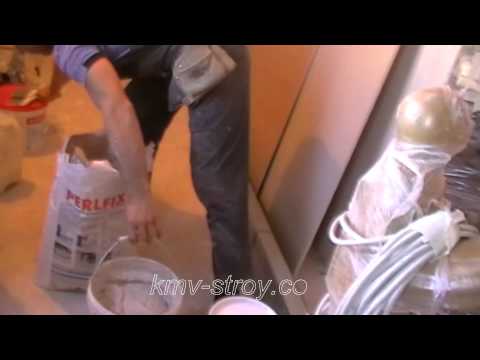
- Perflix is a universal composition based on a gypsum binder. You can buy such a composition of Perlfix 30 kg for 330 rubles per bag.
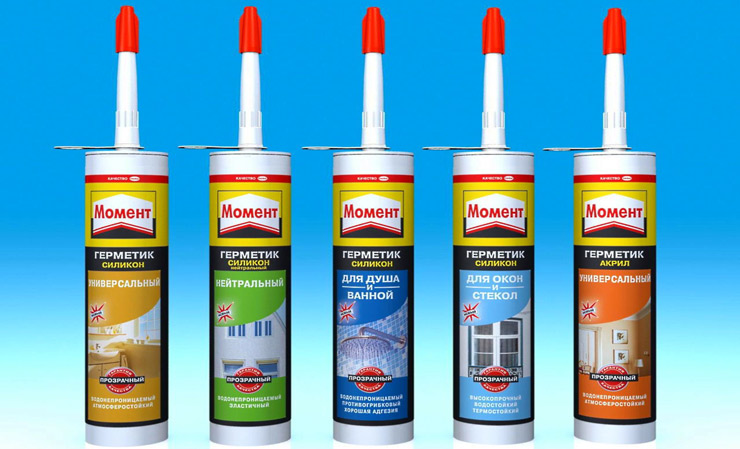
- Silicone is an adhesive for the installation of drywall sheets, when using which a quick adhesion of the material to the base is achieved. This glue will cost you 450 rubles.
Adhesive for aerated concrete consumption per m3 and other characteristics of the material can be found in this article.
- Ceresit CM 11 is a mixture for plasterboard sheets. It is also recommended to use such an adhesive composition provided that the installation of the material is carried out in a room with high humidity. You can buy glue for 560 rubles.
You can find out how long the tile glue dries from this article.
- Knauf - assembly adhesive for drywall sheets. It has minimal consumption and quick coupling. The cost of the composition is 670 rubles.
Tile adhesive consumption per 1 m2 is calculated according to the scheme described in this article.
Consumption
As a rule, the consumption of a certain brand of glue is indicated on its packaging. Also, this value is influenced by the evenness of the wall:
- When mounted on a flat surface, the consumption of the composition per 1 m2 will be 0.5 kg of the mixture.
- When mounted on a surface with defects, the consumption will be 3-5 kg.
- If the installation is carried out on a surface with irregularities up to 20mm, then 4-6 kg of glue will be needed.
- When the installation of single partitions from plates is being carried out, then glue per 1 m2 will need 1.5-2 kg of the mixture.
Which adhesive for ceramic tiles is better to choose and how to use it correctly can be found in this article.
Sealing of seams
If you decide to install drywall with glue, then it is worthwhile to determine in advance the required amount of material, as well as the appropriate type, taking into account the main characteristics. To seal the seams between drywall sheets, you must use a special putty. It has a special edge for an even filling seam. If the installation of gypsum crate is carried out in a room where there is high humidity, then a special putty should be used to seal the joints. Speaking specifically about the manufacturer, I most often use Furenfüller putty to seal the seams between drywall sheets.
This article describes the best adhesive that can be used for ceiling tiles.
The video tells you which glue to choose for drywall:
Homemade from plaster
How to do it yourself? To prepare homemade glue, you need to take a gypsum-based putty and add water to it. In this case, you can use both starting and finishing putty. Stir the solution using a special construction mixer. The resulting mixture should be of a suitable consistency, as the solution should not be too liquid. After all, it will be simply impossible for such a ulem to carry out work on the installation of drywall sheets.
Which adhesive to choose for use in the bathroom can be seen here by reading the article.
Now you can add PVA glue to the resulting mixture, stir again with a mixer. If you use 12-15 kg of putty, then you will need 1 kg of glue. It takes just a few minutes for the glue to infuse, and then it can already be spread over the wall surface.
What winter glue for gas silicate tiles can be used and applied, and most importantly, how to do it correctly, you can read here from the article.
It is applied pointwise, with slaps. When installing drywall on slopes, the number of points should be approximately 3-4. Be sure to apply the prepared composition to drywall. The advantage of homemade glue is that you can save on repairs, because such a composition will turn out to be much cheaper. But there is a drawback here. Ready-made formulations are designed for specific operating conditions. For example, if you use homemade glue to install drywall in the bathroom, you will not be able to get a good adhesion. Over time, the sheets will start to lag and you will have to do the repairs again.
You can use tile glue Prospectors weighing 25 kg in the following cases described in this article.
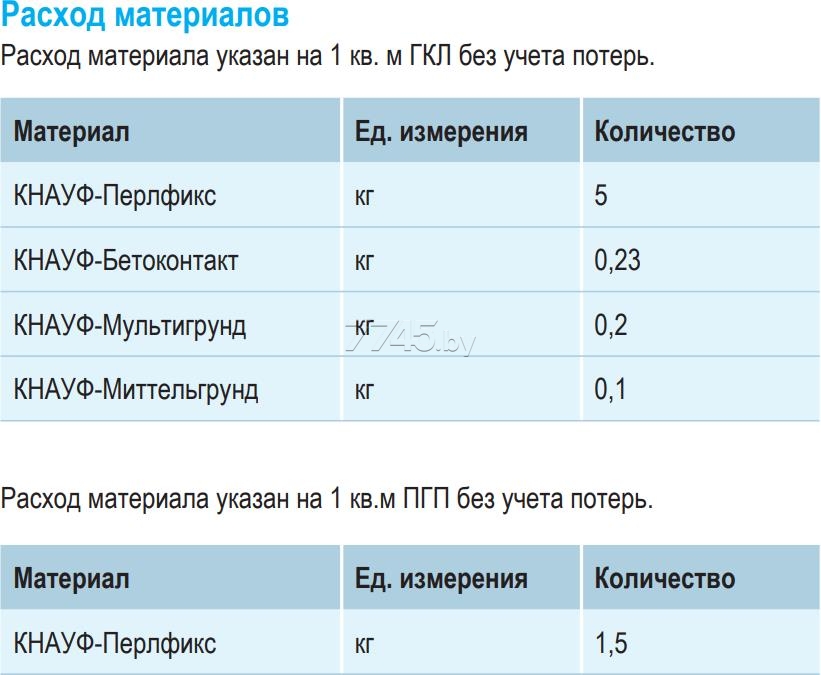
On the video - the consumption of glue for Perlfix drywall:
The nuances of working with drywall on polyurethane foam
How to glue drywall?
Drywall can be glued with foam in two ways:
- First, the sheets are attached to the wall, after which the foam is poured.
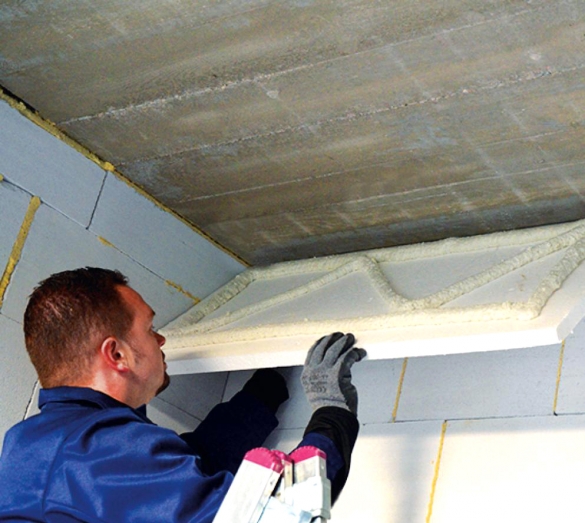
- The foam is applied to a drywall sheet, then pressed against the wall surface.
An important point is the mass of the drywall sheet.
The second point is the quality of the polyurethane foam.
The room temperature must be at least 5 degrees Celsius.
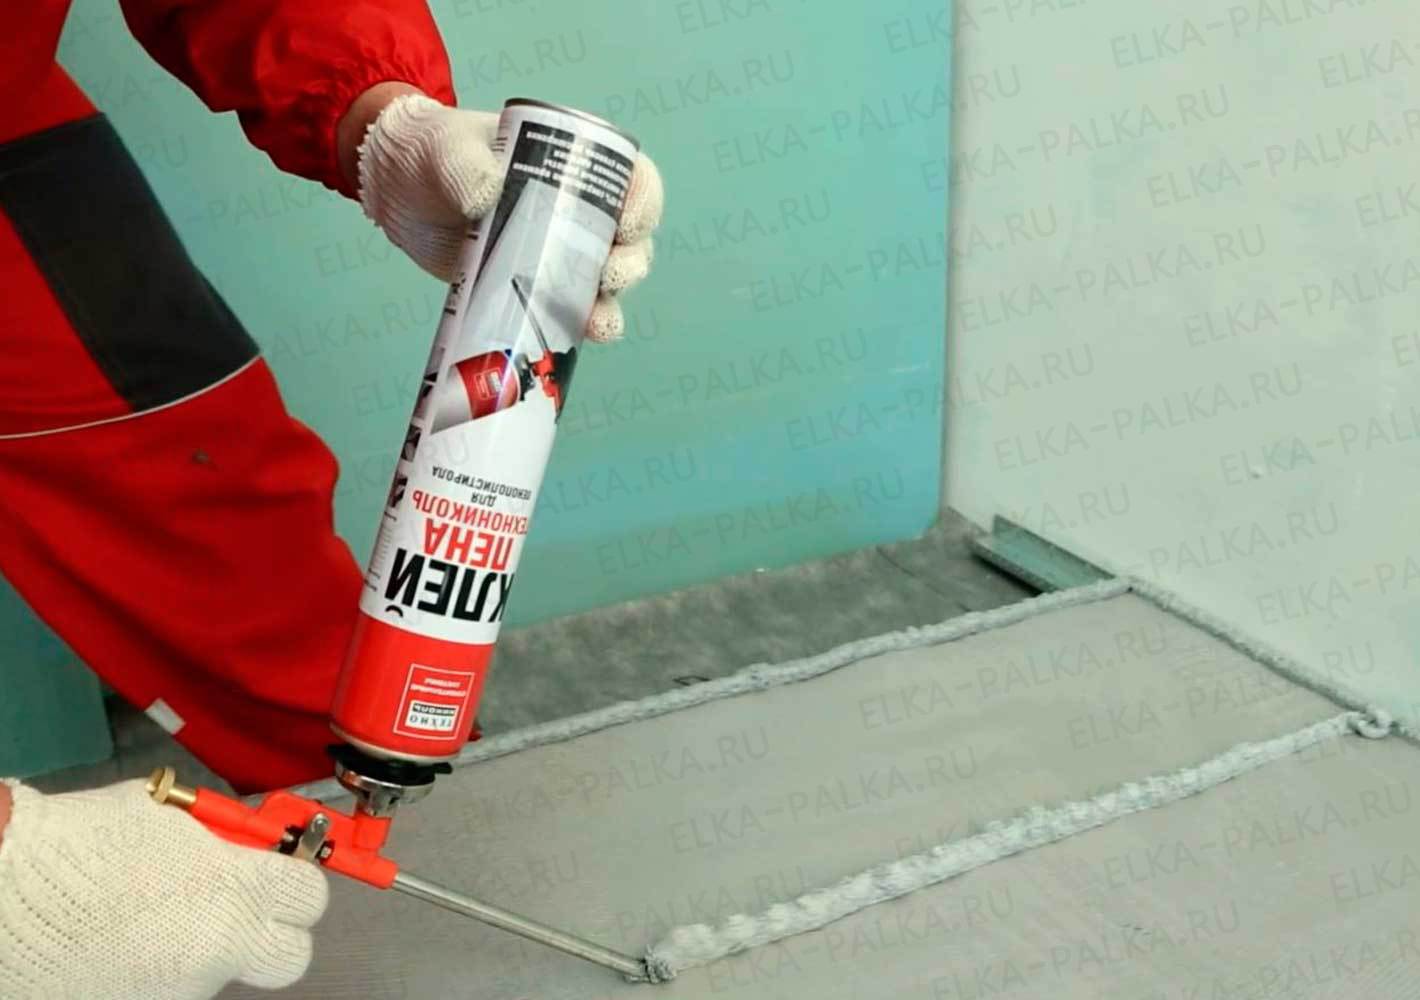
When choosing the second method, the foam should be applied in a zigzag, then wait a while and only then attach the sheet to the wall.
After the foam dries, the joints are sealed with putty.
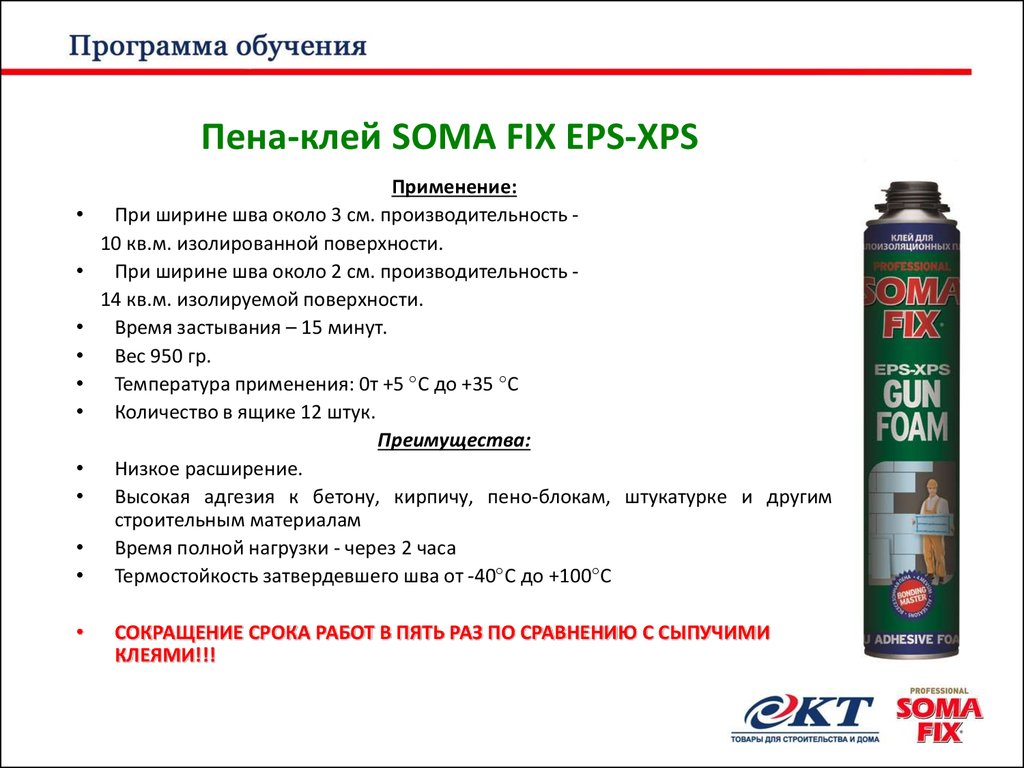
For an even fight of drywall with foam, the sheet should be pressed against the wall with the following time interval: press 15 minutes, rest 15 minutes. Then the work will be of high quality and without defects.
Surface preparation
Before you mount a drywall sheet on foam, you should find out the features of this type of fastening. Plasterboard can be mounted both on flat walls with foam, and with a large curvature. If such curvature is present, guides should be applied.
Before installing the drywall sheets, the wall surface must be properly treated.
Phased preparation:
- It is required to remove the wallpaper, old paint, which hangs down in scales.
- If there is loose plaster, it should also be removed and the hole repaired.
- The prepared wall should be primed.
- After drying, one sheet should be applied to the wall and 9 holes should be made.
- Drill holes for fasteners along the appeared grids.
After that, you should prepare the necessary materials and tools.
Materials, tool
To work with drywall, you will need tools and the following materials:
- Screws, self-tapping screws.
- Level, ruler.
- Plastic stoppers.
- Plain foam rubber.
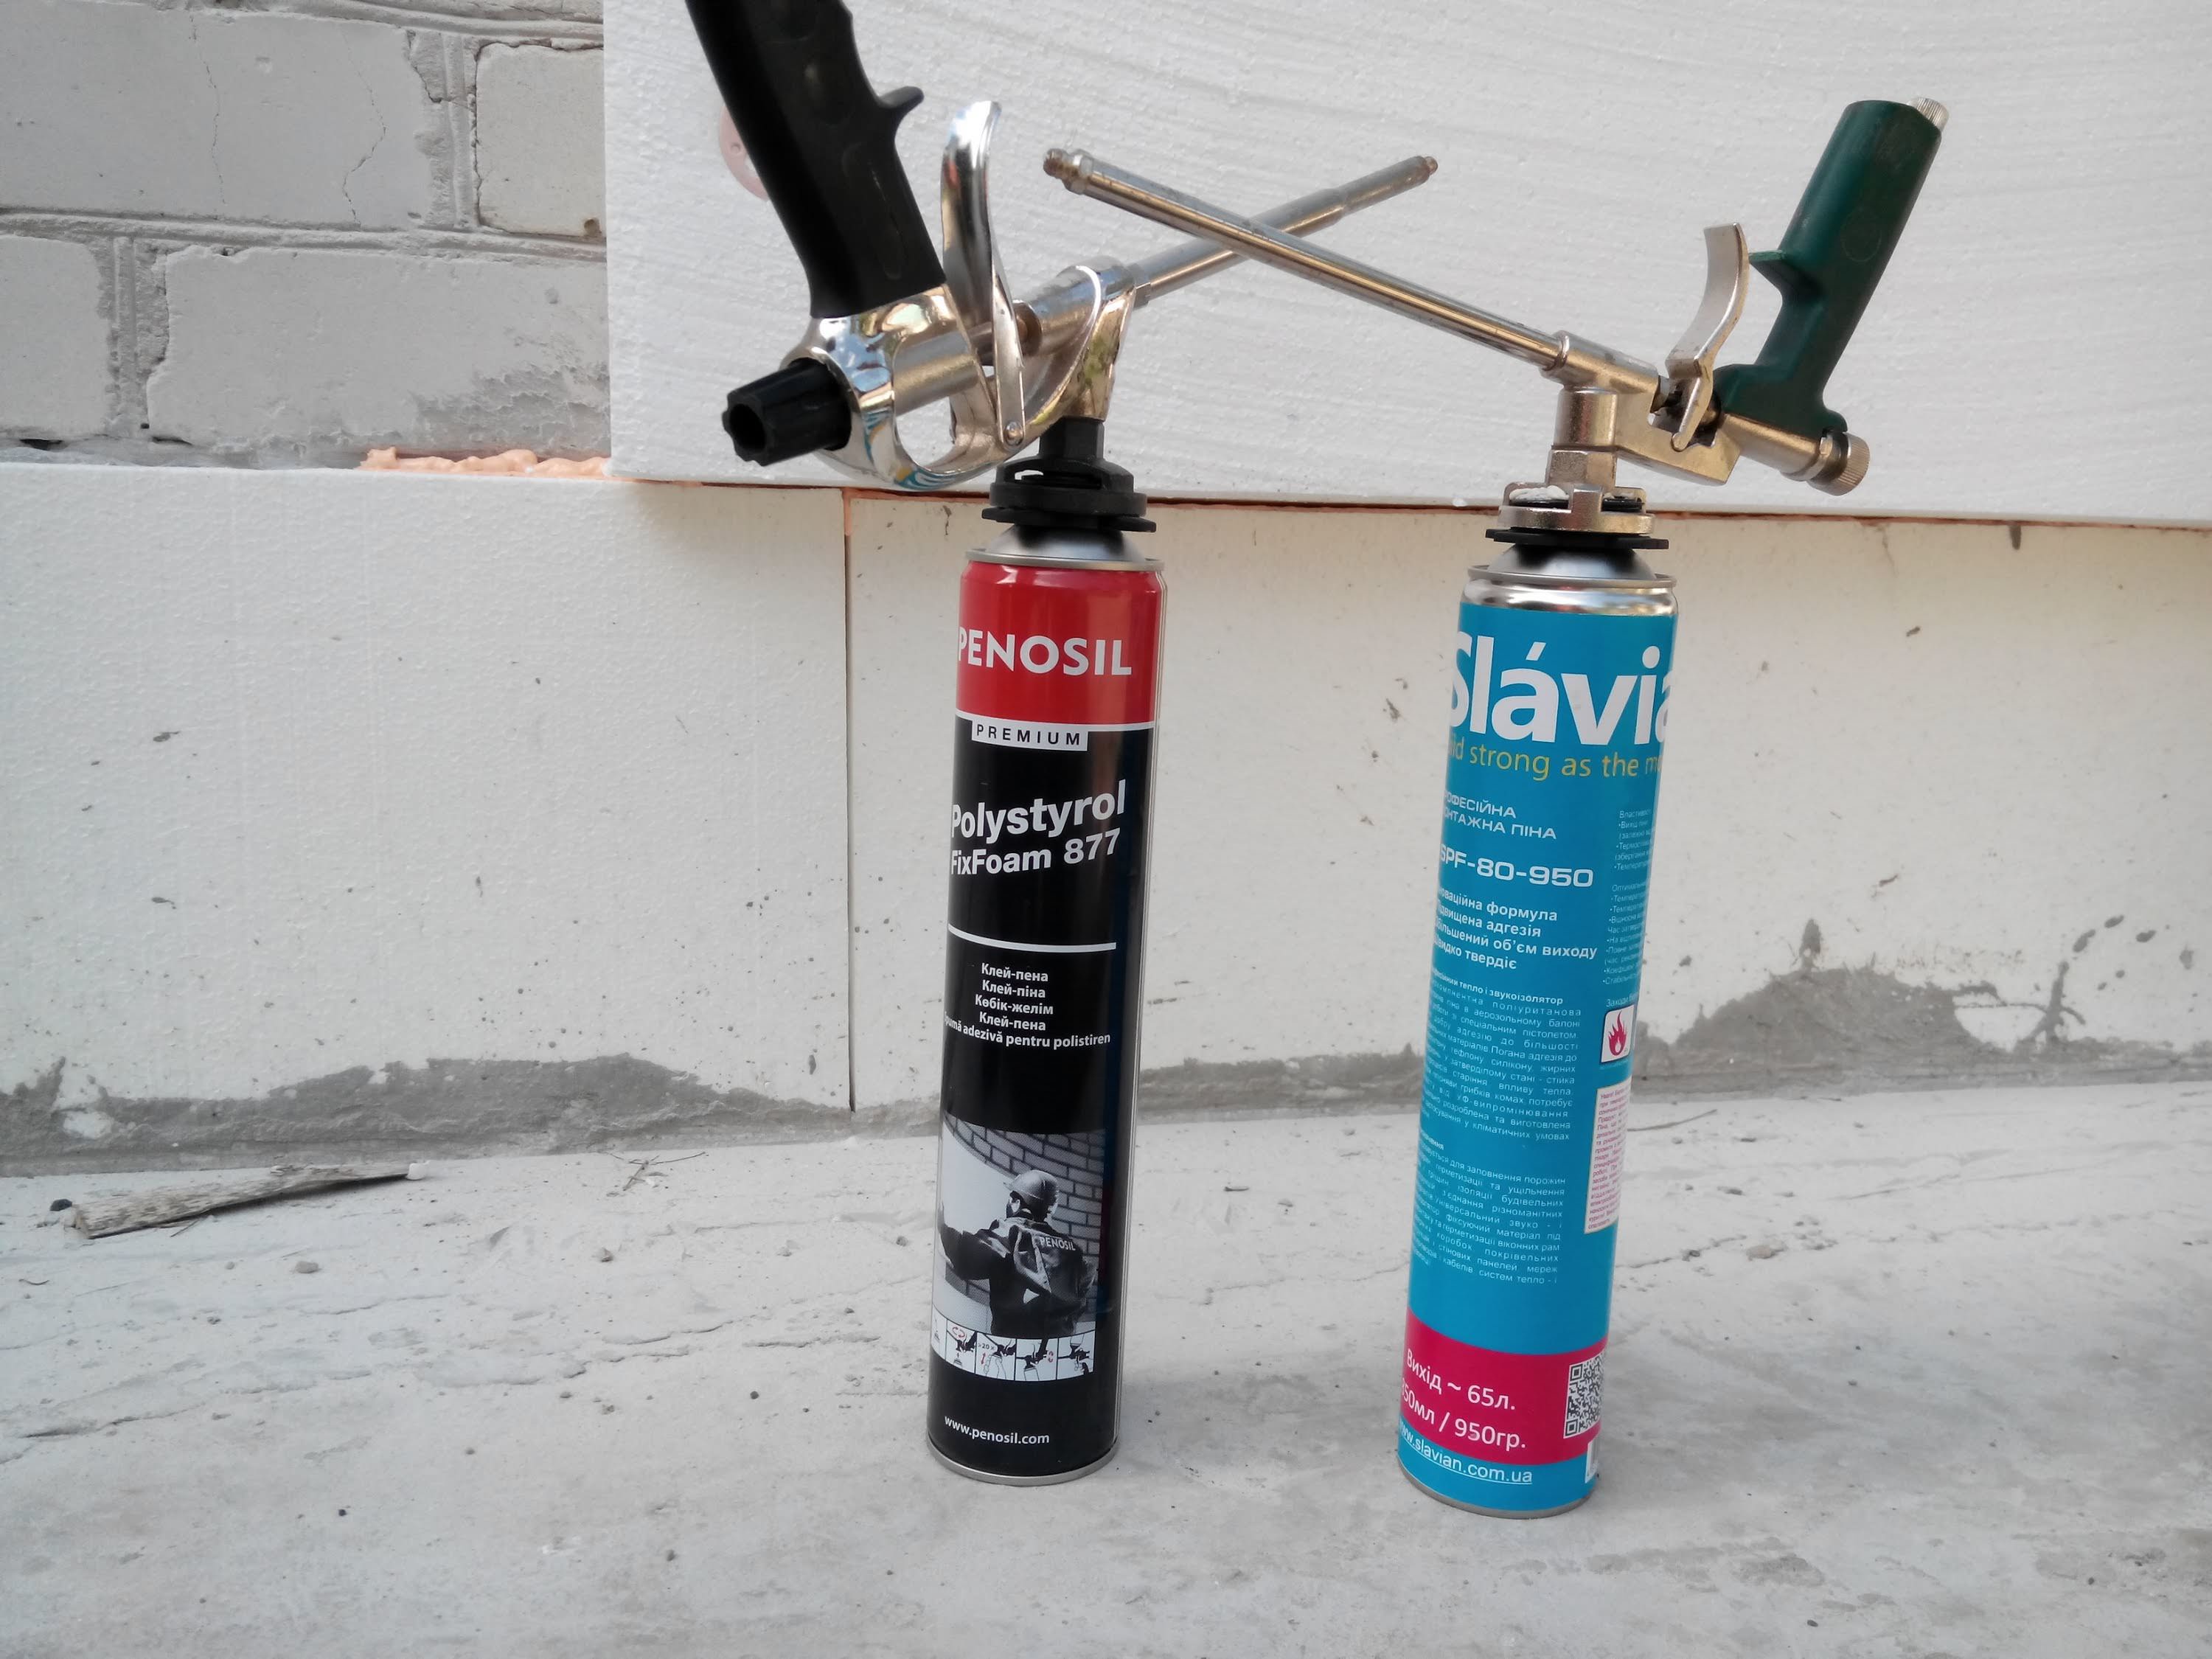
- Construction foam.
- Glue.
- Drill.
In addition, you will need a reinforcing tape, putty, spatulas, and a primer.
Fastening drywall to foam
During the preparatory work, 9 holes were made in the wall. Plastic plugs should be inserted into them. Now:
- Glue pieces of foam rubber on a drywall sheet with glue, it should be 10 cm from the holes, the foam rubber will regulate the level.
- A sheet of drywall with foam rubber should be attached to the wall with screws. Place washers on the screws. The hat will not sink into drywall due to foam pressure.
- Taking 3 cm from the fastener, small holes with a diameter of 2 mm should be made.
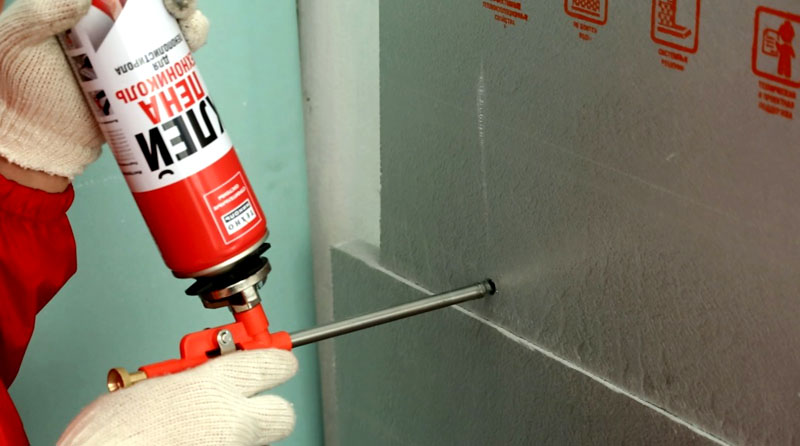
- Foam is launched into these holes. Avoid pouring a lot of foam. It increases 2-3 times. By pressing the lever a little, the foam will get inside.
- For more confidence in the correctness of your work and quality control, you need to do the entire procedure on 1 sheet of drywall. Leave this sheet for 24 hours. Then check the quality of the work performed on the glued sheet. If the sheet is not swollen from the foam, is firmly attached to the wall and "does not walk", you can continue to install drywall along the entire wall. If there is the slightest deviation, the sheet should be removed from the wall and the reason should be found out. There may be several of them:
- leaf swelling - a lot of foam was pumped;
- stirring - fasteners are not clearly fixed in the wall; the quality of the foam is unsatisfactory;
- the sheet has disappeared - you should not continue working with this method.
- After the foam dries, carefully remove the remnants with a construction knife.
- The penultimate step is finishing.
There is another way to mount drywall to the wall using foam.
This method is used if the wall does not have large deviations from the plane. There is no need to drill here. Fasteners are also not needed.
- The wall is prepared for plasterboard installation and primed.
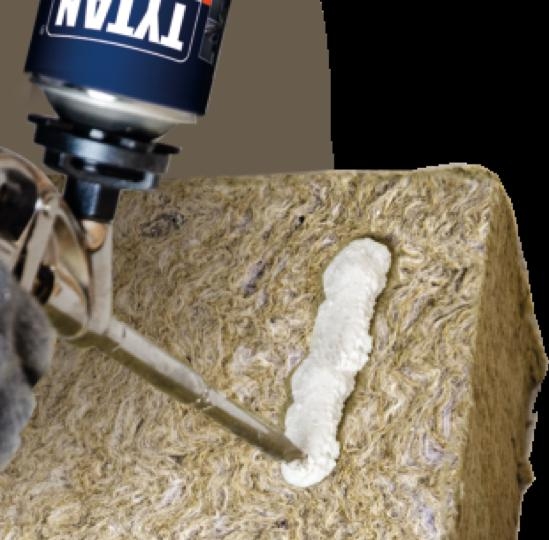
- A snake squeezes foam onto a drywall sheet. This is done either in stripes or around the perimeter and in the center.
- Wait 15 minutes.
- When the foam begins to expand (sometimes ten minutes is enough for this), the sheet should be applied to the wall.
- It should be remembered that about 5 mm of free space should be left from the floor and from the ceiling. For this, pieces of gypsum board are placed.
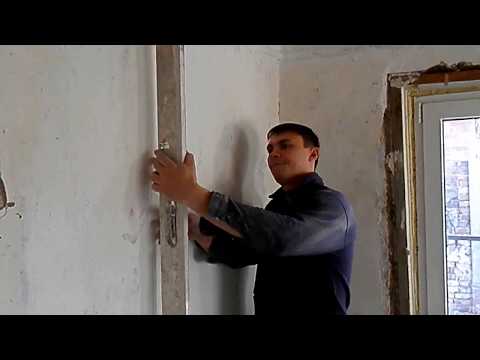
- After pressing the sheet against the wall, you need to put it in a strictly vertical position. Vertical and horizontal lines should be level. And also you need to check the correct installation of the sheet diagonally.
- After exposing the sheet, it is fixed with wooden wide boards, a wooden device with soft edges (so as not to damage the surface of the gypsum board).
- Within an hour, you should press the sheet with your hands for 15 minutes, rest for 15 minutes.
- After that, the glued gypsum board is left for a day.
- After the foam hardens, the residues are removed (they can be at the edges), the joints are reinforced, the entire surface is putty.
The choice of glue depending on the evenness of the wall
There are three options for surfaces to which drywall sheets will be attached:
- flat surface (stone or monolithic plastered walls) with a height difference of no more than 5 mm;
- Brick wall;
- surface with significant irregularities.
Plasterboard is glued to a flat wall using almost any adhesive composition. It can be cement or gypsum-based glue, polyurethane foam, polymer mastic. The easiest and most affordable way is to mount on polyurethane foam.
For gluing sheets to an absolutely flat surface, glue mastic is suitable. Manufacturers pack it in plastic tubes, from which glue is squeezed out using a special pistol.
An adhesive based on cement or gypsum will need to be diluted with water before use as described on the package.
If the installation of drywall is carried out on a brick wall, then any glue can be used with even laying. For uneven brick surfaces, "Perflix" is ideal, which is applied to the sheets pointwise along the entire perimeter. The thickness of the glue layer should vary from 5 to 30 mm, the distance between the "points" is about 30-50 cm.
In order to glue the gypsum board on an uneven wall, the Knauf-Perlfix adhesive composition is suitable, while the curvature should not be more than 2 cm. using Fugen putty.
Surface preparation before installing drywall on foam
Having decided to mount drywall on a wall or ceiling using foam, you need to familiarize yourself with the features of this type of fastening. This is a convenient way to install sheets, since the wall surface can have deviations of different levels. With very large deviations, special guides are used for gluing the sheets.
The fixing of drywall must be very secure, as the properties of the foam affect its ability to push the material away from the wall. Finally, it is better to perform preliminary surface preparation. Walls, ceiling and sheets must be primed.
Preparation stages:
- Remove old trim from the wall.
- Cover the wall with a primer.
- Attach a sheet of drywall to the wall and drill at 9 points.
- Drill holes for fasteners according to the marks.
After completing the preparatory work, you can proceed to fastening the sheets of gypsum board. For self-installation, experts recommend first installing one sheet and letting it dry. If the next day you are happy with the result, then you can continue working.
Additional tips and tricks
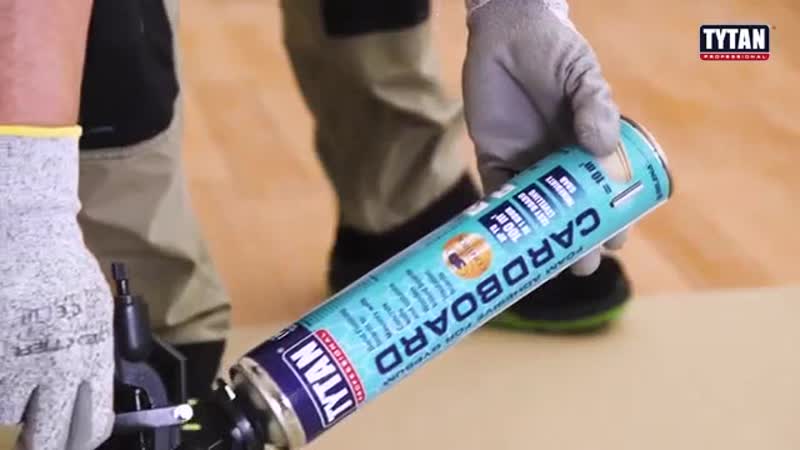
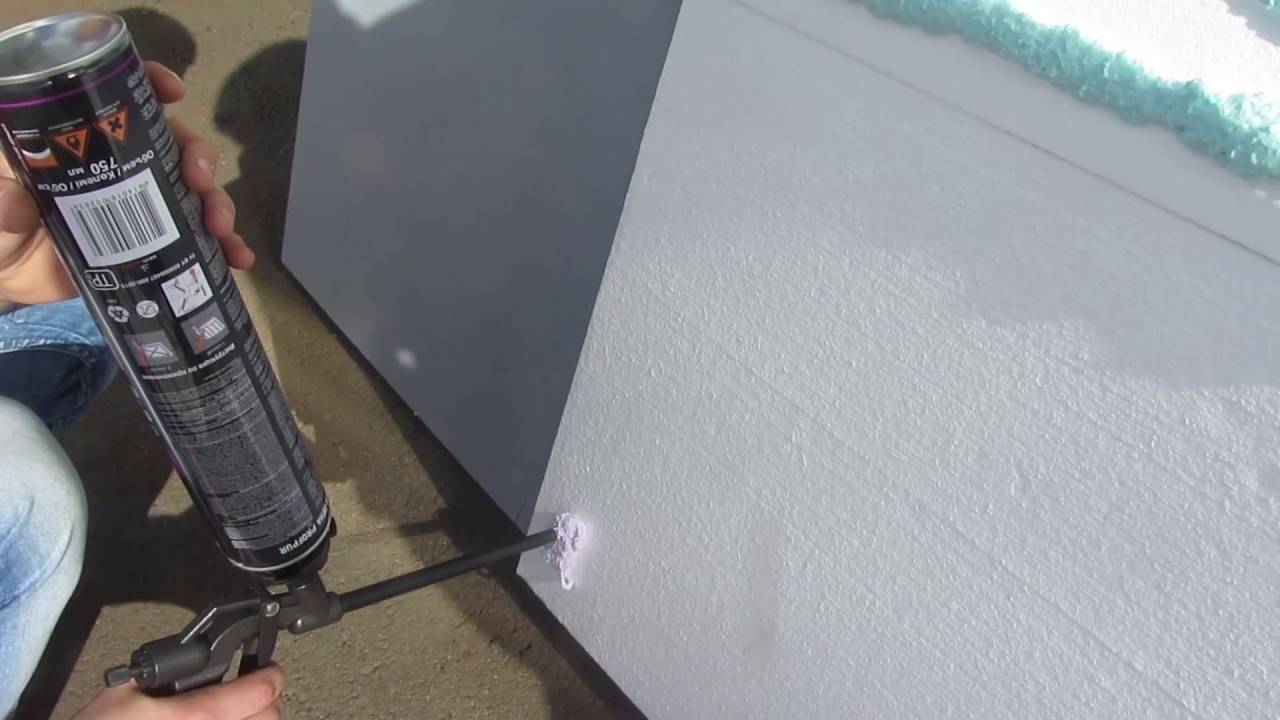
The optimum temperature of the working mass inside the cylinder is 23 ° C. To achieve it, it is recommended to keep it at 22-25 ° C for about 12 hours before starting work. Use the product as follows:
- shake the balloon 20 times;
- remove the protective cover;
- attach the gun.
During these operations, keep the cylinder upside down. Carrying out the main work (applying glue), hold it upside down. The foam output speed can be adjusted in standard ways using the screw on the gun and the trigger. Shake the can regularly during work.
To prevent the foam from hardening, adhere to the following rules for using the gun:
- do not remove it while there is foam in the container;
- when the glue runs out, quickly disconnect the empty bottle, replacing it with a new one;
- after completion of work, clean the device with a special liquid (Premium Cleaner);
- Remove the hardened mass mechanically.
It is recommended to store glue cylinders for no more than 15 months, observing a storage temperature of 5-25 ° C.In this case, put them strictly vertically, the valve should look up. When transporting the product, wrap it in a cloth. Carry in the trunk. Observe safety precautions when working. Do not smoke, do not light a fire nearby. A supply of fresh air must be provided in the room. Protect the skin of the hands with gloves, eyes with goggles. Do not inhale vapors.
Share link:
What can be glued drywall - the basis of walls and ceilings
When choosing a mounting adhesive, you need to consider not only its suitability for work on drywall. A suitable tool should not "conflict" with the material of the base, which is supposed to be leveled. As for the gypsum board, it is not difficult to choose glue: porous kraft paper, or building board (the top layer of drywall) adheres perfectly to most thick, binding compounds
Limitations usually relate to the wall base, this issue needs to be paid attention
Brick, aerated concrete, shell rock
Gypsum plaster has proven itself well for gluing gypsum plasterboards. It is ideal for patching uneven surfaces with wide seams. Most of the gypsum-based building mixtures are inexpensive - the cost per 1 sq. m of area will be about 50 rubles. The most popular remain "Perlfix" from "Knauf", "Volma".
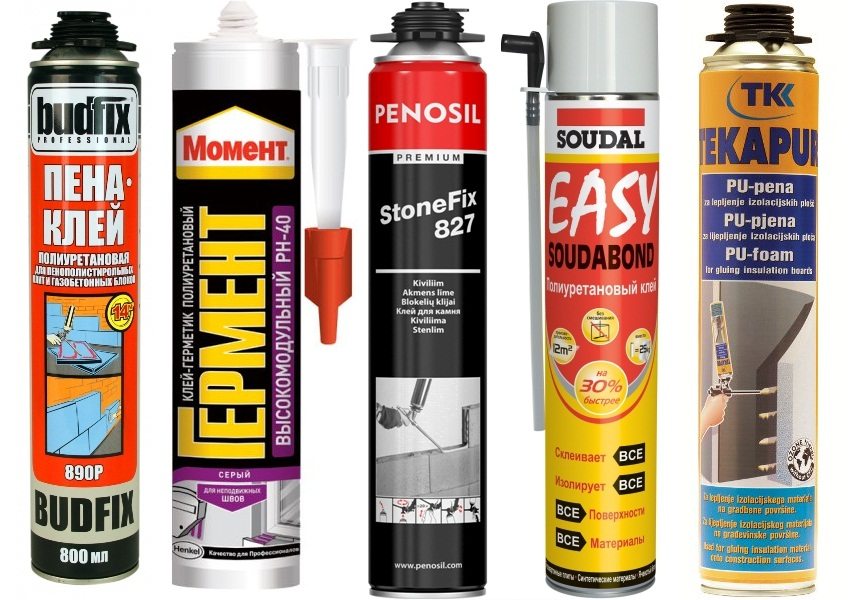
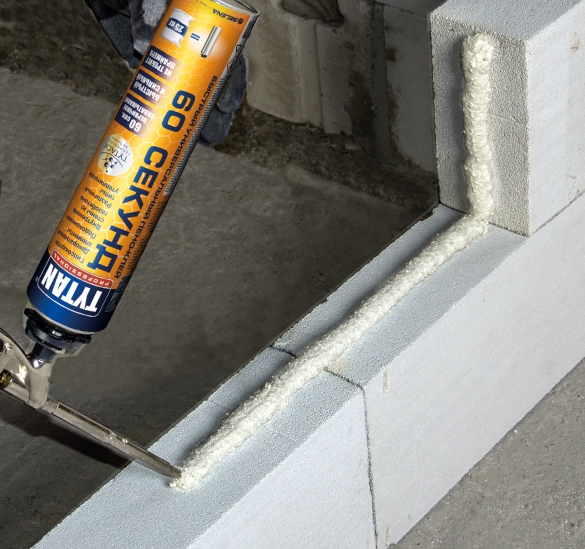
Polyurethane foam is also suitable for brickwork, gas blocks, foam block bases. Working with it takes place quickly, efficiently, the result in terms of the reliability of fastening the material is excellent. The foam is applied to the sheet with a "snake", wait a couple of minutes, apply the gypsum board to the wall. Further expansion of the foam can become a problem, so it is better to additionally apply dowel-nails. Instead of foam, it is worth using special polyurethane glue in cylinders, but its price is an order of magnitude higher.
Concrete
The easiest way is to glue drywall to a concrete wall, ceiling with ordinary cement tile adhesive. If the wall is monolithic, then its irregularities are insignificant, and the finishing process takes place quickly. Panel partitions can be more curved, in some cases it is better to use the frame method of installing drywall.
In addition to cement mortars, the following are suitable for gluing gypsum boards:
- gypsum mortar or putty;
- polyurethane foam and polyurethane glue;
- acrylic putty.
All these means will provide excellent adhesion with a small joint thickness, but it is economically more profitable to use cement mixtures with fine grain.
Expanded polystyrene
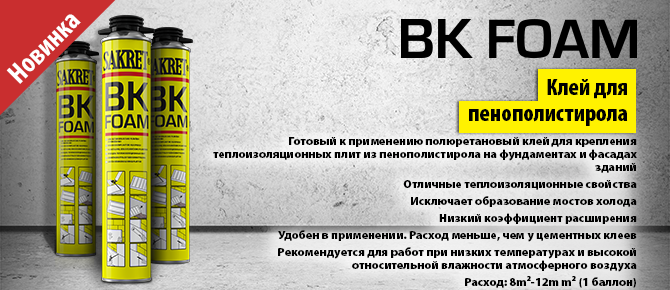
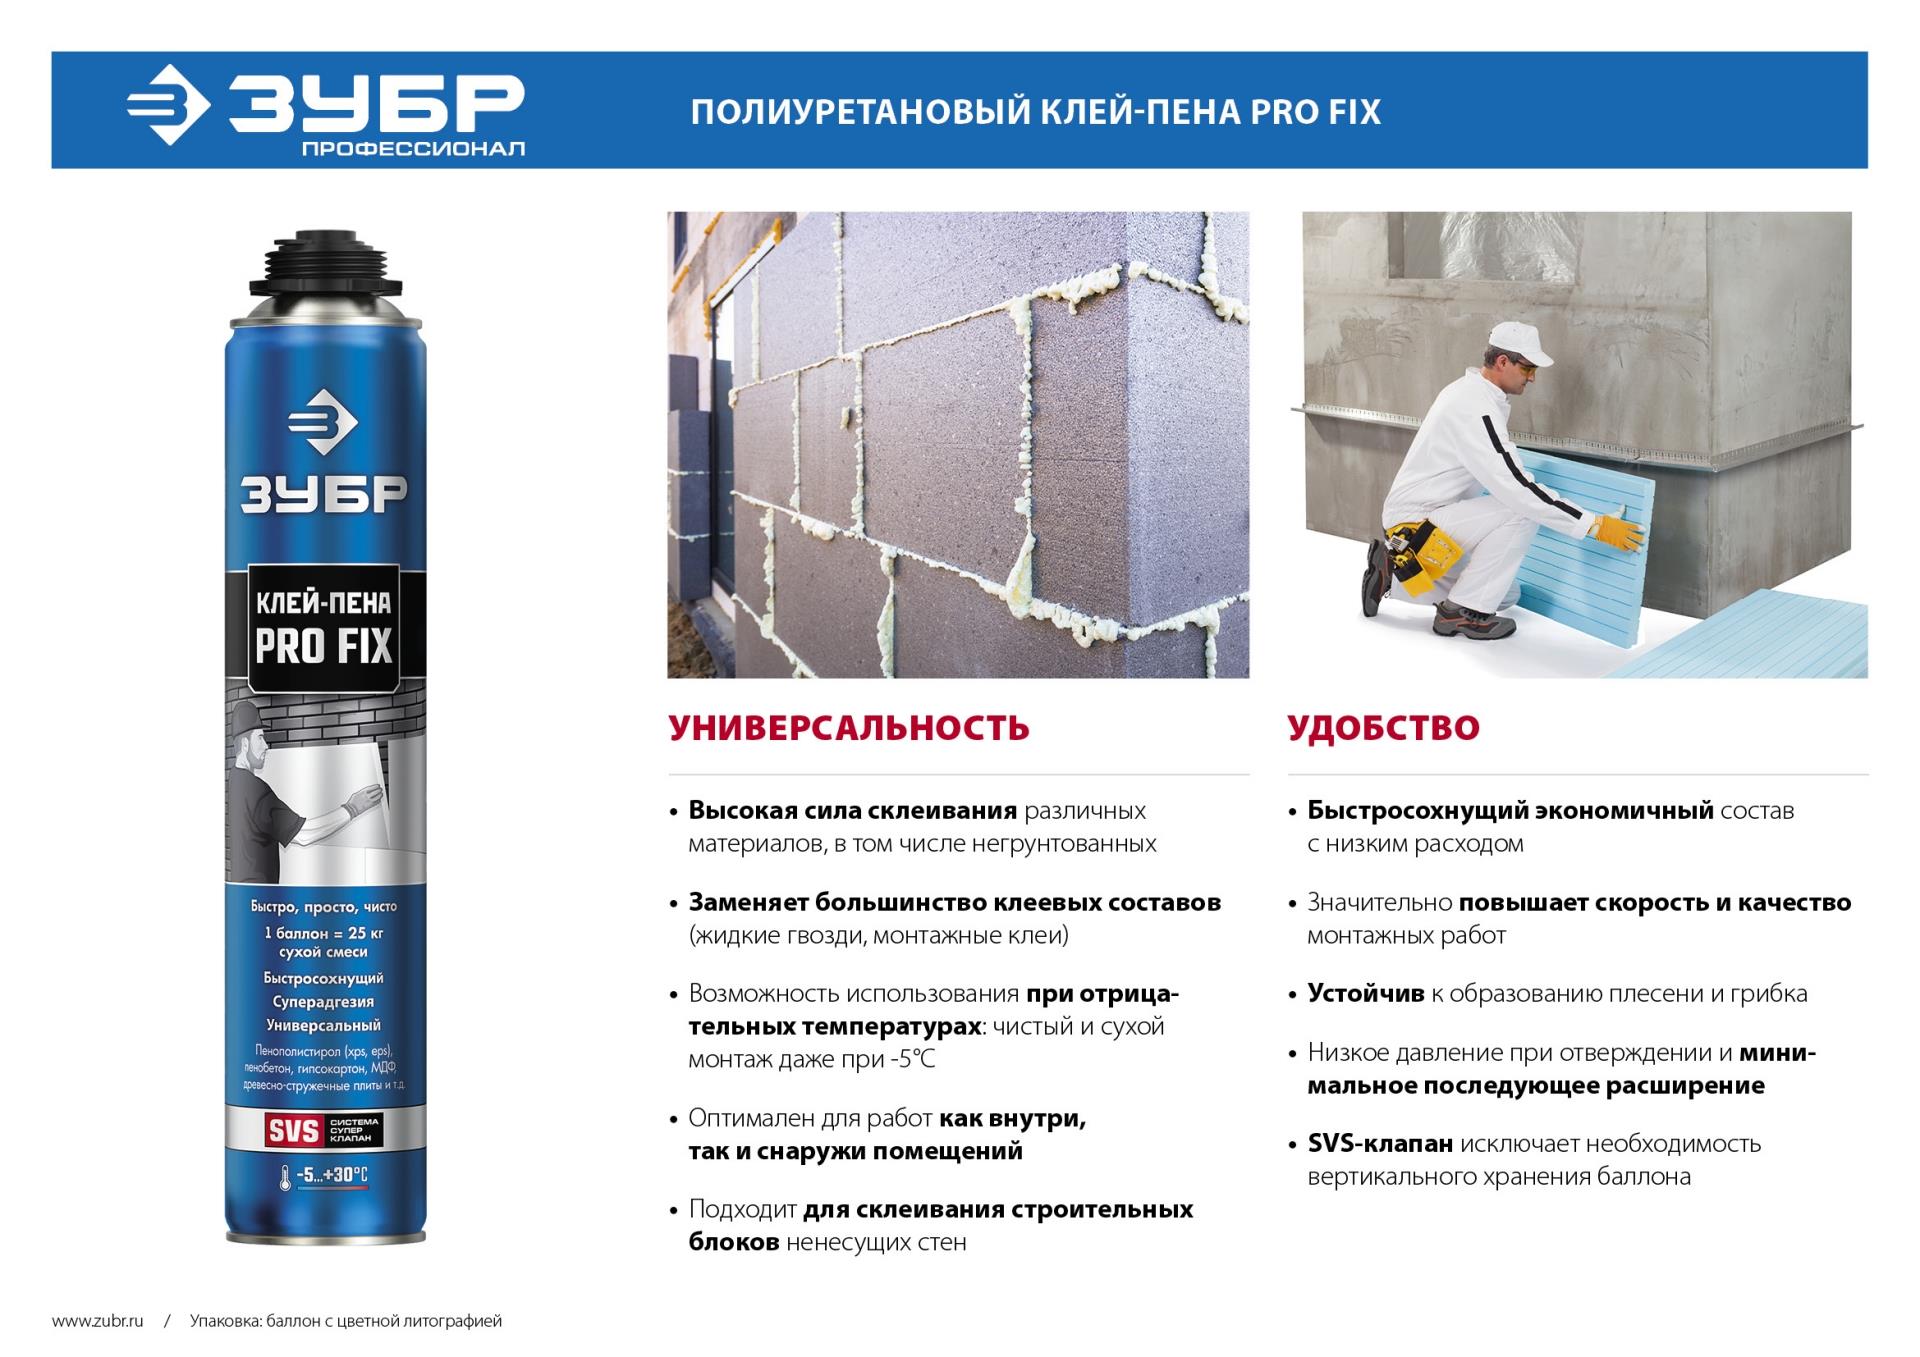
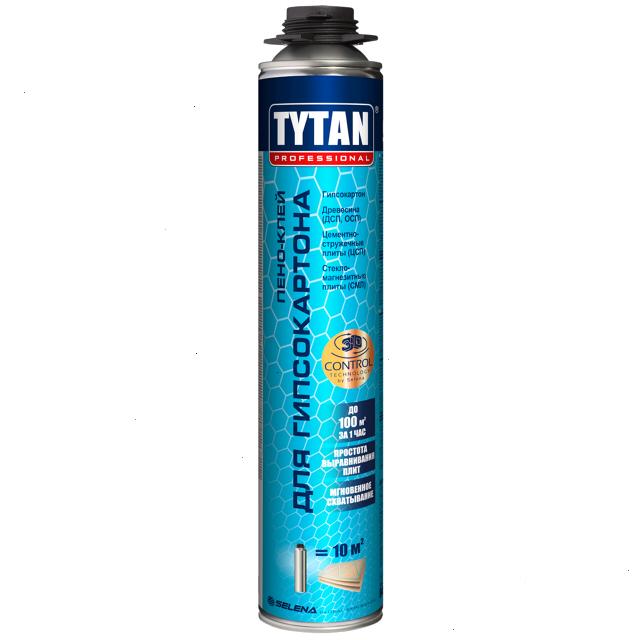
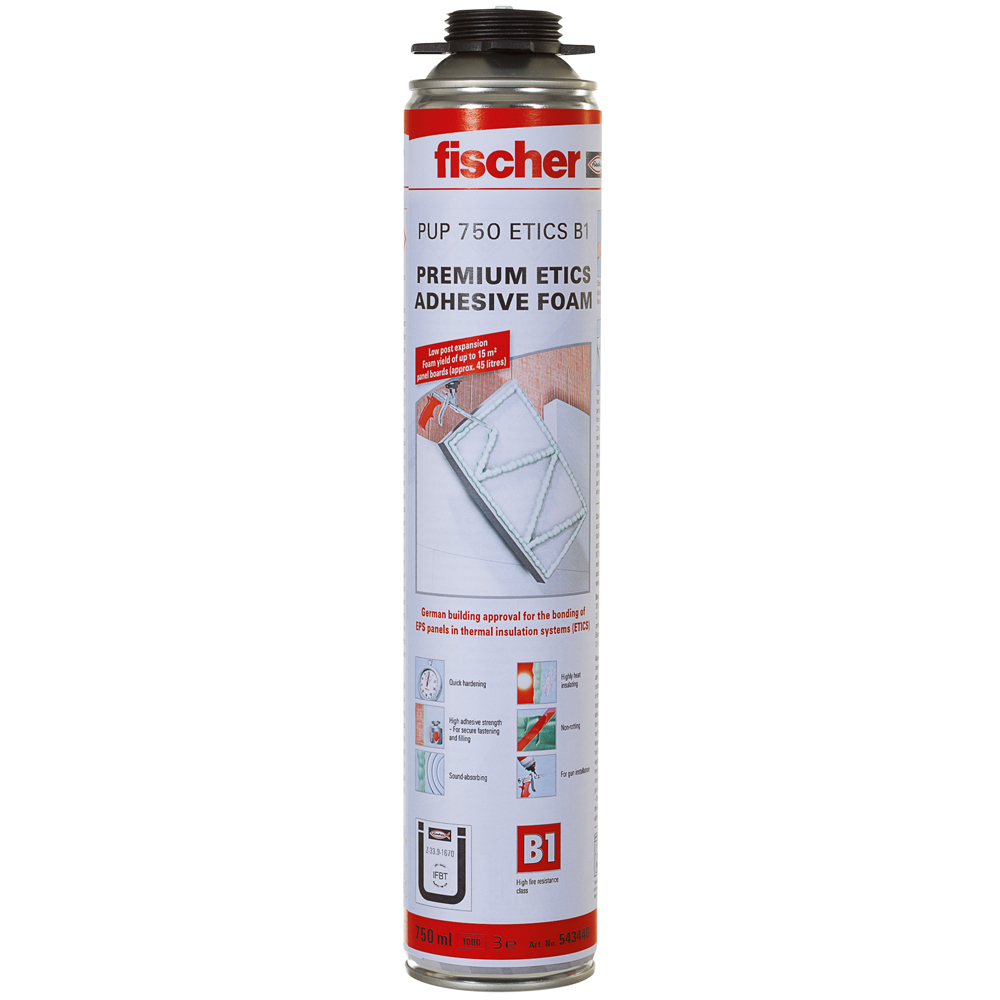
Often, the basis for the installation of gypsum board are heaters - penoplex, polystyrene, expanded polystyrene. They protect the room from freezing, but cannot be finished and must be covered with plasterboard. Considering that heaters conceal enough room space, then the use of a metal frame will only exacerbate the problem. For gluing the sheets, you need to use acrylic putties or special glue-foams for gypsum board.
Drywall, GVL
On gypsum fiber, drywall, the second layer can be glued with gypsum board by almost any means. The master does not need to smooth out flaws, wall defects, the base is perfectly flat. Therefore, it is better to choose solutions and adhesives that provide a minimum joint thickness - silicone-based sealants, acrylic putties, liquid nails. Foam, gypsum, cement should not be used, since they will give unnecessary thickness of the joint.
Tile
It happens that sheets of drywall are glued directly to the tiles during the renovation of the kitchen, bathroom. If the room is damp, it is worth using silicone sealants. With a moderate increase or inconsistently high humidity, you can do with moisture-resistant tile adhesive. Such funds do not deteriorate from a change in the microclimate in the room, they serve for a long time, and have a high degree of adhesion.
When buying tile glue or sealant, you need to make sure that it contains an antiseptic, fungicide - such components will help fight the appearance of mold and mildew.Sealant can also be used to fill cracked tile joints to secure the structure more securely.
Baguette
Acrylic putty is used for gluing ceiling plinths to plasterboard walls. It has a thick texture, and the baguette will not move down the wall until the composition is finally set. Also, with white putty, it will be possible to beautifully wipe the gap between the wall and the finishing material, hide irregularities. Instead of acrylic putty, synthetic adhesives such as "Titanium", "Moment", "Liquid nails" are also often used.
Wood
For cladding wooden walls, polyurethane glue is usually used. The package must be marked with the possibility of woodworking. You can buy epoxy-based products instead, but they are difficult to use and quite expensive. Before pasting the walls with drywall, it is imperative that an antiseptic treatment is carried out, which will protect the material from infection with a fungus. Moreover, it is recommended to supplement the GKL mount with dowel-nails.
Features of mixtures
To work with drywall or gypsum fiber sheets, you can purchase either the products of a domestic company called Volma Montage, or a mixture of a German manufacturer (but which is also produced in Russia) called Knauf Perlfix.
Glue for drywall of a domestic brand is somewhat cheaper per kilogram of dry mix
If we take into account the consumption, then the difference can be even greater.
Volma's glue, when working with a well-leveled surface, can be consumed 2-3 kg per square meter. Knauf products indicate in the instructions a consumption of 5 kg per unit area.
But in practice, the skill of the worker and the quality of the surface are more important than the type of mixture. Under equal conditions, the consumption of these manufacturers is approximately the same. According to experts, Perlfix wins in adhesion to the surface, however, Volma also demonstrates quite a decent result.
Another important difference is the setting speed. The domestic mixture retains its properties within an hour after mixing
If you do not have time to work out in 60 minutes, then you will have to throw away the leftovers. But for the Perlfix mixture, this time is even less - 30 minutes. This means that we need to be even faster.
Thus, it is better for a beginner to take Volm's drywall glue until he gets his hand and learns to quickly and efficiently glue the gypsum board. The table summarizes the main characteristics of these mixtures.
For the sake of fairness, it should be noted that there is a large selection of good mixtures from other manufacturers. Here you can be guided by the opinion of familiar masters and your own experience. Some advise using Knauf Fugenfüller as glue, but this is a putty, which is significantly more expensive.
It is permissible to use it when you need to glue a small fragment, but there was no glue at hand. This mixture is also good in cases where the walls are even and the height difference does not exceed 4 mm. When deciding which glue to choose, you should take into account your experience and the characteristics of a particular construction site.
The gluing work begins with the preparation of the walls. They need to be cleaned of dirt, old finishes, chipping pieces. If the surface is curved, then it must first be leveled with plaster. Or use beacons and then glue the gypsum board to the beacons.
The adhesive will hold better if the surface is primed. It is advisable to focus on those recommended by the glue manufacturer.
As a rule, after priming, you need to wait a day so that the liquid is well absorbed and dried. At this time, the surface should not become dusty or dirty.
If the unevenness of the wall is more than 20 mm, then you will have to install point beacons. We take small fragments of gypsum board and put them on glue, aligning with the rule and other tools at the level we need minus the thickness of the sheet. When the beacons dry up and grab, you can start installing the sheets.
- Assembly glue is prepared in a clean bucket - water is poured, the mixture is poured and thoroughly mixed.
Cooking glue
With a trowel or spatula, glue is applied in small piles to the sheet - along the perimeter and somewhat in the middle. Putting glue on the sheet
The sheet is set in place and pressed down so that it sits on the beacons. Installing the sheet
Apply glue liberally to the place where the joint of the sheets will be, so that the edge does not hang.
We proceed to the next sheet.
If the irregularities are very large, then full stripes will be needed instead of point beacons.
If, on the contrary, the walls are even and the drops are within a few millimeters, then glue can be applied with a notched trowel. In this case, the consumption will be significantly lower and the work will be faster. It is convenient to use putty here, in particular, the same Knauf Fugenfüller.
Wall cladding with plasterboard
A few important points:
- it is impossible that there is a lot of dust in the air during gluing. All dusty work must be done in a different place or at a different time;
- it is impossible for drafts to walk in the room. For the entire time of drying and setting of the glue, windows and doors must be closed;
- the mounted sheets must not be subjected to mechanical stress until completely dry.
After a short practice, you will see for yourself that drywall glue can significantly speed up the installation process and do without significant loss of usable space in the room.
