What it looks like and how to use a special glue for puzzles. How to glue a puzzle for a picture.
Products | Images
|
Larger (new window)
|

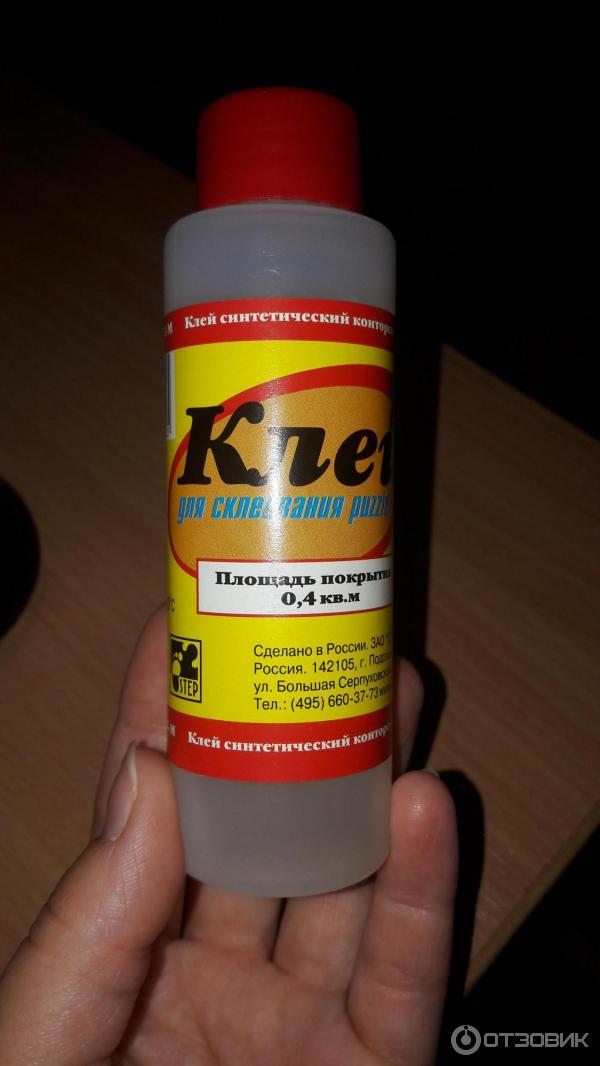
Collecting pictures from puzzles, I was faced with the need to glue them together. Review of the Ravensburger puzzle glue with photos.
At first, of course, it was scary whether the picture would deteriorate, would it hold, would it not turn yellow, white or gray? I will show in my own painting "Horsewoman" of 3000 elements and "Flowers in a vase" in 1500 pieces.
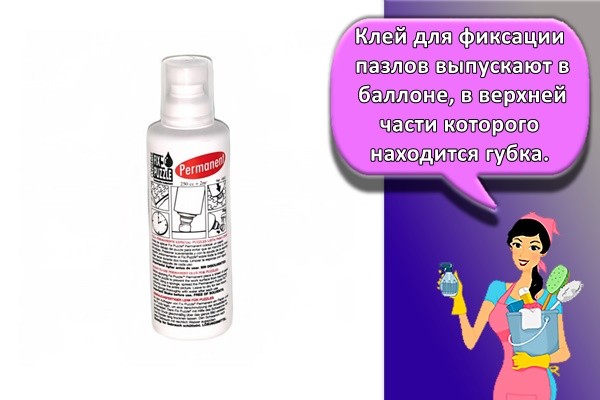
The very special glue from the German company Ravensburger is sold in a 200ml can and is originally called the Permanent Puzzle Conserver.

Larger (new window)
The manufacturer claims that the can is enough for 4000 elements. With a little "economy" I had enough for both pictures, ie. 4500 items in total.

Larger (new window)
The glue-fixer for puzzles is quite liquid and will flow between the elements, thereby gluing together and gluing the puzzle itself to the surface on which it lies (substrate). Be sure to prepare the bonding surface in advance. I have a picture laid on its future wooden base and under it there is still paper to prevent leakage and damage to the table.

Larger (new window)
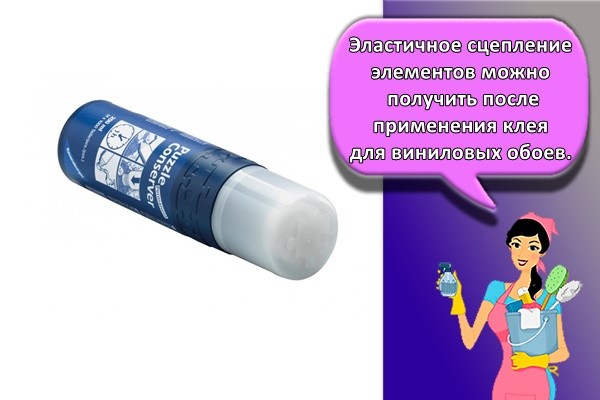
Which is quickly absorbed and dries, losing color, but remaining a protective layer for the picture. Element joints become thinner and less visible. The manufacturer recommends letting it dry for 1 hour, but I left it on for a day so that everything would set securely.
It is not necessary to use the entire canister. If unused glue remains, rinse the sponge with water and squeeze out, dry a little and also close the lid tightly for storage. The manufacturer warns that the glue should not be too cold. At temperatures below 0, it loses its properties, as it is written on the package.


Hello. There is also glue in the form of a white powder, it dissolves in water (proportion), after dissolving it becomes transparent, you can smear it with a brush from the front side, dries up, no traces, the quality of adhesion is excellent. At one time it was put right in a box with puzzles. I don’t know what the name is, I’m looking for it, I want to buy it. Maybe someone knows what kind of glue ?!
Hello. I understood what kind of glue you are talking about, but, unfortunately, I cannot say where to buy it. Apart from the sets, I have not met him.
Please also report any problems you see!
Only letters and numbers are allowed! All fields are required!
Needlework
Shoes
Technique
Food
Bakery
Recipes
Cats
Dogs
Hares
Tigers
Birds
Flowers
Insects
Trees
Landscape
Nature
Unusual
Design options
There are several ways:
1. Glue the assembled puzzle with tape
At first glance, this is a very simple and cost-effective way. However, the question often arises of how to glue the puzzles with tape so that the picture does not fall apart.
To do this, you need to collect the picture on a flat surface larger than the puzzle, so that later it would be more convenient to turn it over.

When all the preliminary work is done, we proceed to gluing it. You will need a wide one-sided tape, cut into strips according to the size of the picture, taking into account its width and height.
First, stripes are glued horizontally and then vertically on the canvas, so that each new strip partially overlaps the previous one. The edges of the tape that are peeking out from behind the painting are trimmed neatly.
At this point, the gluing process can be completed or continued gluing the picture now from the front side, double gluing will allow you to connect the parts more tightly and protect the front part of the assembled masterpiece from fading. You can also experiment with double scotch tape.
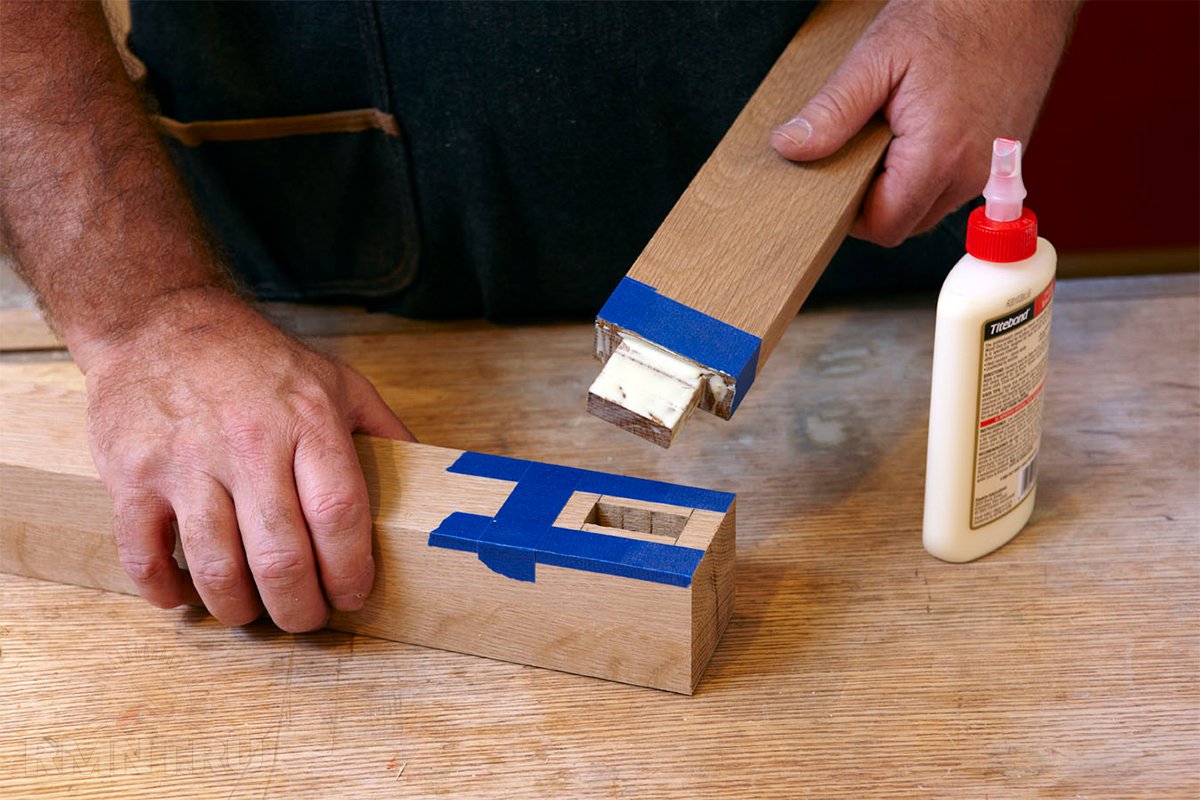
2. Glue the assembled puzzle with glue
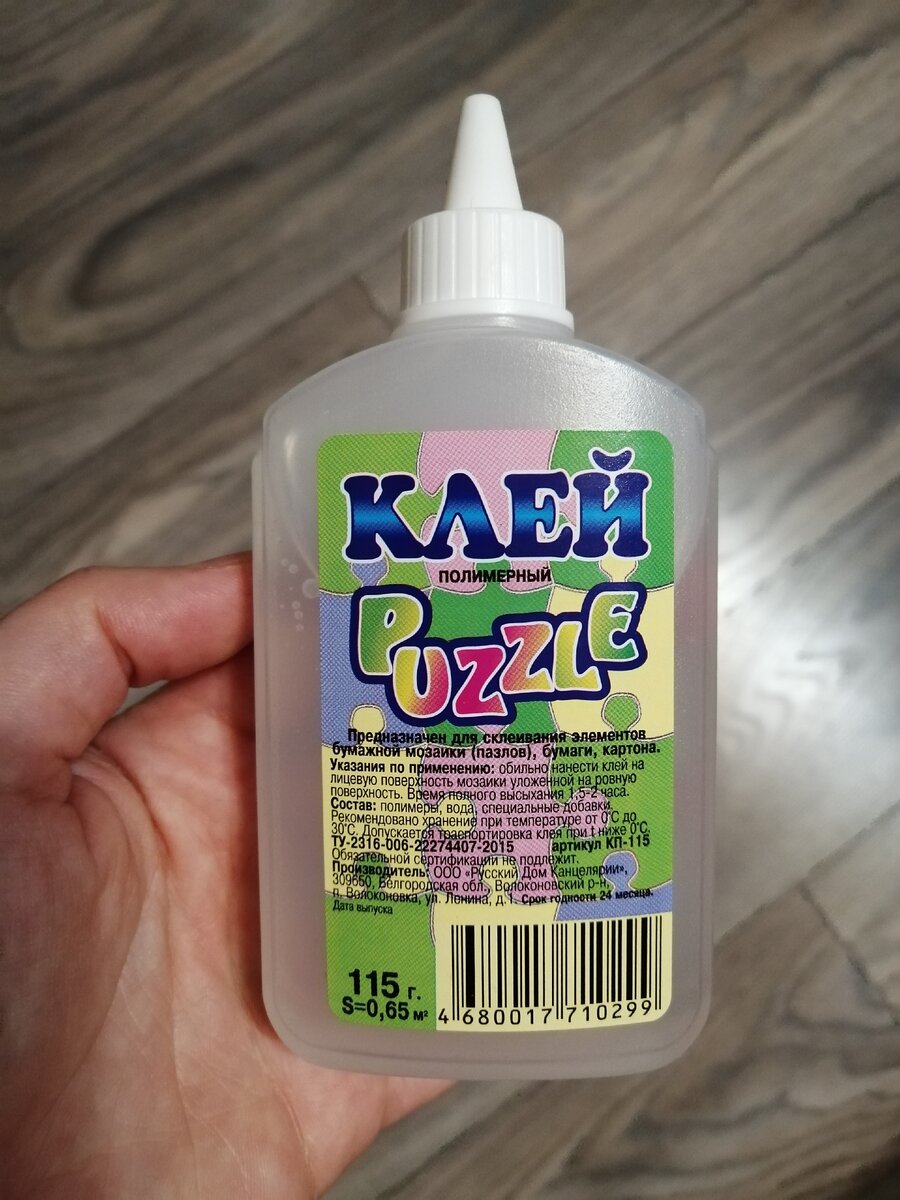
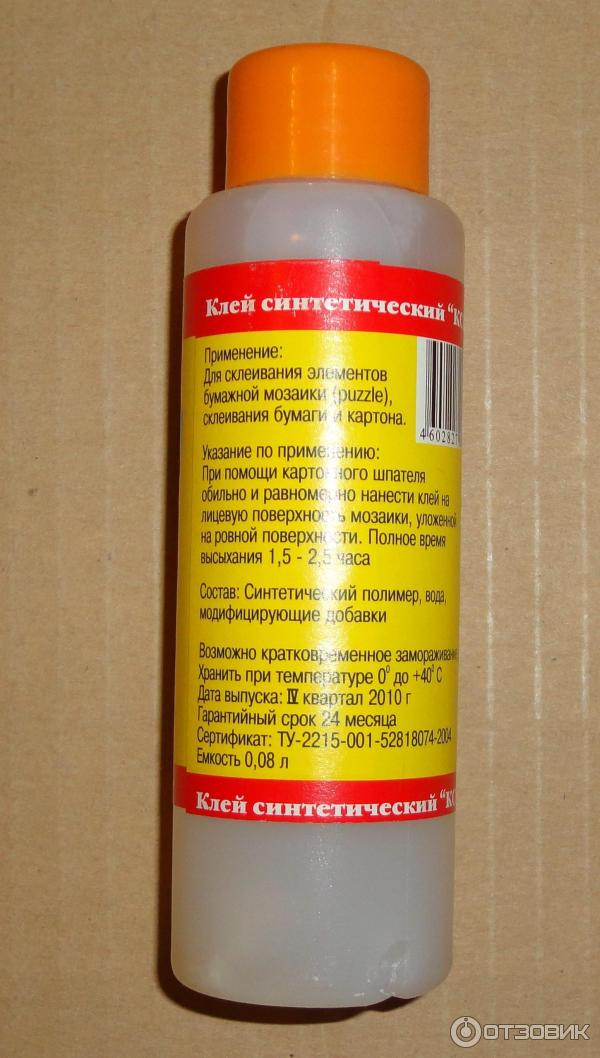
A special glue for gluing puzzles has been released. However, many do not know how to use puzzle glue.
The use of this tool does not require special skills and knowledge; it is enough to lay out the puzzle on a flat surface and put the adhesive on the front of the assembled image.
For even application of glue, it is recommended to use a regular sponge.
Now you just have to wait until the glue is completely dry (1 hour is enough) and you can hang it on the wall. To create a more effective look, you can place such a picture in a frame.

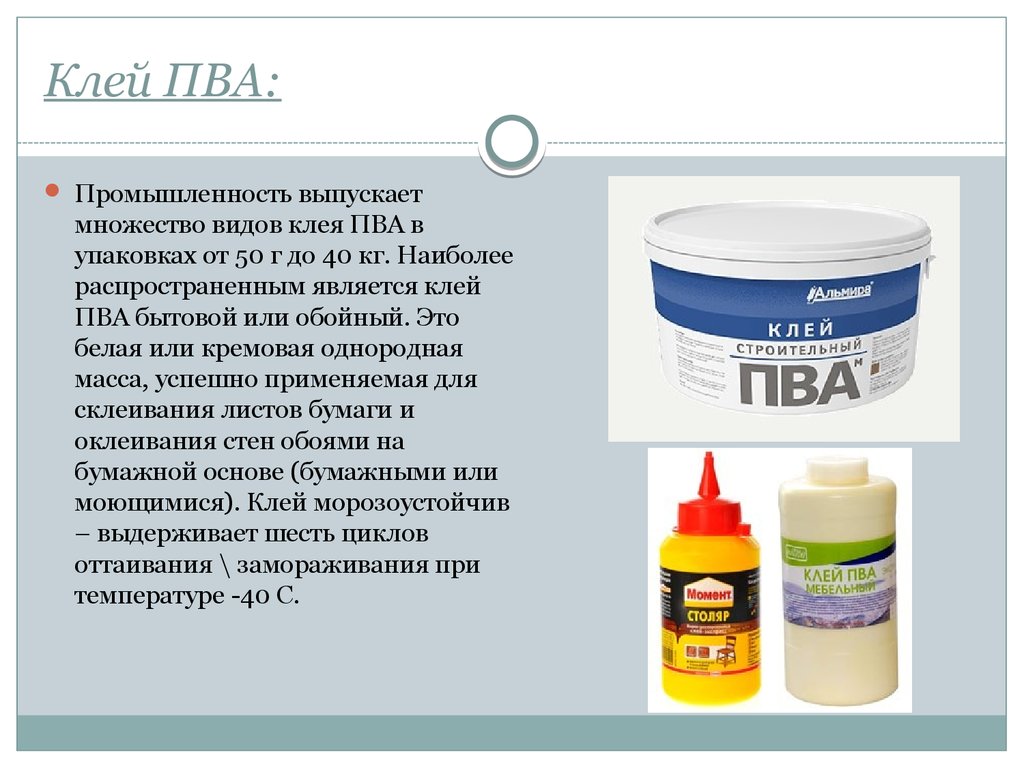
3. Glue the assembled puzzle with ordinary PVA glue.
If you have a question how to make a picture from puzzles, and do not know where to start, then start assembling the picture, deciding where to hang or install it and what kind of design to choose for it.
Next, you will need a familiar and often used PVA paper glue.
The glue is applied to the front side, then we move the painting to a place for complete drying. When the glue is completely dry, it forms a transparent film that holds small particles together and prevents the painting from being damaged.


Therefore, during the application of the glue, there is no need to worry about the fact that it will be noticeable on the surface. If we compare special glue for puzzles and PVA glue, then their properties are not very different.
When creating a picture with paper glue, you need to be careful. It is recommended to check its strength on a small puzzle, and if the whole process goes well, then you can start gluing large paintings.

There is another way to glue a picture from puzzles using PVA glue. The first step in creating a masterpiece is to apply glue to the surface to which small particles of the painting will be applied. This method has some inconveniences: the picture can shift from the base if you do not start folding it correctly.
It is better to start collecting the puzzle from the center point in a circle, or assemble the frame first and move to the center. This method involves double application of glue, first, the entire surface of the base is coated, and then each puzzle. This increases the strength of the painting. If there is a beautiful frame, then the ideally obtained canvas will be placed in it.
Instead of liquid glue, you can take a glue stick and gently coat each piece of the puzzle with it. The glue not only does not spread during application, but also prevents your hands from getting dirty.
4. Glue the assembled puzzle in a mixed way
To be sure that the picture will last a long time and the details will not fall off, you can use scotch tape and glue for gluing. First, we glue the puzzles on the base with glue (any glue fits) and then carefully glue it with tape, make sure that the picture does not deform, and bubbles do not form on the surface.
Such paintings will delight children and adults, will decorate your home and will last for more than one year.
This activity is suitable not only for children, but also for adults. If you approach the design creatively, then you can come up with additional elements that will bring creativity to the created masterpieces.
Review of popular brands
There are seven popular manufacturers that make quality adhesives.
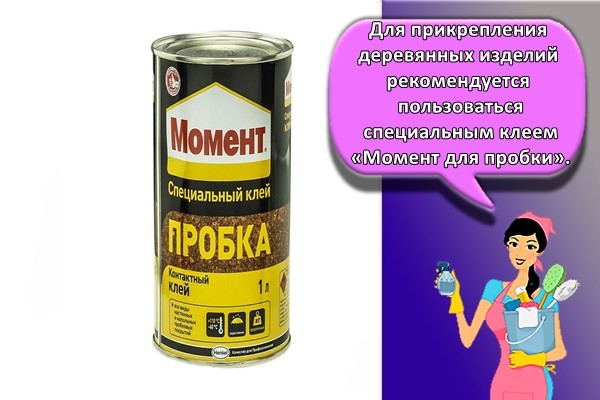
"Moment plug"
It is recommended to use the special glue “Cork moment” for fixing wooden products. The following areas of application of such a composition are distinguished:
- laying on the surface of cork products;
- gluing wood sheets with rubber, metal or wood.
Some people use it for gluing polyethylene, but this composition is not suitable for this material.
Bostik Quelyd Kork
One-component adhesive used for gluing cork materials up to five millimeters thick. Bostik Quelyd Kork is considered versatile, as it is used to attach materials to both vertical and horizontal surfaces. The main disadvantage of such a product is that it is not protected from moisture. Therefore, it should not be used in bathrooms, kitchens and other areas with high humidity.
Decol Vern
It is one of the most popular adhesives for fixing floor or wall plugs. Such a product is resistant to high humidity and temperature extremes. These qualities make it possible to use it not only indoors, but also outdoors. Among the disadvantages of Decol Vern are its unpleasant odor, which appears during the application process.
Wakol D 3540
An effective dispersion compound used for gluing cork surfaces. Wakol D 3540 is resistant to high temperatures and is therefore suitable for laying slabs on floor surfaces that are equipped with a heating system. Experts recommend applying such glue to perfectly flat surfaces so that the materials to be glued are more securely attached.
Cork house
Cork House Adhesive can be used to bond cork coverings securely. This adhesive will help to bond the cork to concrete and wood surfaces. It is necessary to apply Cork House on dry surfaces, since the composition adheres to wet ones at times worse.
Bunitex
It is a highly durable adhesive that is considered versatile. With its help, not only the cork is glued, but also other materials. Bunitex is suitable for bonding plastic, metal, plastics, textiles and ceramics. The main advantage of this tool is the speed of its solidification, since the applied composition dries completely within half an hour.

Kleyberg
People who are on a budget can purchase this adhesive, produced by a Russian company. Over the years, Kleyberg has established itself as a quality adhesive that is suitable for most materials. It can be used for bonding wood, plastic, plastic, glass and ceramics.


Review of famous brands
There are seven well-known glue manufacturers.
Decart
For a durable gluing of wood, cardboard and paper, experts advise using Decart adhesives. They are manufactured using traditional technology and are therefore quite reliable. Most often, Decart products are bought for schoolchildren, lovers of needlework or for office workers.
Among the features of the glue mixture, they highlight the speed of drying and ease of use when gluing objects.
VGT
Some people during the repair work in the apartment are engaged in laying parquet. For bonding parquet boards, it is better to use an adhesive made by VGT. This firm specializes in the creation of adhesives that are ideal for working with wood. It is also used to glue carpet and linoleum to the floor surface. These materials adhere reliably to plastics, glass, concrete and wood.
Polax
Adhesives made by Polax are used for laying on linoleum or tile floor surfaces. The distinctive features of this glue include the following:
- does not contain any solvents;
- does not shrink after hardening;
- provides a strong connection of treated surfaces;
- completely safe.
ASP 8A
It is a one-component acrylic compound often used by builders during work. ASP 8A has a high level of adhesion to materials such as tiles, drywall, PVC, brick, concrete and wood. It does not contain solvents and therefore does not leave an odor after application.
Axton
Axton's adhesive is considered a common method for attaching roll materials to flooring. Most often it is used to attach carpet with linoleum to the surface. Axton is odorless and can therefore be used in residential environments. It is also suitable for outdoor use, as it is resistant to high levels of humidity and low temperatures.
"Rainbow-18"
It is a construction adhesive that is suitable not only for smooth, but also for porous substrates. "Rainbow-18" is used for attaching carpets, ceramic tiles, linoleum, polystyrene and even metal. These materials adhere securely to wood, plasterboard, plaster and concrete.
MasterTeks
It is one of the most effective assembly adhesives used by many builders. MasterTeks differs from most other formulations in its increased elasticity, resistance to moisture and low temperature indicators. Suitable for fastening large and massive structures.
How to properly glue into a picture at home
For the correct gluing of the picture from the puzzles, you need to perform a number of actions:
- Prepare all the necessary tools and materials.
- Place the assembled picture on a flat surface.
- Apply glue to the front surface of the mosaic with a sponge.
- Dry for 2-3 hours.
- Flip the picture.
- Apply a layer of glue to the wrong side.
- Lay the base and roll it in with a roller.
- Dry for 8 hours.
What is needed
To work, you need to prepare:
- base;
- glue;
- brush;
- foam sponge;
- foam roller;
- scissors;
- blade.
Base
For the base on which the picture from the puzzles is glued, use:
- fiberboard - suitable for large mosaics;
- cardboard - easy to use, easily fixed with any glue;
- Styrofoam - easy to cut and stick to puzzles;
- fabric - tulle, gauze, canvas are used, gluing from the outside is necessary;
- ceiling tiles - flat, without patterns and bends are used.
Glue and brush
The brush is chosen depending on the thickness of the glue. For a viscous composition, hard ones are preferable; for a liquid one, you can use foam brushes.
Foam sponge
To level the layer of glue in the seams and on the surface of the puzzles during decoupage, sponges of different sizes and shapes are used. Some glue bottles have a foam pad that replaces both a brush and a regular sponge.
Foam roller
After applying the picture to the base, it should be rolled with a foam roller for better distribution of the glue and fixation. The roller can have different shapes and sizes. It is worth choosing a tool that is convenient to use.

Scissors or blade
Sharp scissors with long ends or a blade will be needed in the work for trimming the edge, removing roughness in the connected puzzles, creating the basis for the picture.
Application of a special composition
Clementoni is an Italian-made glue produced in the form of small granules. It's easy to use - the composition is diluted in warm water in a ratio of 1: 3. Care must be taken not to form lumps, the granules are completely dissolved in water. The glue needs time to infuse. Only then can you start working. It is easy to glue the puzzles firmly to each other, and then to the base, if the composition is diluted correctly and applied evenly to the surface.


How to combine using other compounds
The mosaic can be assembled using a self-adhesive film. The required length is cut from the roll and connected to the picture, having previously turned over with the back side up. The "wrong side" of the film is lined into squares, with the help of which it is easy to mark, cut and stick the base of the required size.
Varieties
There are five types of cork products that are often used in the construction industry.
Wallpaper
Some people decide to decorate the walls with special cork wallpaper. This is an environmentally friendly and natural material that will not only decorate the room, but also even out minor irregularities on the surface of the walls. The main advantage of such wallpapers is that their surface is covered with wax, which significantly increases the service life of the coatings. Also, the advantages of wallpaper include:
- Strength. Cork wallpapers are quite durable and protected from mechanical damage.
- Resistant to moisture.Such materials do not deteriorate in rooms with high humidity.
Panels
For wall decoration, some do not use cork wallpaper, but small panels. Most often they are made from unnecessary wallpaper waste. Many people value these wood-based panels for their versatility, as they are suitable for any room interior. The appearance of the material allows it to sheathe the walls of rooms made in a modern, classic and even Gothic style.
Among the advantages of cork panels are the following:
- Noise isolation. Wood panels are suitable for rooms with thin walls that allow all sounds to pass through.
- Thermal insulation. The material creates a warm indoor climate and does not release heat outside.
- Water resistance. The panels do not deteriorate in high humidity conditions.
Plate
Cork sheets are the sheets of wood that are often used to cover the walls of living spaces. The main feature of this material is that its surface is treated with wax. Thanks to such a protective layer, the plates are many times easier to wash, since they practically do not absorb dirt.

Cork plates can be called universal, as they are used in any interior.
Tile
If it is necessary to finish the floor, special cork tiles are used. This is an environmentally friendly product made of wood. The tile does not have an unpleasant odor and therefore it is regularly used for interior decoration of premises.
Among the characteristic features of such wood tiles are:
- Fragility. Such products are rather fragile and therefore must be used carefully.
- Ease of installation. Laying the tiles is easy as you just need to apply glue to the tiles.
- Moisture resistance. The material does not absorb moisture thanks to the protective wax layer.
Underlay for laminate or parquet
There are four types of cork backing, which are laid under parquet or laminate:
- Traditional. It is laid in a hot way, since when heated, such a substrate is more reliably attached to surfaces.
- Bituminous. There is a slight bitumen layer on the underside of the substrate, which additionally protects it from high humidity.
- Rubber. In the manufacture of the material, synthetic rubber is added, which ideally absorbs noise and other extraneous sounds.
Other recipes
You can create slime using other ingredients.
Recipe number 1
- PVA glue is poured into the plate.
- Dye is added, you can use dry. The mass is stirred until smooth, it should turn out to be thick. You can knead it in your hands and squeeze it.
- Elastic and stringy slime is ready.
Recipe number 2
- A thick shampoo, PVA glue is poured into a plate.
- All ingredients are mixed until smooth.
- Now salt is added to thicken, if after stirring the mass does not become thick, you can add a little more salt.
- The slime is washed out from excess foam.
- Then it is decorated with any additives, for example, rhinestones, sparkles, edible decorations can be used: gummies, popcorn, marshmallows, etc.

Recipe number 3
- The glue stick is cut into small pieces, you need 60 g.
- The container is placed in the microwave for 15 seconds, after which it is necessary to check whether the pencil has melted or not. If the large pieces are hard, it needs to be reheated for another 10 seconds.
- Soda is diluted in water, about 1 teaspoon of baking soda and 1 teaspoon of warm water.
- The pencil is added to the mixture.
- The mass mixes well.
- A couple of puffs of air freshener are added.
- After the slime stops sticking to the walls of the plate, it is ready, you can pick it up and knead it.
- Color and additives are added if desired.

It is possible to make slime at home in a short time and without high costs. Cooking slime takes place only under the supervision of an adult, especially if knives, a microwave oven and a stove are used. After cooking, the slime is stored only in a dark place, in a jar with a tight lid.
Proper storage and application of anti-stress will prolong his life and the joy of the child. When drying, the slime must be soaked in water, if the elasticity is lost, a thick hand cream or baby cream is added, if there is excess moisture, a solution of warm water and table salt is used, you can use sea salt.


Do not leave the slime in frost or heat, it will lose its shape and will be unsuitable for play. It is not necessary to leave the slime on upholstered furniture, carpets or clothes, the toy sticks to the wool and leaves marks.
Video
How to use it correctly for sticking tips
Tips are designed to build up the nail plate. Their shape can be square, oval, vamp and stiletto, convex and flat. To glue, you need to prepare everything you need for the procedure:
- tips of the required shape;
- orange sticks;
- files with varying degrees of abrasiveness;
- pliers for shaping the tips of the desired shape;
- napkins;
- base varnish;
- glue.
It must be remembered that nail tips can only be applied to healthy nails, so as not to get infected.
The whole process consists of several sequential steps:
- A medium-sized file is used to treat the surface of the nail.
- Degrease his plate.
- Apply varnish.
- Apply a thin layer of glue to the tips.
- Combine them with the edge of the nail and press tightly.
- Dry the glue.
- Remove its remnants.
- Correct the shape of the overhead tips.
- They are engaged in design - coloring, gluing rhinestones, painting.

Description and distinctive features of cork materials
Cork is the name given to the bark of cork oak, which is often used in the construction industry. Cork canvases are considered a quality material and therefore many people use it to cover the surface of walls and floors. Among the distinctive characteristics of cork products are the following:
- Resistant to moisture. Cork coverings are moisture resistant and therefore do not deteriorate when exposed to moisture.
- Durability. On average, coatings made from such bark can last 20-30 years.
- Resistant to combustion. Cork products are pre-treated and therefore do not burn.
Gluing the puzzle from the wrong side
The main question is how to turn the puzzle face down. You initially need to assemble on an easily movable surface if you plan to fasten the finished painting from the wrong side. It can be a fiberboard sheet, plexiglass or a special rug. In this case, simply cover the top with a durable material, for example, another sheet of fiberboard and quickly turn the entire structure to the other side.
Another option is to use cling film:
- In this case, the canvas must be assembled on a substrate that is slightly larger in size than the assembled puzzle itself.
- Wrap the finished puzzle together with the backing with cling film. You can make several layers of cling film.
- Then the entire structure must be carefully turned over, put face down, cut through the cling film along the substrate.
- We turn the edges of the film to the side and carefully take out the backing. Now you can glue the puzzles, and the cling film will protect the table from the glue.