Possible causes of squeaks
If lags creak, the following reasons are possible:
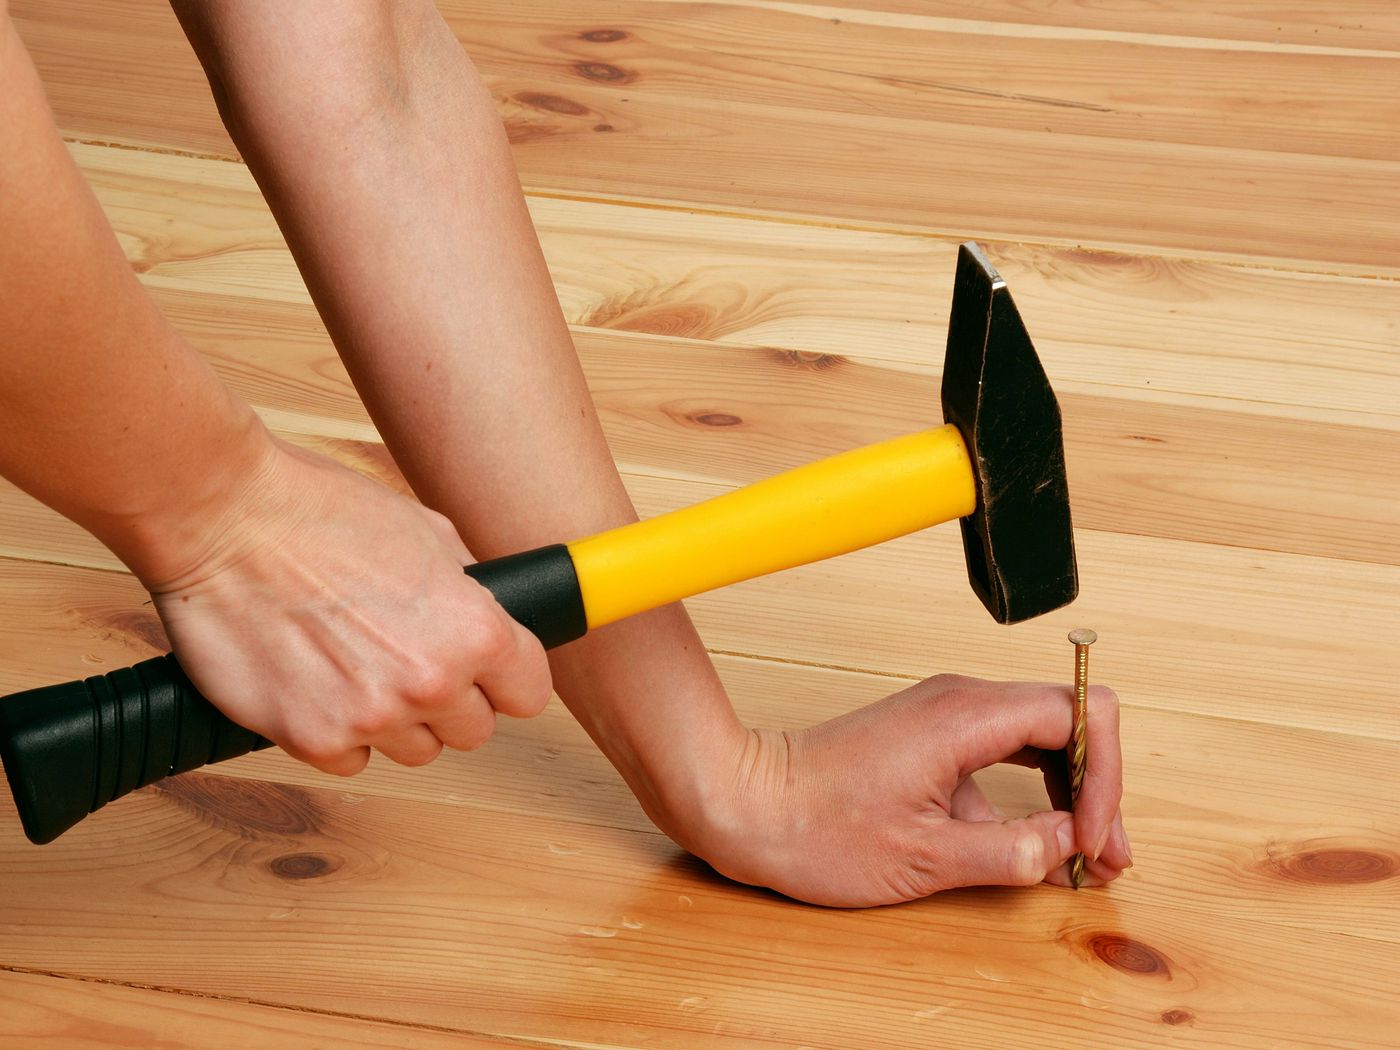
- Poorly fixed boards... This fact is the reason for the squeak most often. How to remove squeaky floors in this case, you ask. You just need to fix the boards more securely, and self-tapping screws are best for this. Unlike nails, they will not loosen over time.
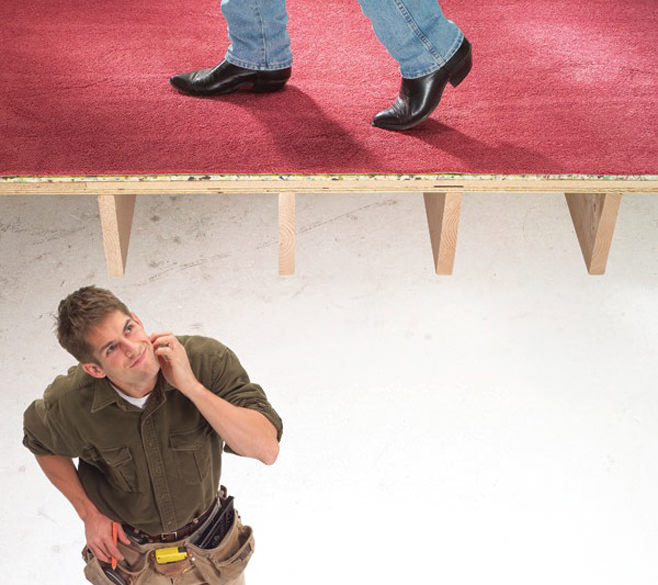
- The pads under the logs are loose or incorrectly installed... Over time, the floor creaks in the apartment, because the lags become not so stable and this manifests itself when walking.
- Gaps between the boards... This happens if, during the laying process, insufficiently dried wood was used as raw material or it could dry out after the change of season. In this case, the boards begin to rub against each other, which is accompanied by an unpleasant sound.
- Laying without observing the gap between the boards and the wall... In this case, creaks occur due to the fact that a gap of 10 mm was not left from the wall, which is necessary so that the board can expand freely during a change in the microclimate. As a result, the boards swell or swell - a creak occurs at the wall at the point of contact with them.
Naturally, squeaks can also occur when some of these factors combine. In order to understand how to remove the creak of a wooden floor, you need to understand its nature. Often, a simple inspection is sufficient, but sometimes it may be necessary to remove a couple of boards to determine the condition of the logs.
Now you need to figure out what to do so that the floors do not creak if they are made of plywood. An additional cause of squeaks can be inter-sheet friction. Since the installation of the sheet cover is carried out in compliance with the gaps, which are soon covered with putty, therefore, such side moments arise.
Surface strengthening
Not a very budgetary, but very effective way to get rid of a subfloor from a squeak is to lay plywood on it with frequent attracting fastening with self-tapping screws. The thickness of the flooring must be at least 12 mm, fastening is carried out into each board in two rows in a checkerboard pattern no further than 30–35 mm from the edge.
In addition to self-tapping screws, a mixture of sawdust or mineral chips with bustilate glue will help to achieve high-quality adhesion.
It is important to arrange the flooring sheets in such a way that the joints between them do not contribute to the bending of the boards in the future. Ideally, you should divide the additional flooring into two layers of 6-8 mm each, fastening them together with an adhesive mixture and carefully think over the ligation scheme
The method is distinguished by high technological complexity. In addition to the high-quality tightening of the screws and the correct location of the sheets, it is required to remember the layout of the boards so that each of them is reinforced and pulled. To do this, on the walls, the location of the joints is marked with risks, along which the thread is pulled or the lines are beaten off with a dye cord.
Eliminating squeak with plywood or chipboard sheets
This method will help if you find a wide step between the lags or with thin boards. In this case, flooring will be created, which necessarily requires a flat surface. When choosing plywood, it should be that the thickness of the sheet is at least 1.2 cm, so that during the operation of the floor it does not bend.
Of the tools, you must have a hacksaw, a drill and a screwdriver, although you can use a screwdriver instead.
Sheets of material spread on top of the boards, and to fix them, self-tapping screws are used. The distance between the fasteners is from 15 to 20 cm. The laying itself should be done at an angle relative to the laid boards.This option is one of the most reliable and durable.
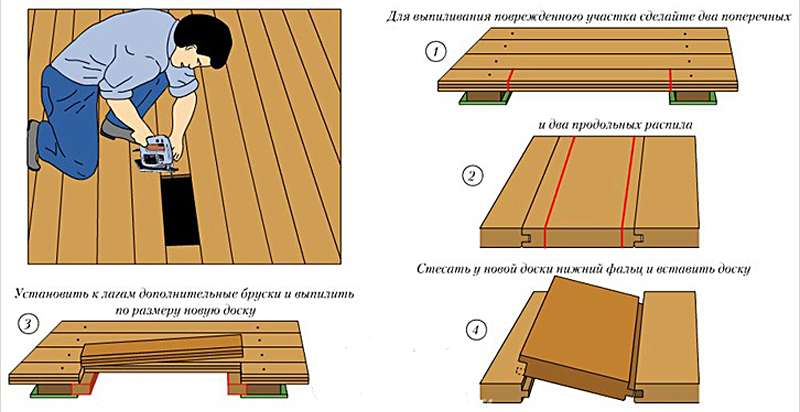
First of all, the whole process begins with the detection of a problem area, which must be unloaded, that is, remove all the furniture located there. Further, it is outlined with chalk, creating a square shape, the sides of which are 15-20 cm. After that, using a grinder, this area is cut out.
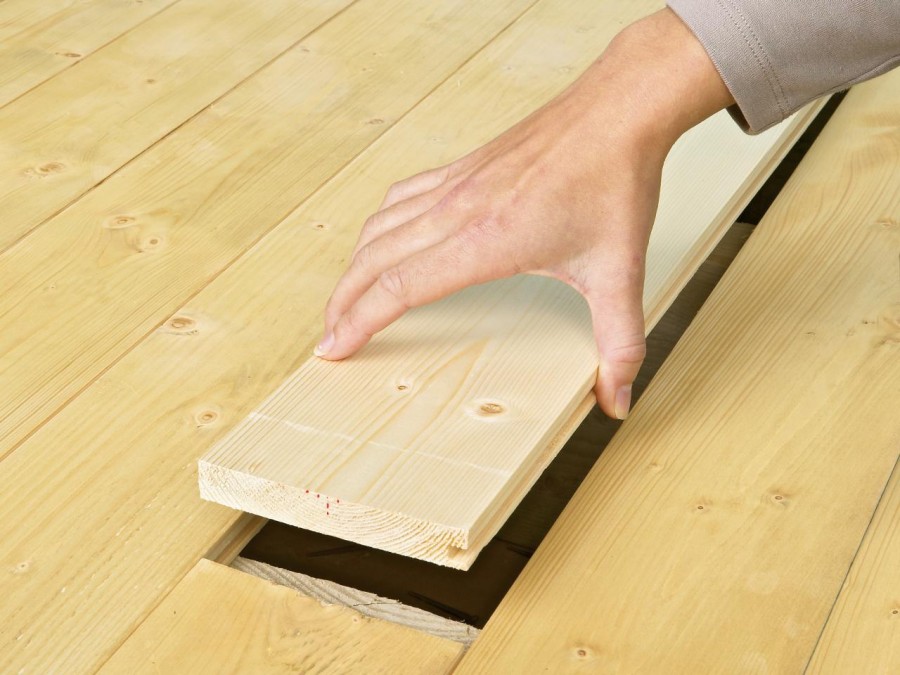
It is also necessary to measure the distance from the base of the floor and the underside of the chipboard, after which four bars are made, each 12-16 cm long, and the thickness should be equal to the above-calculated indicator. These elements will serve as a support, so they are driven into the corners of the sheet. After that, the previously extracted section is placed in place, fixing it with self-tapping screws at the locations of the wooden bars. Next, the floor covering is laid.
Such a repair intervention will allow you to operate the floor for a long time without fear of a second squeak.
In the end, I would like to note that if the floor creaks in several places, then an individual approach may be needed for each specific area. It is not necessary that all squeaks are caused by the same reasons. Therefore, you will have to find out in each case separately. Of course, in most cases, an elementary intervention in the form of a deeper sinking of the nail is enough, but sometimes this is not enough.
All of the above methods make it possible to abandon the complete disassembly of the floor covering, while they do not incur a lot of costs.
Busting the boardwalk
Overhauling a wooden floor is the only way to eliminate creak with a guarantee, without requiring a significant investment. And with creaking lags, there is practically no alternative to this method.
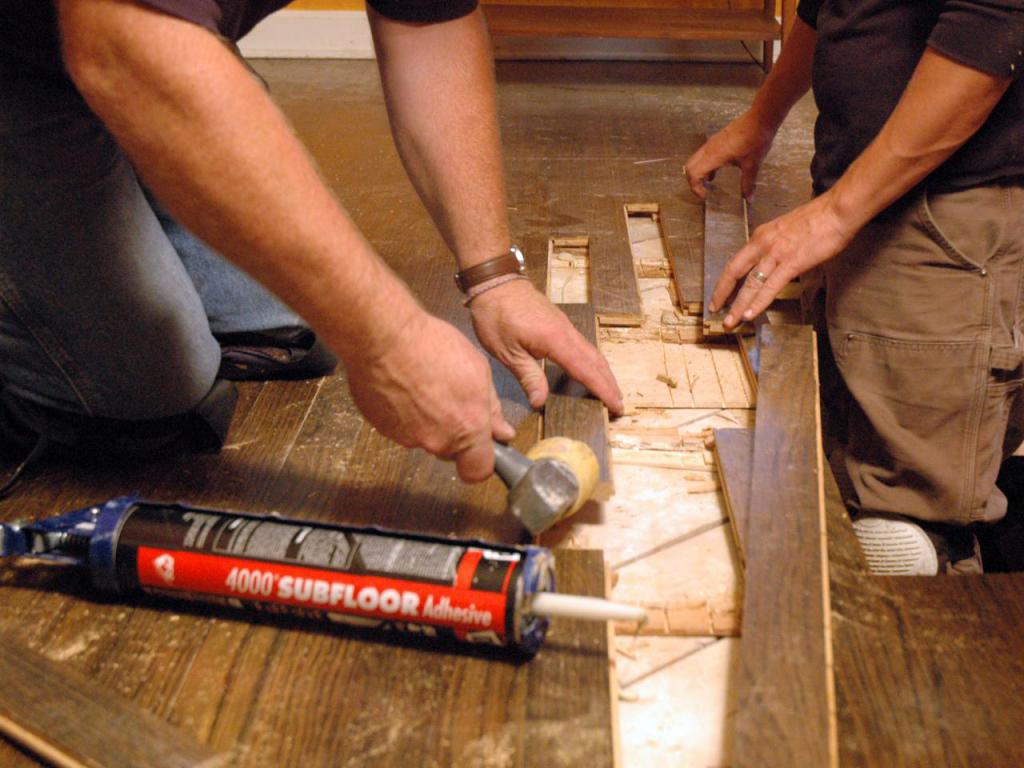
The point is to consistently rip and fasten the boards in place, without changing their order for a tighter fit. First, remove 3-5 boards from one edge, then visually assess the space under the floor, the safety of the lag, the presence of harmful organic matter with good additional light.
When busting, fix the first board and tear off one by one after checking and fixing each subsequent one. All boards are checked for rotting and damage by pests, the unusable ones are replaced with new ones of the same thickness, adjusting the ends with a plane for tight joining.
To avoid the appearance of a squeak between the floorboards in the future, you can rally the boards on wooden dowels and tighten them tightly with a car jack. If there is no need for hidden fastening, it is recommended to use self-tapping screws - two for each attachment point to the logs.
Padding with self-tapping screws
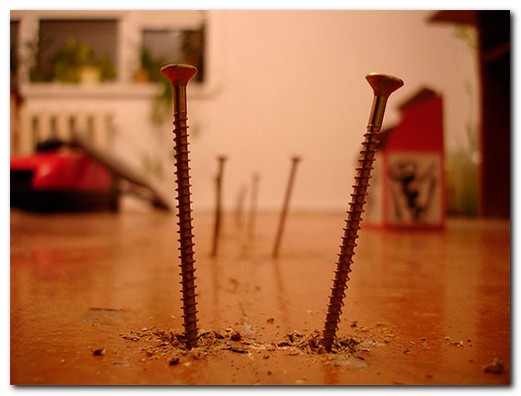
Padding with self-tapping screws is used if the floor creaks between the coating and the logs.
This method is used only when the creak point is between the board and the logs. The main difficulty here is to find logs, especially if the boards are covered with a layer of paint. To find them, you will have to dismantle the floor plinths from both sides, and then, using long thin metal rods, mark their location. To do this, the rods need to be stuck into the floor in the center of the log, and if this is impossible due to the concrete base, then directly into the log, connecting them with a marking cord.
Self-tapping screws need to be taken 2-3 cm less than the total thickness of the logs and floor boards. To determine the required length with a ruler, you need to measure the thickness of the log and the thickness of the boards and summarize the results. Using the cord as a guide, you need to screw 2-3 self-tapping screws into each board closer to the center of the log, while you need to drown them into the board as much as possible.
Old nails, if they sit tight and their heads do not protrude from the floor surface, can be left, otherwise it is better to remove them. This method is simple, cheap and effective, but it is only suitable for one case in 10, since the remaining 90% of cases of floor squeaks occur in walkways.
After all, the nail enters the wood, splitting it.The initially split layers try to bond and hold the nail firmly. But over time, the fastening weakens, in part because the split areas lose their elasticity, in part because the nails themselves decrease in diameter. Self-tapping screws do not split, but are screwed into the layer of wood, therefore, in terms of durability and strength of the connection, they are much more practical than nails.
To perform such repairs you will need:
- drill;
- screwdriver;
- nail puller;
- long thin metal rods (minimum 2);
- cord or fishing line;
- ruler.
Why do floors creak
In new floors, squeak usually appears due to violations of installation technology or the use of low-quality wood for logs and flooring.
Sometimes new floors creak due to the use of low-quality wood in the arrangement of the floor.
Old floors usually start to squeak due to the deterioration of individual structural elements, shrinkage of the wood or the base itself.
Old wood floors may squeak due to excessive wear
The most common reasons are:
- weak fastening of the boards - if nails or screws of a smaller size are used than necessary, very soon such fixation weakens, and the boards come off the log. In addition, metal fasteners rust, become thinner, their caps come off;
- the absence of a gap around the perimeter of the room - fluctuations in temperature and humidity cause expansion of the material, and if the boards are laid without a gap from the wall, they swell in waves, begin to rub against each other and creak;
- drying out of the tree - over time, the boards dry out and move freely on the nails, making squeaks. The logs also dry out, the gaps between them and the boards increase, the floor begins to bend;
- the logs are not set in level - due to differences in height when laying the coating, deflections are formed and, as a result, the floor creaks underfoot. The same happens if leveling pads made of soft materials are laid under the logs. Under load, such linings are compressed, decrease in size and lead to subsidence of the structure;
- raw wood - drying of the material after laying leads to deformations of the logs and boards, weakening of fasteners, friction between the floor elements.
Squeaking often occurs due to wood shrinkage or excess moisture
Even new floors will squeak if the floor joists are not leveled
In older buildings, the creak of wooden floors can occur due to the subsidence of the foundation, which affects all elements of the structure. In such situations, simple strengthening of the boards is indispensable, and the only correct solution is a major overhaul.
If the creak appeared due to the subsidence of the foundation, you will have to make major repairs.
Work order
Thinking about what to do if the floor creaks, what measures to take and how to make sure that the floors in an apartment or a country house do not creak, you must first establish the exact cause of the problem and then proceed to consistently perform manipulations aimed at it elimination.
To do this, you should clean the room, freeing it from furniture and carpets, and if you have linoleum, remove it too. Of course, it is easier to completely disassemble the entire structure and carry out the installation again, but this will require large material costs.
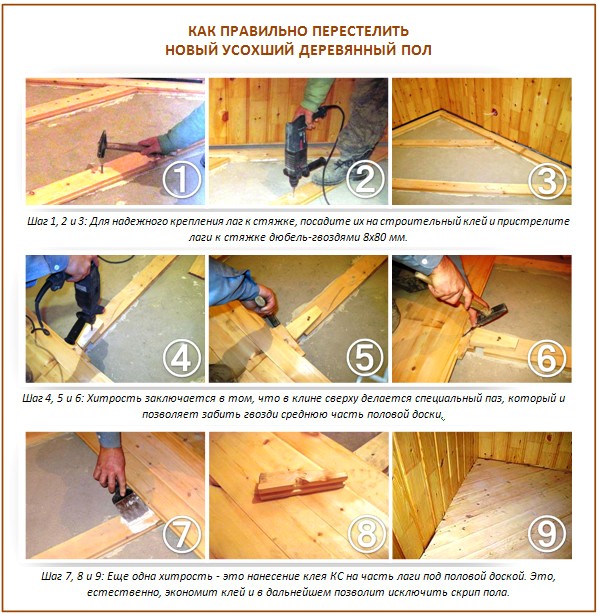
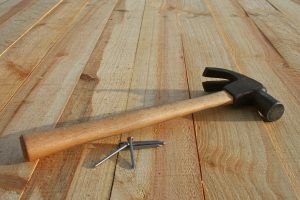 It is quite possible to carry out repairs without dismantling the wooden floors if, in order to get rid of the squeak, it is necessary to fix the floorboard to the frame made of large wooden blocks or logs. This operation is called floor screed. For its implementation, the screws are scrolled.
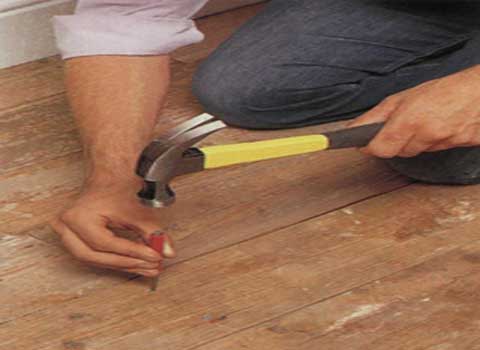
In some cases, in order for the floors to remain strong and reliable for a long time, the old fasteners should be removed, after which it is necessary to drive in new nails or turn new screws.
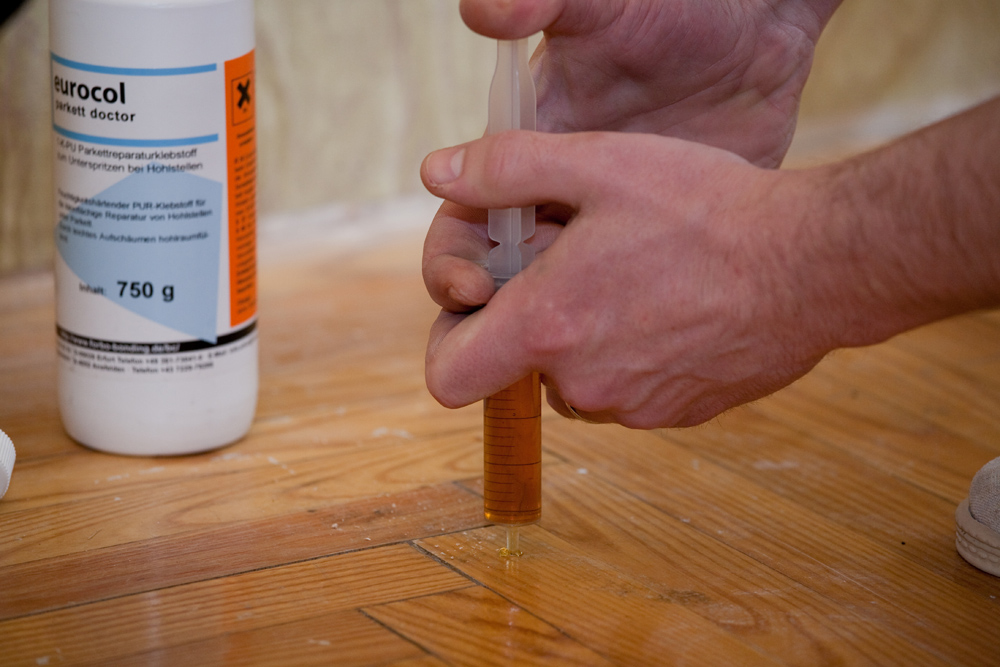
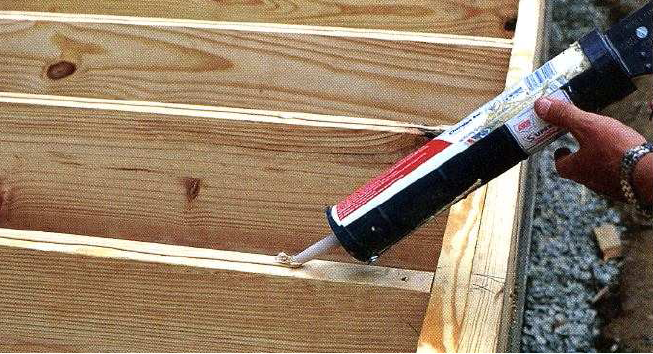
To prevent the floors from creaking, it is necessary to ensure not only a reliable fixation of the finishing layer (floorboard). Having gained access to the subfloor, the existing space should be filled with polyurethane foam.
Eliminating squeak with polyurethane foam: features
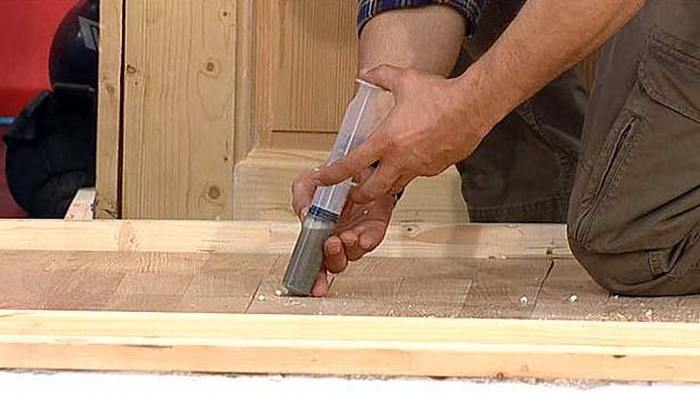
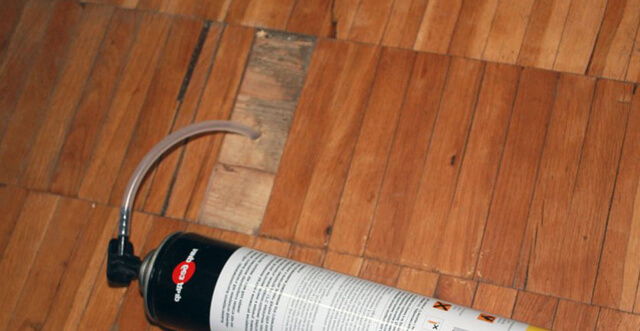
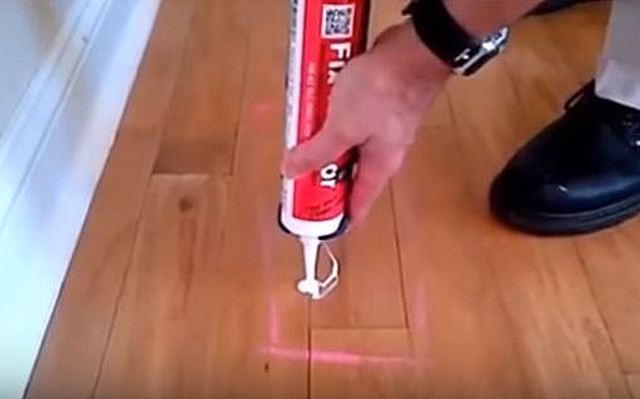
To eliminate the squeak, polyurethane foam is poured into the wooden floor.
This method is suitable in cases where the underfloor space does not exceed 9 cm. The slots between the floorboards are filled with the required amount of foam, which should fill the existing voids. As this material expands and hardens, it simply serves as a retainer for loose boards. Moreover, with the help of foam, additional rigidity arises at the floor.
But right away it is worth making a reservation that this method is far from cheap, because the foam itself is very expensive. In addition, this method of eliminating squeak has a short-term effect. This is due to the fact that during the load on the surface, the foam itself will be compressed and sagged, and this entails a weakening of rigidity. Therefore, after the "shrinkage" of the interlayers, the creak will resume.
The same will be observed if the polyurethane foam is replaced with talc or graphite powder.
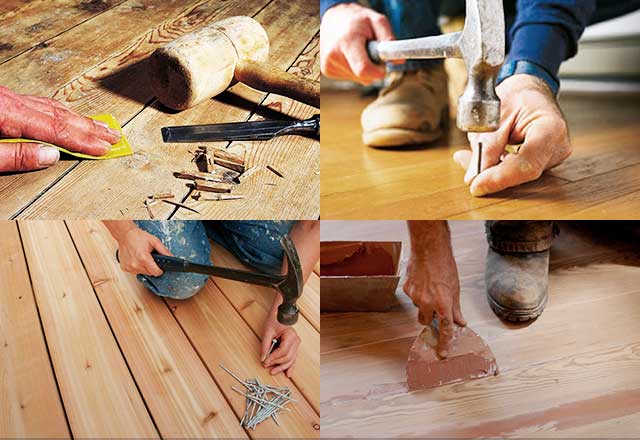
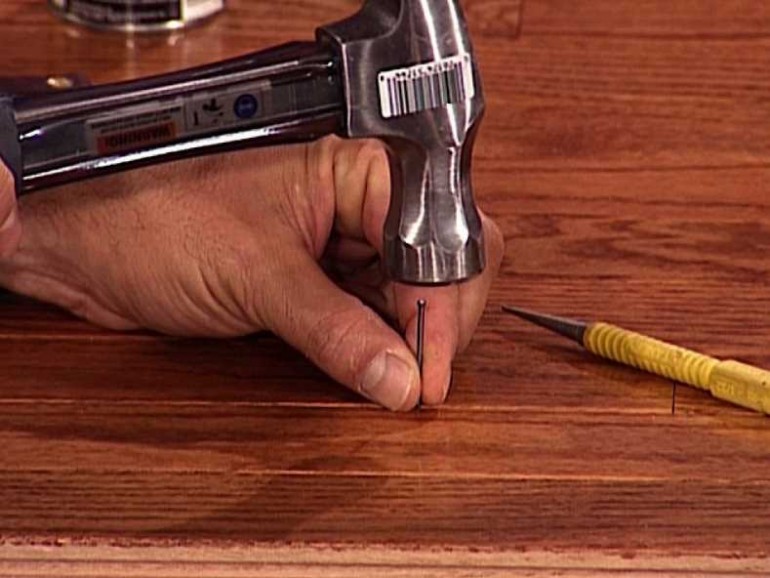
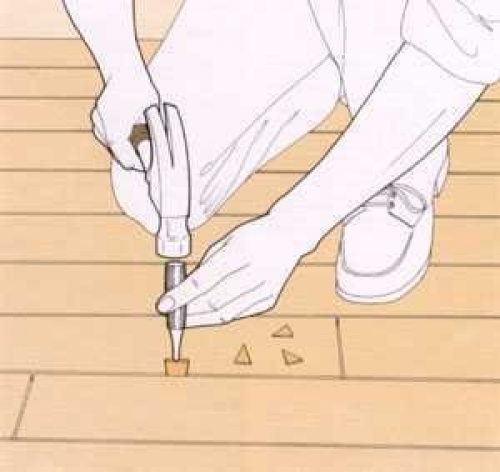
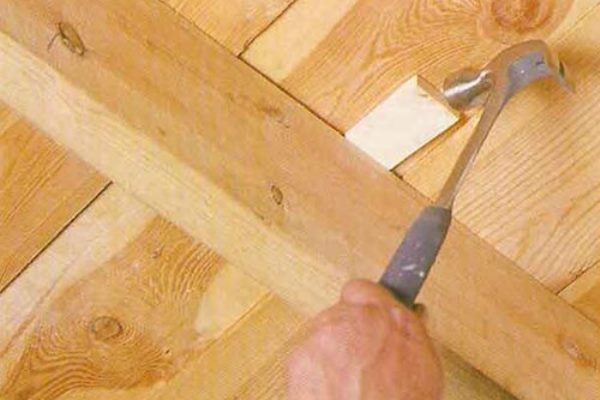
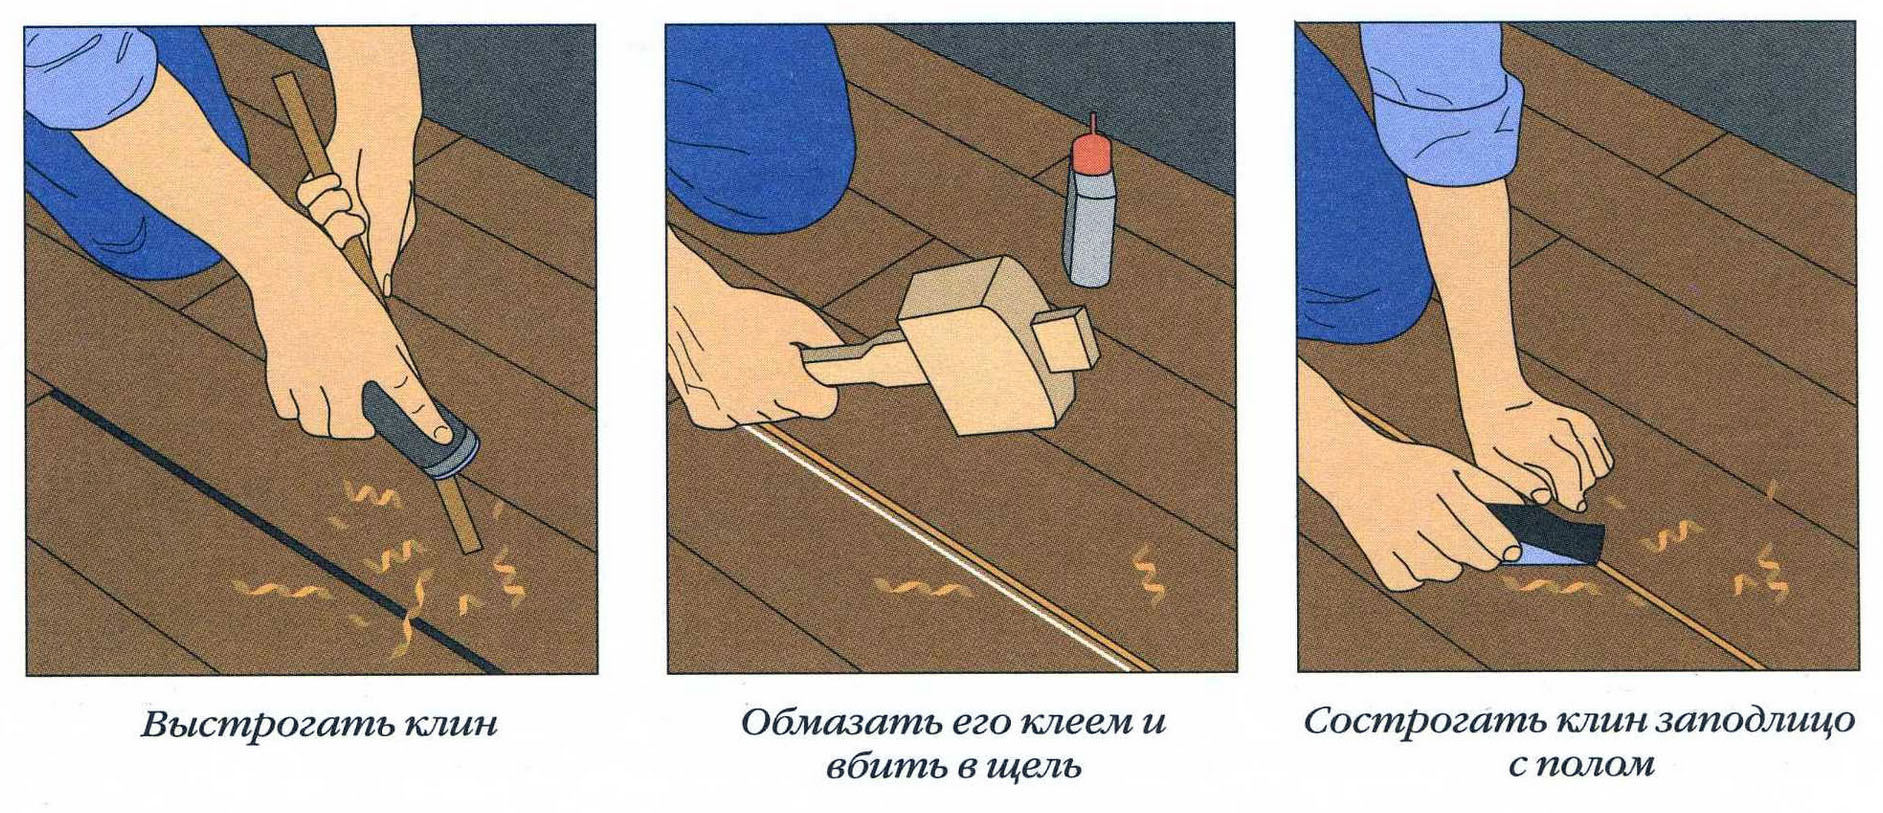
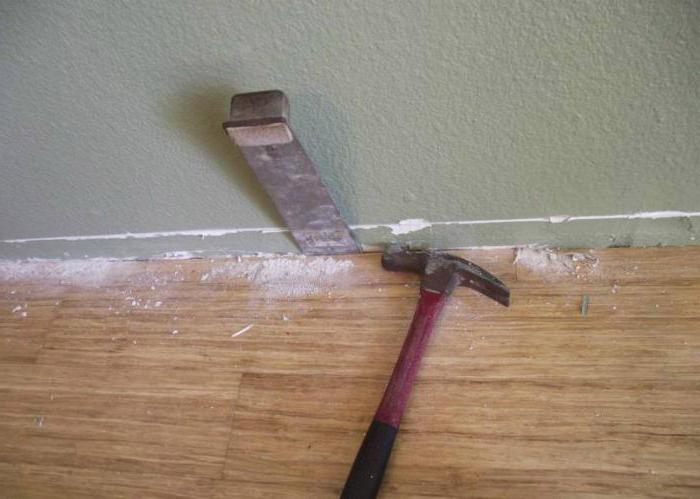
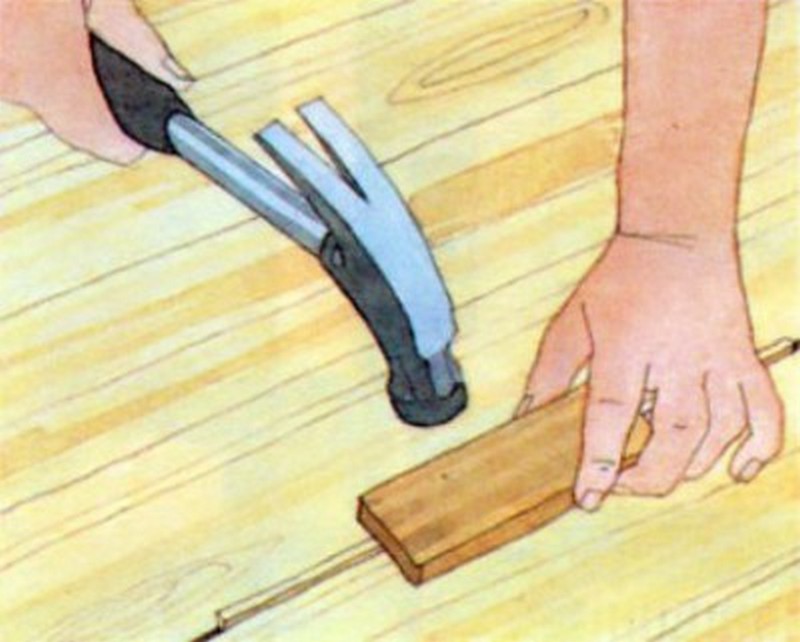
Eliminate squeak with wedges. These elements are lined between the floorboards. For this procedure, you need a hammer (mallet) and a doboinik.
Eliminate squeak with pegs.
Wedges-spacers are driven into the spaces between the wooden elements. Such parts can be made with your own hands. To do this, you will need wooden slats 0.1-0.15 m long. Each wedge is inserted at a distance of 0.15-0.2 m from each other. They are driven in until the top is level with the floor surface. And so that during operation the wedges do not jump out, before they are mounted, it is necessary to lubricate these elements with wood glue or PVA.
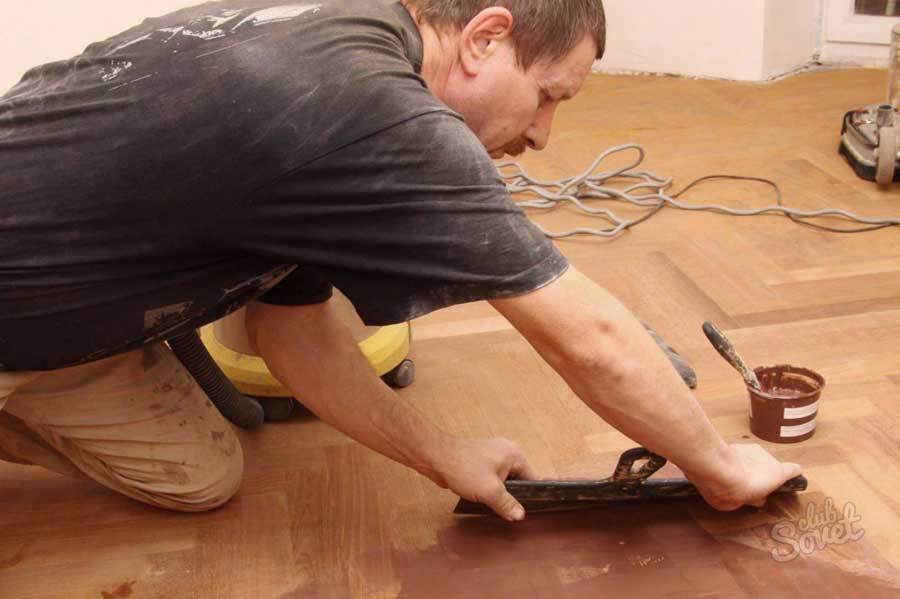
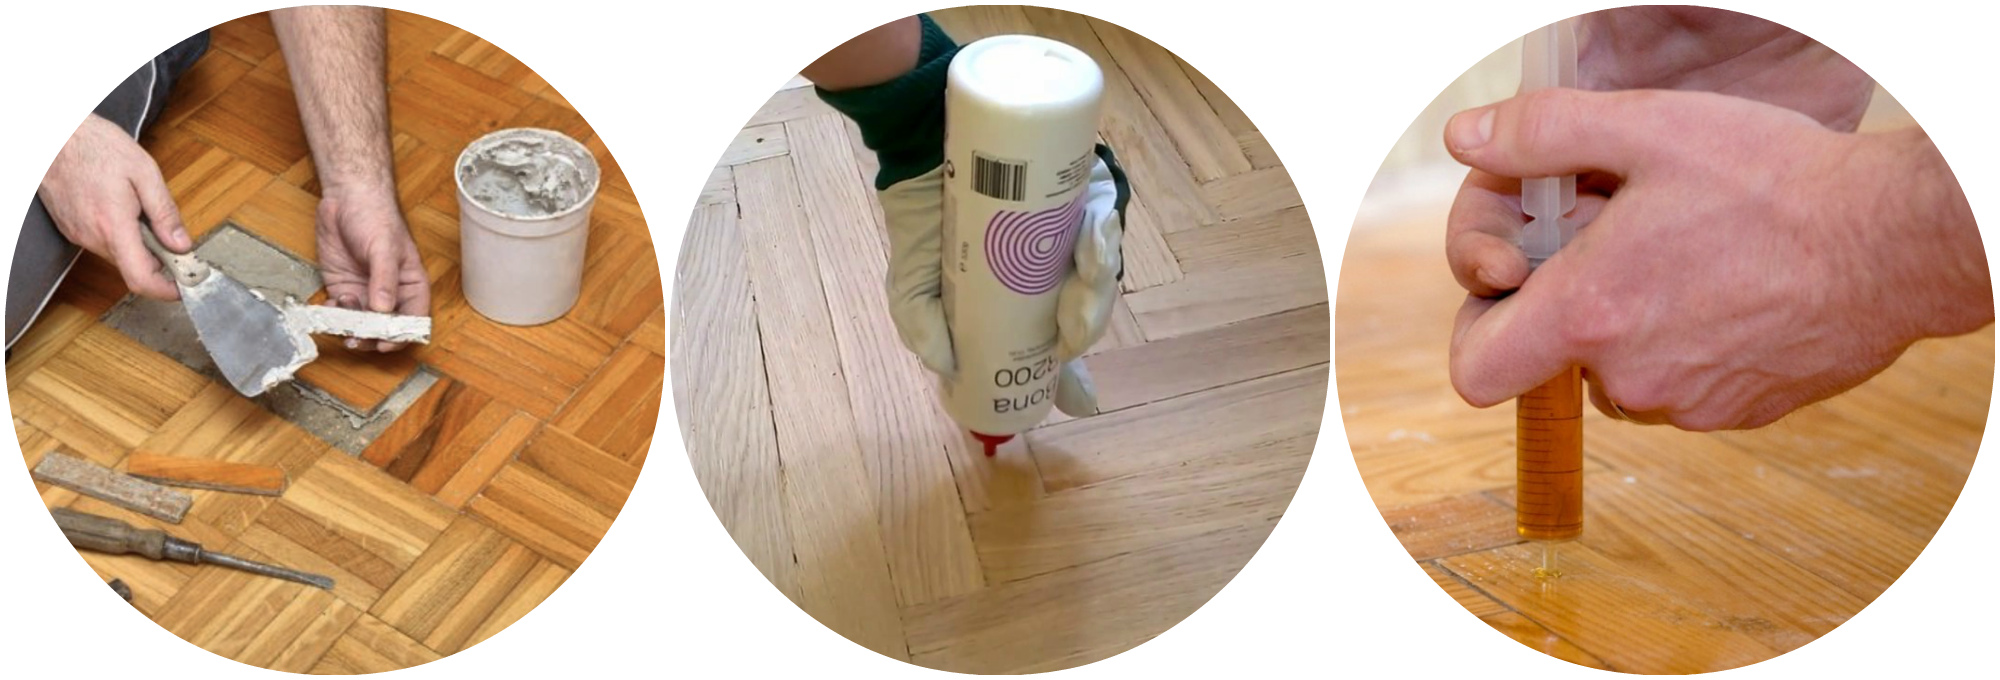
But it also happens that the size of the slots is too small for the wedges, so an alternative method is used. It consists in the fact that a solution is prepared from sawdust and PVA glue, which is then applied in the crevices with a spatula.
Screwing the floorboards
In the old days, there were probably no boards that were not fixed to the floor with nails. Such floors are still in use and many of them have not been repaired for more than a dozen years. It can be assumed that most of the nails are loose, and they need to be replaced with a modern effective fastening in the form of self-tapping screws.
Floor scrolling sequence:
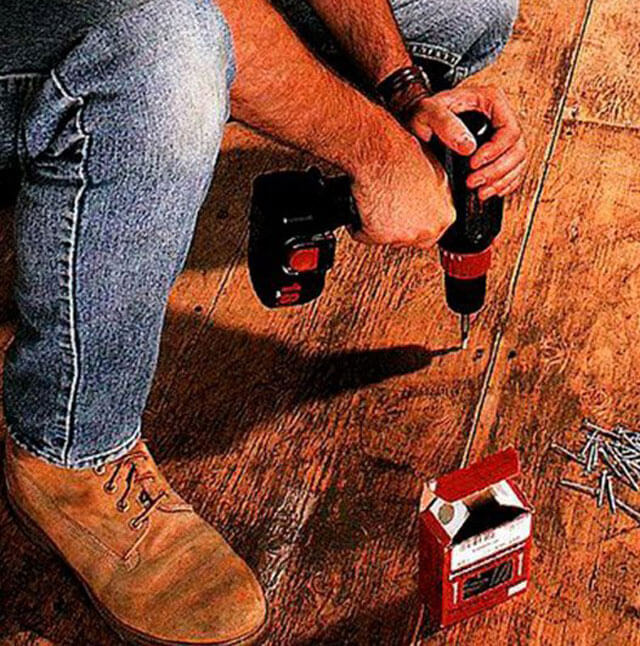
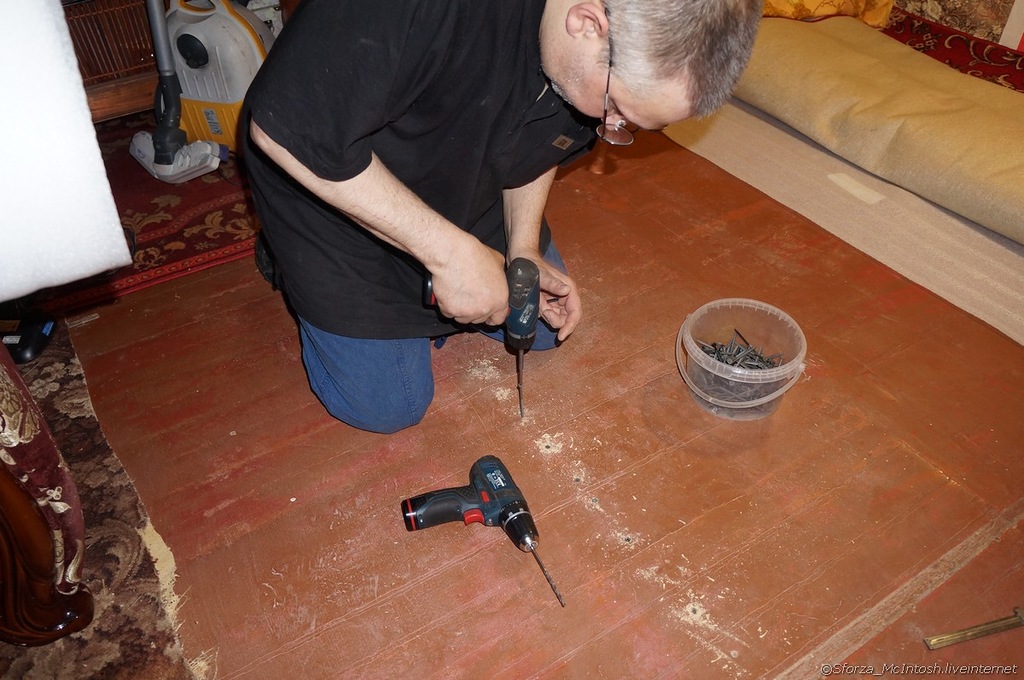
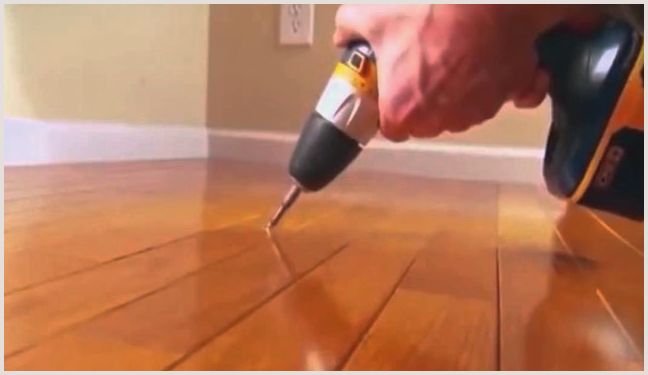
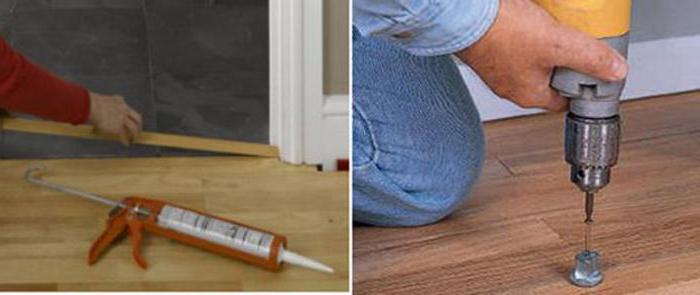
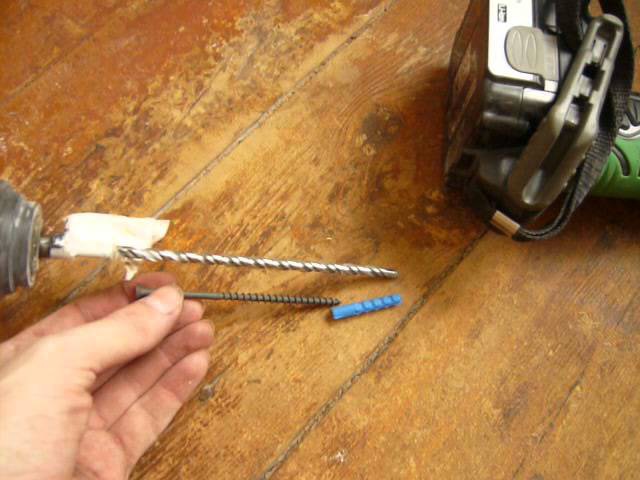
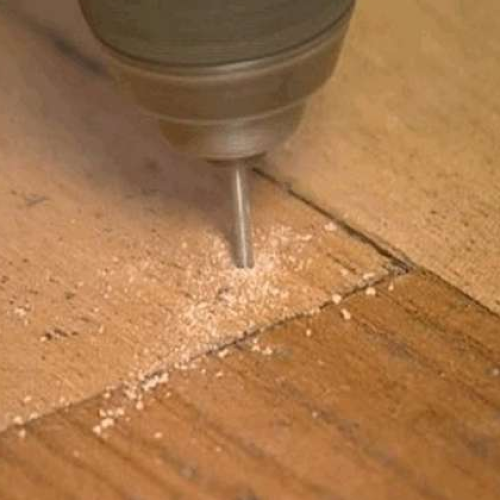
Initially, you need to know the thickness of the lag. This can be done by drilling a hole in the floor and measuring the length to the base. You can go the other way - remove one floorboard. Self-tapping screws should be 1.5 cm shorter than the combined length of the floorboard and joists.
If you decide to use a screwdriver instead of an electric drill, then it must be powerful enough and have a capacious battery, otherwise the repair process will be significantly delayed.
- If the screwdriver does not cope with screwing in the self-tapping screws, you can drill holes for them before installation. It is not necessary to remove old nails if they do not interfere.
- Lags, as a rule, are spaced 600 mm apart. To understand how many screws should be purchased, you need to multiply the number of lags by the number of boards located across the entire width.
- Further, everything is banal and simple - you need to screw all the boards tightly, while the hats should be under the sweat. If squeaks are still heard somewhere, then these places should be noted in order to fix them additionally later.
- This is followed by leveling the surface with plywood. It is also fixed to the floor with self-tapping screws with a pitch of 150-200 mm. If they ate them less often, then they may dangle.
The reasons for the appearance of a squeak in the floors
In order to qualitatively eliminate the unpleasant creak of a wooden floor in a private house and apartment, it is important to determine the most likely causes of the appearance of such sounds.Squeaks in wood flooring are caused by deformation or friction of structural elements
The main reasons for such phenomena include the following:
Squeaks in wood flooring are caused by deformation or friction of structural elements. The main reasons for such phenomena include the following:
- Aging of wood. Over time, the performance of the material deteriorates. Wood is more susceptible to aging than synthetic materials. This process cannot be stopped, but it is enough to use special protective compounds to slow it down.
- Violation of installation technology. Incorrect laying of wooden floors contributes to the displacement of the end part of the elements relative to each other. This happens if, when arranging the floor cake, thin boards with a thickness of less than 4 cm were used, which are not able to withstand the maximum load on the base.
- Wood shrinkage. The optimum moisture content of wood for flooring should be 12-13%. Insufficient moisture content of the material can lead to deformation of the base and violation of the integrity of the structure.
- Failure to comply with technological gaps. Often squeaks in a wooden floor occur when there are no minimum gaps between the coating and the walls. Also a gross violation is the absence of technical gaps between the floorboards to take into account the thermal expansion of the material and the mechanical effect on the floor. In this case, mechanical stress on the floorboards leads to deformation of the floorboards and the appearance of friction between the individual structural elements.
- Insufficient fixation of elements during installation. Looseness of the fixing fasteners over time leads to deformation of the structural elements of the floor cake and the appearance of characteristic squeaks.
- Wear of the topcoat. Destruction or abrasion of the protective topcoat will gradually deform and dry out the wood floor.
- High indoor humidity. Excessive moisture causes the wood to swell and expand, which contributes to the appearance of a squeak.
- Lack of heat and waterproofing protection of the base. High-quality insulation can prevent drafts and reduce the negative impact of excess moisture on wood. Mineral wool can be used as an insulator.
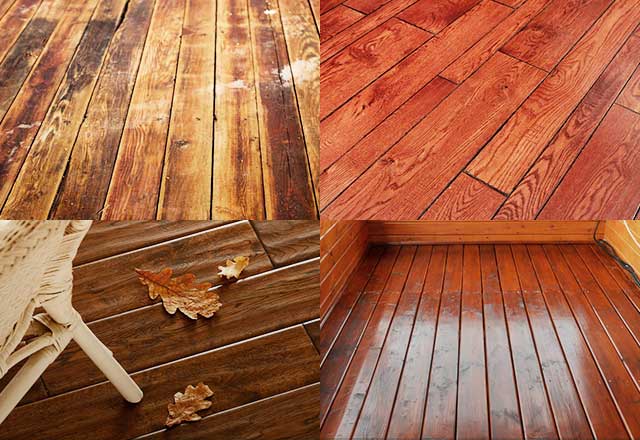
As a rule, a visual inspection of the substrate is sufficient to determine the root cause of the floor squeak. But in some cases, it will be necessary to dismantle several boards in order to determine the technical condition of individual elements of the floor structure.
h2> The main reasons for the squeak
The reasons for the appearance of unpleasant sounds are varied. The boards from which the floors are made can make characteristic sounds under the influence of the following factors (I had to deal with some of them on my own experience):
- fragility of fixation during installation;
- loosening of underground crossbars;
- wood shrinkage (occurs over time);
- subsidence of linings;
- loosening of fasteners (screws, nails);
- moving board ends;
- small expansion gap (insufficient space between the floor and walls) or its complete absence.
In order to eliminate the extraneous noises that appear while walking on the wooden floor on my own, I recommend studying the course "Do-it-yourself apartment renovation", it will allow you to prevent serious mistakes in the process of work. You will also receive a detailed answer to the question of why the floorboards creak and how to prevent the appearance of noise.
How to prevent squeaking when laying a wooden floor?
It is possible to prevent the squeaking and other unpleasant sounds of the wood, which appear due to friction, even during the installation of the boardwalk.It will be enough just to lay a special material to absorb moisture on top of the log, and also to use the technology of the adjustable floor.
Noise isolation on lags
In order not to disassemble the boardwalk, you should cut off the logs from the boards:
- pasting the upper edge of the bars with sound insulation;
- laying strips of rubber or non-woven material on a bar, even a foam polyethylene backing is suitable.
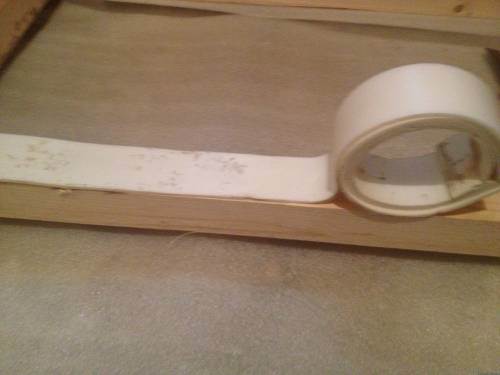
In this way, the acoustics of the floor can be improved, which will provide protection against wetting and excess moisture.
Adjustable floor technology
In the absence of experience, it is rather difficult to answer the question of why the grooved flooring board creaks. In this regard, many manufacturers are now releasing the so-called adjustable floor technology, in which the likelihood of various sounds is reduced:
- mount lag on hairpins, which are passed through the bar;
- the thread is set at the same horizontal level;
- the protruding threaded part is cut off with angle grinder.

Thus, lumber absorbs moisture much less, thereby providing them with natural ventilation, while there is no rigid fixation of the tree in relation to concrete. In the event of a squeak of boards that are incorrectly fixed on the logs, repairs in such cases will be much cheaper and easier, since there is no need to open the entire flooring.
Elimination of squeak due to sagging boards
If the reason for the creak lies in the deflection of insufficiently thick boards or the distance between the lags is chosen incorrectly, then the creak of the floor can be eliminated without opening it.
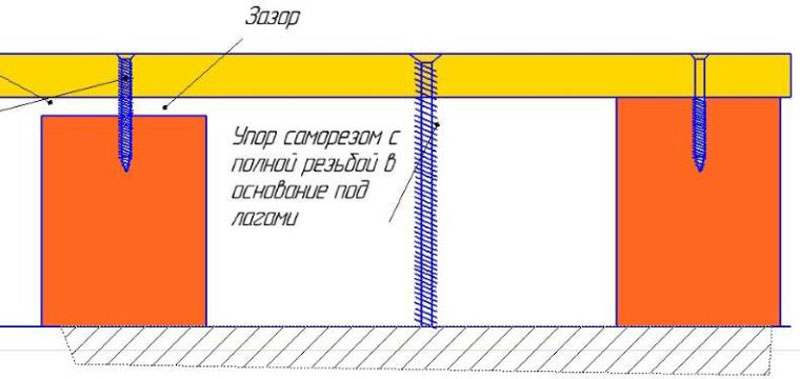
This requires self-tapping screws with large threads along the entire length, which can hold the floorboards. Their length should correspond to the distance from the upper boundary of the finishing flooring to the concrete floor, or slightly more.
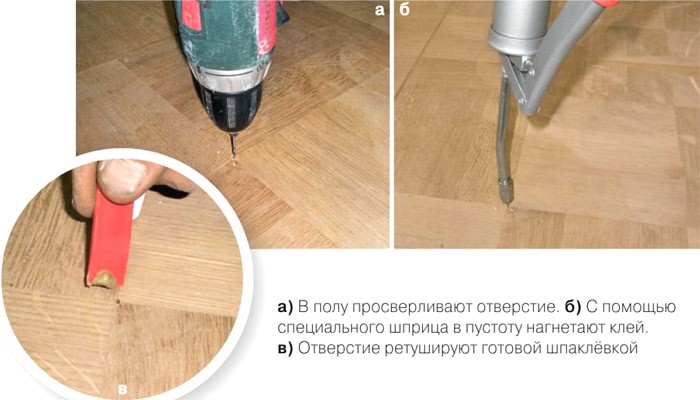
A small hole is drilled through between the lags, but without getting into them. Then the screws are screwed in until they rest against the concrete base. As a result, the self-tapping screws will act as auxiliary legs and eliminate the deflection.
In this case, you can use screws that break off the caps.
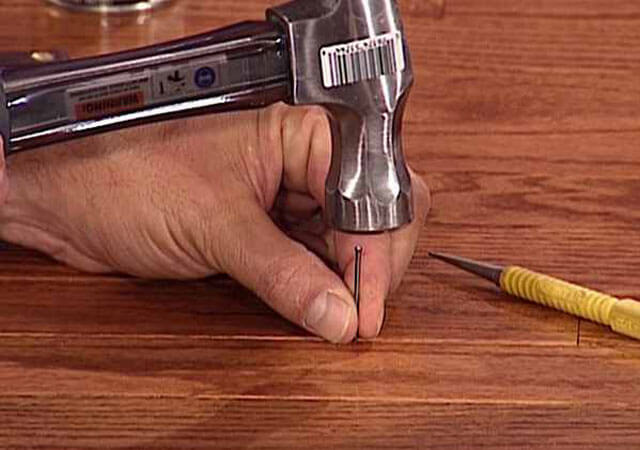
Another cause of floor deflection is the use of the wrong planks. If simple planed boards that do not have a thorn-groove system are laid, then they will not be connected to each other. Only tongue-and-groove boards should be used for the floor.
In this case, how to fix the floor creak? It is necessary to connect the floorboards to each other. This requires a long wood drill and dowels.
The procedure is as follows:
- A hole is drilled at an angle so that it passes through two adjacent boards. The holes should be scattered and in the opposite direction.
- PVA glue is applied to the dowel. Then it is hammered into the hole. And the boards turn out to be tied.
- When the glue is dry, cut off excess glue flush with the surface.
Why do floors creak?
The main sources of squeak are cracks and fractures that appear in the boards of the rough (final) floor, as well as friction of adjacent fragments of the floor. Usually the following problems are distinguished:
- incorrectly selected distance between lags (too large). Due to the excessive size of the spans, the boards resting on the logs sag under load. Friction against the support bars and against each other creates a squeak;
- cracks and breaks appeared in the logs or subfloor boards. This can happen due to exceeding the permissible load on the coating, uneven temperature and humidity conditions in the room, poor-quality preparation of sawn timber;
- insufficiently dry material was used for the installation of the floor (humidity above 12%). Drying up in the process of use, lumber warps and changes size, cracks form;
- fastenings of structural fragments are weakened or loosened;
- there are foreign objects between the rough and final flooring;
- subfloor boards are poorly fitted to each other and / or logs.
For wooden floors on logs mounted on the ground (this method of arrangement is described in), subsidence of the support pillars is also possible. In this case, the geometry of the entire structure is violated and, in addition to the squeak, warping or even collapse of the floor is likely.
Another possible reason for the appearance of squeak is the destruction of lumber under the influence of mold, fungus or wood borers.
Rowing method
The creaking ends of the floorboards can be wedged together, thereby concentrating friction in several places and avoiding the string effect. For this, ordinary wood chips or wedges with a thickness of 0.5 to 3 mm and a width of 30–35 mm are used.
This method is good for eliminating squeak in old solid plank floors, where cracks of uneven thickness have appeared as a result of shrinkage and warping. At the widest point of the creaking joint, the first wedge is hammered in, then a few more are added with an indent of 50–80 cm. To facilitate the entry of the wedge, you can widen the joint with a chisel, hammering it in by 3-5 mm.
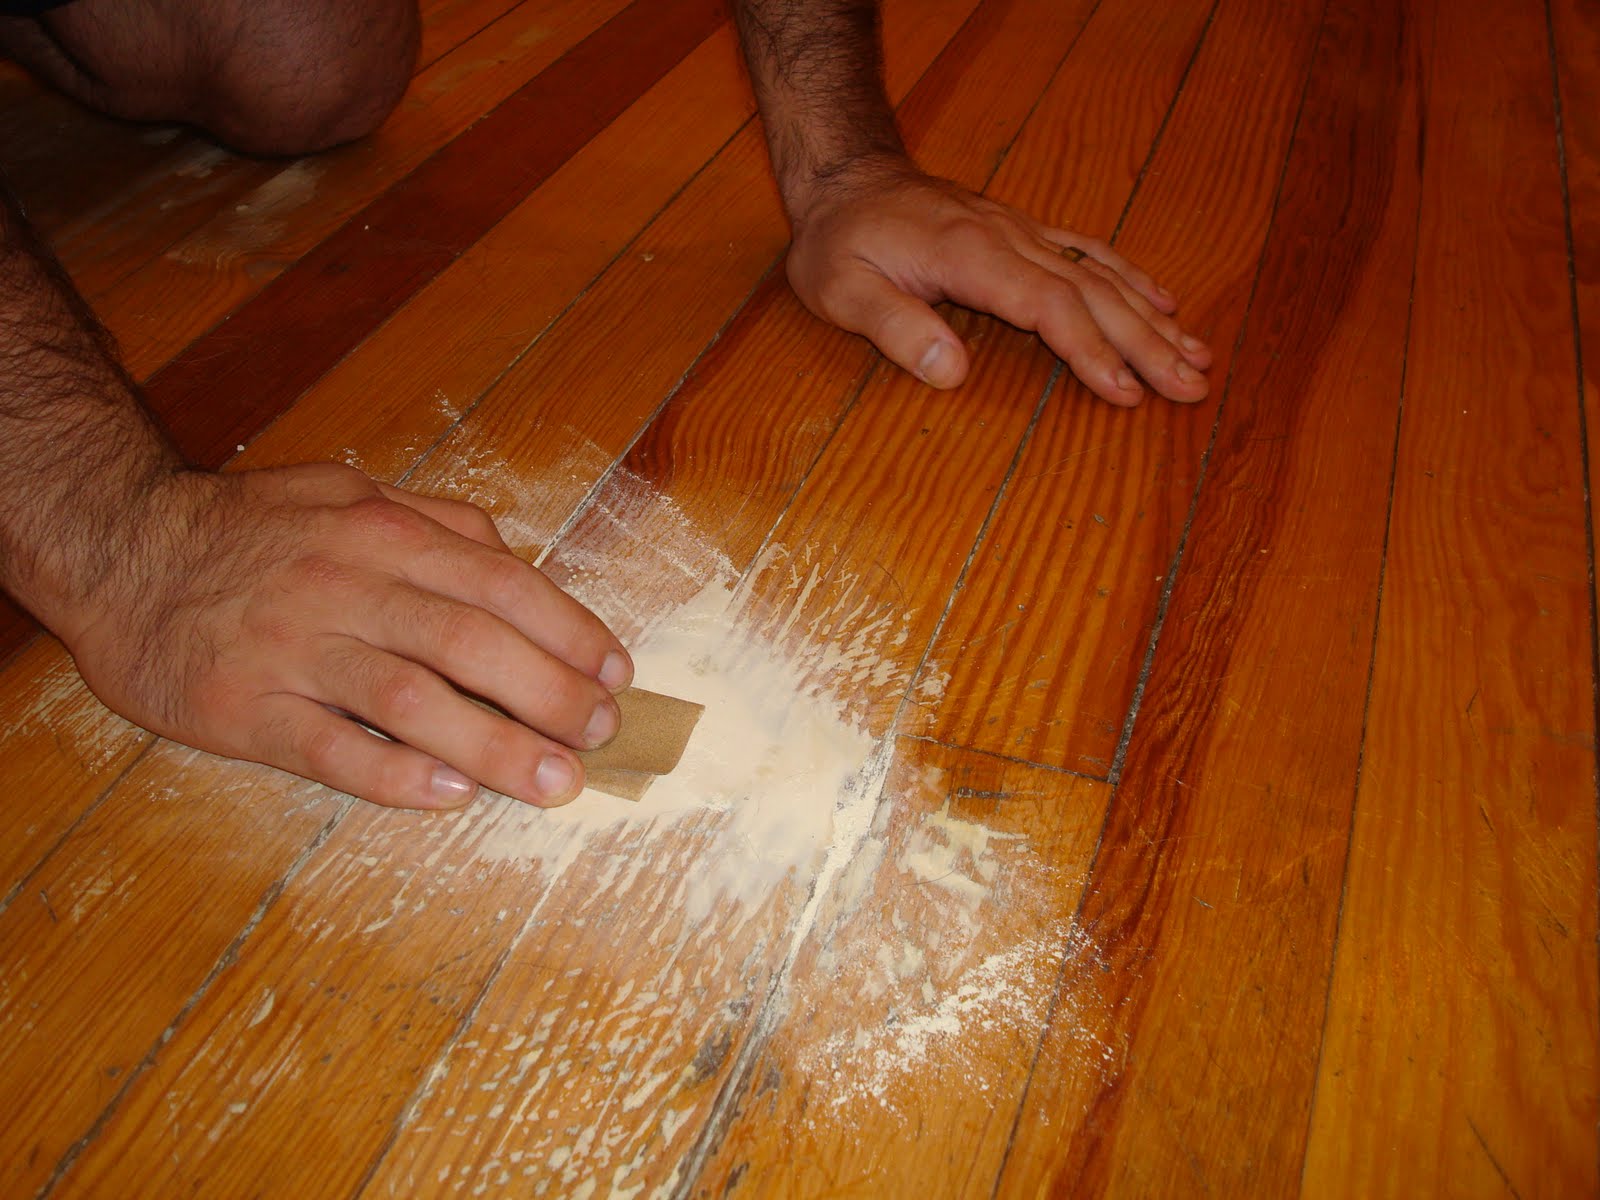
Ragging is a rather meticulous process, but this is almost the only method of local repairing a creaking floor without breaking the flooring. After the boards are compacted, it is necessary to seal the cracks with putty; in the simplest case, a mixture of PVA and small sawdust will do.
Why does the floor creak
The most common causes of a squeaky wooden floor are:
- Drying of wood. As it becomes smaller in size and volume, the tree grows weaker. Especially where the floorboards are attached. Accordingly, when stepping on this part of the floor, friction of the nail body against the wood occurs. There is a creak.
- Violation of floor laying technology. Especially when it comes to the distance between the joists and the wall, or between the floorboards and the wall. The fact is that wood is prone to natural expansion and an increase in the level of humidity in the room. If this happens, the floorboard, which does not have enough space, rests against the wall, bends with tension. At the moment of stepping on it, a creak occurs. A similar example can be observed on a wooden door jamb, when the door leaf swells from moisture and does not enter the frame. Everything returns to its place when the humidity level in the room drops.
- Too old wood floors and loose fittings.
- Incorrect floorboard thickness. And if the board is too thin, the distance between the logs is large, then the wood can sag under the weight of a person. From this comes a creak.
For reference: If the cause of unpleasant sounds lies in loose boards, loose fasteners, then floor repairs can be performed without opening them. In other cases, you will have to completely disassemble the wooden floor and make its bulkhead. You may have to completely change the joists and floorboards.
Other options
There are also many "folk" ways to get rid of the squeak between the floorboards or where they are attached. Contrary to popular belief, sealing the gaps between the boards with an adhesive mixture does not give an effect, at least not long-term.
It is better to warm up the joint with a construction hairdryer and pour melted paraffin or stearin into it. The method with impregnation of boards with vaseline or vegetable oil works in a similar way. Just do not use machine and motor oils, they are not environmentally friendly.
As a preventive measure to prevent squeaking, it is recommended to tightly rally the floor boards using grooved ends or oak dowels. You can also treat the ends of the boards with compounds that reduce friction - silicone sealant or rubber paste. Instead of regular nails, it is better to use brushed nails, which are less susceptible to loosening. published
Is a complete dismantling of the coating required?
If, after laying, the wooden covering was treated with a protective compound - paint or varnish, then dismantling of the boards is not required.
Squeaks can be easily removed from the top layer of the floor cake, thereby removing visual defects in the base and updating the finishing paint and varnish layer.
In some situations, it will be necessary to overhaul the base with the dismantling of the decorative coating and the rough flooring under it. For example, if a rough board creaks, on which a finishing coating is mounted - linoleum, parquet or laminate. In this case, the final bottom is opened, the rough flooring is moved, the deformed elements are replaced with new ones, after which the re-laying is performed.
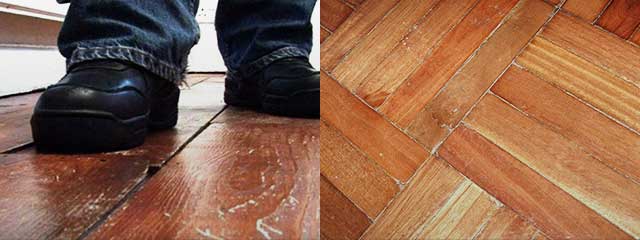
If the reason for the creak of the plank floor is the installed logs, then more serious repairs will be required with a complete breakdown of the plank covering and reinstallation of the logs.
The reasons for the squeak
Actually, the ultimate cause of the creaking floor is only one - friction between two poorly fixed parts. But there are three typical places in which such a phenomenon can be observed.
In the simplest case, the floor creaks due to friction between adjacent floorboards: one of them bends under load and scratches against the next one. Such a squeak has a characteristic dry sound and is quite easily detected when the floor boards are successively pushed through.
A more characteristic squeak with a thin squeak occurs due to the weakened fastening of the nails to the logs. The rusty metal inside the dry wood creates a really nasty grinding sound and is much more difficult to locate due to the fact that the nail heads are usually hidden under several layers of paint.
The third and rarest type of squeak is the loosened joints of the composite lags and the bridges between them. The appearance of such a squeak is typical for frame and multi-storey buildings with a complex system of wooden floors. The sound of the floor when walking in such cases is muffled and crackling.
Dismantling or partial repairs?
What can you do if your old floor creaks? There are two options for eliminating the problem: complete replacement of the entire structure or partial repair. For very old wood floors, squeaking is usually not the only problem. If there is a smell of decaying wood or mold, subsidence of the coating in one or several places, significant gaps between the boards, a complete replacement is the best solution. However, with a good overall condition of the floor, a creak appears in some places, it is better to clarify the reason for its appearance and carry out a "point" reconstruction of the coating and rough flooring.
For relatively new (2 ... 5 years of operation) floors on a wooden base, replacement is not the best option, since the significant costs of creating the previous design option have not yet paid off. Overhaul may be required only if the installation was carried out with a gross violation of technology or poor quality materials were used.
Briefly - about some of the ways to eliminate the squeak of a wooden floor
So, if the areas and causes of the squeak are identified, you can outline ways to eliminate unpleasant sounds. Next, we will consider several methods that have been tested in practice more than once and gave positive results.
To better navigate in choosing a repair method, it is worth listing them:
| Materials used | The reasons for the squeak and the method of elimination | Some features of the work |
|---|---|---|
| Insufficiently tight connection of the boards can be eliminated by installing wooden dowels. | The method is inexpensive and simple, takes a small amount of time, but quite effective. | |
| Small gaps between the boards can be closed with a special sealing cord, choosing the desired diameter. | The work is long enough, but the result is reliable. | |
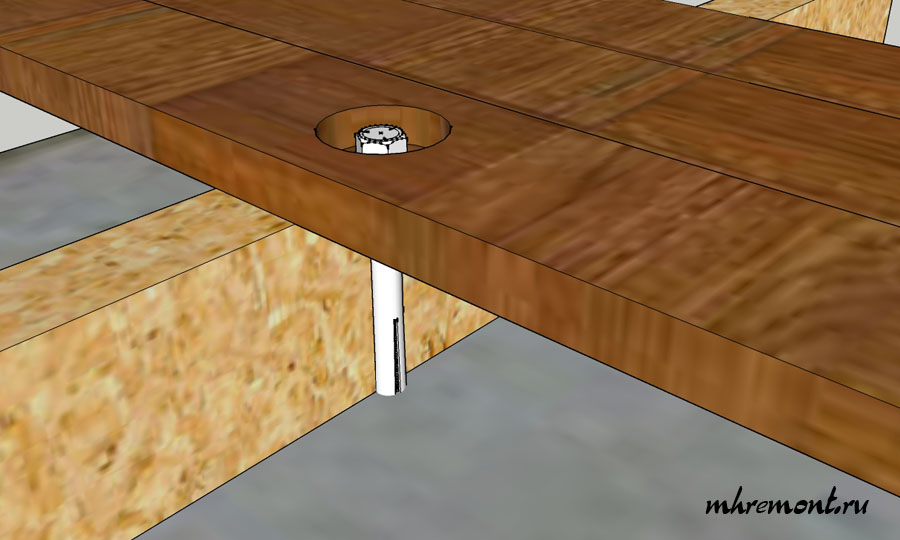
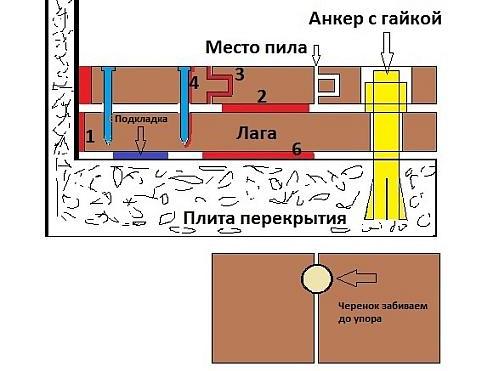
| If the boardwalk began to sag due to the gap formed between the joists and the concrete base, then anchors can be used to strengthen the flooring. | This method is more expensive, but also quite reliable. The anchors will act as a rigid support for covering in subsiding areas. |
|
| If the board is loosely adjacent to the logs, then it is fixed with self-tapping screws for wood. Their length is chosen depending on the thickness of the board, taking into account the fact that the self-tapping screw should enter the log by 40 ÷ 50 mm. If the board is bent and it is impossible to pull it to the log, the screws screwed into it can serve as a support. |
This method is simple, fast and inexpensive. If the board and the logs have a strong, intact structure, then they will reliably be tightened together. |
|
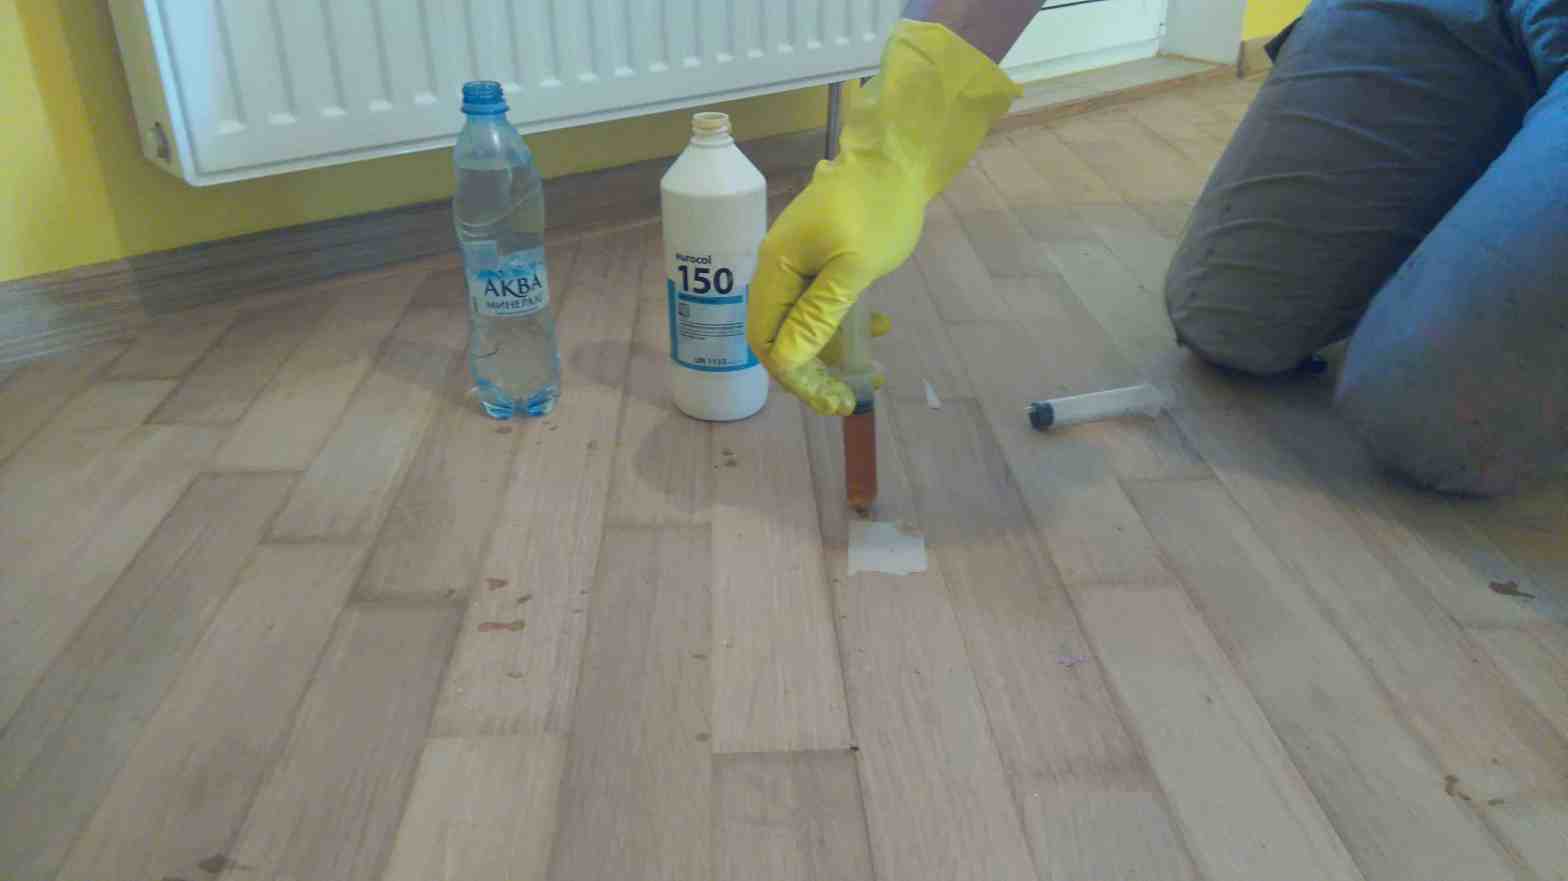
| With a loose fit of the boards to each other and the formation of cracks, polyurethane foam is sometimes used. | The method is inexpensive and quick to implement. Having carried out such work, you can forget about the creak for at least a couple of years. |
|
| Wide gaps in the boardwalk are caused by the drying out of the wood. In this case, the floorboards must be pulled together using a special device. |
This is a method that solves several problems, including floor insulation. By using it, you can finally get rid of the squeak. However, its execution requires a certain amount of time and experience. |
Search for the source of the squeak in the apartment
The next step to eliminate the presented defect should be to search for the source where the wooden floors creak. Moreover, it should be noted that this procedure is quite laborious and may require significant physical efforts from the performer.
After all, all subsequent operations will need to be performed in a room fully prepared for repair work, for which you should remove all household accessories (furniture, appliances, household utensils) from the room and dismantle the existing floor bases (laminate, linoleum, carpet, etc.) ).
Next, you should check the condition of the floorboards themselves and make sure that they are rigidly fixed (the boards should not bend and move relative to each other), and also make sure that there are no visible defects (cracks, chips, mechanical damage). If the condition of the floors fully meets the listed requirements, they resort to revising the support beams (lag), on which there should also be no mechanical damage and traces of any deformations.
If any deviations from the required characteristics are found, they resort to repairing or replacing individual sections of the wooden floor in order to eliminate friction processes that cause an unpleasant sound.

