Paper case
The simplest and most budgetary can be a cover made of paper for you. Its assembly does not take much time, it is done using a simple origami technique. This, of course, will not last long, but if you urgently need a cover, then this option will be great. Let's take a look at the step-by-step instructions.
You will need:
- A4 paper sheet
- PVA glue
Progress:
- Place a sheet of paper in a horizontal position with the phone on top of it.
- Now wrap the phone in paper to the end of the sheet.
- Fold the lower part several times to the place where the phone is.
- Now, to hold the fold better, fold the triangles up at the bottom of the cover.
- If you need a sturdier structure, use glue to seal the folds and seams. Our paper cover is ready.
Video case made of paper
How to make a phone case out of rubber bands?
Rainbow Loom Bands are very popular among modern youth. You can weave bright baubles, jewelry, key rings from them. They are also used to make accessories for smartphones.
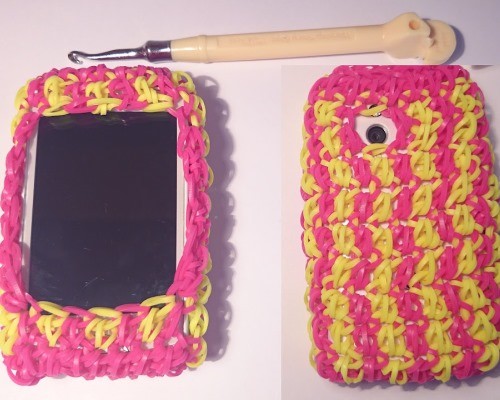
Here's a step-by-step guide on how to make a phone case at home using Rainbow Loom Bands:
- First of all, prepare a three-core rubber banding machine:
- Disconnect the middle posts from it
- Direct the columns of the first row to the right
- Direct the columns of the second row to the left
- Next, thread the rubber band onto the second column of the first row, and then scroll it with an "eight" and put it on the third column of the opposite row.
- Repeat the above procedure, just start with the second column of the second row, and end with the third column of the first row (you should end up with the letter "X").
- You need to make 8 such letters "X", only in the middle you need to leave a place for the charger (for this you will need to skip two columns after the first four letters "X").
- Next, all the rubber bands will need to be lowered down, and then select the rubber bands of a different color and, scrolling them with an eight, throw them on parallel columns.
- The same will need to be repeated with the columns in the same row.
- Next, using a hook, all the lower elastic bands must be removed from the posts and thrown inward.
- Repeat steps 6 and then 7.
- Count 3 columns from one side. From the third, you need to remove the rubber band and throw it on the opposite column.
- Slip off all the rubber bands from the center posts of the first row.
- Repeat step 9.
- Repeat step 5.
- Repeat steps 9-10.
The result is a soft, very comfortable and fashionable mobile phone case.
Waterproof balloon pad
This method works best for smartphones with a diagonal of less than 5 inches. The cover is very budgetary, not very nice and covers the camera, but it has good water resistance and is able to protect the body joints from moisture. To make it, you only need a balloon:
- Inflate the balloon, but don't tie it. Hold the neck with your fingers.
- Place the back of the phone against the ball and press in.
-
Slowly release the air from the balloon, continuing to press the phone.
- When the air is completely out of the balloon, the phone will be covered with a waterproof case.
Master class on how to make a case trendy
You will need:
- beads or rhinestones;
- glue gun;
- transparent case for your smartphone model;
- toothpick;
- cardboard.
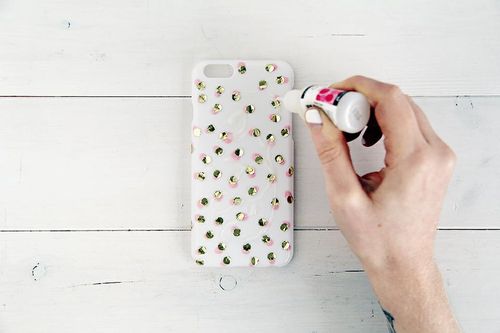
The work is done in this order:
- Pour the beads onto the table;
- Apply one drop of glue to the cardboard;
- Touch the glue with the tip of a toothpick;
- Touch the beads or rhinestones with a toothpick;
- You can also dip the beads in glue, then it will adhere as securely as possible to the surface of the cover;
- Glue the beads to the case;
- Glue beads or rhinestones on the entire surface of the silicone case in random order;
- You need to work at a fast pace, as the glue can dry out;
- Wait for the entire surface to dry.
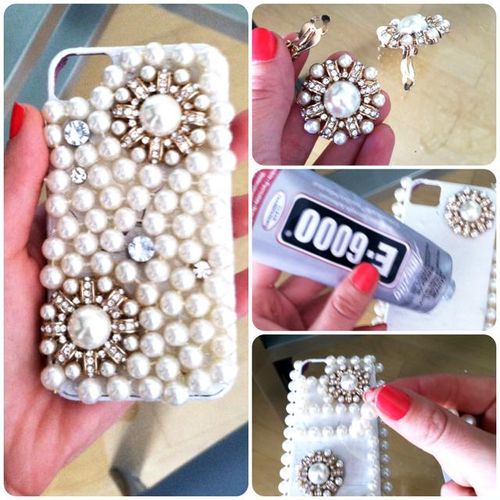
With ordinary glue, you can create many interesting and unusual objects. Study master classes, fantasize, and you can surprise your friends with original gifts and souvenirs that you will make with your own hands and with your soul.
How to Sew a Sports Arm Phone Case for Running?
Many people wear phones even while running. In these cases, it should not interfere, but should also be in place and not fall out while running. To do this, you can make a universal running arm cover.
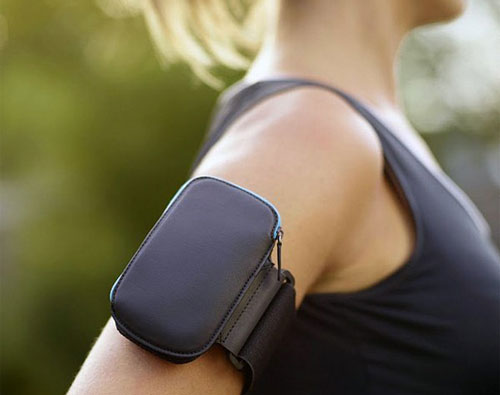

This tool will keep your device safe even during vigorous exercise.
Making a sports arm cover is done like this:
- You need to make a paper pattern. We measure the girth of the hand and the dimensions of the device. We transfer all measurements to paper, cut out.
- The size of the pocket width should be the same as the thickness and width of the phone.
- We prepare a plastic bottle with an even center. Cut off the top and bottom areas with an uneven surface.
- The finished cylinder should be cut. Using scotch tape, we attach a blank of paper to it and cut out a shape from the plastic according to the pattern.
- We remove the pattern and get the blank of the future cover. At a distance of 0.5 cm from the edge, we make small holes for the threads. Holes can be made with an awl along all the edges of the product.
- We make holes with an awl in the form of two parallel lines in the middle of the pocket cover.
- A wide hole should be made on one side.
- Next, cut off the strip to attach it back through the elastic.
- For the cover, we prepare an elastic band with a length of 5 cm. Sew an elastic band to the outside of the cover, and sew a cut strip to it.
- We prepare three pieces of fabric, one piece should be several cm longer (for a pocket).
- The first piece is sewn to the outside of the cover. Sew the second piece, which is larger, to the outside, do not sew the top.
- We trim the edges of the cover with fabric, while not forgetting about the wide hole, it should be free so that you can slide the strap through it in the future.
- We make Velcro on the edges of the elastic bands, they also need to be sewn with threads.
- We trim the inside with fabric.
- Sew an elastic band on top of the pocket, cut off all unnecessary.
How to make a beautiful leather case?
You can make an original and stylish leather smartphone case on your own. The main thing for work is to prepare leather material, glue, nylon thread, paraffin. All holes are made with an awl and a screwdriver.
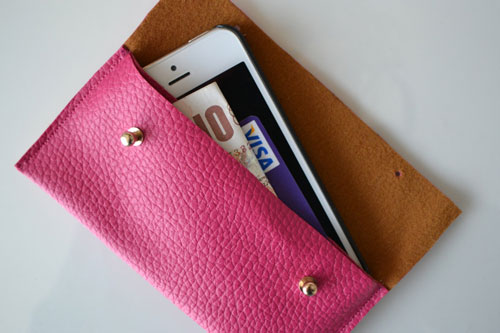
Manufacturing is carried out according to the following scheme:
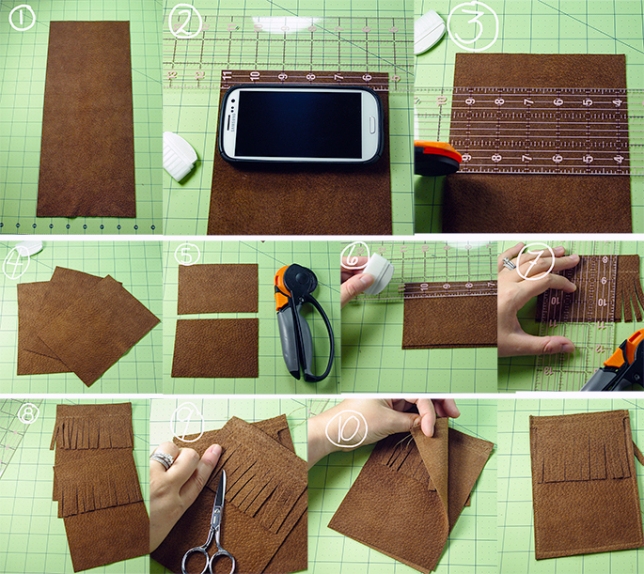
- We wrap the smartphone with a single piece of leather, make allowances for the seams.
- Cut out a rectangle with the required dimensions.
- The line of the future seam is marked at a distance of 0.5 cm from the edge area.
- The marking of future holes is done with an awl.
- With the help of a screwdriver, the necessary holes are made.
- The holes are given the correct appearance, they are made in the form of grooves.
- Rub the twisted nylon thread with paraffin. We sew the sides of the future cover for her.
- The workpiece is lowered into water for 2-3 hours.
- A blank of plywood is placed in the cover, which matches the size of the product.
- Leave it to dry completely.
- After a day, take out the blank and make the last stitch.
- Additionally, create an original design of the surface of the product from a variety of decor.
How to make it yourself
The manufacturing technology of the cover is simple. This does not require any special skill. The main conditions are the availability of a tool and source material.
What is needed
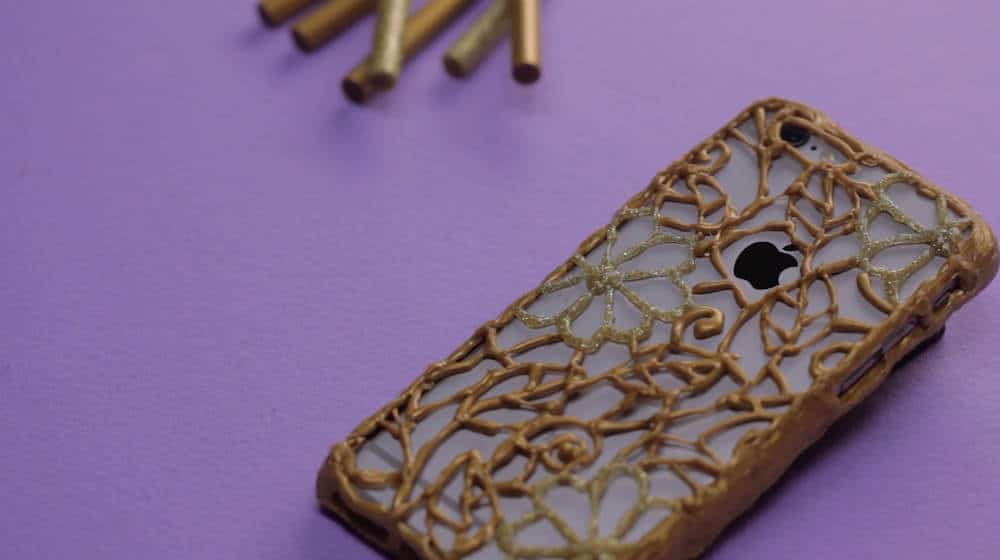
There are several types of hot melt adhesives on the market. They differ in composition and purpose. Before you buy craft glue, you need to read its instructions. The required material is produced in the form of rods (stickers) with a diameter of 7 and 11 millimeters, with a length of 4 to 20 centimeters. The melting point is 105 degrees. The setting time varies from a few seconds to a few minutes. In addition, they have different colors:
- colorless (transparent);
- white matte;
- colored.
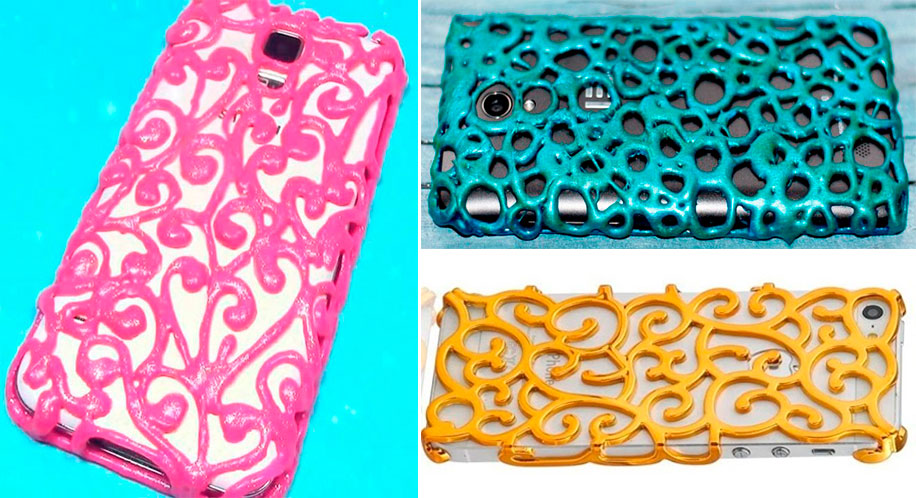
Transparent stickers belong to the universal group. They can be used for gluing any surfaces, creating stable shapes and structures for handicrafts. After hardening, they can be painted with oil paint or nail polish.
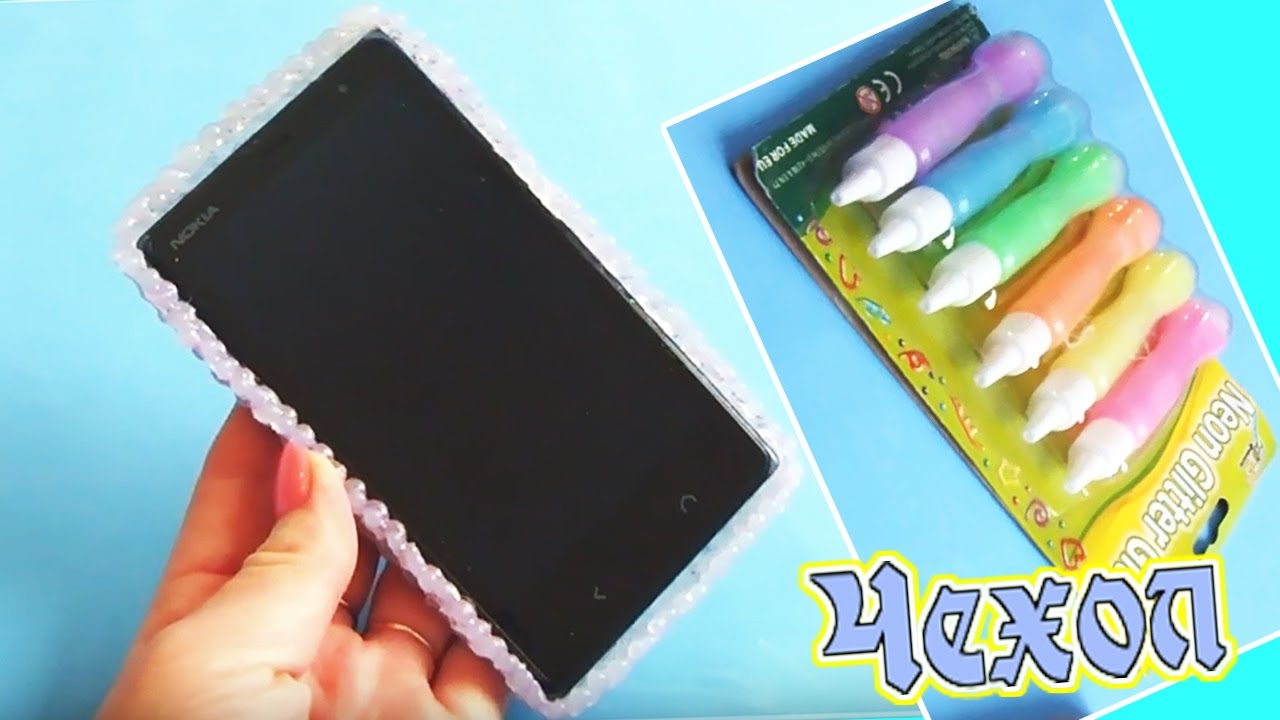
White rods have two purposes, one of which is for bonding glass surfaces, the other for other white materials. Colored stickers are used for sticking markers. Covers are made of multicolored glitter stripes. Black and gray varieties are thermosealants.
In terms of chemical composition, adhesives are polyolefins, polymerization products of ethylene and vinyl acetate. For crafts and household work, vinyl acetate is used without a metal additive, residual stickiness (PSA), the curing time of which is 3-5 seconds.

Stickers are used for refueling thermo guns. Devices for gluing with hot glue have differences in technical characteristics in terms of power, performance.
Power indicators are insignificant for the manufacture of the cover, since the fluidity of the glue, which has a temperature of 200-300 or 105 degrees in the melt, does not change. The rate of transformation of the solid structure of the glue into a gel is less important than the capacity of the chamber in which the material is heated. The volume of the chamber is used to judge the performance of the gun: the amount of gel produced in 1 minute. For lovers of hand-made, the optimal performance of the heat gun will be from 5 to 30 grams per minute.
To make a phone case, you will need:
- 2-3 stickers (transparent or colored, with sparkles) with a diameter of 7 millimeters;
- thermal gun with a power of 30 to 150 watts, with a capacity of up to 30 grams per minute.
When choosing a gun, you should pay attention to what diameter of the rod it is designed for, so as not to disrupt the circulation of heated glue and not to break the device
Manufacturing process
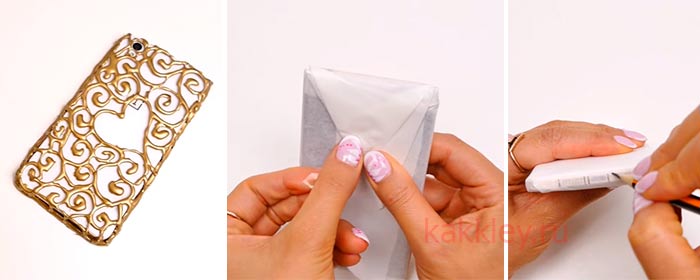
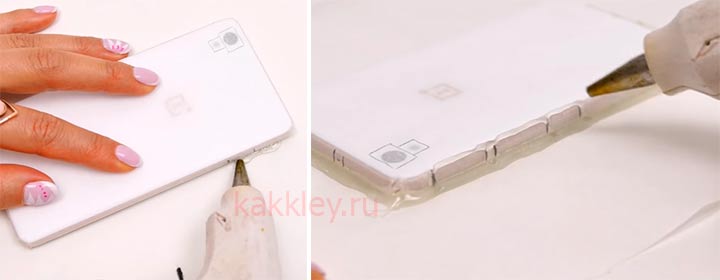
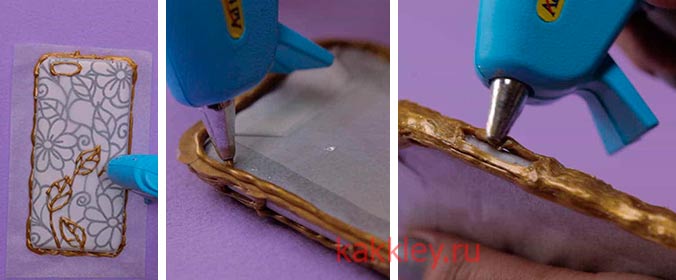
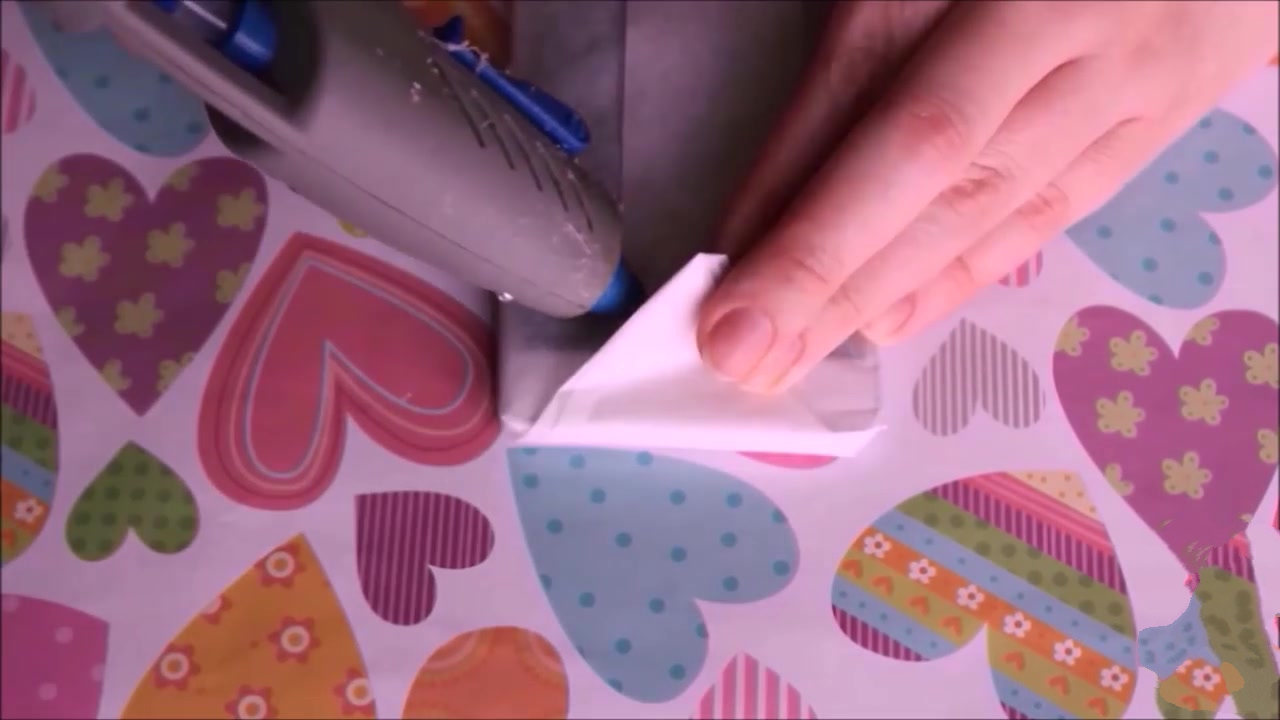
Before you start making the case, you need to prepare the phone by isolating it from contact with glue while maintaining its shape. To do this, it is wrapped in baking paper or foil. Paper or foil is wrapped tightly around the body. The paper ends are placed on the screen so that they do not diverge, glued together with superglue. The foil is rolled tightly into a knot for a better fit also on the keyboard side.

The procedure for the base for the paper and foil cover is different:
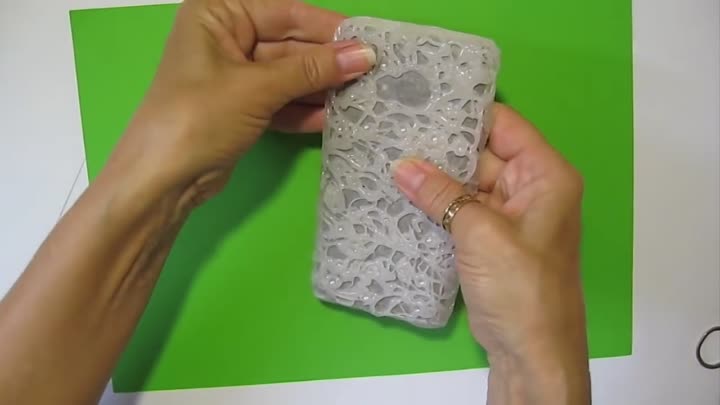
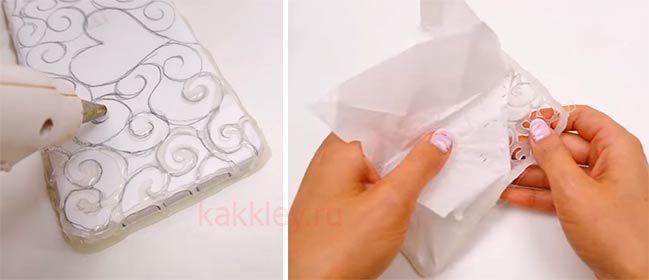
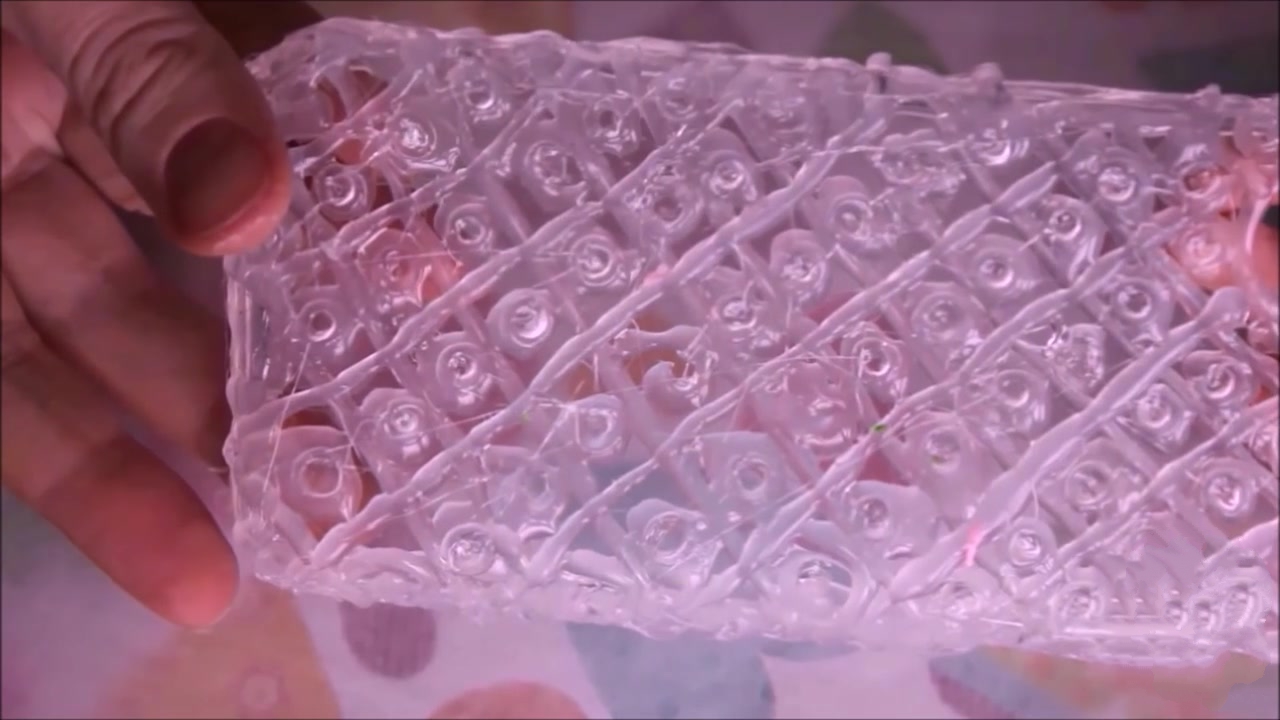
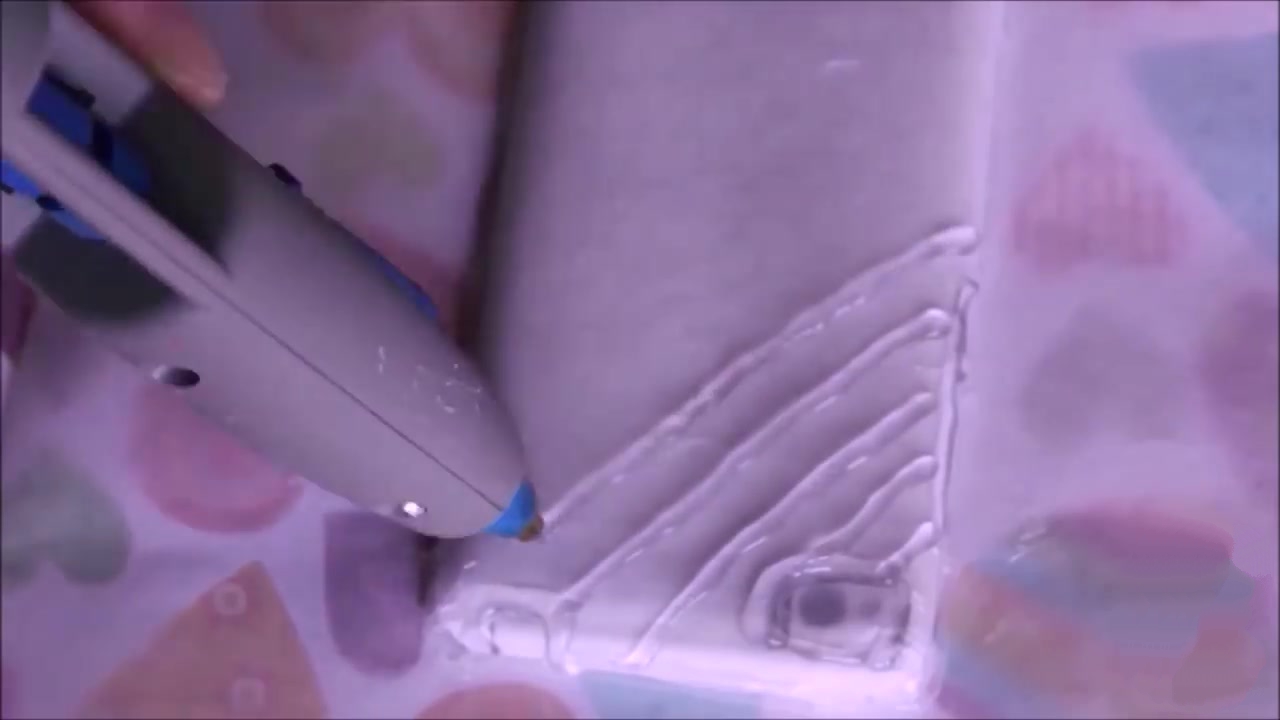
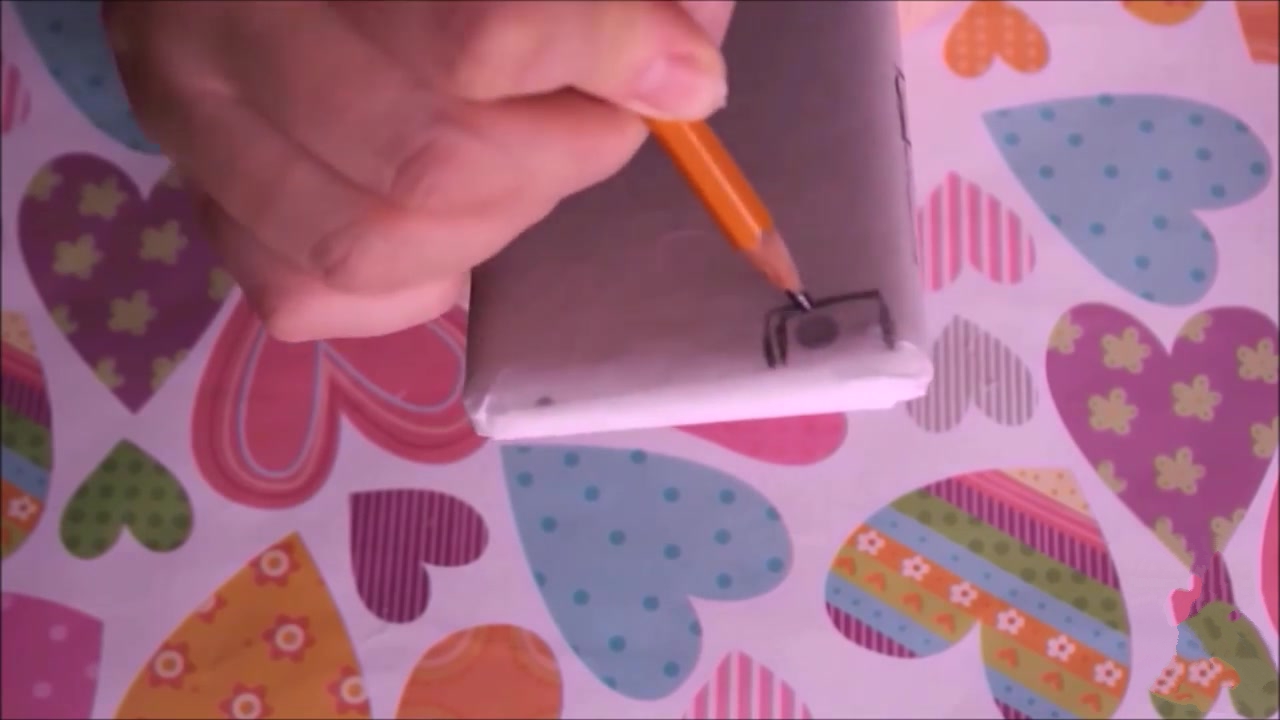
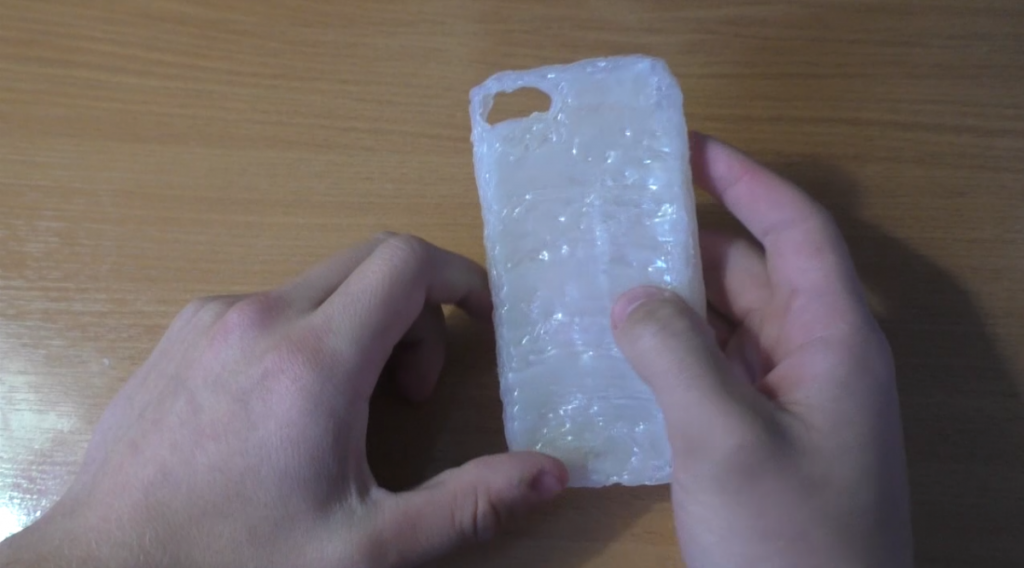
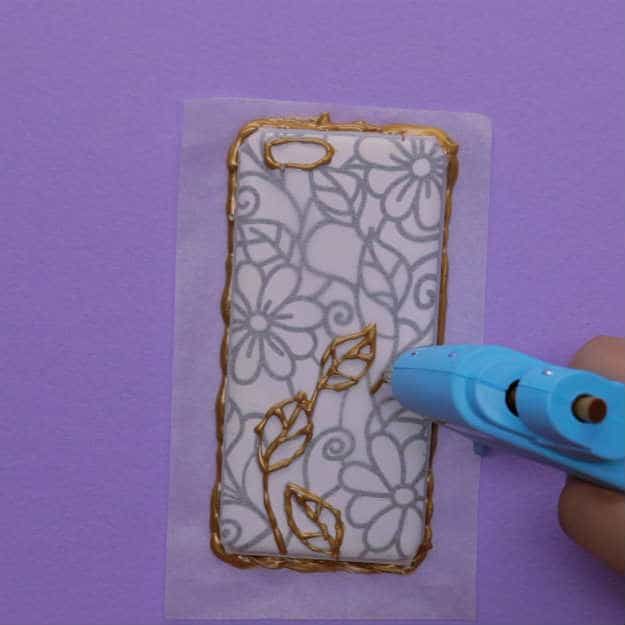
- Paper. Through it you can clearly see the connection points for charging, headphones, power and volume keys, and the place of the webcam. These places are neatly outlined with a felt-tip pen to leave open for access in the case. If desired, a decorative pattern is applied to the paper. From the gun, the glue is applied along the drawn contour, starting from the bumper. After 2-3 minutes, when the composition hardens, the paper is removed from the phone and carefully removed from the case. If the cover was made of colorless glue, then it is painted with nail polish or oil paint using a spray bottle.
- Foil. To prevent the pattern from blurring, a greasy cream is applied to the foil. It will not work to make a preliminary sketch on the foil, so the drawing is applied immediately from the pistol. After curing, the foil is removed from the phone and removed from the case. Staining is carried out in the same way. The disadvantage of making a decorative strip on the foil is the possibility of errors when applying a pattern and overlapping the connector points of the video camera.
Working with a thermal gun begins with refueling the rod, connecting the device to the power grid. After 3-5 minutes, the readiness of the melt is checked by short pressing the trigger. Liquid glue is squeezed out through the nozzle, which is applied to the prepared substrate.
The glue from the nozzle is periodically cleaned up so that the thickness of the ornament is approximately the same. To do this, use a piece of parchment paper, where the unused composition is transferred.
Sparkling beaded patch
For lovers and lovers of everything shiny, a beaded overlay is perfect. It is not difficult to make it, albeit painstakingly. You will need:
- beads of the same size (covers made of beads under a metallic or hologram look especially impressive);
- glue gun;
- baking paper;
- Scotch;
- a toothpick or needle.
Be patient, turn on your favorite music and start:
- Wrap your phone in parchment. The joint should be on the screen. Secure it with tape so that you don't fidget.
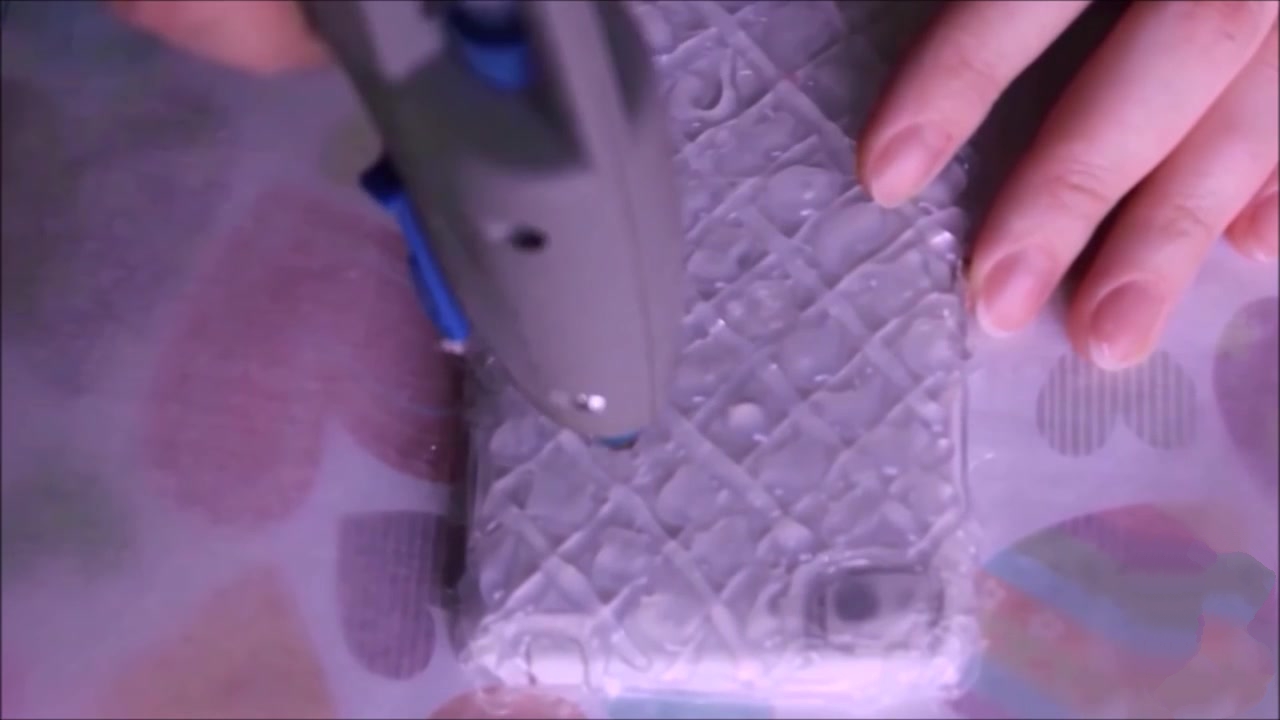
- Use a glue gun to make a base for the cover. To do this, apply an even layer of adhesive on the back and sides. Do not apply glue to areas that need to be open: camera, buttons, connectors.
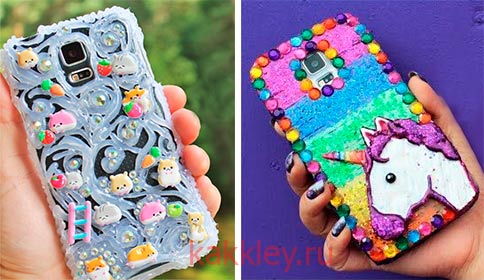
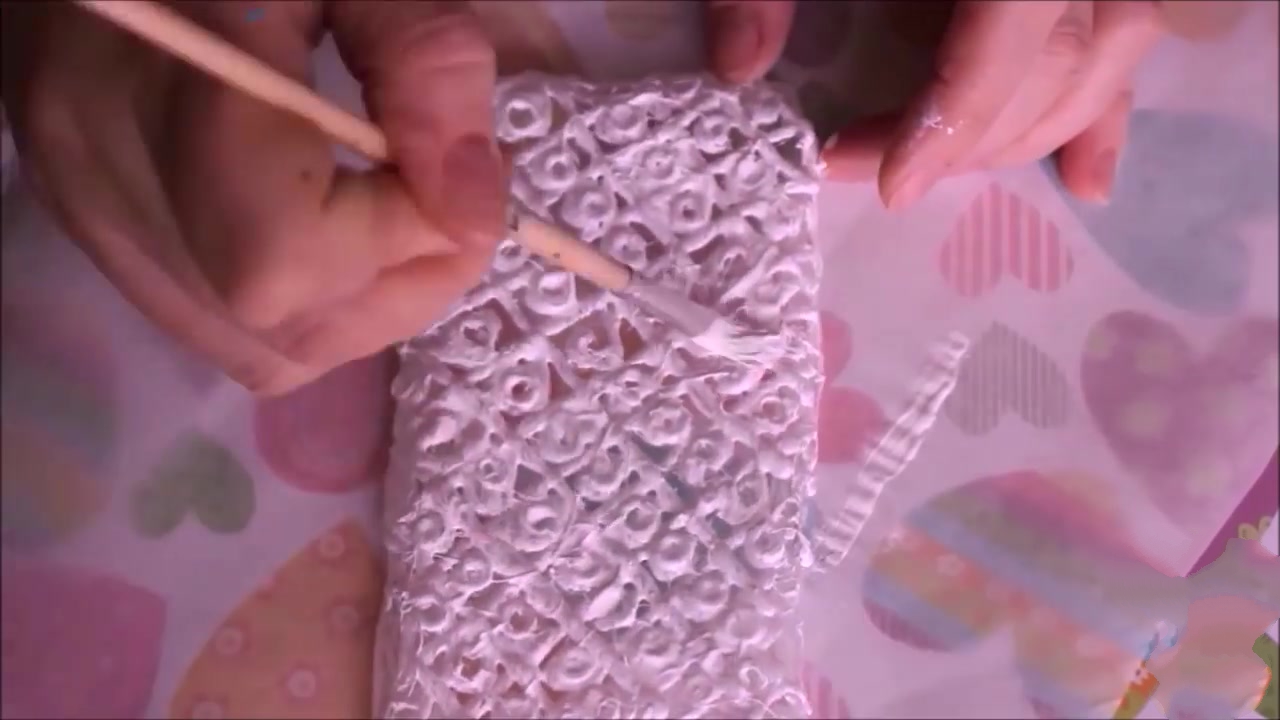
- The hardest part begins. Take a bead with a toothpick and attach it to the glue patch. Until it's dry, you don't need to add glue to the beads. Once the base is dry, each bead will have to be dipped in glue.
-
Glue the entire product in this way, placing the beads tightly. It is most convenient to place the beads in rows, like bricks.
Glue cover
The main advantage of this method is its low cost. All materials can be found in absolutely any home. In addition, you can create a new phone case from glue with your own hands at least every week. In this article, you can learn how to quickly and correctly create an interesting accessory.
The main advantages of the hot glue cover are as follows:
- unusual design;
- low cost of components;
- you can make many different models that will be truly original;
- strength and reliability;
- the ability to stylishly protect your smartphone.
Thanks to the above aspects, many people make such covers with their own hands.
What you need to create an original case
To make a phone case out of glue, you need the following components:
a special gun with a supply of glue;

glue gun
- Scotch;
- nail polish;
- regular parchment.
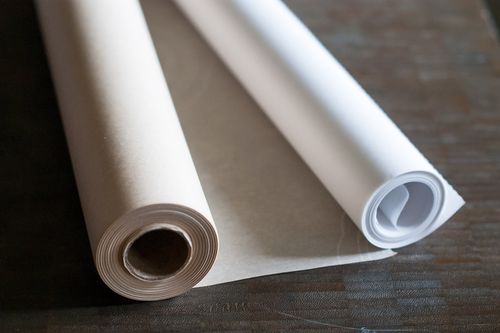
parchment
Try not to use expired funds, this can be the main reason for the fragility of the case. In addition, you must perform all actions as carefully as possible.
Instructions
To make a hot glue cover yourself, you need to do the following:
- You need to take parchment paper to protect the phone from getting glue;
- The joints must be carefully sealed with tape in the area of the screen;
- Places where there are special jacks, camera and buttons should be carefully noted;
- Apply hot glue or PVA to the sides of your device with a gun. You need to make a neat rectangle;
- Circle the highlighted areas;
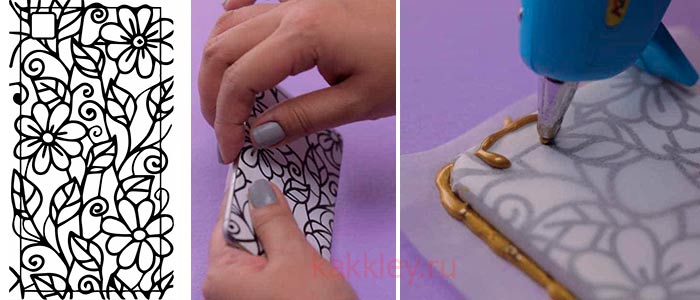
- Now you can make your own original and unique design. Previously, you can draw your sketch on paper, which will help you make a high-quality, interesting drawing;
- It is necessary to wait until our cover is completely dry, otherwise you will have to perform all the above steps again;
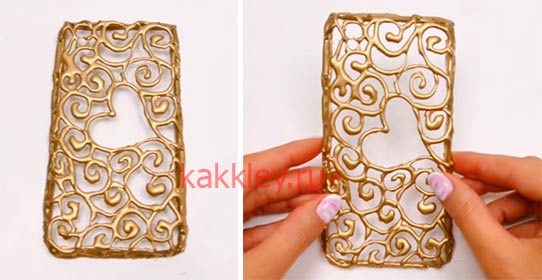
- Remove the phone from the parchment and the cover itself as carefully as possible;
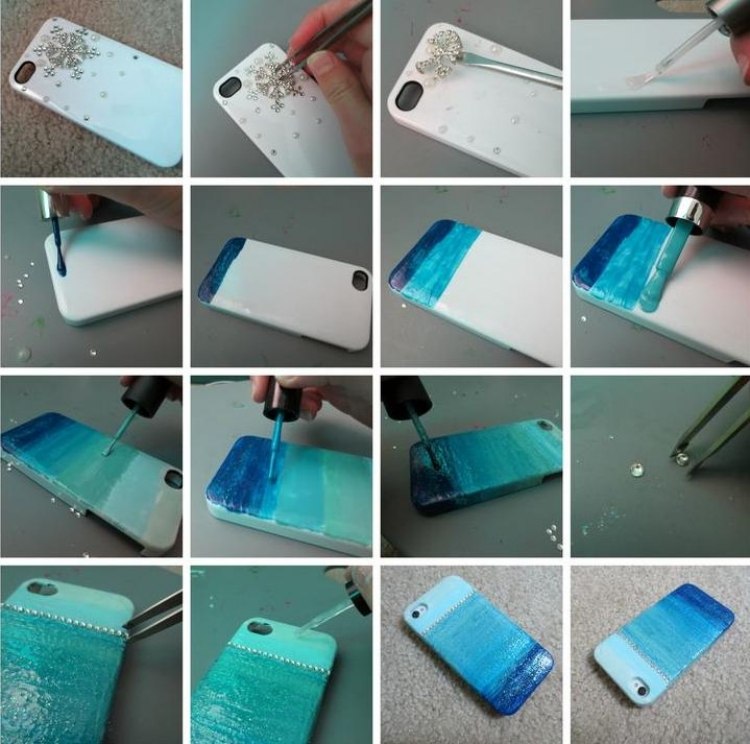
- Use colored nail polish to create your designs. You can use silver varnish, this will help to make a cover that will look like titanium;
- Wait until all the varnish is completely dry;
- Place your smartphone in your brand new case.
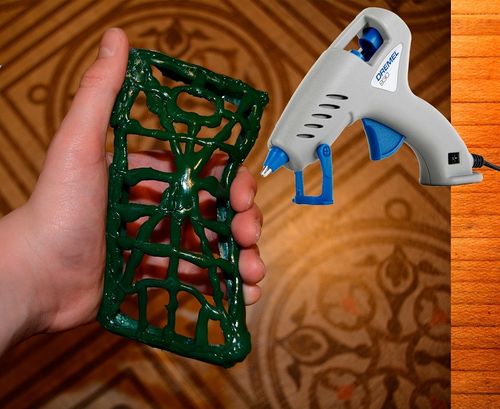
Ready painted case
By following the steps above, you can make your own phone case out of glue.While creating it, you can be completely confident that such a smartphone accessory will be in a single copy.
If you are not completely confident in your abilities, then be sure to watch the training videos and photos. Through careful study of the issue, you can make a phone case out of glue that will delight you for a long time. You will get better and better each time.
Manufacturing instruction
We proceed directly to creating a functional masterpiece. We follow a step-by-step master class.

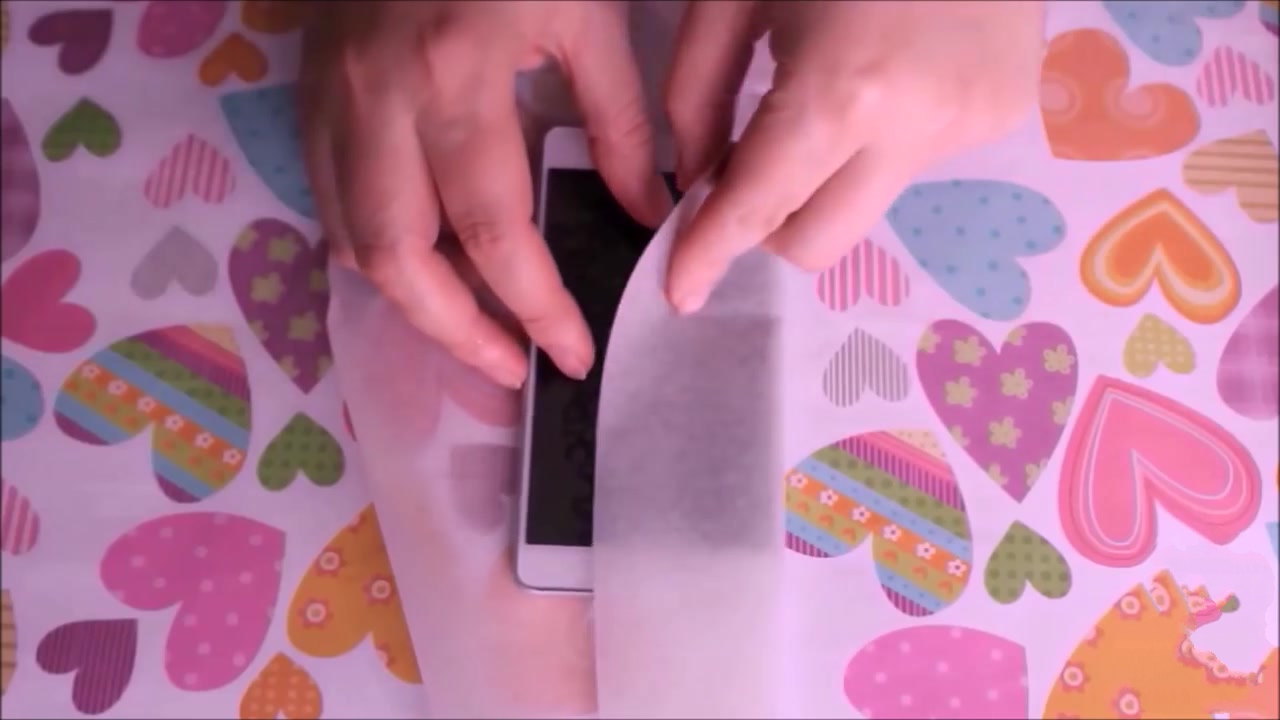
Step 1. Take parchment paper and wrap your smartphone with it. It is the rough side that should fit snugly to the cover of the gadget. We fix the resulting wrapper with tape.
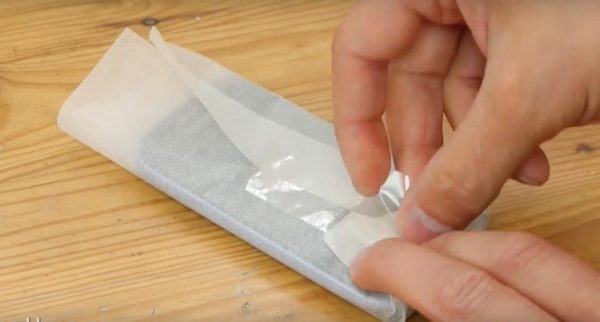
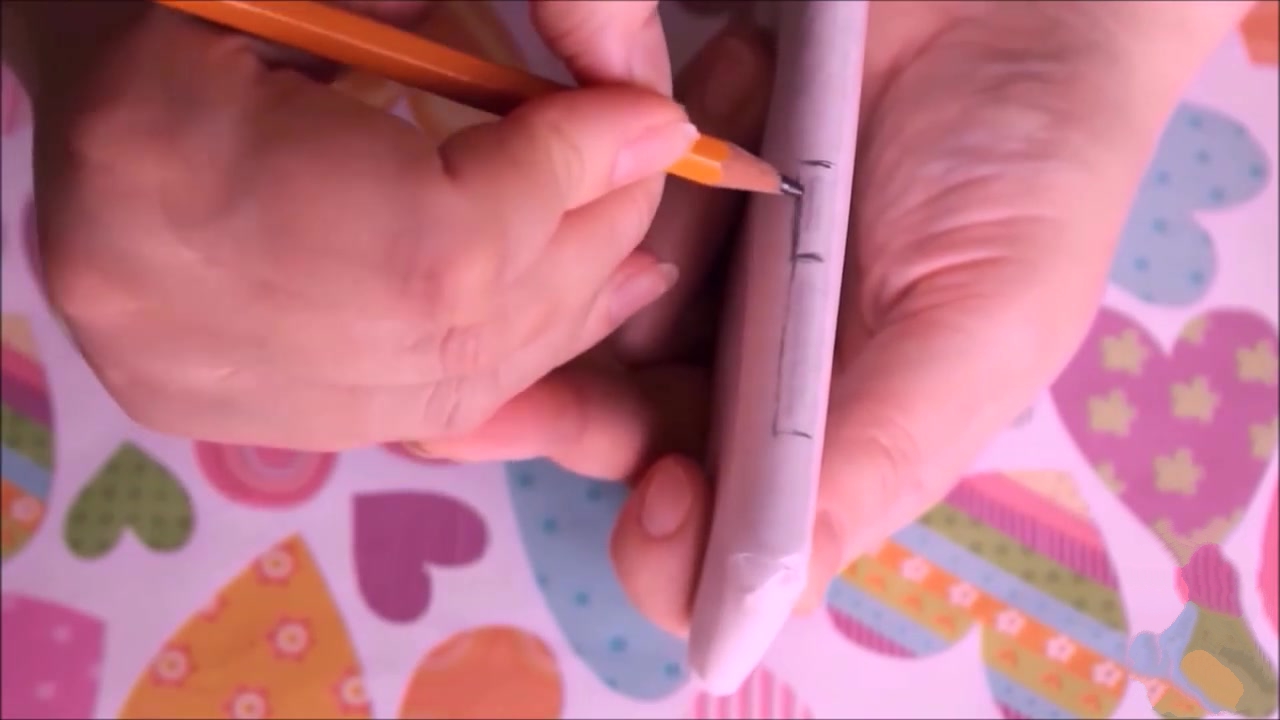
Step 2. Using a slate pencil, outline all the functional segments of the phone that will need to be cut out on the bumper: camera, flash, charging and headphone connectors.
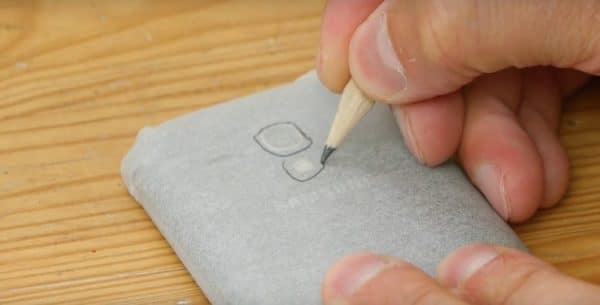
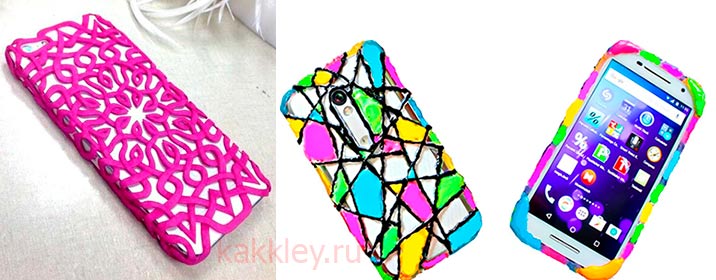
Step 3. Now we turn to the creative part of the work - draw the desired pattern on the paper covering the smartphone. Here you can give full free rein to the imagination and create an abstraction. You can also get inspiration from the internet. We find a picture with a suitable pattern and transfer it to the gadget.
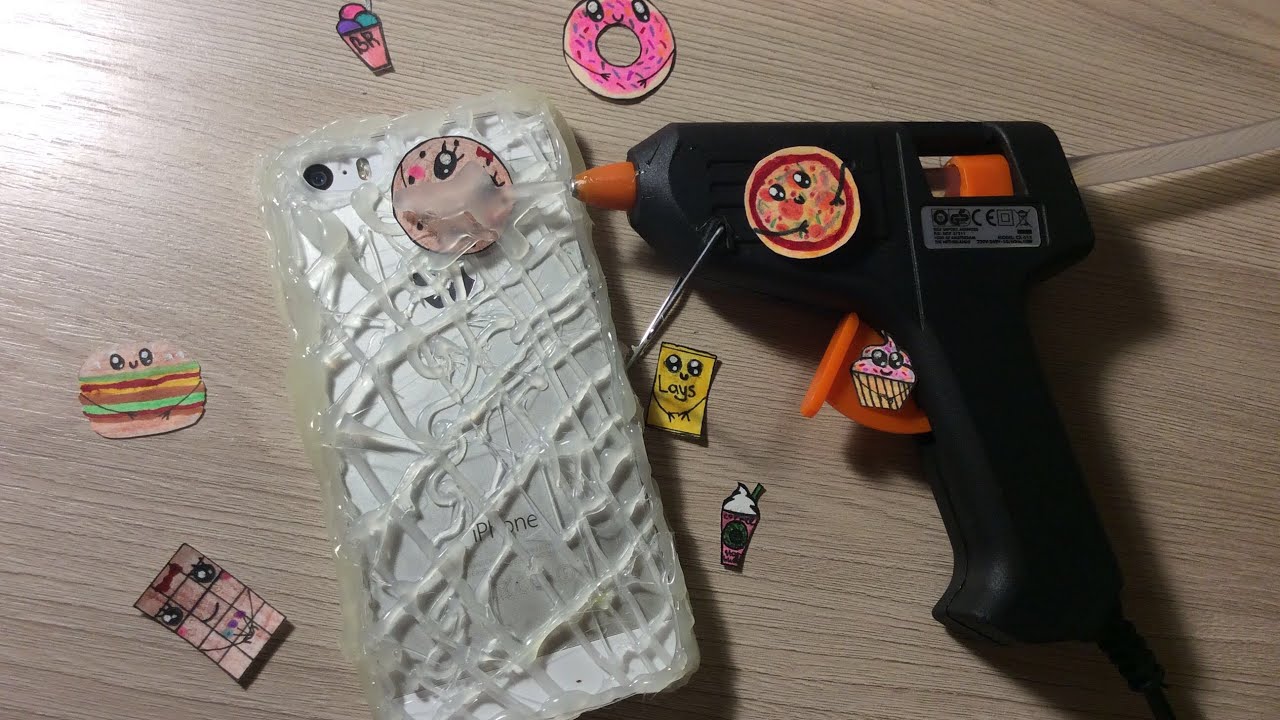
Step 4. Put the device face down, use a glue gun to draw a solid line around the phone's outline
It is important to keep the same thickness on all sides
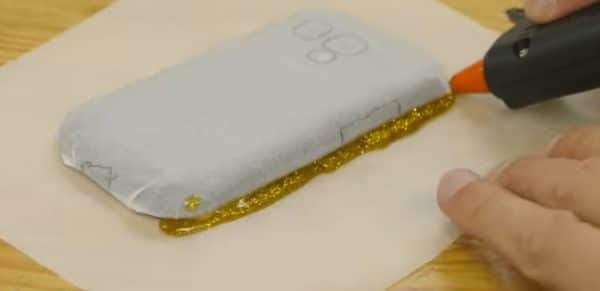
Step 5. It is necessary to wait until the glue has completely cooled down and hardened. Next, we continue the phased application of the remaining ornament.
It is important to keep a measured pace here: periodically take minute pauses to protect the gadget from overheating.

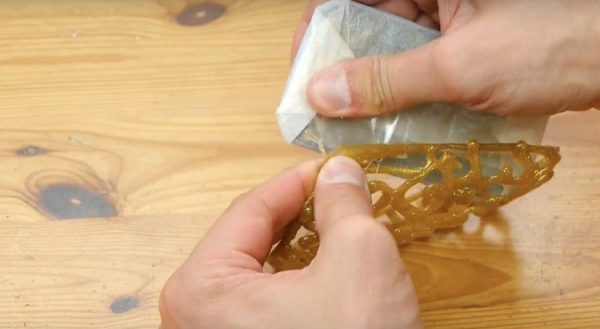
Step 6. Once the hot melt glue is completely dry, you can remove the resulting blank from the paper. This must be done very carefully so as not to damage the glue contours.
Step 7. Use scissors to clean rough edges, if any.
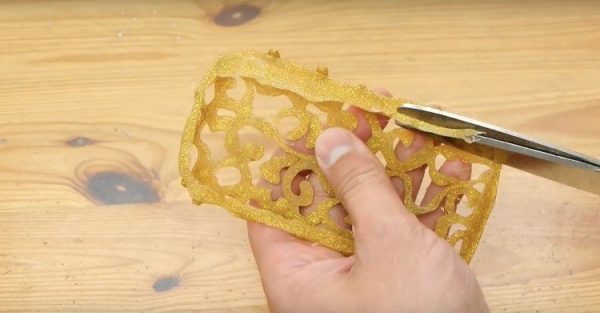
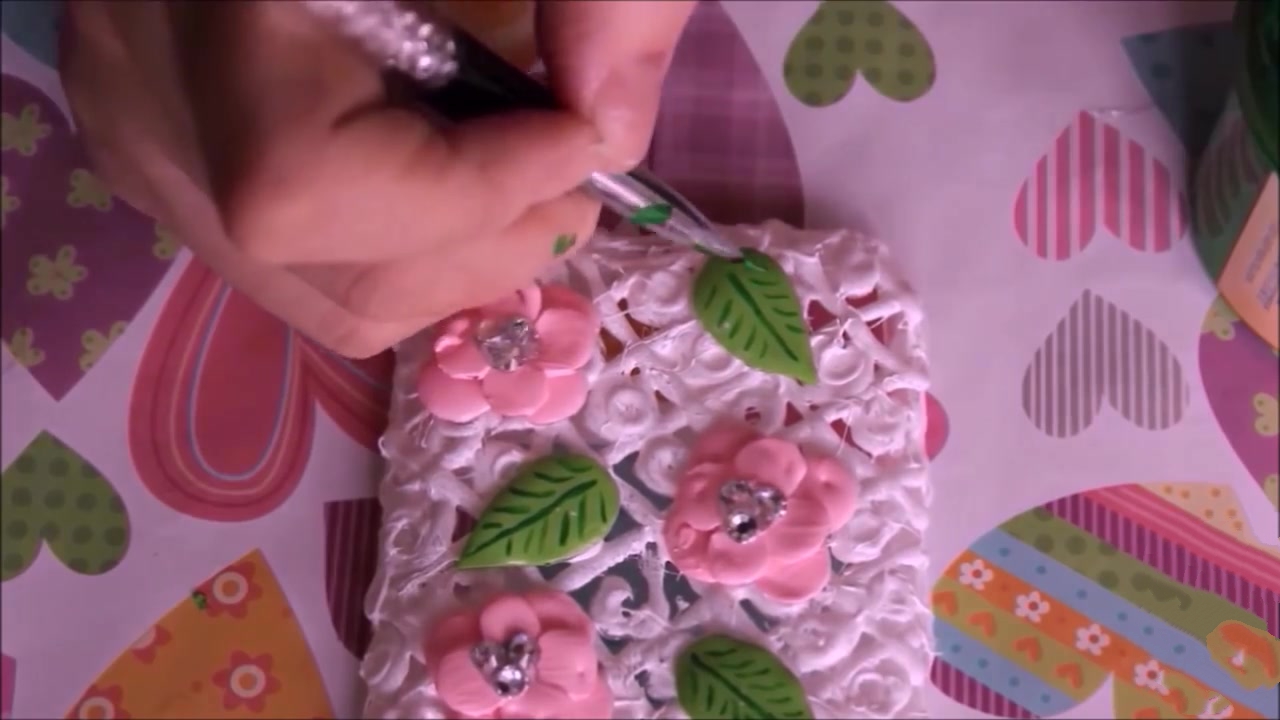
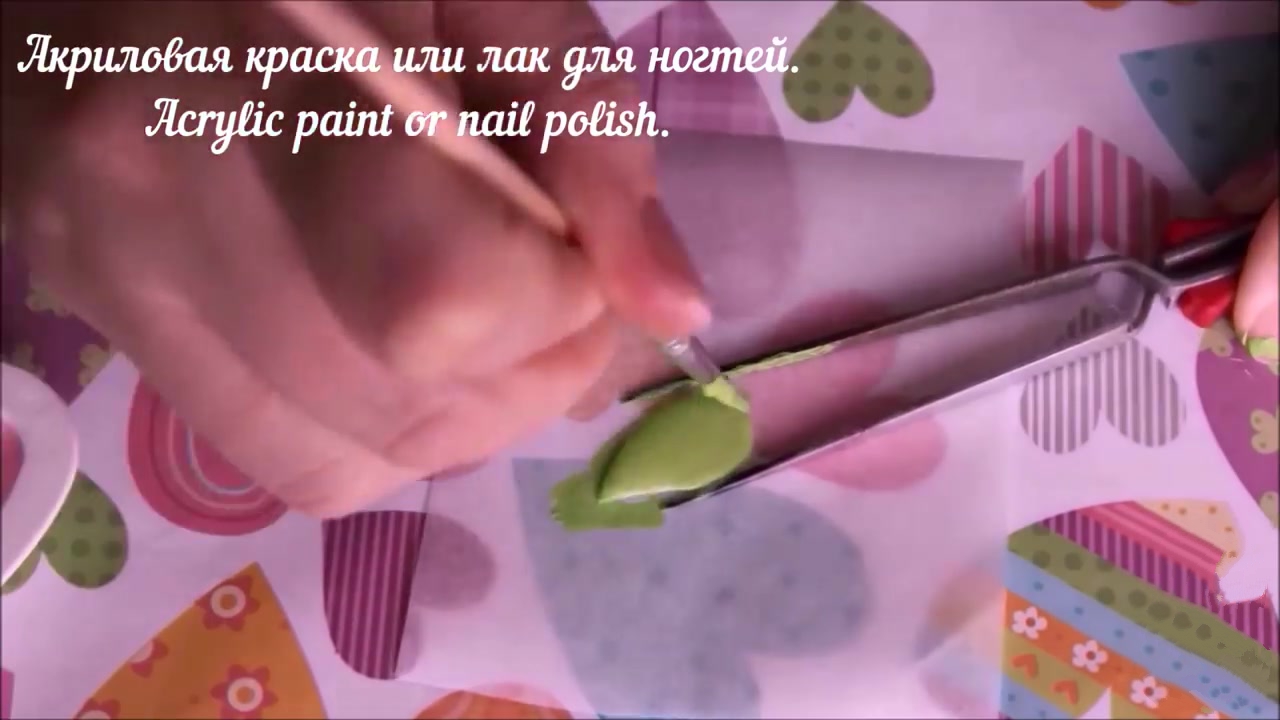
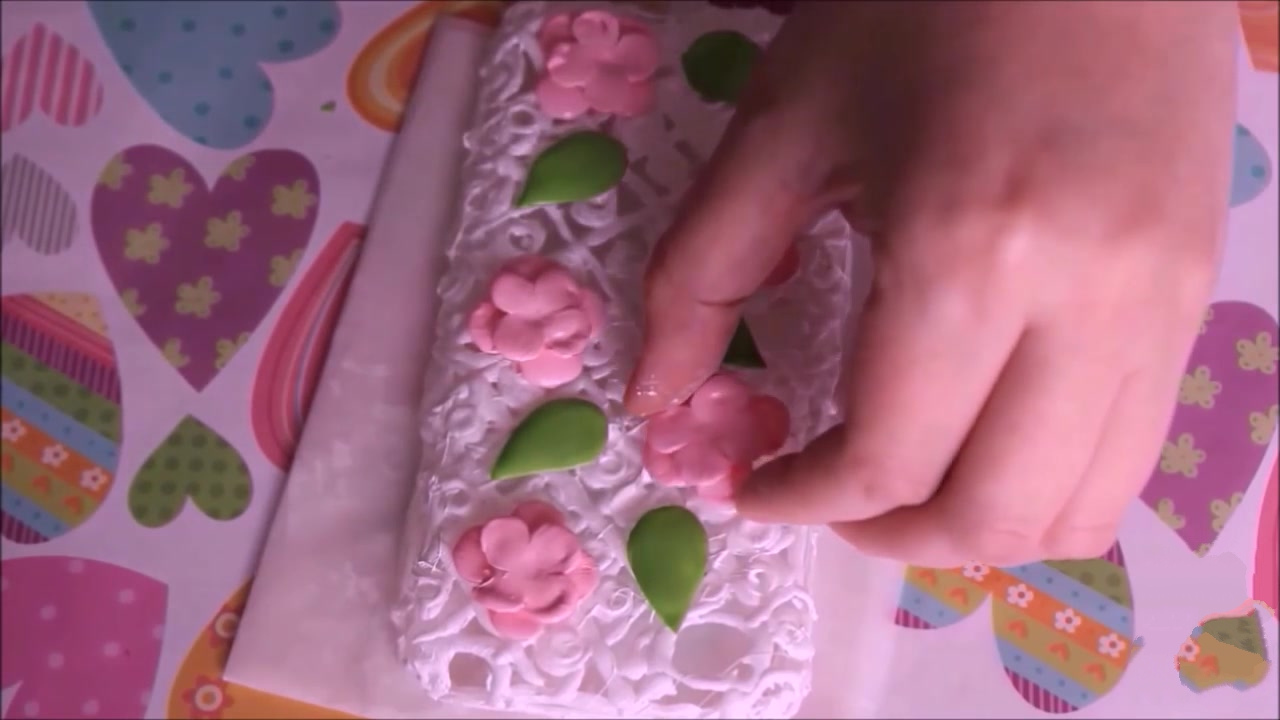
Step 8. To add personality and brightness to the bumper, cover it with acrylic paint or nail polish.

Stylish and unique handmade cover is ready, you can safely put it into use.
Phone case
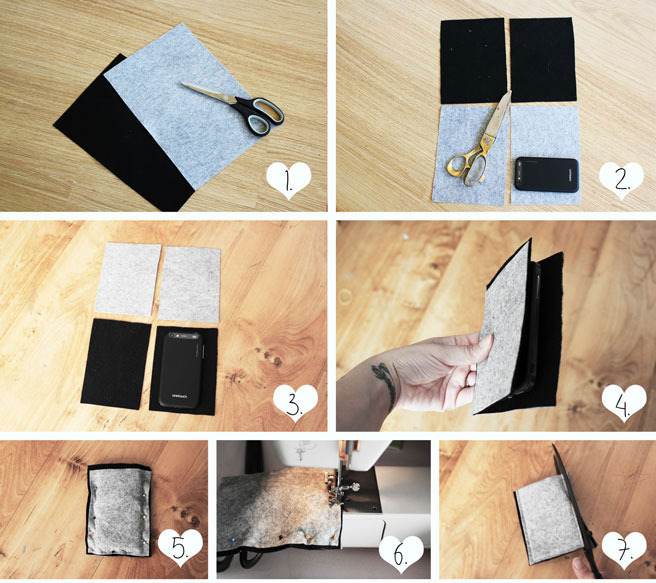
A case-book will require additional costs, but you yourself can choose the color and shape of such a case. It will be able to protect your smartphone or phone from damage if it is closed. The shape of such a cover has a special charm, because the cover can have absolutely any pattern.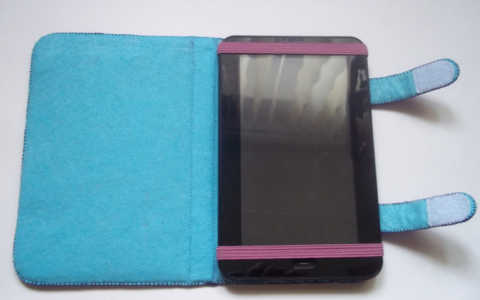
You will need:
- Phone-sized notebook with elastic band
- Stationery knife
- Ruler
- Glue
- Pencil
- Felt
- Narrow elastic
- Cardboard
Progress:
- Use a knife to cut out the notebook sheets and sides.
- Divide one side in half and outline with a pencil.
- Cut with a knife along the line to the outermost fiber overlap.
- Now in this place it is necessary to cut a strip about 0.5 cm wide, so that later it would be easy to make a fold here.
- Carefully glue the inner sides of the cover with glue.
- Draw a shape for the inside of the cover along the contour of the felt.
- Place our felt blank on the inside of the cover and cut the felt along the side fold.
- Glue the felt blank to the cover.
- On a piece of cardboard, outline the phone and cut along the line. Glue it to the felt and cut to shape, retreating from the cardboard to 1 cm.
- Cut the felt at the corners with two cuts on each side so you can fold it. Glue the corners.
- Glue two rubber bands across this blank so that you can then fix the phone here.
- Glue the workpiece to the extreme bending half.
- Our case is now ready to use.

