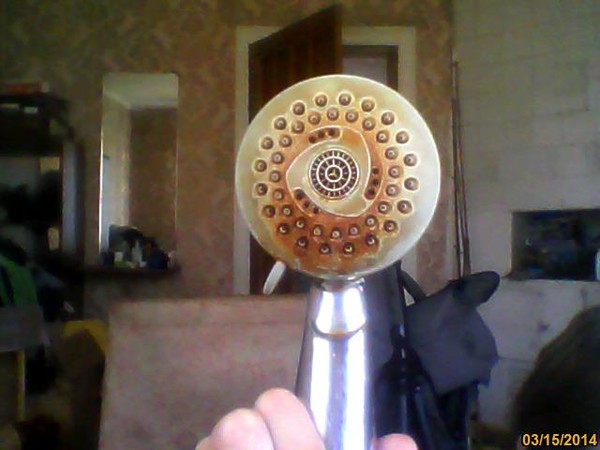
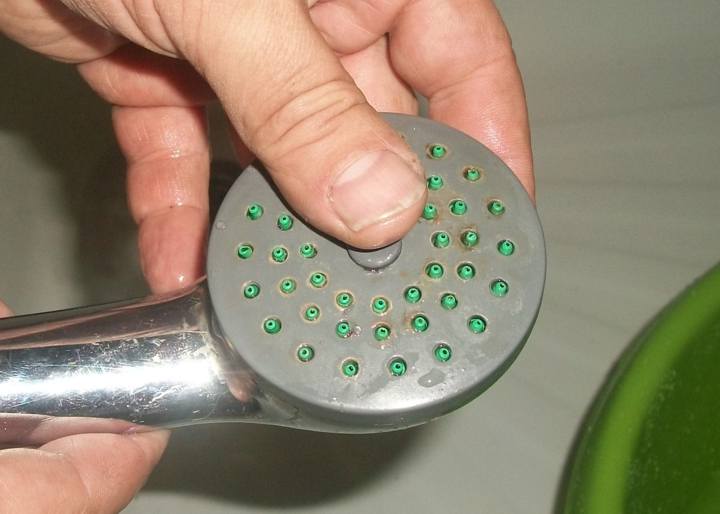
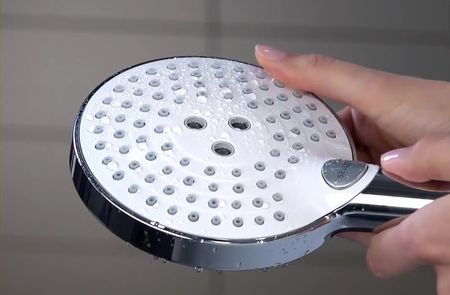
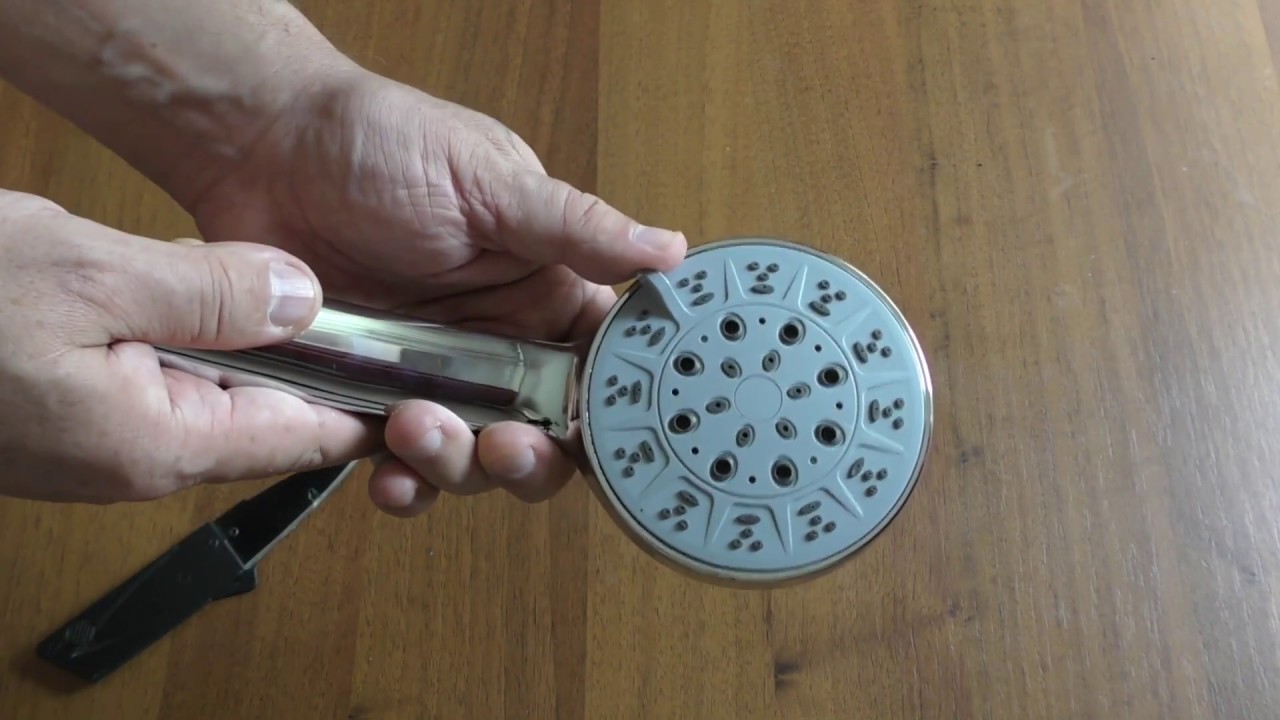
Step-by-step instructions for disassembly
For work, you will need a Phillips screwdriver, an adjustable or gas wrench No. 1, a special pin wrench for disassembling the shower head. This key is often supplied in a kit. In the absence of it, you can do it yourself or use improvised items.
When disassembling the shower body on your own, it is recommended to be extremely careful, to set aside small parts and structural elements separately. When dismantling rubber gaskets, handle them with extreme care to avoid damage. Do not forget about the presence of a spring in the housing.
So, the algorithm is as follows:
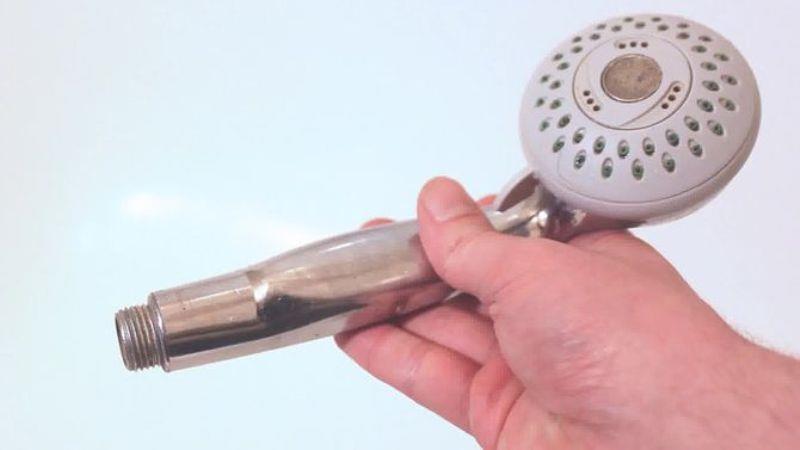
Disconnecting the shower, removing the hand shower from the flexible hose. This is done quite simply: the nut at the junction with the hose is unscrewed. Before that, you must turn off the shower mode on the mixer.
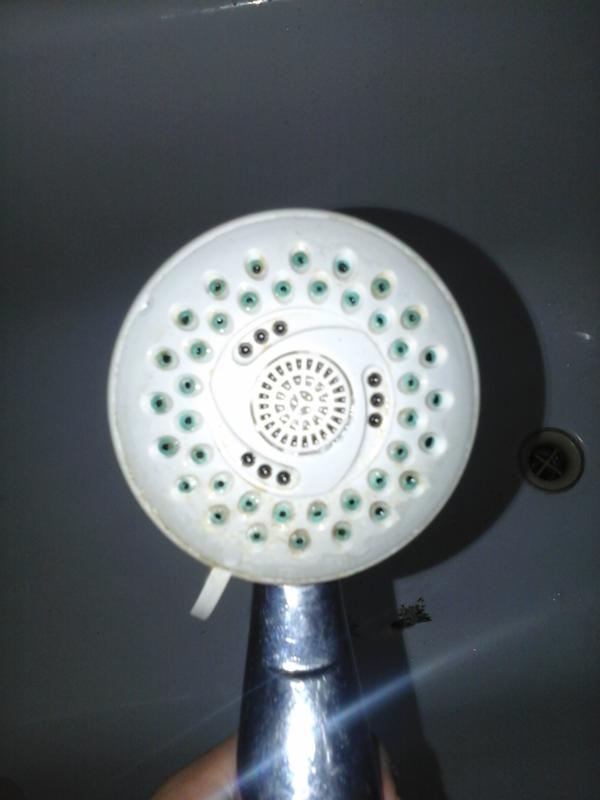
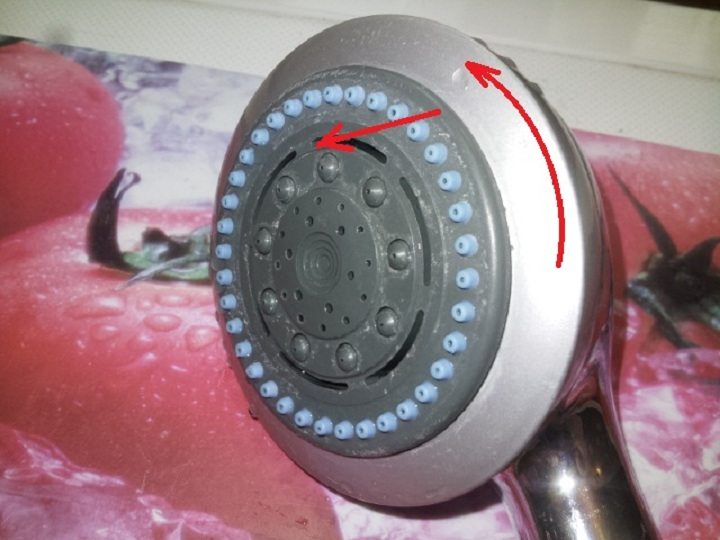
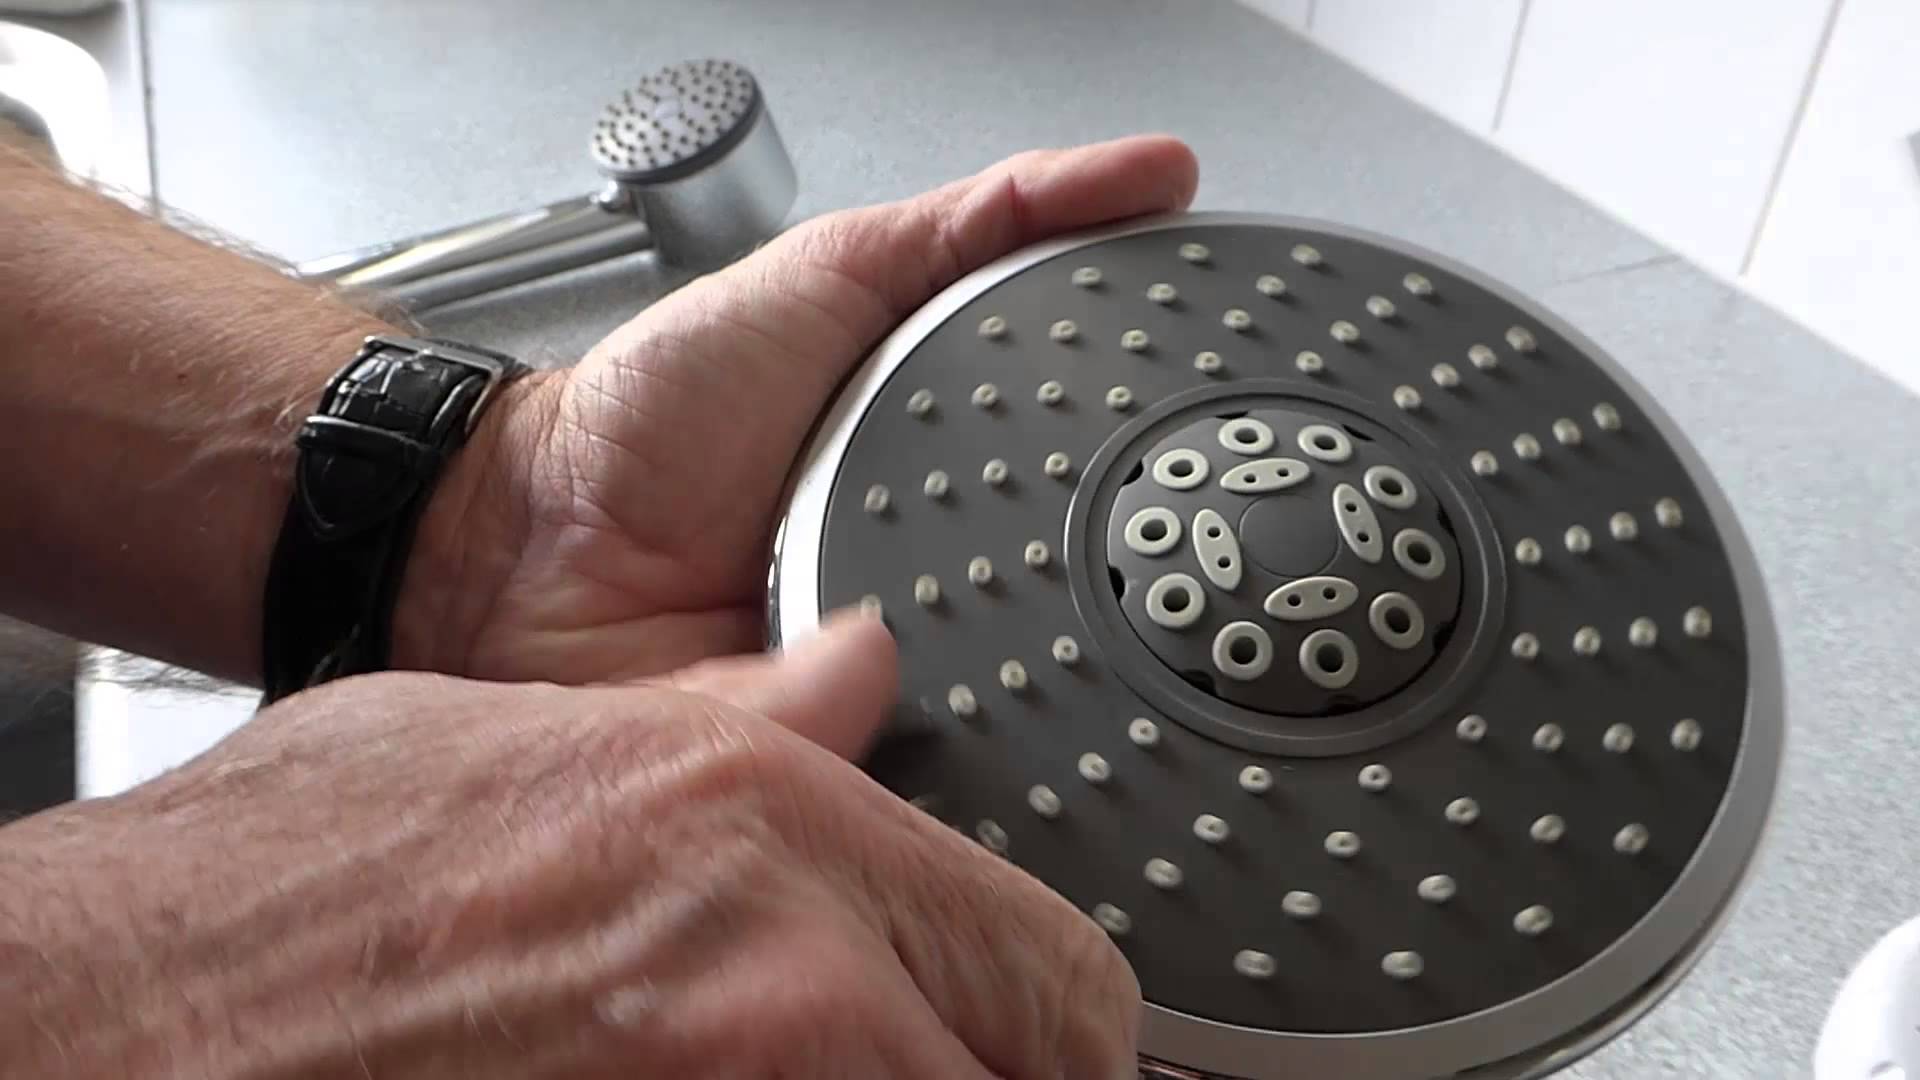
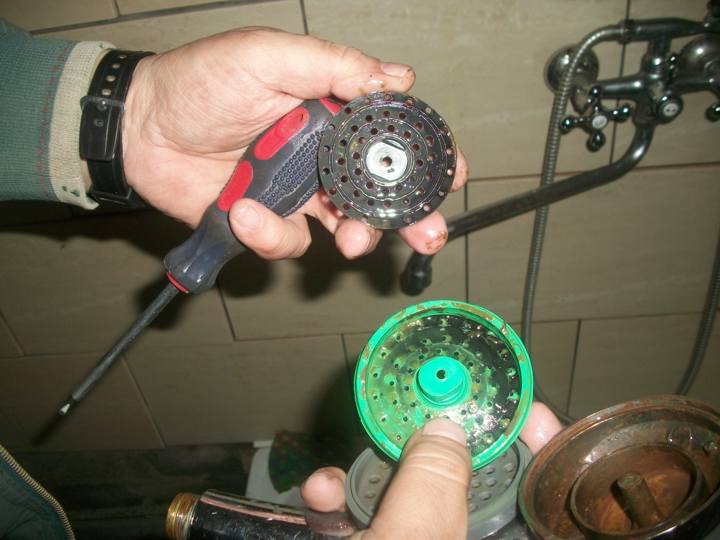
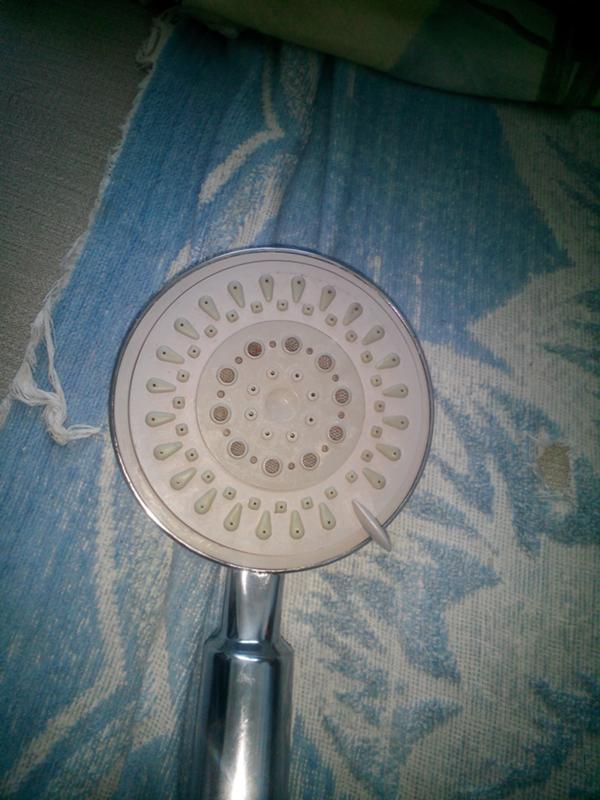
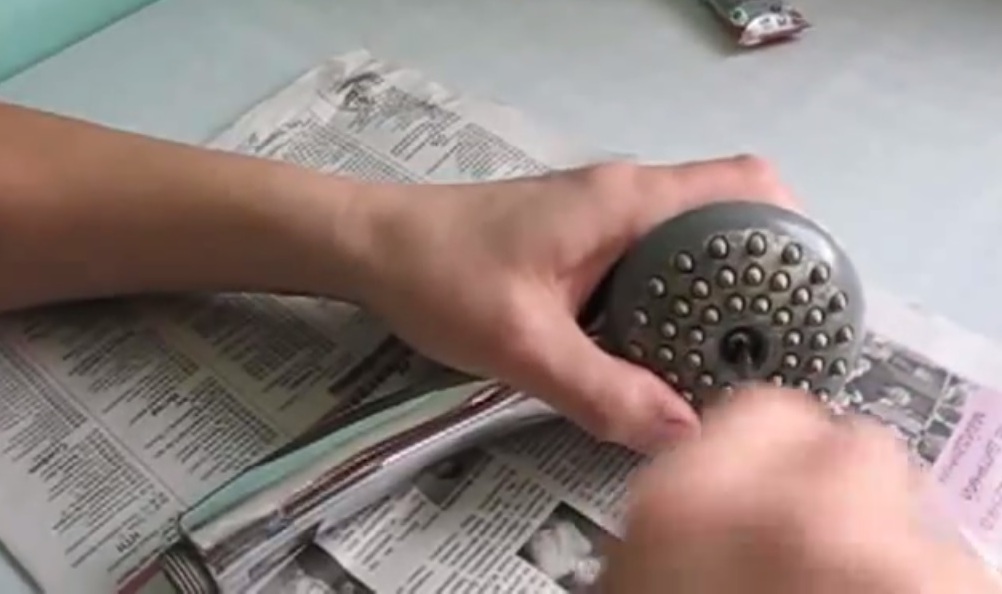
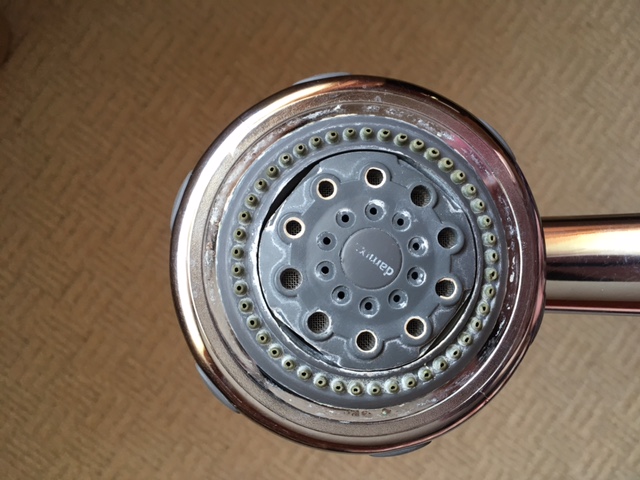
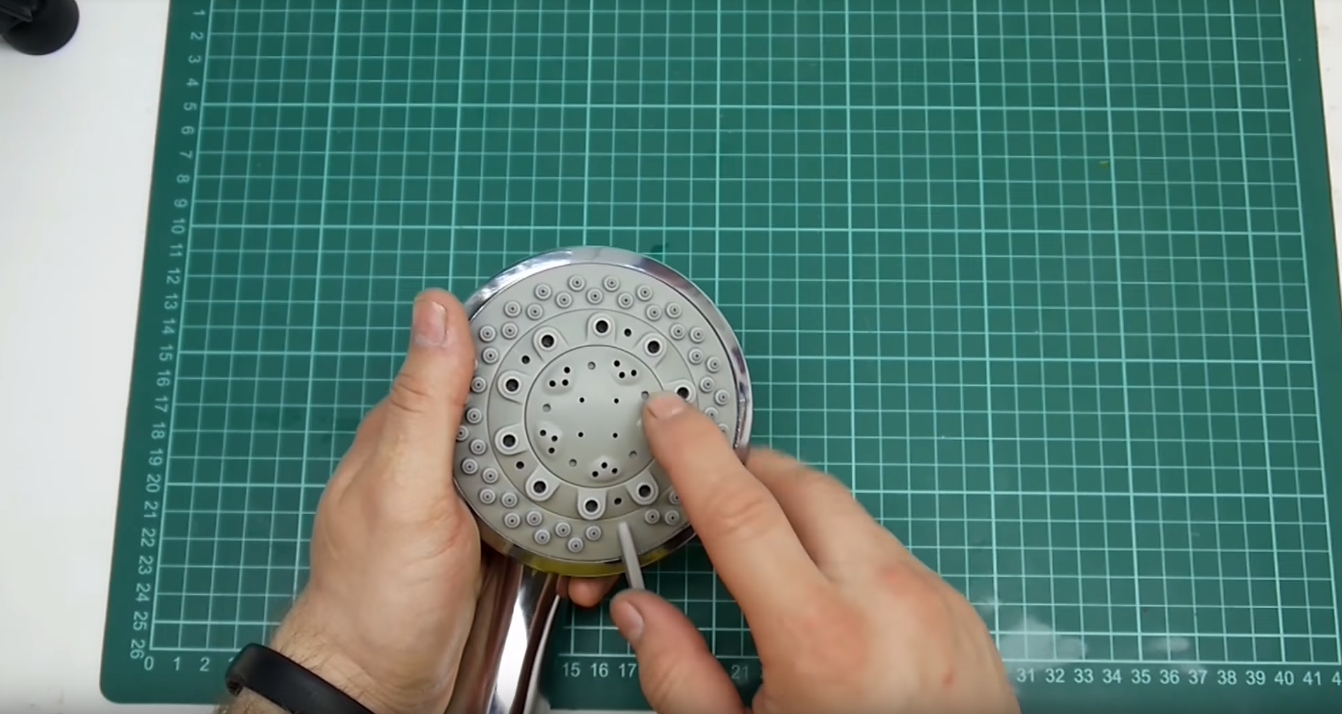
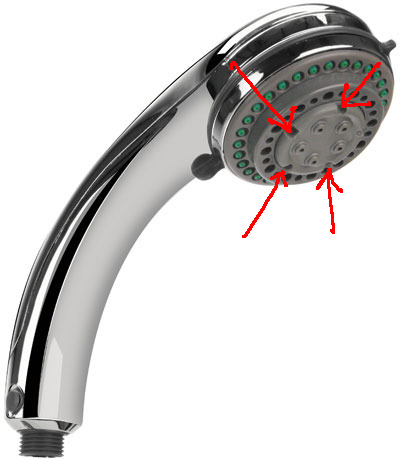
In order to disassemble the watering can with the switch, you need a special key. If you look closely at the panel of the diffuser mesh, then on the central circle you can see 3-5 recesses intended for dismantling. The panel is unscrewed from right to left. You can unscrew the central panel of the shower mesh with a special key, if it is not available, you can use scissors with rounded ends for this purpose. But it is best to use a key, this will keep the mesh surface intact, without scratches and defects.
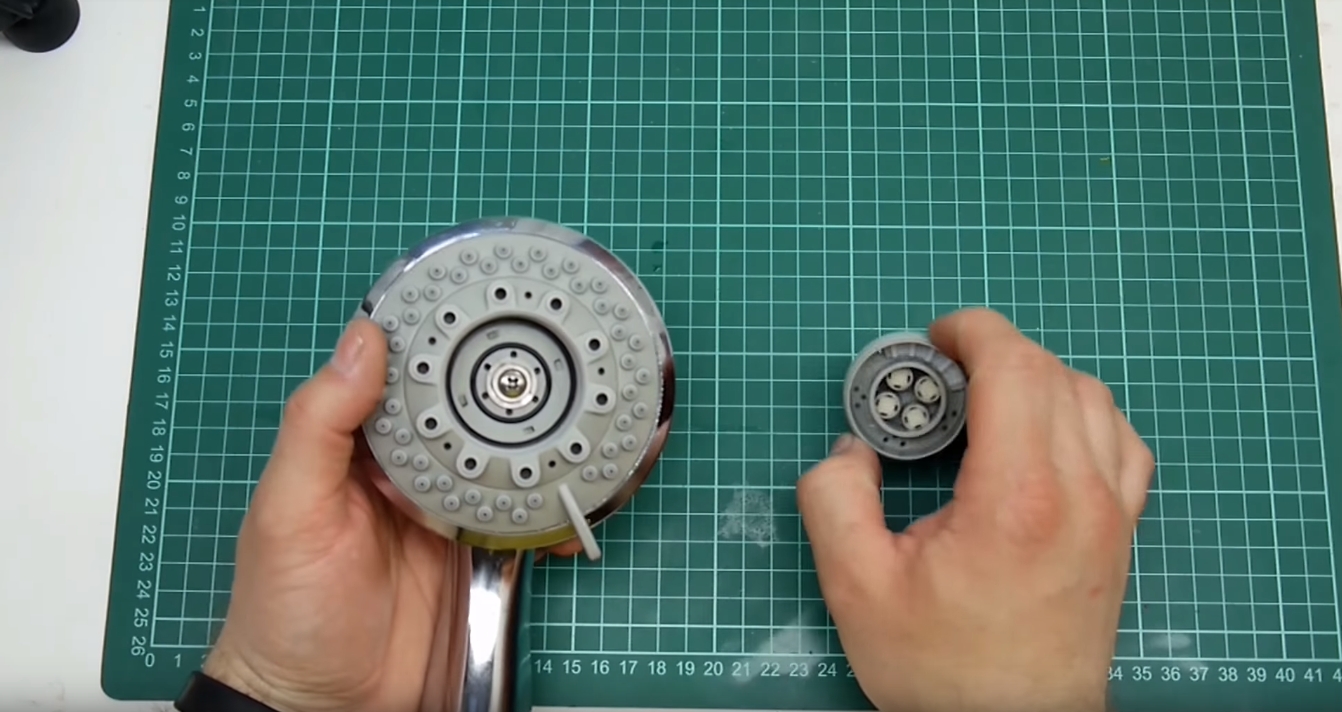
After removing the central panel, you can see the swirler box under it, which is fixed with a screw in the center. Unscrew it with a Phillips screwdriver.
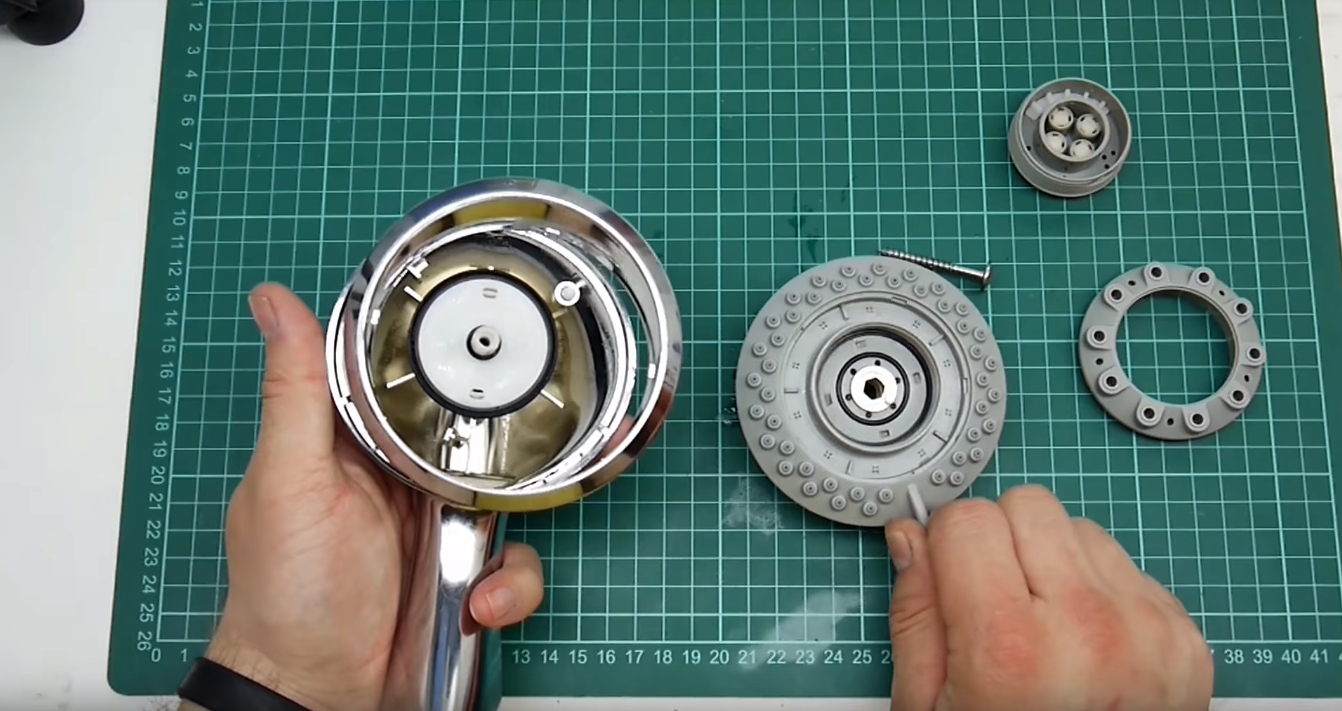
Removing the concentric circles of the shower mesh, switch
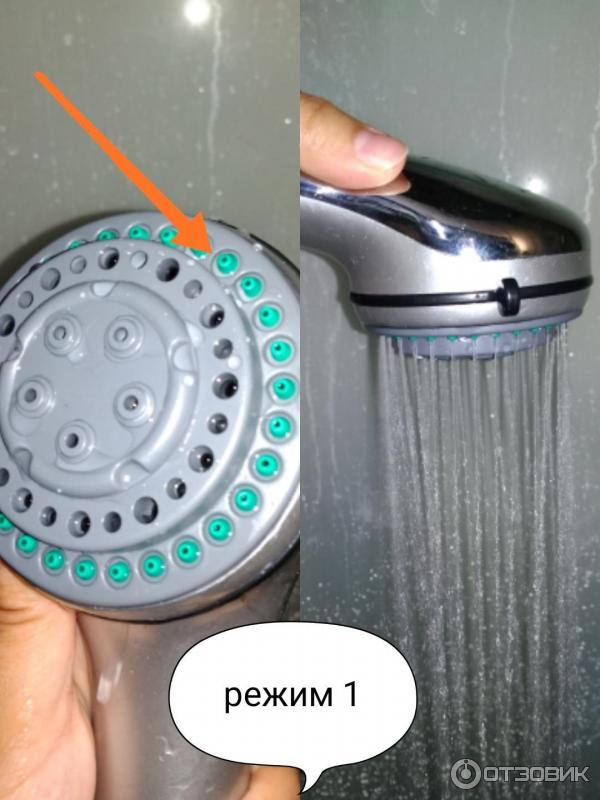
Pay particular attention to the movable diffusers and flow baffles that may be located under the diffuser. When opening the mesh, they must be carefully removed.
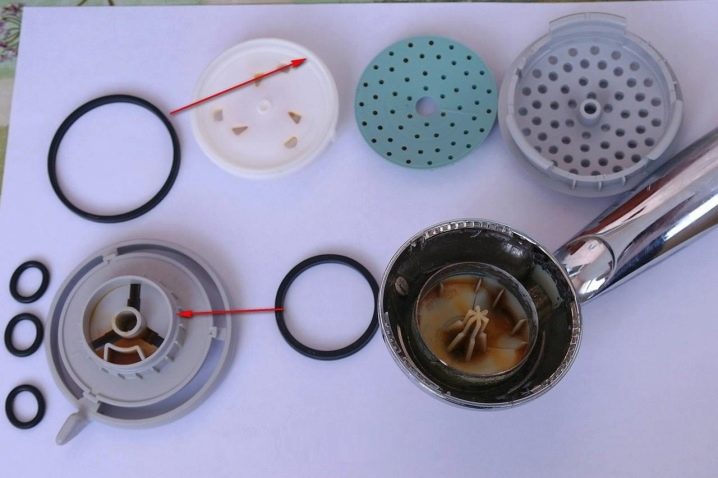
Then we take out the swirler from the watering can. Pay attention to the rubber gaskets, they must be handled very carefully.
There is usually a switch spring under the swirler. Removing the case should be done carefully to avoid losing it.
The swirler box can be one-piece, not subject to repair, or split, with 2-3 plastic latches, in this case opening the box is not recommended. The latches are weak enough and may not withstand brute force. The screw connection is less common.
Assembly after repair or replacement of parts is carried out in the reverse order: the swirler body is inserted, the screw is tightened, the concentric mesh diffusers are installed, and the central panel is tightened. Then the watering can is connected to a flexible hose.
Be sure to rinse the holes in the mesh from the inside after disassembling, usually during use of the shower a so-called water stone forms in them - a deposit of mineral elements and rust found in tap water.
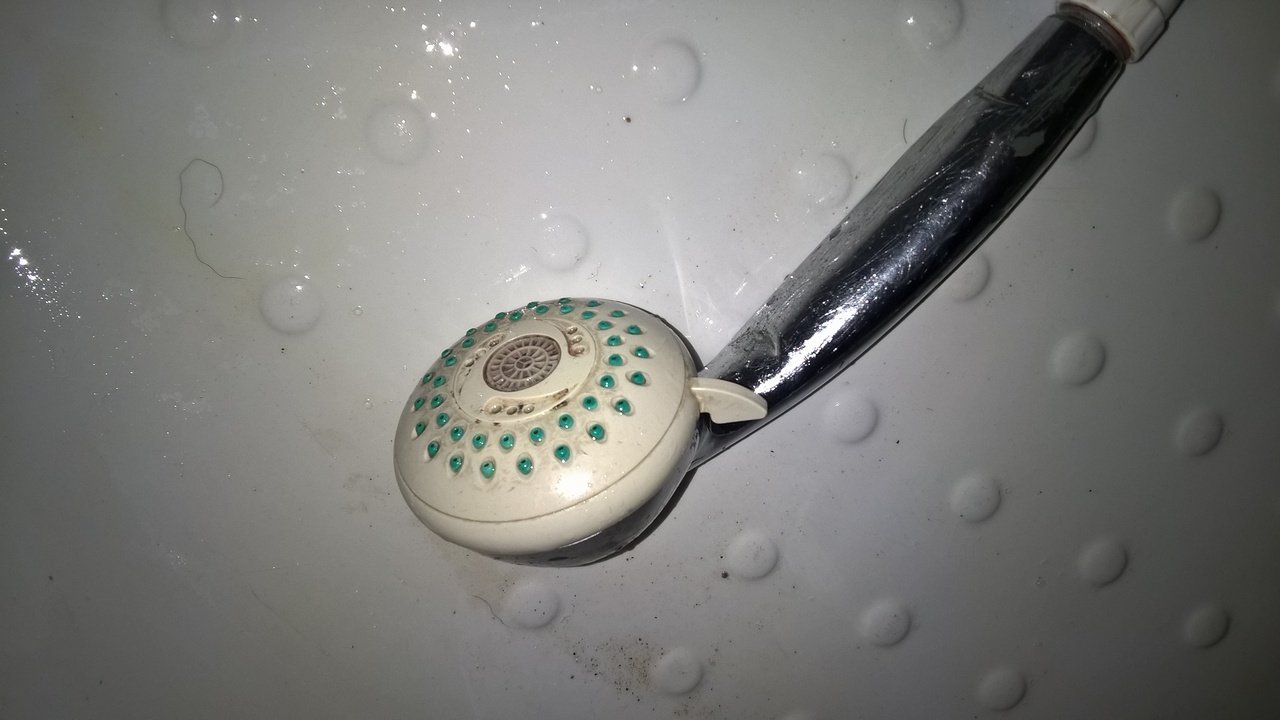
How pleasant it is to come home after a hard day's work and take a relaxing shower. However, sometimes situations arise when the shower head stops functioning, thereby depriving us of the well-deserved pleasure. Do not despair, because you can fix the problem with your own hands, and for this you do not have to spend a lot of time. Let's figure out how to independently disassemble the shower head in the bathroom, and what features should be taken into account in this case.
How is the installation done?
Included with the shower stall there is an instruction with a description of the work. If it is not there, then you need to carry out the installation based on the following tips:

- A place for assembly should be chosen. It is advisable not to do this in the bathroom.
- The installation of the pallet depends on whether there is a frame. If it is present, then the commit will be more difficult.
- It is necessary to turn the pallet over, fix the square beams to it.
- The beams have holes into which the studs are installed. With their long side, they rest against the corner of the product, and with the short side, against the floor.
- On one side, fixation is carried out with a nut, and on the other - with a thrust bearing. The structure must be turned over and put in place. Adjust the height with a foot pad.
- After installation, everything is tightened using locknuts. Brackets must be used to fix the pallet to the wall. The joints are coated with a sealant.
Installation of a product without a frame is performed as follows:
- When installing the product with a flat tray, a siphon must be installed. Unscrew the clamp and the joint with the drain hole, treat with sealant.
- Then everything is inserted into place.
- On the other hand, a silicone-treated seal is attached to the corrugation.
- Then the hose is inserted into the drain.
- After installing the siphon, pour water into the pan and check for leaks. If it is absent, then the capital fixation is performed.
- The product is attached to the installation site and lifted by 5 cm. Polyurethane foam is poured under it. The load must be placed in the installed pallet. Only after a day can the next stage be performed.
A variety of shapes and sizes of shower heads
Modern nozzles can vary in shape and size. In the form of shower heads, they are produced in the following versions:
- rectangular and square;
- triangular;
- round and oval.
The size of the watering can is determined by the area of its application. For example, those who like to bring down a whole "waterfall" on themselves choose the model "tropical rain", the working area of the spout of which is about 50 cm 2. Connoisseurs of the classics choose standard hand-type watering cans, the diameter of which does not exceed 6-8 cm.
The ergonomics of the product is also of great importance. Therefore, when choosing a model, twirl it in your hands in order to check how comfortable it will be in everyday life.
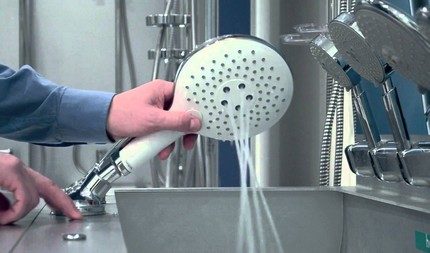
Some stores have a special stand where the consumer can check the device's performance by placing his palm under the stream.
In terms of practicality, those watering cans are much more convenient in which the modes are switched using a button. It is much safer for your hands. And besides, the turning mechanisms are beginning to become a thing of the past.
Choosing a shower head
According to the method of installation, shower heads are stationary and with a flexible shower hose. Stationary ones are ceiling and wall. Shower heads with flexible hose are available in two wall mounting designs. With the help of a headset (the bracket in which the shower head is installed is fixed on a fixed vertical rod and has the ability to move in height) and with the bracket fixed on the wall permanently.
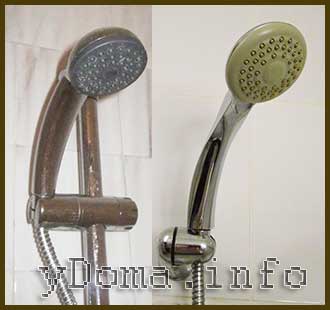
Both attachment designs allow you to rotate the shower head around its axis and change the angle of inclination, which makes it possible to direct the water jets in the desired direction. The design of the shower head attachment allows you to quickly remove it from the bracket for manual use. This is necessary, for example, when washing a child or a person with reduced mobility, washing a bathtub and tiled walls near the bathtub or walls of a shower stall.
There are designs when the shower head is not mounted on the wall, but simply lies on the mixer in a special fork. It is inconvenient to use such a watering can when taking water procedures, since one hand is busy.
Stationary wall and ceiling shower heads are non-removable, the water supply pipe is usually hidden in the wall, and the water mixer is mounted on the wall, in a place convenient for turning on the water supply and adjusting the water pressure. Wall-mounted watering cans are usually provided with an adjustment of the angle of direction of the water jets. In ceiling, such an opportunity is available only in very expensive models. The advantage of ceiling watering cans is the imitation of real rain, due to the large area of the outflow of water jets. Ceiling showers are usually made of chrome-plated brass, require more water pressure and are very expensive.

Wall-mounted stationary shower heads, as in the photographs, are also usually made of chrome-plated brass, but they are much cheaper than ceiling ones. Stationary ones also have the ability to control the direction of the water jet.
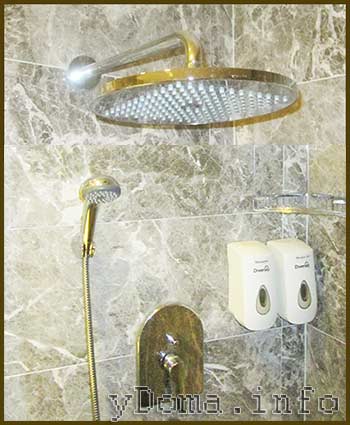
If there is a need to wash a child, people with disabilities in movement or animals, then it is better to refrain from installing a ceiling or wall watering can, or in addition to install a watering can with a flexible hose. The photo shows a wall-mounted shower head and an additional shower head with a flexible hose. The water supply to the watering cans is controlled from one lever tap of the mixer. Using the button, you can switch the water supply in turn to any of them.
The choice of a shower head with a bracket on a bar is justified only if there are people in the family with a wide range of growth, although the flow of falling jets from any water splitter of the watering can does not expand much to the bottom, and people of short stature should not experience discomfort when taking a shower. Unless it will be difficult for them, if necessary, to reach for the watering can in order to pick it up. Some people just like the look of the shower head design. But this pleasure is several times more expensive than a shower head with a simple bracket. It should also be noted that if the fixing handles are made of plastic, they will wear out over time.
When choosing a shower head, you need to pay attention to the water divider. Dividers in shower heads are of two types: in the form of a flat plate made of metal or plastic with holes, and in the form of a curved surface in which not just holes are made, but for each jet a rubber nozzle is installed separately, which is a short tube

Thanks to the nozzles, the shape of the water stream flowing out of the watering can is formed in such a way that when the water pressure is weak, the streams do not merge. Due to the elasticity of the rubber, the holes in the splitter, in contrast to flat splitter, will not be clogged with limescale. Only large particles of dirt will be able to plug the holes.
Modern shower heads are usually made of plastic. This reduces the cost, the watering can is lightweight and does not damage the enamel coating if it falls into the bathtub. Thanks to the metallized coating of the body, the watering cans have a beautiful appearance.
Considering the above, the budget option for purchasing a shower head is a plastic shower head with a rubber divider, a flexible shower hose with a bracket on the wall.
Cleaning products
To clean the watering can of a regular or more difficult-to-clean tropical shower on your own, you can use:
- special chemicals;
- folk remedies.
Application of chemical compositions
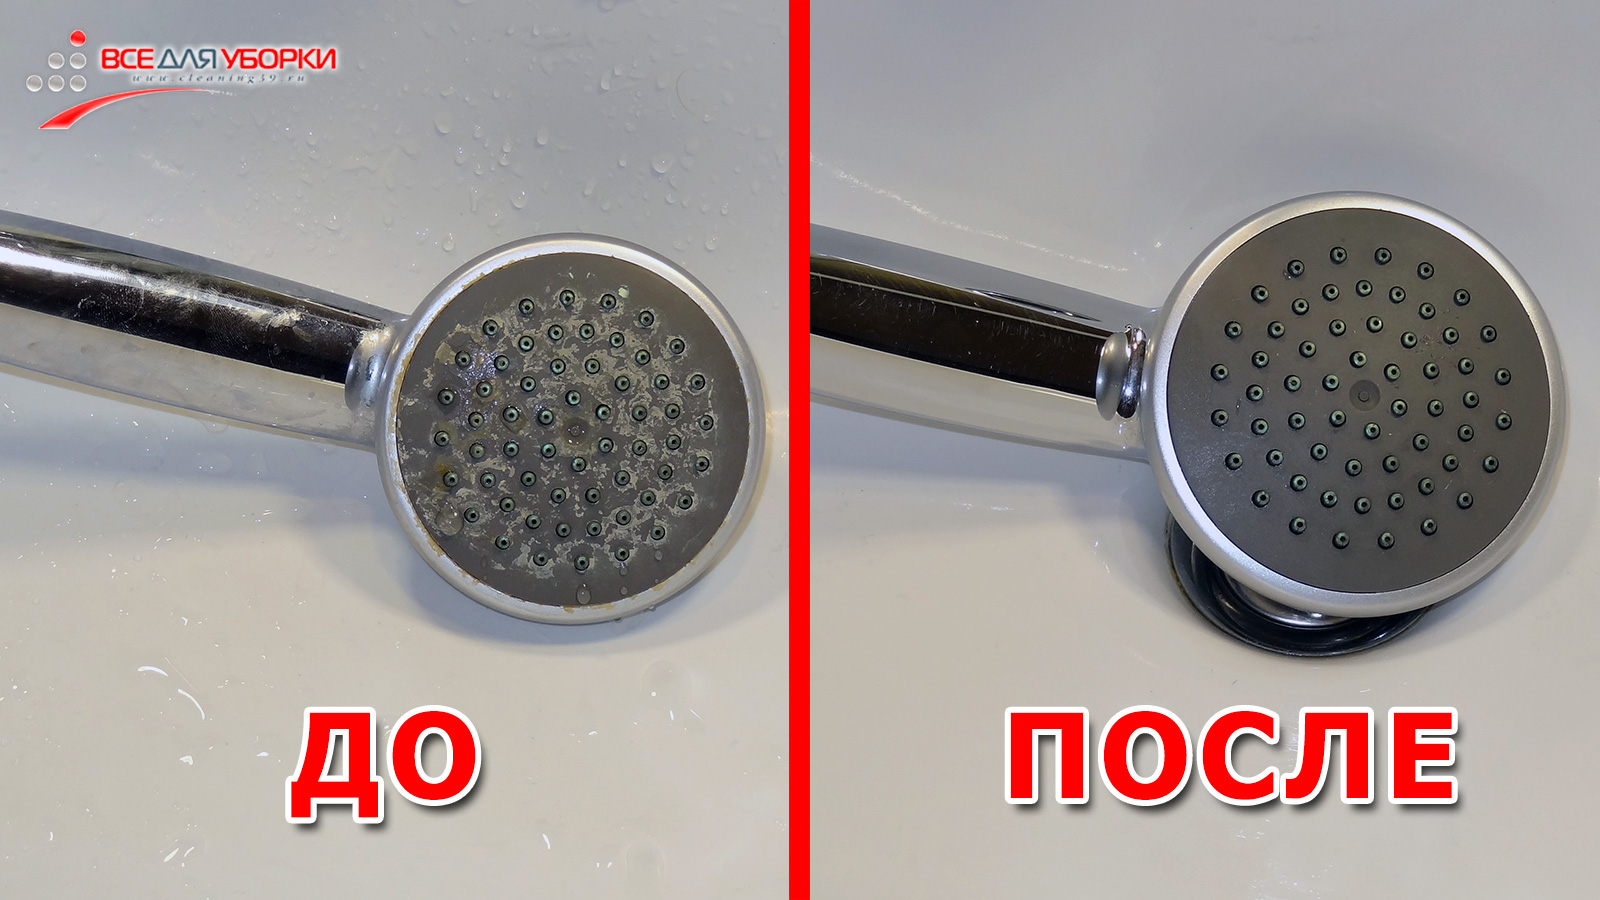
How do I remove limescale and limescale deposits from the shower spray? The easiest way is to use household chemicals, which are different:
- fast cleaning;
- no negative impact on the body and other structural elements;
- cost-effectiveness.
The most popular remedies are:
- Cillit Bang;
- Dressing duck;
- Mister Muscle;
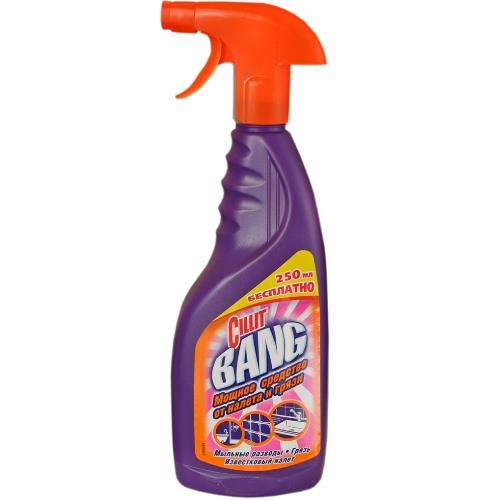
Descaler
Cleaning from scale and lime with household chemicals should be carried out in accordance with the instructions on the packaging and in compliance with all safety rules.
Folk remedies
How to clean the inside of the watering can in the absence of specialized products? You can use folk methods, among which are popular:
- vinegar. For the procedure, use 7% vinegar. The use of essence is prohibited, as it negatively affects the body of the plumbing device. Cleaning is done like this:
- a solution is being prepared;
- all elements of the watering can are immersed in the solution for 6 - 10 hours (you can leave it overnight);
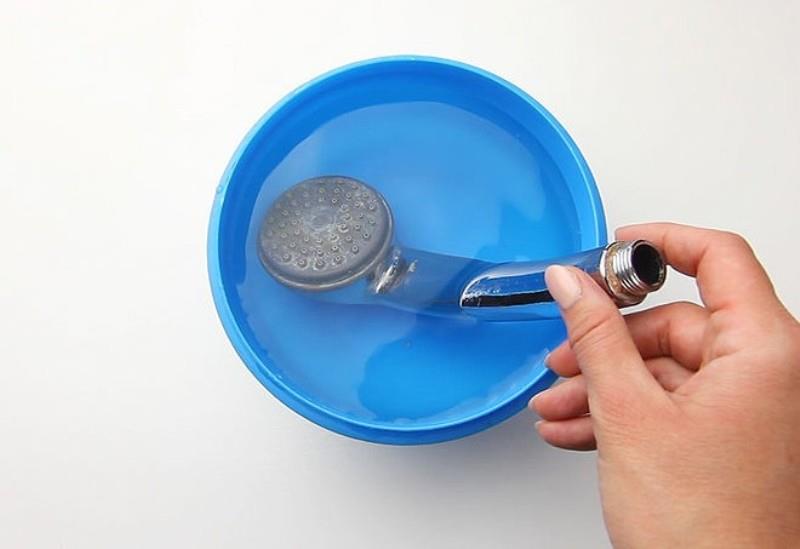
the elements are rinsed with running water.
- lemon acid. Cleaning is carried out in a similar way.For full effect, it is enough to soak the watering can in the solution (1 sachet of citric acid is required for 1 liter of water) for 2 - 3 hours;

Citric acid technology
- a solution of soda, ammonia and vinegar. For 1 liter of water, you will need 3 tablespoons of soda, 350 ml of 9% vinegar and 150 ml of ammonia. For a quick action, it is recommended to heat the prepared solution to 60 ° C. Cleaning time is from 40 minutes to 1 hour;
- oxalic acid. In extreme situations, with a high degree of contamination, cleaning can be carried out using a solution of oxalic acid, which is purchased at the pharmacy. To prepare the solution, you will need 1 liter of water and 2 tablespoons of acid. The processing time is 20 - 60 minutes.
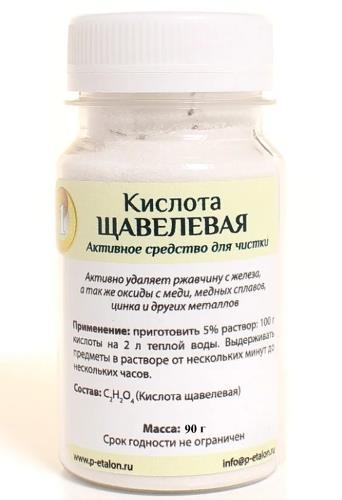
Aggressive cleaning agent
After complete elimination of contamination, the assembly is carried out in the reverse order.
When assembling, it is important not to forget to install all O-rings and, if necessary, to seal the connections of the hand shower with the shower hose.
To clean the plumbing equipment does not take much time, it is recommended to carry out it once every 6 - 8 months (if filters are available) and once every 4 - 5 months if such equipment is not available.
Shower head disassembly technology
How to disassemble the shower head? This process is considered quite simple and straightforward, so even without experience, it will not be difficult to carry out the work. The procedure is divided into successive stages:
- The watering can is detached from the hose, and for this it is enough to unscrew the element. If the product is new, then this process will not cause difficulties, but if it has been used for a long time, then usually a lot of scale and alkali has accumulated at the junction, so the process is difficult. It is often possible to unscrew the watering can only with a gas wrench;
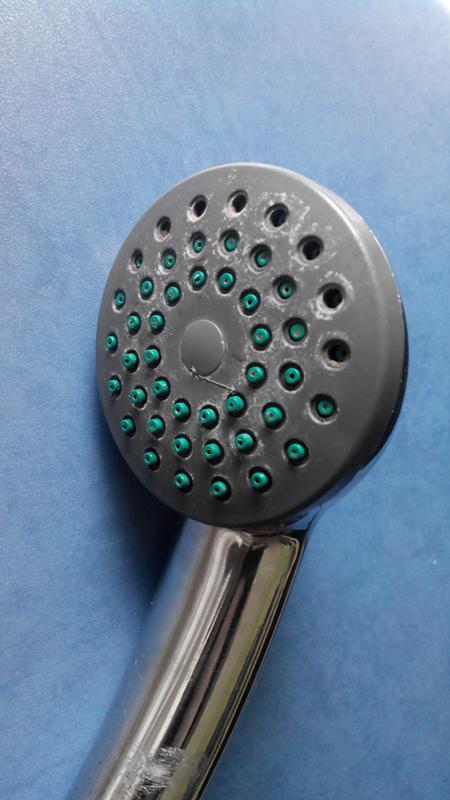
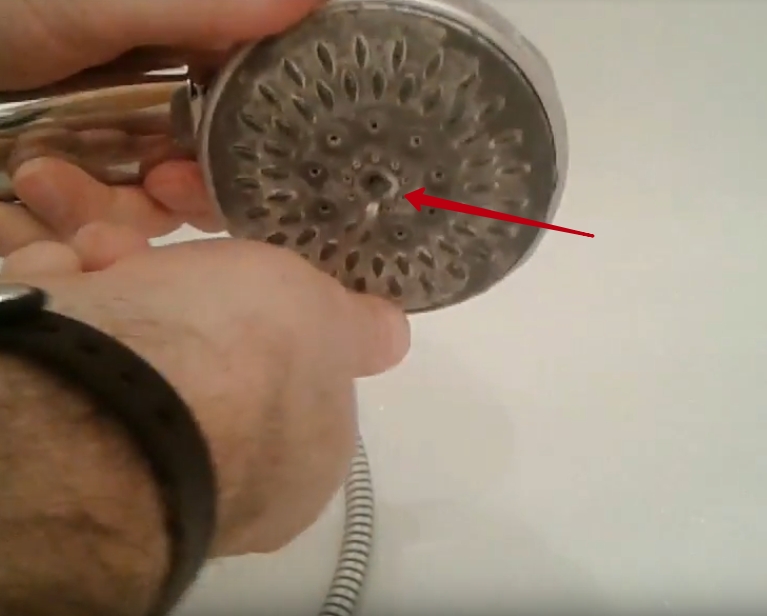
- direct disassembly of the element begins. There is a plug in its center. It should be dismantled, and it is quite easy to pry it off with an ordinary sharp knife. As a rule, there are no obstacles to its removal;
- after removing the plug, the screw will be detected. It is he who holds the mesh, and it is quite difficult to unscrew it, since usually a lot of deposits accumulate here due to the use of low-quality water. First, the recess is cleaned with a blade, after which the screw is unscrewed;
- then you can begin to detach the mesh from the case. This work is done carefully, since if you make sudden movements, then the gasket is easily damaged. Although this element has a low cost, the difficulty lies in finding the correct size and thickness of the spacer.
 The cap is removed first.
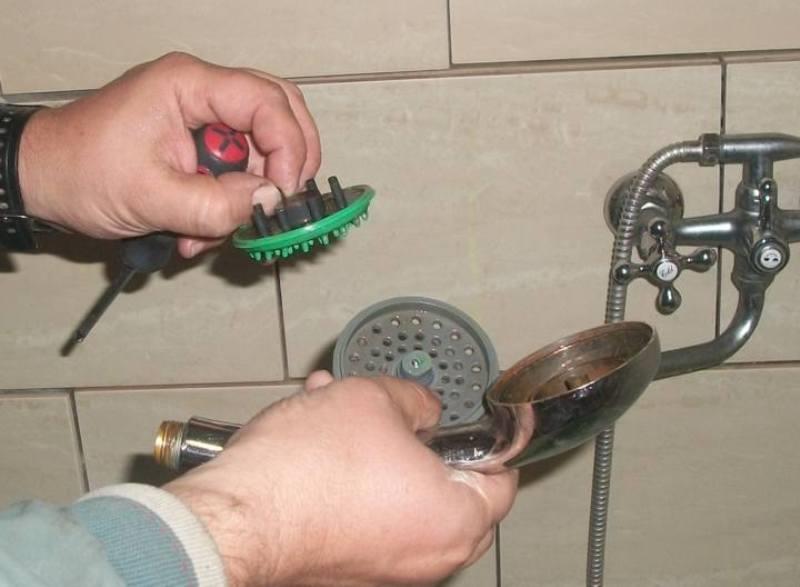
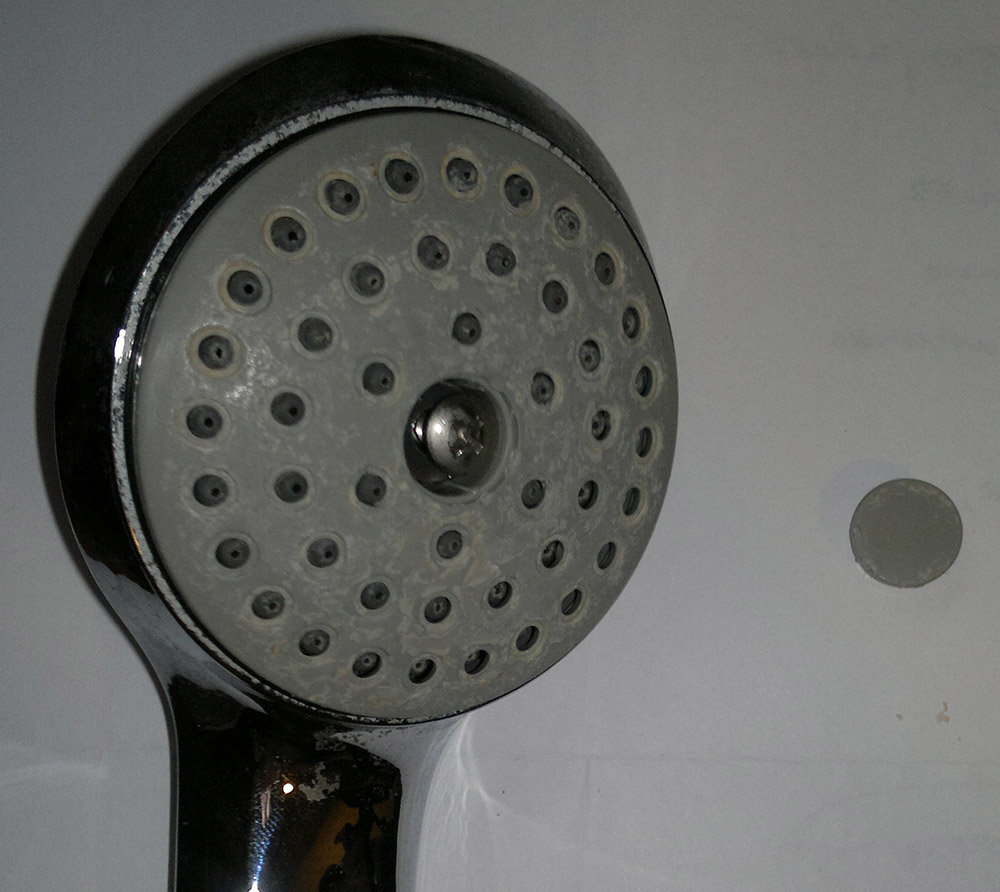 There is a screw under the plug that must be unscrewed
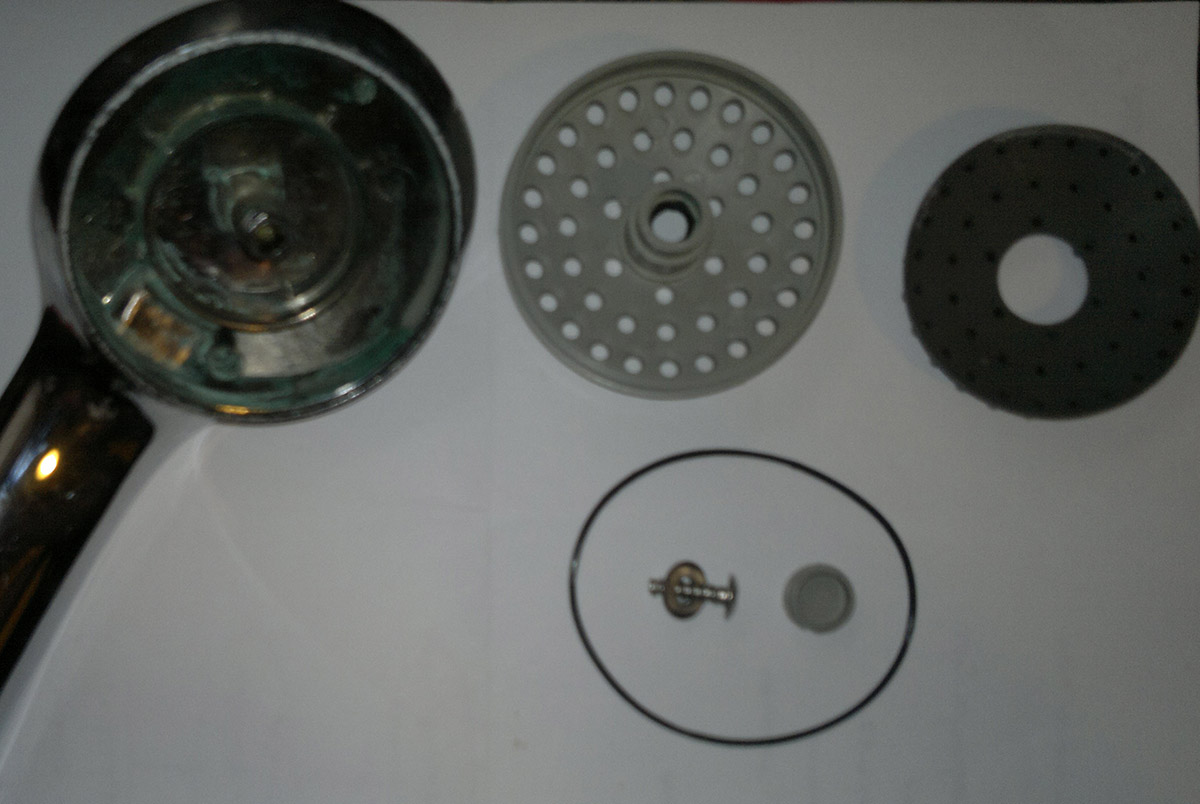 Disassembled shower head
Thus, if you follow the instructions exactly, you will get a disassembled element consisting of several parts. After the completed process, it will be easy to clean them from dirt and blockage.
Cleaning
Various methods can be used to cleanse the shower head, and it is allowed to use all methods at once to achieve the best result. Solutions are used for this purpose:
- using vinegar - For this process, you need to prepare a regular container with 9 percent vinegar. The amount of solution depends entirely on the diameter of the mesh, and most often constructions with a diameter of 5 or 6 cm are found. Therefore, 300 g of vinegar is used. The solution is poured into a container, where the mesh and other parts of the structure are further lowered. It is advisable to keep them in vinegar all night;
- the use of citric acid - this method is considered more operational, since this tool quickly copes with various blockages. To do this, it is also necessary to lower the mesh into a container with citric acid, and then boiling water is poured out, and the part must be completely hidden in the solution. You have to wait for the water to cool down, so it will take about 20 minutes.Then bubbles will begin to stand out, after which the mesh is pulled out. It cleans up quite easily and quickly after this procedure with a standard toothbrush. This is due to the fact that plaque softens, therefore it easily detaches from the mesh.
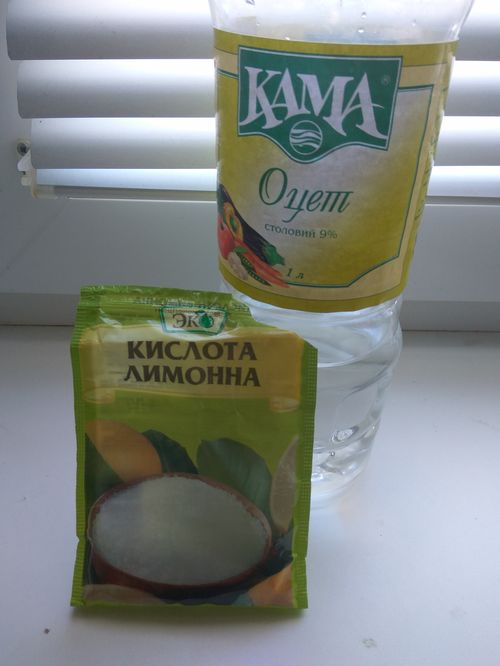 You can use vinegar or citric acid to clean your shower head.
Thus, cleaning a watering can is a simple process using standard solutions found in almost every home.
Assembly
Assembly is carried out in the same way as disassembly, only in reverse order. For this, the mesh is placed in the case and then fastened with a screw.
Thus, cleaning the watering can is easy if you figure out how to disassemble and assemble it. If the room has a switch from the shower to the tap, then often the problems with the flow of water are associated with it, so you have to carry out repair work.
Dismantling sequence
Disassembly of a conventional divider begins with loosening the union nut, by means of which the water supply hose is attached to it. In a situation where the watering can is not used for a very long time, it is possible to unscrew this nut manually. If, due to the strong "sticking" of the joint, it was not possible to do this, you will have to use an adjustable wrench.
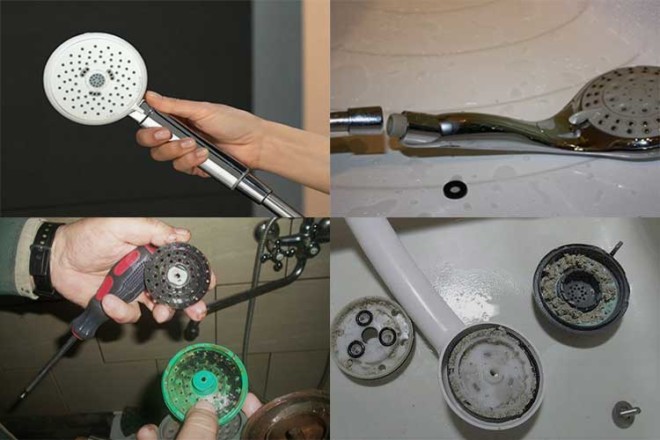
After removing the nut, you will need to disconnect the supply hose and proceed with disassembly.
In order to disassemble a shower head with a switch (from Grohe, for example), you need a special key, the instructions for using which are given below.
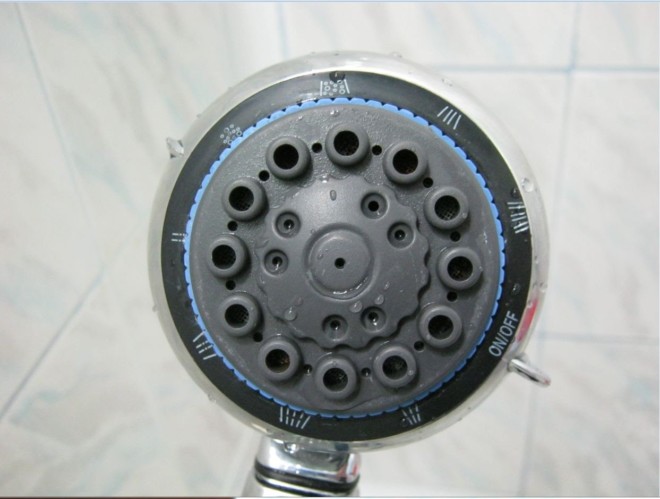
First of all, in the center of the scattering mesh, you should find several recesses designed specifically for its dismantling. Having inserted the key into them, you need to turn it counterclockwise until this part is completely turned out.
After unscrewing and removing the central panel, the swirler box is removed from under it, which is fixed in the center with a special screw. To remove it, you need a Phillips screwdriver. After that, free access to all parts to be cleaned will be provided.
Watering can device with switch
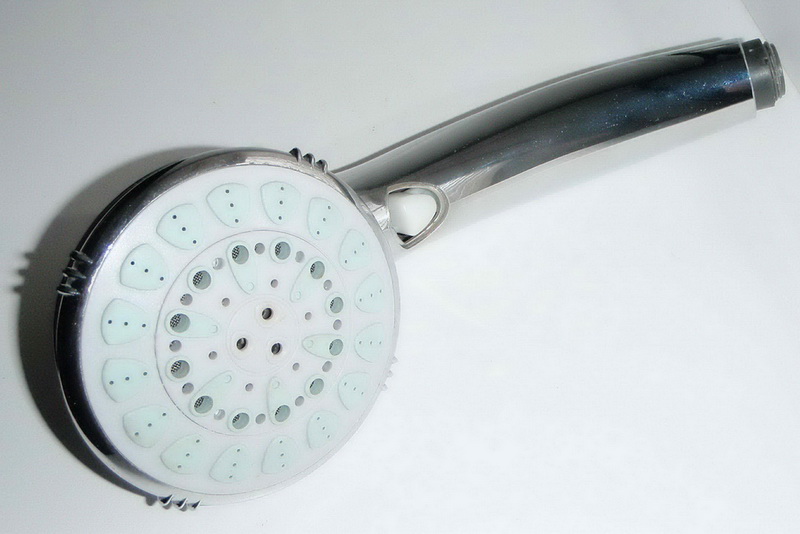
This watering can is usually a housing made of hard plastic, inside which there is a rounded structure, equipped with several concentric flow swirlers. Moreover, each of them works in its own mode. Swirlers are installed in the body according to the principle of "nesting dolls" and, with rare exceptions, are united by a common body.
The flow force can increase or decrease depending on the swirler diameter and the section of the chamber openings. This achieves a different pressure of the water flow at the outlet of the chamber.
Outside, the water supply chamber is closed with a mesh, which also affects the formation of the jet: for example, intermittent or with the addition of air bubbles. This is achieved by using various types of artificial barriers and movable flow dividers.
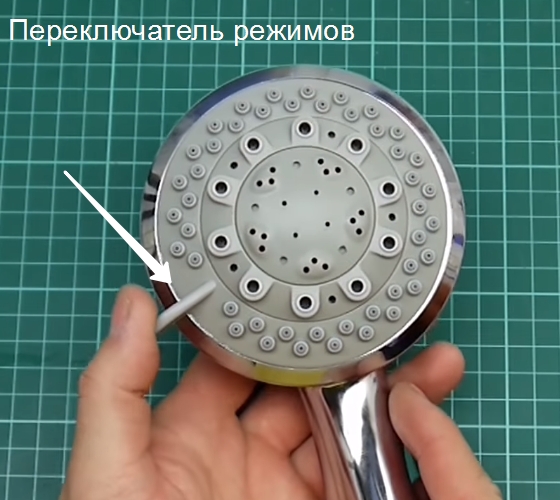
On the outer circumference of the watering can, the mode switching mechanism itself is installed, as a rule, it is multi-section. Its task is to open one or two chambers of the swirler, blocking the rest. This achieves switching modes and combining them if necessary.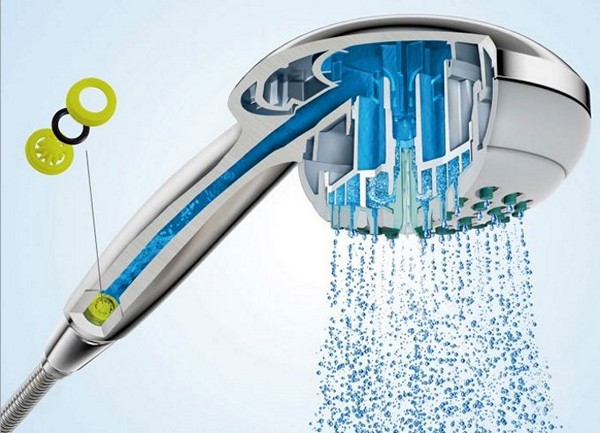
Cleaning and reassembly
The procedure for cleaning a watering can disassembled into parts includes the obligatory washing of the dissecting mesh, on which the so-called water stone or scale is layered during the operation of the shower. Experts advise using special cleaning compositions for this, which are freely available for sale. Acid, means of the "Santry" type cleans well.
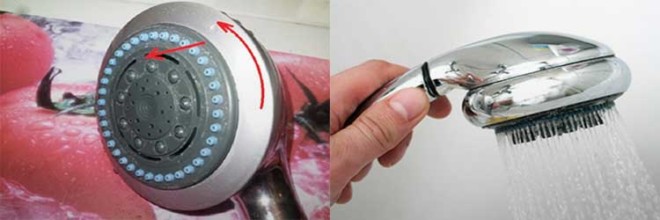
After disassembling the divider, its elements are washed, on which large accumulations of stone are noticed. Upon completion of these procedures, the previously dismantled and cleaned product is assembled in the reverse order of its disassembly.
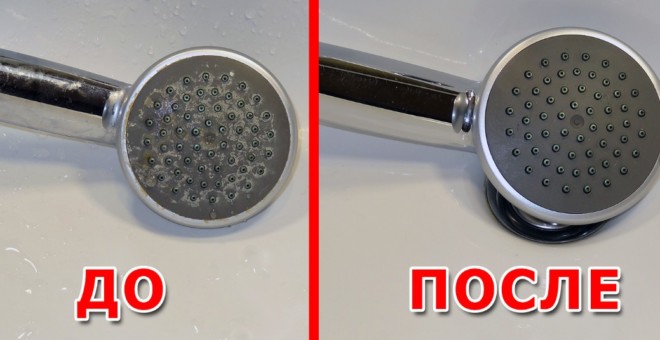
When dismantling the shower head for cleaning, check the condition of its other components (mode switch or gasket on the coupling) at the same time.If any violations are found in their condition, these elements are either restored or replaced with new ones.
How to clean a drain
Before removing the siphon and cleaning it, it is recommended to remove the remaining water from the shower tray.
Disassemble the siphon and clean it from the blockage
To fix the structure, it must be cleaned. Cleaning steps:
- Substitute some container into which water will drain, for example, a basin or a bucket.
- Remove the lock nut and then the flask. Wait for all the water to drain from the water seal.
- Clean by removing all dirt and debris. Rinse thoroughly with water, completely remove all plaque on the walls.
- Put it back in place, making sure that the drain pipe does not press down on the flask. Tighten all connections tightly.
- Open water and check connections. If they are dry and the water leaves without hindrance, then everything is done correctly.

Photo 1. It will not be easy to disassemble and clean the siphon near the shower, since it is located in a hard-to-reach place - under the bottom of the cabin.
It is recommended to clean the siphon not only because of a blockage, but also for prophylaxis, once every 3-4 months.
Clean with a plunger
Another way to clear a blockage in a shower stall is to clean it with a plunger. Procedure:
- Take a plunger and grease it with Vaseline.
- Fill the shower tray so that water completely covers the rubber part of the plunger.
- Place the plunger on the drain so that the rubber part is tightly covered.
- Make 20-30 movements up and down, remove the plunger and check if the water is leaving. If not, then carry out the procedure again.
- If the water starts to drain, then rinse the drain with hot water.
Using a plumbing rope
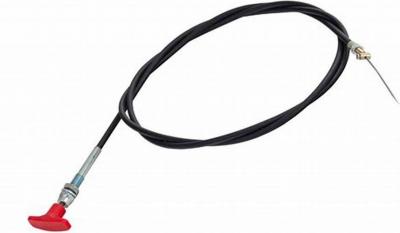
If a blockage has formed in the depth of the pipe or the contamination has become very compacted, then a plumbing cable will help to eliminate the problem.
But it is recommended to use it only if the drain in the shower stall is made of metal pipes, not plastic ones.
Procedure:
- Insert the cable into the drain hole. In this case, it is necessary to rotate it.
- With sharp movements, push it back and forth about 15-20 times.
- Rinse with hot water.
- Remove the cable together with the debris that is attached to it.
Using household chemicals
Experts do not recommend cleaning the drain in the shower stall using household chemicals, but sometimes this becomes the only option available. In this case, you need to carefully and meticulously study the composition of the pipe cleaner, and choose a powder, liquid or gel that is suitable specifically for draining in a shower stall.
Important! It is forbidden to use a toilet blockage remover to clean the drain in the shower stall. Most often, the composition of the funds includes aggressive substances that can not only dissolve debris, but also corrode rubber parts in the drain and damage the acrylic pallet.
Choosing the right tool, you need to carefully study the instructions for use and follow it. Usually, the process of clearing the blockage itself is simple:

- Pour the product into the drain.
- Wait for a certain time specified in the instructions for use. The chemicals that make up the product corrode debris, hair, grease, soap residues, after which the water begins to leave without hindrance.
- Flush the drain with a strong jet of hot water.
When using household chemicals, rubber gloves should be used. And also do not forget that some household chemicals can form harmful vapors.
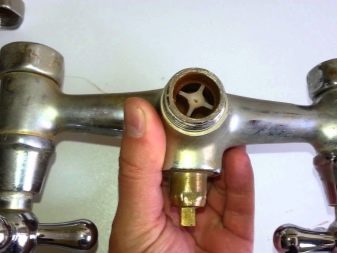
How to disassemble a switch?
This process, although simple, requires concentration. More serious problems can occur due to incorrect actions.
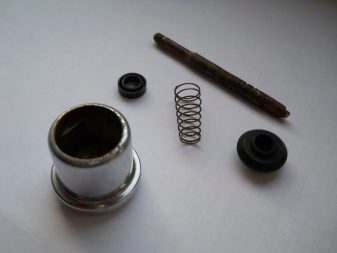
To disassemble the switch, follow these steps:
- unscrew the shower and spout;
- remove the protective cover of the switch;
- untwist the switch;
- carefully remove the rod drain mechanism;
- replace O-rings.
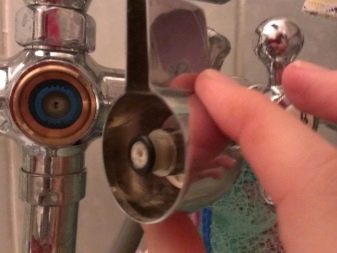
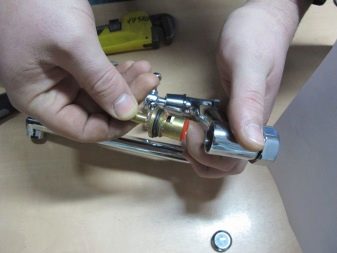
Then it remains only to repeat these steps in reverse order, and check the functionality of the repaired switch. If the device stops working due to the fact that the ring is worn out, then the switch will stop leaking. But if these actions did not help, then you need to continue looking for a solution. The deterioration of the condition of only some parts can also lead to a malfunction.
You need to adhere to the following operations:
- in a broken spool switch, remove the O-rings and replace them with new ones;
- the problem with the top pad can be removed by using a thin hook or other sharp and long object to remove it. This will avoid disassembling the mixer;
- disconnect the spout and hose from each other if two gaskets need to be replaced. To do this, remove the switch and adapter.
