Execution rules
To stretch the skin, in addition to the new material, you will need:
- adhesive composition;
- degreaser (alcohol, acetone, gasoline);
- screwdrivers;
- fine grain sandpaper;
- hard sponge;
- roller for leveling the surface;
- masking tape.
It is also recommended to purchase a construction hair dryer, which will speed up the drying of the glue, and plugs. The latter, when pulled, break down and cannot be restored.
Coating replacement is carried out in several stages. If the ceiling is dragged, then first they are removed:
- pens;
- visors;
- plafonds and other decorative elements.
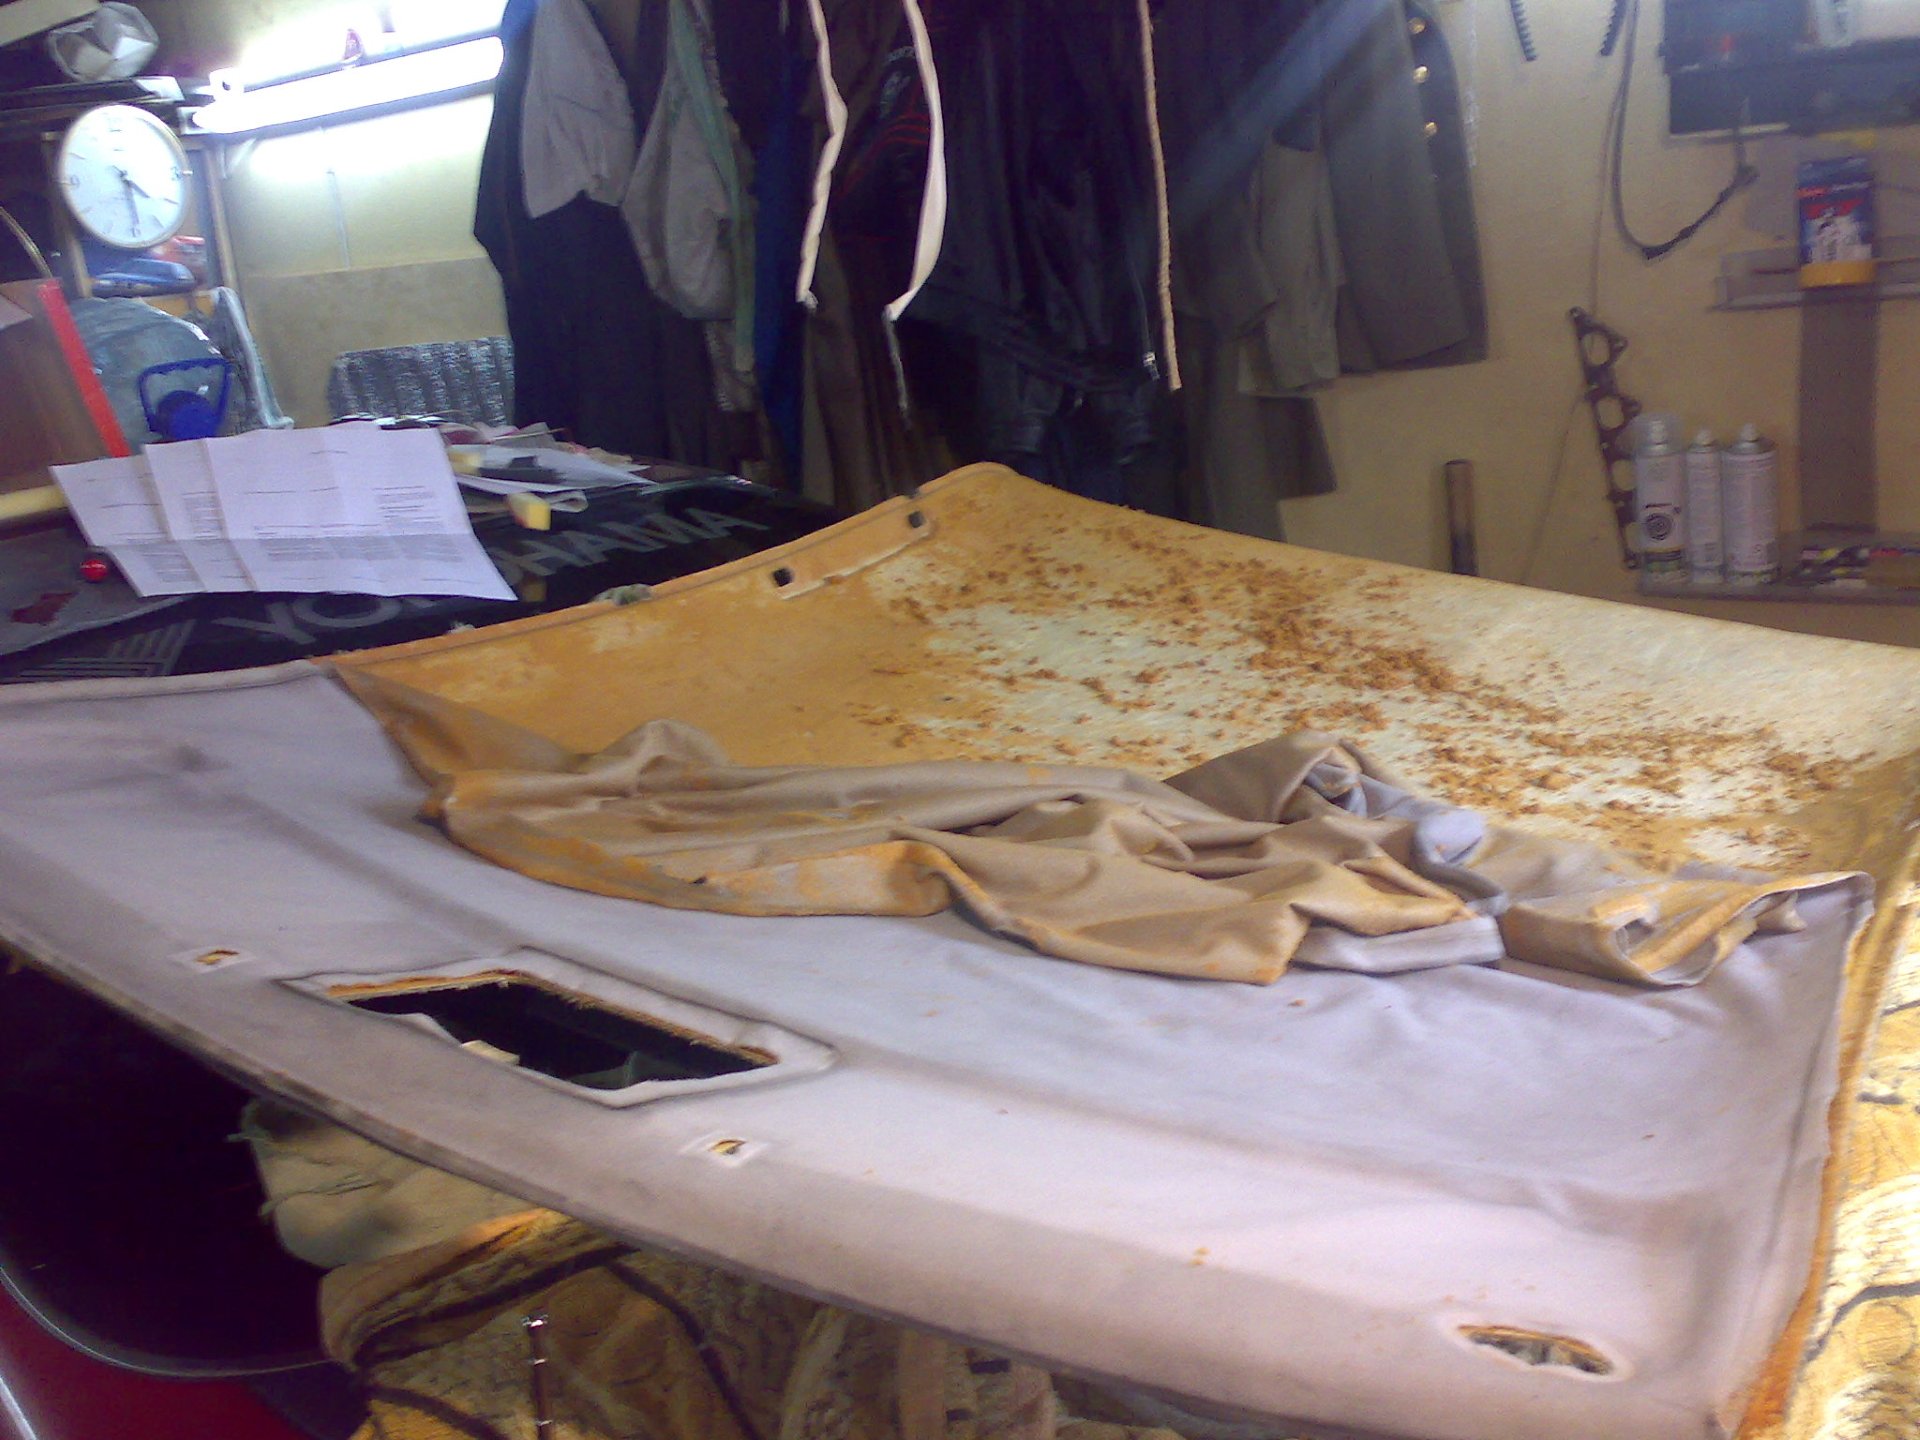
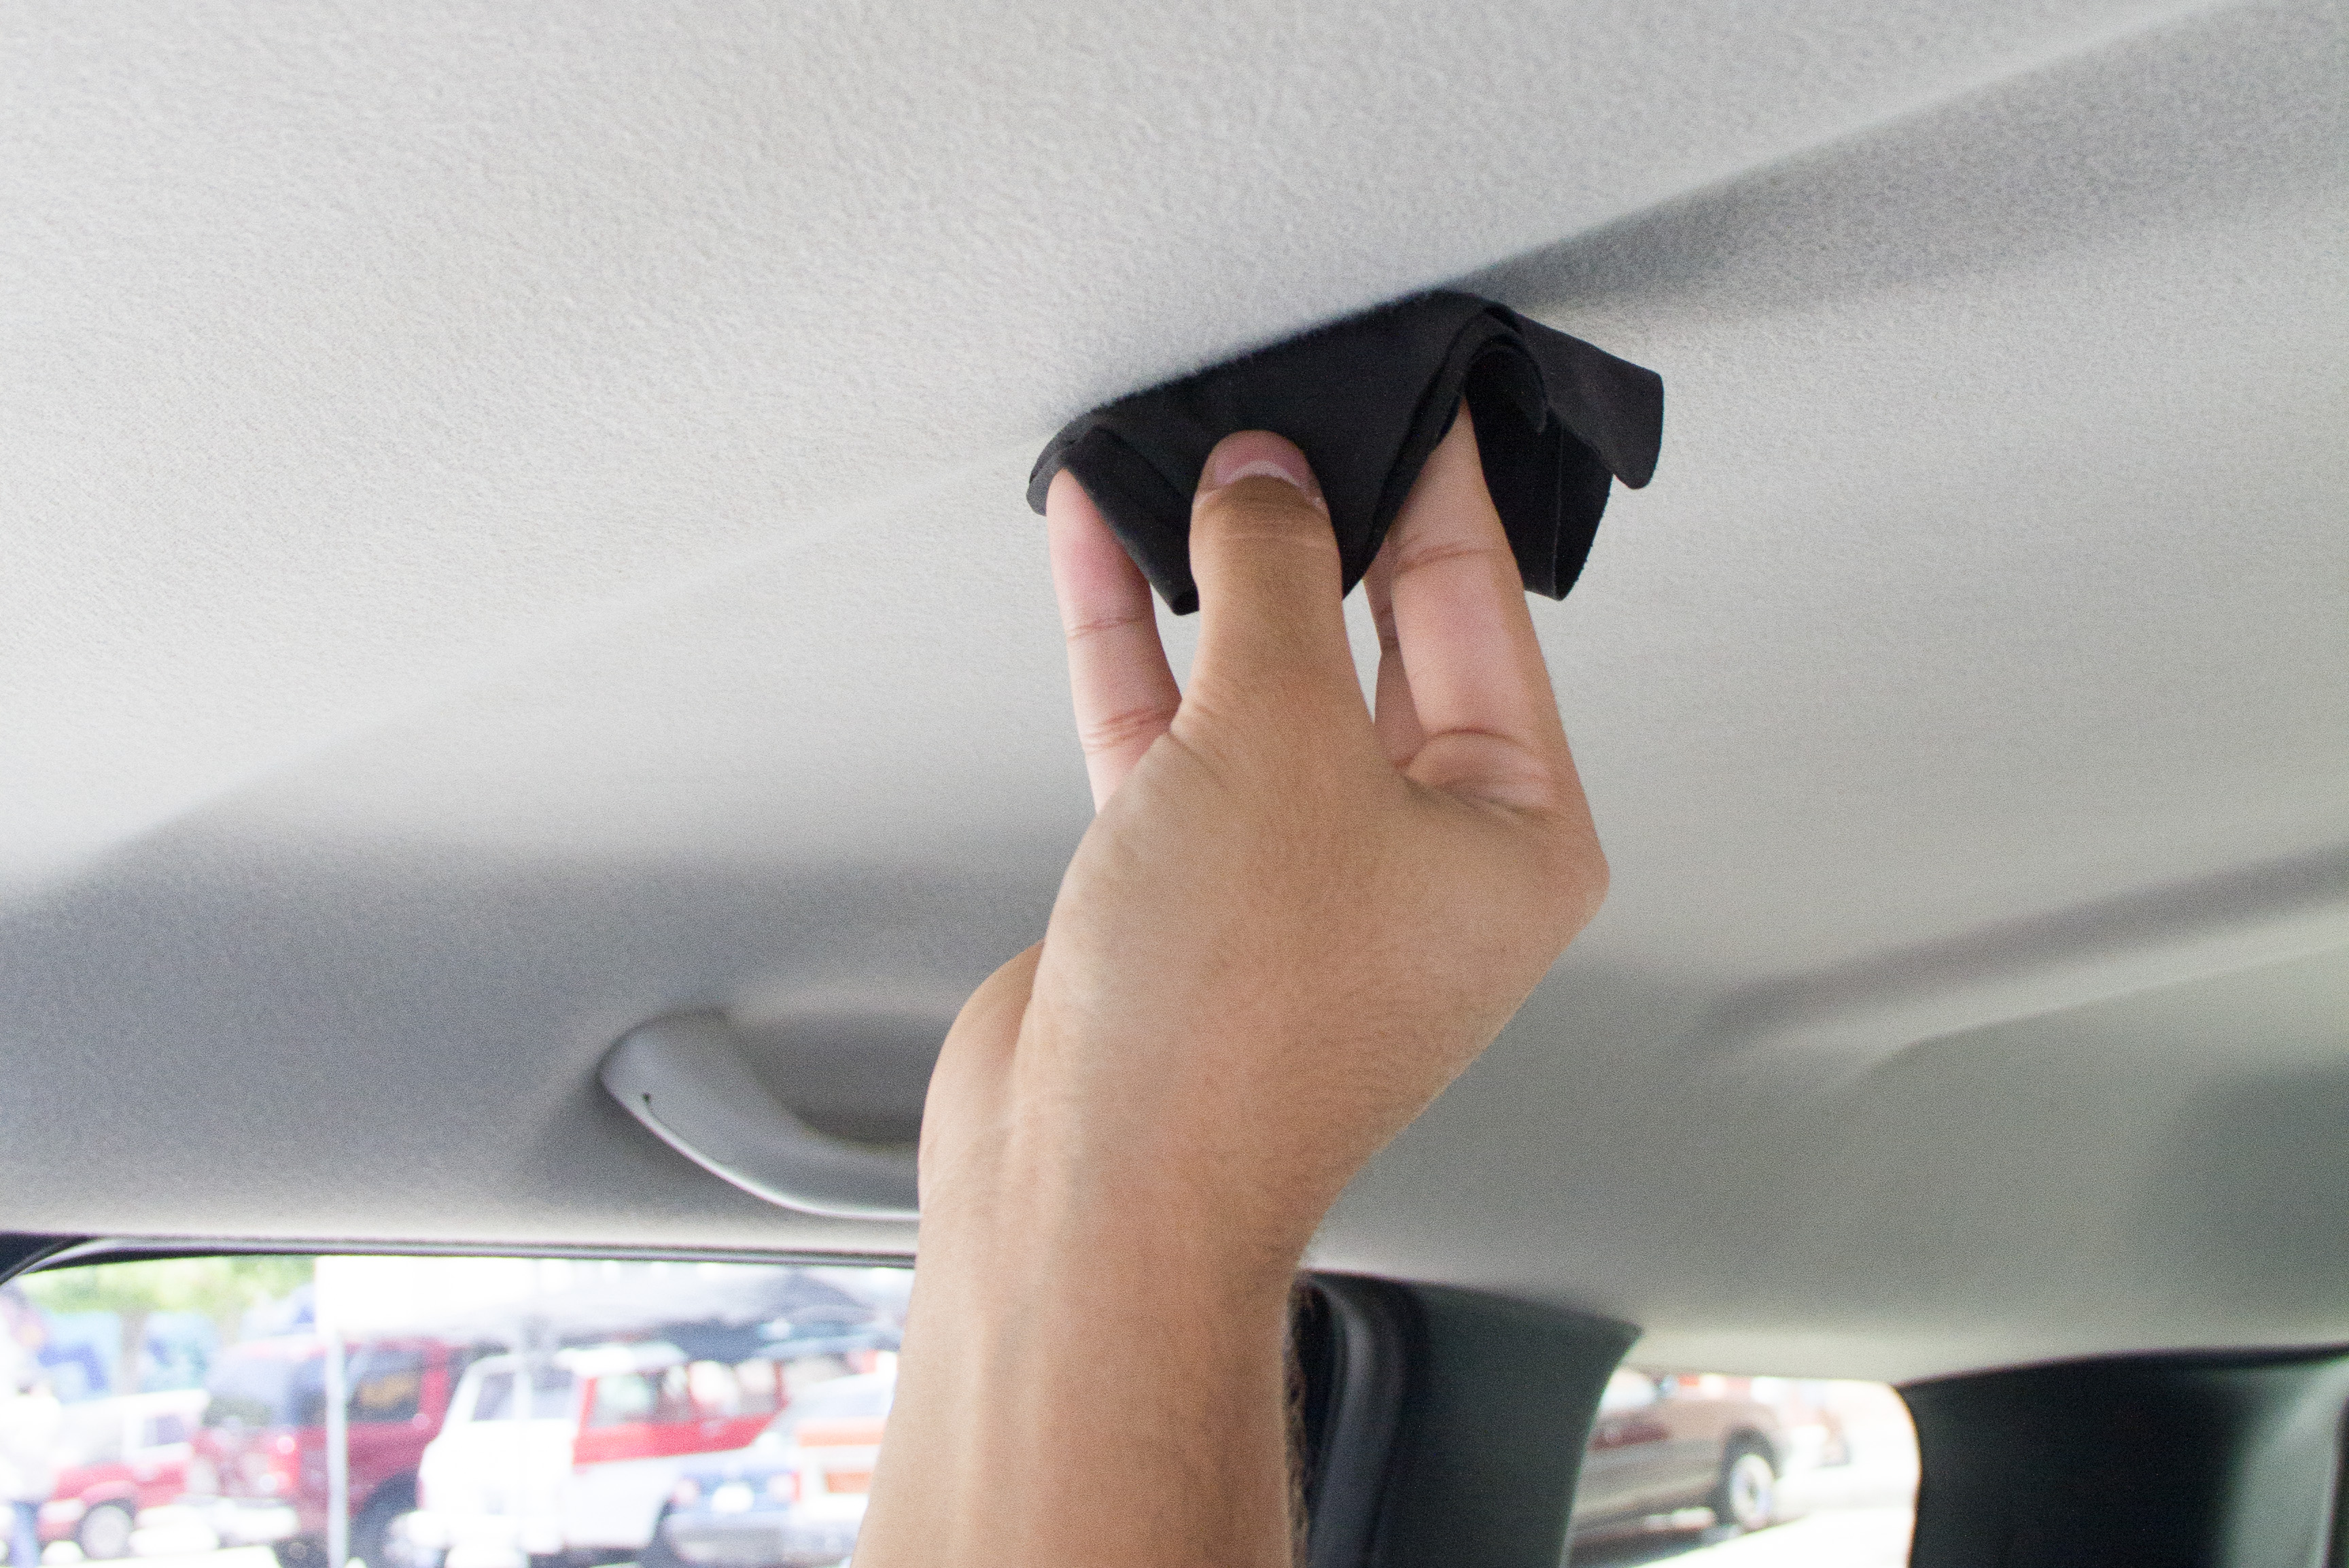
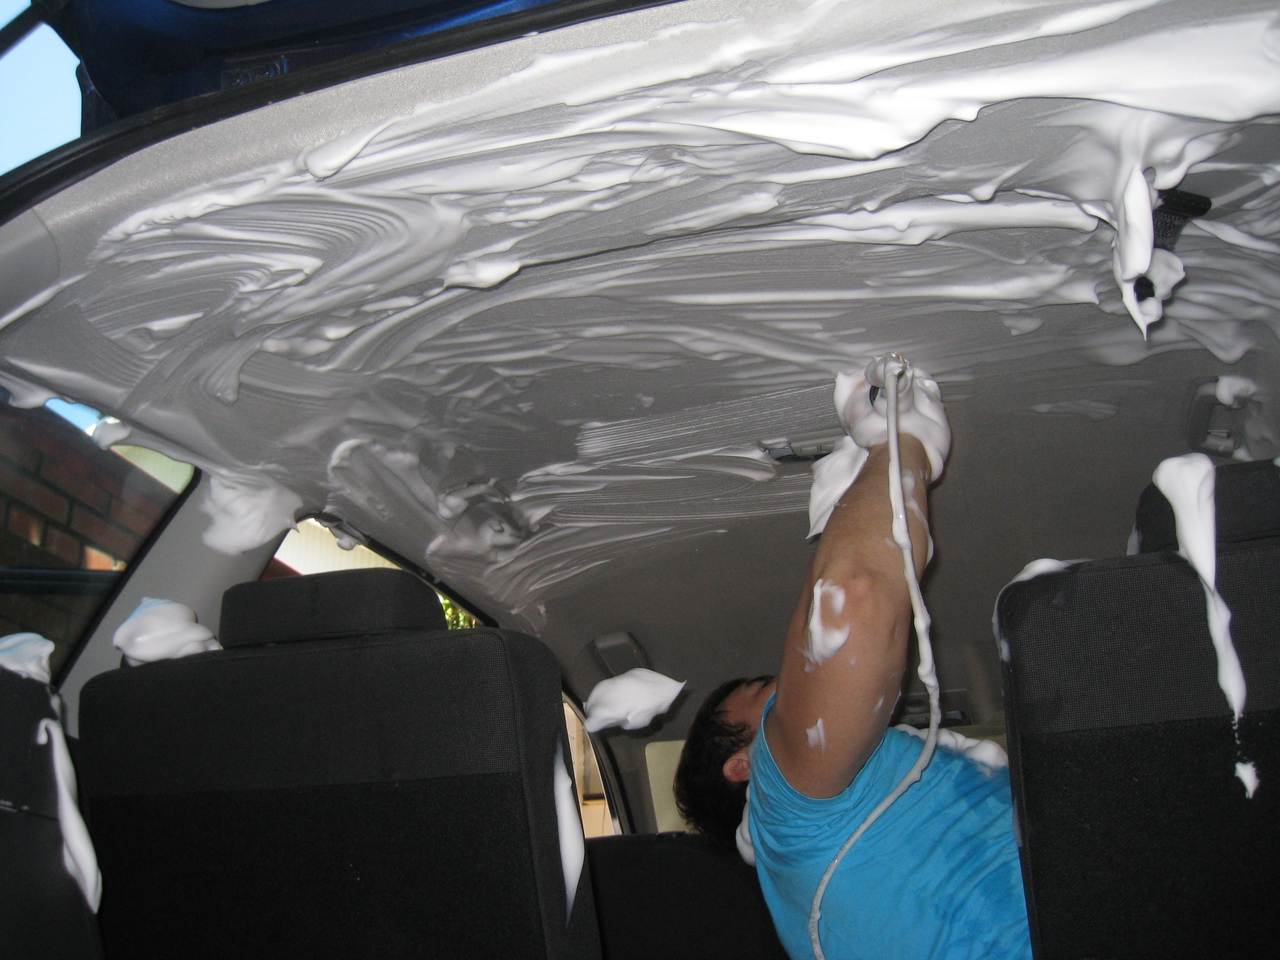
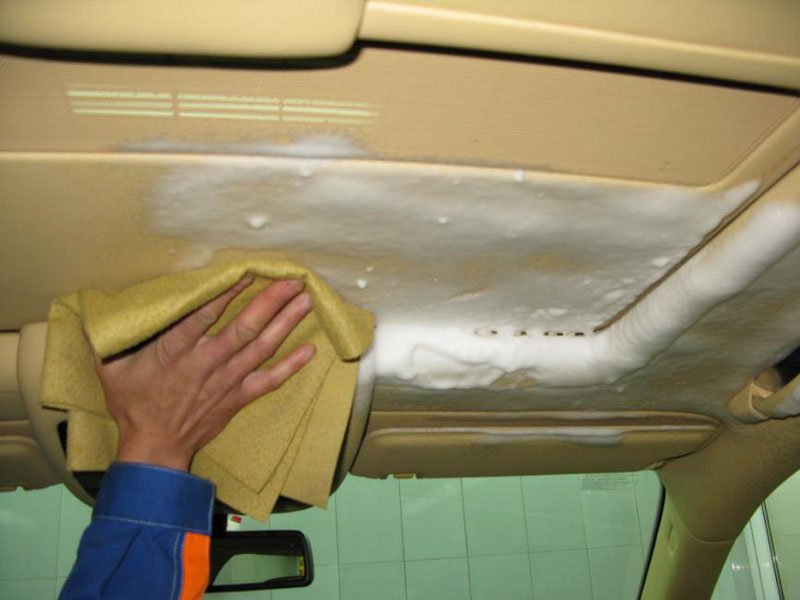
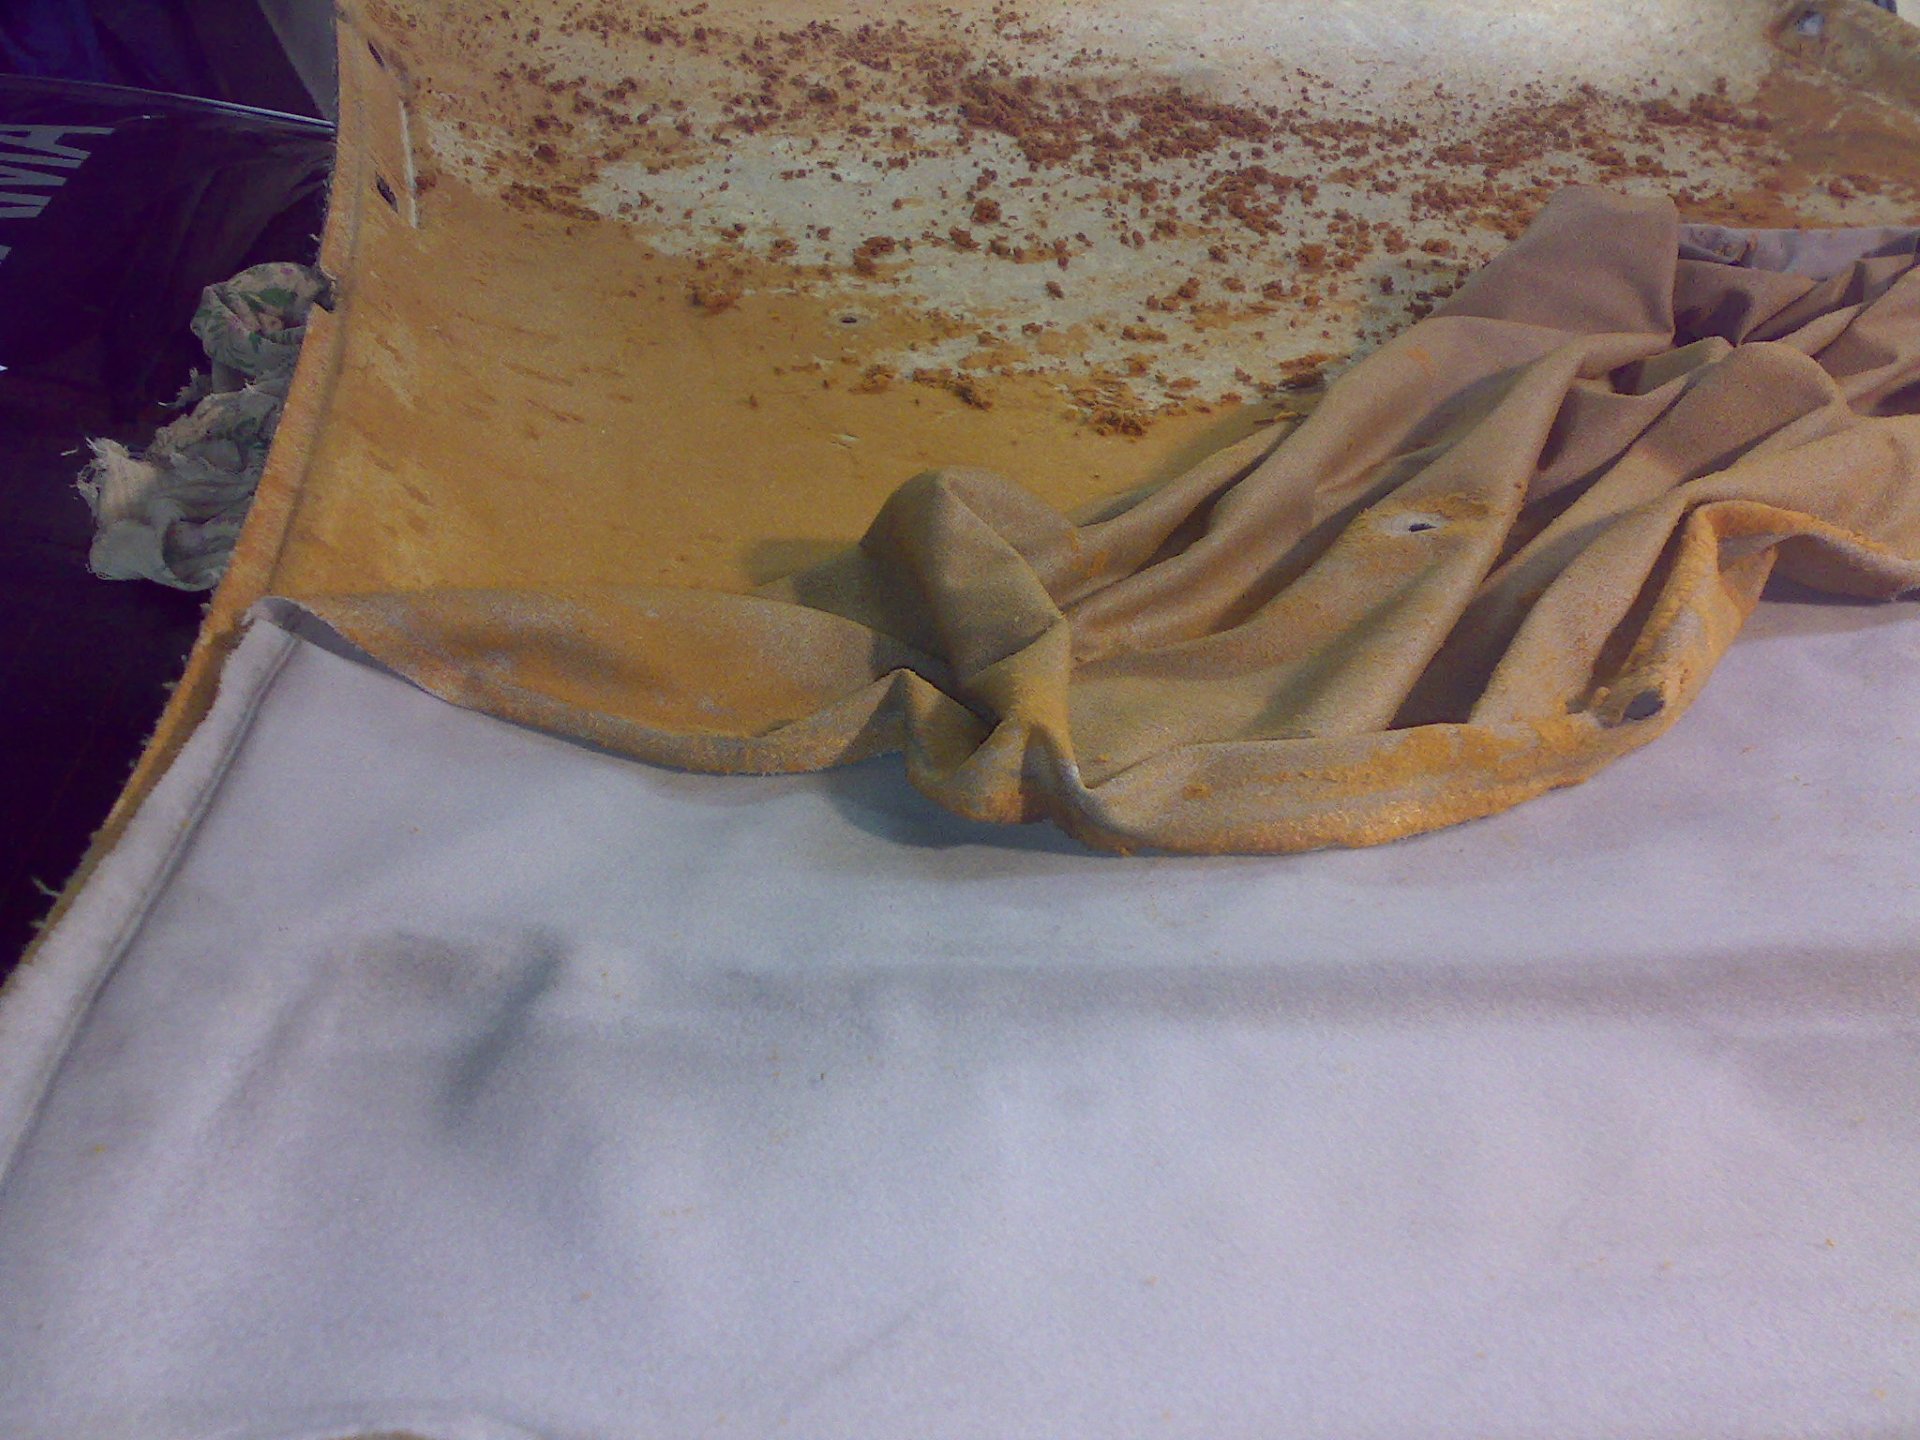
Then the old coating and foam rubber are dismantled. The surface is then treated with soapy water and a hard sponge. Further, the ceiling must be degreased with appropriate means. This must be done, since traces of old glue remain on the surface, due to which the new canvas will not be fixed firmly enough. At the end, the ceiling must be sanded.
After preparation, a thin layer of glue 10 centimeters long should be applied to the surface in the center (if necessary, the casing is also processed with the composition). Then the selected material is glued to the ceiling. Further, with a step of 10 centimeters, another layer of adhesive is applied, and the cladding is attached.
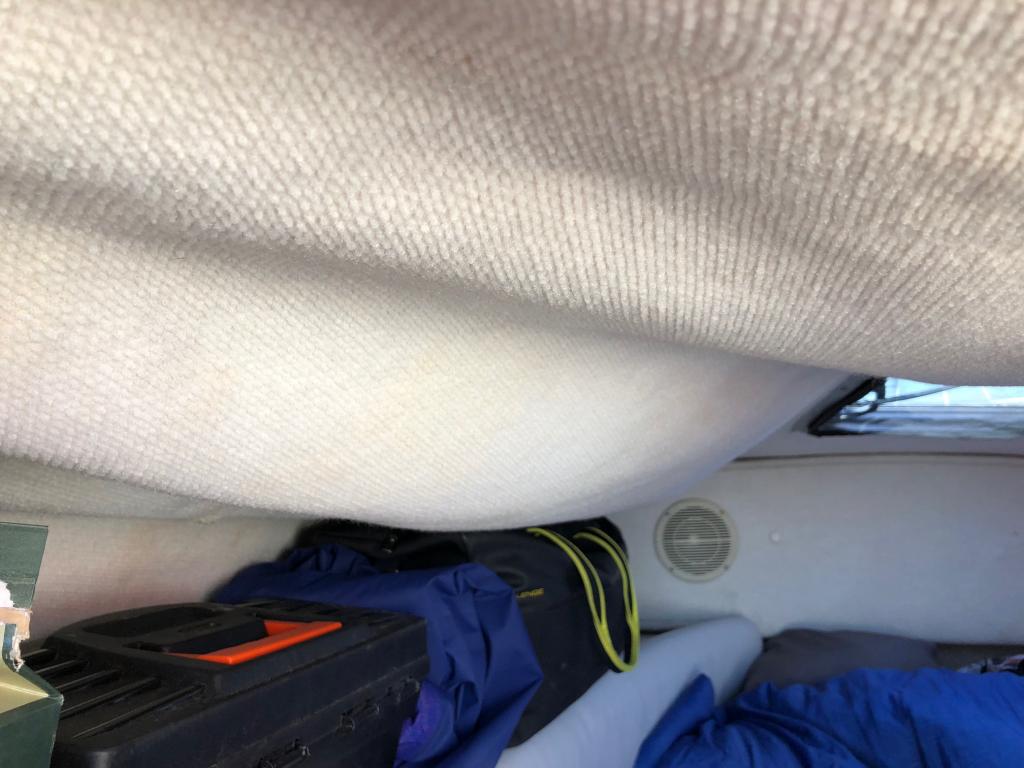
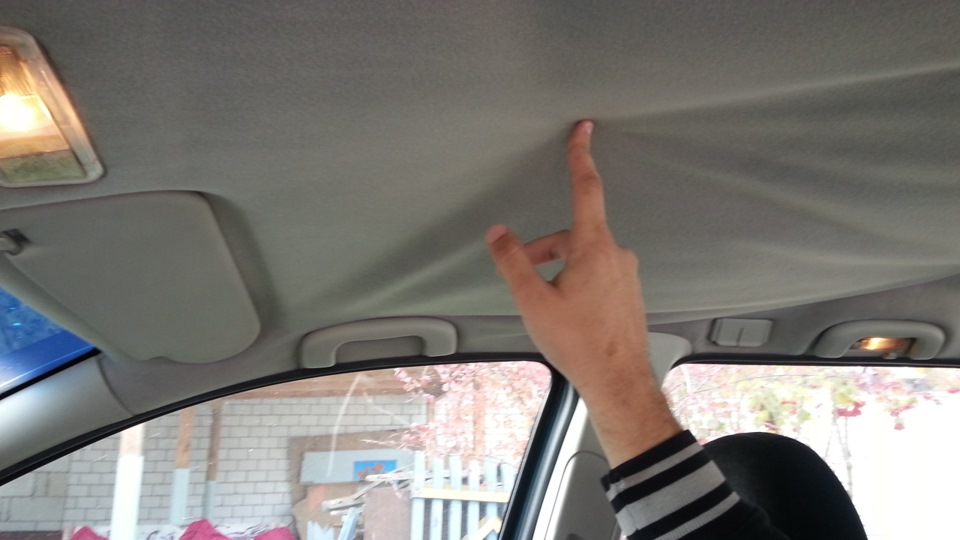
Following the described procedure, you need to carefully handle niches and bends. In these places, the finishing material often sags, which is why in the future it will be necessary to re-tighten it. During gluing, the sheathing must be immediately leveled with a roller or hands. To avoid sagging, the material must be stretched.
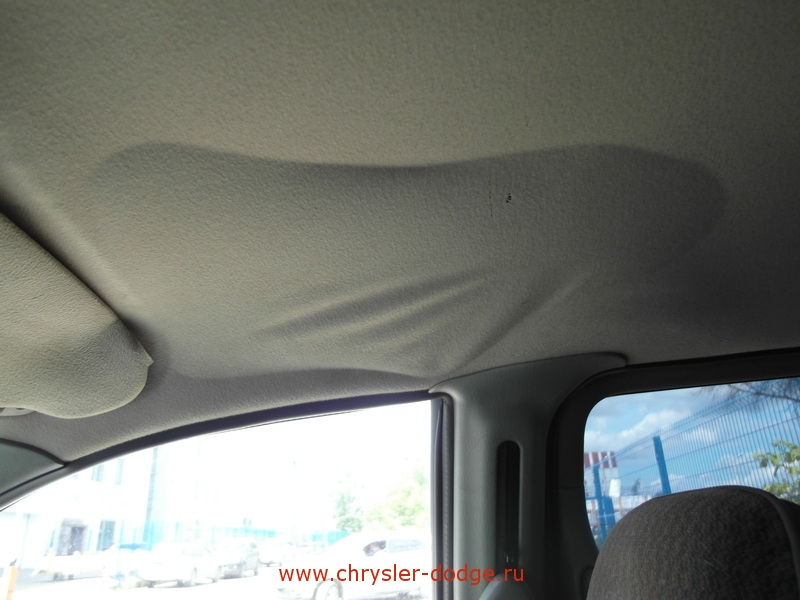
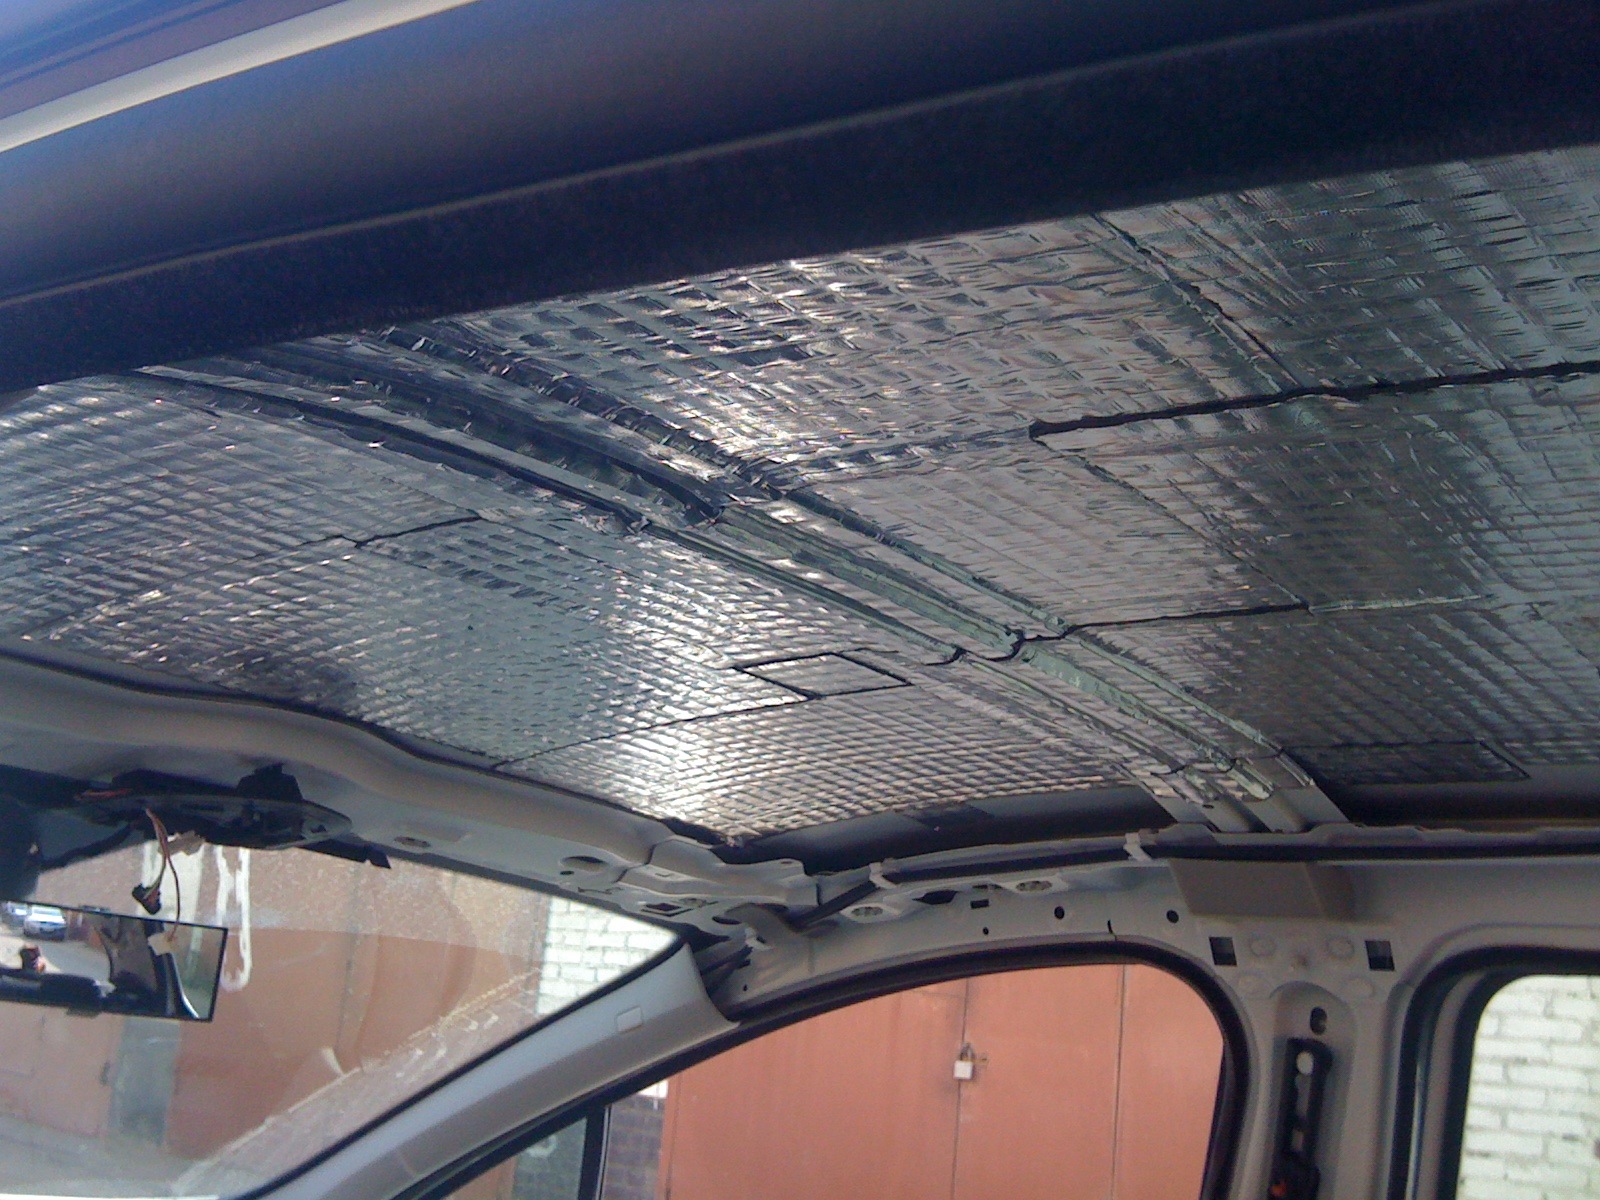
If sagging is revealed after the completion of the work, this area must be warmed up with a construction hairdryer. Otherwise, a new constriction will be required. It should also be borne in mind that roof leaks are possible in older cars. Therefore, before starting work, it is necessary to check the tightness of the body and eliminate the identified defects.

Car ceiling painting
If the ceiling in your car from time to time or after cleaning has acquired an unpleasant color, do not rush to drag it. Perhaps painting will help you.
For a high-quality result, the ceiling is best removed. If there is no time and desire to remove it, you can simply paste over and cover the parts that cannot be painted.
You can choose spray paint for suede or fabric, or water-based paint, which is applied with a sponge, roller or brush. Simple enamel for cars cannot be used, since it is not intended for painting.
It is best to paint in dry weather; when carrying out work, be sure to use personal protective equipment. To make it convenient to paint from the bottom up, it is better to use a spray gun, the spray can may not cope with this task.
The surface must be clean and dry before painting. the paint is applied alternately, in several layers. The quality of painting depends on the skills of the master.
A well-painted surface looks no worse than an overtightened one, and the cost of paint is much less. Therefore, in some cases, it is more profitable to try the color of the upholstery than the constriction.
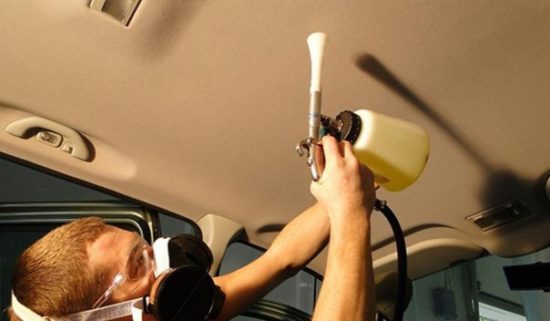
Painting the ceiling with a spray gun will allow you to achieve an impeccable result
Work rules
Before starting the constriction, it is important to remove the ceiling. The old tissue is removed completely
Dismantling is carried out through the passenger compartment door. For convenience, the seat is removed. Craftsmen often recommend removing the windshield.
Before removing the ceiling, the elements are dismantled - handles, visors, shades, plugs, etc. Remove the old coating, the remnants of the glued decor, foam rubber. Small dirt is washed off with soapy water using an abrasive sponge.The surface is carefully treated with a solvent, removing the remaining glue. It is recommended to sand the ceiling.
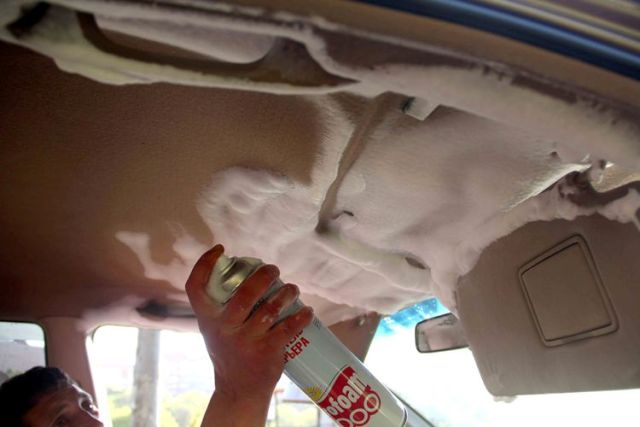
Apply glue along the central part of the ceiling with a small length of 10 cm. Press down on the material and move to the sides, stepping back 10 cm, to apply the glue
Pay special attention to the curves of the ceiling, fasten the fabric diligently. Poorly treated areas will sag and peel over time
It is recommended to glue the fabric with an assistant. For better grip, one person pulls on the material while the other smoothes out creases and presses it against the surface. Any unevenness in the ceiling must be ironed more actively. At the edges, the material is bent under the ceiling, glued, the extra centimeters are cut off.
At the final stage, special holes are made for the bolts for fastening the interior elements. Upon completion of the work, the ceiling is returned to its place.
Ceiling constriction material
The first thing to do is to choose the material for the car ceiling constriction. To date, the choice is simply huge, the ceiling can be pulled over with flock, carpet, alcantara, natural or artificial leather, you can use fabric. They all have their own merits, and making the final decision can be difficult. On average, it takes at least 5 square meters to pull the ceiling and racks. m of material, be it leather or fabric.
Automotive leather
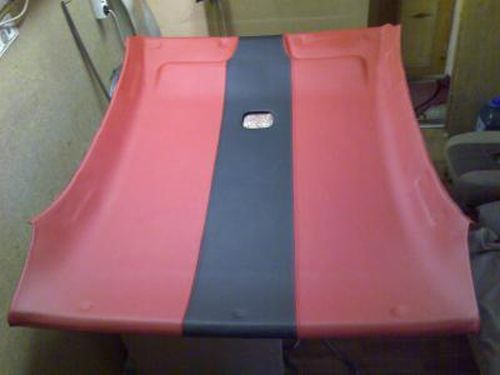 Perhaps the best material that you can choose for a do-it-yourself car ceiling is automotive leather. The list of its advantages is impressive:
- it is strong, durable and resistant to abrasion;
- not afraid of open fire;
- it cannot be damaged by the chemical compounds used for cleaning the interior;
- not afraid of water;
- does not deteriorate from temperature extremes and high humidity.
Perhaps the only drawback this material has is the high price, so not everyone can afford it.
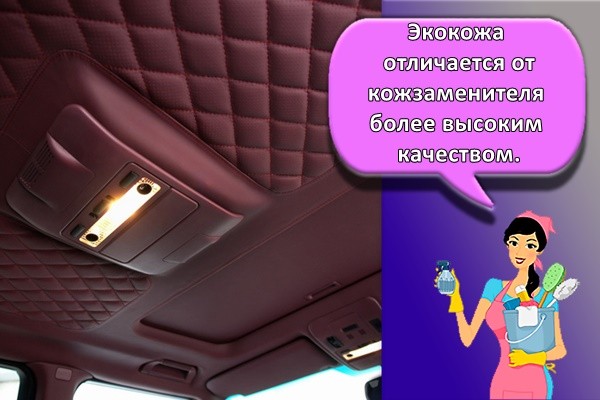
Ecological leather
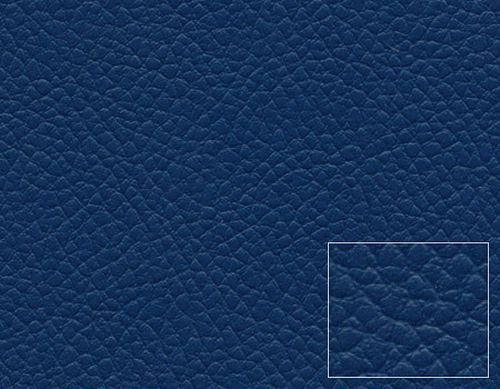 As an alternative to natural, artificial leather can be used to stretch the ceiling. This material also has very high performance characteristics, but costs significantly less. Here are its advantages:
- it is easy to care for it, you just need to periodically wipe it with a slightly damp cloth; to remove greasy stains, you can use ethyl or ammonia;
- does not crack at low temperatures;
- does not get wet;
- does not wear out;
- the surface is smooth and soft;
- rich colors;
- long service life;
- low cost.
Externally, eco-leather differs little from natural, thus, with its help, you can give the car's interior an equally spectacular look. In terms of operational and quality characteristics, it ranks second among the materials used for car interior trim.
Alcantara
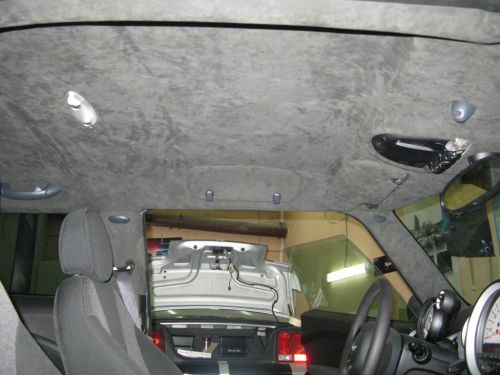
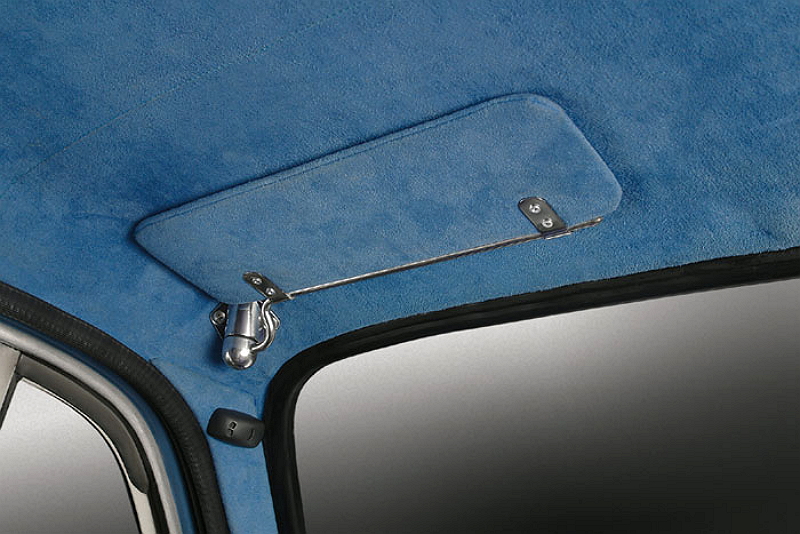
Alcantara, or faux suede, is a synthetic fabric made from ultra-fine fibers. Outwardly, it really looks like suede. This fabric is quite often used in auto-tuning, for the manufacture of various inserts in the interior of the passenger compartment and seats.
Alcantara has deservedly entrenched the title of "breathing" material - air passes through it without hindrance. The advantages that Alcantara possesses make it one of the best options for do-it-yourself interior upholstery:
- has a pleasant appearance, pleasant to the touch;
- long service life without loss of quality (does not wear out, does not fade, does not stretch);
- not afraid of temperature extremes and high humidity;
- wide range of colors.
Flock
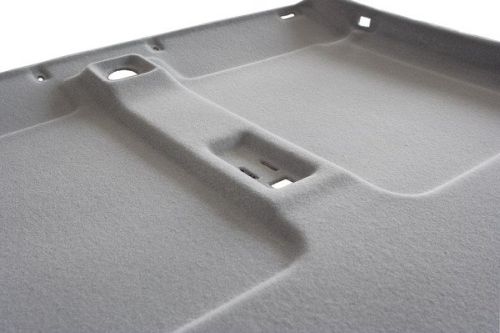 This material is used for do-it-yourself car upholstery not as often as the previous ones. Nevertheless, it has a number of advantages that make it possible to recommend it for use:
- attractive appearance, variety of colors and textures;
- high wear resistance;
- noise-absorbing properties;
- ease of care.
Padding the ceiling with a flock will require, in addition to glue, the use of a flock agent and a degreasing agent, i.e. is associated with additional costs.
Carpet
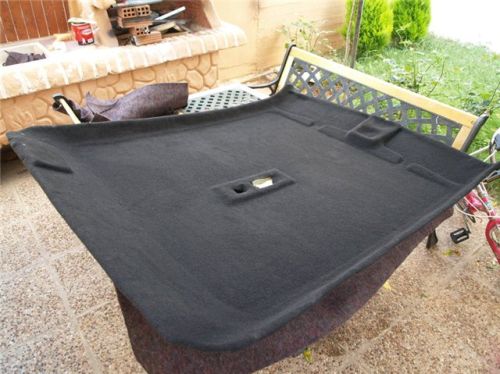 Finally, you can use a carpet to stretch the ceiling of a car with your own hands. It is one of the most affordable synthetic materials. In addition to the price, it has other advantages, namely: wear-resistant, does not fade, is not afraid of mold, acts as an additional heat and sound insulation layer.
How to sheathe the ceiling of a car with your own hands
You need to pull the ceiling with your own hands in a place where there is no draft and heat. At the preparatory stage, you will need a screwdriver and a knife.
Handles, visors, plastic caps, clamps and additional devices are pre-unscrewed, you need to remove the old casing. In this case, it is advisable to remember the order of the process so that there are no difficulties in installing the parts in their original places when the ceiling of the car is covered.
 Car headliner
Important! The cladding should be installed on a large, comfortable surface. The tensioning of the ceiling of the car interior should be started by applying a thin layer of glue.
First of all, the canvas is applied to the front of the ceiling, then the rest is dragged. Excess material must be cut with scissors and, bending, glued to the back
The tensioning of the ceiling of the car interior should be started by applying a thin layer of glue. First of all, the canvas is applied to the front of the ceiling, then the rest is dragged. Excess material must be cut off with scissors and, bending, glued to the back.
After that, all holes are cut out.
 Auto salon
When the ceiling of the car is sheathed, it is allowed to dry for 3 hours. At this time, the process of tightening and gluing the fabric takes place. After that, you need to carefully install the ceiling back into place, twisting all the necessary parts.
The materials for the decoration of ceilings and interiors offered by the modern textile industry will satisfy the needs of the most demanding car owner.
Padding the salon at home - a step-by-step photo report
1. The first step is to remove the ceiling from the passenger compartment. In some cars, this even requires removing the windshield. For me, this option is definitely not suitable, so I did not even think about it and tried to get it like this. I took it out through the back door, after taking out the passenger's seat, after suffering a little, I managed to remove it.
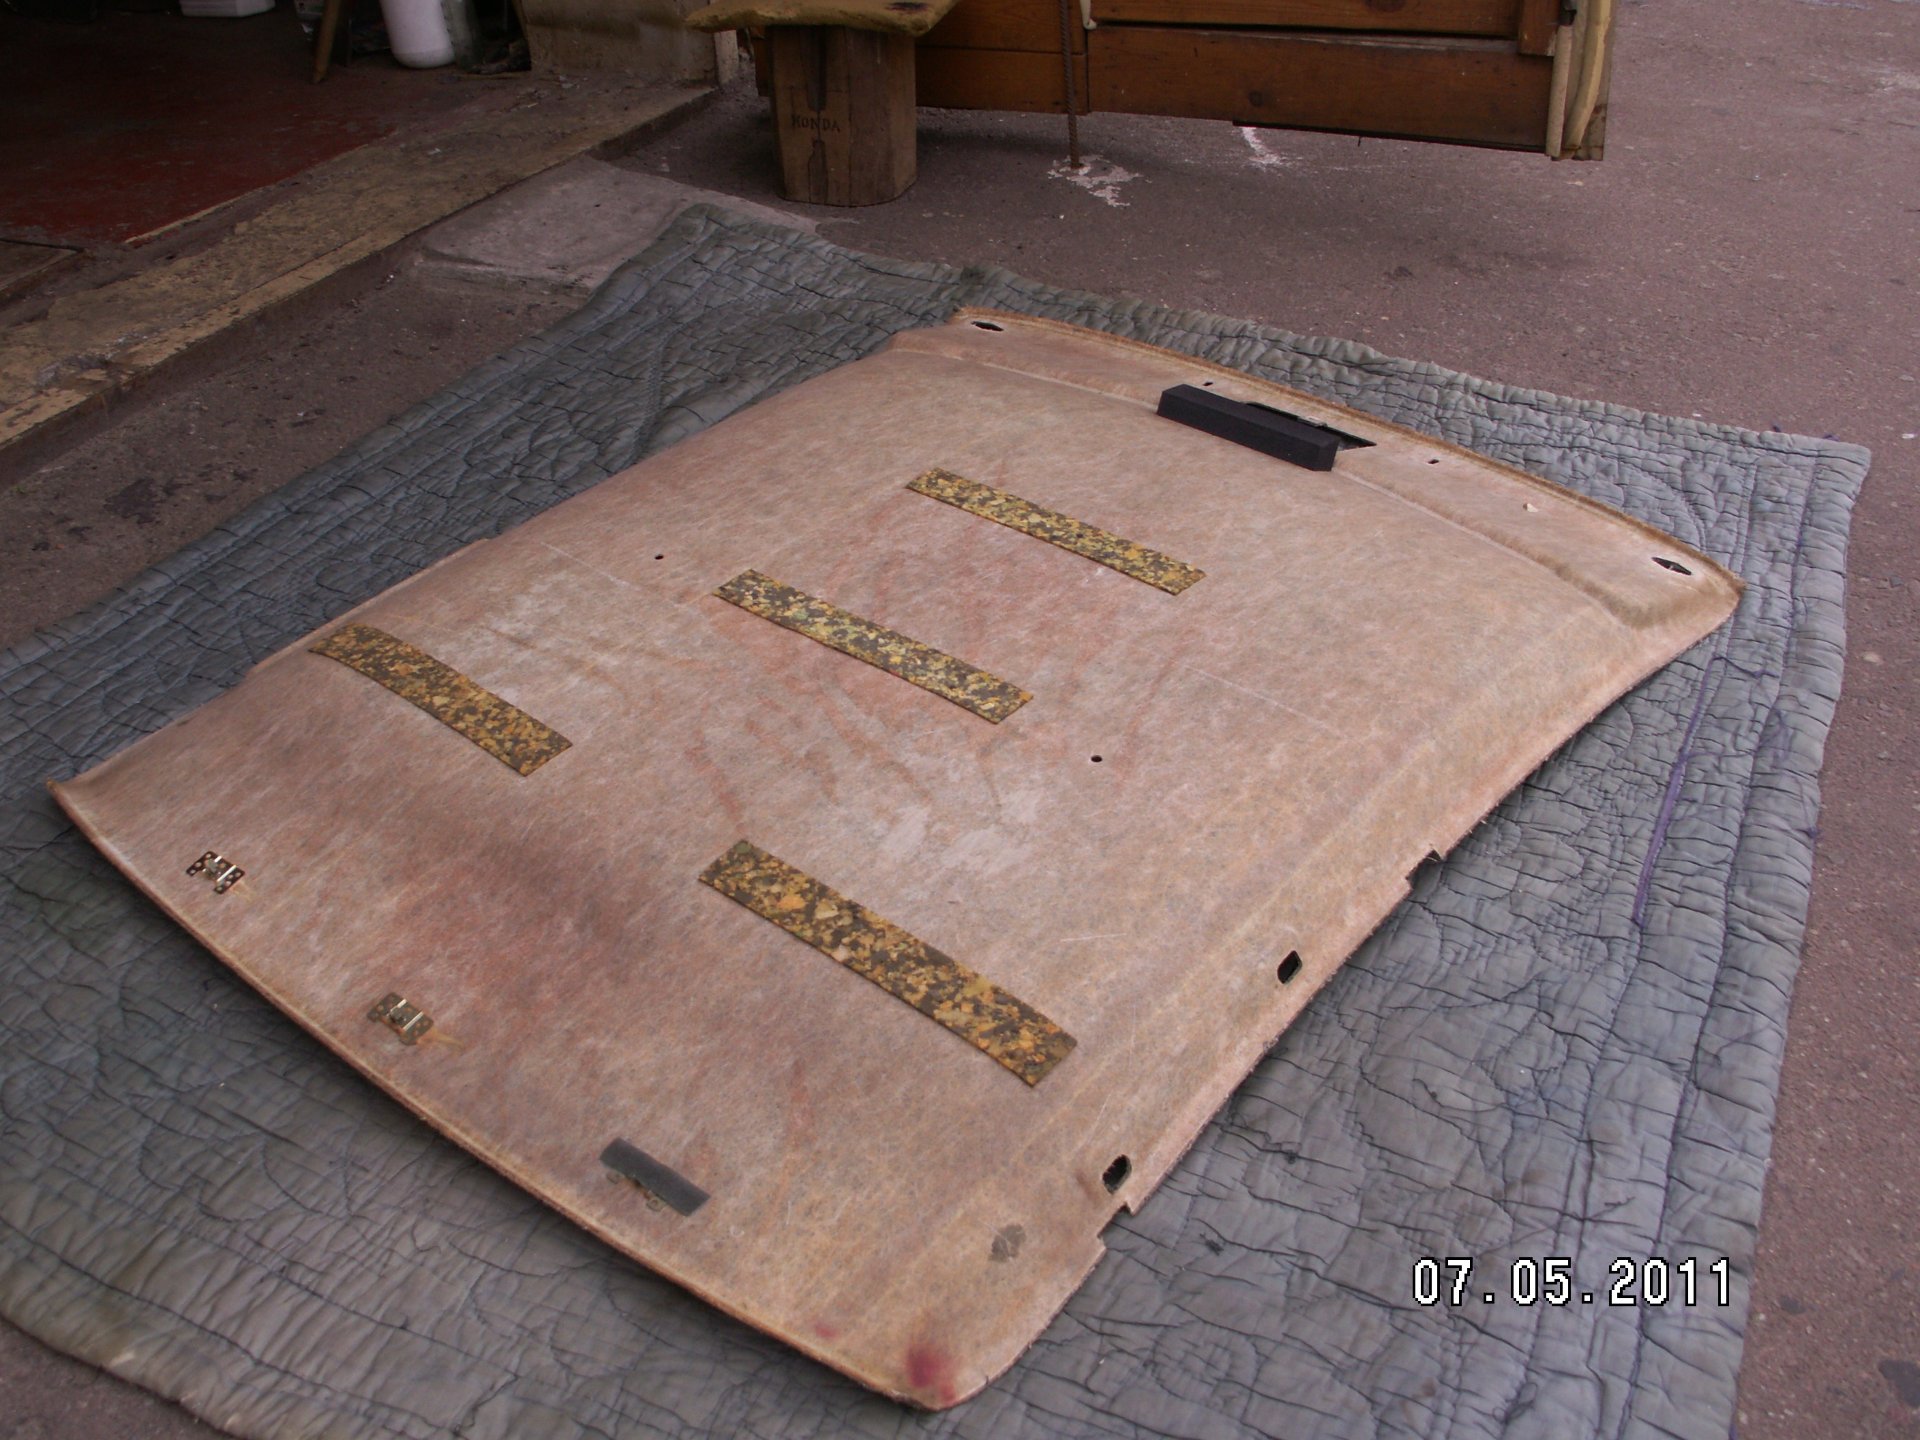
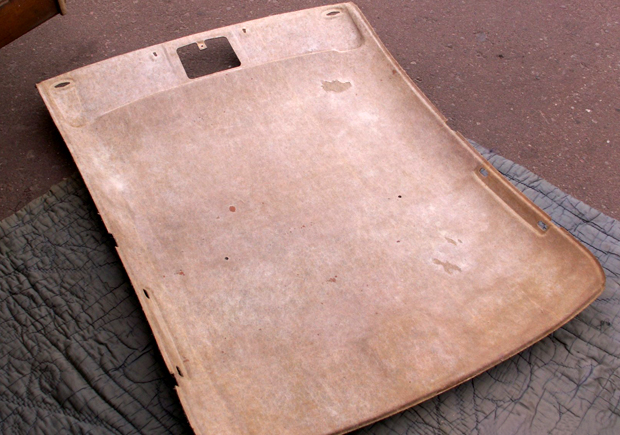
2. The ceiling frame of my car is a matrix on which glass mat was sprayed, after which "epoxy" was applied. I rip off the remnants of velor and foam rubber and prepare the surface for gluing a new one.
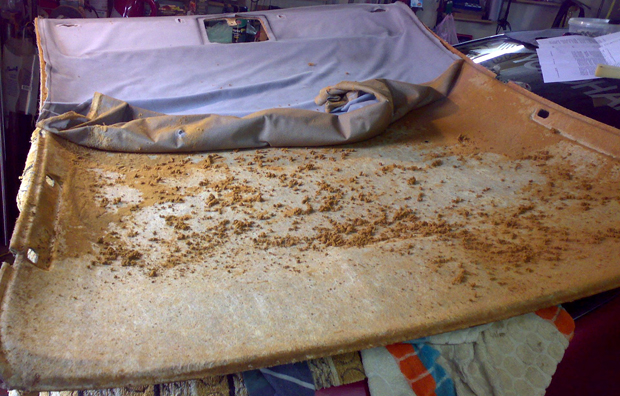
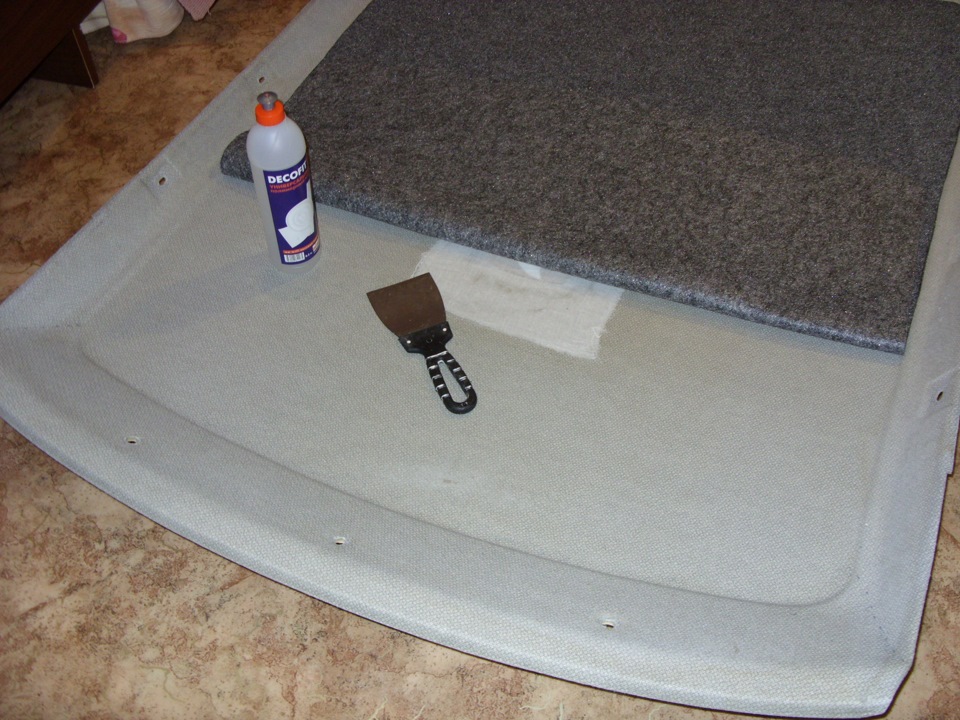
3. Using a metal brush, a knife, a hedgehog for washing dishes and other sharp cutting, rip off the remnants of the old glue. At the end, the surface must be "sanded" with emery paper, as small as possible grain size. This will make the surface smoother and improve the adhesion of the adhesive to the material.
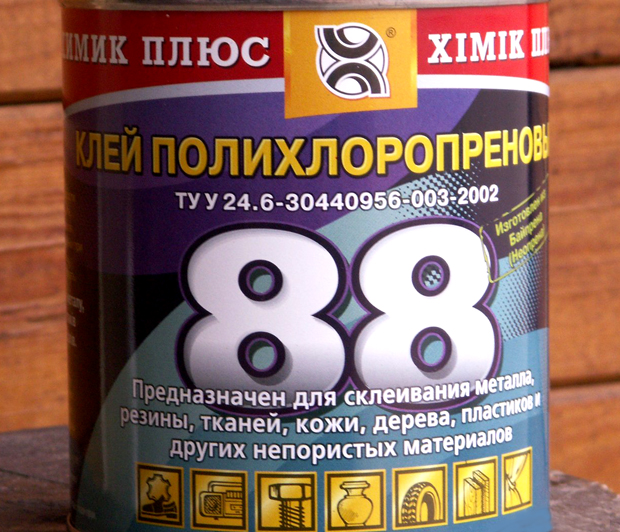
For gluing the fabric, I used 88 glue, you can take another glue with similar characteristics.
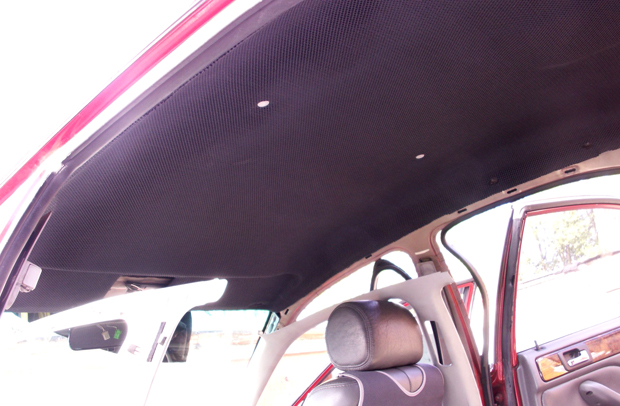
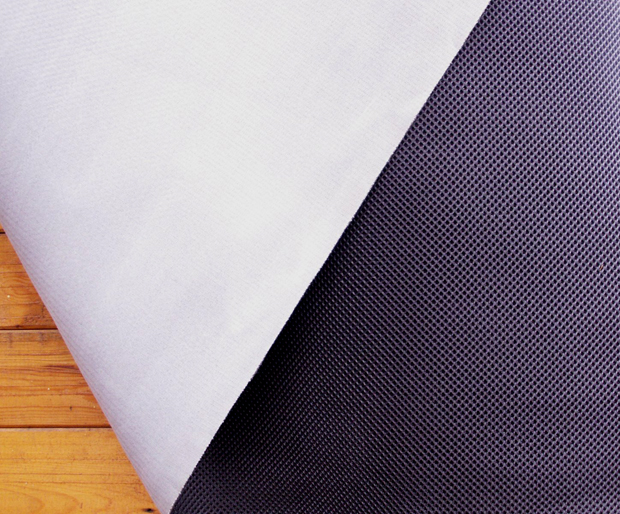
4. Fabric for the ceiling is also up to you, there are a large selection of different options in stores. Personally, I chose black fabric with coarse grain and expressive structure. It has a great look and is pleasant to the touch, moreover, there will be no stains and other marks that remain on the white velor on it.
5. In fact, the ceiling hauling can be safely called gluing, because the fabric is glued, and not stretched using rivets and staples. For gluing, it is better to call an assistant, so the quality of the work will be higher and the work itself will end much faster and more fun.
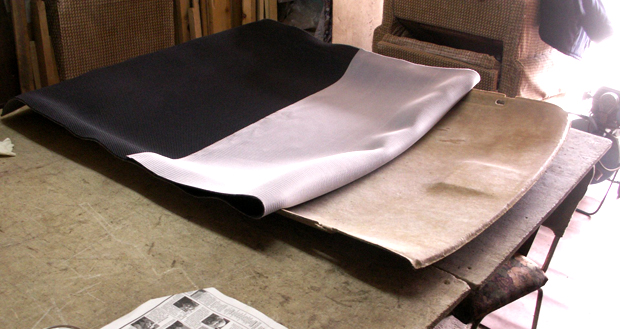
6. Pasting. Apply a thin line of glue 10 centimeters in the center of the ceiling frame, then apply the center of the fabric to it.
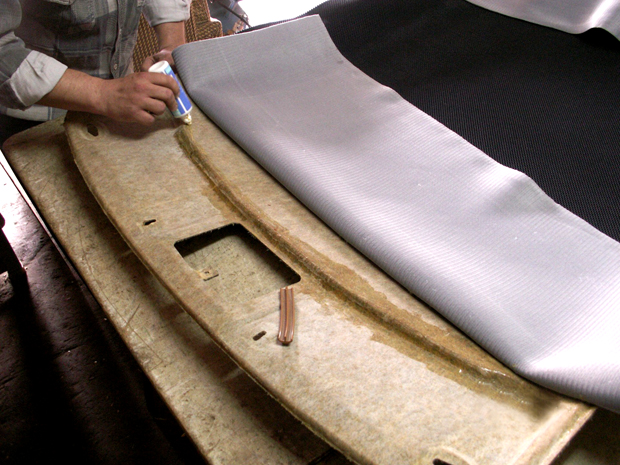
7. Next, slowly, gradually glue each side, starting from the center of the ceiling. Everything is about the same 10-15 cm.The assistant should pull the fabric from the glued center, while you should gradually smooth the fabric with your hands (wear gloves or cellophane gloves) from the center to the edges. If you have a light-colored fabric, then there may be marks from your hands, so gloves are a must.
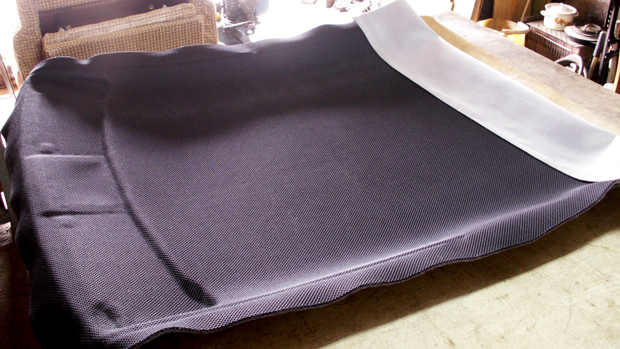
8. Pay close attention to the edges, corners and bends, do not be lazy how to tuck the fabric in the corners and press in the grooves, you should not have sagging and not glued places, the further service of your ceiling depends on it. The edges of the fabric must be wrapped and glued, and the excess, if necessary, can be neatly trimmed.
9. We make holes for fasteners, after which you can start installing the finished glued ceiling at the place of further service.
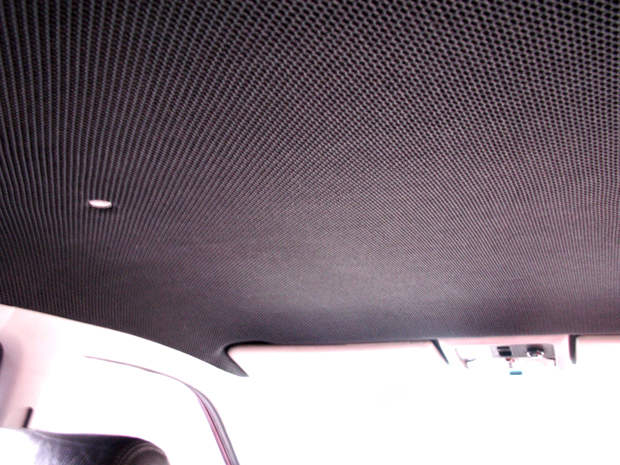
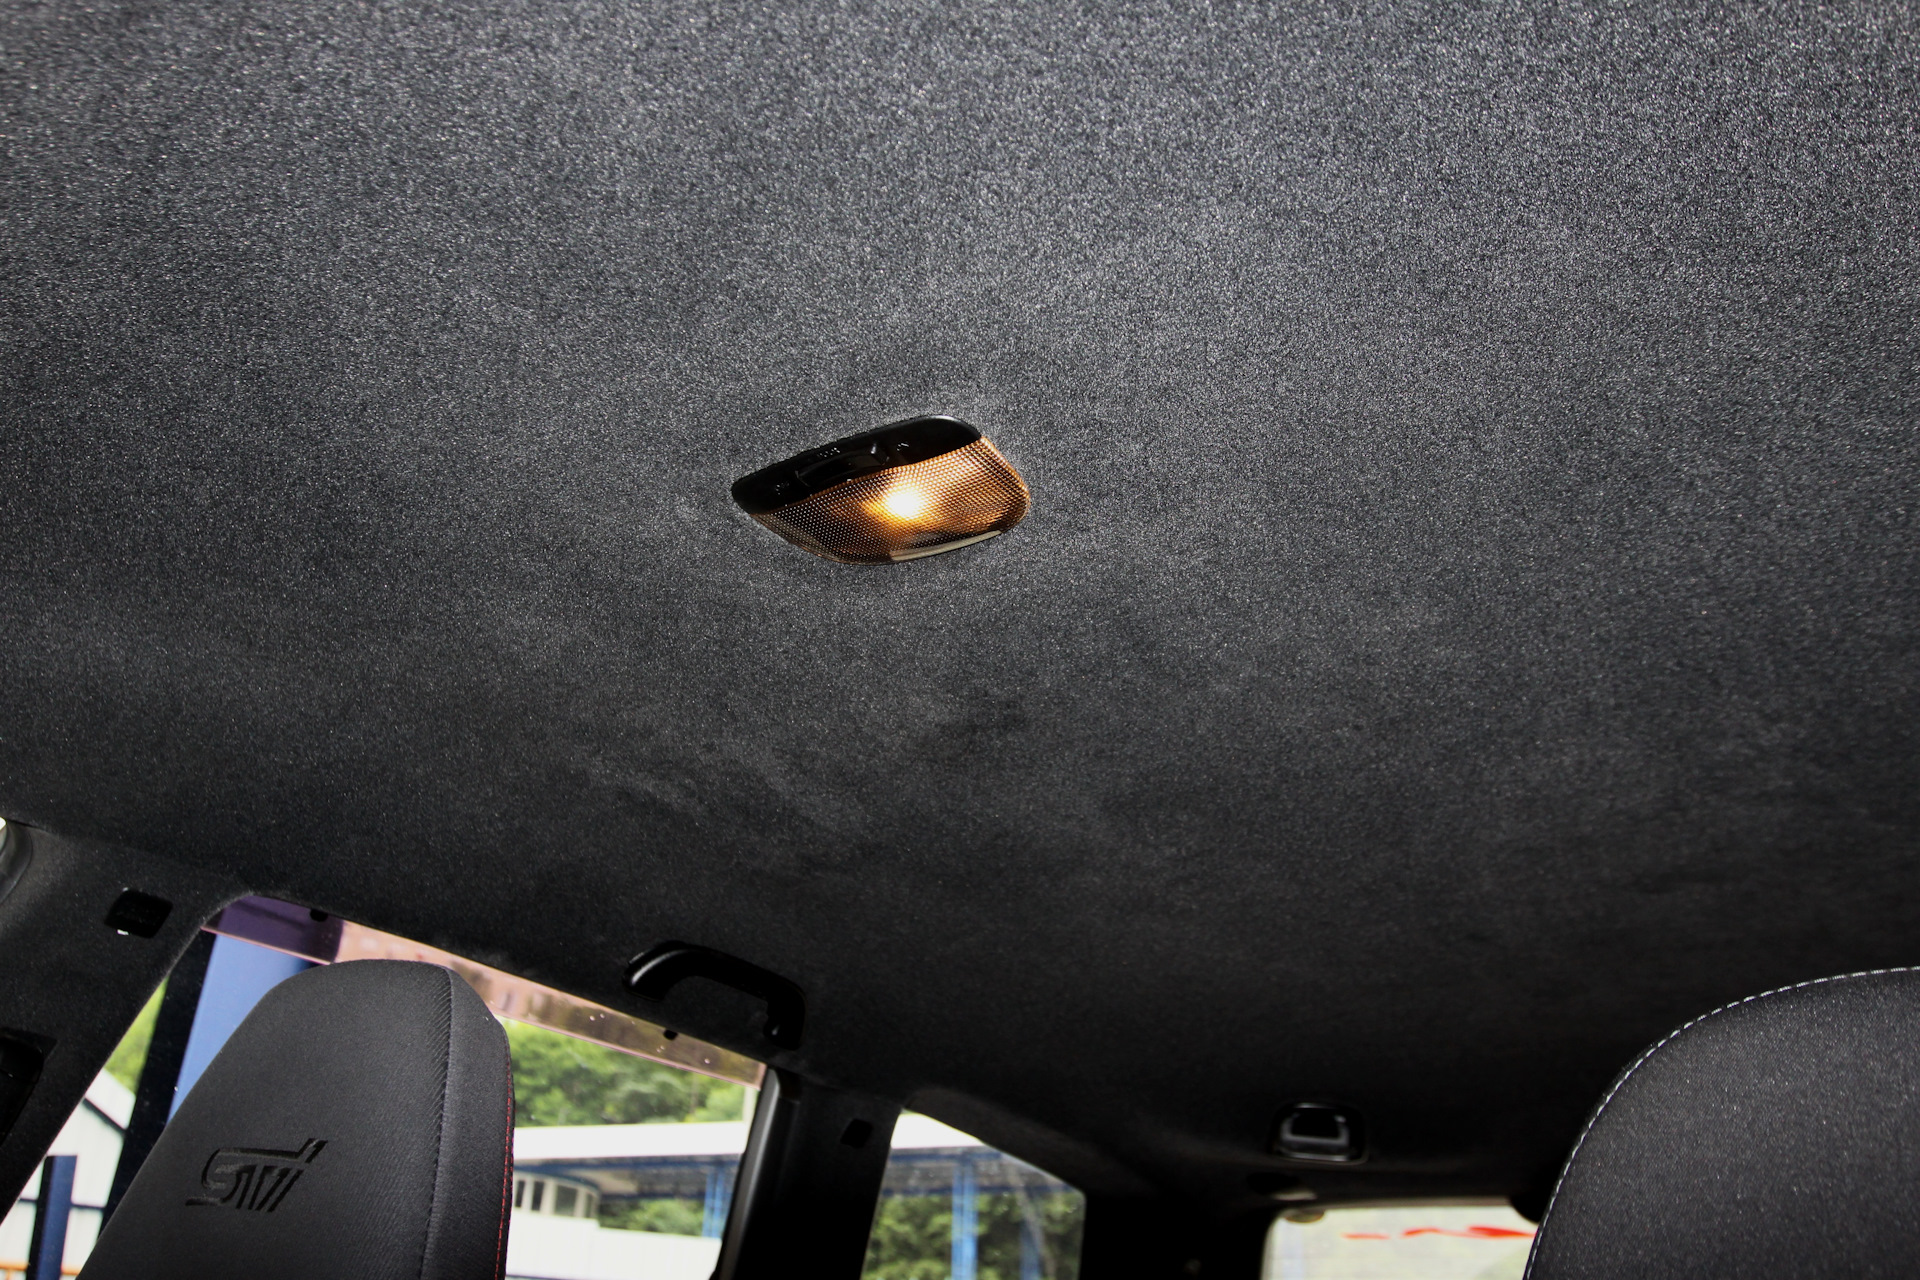
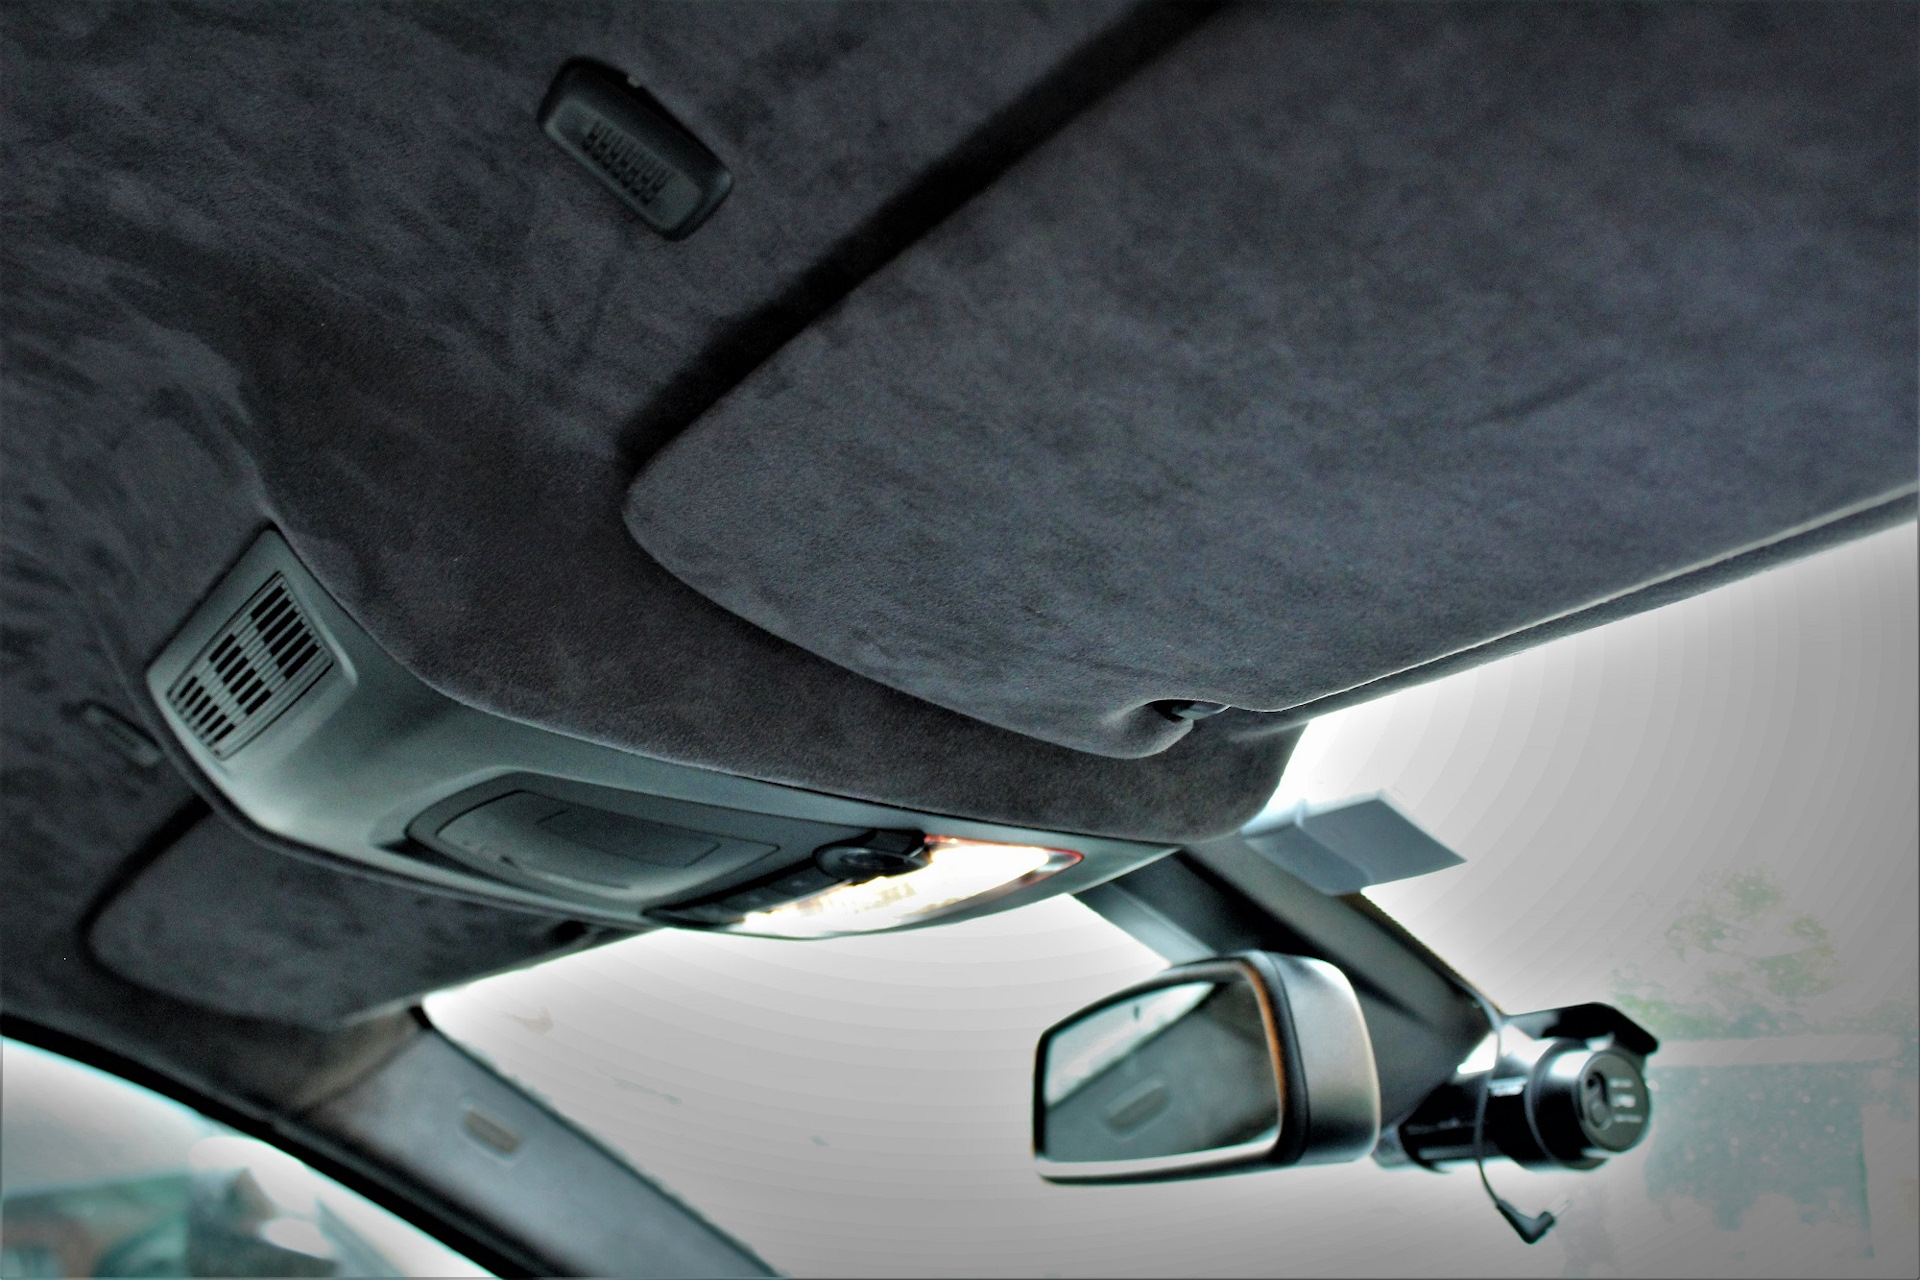
The result can be seen in the photo. It seems to me that it turned out very well. When I just thought of making a ceiling banner with my own hands, I did not even imagine that it would come out so well. Over time, I even began to catch myself thinking that I was even glad that the old ceiling fell into disrepair, since I like the new one much more.
Actual:
- Self-hauling the steering wheel with leather or a leather steering wheel with your own hands
- What is Carbon Fiber Film? Pasting with carbon with your own hands
How to glue the ceiling in a car without removing
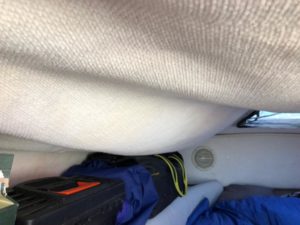
We continue the section "Repair" and the subsection "Do it yourself" with the article "Ceiling tiles: how to glue it optimally?
How to clean a crystal chandelier with pendants without removing it from the ceiling
We continue the section "Repair" and the subsection "Do it yourself" with the article "Ceiling tiles: how to glue it optimally?
Where we will tell you how easy, simple and effortless to cope with decorating the ceiling.
After all, the ceiling, especially in not very new houses, quite often is nothing more than a collection of cracks and falling away plaster, which does not decorate the house in any way.
However, you need to choose - either optimally, or somehow else. But let's start from the beginning, and we will deal with the ceiling tiles as such, as well as with the usual, not optimal ways of gluing it.
How to clean the carpet in the car yourself
Because when there is a task to turn a room into a candy without wasting money and time, then the ceiling tile is what you need. And then we will make a knight's move
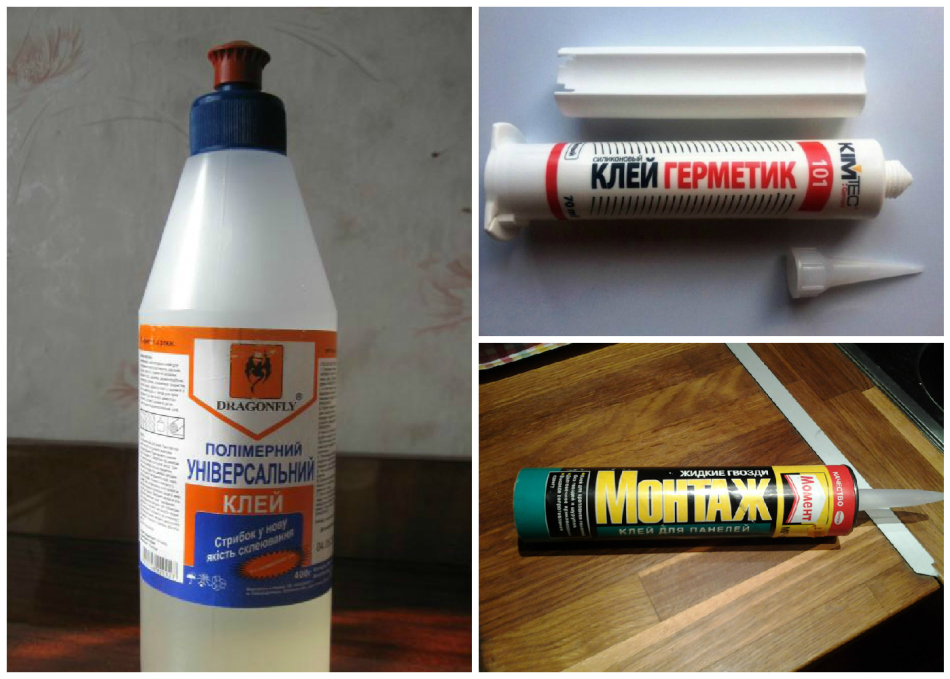
What should be the glue for the ceiling constriction
The cladding material plays an important role. It is necessary to glue the ceiling sheathing with a high-quality composition. The glue must meet the requirements:
- Non toxic. Poisonous vapors accumulate in a confined space, they can harm the body.
- Bonding materials tightly.
- Easily and evenly spread over materials.
- Leave no streaks. It is not recommended to glue the black ceiling with white compounds.
The choice should be taken responsibly.
Polychloroprene based
Craftsmen recommend using polychloroprene based glue. The product is applied to two surfaces. In the chemical composition, it contains a solvent, which gradually evaporates upon contact. The result is a strong bond connection. The adhesive base may contain resins or metal oxides that increase bond strength and resistance to temperature extremes.
For the constriction of the ceiling in the passenger compartment, the activation of properties under the influence of high temperature on the area of application is characteristic. Above 60 degrees, the chemical composition begins to melt and release vapors. After pressing the surfaces, the effect of temperature is stopped. In the process of cooling, the cladding material is firmly fixed to the ceiling. The advantage is the ability to operate the car in 30 minutes after completion of work.
Ceiling adhesives from the following manufacturers are noteworthy:
- Clay-88 is universal, wide range of applications, tolerates high air humidity. Cons - strong chemical odor, characterized by low fixing properties.
- GTA Boterm is a Polish manufacturer.Requires high temperature exposure to activate. During the operation of the car, a high resistance to temperature extremes and high humidity was noticed.
- Mah is a German manufacturer. In many respects, it is considered the best glue. Transferring loads without losing fixation, heat-resistant, moisture-resistant.
The first two adhesives are more often used for do-it-yourself ceiling cladding. Mah is preferred by professionals who earn money by hauling a salon.
Polyurethane based
Craftsmen recommend gluing the ceiling to the car with polyurethane glue. The composition has a minimum of components that make the glue universal, and the fixation strong. It has a long curing time, which makes it easier to work with. Easy to use for beginners. They are not inferior to other types of glue in strength.
Polyurethane formulations include:
- Moment is a popular brand. It has drawbacks - it dries for a long time, is toxic, liquid, not easy to work with. Car owners choose for self-tightening, as it firmly fixes surfaces, and is sold at affordable prices. This tool is best used only as a last resort.
- Kaiflex K414 - insulates heat, has a high degree of fixation. Lots of positive reviews.
- Titanium is a universal remedy widely used in everyday life. Masters do not advise using it to drag the interior, since the composition does not allow for strong adhesion to surfaces, does not withstand heating.
- Demoskol is a brand that is resistant to high temperatures, moisture resistance, does not respond to temperature changes.
Each brand has pros and cons
It is recommended to pay attention to the products that are sold in auto stores
These formulations are available in liquid form.
Other options
Convenient for car interior decoration with aerosol adhesive. These are used in car dealerships by professionals. Have characteristics:
- Easy to use, do not stain surfaces, do not flow.
- Spread evenly in a thin layer on the surface.
- They do not form lumps, the fabric is evenly smoothed.
- Dry in a short time.
- They do not penetrate the fabric, do not leave marks.
They are used for covering the torpedo panel and other interior elements.
Glue-based cladding appeared on the market. Self-adhesive fabric is comfortable to use. For beginners, it is recommended to do some trial work with the material. There is no need to use glue.
We recommend that you look at the criteria for choosing an adhesive:
Removing the headliner
For a high-quality repair of the car ceiling sheathing, its dismantling is required. To do this, you need to remove all plastic trim parts that adhere to the headliner and interfere with its removal. It is also necessary to dismantle the interior lighting lamps (in the front), sun shields, plastic handles and all clips that hold the trim in place. The plafond, which is located in the middle part, must be removed last, as it will keep the trim from falling down while you unscrew and dismantle all other parts. Each car has its own characteristics of removing various elements, therefore, if difficulty arises, it is better not to exert excessive effort, but to find instructions on the Internet. It is often enough to know where you need to insert a flat screwdriver for the part to give in.
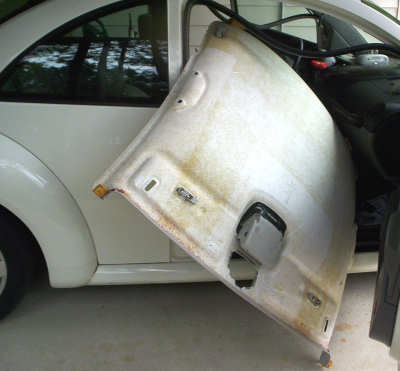 Removing the trim from the passenger compartment may require the front passenger seat to be removed.
So, when all the edges of the ceiling trim are free of fasteners, you need to unscrew the interior shade and pull the trim out of the passenger compartment to the workplace where it will be repaired. On cars with a fifth door, this will be easier, but on sedans, you will have to contrive to stick the headliner through the door.To remove the removed trim from the passenger compartment, you may need to bend (or twist) it slightly. Here you need to be careful not to bend it too much.
The front passenger seat may need to be removed and removed from the passenger compartment so that it does not interfere with the removal of the headliner from the passenger compartment.
How to pull the headliner of a car: instructions
Having chosen the appropriate material and adhesive base, you can go directly to work, but it is better to test the selected consumables first. Take a small piece of fabric and try to secure it with your chosen glue to a surface close to where the ceiling paneling will be glued. You can, for example, drag small car inserts, sill parts, handles or other small elements.
Next, proceed directly to work on the hauling of the ceiling sheathing:
The first step is to remove the ceiling. There is a misconception that this can be done only with the windshield removed, but this is not the case. It is enough to dismantle the front passenger seat, after which the ceiling can be reached;
Next, you need to remove the current skin and clean the surface from the old glue. This can be done with a metallized sponge or sandpaper. When the old glue is completely removed, go over the surface with fine-grained emery paper to remove any irregularities;
After that, you can proceed directly to gluing the material. First, apply a thin bead of glue to the center of the surface and glue the center of the fabric to it. Further from the center, glue the other sides of the material, 10 centimeters on each side
At the moment when you are gluing, it is important that there is an assistant who can pull the material from the glued center. At the same time, a person who works with glue must constantly monitor so that “bubbles” do not form when smoothing the material;
Once you reach the edge of the roof, fold the material over to the back of the surface and glue
Cut off the remaining excess pieces of fabric;
After that, if necessary, make small cuts in the fabric to fix the surface in the car, and then install it.
It is recommended to carry out the work described above with gloves.
It is better to use cellophane gloves or cotton, but it is important that they are clean, otherwise marks will remain on the new fabric.
What fabric to choose for car headliner
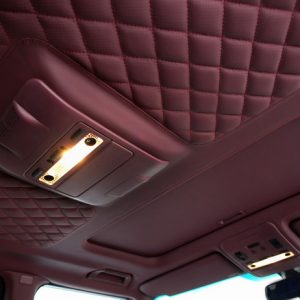 There are a lot of materials that can be used for car headlining. These are auto vinyl, carpet, genuine leather, leatherette and many others. Each of them has its own pros and cons, as well as the nuances of working with a constriction.
Automotive velor is the best option for self-tightening of the car ceiling sheathing. This material is durable, inexpensive, and pleasant to the touch. At the same time, you can find many variations of automotive velor on sale, both in color and in structure.
The color of the fabric for the headliner should be selected based on the overall color of the vehicle interior and also in terms of resistance to dirt. For example, when choosing a bright white color, it should be understood that within a few months such fabric will become very dirty. It is better to give preference to materials of dim pastel colors.
Important: In addition to being dirty quickly, bright materials can also distract the driver while driving. If car velor is not suitable for some reason, you can also consider the following materials for use as headliner:
If car velor is not suitable for some reason, you can also consider the following materials for use as headliner:
Automobile carpet. A similar material has found application in the automotive industry for covering subwoofers and speakers.It has a good effect on acoustic properties and is perfect for a "musical" car. At the same time, the carpet retains its appearance well during long-term use and is available for sale in various color variations. You can also purchase a waterproof car seat;
Alcantara. Another material that is often used for car headliner. This fabric is a non-woven ultra-microfiber with the characteristics of natural leather. The material shows itself well during long-term use - it is easy to clean and resistant to various kinds of mechanical stress. Due to the fact that Alcantara has high elasticity, it is convenient to use it for covering the headliner;
Leatherette. Natural leather is rarely used for the car interior, due to its high price. But if you need to achieve a respectable appearance of the salon, you can use leatherette as an alternative to leather. The material can be found in various textures and looks great on the car ceiling
But it is important to note that leatherette is not particularly durable, and over time, cracks will begin to appear on it. It is also susceptible to scratches.
Please note: When purchasing material for interior trim, it is better to buy it with a significant margin (30-40% more than calculated as a result of measurements). This is due to the fact that in the future, if necessary, it will be quite difficult to find an identical material if required

