Application process
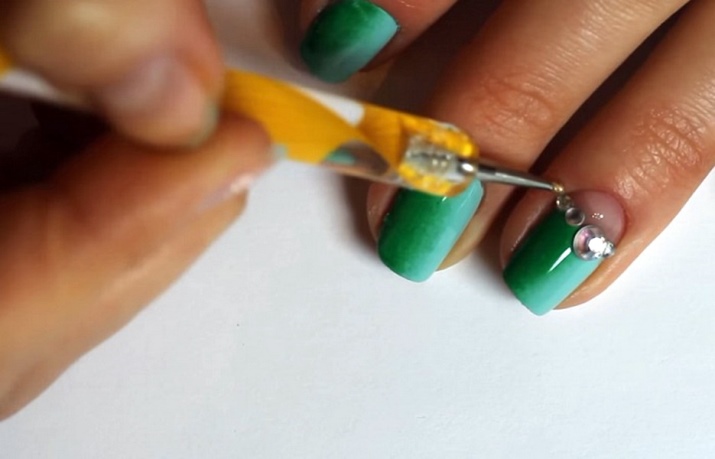
Now we will apply gel polish with rhinestones on our fingers, which we did not cover with gel polish in the previous process. We need small rhinestones, an orange stick, a color gel - varnish that will participate in the design of nails.
If you decide to decorate one nail on both hands, then first, for convenience, we decorate the nails not simultaneously, but alternately. We file the nail plate with a soft nail file, degrease with alcohol.
Cover with primer and dry. Apply the first layer of color gel - varnish, dry. Then, the second and also dry.
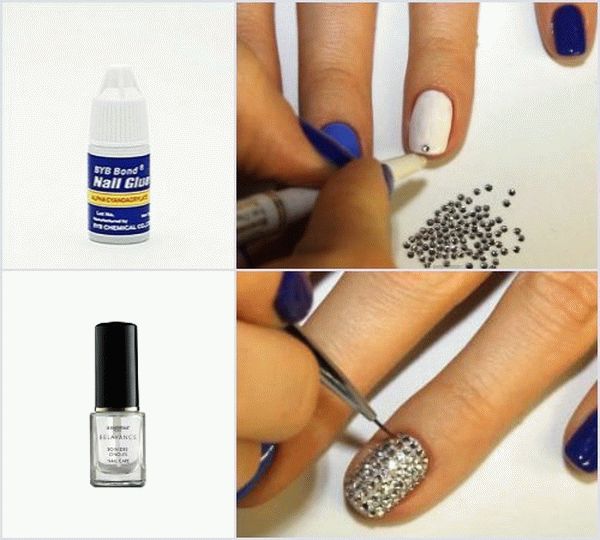
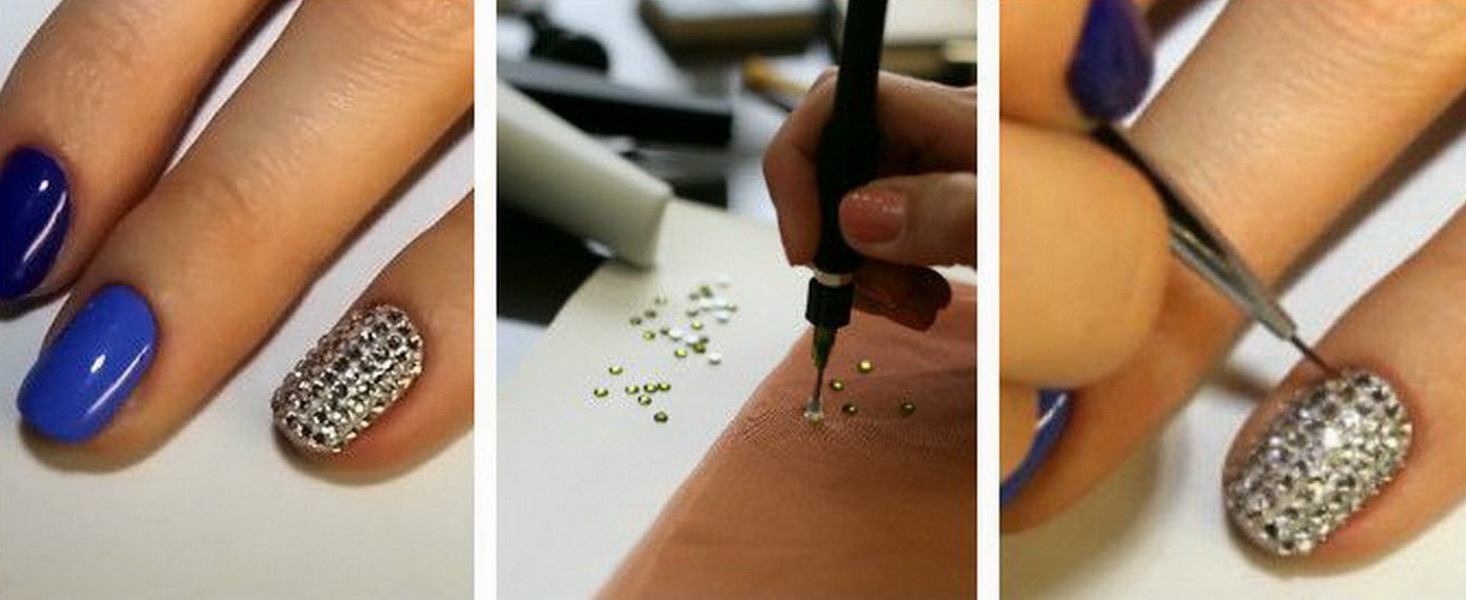
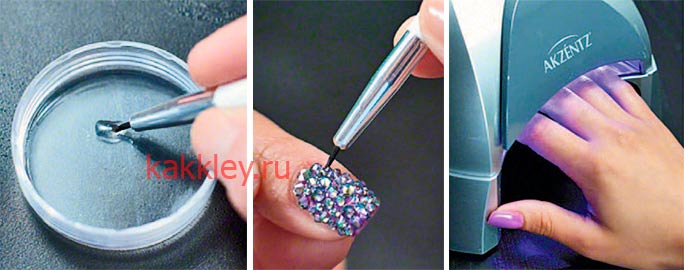
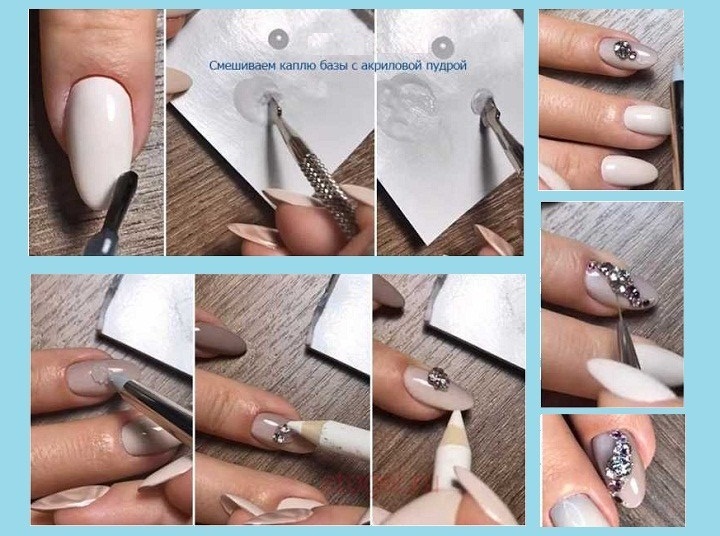
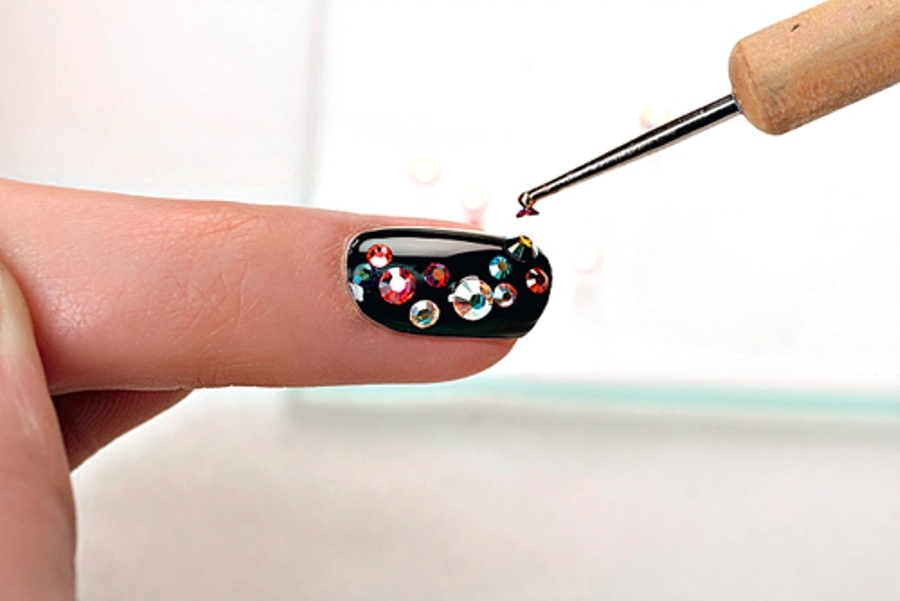
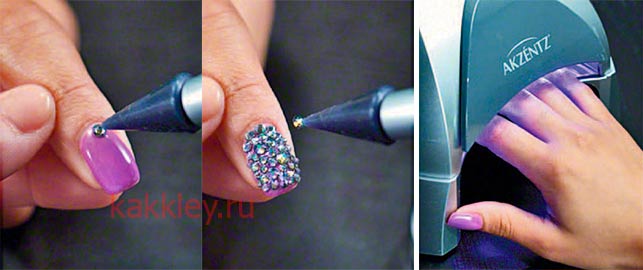
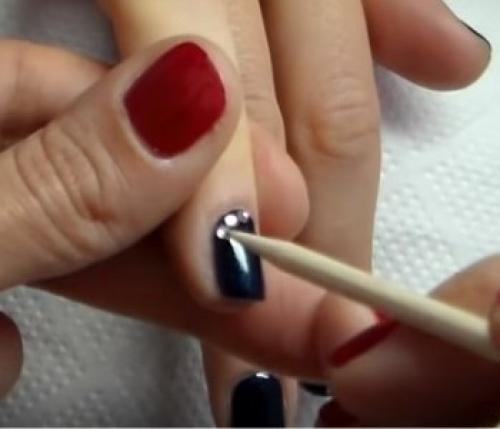
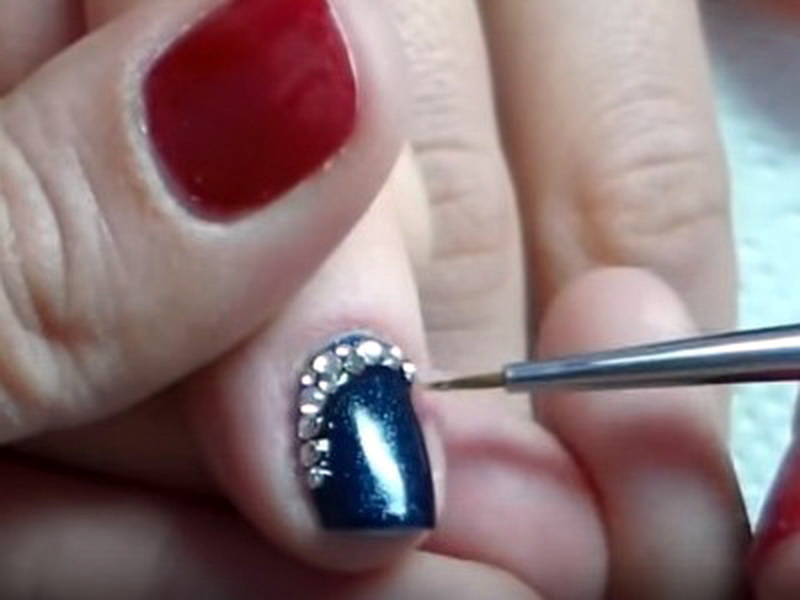
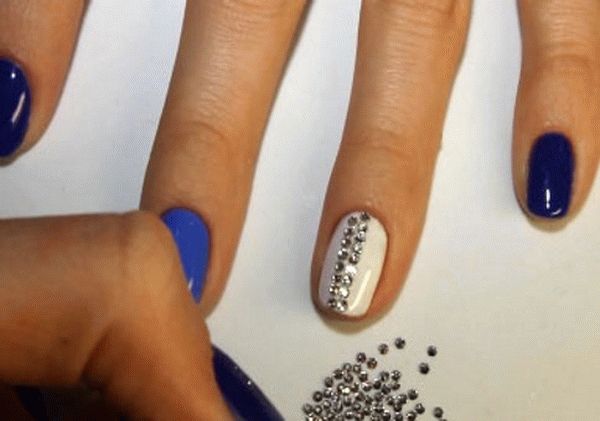
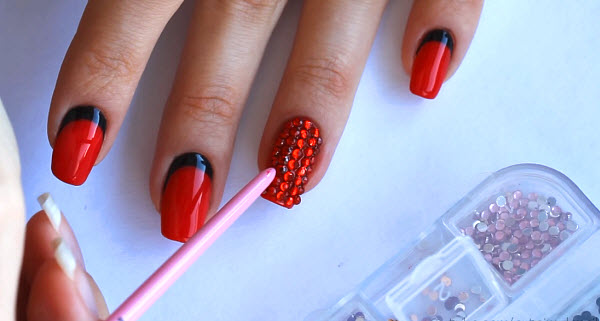
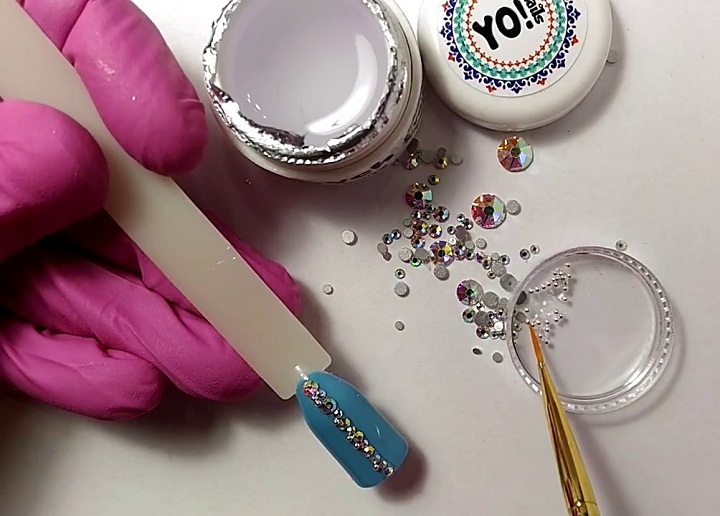
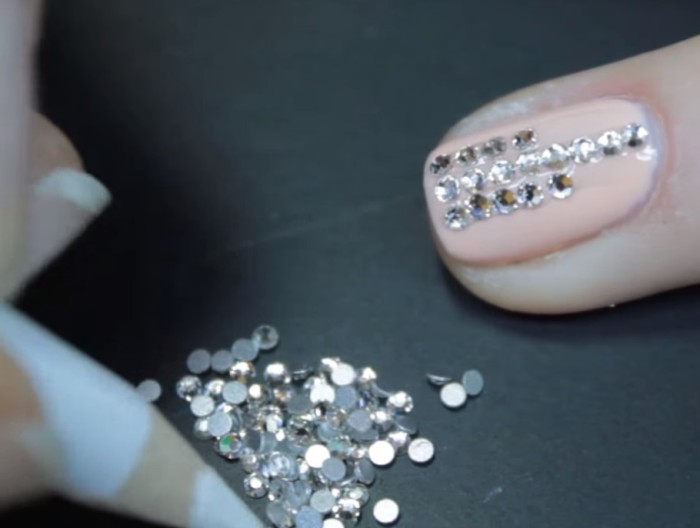
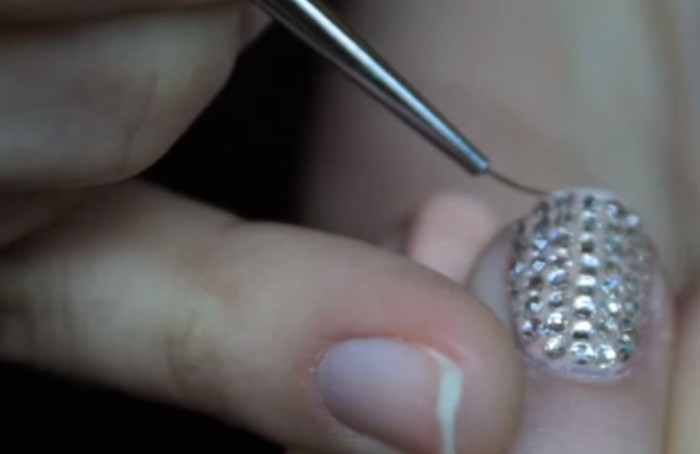
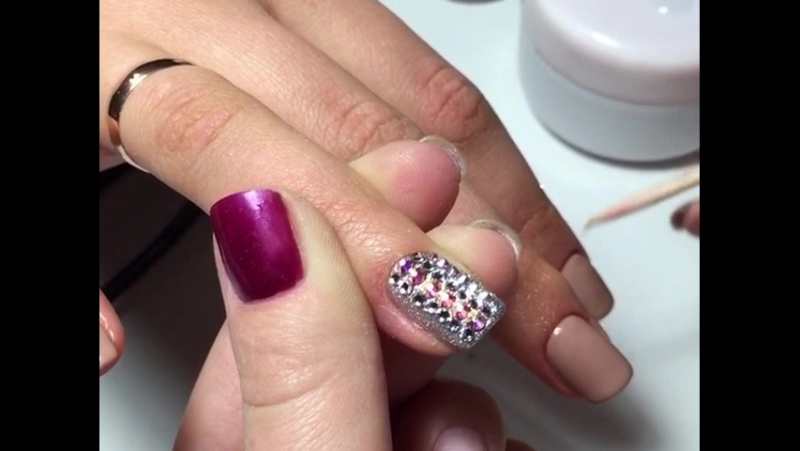
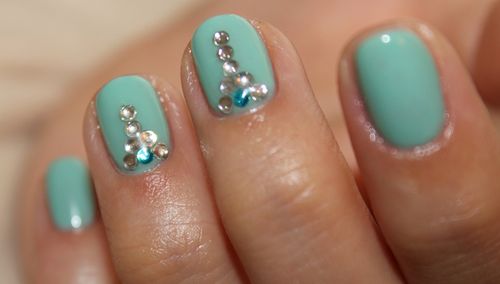
Apply with top, do not dry, start spreading rhinestones. We attach the first one at the very top of the nail in the middle, then clearly down one by one in a straight pebble by pebble. Then the next row, then the third on the other side of the first, and so on to the edges of the nail on both sides of the center line. If you need to touch up the rhinestones, do it with something thin, like a toothpick. After the end of laying out the pebbles, dry the resulting layer in the lamp for two minutes.
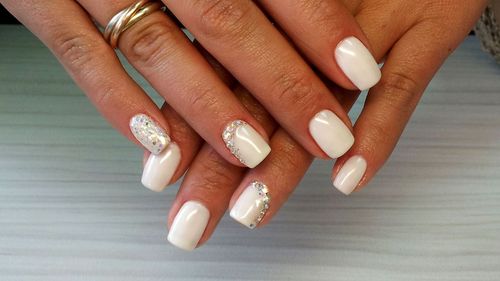
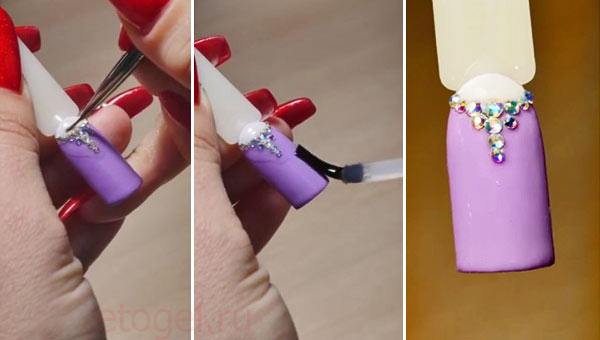
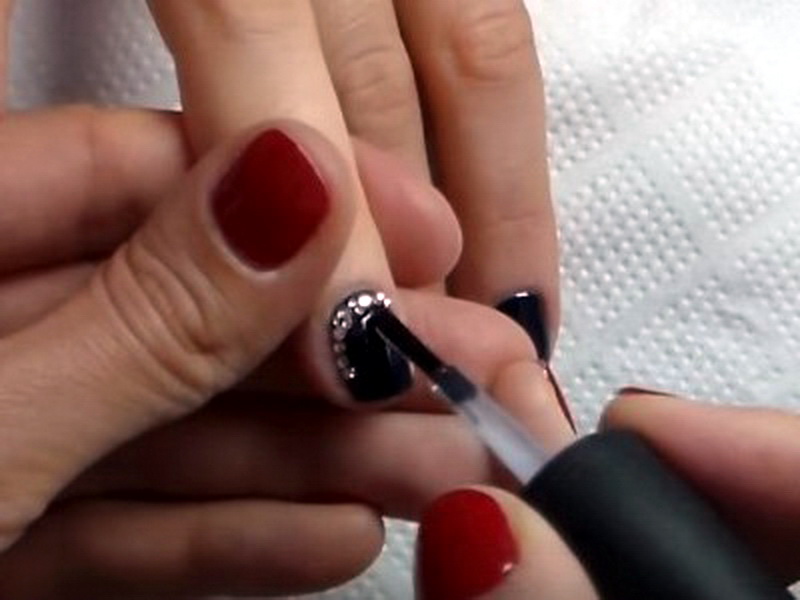
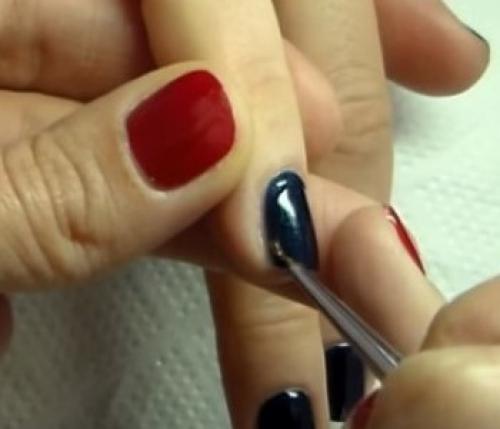
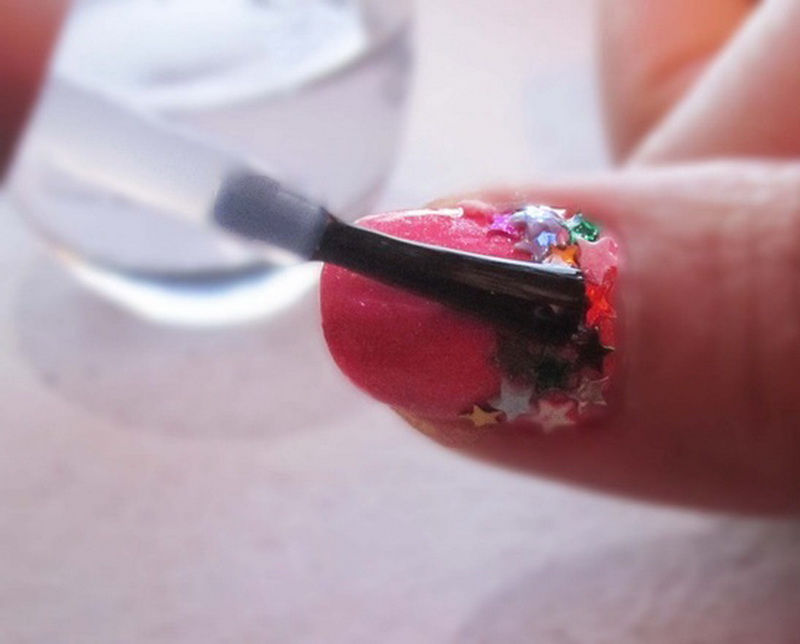
Next, you need to paint over the gaps between the rhinestones with a top, for which use a very thin brush, trying not to get on the rhinestones and not spoil their shine.
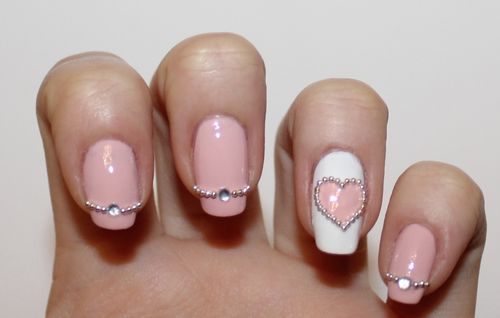
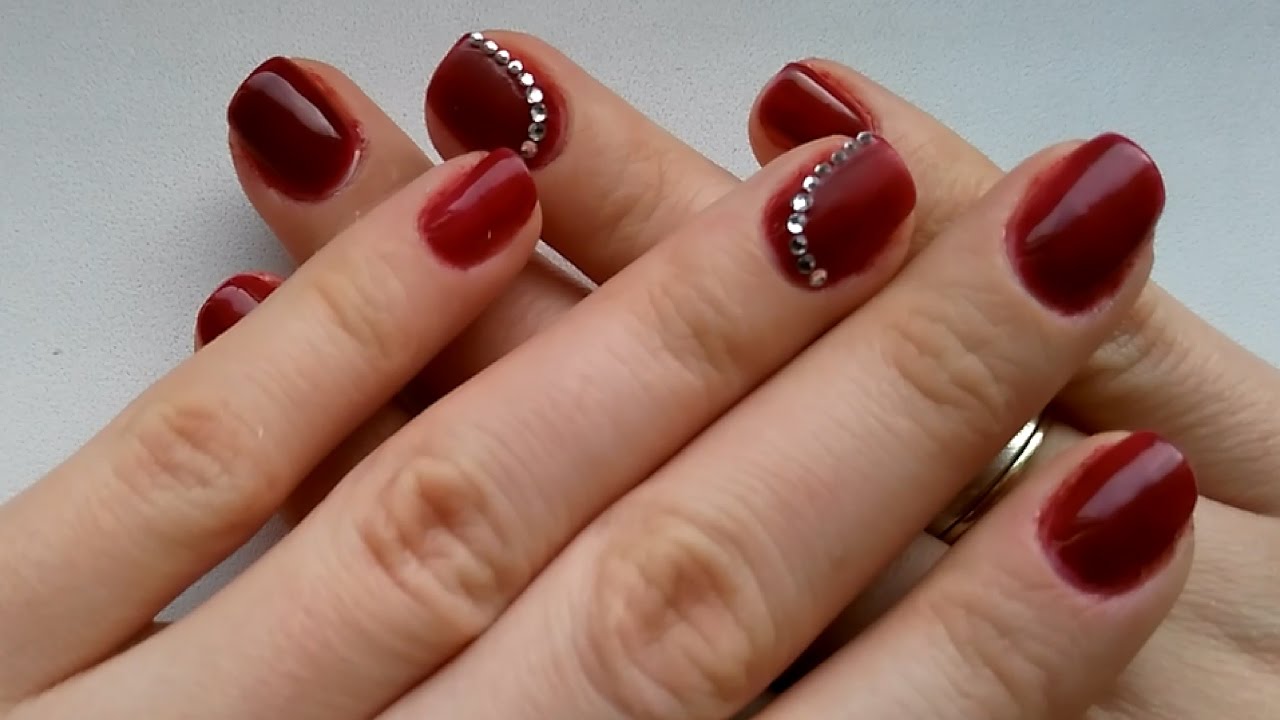
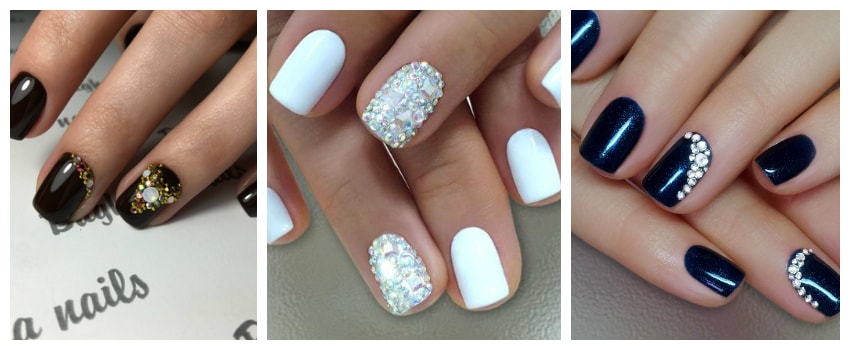
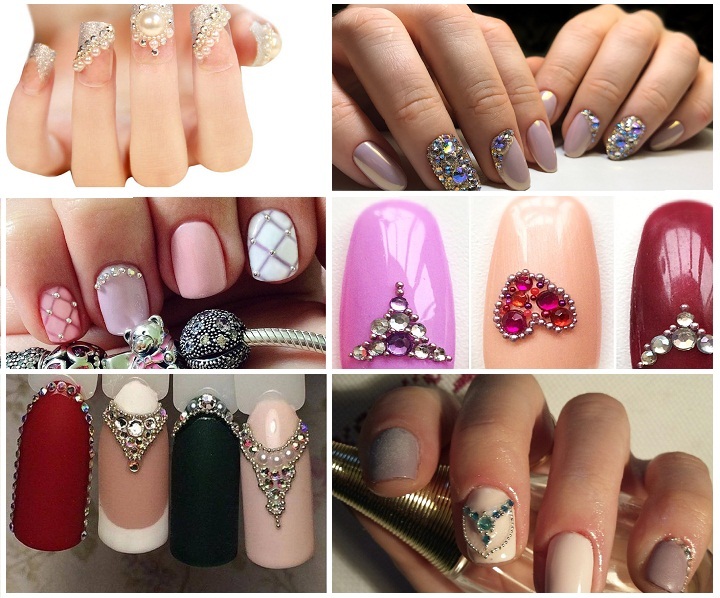
Then dry in a lamp for two minutes. If you are not sure of a good result, repeat again and dry. Wipe with rubbing alcohol and your manicure is over. See what the gel polish with stasis looks like in the photo.
Master's tips
- It is not recommended to cover rhinestones completely with the top, it is enough that they are superimposed on the top and the gaps are painted over;
- The top, on which the pebbles are superimposed, must be thick, otherwise the pattern will not work and may blur even before its polarization;
- If you want to lay out the entire surface of the nail, then start from the center, as we described in the "chain mail" pattern. If the stones are of different sizes, then first lay out the large ones and again start from the center;
- If you decide to put pebbles on glue, then you must be sure of your skill, since you can correct a pattern that has not yet frozen on the top, and the glue "seizes" instantly and you have no right to make a mistake;
- For the design of nails with stones, it is better to use glass ones, but plastic ones are also possible, although they are duller and not as beautiful as rhinestones;
- pebbles 1.5-2 mm in size will look good even on short nails. Do not use very large pebbles;
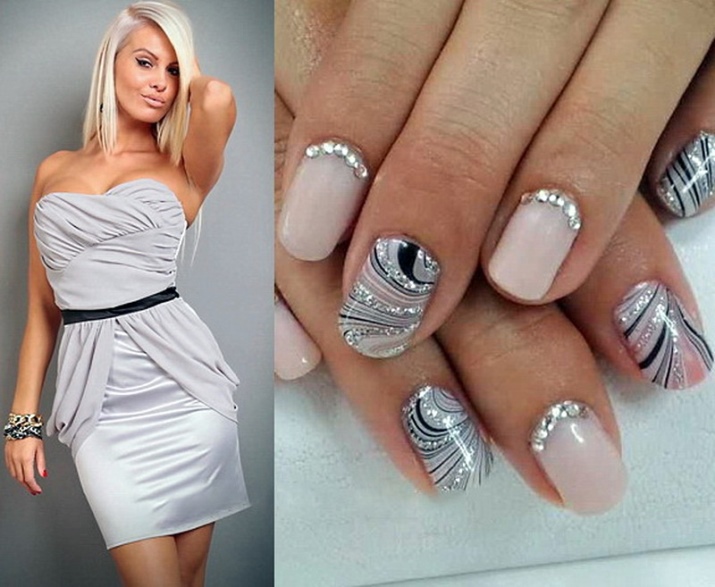
- if you want to use not round pebbles, but rectangular, square or others, remember that they should be in harmony with the pattern on the clothes or with jewelry. Therefore, it is still better to use round rhinestones;
- such a manicure with a nail design will last from 15 to 20 days, if the technology was followed during application, and respect when worn. It is not necessary to file the nail plate, thereby breaking the "sealing". Use gloves for household work and do not use hot water;
- remove pebbles with a manicure pusher in turn. If the pebble cannot be removed, then it is cut off with a nail file.

If you follow all the advice of the masters of manicure, then even at home, you will be able to design your nails with ease.
Using household glue
It is not always at hand that there is a special glue intended for performing manicure, so women of fashion are trying to replace it with household options. It is worth figuring out whether such actions are permissible.
Super glue
The use of super glue is acceptable, but it is difficult to work with. Such an adhesive cannot fill large irregularities. It is used only for fixing flat elements.

It dries very quickly and requires maximum care. It is problematic to correct the error.
Glue moment
It is not recommended to use Moment glue. It does not harm the plates, it is able to provide proper adhesion, but there is a risk of spoiling the decorative elements themselves, especially plastic decorations.
How to fix rhinestones correctly
It is recommended to fasten the rhinestones on the nails with a top. Additionally, they can be fixed with what they were planted on, but the final layer should still be top-end. How to choose the right topcoat? Let's take a look at this issue.
Top coverage
It is better to fix small rhinestones and broths with a liquid top. Your material should flow into all the gaps between the pebbles.
It is important to choose those tops that, when applied in 2 layers, do not spread, otherwise the rhinestones will drain along with the topcoat. When working with such mini-jewelry, a top without a dispersion layer works well.
There are a number of advantages here: the stickiness does not need to be removed from the nails, it does not remain in small folds, and the design does not get clogged with dust. In order to fix larger rhinestones, it is necessary to make a special side around the stone. For this occasion, a thicker rubber top will do.
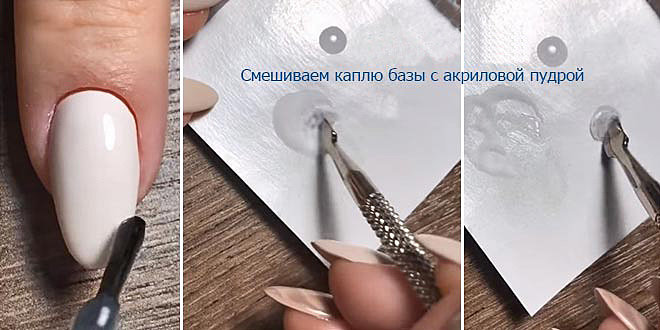
Acrylic Powder
Top and acrylic powder can only work as a duet. If in the design of nails with rhinestones you use inlaid stones with an indescribable glitter of small grains of sand, then this little life hack is especially for you. The technique is pretty simple:
- Cover prepared nails with a top.
- Place several rhinestones on the wet layer.
- Fill the glass and the rest of the space with a thick layer of acrylic powder. The rhinestones should sit deep in it.
- After drying, the pebbles on the nails will hold very tightly!
Gel-paste
Another alternative method of "planting" rhinestones on the nail is gel paste. The peculiarity of this material is that it has a fairly thick consistency, does not self-level and dries well on volume. Attaching rhinestones for nails is quite simple:
- Using a thin brush, apply the gel-paste pointwise onto the prepared colored surface with a thin brush.
- Put the beads on the paste gel and drown them well in it to form a small side.
- After drying, the rhinestones will firmly adhere to the nails.
Broths
This effective and original way of attaching rhinestones on nails will appeal to those girls who like to lay out whole compositions. It is recommended to frame one large stone with several broths. It can be 4 small broths that imitate an expensive decoration or cut around the entire perimeter of the stone. It remains only to walk with the top around the large rhinestone and completely smear the space around with the top.
Tips for a manicure at home

- First of all, you need to remove the old nail polish (if there is one): for this you need to soak your nails in a vessel with warm water for a couple of minutes. This will soften the cuticle. You can remove regular nail polish with nail polish remover.
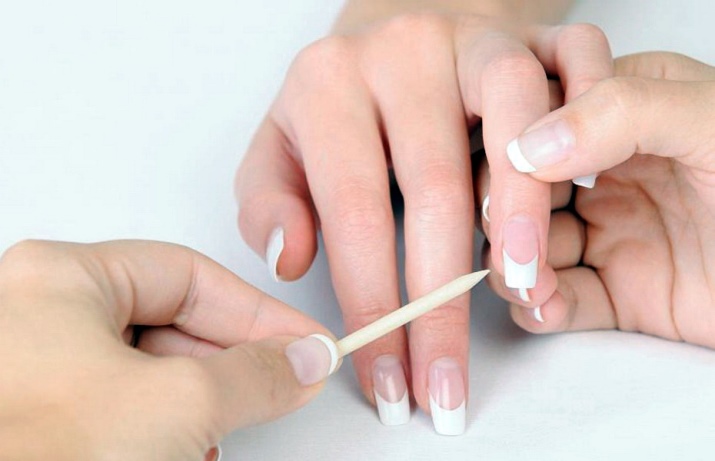
- The next step is to move the cuticle back. To do this, apply cuticle lotion or oil at the base of the nail to soften it. Then the cuticle is gently pushed back with an orange stick, which has antibacterial properties. Avoid trimming the cuticle as it protects the nails from infection.
- Then you should polish the nails, and, if necessary, give them the desired shape. At the same time, it is advisable to avoid reciprocating movements, as this weakens the nail plate and leads to its delamination.
- The edges of the nail can be made square, round or tapered, or you can choose a combination of a square top and oval edges. Round nails, reflecting the shape of the cuticle and slightly widened beyond the edges of the fingers, will look stylish and discreet.


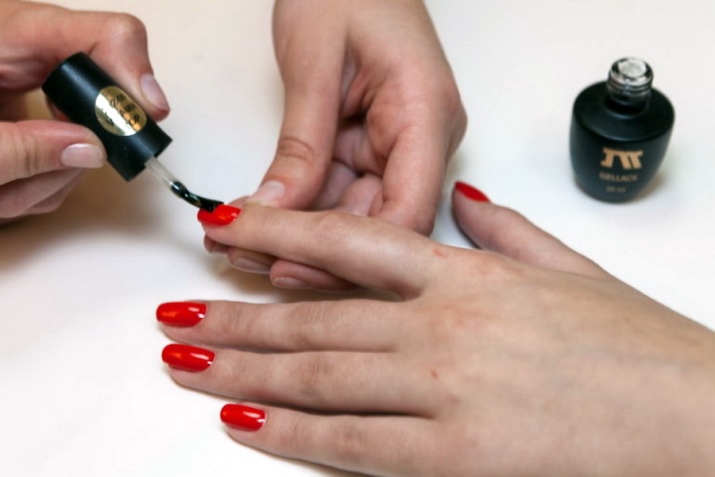
- The base coat of varnish should be applied starting from the cuticle and bringing the movement of the brush in one stroke to the end of the nail. In three passes, the varnish should cover the entire nail.Then, for at least 2 minutes, the finger must be placed in a UV lamp so that the composition is completely dry.
- Before applying color gel polish, you need to stir it directly in the bottle. Do not shake the bottle of varnish at the same time, as this will create bubbles and the varnish will not be smooth when applied. It will be correct to take the bubble between your palms and quickly turn it back and forth, then the pigment will be distributed perfectly evenly.
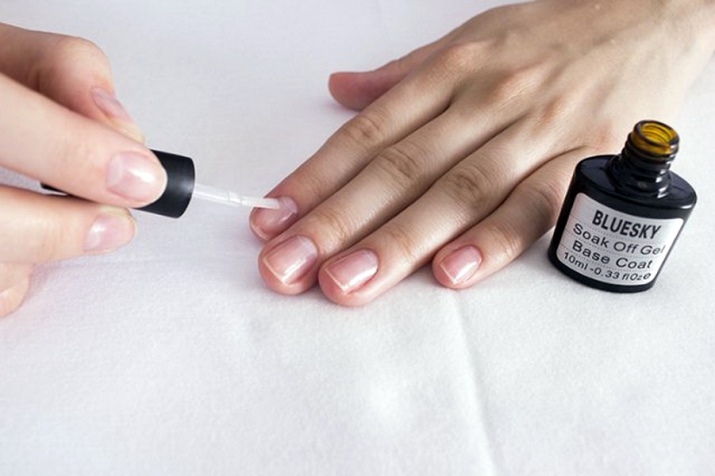
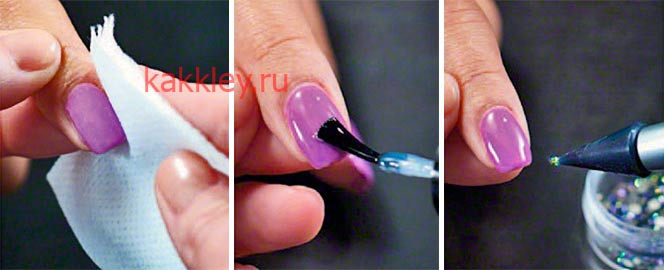
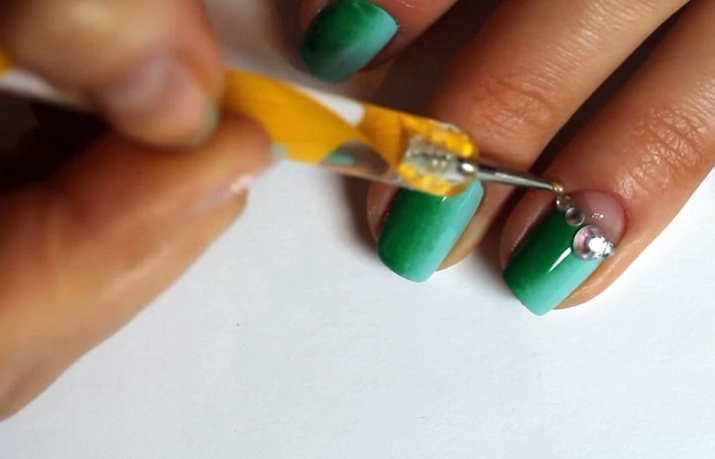
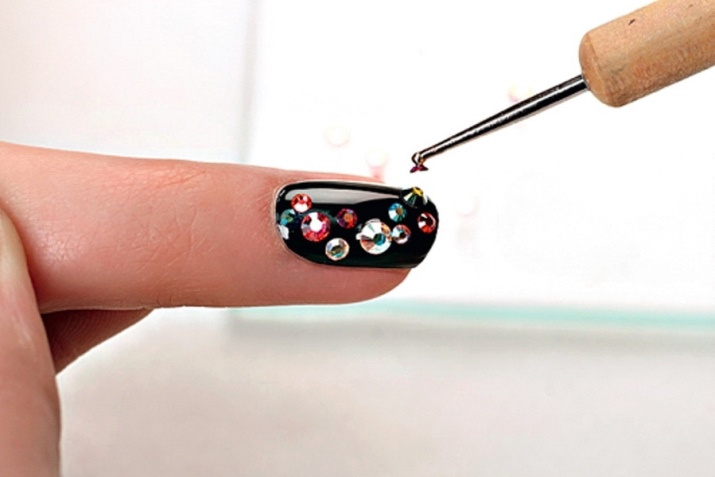
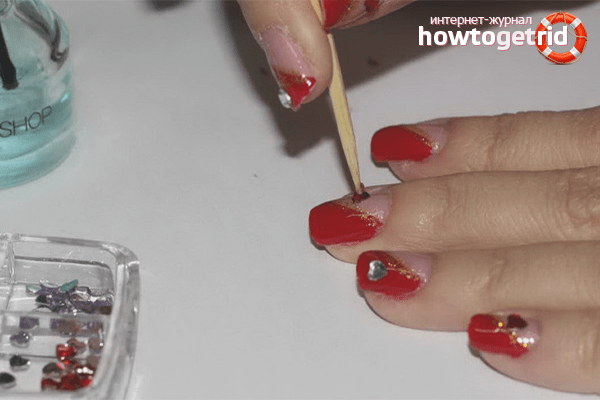
The top also serves to attach crystals of rhinestones with its help: they must be carefully picked up with the thin end of an orange stick and glued, laid out on a nail plate covered with a top. Attaching heavy rhinestones in accordance with the pattern is quite difficult for beginners, so it is better to make a trial manicure using small crystals. If you dip a stick in water and blot excess moisture on a cotton ball or cotton padthen this will help the rhinestones stick to the tool more easily.
If in the process of applying varnish it gets on the skin, you can remove it with an orange stick, in no case placing such smudges for drying under a lamp.
Why don't they hold on
It gets embarrassing when beautiful nails lose rhinestones in an attempt to shake hands
Thus, the length of the period that rhinestones hold on the nails is of particular importance.
Each manicure master has his own tricks and subtleties that show a class of skill, which can only be acquired through experience.
In many cases, when clients complain about quickly crumbling rhinestones, either not very resistant glue is used (in the case when the master uses the glue for fixing), or the master simply misses one of the important technological moments.
There can be many such shortcomings, ranging from the lack of a sufficient amount of top on the nail plate, when stones are laid on it, and ending with insufficiently thorough processing of the edges of each crystal with the top, which is a very painstaking procedure.
In any case, when performing such a complex manicure in the salon, it is worth asking about the terms for which the master can give a guarantee. In the absence of such, it is worth looking for another salon, and in the case when the crystals crumbled during the warranty period, you can contact the master for correction.

Correction with glitter on regrown nails
There are several ways to get rid of such a nuisance:
- Use a long-lasting varnish, for example, "Phenom" from Jessica, applied without curing in a UV lamp, in order to paint over the free area of the nail at home;
- Apply a variant of a manicure called "lunar": draw a semicircle in the shape of a lunar disk on the grown nail as accurately as possible, such a coating looks stylish, moreover, "moon manicure" is included in the top of the last season;
- Make a manicure correction, in which a semicircle of glitter and metallic varnish is formed on the overgrown area;
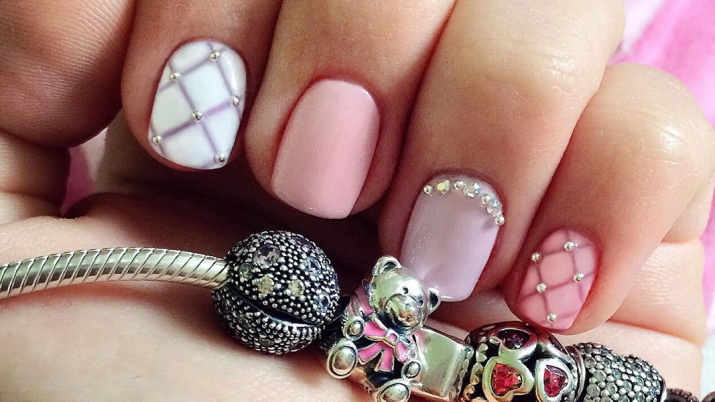
- An interesting way out can be gluing the overgrown part of the nail with small rhinestones or beads - broths, while the manicure becomes visually more advantageous, and there is not even a hint of the performed correction of the regrown area.

How to fix rhinestones on gel polish: option number 1
What you need:
- primer
- buff
- base
- color gel polish (optional)
- glitter gel polish
- top without sticky layer
- sticky top
- large rhinestones, pearls, broths
- wax crayon
- thin brush
- cleanser and lint-free wipes
Move the cuticle with a pusher, remove the gloss from the nails with a buff.
Apply primer and wait until it dries completely. Cover with base, sealing the ends. Cure. Cover with one layer of colored gel polish, polymerize. Next, apply a thin layer of gel polish with shimmery sparkles and also send to the lamp.
Cover with a non-sticky top and proceed to inlay with rhinestones.First, attach large rhinestones with a wax pencil, then small rhinestones and pearls in a chaotic manner. Keep in mind that all actions are carried out quickly, since a top without a sticky layer is used and decorative elements can slip.
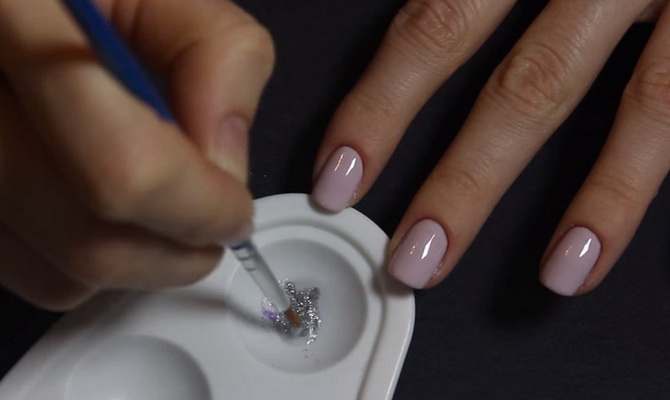
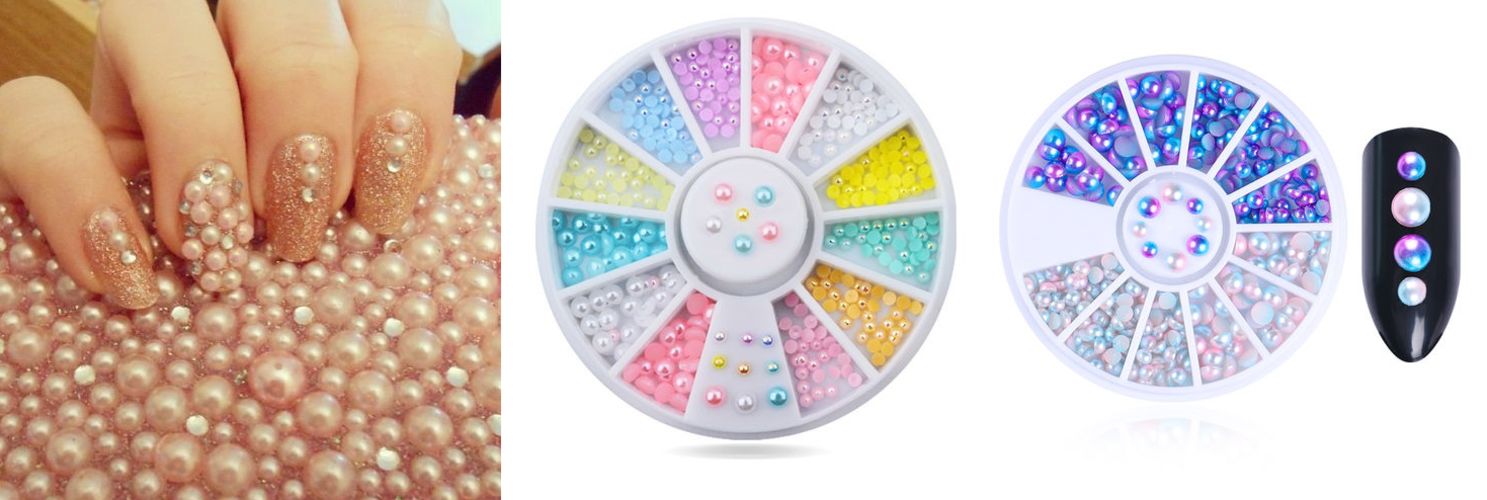
Fill the gaps with broths. Dip the brush into a top without a sticky layer, grab a small amount of broth on it and transfer to your nails. Collect several pieces at a time, without capturing a whole row at once.
Soak the brush back into the top without a sticky layer and go over the broths between them. Be careful not to touch the rhinestones, otherwise you will deprive them of their shine.
Send to lamp for curing. Ready
Glue
Simple household glue "Moment" or "Monolith" has good bonding characteristics. It is not the best alternative to a specialized formulation, but it can be used with success. Due to the fact that you apply rhinestones on several layers of varnish, the likelihood that harmful substances penetrate from the glue into the nail plate is very small. But even if this happens, the small area of the glue drop will not allow it to do significant harm. If you are thinking about how to beautifully stick rhinestones on your nails, as in the photo, then you need to choose a transparent glue, which can be marked with the inscription "Crystal".
I love all kinds of decorations for nails, stickers, rhinestones, adhesive tapes, etc. I don’t always wear colored varnish, and I often don’t have enough time to paint on my nails. And if you paint your nails in a bright color for a long time, they start to fade and break. And a good foundation does not help. So I do this. First, a standard grooming manicure, and then apply some kind of healing varnish. It can be transparent, or with a slight shade. And if you leave it that way, then the manicure looks a little boring. Here then all kinds of decorations come to my aid.

So, how to glue rhinestones on your nails at home. I tried two ways. The first is for glue, the second for varnish.
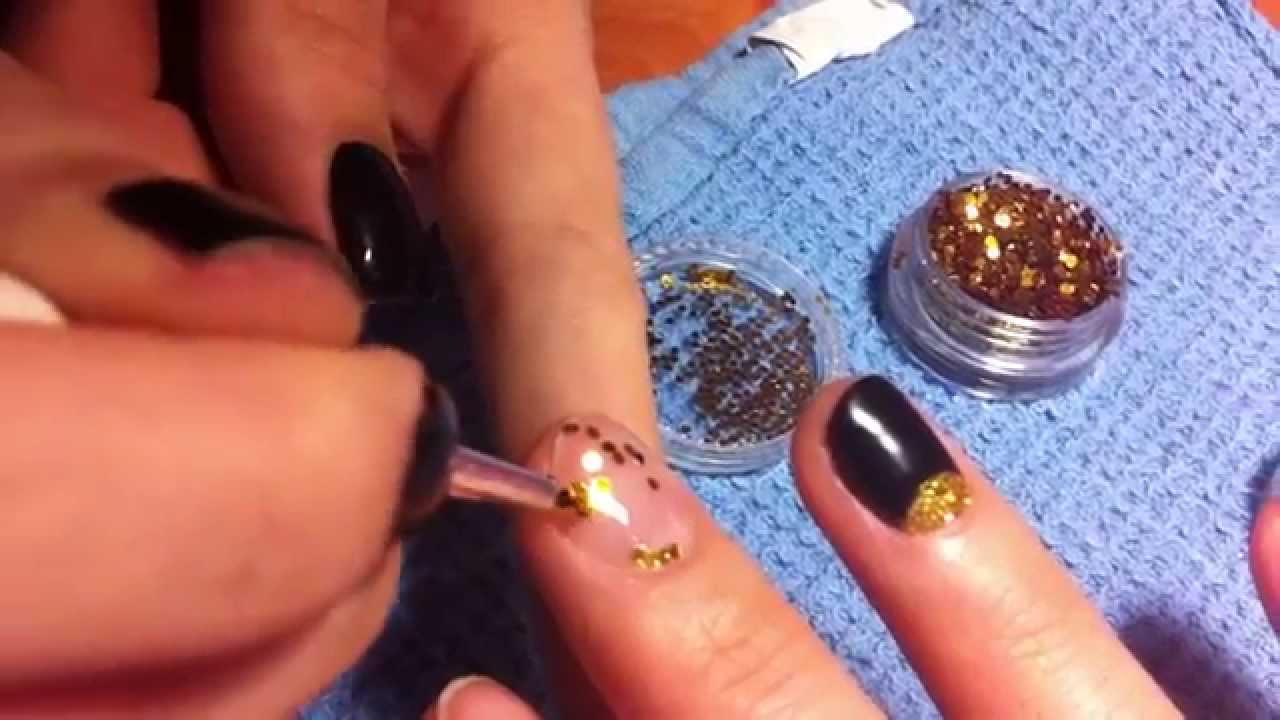
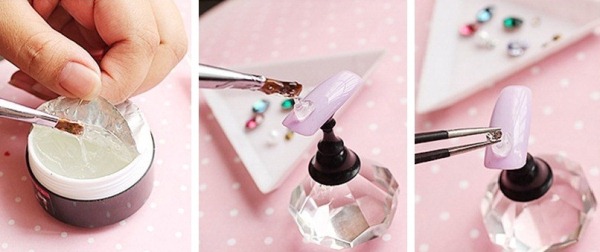
I also apply it to the nail plate in two ways. I have special thin tweezers for these purposes - this is option number one. Well, the second option is to take a regular orange stick for manicure. You can, of course, just apply rhinestones with your finger, especially when they are large, but it does not always work out exactly. Therefore, I use tweezers for large rhinestones, and a stick for small ones.
They adhere well when two layers of varnish are applied or one thick and the varnish has not yet time to dry. If rhinestones are glued immediately after application, then they can move out of their place.
Apply, dry and cover with another layer so that the rhinestones hold better.
If I use the glue from the kit to glue the rhinestones on my nails, then I get the following picture. Firstly, tweezers are required here, since the slightest touch of glue with a finger and a strass will remain on your finger, and not on the nail. But even when the rhinestone hits the nail plate covered with a protective varnish, it sticks very badly. Maybe, of course, I came across not very good glue and everything will be different for you. If you know what kind of glue to glue the rhinestones so that they hold well - write in the comments. I would appreciate that.
Increasingly, nail art is turning to original compositions with the use of shiny stones - rhinestones. They are made of glass, crystal, zirconium, acrylic, plastic, and are attached to nails with glue, as well as on varnish, gel polish (or shellac).
Choice of decoration
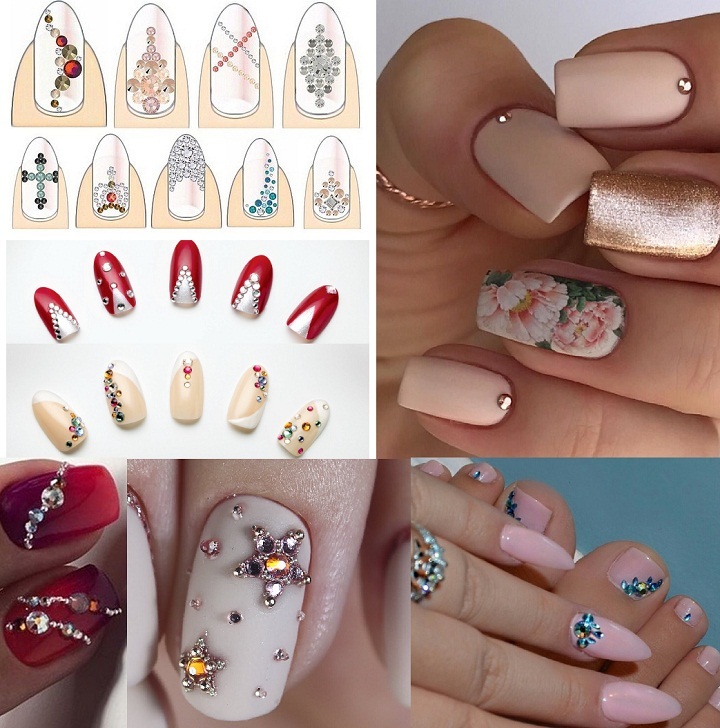
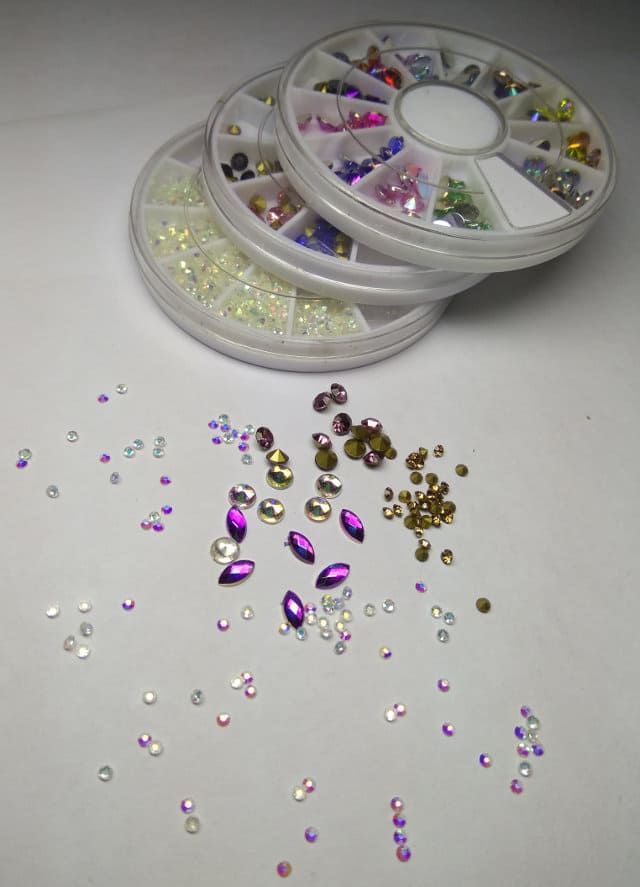
Rhinestones are jewelry in the form of sparkling stones imitating precious crystals. These pebbles used to decorate nails can be of different sizes, shapes, colors. For example, in the form of hearts, droplets, dots, squares, stars. Holographic (iridescent in all colors), with color effects and transparent stones are very popular.
The color is usually selected in contrast or to match the applied base.Colorless rhinestones and beige shades are recognized as universal. Large pebbles are chosen for the base, and with the help of small ones they place accents or decorate the picture. Moreover, large ones are more suitable for long nails, and small ones look equally good on long and short ones.
Such a "precious" manicure will ideally look only on well-groomed hands and is more suitable for a holiday or a special occasion. Therefore, they often complement manicure with the famous expensive rhinestones of Daniel Swarovski. They are made of rock crystal, have a round shape and a special cut. Thanks to her, real Swarovski crystals shine like diamonds and diamonds. Well, a modest option, for example, for an office, allows the use of a pair of ordinary tiny pebbles.
Rhinestones have a flat bottom surface that allows the stones to be glued to the nails. Usually they are used separately, without involving elements of other decor. For example, large rhinestones are glued on one nail, and all are decorated with small ones. But often experienced masters suggest supplementing the manicure with broths, since the technology for applying broths and rhinestones is very similar. It is possible to fix them correctly and firmly on the nails only with the help of special glue for rhinestones, or, observing the technology, they can be immediately applied to the gel polish (shellac). Then broths with rhinestones will hold for a long time.
Adhesive selection
What is the best glue for this purpose? Will the usual option work or should you prefer the special one?

Normal
Household glue will not affect the condition of the nails in any way, which cannot be said about rhinestones. The glue is intended for other uses, and may negatively affect the appearance of the stones. Landing on ordinary glue may not survive plastic rhinestones.
Regular glue cannot guarantee reliable adhesion of the pebble to the nails. A completed manicure, no matter how beautiful it is, will not be able to please a girl for a long time. Therefore, it is not recommended to use it.
Specialized
Designed exclusively for manicure design. Attaches rhinestones securely to nails. After work, the pebbles remain on the nails for a long time. Often comes complete with rhinestones. The glue contains special components that strengthen the nail plate.
Reliable fixation
The structure of the nail glue ensures that the pebble and gel polish are held together. During application, it is evenly distributed over the bottom of the rhinestone. Does not spoil the appearance of pebbles and manicure in general.
Convenience of the bottle
As a rule, the glue comes in the same bottles as the nail polish. It is applied with a special brush. This shape is convenient as it simplifies the use of the glue. Thanks to the convenience of the bottle, the quality of work does not suffer.
Composition
The glue contains components that do not affect the structure of the nail plate. The products are completely safe. High-quality glue should contain natural ingredients.

Manufacturer
The glue is produced by the same companies that manufacture manicure products. Products of domestic companies, as well as foreign manufacturers are presented on the markets.
Technology
- It is imperative to wait until the varnish has completely dried, otherwise the final drawing will turn out to be smeared, and the rhinestones will not last long.
- When the first coat is dry, start applying the second. You can use both colored varnish and transparent. It all depends on personal preference.
- The second layer is applied alternately to each finger according to the following scheme: they painted it up, attached rhinestones, proceeded to processing the next finger, repeated the previous manipulations.
- Start the procedure with the little finger: apply varnish, take a needle and dip it into a colorless composition so that a small droplet forms at the tip. Pull out the needle, bring it to the outside of the rhinestone and hook it, the element will hang on the needle.
- Bring to the nail, apply to the desired place, press. Since the varnish dries in a short time, you need to act just as quickly.Repeat the steps with each subsequent rhinestone, then move on to another finger.
- When all your nails are finished, leave to dry for 10-20 minutes. After this period, cover the plate of each nail with a fixer to keep the rhinestones for a long time.
In the case of extended nails, it is better to cover the nails with a special gel or adhesive base intended for attaching decorative elements.
Rhinestones are quite problematic to remove with the help of a liquid, which includes acetone. Soak 10 cosmetic tampons in it, fix on each nail with cling foil or film, wait 5-10 minutes.
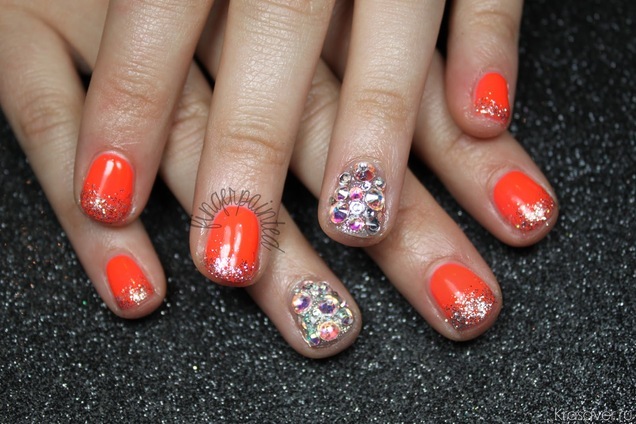
You should not glue rhinestones in large quantities on each nail, such a manicure looks vulgar
Highlight 1 finger on your hand, which will be given special attention, decorate all other nails more modestly.
When you apply the second coat of varnish, wait half a minute until it is partially dry. This is necessary so that the pattern does not smear if your hand suddenly trembles.
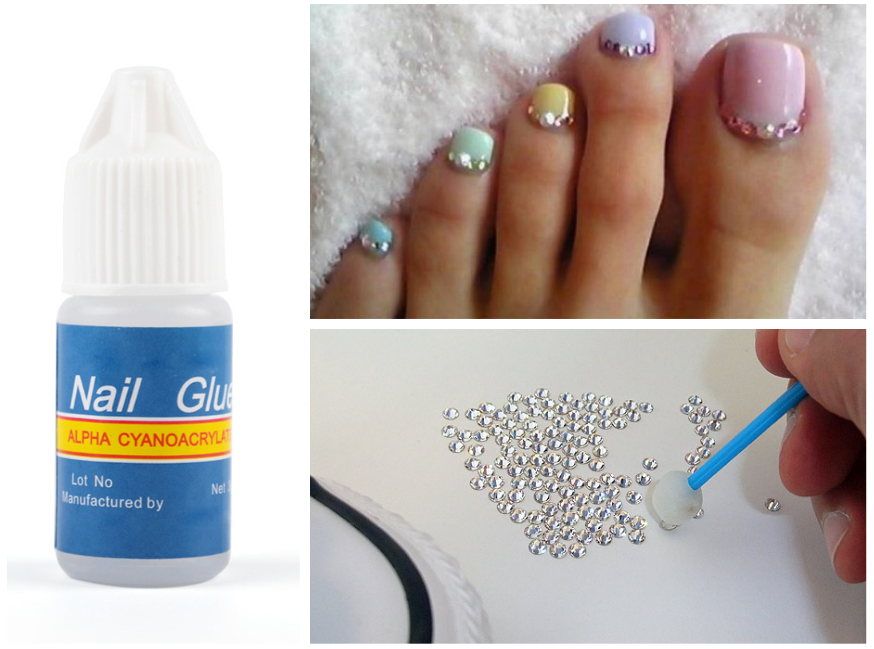
You can purchase special glue for decorative elements in the store for nail masters.
In this case, the composition is applied to the inside of the rhinestone, then attached to the dried nail plate.
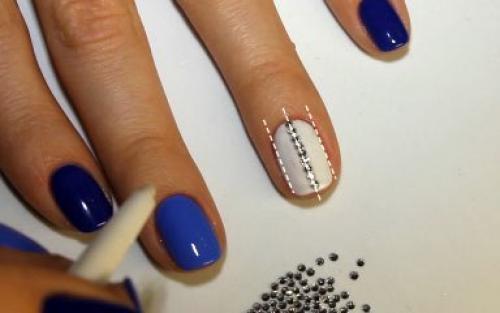
The pattern of rhinestones on long nails looks beautiful. Pebbles can be attached to a free edge, imitating a French manicure. There is also an option when rhinestones are attached to the dividing line in the middle of the nail.
Use a rhinestone that matches the length of your nails. For example, elements of the smallest diameter look beautiful and concise on a short nail plate. Ladies with long nails are advised to stick larger rhinestones.
When choosing the color of rhinestones, give preference to one basic shade and two or three additional ones.
Do not overload your nails with a lot of bright colors, observe the contrast.
An important feature of nail design using rhinestones is that they look beautiful only separately from other elements. For this reason, craftsmen do not recommend glueing pebbles in combination with sequins, sequins, foil.
Do not rub the stones until they are completely dry.
If you smear the pattern, you will have to redo the entire pattern. The needle that holds the rhinestones can be replaced with a toothpick.
general information
Rhinestones are cheap imitation gems. They can be of different colors - golden, black, pink, blue and many others, but the most popular are traditionally transparent rhinestones on an opaque silver base. They are perfect not only for any manicure, but also for any clothes. Especially often such (as, indeed, any other) rhinestones are decorated with French manicure.
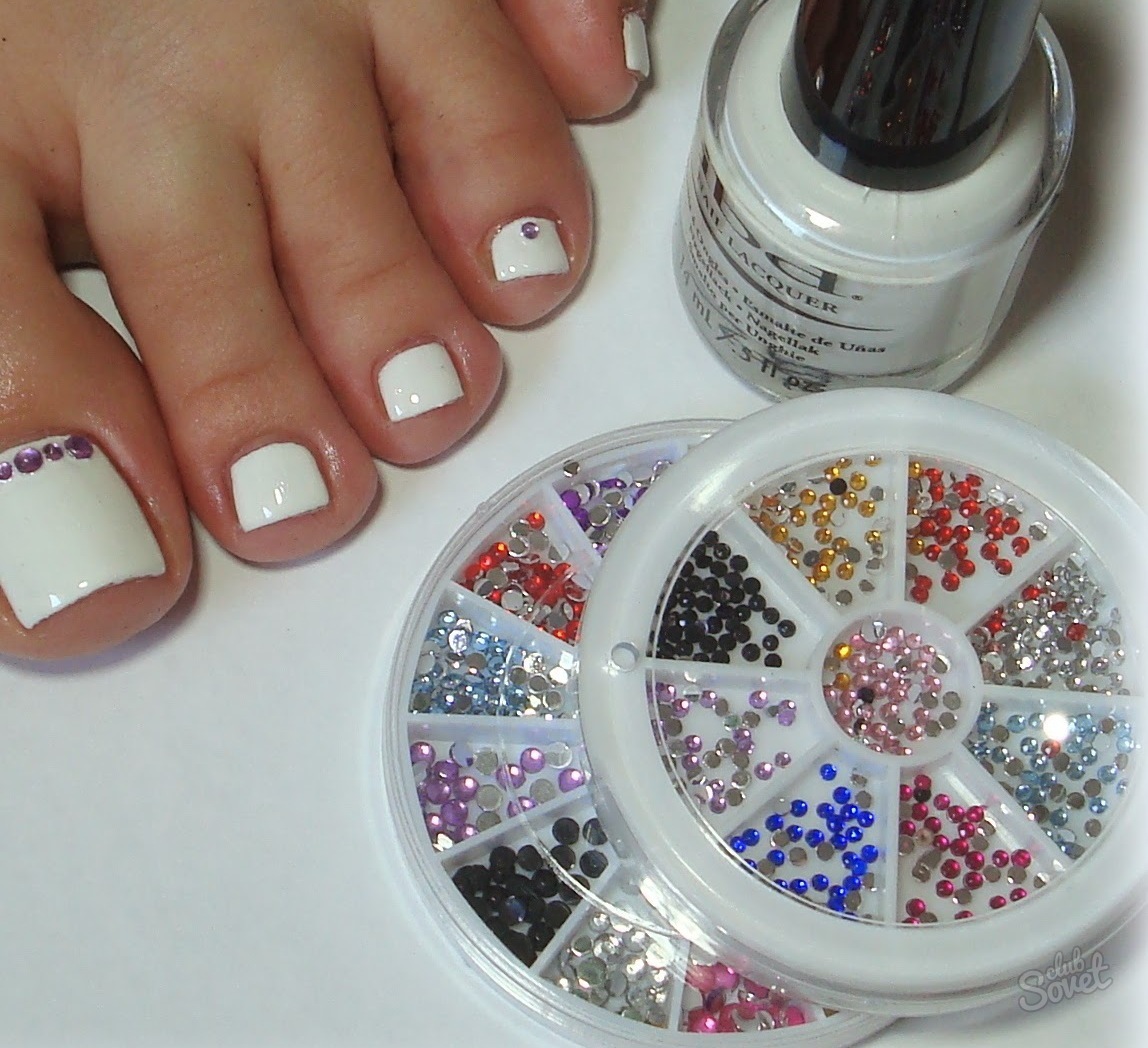
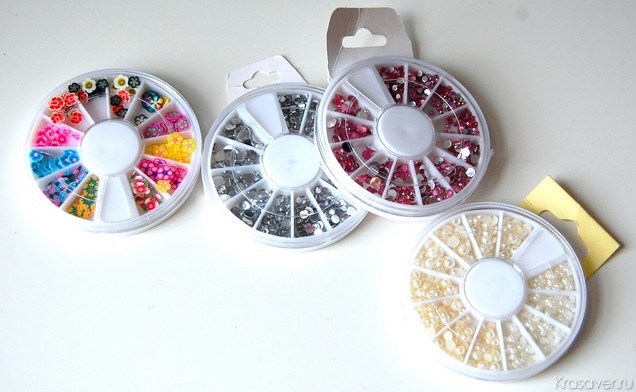
Rhinestones can range in size from the smallest, less than one mm in diameter, to large, up to five mm. How to attach rhinestones to nails depends largely on the size of the element. The smallest rhinestones are sometimes difficult to pick up even with tweezers, while this is how large and medium rhinestones are applied. Small, such elements can be applied in large quantities, while large ones are often found in a manicure one by one or in combination with small ones.
Rhinestones may differ in the material of manufacture. The most expensive are glass rhinestones (for example, from Swarovski), the cheapest are plastic "stones", there are also rhinestones made of polymer material like gel for building. Usually, it is they who are used to design extended nails. Such decorative elements differ significantly in weight, as glass ones are the heaviest, and polymer ones are the lightest. In this regard, the question of how to fix rhinestones on nails needs an answer, because heavy glass rhinestones can come off especially easily.
In addition, these elements differ in shape and can be square, round and triangular.Depending on the design idea, one or another form of rhinestones can be chosen, but round rhinestones are best kept on the nails. They are also the most classic and universal and, therefore, the most popular among all the others.
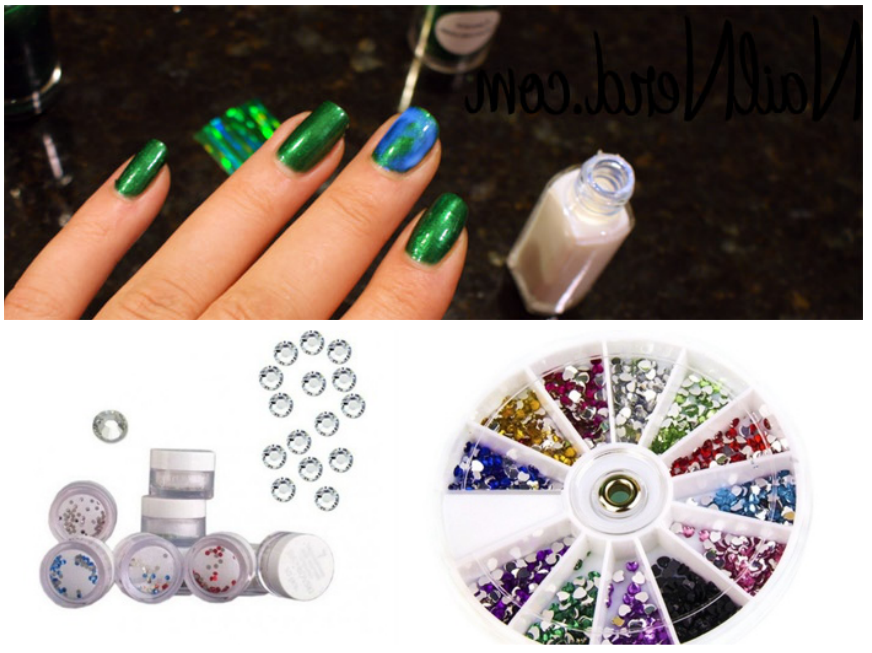
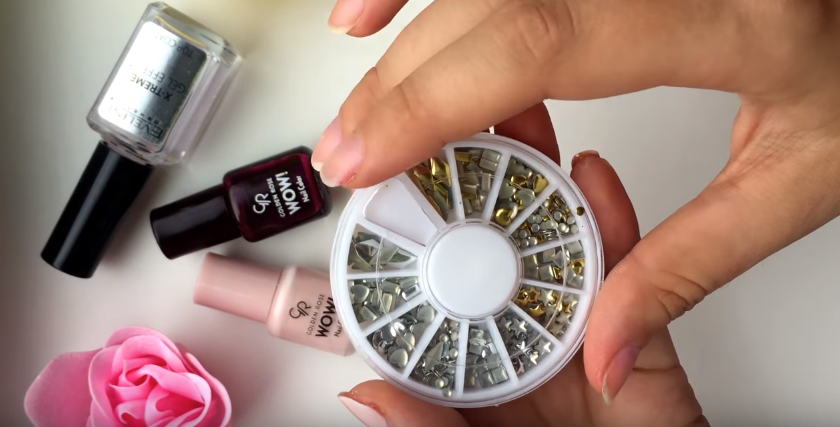
Rhinestones can have a self-adhesive base and are sold on a special backing that must be peeled off. The kit for those that are not self-adhesive may include glue for rhinestones on the nails. Usually rhinestones are supplied to the market in sets of several types in various sizes, colors and shapes, but this only applies to plastic and cheap glass rhinestones. Elite rhinestones, like the Swarovski mentioned above, can be sold by piece and not everywhere.
Preparation
- First you need to remove the keratinized skin particles around the nails - the cuticle. To do this correctly, make a bath of a decoction of medicinal herbs (brew 40 grams of any plant in 1 liter of boiling water, let it brew, strain). Lower your fingers, wait 20 minutes. After the expiration of the period, tighten the skin so that the edge of the cuticle is clearly visible. Remove dead particles with nail tongs, move from both sides.
- Sterilize your hands with an antiseptic or hydrogen peroxide (chlorhexidine can be substituted). Remove the old lacquer layer, give the plate the same length and shape. Rhinestones look very beautiful on oval and square nails with soft corners. Keep the file perpendicular to the plate while processing the free edge, otherwise the nails will begin to exfoliate. For these purposes, it is better to use a thin glass nail file of low abrasiveness.
- For better adhesion of the rhinestones to the surface of the plate, polish the nails with a buff. Firstly, you will make it easier to apply varnish, and secondly, you will get rid of ugly "waves". In addition, any coating lasts longer if the nail plate is pre-polished. Cover the surface with 1 layer of medical hardening varnish, let it dry.
How to attach rhinestones to gel polish: step by step instructions
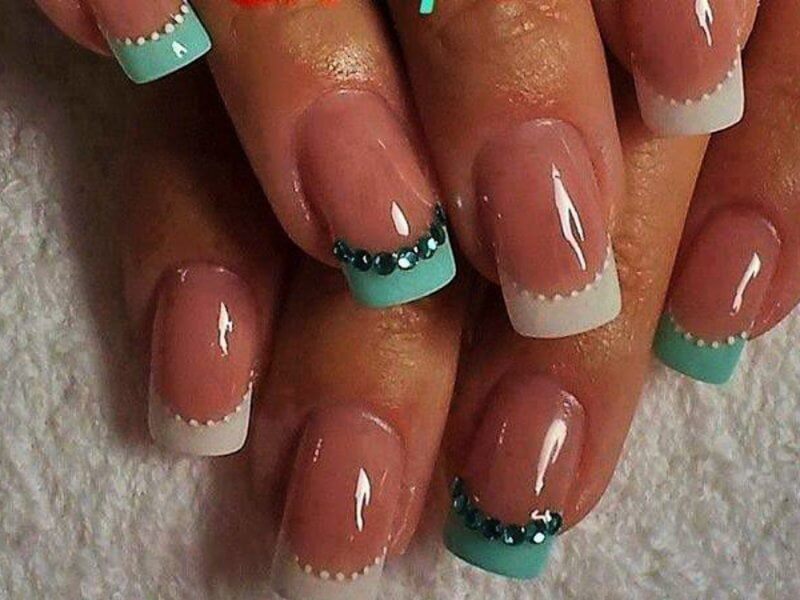 For a manicure with rhinestones, it is not enough just to come up with a good drawing of their calculation and design.
But you also need to choose a way to stick them on the nail.
Professional craftsmen have chosen effective methods for themselves.
To do this, it is worth considering two well-known ways of attaching rhinestones to gel polish with step-by-step instructions, they are not difficult.
Step-by-step mounting instructions: using special glue.
After the nails are covered with the base color and the top is applied, you can start gluing. To do this, you need to apply a little glue to a free surface, dip the brush into the glue and put a dot on the coating. Then take a wooden stick, pick up a stone and put it on the point. Press down slightly and hold. It is imperative to wait until the glue is dry.
Step-by-step instructions for fastening: topcoat.
Some craftsmen have invented a tried and true method of how to glue rhinestones on gel polish, and it is very actively used today. This is a method of attaching to acrylic, but it requires a more powerful drying lamp. The principle of application is the same as with glue. Only after gluing it is necessary to walk the finish along the base of each stone, then the rhinestones will be securely fixed.
note
Regardless of the method chosen, it is important to follow the basic rule of technology - they need to be glued only after applying the main tone and top layer. They are the final stage of any manicure.
All drawings and lines should already be ready before rhinestones are pasted there.
They are the final stage of any manicure. All drawings and lines should already be ready before rhinestones are glued there.
Advice
It is not advisable to cover the stones on top with a top, otherwise they will instantly lose their original shine and stop flickering. You need to glue only on their base.
Gel polish manicure with rhinestones: an overview of the necessary tools and materials
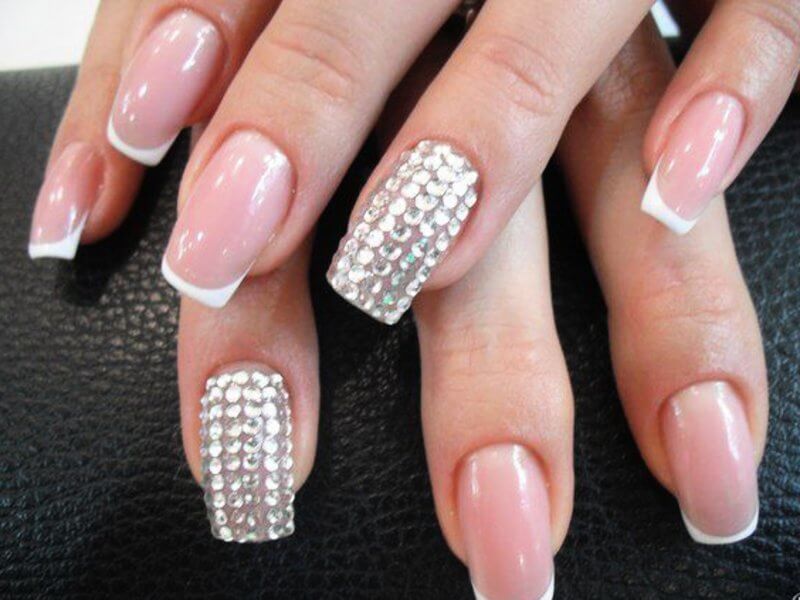 The procedure for gluing rhinestones on nails will be faster if you prepare for it correctly, and the master will have a convenient place to work with. No special tools are needed to work. They are all very simple and accessible to everyone.
In order to make a manicure with gel polish with rhinestones, the master will need a simple set of tools - the required amount of rhinestones, special durable glue or topcoat, a thin brush, or a stick (toothpick). This set of tools is not that complicated, the main thing is a good light source. This requires a tall adjustable lamp and a dedicated work table. If the stones were glued correctly, in compliance with the technology, then on average they last up to one month. It all depends on the size of the stones chosen.
Advice
If the stones are large and the owner of the manicure constantly does something around the house without gloves, then the likelihood of losing the rhinestones is high. Small stones, especially those placed along the cuticle, will last until the next manicure.
The easiest way is to remove rhinestones from a manicure using an eclectic manicure machine, it only takes a few minutes. This is a common procedure during a manicure, along with the rhinestones, the main tone is also removed. You can also remove the rhinestones by holding the nail in foil with gel polish remover. When the coating softens, you can simply pick up the stone with a manicure stick and no difficulty in removing it.
The easiest way to purchase materials is in specialized stores - there you can personally inspect the material, consult with a consultant and choose the appropriate cost. As a rule, plastic rhinestones are cheap, you can buy them in the region of $ 1. But Swarovski, or their counterparts, are some of the most expensive - a set of such stones will cost an average of $ 10 and more, it all depends on the number of crystals in the package.
Another option for buying rhinestones is the Internet. Here prices can differ significantly from store prices, especially since there is an opportunity to purchase them at wholesale prices, or order a real original abroad. All this only increases the possibilities of creating a truly unique and lasting manicure based on gel polish.
Rhinestones in gel polish allow you to create more and more new designs every time, for this it is enough to choose the size of stones, small, medium or large, and the manicure will look different every time. These are both daily and evening options, but most importantly, the rhinestones, subject to technology, will hold tight until the next manicure. Therefore, they became so beloved and entered the top fashion designs of all time.


