How to glue an Intex inflatable mattress?
Before starting repairs, it is necessary to find damage, which is a rather difficult task.
There are several ways to find a hole in the mattress:
1. If you have good hearing, you can find a hole in the inflatable product in the following way:
- inflating the product in a quiet room;
- listen carefully: a characteristic hiss is heard near the hole - this sound forms the air at the exit.
2. If the puncture happened in nature near the reservoir, it is also very easy to find the place of damage, for this:
- inflate the product;
- dip it completely into the water;
- turn it over and find a puncture by the bubbles.
This method is completely unsuitable for use in a house or apartment.
3. To find holes at home, use the following method:
- inflate the mattress;
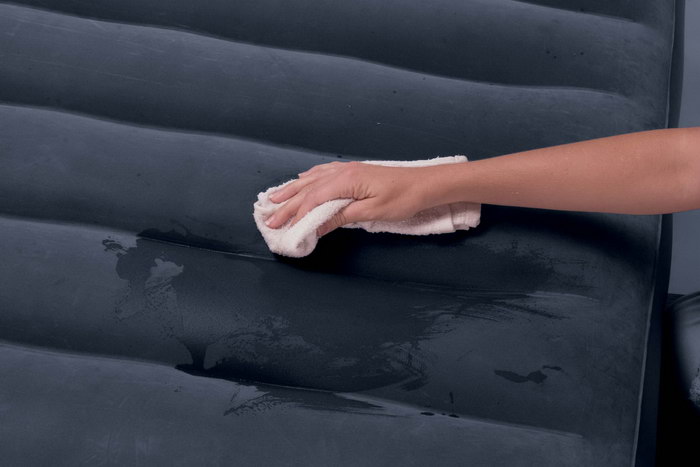
- Whip up soapy foam or dishwashing detergent;
- apply it to the product in those places where damage is suspected;
- in places of cuts or punctures, soap foam will bubble.
Watch a short video on how to find an air leak:
4. If all the previous methods did not help you, move on to a more laborious one:
- we release air from the product;
- add any washing liquid that foams well to the water;
- pour about 3-5 liters of the resulting mixture inside the mattress;
- inflate it completely;
- we turn the product on different sides, trying to determine the puncture site: at these points the water will come out with a slight whistle;
- mark the found areas with a marker.
This method of finding holes is very effective, but after it you will need to dry it, which is rather difficult. In addition, white soapy streaks may appear on the surface, and the fabric will remain damp.
5. And finally, the most versatile method for finding holes:
-
- inflate the product;
- we apply water to its surface (it is convenient to do this with a spray gun);
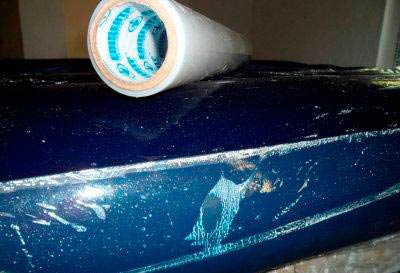
- put a strip of stretch film on the moistened area;
-
- remove the film from the mattress and hear a gurgling and squeaking sound;
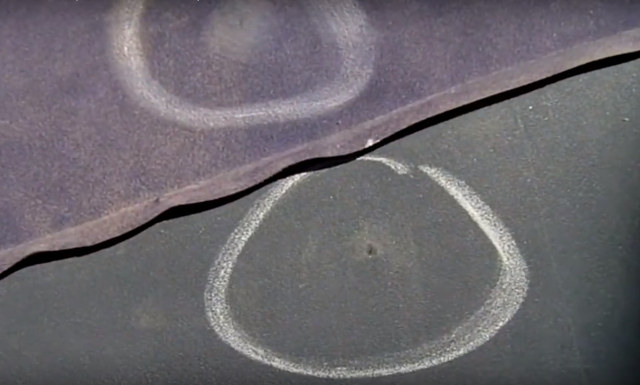
- we find the place of damage and circle it with a felt-tip pen.
To accurately identify the hole (when the 5x5 location is already known), we use shaving foam.
So, the hole has been found, it's time to start repairing. But first you need to decide: what tools and materials we need for this.
How can you glue an inflatable mattress
For repairs, it is best to use a special repair kit from the same company. It is usually sold with a mattress.

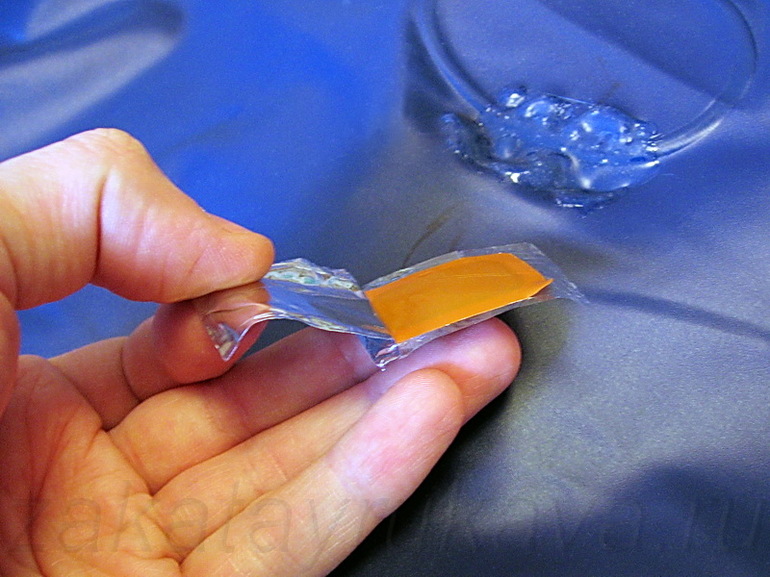
The Intex PVC repair kit usually consists of:
- flock patches;
- clear vinyl film;
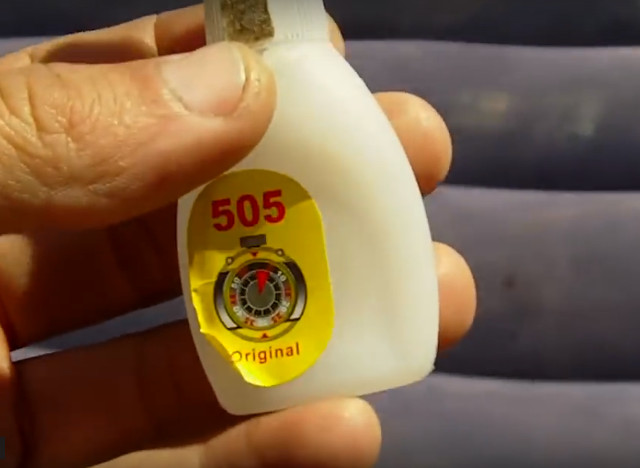
- glue;
- detailed instructions.
This set is very compact and easy to carry: you can always take it with you on the road, as it does not take up much space.
If you do not have such a kit at your fingertips, it is easy to replace it:
- The patch can be cut from any old PVC toy or other unnecessary rubberized item.
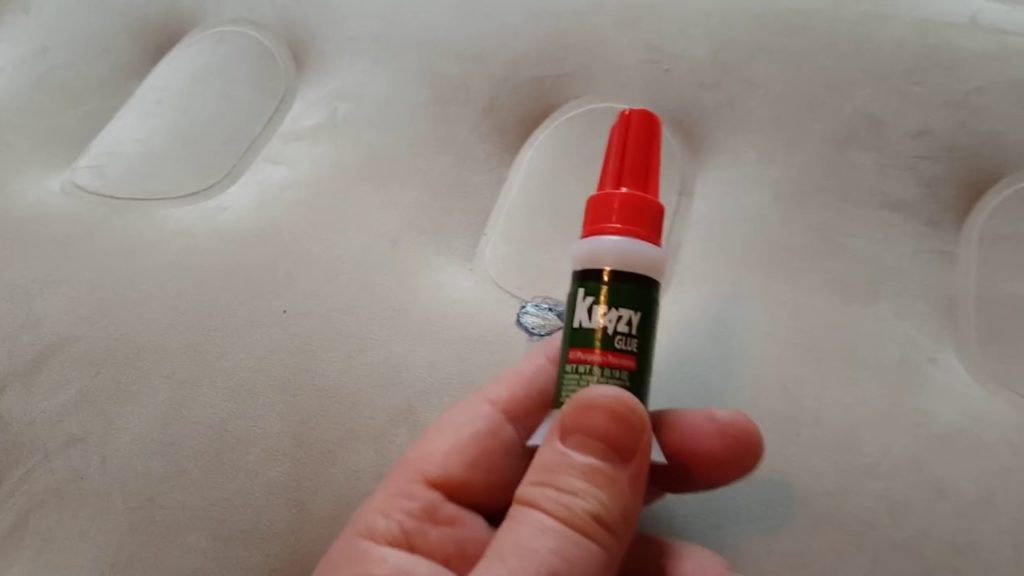
- Instead of the glue from the repair kit, you can buy any other glue for rubber. It is not advisable to use instant glue for repairs, as it can further spoil the surface of the product.
In addition, you may need:
- fine-grained sandpaper;
- any detergent, or regular soap;
- scissors;
- surface degreasing agent: acetone, gasoline, or alcohol.
When all the tools and materials have been found, you can proceed.
How to glue a frame pool?

Now let's figure out how to glue the frame pool.The easiest way is to repair the frame model using a special repair kit, which contains instructions for use. If a large hole has formed in the pool, then specialists are involved to repair it, because it will not be possible to eliminate the defect on its own.
Identifying the location of the water leak and the cause

Before you glue the frame pool at home, you need to identify the location of the defect. To make sure that the water leaves the container due to a defect in the walls, and not due to natural evaporation, do the following:
- on the side of the pool, mark the water level with a waterproof marker;
- water is also collected in a separate basin and a similar mark is made;
- every other day, at the mark in each container, check how much the level has dropped;
- if there is the same distance from the notch to the surface of the water in both containers, then the moisture evaporates naturally;
- if the water level in the frame model is lower than in the basin, then there is a leak.

Liquid leakage is not always associated with wall damage. Sometimes this happens when the supply pipe system is leaking.
Therefore, it is important to monitor the liquid level throughout the day, and periodically start and stop the pump, each time measuring the fullness of the bowl. If during the operation of the pump the liquid decreases, that is, there are problems with the pipeline
If the leak occurs after the pump is turned off, then there is a problem with the bowl.
Sometimes the cause of the leak is related to the drain valve. Leaking gasket will cause fluid to leak. To solve the problem, it is enough to change the gasket, tighten the valve more tightly. If there is a thicket leakage, then the place of the defect is easy to find by the following signs:
- debris always accumulates near the hole in the bottom;
- to find a puncture in the wall, food coloring is added to the water and the direction of movement of the colored liquid is observed.
Repair of a frame pool with water

Now let's figure out how to glue the pool with water from the inside. Of course, the most difficult thing to repair a product is without draining the water. But this method is convenient in that you do not need to drain a large amount of water, and its disadvantage is the fragility of the patch. The only way to repair without draining the fluid is to patch on both sides.
To do this, use special adhesive repair kits sold in sports stores. Basically, it is a tape smeared on one side with a waterproof adhesive mixture. To repair the walls of the bowl, you need to cut off the desired piece from the tape, remove the protective coating and glue the patch to the place of the defect, first from the inside of the bowl, and then from the outside. The reinforced adhesive strip will provide reliable protection against leaks in the future, and even when glued under water.
Causes of damage to Intex inflatable mattresses
Like any other product of this type, it is easy to damage the Intex model. There are several types of breakdowns, depending on the severity of which, you will have to decide: do the repair yourself or trust the professionals.
So, these are the types of damage:
- puncture or cut;
- rupture of internal partitions;
- loose seams.
A small puncture or cut can be easily sealed by yourself. If you have to deal with a tear along the seam or tearing of the internal septum, then the best thing to do in this case is to seek help from a specialist.
Intex repairs can be carried out in the same company where you bought it, or in other companies that sell inflatable furniture.
Some firms can glue it right at home, which is very convenient. Well, you can easily repair small cuts and punctures yourself by carefully reading this article.
Repair of inflatable mattresses Intex
How to glue an Intex inflatable mattress at the seam joint
If your favorite vinyl mattress has burst at the seam, there are two ways to glue it:
First way:
- First, we wash off the pile in places of damage with alcohol (acetone, or gasoline);
- We glue the patch, following the instructions from the Intex repair kit.
But the patch applied in this way spoils the appearance of the product, moreover, due to the seams sticking up, it cannot be firmly pressed. Therefore, it is best to use a different method for this purpose.
Second way:
This method allows you to glue the product from the inside.
Here's how to do it:
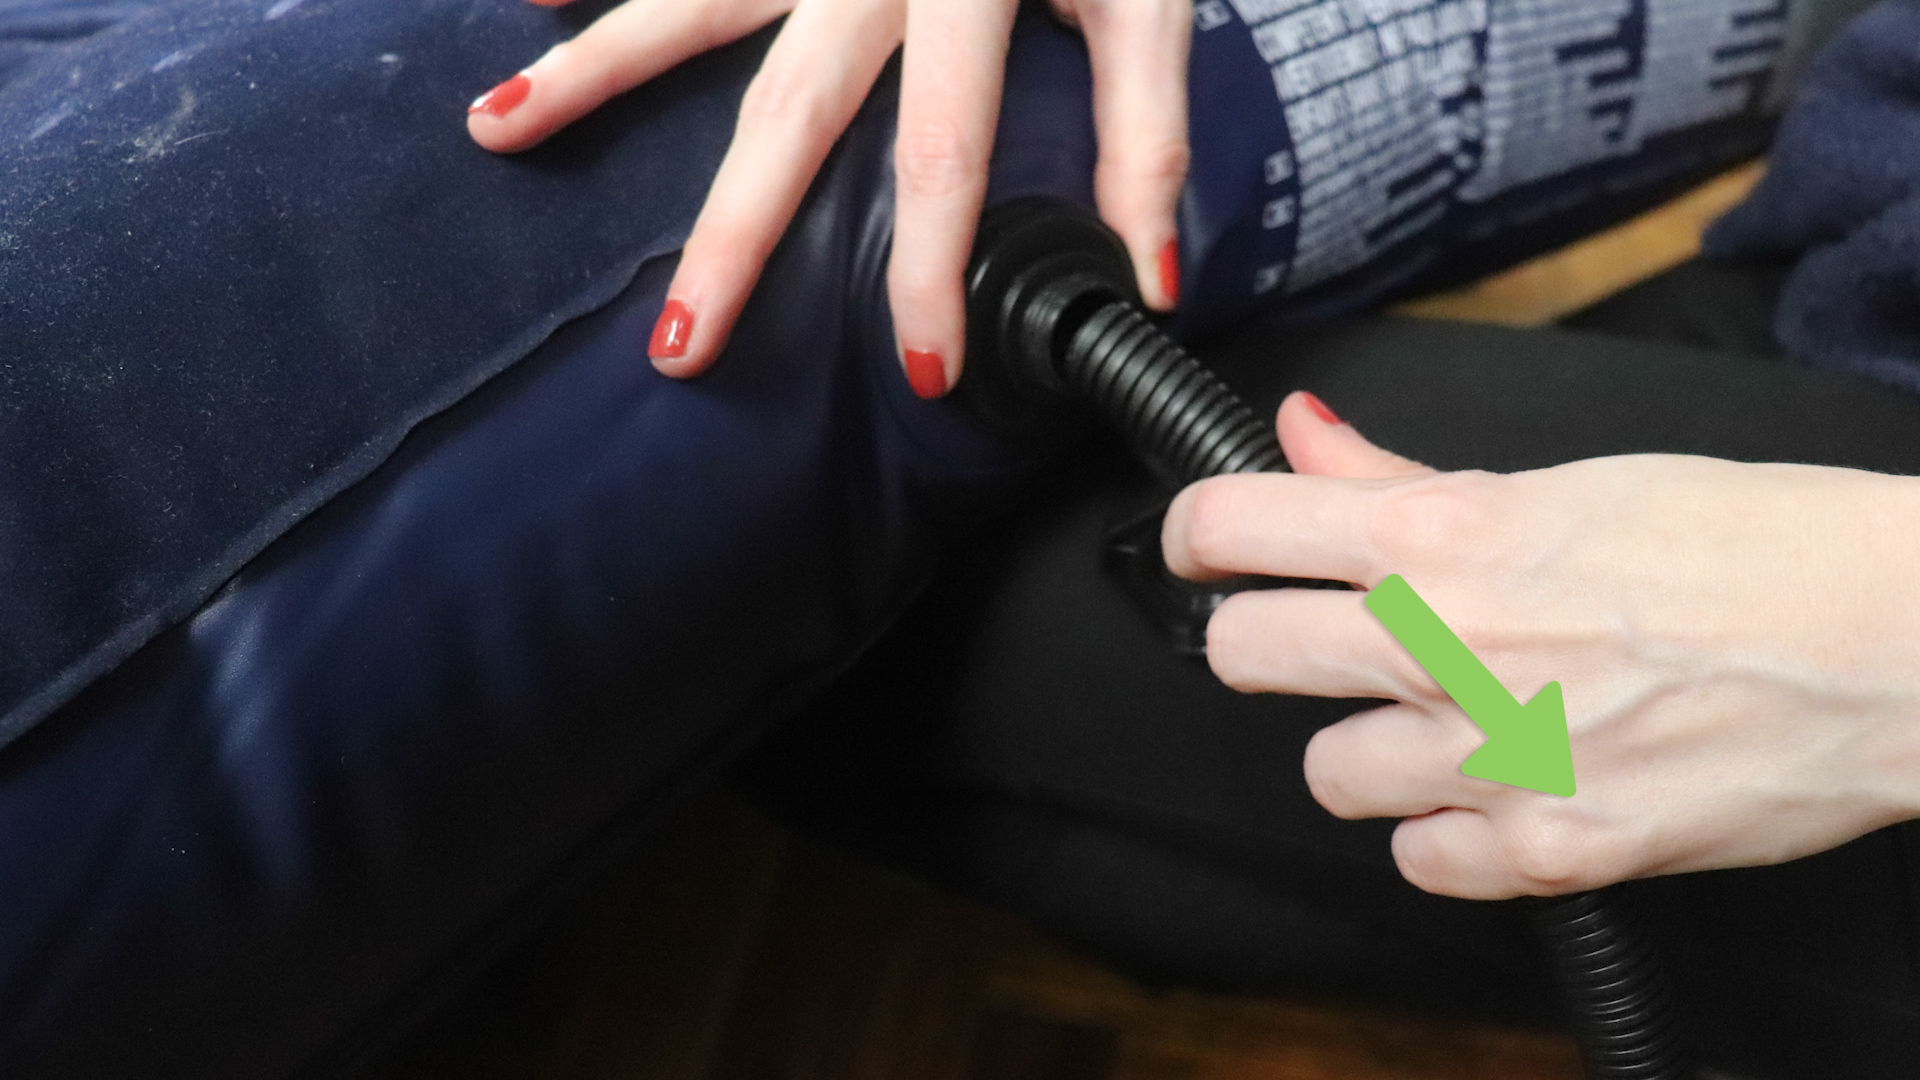
- Having found the place of damage, with the help of hands and a ruler, we pull the damaged area of the product through the hole in its valve.
- Wipe the cut with alcohol for cleaning and degreasing.
- We dry the clean surface and start the repair: cut out a patch of the required size from the rubberized fabric.
- We smear its inner side with the required amount of glue.
- Apply the patch to the cut and press firmly.
After that, do not touch the mattress for 12 hours. After this time, when the product is completely dry, it can be turned back and inflated.
How to seal a small puncture or cut in an Intex inflatable mattress: detailed instructions
In order to make quality repair of an inflatable product, you must carefully follow the instructions, as well as safety precautions.
The glue must be used very carefully: in no case should you inhale it, and it is imperative to wash your hands after it. This must be done in order to protect yourself from the negative effects of harmful substances that are part of it:
This must be done in order to protect yourself from the negative effects of harmful substances that are part of it:
- polyurethane rubber;
- acetone;
- ethyl acetate;
- methyl.
In addition, adhesives intended for the repair of PVC products are highly flammable, so it is not recommended to use them near fire.
Repair instructions:
1. After finding the puncture site, we clean it with fine-grained emery paper
Please note: The scraped area must be larger than the cut itself.
2. Degrease the place under the patch. To do this, you can use a nail polish remover, gasoline for lighters, acetone, or pure alcohol.
The main thing to pay attention to is that after degreasing there should be no traces
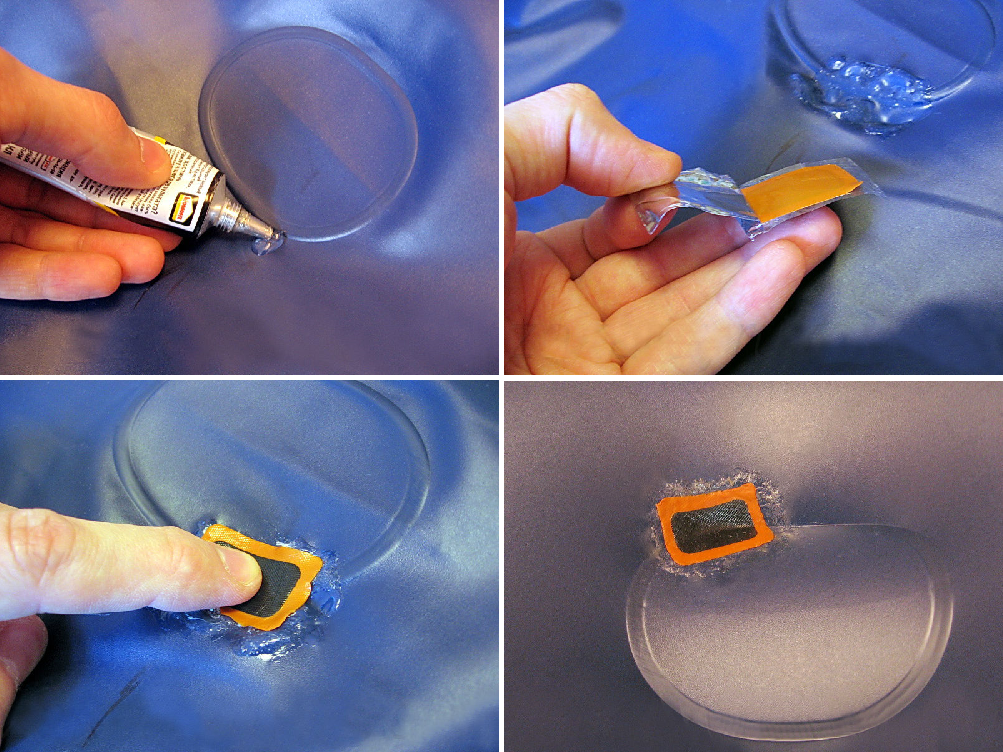
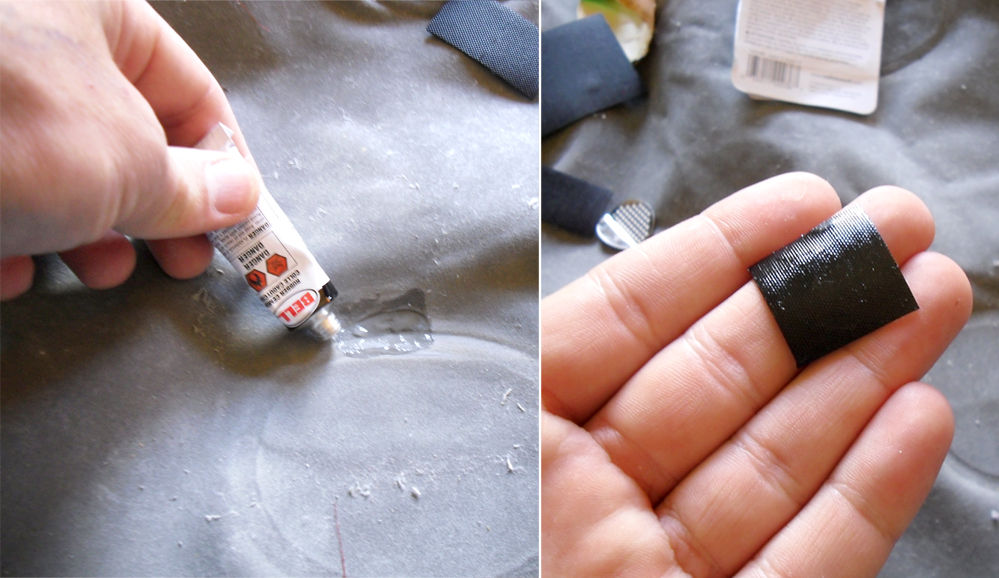
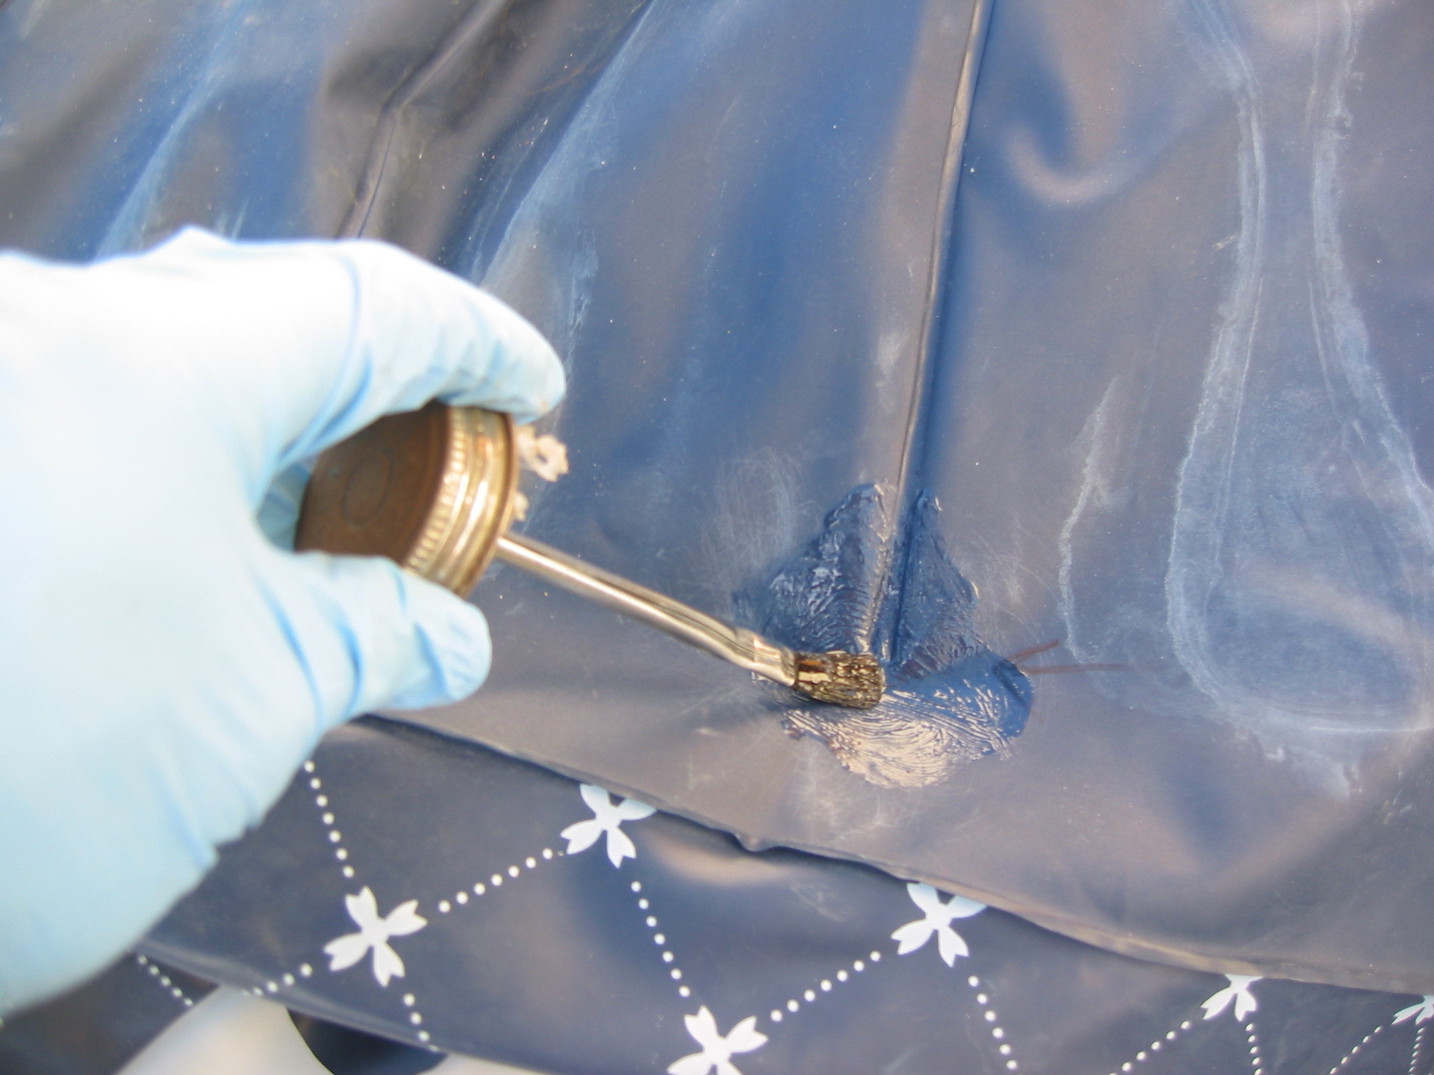
3. We take a patch of a suitable size from the Intex repair kit, spread it with glue and press it tightly to the place of damage.
4. If you do not have a special repair kit, make a patch yourself from any rubberized material and buy glue for gluing rubber, you can "Moment".
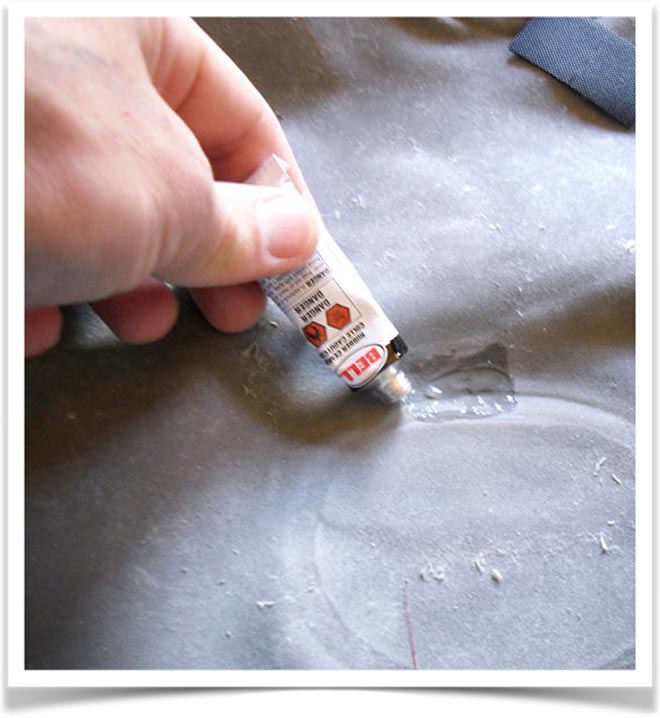
5. Apply glue to the bonded surface. In this case, you need to ensure that it does not fall into the hole.
6. Press the patch firmly to the place of damage. This action must be done immediately, otherwise the glue will dry out or soften the PVC.
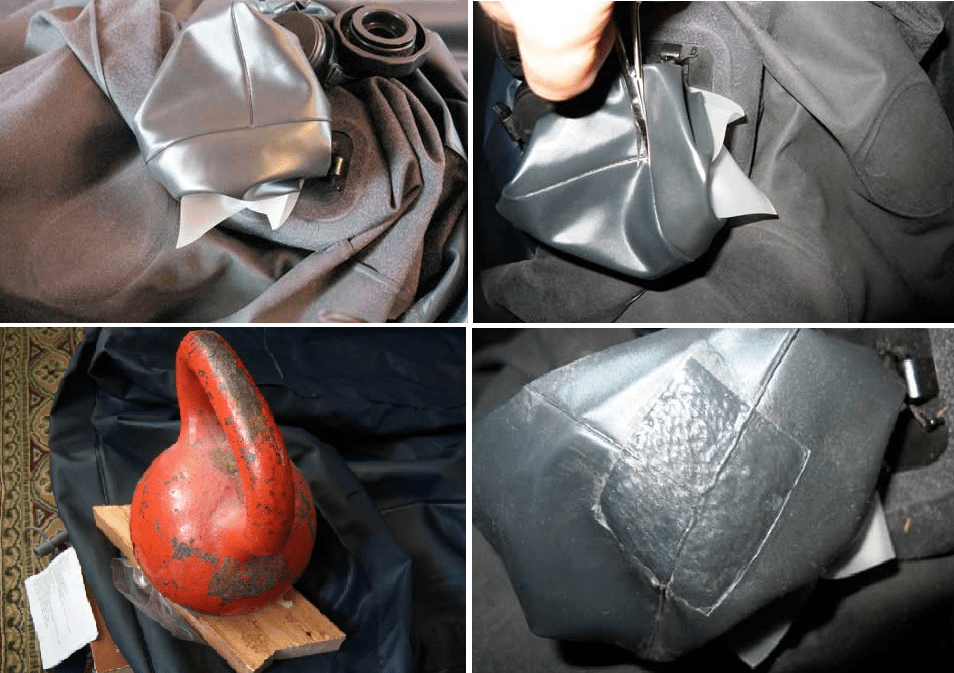
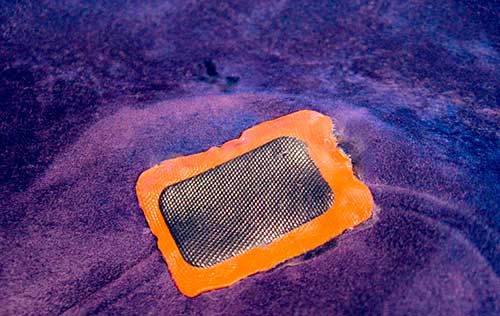 7. After gluing the patch, put the repaired mattress under the press for a whole day.
What to do in case
During the operation of the air mattress, problems may arise with the divergence of seams or air outlets through the valve. To eliminate these defects, it is necessary to perform the appropriate manipulations.
If the seam has come apart
With a small puncture or mini rupture of the seam, a piece of fabric with a diameter of about 2 cm is needed. The damaged area is thoroughly cleaned without removing the lint from the coating, as this can provoke an increase in the gap. Glue is applied to the surface of the patch and the seam, dried for 10-15 minutes, and then covered with another layer to achieve a greater effect.
The processed surface of the patch is pressed tightly to the seam and, holding it in place for several minutes, smooth the edges. In order to speed up the setting process, do not use a lighter, iron or other heating methods. The only thing that can be used to gently process the seam is a hair dryer on the minimum setting. After patching the seam, leave the mattress for a couple of hours and then inflate for testing.If the product continues to deflate, you will need to repeat all the steps until the air stops escaping.
If the valve leaks
When examining the mattress for defects, it is important to check the condition of the valve. If it has lost its tightness, air will escape through it.
In most standard situations, this problem can be eliminated at home, but in case of severe mechanical damage, you will need to seek professional help.
To repair the valve yourself, you will need to remove it and wash it from accumulated dust and dirt. Then the end part and the valve gasket must be cleaned with fine-grained sandpaper. Having covered the treated place with lubricant, the valve is screwed to its original position and checked for serviceability. To do this, it is necessary to inflate the product and check if air comes out through the valve. If the problem cannot be eliminated using the above method, there is a need for professional repair.
Share link:
Rules for working with a fisherman's costume
Sooner or later, every fisherman is faced with damage to his fishing suit or wading boots. Completely changing your equipment is not the best option, it is worth trying to restore the integrity of the equipment.
Rubber suit repair:
- You will need an old rubber boot - cut the patch to the correct size.
- Use sandpaper to clean the area requiring repair, as well as the patch itself.
- Degrease the patch and the damaged area of the rubber suit. Gasoline, acetone, solvent are used. It is best to work with rubber gloves, which also need to be processed.
- Apply rubber glue to the patch and the damaged area of the suit. It will take 20-30 minutes to dry the composition, the patch is not attached to the area requiring repair.
- After the specified time has elapsed, apply a second layer of glue. Then the patch is applied to the damaged area. Leave until completely fixed for several hours. The glue dries quickly, but the wading suit can be used in a day.
Membrane suit repair
Special compositions based on neoprene and polyurethane are used to repair overalls not only from a membrane, but also from PVC. Effectively seal seams, abrasions, holes of different diameters.
Membrane suit repair:
- Cut a patch out of nylon or other synthetic fabric that is identical to the damaged area.
- Turn the product inside out. Apply tape to the area with the hole.
- Then turn to the front side, fill the hole with glue.
- Put the prepared patch on top.
- Wait a few hours and once again apply glue on the front side for a stronger fixation.

Wader repair
The angler's rubber pants are waders, vulnerable to damage to branches and reeds in water bodies, often tearing along the seam. For the repair, a specialized glue is used, developed for the quick restoration of fishing equipment.
How to glue neoprene waders:
- Turn the suit over to the wrong side.
- Use scissors to cut the area around the thinning area on the overalls with an allowance of 1 cm.
- Attach the resulting part to a patch of new neoprene, circle it with an allowance of 3-5 mm. Cut the patch along the contour.
- Put on the waders and try on the workpiece, if it fits the size of the hole, start preparing the material.
- Treat the damaged surface with a hardener cleaner or acetone.
- Glue is applied to the borders of the patch and holes. Apply end-to-end, not overlap, the fixing time is indicated in the product instructions.
- Additionally, the joint is stitched with nylon thread and processed along the outer and inner edges with glue.
- Wait a day; after the glue has dried, turn out the wading pants and check the quality of the repair. The neoprene should lie flat on the front.
Popular brands of wader repair products are Aquasure, Stormsure, Technisib.Designed for express repairs, restoring tightness and elasticity to the product. Designed for repairing neoprene, fiberglass, rubber and soft PVC coveralls.
Repair of seams:
- Treat material with solvent.
- Apply specialized glue along the seam with a thickness of 1 mm.
- Work out the joints with a brush so that the fixing compound covers the seam by 3-5 mm.
- Process the seams from the inside in the same way. By analogy, areas with scuffs are restored.
- Leave to dry for a day.

The choice of adhesive for patching inflatable products
Choosing the right glue is especially difficult for many people. Some manufacturers attach a ready-made repair kit to the trampoline, which already contains everything you need, including a tube of glue.
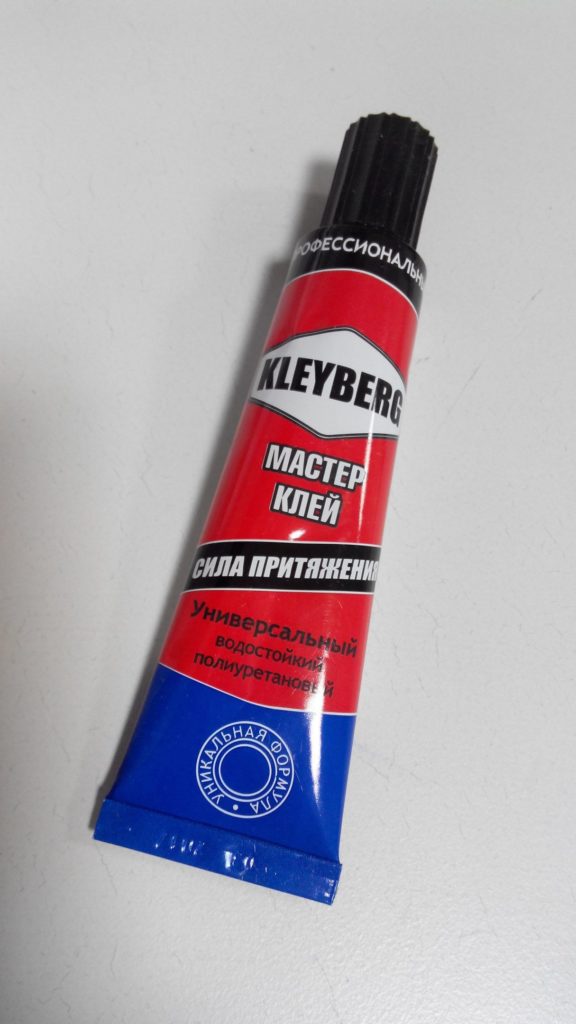
If you do not have such a repair kit, in stores, pay attention to the following adhesives:
- Desmokol is a polyurethane glue well known to shoe repairmen. Reliably holds together not only PVC fabric, but also plexiglass, rubber, plastic and other materials.
- Vitur - is similar in composition and properties to Desmokol glue. Designed to work with PVC, leather and leatherette, linoleum, wood, plastic, rubber. Differs in water resistance, seam strength, non-toxic.
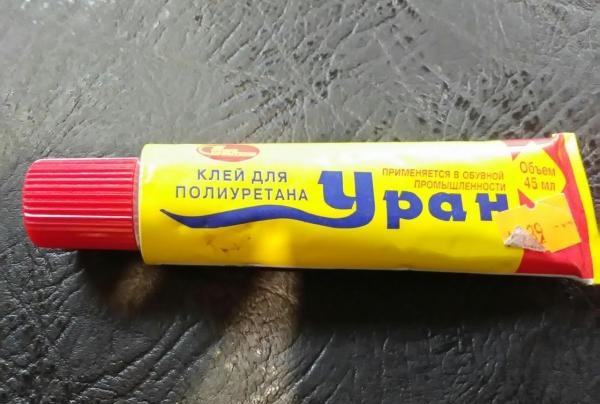
- Uranium is a polyurethane adhesive used for hot and cold bonding. The seam is elastic and moisture resistant.
- Moment for PVC - Used to repair PVC boats, but can also be used to repair trampolines.
Now, knowing how to glue a children's trampoline, you can proceed directly to the repair.

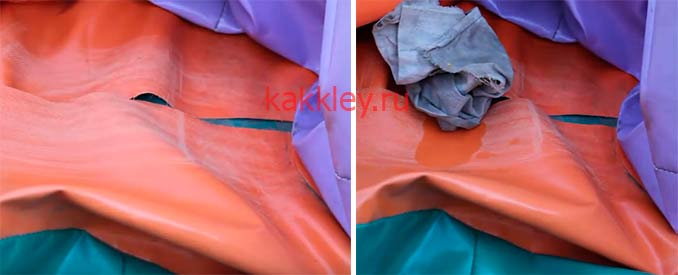
Sealing the hole in the trampoline - step by step instructions
Algorithm of actions for those who want to glue an inflatable trampoline at home
- We clean the place of damage from dust and dirt and go through with sandpaper for stronger adhesion.
- With a rag soaked in solvent, carefully wipe the area with the defect.
- We cut out a small patch (slightly larger than the damaged area) and also process it with sandpaper and wipe it with a solvent.
- Apply the glue in thin strips to the place where we will glue the patch, and distribute it with a brush or fingers.
- We join the canvas in the place of the defect, apply a patch on top. Smooth it out with your hand. We expel the air from under the patch using a roller or an elastic spatula. Leave to dry for a couple of minutes.
- Using an assembly hairdryer, we warm up the ends of the patch well, moving along its perimeter. We try not to overexpose so as not to burn the material. The ends will melt to the base, it remains only to carefully iron them with a rag.

We put any heavy object on the repaired site as a press and leave it for a day for better coupling.
VIDEO INSTRUCTION
Useful Tips
- All work is carried out on an ideal level and solid surface and only on a trampoline in an inoperative state.
- You need a little glue. The adhesive layer applied to the surface should be practically invisible.
- In no case should PVC material be heated with an open fire - it will quickly melt.
- The PVC patch can only be applied on the wrong side (matte side).
- To prevent damage to the material, use the trampoline strictly in accordance with the manufacturer's instructions, and then it will serve you for at least 3 years.

Self-repair of an inflatable trampoline is quite possible to perform at home, but if a repair is needed urgently or you doubt your abilities, you can contact a specialist.
Repair
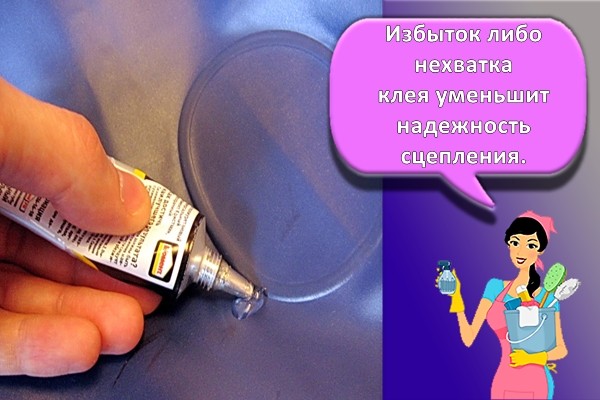
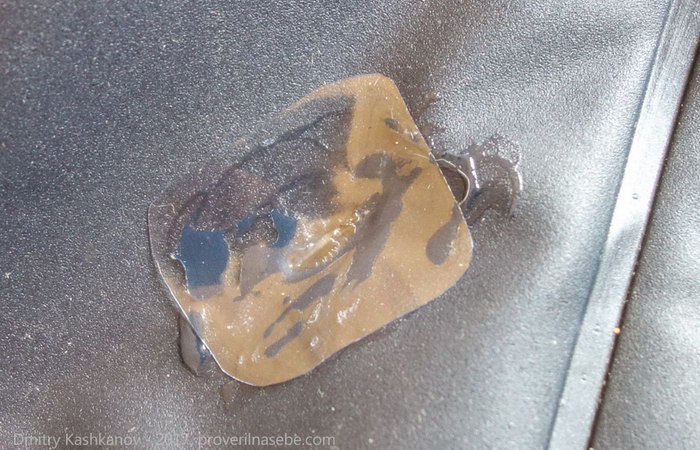
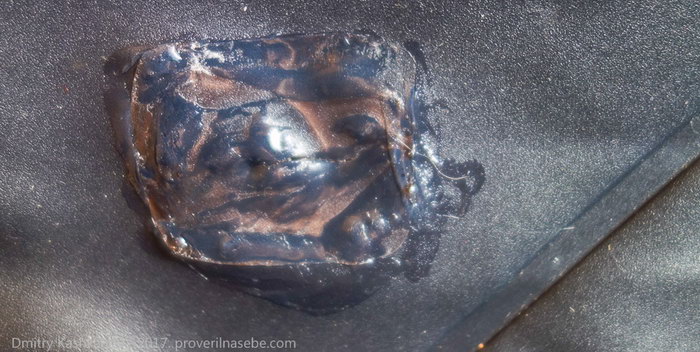
One of the main mistakes of novice craftsmen: the desire to apply more glue. This is the wrong approach, on the contrary - it is necessary to apply it in a thin layer: in this case, it will be as strong as the base material. If you pour too much glue, it will protrude from under the patch, dry for a long time, and a good connection will not work.
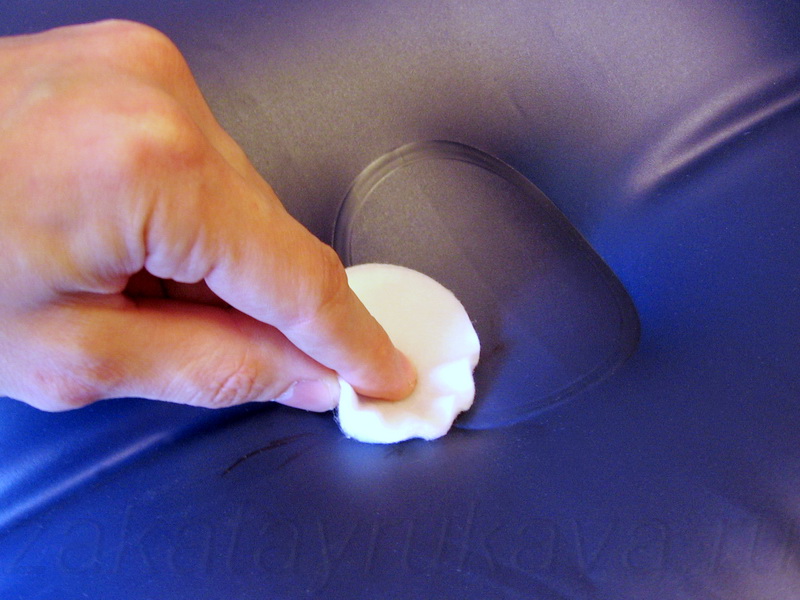
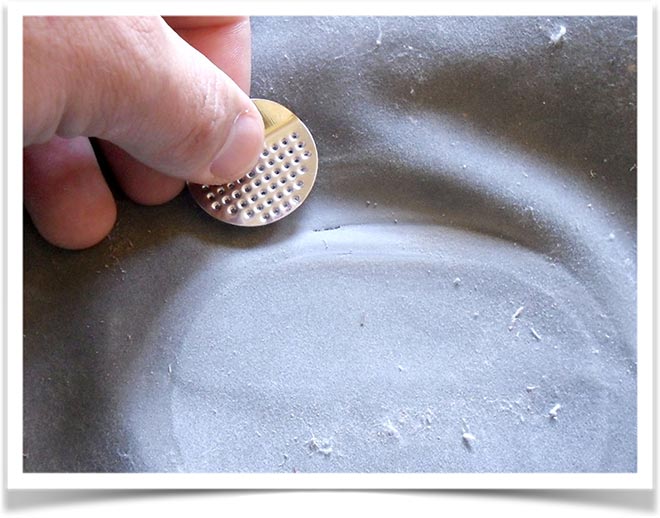
If you find damage in an area with a velor coating, first of all, you need to remove the fluff from the damaged area and the area around it.Around the hole, it is necessary to free an area slightly larger in size than a 5 kopeck coin.
In order to remove a flocked coating (from pile, velor), it is necessary to pour a solvent or varnish remover on it, and wait two minutes. After that, the pile can be easily removed using a dull knife or spoon.
Removal of flock with acetone
The flock is removed from the damage area, a hole is visible
We wipe the formed area again with a solvent and remove the remainder of the glue. Then we dry it, apply glue, wait, put a patch on it, press it well.
How to glue - detailed instructions
1. We assess the damage and prepare the space.
2
Carefully straighten the damaged area of the product out of the blue. If this is not the case, you can put a flat board

3. We take out glue and transparent tape from the repair kit.
4. We clean the area from dirt and degrease with a solvent. Do not sand the surface with sandpaper - this can damage it.

5. We put the patch on the damaged area, and outline the place of gluing with a pen or pencil.
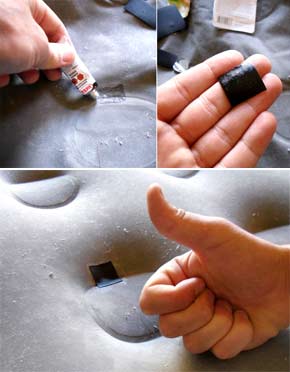
6. Cut out a patch from a special material from a repair kit (or from a circle, a children's inflatable toy, etc.) It is better to give it an oval or round shape. If this is not possible, just cut off the corners from the rectangle. The size of the patch should be three to five cm longer than the length of the damaged area.
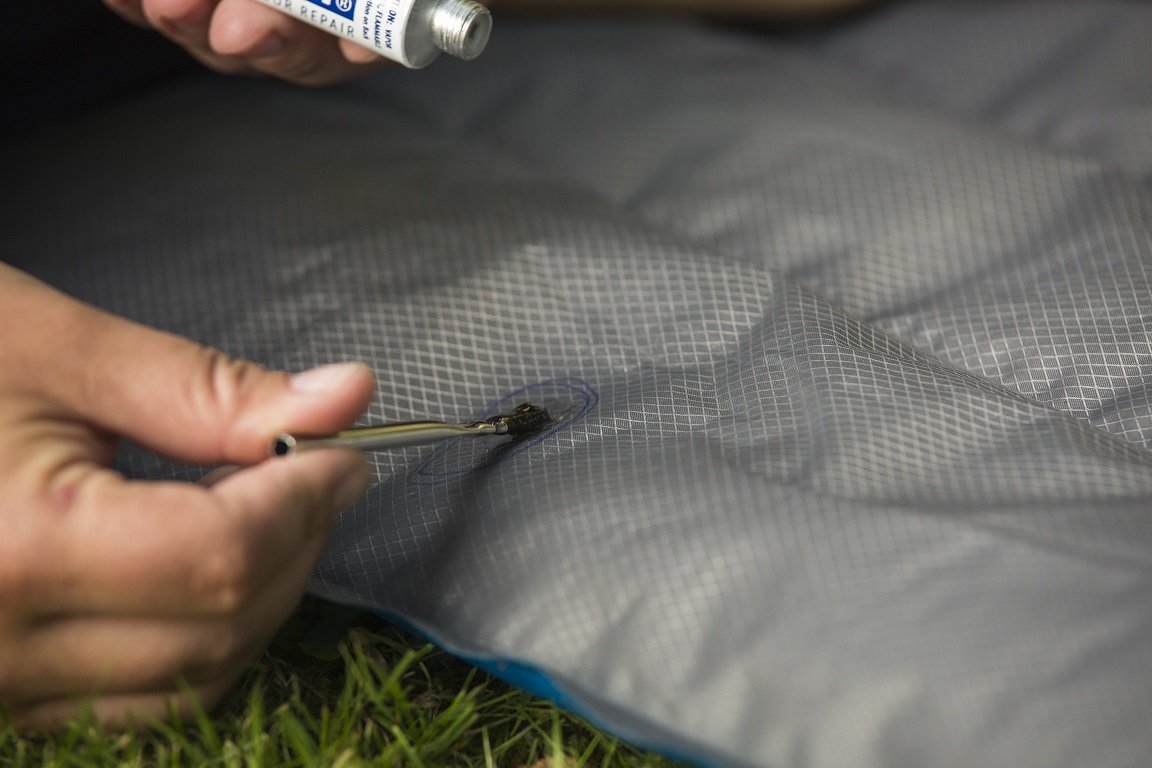
7. Squeeze out the glue to the damaged area. Using a brush, apply a thin, even layer to both surfaces to be glued. We are waiting for the glue to dry.
Fitting a patch
Place for glue
Apply glue
8. After 10-15 minutes, we repeat these manipulations and again wait until the glue dries.
9. After five minutes, you can start gluing. This time is, of course, conditional, and depends on humidity, air temperature and the shelf life of the glue. It is necessary to check the condition of the glue: it should be dry, but slightly sticky.
10. In order to activate the glue, we heat separately the damaged area and the patch. For this purpose, a regular hair dryer will do. But be extremely careful, don't light anything! You also need to make sure that the glue does not dry completely.
11. Put the heated patch on the damaged area so that no air remains under it, press down and roll it with a hard object, preferably with a roller, but in the absence of such, any available means suitable for this purpose will do.
Seam gluing
Seam gluing
Two patches
12. Without bending the mattress in the place of gluing, fold it carefully and leave it to dry for 24 hours.
In the event that no damage is found on the surface, but it is still blown off, we recommend that you pay attention to the valve. Maybe it was loosely installed, and air is coming out through it.
To check, pour shaving foam into it, if it starts to bubble, then air is coming out there.
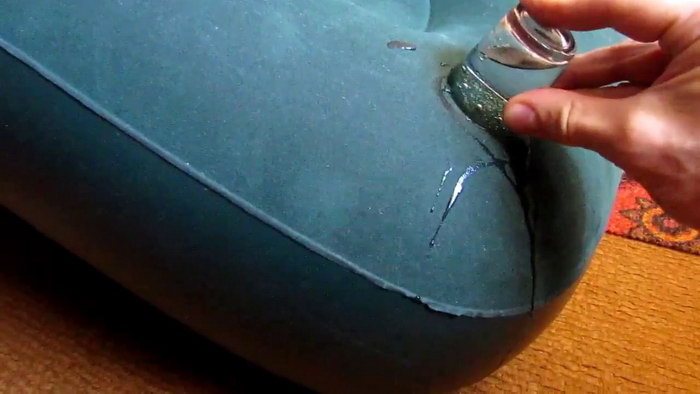
To remove this malfunction, we remove the valve, take out the rubber gasket, and with the help of zero sandpaper, carefully grind the end of the valve, after which we apply a thin layer of silicone glue to it
That's all the nuances. We hope this article will help you carry out the repair yourself.
If you are still not sure that you can seal the air mattress yourself, you can turn to the professionals. If the model is still under warranty, the manufacturer is obliged to make repairs free of charge. Well, if you are not lucky, do not despair anyway - the repair of such models is not so expensive.
In any case, it is better to pay a specialist and be sure of a quality repair than to waste your time.
Defect search
Most often, damage to an inflatable thing happens due to piercing, tearing of its walls with a sharp object.Pets, children can damage the product, it can also burst from too much load, excessive inflation, the use of acids or alkalis for washing. It is possible to "injure" the mattress even if the storage conditions are violated - in this case, it most often cracks along the seam.

Repairing an air mattress at home is a simple matter. First you need to accurately determine the puncture site, because sometimes the product is quickly blown away, and the hole is not visible. There are several methods for finding a damaged area, all of them are simple and affordable.
Immersion in water
If you put an inflated mattress in water, you can see air bubbles coming out of the damaged area. For a small product, an ordinary basin is suitable, where it is immersed in several stages. A large inflatable mattress can only be loaded into a pool or pond, so this method is inconvenient. Moreover, it is difficult to see air bubbles in the reservoir due to the flow and turbidity of the water.
With soap foam
Detergents can also help you find the puncture and then repair it yourself. You need to take any detergent, washing, bath foam, shaving, shower gel is also suitable. A small amount of the product should be whipped into foam, applied to the surface of the mattress with a foam sponge. The release of air bubbles on the foam is not difficult to notice.

By sound
With good hearing, you can quickly find the puncture site. It is necessary to choose a quiet room, inflate the product well, and then listen, for sure a whistling sound will be heard in one of the sections.
Liquid filling
If possible, water should be poured into the mattress, which will flow out through the hole in a thin stream. The drip is especially noticeable when you press down on the mattress from above. Unfortunately, this technique can be used only on a summer day, if it is possible to further dry the product well.
Starch
The surface of the area where the gap is supposed to be should be sprinkled with starch. In the area of the hole, the white powder will be blown up by the escaping air. Instead of starch, you can use flour, ground mustard powder. After the end of the search, the remains of starch must be removed with a vacuum cleaner.
Cling film
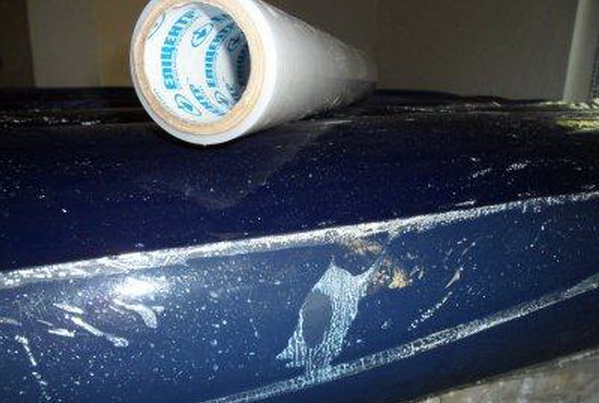
The inflated mattress should be sprinkled with water from a spray bottle, then cover it with cling film, pull it tightly. In the area of the puncture, air will accumulate under the cellophane.
Other methods
An original way to find a defect is to use a lighter, matches. It is necessary to hold a flame over the surface of the mattress - where air comes out, the fire will sway.
Also, people with a cat can easily find a hole in the mattress. The animal will immediately find a puncture and become interested in this place. Thanks to curiosity and good hearing, the cat can begin to "catch" the air coming out.
How to properly repair frame models at home
There are several ways to restore the tightness of the product.
Method 1: adhesive tape
First you need to identify the puncture site. The damaged area is marked with a marker. After that, the surface must be cleaned of dirt. Use an alcohol solution to degrease the material. Apply a patch over the puncture area. Adhesive tapes are used only for temporary sealing. After the end of the season, it is necessary to carry out more thorough repairs.
Method 2: repair kit
To eliminate leaks in frame pools, you will have to use a repair kit. Moreover, the owner of the pool may not drain the water. To get rid of the defect, it is worth using an underwater patch. It is installed on both sides of the damaged area.
When choosing an adhesive, you need to pay attention to the components. The product should not contain toxins that will have a negative impact on human health.
A prerequisite is moisture resistance. After the composition has dried, an elastic seam should form.
How to find a puncture
Before you start gluing the mattress at home, you need to find the exact location of the damage. As practice shows, this is not an easy task at all. If we are talking about a cut or damage along the seam of the product, it can be determined by eye. But if this is a puncture, you have to work hard. There are several time-tested methods available.

Following the instructions, you can glue an inflatable mattress at home no worse than professional craftsmen.
Aurally
Perhaps the most elementary option, which does not require any additional tools and items. The product is slightly inflated, then squeezed, allowing air to circulate freely inside, and listen carefully. The air coming out will make a certain hiss like sound.

It is easy to glue a rubber product, it is much more difficult to find a hole in an air mattress.
Immersion in water
According to those who often repair air mattresses, this method is the most reliable. For testing, you will need a bowl of water. The inflated mattress is placed in water and squeezed. Where there is a puncture, air will escape, leaving bubbles
It is very important to accurately mark the location of the damage. This is done with an alcohol marker.

If there is no marker, use soap or chalk.
A significant disadvantage of this method is that the product must be well dried before being repaired. And some materials dry for a very long time (for example, the velor surface of Intex products). But you must dry it!
Soap solution
This is also a "water" way to determine damage. A soapy solution (you can use both liquid and regular soap) of a thick consistency is applied with a sponge to the surface of the inflated mattress. They are watching closely. Bubbles will appear on the damaged area.

The advantage of this method is that it can detect even small cuts.
Shaving foam
Almost the same as with soapy water. Shaving aid should be applied in a thick layer alternately to all areas of the product.
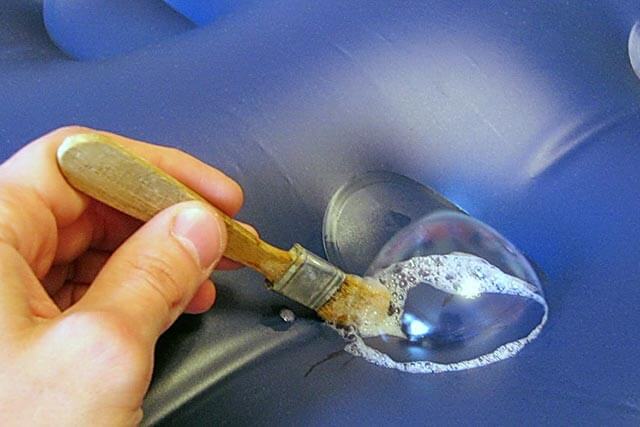
Where there is damage, bubbles will appear.
Starch
If there is no starch, then you can use loose powder. The product is inflated and then sprinkled with a thick layer of starch or powder. If there is a cut, a cloud will appear in its place.
Cling film
The surface of the inflatable mattress is moistened with water using a spray bottle. And then covered with cling film. The surface is well smoothed. At the place where the hole appeared, air will begin to accumulate and thanks to the film it will be obvious.
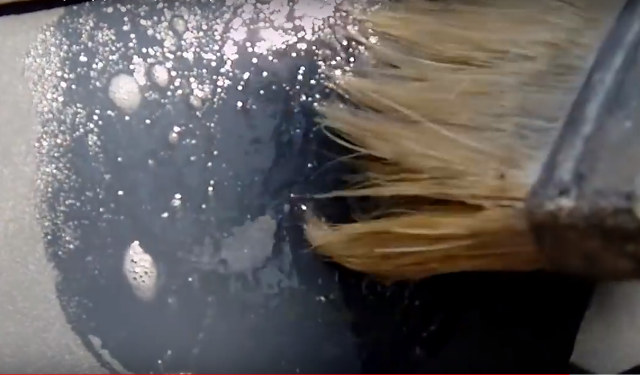
There may be several damage, so you need to keep a pen or marker ready to immediately mark the problem area.
Pool gluing products
Modern pools are made of PVC (polyvinyl chloride) material. The material is very durable and holds its shape perfectly. It is unlikely that the pool can burst suddenly, but it will not be difficult to pierce the material with a sharp object.
 It is imperative to buy waterproof glue, since the patch will constantly come into contact with water.
Swimming pools can be glued in different ways, mainly different types of waterproof glue are used. But other ways also exist:
- Plaster or tape. The measure is temporary and fragile. But before serious repairs it can last for several hours, maximum one day.
- Special repair kit. A very useful thing. The kit includes: glue and a patch, sometimes the kit has additional tools.
- Waterproof glue. Ideal for gluing PVC materials. Resistant to water.
- There is a convenient solution called "liquid patch". It is a liquid PVC that dries in 10 minutes.
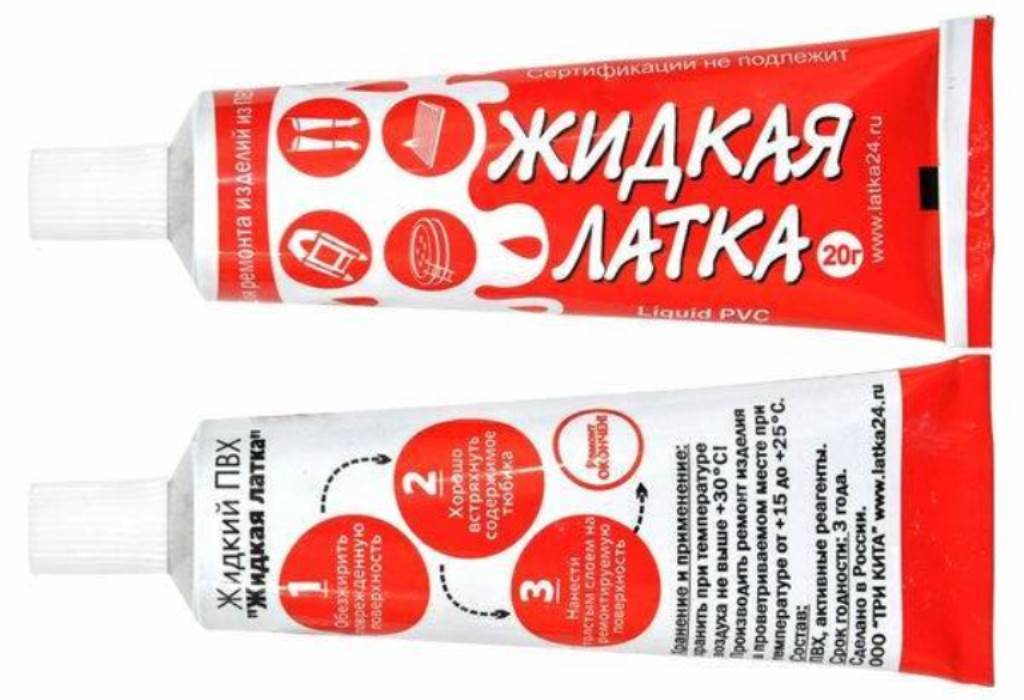 At home, pools are glued using special waterproof glue.
You can always contact a car service or other service centers where the defect can be vulcanized.


