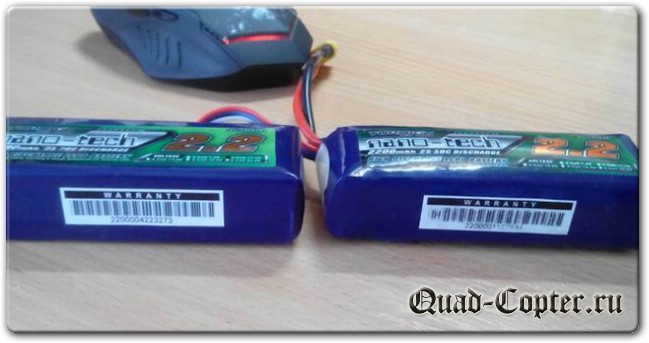
The battery is swollen
There are two solutions, the first is to pierce the swollen LiPo jar with a needle, lower the swelling, seal it with tape, wrap it with tape.
This method of this method of battery recovery is simple and affordable, but does not protect against subsequent swelling. I have used it several times, the LiPo does not light up from a puncture, this is shown in the video above.
I will supplement the point about piercing - we are talking only about the sealing shell, which is swollen and lags behind the plates!
If the plates are not closed, then there can be no ignition! There is simply nothing to ignite!
Lithium vapors begin to evolve only when overcharged above 4.2 Volts per can or short circuit between the anode and cathode!
In the spring I pierced a lot of LiPo's with a nail, shot from air, and so on. I wanted to shoot a shocking video - the battery explodes !!! And in the air, spreading the quadcopter in flight ... 
But ... nothing came out yet at the level of LiPo tests - well, they do not want to explode upon breakdown!
And putting firecrackers in a drone and presenting their explosion as LiPo is not sporting. So the idea for the video never got implemented ...
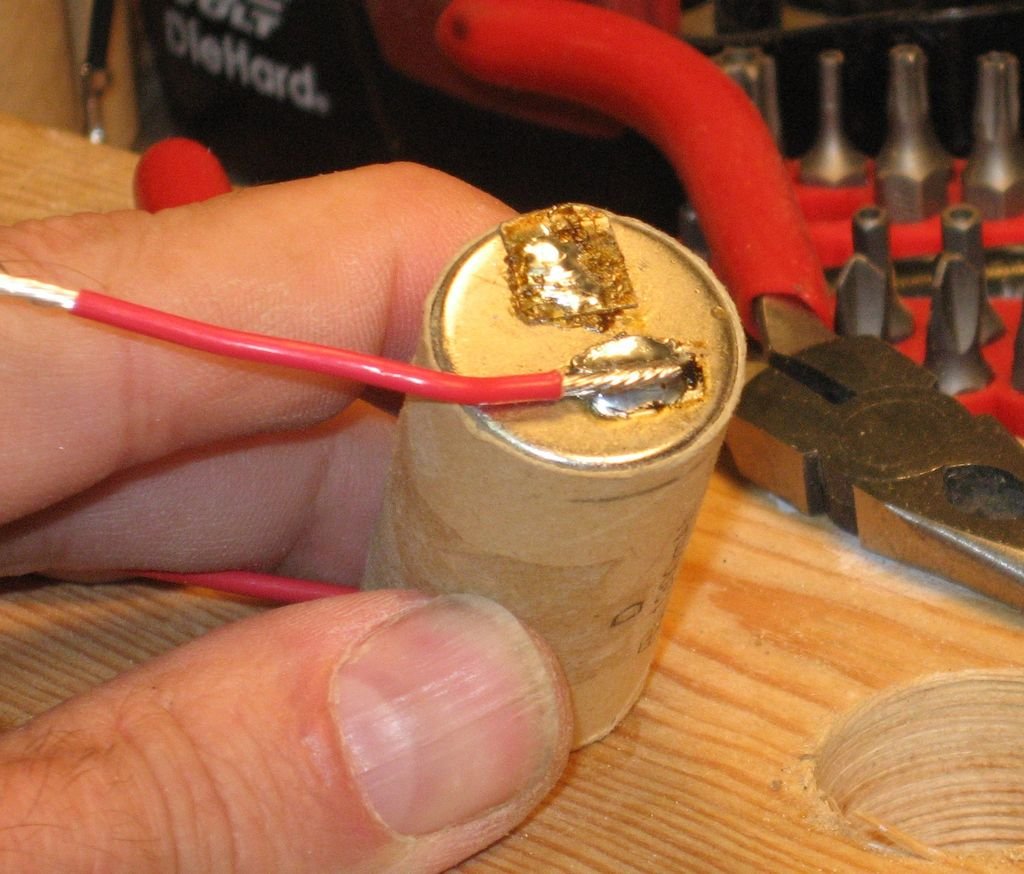
There is a more laborious, but much more correct way to recover swollen LiPo batteries. I spied this technology from kinshas, a photo of him.
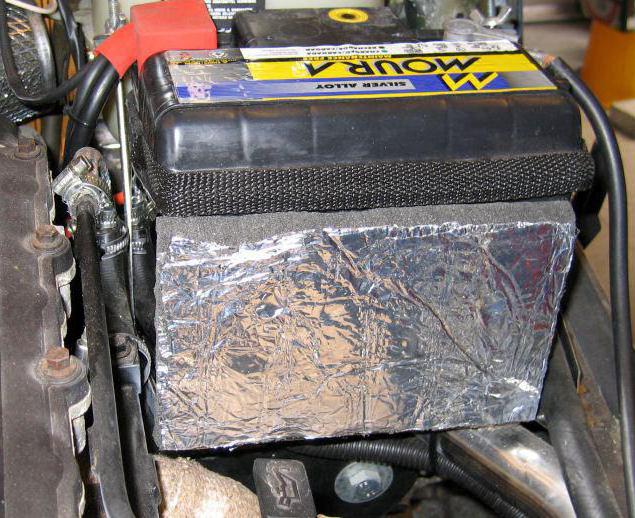
It is known that batteries in a hard case are less susceptible to swelling, deliver currents better at maximum speed and live longer. So it is necessary to make a hard case for the LiPo battery. This technology is also suitable for new batteries, in a homemade rigid case, they will live longer and fly better.
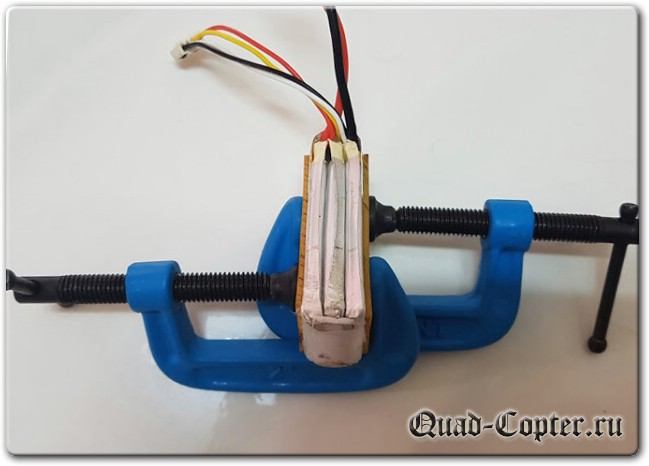
The first thing that is necessary is to remove the native heat shrinkage, it will only interfere. Then, we apply textolite plates along the edges of the cans and clamp them into clamps. It is necessary to grip strongly, but so that the swelling does not break the cans and does not flare the lateral twist.
This design is put in the freezer for an hour, after an hour - we take it out, the swelling will go away and we tighten the clamps. The author of the technique even broke the clamps, I squeezed them in a vice, so that - "it does not spin at all, but foolishly it is possible and more."
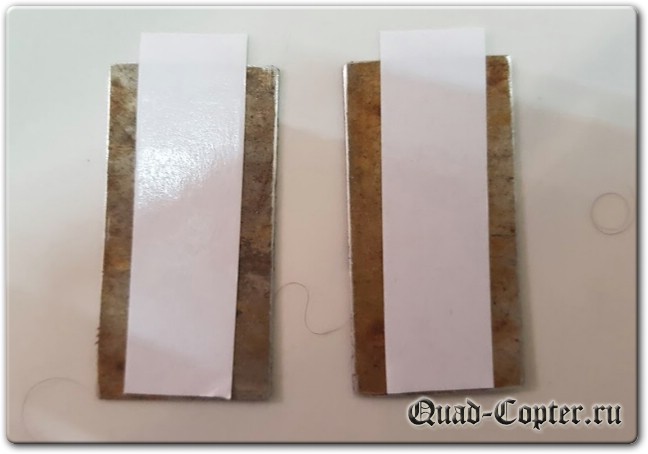
Then put it in the freezer for another hour and a half. While the battery is freezing, we prepare the plates, duralumin with a thickness of 0.5-1 mm are well suited, the duralumin is tough and viscous. You can use fiberglass - it is durable and tough. Aluminum is also suitable, good lining plates are obtained from a can of shaving foam.
Double-sided tape is glued to the plates, the battery is taken out of the freezer, wiped from moisture and glue the plates on the sides of the LiPo.
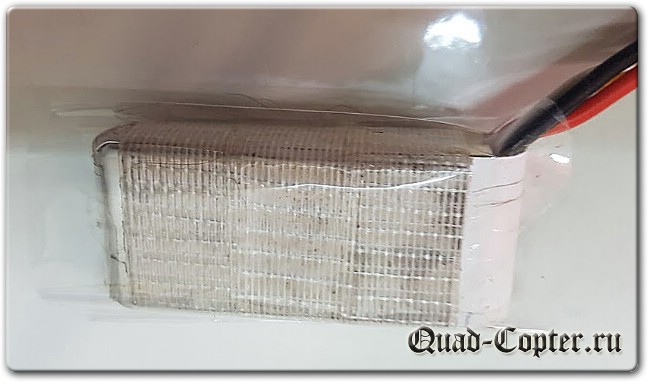
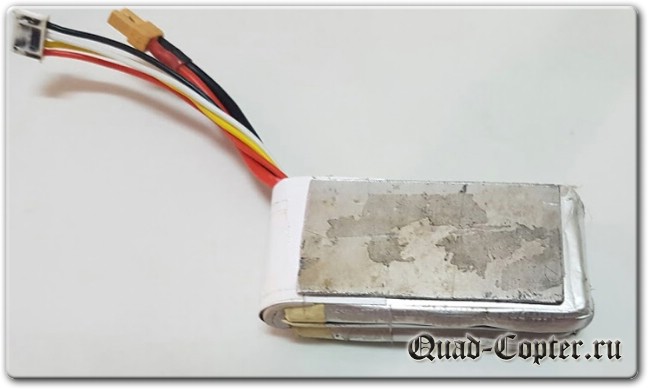
Now, using armscotch, we wind up the battery. It is better to wind it with narrow tape, it is easier to pull it. Dangles in 2 layers. At the end, put on a heat shrink (for example, transparent, as in the photo) and shrink with a hair dryer or burner.
Such a homemade hard case favorably affects the current output and life expectancy of not only the swollen LiPo, but also the new battery.
Guitar Glue - Overview of Options
The guitar is a very sensitive instrument and this should be considered when choosing an adhesive and making repairs. The adhesive must not interfere with the unique resonating properties of the noble wood.
In this case, the glue must reliably connect the elements to be glued, because very often cracks form in places of greatest load.
What is the best glue for guitar repairs?
There are several options:
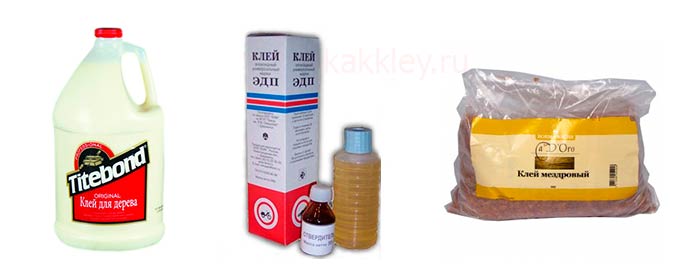
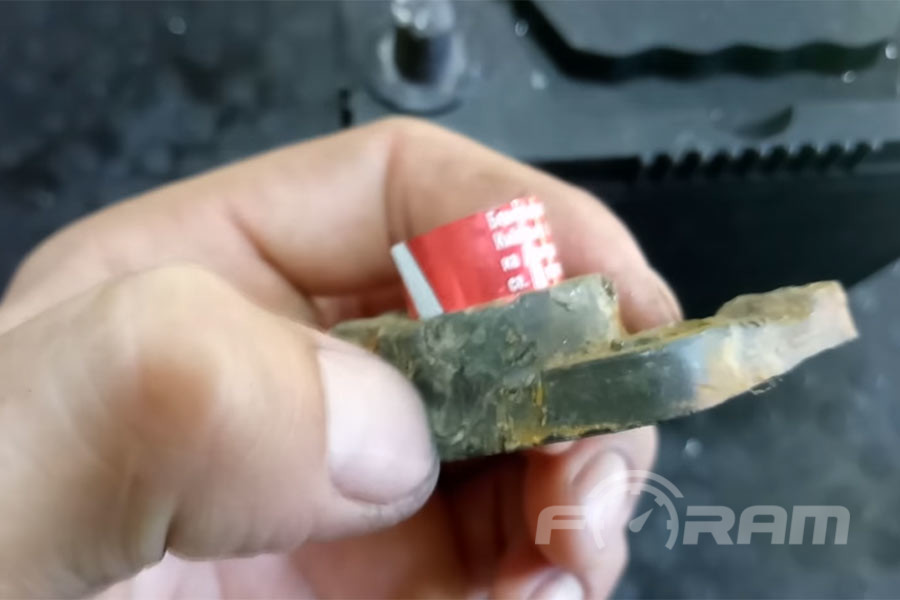
Titebond is a worldwide popular one-component, all-purpose wood glue. This is perhaps the most ideal glue for guitar repair.


Titebond is resistant to moisture and high temperatures. The composition seizes almost instantly and firmly connects the surfaces to be glued, you just need to press them strongly against each other for a while.
Professionals recommend using Original Wood Titebond adhesive with red label.
Mezdrovy carpentry glue. It is produced from the inside of untreated leather (flesh), tanning waste and gelatin.
This glue needs to be prepared.To get a ready-to-use solution, you need to fill the dry components with water in the proportions indicated by the manufacturer and leave to swell for a while.
The swollen substance is boiled until tender in a water bath. The glue is quite fluid when warm. Cooling down, it forms a solid structure, therefore it does not violate the acoustic properties of wood. With strict adherence to the technology, it is possible to achieve a special strength of the adhesive bond.
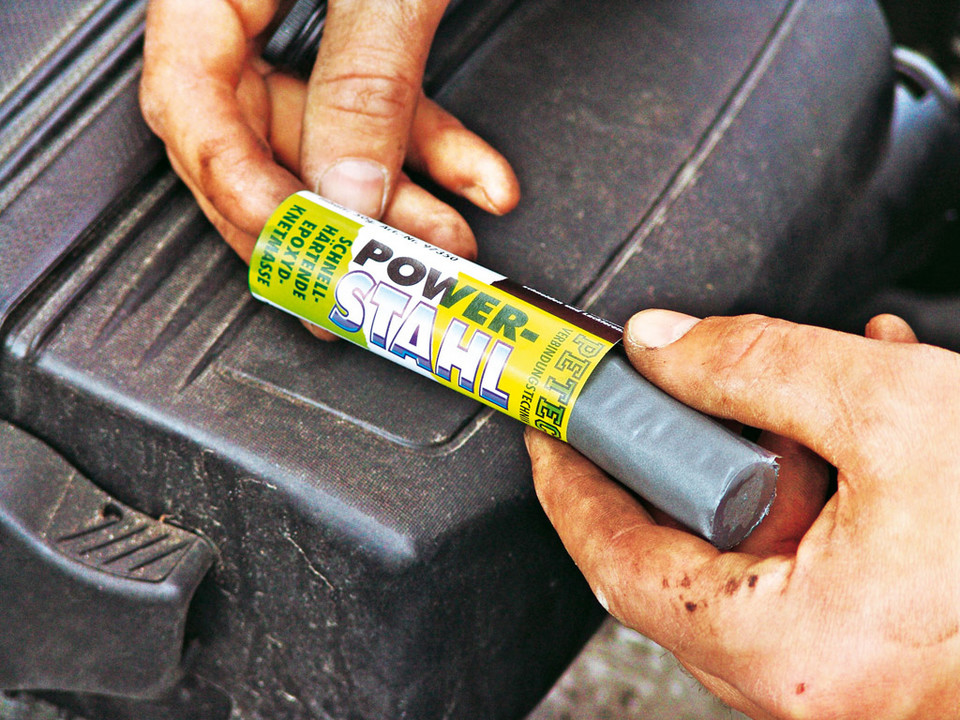
EDP (Epoxy Adhesive) is a versatile two-component adhesive sold as a mixing kit. It includes directly epoxy resin and hardener.
To prepare the composition is as easy as shelling pears: just mix the resin with the hardener in the proportion indicated by the manufacturer.
When preparing the glue, you need to take into account that it hardens almost instantly, so the surfaces to be glued should be prepared in advance - cleaned of dust and any dirt.
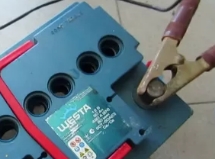
If the LiPo is over-discharged and does not charge
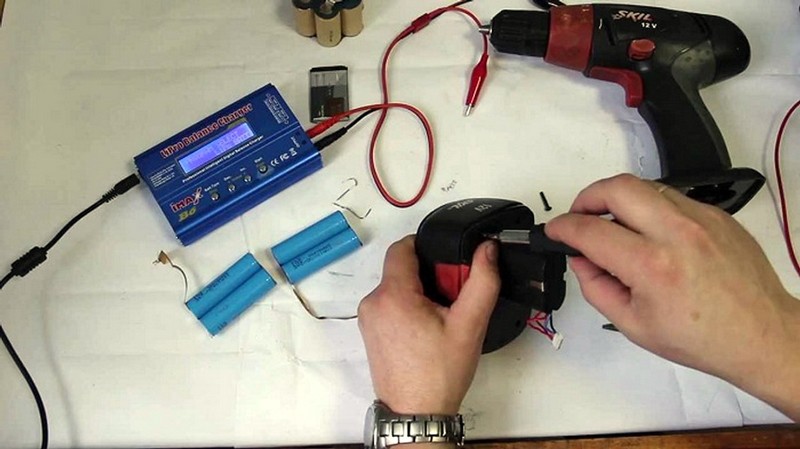
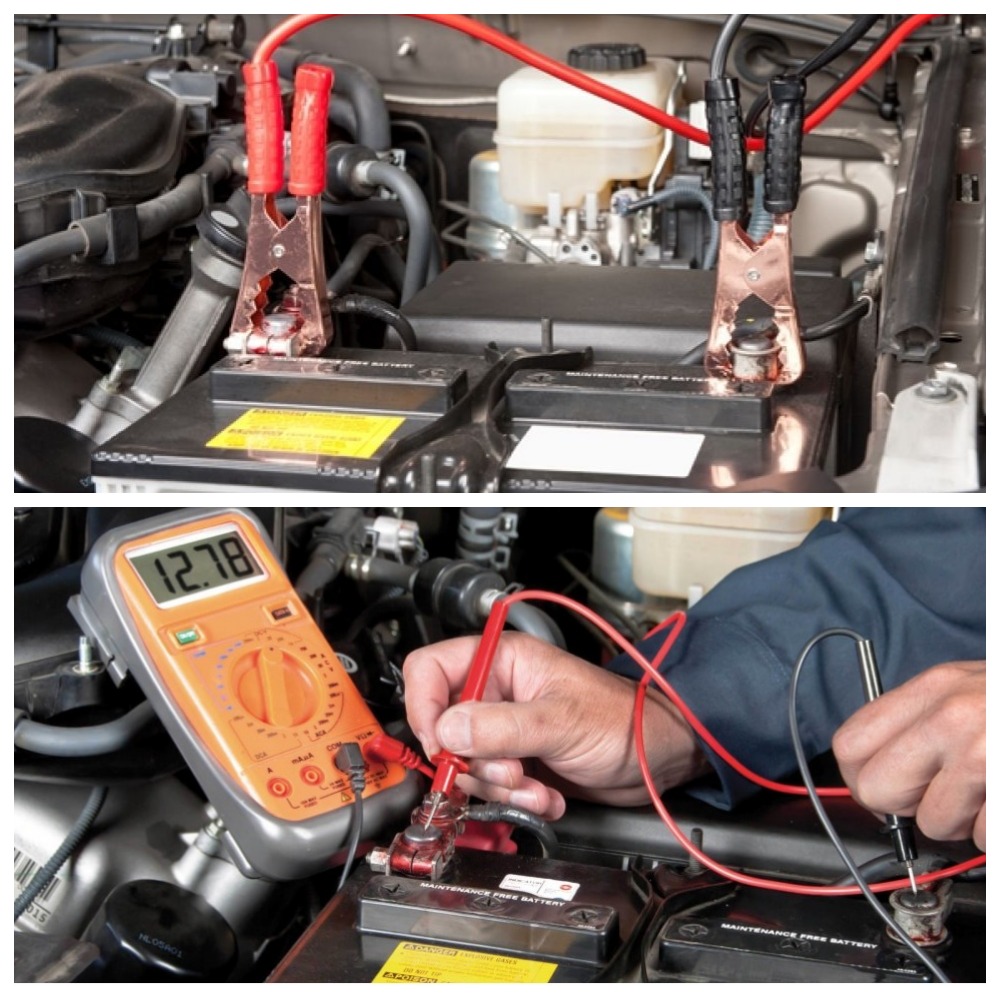
Computerized chargers check the voltage before starting charging, this is done in order not to blow up the supplied, for example, 2S LiPo when the 3S is set on the charger. After all, if 2S is charged to 12.6 Volts, then you get 6.3 Volts per can, and this is fraught with an explosion (recharge is higher than 4.2 Volts).
The minimum voltage mark is 2.9-3 Volts per can. If you rubbed the drone and the battery sat down while you were looking for a quadcopter for a couple of days, then it can be restored.
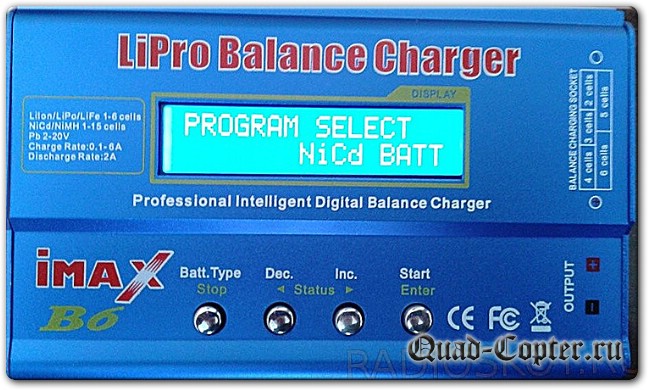
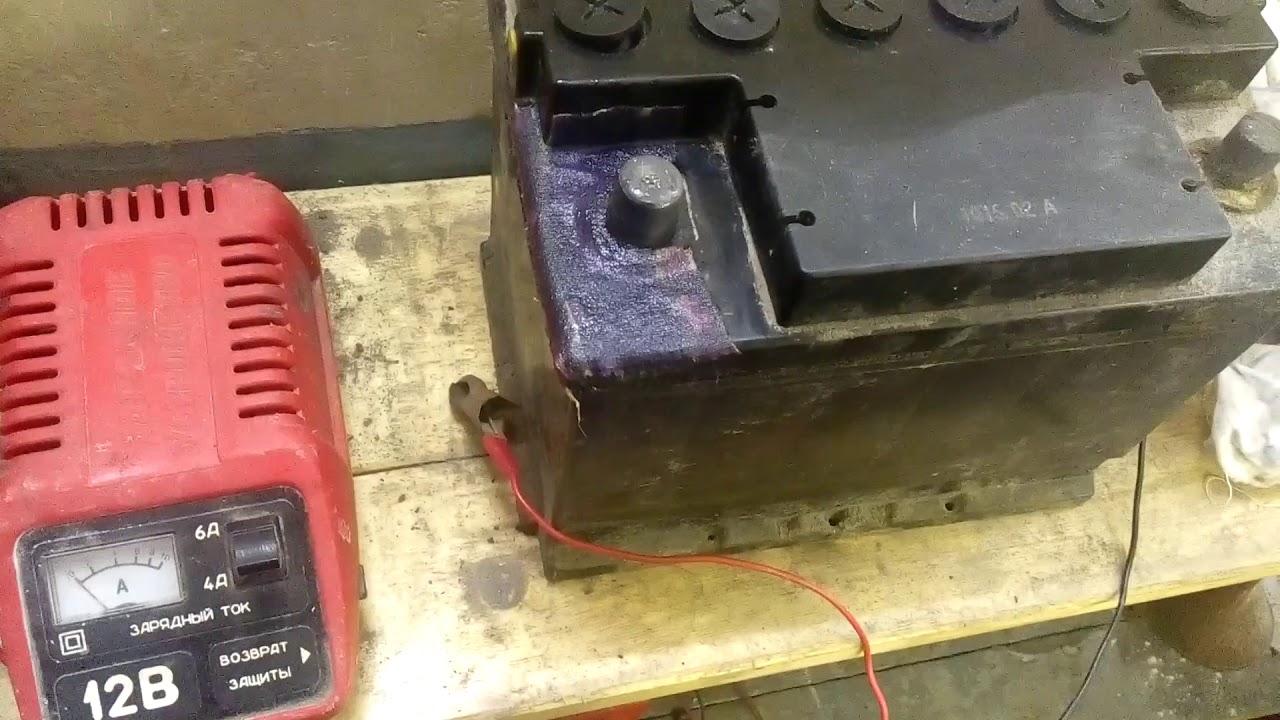
To do this, connect LiPo to charging and select "Battery type - NiCd", you can choose NiMh, turn on the charging and watch as soon as the voltage becomes higher than 3 Volts per bank (6 for 2S, 9 for 3S, 12 for 4S, etc.), stop charge, select the standard charging mode for the battery.
The best thing is to check the battery through the balancing connector one by one and charge only the "sagging" jar.
As you can see, fixing a LiPo battery is very easy!
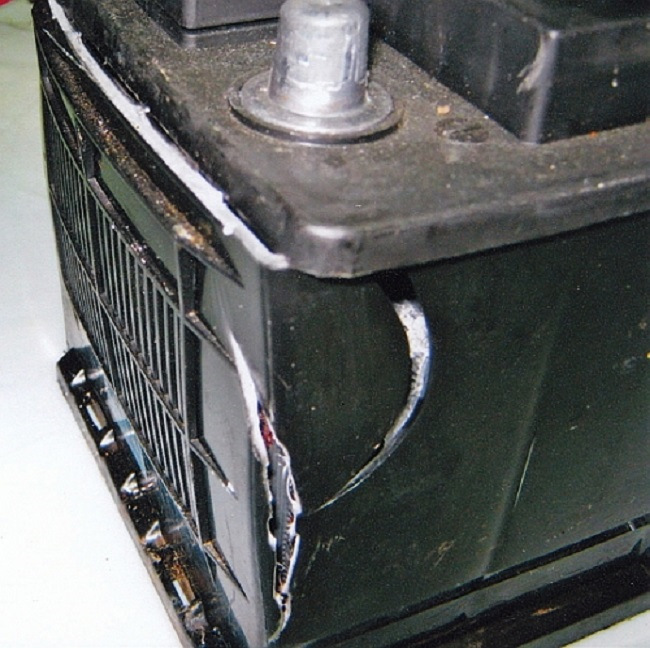
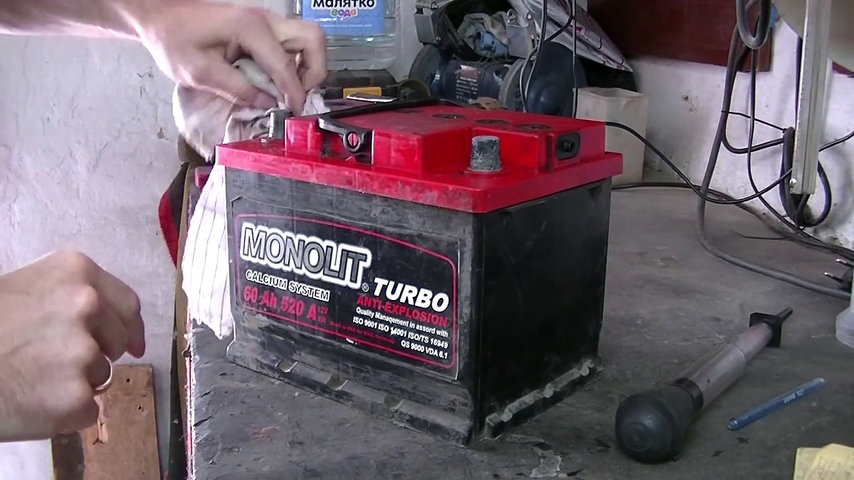
What material is used in the manufacture of car batteries
The body of this device is made of plastic. For this purpose, polyethylene and polypropylene are used. The first material is used for the manufacture of budget batteries. More expensive models are made from polypropylene.
This is due to the high density of the material. Polypropylene is considered to be harder and has good abrasion resistance. In addition, this material is characterized by high heat resistance. It becomes soft at 140 degrees. In this case, the melting parameters reach 175 degrees. The material hardly suffers from stress corrosion cracking.
Moreover, both substances are resistant to chemical elements. In room conditions, sulfuric acid of high concentration has an unexpressed effect on them. At the same time, prolonged contact with this substance at temperature parameters of 60 degrees and more provokes the destruction of materials.
Operating instructions
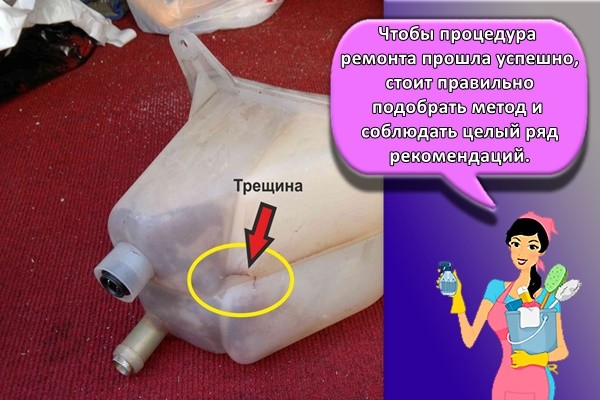
In order for the repair procedure to be successful, it is worth choosing the right method and following a number of recommendations.
Soldering
Before starting the procedure, it is important to prepare everything you need. This will require the following:
- a soldering iron with a flat tip - its power should be 40 watts;
- a fragment of a brass mesh with small cells;
- scissors for metal.
It is permissible to use a more powerful soldering iron
But in this case, you should be careful when working. Otherwise, in the areas of fastening of the metal mesh, there is a risk of a through hole on the material.
It is permissible to remove the brass mesh from the car gas pipe. It is located right in the tank. This mesh is used in the vehicle power system and acts as a filter. After alignment, it is permissible to use it as a reinforcing layer. This will help stop the reservoir leak.If you can't find a brass mesh, it is permissible to use a steel mesh. This material is sold in hardware stores and is at an affordable price.


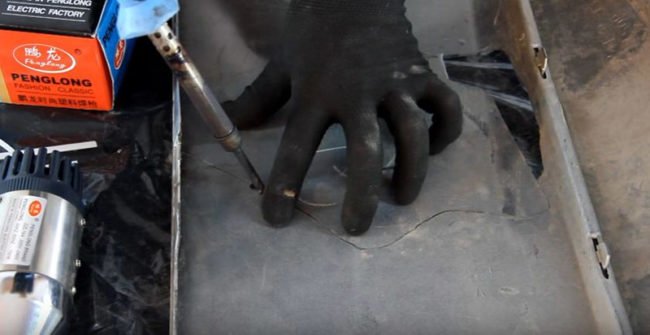
Soldering is considered the most reliable method of eliminating cracks. Plastic melts easily even at relatively low temperatures. Therefore, to carry out the manipulation, it is permissible to use an ordinary soldering iron. To solder the tank, you should follow these steps:
- Place the tank on a flat surface. Moreover, it is recommended to direct the crack upwards.
- Heat the soldering iron to operating temperature.
- Cut the metal mesh so that it is slightly larger in length and width than the damaged area. Apply material to the damaged area.
- Solder the mesh into the plastic with a soldering iron tip. It is recommended to do this along the entire length of the damage.
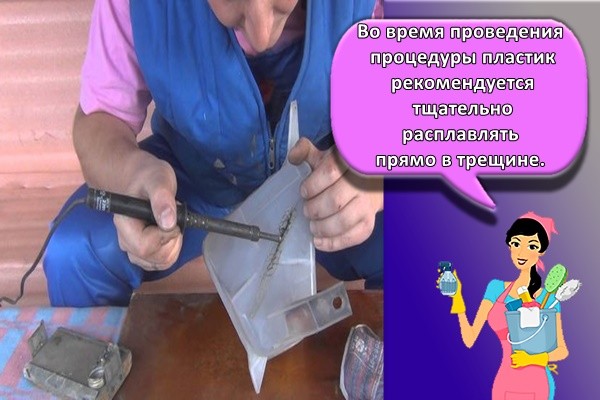
During the procedure, it is recommended to carefully melt the plastic right in the crack. Otherwise, it will not be possible to deal with the damage efficiently. Wire mesh is considered to be an excellent reinforcing material. However, the patch will only be able to withstand pressure if the plastic layer is uniform.
Gluing
To achieve good results with this method, you must use a two-component formulation. To do this, you should do the following:
- Prepare surfaces. It is recommended to clean them from dirt. To do this, you should use acetone.
- Apply glue. A thin layer of a liquid substance is applied to the damaged area. From above it is recommended to cover this place with welding granulate from another bottle. Then again cover the surface with impregnation glue.
- Glue the details. The adhesive composition sets almost instantly. Already a few minutes after using the substance, it is permissible to return the tank to its place and fill it with liquid.
It should be borne in mind that the interaction of the liquid adhesive part and the welding granulate causes an exothermic reaction. It is accompanied by the release of steam and heat. Therefore, it is recommended to observe safety precautions.
Welding
Cold welding is considered an auxiliary method that does not provide long-term and reliable results. This method helps to achieve temporary fixation, which will ensure comfortable delivery of the vehicle to the service station. In order for cold welding to give results, the surface should be pre-cleaned.
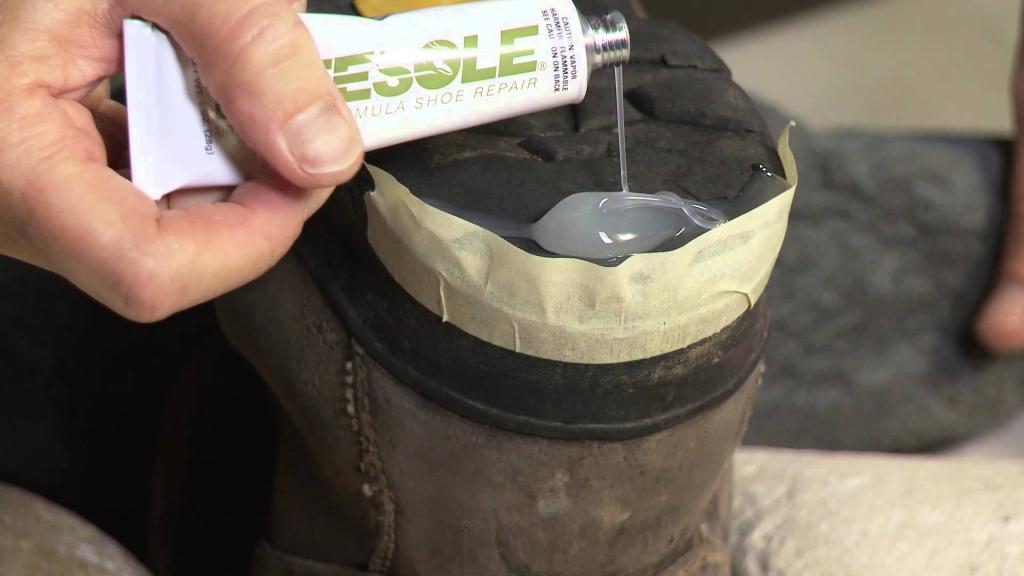
Application of epoxy adhesive
The use of such a substance is also considered a temporary method. It will not fix the crack for a long time. To get a good result, the plastic is pre-cleaned from the remnants of dust, grease, dirt.
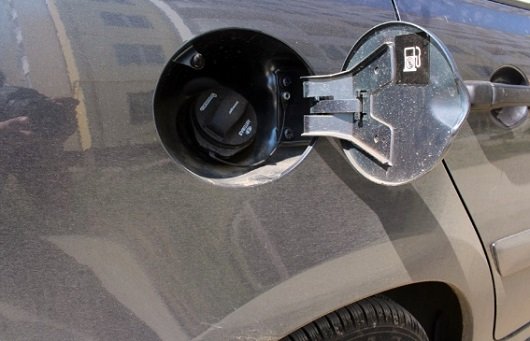
What material is a car gas tank made of
Fuel tanks are a dangerous structural element of a vehicle. The safety of using the vehicle depends on its tightness. In addition, leaks from the gas tank reduce fuel economy and affect the environment.
Fuel tanks are made of metal (steel or aluminum) and plastic. Steel tanks are more often installed on trucks and cars running on methane. Gasoline engines are produced complete with an aluminum firebox. Plastic fuel tanks are suitable for all types of fuel, inexpensive, easy to maintain and repair. The share of cars with a synthetic tank is 2/3 of the total.
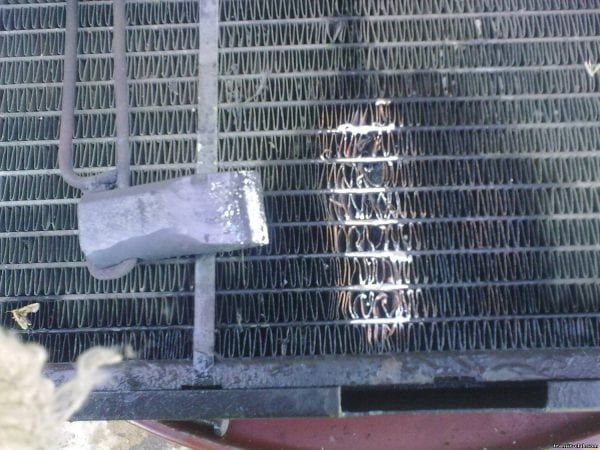
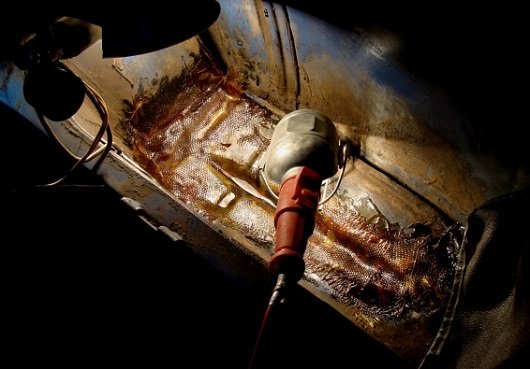
Soldering aluminum radiators
For devices made of aluminum, there is a special repair procedure; it involves soldering the damaged area. You need to start by removing the radiator from the car, after which all the remaining liquid is drained. The tank is washed with clean water, dried so that not a drop of moisture remains. Then you should carefully assess the condition of the tank, find all possible cracks and defects. This is done like this:
- take a bath or a large basin of water;
- prepare a pump or compressor;
- close the fitting of the radiator cap, as well as all the pipes of the cooling system, but leave the thinnest one and connect the delivery tube;
- put the device in a bath, supply air;
- determine the location of the defect by the release of bubbles.
The flux is bought in stores for radio amateurs, the packaging will say "for aluminum soldering." You can prepare it yourself from rosin and iron filings (the latter are obtained by processing an iron product with a file). The components are combined in equal parts, heated over a fire. Solder is also bought in the Radiodetali store, it must be made of copper, zinc, silicon.
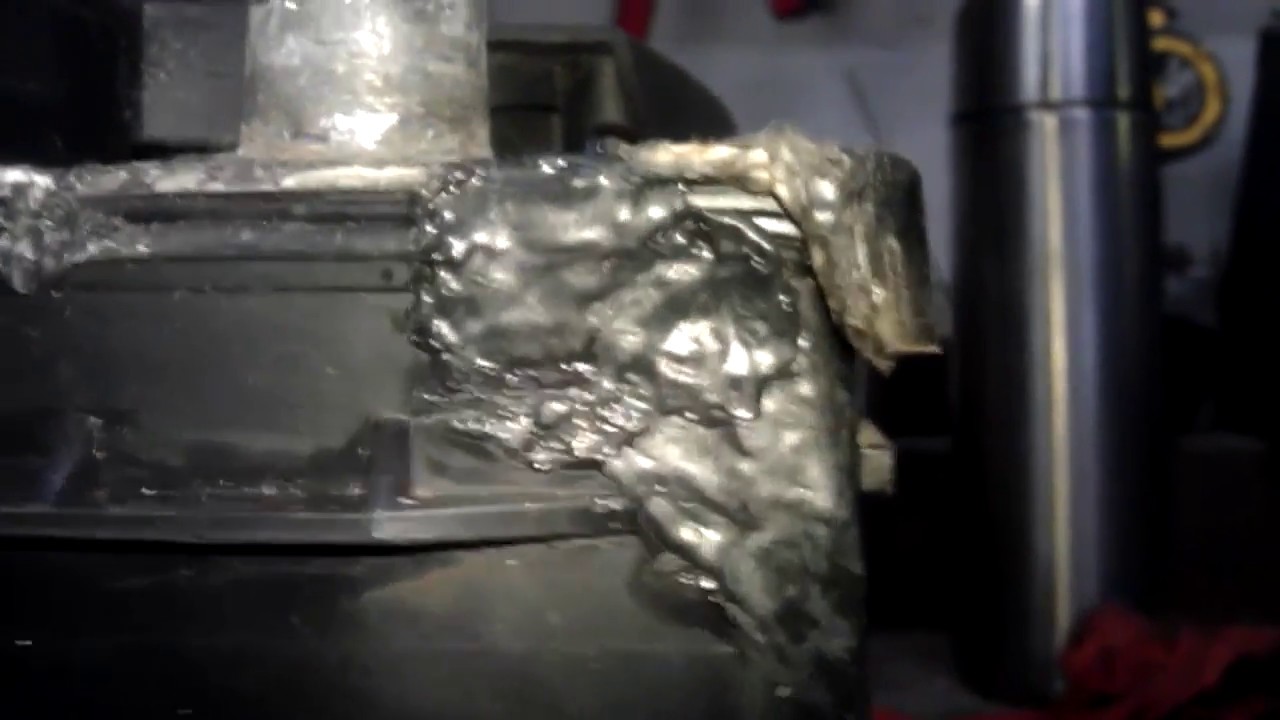
Soldering is done as follows:
- clean the section of the tank with a file and sandpaper;
- degrease with acetone;
- warm up the junction with a lamp, then place the flux there;
- process with a soldering iron;
- apply solder, warm up with a soldering iron;
- let the "patch" cool down, if necessary, perform the second layer;
- after cooling, remove the smudges with sandpaper.
Soldering should not be used if the leak is detected in the fitting or on massive power parts that carry the load. Soldering will be useless, such a radiator must be replaced immediately.
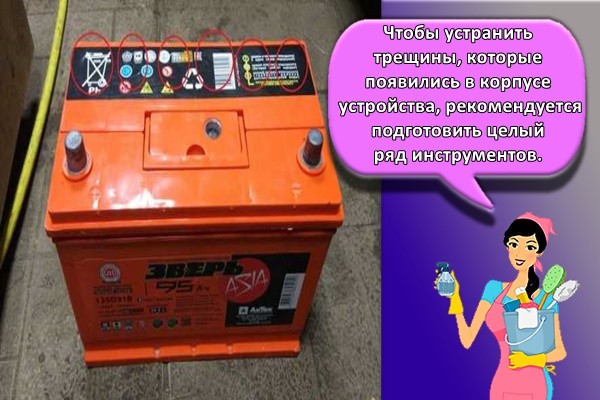
DIY solutions to the problem
To eliminate cracks that have appeared in the device case, it is recommended to prepare a number of tools and fixtures. This will require the following:
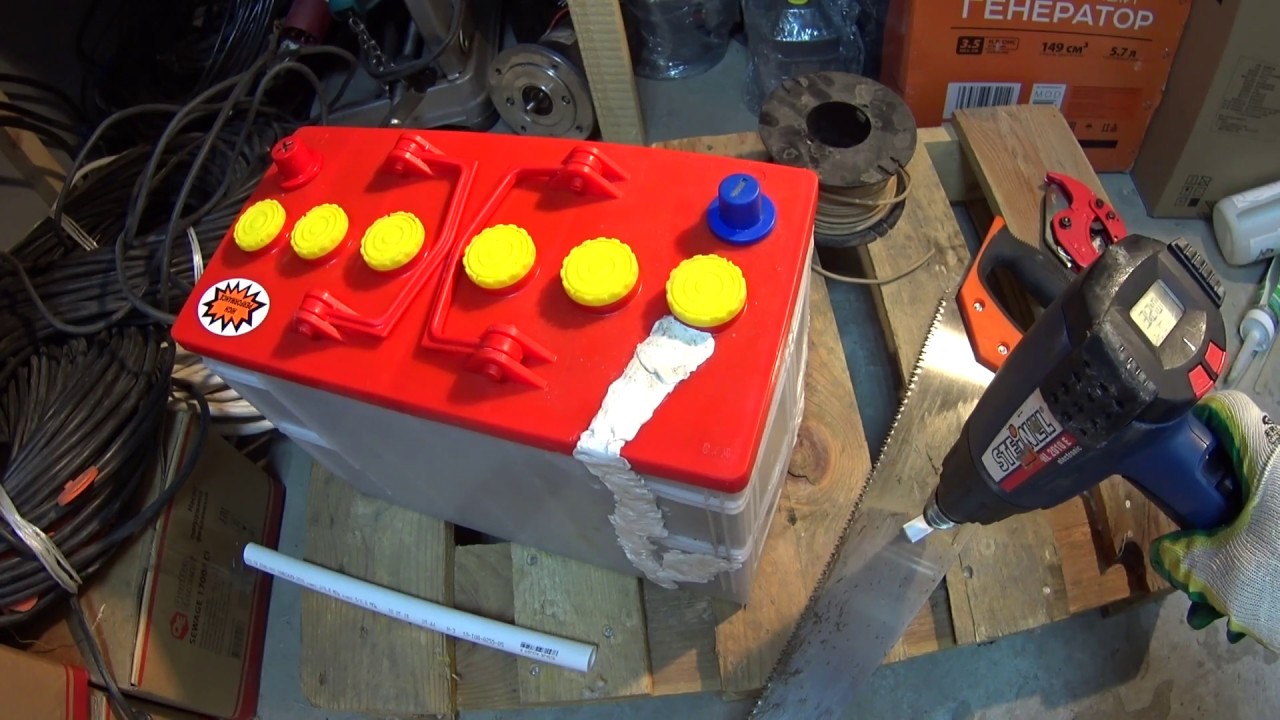
- building hair dryer - it must be equipped with a function of gradual regulation of temperature parameters and a narrow slotted nozzle;
- an electric soldering iron - it must have a power of 100 watts and a flat tip;
- staples - their length should be 20-25 millimeters, and the height of the sidewalls should be 2 millimeters;
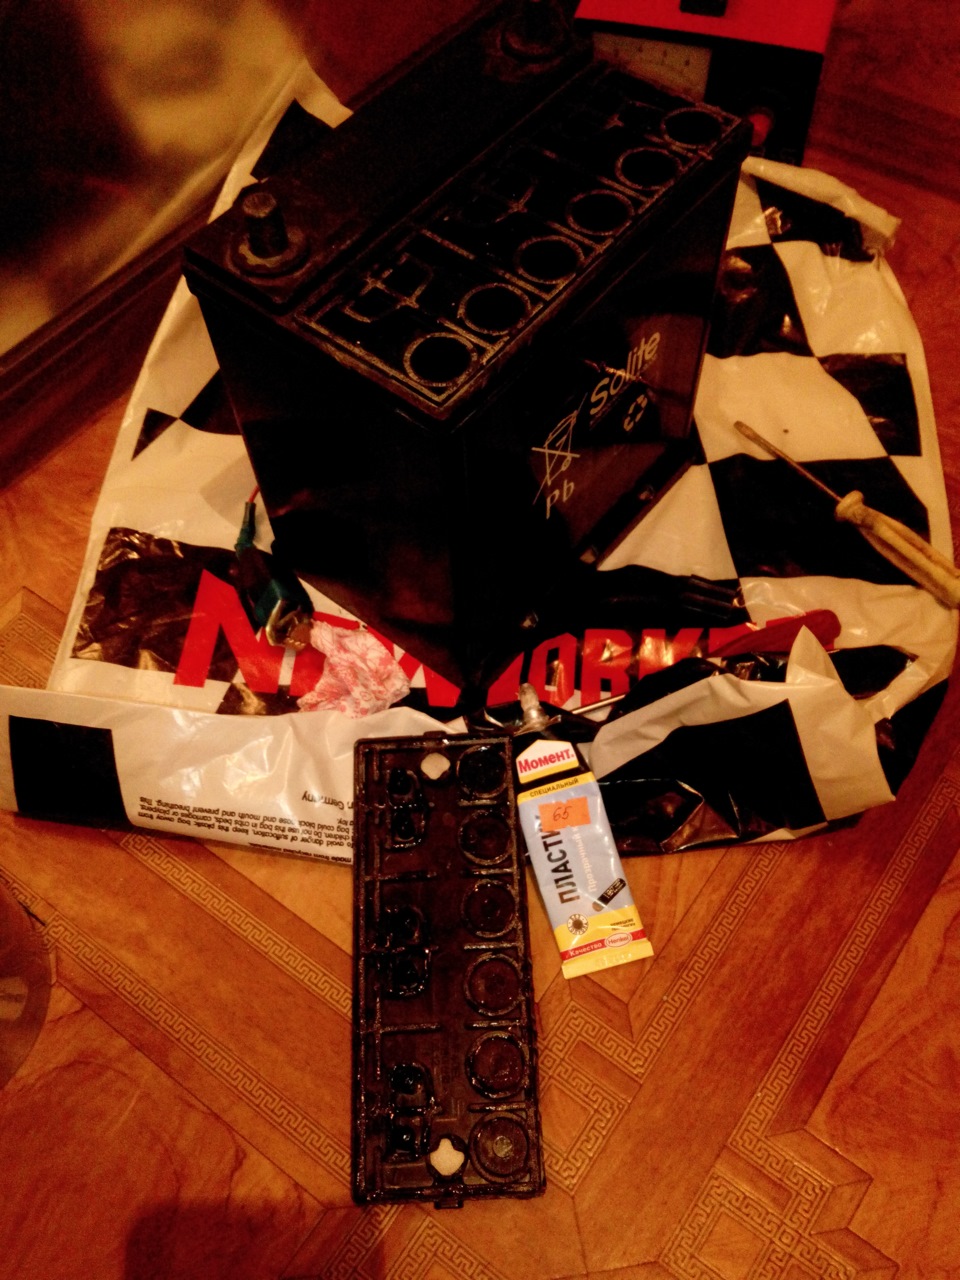
- several strips of thin propylene - it is permissible to take it from an old battery or use a special soldering material in the form of a tape or rods.
For repair work, it is recommended to do the following:
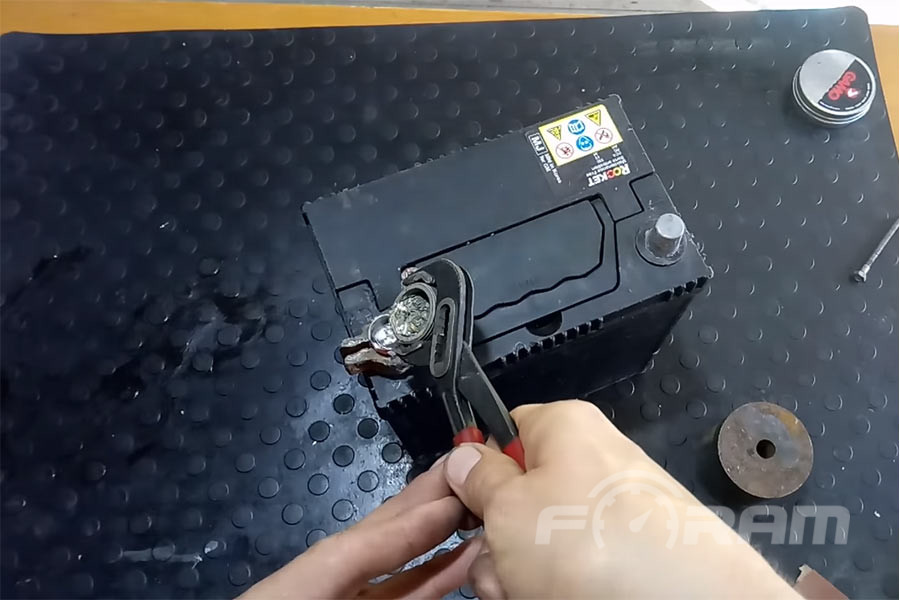
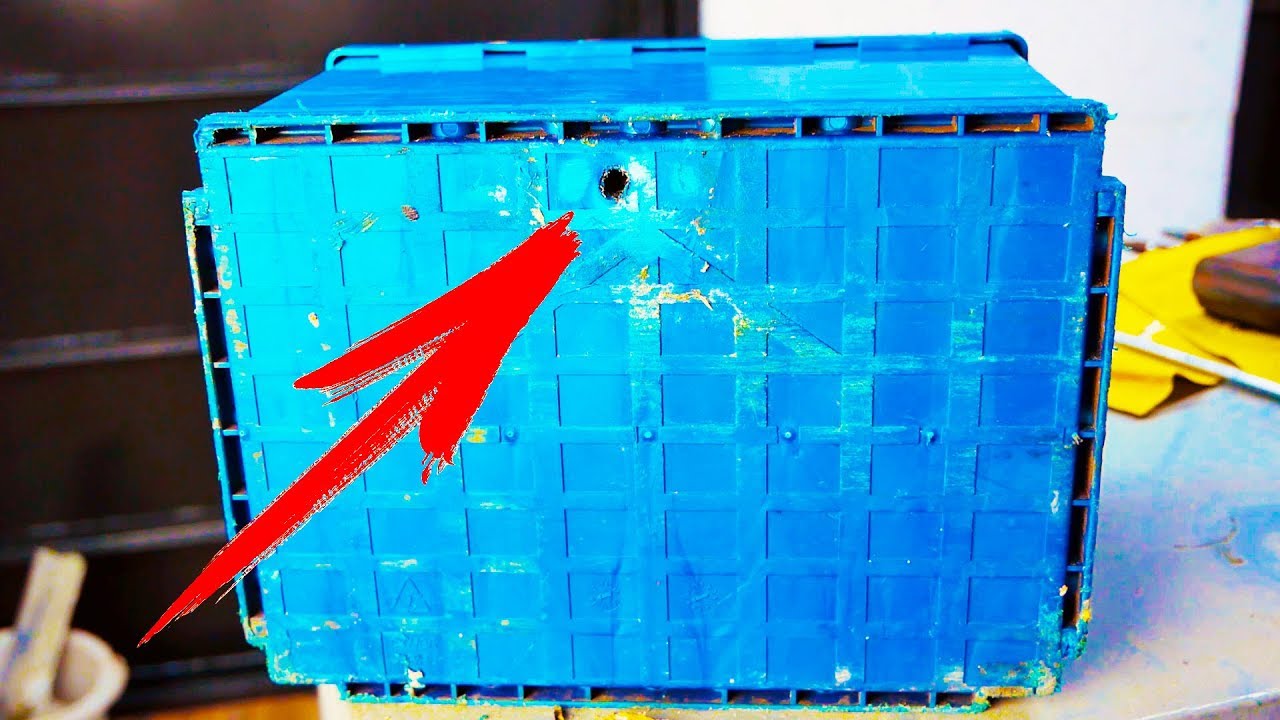
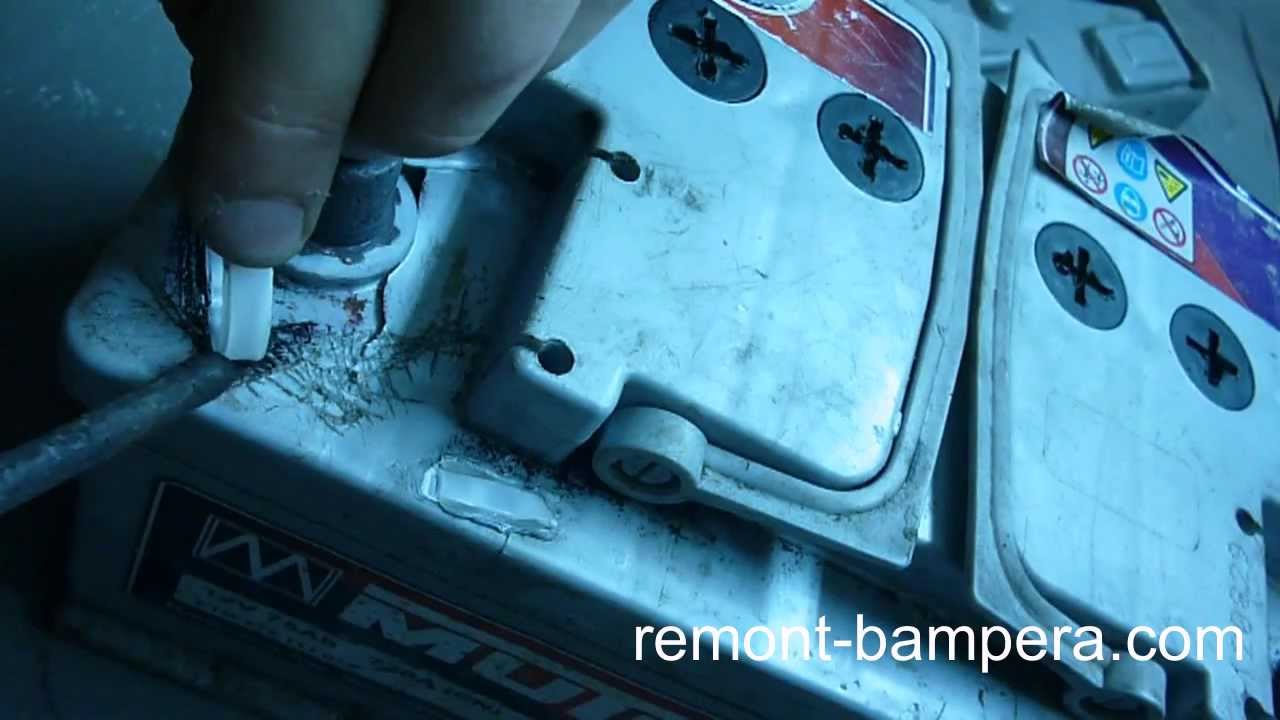
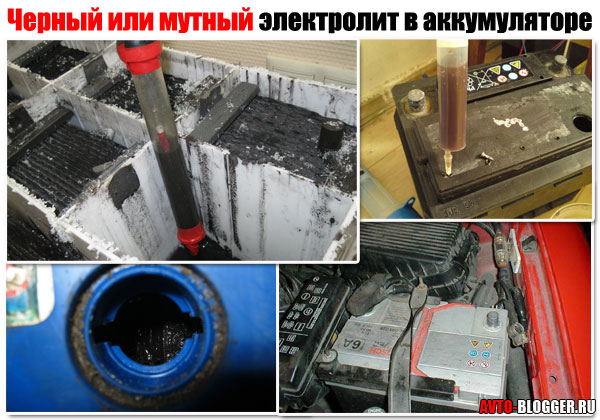
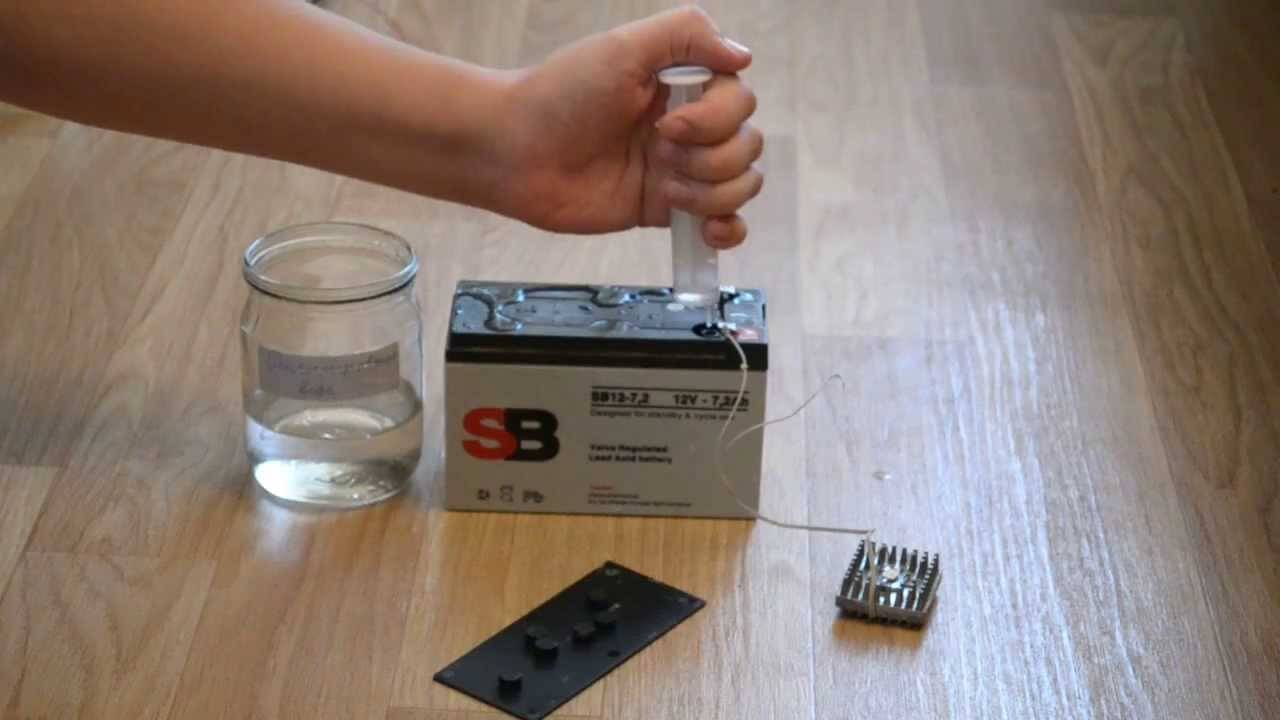
- If a crack is located on the device below the electrolyte, it is recommended to drain it. This procedure can be carried out using a large medical syringe. It is recommended to put a fragment of a PVC tube on it. Its length should be 20-25 centimeters. It is strictly forbidden to drain the electrolyte by normal tipping of the battery. If you turn the device over, a lead oxide precipitate can cause the plates to close and completely disrupt the operation of the device.
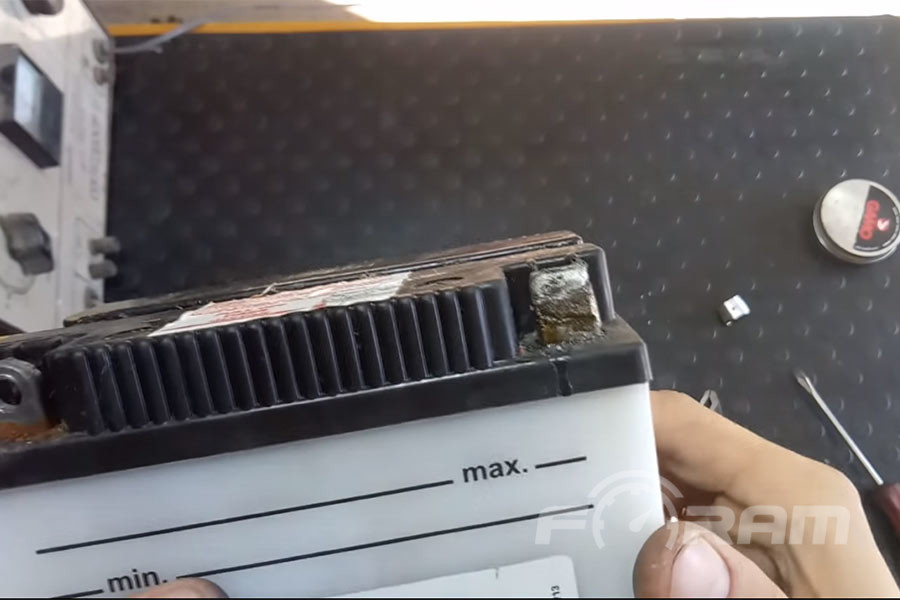
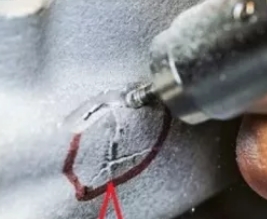
- Using a sharp knife, make a groove along the length of the damage. It is recommended to give it a V-shape. Make small holes at the ends with a thin drill. Their diameter should not exceed 1 millimeter. The holes also help prevent the subsequent development of the defect.
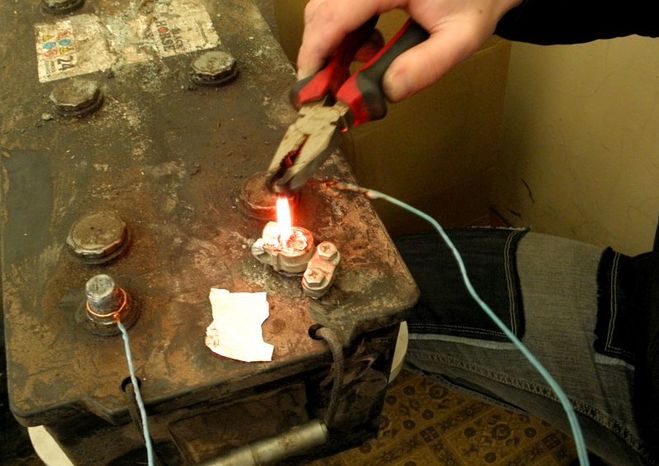
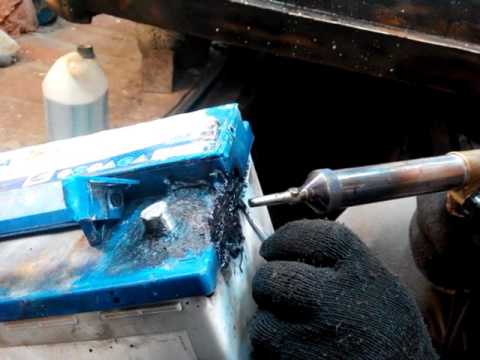
- Heat the staples to a temperature of 400-450 degrees. This can be done with a soldering iron or candle. Then carefully melt the resulting fragments into the edges of the crack. This should be done at intervals of 12-15 millimeters. This will keep the edges of the crack in contact.
- Make a heat shield from a heat-resistant material. For this purpose, paronite 10x15 centimeters in size is suitable. It is recommended to make a gap in the sheet, which in size and shape coincides with the geometry of the damage. Then match the cutout with the groove shape and fix it well on the device body.
- For soldering, it is allowed to use a special rod or tape. If this is not possible, it is permissible to make the solder yourself. For this, it is recommended to cut thin strips from prepared polypropylene. In length and quantity, they must correspond to the volume of material required to fill the V-shaped defect. Then roll them into a thin and tight tourniquet.
- Heat part of the gap with a hair dryer, melt the edge of the soldering material and press it against the beginning of the crack, while applying force. As the polypropylene solder heats up and cracks, close up the entire gap. It is recommended to do this consistently.
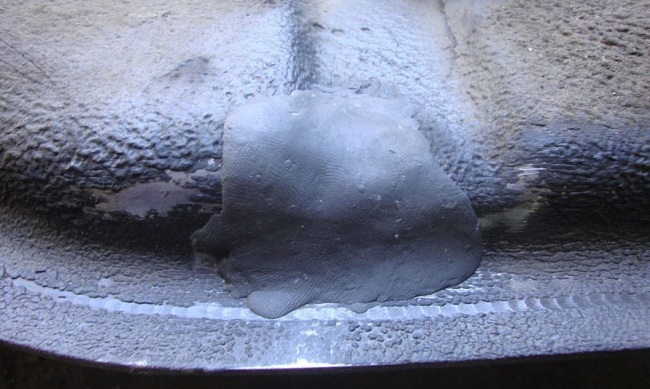
- In addition to soldering, cracks can be repaired with polystyrene by dissolving it in dichloroethane. It is also permissible to use the KR-30 solvent. To stick the patch, the surface in the crack area at a distance of 20 millimeters should be sanded and wiped with acetone.
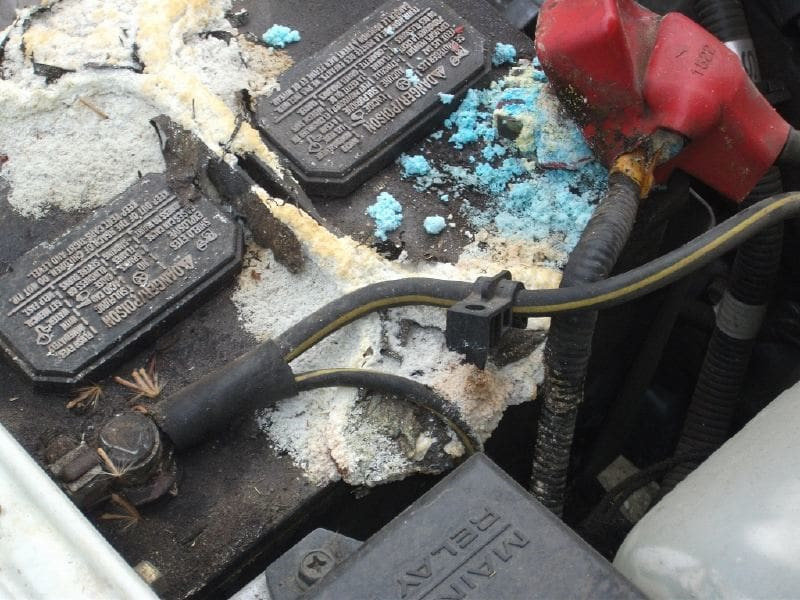
Also, to fix cracks and other damage to the device case, it is permissible to use "Positive" epoxy glue. This sealant is often referred to as cold welding. It helps to achieve excellent results as the acid hardly damages it. In order for the sealant to provide reliable fixation and hold for a long time, it is recommended to clean all surfaces from dirt before use.


Degreasing and drying of materials are of great importance. To achieve the most reliable fixation, it is recommended to clean the surface with emery.
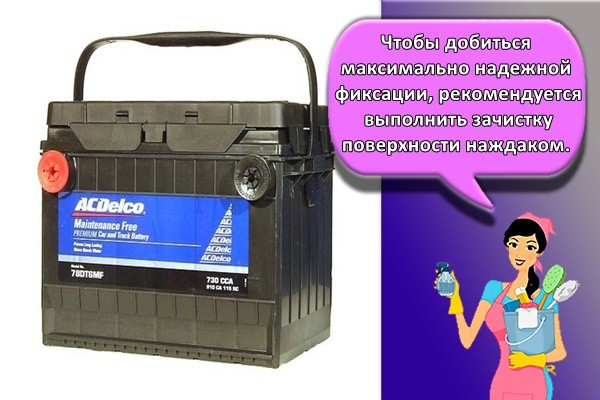
The glue becomes firm in just 10 minutes. It is possible to achieve full fixation of materials in 2 hours. In this case, it is recommended to wrap the device body with electrical tape, which will reliably compress the glued fragments. After that, it is worth moving on to filling the electrolyte. It is imperative that you double charge and discharge your device.
How to glue the gas tank of a car?
Today there are two options for gluing
- Using cold welding to seal the crack and hole;
- Epoxy glue or popularly called fiberglass. Better to buy a two-component.
Each method is good in its own way. Of course, you can find other ways to eliminate leaks in the gas tank, but they are less effective than the above.
Tools and related equipment
- Several sheets of sanding paper;
- Half a liter of acetone;
Epoxy resin;
Fiberglass.
First, we purchase all the above materials, carefully read the conditions of the instructions for use.
Troubleshooting Algorithm
- We drive the car to a viewing pit or overpass;
- We outline the place of leakage with chalk;
We dismantle the fuel tank from the car;
Pour out the remains of gasoline or diesel fuel;
We dry it in the open air, since the vapors of the chemical reagent are explosive;
Using rags and soapy water, we externally clean the gas tank from resin residues, dirt, and other impurities;
To clean difficult chemical compounds, we use coarse sandpaper;
Degrease the surface of the gas tank with acetone. This procedure must be carried out several times, since the quality of gluing the material of the gas tank depends on how well the degreasing is carried out;
Preparation phase and epoxy bonding
For gluing, it is necessary to use glue of a viscous consistency, otherwise the effect may not be achieved.
- We cut scraps of fiberglass so that they protrude 1-2 cm more than the perimeter of the crack or other damage. We saturate the scraps of fabric carefully in an eboksitka;
- Gently apply fiberglass to the surface of the gas tank so that no air bubbles remain, otherwise eliminate the imperfections;
Remove excess glue and resin with a rag;
Smooths the glass strip with a small piece of plastic to keep the platform flat;
After that, we proceed to the imposition of the second ball, we carry out a similar procedure. Depending on the degree of damage to the gas tank, it is determined with the number of balls of fiberglass. Accordingly, minimal damage will require a minimum number of balls of fiberglass, deeper areas of damage will require more balls.
Note to the driver, it must be remembered that the quality of the rest of the structure depends on how the first layer is laid.

Each subsequent layer should be slightly wider than the previous one and with an interval of 15-20 minutes.
In addition, the last layer is additionally impregnated with aluminum powder, which can be purchased at a car dealership.
After a day, the structure will completely dry out and harden. You can process it with fine sanding paper.

We proceed to painting or priming, depending on the need.
We apply cold welding in the same way as above. Despite the advanced technology in the form of welding, many drivers prefer the old proven and durable methods. So, the question of how to seal the gas tank has already been disassembled. You can carry out a similar procedure both in a garage and at a car service, depending on your decision.
Quite a frequent occurrence that can catch the driver in the most unforeseen situation. Failure of the gas tank is a serious problem that needs to be at least partially eliminated at the scene of the accident. This will allow the vehicle to be transported to the nearest service center, where a major inspection and repair can be carried out. Do-it-yourself gas tank repair is not too difficult for people with some knowledge about this.
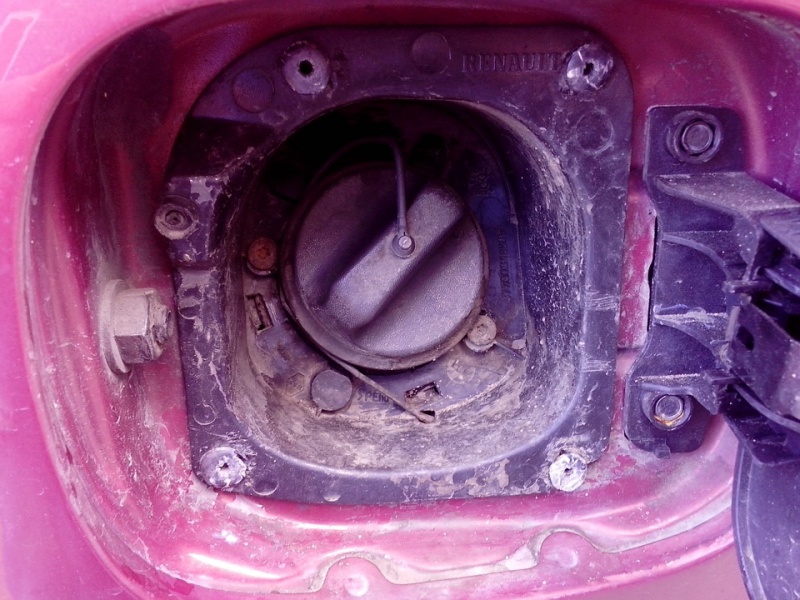
The location of the gas tank is the lower right corner of the rear sector of the vehicle. This is due to the provision of safety for the driver and passengers, as well as the formation of the correct center of gravity in the car, which makes it possible to improve its handling. However, the lower area most often suffers from constant physical impact, which leads to multiple damage to all mechanisms located here. The fuel tank is no exception.
DIY gas tank repair using fiberglass and epoxy
To implement the second method of eliminating a gas tank leak, fiberglass and epoxy resin are used. The repair is very simple, and the work algorithm looks the same as for cold welding:
- first of all, the hole in the tank must be cleaned and degreased;
- after that, a resin-impregnated fiberglass cloth is applied to the surface (usually two layers of material are applied);
- after the patch dries, it is usually treated with an anti-corrosion layer.
This method is quite reliable and simple, and if you protect the patch from corrosion, then such a tank will be able to
work for quite a long time. True, the necessary materials are not always at hand on the road, and in this case they can be replaced with ordinary superglue and rags. A patch made of several layers of fabric impregnated with glue will allow you to safely get to the workshop and carry out a quality repair.
Ways to repair a fuel storage tank
There are several ways to troubleshoot. Most of them are applicable in extreme conditions, which will avoid spending additional funds on.
Installing the patch with a nut bolt and rubber washer
... First, you need to use available tools to expand the tank hole to the size corresponding to the bolt. A washer with a rubber gasket is put on its narrow part. Then the whole structure is inserted into the hole through the neck. On the outside, a cuff with a washer is installed and tightened with a nut.
The rubber must be petrol resistant. Not every driver has such material stored in the car. A camera from any truck is suitable as a replacement. This patch is considered to be quite durable. When contacting a service station, you can wait. This method is often used by truckers who spend most of their time on the road. A good patch can last over five years.
Use for elimination of damage to glue "Moment" or any of its analogs
... The method is relevant for not very serious damage. To create a patch, you need a piece of thick but pliable cloth dampened with glue. It is required to press it firmly to the place of damage and hold it for some time. After the main gluing, the patch should be treated with nitro paint from the repair kit. This is a temporary measure to get to the nearest service station.
The video shows the repair of a hole in the gas tank:
Temporary replacement of the gas tank for any bottle.
The method is suitable for the breakdown of the fuel capacity of cars of the carburetor type. A plastic or any other container is filled with gasoline, a hose from the fuel pump to the fuel tank is immersed in it. The container should be securely fastened so that it does not overturn and lead to negative consequences. This method will easily help the driver get out of a difficult situation.
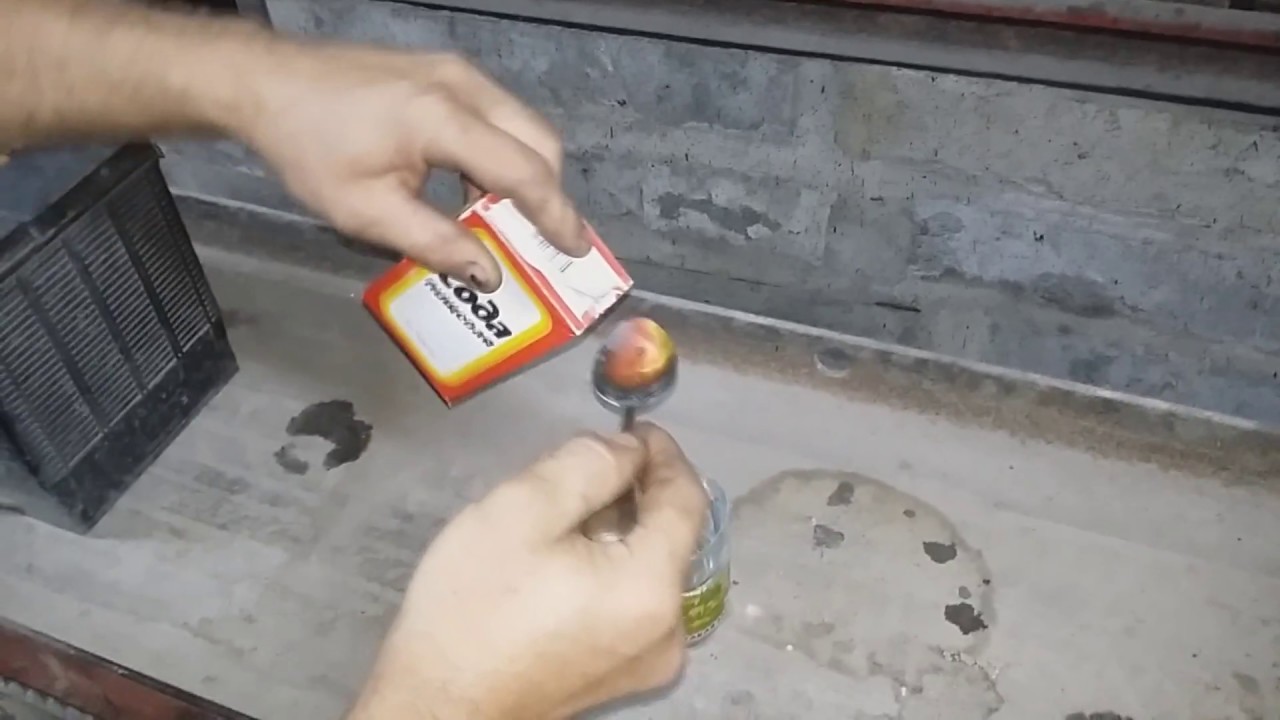
Elimination of damage with laundry soap
... The method is considered effective only in case of superficial problems.
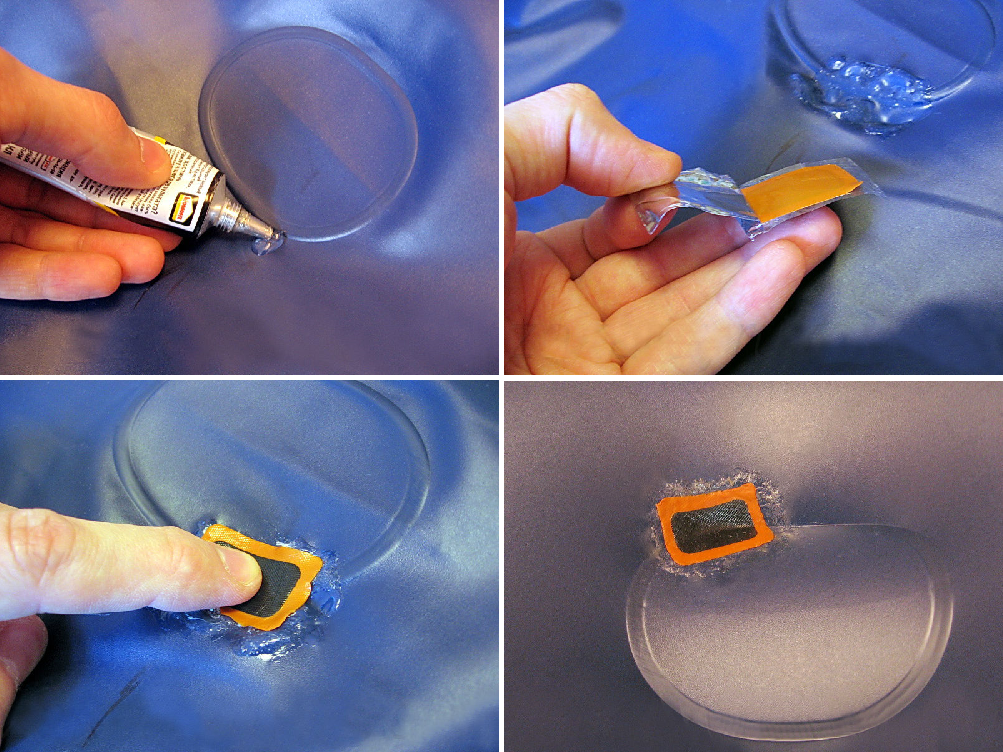
Sealing the crack area with epoxy glue and fiberglass
... The gluing site must be thoroughly cleaned and dried, the gasoline must be drained. Clean the work area with sandpaper, degrease and dry again. A piece of fiberglass must be glued to the place of damage. After completely dry, stick another patch of the same type. The number of layers must be at least three. When gluing the last layer, a plasticizer should be used, which can be aluminum powder.
Repair of plastic gas tanks and metal gas tanks by cold welding
... The very fight against holes. Damage is removed with epoxy. The first stage of work is grouting the surface with sandpaper. Then, in a separate bowl, epoxy resin is mixed with a hardener until a homogeneous mass is obtained. If heating is required, the container can be placed on the engine. This method also uses a fabric patch. Soak it liberally with the mixture and apply it to the hole in the fuel tank. Let dry well. This patch is very strong and can last a long time.
Patch made of rubber, bolt and nut
Another interesting method of repairing a gas tank with your own hands is the installation of a rubber gasket. Usually, a serious leak is eliminated in this way, provided that the tank cannot be repaired in other ways. To work, you need a screwdriver, a rubber gasket and a bolt with a nut. The repair will look like this:
- the breakdown of the tank expands so that a bolt can be inserted into it;
- a bolt with a washer installed on it is pushed through the neck of the tank directly into the hole that must be removed;
- a gasket is installed on the outside and secured with a nut.
If, upon returning home, the fuel leak no longer appears, then you can consolidate the success by applying a layer of paint on top of the patch.
From the point of view of reliability and efficiency, such a patch is the best option for repairing a tank. The result is so good that sometimes, after such a repair, the driver manages to drive on the repaired tank for more than one year. However, it is not worth delaying with a high-quality repair of the gas tank - as a rule, the appearance of holes in the tank indicates its deterioration (unless the hole appeared as a result of a strong impact on the relief).
"Folk ways" of repairing a gas tank on the road
To carry out field repairs of the tank, you must carry with you materials that allow you to implement at least one of the above methods: they will not take up much space, and the benefits can be significant. But there are times when the necessary materials are simply not available, or the damage to the tank looks very insignificant. In such a situation, you can solve the problem in one of the popular ways:


- Sometimes the hole in the gas tank is almost imperceptible, and fuel does not flow through it, but drips slowly. If the cause of this leakage is a small crack, then rub it well with soap. Of course, such an action cannot be called an effective repair, but it will be quite enough to get to the nearest service station.
- Having found a small hole in the tank, you can act differently: take a small self-tapping screw and screw it into the hole.If you pre-lubricate the self-tapping screw with soap and use a gasket, then urgent repairs can be postponed until you arrive in the village.
- There is another old method that allows you to get to the auto repair shop even with critical damage to the tank. Every experienced driver knows about this method of solving the problem: a plastic bottle or canister is taken, fuel is poured into it, and then a fuel hose is supplied and fixed to it. Of course, this is far from the most elegant solution to the problem, but you can get to the service station this way.
Having corrected the problem in the most suitable way, you can end the trip, and after that, examine the tank in detail for the presence of other leaks and malfunctions. It would be best to entrust the dismantled gas tank to specialists who can determine exactly how suitable it is for driving.
In conclusion, it should be said that the most correct way to eliminate the leakage of the gas tank is to replace it
(especially if the old tank has served long enough). Of course, changing an almost new tank after every scratch is not worth it - for this there is welding and soldering, which are carried out without problems at any service station - but it is extremely undesirable to wait for the complete wear of the gas tank.