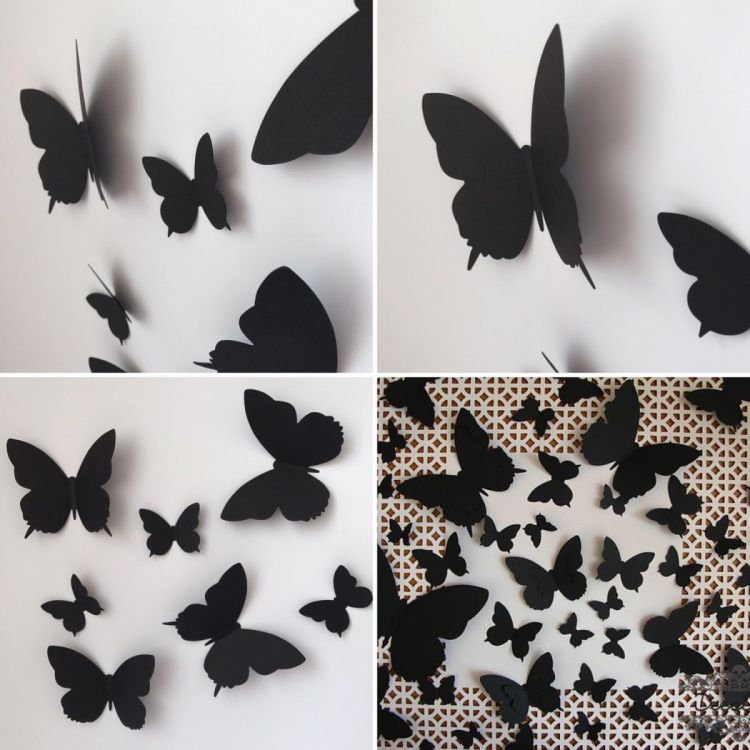
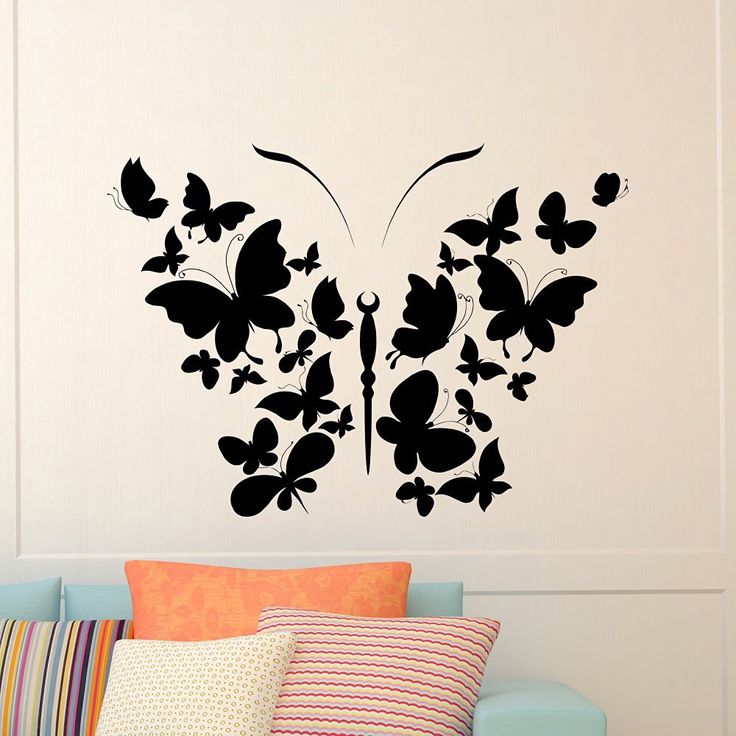
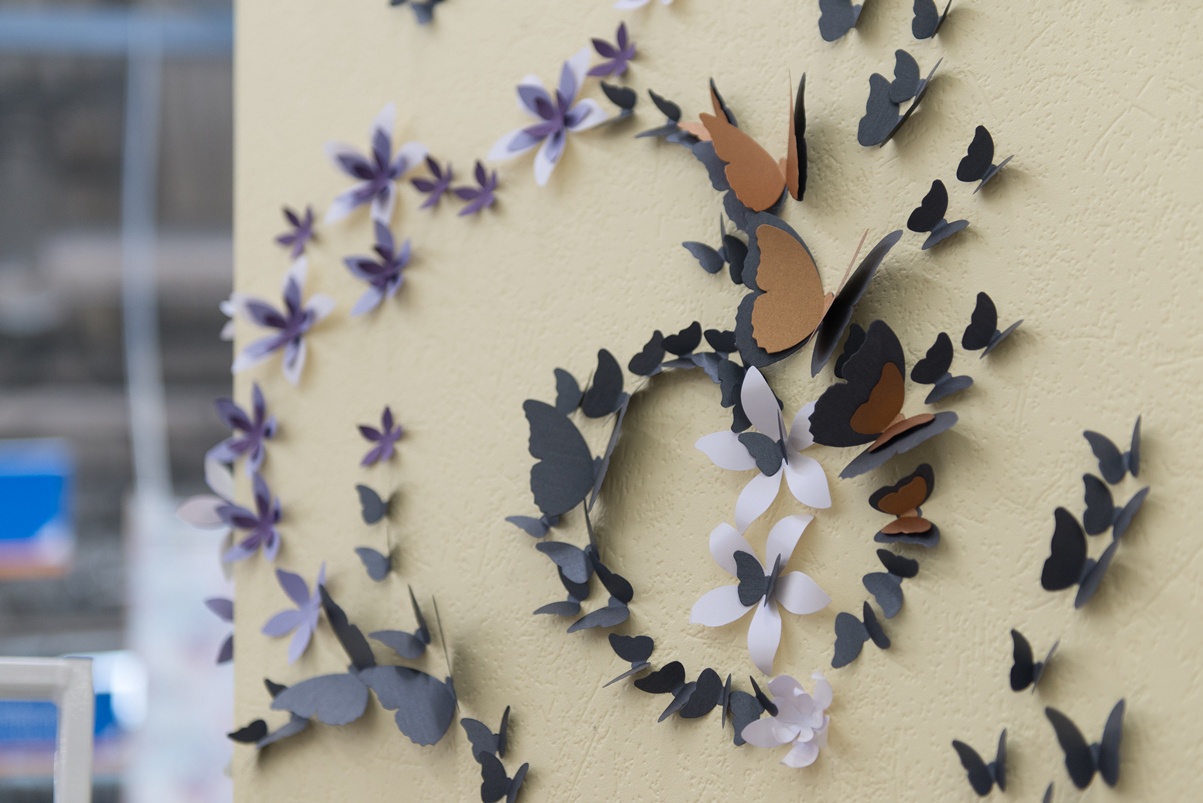
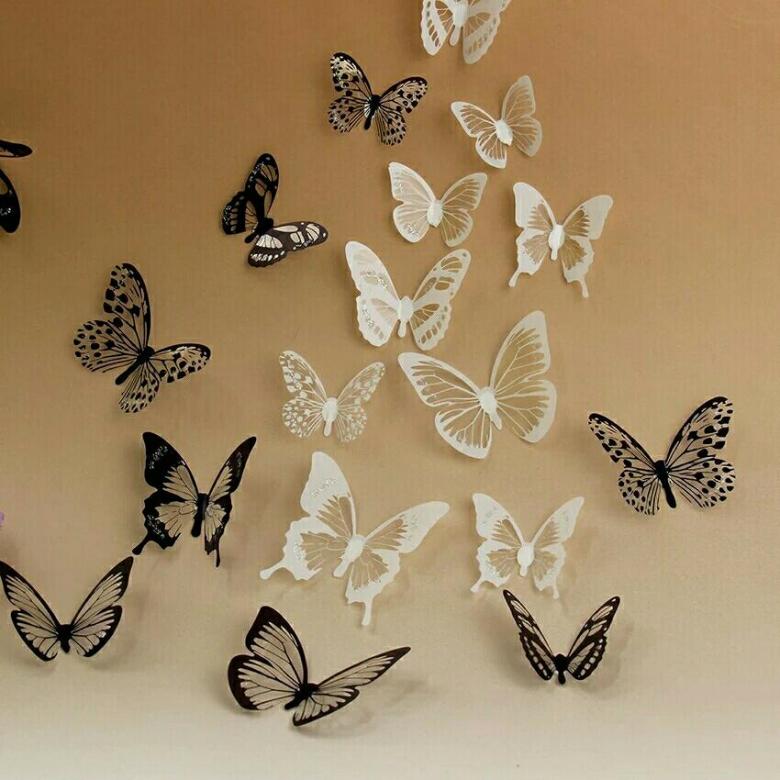
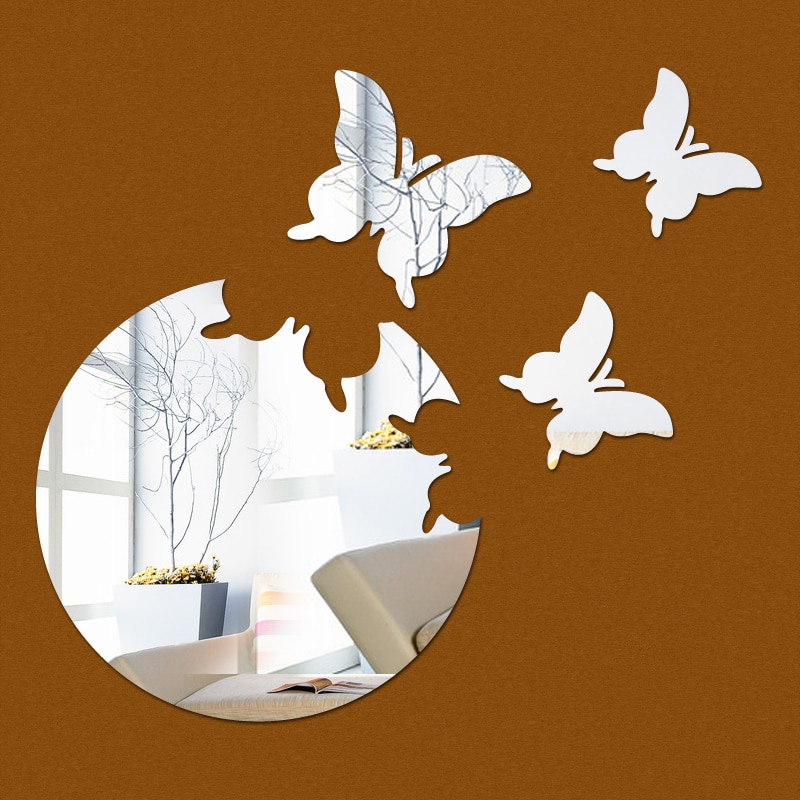
Butterfly wall applications
Making butterflies is one thing. But the most important point in the design of a room is the creation of a certain pattern. It is he who plays the main role and brings zest to the room. Sometimes you can just randomly place butterflies on the wall, as the interior requires. But, nevertheless, most often this option is not suitable. What kind of butterfly compositions on the wall can you bring to life? There are a variety of methods for this. Here, as they say, a flight of imagination is needed. Let's take a look at some examples.
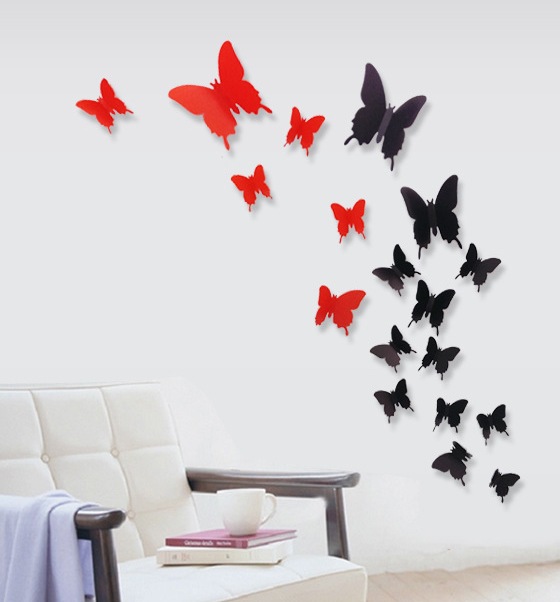
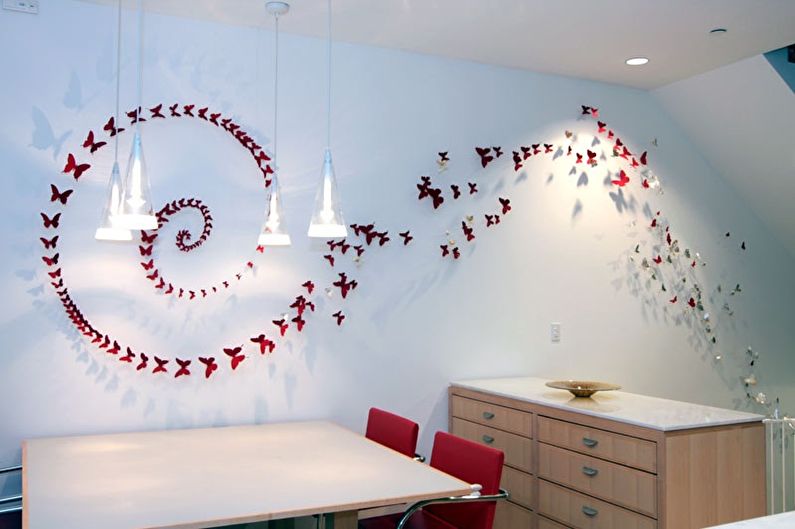
The first option is to create a romantic atmosphere. There are many options for this purpose. First, it should be mentioned that the color of butterflies in this case can be made in red and with its tones. In the photo below, you can see one composition that contributes to a romantic atmosphere.
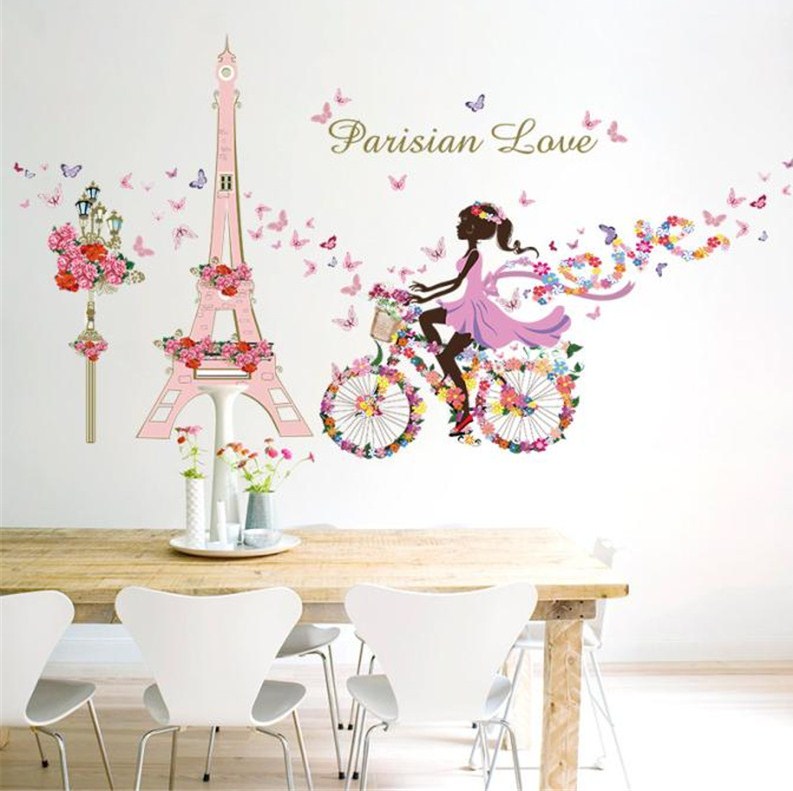
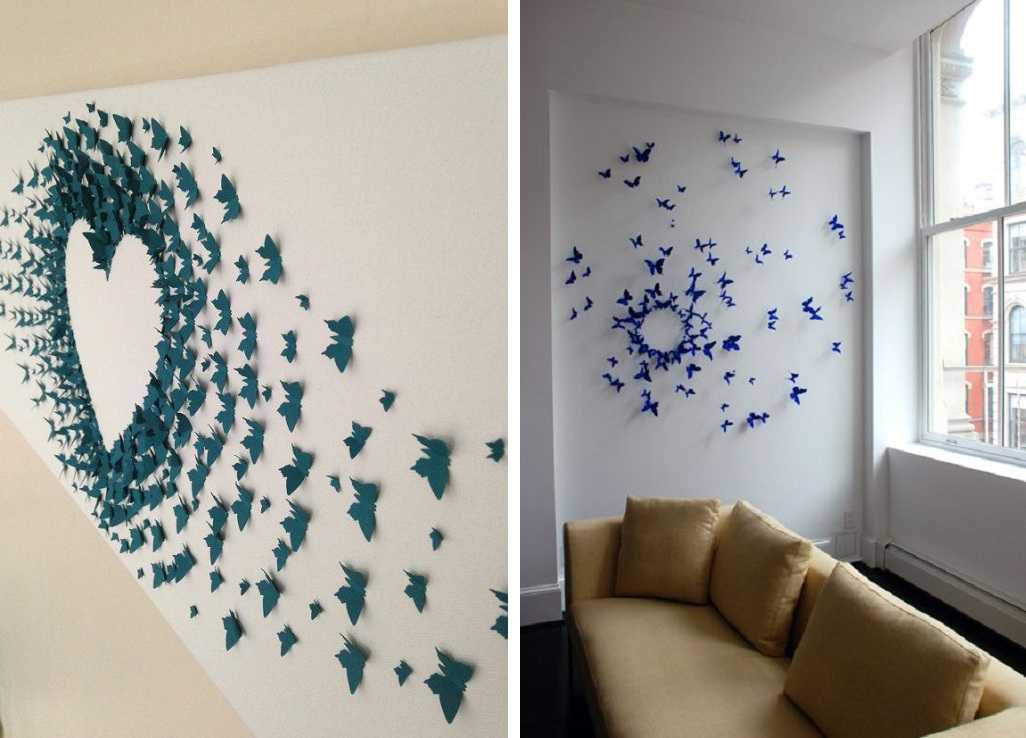
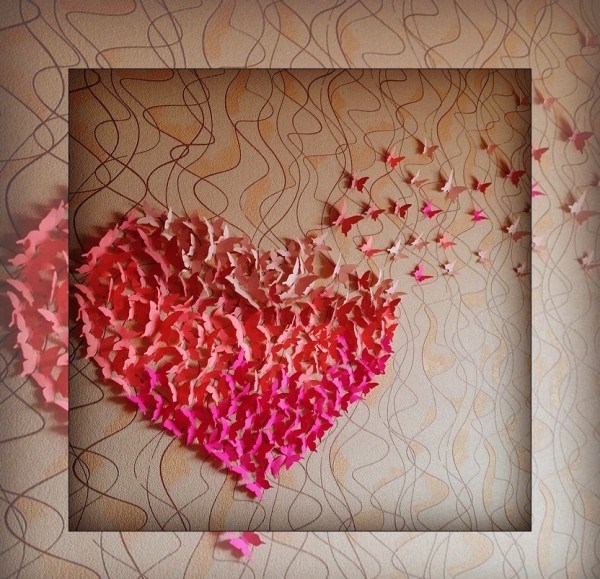
An easier option would be to create a heart on a wall of butterflies. Looks pretty original and romantic. Dinner by candlelight with this design will be doubly pleasant.
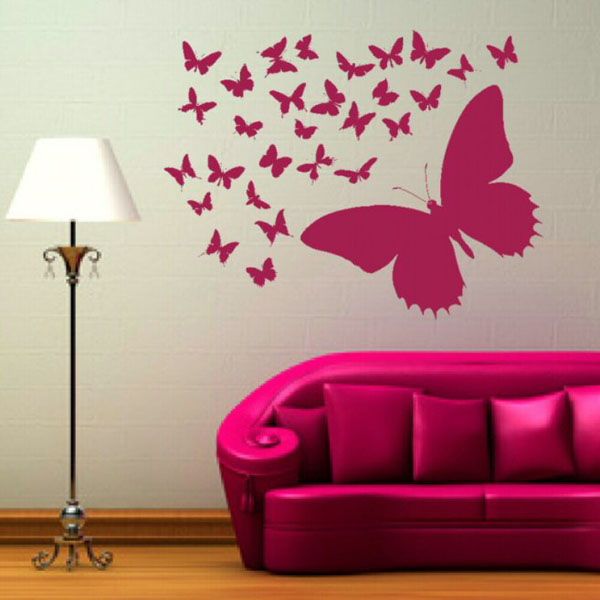
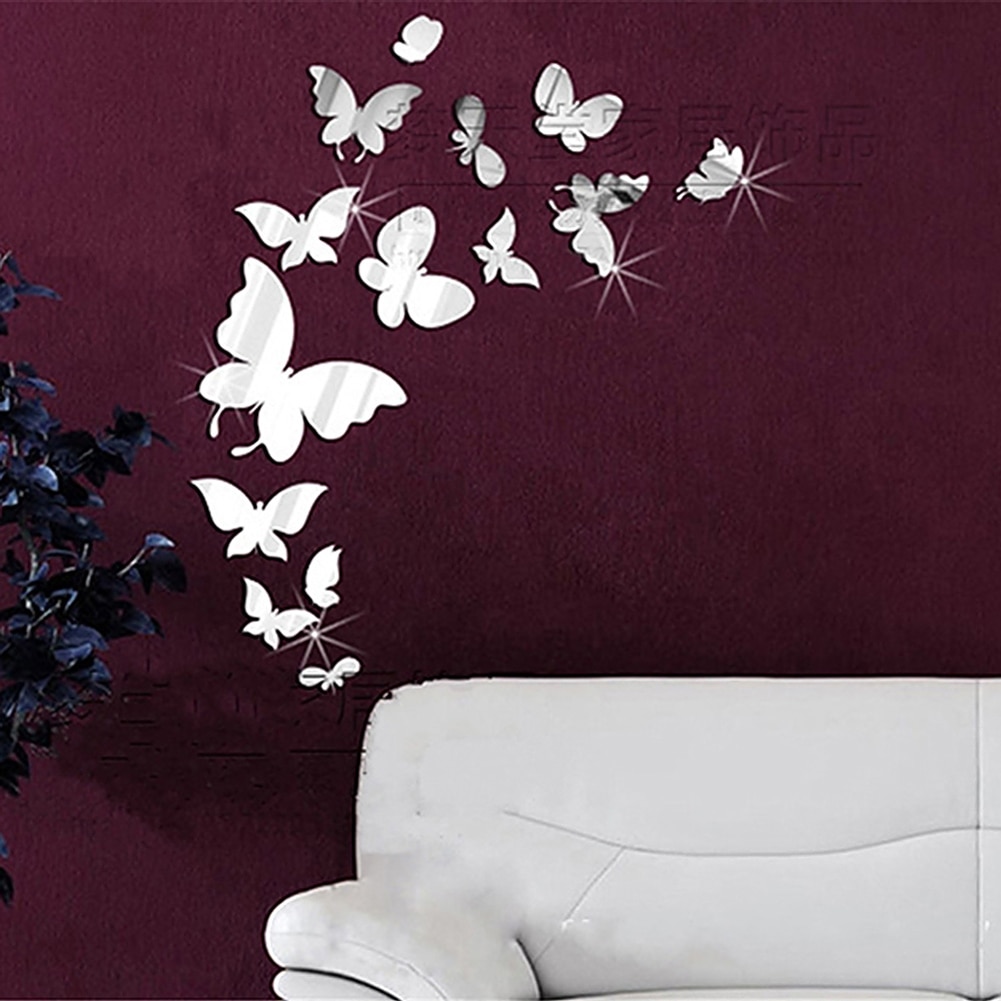
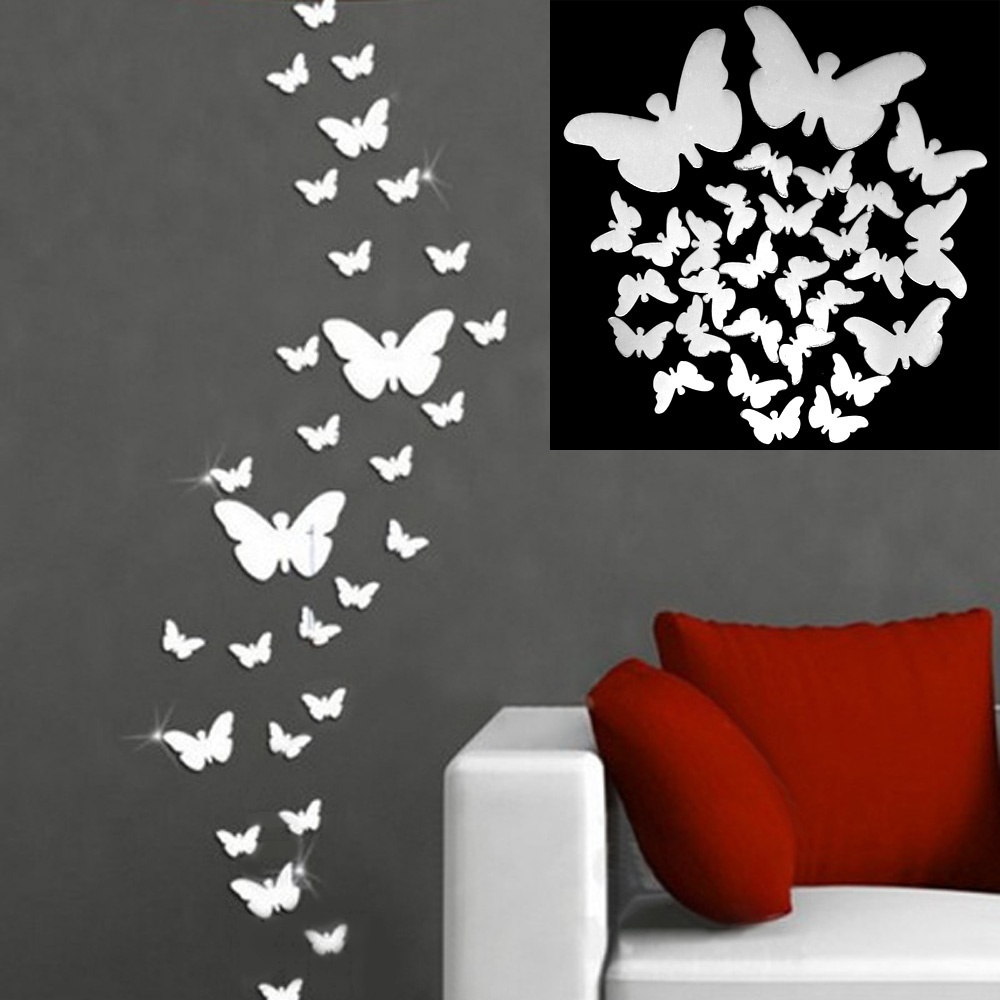
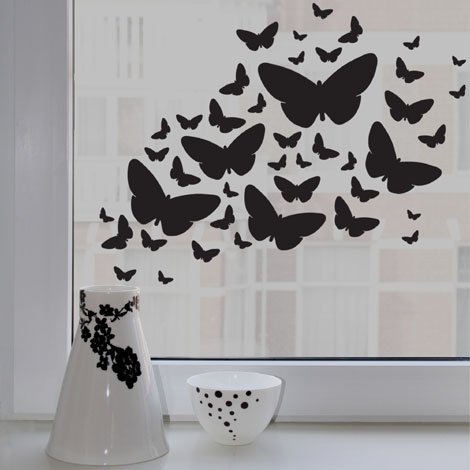
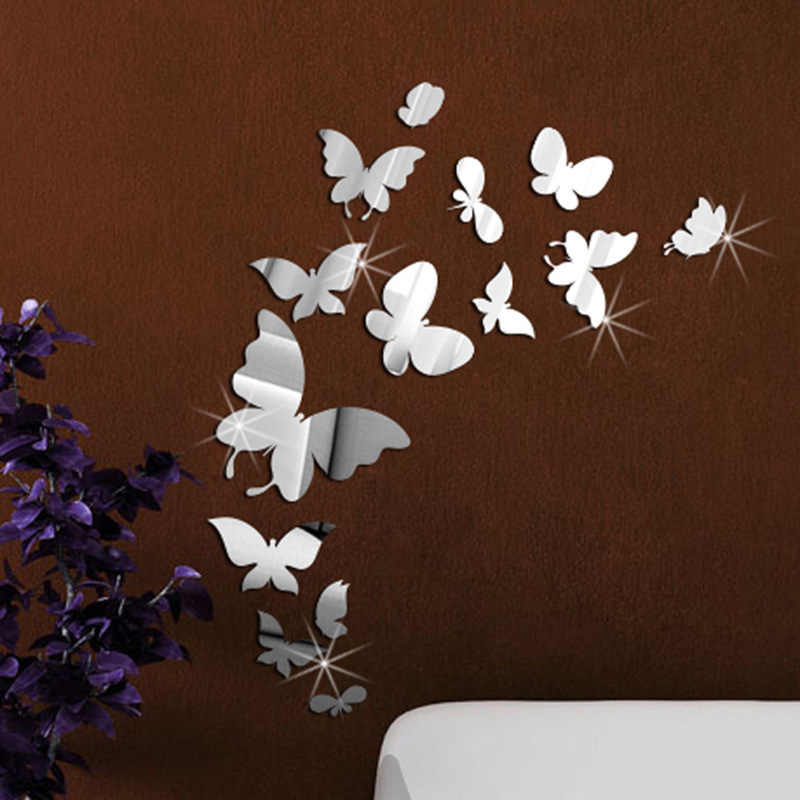
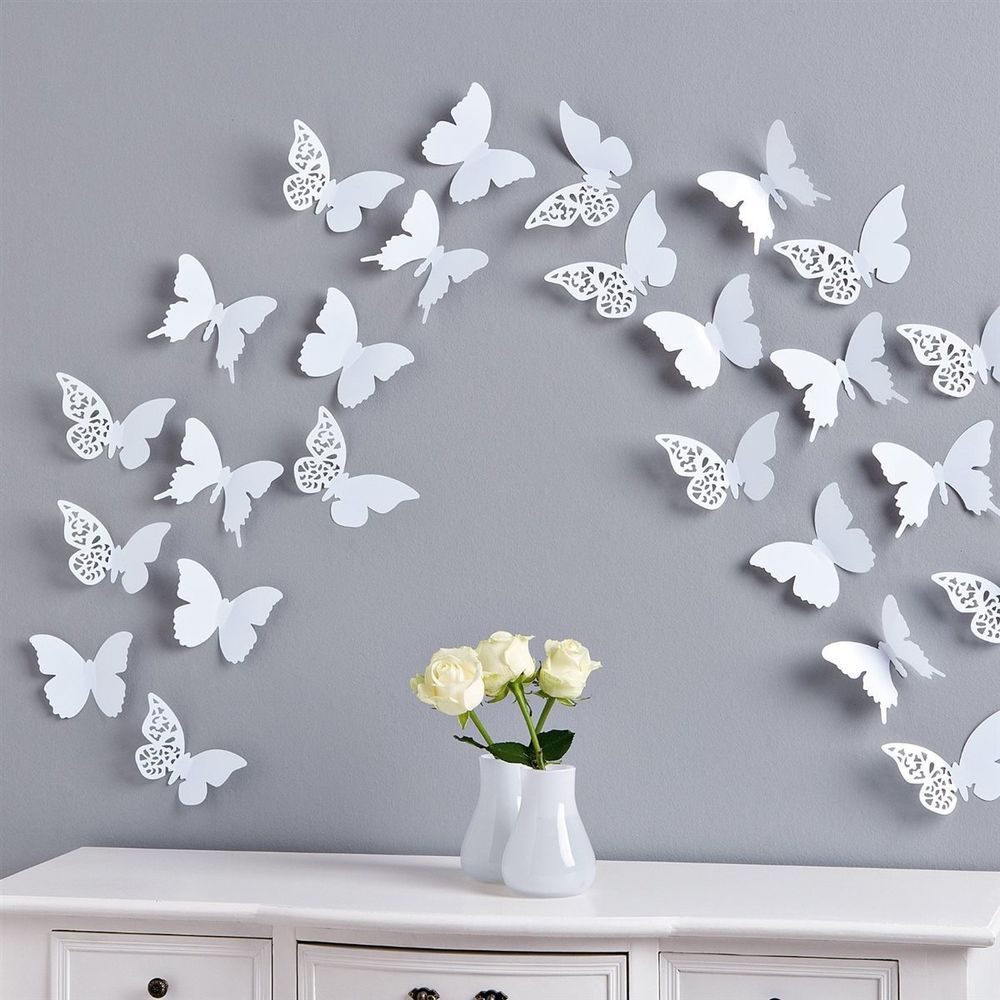
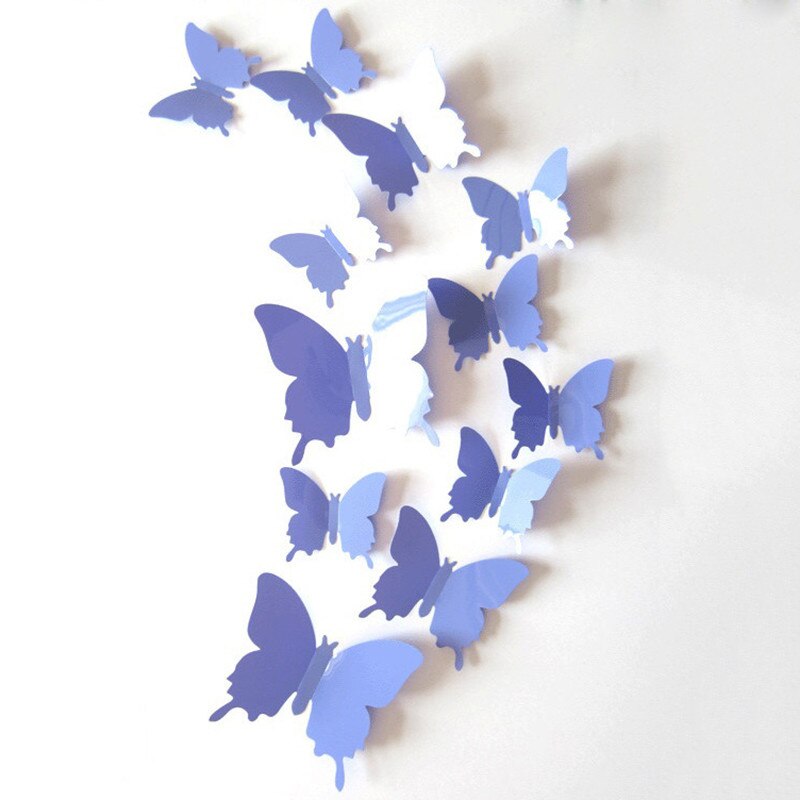
The second option, which is also very often used to create original decoration, is a flying flock of butterflies that are trying to break free from the room.

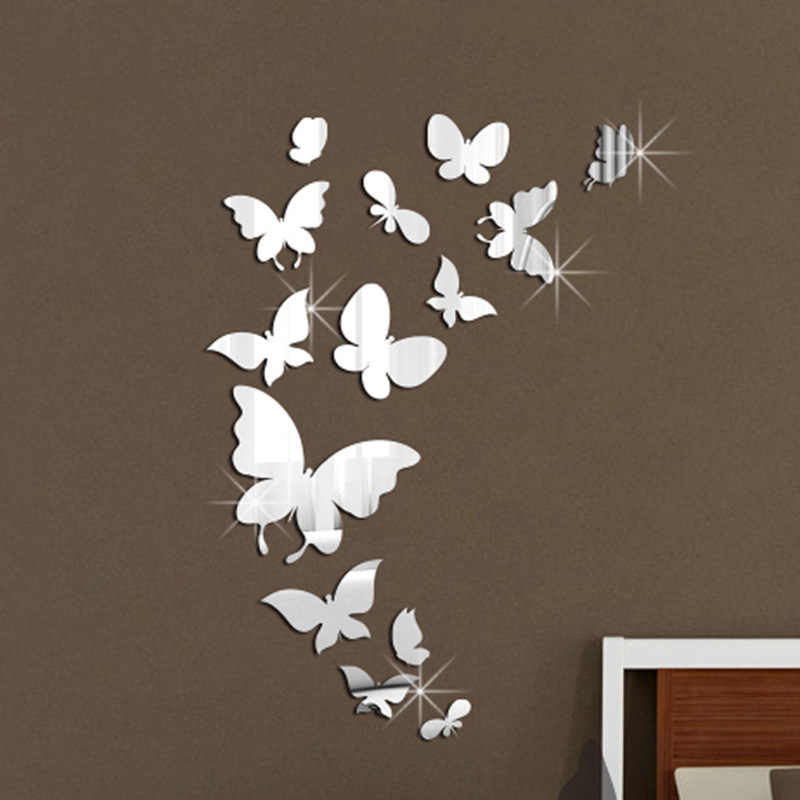
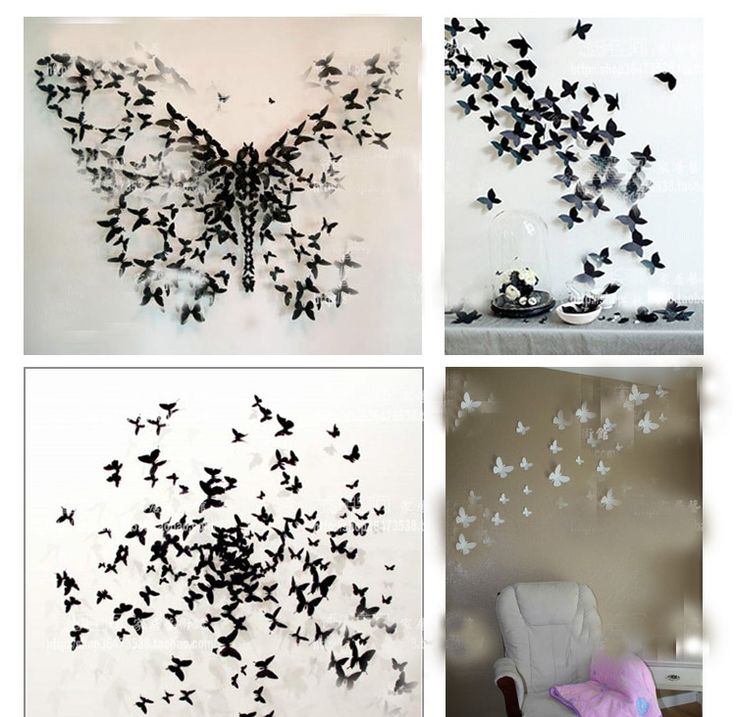
Such applications give the room a certain volume. Moreover, flocks of butterflies can be placed in any direction and in any shape.
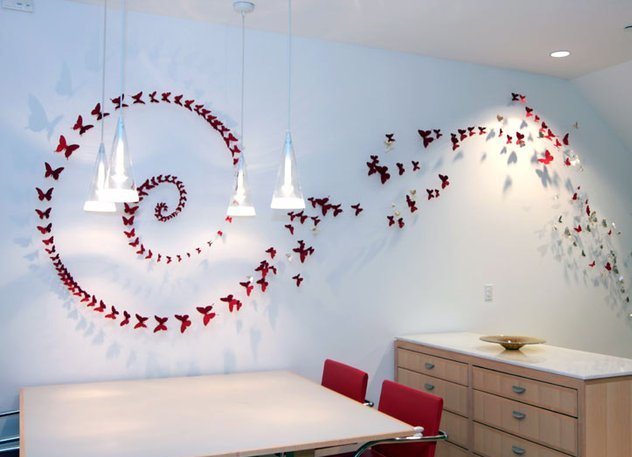
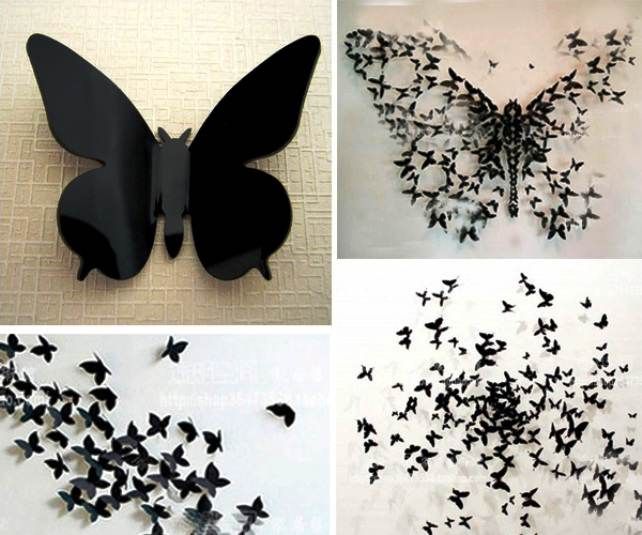
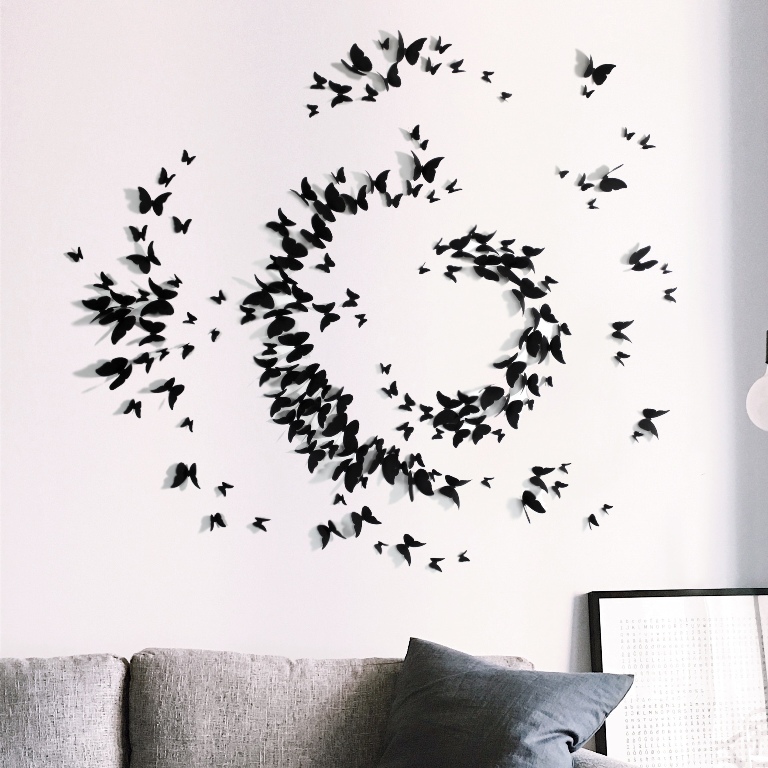
Some make a spiral out of them, while others combine such a solution with a pattern, as can be seen in this photo.

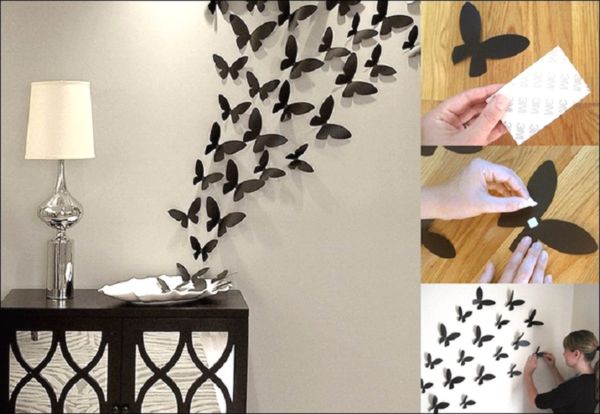
And there is also the option of creating a semblance of butterflies taking off from certain objects. This will require the use of available tools. Butterflies are attached from a chest of drawers, a plate on a table or other element, after which a certain pattern is formed. Here's how it can be put into practice.
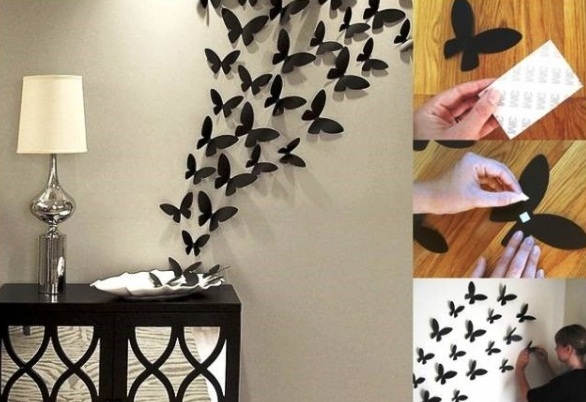
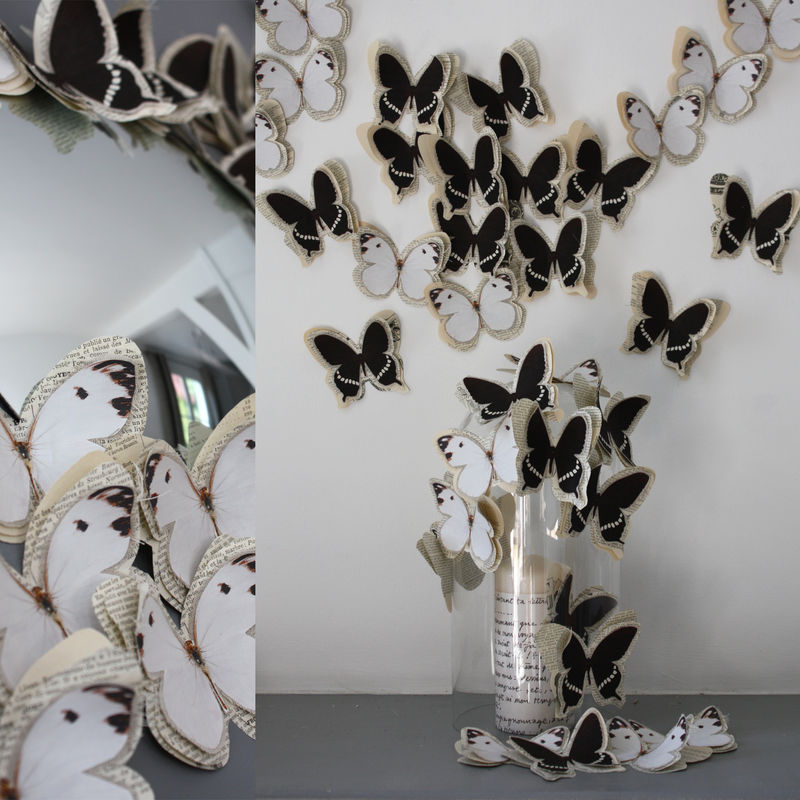
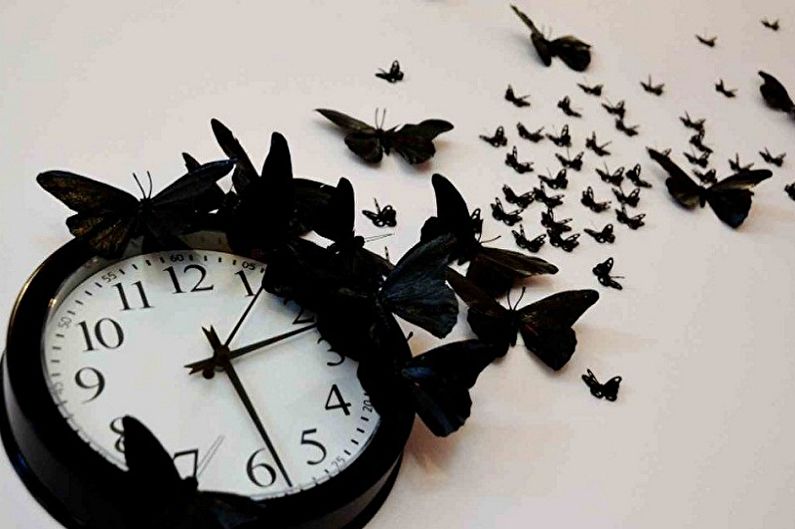
It is also beneficial to use other pieces of furniture or accessories in the room. For example, if there is a staircase in the house, it can be transformed with butterflies by placing it parallel to the direction of the staircase. And in the photo below you can see an interesting version of the combination of butterflies and wall clocks.

In the bedroom, moths can be placed at the head of the bed. Moreover, the drawing of them can be very different. It all depends on the wishes of the owners.

The options that we have listed above are far from all that can be implemented using a variety of butterflies. If there is a fantasy, then success is guaranteed. Take a look at the photo to see some more unusual options for decorating the walls with butterflies.

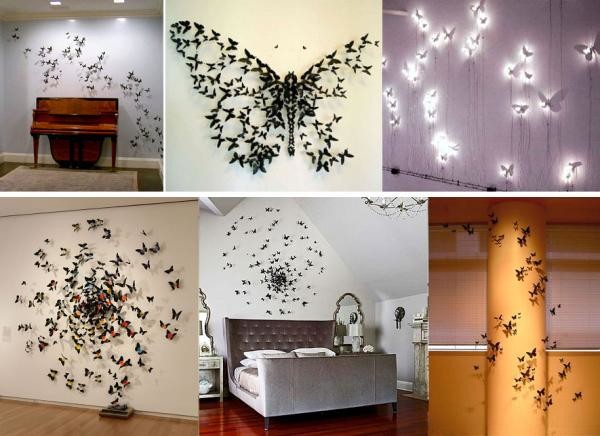
And below you will see a video of exactly how you can create butterflies for decoration with your own hands.
Drawings of butterflies on the wall
A separate column is the drawings of butterflies on the walls of the room. Doing this decorative option with your own hands is not always easy, since not everyone has the talent to make art painting. Nevertheless, the modern industry of materials for decoration and repair has prepared for you some tools with which to cope with this task can be quite simple. So, here are the options:
- Make a stencil or buy one ready-made in a wallpaper store and use a small sponge as a brush.
- Draw on your own using a brush and paints according to the sketch.
- Make the contours of the drawing with a knife, filling them with standard paints.
Therefore, first you should decide which of these methods is best for you. Then you should prepare all the necessary tools and begin work on drawing the picture. In any case, most often, today, options with different types of stencils are used. And to draw in this way is best with a small sponge, which you can fill in the template.
We suggest that you familiarize yourself with the video instructions on how to make a decor of butterflies on the wall with your own hands and how to arrange them correctly:
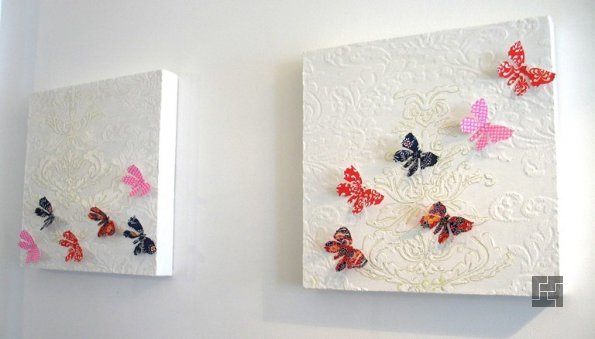
By the way, one of the options for drawing a picture is its design in the form of a picture. The technology itself remains approximately the same, with the only difference that you need a frame for a picture (or panel). Both a standard picture frame and a photo frame will do quite well. Incidentally, a portion of such a composition can be made from fabric.
So, we examined the main ways of applying butterflies to the walls of an apartment. In any case, in the world of design and decor, there is a much wider variety of this kind of jewelry. Study them, look on the Internet for reviews and advice from professional masters and get down to business. We have no doubt: you will succeed!
Preparing a sketch for decoration
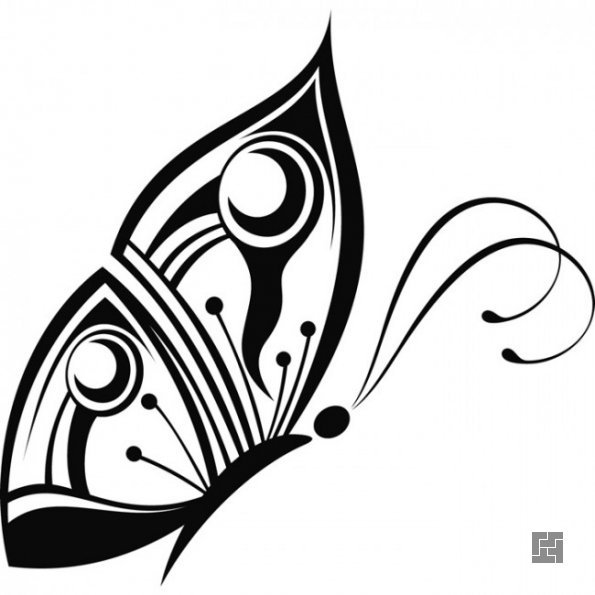
Determine what shape the applique will have. First draw a sketch of the idea on paper, and then with a thin crayon distribute the outlines of the future composition on the wall. The lines should be subtle and easy to remove.
If nothing worthwhile comes to mind, you can search on the Internet, there are a lot of options for ready-made templates: the simplest to the bizarrely intricate. In the future, according to an invented or selected sketch, it will be necessary to make blanks of various sizes for the direct production of applique elements.
Good advice:
- if you decide to stop at butterflies with carved ornate wings, think about the fact that there should be a lot of elements, do not you get tired of practicing with scissors or a knife;
- The final look of the applique will be more dynamic and voluminous if your butterflies are not strictly symmetrical, and their sides are slightly different.
After you decide on the size of the decoration and the required number of butterflies, make the necessary stencils. Choosing a suitable color. Do not forget that the shade of the butterfly wings should be combined with the color of the existing interior, but not merge with it.
Paper butterflies on the wall. Option 1.
You will need:
- cardboard
- colored paper or self-adhesive film
- bright magazine pages
- safety pins
- scotch tape or PVA glue
- scissors
- pen or felt-tip pen
1. Prepare one or more cardboard templates.
2. Using the templates, start making butterflies - circle the stencil on colored paper or self-adhesive tape (which will simply be glued to the wall).
* The number and size of butterflies you choose yourself.
3. If you are using self-adhesive tape, then you are almost done - you just need to remove the paper layer so that the body of the butterfly becomes adhesive. Now just glue the butterflies on the wall as you like.
If you used colored paper, you can attach the butterflies to the wall with pins, glue, or regular or double-sided tape.
Options for attaching butterflies to the wall
Choose the fastening method according to your own preferences, based on what material was used to create them.
Glue

You can use regular PVA and wallpaper glue. Add glue to the products very carefully in small quantities - the excess protruding beyond the edges immediately catches the eye. Blanks can be glued as a whole or only in the middle part.
Safety pins

Fastening can be done using a wide variety of pins. Some of them, by the way, have beautiful heads - various decorations, small "pearl" balls. The needle will easily enter plastic or wooden lining, drywall or cork.
You can attach to the wallpaper of butterflies on a pin as follows: using pliers or pliers, you need to bend the pin at a right angle, like the letter "L". The butterfly is neatly glued to it in the middle (it is better to use Moment glue). Now you can attach in the desired place without driving the pin into the wall to the end.The shadow on the wall, cast by the butterfly on an invisible needle, will add reality to the created illusion of flight.
Pieces of Styrofoam
You don't need pins to attach butterflies to your wallpaper. Cut insects are bent at the base to give them a more natural look. If the wings are raised, the applique will become more voluminous and lively. The butterfly is glued to one side of the foam piece, the other side is attached in the same way to the wall. But foam, which is a fragile material, can break, leaving pieces on the wall that won't be easy to remove. Consider this and use this method in those places near which there is no movement, and the chances of breaking the structure are minimal.
Suspension on threads
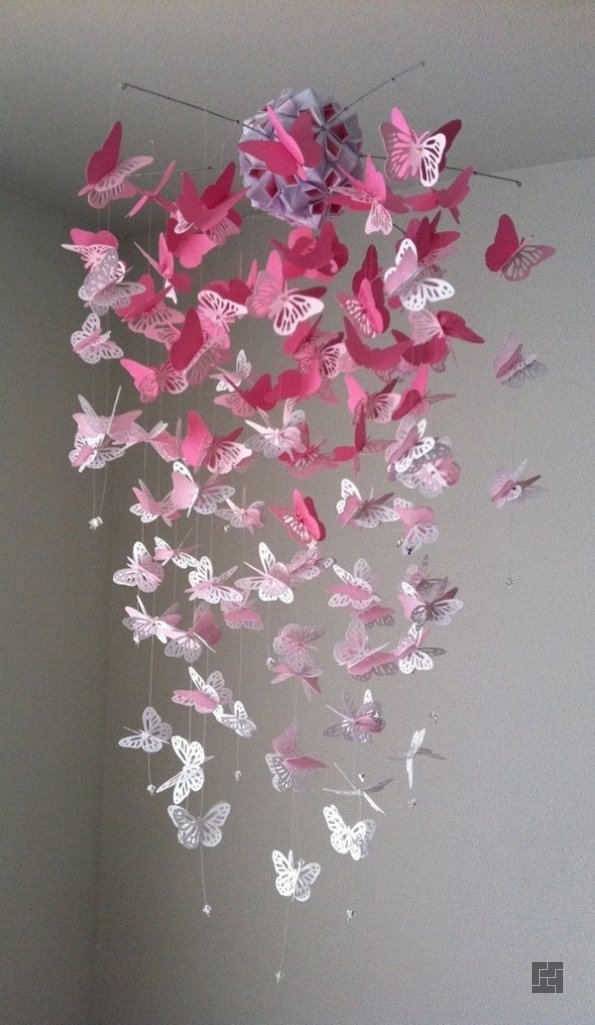
If you decide to make butterflies using the origami technique, then the finished decorative elements can be hung from the cornice under the ceiling or to the ceiling itself using thin threads or colorless fishing line. This design solution will allow you to create a three-dimensional structure.
Decorating walls with butterflies with your own hands will take a long time and patience to implement the idea, but the result will bring vivid emotions into your daily life. Choose the option you like and join the fun creative process. A three-dimensional picture of paper butterflies can diversify the design without high costs, but what beauty will await you at home!
How to attach butterflies to the wall
The next question that may arise for those who have already made products with their own hands is how to fix each decorative butterfly. Let's say right away that this is an easy job. You just need to know how to implement everything correctly. There are several ways to do this.
- The easiest, most convenient and common way is to use glue. Thanks to him, the butterflies on the wall are fixed in whole or in part. For these purposes, use superglue, PVA or wallpaper glue. You just need to make sure that it does not go beyond the boundaries of the application.
- Use of pins. Ideally, use decorative pins that are already decorated with beads, pearls or other stones. When the walls are covered with wallpaper, the tip of the pin is pre-bent 90 degrees. As a result, its bent part is driven under the wallpaper and the butterfly is fixed.
- Threads are recommended to be used when origami butterflies have to be fixed. A thin thread or fishing line is pulled from the butterfly to the ceiling plinth, placing them along the wall. It turns out a pretty good option, in which the products also wobble.
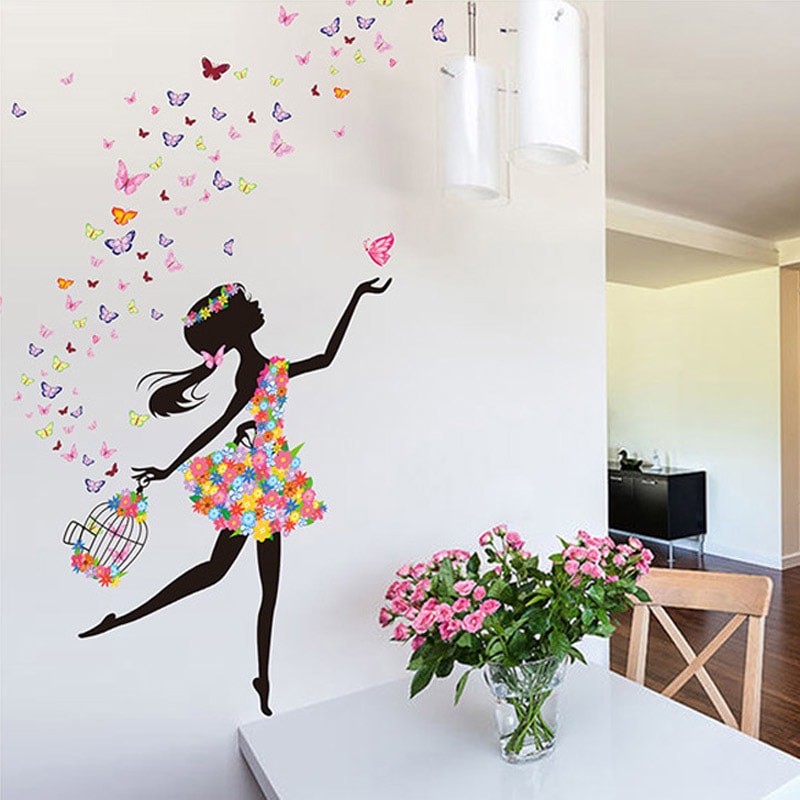
Which version of wall mounting to choose - everyone decides for himself. It should be borne in mind that when using pins and threads, it is much easier to remove moths from the walls without any visible damage for finishing. But fixing with superglue will not be able to boast of this.
Colored elements
As a rule, the simplest and most popular way to decorate is multi-colored paper, which is quite cheap and significantly saves the family budget. You can create an initial sketch using a special computer program.

Old, long-read color magazines are quite suitable for work. Transferring the shape of products from the Internet to glossy sheets, they can be coated with glitter with acrylic varnish or fluorescent paint. You will get a beautiful iridescent glitter effect.

It is better if the insect is fixed only in the middle, then the wings will be freely extended and create volume.

Decorating methods
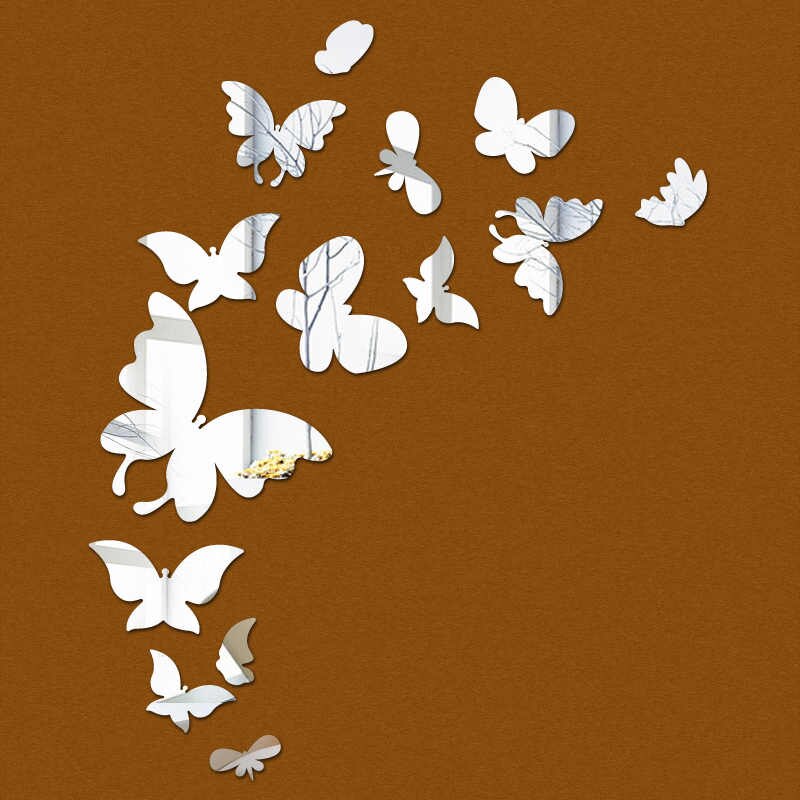
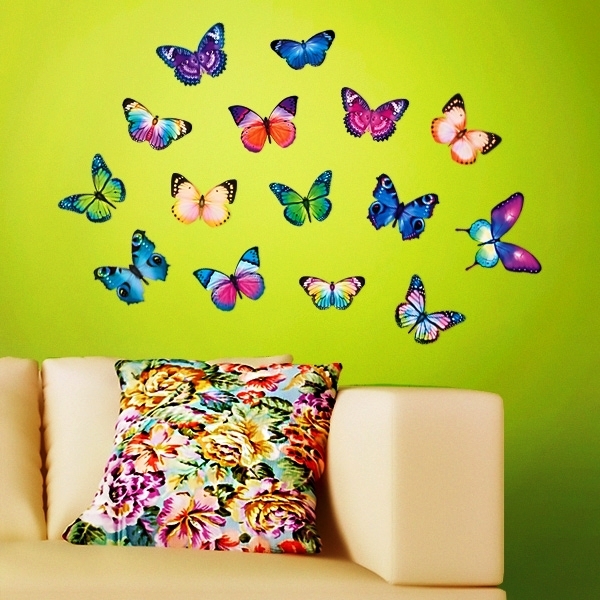
Ready-made butterflies can be placed on the wall in several ways. Some people prefer to stick to symmetry when attaching figures to the surface, while others like more free and arbitrary options that mimic the real flight of butterflies.
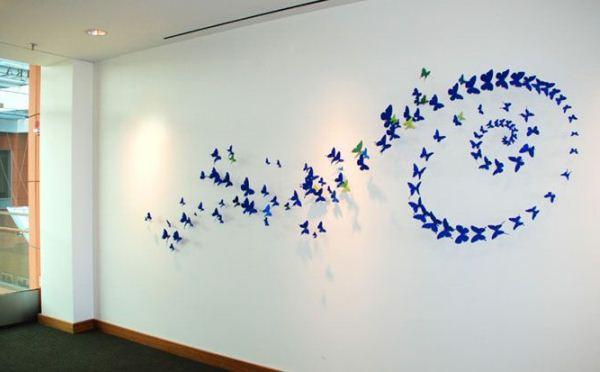
A great way to symmetrically place butterflies on a wall is to create a composition that starts from one point.Butterflies seem to fly out from one place at the bottom of the wall - and scatter throughout the room. Such compositions will look most successful if a whole wall in your room is selected for decoration.
Butterflies can be placed in the form of a vortex, spiral, create an imitation of a cluster in different parts of the room, or even stick it in any order.
Quite often, butterflies are glued in such a way that the resulting plot matches the patterns on the finishing materials.
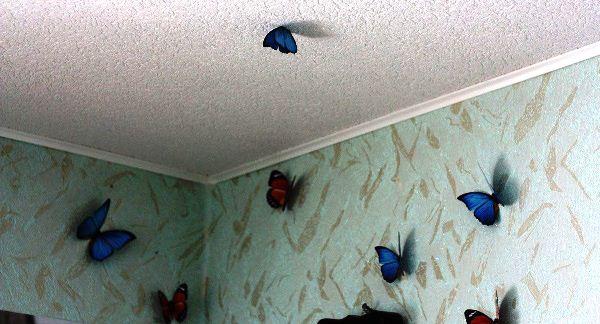
Tip: in order for the resulting composition to meet your expectations, draw in advance the trajectory of the "flight" of butterflies on a sheet of paper, taking into account the peculiarities of the layout of the room and the arrangement of furniture.
If you do not want to spoil the surface of the wall with glue, needles, pins or other fasteners that ensure the holding of butterflies on the surface, then you can implement another equally interesting way: butterflies can be sewn at different levels to a thread fixed to the ceiling right next to the walls. Then the illusion of flight will be created, and finishing materials will not be used to ensure the desired effect.

Do not forget that the entire interior must correspond to the spring theme you have chosen. If desired, butterflies can be used as other decorative elements: it can be photographs, textile materials with butterflies used as curtains or tablecloths, etc.
Tip: By attaching a small magnet to the back of homemade butterflies, you can even decorate the refrigerator and other interior items.
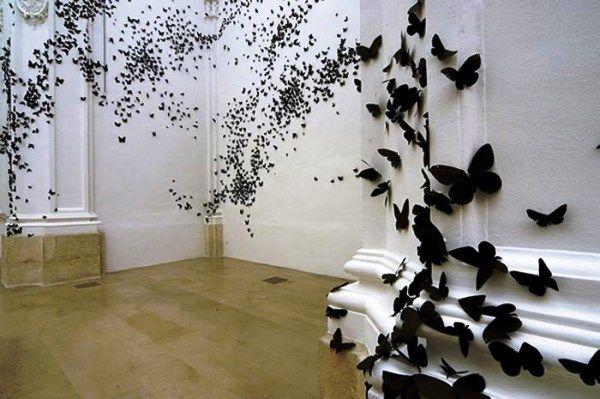
Decorating walls with paper butterflies can be an interesting and entertaining activity for any member of your family: the ease of making and attaching such figures allows you to decorate any room in spring style.
Thanks to this idea, the interior will not only be filled with warmth and light, but will also cheer up each of you at any time of the day.
Cardboard butterflies
Cardboard does not make such delicate and airy butterflies as thin paper. But on the other hand, it is more durable, it is more difficult to crush and damage it, and it creates volume better. By the way, cardboard can be easily bent and shaped if you sprinkle it gently with water. Intricate fishnet wings are best obtained from cardboard. To do this, you need a sharp clerical knife - preferably a new one, so as not to break through anything. And then just follow the stencil, making slots and holes. Ready-made butterflies can be painted with gouache or acrylic, covered with sparkles or even decorated with beads.
4 master classes
Paper master class
Materials:
- trimming wallpaper;
- paper for making templates;
- cardboard;
- pencil, scissors.
First you need to print and cut stencils of different sizes to make the result more realistic. Then attach the silhouette to the cardboard, circle it and cut it out. We need to prepare as many copies as possible.

The next step is to apply glue to the curves and attach them to the wall. The middle is pressed with a fingernail, and then the edges are bent. It is advisable to achieve an effect in the interior when large butterflies fly in one direction, and smaller ones attach along the edges a little further from the main flock.
Master class from vinyl records
Materials:
- plates;
- crayon;
- templates;
- scissors.
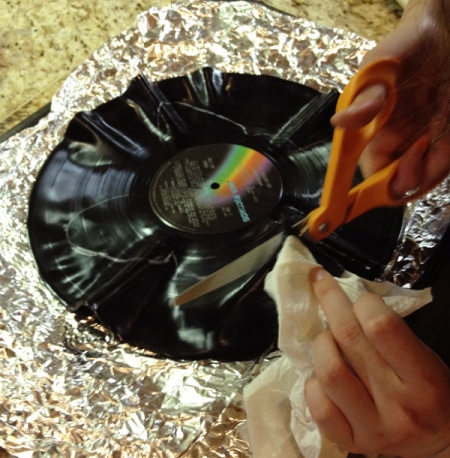
To make a blank, you need to mark the middle of the template on the plate and outline the outline with white chalk. Then put a baking sheet with foil and a plate on top. In an oven heated to 400 degrees and put a baking sheet, wait until the plate begins to deform and remove it. This takes about 45 seconds. Next, you need to cut out the butterfly with scissors. Neat but fast.
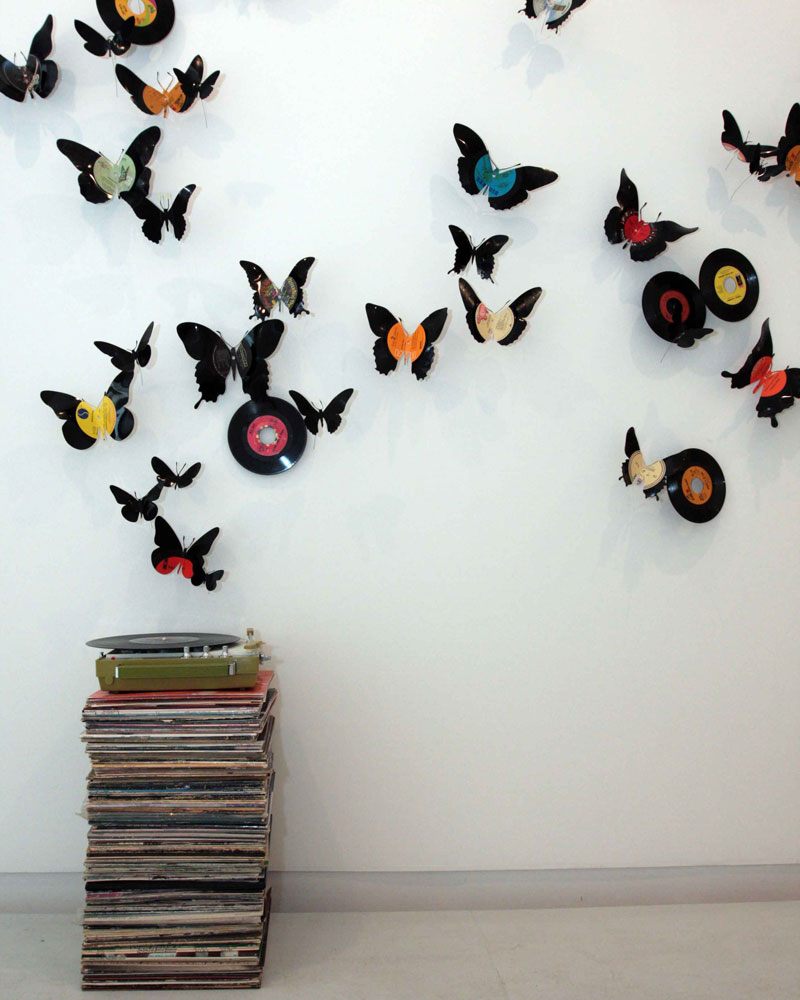
Clay master class
Materials:
- baking dishes;
- clay (60 grams per 2.5 butterflies);
- the thread is white.
You need to make the blanks with a baking dish and make four holes in the middle.Fold back the wings at different angles, then arrange the butterflies in a baking dish. The clay should be in the oven for 15 minutes.

If the holes obtained are not large enough, then you can enlarge them with a knife. The edges should then be sanded with sandpaper. If desired, the figures can be decorated. Pierce the thread through the holes crosswise, tie a knot. Already through it, pass a pushpin and attach the butterfly to the wall.
Master class from the pages of the book
Materials:
- Old book;
- branches, beads, decorative pearls, shells;
- wire hangers;
- glue, scissors;
- twine and pencil.
First you need to attach the stencil to the page of paper and cut out two wings. The branches of the bushes should be cleaned of leaves and soaked. The rods will become softer and will not break when bent. The wire hanger should be bent into a ring and wrapped with rods. After the wreath is dry, you need to fix the rods with hot glue.
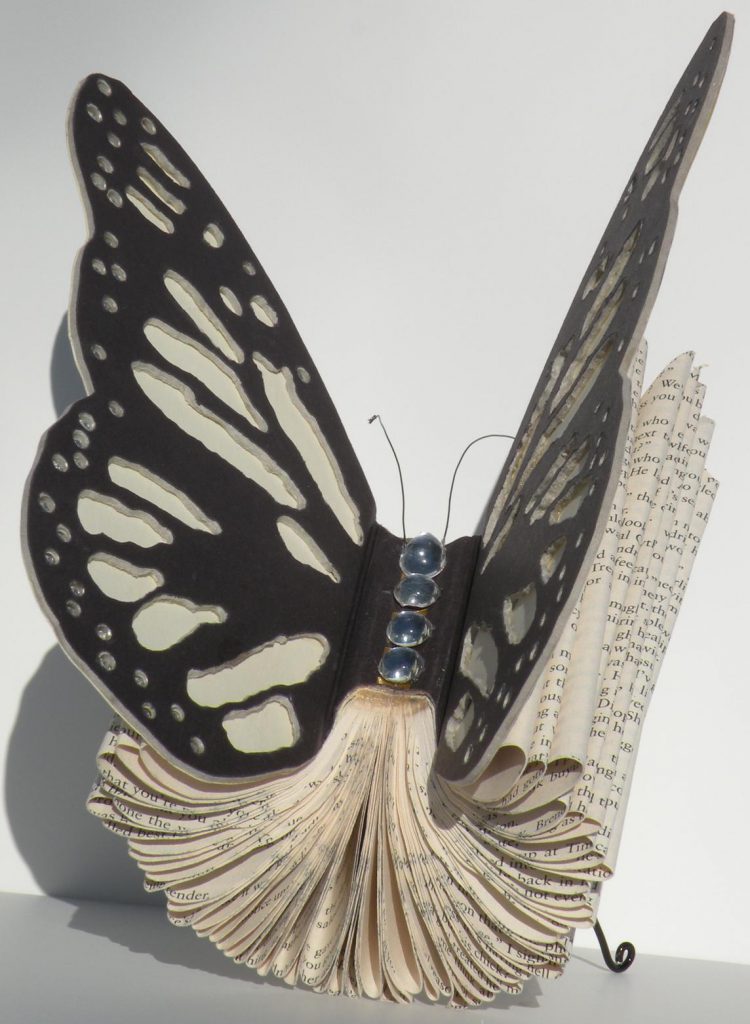
The body of a butterfly is made of beads, beads, pearls, which are strung on a string and attached to each other with the help of hot glue. Then you should glue the "body" in the paper. The fluttering effect will be created by slightly bent wings. It remains only to attach the butterfly to the wreath.
Butterflies on the wall - simple and original
The desire to renovate the interior often arises, and renovation is a very expensive and costly pleasure to do too often. In such cases, design elements come to the rescue that can not only change the look of any room, but also create a special atmosphere in it. Such decor will cost mere pennies, but your family and guests will appreciate the original idea.
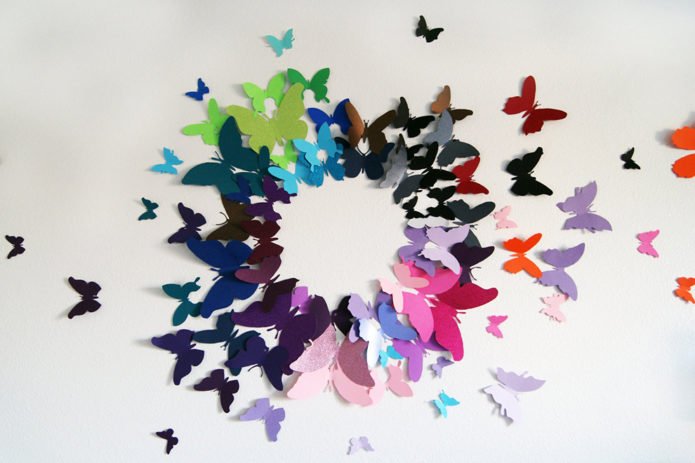 Decorating with paper butterflies is a budget, but at the same time, an original option to decorate any room, a little patience and imagination - and the room will be completely transformed!
Creating butterflies for interior decoration does not take much time, but it gives inspiration and is guaranteed to cheer you up. It is worth noting the mobility of such a decor, because if you wish, you can easily move or replace the elements of the composition of paper butterflies with others almost daily. With the right choice of shade, butterflies can both become the main color accent of the room, and unobtrusively complement the interior.
Many designers evaluate this method of decorating space positively and use it to decorate not only residential areas, but also shop windows, interiors of restaurants and offices.
Harmony with design
Butterflies will become an appropriate interior decoration in any style, be it high-tech, sophisticated classics or ascetic modern. But they will give a special charm to the rooms, decorated with a lovely rustic comfort, in a country style. The main thing is to observe the color balance, otherwise the design will "crush" with tinsel and hint at a lack of taste.
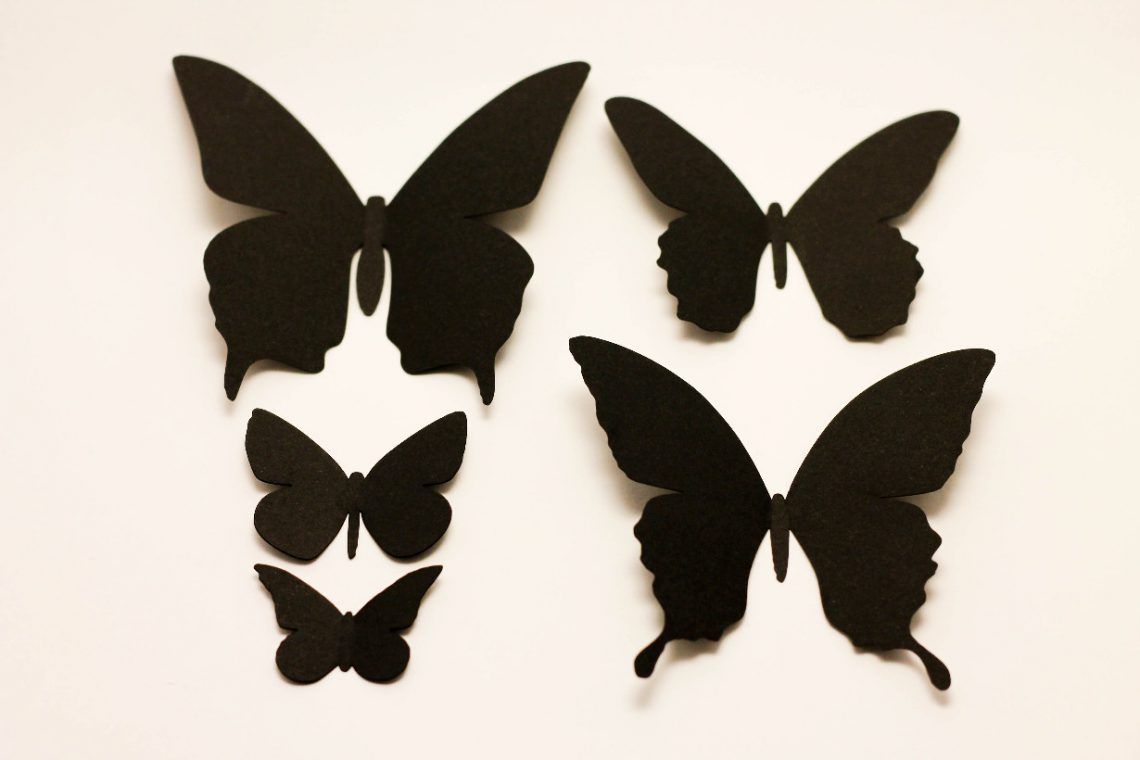
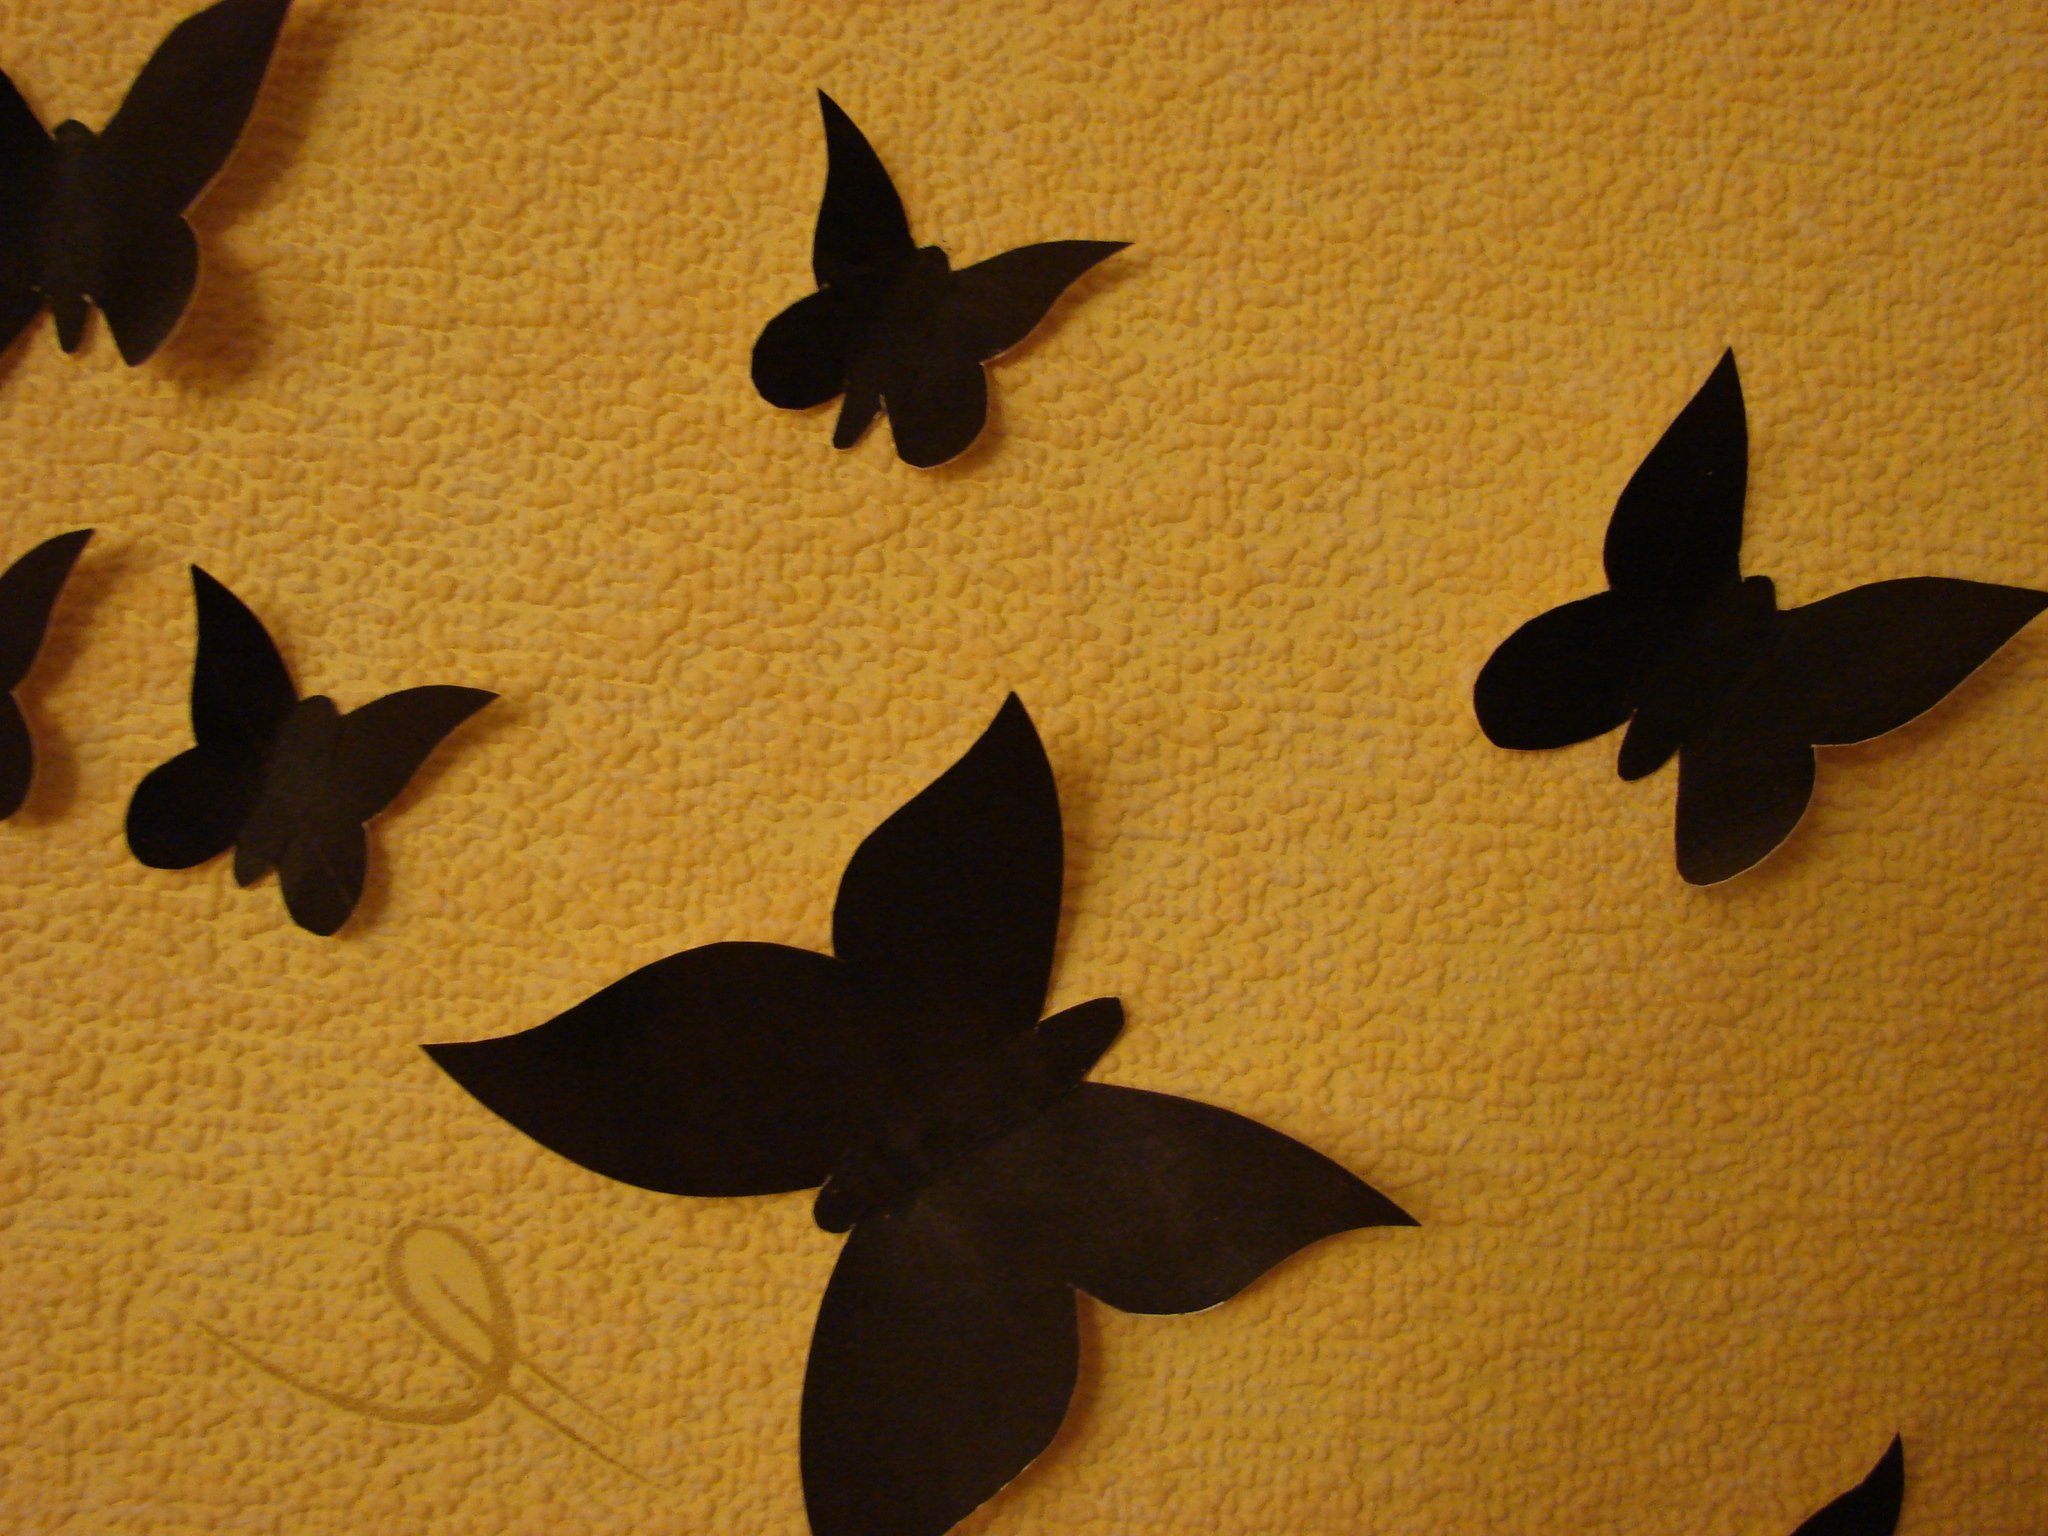
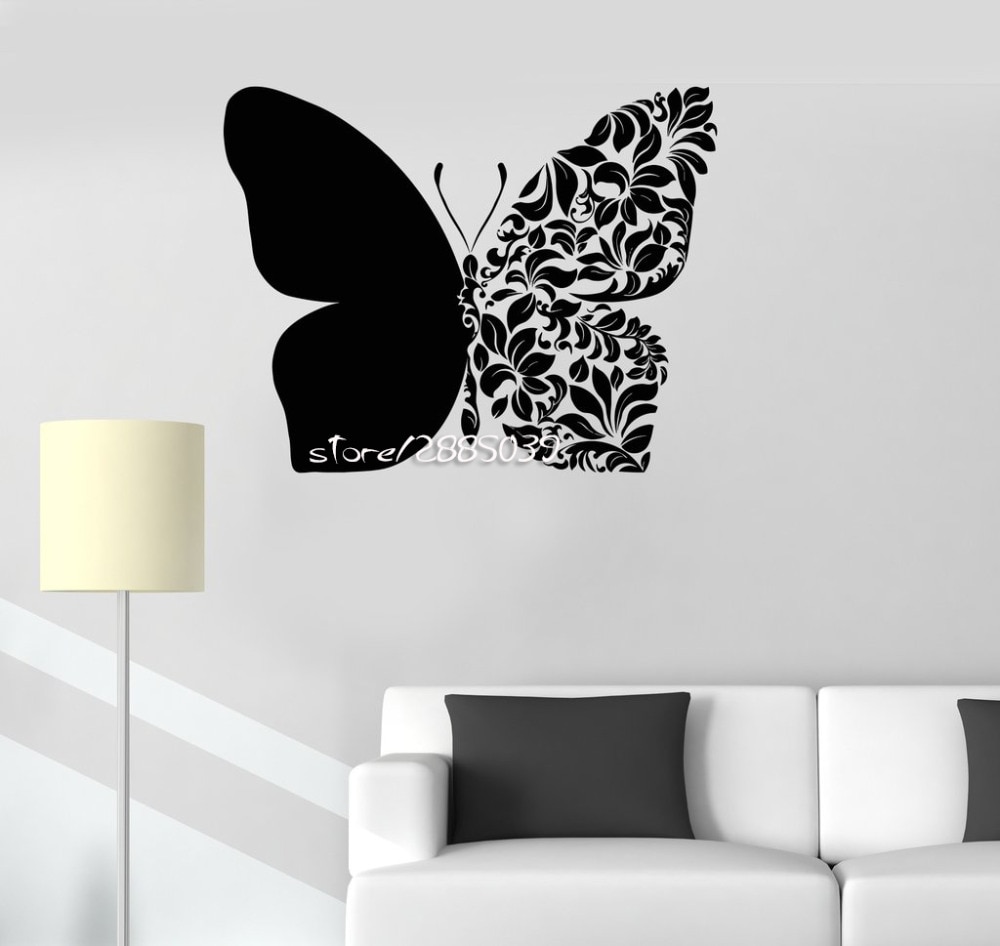
Bright, colorful moths are the perfect complement to monochrome interiors. For example, red or green butterflies on a beige background. Luxurious decoration of light walls (white, gray, pastel) will be black applications.
Compositions of moths can be sustained in one color or delight the eye with multi-colored splendor. Often, the beauty of a piece is enhanced by neon lighting, which creates the illusion of a 3D decor. Designers recommend decorating the bedroom and nursery with butterflies. Although, if desired, they can also decorate the walls of the living room.
Butterflies from yarn
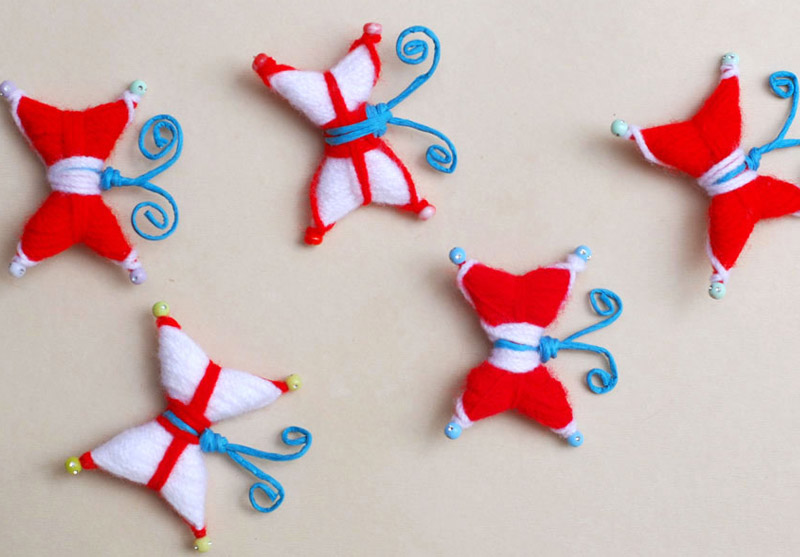
Paper is not the only possible material for the manufacture of decorative elements for the interior. You can make such beautiful and bright butterflies with your own hands from yarn. To do this, you will need materials and tools:
- Packing toothpicks (if the butterflies are needed in a larger size, then we take chopsticks or wooden skewers, which will be longer than the toothpicks);
- Yarn in two colors (more);
- Beads for decoration;
- Colored wire (can be replaced with waxed thread that holds its shape);
- Super glue or moment.

How to make a beautiful butterfly with your own hands, we will tell you more in the instructions:
We fasten the toothpicks with a thread crosswise. We wind the yarn, moving from the center to the edges, first on one side, then on the other. You also need to make a few turns across the bow. We fix the ends of the thread.

We wind a small piece of wire in the middle of the resulting bow and make antennae out of it, twisting the ends in a spiral. We glue the beads on the protruding sharp tips of the toothpick - they will be an ornament.

Using yarn of a different color, we create small patterns, twisting our butterfly several times. The ends of all threads must be fixed with glue.
Here we have such a beautiful butterfly, now it can be used to decorate the interior.
Options for volumetric paper decor
The volumetric figures of paper moths look spectacular on the wall. There are several options for creating butterflies of complex configurations:
- multi-layered instances are created;
- use corrugated paper;
- figures are formed by folding the sheet in several layers;
- The art of origami enjoys well-deserved popularity.
Multilayer
It is quite simple to settle multi-layer moths on the wall:
- several blanks of the same shape are cut out of paper;
- the color and size of parts may vary;
- the elements are superimposed one on top of the other, the bodies are glued together, and the wings are bent in different directions.

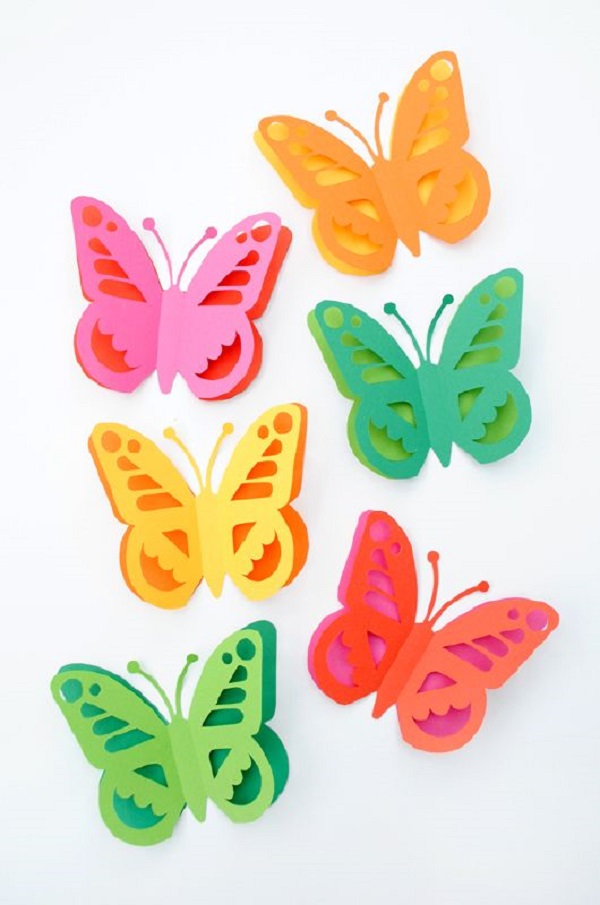
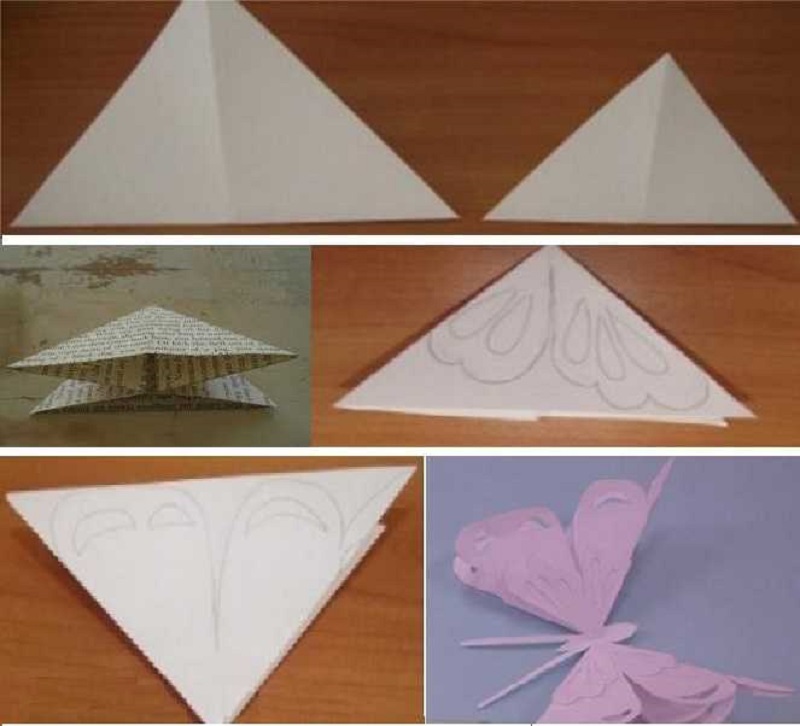
Multilayer butterflies look spectacular not only from contour blanks, but also from openwork details. This will require paper in contrasting colors or similar shades. For the upper part, an openwork blank is taken, the lower one remains contour. The following photo will help to evaluate the result:
There is an interesting technique when you can make a multi-layer butterfly on the wall from one sheet of paper, by folding it in a special way. The photo further demonstrates the simple manufacturing process:
Corrugated paper
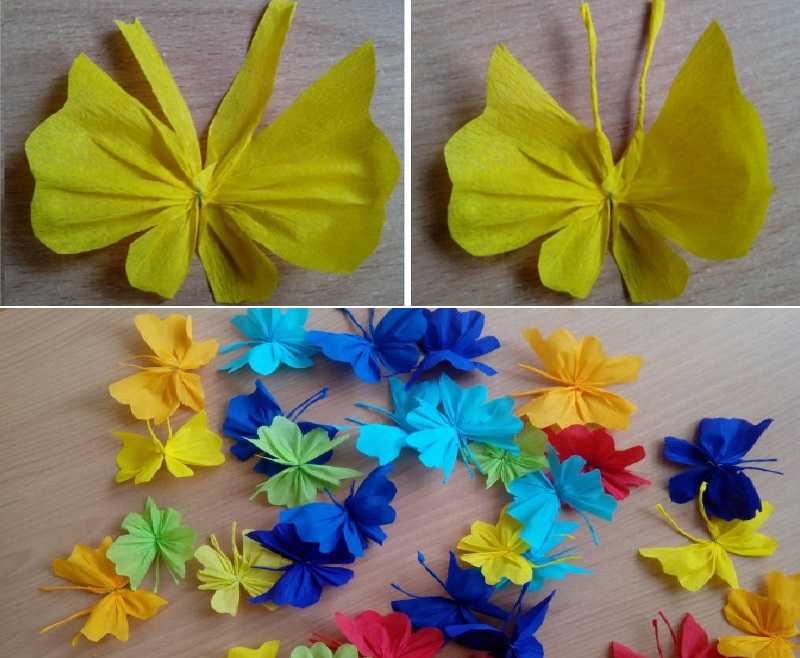
It is easy enough to work with butterflies on a corrugated paper wall. The algorithm of actions includes the following steps:
- The required paper colors are selected.
- Rectangles are cut out with an approximate size of 7x10 cm.
- The blanks in the center are sewn with large stitches, after which they are assembled with an accordion and fixed with a thread in several turns.
- The resulting paper bow is folded in half, the future butterfly wings spread out.
- Then the desired configuration is cut out along the edges.
- From narrow strips, flagella for antennae are formed, which are glued to the body.
The entertaining process is clearly demonstrated by the photo:

Ideas for beginners and professionals
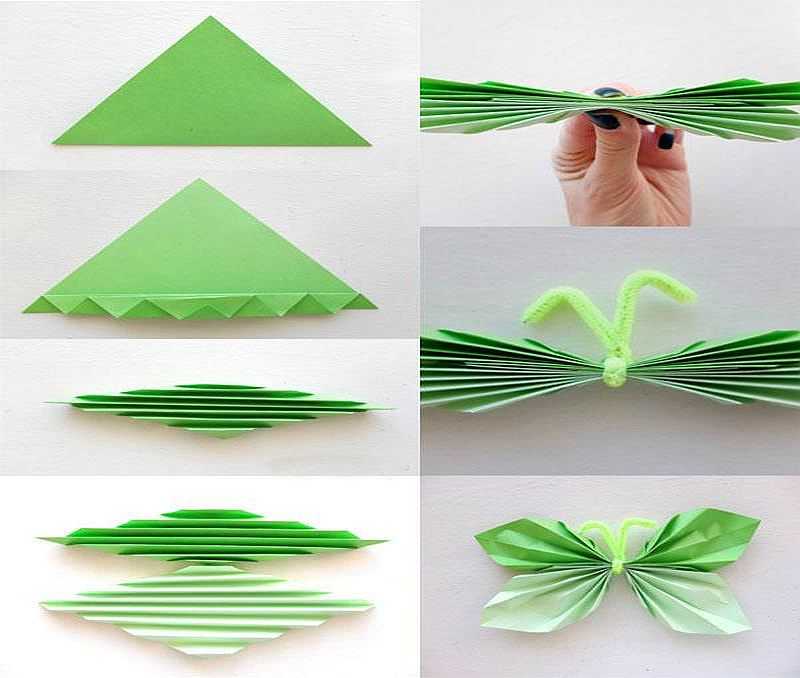
It is very easy to prepare butterflies from double-sided colored paper for wall decoration:
- First, a rhombus or square is cut.
- The figure is folded into a small accordion.
- The two workpieces are connected together and fixed in the middle with a thread.
- Antennae are formed from wire.
The photo will help you follow the main stages of making butterflies on the wall:
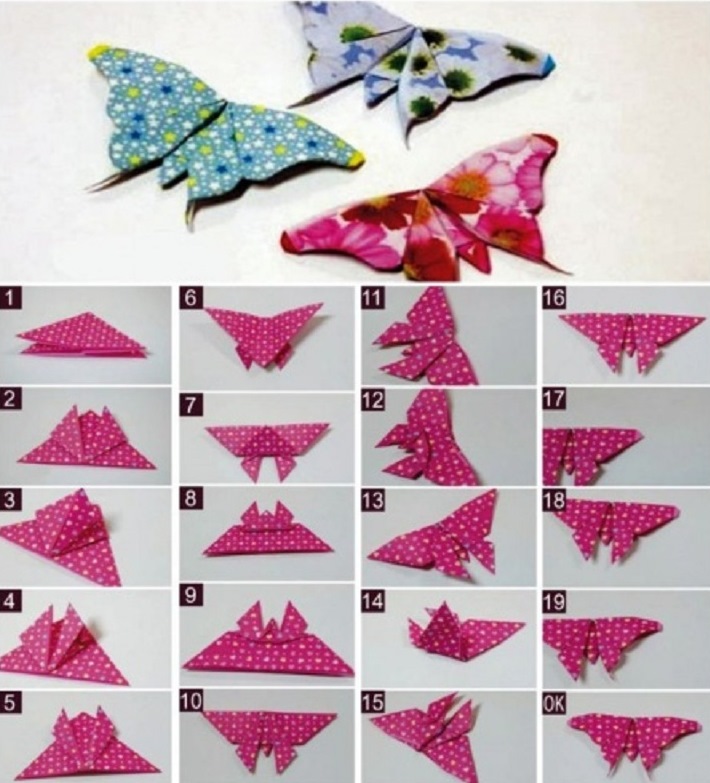
The origami process, which is so interesting for children, is somewhat complex. One option for making a paper moth is presented below:
Wall compositions of butterflies
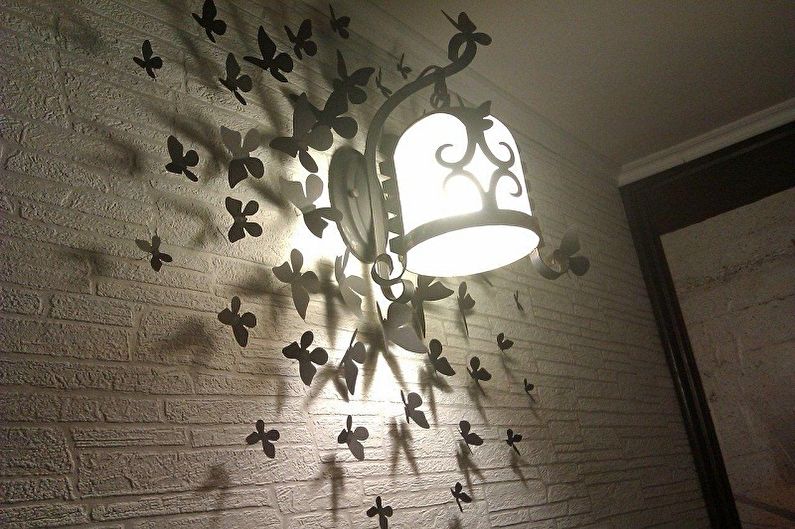
Butterflies in the interior of a room can be presented in different ways: they are placed in the form of a panel, scattered in chaotic or ordered compositions, they decorate certain territories (for example, around lamps, artificial trees, etc.) or painted on the walls, often with the use of luminous paints. One has only to look at the photo of a beautiful panel in the form of a scarlet heart made of butterflies, and you will immediately want to place this romantic composition in your bedroom.
The advantage of moth decor is their ability to complement the interior of any room, regardless of its functional purpose and the style present.
It is important to choose the right color scheme to match the overall design.For example, red or green moths will look great on a beige wall, black ones on a white one.
In the children's room, you can create multi-colored paintings of butterflies that flutter cheerfully over the bed, and in the living room you can decorate an empty wall with a whirlwind of monochromatic butterflies.
Glowing moths created with the help of special paints look extraordinarily beautiful. In the evening, they become an original decoration of the room, enlivening it and filling it with mystery.
Selection of material
A wide variety of materials can be used to make insects. Take, for example, plain paper or cardboard, plain or vinyl self-adhesive tape, pieces of fabric. If you make butterflies from hard cardboard, then you will get quite flexible and at the same time persistent specimens that will retain any shape. Such material is durable and keeps its shape well. When performing a composition from fibrous paper or film, you can create the effect of movement, fixing the butterflies only in the center of the body. Freely floating wings will flutter from the air currents, creating the illusion of flight. Let's analyze all the features of the materials in order.
How to take an image
Of course, there are several ways to decorate a wall with butterflies. Before proceeding to the description of how to create a drawing of butterflies on the wall of an apartment, I would like to say a few words about one of the design features. So, a very effective solution can be the use of bright colors in combination with a relatively dim or neutral background. Contrasting combinations always look intriguing. Therefore, if you have a desire to transform this or that place of the apartment with decoration with butterflies, you can opt for such companion colors as black and white, yellow and blue, various options for red, etc.
In addition, some people, even not being experts in design, can quite consciously use fairly new and interesting materials. An example of such an application can be the luminous, already mentioned volumetric images, as well as various options with an unusual surface texture.
Getting ready for decorating
Before making butterflies on the wall of the room, it is necessary to carry out preliminary work, the task of which will be to prepare and think over the templates. Meanwhile, it is always worth remembering that there is not one, but quite a few ways to create images of moths. Whichever one you choose, the main task remains to work with responsibility and accuracy. In addition, it will never be superfluous to take a closer look at the reviews and recommendations of experienced craftsmen. Butterflies on the wall, photo:

The preliminary stage of work includes several actions at once. We must never forget about them. It is also advisable to try to maintain the order of these stages. Here is a brief description of how you can make and what the butterflies on the wall can be:
First of all, you need to decide for yourself exactly what kind of material you intend to use when creating images of butterflies in the interior.
Having solved this problem, you need to think a little about design features.
The most important aspect in this regard is the choice of colors and shades for creating a picture.
The size of the butterflies is also very important. Here one should proceed, rather, on how large or small the room is, in which it is planned to place decorative pictures.
How to arrange butterflies on the wall? It would seem that this is not so important
However, this is not just the first glance. In fact, the correct location is quite an important aspect that you need to think about at the preliminary stage of work.
Then you will need to decide how the future pictures, photos or panels will be combined with the rest of the interior details.
Last but not least is the selection of tools, materials and fixtures.In most cases, you will need: cardboard or paper, scissors for cutting (sometimes a sharp knife will work), glue, a level, a pencil, pins and a tape measure. A plumb line can also be useful for building a straight vertical line.
With all these tips in mind, you should end up with very attractive decorative butterflies on the wall.
Butterfly applique for kids
Materials (edit)
- Colored paper
- A4 white sheet
- Scissors
- PVA glue
- Brushes
- Butterfly pattern
- Sequins
Step-by-step instructions for creating an application are aimed at children of primary school age.
- The butterfly pattern must be printed. It should take up about a third of a sheet of A4 paper.
- Attach to a sheet of paper (you can choose the color you want) and circle and then cut.
- Using PVA, glue the butterfly to the white sheet approximately in the middle.
- Draw, and then cut out the grass and flower from colored paper.
- Glue them, it is logical to place them on a sheet of paper.
- Spread the wings of the butterfly with PVA glue in whole or in part.
- Then sprinkle with sparkles. The butterfly is ready!
Optionally, you can add the sun and clouds with colored felt-tip pens or paints. The whole class can make such a beautiful application in labor or applied arts lessons.
Materials for jewelry
Of course, you can limit yourself to purchased decorative butterflies, but having made the figures with your own hands, you can use any decorative materials that you like.
In addition, this way you do not have to look for colors or materials of products that will harmoniously combine with the style and color scheme of the room: do-it-yourself butterflies on the wall using ready-made patterns and drawings can be made for every taste.
Before you start making butterfly stencils for decor, you need to prepare all the materials that will come in handy in the process of creating butterfly patterns, cutting out figures and attaching them to walls.
At this stage, it is extremely important to decide which materials are best suited for your room, because not all options are able to withstand the special conditions of the premises. Butterfly stencils can be made with your own from the following materials:
Butterfly stencils can be made with your own from the following materials:
- paper;
- cardboard;
- adhesive vinyl;
- plastic;
- cans;
- plain fabric;
- felt;
- nylon;
- discs, etc.

Butterflies on the wall with their own hands, photo
Paper and cardboard are considered the most common materials for creating decorative butterflies, as they allow you to create a pattern for a figurine along a contour quickly and effortlessly. In addition, sketches made from such materials can be easily painted and attached to the surface, which means that none of the stages will cause you any difficulties.
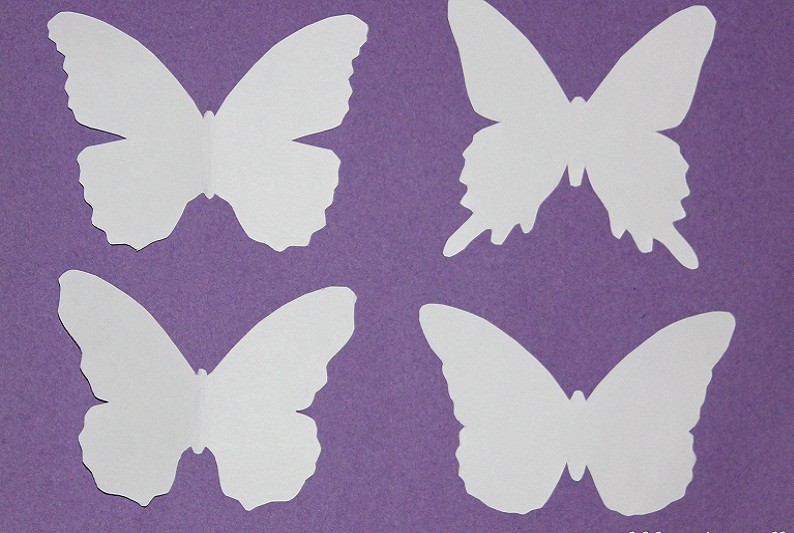
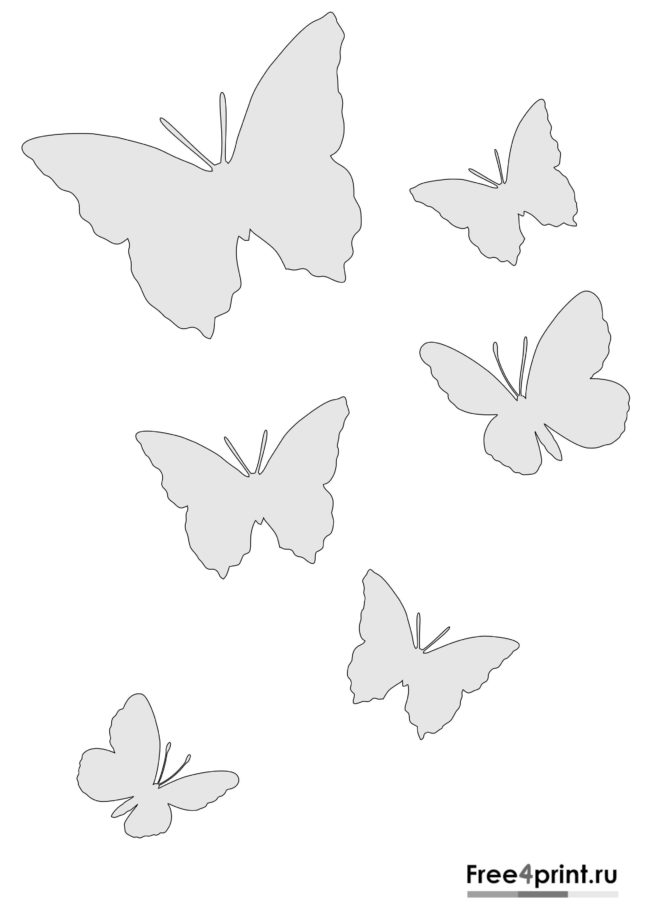
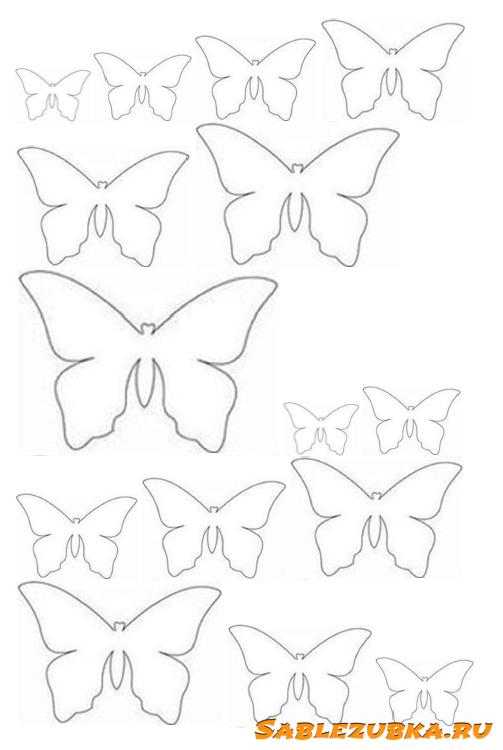
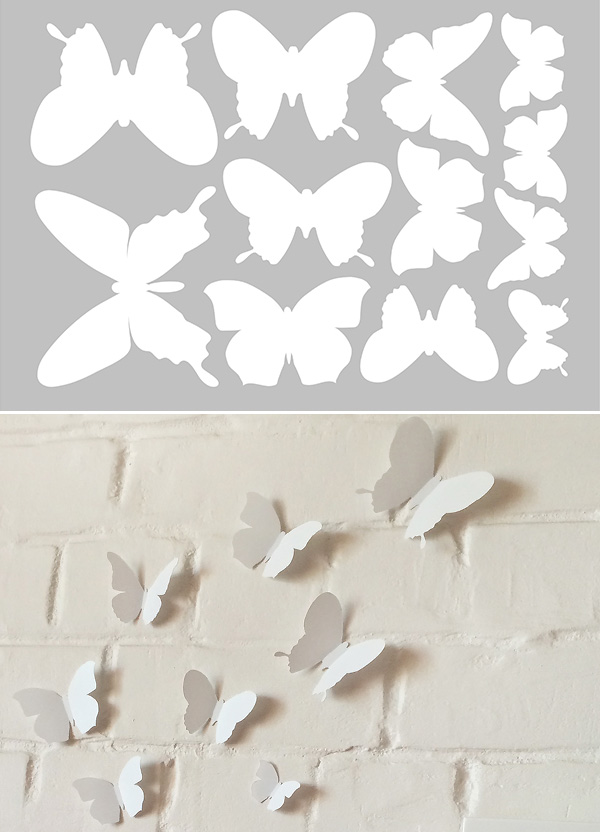
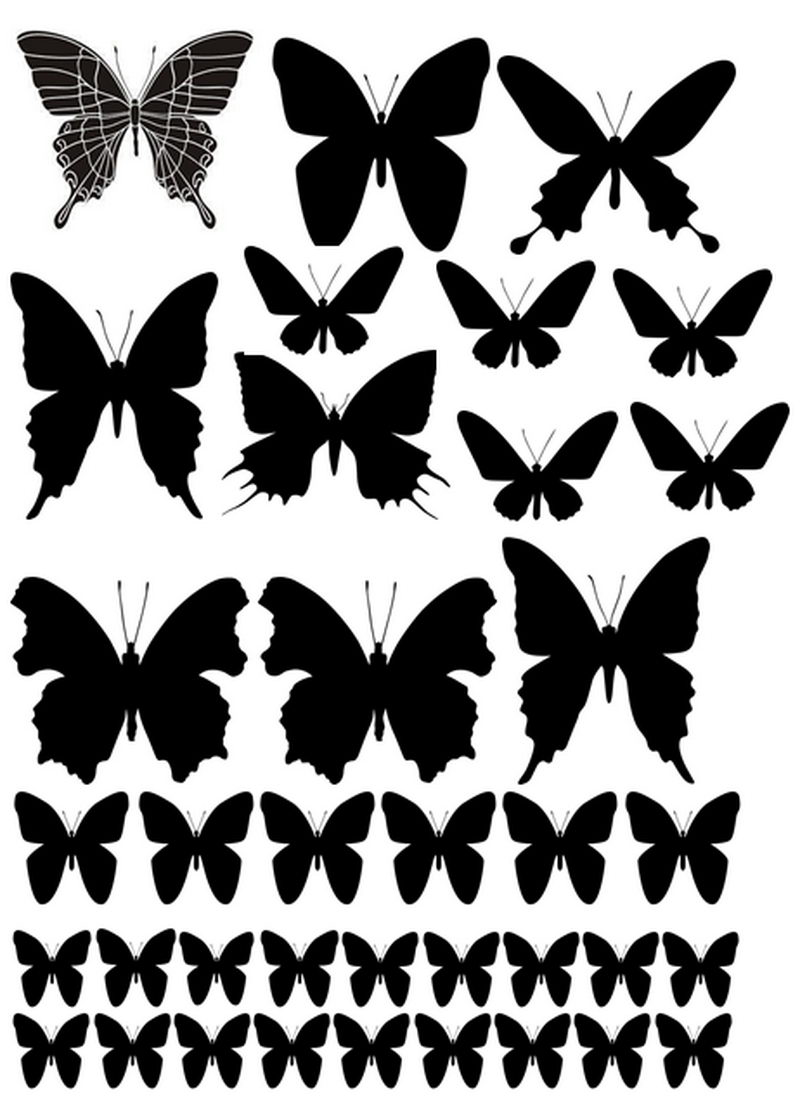
Butterfly patterns on the wall for cutting can be drawn by yourself or printed out a finished sketch, for example, as in the photo:

Butterfly stencil on the wall - scheme, photo
The photo below is the simplest template for cutting paper butterflies:
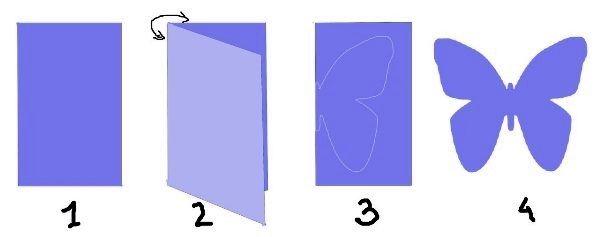
Stencils of simple butterflies for wall decor, photo
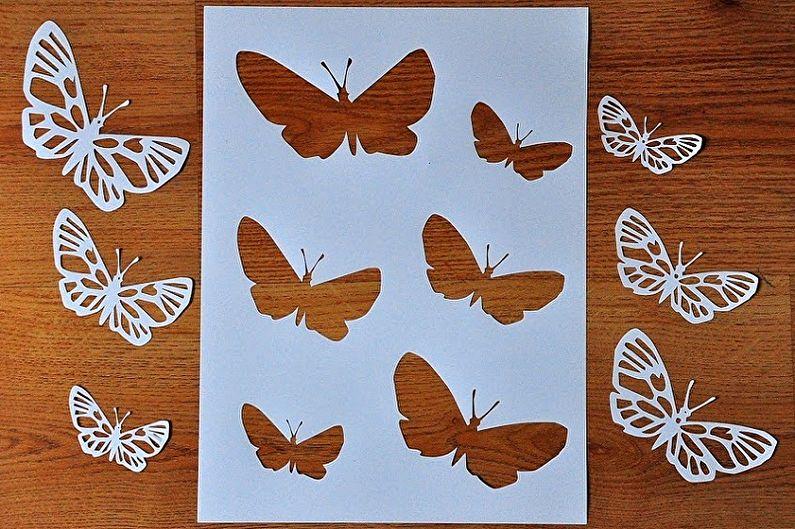
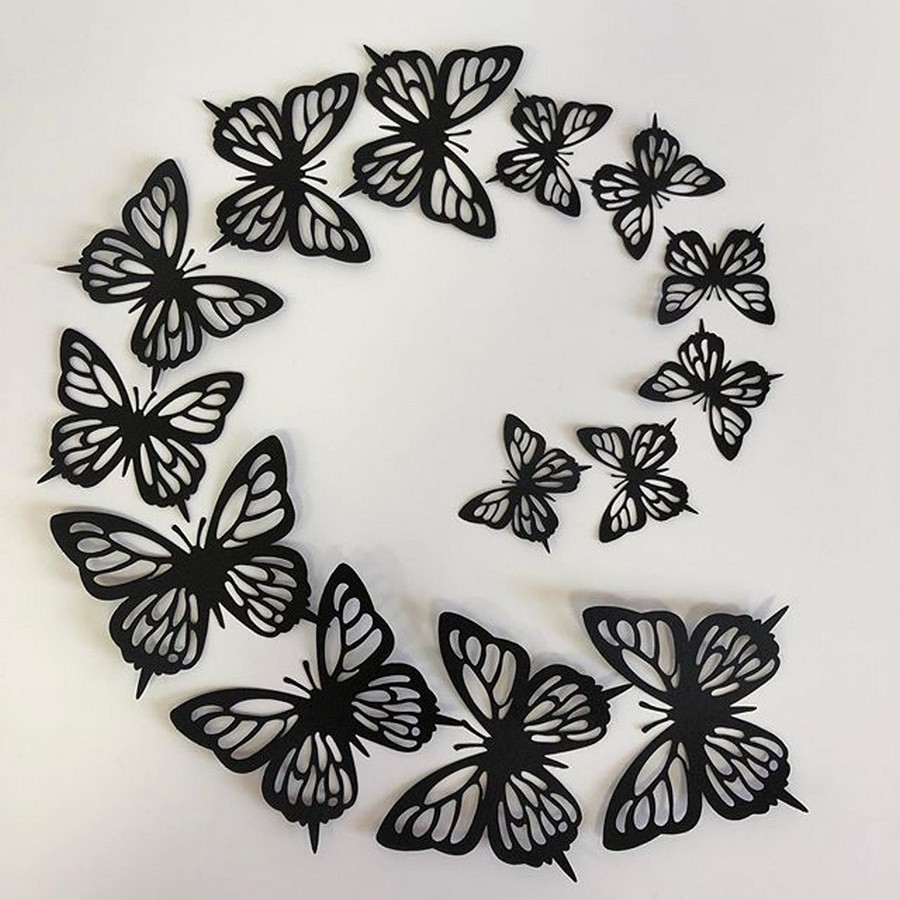
In addition to simple patterns, openwork silhouettes of decorative butterflies can be made from paper. Having drawn the outline of the image, proceed to cutting out the holes for the air wings.

Photo of the process of cutting a stencil of paper butterflies on the wall
However, cardboard and paper can spoil their appearance from mechanical stress, contact with water and steam, so such butterflies will not last long.
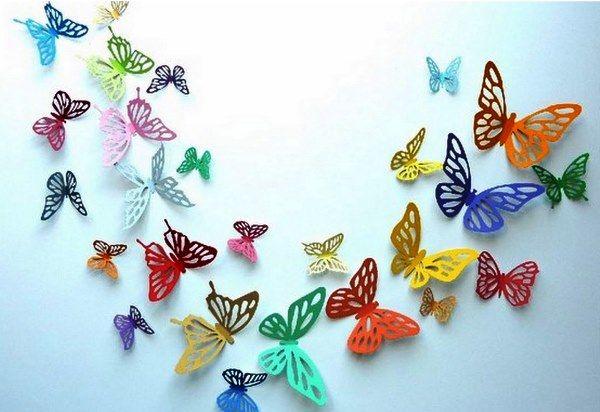
Decor - butterflies on the wall, photo
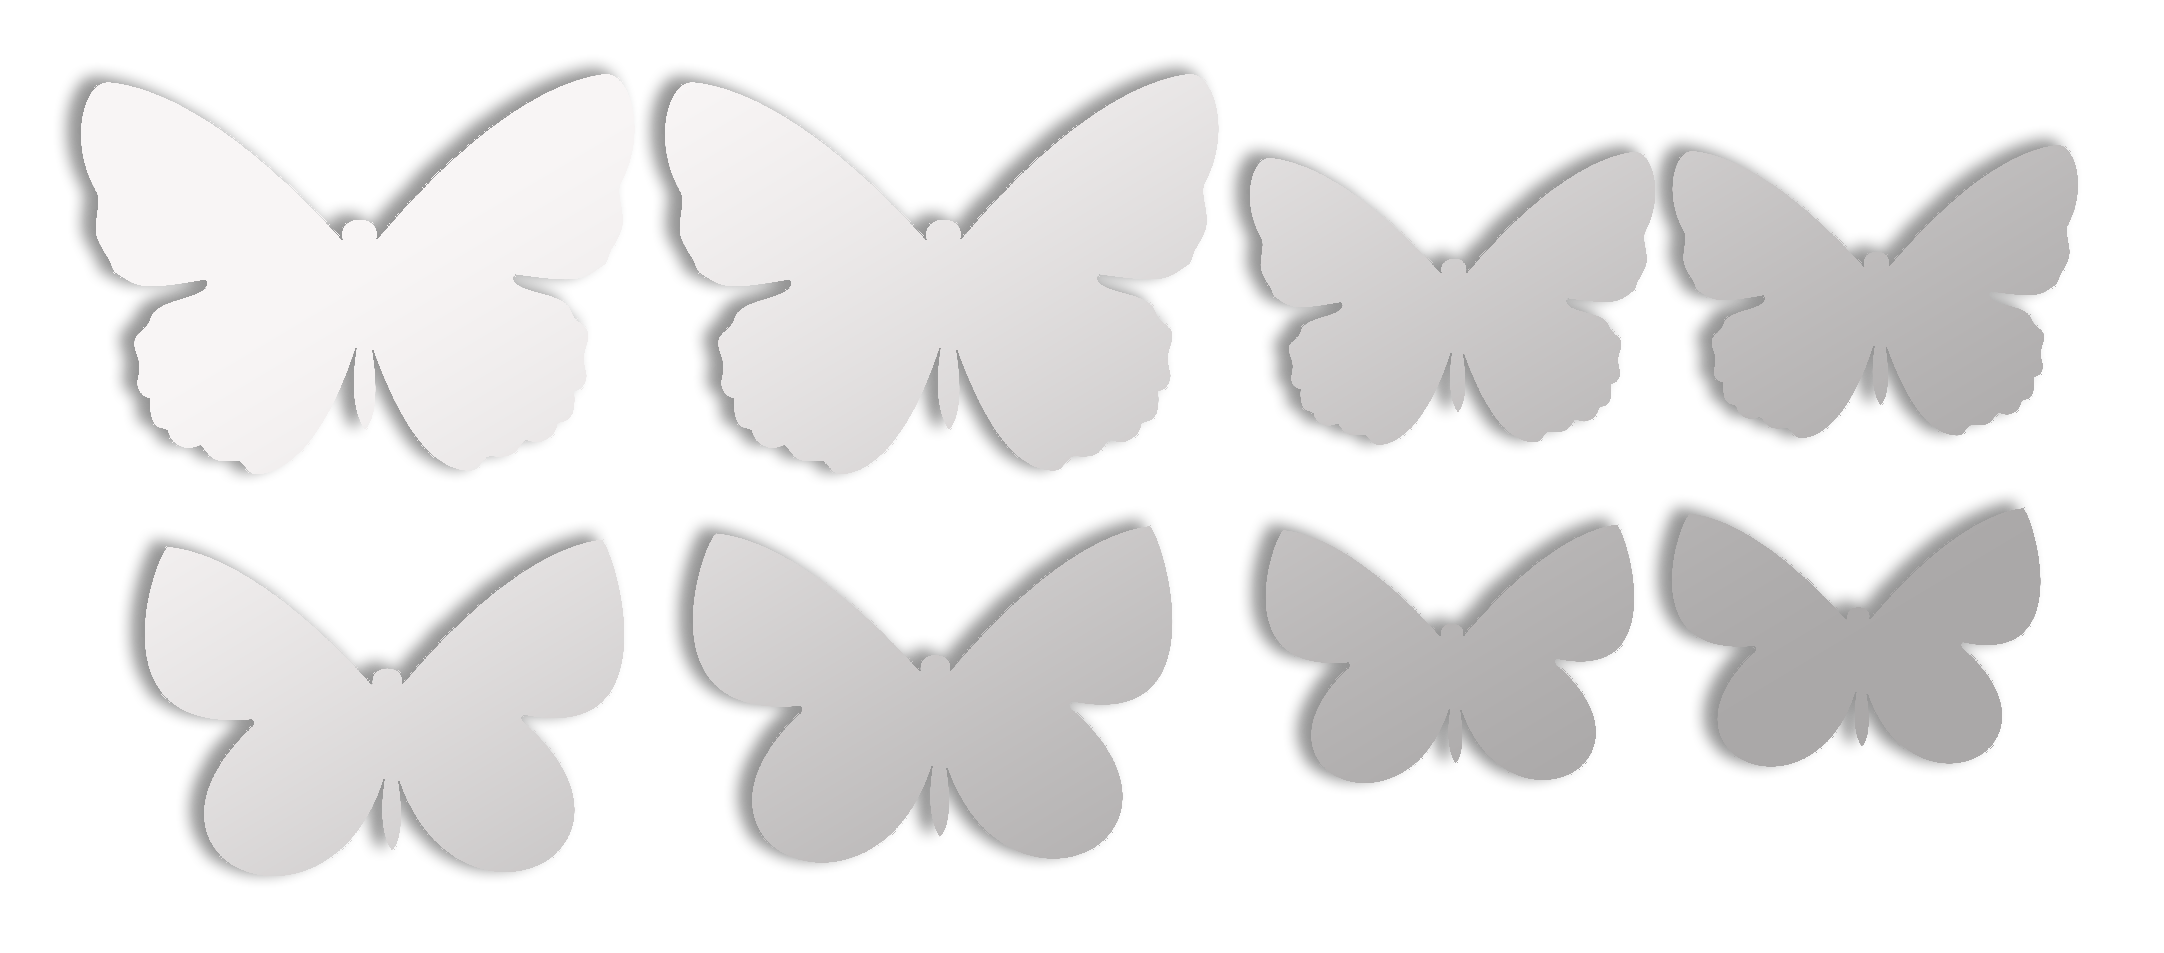
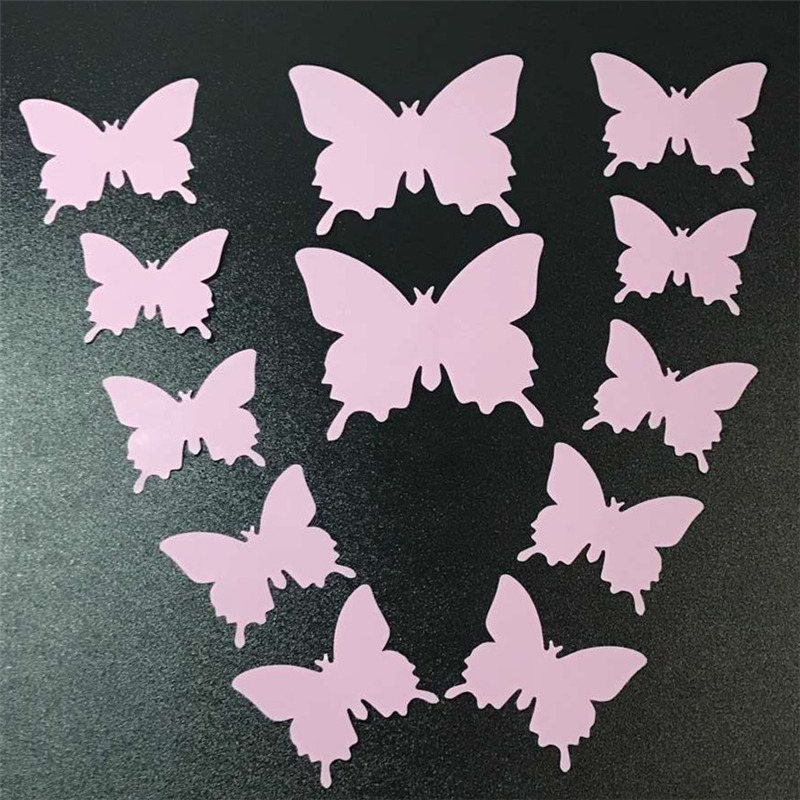
If you don't want to cut butterflies yourself, you can purchase ready-made vinyl stickers with this shape. All that remains for you is to place them on the wall in the desired sequence, creating the intended composition.
These stickers are notable for their durability, but deprive you of the opportunity to use additional decorative materials to decorate the figurines.

DIY wall decor with butterflies, photo
Durable butterflies that can hold out on the wall for a long time and retain their appearance can even be made from discs, cans or plastic bottles. It is enough to cut the wings of the required shape and ensure reliable attachment to the surface.
Fabric butterflies are quite popular. A variety of textile materials allows you to choose absolutely any shade for such figures, and thanks to the special structure, beads, beads or other decorative elements can be sewn onto the fabric. By the way, by combining fabric and cardboard, you can create more durable figures that will serve you for a long time.
Pay attention to material such as felt. Due to the durability of the material, the wings can be shaped to any shape, and your composition will be perceived more realistically
To create butterflies, you can also use nylon: just pull it over a wire of the desired shape and fasten it with threads. Such butterflies will be distinguished by their lightness and airiness.
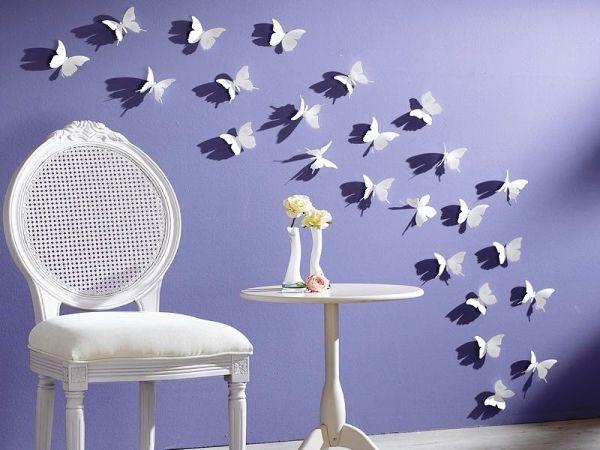
Tip: Despite the fact that decorative butterflies are usually hung on the wall for a limited period of time, it is still necessary to take into account the specific conditions of some rooms. For example, for a kitchen or bathroom, it is advisable to choose materials that are as durable as possible that are not negatively affected by moisture (for example, plastic).
As auxiliary materials, you may need scissors or a stationery knife, threads, glue, wire, as well as beads, beads, paints, glitters and other materials for decorating such jewelry.
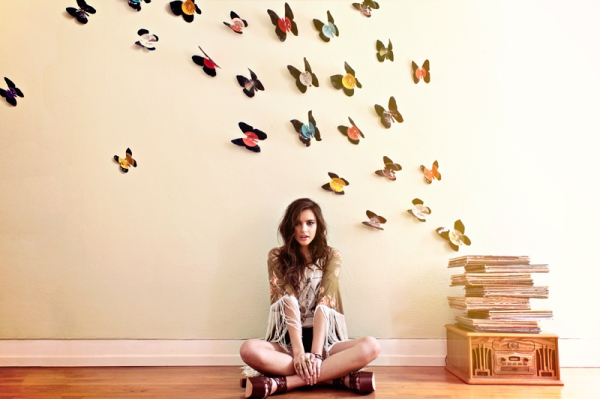
Lesson: butterflies from vinyl records
Making them out of vinyl records is pretty easy. To do this, you will need:
- vinyl records;
- white and black crayons or colored pencils;
- butterfly patterns;
- scissors.
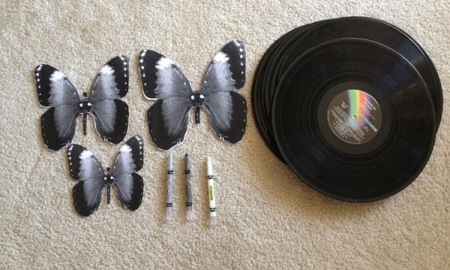
Mark the middle of the template on the vinyl record. Trace the outline using white crayon on the vinyl itself and black on the center decal.
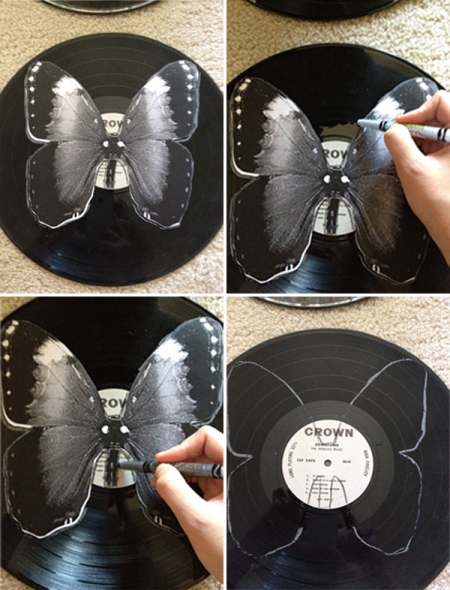
Place baking foil on a baking sheet and place a vinyl record on top of it. Preheat oven to 400 degrees and place a baking sheet on top. Remove the plate as soon as it becomes soft and begins to deform (after about 45 seconds).
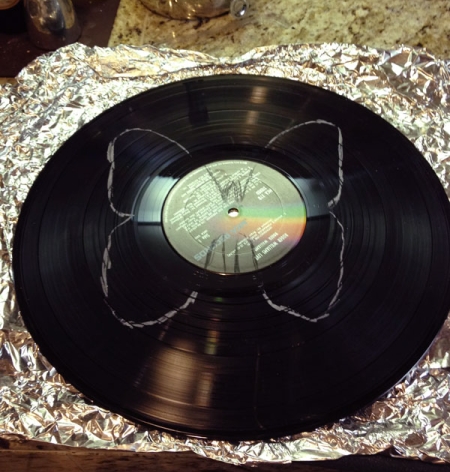
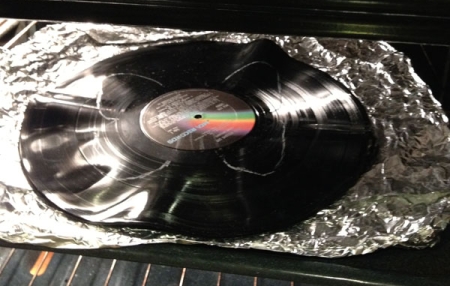
Use sharp scissors to cut the butterfly out. If the plate begins to harden, place it back in the oven until it becomes soft again. Vinyl cools down pretty quickly, so cut carefully but quickly. You may need to reheat the plate in the oven several times.
Almost done! After the butterfly is cut out, gently peel back the wings.
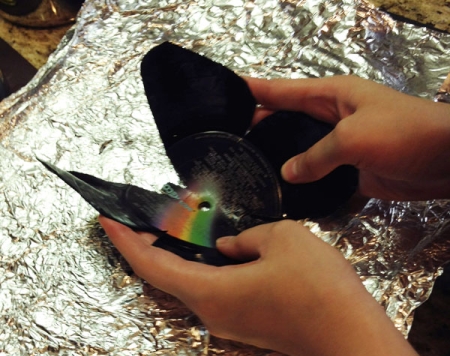
Ready!
Why butterflies?
Butterflies are widespread in the interior. They are complemented by walls, ceilings, decorated with chandeliers, paintings, mirrors. But most often, such decor in the form of butterflies is found on the walls.
What is the reason for the popularity of these amazing fluttering insects? If you are familiar with the philosophy of Feng Shui, you should know that butterflies symbolize joy, natural beauty, mutual love and rebirth.
By placing butterflies in the bedroom, you will give your family life a new meaning, return the old romantic relationship, and rekindle the flame of love. Only moths should never be alone, but only in pairs or in whole groups.


