Edibility of humpback chanterelles
These mushrooms are edible, but their taste is weak compared to other edible mushrooms. Humpback chanterelles will disappoint those who love aromatic mushrooms with a bright taste.

Humpback chanterelles can be eaten fresh, but are best cooked. In terms of taste, these mushrooms belong to the 4th category.
When collecting chanterelles, you should pay attention to all the nuances, and adhere to the rules, because under the guise of edible mushrooms, a poisonous double can be hidden
Related species
Chanterelle yellowing is also an edible mushroom. These chanterelles grow in small groups, meeting from August to September mainly in spruce forests. The hat looks like a deep funnel, its diameter is about 5 centimeters.
The edges of the cap are folded inward. The surface of the cap is matte, smooth and dry. The color is yellow-brown. The underside of the cap is also smooth, but in adulthood, numerous thin folds appear.

The leg is round in shape; as a rule, it is curved at the base. The leg is hollow inside.
The color of the leg is the same as the color of the cap. The height of the leg reaches 10 centimeters with a diameter of 1 centimeter. The pulp is elastic, brittle, light yellow in color. The pulp is odorless and tasteless.
On edible properties, yellowing chanterelles belong to the 4th category. They can be fried, boiled and dried for the winter.
The real chanterelle is an edible mushroom, widespread and fruitful. Chanterelles live in large groups, forming large stripes and "witch circles". They are harvested from July to October, and the peak yield is observed in July-August. They grow in moist areas of deciduous and coniferous forests.

The chanterelle's cap is initially flat-convex, and the edges are wavy, but over time it changes to a funnel-shaped one, and the edges become thinner. The diameter of the cap reaches 10-12 centimeters. The surface is matt, smooth. The color of the cap is bright yellow. The spore-bearing layer is formed by a large number of thin convolutions descending to the peduncle, yellow in color.
The leg is rounded, at the base it becomes narrower. The height of the leg reaches 10 centimeters, and the diameter is 1-1.5 centimeters. It is hollow inside. The pulp is fleshy, brittle, thin, with a mushroom aroma. In these mushrooms, worms practically do not start.
In terms of taste, real chanterelles belong to the 3rd category. The softness of these mushrooms contains a large amount of beneficial trace elements and vitamins. They are versatile mushrooms suitable for all types of culinary processing.

False doubles of humpback chanterelles
Mushrooms of the 4th group rarely have twins, some of them themselves are referred to as false ones. The humpback chanterelle has no officially recognized double, there are two species that are considered to be false.

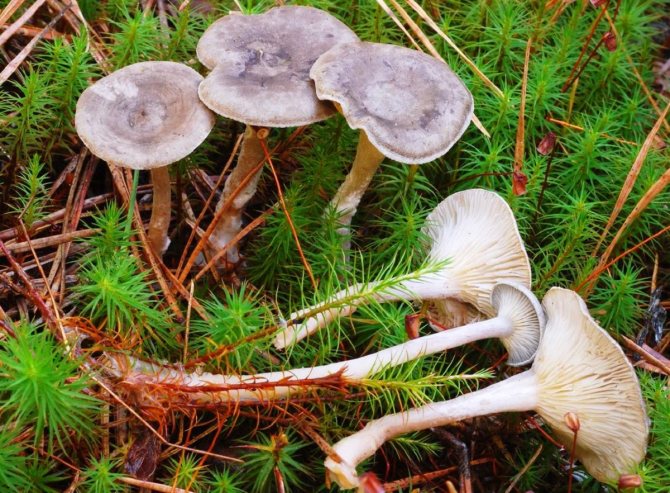
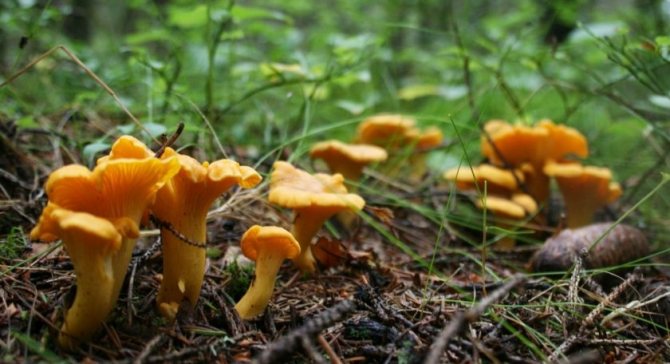
In the photo there is a double of the edible cantarella humpbacked - a false convex chanterelle, she has:
- bright yellow color of the cap and other shape;
- pronounced funnel and lack of bulge in the center;
- the leg is shorter, hollow, dark;
- the landing of the plates is rare;
- there are no red blotches near the transition to the leg;
- the presence of snails is visible, the humpback chanterelle is not eaten by insects and worms.
The smell of the double is sharp, herbaceous, bitterness in the taste. Grows on moss or deciduous cushion singly, rarely in pairs. On the cut, the flesh does not turn red.
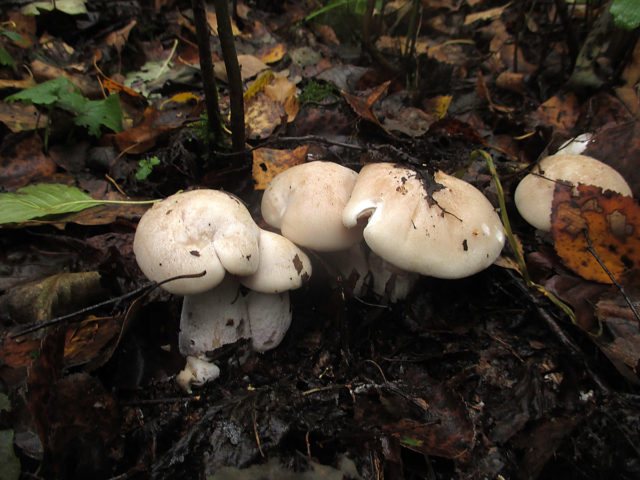
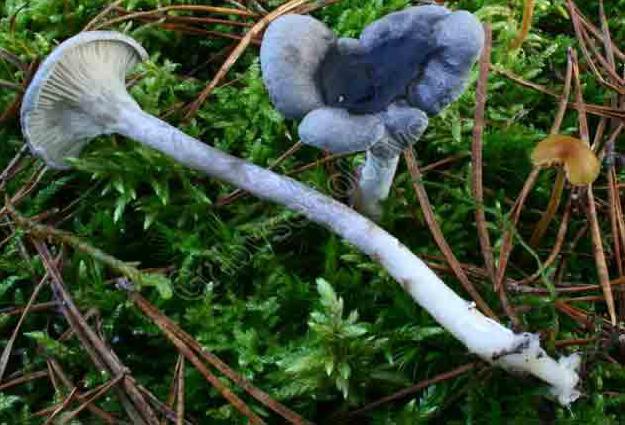
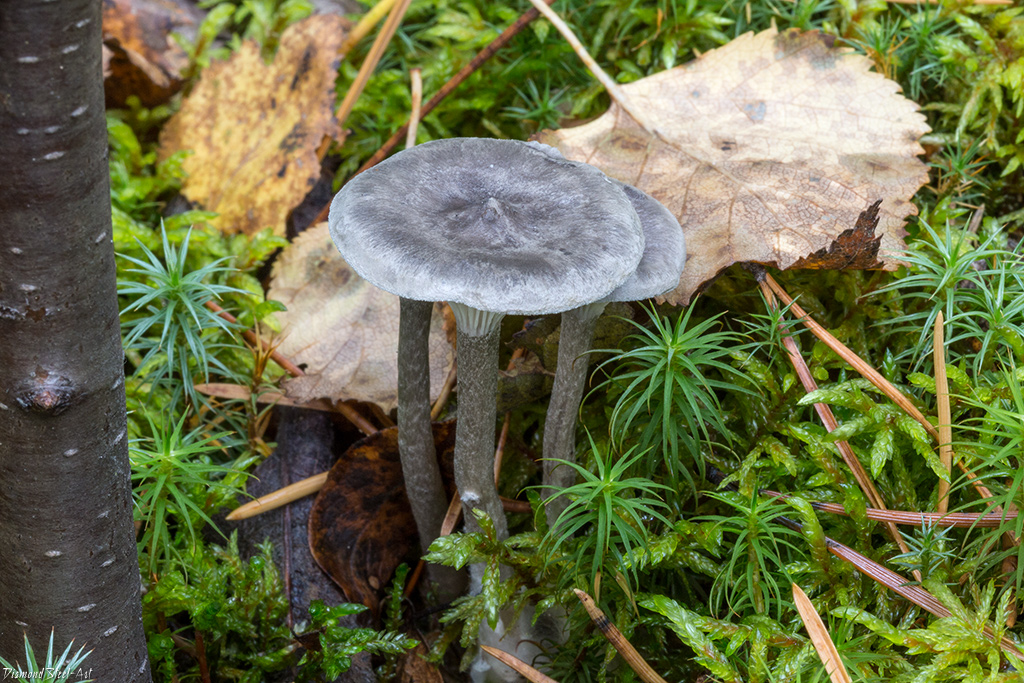
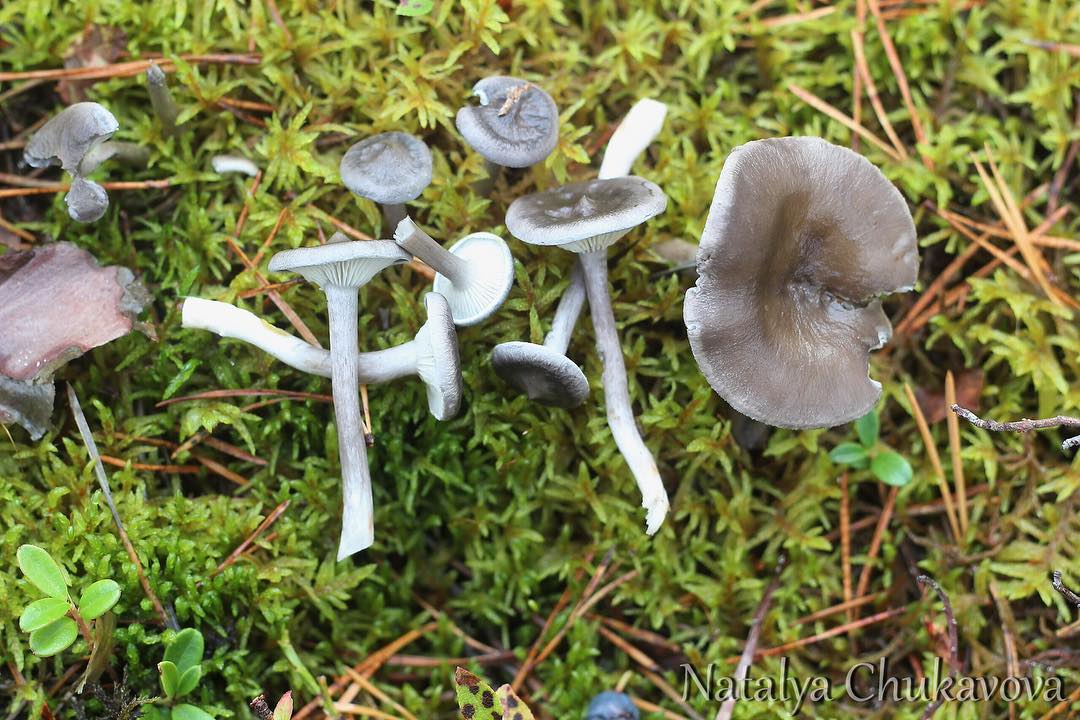
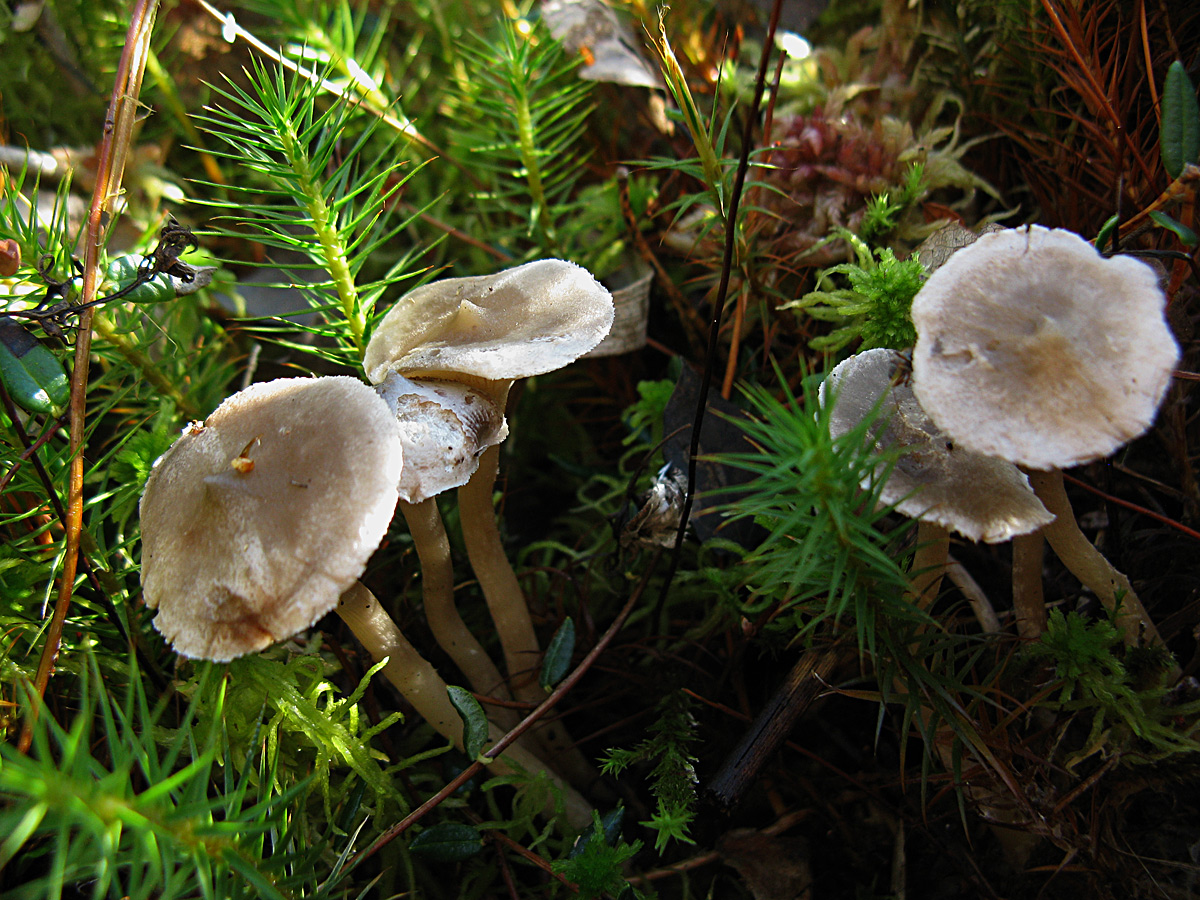
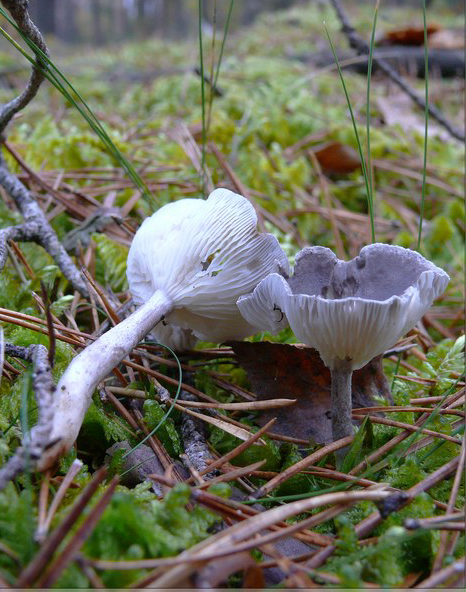
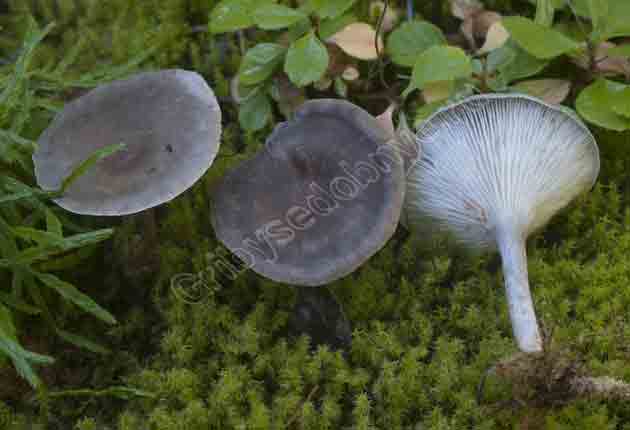
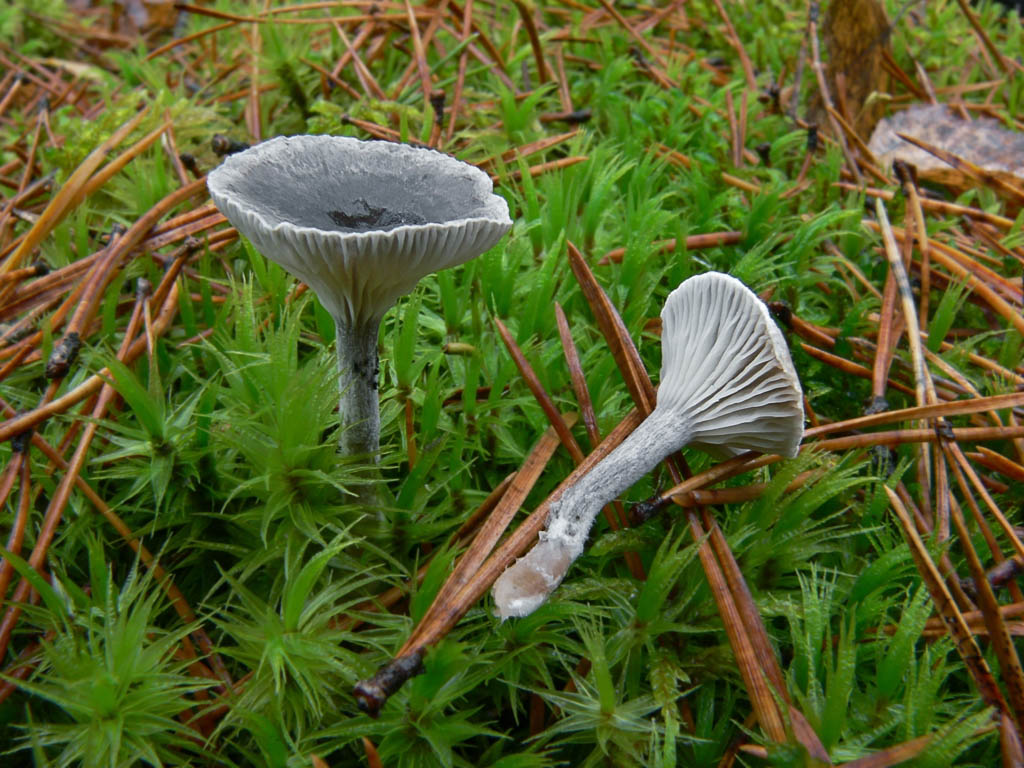
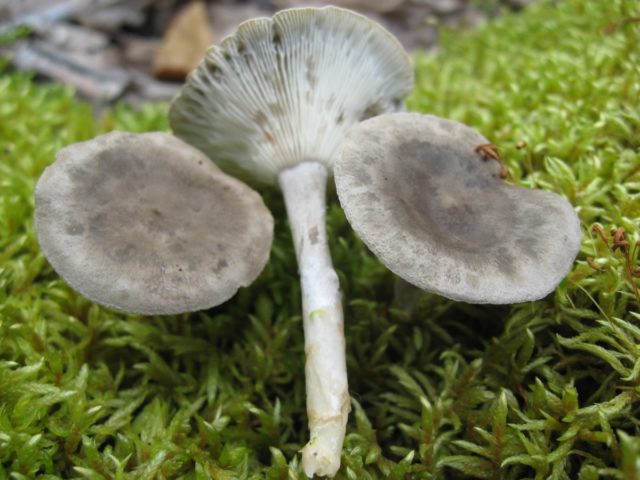
Photo of another similar species of the Ryadovkov family, to which the humped chanterelle belongs - the gray-blue ryadovka. It grows in families, often located next to cantarella, without close attention they can be confused. A closer look identifies the differences. The plates do not sink onto the leg. The shape of the cap is sloping, without a depression or bulge in the center.
Important! If the mushroom is in doubt about its authenticity, it is better not to take it.
Description of the humpback chanterelle
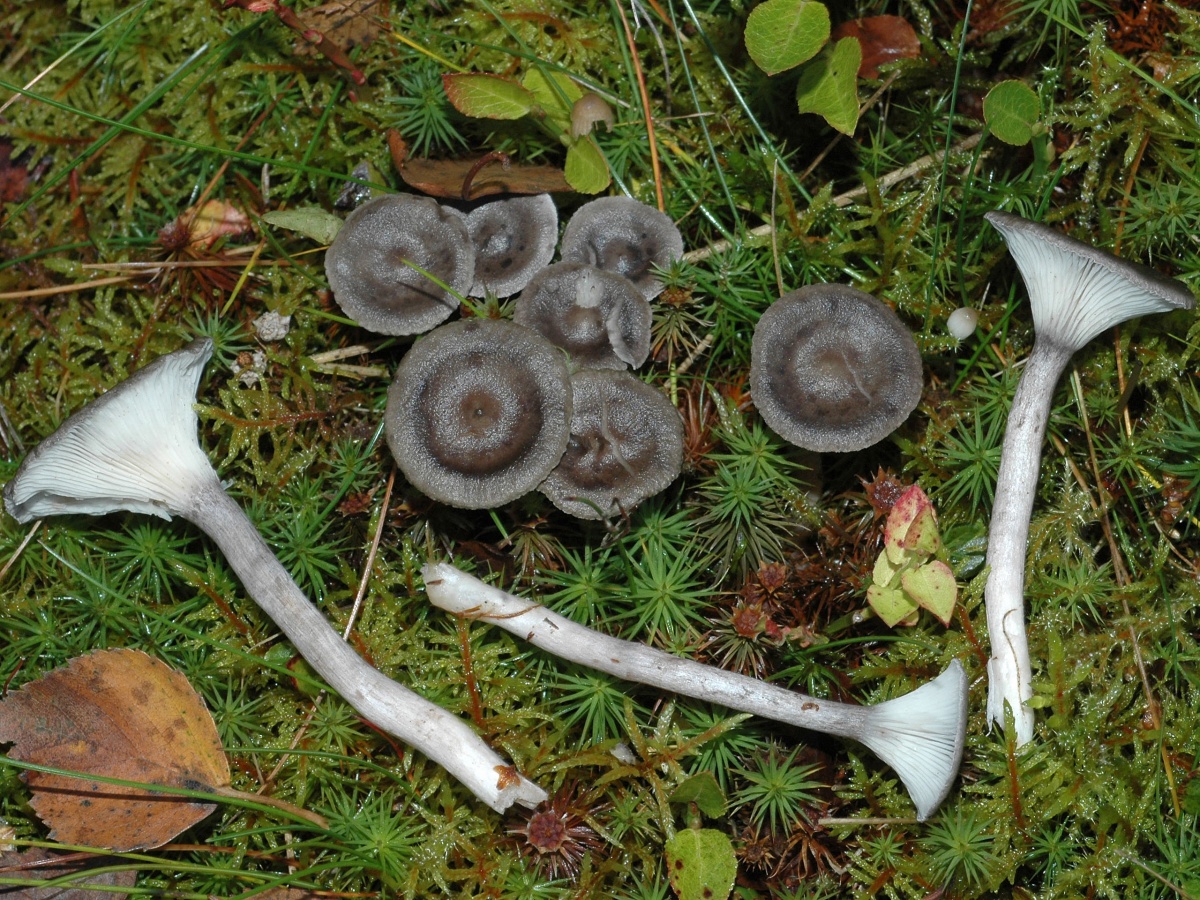
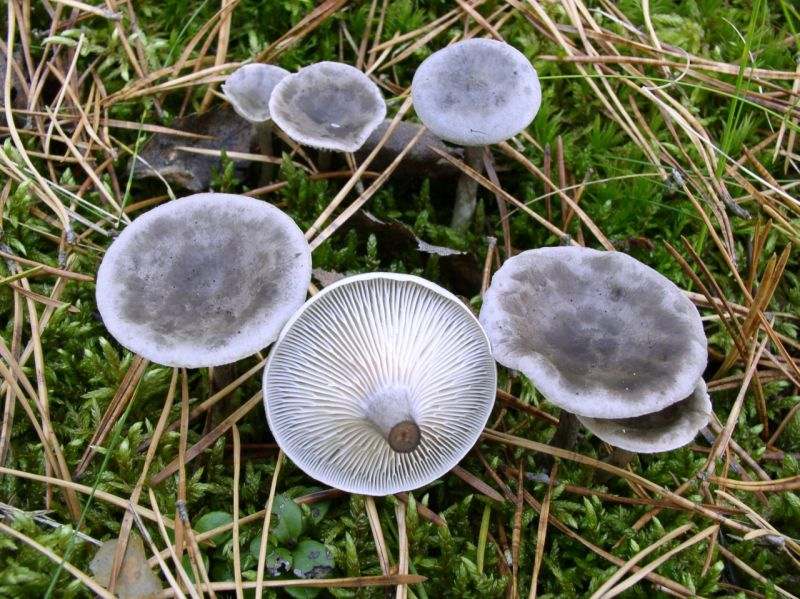
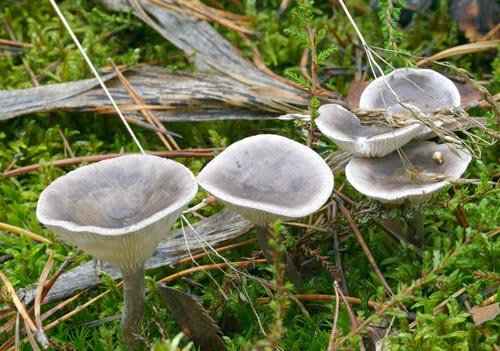
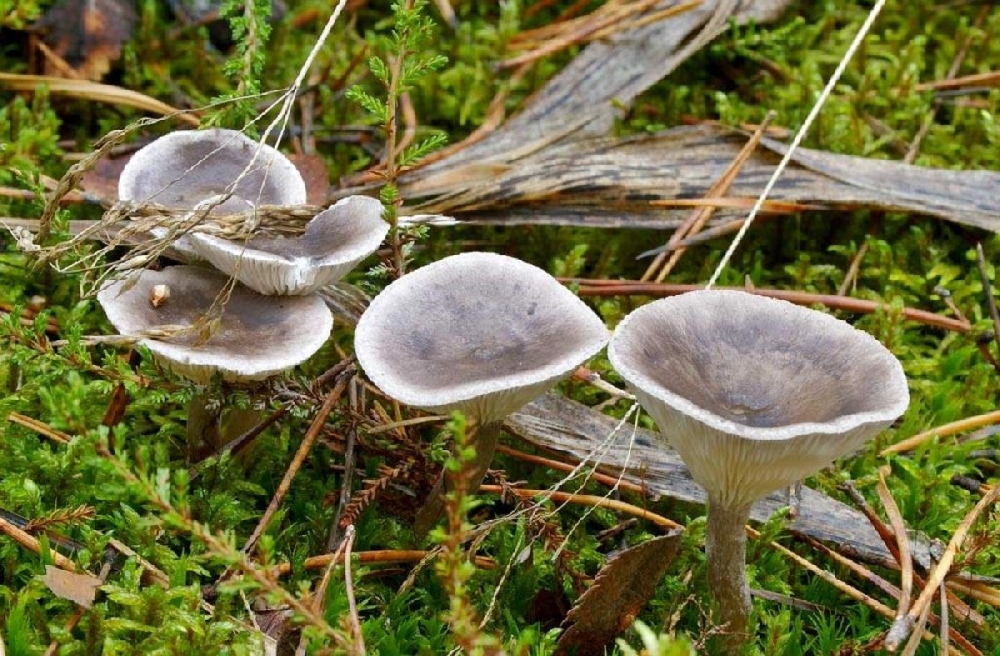
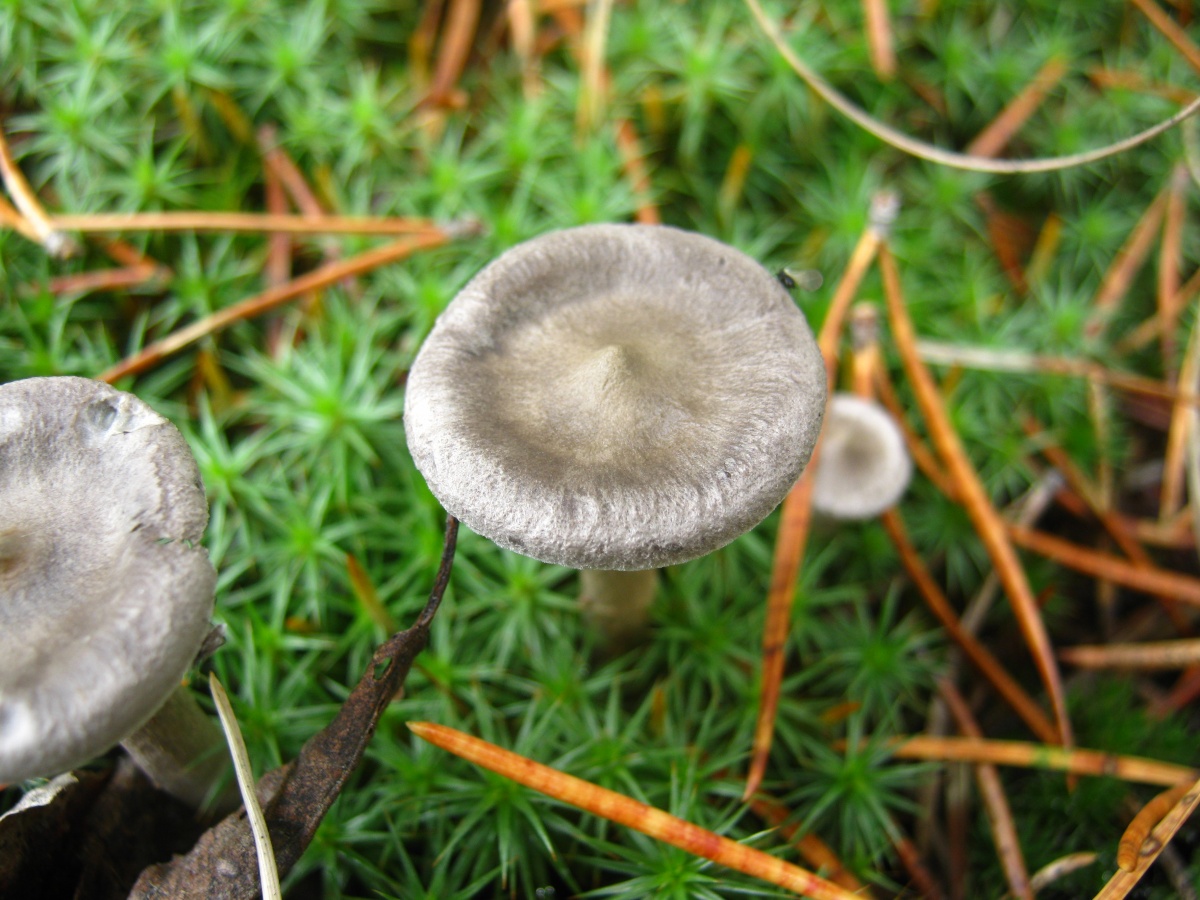
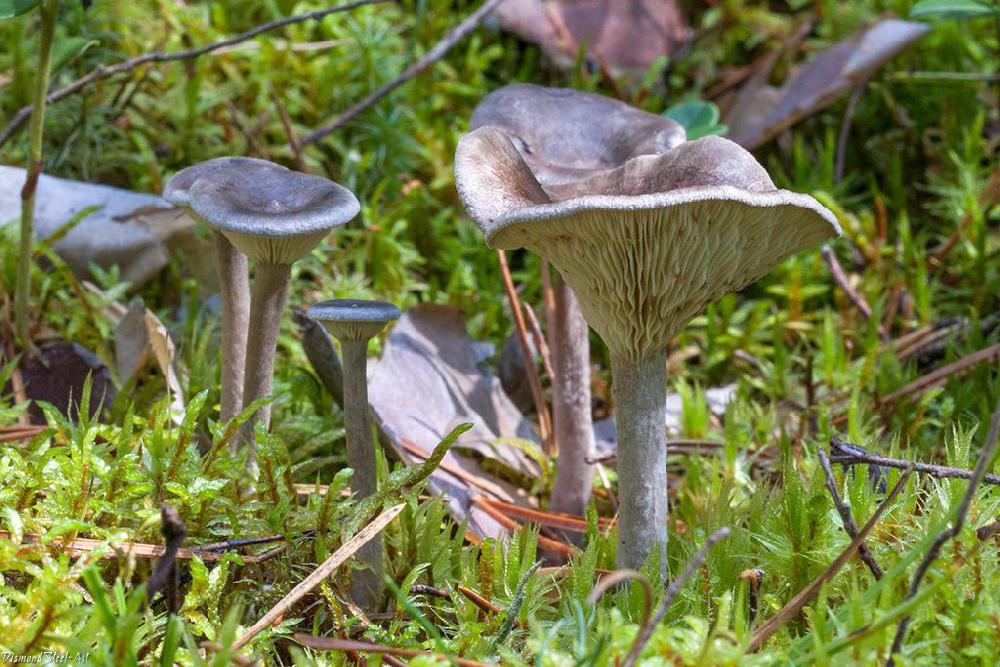
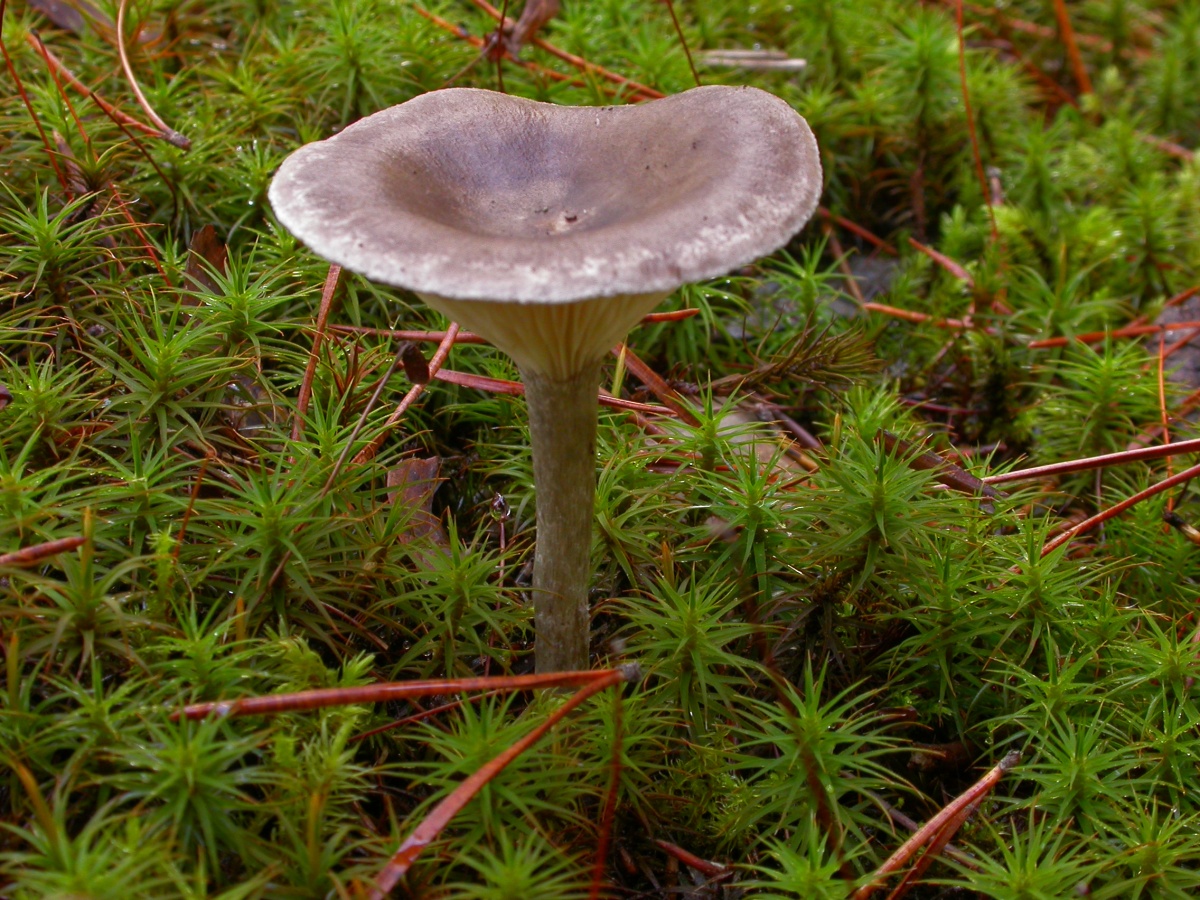
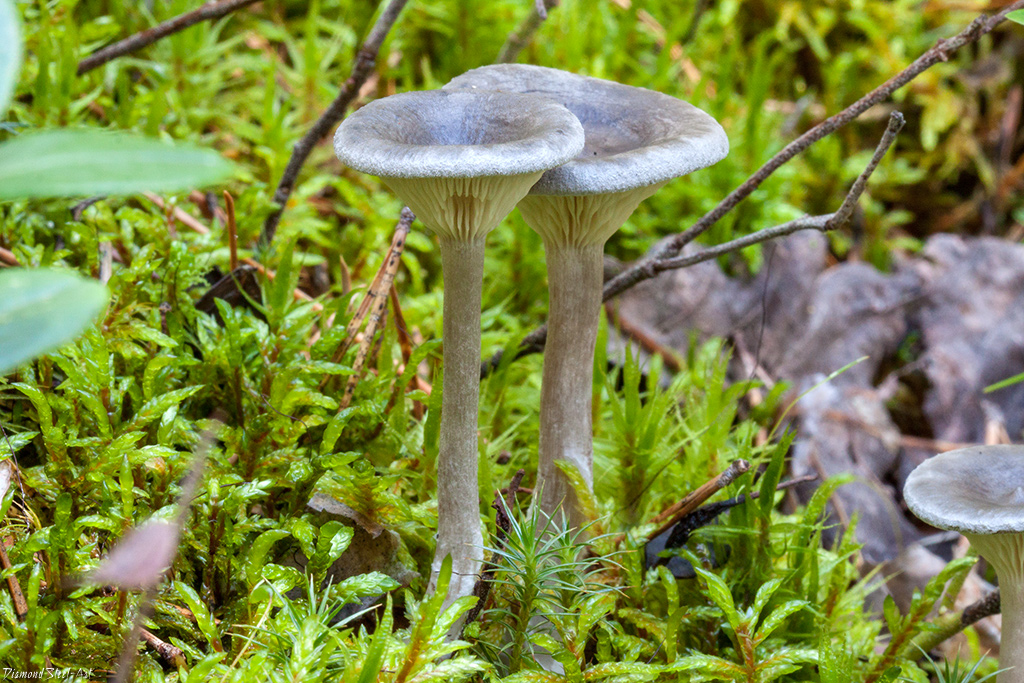
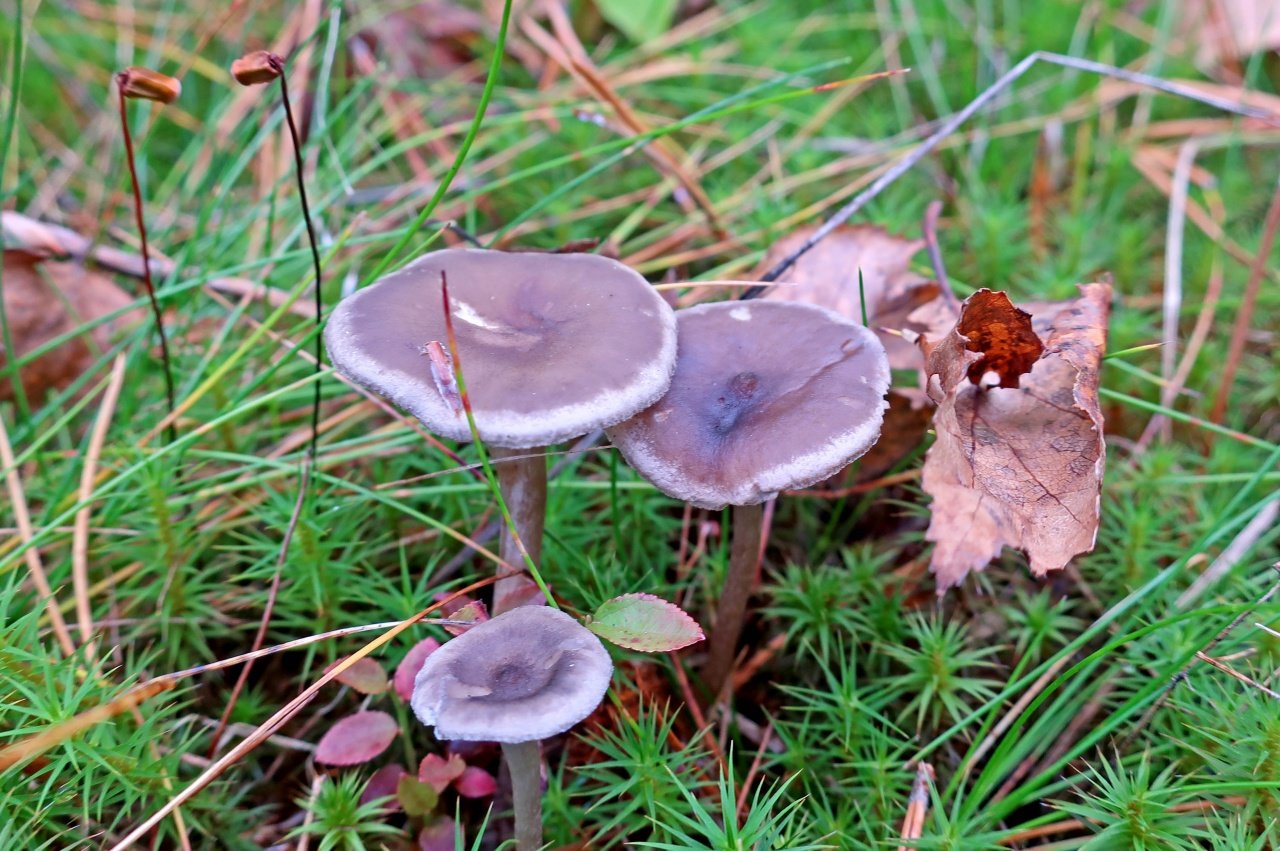
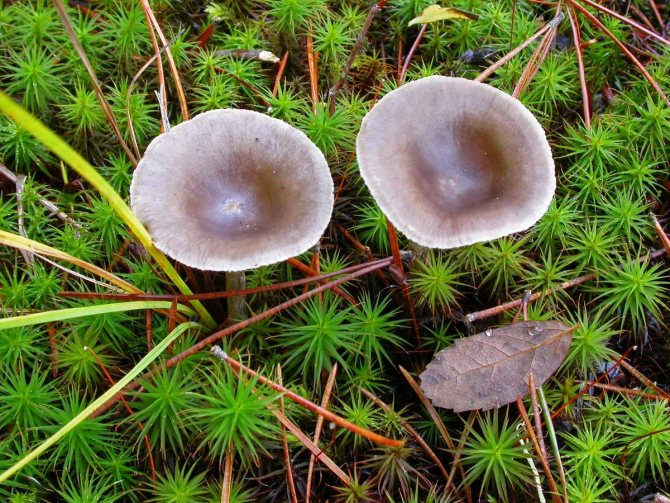
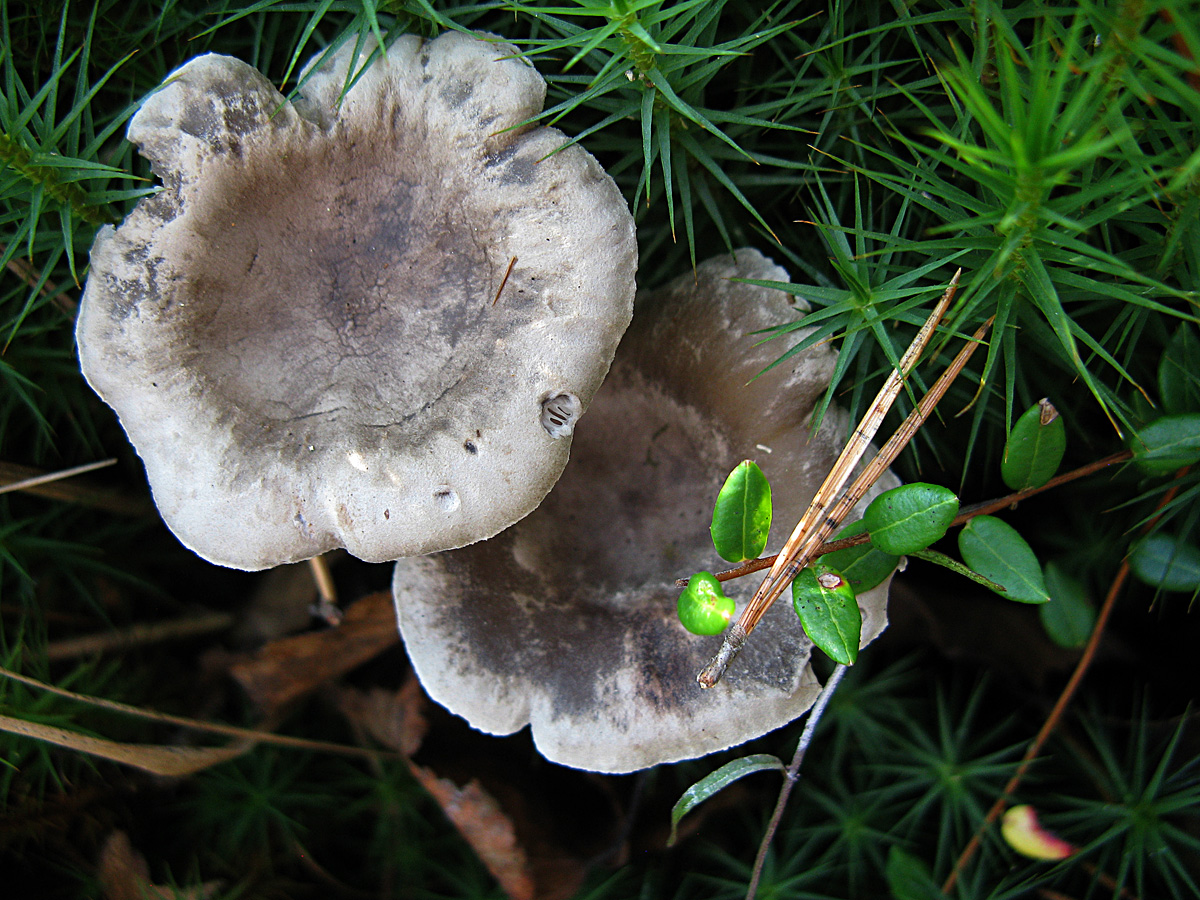
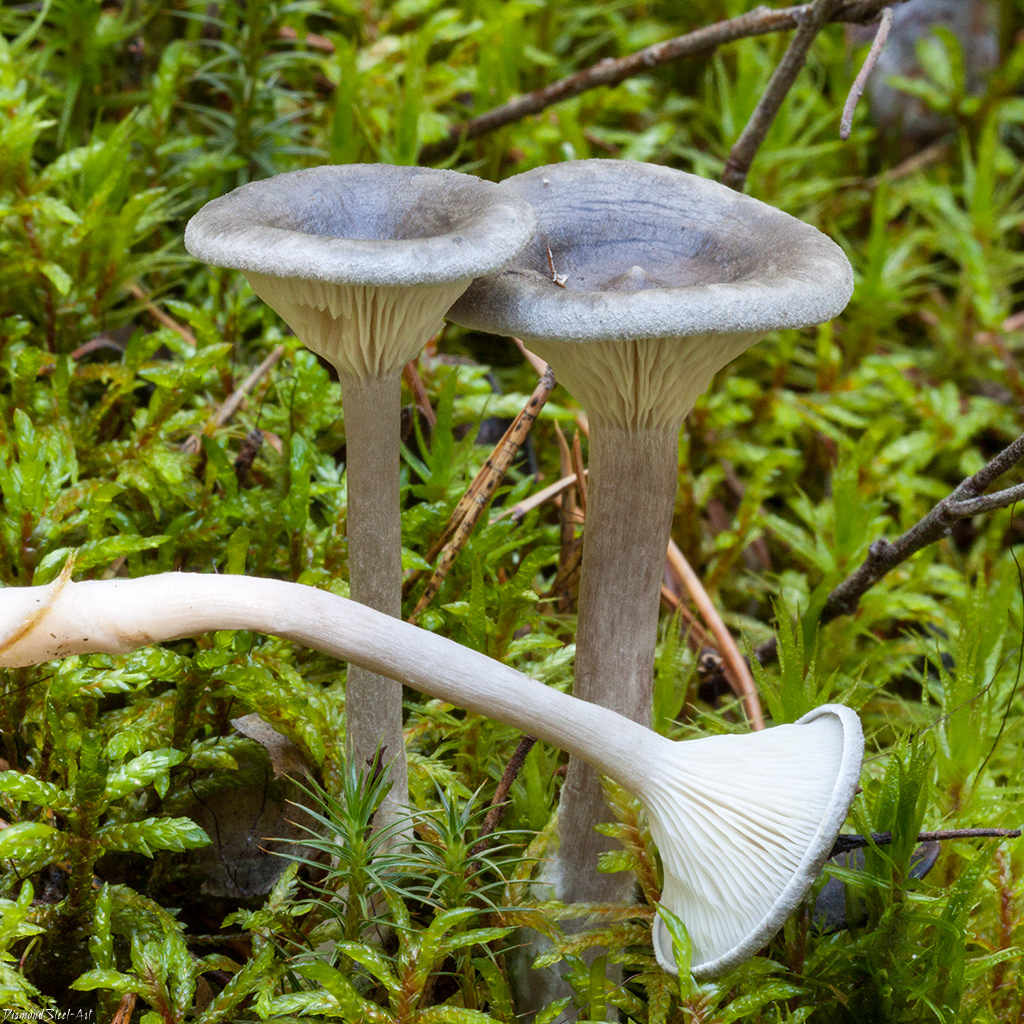
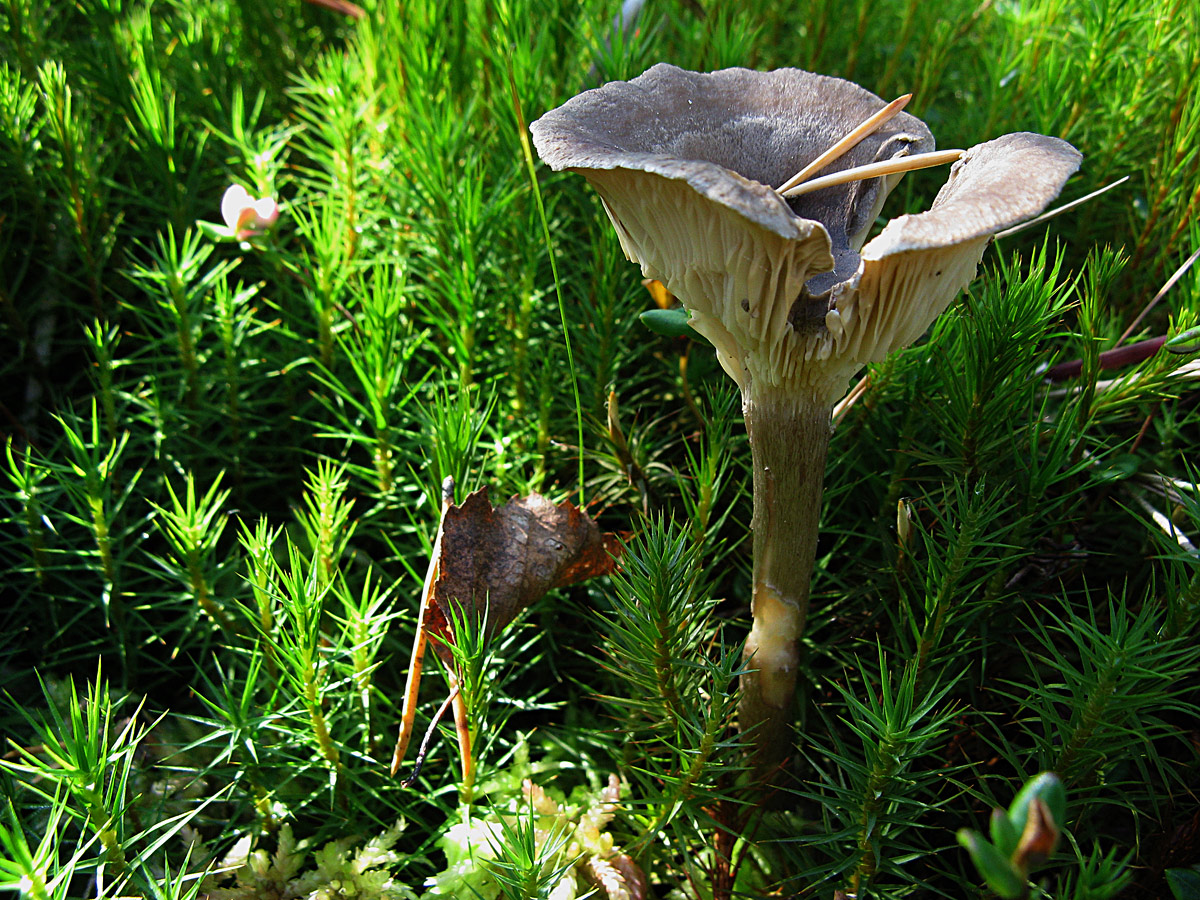
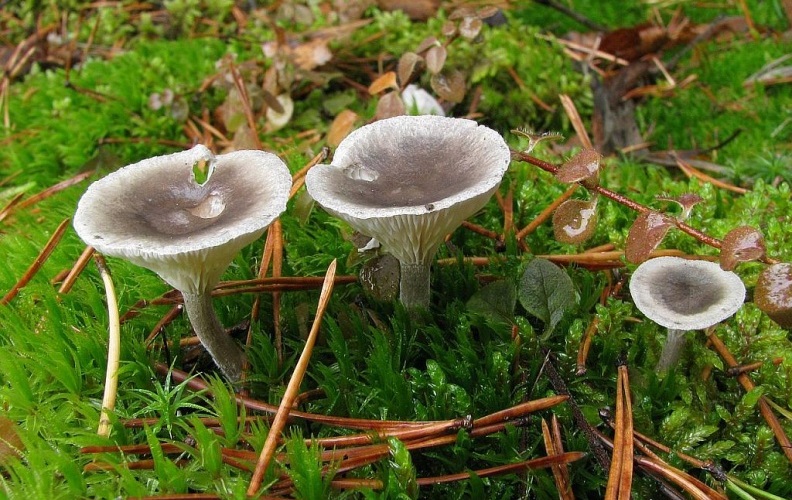
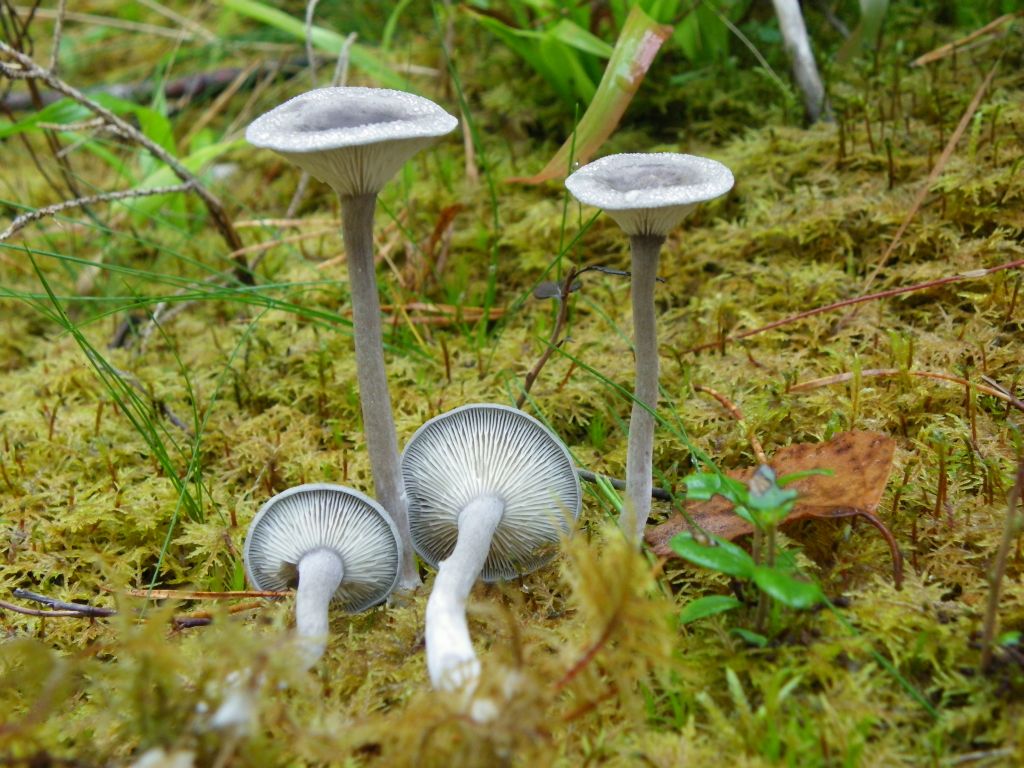
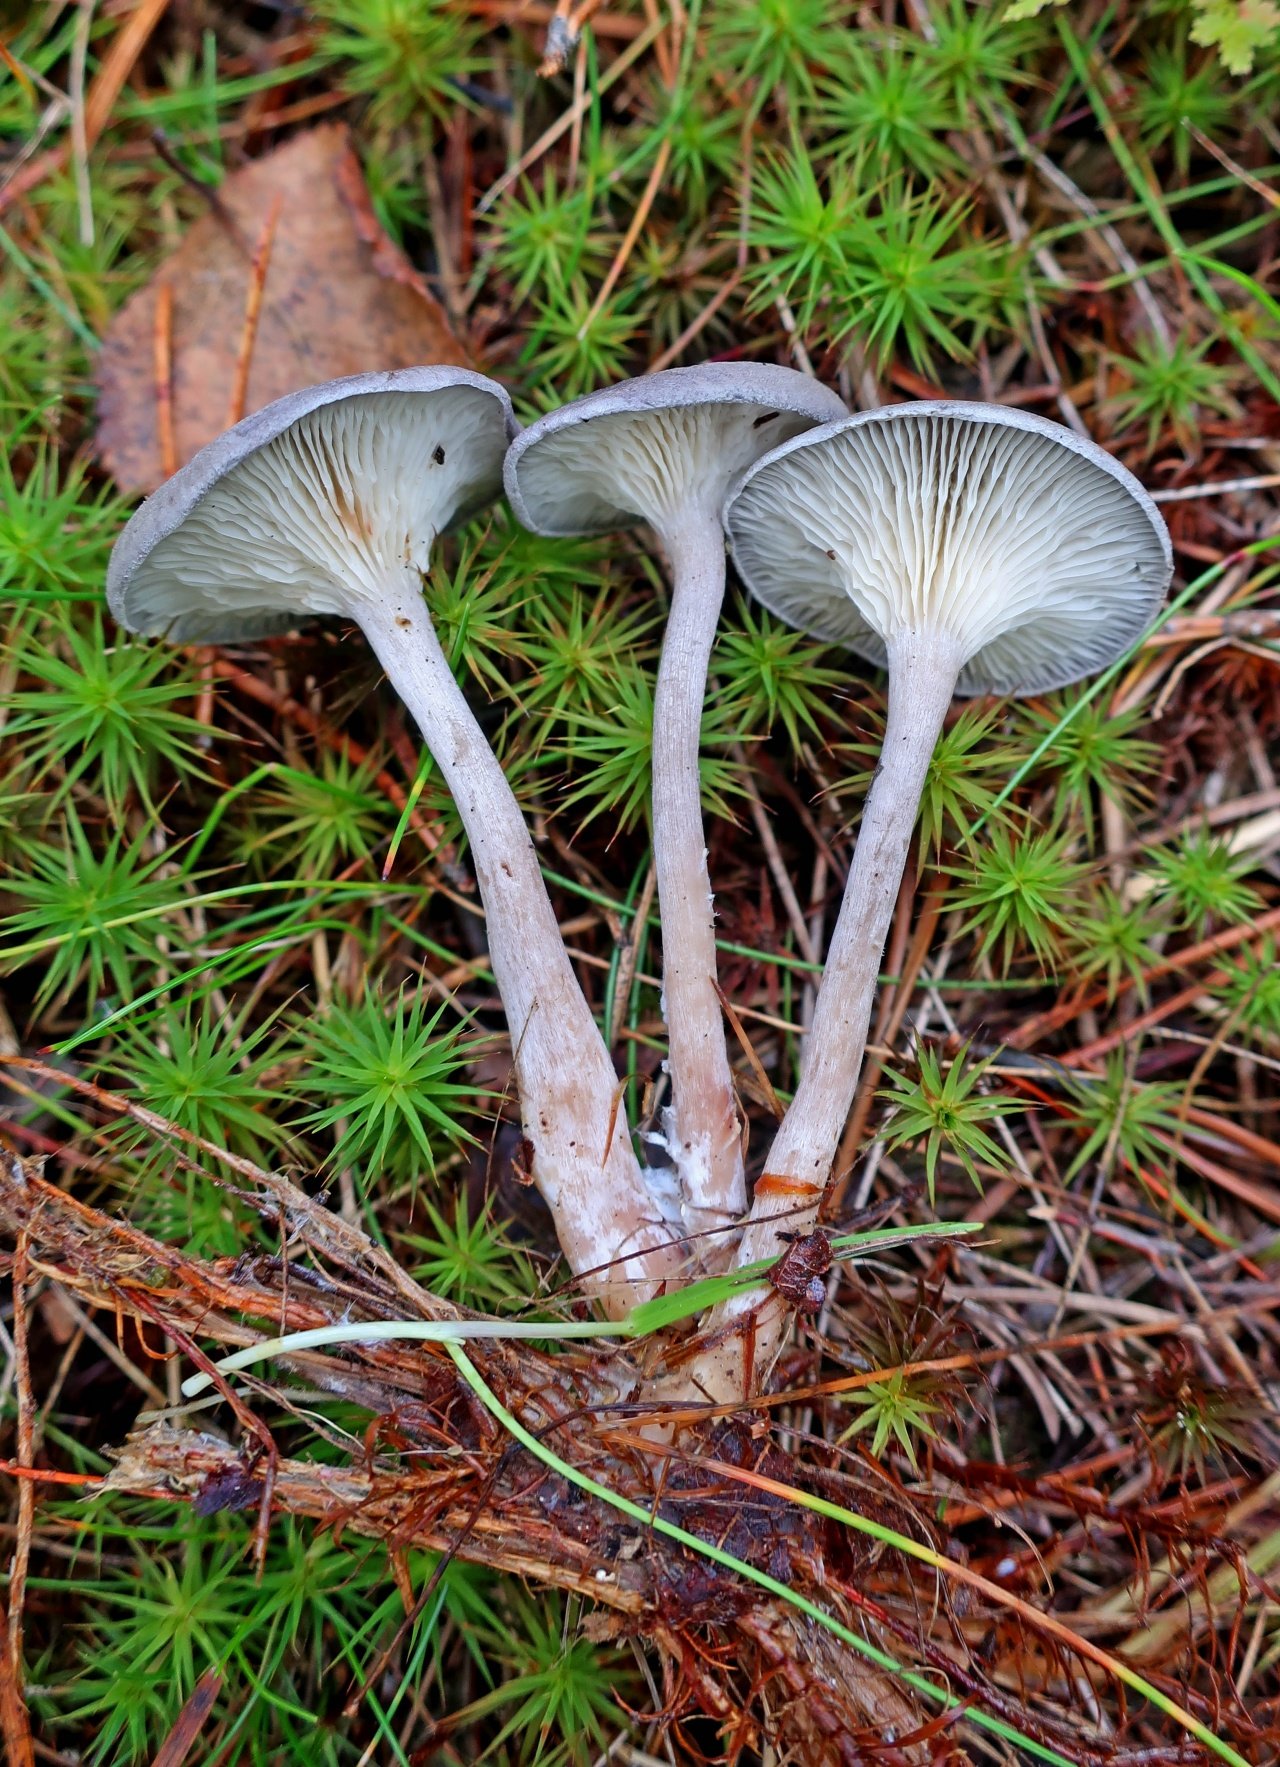
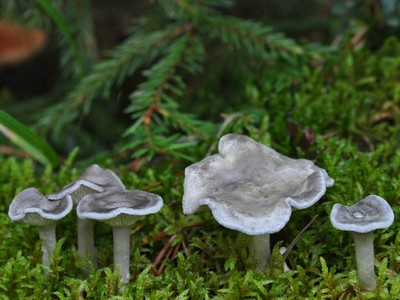
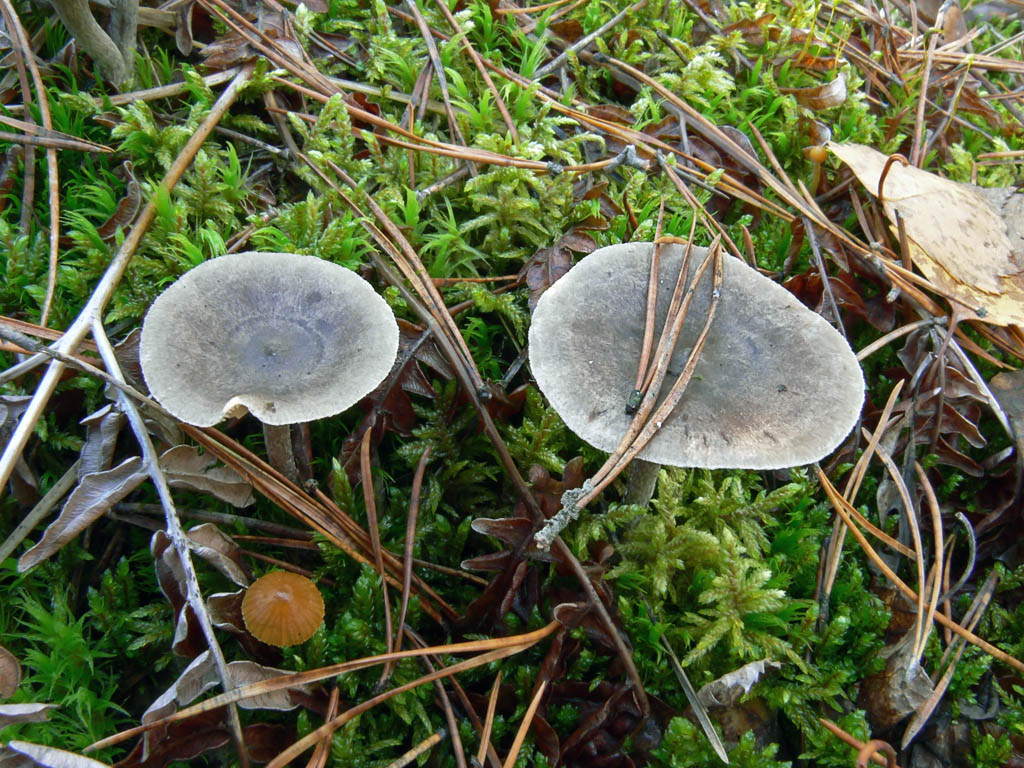
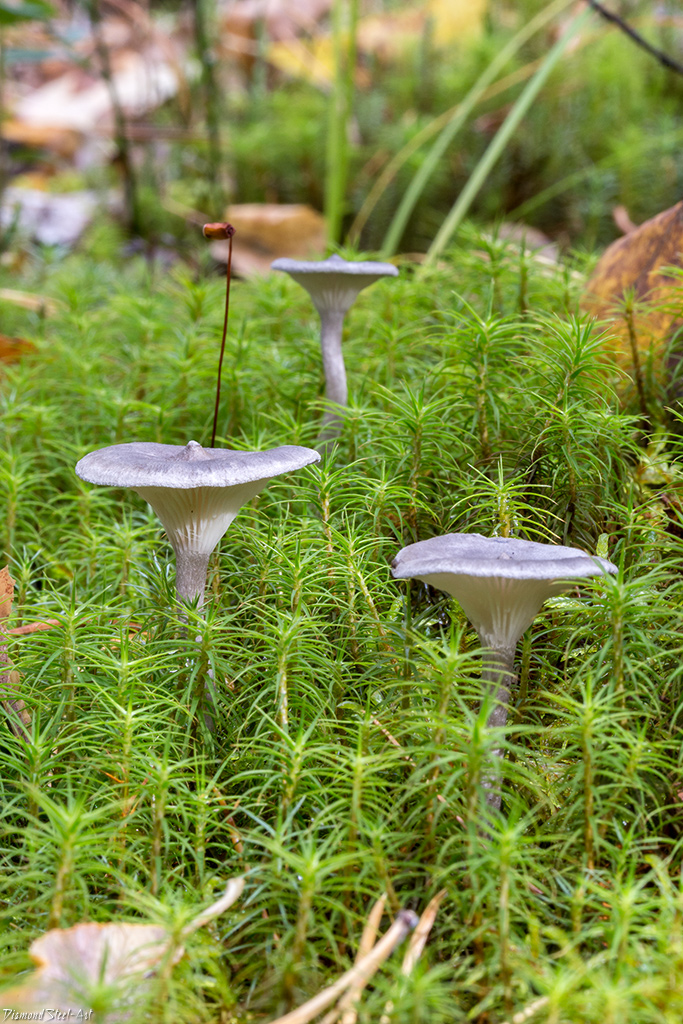
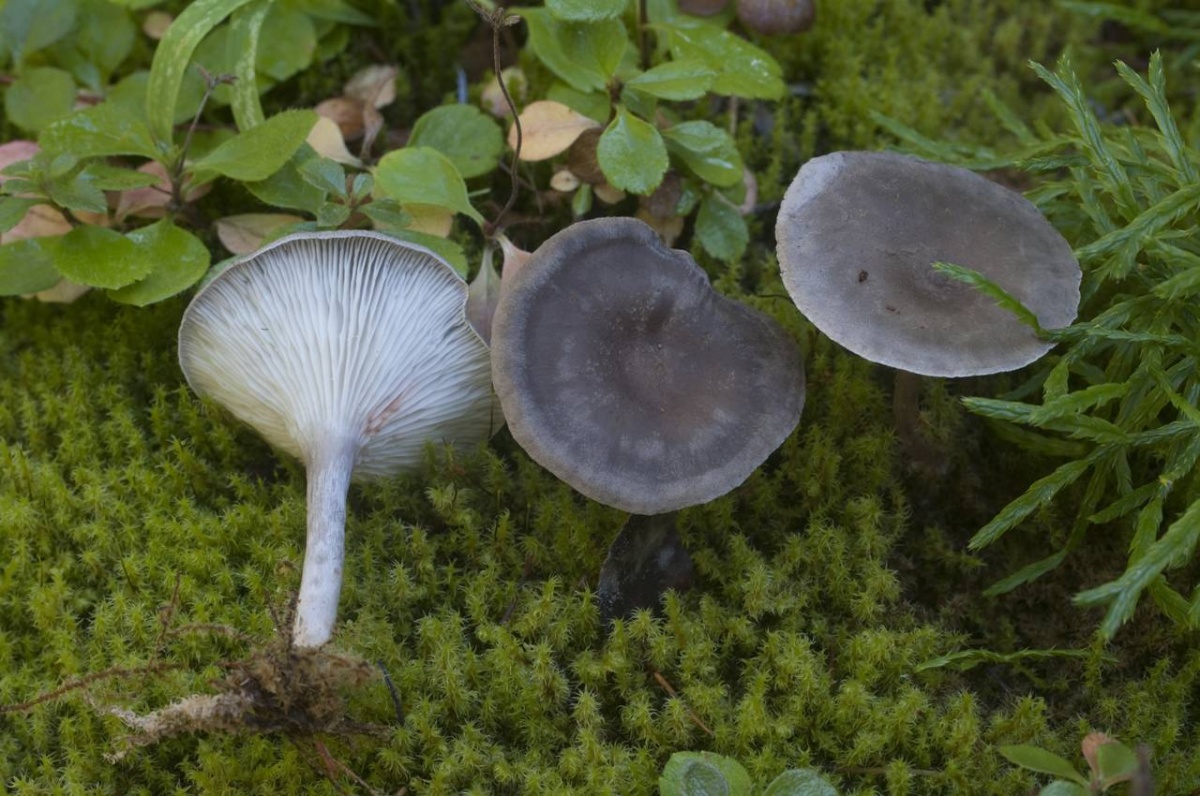
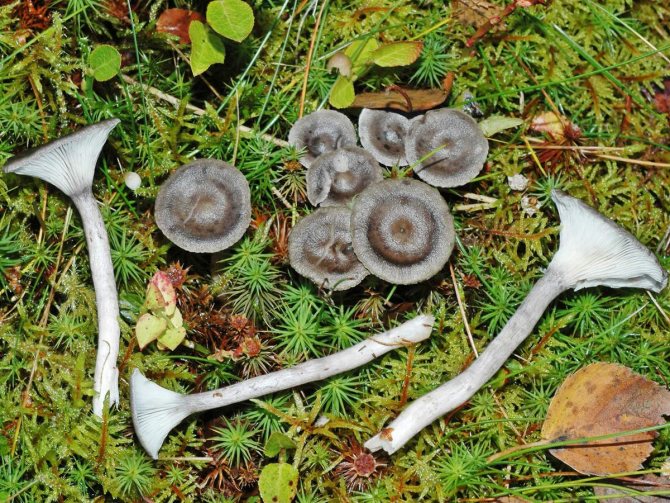
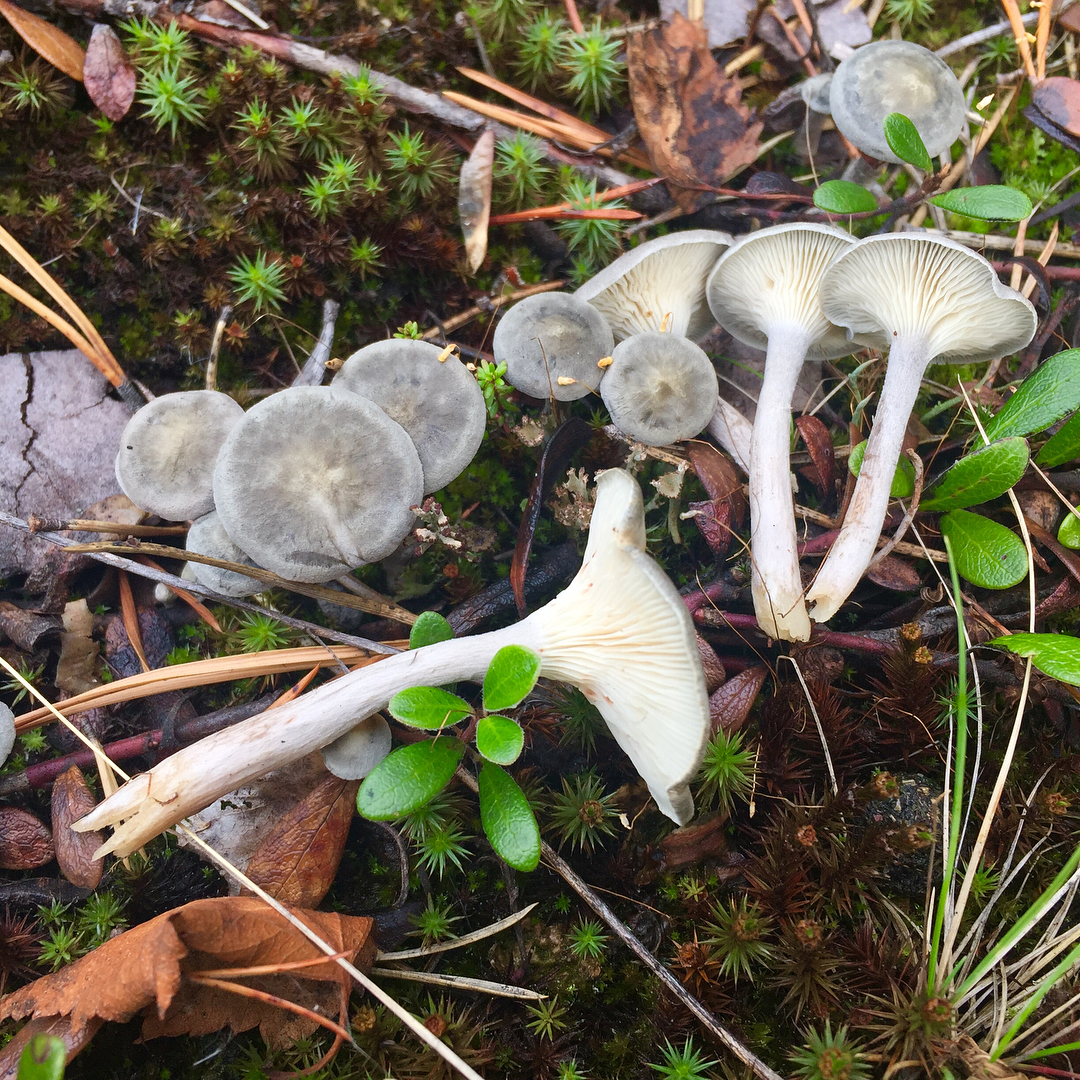
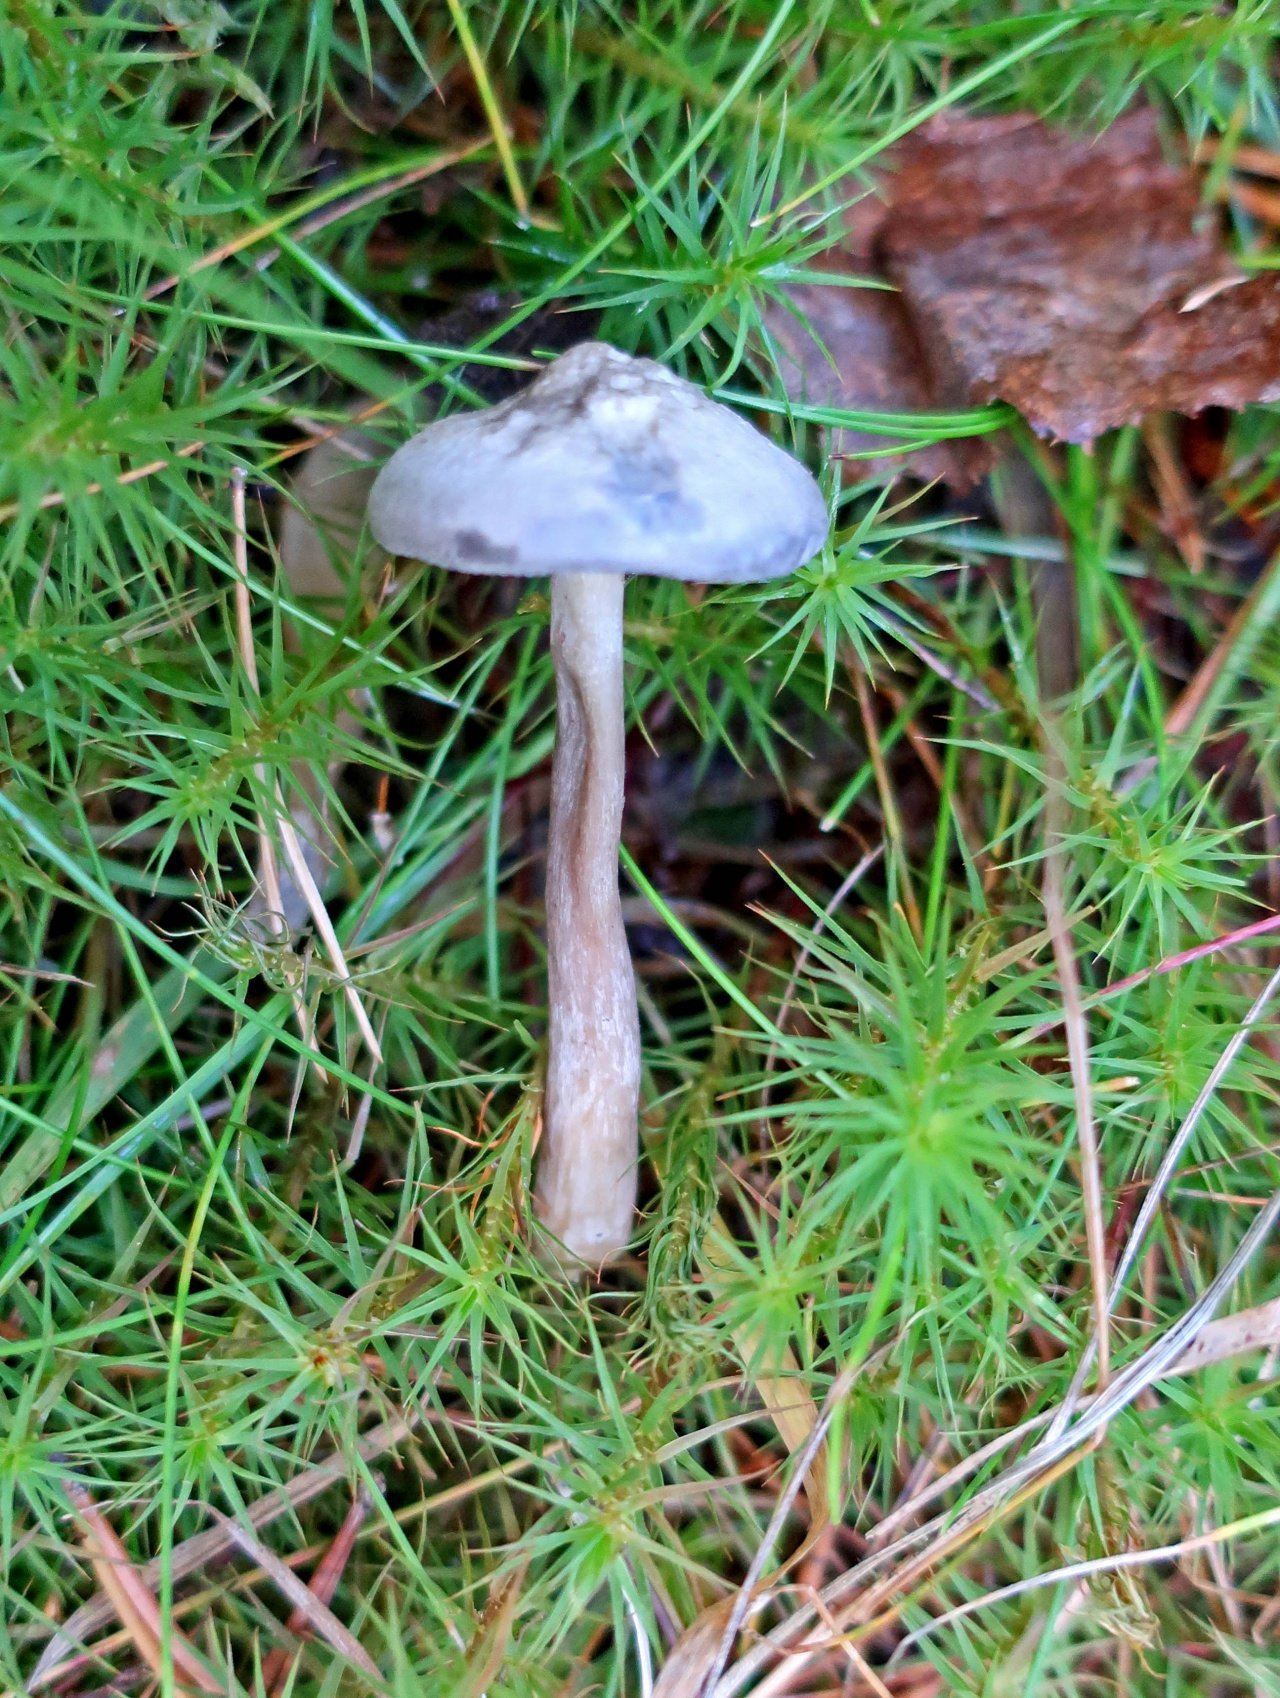
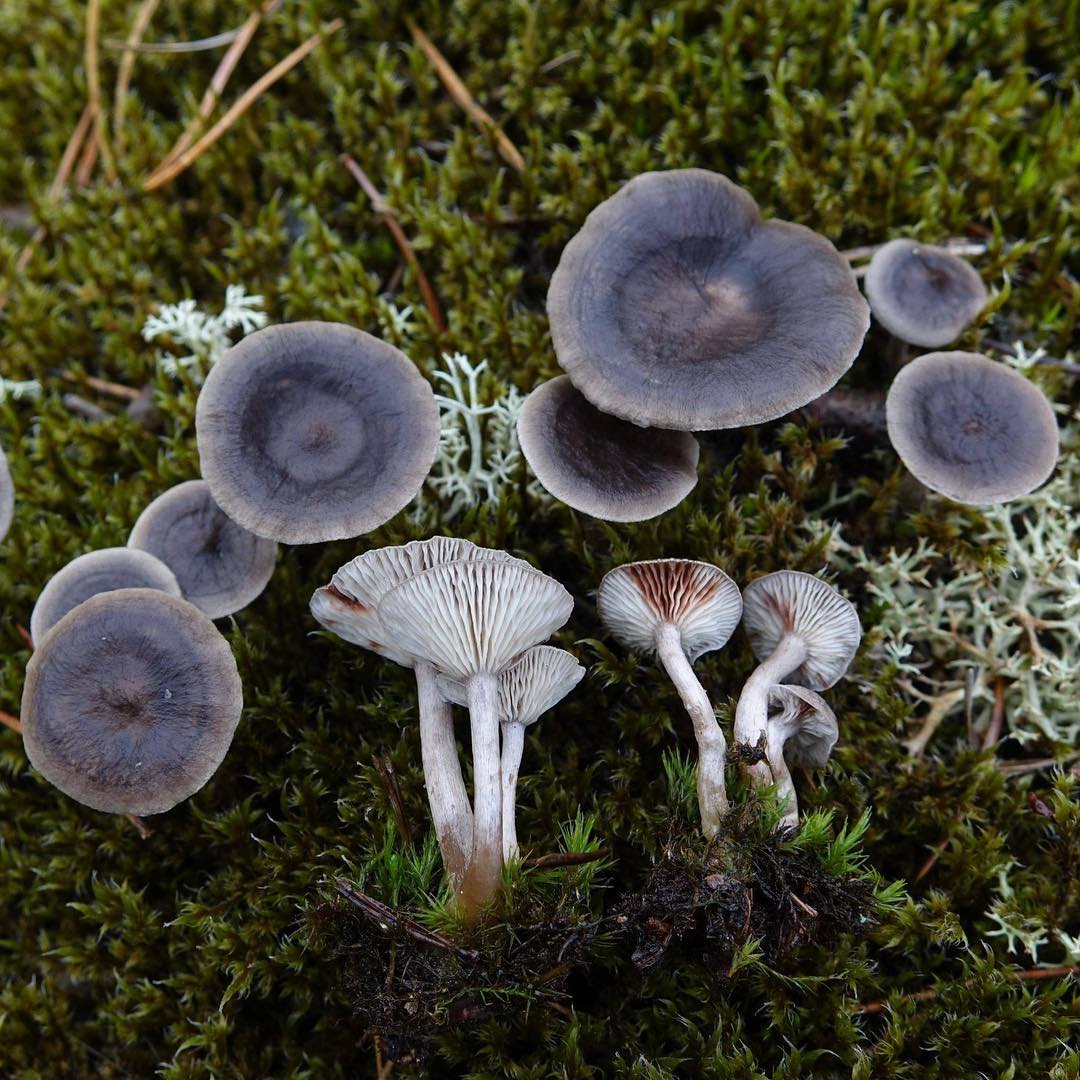
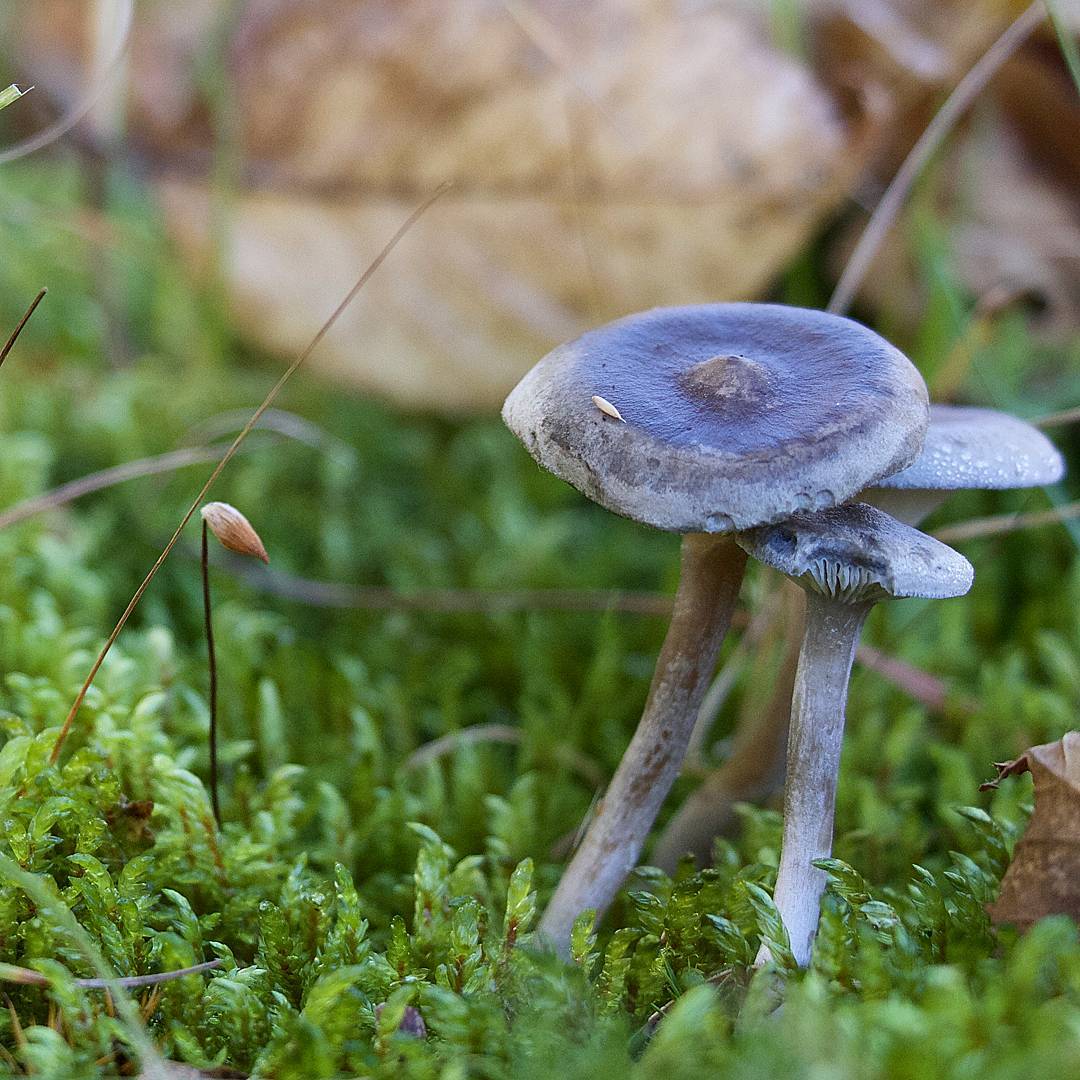
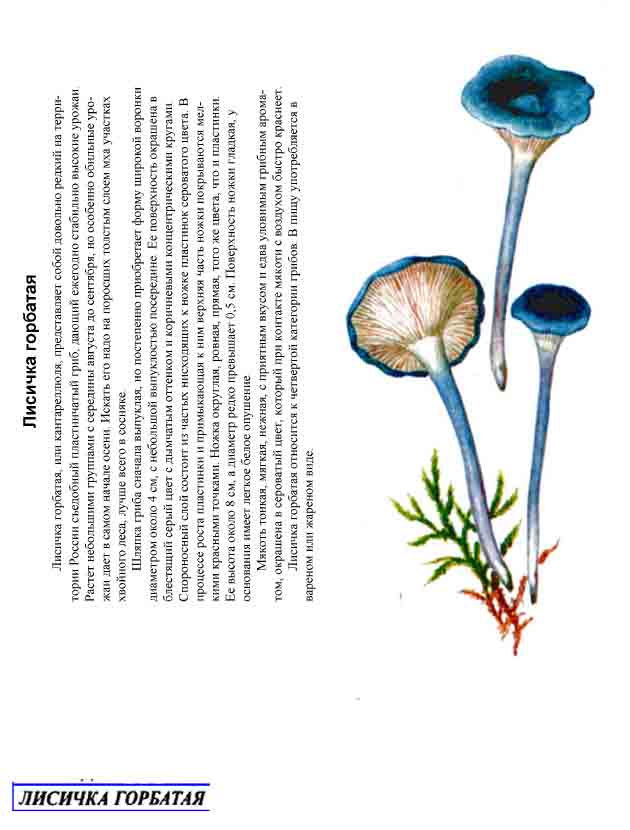
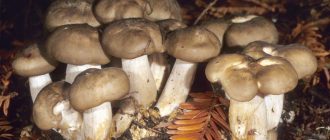
The cap is steel-blue or grayish, with a tubercle in the center.The diameter of the cap is 5-6 centimeters. The shape of the cap looks like a funnel. Because of its convex shape, the mushroom was nicknamed "humpbacked". The edges of the cap are light; in young specimens they are slightly curled up.
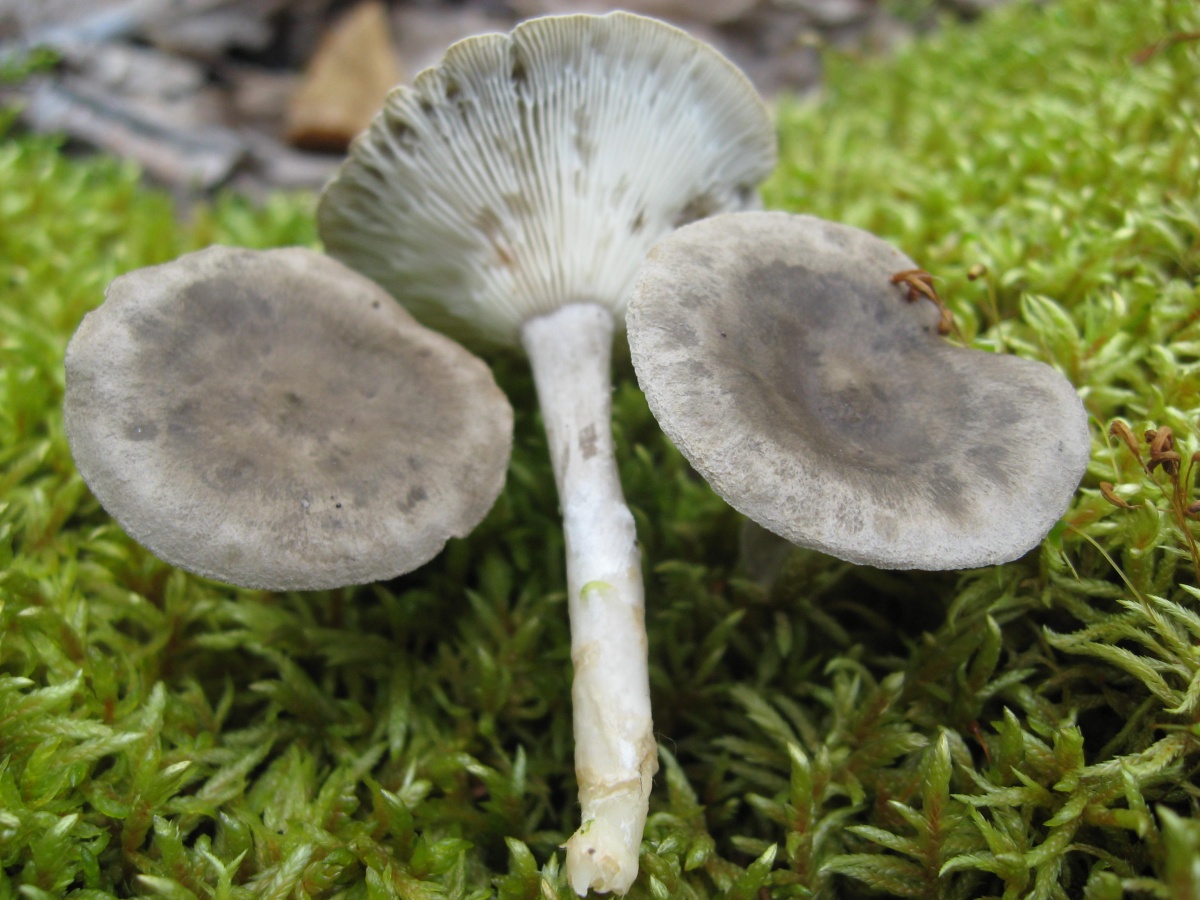
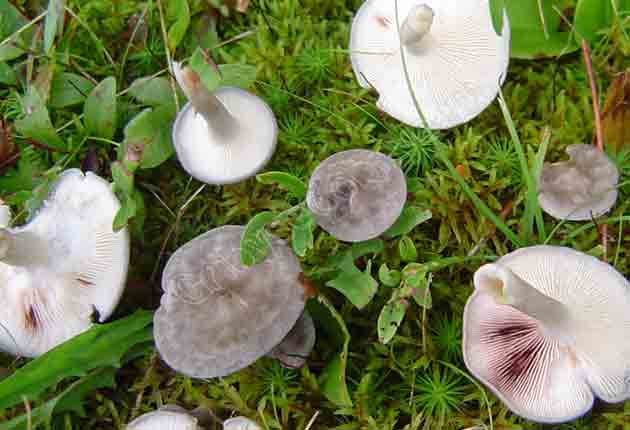
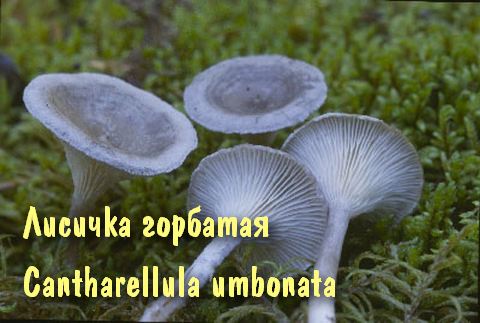
Plates are gray-white, branched. Young specimens have frequent red spots. The leg is cylindrical in shape, its base is slightly pubescent. The color of the leg is lighter than the cap.
The flesh of the mushroom is white; when broken, it turns red. The pulp has a pleasant taste and smell. Spore powder is white.

Growing places of humpback chanterelles
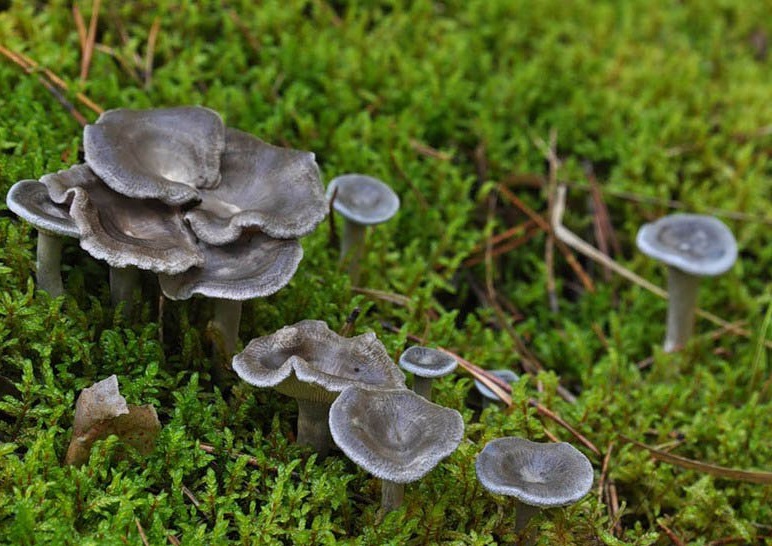
Humpbacked larvae grow in coniferous and mixed forests. They choose places with moist soil, settling among mosses. Humpback chanterelles settle in groups, and sometimes alone.
They bear fruit in the summer season - closer to mid-August, as well as at the beginning of autumn. The fruiting season ends with the onset of the first frost. The yields of these mushrooms are stable and quite high.
Where humpback chanterelle mushrooms grow
The main distribution of the chanterelle humpback, otherwise cantarellula tubercle, is in the European, central part of Russia, Moscow region. It is an infrequently found species, it grows only in groups, and gives a stable harvest every year. Mushrooms are harvested from late August to September. In regions with early winter, the end of the humpback chanterelle mushroom season often coincides with the appearance of the first snow.
Chanterelles grow in families in a row or form large circles, occupy a large area on a moss cushion. More often found in damp forest under pine trees, but can also grow in dry coniferous forest
The time of collection falls on the main mushroom season, when there are mushrooms that are more valuable from an economic point of view, therefore, the humpback chanterelle is rarely paid attention to. Less experienced mushroom pickers, due to its unusual appearance, consider the humpback chanterelle poisonous
The fruit body is not only edible, but also, due to its chemical composition, has a certain nutritional value.
Sowing dill seeds
Sowing technology is very similar to sowing seeds for growing seedlings. Moisten the soil slightly before sowing. It is better to use a spray bottle for this. On the surface of the soil, make shallow, 1 - 1.5 centimeters, grooves. To avoid thickening of dill crops in a pot, plant one seed at a time using a damp match or a toothpick, observing a distance of 3 centimeters between them. Then the seeds are sprinkled with earth and moistened again from the spray bottle.
After sowing, cover the container with seeds with any transparent material (film, glass) and place in partial shade. The temperature for germination should be moderate, in the range of 18-20 degrees. The first shoots, depending on the variety of dill and germination conditions, can be expected in a week. Massively, they will begin to sprout in 10 - 12 days. After that, the dill can be moved to the illuminated windowsill. Remove the film (or glass).
Lighting
But in winter, when there is already not enough light, daylight hours are significantly reduced. At this time, dill will need additional lighting. It is not difficult to organize it. An ordinary white fluorescent lamp is suitable for this. Phytolamps can also be used, which is preferable. Moreover, there are now quite a few such lamps using economical LEDs.
The optimal time for sowing dill in a container is from mid-spring, when daylight hours have increased well.
To sow dill at home, you must follow the following sequence of actions:
- cover the bottom of the container with a drainage layer (2-3 cm);
- fill the container with earth, not reaching the edge by 2-3 cm;
- sow seeds, cover with earth on top (0.5 cm);
- water;
- close the container with a package or glass;
- place in a warm place.
Preparation of planting material
It is recommended to pre-prepare dill seeds before sowing. You need to carry out the following procedures:
- disinfection (seeds are placed in a weak solution of potassium permanganate for 20 minutes);
- bubbling (planting material is placed in a container with water, the compressor for the aquarium is started);
- sorting of seeds (floating specimens are removed);
- stimulation of germination with the help of agrochemical preparations (according to the instructions, they are soaked in a solution with Epin, Energen, Zircon).

Instead of the modern method of removing essential oils from seeds - bubbling, you can use traditional soaking - planting material is placed on cheesecloth, moistened. Withstand 8 hours.
The listed preparatory measures increase, accelerate germination, prevent diseases, help protect seedlings from pests.
Definitioner
- Basidia (Basidia)
-
Lat. Basidia. A specialized structure of sexual reproduction in fungi, inherent only in Basidiomycetes. Basidia are terminal (end) elements of hyphae of various shapes and sizes, on which spores develop exogenously (outside).
Basidia are diverse in structure and method of attachment to hyphae.
According to the position relative to the axis of the hypha, to which they are attached, three types of basidia are distinguished:
Apical basidia are formed from the terminal cell of the hypha and are located parallel to its axis.
Pleurobasidia are formed from lateral processes and are located perpendicular to the axis of the hypha, which continues to grow and can form new processes with basidia.
Subasidia are formed from a lateral process, turned perpendicular to the axis of the hypha, which, after the formation of one basidium, stops its growth.
Based on morphology:
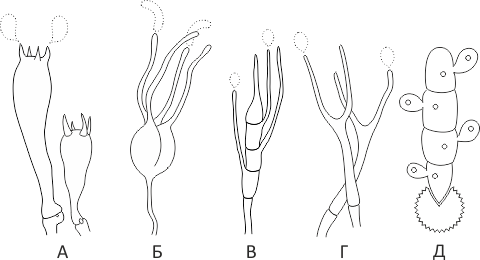
Holobasidia - unicellular basidia, not divided by septa (see Fig. A, D.).
Phragmobasidia are divided by transverse or vertical septa, usually into four cells (see Fig. B, C).
By type of development:
Heterobasidia consists of two parts - hypobasidia and epibasidia developing from it, with or without partitions (see Fig. C, B) (see Fig. D).
Homobasidia is not divided into hypo- and epibasidia and in all cases is considered holobasidia (Fig. A).
Basidia is the place of karyogamy, meiosis and the formation of basidiospores. Homobasidia, as a rule, is not functionally divided, and meiosis follows karyogamy in it. However, basidia can be divided into probasidia - the site of karyogamy and metabasidia - the site of meiosis. Probasidia is often a dormant spore, for example in rust fungi. In such cases, probazidia grows with metabasidia, in which meiosis occurs and on which basidiospores are formed (see Fig. E).
See Karyogamy, Meiosis, Gifa.
- Pileipellis
-
Lat. Pileipellis, skin - differentiated surface layer of the cap of agaricoid basidiomycetes. In structure, the skin in most cases differs from the inner pulp of the cap and may have a different structure. The structural features of pileipellis are often used as diagnostic features in descriptions of fungi species.
According to their structure, they are divided into four main types: cutis, trichoderma, hymeniderma and epithelium.
See Agaricoid fungi, Basidiomycete, Cutis, Trichoderma, Gimeniderm, Epithelium.
- Apiculus (Apiculus)
-
1) Short outgrowth at the end of the spore;
2) The elongated short process of the basidiospore, by which it is attached to the sterigma.
See Gilar process.
- Amyloid (Amyloid structure)
-
The structure is called amyloid if from Melzer's reagent (solution of 0.5 g of crystalline iodine + 1.5 g of potassium iodide + 20 ml of chloral hydrate + 20 ml of distilled water) turns blue, violet, sometimes almost black.
See Dextrinoid structure.
Is it possible to eat humpback chanterelles
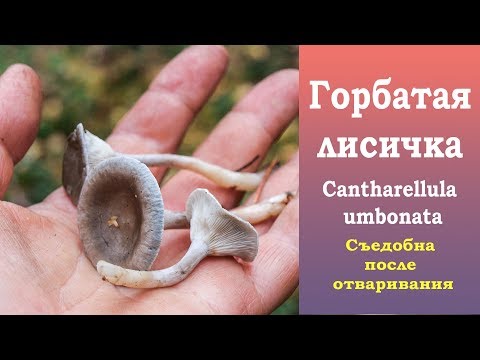
In terms of nutritional value and taste, humped chanterelles are referred to the 4th last classification group. Cantarellula is characterized as a conditionally edible mushroom, non-toxic to humans. The group includes numerous representatives, they are also divided according to the degree of nutritional value.
In the upper part of the fruiting body, the cap and part of the stem of the humpbacked chanterelle, the concentration of nutrients is not inferior to the classical form. The chanterelle is used only after heat treatment. For example, mushrooms are not suitable for drying.
Attention! There is little water in the chemical composition; after its evaporation, the fruit body becomes so hard that further culinary use is impossible.
What humpback chanterelles look like
Cantarellula is difficult to confuse with other species; outwardly, it does not even remotely resemble the usual classic chanterelle. The fruit body is small, which does not add to the popularity of the mushroom, the color is gray or dark ash, uneven.
The cap is of the correct rounded shape - 4 cm in diameter, it can be slightly wavy if the chanterelle is overripe. The surface is smooth, lighter at the edge, dark in the middle with concentric steel-colored circles. A cylindrical bulge forms in the central part; the tubercle is present in young and mature specimens. As it grows, a shallow funnel forms around it. The edges of the cap are slightly concave inward.
The lamellar spore-bearing surface is dense, the plates are forked-branched, densely arranged, descending to the upper part of the fruit stem. The underside of the chanterelle is white with a slight gray tint. In the line of transition from the cap to the leg, the plates are covered with a rare blotch in the form of red dots.
The leg is straight, rounded, covered with a dense white bloom on top. The length depends on the layer of moss, on average 8 cm. The diameter is the same along the entire length - within 0.5 cm. Near the mycelium, the color is light brown, to the cap it is closer to white. The leg is one-piece, the inner part is rigid and dense.
The pulp is soft, the concentration of water is insignificant, therefore the structure is brittle, the color is white with a barely noticeable gray tint. The smell is subtle mushroom, not expressed. There is no bitterness in the taste. The cut site turns red during oxidation.
Growing dill in the winter at home
Planting and growing dill at home depends on the right choice:
- varieties and quality of seed;
- utensils corresponding to the size of the planting material;
- good, fertile soil;
- effective feeding;
- additional lighting in winter;
- leaving.
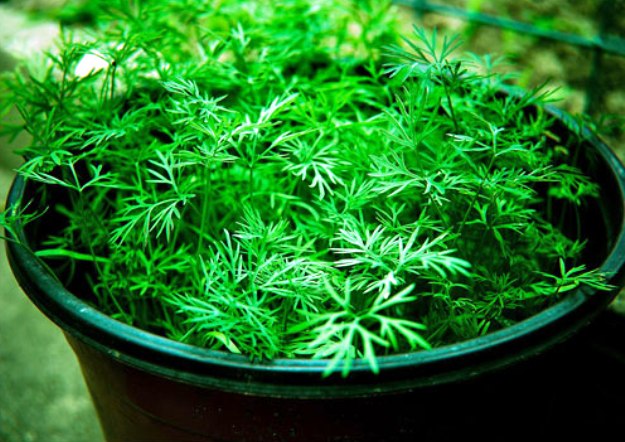
Growing dill at home
Often the plant is grown on a windowsill so that it can receive sufficient light.
For the cultivation of dill in the house, choose wooden, plastic containers with a volume of at least 1-2 liters. The containers should be deep, as in other containers the root system will be cramped.

Choice of containers: plastic, wooden, peat pots
There must be holes at the bottom of the container and drainage, for which expanded clay, pebbles, gravel are used. New pots (containers) are washed with laundry soap and disinfected with whiteness, boiling water or peroxide.

Soil for planting dill in the house
Disinfection of the soil is carried out with a manganese solution (weak), calcining, watering with boiling water and other methods.
Important! Acidic soils are not recommended for growing dill
When buying soil, you need to pay attention to its acidity (pH)
Shrub (bushy) dill is an interesting variety that does not grow in separate tall stems, but in the form of bushes: from the ground itself, the plants begin to branch strongly. Many of the varieties of bush dill are capable of growing in the garden up to one and a half meters in height, or even higher. In the axils of the leaves of such dill, additional shoots are formed, as a result of which the yield is greatly increased. Such dill blooms very late, which distinguishes it favorably in cases where seeds are not needed.
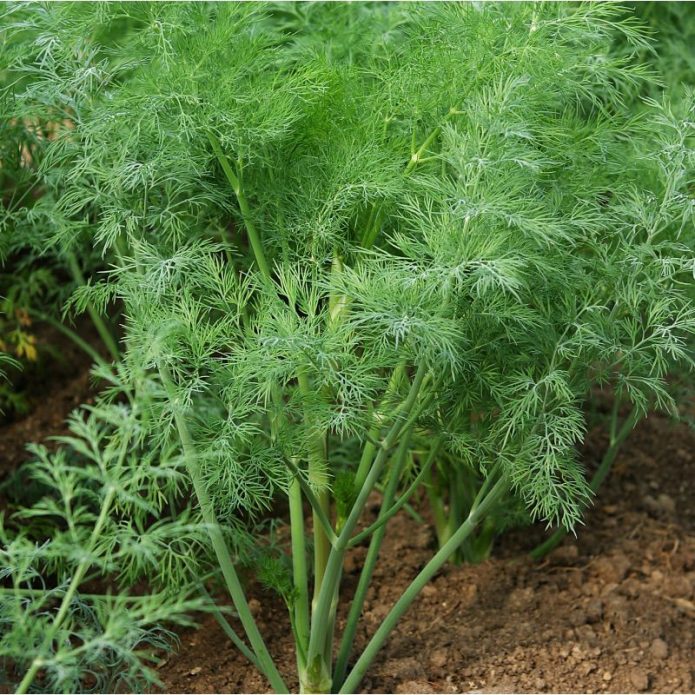
Bush dill gives much more greenery
Of course, it is difficult to grow such dill in an apartment to a height of 1.5 m, but planting it in order to get about 150 g of greens from each bush is quite possible. But we must try to keep the temperature below 20 ° C. Such dill also performs a decorative function: it looks more impressive than usual. Moreover, in the case of bush dill, home cultivation is more reliable.
Planting bush dill and caring for it do not differ from those in the case of conventional varieties, only you need to plant it freer. Ideally, you need to take an individual pot for each plant. Such dill requires a little more light only due to the fact that it blocks itself from it.It also has to be fed a little more abundantly. The greens are cut off selectively, while trying to thin out the bush, to create beautifully shaped plants from it.
- First of all, it is the right variety and quality seeds
- The crockery for growing must be of a suitable size. The first one that comes across is not always suitable.
- Good land.
- Top dressing with fertilizers.
- Additional lighting in the winter.
- Regular and proper care.
As you can see - nothing special and beyond. It is no more difficult to grow the simplest indoor flowers.
Now in more detail about each of the points.
Early maturing - ripen up to 45 days (often earlier). But they have a significant drawback. Very quickly they lose their marketable condition, stretch, bloom. And they form less green mass. Varieties for example: Gribovsky, Early miracle, Grenadier.
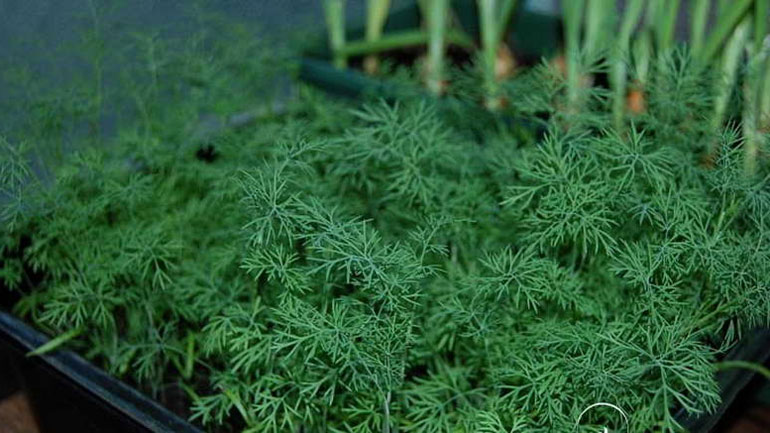
Late ripening. These are the best varieties for growing dill on the windowsill, and in the garden too. It ripens for a relatively long time, 60 - 70 days. But its quality is much higher. It does not lose its market value for a long time. Constantly forms young shoots with abundant fragrant greens. These include the varieties Buyan, Russian, Amazon.
If you want you to always have your own dill, then it is advisable to buy a bag of each of the varieties and plant them separately.
First of all, this container must be deep enough. Dill roots go deep into the ground, and they will be cramped in shallow dishes. If space permits, it is better to use containers for balcony growing flowers, but ordinary flower pots with a volume of 2 liters or more will work. Plastic technical pots work well for this.
The conditions for growing dill at home are somewhat different from growing in the open field. Therefore, the land taken from the garden is not entirely suitable for these purposes. It can be used, but slightly modified, lightening with the same amount of soil for ornamental - deciduous houseplants. It is advisable to enrich the mixture with humus (greenhouse soil).
At the bottom of the container, be sure to create a good drainage layer of expanded clay (you can use clay shards, crushed brick or foam). The optimum height of the drainage layer is 2 centimeters.
Benefit and harm
The chemical composition of the humpback chanterelle is quite diverse, the main composition is the elements involved in many metabolic processes in the human body. Chanterelles have medicinal properties, they are widely used in folk medicine. If the gastronomic value of cantarellul is low, then the medicinal properties are at the proper level. The fruit body contains vitamins: PP, B1, E, B2, C. Macronutrients:
- calcium;
- sodium;
- potassium;
- phosphorus;
- magnesium;
- chlorine;
- sulfur.
Trace elements:
- iron;
- zinc;
- copper;
- fluorine;
- cobalt;
- manganese.
The chemical composition includes proteins, carbohydrates, amino acids. The humpback chanterelle contains a unique substance - hinomannose, toxic to helminths, capable of destroying parasites and their eggs. During heat treatment, the substance decomposes. Therefore, for medicinal purposes, cantarellula is dried and ground into powder.
The beneficial effect on the body of the humpback chanterelle:
- cleanses and restores liver cells;
- inhibits the division of cancer cells;
- participates in the processes of the digestive tract;
- strengthens the walls of blood vessels;
- serves as the prevention of cardiovascular diseases;
- improves vision;
- strengthens the immune system;
- relieves worms.
There is no harm from mushrooms, only it is recommended to refrain from eating women during lactation and people with individual intolerance.
Rules for collecting and processing chanterelles
Warm days in May stimulate the appearance of the first mushrooms. The main ripening of chanterelles begins in July and lasts until the end of September.
Mushroom caps are covered with grass, moss, pine needles. Unlike other mushrooms, chanterelles are not affected by worms, so the cut of the leg is always clean,
Mushrooms can be put into bags, buckets. Since during transportation, they do not crumble or crumple, they can simply be poured into any container.
It is not recommended to collect near industrial plants, because they are capable of accumulating radioactive substances.
Before cooking, they need to be cleaned of dry leaves, earth and rinsed well.
The presented description of chanterelle mushrooms will allow you to determine their type.
Dill care on the windowsill

Early maturing varieties ripen in 1-1.5 months. The disadvantage is that after the appearance of 4-6 leaves, stemming begins. That is, the green mass of the variety gives a little.
Examples of varieties:
- Grenadier - the owner of gray needle-like leaves;
- Gribovsky has a pleasant smell, gives a lot of green mass, is unpretentious in care;
- Anker is a medium-sized plant with juicy fragrant leaves;
- Dalniy is a high yielding, disease resistant variety with excellent taste and spicy aroma.
Mid-season varieties delight with a large amount of greenery, and for a long time. After harvesting the leaves, new ones grow in their place, although they are coarser and less aromatic than those of the first harvest. The ripening period for varieties is 10-15 days longer than for early maturing ones.
Examples of varieties:
- Richelieu is an odorous variety with lacy leaves of a bluish-green color;
- Kibray is a popular variety in Russian regions. The best view in terms of growth and yield of greenery;
- Umbrella is a dill with tender and juicy greens in the early stages of growth.
Late-ripening varieties are the most suitable option for growing on a windowsill, but a vegetable garden and a balcony are not excluded. Greens can be harvested for 60-70 days. The quality of the dill is good. Young shoots are formed constantly and at an enviable speed. These include the Russian variety, Amazon, Buyan, and others.
Additional Information! To enjoy dill every day, it is enough to purchase seeds of different ripening periods and sow at the same time, but not in a common container.
To get dill in your home and greenhouse, you can use the hydroponic method. Hydroponics is a system for growing greenery without soil. Dill roots are dipped in a nutrient solution. The plant receives all the necessary elements from this solution. Care consists only in adding a solution and timely cutting off the grown dill.
- Good land.
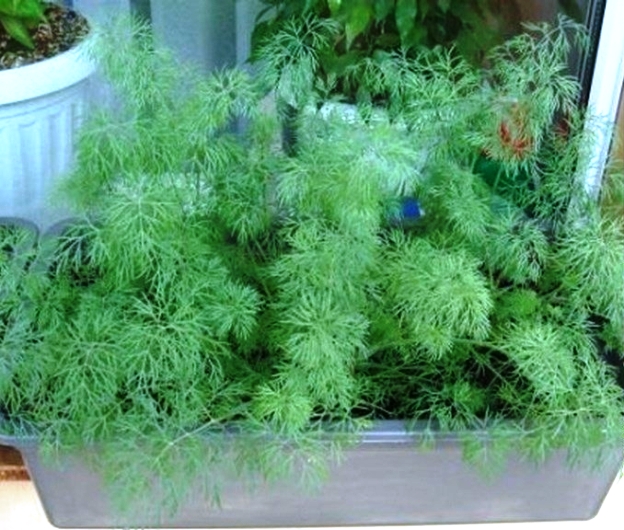
In addition to sufficient lighting, dill will need to be kept at an optimal temperature, watering, spraying and feeding.
Temperature
There should be no problems with the temperature of the content of dill on the windowsill. It will grow normally at normal room temperature. The optimum is considered to be 17-20 degrees. In winter, this temperature will be on the windowsill not far from the window.
Watering dill on the windowsill should be done only after the top layer of the earth has dried. For irrigation, use water not immediately from the tap, but settled and warm. It is better to water young seedlings not at the root, but from above from a spray bottle.
In dry air, the dill will dry out. This is especially critical in winter, when heating dries the air. Therefore, spray it periodically.
Top dressing
For feeding dill, only nitrogen fertilizers are used. Their choice is wide enough, both purchased and homemade, folk recipes. What suits you best, decide for yourself. Dill is fed from one to two times a month during the growth period.
In order for the dill bushes to grow evenly, they must be periodically rotated around their axis relative to the light source.
Successful cultivation and abundant harvest!
Have you noticed a mistake in the text?
Select it with the mouse and press Ctrl Enter
Tips from experienced summer residents, reasons for failure
Many beginners who want to arrange a greenhouse right in the house often do not understand why greenery does not grow on the windowsill.
Points to remember:
- indoor plants are capricious; for good growth, you need to create suitable conditions;
- the climate necessary for seedlings is not always possible to organize in a city apartment;
- homemade greens can taste very different from those grown outdoors.
Pulling seedlings
There are several reasons:
- During the heating season, amateurs may be faced with the fact that the dill stem is stretched out, and there are not many leaves. The correct solution is supplementary lighting with fluorescent lamps.
- The next reason for pulling greens is dense sowing. When young plants lack light, they begin to grow tall. So you need to thin out the plantings, leaving the strongest specimens.
Yellowing of leaves
Yellow, curled leaves can be a sign of:
- overflow;
- illness;
- damage by pests.
To solve the problem, you should:
- revise the irrigation regime;
- in case of detection of pests, characteristic features of diseases (mold on the surface of the soil, decay), treat with the help of special preparations or folk remedies;
- lower the temperature in the room, periodically ventilate.
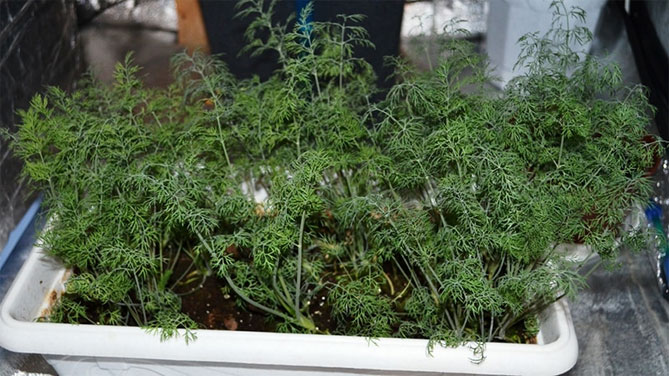
Dill is a cold-resistant and light-loving plant. It is not difficult to grow it outdoors. But in a greenhouse or at home on a windowsill, it is more difficult to get fragrant leaves, it is difficult to create suitable conditions in a room.

