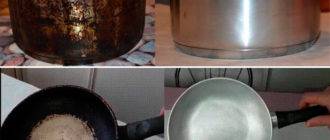
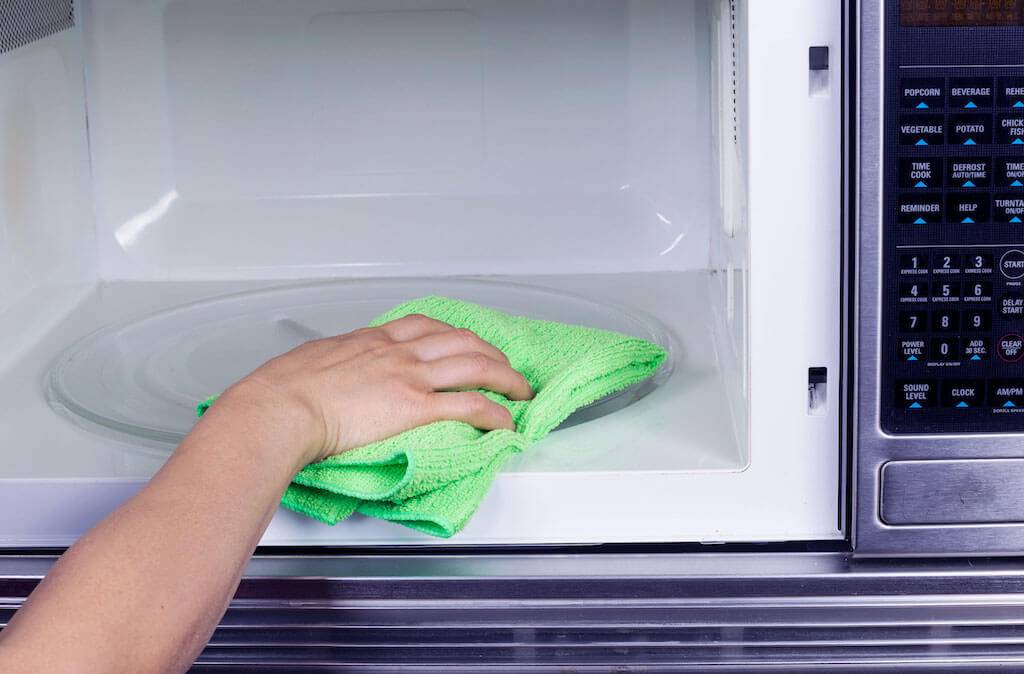
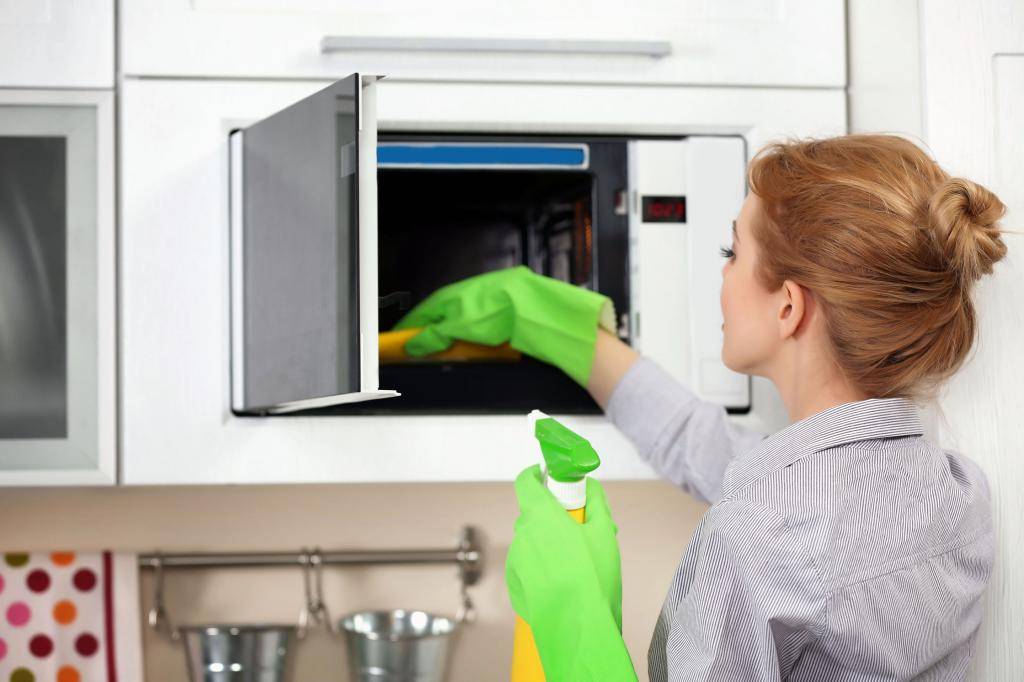
Cleaning inside
Getting rid of carbon deposits from the inside is quite simple, because the inner one is often cleared immediately after cooking. But there are a number of limitations. Do not use powdered cleaners or metal sponges. Abrasive particles destroy the coating.
 Do not use powdered cleaners or metal sponges.
The best way to clean small dirt is to boil water in a bowl with a foamy detergent. It is enough to add a couple of drops to water, put on low heat and wait until boiling. Disconnect and let cool for an hour, just drain the water with burnt food particles. After that, it remains only to rinse with warm water.
The method is not suitable if the fat is old - it is not easy to dissolve it. Vinegar leads home remedies for caustic properties. It is often used for descaling teapots. You can do the same with a non-stick coating. Add a few drops of vinegar to the water, then boil it and repeat if necessary.
Be sure to thoroughly rinse the pan after each method to prevent chemicals from entering the body when cooking.
Laundry soap
There is a similar soap in every home, or you can buy it at your nearest store. The bar is inexpensive, but it will last for a long time. The composition of the soap contains caustic components that help to soften the resulting carbon deposits.
 The composition of the soap contains caustic components that help to soften the resulting carbon deposits.
Step-by-step instruction:
- Grate the soap on a medium grater (the amount is determined by the degree of contamination, rarely more than a quarter is required);
- Spread the shavings evenly into the pan;
- Pour a small amount of water so that it covers the shavings;
- Heat the mixture, but do not bring it to a boil.
The alkalis in the soap will begin to dissolve food debris and carbon deposits without damaging the coating. It is recommended to leave the dishes soaked for 2-3 hours. Then thoroughly rinse off the soapy gruel and wash the pan.
Boiling with soda
Boiling with baking soda is a versatile way to clean both sides. A comprehensive method will require a larger bowl than a skillet. Then it just needs to be immersed in water with soda and boiled for an hour.
 Boiling with baking soda is a versatile way to clean both sides.
Cleaning from the inside differs little from the method of boiling. You need to add 100 grams of baking soda per liter of water. Boil the mixture and let it cool, then wash the pan thoroughly. This is the best way to remove carbon deposits.
Note. A little secret of softening old soot and fat is to increase the boiling time to 2 hours
Soda + dishwashing detergent
Medium to light stains can be easily removed with a mixture of baking soda and dishwashing detergent. Pour hot water, add a teaspoon of baking soda and squeeze out a few drops of washing liquid. Place with a spatula, then leave for several hours. Then you just have to wash it with a sponge and clean water.
 Medium to light stains can be easily removed with a mixture of baking soda and dishwashing detergent.
A more difficult and gentle way: make a paste from foam, baking soda and warm water. Pour baking soda with a slide, drip detergent there and add a small amount of water. The mixture should resemble a thick paste. Put the paste on grease or soot for a few hours. Rinse with warm water. All carbon deposits will soften and be easily removed with a sponge.

Soda + stationery glue
An old method that works in hopeless cases. You will need to take to prepare the mixture:
- Suitable container for a frying pan to fit into it. It is recommended to choose a deep metal basin.
- Laundry soap bar (rub one fourth).
- 0.5 cups of silicate glue (simple school glue, but not PVA!).
- 0.5 cups of baking soda.
Pour water into a basin, bring it to a boil. After that, pour soap shavings there, place them and only then add everything else. Stir the resulting solution until a homogeneous mass is obtained.
 The smell of the mixture negatively affects the person, causing dizziness and hallucinations. It is necessary to turn on the hood at full power, or open a window for ventilation. The smell of the mixture negatively affects the person, causing dizziness and hallucinations (due to the glue).
Dip the pan into the mixture and cook for 2-4 hours, depending on how dirty it is. Some of the carbon deposits will fall off, the rest will become softer and can be washed off.
Fat remedy of which company is better to choose
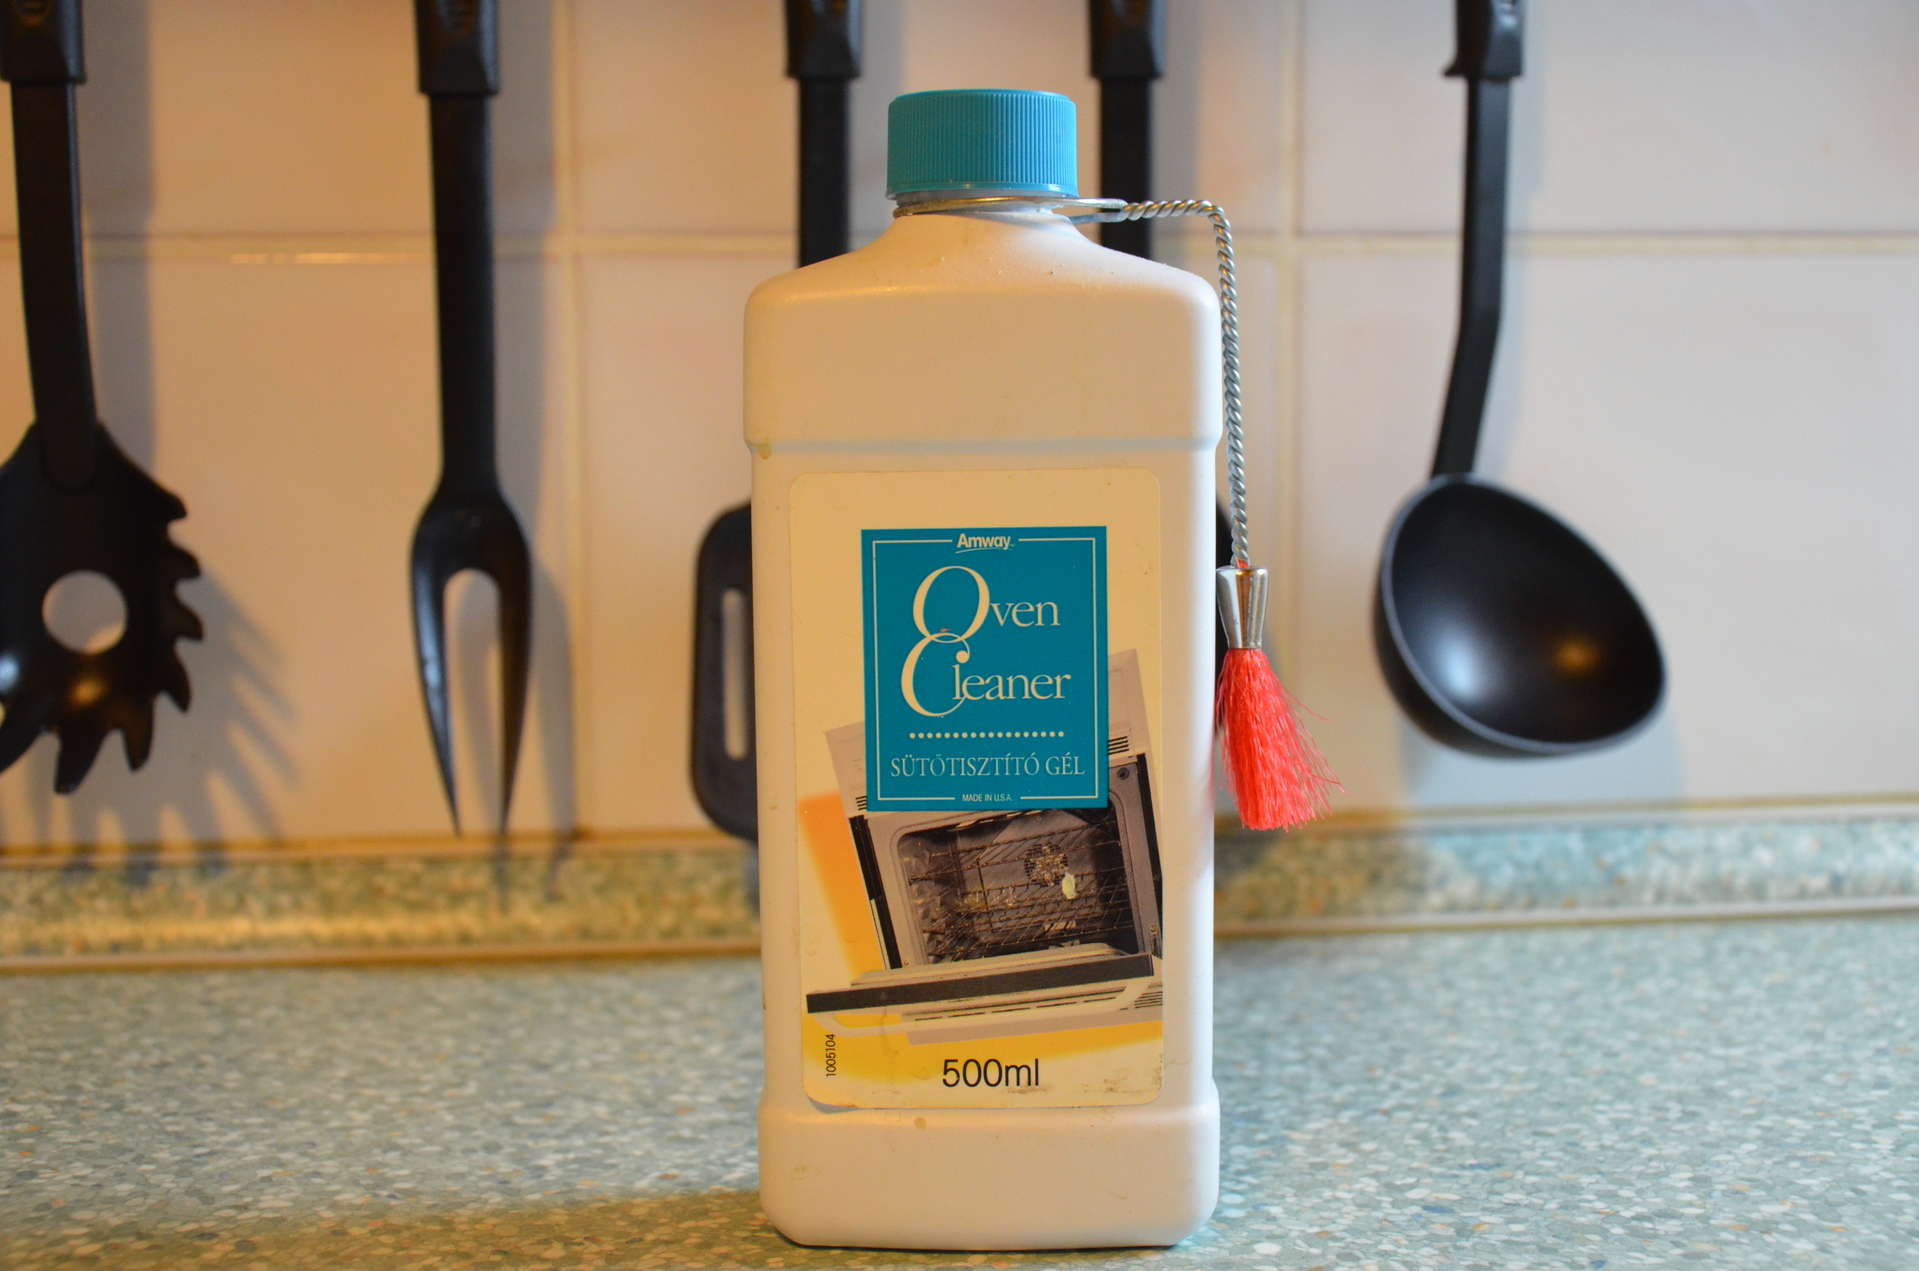
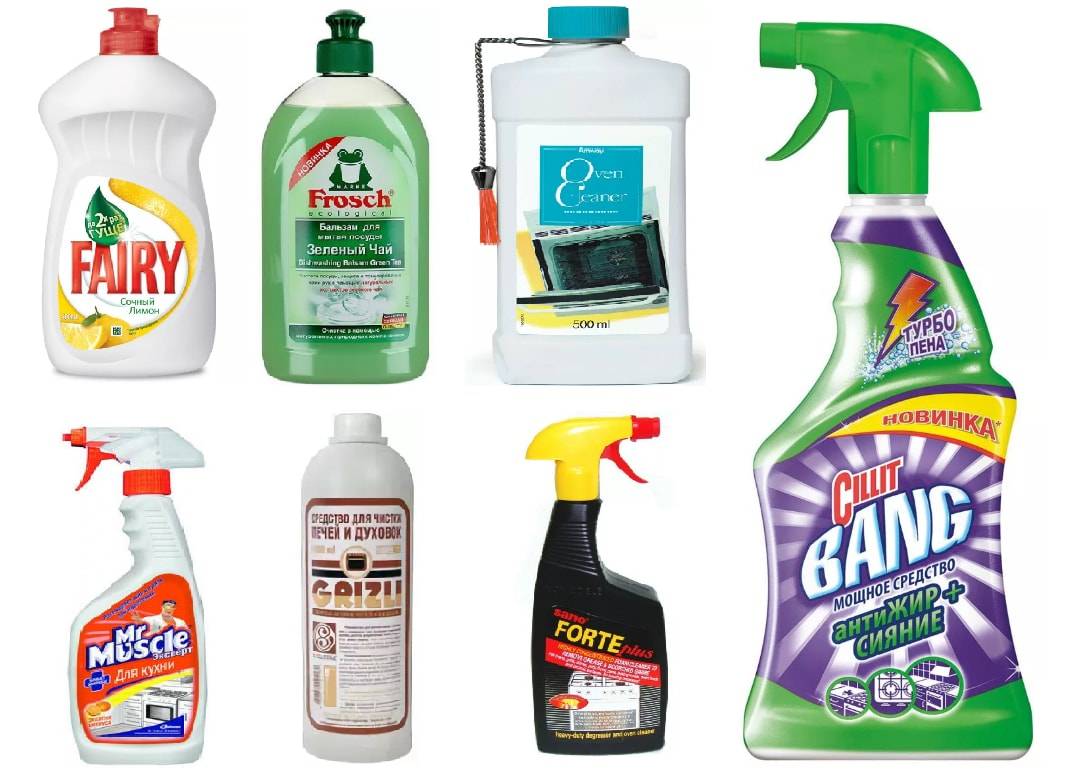
Among the firms that produce high-quality and effective products for cleaning the house, there are both Russian and foreign manufacturers. The rating includes budgetary, mid-range and premium funds.
This is the list of leading companies in the field of household chemicals production:
- Synergetic is a Russian brand of household chemicals based on German developments in the field of environmentally friendly and biodegradable products. It produces goods in the middle price category with highly active substances: a complex of plant H-tensides, soda, water and some others. All this is available in translucent packages with a dispenser for ease of use and economy of consumption.
- Sanita - under this brand are sold household chemicals for delicate washing of dishes, ovens, stoves, hoods. It is popular because of its fast action, delicate care, cleaning almost any surface (metal, plastic, ceramic). The main advantages of the products of this brand are the absence of a pungent odor, concentration, and the content of highly active substances. They remove soot, fresh and old grease, yellow plaque.
- Bagi - the history of the company began in 1988 in Israel. Today it makes liquid and powder kitchen cleaners that remove grease, remove yellow deposits, remove unpleasant odors, and kill bacteria. They are quite in demand due to the optimal combination of price and quality, careful impact on contaminated surfaces, safety for humans and economical consumption.
- OfficeClean is a trade mark offering household chemicals and household goods. We are talking about universal products that effectively deal with old fat deposits, soot, carbon deposits, and water deposits. They are actively used in the care of both external and internal surfaces in contact with food. Among the advantages of her proposals are convenient packaging with a dispenser, a large volume (from 400 ml), and a pleasant smell.
- Frosch is a German manufacturer of environmentally friendly household chemicals based on natural ingredients of natural origin, including the best anti-fat products. He received a certificate confirming the "purity" of his products back in 2003. He has more than 20 organic products for cleaning pipes, countertops, sinks, hoods from fresh and old fat, carbon deposits, scale. They are in demand due to the removal of stubborn dirt, disinfecting effect, economical consumption.
- Clean Home - the philosophy of the brand is to create environmentally friendly, effective and versatile products for the care of tiles, stoves, ovens and many other types of surfaces. Its grease removers are available in large 400-500 ml packs, which are equipped with a convenient dispenser. They fight oily dirt, yellow bloom, unpleasant odors without significant mechanical effort.
- Nevskaya cosmetics - it produces a wide range of products for home care, including grease removers.This series includes “Sarma” household chemicals, which are presented in the form of powders and liquids. They are distinguished by their concentration, the possibility of dilution with water without loss of cleaning properties, safety for almost any surfaces, humans and the environment.
- Biolan - this trademark belongs to the major manufacturer of household chemicals "Nefis Cosmetics". This line includes washing powders, detergents, products for removing grease, soot, carbon deposits and other contaminants on the outer and inner surfaces of microwave ovens, ovens, hoods, etc. They are characterized by slow consumption, no marks on the coating, safety for humans and various materials.
- Kao is a Japanese manufacturer of household chemicals at affordable prices, it produces products for the care of countertops, hoods, ovens, stoves, microwave ovens. The products are sold in the form of powders, gels, creams, sprays in a volume of 250, 400, 500, 900 ml. With their help, an unpleasant odor, fat, limescale is removed.
The best hoods for the kitchen
We use folk remedies
Folk recipes contain components that can be found in every home. They are safe and inexpensive.
Vinegar solution
Vinegar removes dirty stains of any complexity, disinfects the surface and removes odors:
- The vinegar is diluted with water. The components are taken in equal quantities.
- The resulting composition is treated with a surface using a sponge.
- In places with severe contamination, the composition is left for 6 minutes.
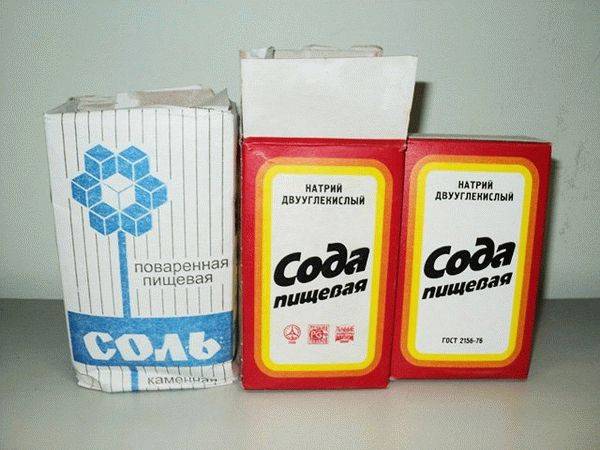
Soda
Soda solution copes well with pollution:
- Dissolve soda in warm water.
- The sponge is soaked in the solution and all the walls of the refrigerator are wiped.
The positive property of this agent is the ability to destroy pathogenic microorganisms.
Ammonia
An effective composition based on ammonia. The component copes well with dirt, disinfects the surface and removes odors:
- 35 ml of ammonia are dissolved in 350 ml of water.
- The composition is applied to the walls of the refrigerator with a sponge or clean cloth.
- In case of severe contamination, the composition is left for 14 minutes.
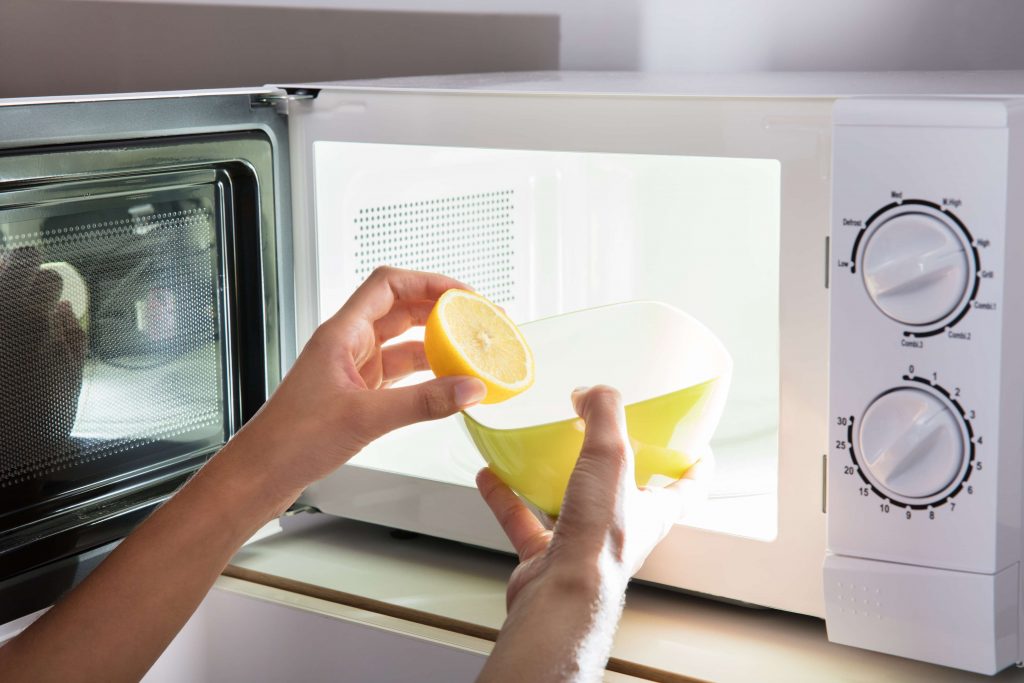
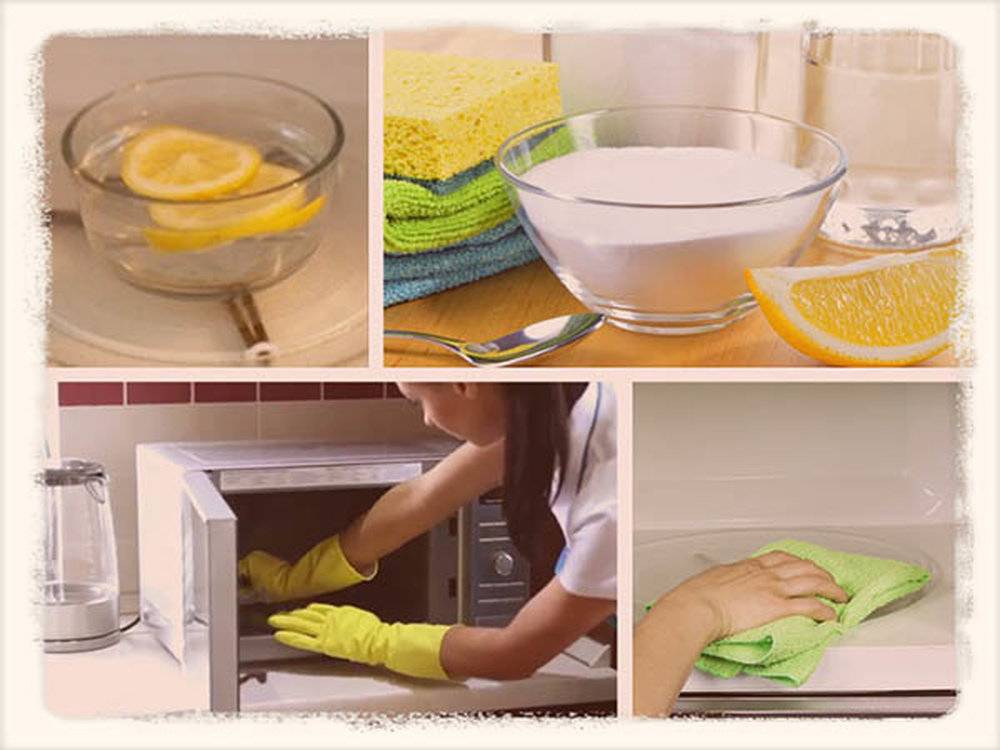
Lemon juice or citric acid
Lemon juice or essence can quickly remove dirty stains and unpleasant odors in a short amount of time. Dissolve lemon juice in water and treat the walls of the unit with a solution.
Citric acid is often chosen to cleanse the refrigerator:
- the component is diluted with water;
- with a sponge dipped in the composition, wipe all the details;
- if necessary, the composition is left for 8 minutes;
- then the walls are washed with clean water.
Toothpaste
Even the dirtiest areas are easy to clean with toothpaste. A small amount of paste is applied to the sponge. It is advisable to choose a paste without abrasive components. The composition is applied to the stains and after 3 minutes wipe off with a damp cloth.
The nuances of internal cleaning
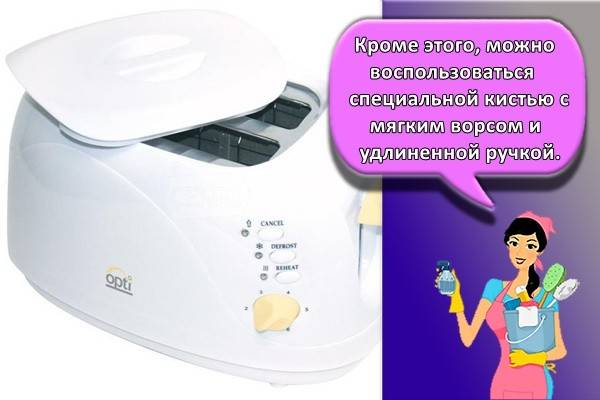
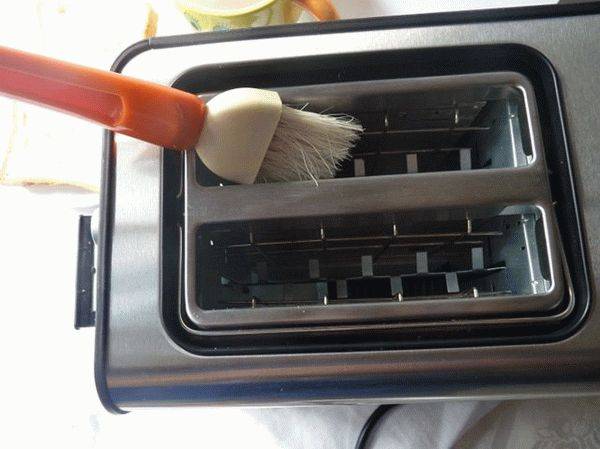
First of all, you need to remove any existing crumbs from the toaster. If they lie in the device for a very long time, then over time they become fertile soil for the growth of bacteria and give off an unpleasant odor. They can also cause uneven heating of the spiral. Use a brush designed specifically for cleaning the toaster. Its features include: soft pile and long handle. As an analogue, you can take an ordinary toothbrush or some kind of thin brush.
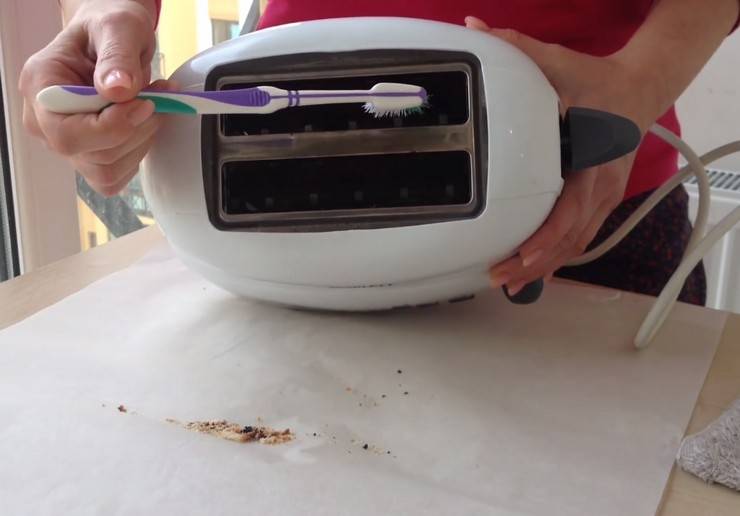
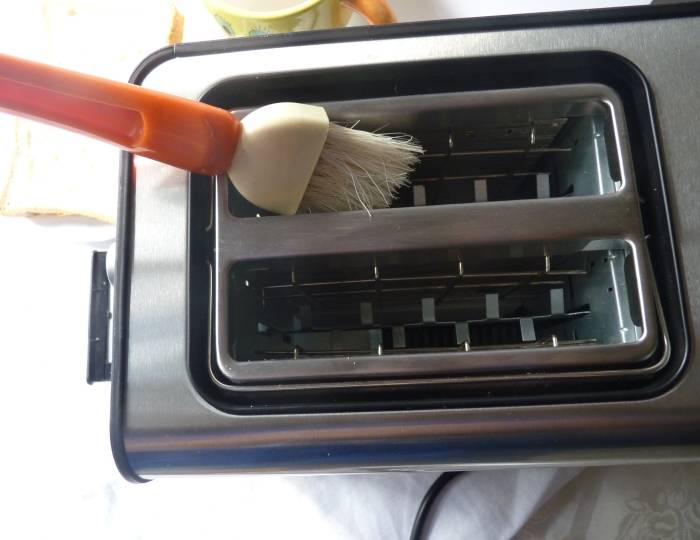
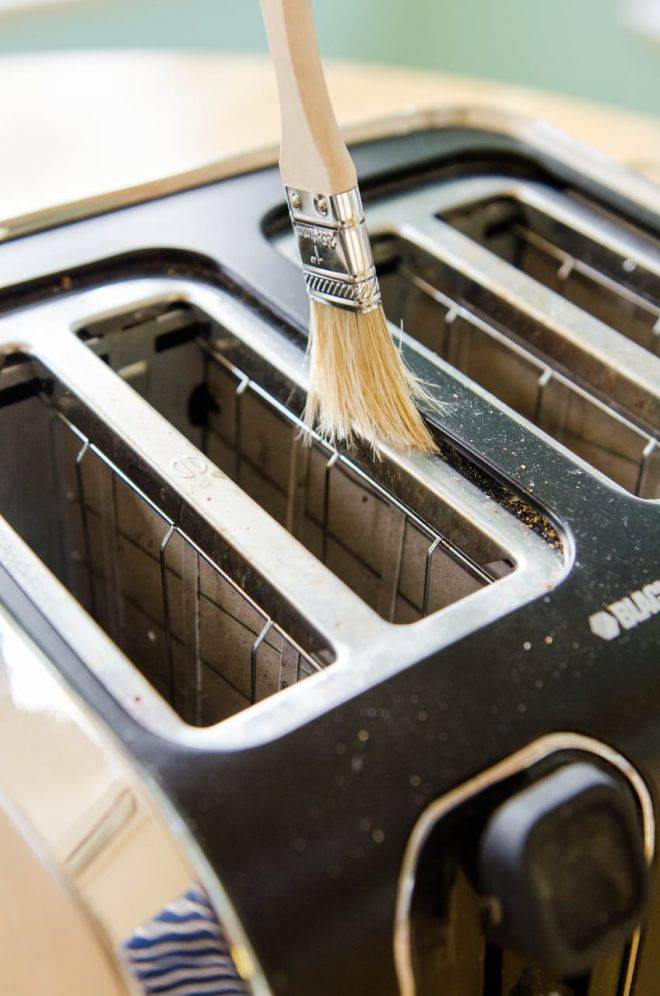

Another option for eliminating crumbs is to use a regular hair dryer or a household compressor, if available. The air flow will easily cope with the task of removing accumulated crumbs. After this step, you need to tackle the crumb tray or pallet. If it is removable, then remove it, shake out all the dirt and wipe the surface with soapy water. Then rinse and wipe dry. What to do, do you have a stationary option? It's simple: turn the device upside down over a piece of paper or newspaper and shake it well so that all the crumbs fall out.
To prevent fat from appearing - prevention
Having eliminated carbon deposits in the pan, you need to take a number of preventive measures to prevent its occurrence in the future.
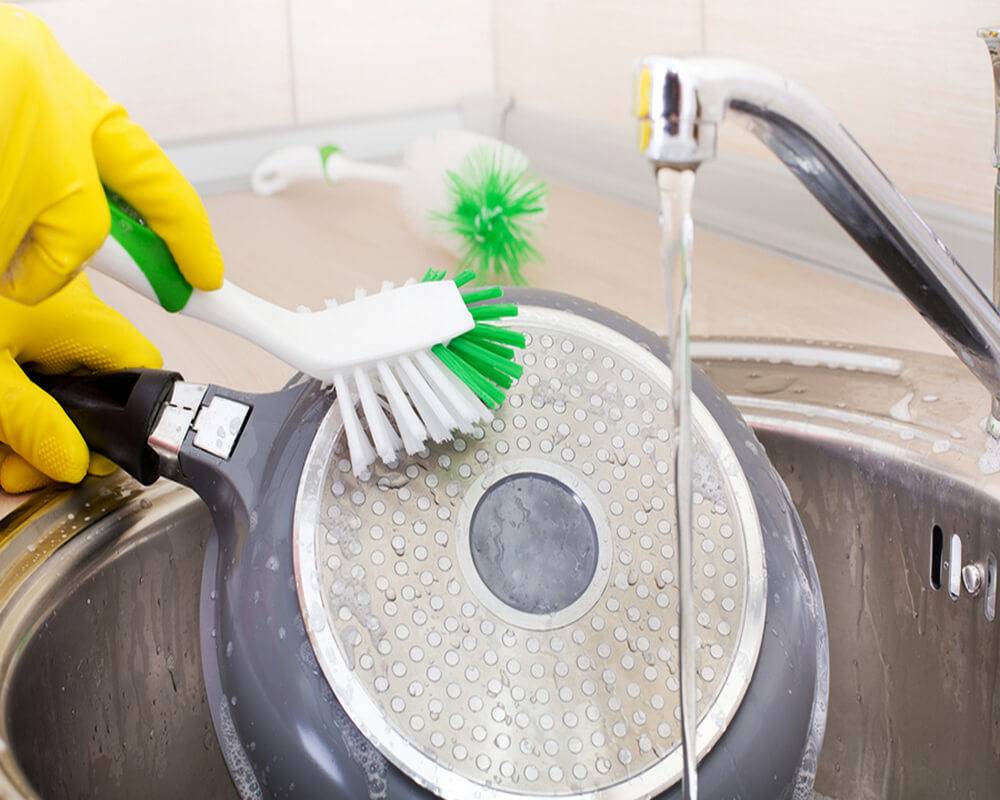
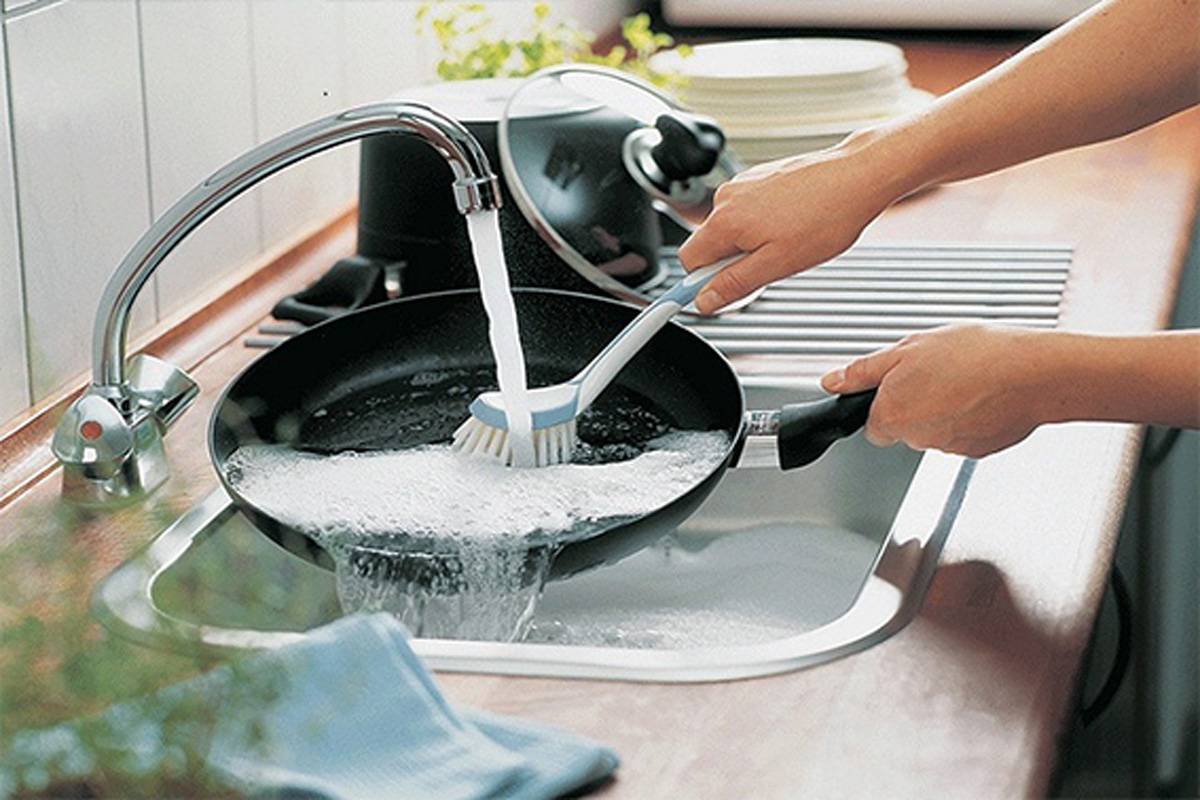
Start cleaning the dishes on both sides immediately after cooking.
If it is your custom to wash your pans in a dishwasher, then manually clean them at least once a month. In this case, you will timely determine the places where the fumes have been deposited and you can easily eliminate it.
Use scouring powders, metal sponges and other products that can scratch dishes as little as possible. This will extend its service life.
Having bought a new frying pan, be sure to grease its inner surface with vegetable oil before its first use. And then wash with detergent and rinse.
Regardless of the material of the dishes, use a wooden spatula in the cooking process. The tongs you use should have protection at the ends to protect the dishes from scratching.
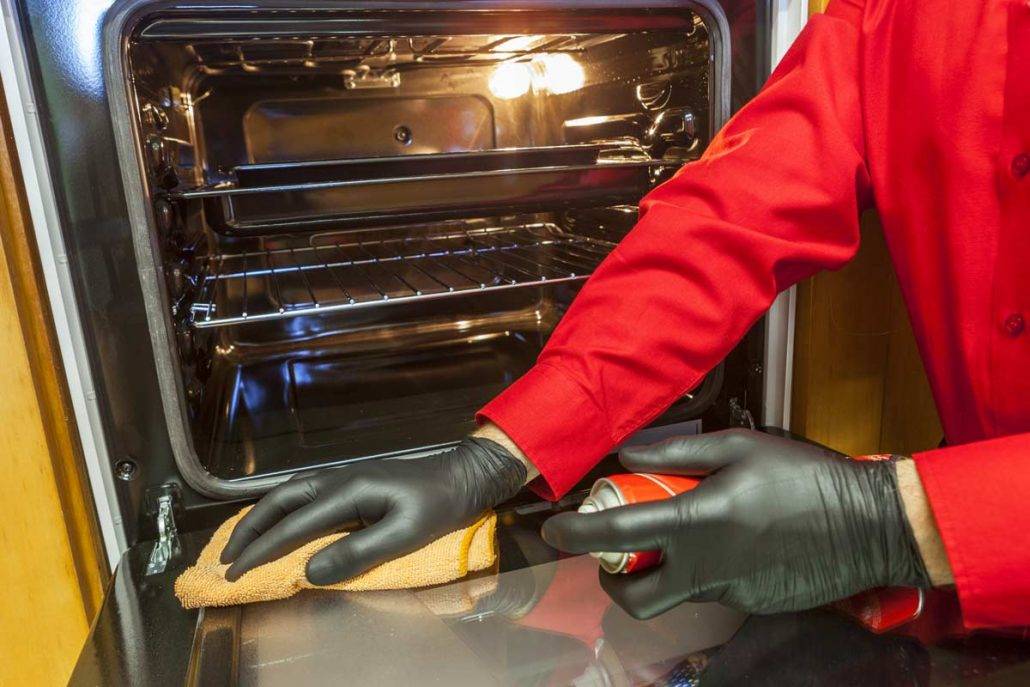
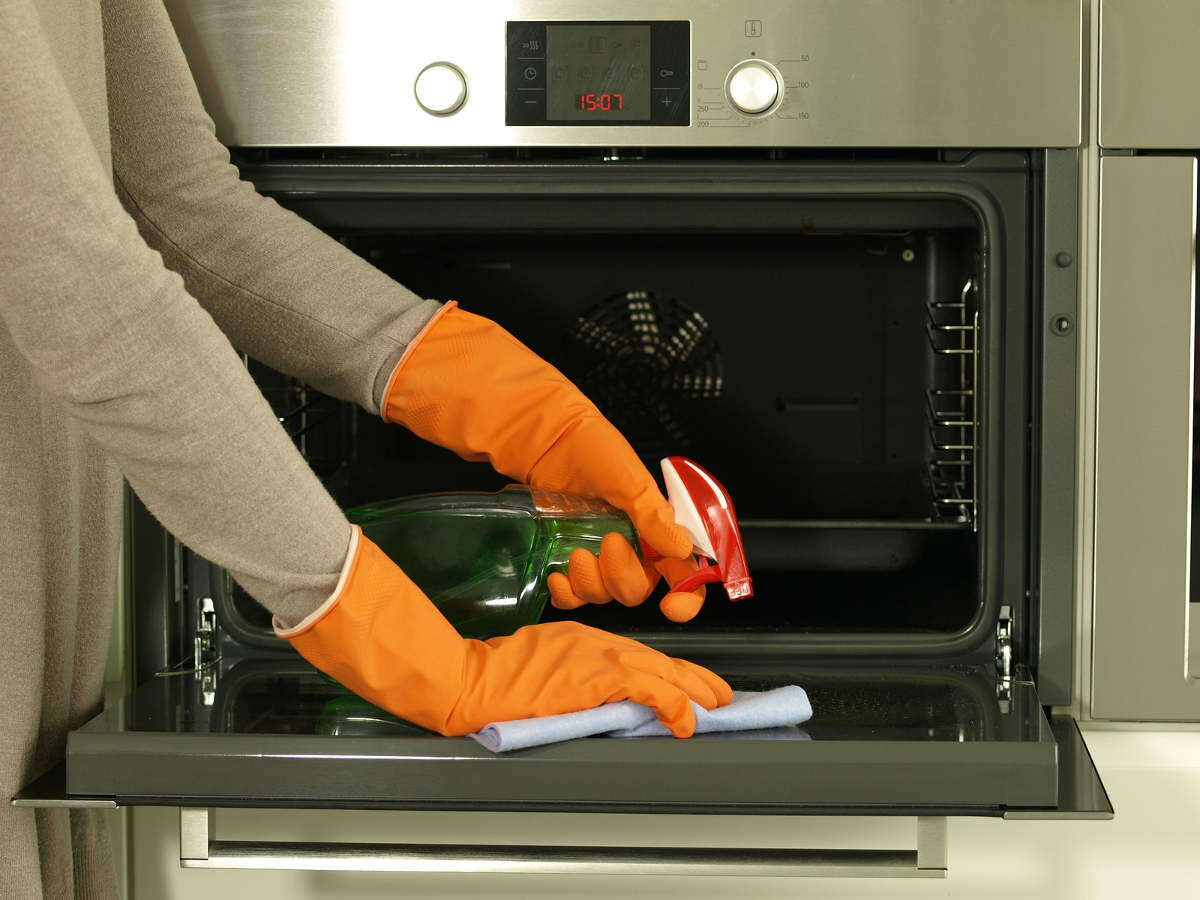
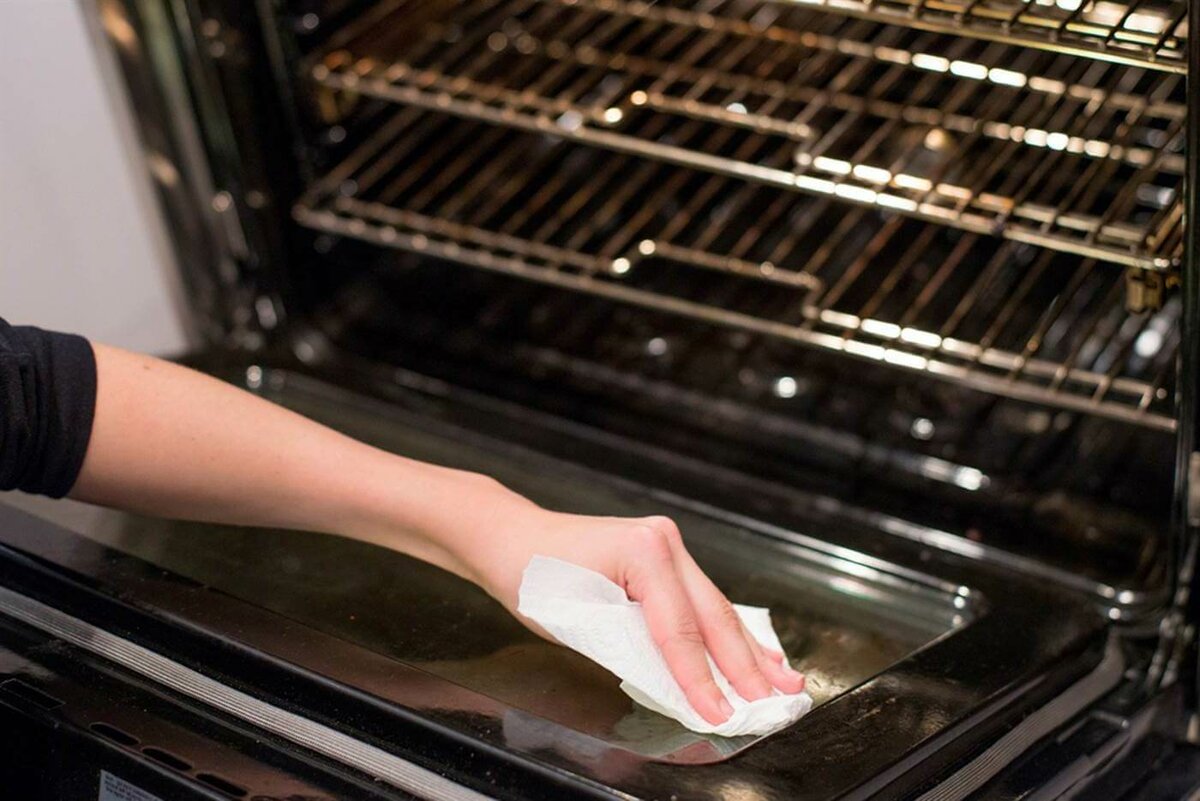
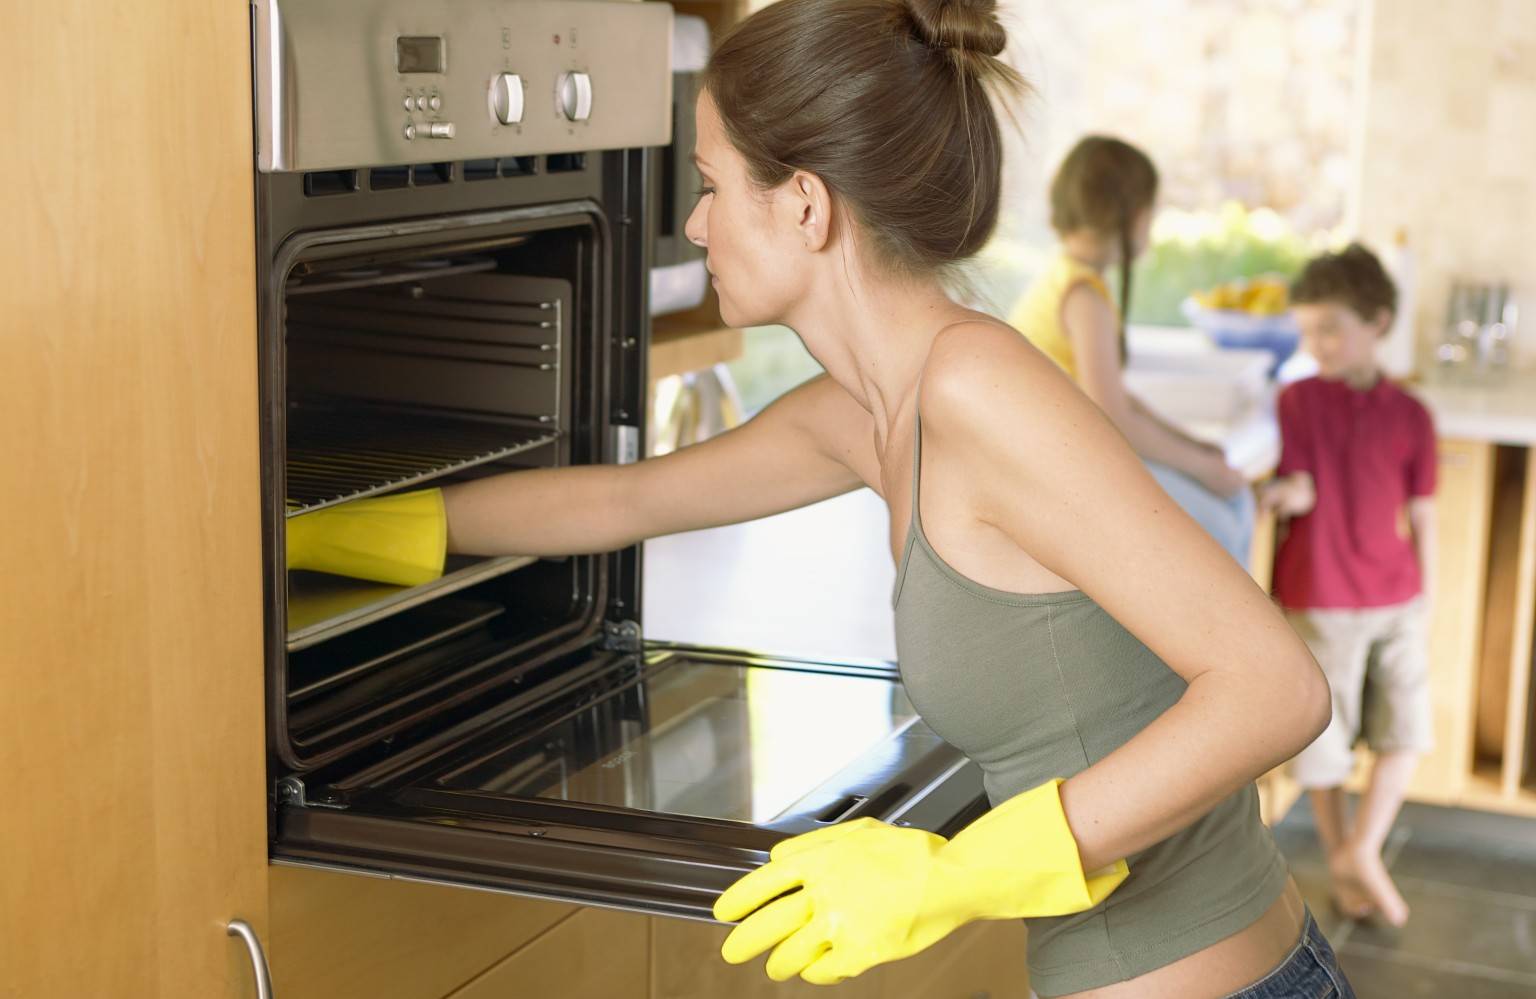
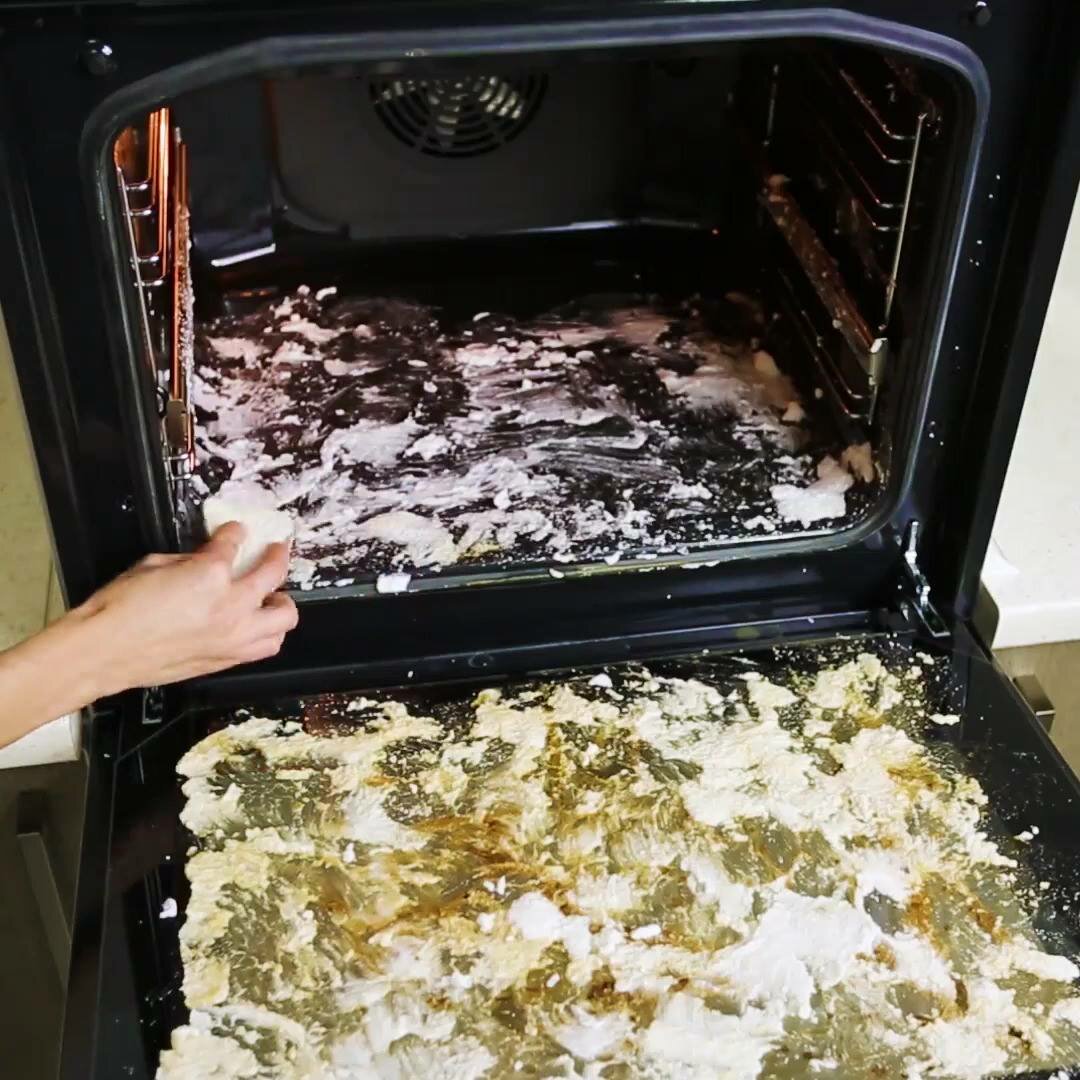
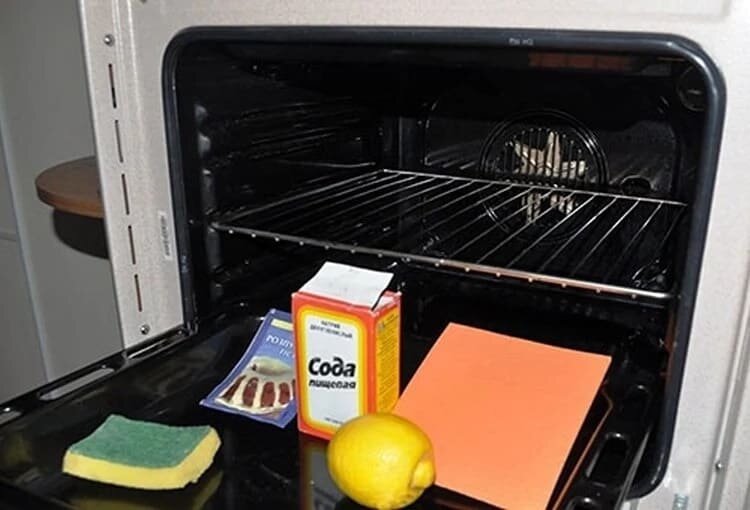
Basic rules for caring for the oven
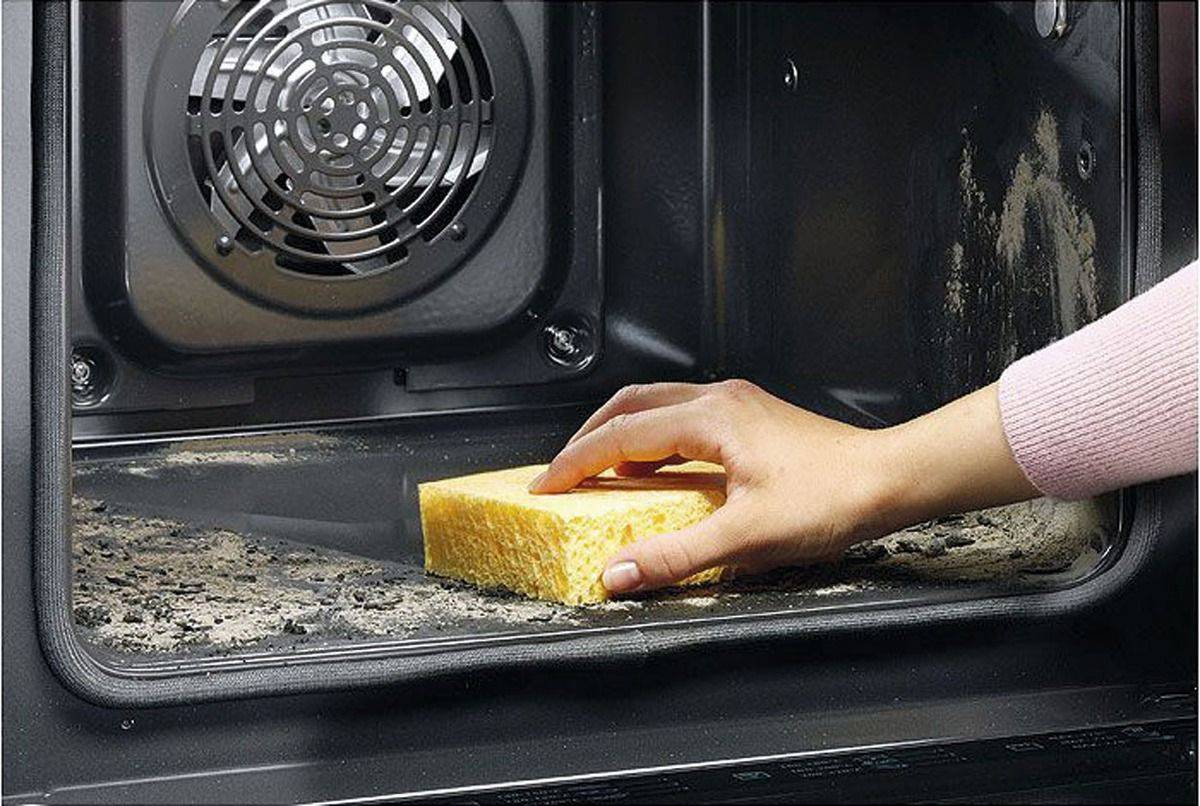
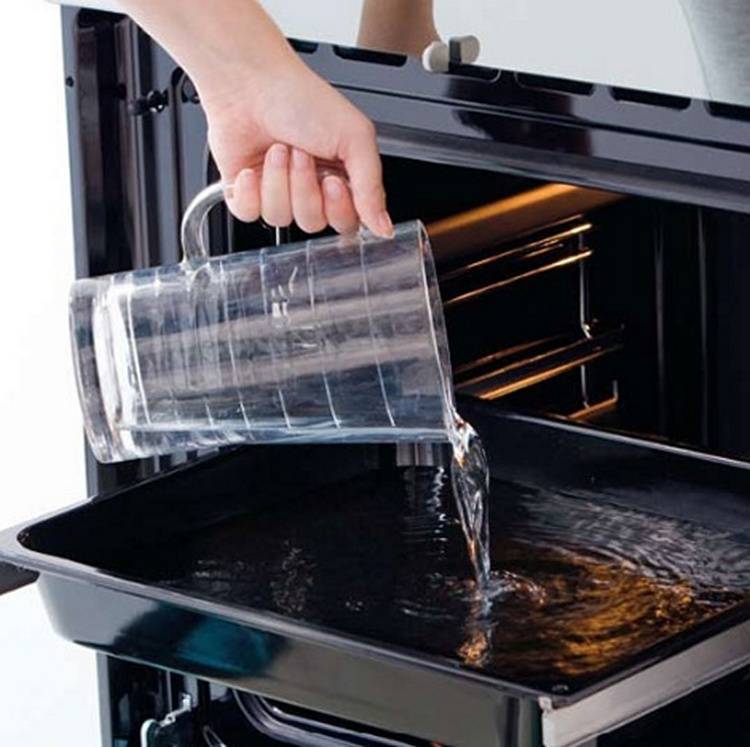
- The more often, the easier. If you wipe the inner surface of the oven after each cooking, and once a week or a half a week and a half you steam the oven with water and detergent, you will practically not have to make global cleanings.
- To help the dirt better give in, warm up the oven a little by turning it on at 50 ° C for 15–20 minutes.
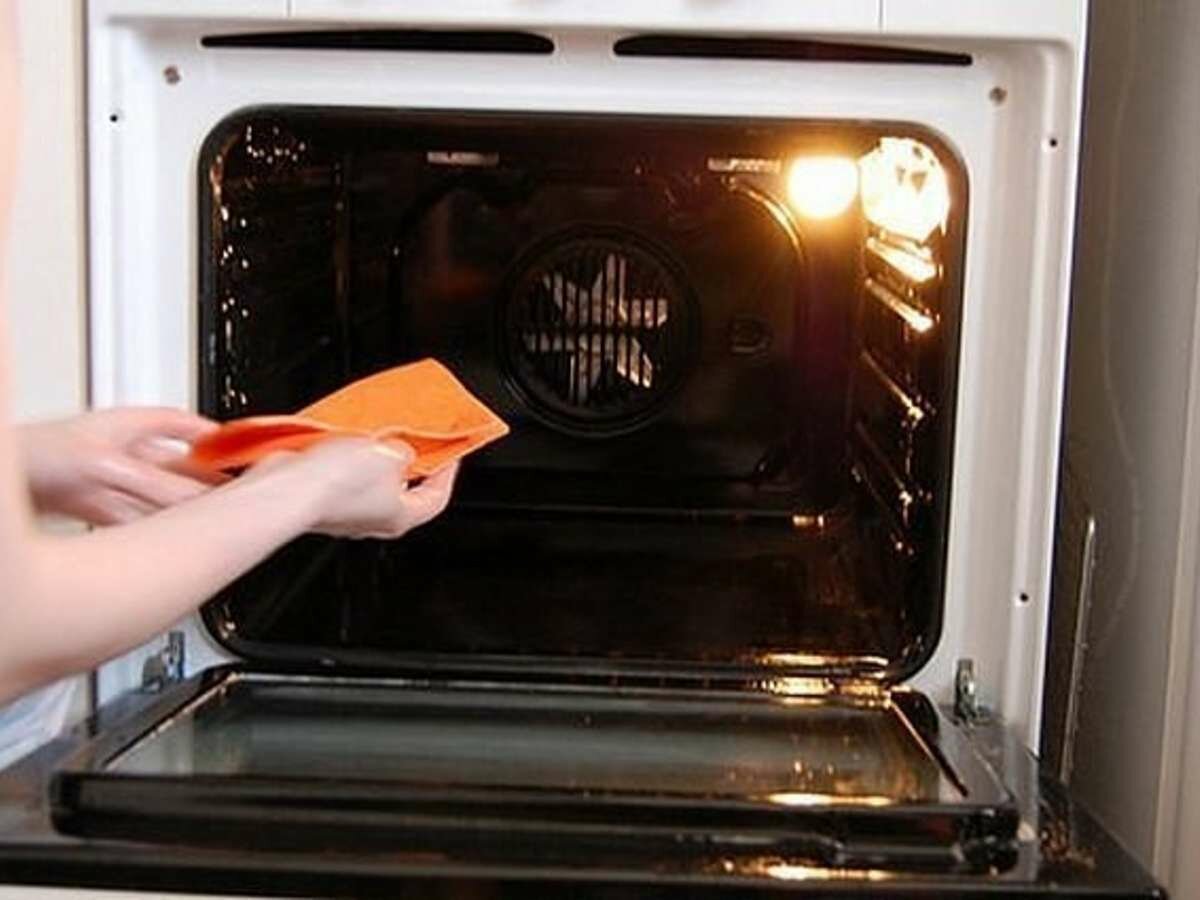
- Remove the trays immediately before cleaning, remove the side guides. If the design allows, also remove the door and glass. It is more convenient to wash all this separately.
- Do not use abrasive sponges or metal scrapers. Rubbing off the fat can damage the oven enamel. Better to work with a sponge or soft cloth.
- Never apply a cleaning agent, especially a chemical one, to the fan and heating elements of the oven.
- After cleaning, leave the oven door open for a couple of hours to dry it out and remove any odors.
- Does the smell remain? Dissolve 10-15 tablets of activated charcoal in a glass of water and put in the oven for several hours. Charcoal absorbs excess aromas.
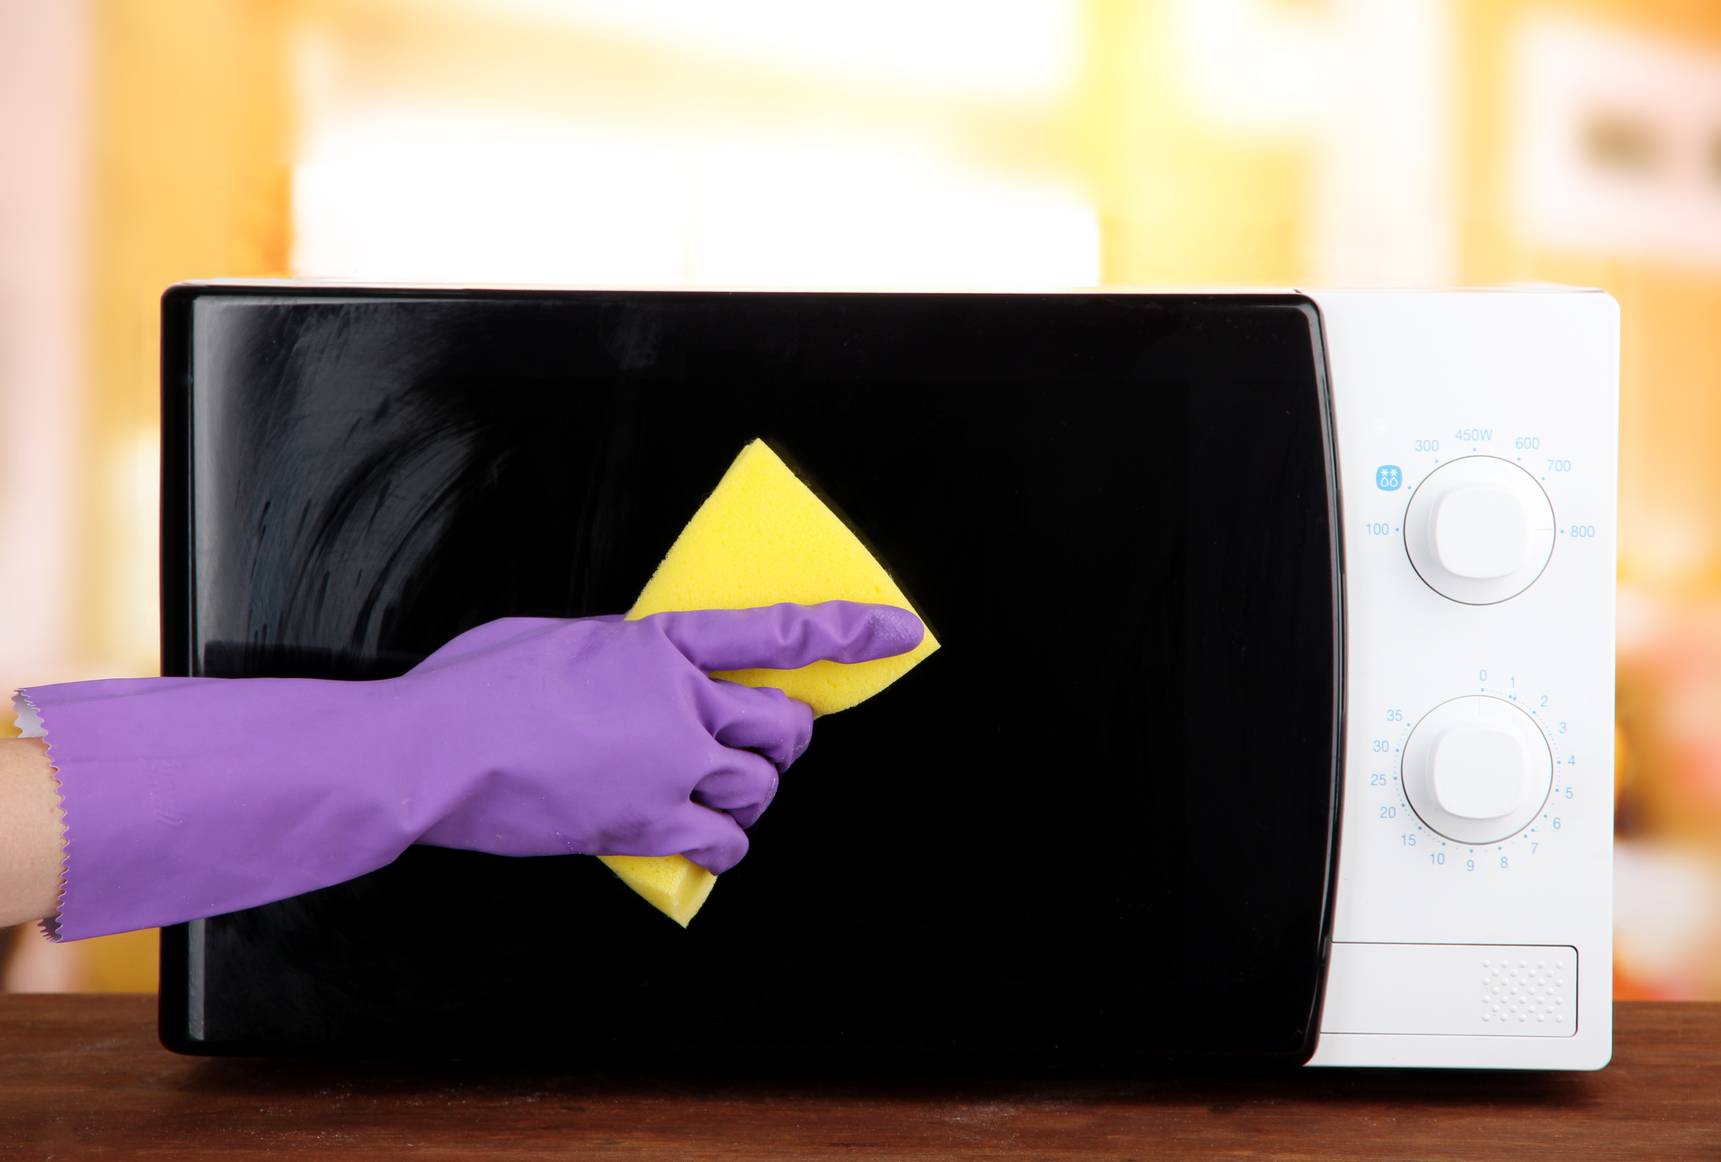
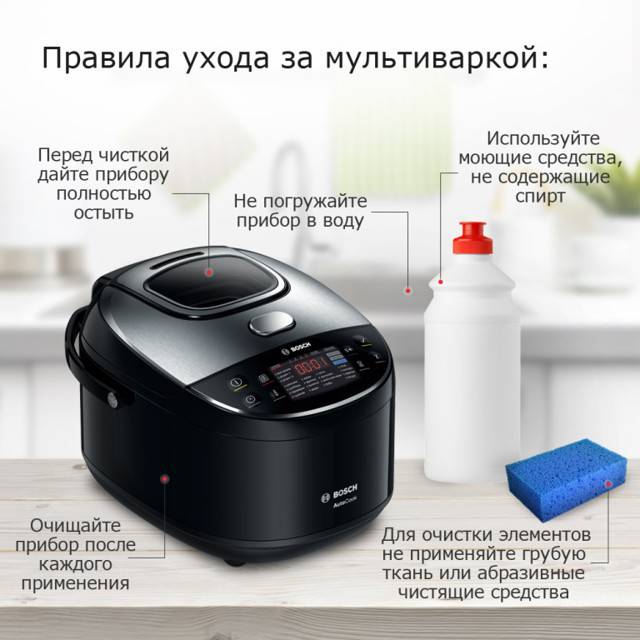
Cleaning outside
There are 3 outer parts of the multicooker:
- Frame.
- Steam valve.
- Moisture collector.
The body is not very dirty, but often it becomes a dust collector, dirt sticks to it. To prevent this, regularly wipe the technique with a dry cloth every 1-2 days.
Do not ignore the small elements of the multicooker.
Do not allow water to enter the surface of the device, especially on the wires: a short circuit may occur. However, droplets often run off the lid onto the housing. If you find them, it is worth pulling out the cord from the outlet, and then wiping it with a dry soft cloth. For greater reliability, it is better not to turn on the device for several hours after contact with liquid.
Another common problem is that the walls become greasy after cooking. Most often this happens if she "ran away". The reason may be an incorrect temperature regime, an open lid during cooking, an excessive amount of food. To remove fat from the multicooker, you can take a soft brush / sponge, moisten it with dish soap and wipe the surface. Remove residues with a damp sponge and then wipe off with a dry cloth.
The steam valve is a very important part of the multicooker. Its function is to release steam generated during cooking, preventing it from "escaping". If the valve clogs up, the consequences will not please the hostess: the porridge or soup will run away, and the multicooker may fail. Most valves in household appliances are removable and can be washed without problems. All that is required is to clean the part like ordinary dishes: with a sponge and detergent, and then dry well. The valve can be washed once every 1-2 months.
Another part that can be removed is the moisture trap. It is very simple to wash it: with soap or dish soap after each use.
Good advice
- If you want to make toast for the first time, set the temperature control to medium or start at the lowest setting. Remember that you can always fry a piece that is not too ruddy.
- Today in stores you can find various models of toasters that offer to cook two to four slices of bread at once. In order to save energy, it is better to dry immediately the number of slices that is the maximum allowable. However, you should not forget that you can cook only one piece.
- To avoid scalding, remove the hot bread with wooden, plastic tongs, or use an oven mitt.
- In the event that the cooking process will be carried out for guests, it is necessary to clarify how much bread needs to be toasted in order to please all taste preferences.
Try not to use the maximum mode of the household appliance in question, because too much power can render the device unusable.
The slices of bread placed in the slots should be of medium thickness. In no case should they touch the metal walls, because this can provoke a breakdown of the toaster. Very thin slices will quickly burn or char at the edges.
More advanced toaster models have additional functions that allow you not only to brown bread, but also to defrost and warm it. Using frozen bread, the defrost function is selected on the analyzed electrical appliance, after which the frying process begins. If the toast has already cooled down, use the heating function, which will not start toasting the bread again.
Observing the safety rules, as well as the instructions for use of each specific model of the toaster, you can significantly extend its life.
Do not forget about regular cleaning of the device, which will allow it to work efficiently without emitting unpleasant burning odors.
By making toasts with various jams, vegetables, sauces, meats and other products, you significantly diversify your diet and make it really healthy.
General recommendations
- Rule of thumb: ALWAYS test the cleaner on an inconspicuous area before cleaning the kitchen. Treat it, then wipe it clean and dry, wait 1-2 minutes and see if the color of the coating has changed, the shine has disappeared, etc.
- A greasy coating on kitchen furniture is a mixture of dust with fumes and the smallest suspension of fat that are formed during cooking. The older the plaque, the more difficult it is to get rid of it. Therefore, the optimal schedule for "general" cleaning of the kitchen from fat is 1-2 times a year, for "capital" cleaning - every 2 months with the use of soft agents and, of course, if necessary.
- To clean hard-to-reach areas, crevices, or decorative finishes, use a toothbrush dipped in the cleaner from our article. You can also clean narrow gaps with a cloth-wrapped knife.
Do not use harsh abrasives, only baking soda, a soft toothbrush, or the hard side of a regular foam sponge. This is especially true for wooden kitchens, as well as any painted headsets without a top protective coating.
For cleaning the kitchen, it is best to use a new sponge with a clean abrasive side. An old, greasy sponge can hurt even more.
At the end of cleaning, it is advisable to wipe the kitchen: clean - with a damp microfiber cloth and dry - with a clean dry cloth also made of microfiber
This will avoid streaks and residues of the cleaning agent itself.
Particular attention should be paid to the cabinets above the stove when cleaning the kitchen.
And now a few special recommendations and warnings.
| For a wooden kitchen (painted with wood stain, enamel or other types of paint, unpainted, but treated with oil / wax / polish / special impregnations / matt varnish, etc. | For all other kitchens: glossy, lacquered, plastic, laminated and painted MDF and chipboard furniture sets |
|---|---|
| A wooden kitchen requires the most delicate care. Most of the "folk" remedies like peroxide, ammonia, alcohol or citric acid are contraindicated for her, just like ordinary household chemicals based on alkali. | Whether you use expensive or cheap household chemicals, the main thing is that it contains alkali. It is she who most effectively copes with grease and dirt. |
| Manufacturers of wooden kitchens recommend washing facades only with special agents with neutral Ph or a solution of warm water and soap (dishwashing detergent) diluted in a ratio of 5:95. But what if the Fairy solution does not take old grease and stubborn stains? Ideally, a thorough cleaning of the kitchen should be entrusted to special cleaning services, especially if the kitchen is relatively new with expensive finishes. Our recipes are generally safe for wood, but they still have some risk. | It is convenient to use a spray bottle to clean the kitchen. |
| When wiping the kitchen, try to move along the wood pattern, not against or across. This will allow better cleaning of the pores of the material and a more delicate effect on the fibers. | Before applying the cleaning agent to the contaminated area, moisten it, for example, with a spray bottle. Moisture will accelerate the chemical a little. reaction and facilitate cleaning. |
| The rag should not be too wet. Excess moisture is harmful to wood surfaces. | |
| After washing and cleaning wooden furniture, be sure to treat it with protective wax, oil or polish. |
Cleaning internal surfaces from carbon deposits
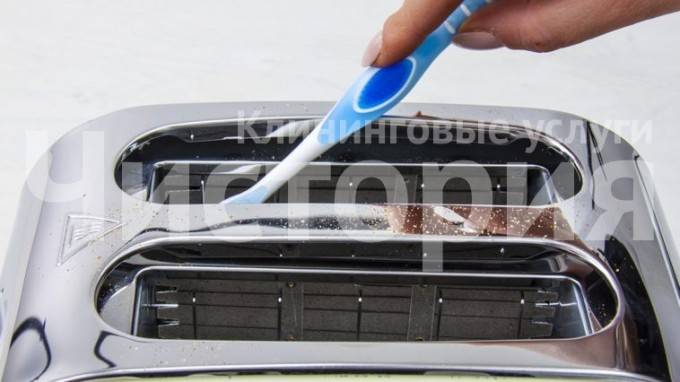
Consider How to Clean Your Toaster Using Home Remedies - Salt and Soda
It is important to be careful not to damage the appliance.
Method 1. Table salt with large crystals is poured through the upper slots for loading bread inside the device. It is necessary to fill it almost to the top. Then the holes must be closed so that the salt does not spill out.
Cover the top of the toaster with thick paper and wrap the entire unit with cling film so that the paper is well pressed against the holes. You can use tape, but in this case there is a risk that traces of glue will remain on the case and additional efforts will be required to remove them.
Shake the prepared appliance gently for several minutes to allow the salt crystals to clean off the dirt from the walls. You should not be overly zealous - intense shaking harms the electronics, can provoke a break in contact and failure of the device
Remove the packaging and remove the salt from the toaster. Be sure to vacuum the inside of the device, go over the walls with a brush or brush, wipe the inside of the device with a slightly damp cloth and dry it
It is important to remove all traces of salt, since in combination with water vapor it will create an aggressive environment and cause corrosion of steel elements
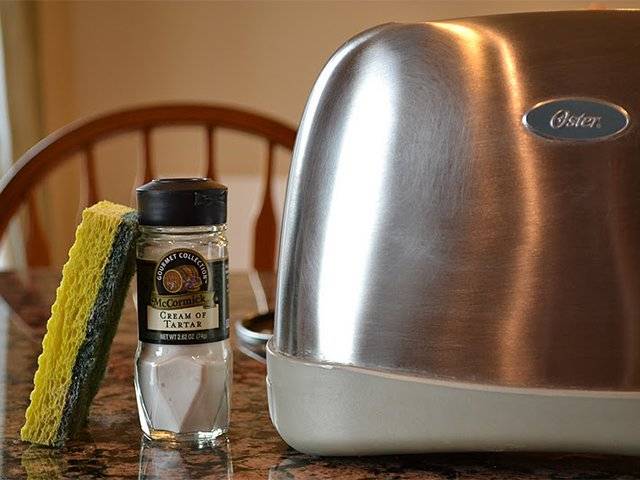
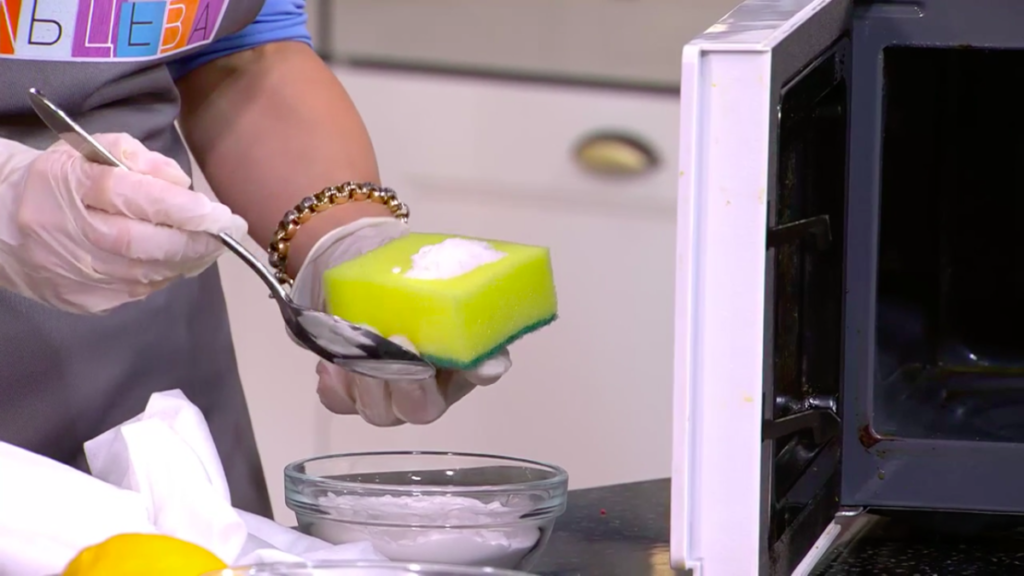
Method 2. A thick paste is prepared from a mixture of baking soda and water. It is applied to dirty places, wait a few minutes and clean it with a brush. Soda is safe for metal surfaces, it is a weak abrasive that will not harm. The benefits of baking soda also include the ability to remove grease.

Paste the inside of the toaster and wipe off the cleaning compound with a tissue. Thoroughly wipe all surfaces with a slightly damp non-woven cloth, then wipe dry and leave to dry for several hours.
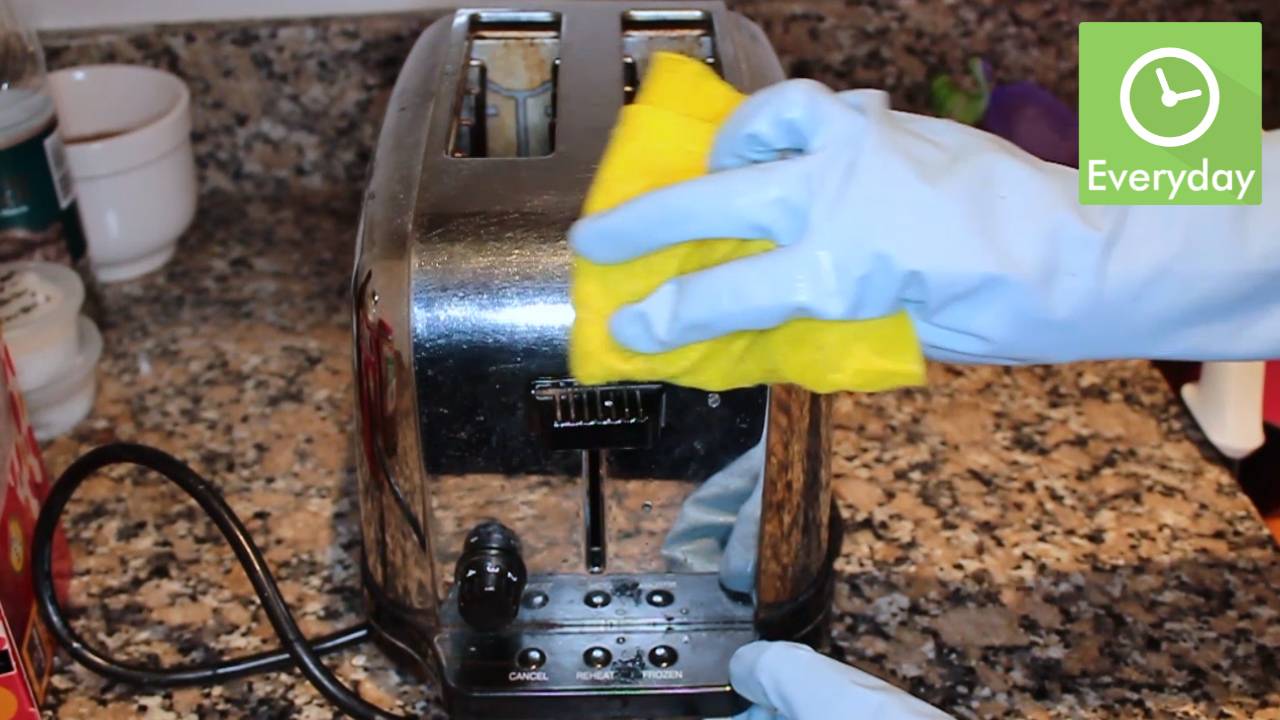
We wash the case
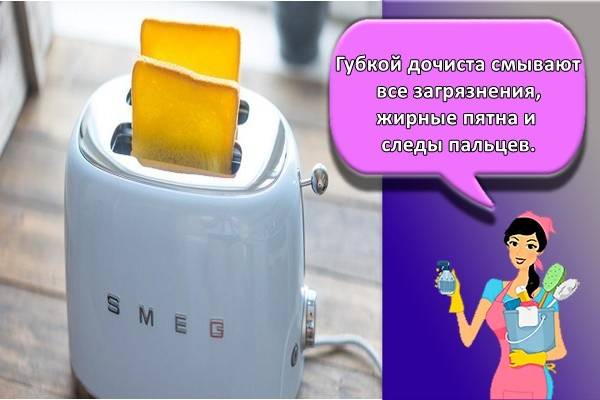
The plastic case is wiped with a damp sponge dipped in a cleaning solution. Oily stains are cleaned with soda gruel. Do not use abrasive cleaning pastes to avoid scratching the case. Wipe the plastic dry after cleaning.
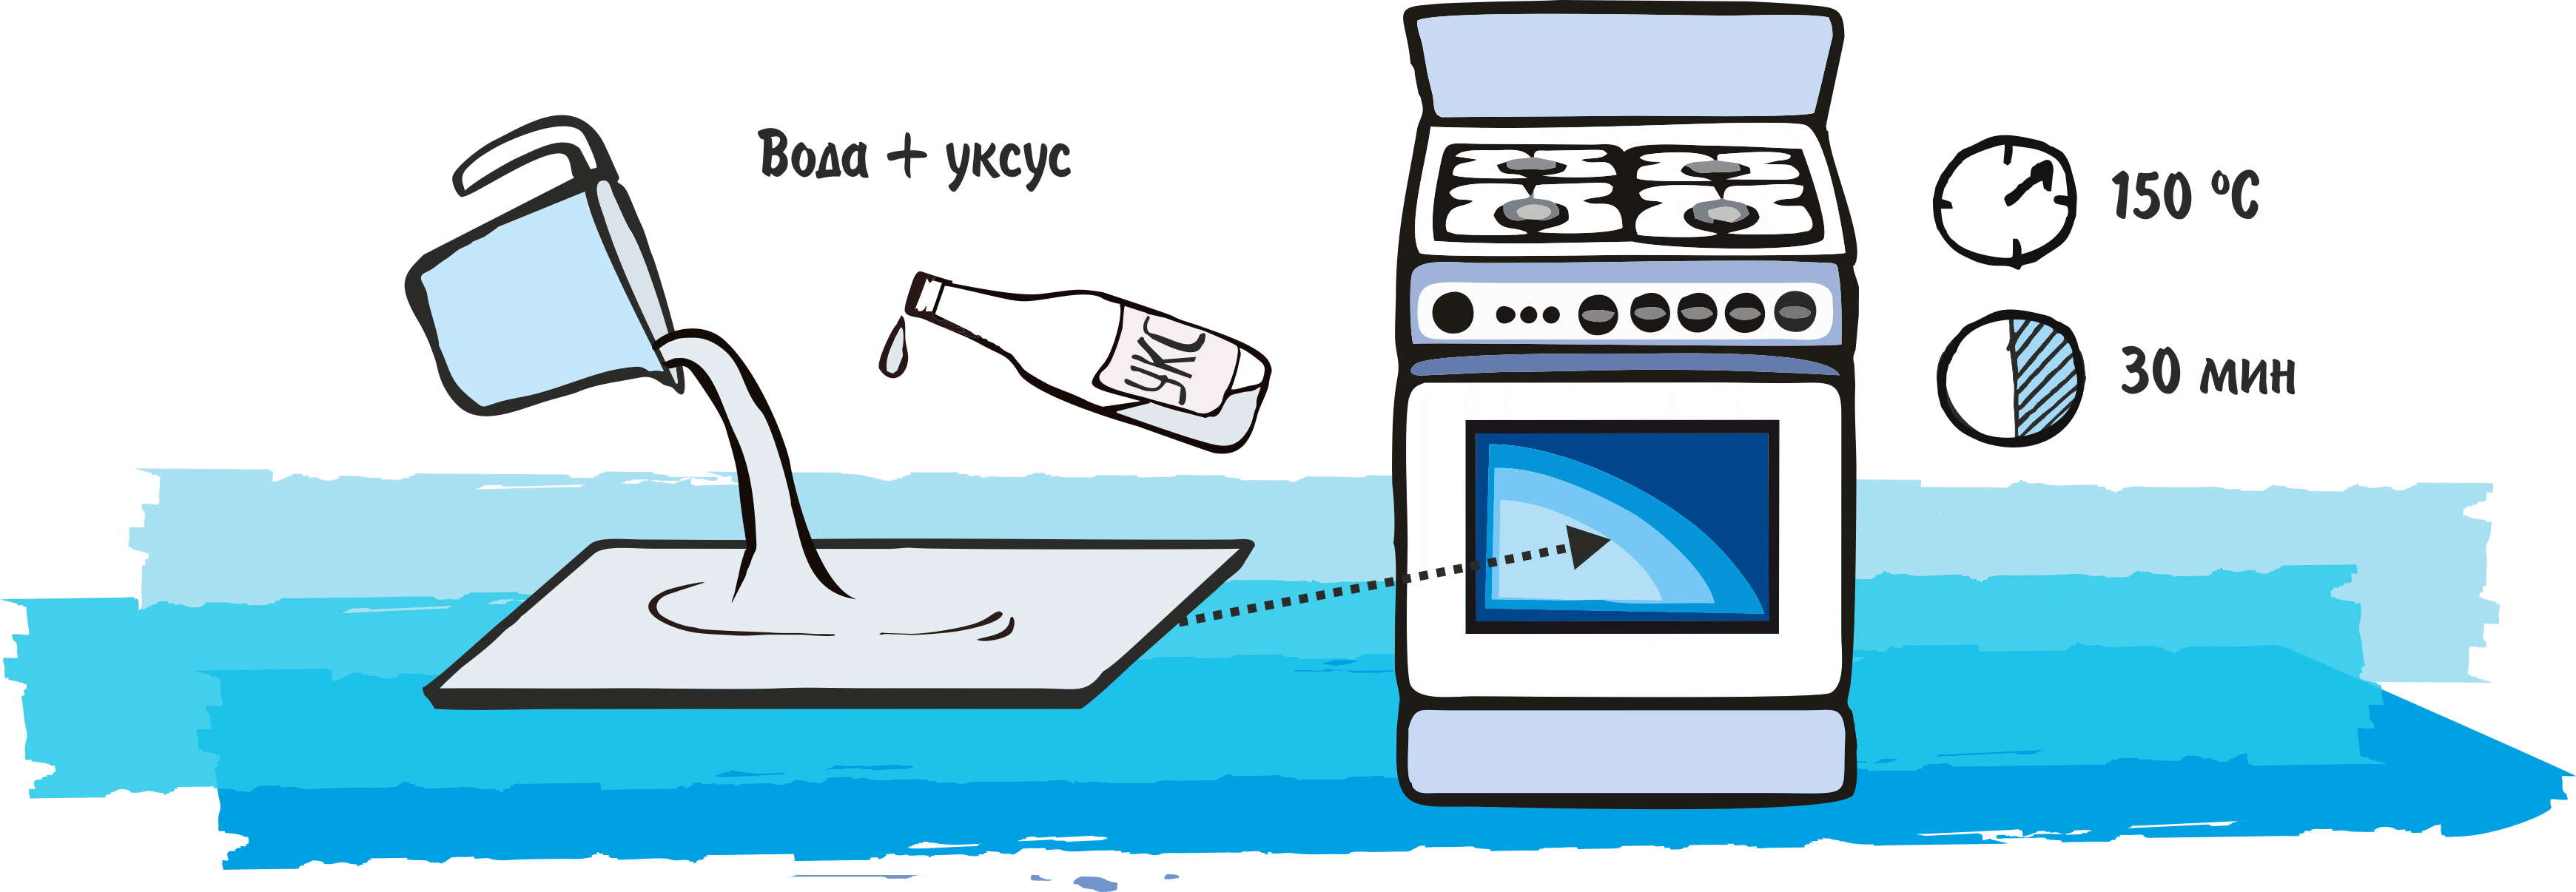
The metal case requires more attention, because from its surface it is necessary not only to wipe off stains, but also to polish it.The metal is cleaned with a vinegar solution, after which the body is carefully wiped off.
Breakfast is ready
Cleaning is over. It remains to wait until the device is completely dry. Do not plug the wet device into the network to avoid a short circuit.
Household appliances make life easier for a modern person. But, in turn, it requires care and careful handling. Dust particles and grease will significantly shorten the life of electrical appliances. But simple cleaning steps will help to cope with the problem. After all, what could be better than crispy toast!
Effective dish cleaner
If, for a number of reasons, you do not have a desire to work with folk remedies for cleaning dishes, then you should resort to one of the options associated with the use of household chemicals. We are talking about the use of washing powder in combination with dry bleach. According to the reviews of many housewives, this composition can return the newness to the dishes.
To use this method, you need to do the following:
- pour well-heated water into the basin;
- add equal amounts of washing powder and dry bleach there;
- mix the composition until smooth;
- place dirty dishes in the solution for 3 hours;
- then wash the items with a sponge and rinse with water.
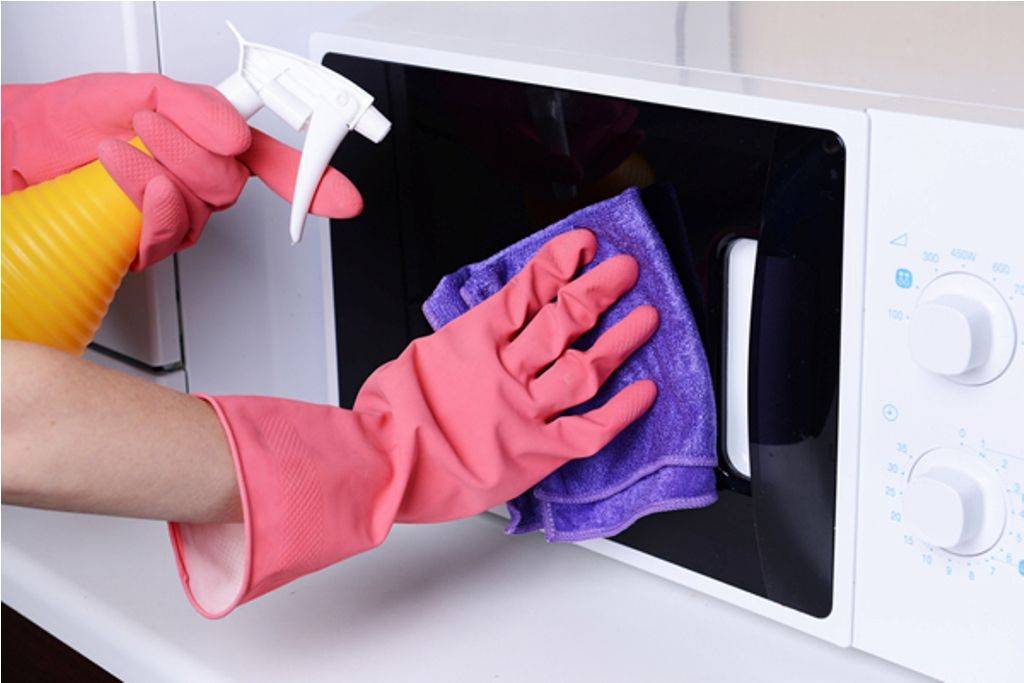
Cleaning
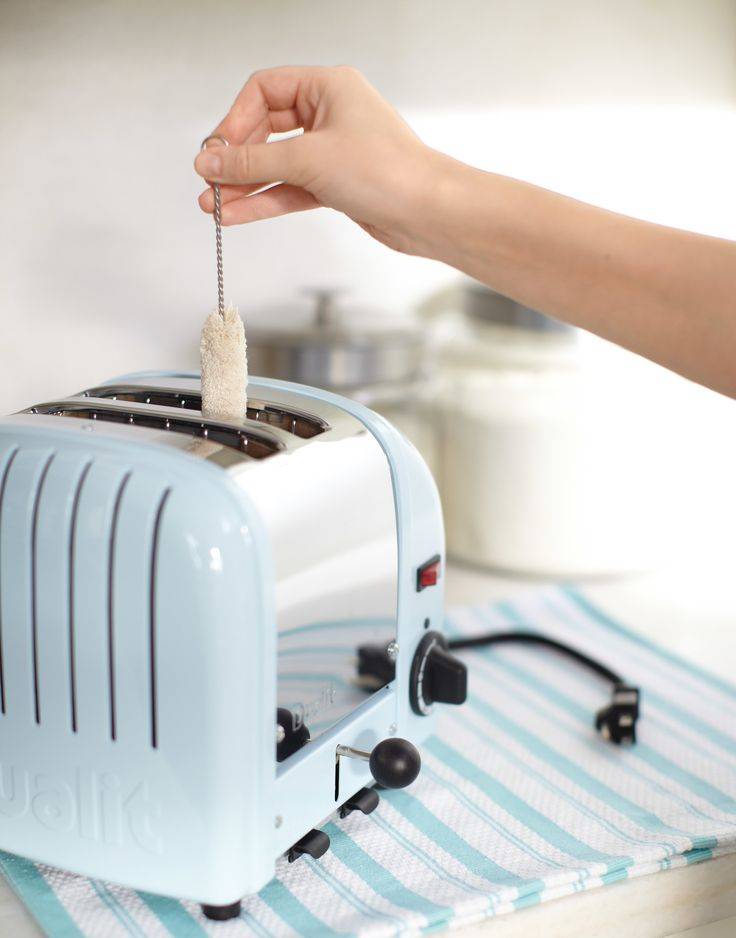
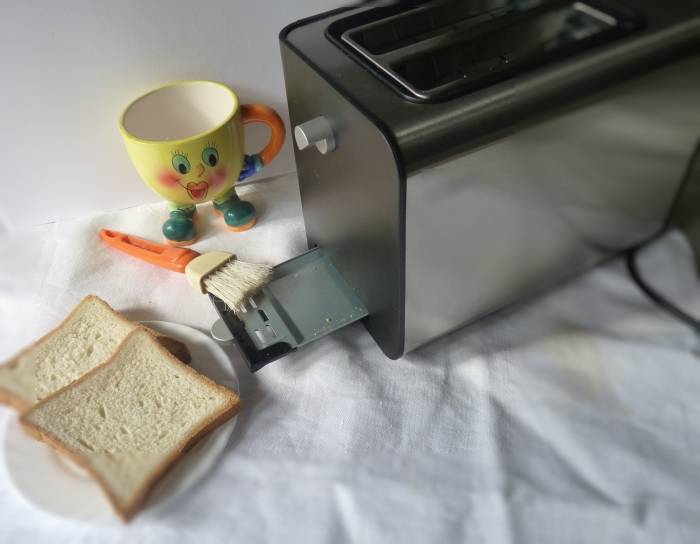
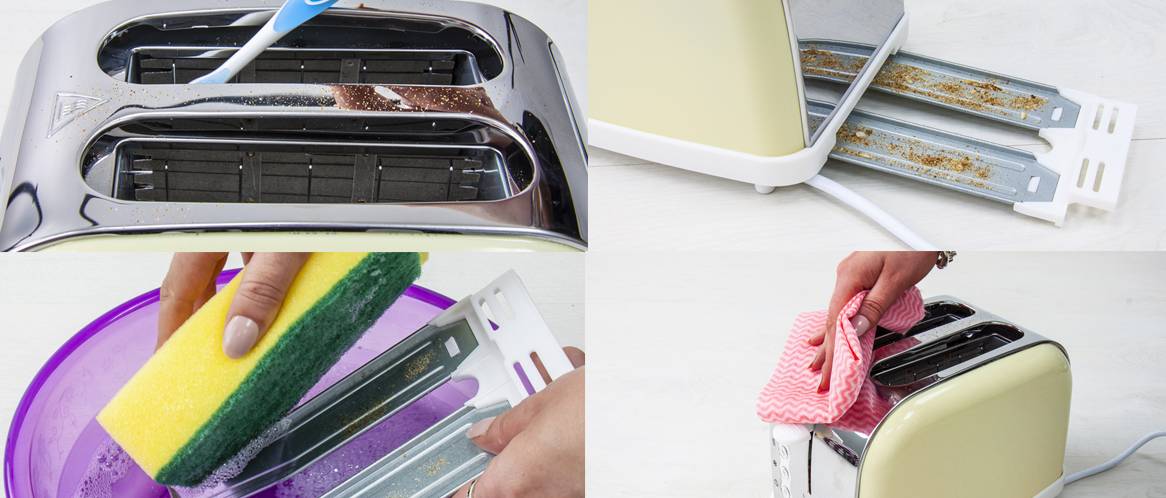
It is necessary to periodically wipe the outer surface of the toaster with a slightly damp cloth and vinegar from dust, splashes, fingerprints. It should be cleaned inside at least once a month. The toaster should be cleaned in a well-lit area. Be sure to spread a sheet of paper so that you can collect the crumbs later. Prepare the necessary equipment: a brush, a toothbrush, scotch tape, parchment paper, coarse salt.
Step-by-step instruction
First you need to remove the bottom, unscrew all the screws.
Remove the top cover, side panels, bottom.
After that, you need to pour a little coarse salt into the upper slots for loading fresh toast. Close the top with paper and secure with tape
Shake the toaster gently several times. The salt will clean the internal surfaces of dirt and carbon deposits.
Then salt, crumbs and adhering dirt should be thoroughly removed with a brush.
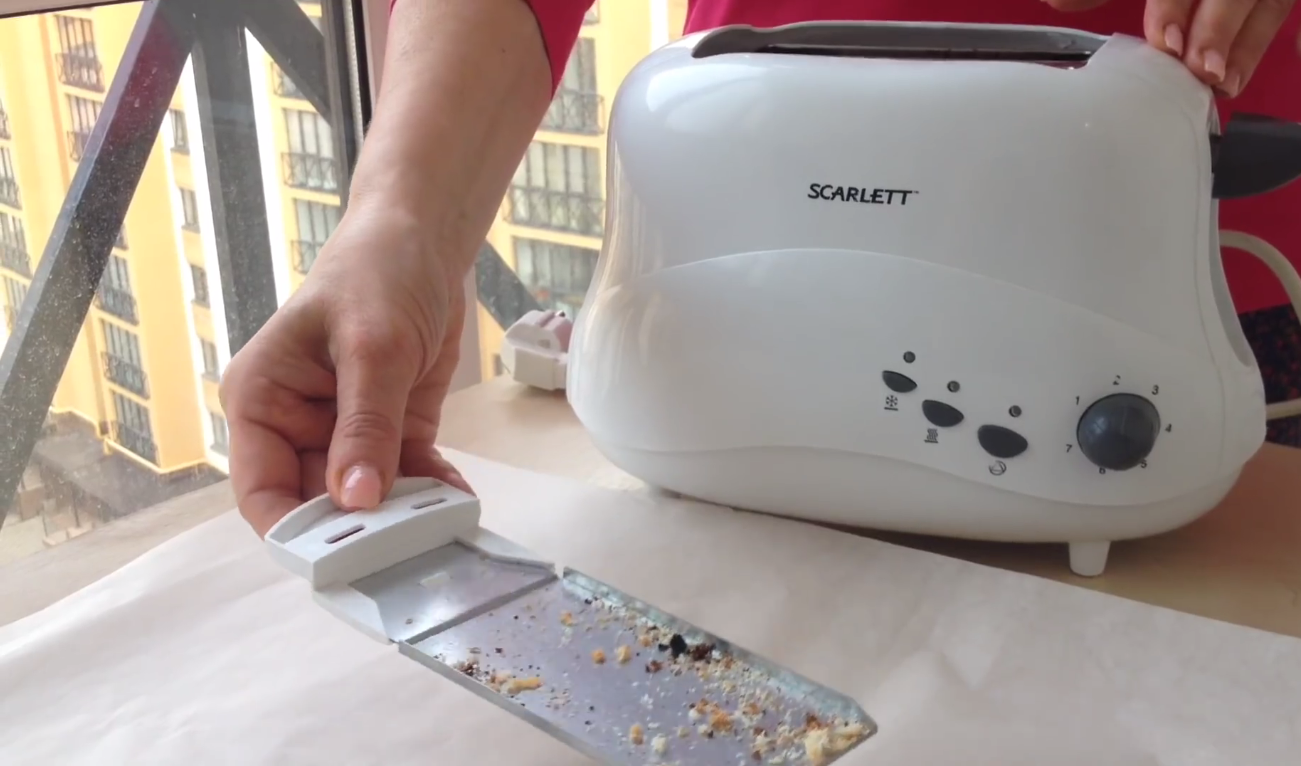
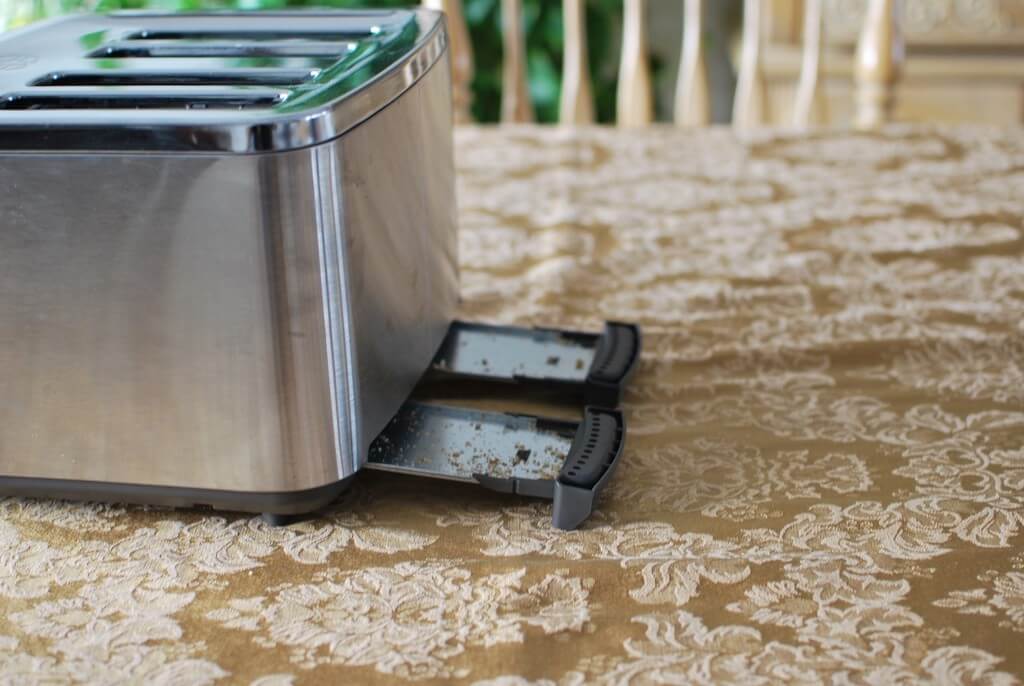
Remove all accumulated crumbs from the pallet and rinse it with detergent and water under the tap
Wipe dry with a towel. If the toaster does not have a pallet, then it must be partially disassembled and gently shaken over the paper.
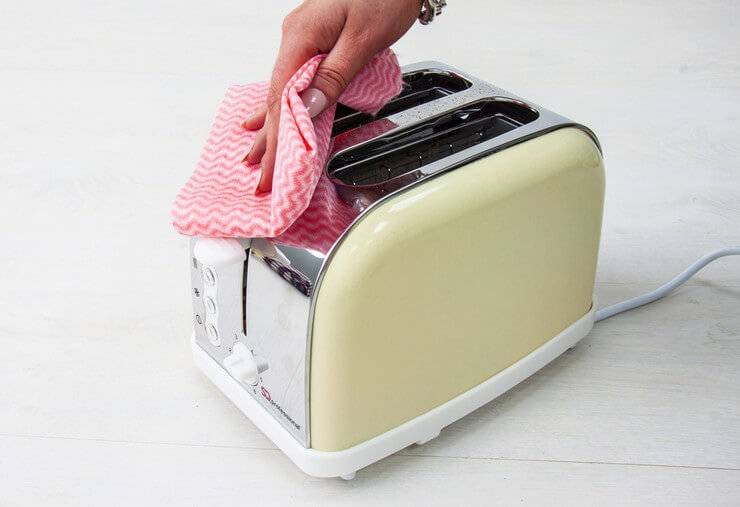
The outer surfaces can be cleaned with a cloth dipped in vinegar. Use baking soda to remove stubborn dirt effectively.
There are many toaster models available. Manufacturers go to all sorts of tricks to please the whims of discerning buyers. They come up with bizarre external forms, sophisticated design, combination with other household items. Most popular brands: Bosch, Tefal, BORK, Moulinex, Philips, Roventa, Vitek and others. When using a toaster, do not forget to take care of the appliance if you want it to serve you for more than one year.
Household Battery Washers
If the hostess is interested in how best to wash the battery from dust and dirt, then the answer will be as follows: with household devices. After all, cleaning will go much faster if you use a vacuum cleaner or steam generator.
What kind of home “helpers” are effective:
- Hair dryer. Everything is logical - dust particles are well blown away by a stream of air. And so that they do not then scatter around the room, it is worth hanging a damp cloth behind the heater. Then all the rubbish will settle on it.
- Vacuum cleaner. Quite a useful device. Just a few minutes and the result is ready: the batteries inside are clean. And for convenience, you can use a small nozzle, which almost every manufacturer adds to the package for a vacuum cleaner, or make one from available tools, for example, toilet paper rolls.
- Steam cleaner. Surely any cleanliness dreams of him. In this device, steam is injected at the expense of high pressure. As a result, the jet is powerful and very hot.Therefore, if you are perplexed about how to wash the accordion battery, then the steam cleaner will definitely help you in this difficult task. However, you should remember about safety while working with it. Avoid skin contact with the jet, otherwise burns cannot be avoided.
- Electric kettle. If you pour boiling water from a kettle on a cast-iron battery, then most of the debris will be washed off. But at the same time, it is worth substituting a tray for collecting water under the heater - a baking sheet or a large basin.
Steps
Method 1 of 3:
Cleaning the crumb tray
1
Unplug the power plug and place the toaster on a work surface
It is very important to unplug the toaster before cleaning to avoid electric shock.
X
Sourse of information
Then place the toaster on a wide, flat surface such as a table or bar. Cover your work surface with newspaper to help pick up the crumbs.
2
Take out the crumb tray
Most toasters come with a removable tray called the crumb tray. Removing the tray is usually easy enough, but if you are having trouble, refer to your toaster's instruction manual.
X
Sourse of information
3
Shake out the tray. Turn it upside down. Shake well to remove any crumbs, dirt, dust, or broken pieces of bread.
X
Sourse of information
You can shake the crumbs out of the tray onto pre-spread newspaper. But it's best to do it right above the bin to get rid of the crumbs immediately.
4
Wash the crumb tray in warm, soapy water. Wash the tray clean in the sink using warm water and a non-abrasive liquid soap. Wash it in the same way as you do with the rest of the dishes. Carefully remove any adhering crumbs or stains, then set the tray aside to dry.
X
Sourse of information
5
Cleaning the non-removable crumb tray. If your model of toaster cannot remove the crumb tray, just turn the toaster upside down
Shake it gently several times over a newspaper or trash can. Most loose crumbs can be removed this way.
X
Sourse of information
Method 2 of 3:
Cleaning the rest of the toaster
1
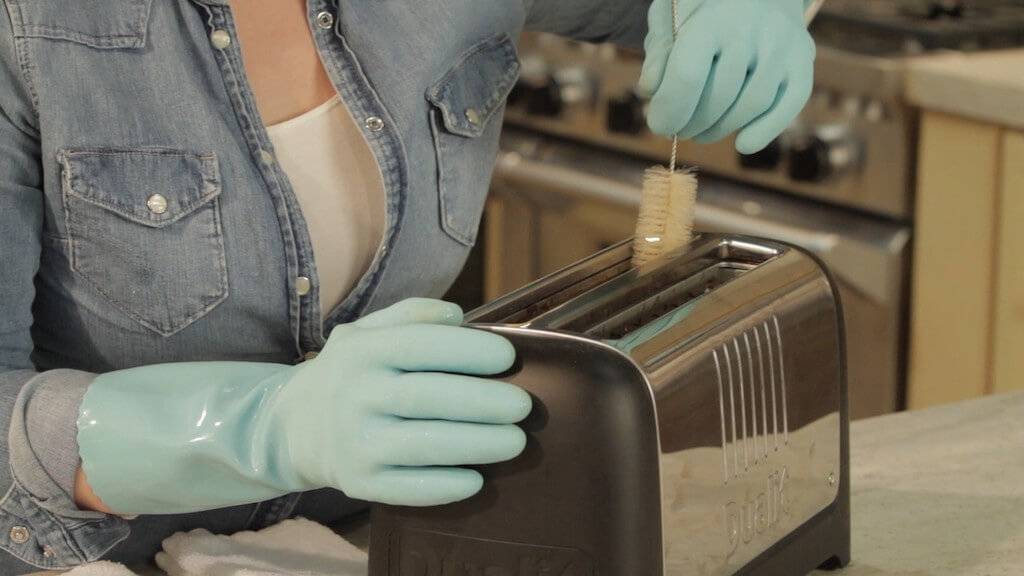
Brush off crumbs from the inside of the toaster. Use a pastry brush or clean toothbrush to clean the heating element inside the toaster. Use them to get rid of any crumbs stuck between the heater filaments. Swipe the crumbs along the nichrome spiral.
X
Sourse of information
It is best to turn the toaster upside down after removing the crumbs from the insides, and then shake it well again.
2
Wipe the grooves inside the toaster. Soak a little vinegar on your toothbrush. Use it to thoroughly clean the heating element mesh, removing any adhering crumbs, dirt, and remnants of bread slices.
X
Sourse of information
The toothbrush should only be slightly damp. If you soak it too much in vinegar, puddles of dirty water can accumulate at the bottom of the toaster.
3
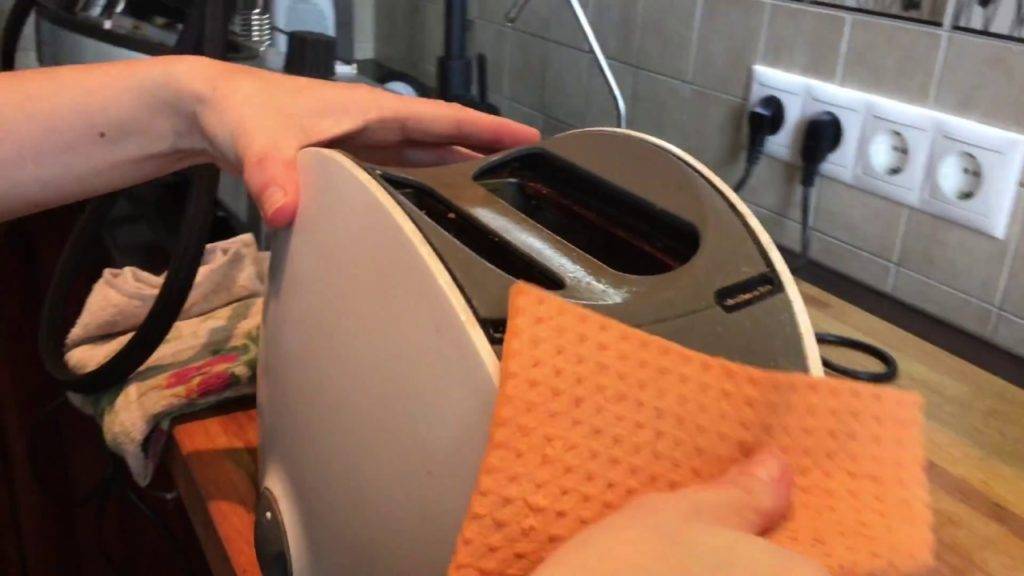
Cleaning the outside of the toaster. Soak a rag in vinegar
Use it to clean the sides of the toaster.
X
Sourse of information
Use baking soda to gently wipe away stubborn stains. To avoid scratching the surface of the toaster, use a non-abrasive sponge or soft cloth.
Method 3 of 3:
Keep the toaster clean
-
1
Clean your toaster thoroughly once a month. Deep clean your toaster about once a month. Empty the crumb tray and use vinegar to rub the inside and outside of the toaster. This will avoid the accumulation of a large amount of crumbs and other debris inside.
X
Sourse of information -
2
Shake out the crumbs once a week. Take out the crumb tray once a week and shake it out over the trash can.If the tray is not removable, simply turn the toaster upside down and empty the contents over the bin.
X
Sourse of information -
3
Wipe down the outside of the toaster every day. When cleaning the kitchen every day, do not neglect the toaster. Wipe it with a damp cloth moistened with vinegar or water. This will prevent a lot of dirt from accumulating on the outside of the toaster.
X
Sourse of information
Warnings
- Only clean the cooled toaster.
- Only plug the toaster with dry hands.
- Never insert a knife into the toaster. If the toaster is plugged into a power outlet, you can get an electric shock.
- Do not under any circumstances immerse the toaster in water.
- Toaster
- Vinegar and sodium bicarbonate / baking soda
- Sponge / soft cloth
- Newspaper
- Working surface
Finally
Cleaning the kitchen and cleaning all kitchen equipment, from the oven to the toaster, takes a lot of time and effort. To facilitate this work and maintain the results for a long time, it is necessary to monitor the cleanliness and order in the kitchen every day, as well as check the condition of the kitchen machines and equipment from time to time.
If there is not enough time to clean the house and the kitchen, it is best to contact a specialized cleaning company, whose specialists, for a reasonable fee, will do all the hard homework for you. Believe me, sometimes it is better to spend money for the services of professionals, but save time and nerves on routine cleaning by devoting them to family members or your favorite activities.