Steps
Method 1 of 3:
Fast cleansing
1
Use this method to cleanse the sponge only as needed. It is recommended to resort to deep cleansing if the sponge remains dirty after the usual cleansing described above.
You will most likely need to cleanse the sponge this way if you apply makeup multiple times a day, or if you haven't washed your sponge for more than a week.
You will know if you need deep cleaning by the look of the sponge. If the water remains cloudy during rinsing, or if the sponge has visible stains after it dries, try deep cleaning.
2
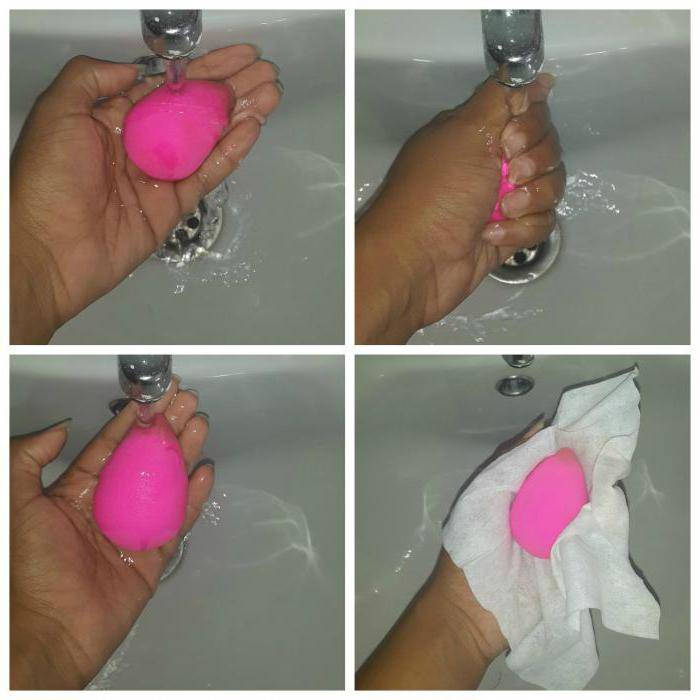
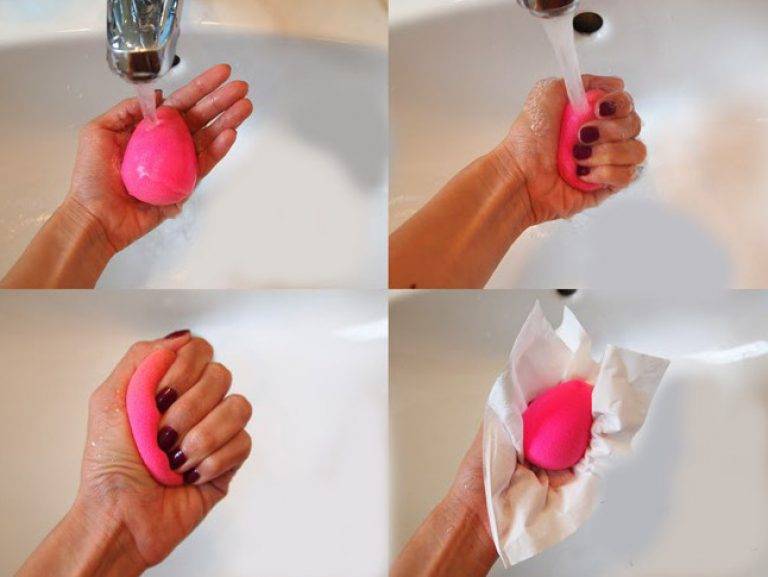
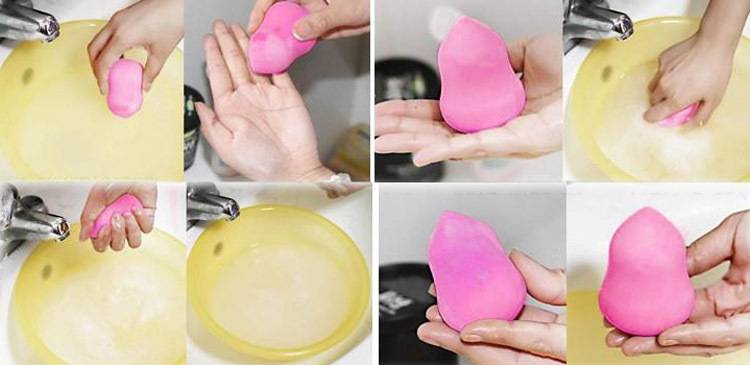
Wet the sponge; instead, you can leave the sponge in a bowl of warm water for 5-10 minutes. You do not need to add soap to the water and monitor the color of the water. Hold the sponge under warm running water for 30-60 seconds, or until the sponge absorbs water throughout and increases in size.
3
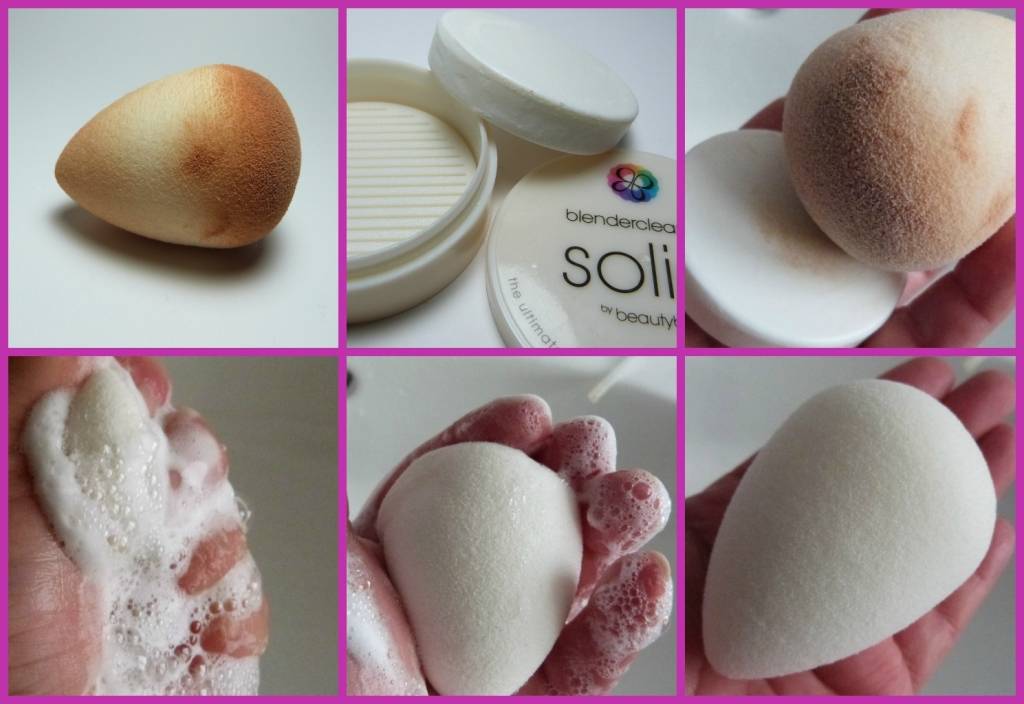
Treat the dirtiest areas with soap and use only mild detergents during this step. A specialty soap for the Beauty Blender is ideal, but you can also use Marseilles soap, liquid baby shampoo, or organic sensitive skin shampoos. Rub liquid or solid soap into the brightest spots on the sponge.
4
Rub the sponge against your palm. Rub the areas where you applied the soap on your hand using gentle circular motions. Continue doing this for about 30 seconds.
X
Sourse of information
The sponge should be rubbed harder than normal cleaning. Remember that this sponge is quite delicate and can be torn or deformed if rubbed too hard.
During such cleaning makeup that remains deep inside the sponge will come out. Traces of foundation will remain on the palm of your hand.
5
Rinse the sponge while rubbing it on your hand; it may take 2-3 minutes to remove any soap residue.
It's important to rinse off all the soap, so take your time. Rinse the sponge under warm running water, without stopping to drive it over your hand in a circular motion
Rinse until the water runs clear.
6
Check how well the sponge has cleaned by adding some more soap to the sponge and rubbing against your hand. If the lather is white and not gray or beige, the sponge is completely cleansed. Rinse the sponge under water until the soap bubbles are removed. The water must be clean and transparent.
7
Dry the sponge; chances are, the sponge will still be damp after doing this, so place it in a dry place and let it dry naturally. Use the sponge only after it is completely dry.
Gently squeeze the water out of the sponge with your hand, then wrap it in a clean, dry paper towel.
-
- With regular cleaning, you will be able to wash off traces of cosmetics from the surface of the sponge, as well as partially from the inside. This will also get rid of bacteria on the surface of the sponge. The longer the sponge stays dirty, the more bacteria will form there.
- Clean the sponge every week or every two weeks. If you use a sponge on a daily basis, it will be enough to clean it in a simple way once a week. Even if you only use the sponge a couple of times a week, you should still cleanse it at least once every two weeks.
About this article
Founder of Clean My Space
This article was co-authored by Melissa Maker. Melissa Maker is the host and editor of CleanMySpace, a YouTube channel and blog with over 1 million subscribers. He has over 10 years of professional experience in the cleaning industry and offers useful tips on how to organize your household.
Categories: Makeup
English: Clean a Beauty Blender
Español: limpiar un Beauty Blender (esponja difuminadora)
Bahasa Indonesia: Membersihkan Beauty Blender
Français: nettoyer une éponge à maquillage
Italiano: Pulire le Spugnette per il Make Up
Português: Limpar uma Esponja Beauty Blender
Deutsch: Einen Beauty Blender reinigen
Nederlands: Een Beautyblender schoonmaken
العربية: تنظيف إسفنجة البيوتي بلندر
Tiếng Việt: Vệ sinh mút trang điểm Beauty Blender
ไทย: ล้าง ฟองน้ำ ไข่ Beauty Blender
中文: 清洁 美 妆 蛋
日本語: ビ ュ ー テ ィ ー ブ レ ン ダ ー の ス ポ ン ジ を 洗 う
한국어: 메이크업 용 스펀지 세척 하는 방법
हिन्दी: ब्यूटी ब्लेंडर साफ करें (Clean a Beauty Blender)
This page has been viewed 5,913 times.
Yes
No
Step-by-step instruction
We all know that any household appliances require cleaning and washing. And also, in order for the device to serve you as long as possible, you need to properly care for and store it. But before you put it back in place, you need to wash it thoroughly and dry all the parts. The equipment should be washed immediately after use. Do not delay washing the appliance if there is a saline solution inside it.
- Before washing the blender, it should be disconnected from the power supply, thus de-energized, and completely disassembled into separate parts. First of all, it is necessary to unscrew the "mill" from the block part of the electric motor (motor), which can be easily removed when turned counterclockwise. Further, the analysis of the rest of the individual parts takes place. That is, the cup, knife, rubber gasket and sealing wheel are removed separately.

Be careful when analyzing the technique! After all, the knives are very sharp, and by making an awkward movement, you can easily cut yourself off and thereby injure yourself.
- The next step is to clean the motor block device. You cannot wash it, but only wipe it with a clean, damp special napkin. Some housewives use soap and sponge. Use a napkin, rag or the same Beauty sponge to rinse all parts under a stream of warm water
- If the house has a dishwasher, you can use it. But only removable parts can be washed in the car and at a temperature not higher than 60 degrees

Do not use descaler concentrates, otherwise parts will malfunction. Use only soap or regular detergent from the Beauty series.
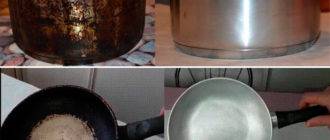
- In nature, there are many products, vegetables and fruits, which tend to color objects and things. A blender like Brown is highly prone to color from rich and vibrant foods. The stubborn color is quite difficult to wash, but either ordinary laundry soap or vegetable oil will help with this.
Rub the cup and lid with oil and leave for 20 minutes, then wash it off under a stream of warm water and soap. Soap is a great helper when washing any household appliances and not only.
It is important to know that all the parts are put together, and the blender is removed only after it has completely dried, otherwise wet parts may corrode. Consequently, the blender will stop functioning.

Before you start washing the blender yourself at home, you should read the instructions that came with the device. It also says how to wash blender lid and bowl.
It is very important to first familiarize yourself with the instructions, because for each device it has its own, depending on the specific model and type of work

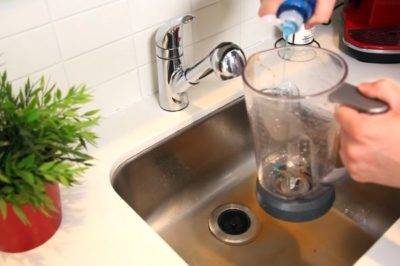
How to clean the blender lid and cup in 15 seconds?
There is a very effective way to clean your blender in 15 seconds at home. To do this, pour 50 ml of liquid soap into a dirty cup, pour warm water up to the upper strip indicated on the bowl. Then close everything with a lid and turn on the "Start" button. Run the blender for 15 seconds. This time is enough to perfectly clean the appliance.
Then you should pour out the dirty water and rinse the lid and cup under running warm clean water. After running water, the parts should be wiped off with a clean dry cloth and left to dry completely on the table for 30 minutes, then it can be removed. The method is very effective and, most importantly, fast.


General information
Regular sponge wiping, even with a disinfectant, is not enough for proper blender maintenance. In its bowl, attachments are attached, under which the remnants of the crushed mixture are clogged, and pieces of minced meat are wound on the rotor. If all this is not removed in a timely manner, then the engine, due to excessive load, will quickly fail.In addition, any chopped mixture in the blender will give off the unpleasant smell of musty or rotten food. It is unlikely that anyone would want to cook something with it.
How to clean a blender and what difficulties can arise? For example, the manufacturer strictly prohibits immersing such equipment in water, and the base itself, where the filter and the adapter shaft to the bowl are located, may be non-removable. If water gets inside, then engine corrosion will begin (although more often it is the printed circuit boards on which the toggle switches for controlling the operating modes of the electric motor are affected).
 At the same time, if you do not wash and clean the blender in a timely manner or perform this procedure poorly, then pretty soon:
- dull knives;
- the bowl will become covered with plaque and scratches due to dry food debris;
- the engine will not produce the declared number of revolutions.
Accordingly, such a technique will no longer be able to grind food normally. And such damage caused by improper care does not fall under warranty repair.
How to clean the dried mixture?
 If you do not clean the blender in a timely manner, then the remnants of the crushed mixture will definitely dry both to the bowl itself and to the nozzle. If the design is collapsible, then the bowl, along with the knives, should be soaked in soapy water for several hours, and then washed with a sponge and detergent.
But what if it is impossible to disassemble the blender? In this case, 2/3 of the volume of warm water is poured into the bowl, 2 teaspoons of baking soda, 50 milliliters of vinegar and 5-10 drops of detergent are added there. Then you need to turn on the grinding cycle at minimum power (10-15 seconds). After this, do not remove the lid, but let the blender stand with the mixture inside for at least 6-8 hours. Further - a repeated grinding cycle.
Dirty water must be drained, and then washed again in the blender in the usual way (with lemon). If this does not help to cope with contamination, then only the option of contacting an official service center remains - cleaning should be carried out mechanically with disassembly. For this reason, the cleaning of equipment should be carried out in a timely manner.
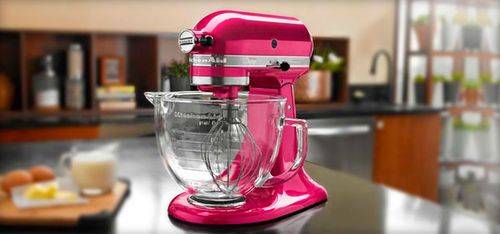
What models are there?
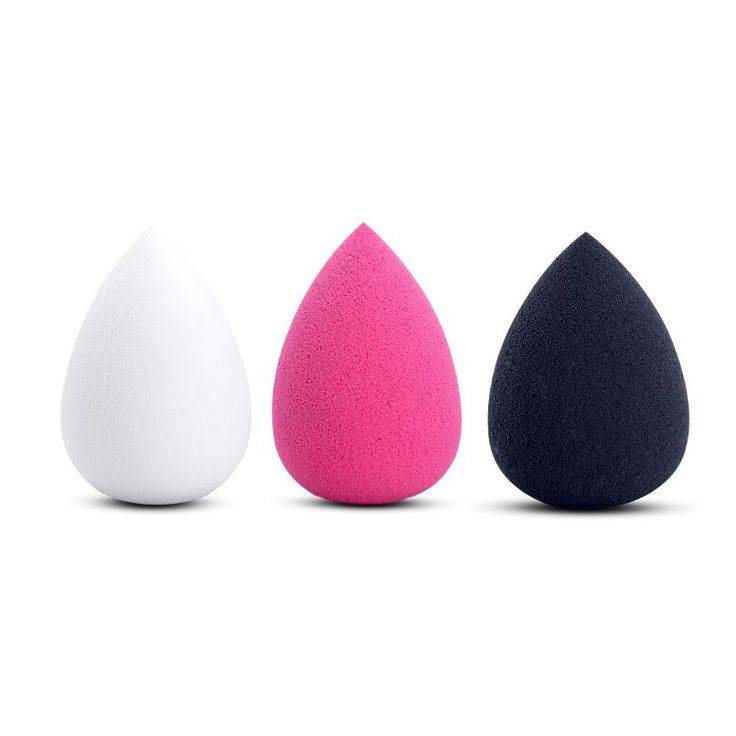
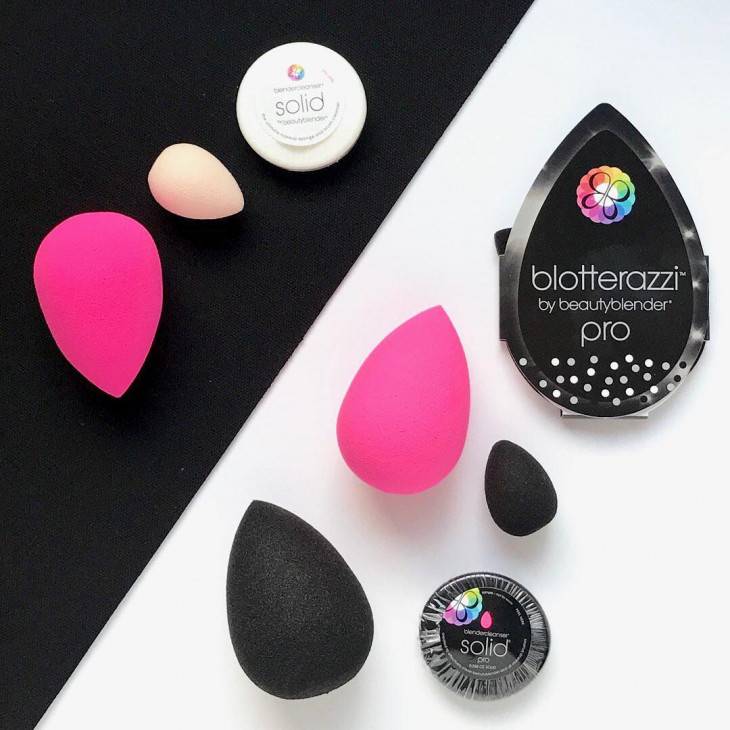
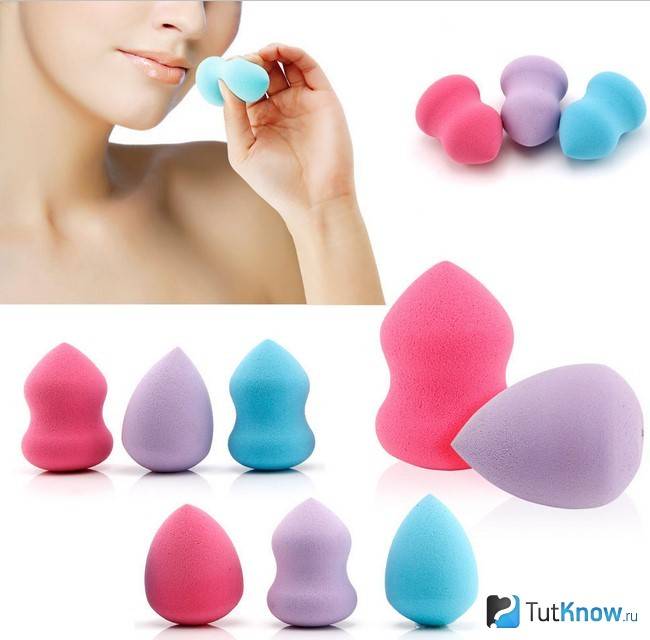
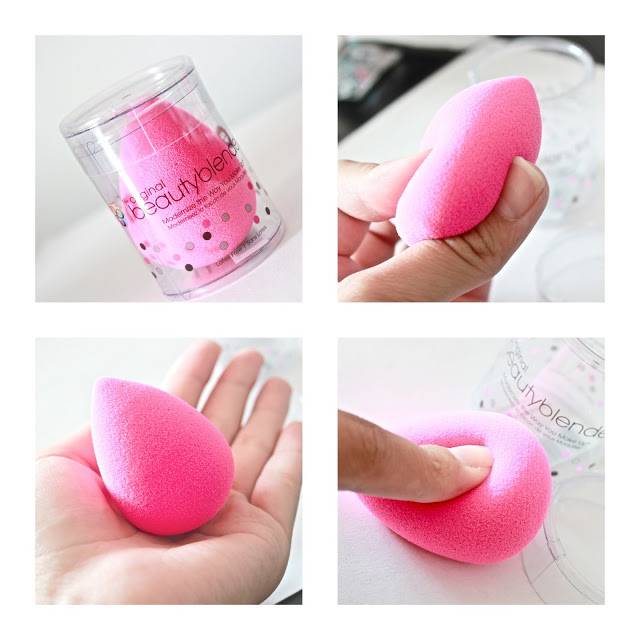
Having figured out how to care for a beauty blender, let's talk a little about models. Classic - teardrop-shaped, pink. But now on sale you can find other varieties that differ somewhat in properties and appearance:
- Original. Designed for applying foundation and creamy blush. It has a classic shape and traditional pink color. Most often it is used at home.
- Royalty, Red Carpet. The Royalty and Red Carpet models are similar in purpose to the Original, they have the same functions, but look different - their color is red.
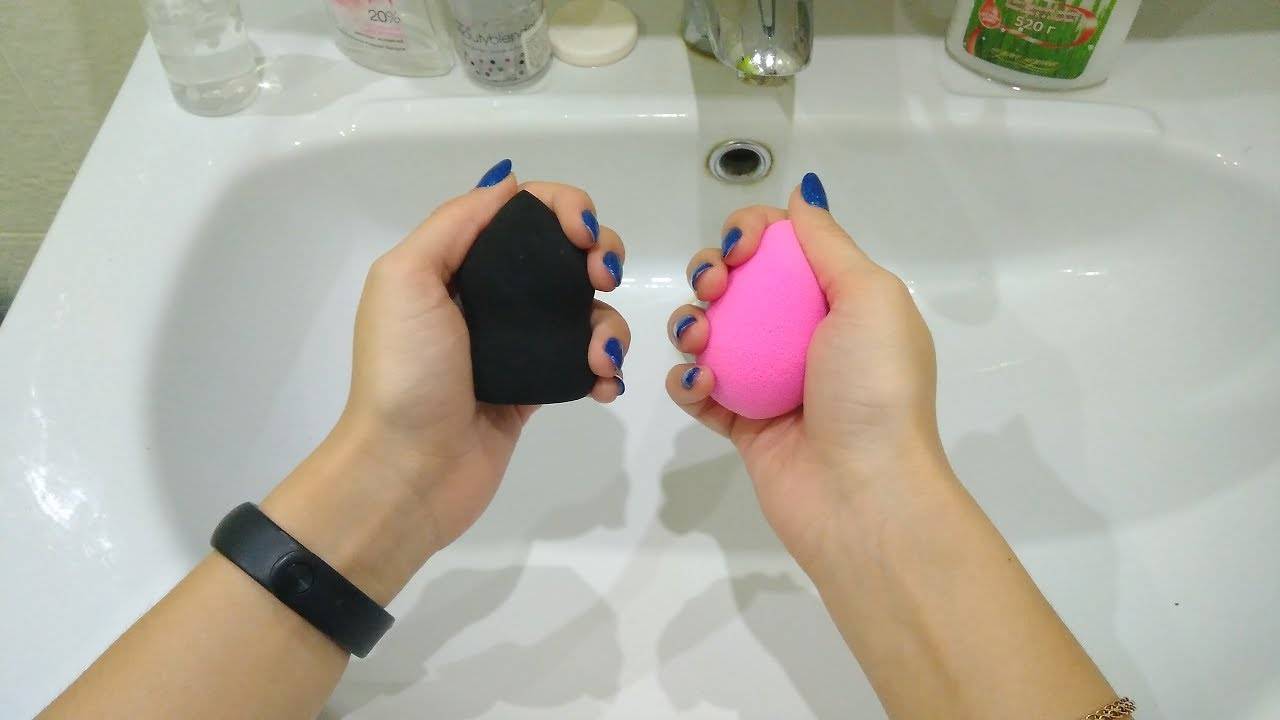
- Pro. Do you like black? Then the Pro model is just for you. It is denser than the Original in its texture, therefore the layer will turn out to be denser. Professional make-up artists use this device more often than modest amateurs.
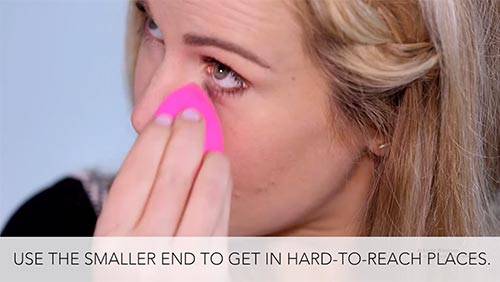
- Mini. The Mini-labeled beauty blender is four times smaller than its counterparts. It has a delicate structure, more porous than other models. It is most convenient for treating the corners of the eyes and eyebrows.
- Pure. The Pure White Beauty Blender is the softest of them all. It is suitable for very smooth skin, but if you need to mask very noticeable irregularities, this model is not suitable.
Beauty blender and sponge are the difference. Beauty blender: how to use, how to wash, which one to choose? Pros tell
The beauty blender was invented 15 years ago, but only in recent years has it become a really super popular accessory. How to choose how to clean what it can do and what tricks you can perform with it - in our review.
What can he
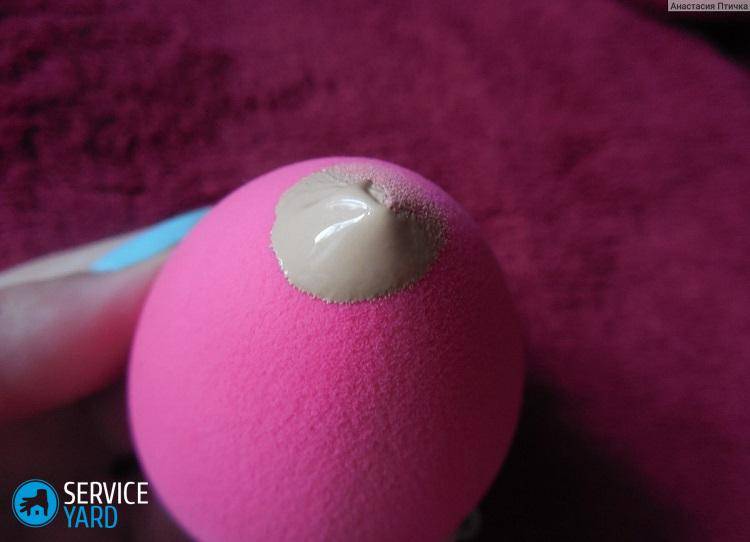
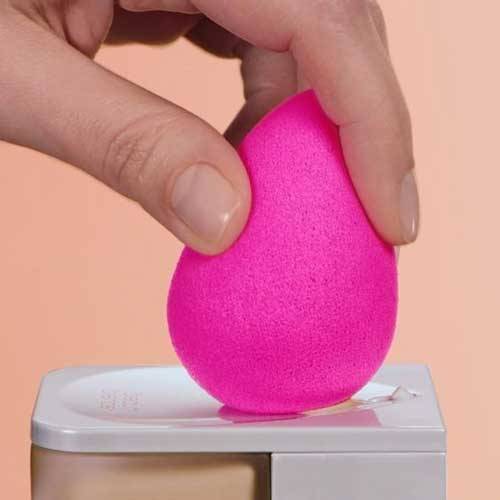
“The main thing a beauty blender is for is tone,” says London Fashion Week makeup artist AJ Crimson. - And for the makeup to lay down better, moisten the blender with cold water! This will prevent the foundation from spreading during application.Many people apply the cream to the skin, and then blend it with a blender, I do not like this: I apply the product to the blender itself, and then I work with the skin. Usually I have 3-4 "eggs" on hand with different shades of cream applied to them, which allows me to work several times faster. However, if you are not in a hurry, this trick is not required. But I want to say one thing separately: if you use both a concealer and a tone, even if they perfectly match in shade (must match!), Use different blenders. Mixing textures in a sponge can lead to unpredictable results ”!
Troy Jensen, Mariah Carey's makeup artist, on the other hand, prefers to use the beauty blender in an unconventional way. “I like to apply shadows with the blender. I moisturize it quite lightly with the help of a spray, run it with a sharp tip over the surface of dry eyeshadows and begin to blend. Neither brush, sponge, nor applicator give such an even application. Yes, it's also a great option for masking overgrown gray roots when we talk about dark hair. We take the shadows of the desired shade, wet the blender harder, collect more pigment and paint over the gray hair. Super effect! "
Popular
How to become Sharon Stone: step-by-step instructions on star makeup
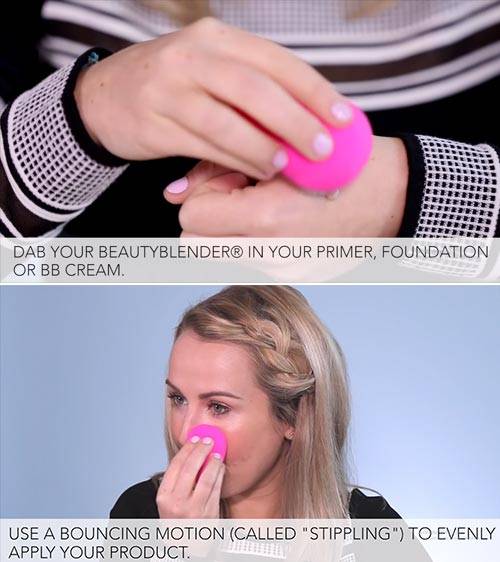
Ria Ann Silva, the inventor of the beauty blender, is surprised that many people still do not know that the beauty blender can be used ONLY wet: During the process, it turns out that the girl used it as a dry sponge. A beauty blender does not increase, but reduces the consumption of funds, since the water filling it from the inside prevents the product from being over-absorbed into the blender! This is what makes it different from a sponge! The correct way, whatever product you are going to apply: put it under cool water, squeeze and release several times directly under the stream, turn off the water, squeeze it again, leave it for a minute or two so that it straightens out. Everything, you can use it!
I would also like to talk about why many are unhappy with the quality of the coating when using a beauty blender. The thing is that, by analogy with a brush, girls, as it were, smear a foundation with a blender. Of course, you get streaks and layering. With a blender, you need to touch the skin and release, making such point movements. Under no circumstances should you carry them back and forth! "
How to care for him
Edward Cruise, one of the founders of the brand, explained how to handle a blender to serve you faithfully.
“The beauty blender does not need to be washed or washed with harsh detergents such as those designed for washing or dishwashing. It is better to use baby soap, it is more delicate. The principle is simple: lathered a blender - squeezed under running water. Repeat until the water becomes clear during wringing. No need to wash the blender with products containing alcohol, acetone and corrosive acids.
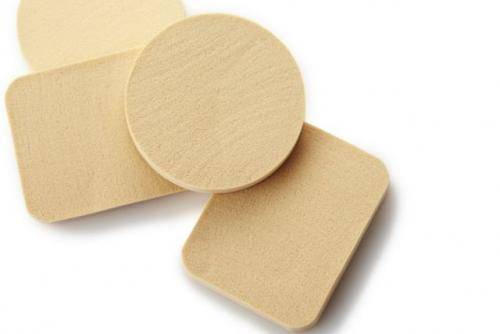
Store the "egg" in a ventilated container
The one in which you bought it is ideal, but if you inadvertently threw it out, an ordinary soap dish will do, if you do not close it
In an ideal world, I would recommend replacing the blender once a month. But I understand that its cost is not so low that most consumers can afford 12 pieces per year. We conducted research and made sure: if you wash the blender with soap after each use, it will be bacteriologically neutral for three months, which, you see, is a big savings.
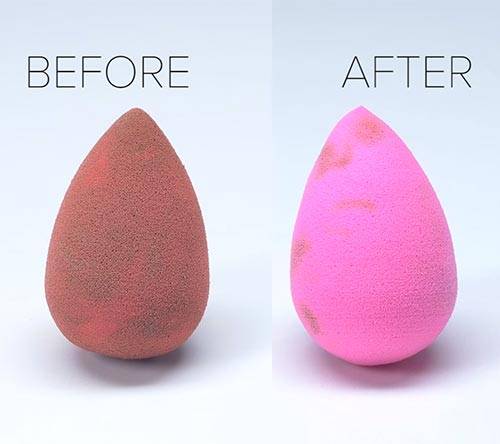
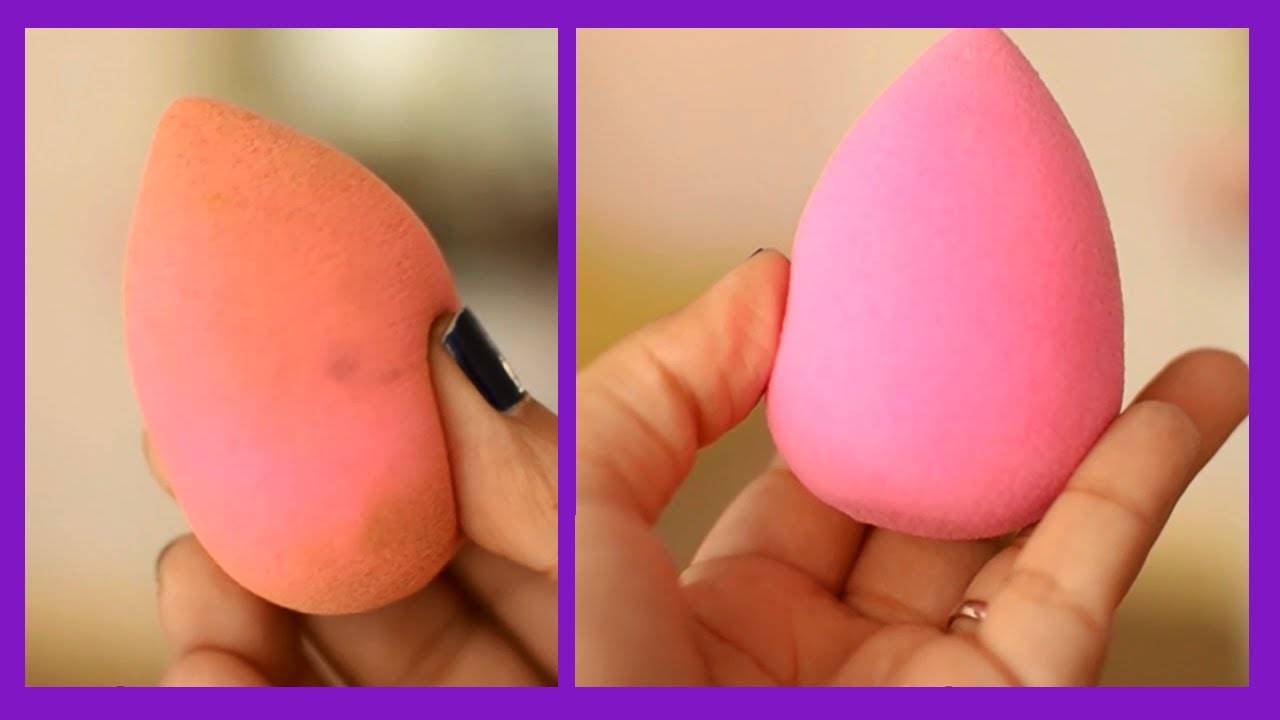
Signs that it is time to replace your beauty blender before three months have passed are discoloration even after you wash it. That is, the pink has become paler, the black has become gray. It's time to buy a new one if, after moistening, the blender takes on a curved shape, it fills unevenly. Well, and of course - if it began to crumble. "


How to clean a beauty blender in the microwave. General recommendations
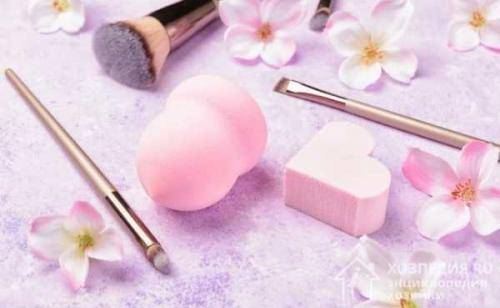
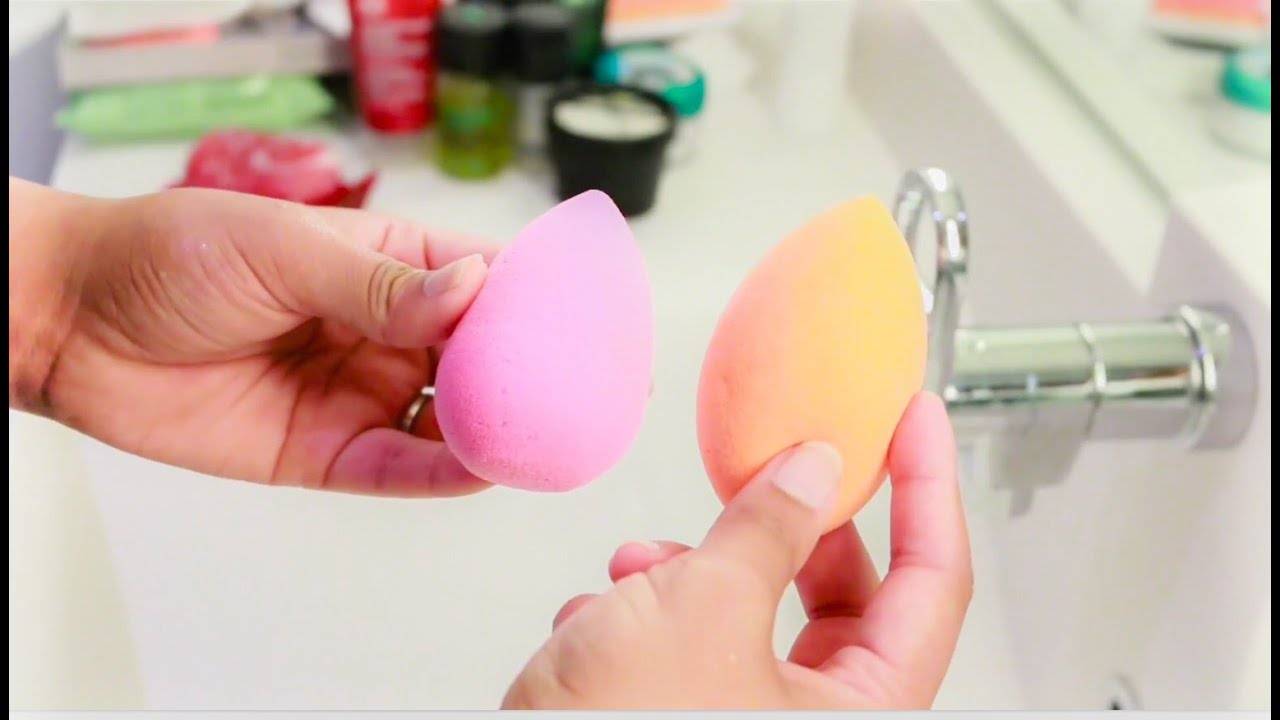
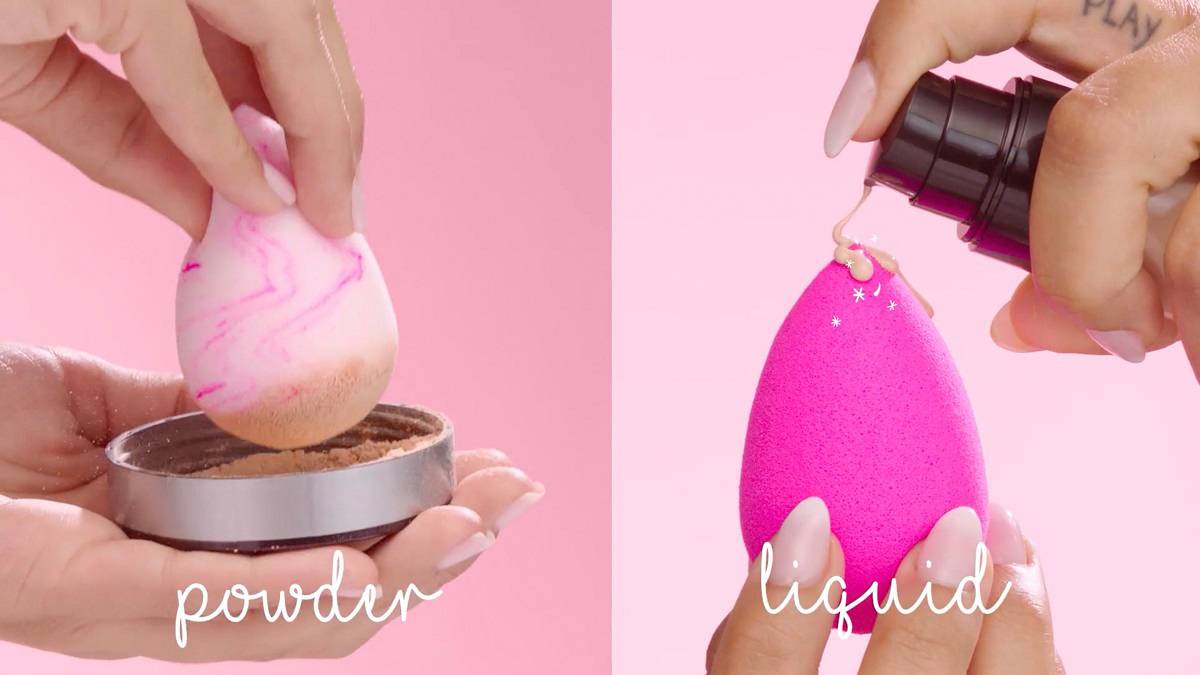
The beauty blender is a unique invention of the beauty industry, which is actively used for applying foundation, powder and blush. For its production, good dense foam rubber with antibacterial impregnation is used.
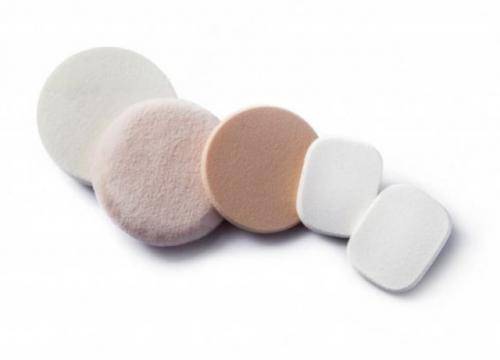
Modern sponges are presented in the form of drops, eggs and other forms. The appearance does not affect the performance properties of the accessory, but only plays a marketing role.
Regardless of the type of sponges, they distribute the product well over the skin, leaving no streaks or streaks. Due to their dense structure, they do not absorb the cosmetic product. This allows you to use your cosmetics more economically, while producing an excellent natural make-up.

Sponges need careful home care. It is recommended to cleanse cosmetic accessories after each use or at least once. once a week with rare exploitation.
With prolonged storage of the contaminated sponge, pathogenic bacteria actively multiply. As a result of using such a sponge, rashes, acne and irritation appear on the face. This negatively affects the condition of the skin and the quality of the make-up.
You can clean the cosmetic sponge yourself at home, using the available and available tools. To properly clean the instrument and avoid dermatological diseases, strictly follow the recommendations presented.
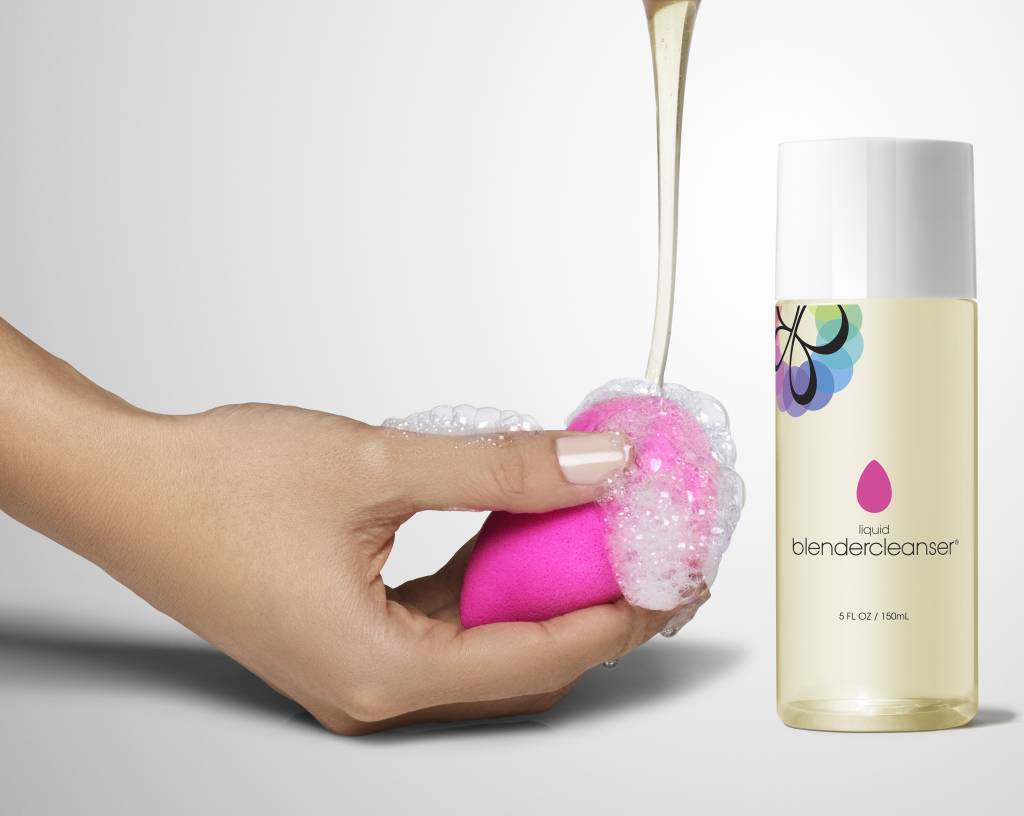
You can also clean the sponge with a hydrophilic oil: apply it to the tool and spread it over the entire surface with gentle movements. Rinse the accessory in warm water with the addition of detergent, then rinse and dry well.

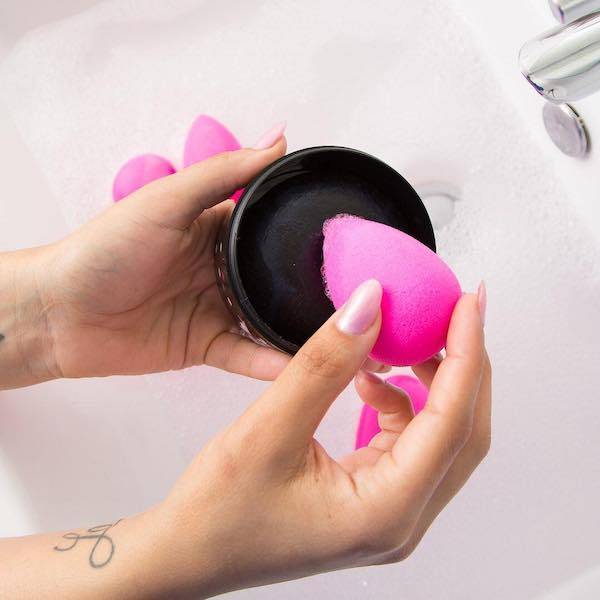
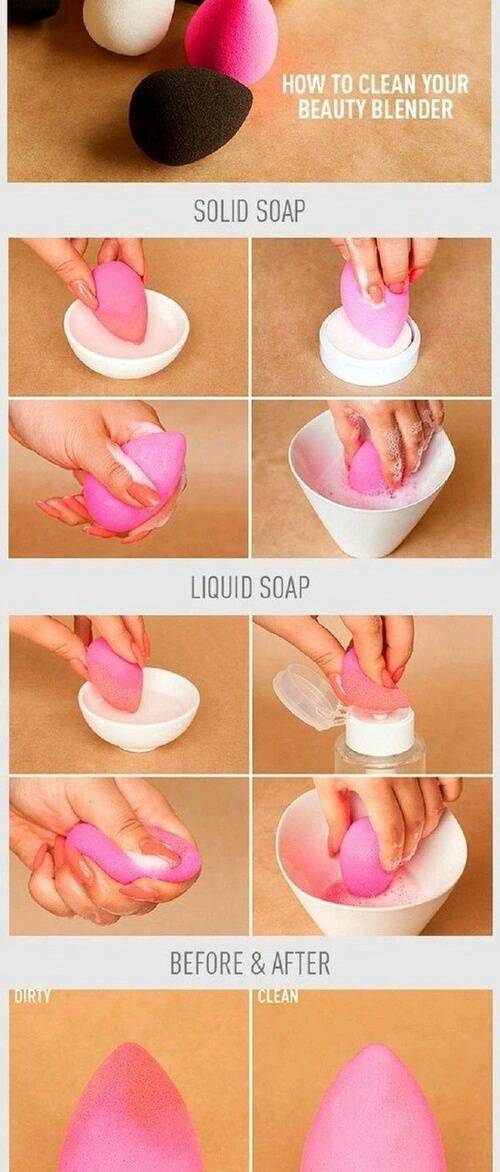
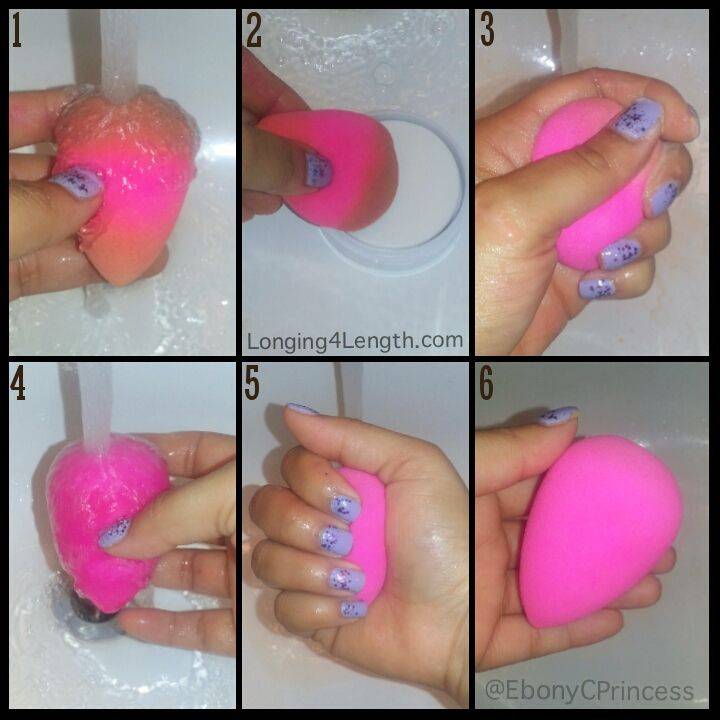
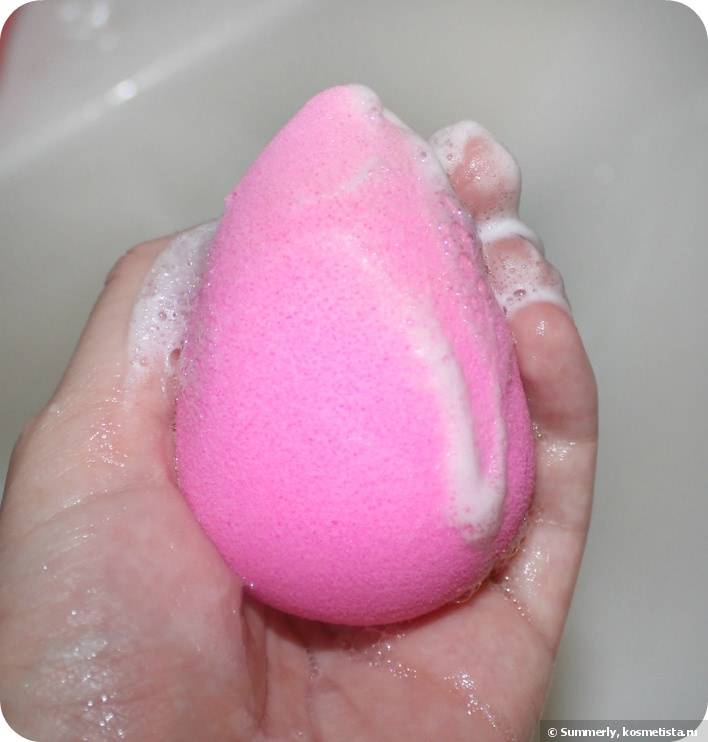
Cleansing the sponge with liquid soap
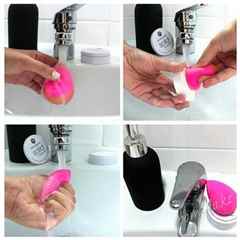
Liquid soap will help to wash the sponge:
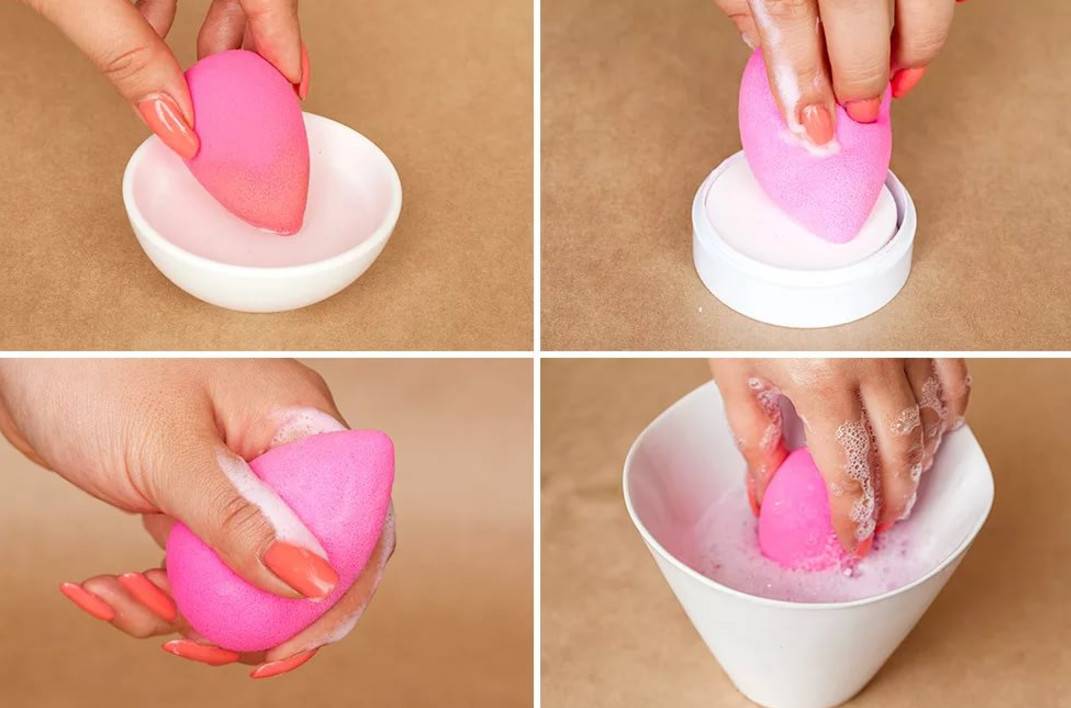
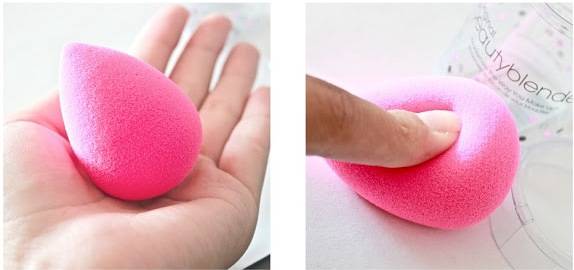
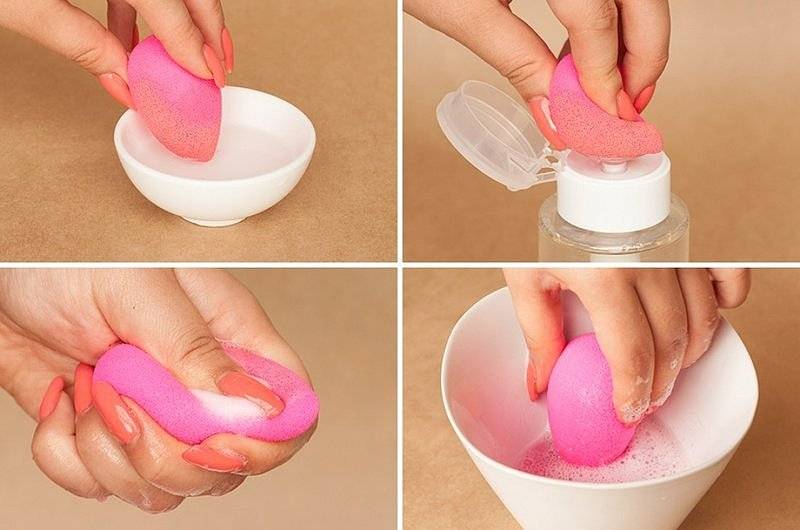
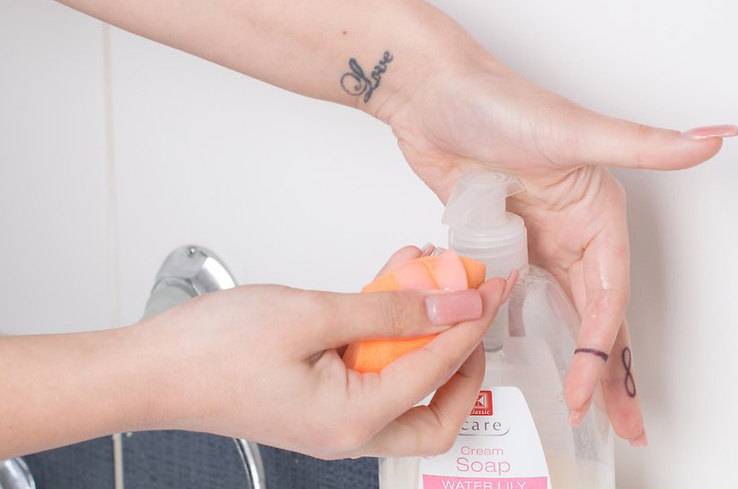
- Soak a beauty blender in clean water and squeeze - it should be slightly damp.
- Squeeze a small amount of liquid soap, baby shampoo, or dishwashing gel onto the sponge.
- Using your fingers, apply the detergent evenly over the entire surface and rub lightly to create a lather.
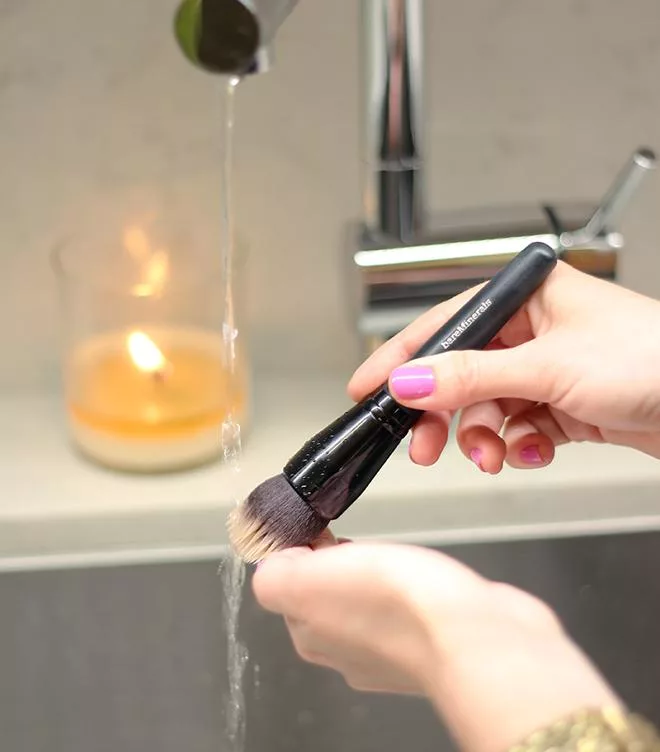
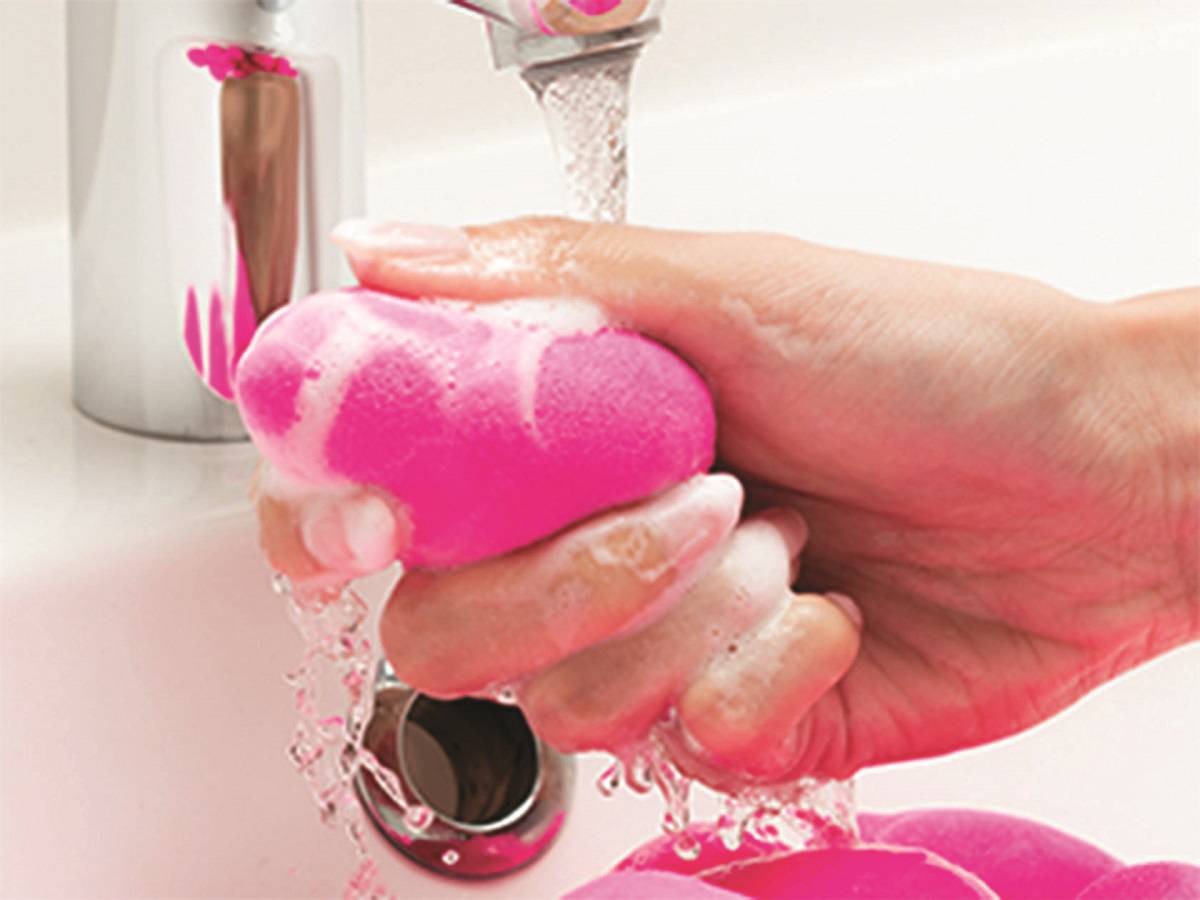
- Rinse the sponge under warm water and squeeze well.
- Repeat the procedure until the liquid draining from the accessory is completely clear.
- After thorough cleaning, wring the sponge well and wrap it in a clean, dry towel to remove any remaining moisture. Leave the accessory to dry in a ventilated place overnight.
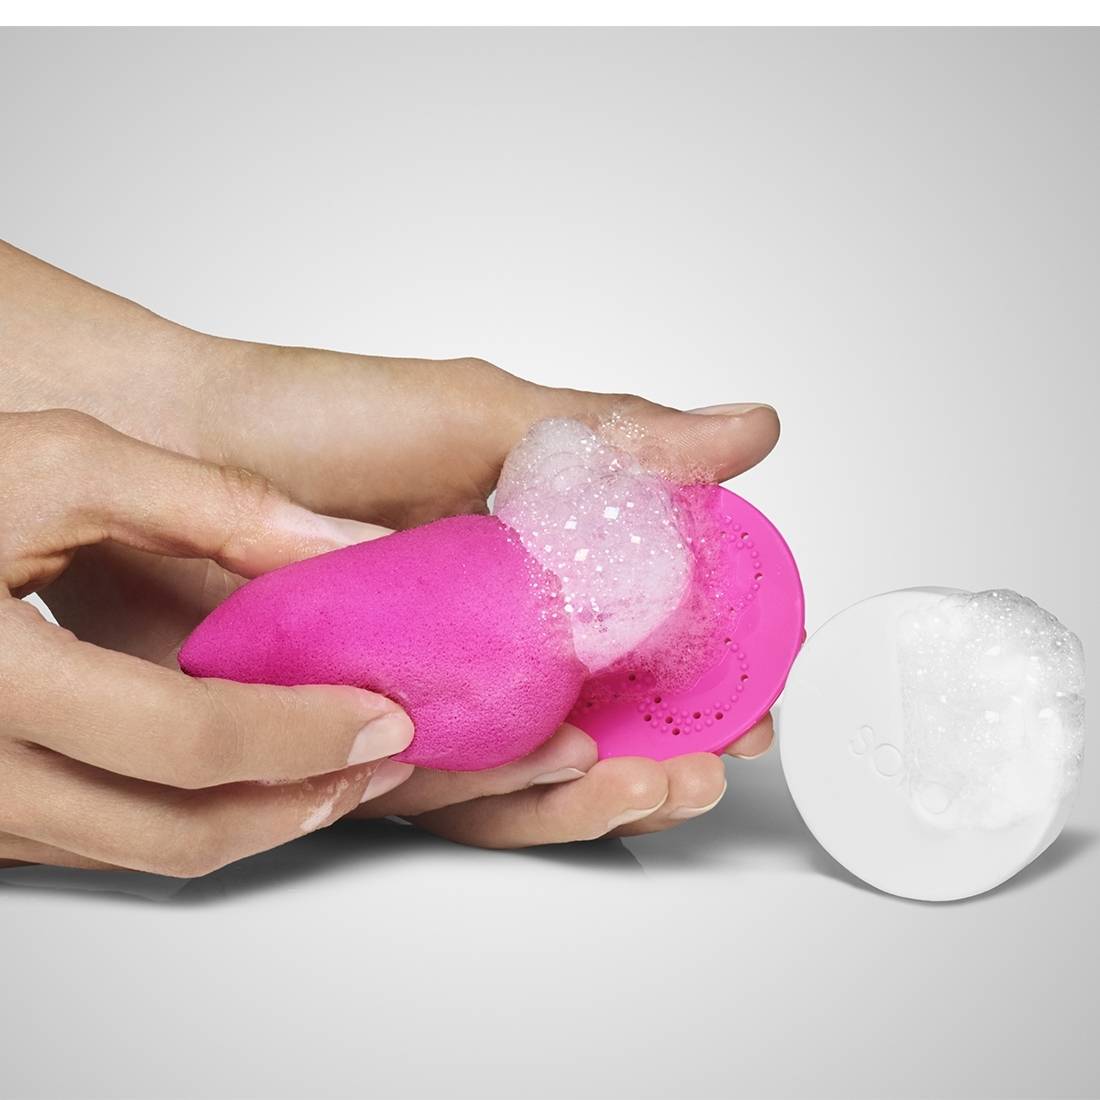
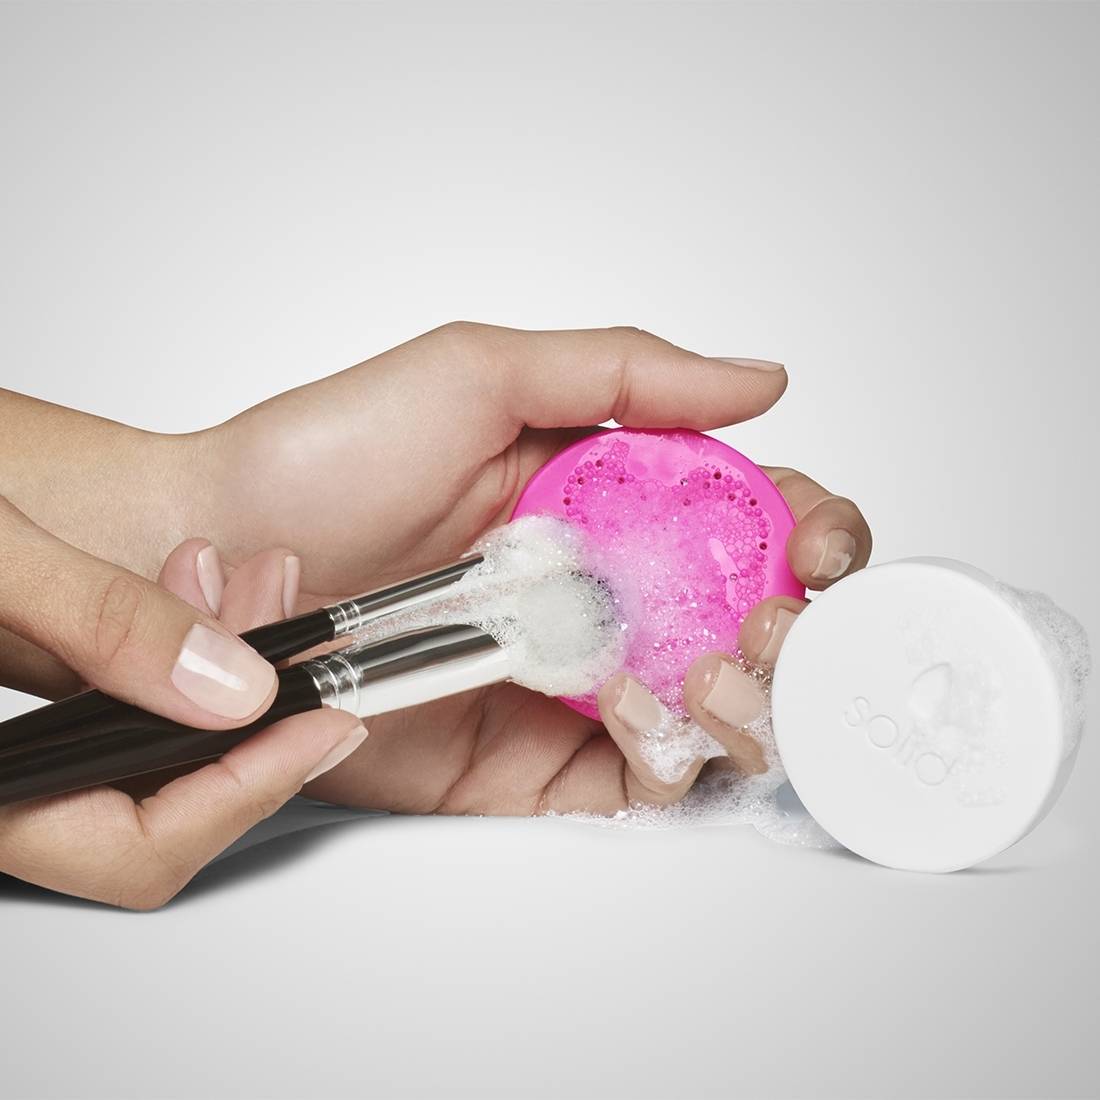
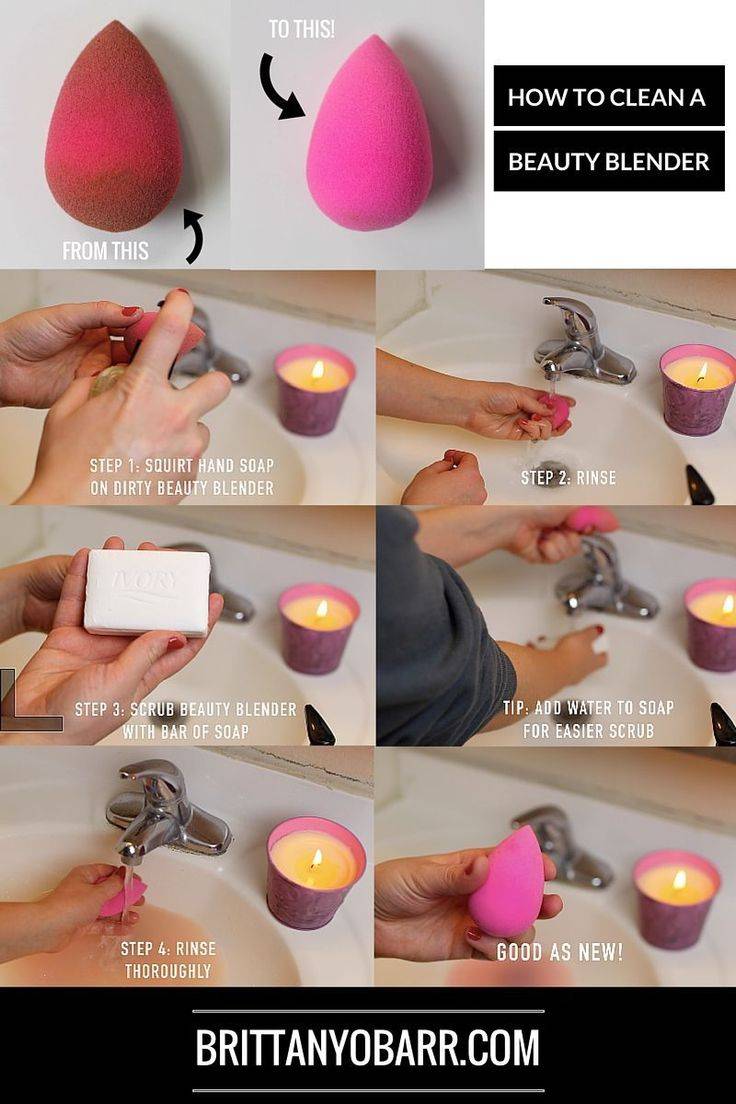
How to clean a beauty blender with a soap bar
Use regular bar soap to clean the sponge. Cleaning algorithm:
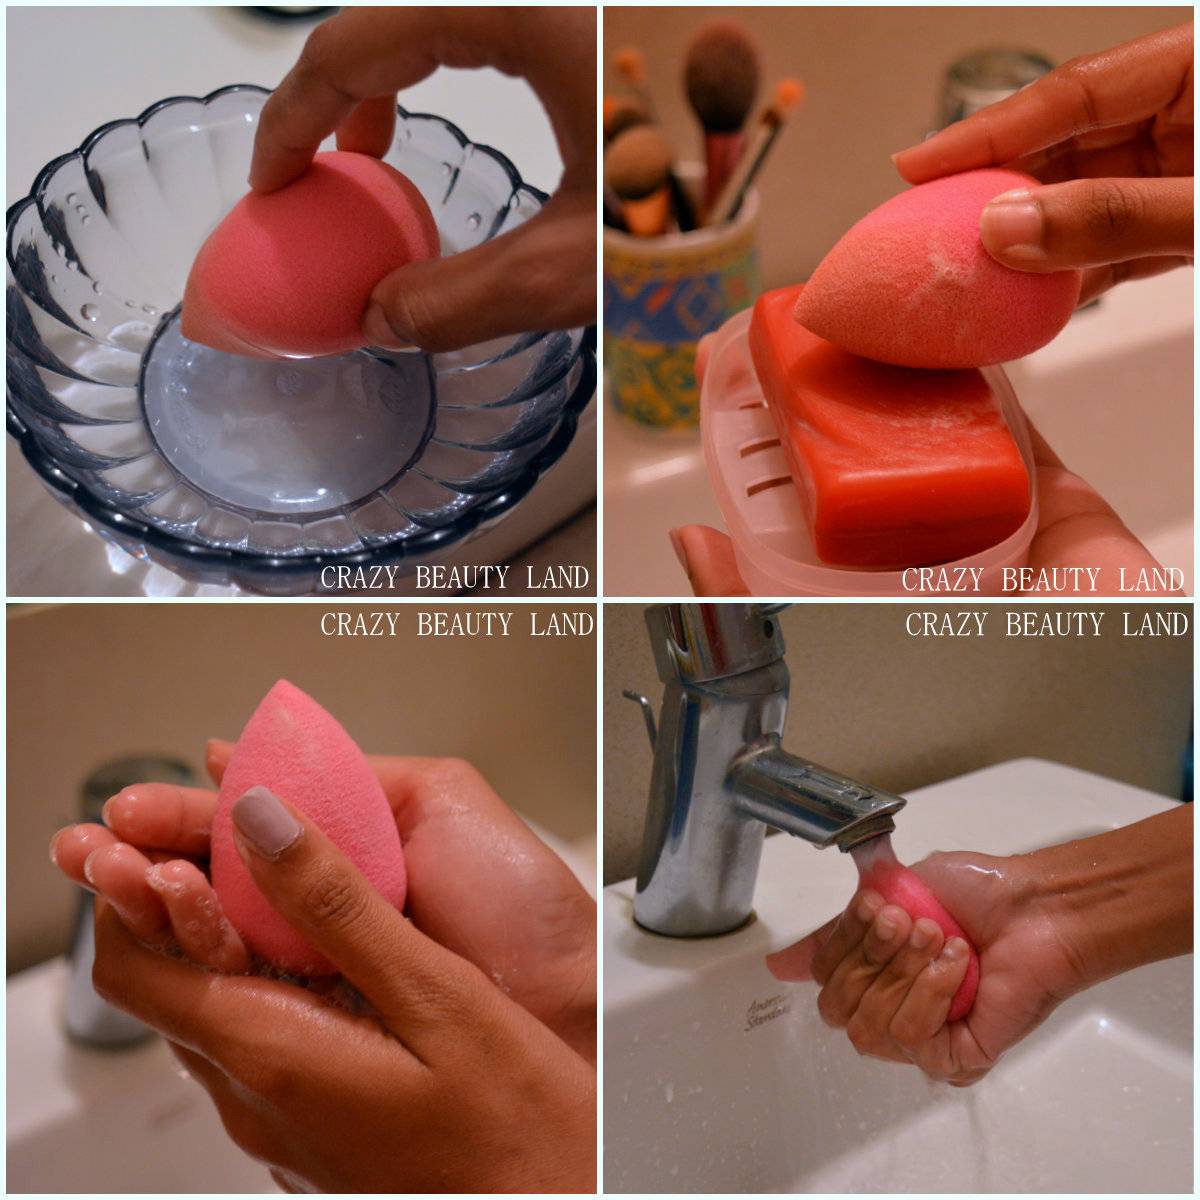
- Dampen a beauty blender and squeeze it well to remove excess water.
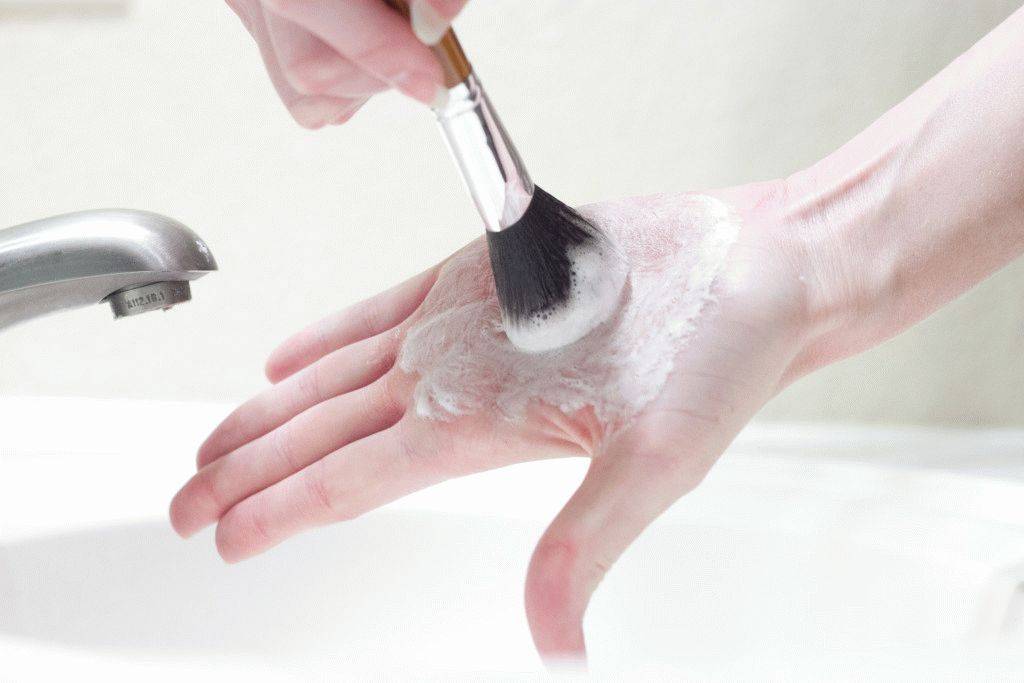
- Soak the soap (choose an unscented product) and rub it between your palms.
- Saturate the sponge with lather and rub it lightly.
- Rinse the accessory under clean water and then repeat the procedure until it is completely clean.
- Dry the sponge with a dry towel and leave to air dry overnight.

A unique way to clean it in the microwave
You can return the accessory to its former purity and freshness using an innovative technique. Despite the originality, this method is quite simple and effective, as well as safe for the instrument. It can be used to wash away traces of foundation, concealer and other cosmetics.
Cleaning procedure:
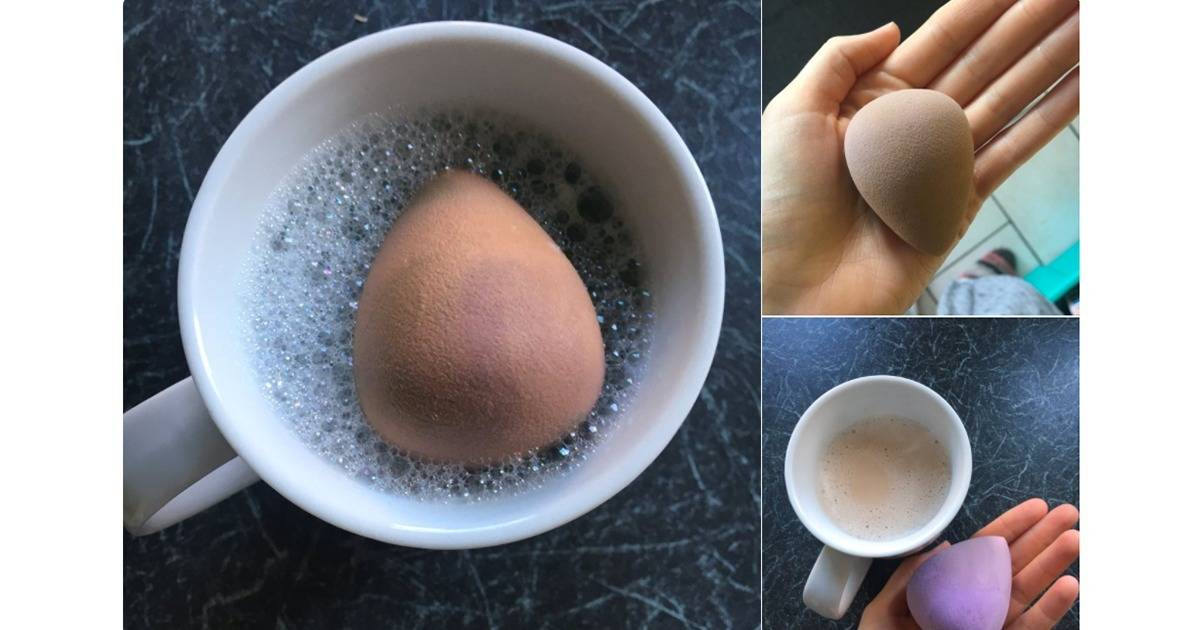
- Pour hot water into a cup or bowl.
- Add a few drops of baby shampoo or dish soap to the liquid.
- Place a beauty blender in the resulting solution.
- Place the container in the microwave for 1 minute.
- Rinse the accessory with warm water and dry well in the fresh air.
Storage rules for sponges for foundation
In order to preserve the sponge and its properties for a long time, provide it with the correct storage conditions:
- keep the accessory separate from cosmetics and other tools;
- store the sponge in a well-ventilated, cool and well-lit place;
- when traveling, keep the accessory in a special mesh pouch.
 Store cosmetic sponges separately from other cosmetics. This will prevent re-contamination and prevent quick deterioration.
A sponge is an indispensable tool for creating high-quality makeup. To make your accessory last a long time and do its job effectively, take care of its cleaning and provide optimal storage conditions.
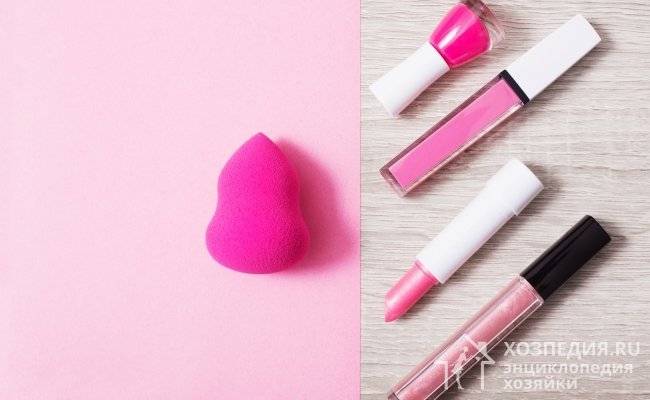
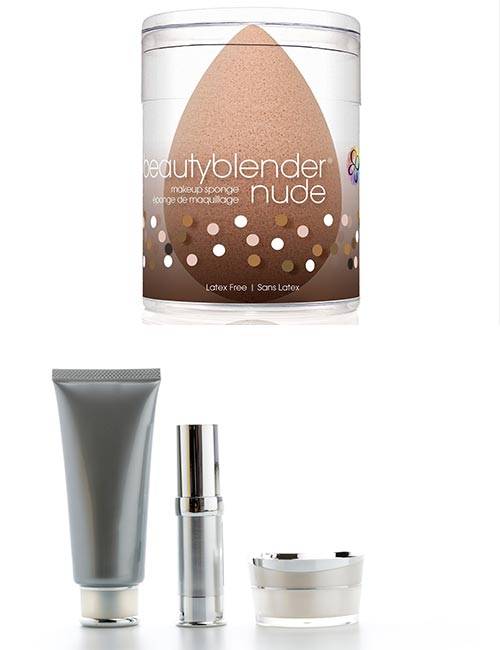
Product description
Natural product made in the USA
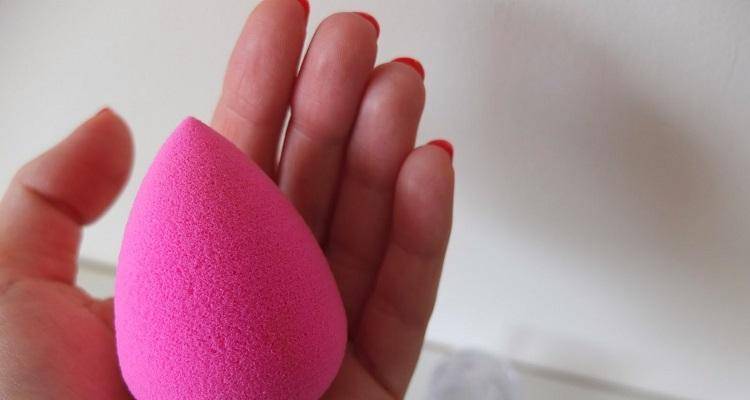
"Cosmetic testicle" or sponge is made in the form of a drop. The original country of origin is the United States. The material of manufacture is hypoallergenic, which does not cause allergies when used.
It is important that the sponge is latex free. With the help of the product you can:
- Apply base.
- Use it as a proofreader.
- Apply as a blush.
- Create creamy shadows.
This is not a complete list of the product features in question.
It is important not to confuse original products, which are expensive, with other sponges made in the form of a drop or "egg". They, unfortunately, do not have the effect of the original.
How to clean a sponge from a foundation in the microwave. How to properly clean makeup sponges?
Here's everything you need to know about cleansing with makeup sponges
Text: Veronika Gnezdilova
istock
Sponges, like brushes, are very important in the process of applying the foundation of your makeup. We have already talked about how to choose a makeup sponge in this article.


After each use, it is recommended to wash the sponge with soap, and this should be done immediately after applying the product. The more sensitive your skin is, the better you need to keep an eye on the sponge. We have already talked about mistakes in makeup when using pong here.

Unwashed make-up sponges not only prevent you from applying cosmetics evenly, but can also serve as a source of infection. Many cosmetologists advise washing the sponge before applying makeup in hot water. Once a week, it is recommended to soak the sponge in soap for 10-15 minutes, at least to kill all bacteria.
Advice! Wash as many times as necessary until the sponges are completely clean.
It is good if you have a quartz lamp at home. Several times a week, the sponge should be placed under it for a couple of minutes. If there is no such lamp at home, then the sponge can be disinfected in the sun by placing it there for thirty minutes.
These simple tricks can help keep bacteria free of your skin. They do not take a lot of time and increase the shelf life of makeup sponges. And the makeup itself will be smoother on your skin.
Advice! Try using a fan to dry faster.
instructions for cleansing sponges
To cleanse sponges, you should choose special products or the most common soap. Clean and well-groomed makeup can help keep your skin safe. To find out how to clean follow our instructions below.
Getty
1
Plenty of water
Fill your sink with hot water.
2
Liquid soap
Add a small amount of liquid soap and stir.
3
More movement!
Rub the entire surface of the sponge using your fingers to help remove excess makeup.
4
Wash thoroughly
Drain the sink and rinse the sponges well. Make sure there are no soap residues on them before drying. Failure to do so may result in irritation of sensitive facial skin.
5
Let dry
Let the sponges dry at room temperature by placing them on a towel. Make sure the sponges are completely dry before using.
Beauty blender, how to wash. Miracle egg: 5 mistakes we make when using the beauty blender
From application to storage.

Probably, there has not yet appeared a "gadget" that would change the course of applying makeup as much as a beauty blender. With any foundation, it can create a second skin effect, but it can also easily ruin everything.Therefore, today we figure out together what we are doing wrong.
1. You use it dry. A wet (not wet!) Beauty blender absorbs less foundation and distributes it better. Therefore, always blot gently with water before use.
2. You drive them over your skin. The second most common mistake. Always apply the product to the skin with a patting motion of the sponge, rather than smearing the tone over the face. Thanks to this application, the tone will perfectly blend in with your shade, creating the effect of a second skin.

3. You are too rude to him. Beauty blenders are durable, but if you see that in your case it began to crumble, then you are careless with it when washing or applying makeup. Treat it with very gentle, wash, soap and squeeze gently.
4. You store it incorrectly. Yes, yes, a lot depends on this too. And few people know that the "make-up egg" needs to be washed after each use, otherwise it 1) will no longer be washed off and 2) it will accumulate bacteria twice as actively. To clean it properly, use an antibacterial, odorless soap and wash it in warm water.

5. You don't change your beauty blender often enough. This can also be the reason that the sponge breaks or begins to do its job poorly. It is recommended to change it every three months for optimal performance.
Care and storage rules
Leather products after being exposed to rain or snow should be wiped with a dry absorbent cloth. For everyday wear, as well as in the off-season, it is recommended to use a trempel.
Storage conditions for a leather jacket:
- Leather items are sensitive to high temperature and humidity. In order to avoid the appearance of mold on the jacket, the loss of shine, it is stored in the closet, not allowing other things to fit snugly.
- A tremper by the size of the product will not allow its individual parts to deform.
- The dense, breathable cover prevents dust build-up.
Regular use of leather care products will prolong the wear period.
Share link:
General rules and recommendations for cleaning
The beauty blender is considered a unique invention, which is often used to apply blush, powder, and foundation on the face. The tool is made of dense foam rubber, which is impregnated with an antibacterial composition.
Modern products can be made in the form of a drop or an egg. In this case, the form of the device does not affect its operation. Such a sponge perfectly distributes the composition over the surface of the face. After that, there are no streaks or streaks on the skin.
The sponge has a dense texture. Thanks to this, it absorbs the cosmetic composition. This helps to achieve significant savings and get an excellent natural make-up.
It is recommended to replace the sponge with a new one every 3 months. Thanks to this, it will be possible to avoid the development of dermatological pathologies or the appearance of a rash. It should be borne in mind that a beauty blender requires careful maintenance. It should be systematically cleaned. This is done after each use. In case of rare use, it is recommended to wash the product at least once a week.


With prolonged storage of a dirty device, harmful microorganisms often appear on it. This leads to the formation of acne, rashes and irritations on the face and negatively affects the condition of the dermis and the performance of the make-up.
Even with adequate care, the sponges lose their characteristics after a while. They do not allow the foundation to be properly distributed over the skin.

How to keep the beauty blender clean?
Soak your beauty blender in coconut oil
You can clean your makeup sponge with coconut oil or olive oil. The oil helps to loosen built-in product and pigment with ease. Just combine coconut oil with some liquid dish soap and crush out all the dirt. However, rinsing a sponge until it is free of any traces of oil takes some time and patience.
Wash the sponge immediately after use
This is a trick that even makeup artists use. You just need to wash your beauty blender as soon as you are done with your makeup. The less time you allow any product to remain on your sponge, the better. It will also prevent staining and make deep cleaning much easier.
Store your beauty blender properly
How you store your sponge is an incredibly important factor for the health of your skin and the longevity of your sponge. After washing, always let it dry completely in a clean and open place before using it again.
Cleanse the sponge twice from time to time
Just like you cleanse your face twice, try the same with your makeup tools. This is a surefire way to get a squeaky clean and fresh sponge.
The beauty blender has become a cult product, and if you are going to use it, make sure you use it correctly. If you don't make a commitment to regular cleaning, you will be in deep trouble.
Damp and dirty sponges will breed bacteria, resulting in mold spores. That's disgusting! We hope this article helps you keep your makeup tools clean and safe to use.
The Beauty Blender has truly revolutionized the use of makeup. Who knew this little sponge would have such a huge impact on the beauty world? What do you think? Are you going to buy it for yourself? Let us know in the comments section below.