Why do divorces appear
In order to perform high-quality cleaning, it is important to know the reason for the appearance of certain defects. The most acute problem is the appearance of streaks on the surface, even after thorough cleaning.
Why does this happen? Let's consider the possible reasons:
- Indelible dirt. A common problem is when, with strong clogging, dust particles are smeared over the surface and it becomes very difficult to completely clean the tile.
- Dirty water. During cleaning, you need to change the water as often as possible, as it contains dirt particles.
- Hard water. The problem of whitish streaks and plaque is mainly associated with the high salt content of tap water.
- Indelible remedy. Some cleaning agents may remain on the tile surface after washing. Unless otherwise provided by the instructions, it must be washed clean.
- Dirty rag. In case of heavy dirt, it is recommended to rinse the cloth more often under running water to remove dust particles from it.

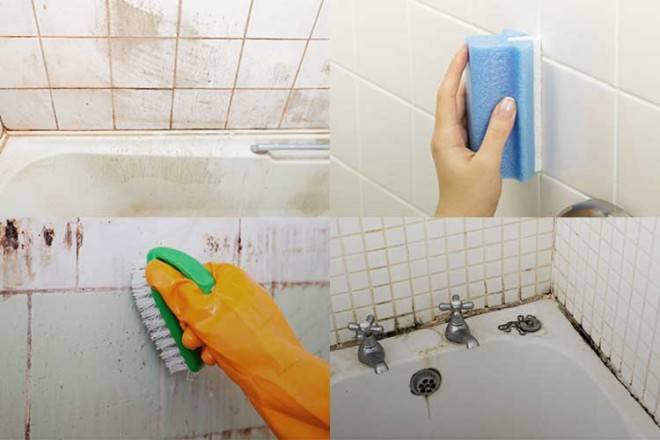
Varieties of tile contamination in the bathroom
Divorces can be of a different nature. The most common problems are:
- dirty drips;
- limescale;
- traces of detergents;
- greasy stains.
To cope with these problems, you need to select an acidic medium. They perfectly destroy dirt and at the same time give the tiles a glossy shine.
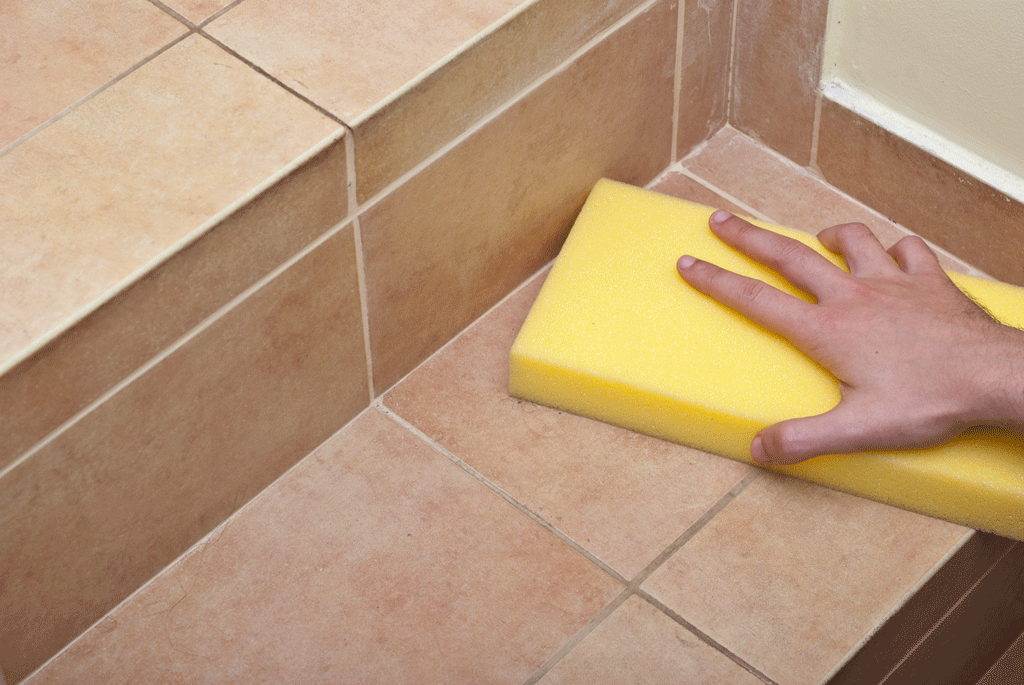
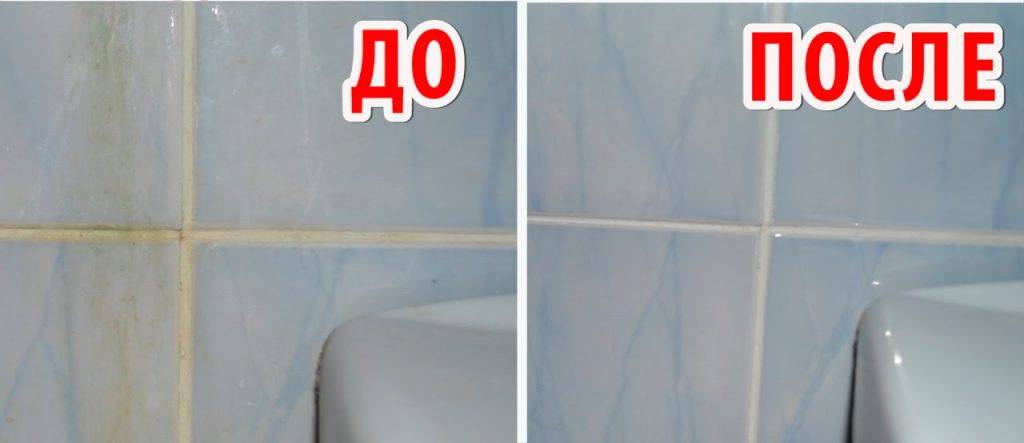
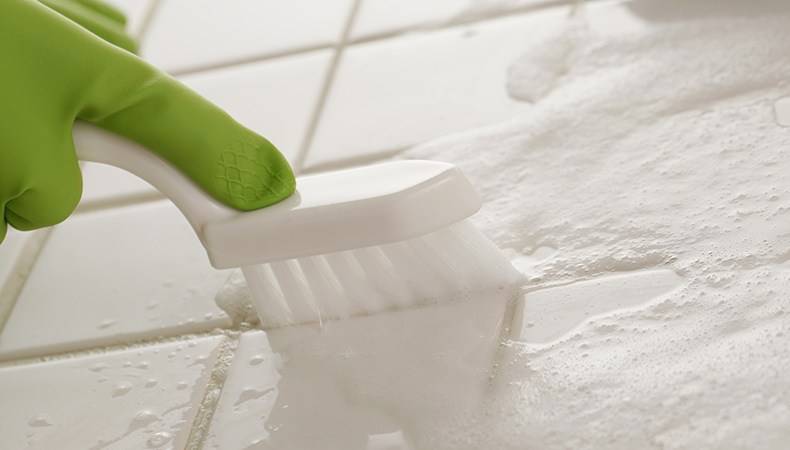
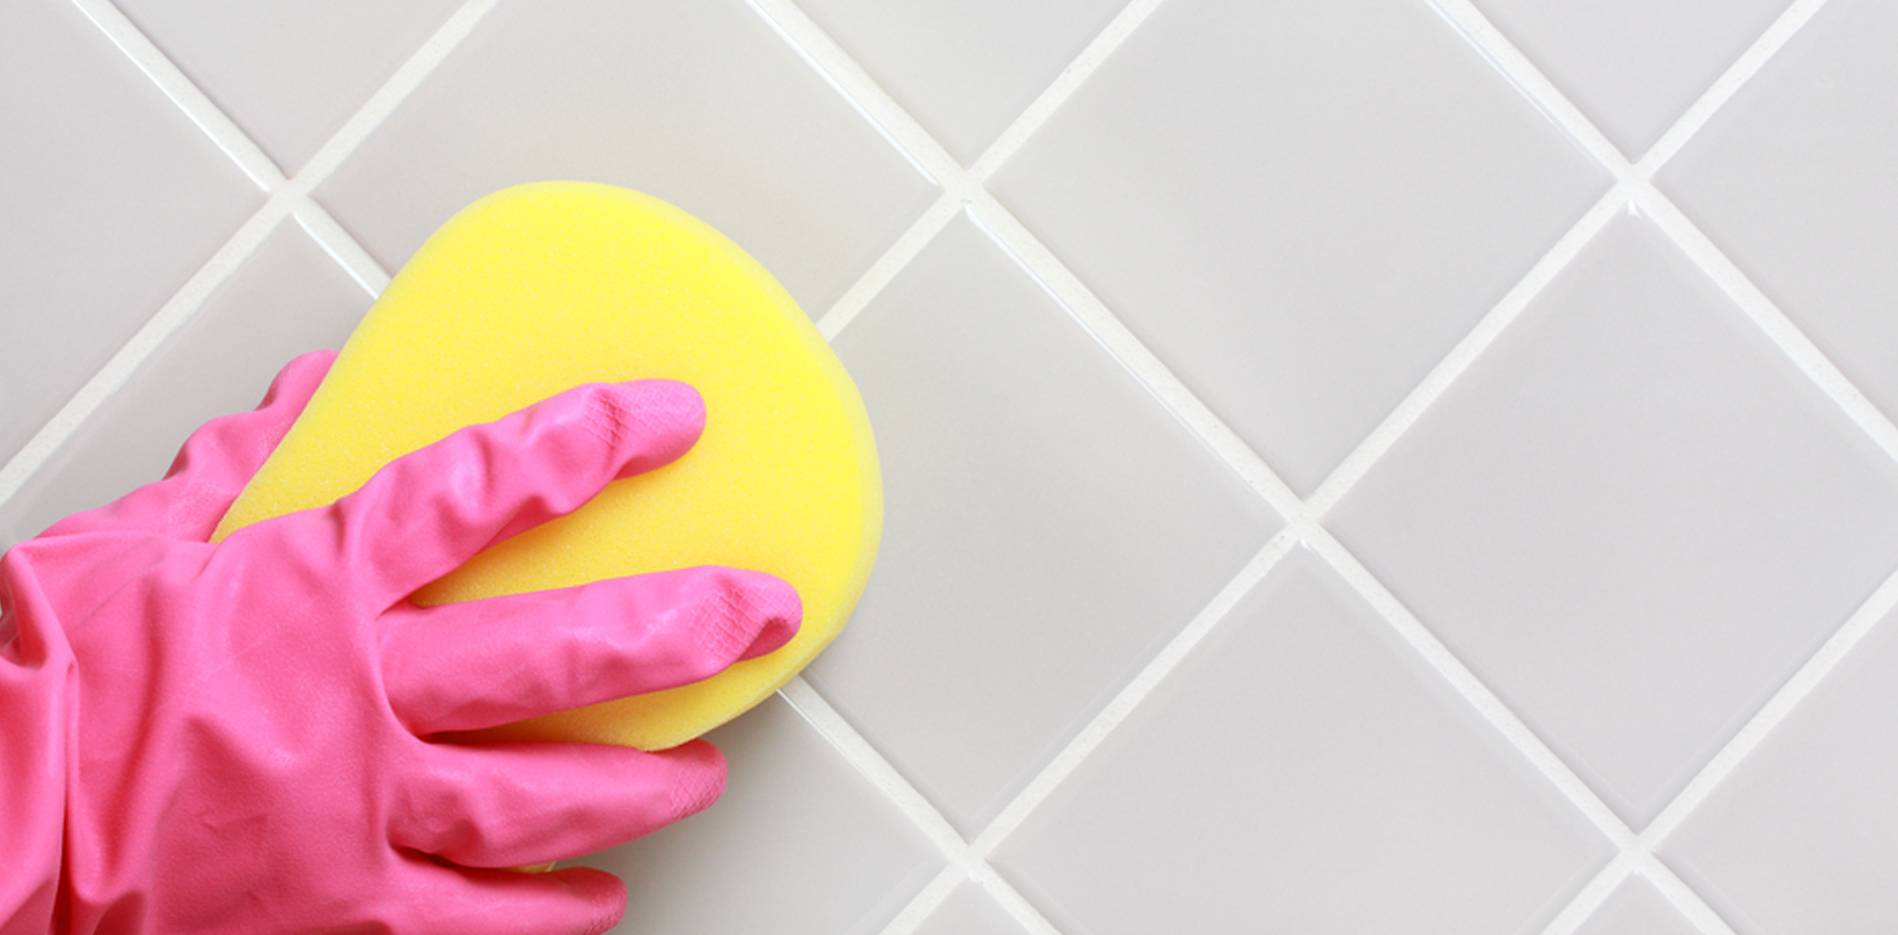
Cleaning the joints between tiles
Tile joints are the most vulnerable spot on a tiled wall. They quickly lose color, because they most often accumulate dirt and mold. They are also unstable to some cleaning agents. For example, harsh tools and acidic detergents can destroy the trowel mixture.
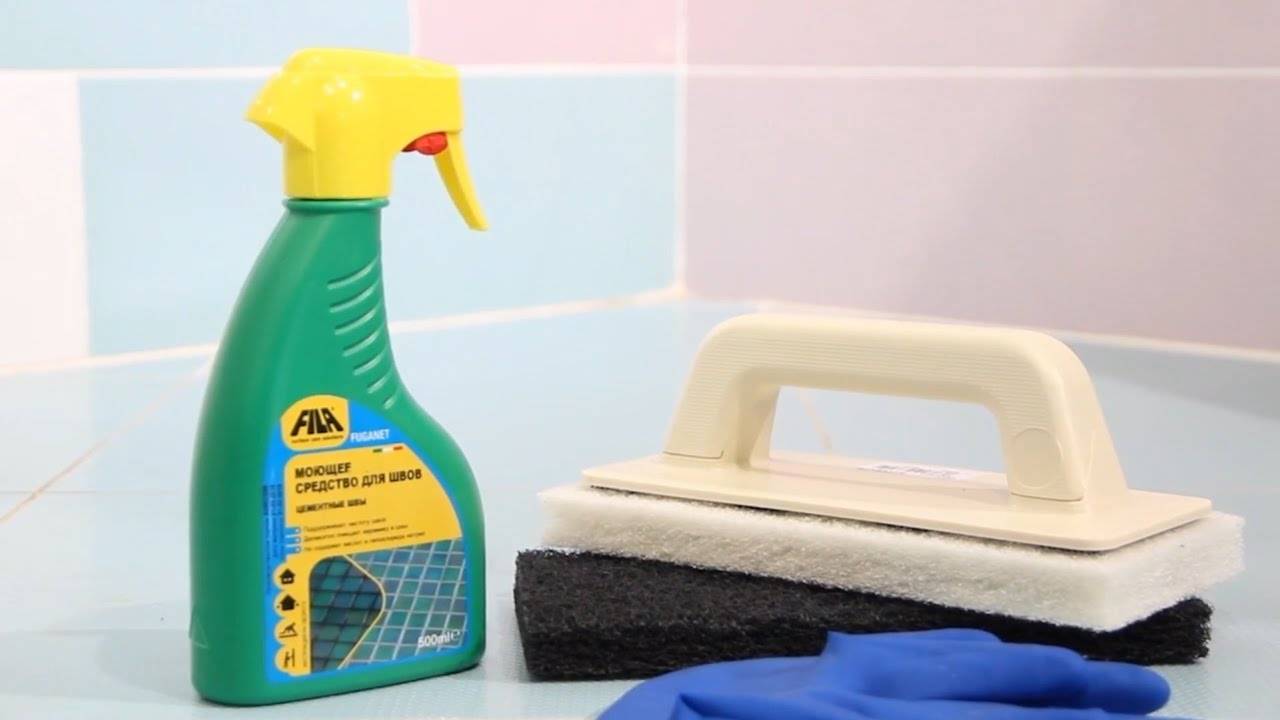
Safe for cleaning seams are considered:
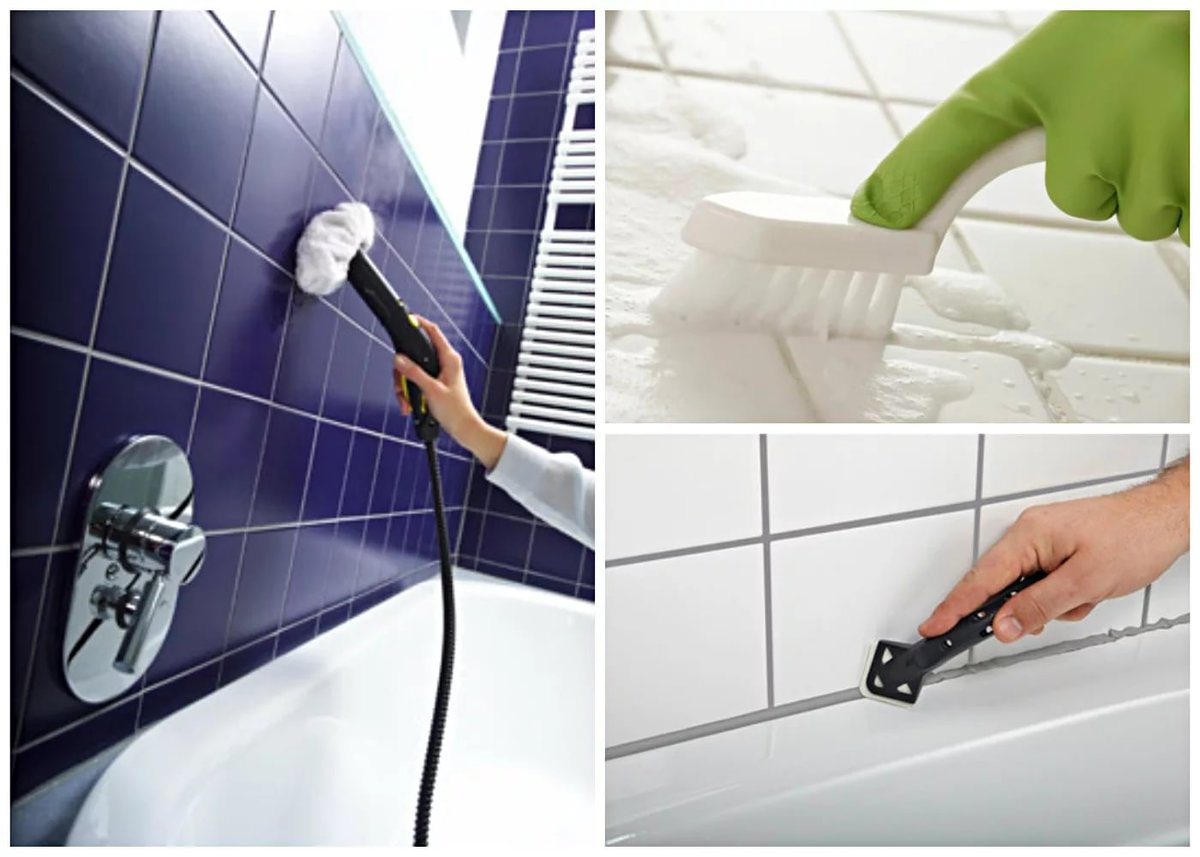
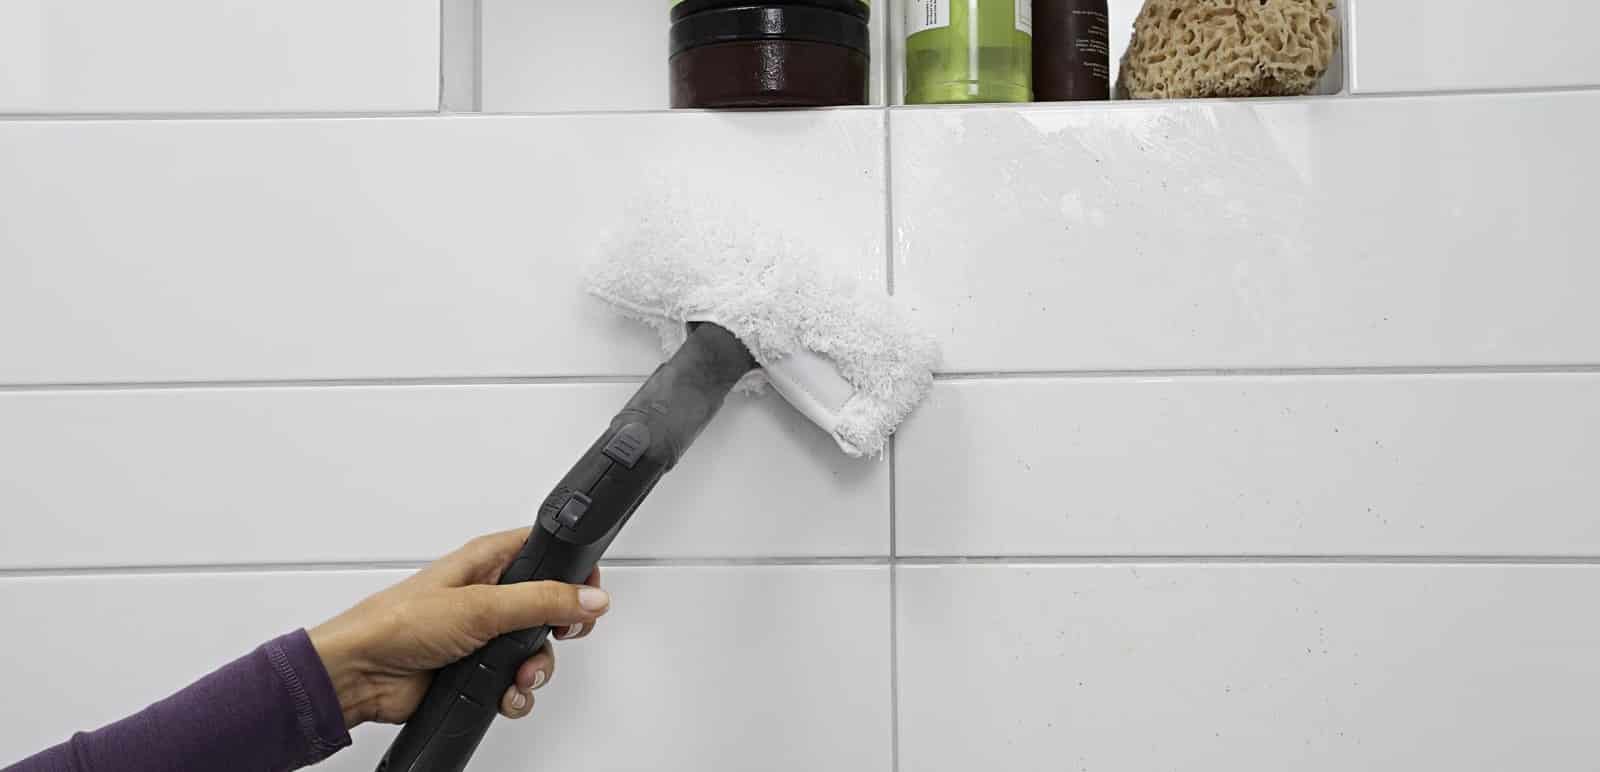
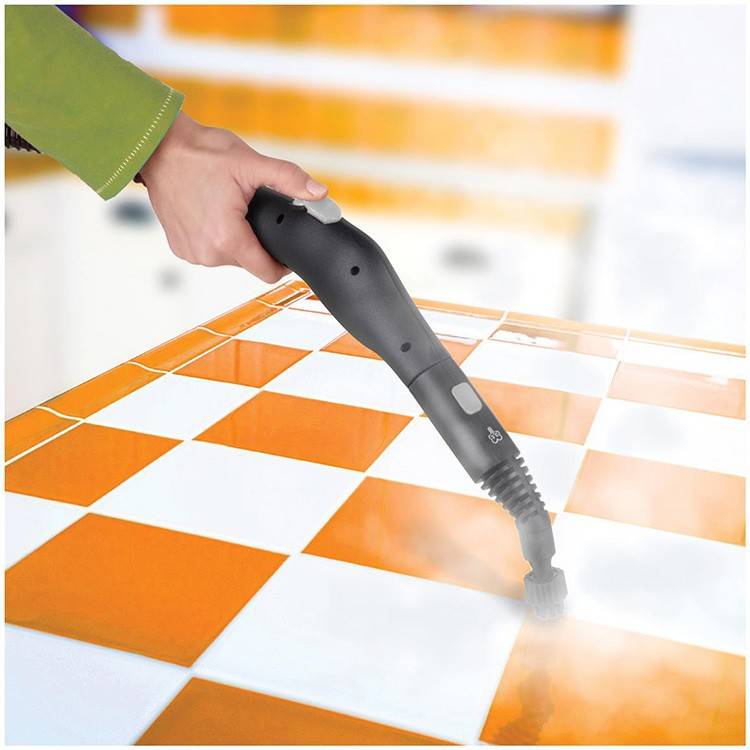
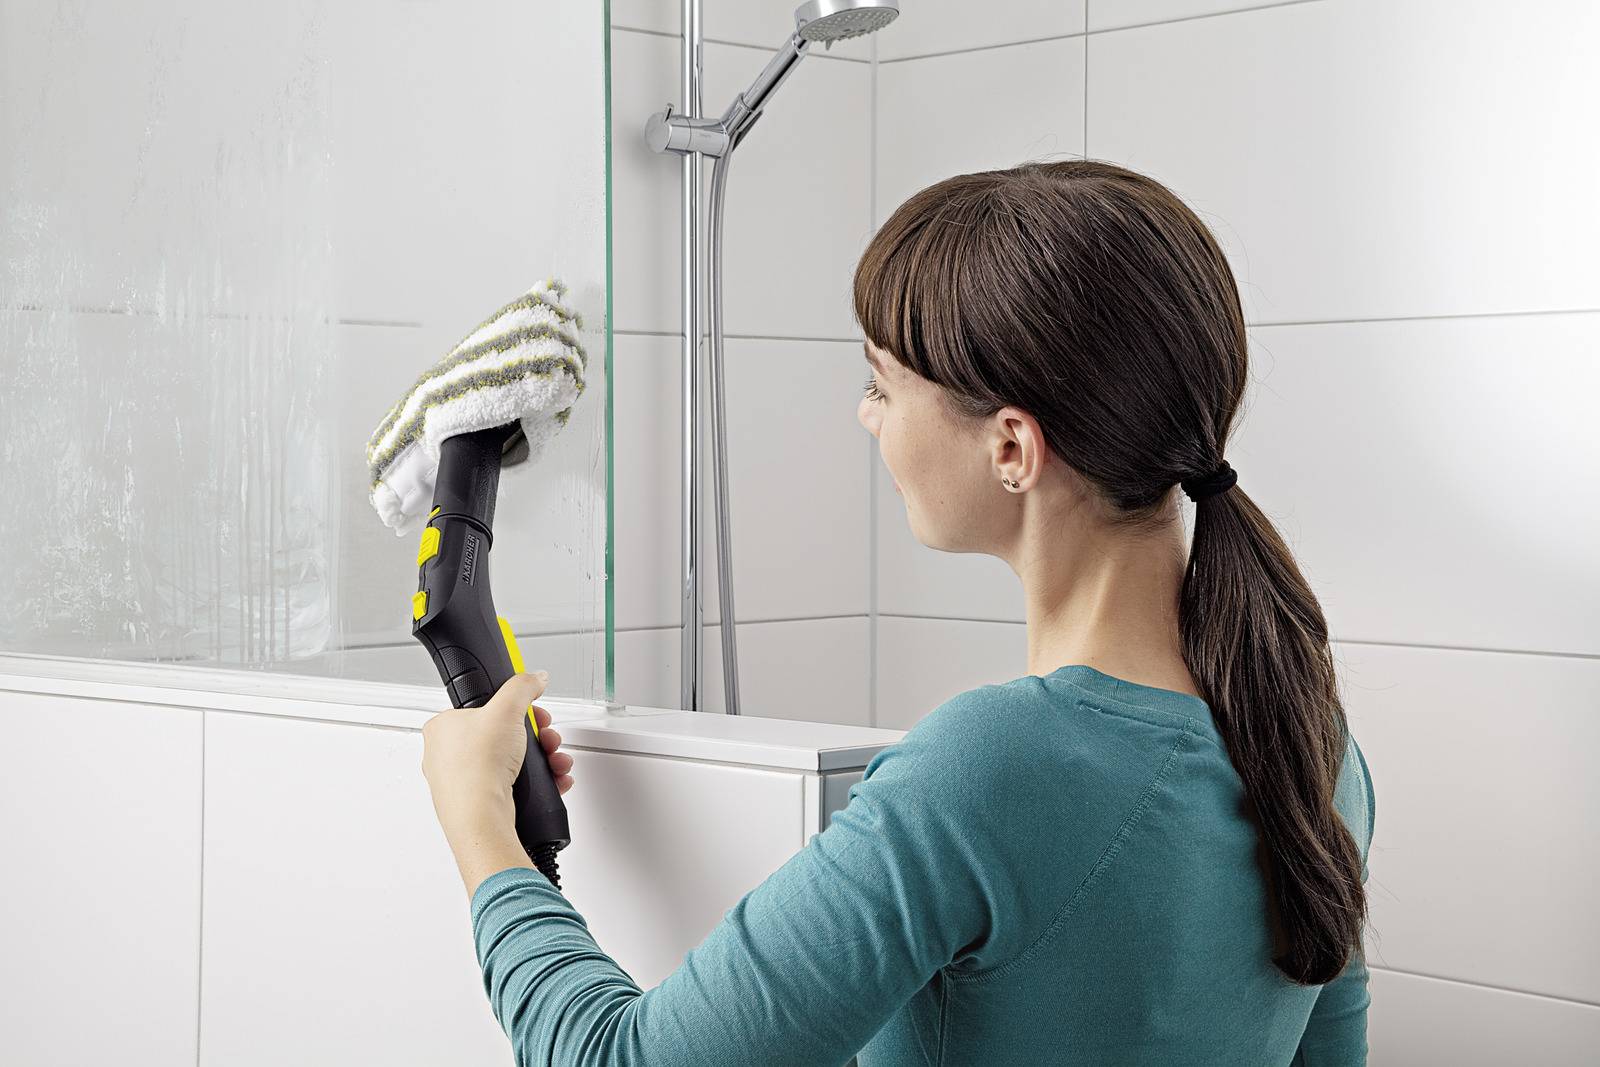
- Steam cleaner. The powerful jet of steam will not only cleanse any kind of contamination, but also get rid of fungal infection. No additional chemicals are required.
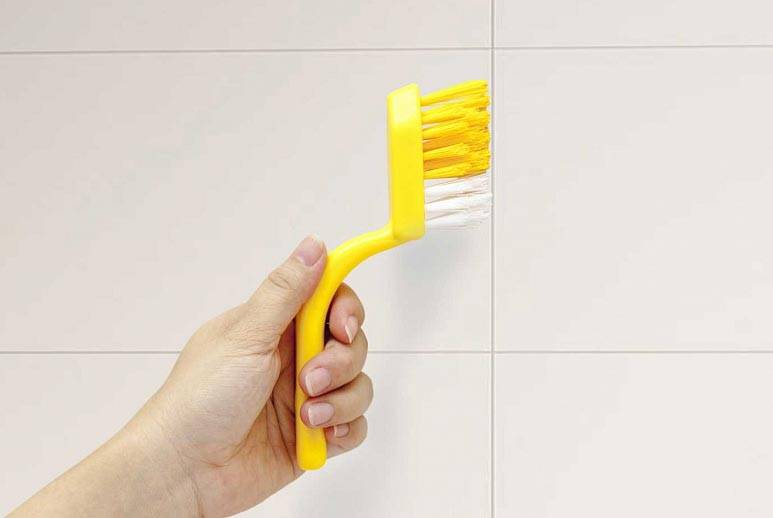
- Toothbrush. It is convenient and safe to apply cleaning compounds with it.
- Gel and liquid bleaches and antiseptics.
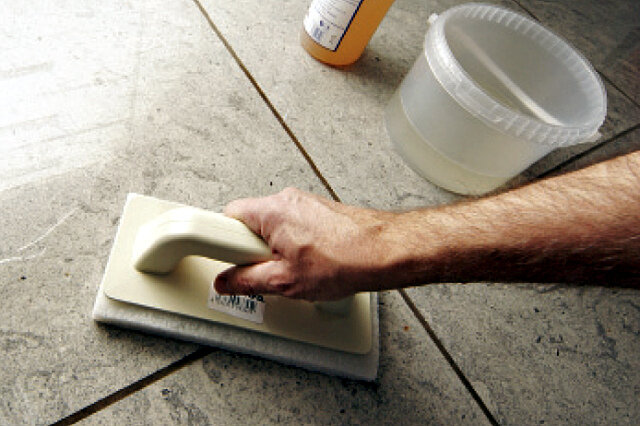
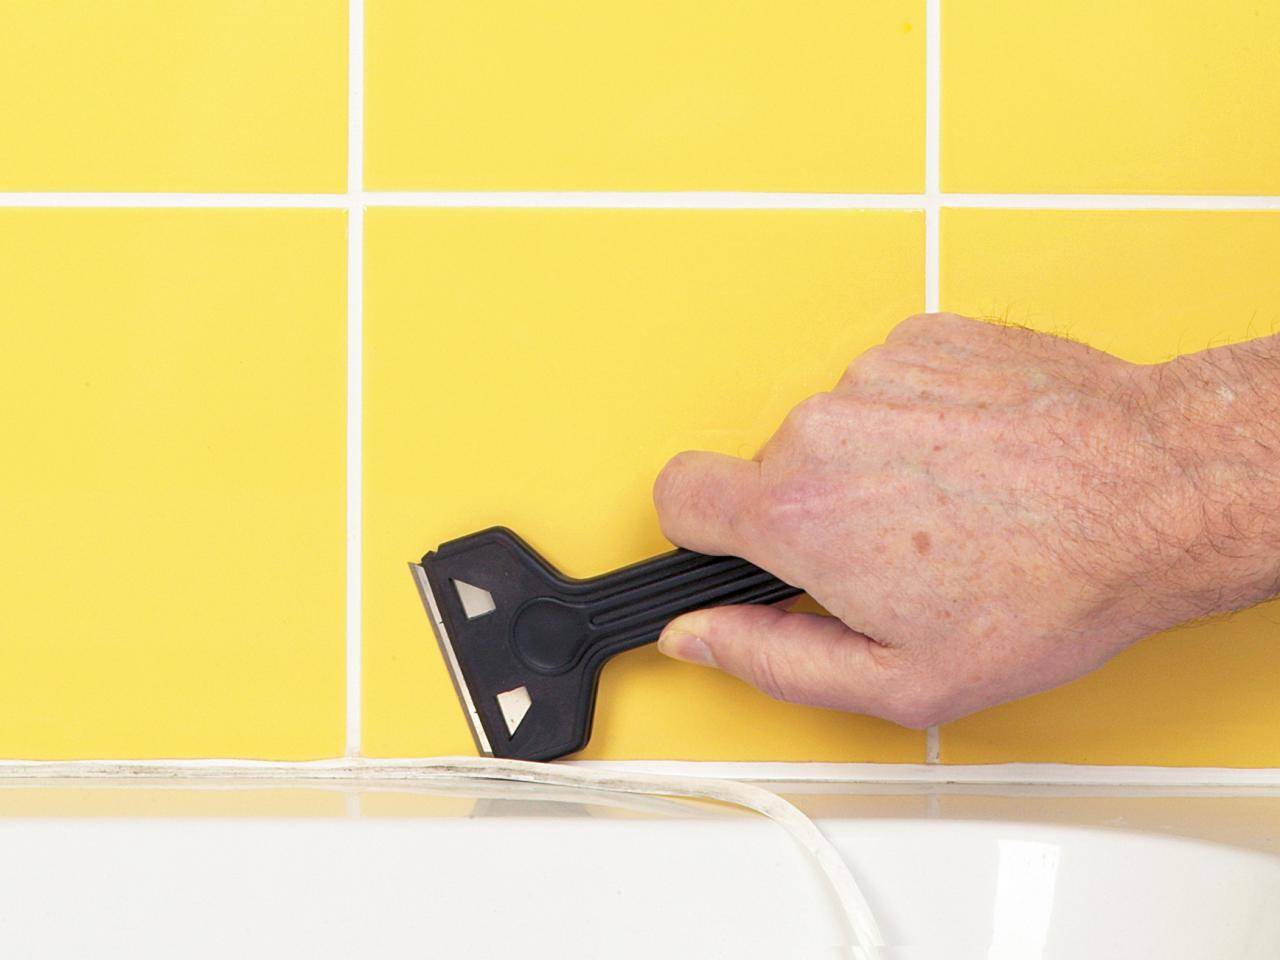
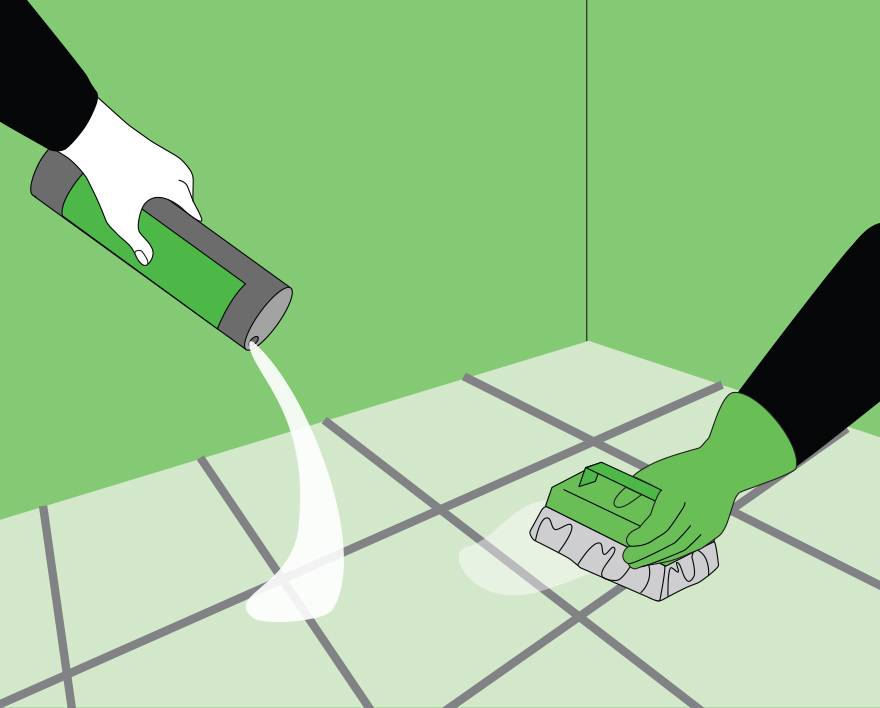
If the joints cannot be cleaned or the clearance area is large, then the easiest way is to replace the grout. To do this, you need to arm yourself with a thin sharp tool (such as a scraper) in order to clean out the spoiled grout, a new mixture (preferably epoxy) and a rubber spatula. During work, the seams must be impregnated with an antiseptic.
Whiten seams
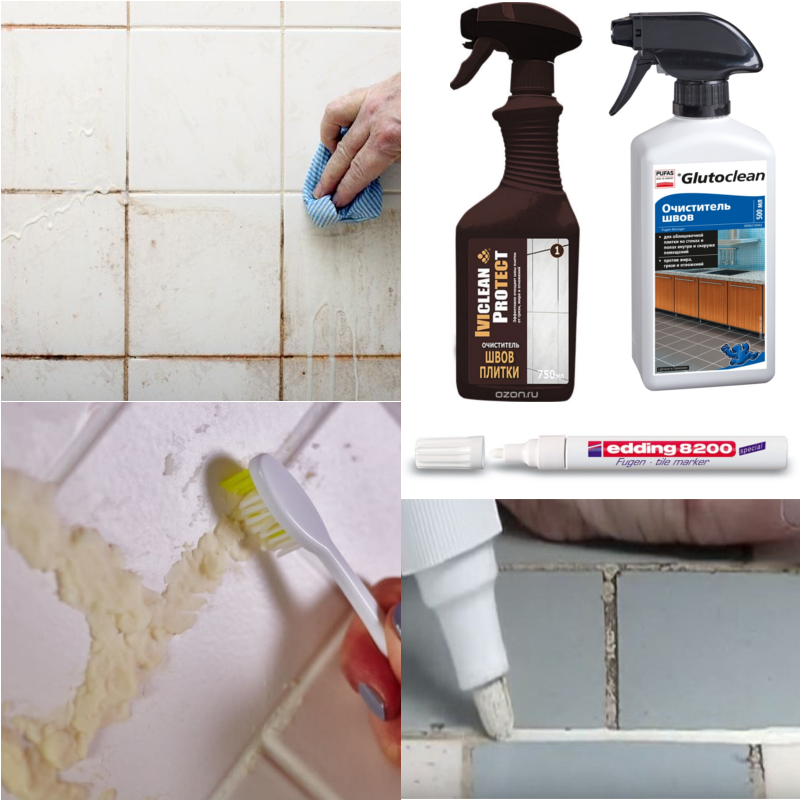
Darkened, but intact and not affected by mold seams can be bleached. For work, use household chemicals or helpers. The most common ones are:
- Marker. It is simple to use, but the effect of such an upgrade is short-lived.
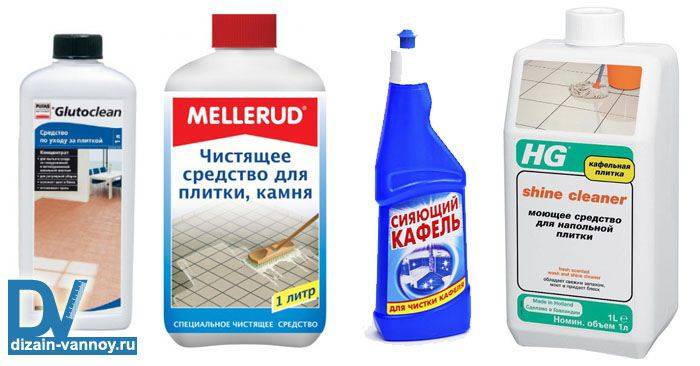
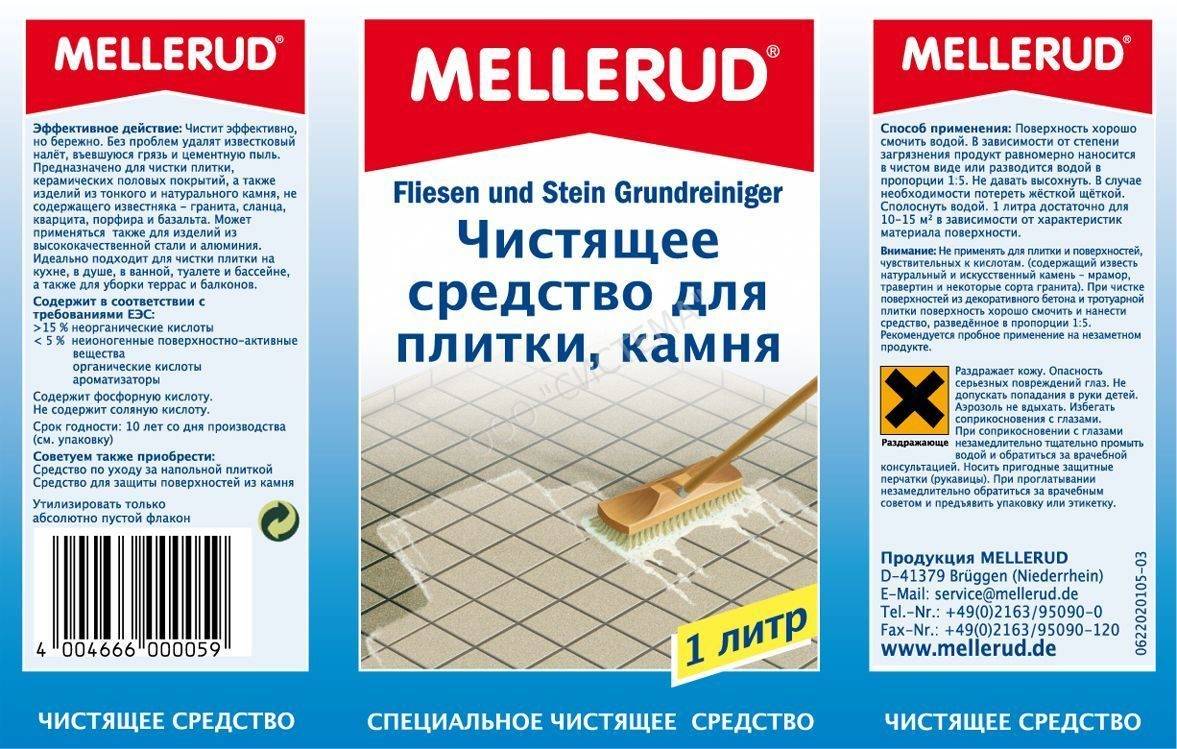
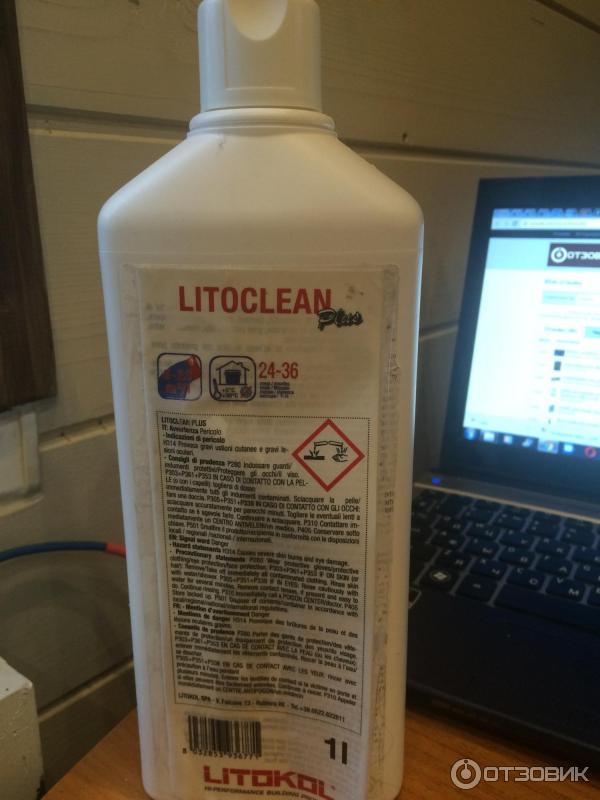
- Ready-to-use composition with whitening ingredient - German Mellerud, Canadian Grout. Both products are designed for cleaning grout, have properties that restore the color of the grout, remove mold and stains.
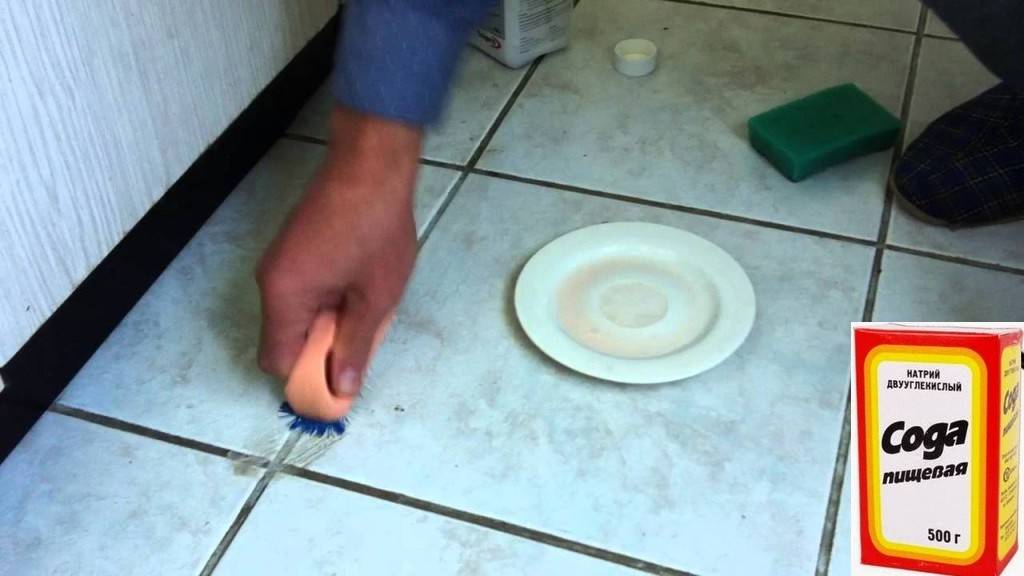
- A mixture of hydrogen peroxide and baking soda. The gruel from these ingredients is rubbed into the seams with a toothbrush and left for 1-2 hours. Then the seams are carefully rubbed.
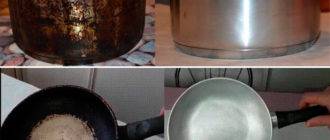
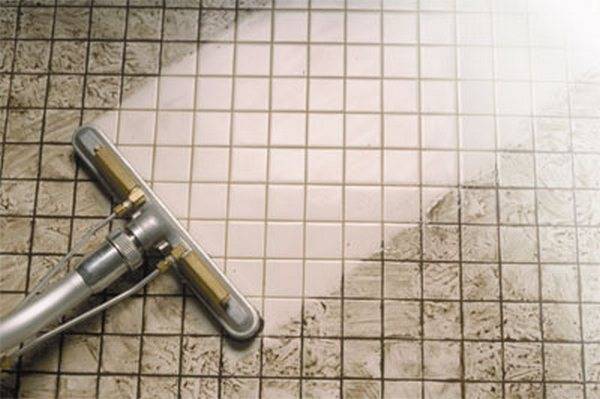
Construction dust
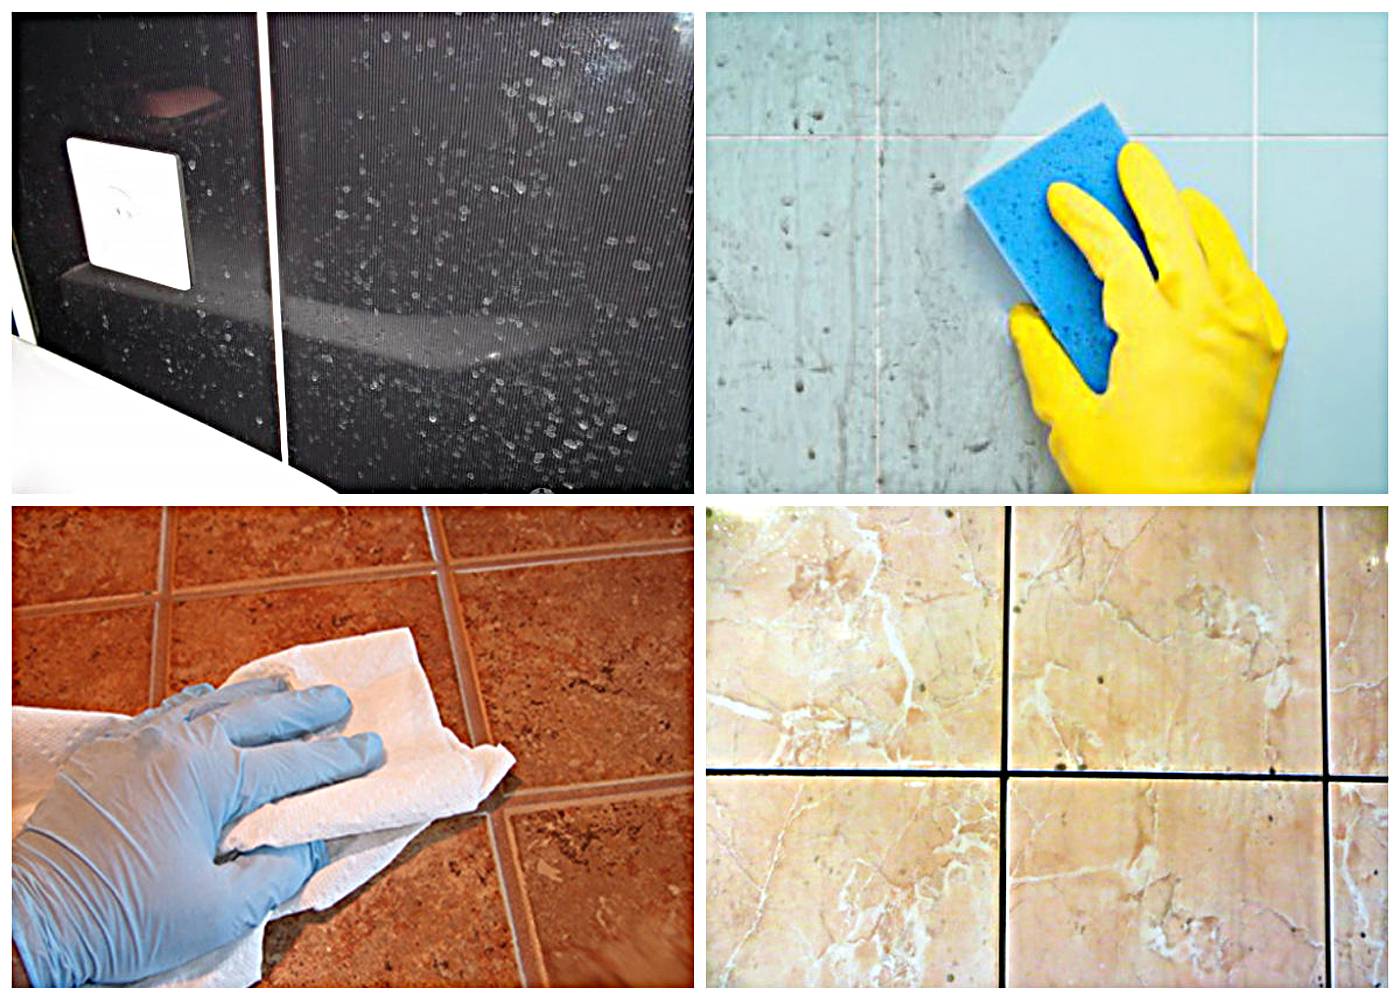
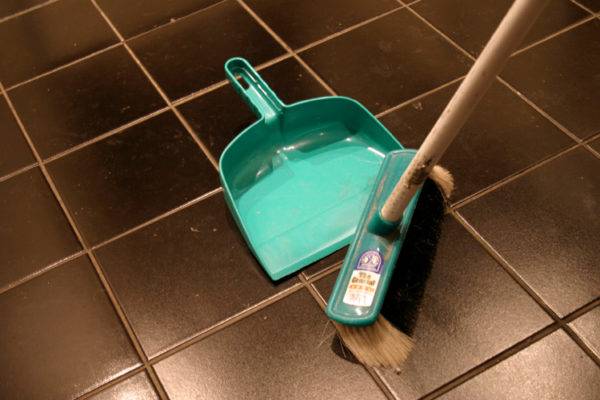
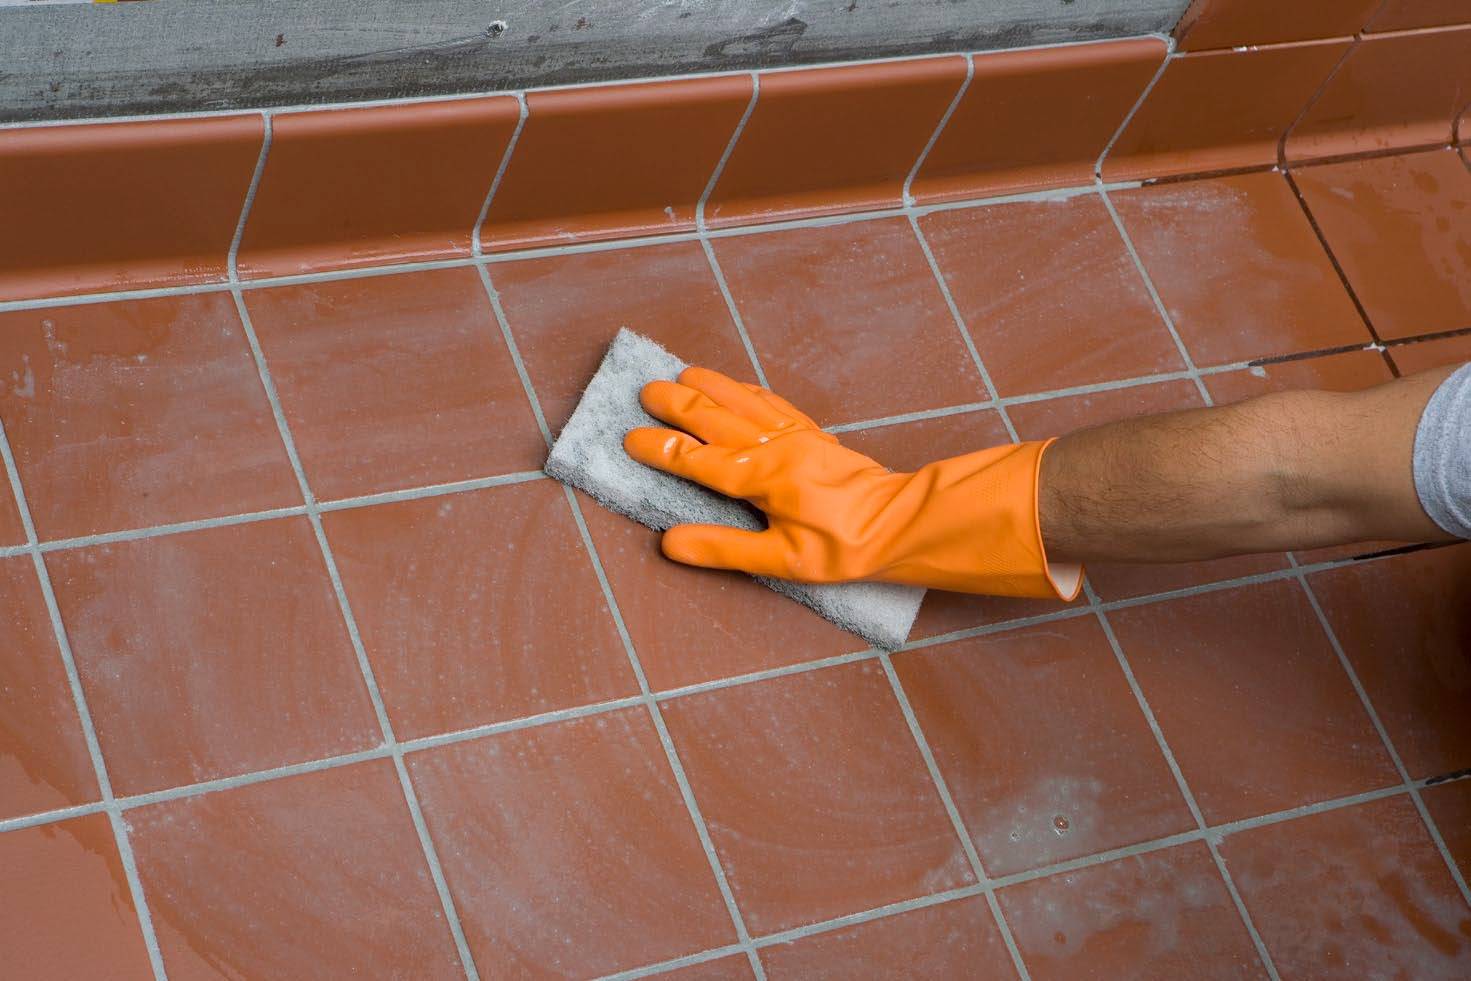
The most harmless type of pollution, perhaps, is construction dust, its presence is inevitable when carrying out any repairs, both major and light cosmetic. After the repair, the tiles have to be washed from the accumulated layer of dust particles. At the same time, the question becomes relevant - how to wash the tiles and remove dirty stains without damaging its coating.
To begin with, it is recommended to sweep away the dirt with a dry cloth, if possible, vacuum the surface. This will remove the main layer of dust and large particles that could damage the glaze. If possible, use a blade to gently clean off any cured finishing materials.Only after that it will be possible to start wet cleaning in order to finally clean the tiled surface.
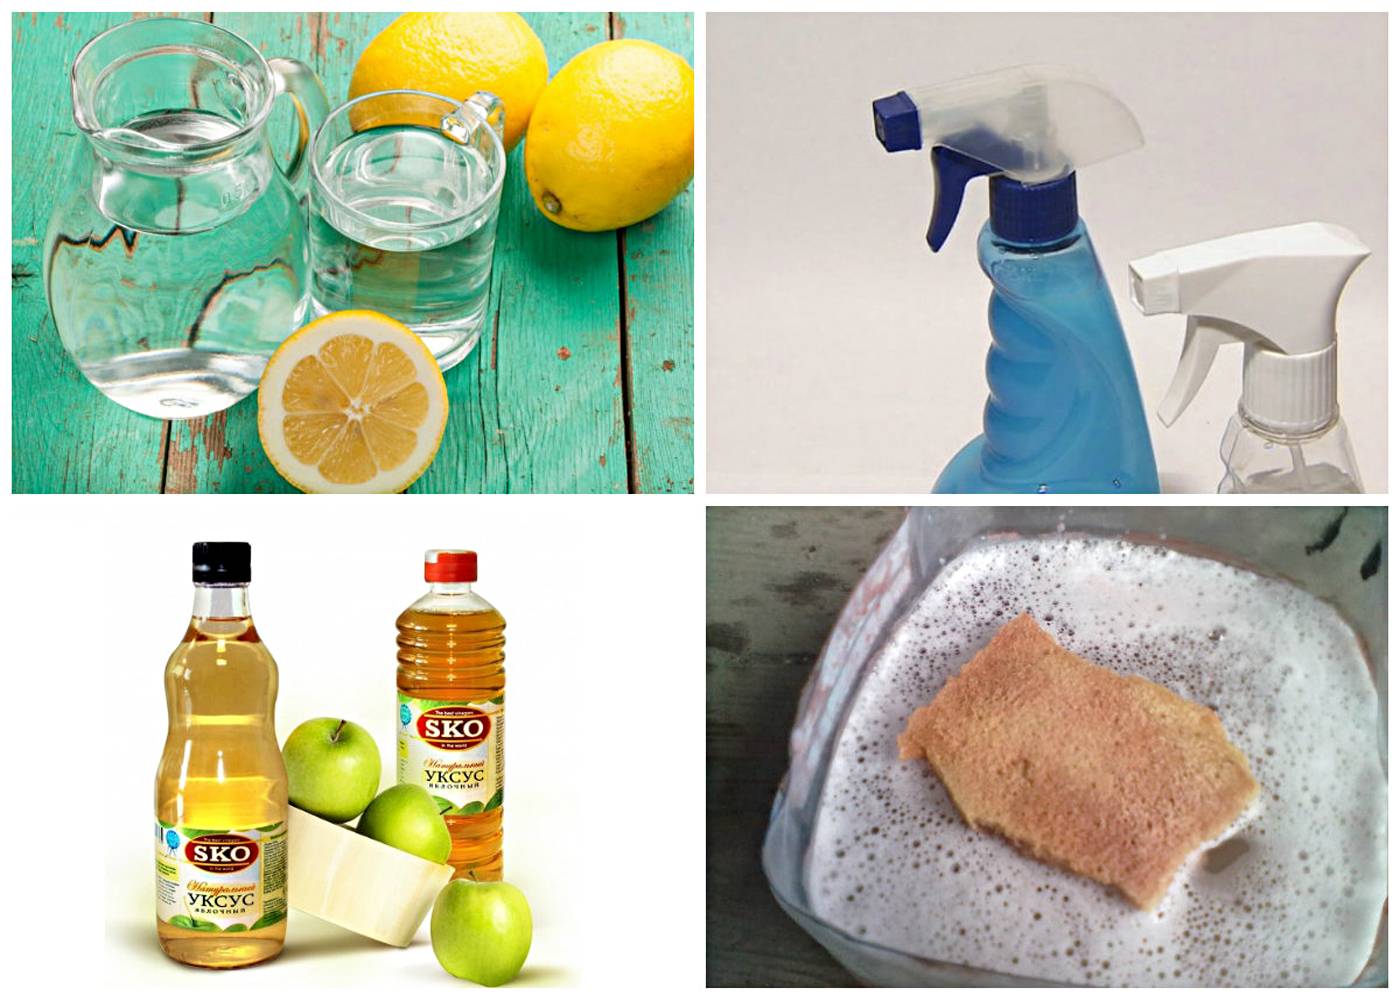
You can wash the tiles with the following means:
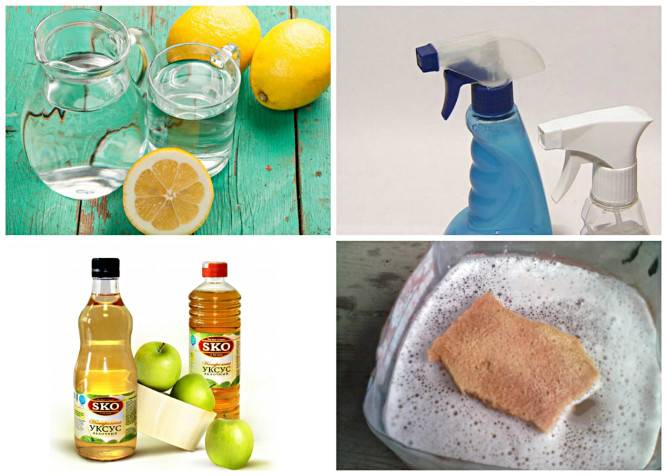
- Soapy water. The easiest but very effective way. Washing powder can be used.
- Lemon water. Gives shine to a glossy surface and has a pleasant aroma.
- Vinegar. Also divorces in water. Suitable for cleaning serious dirt, moreover, it makes the surface shiny and creates a protective film.
- Glass cleaner. A simple, convenient and effective product that allows you to wash away dirt and stains from the surface.
Fixed means for cleaning tiles from construction dust
Prevention of contamination
To some extent, to avoid the unpleasant consequences of the repair in the form of the need to clean the tiles from the remnants of grout and tile glue on the bathroom or kitchen floor, from traces of primer, paint or whitewash when decorating walls and ceilings, elementary actions will help:
- When carrying out work involving the use of wallpaper glue, primers or various types of paints, the surface of the floor or walls tiled with ceramic tiles must be covered with plastic wrap with paper, cardboard or any other suitable material available. Otherwise, stains from these substances can pretty much add to your work during the final cleaning of the tile.
- When installing porcelain stoneware or tiles, the remnants of the adhesive mixture must be immediately removed from their surface with a damp cloth or sponge. To clean dried glue, especially from embossed ceramic tiles, is a laborious task and, in some cases, costly, requiring the use of expensive means.
- Difficult to remove stains can also remain from traces of grout not removed from the tile in time. That is, the remnants of grout are removed as work is done on the processing of joints with a grout.
Types of pollution
In order to choose a way to fix the problem, it is necessary to figure out what we have to deal with. During renovations, many different fluids, mixtures and other chemicals are used that can literally leave a mark on your apartment for years to come.
It is worth noting that such consequences are much easier to prevent in advance. This is not so difficult to do: it is enough to cover the surface with a special protective film. If for some reason you ignored this action, you simply cannot do without cleaning. Most often, in the process of finishing work, the tiles fall on:
- lime;
- plaster;
- mixture for grouting;
- silicone sealant;
- primer;

Cleaning the tiles in the bathroom after renovation
- glue solution;
- polyurethane foam;
- dye;
- construction dust.
Naturally, they all cause damage to a different extent, so each of them should be considered separately.

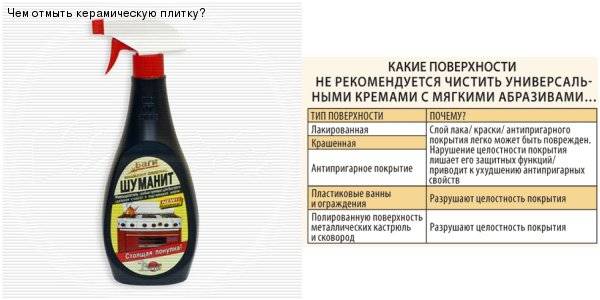
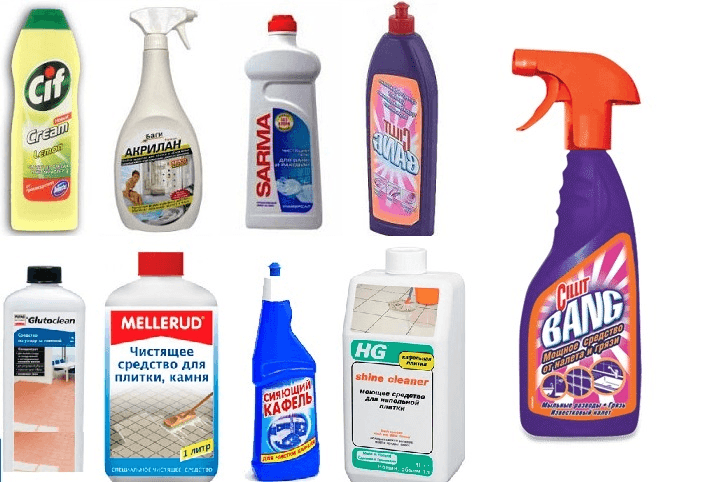
Household chemicals for cleaning tiles
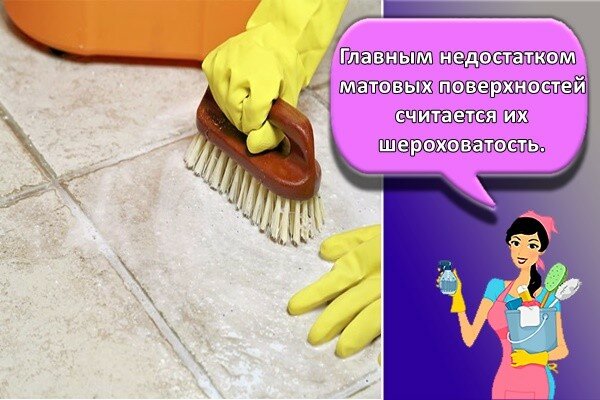
It is also worth considering the type of surface to be treated, because it is much easier to wash a glossy one than a matte and porous one.
We clean the tiles
Any action must begin with preparation. In our case, this is the choice of a detergent - first of all, decide what you will use for yourself - the folk method or a specially developed solution, powder or gel.
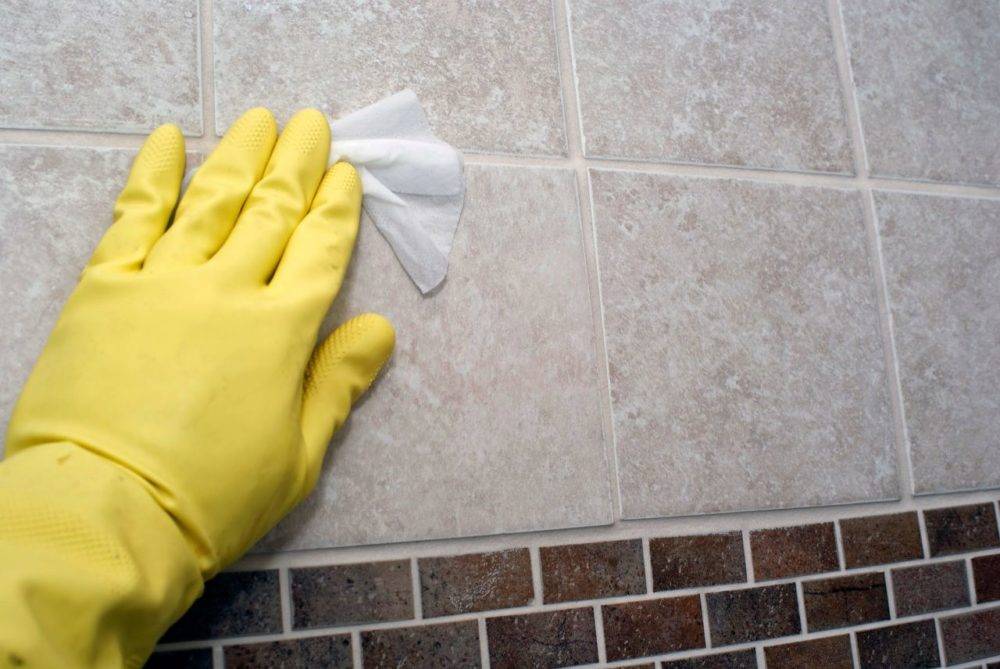
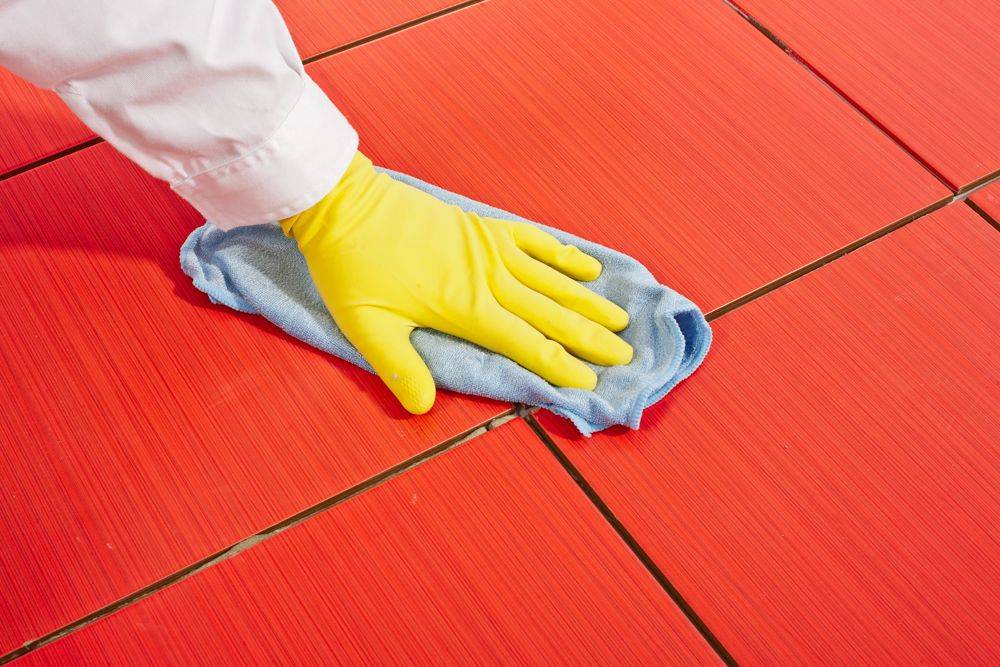
 The tiles must be wiped dry
Folk remedies
Despite the fact that progress has gone far ahead, many remain faithful to the good old "grandmother's" methods. And this is no accident. The price of these funds is simply symbolic, the verification is considered for decades, and the effectiveness is not inferior to the most famous advertised products. And also these funds are always at hand - you do not need to go to the supermarket for them, choose, spend money.
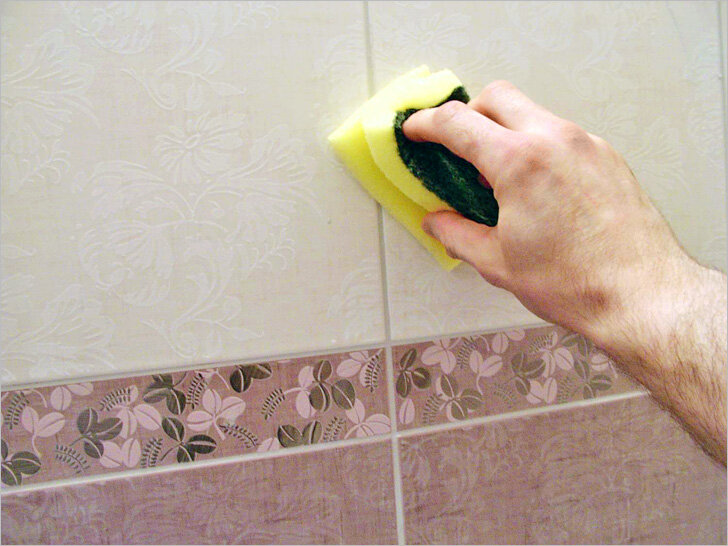
 Remove the large debris first.
We have collected all the most effective in the table, "seasoning" with the wonderful properties of these substances.
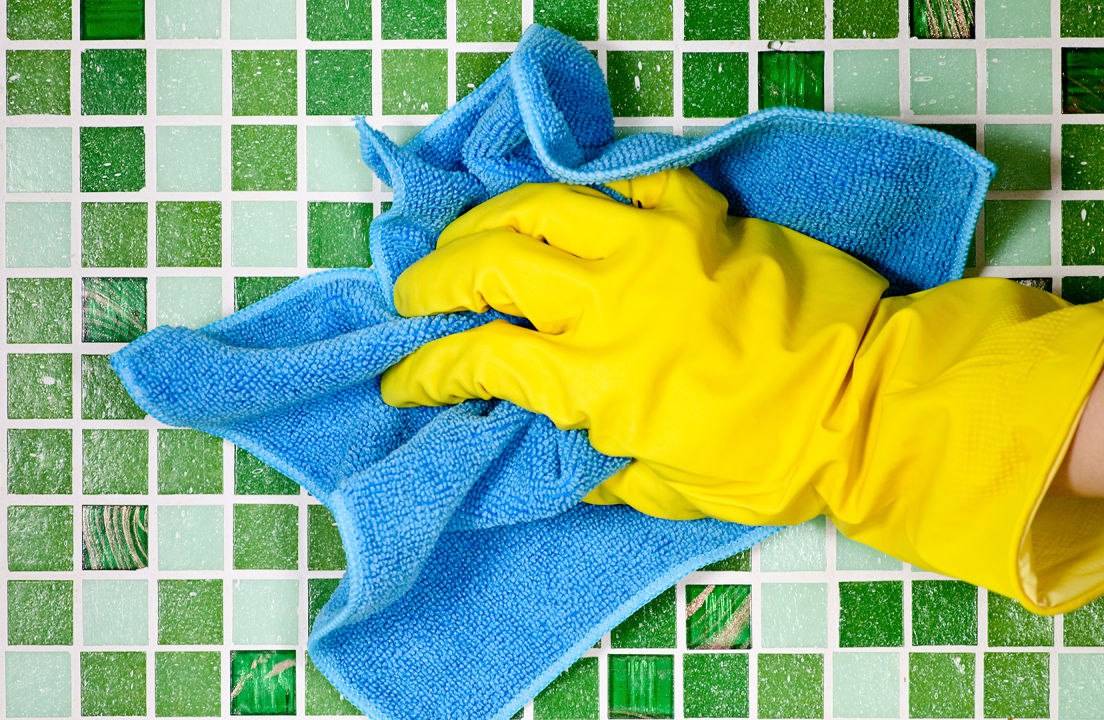
| Microfiber cloth + dishwashing liquid | The first element gently collects stubborn dirt, and the second one destroys the structure of fat and other dirt. |
| Bleaching powder | Ideal for white tiles and the answer to the question "How to wash the tiles in the bathroom?" And plus - excellent disinfection. |
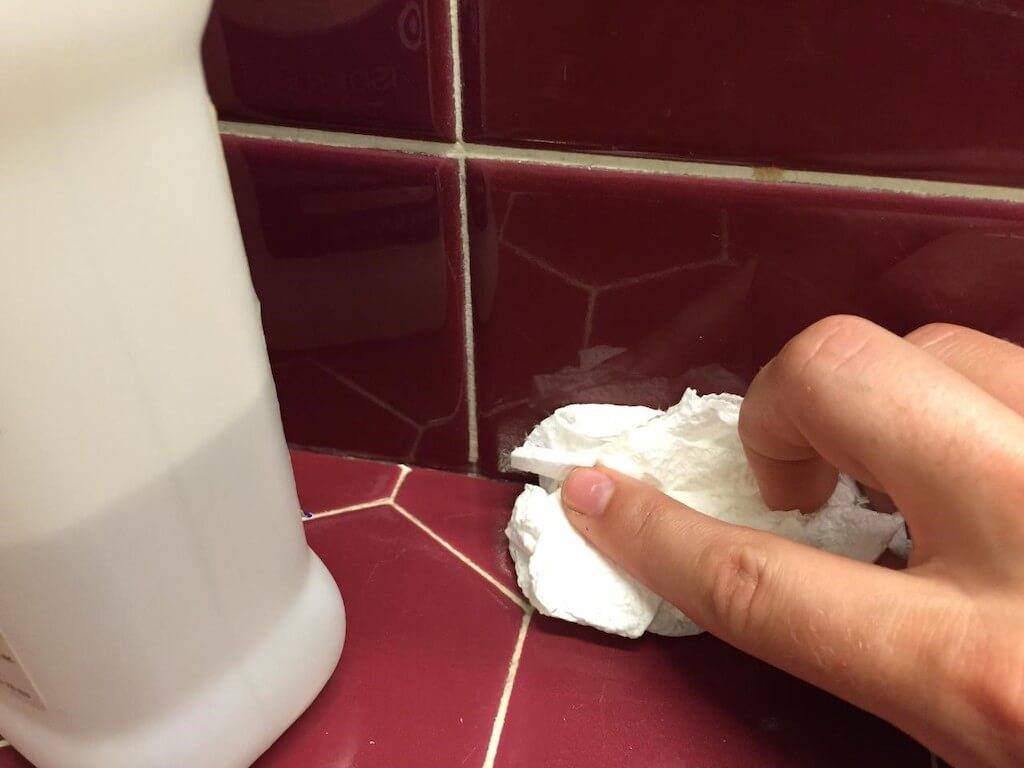
| Chalk + paper | The perfect combination for cleaning glossy tiles. Chalk fights dirt, and paper treatment after it dries gives the tiles its original shine. |
| Citric acid (lemon juice) | In the literal sense of the word, it corrodes fat and other dirt - it is needed by seekers than to clean the tiles in the kitchen. |
| Vinegar | Cleaning and disinfection - two in one. |
| Ammonia | Ammonia has an unpleasant odor, but it fights dirt very effectively and returns the shine to the surface. |
All products are used very simply - they are diluted in water, after which the surface is treated with a solution.
 The soap solution must be washed off with clean water.
Special equipment
But in some cases it is still better to give your preference to special means. We list the most powerful and proven ones, which makes it very easy to clean the tiles.
"Silit"
One of the most effective means, the result of which is visible in a few minutes. Suitable for both wall, ceiling, floor tiles.
Remedy from "Amway"
Doesn't make any claims about efficiency. But it is distinguished by the high price
Many housewives also pay attention to the active gel from this company - it can be added to other products to further activate their action.
"Selena"
And this tool, on the contrary, is one of the most economical. Perfectly removes both stains and grease stains.
"Mister proper"
Both a universal product and products from a special line for tiles will help.
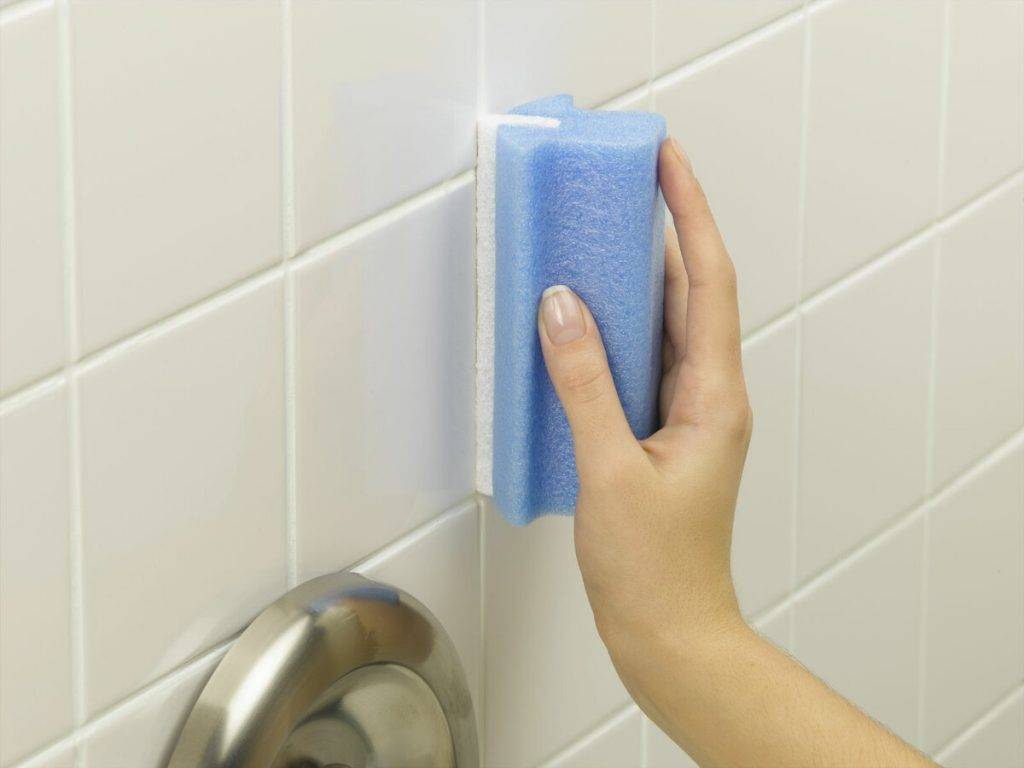
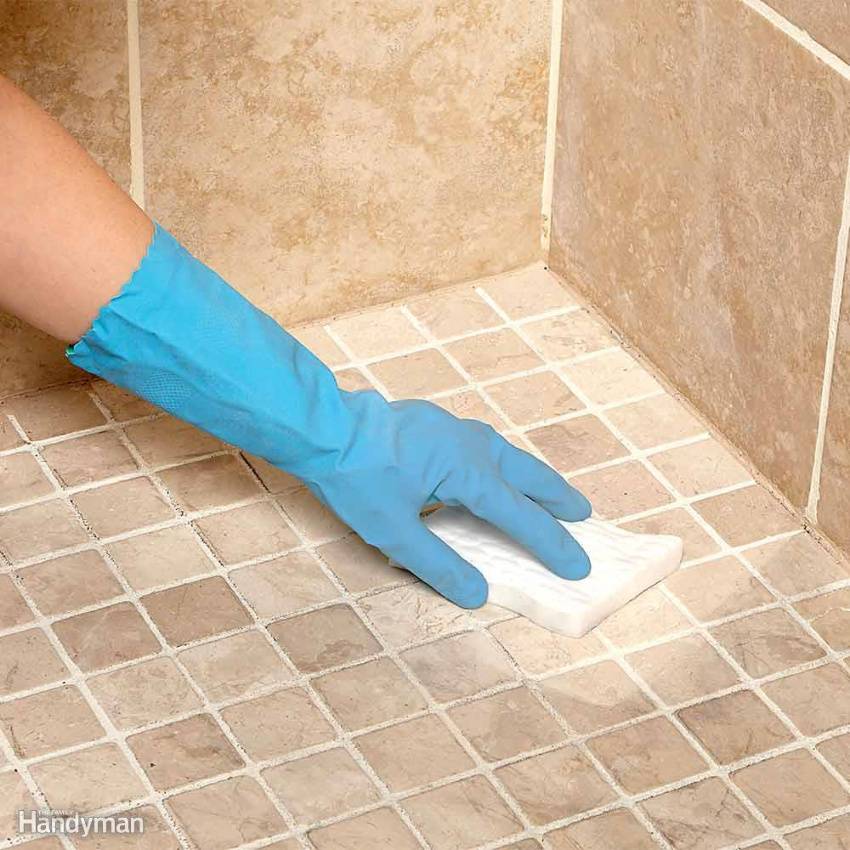
Melamine sponge
The miracle sponge that you saw in the photo already contains an active substance - so you just have to wet it and then treat the surface with it.
Many people say that it is excellent at fighting stubborn fatty deposits.
"Mister Muscle"
A non-trivial way - but this glass cleaner with the same effect will remove stains from the tile and give it a shine.
Pay attention to a number of products containing chlorine. This component perfectly fights traces of rust, limescale, and also disinfects tiles.
Now let's move on to the process itself.
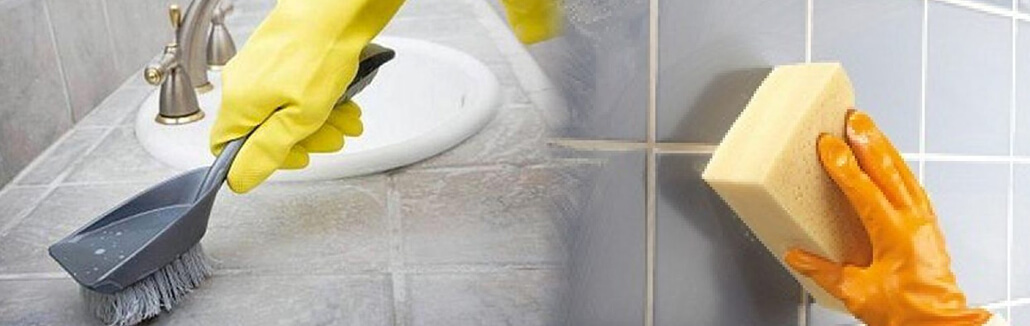
Correct algorithm
To make the state of the tile ideal by the end of cleaning, we advise you to adhere to this order in your actions:
- Use a rag, brush, mop to remove all large debris from the surface.
- Wipe off the dust thoroughly with a dry cloth and rags.
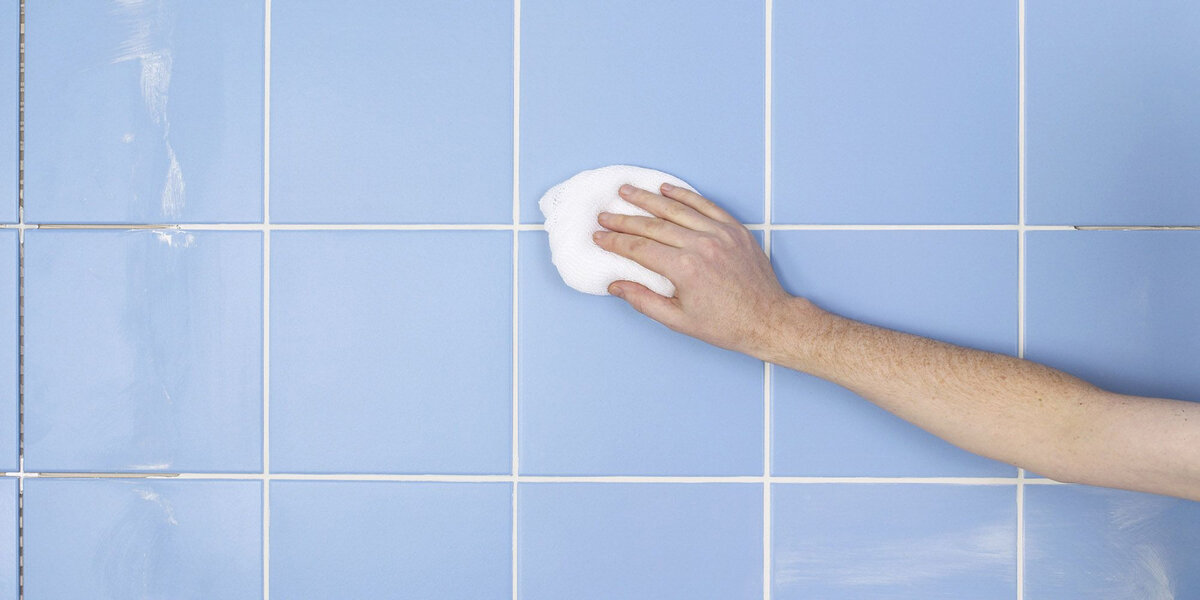
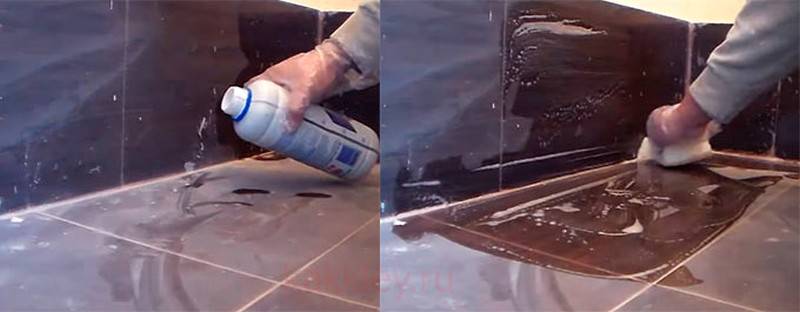
- Dilute one of the selected products in a bucket and treat the surface with a sponge, rag, brush dipped in it. Physical effort may be required for cleaning to be effective.
- Rinse the foam off the tile with clean water.
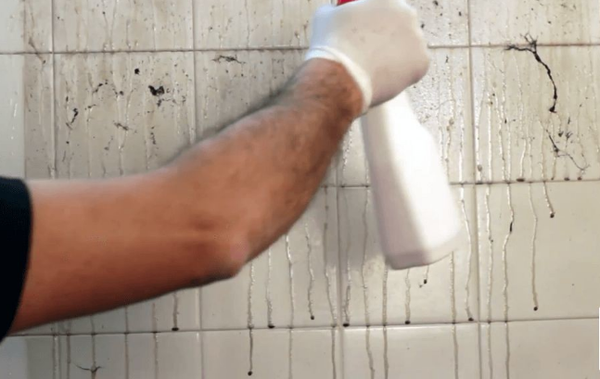
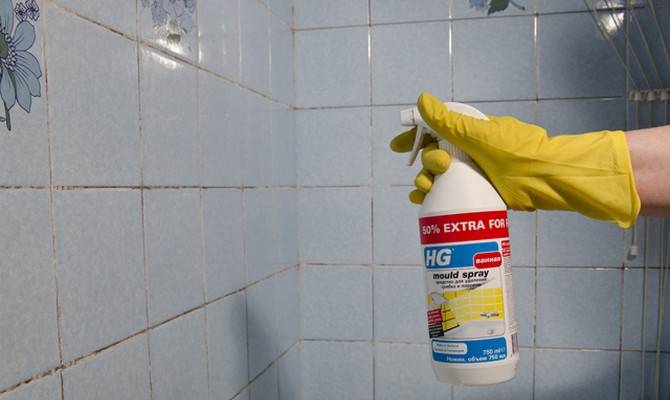
- If the contamination remains, it's time to apply a more serious remedy against them. For convenience, it can be sprayed with a spray bottle.
- Rinse the tiles clean again with water.
- Finally, use a surface glossing agent. It can be replaced by rubbing with paper or dry cloth.
The video in this article will clearly demonstrate these actions.
Methods for cleaning ceramics from various contaminants
We will provide an overview of an effective method for cleaning tiles from the most common types of dirt, using both special means and methods of cleaning with improvised materials and substances.
Due to the fact that the cladding of the bathroom walls occurs after the installation of ceramics on the floor, there is a danger that the primer compounds used to prepare the wall surface for finishing come into contact with the fragments of the flooring. Wiping off the stains from the dried primer is a serious test of endurance and patience, so you should not let it get on the ceramic surface, and if this has happened, then spills should be removed immediately with ordinary water.

Since the tile is a material resistant to various types of adverse effects, many products are suitable for washing it.
The following methods are used to clean the dried primer:
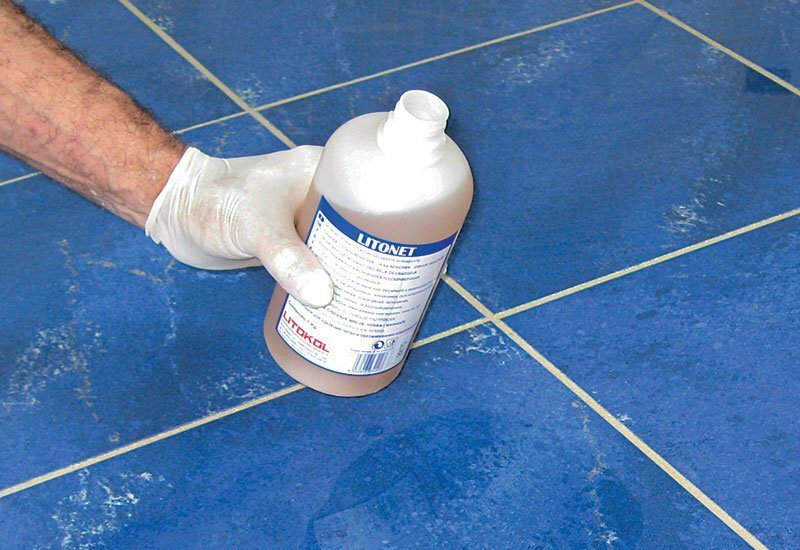
- stains are dissolved with a special wash;
- the primer is washed off with acetone;
- contamination is treated with a liquid primer;
- use of vinegar essence.
To make the dried primer easier to remove, the contaminated areas are covered with wet rags, and some time is given to soften the dried stains.
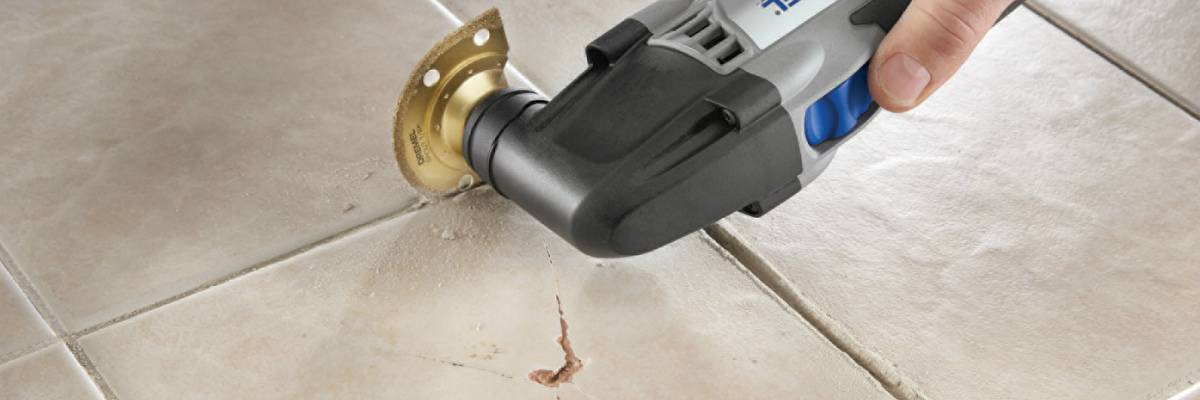
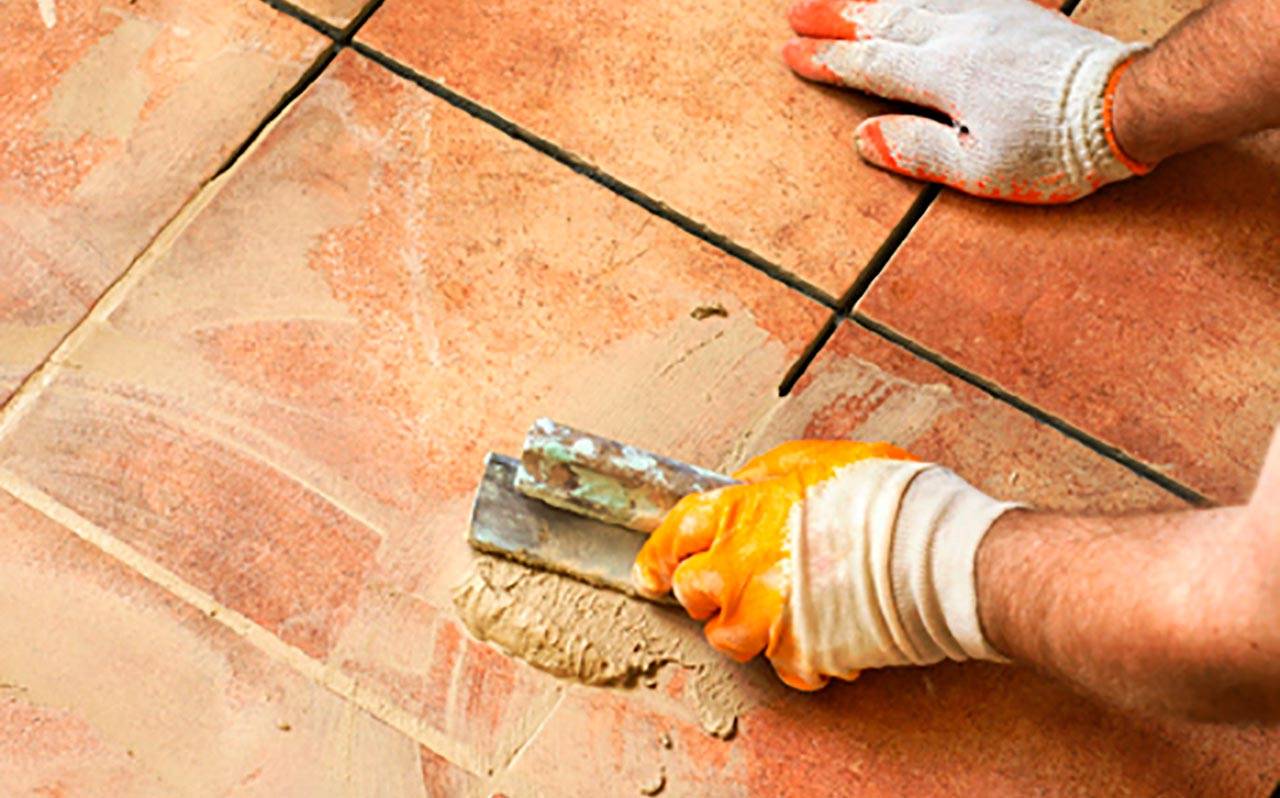
Particularly difficult places can be cleaned mechanically, namely with a special scraper. It is a device consisting of a handle and replaceable blades. Pre-soaked spots, carefully so as not to damage the tile, are cleaned off with a scraper; the tool must be held at an angle of 30 degrees to the tile surface.
Unsecured cement mortar can be easily washed off with a wet sponge or cloth and clean water. But you will have to tinker with the frozen solution:
- Cleaning with special washes.
- Toilet bowl cleaner, copes well with dried cement mortar.
- Mechanical cleaning method. The traces of the solution are removed with a metal spatula or a metal dishwashing net.
We remind you that when using the mechanical method, the dried solution must be soaked in advance and when cleaning with metal objects, do not damage the surface of the finishing material.
After the repair, the cement tile should be cleaned immediately, before it has time to harden.
Tile adhesive
- Traditionally, the easiest way to promptly remove glue residues during installation is with a wet sponge.
- The frozen glue is soaked with a solution of water with vinegar or ammonia.
- Chemical treatment of contaminated areas with potent substances.
- Mechanical cleaning. The traces of glue are removed with a metal spatula, scraper, metal mesh or fine sandpaper.
Key moment. In "hopeless" cases of strongly adhered glue spots, it is advisable to use chemical and mechanical methods in combination.
To facilitate the process cleaning grout with the surface of the tile in the bathroom, it is necessary to strictly observe the technology of finishing the seams with a joint, do not apply too much grout to the treated surface and remove its excess in time.
First of all, we need to remove traces of glue as soon as possible, especially if we are dealing with ceramic tiles.
There are two ways to delete:
- Chemical. The method is based on the use of potent, acidic substances. Using this method, it is necessary to take into account the properties of the ceramics used and its resistance to acids. Do not forget about safety measures when working with active substances, always using personal protective equipment.
- Mechanical. The method is used for cleaning heavily dried grout or joints that are resistant to chemicals. In this case, the following tools and devices are used:
- metal spatula, brush or scraper;
- various cutting devices with a sharp blade;
- sandpaper or metal abrasive mesh.
Construction dust
The most common and "obligatory" type of pollution after construction and repair work will be the presence of construction dust. Removing it is a simple process and does not require the use of any special and potent substances.

Dust must be removed as soon as possible so that dust and dirt do not enter
First, the dust is removed from the surface with a dry cloth or with a vacuum cleaner, after which the wet processing of the cladding begins, for which the following means are used:
- warm soapy water;
- water with the addition of lemon or citric acid;
- vinegar solution;
- compositions for washing glass.
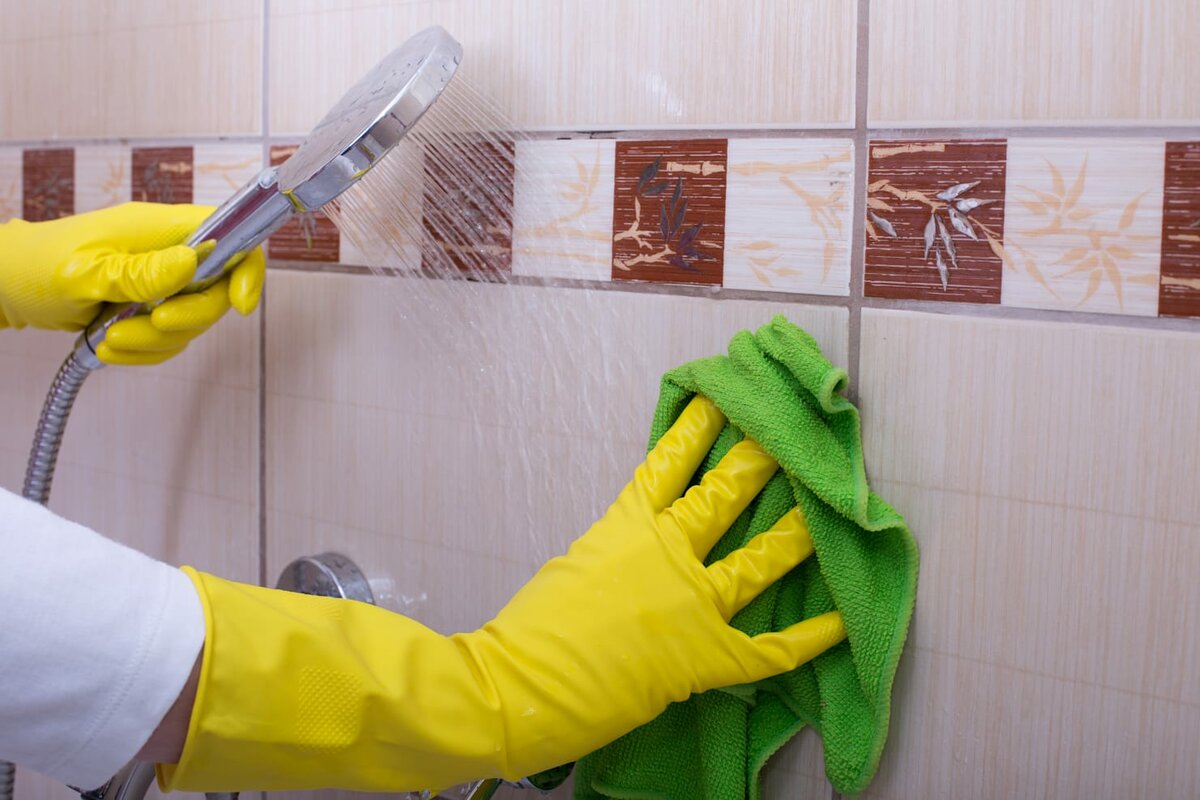
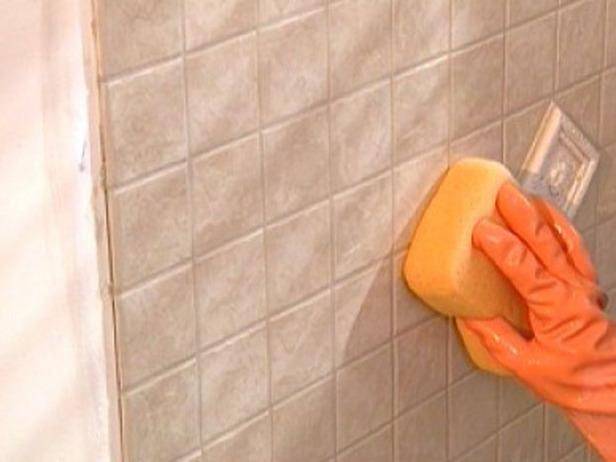
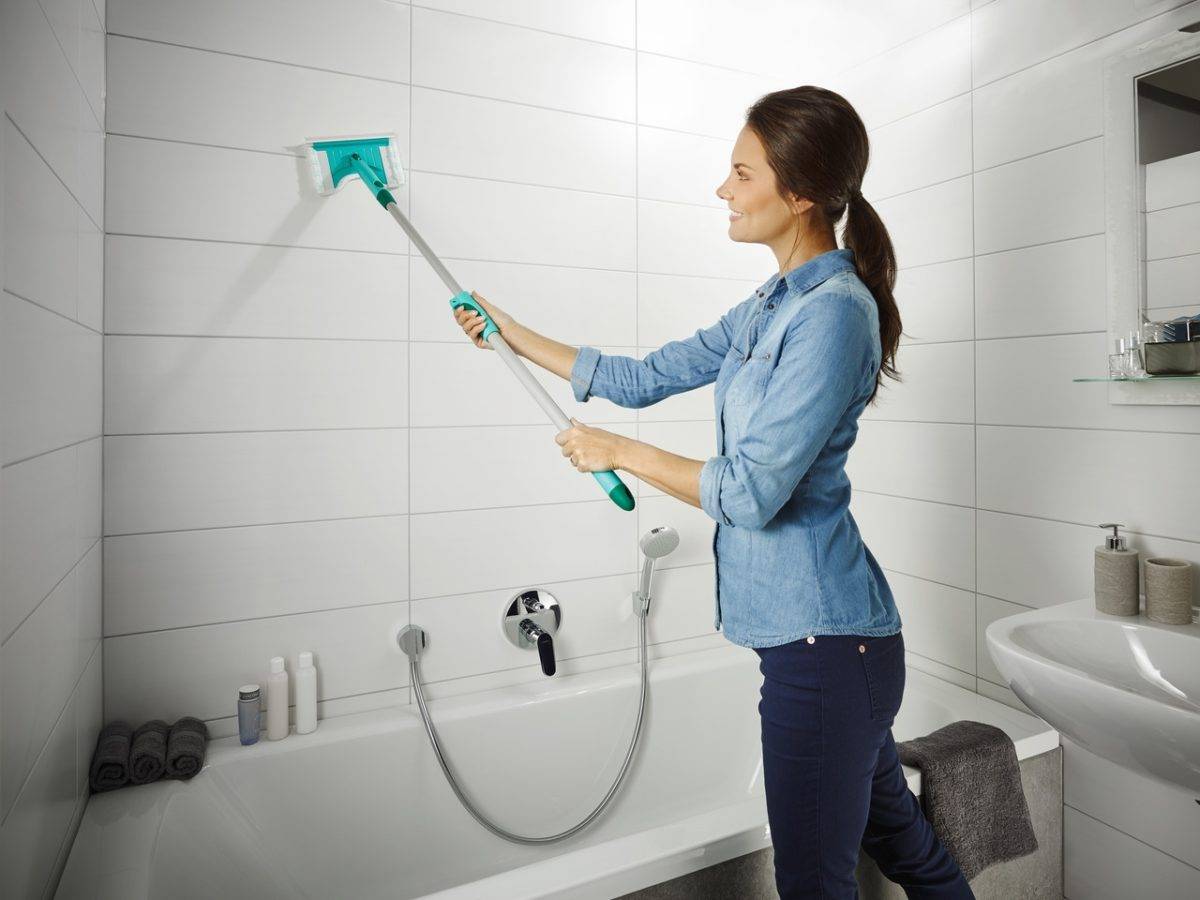
You need to wash ceramic tiles from top to bottom.
After renovation
How to clean tiles after renovation?
It is somewhat more difficult to eliminate the consequences of repairs - especially in cases where the structure of the tile is porous and rough. "Harmless" construction dust is collected with a vacuum cleaner, otherwise the following approaches are used:
- It is necessary to wash off the glue "in hot pursuit". A vinegar solution (a quarter of a glass per 1 liter of water) will wonderfully cope with this task, it will also rid the tile of lime and putty. The brush should be quite stiff, but by no means metal - otherwise, scratches will definitely not be avoided. Repeat rinsing several times, then dry the tiles with a soft cloth.
- Hardened liquid nails are carefully separated with a scraper (to facilitate the process, the glue is soaked several times with warm water or acetone). You can do it in a completely different way: warm up the stained area with a building hairdryer and remove the solution as it melts (by the way, the same approach will eliminate the frozen silicone). Due to their structure, liquid nails can withstand temperatures from -5 to +50 degrees, so instead of heating, you can successfully freeze - the glue will crack and begin to crumble.
- Sticky scotch marks disappear instantly under the onslaught of acetone or a solvent like White Spirit.
- Use soapy water to wipe off fresh primer. Dried drops can be re-soaked with the same primer and wiped dry immediately. Of course, you shouldn't rush with this extravagant method - first try using thinner, gasoline, glass cleaner or a special paint remover. In some cases, polishing with soda paste or vinegar essence is effective.
- If putty gets on the tile, soak it with warm water and scrape it off diligently with a plastic spatula. Rinse the tiles with water and detergent, rinse and dry.
- Dried grout should be scraped off with a piece of woolen or felt cloth. Then the tiles are washed out using the same technology as in the previous case.
Tip: Moisture-resistant grouting mixtures can be used for minor cosmetic repairs: they perfectly mask chips and cracks on the tiles.
With a cement-sand mortar, of course, it is better not to hesitate: soak up the dirt with a wet sponge as it appears. If the solution still managed to harden, you have to work hard: first, soften it with cold water (you can drop a little lemon juice), then crush it and collect the dust with a damp cloth.
Table salt also helps to drive cement from the surface of the ceramic. Sprinkle the floor with dry grains, then moisten with water and leave for a few minutes. When the consistency becomes loose, remove the residue with a soft spatula or brush.
Aged solution can remove many toilet products. It is necessary to soak the stains for two or even three days, periodically apply a fresh layer of the composition
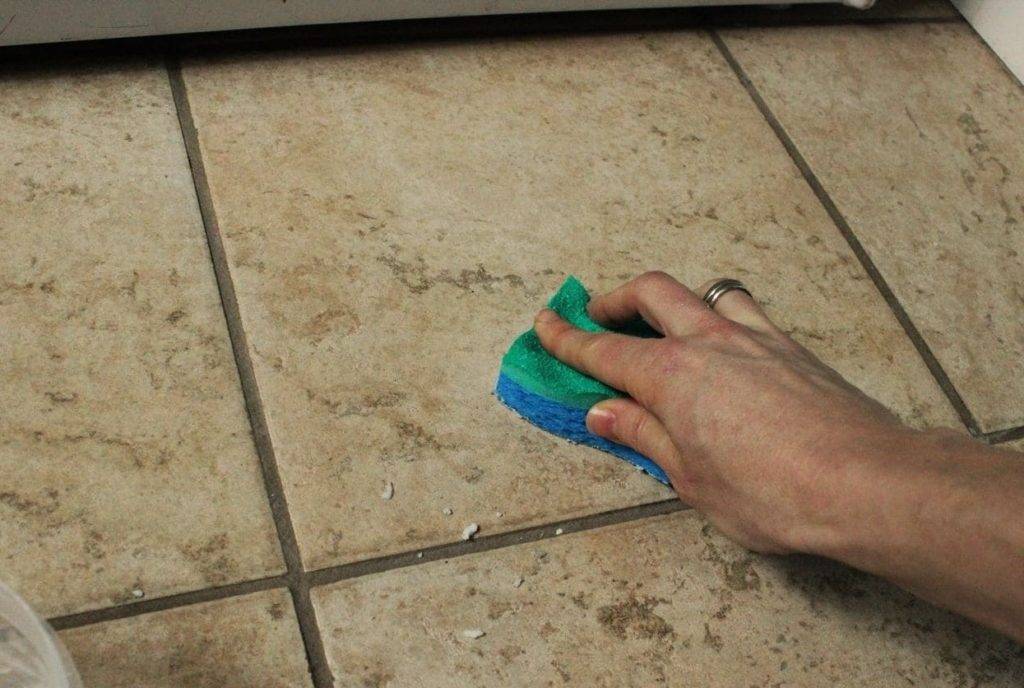
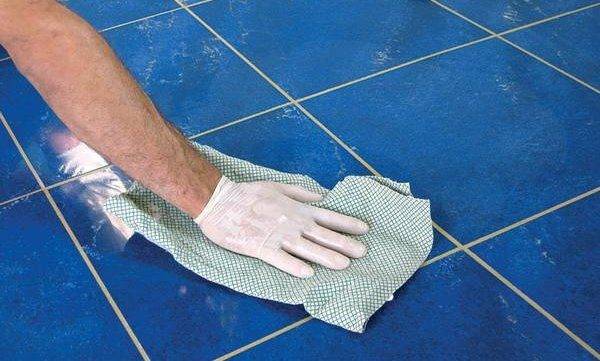
Finally, wipe the tile with a clean, damp sponge.
Grouts and silicone sealants can become a real headache if handled carelessly. After drying, the substances that make up their composition literally stick to the tile tightly, so soaking will also be required here.
Plain water, most likely, will not have the desired effect - it can be replaced by glass cleaner, pure vinegar essence, or any alcohol.
Another way to reduce the "Ceresita" type fugue is to treat the stains with diluted kerosene or a saturated solution of citric acid (half a glass of powder for 2 glasses of water). It is possible that the descaling agent in teapots will work.
Paint stains need to be treated with gasoline or thinner as soon as possible. To wash off the composition, first soap is used, and then clean water.
A lining spoiled by liquid glass will be put in order by a weak vinegar solution or just hot water. The stain is soaked for forty minutes (fix a wet cloth on the tile), and later brushed off with a toothbrush.Rinsing - alternately with soapy and clean water - is followed by treatment with a glass cleaner.
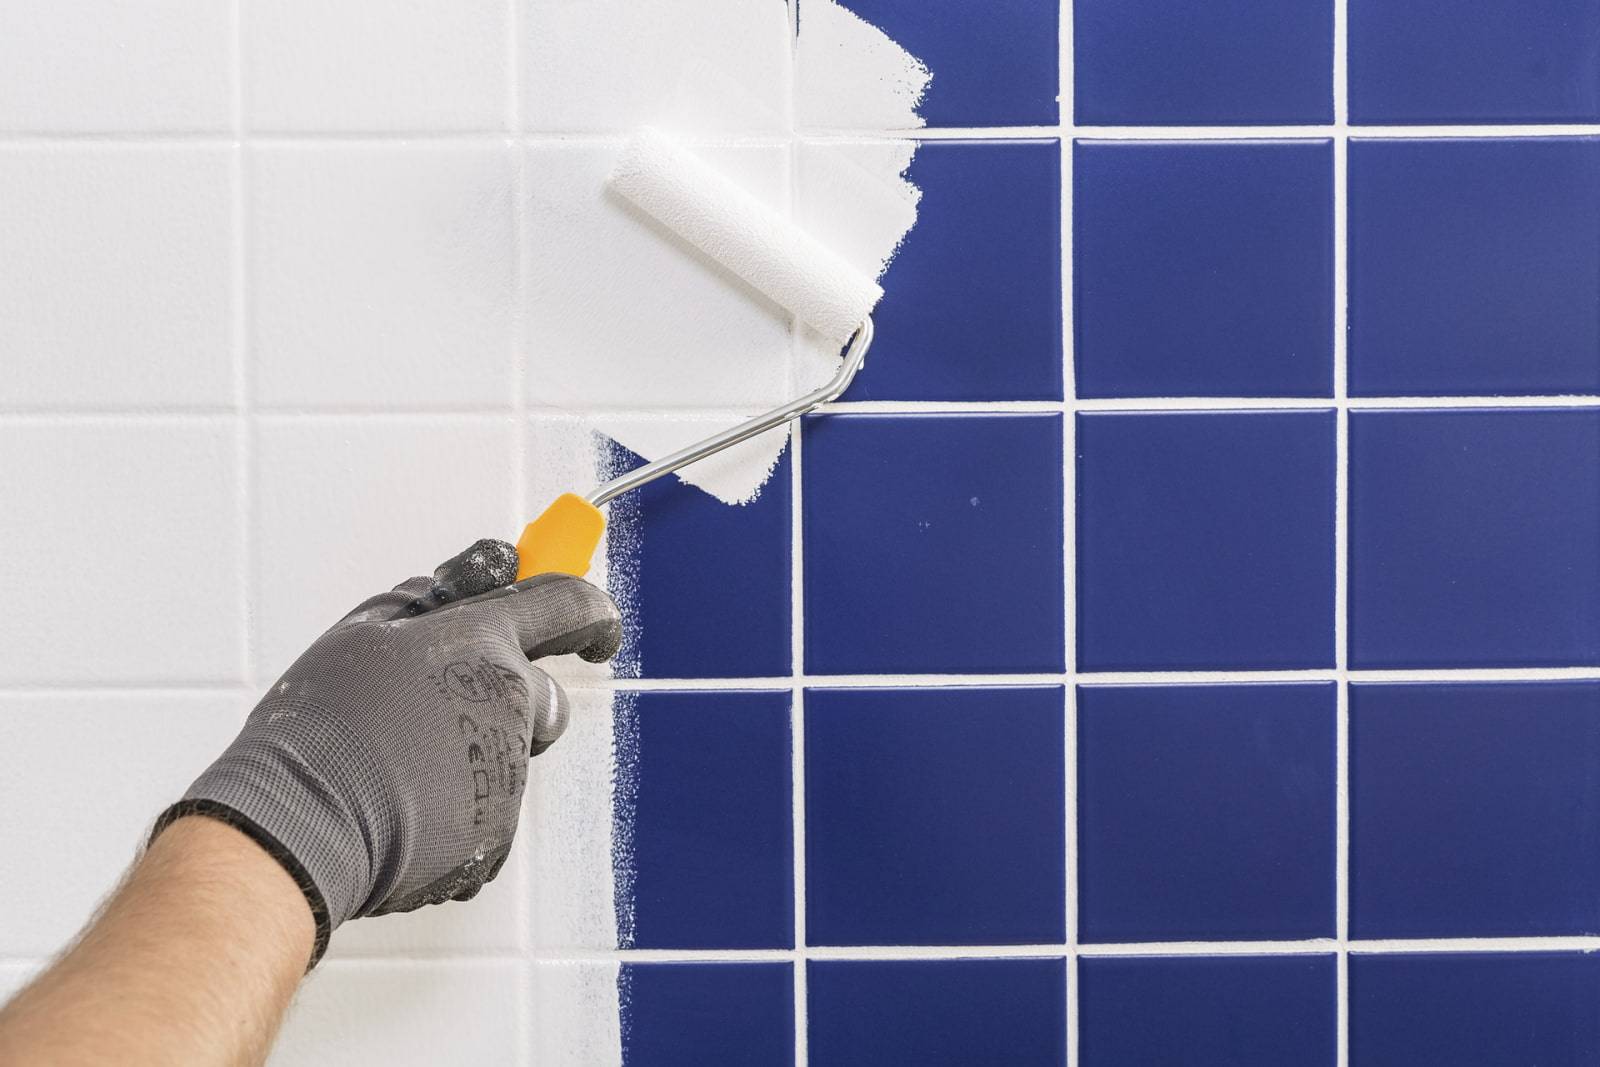
Advice: a special paint for bathrooms helps to give a "second youth" to worn cladding. The tiles are preliminarily sanded and degreased with acetone (try the procedure on one inconspicuous tile), after drying, varnish is applied in two layers. If you wish, you can limit yourself to the simplest pattern applied with epoxy paint on a stencil.
Primer
Now let's consider how you can clean the ceramic tiles from the primer after repair. White spots often remain on the floor tiles, since the installation of the wall cladding is done after it has been laid. It is advisable to spread a protective film on the floor, but it does not always give a 100% guarantee of stain protection.
If the primer gets on the tiles, it is advisable to rinse it off with clean water as soon as possible. When the substance dries, it will harden and it will be much more difficult to wash it off. For this purpose, you can use the following tools:
- special solvent based remover;
- acetone;
- polyurethane foam;
- fresh primer.
Once the stain has softened, you can try to clean it off. You can also use a special scraper with a sharp blade to remove drops of frozen paint from glass surfaces.

It is best to rinse off the primer before it hardens with clean water or solvent.
How to clean floor tiles after renovation?
The joy of completing the renovation can be overshadowed by the fact of dirty floors and cleaning, if the craftsmen were not very clean at different stages of construction work. It should be noted that the tiles must be cleaned immediately after being exposed to cement mortar or liquid nails. But if, nevertheless, building materials got on the tile, then you will have to work hard to eliminate them.
The choice of tools and methods to clean the tiles on the floor depends on the following factors:
- Tile surface.
- The nature of the pollution.
- The time spent on the surface of the spots.
To clean tiles after renovation, follow these guidelines:
- After repairs from the tile, you must sweep away the dust with a soft brush or vacuum. This should be done as soon as possible so that dust and dirt do not stick into the surface of the coating. After dry cleaning, proceed with wet cleaning.
- First remove adhering pieces of solution mechanically using a smooth, well-sharpened chisel or a sharp blade, then treat problem areas with a special solvent.
- Remove cement, putty and other similar materials from tiles with a plastic trowel and water. Wash off paint with solvent.
- Remove the caked lime with a vinegar solution. Alternatively, vegetable oil. Add vegetable oil to warm water and wipe the white bloom on the surface with the solution. Then - rinse the tiles with dishwashing detergent.
- If, during the repair process, the tiles are soiled only with construction dust, then clean them with a detergent, vinegar solution or ammonia. We wrote above how to use these tools.
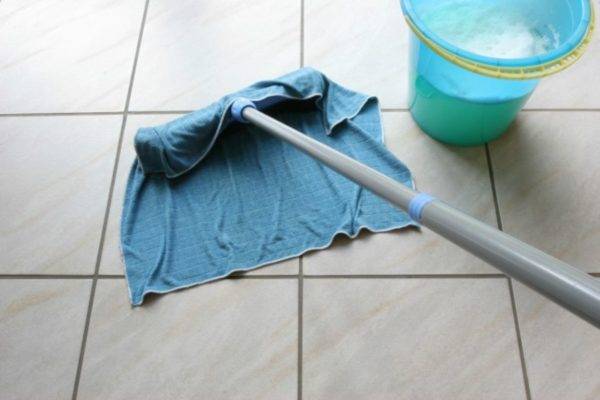
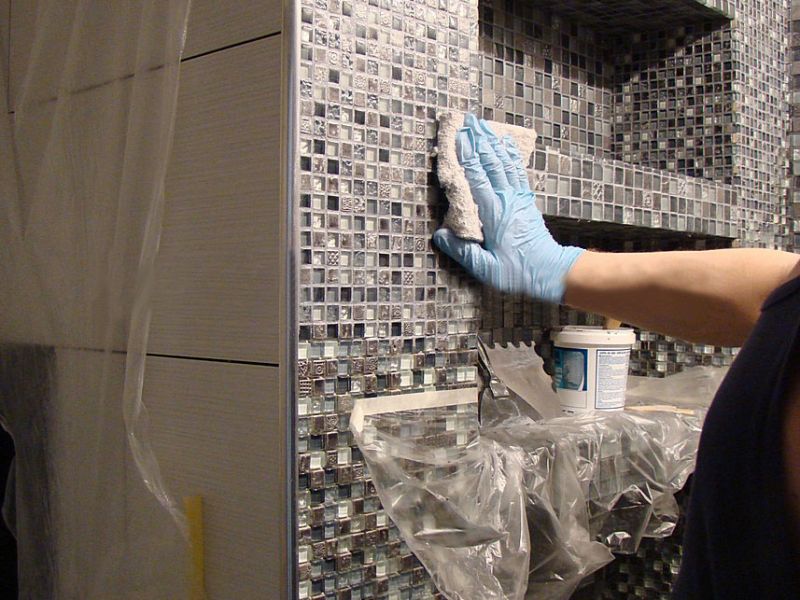
- If there is a plaque on the coating that cannot be removed with detergents, then glue felt to some area with a handle and rub the surface with an improvised tool.
- Remove tile adhesive and other similar materials using Silit, Cinderella, etc.
- If the tile grout has eaten into the grooves between the tiles, sand the seams with fine-grained emery paper.