How to insert a drill into a chuck
Step 1. The chuck jaws are closed.
Closed chuck jaws
Step 2. Rotate the adjusting ring counterclockwise by hand. The jaws inside the chuck diverge to a distance slightly larger than the size of the drill.
Turn the ring counterclockwise by hand
Step 3. Insert the drill into the chuck to the full possible depth. The diameter of the clamped tool is allowed 2 - 13 mm.
Insert the drill between the cams
Step 4. Turn the adjusting ring clockwise by hand to clamp the drill.
Rotate the adjusting ring clockwise
Step 5. Insert the key for the drill into the hole on the chuck body so that the teeth on the key and the chuck close together.
Insert the key into the holes of the cartridge
Step 6. With a slight pressure, turn the key clockwise until it stops to securely fix the drill. There are 2 - 3 holes for the key, we insert into each one in turn for uniform clamping.
We turn the key clockwise until it stops
Step 7. The drill is ready to go.
Drill view with fixed drill
Less commonly, a keyless chuck is used, which is twisted without a key. Available with one or two adjusting sleeves with anti-slip notches. If there is only one sleeve, hold the drill body motionless. If there are two sleeves, the part fixed to the spindle remains stationary. The movable part is turned by hand: when fastening the drill clockwise, when removing it, counterclockwise.
pros
There are a number of advantages to fully justify the use of these tools.
- Simplicity of design. Due to the lack of a large number of components, power drills are easy to repair and do not need particularly careful maintenance. This allows you to significantly reduce the amount of time and money required to ensure the performance of the tool used. The solution to this problem does not differ in complexity: it involves the timely application of lubricants and the replacement of parts that have exhausted their working life.
- Reliability and durability. Experience shows that it is very difficult to break a hand drill, even with regular and very intensive use. This is due to the high quality of the materials used in the manufacture of such instruments (especially those that were produced during the Soviet era). Many power drills made several decades ago still serve successfully, repeatedly justifying their initial cost.
- Autonomy. The described tools do not need electrical power, and therefore they can be used anywhere. This advantage of hand drills is especially true for those who have to work away from the usual benefits of civilization.
- Affordable price. Today, a new hand drill can be purchased for 600-1000 rubles, while a used mechanical "assistant" will cost even less (about half). In addition to the technical condition, the cost of the tool is influenced by its dimensions, equipment, body material and the reputation of the manufacturer.
Most often, craftsmen prefer two-handed drills, using them to create small holes and grooves.
Careful execution of such work involves precise control of the drilling depth and extremely careful rotation, for which the described tool is most suitable.
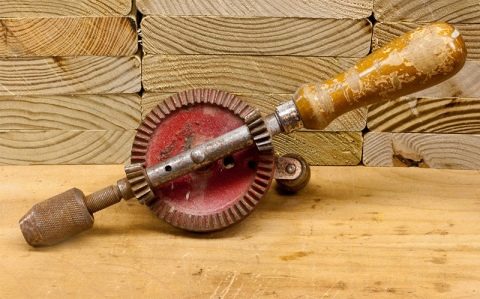
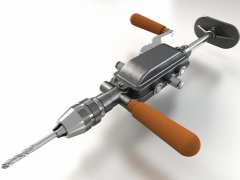
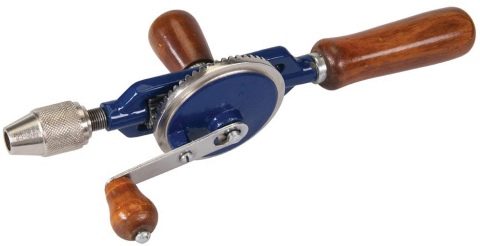
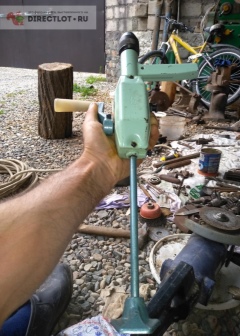
Mechanical drill
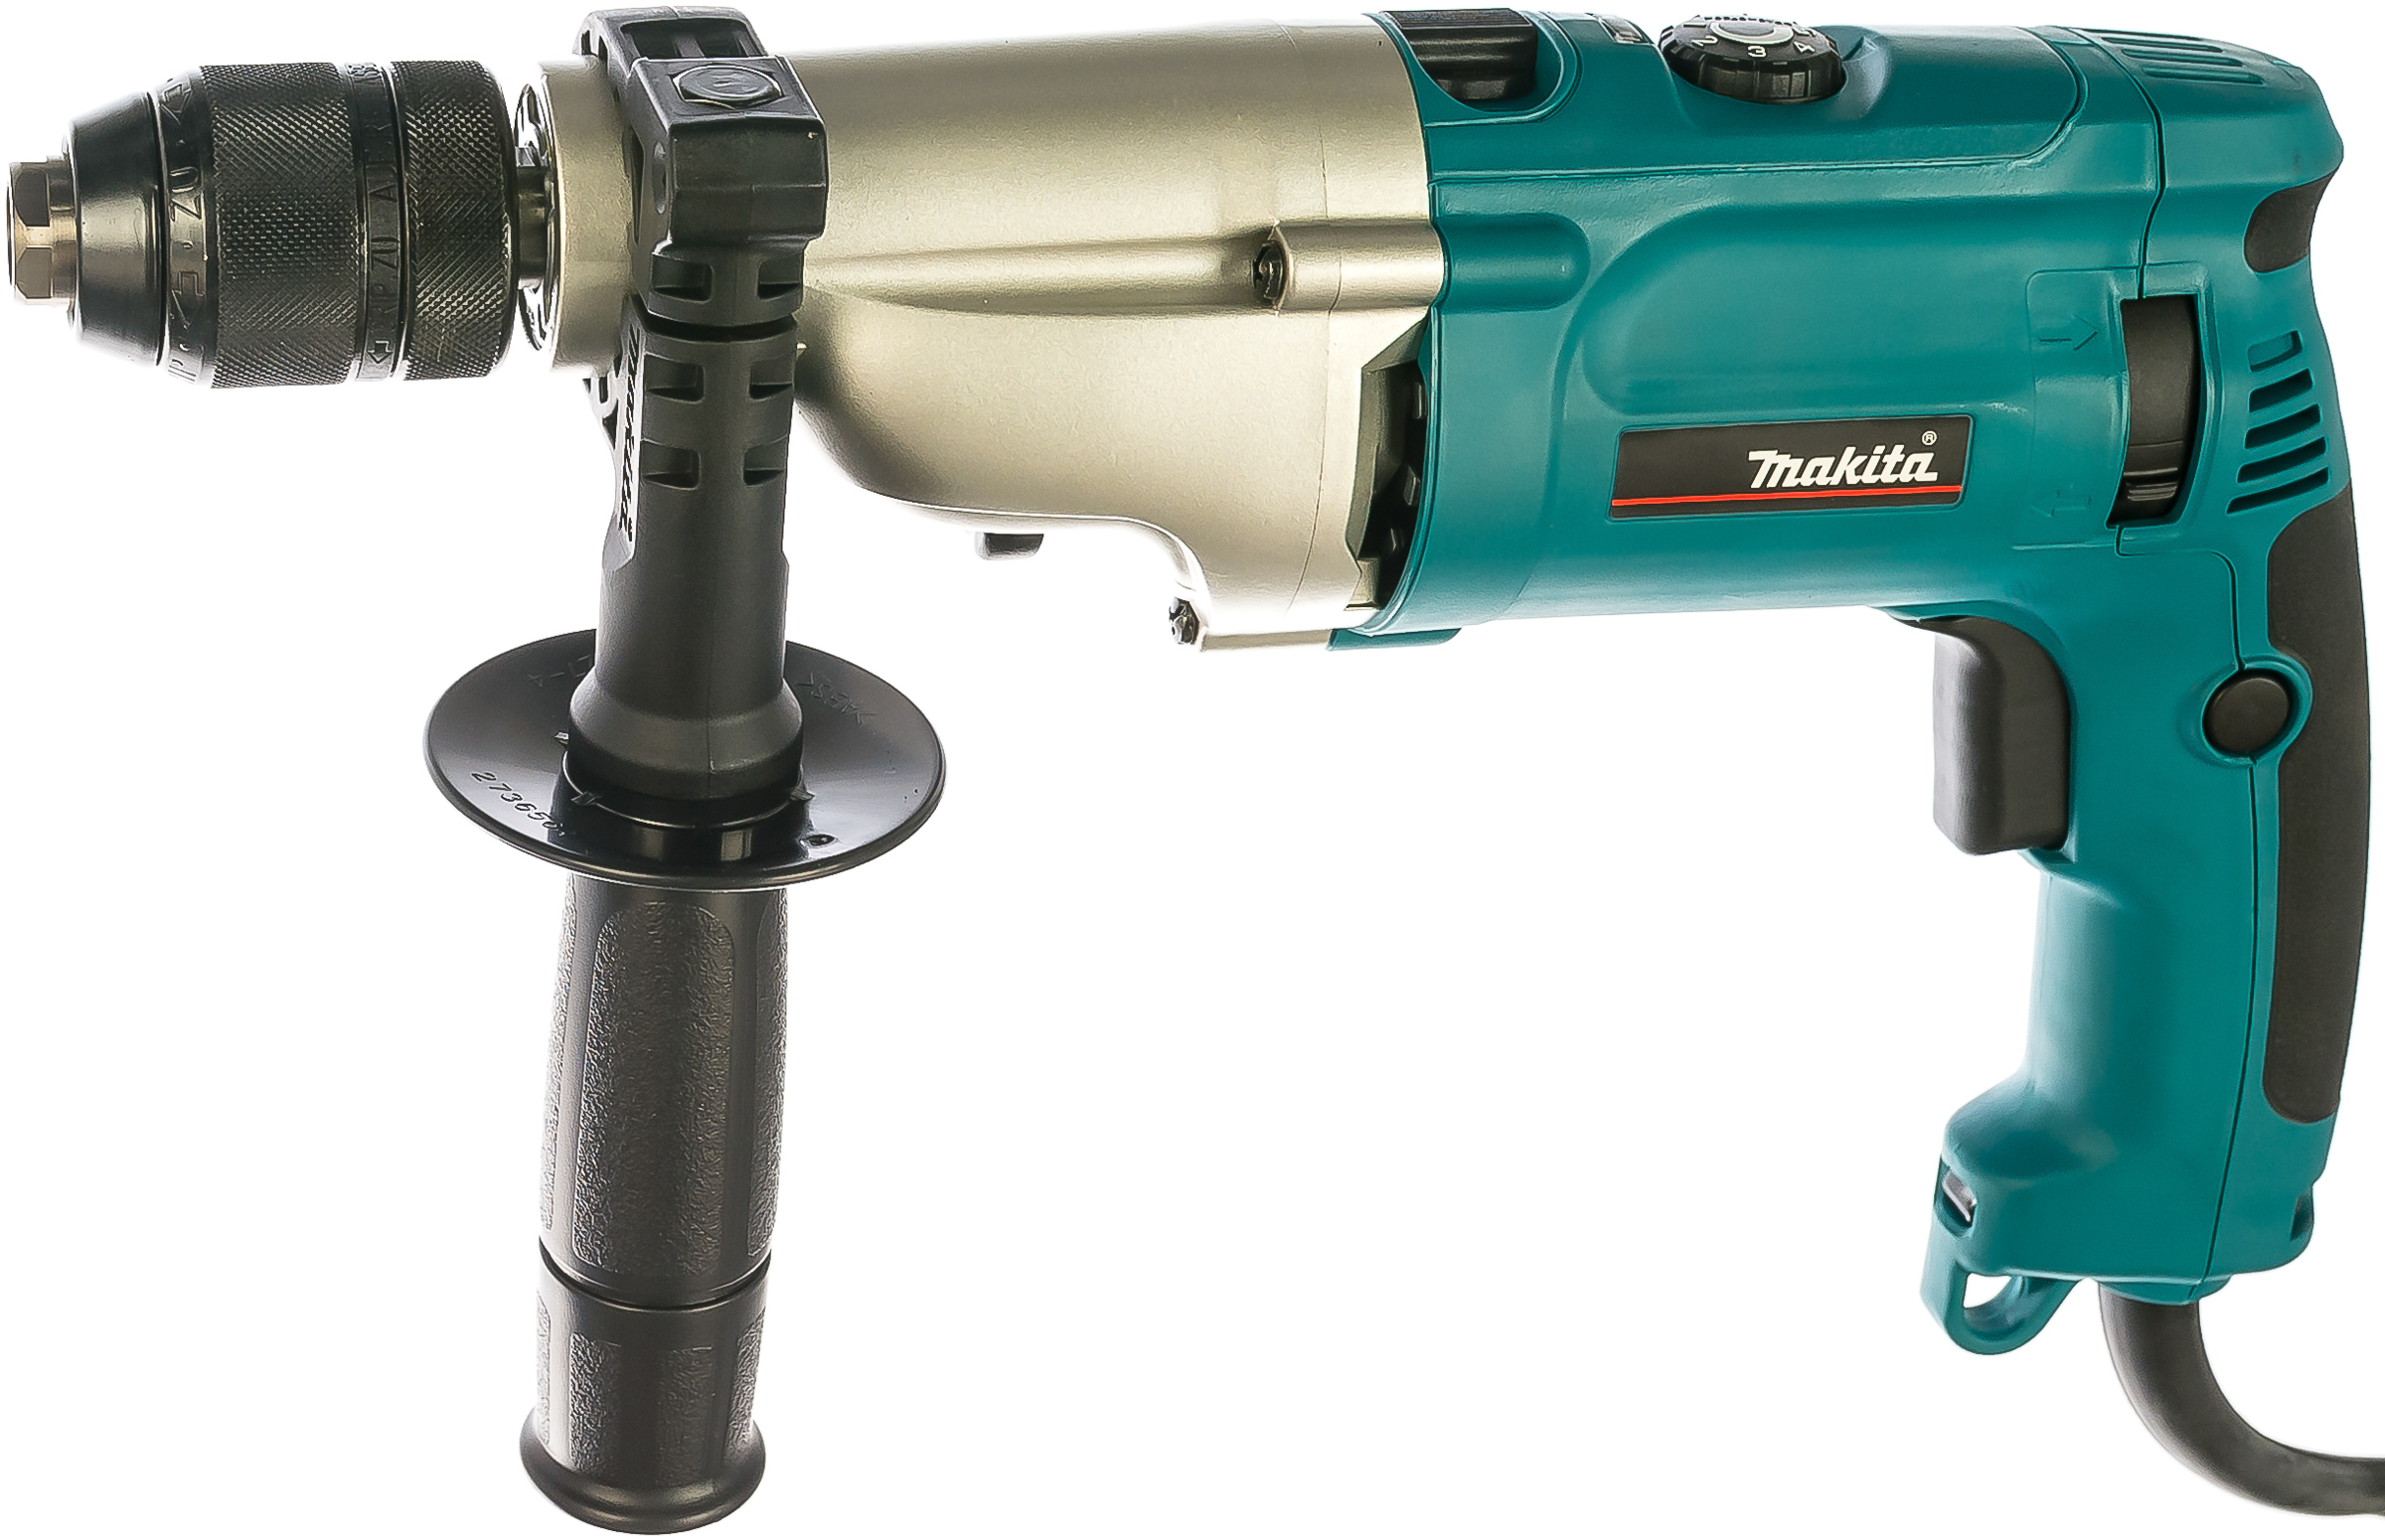
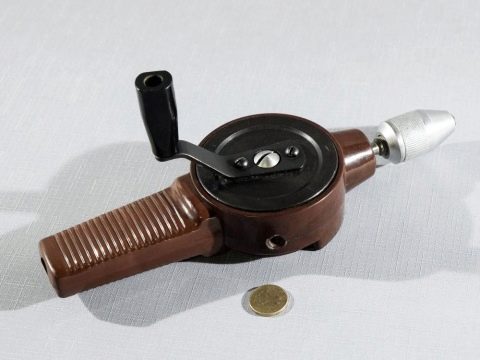
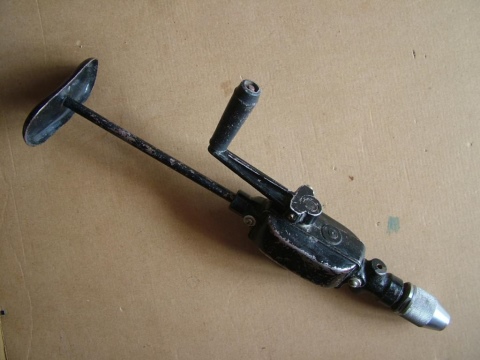
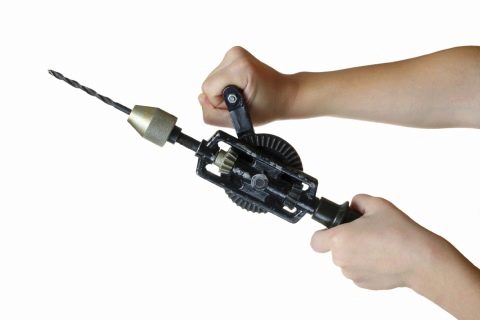
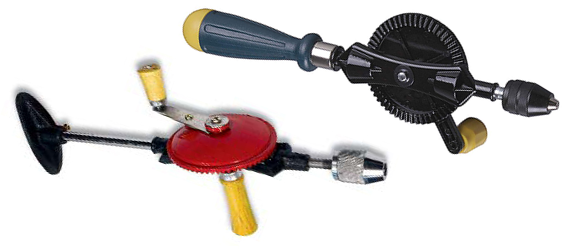
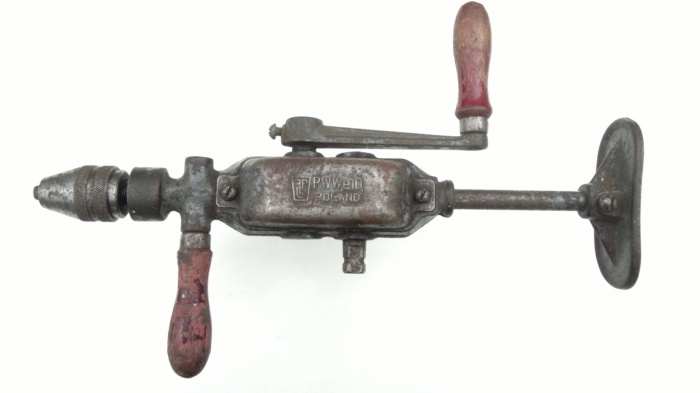
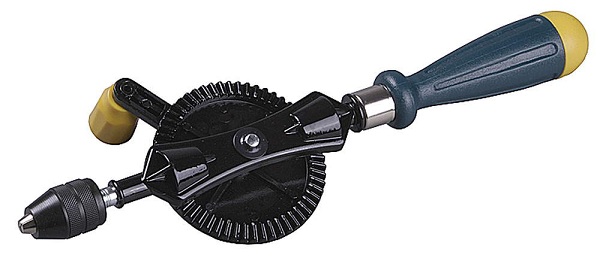
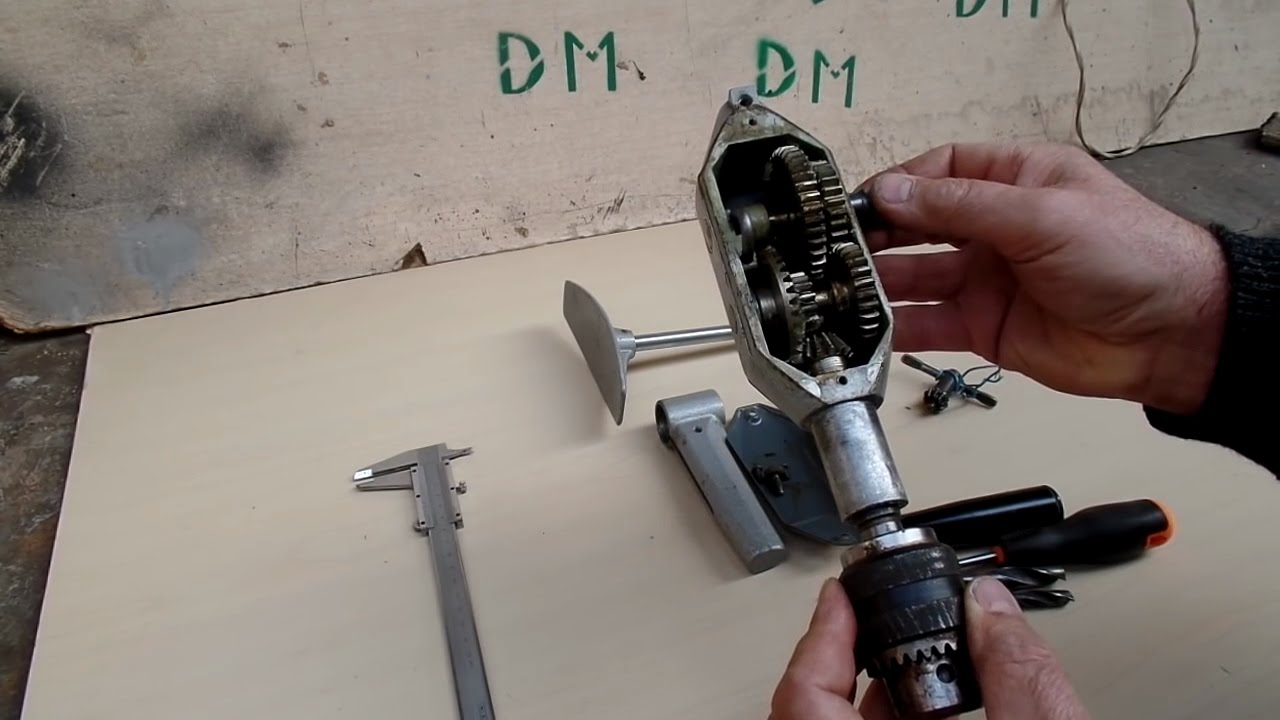
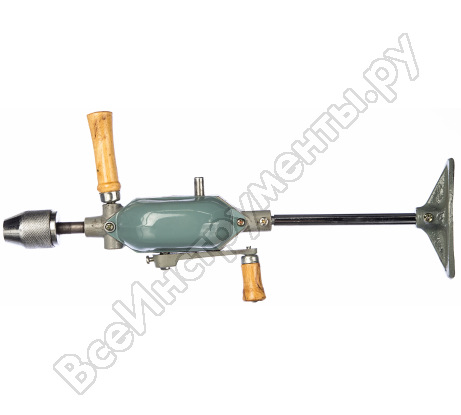
The device consists of a body with gears necessary to increase the speed of the drill. There is a handle for rotation, a support handle for a secure hold of the tool. The device includes an upper stop and a chuck for fixing the drill.The working speed of drilling is higher than that of the rotary head.
The hand drill can have 1-2 speeds. The drilling mode is selected by moving from one shaft to another by moving the handle.
The two-speed hand drill is capable of gaining high revs. This is how it differs from the single-speed model.
If you need to drill at high speed, you need to go from the lower shaft to the upper shaft.
Using manual equipment, holes are made in blanks made of wood, its derivatives, plastic, metals, and other materials. If necessary, the tool will cope with the tasks of a screwdriver. To do this, it is enough to equip the cartridge with a bat.
For the first time, a hand drill with the ability to switch speeds was released in the 20th century.
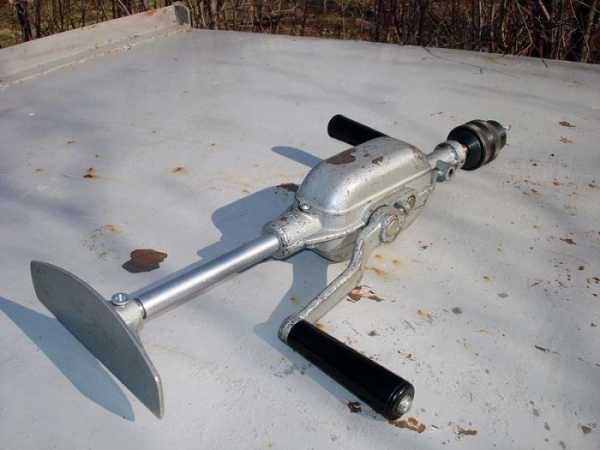
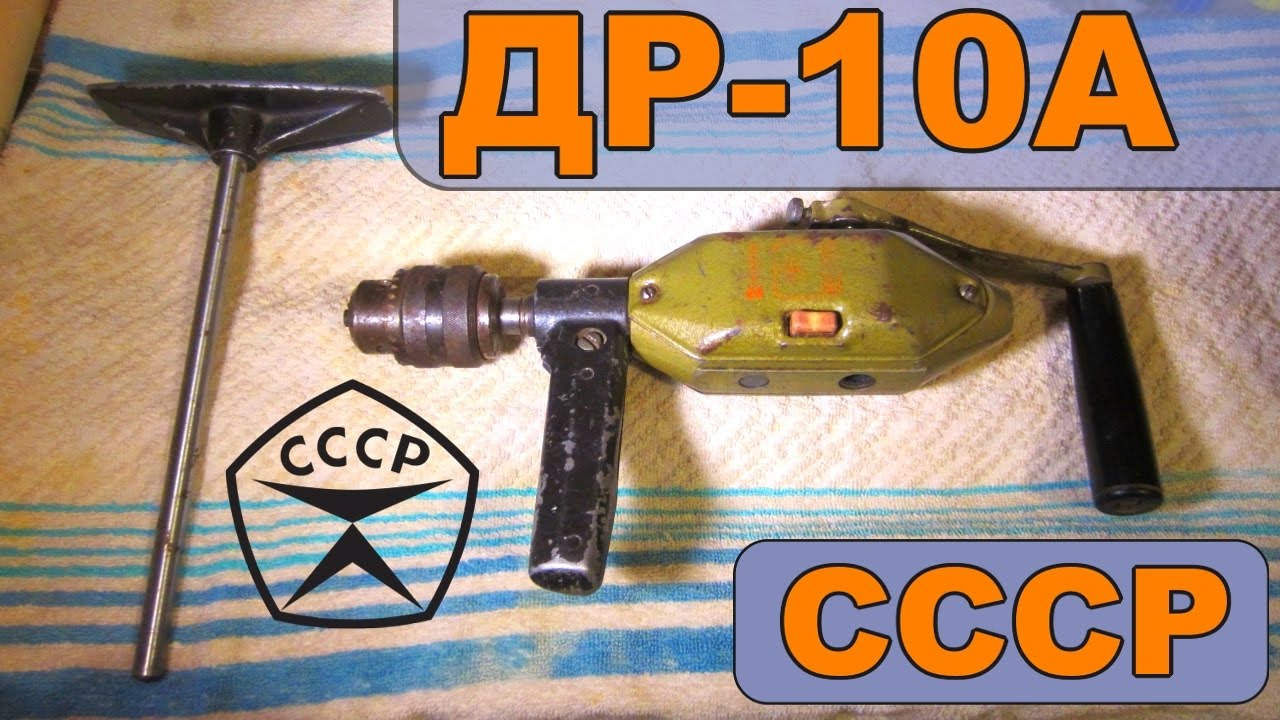
Mechanical drills from the USSR are still used today, but their number is decreasing.
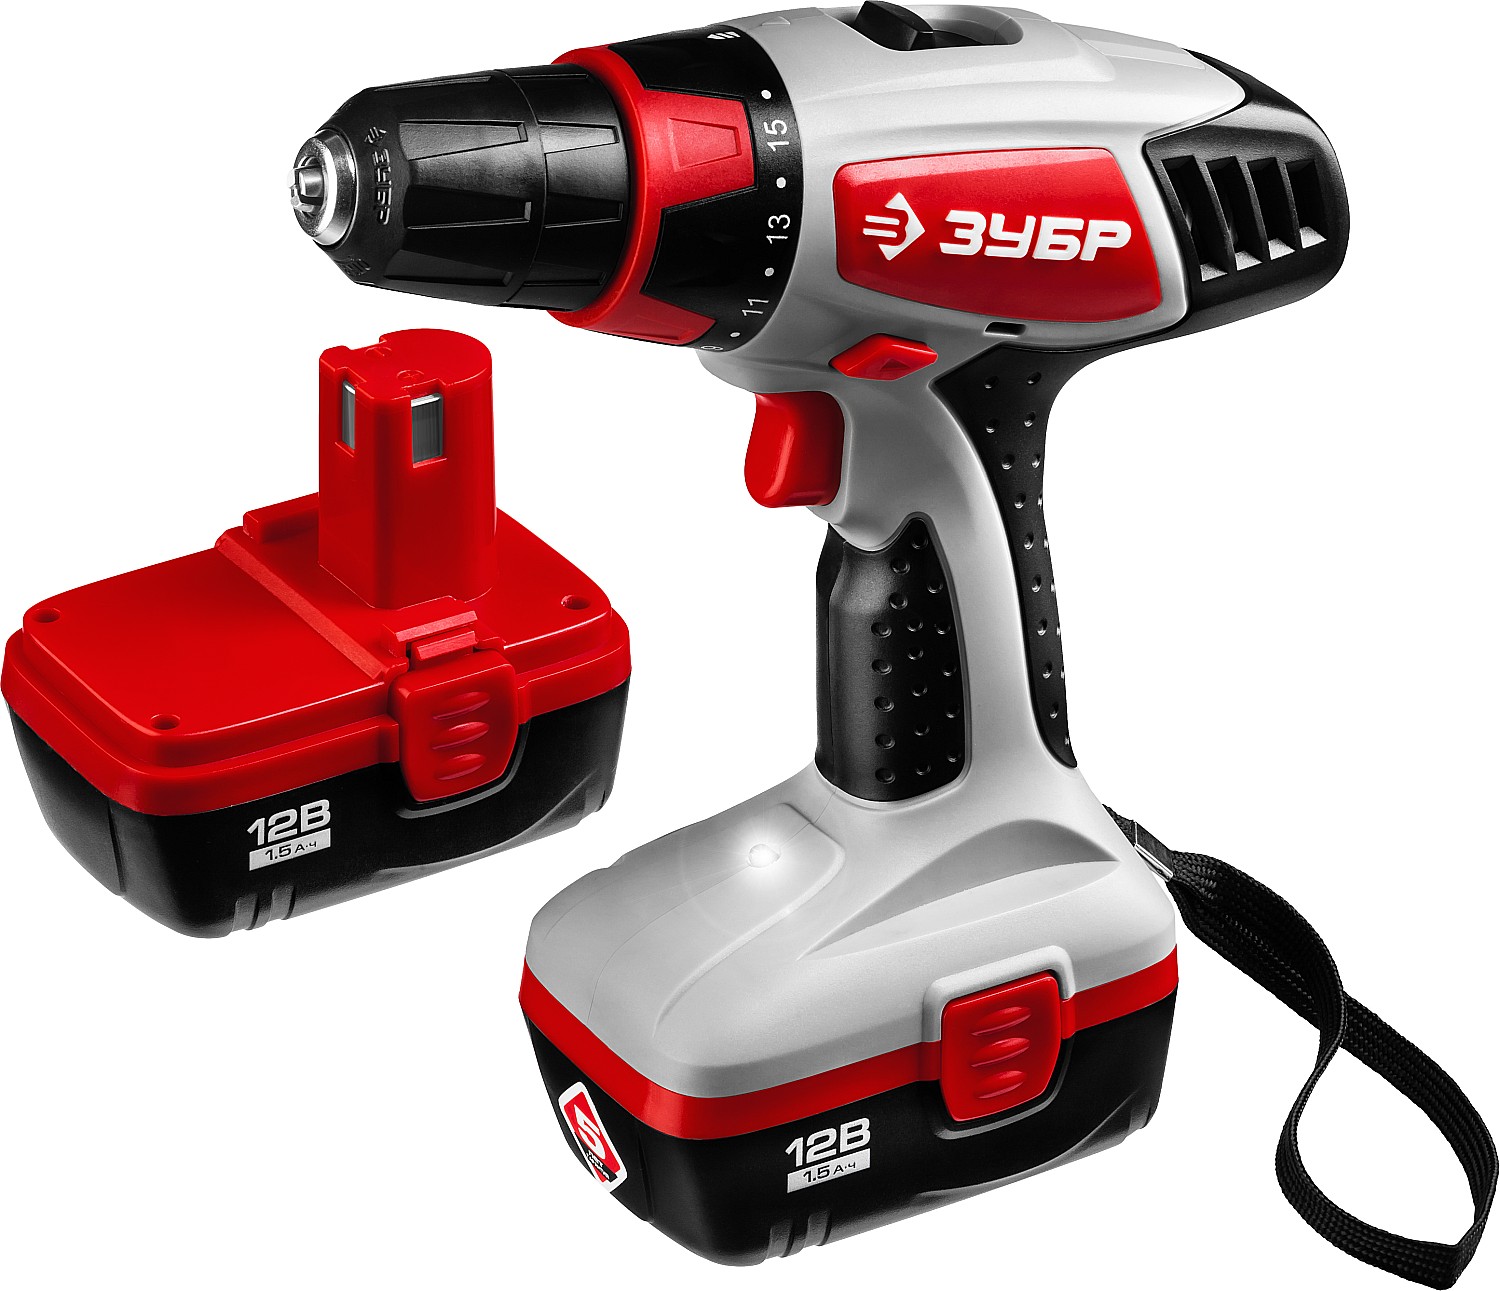
A hand-held drill KRAFTOOL 29025 is suitable for drilling holes. The compact alloy steel tool is equipped with a chuck that allows you to install drills of various diameters (maximum - 6 mm). The Soviet-style drilling device had impressive dimensions. This drill is more ergonomic and comfortable.
The main malfunctions of the drill and how to fix them
No matter how perfect the technique, sooner or later, there comes a time when the technological resource is exhausted, and this or that part needs to be replaced.
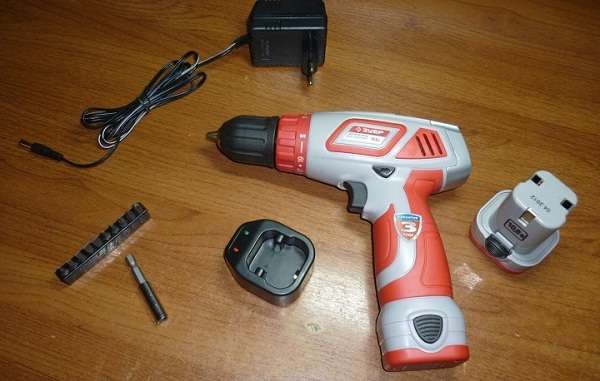
The electric drill is no exception. Here is a list of possible, most common problems:
- Fault in the operation of the electric motor (power supply is correct, but the motor does not rotate).
- The carbon brushes are worn out or burnt (the brushes generate strong sparks when the device is in operation).
- Failure of the bearings of the engine support (the hum of the motor is heard, but there is no rotation, or the cartridge rotates intermittently, with a grinding noise).
In addition, the reasons for the unstable operation of the electric drill may be associated with the integrity of the power cord or the sinking of the trigger button. Such problems are solved by replacing the cable and preventive cleaning of the button from debris and dust.
To fix a drill at home, you will need a lot of special tools, including electrical ones. If they are not there, it is cheaper to return the drill to a service center for repair. Replacing carbon brushes is quite within the power of a home craftsman. In all new models of drills, the designers have provided quick access to the attachment point of the brushes and their simple replacement.
 The brushes are hidden under a cover above the engine manifold
How to work with a drill?
To successfully solve problems using the described tool, it is enough to adhere to useful recommendations.
If a performer needs standard hole placement, he should pay attention to drill placement. During operation, it should be at right angles to the surface, without deviations in any direction
As for inclined holes, then to obtain them, the drill should be positioned at the required angle.
When completing drilling, it is necessary to reduce not only the rotation speed, but also the pressure - in order to avoid damage to the cutting tool. In addition, the fulfillment of this condition negates the probability of loss of balance by the master.
To use a hand drill as a screwdriver, it is enough to fix a bit with a suitable tip in its holder. The mixer is also attached there - in situations where the tool in question performs the function of a mixer.
At the end of the work, the hand drill remains thoroughly cleaned of dust, shavings or sawdust.
Homemade drilling machine based on an asynchronous motor.
You can replace a drill in a homemade machine with an asynchronous motor, for example, from an old washing machine. The manufacturing scheme of such a machine is complex, therefore it is better if it is done by a specialist with experience in turning and milling work, assembling electrical circuits.
Diagram and device of a machine based on an engine from household appliances.
Below are all drawings, details and their characteristics, and specification.
 General drawing of a drilling machine based on an engine.
A table of all the parts and materials necessary for making the machine with your own hands.
| Pos. | Detail | Characteristic | Description |
| 1 | Stanina | Textolite plate, 300 × 175 mm, δ 16 mm | |
| 2 | Heel | Steel circle, Ø 80 mm | Can be welded |
| 3 | Main rack | Steel circle, Ø 28 mm, L = 430 mm | One end is turned to a length of 20 mm and an M12 thread is cut on it |
| 4 | Spring | L = 100-120 mm | |
| 5 | Sleeve | Steel circle, Ø 45 mm | |
| 6 | Locking screw | M6 with plastic head | |
| 7 | Lead screw | Tr16x2, L = 200 mm | From the clamp |
| 8 | Matrix nut | Tr16x2 | |
| 9 | Drive console | Steel sheet, δ 5 mm | |
| 10 | Lead screw bracket | Duralumin sheet, δ 10 mm | |
| 11 | Special nut | M12 | |
| 12 | Lead screw flywheel | Plastic | |
| 13 | Washers | ||
| 14 | Four-strand block of the leading drive pulleys of the V-belt transmission | Dural circle, Ø 69 mm | The change in the number of revolutions of the spindle is carried out by rearranging the drive belt from one groove to another |
| 15 | Electric motor | ||
| 16 | Capacitor bank | ||
| 17 | Driven pulley block | Dural circle, Ø 98 mm | |
| 18 | Recoil spring restraining rod | M5 screw with plastic fungus | |
| 19 | Spindle return spring | L = 86, 8 turns, Ø25, made of wire Ø1.2 | |
| 20 | Split clamp | Dural circle, Ø 76 mm | |
| 21 | Spindle head | see below | |
| 22 | Spindle head console | Duralumin sheet, δ 10 mm | |
| 23 | Drive belt | Profile 0 | The drive V-belt has a "zero" profile, therefore the grooves of the pulley block have the same profile |
| 24 | Switch | ||
| 25 | Mains cable with plug | ||
| 26 | Tool feed lever | Steel sheet, δ 4 mm | |
| 27 | Removable lever handle | Steel pipe, Ø 12 mm | |
| 28 | Cartridge | Tool holder No. 2 | |
| 29 | Screw | M6 with washer |
 Drive console for a homemade drilling machine.
 Four-strand drive pulley block.
 Driven pulley block.
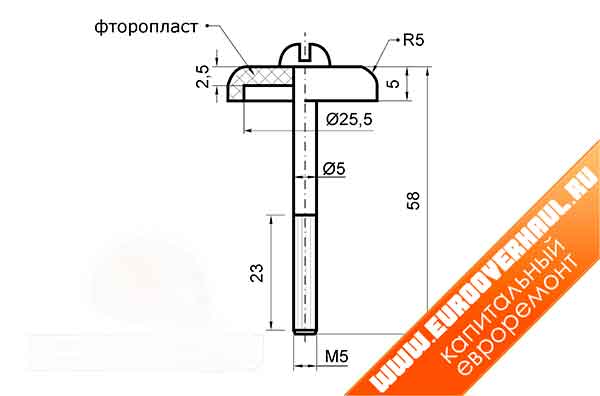 Recoil spring restraining rod.
 Split clamp.
 Spindle head console.
The spindle head has its own base - a duralumin console and creates a translational and rotational movement.
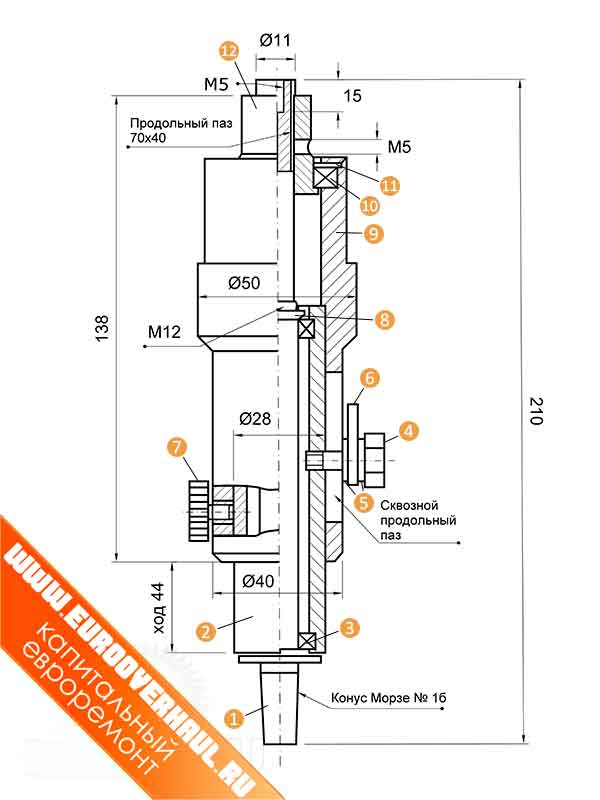 Drawing of a spindle head for a homemade drilling machine.
Materials and parts required for the manufacture of the spindle head.
| Pos. | Detail | Characteristic |
| 1 | Spindle | Steel circle Ø 12 mm |
| 2 | Travel bush | Steel pipe Ø 28x3 mm |
| 3 | Bearing 2 pcs. | Radial rolling bearing No. 1000900 |
| 4 | Screw | M6 |
| 5 | Washers-spacers | Bronze |
| 6 | Lever arm | Steel sheet δ 4 mm |
| 7 | Travel sleeve stopper | Special screw M6 with knurled button |
| 8 | screw | Low nut M12 |
| 9 | Stationary bushing | Steel circle Ø 50 mm or pipe Ø 50x11 mm |
| 10 | Bearing | Radial thrust |
| 11 | Split retaining ring | |
| 12 | End adapter sleeve | Steel circle Ø 20 mm |
 Spindle.
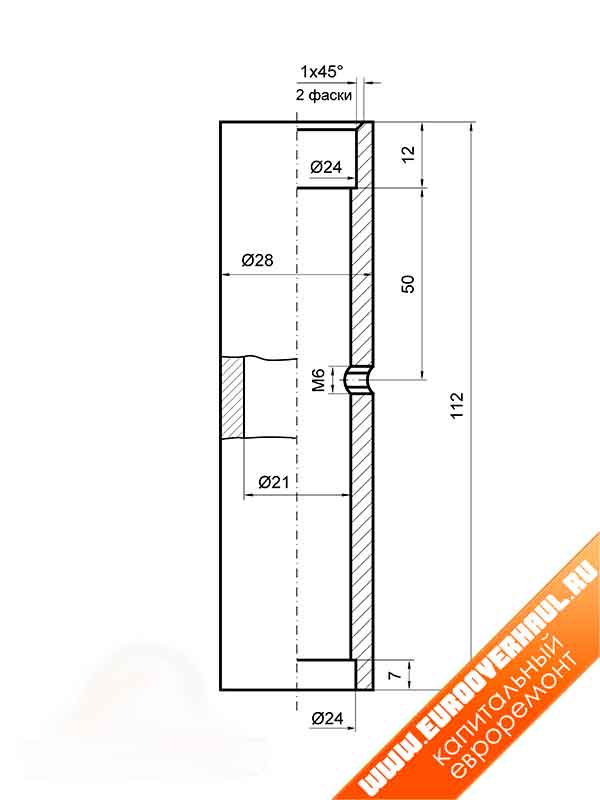 Travel bush.
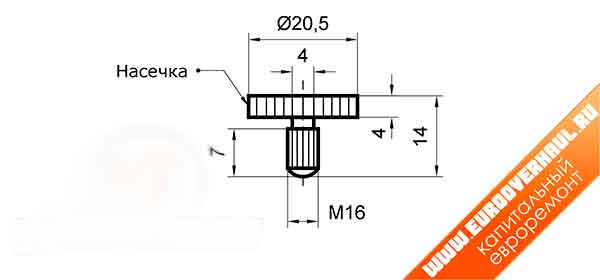 Travel sleeve stopper.
 Stationary bushing.
 End adapter sleeve.
 Drill head assembled.
 Ready-made homemade drilling machine based on a motor from household appliances.
The connection depends on the motor itself.
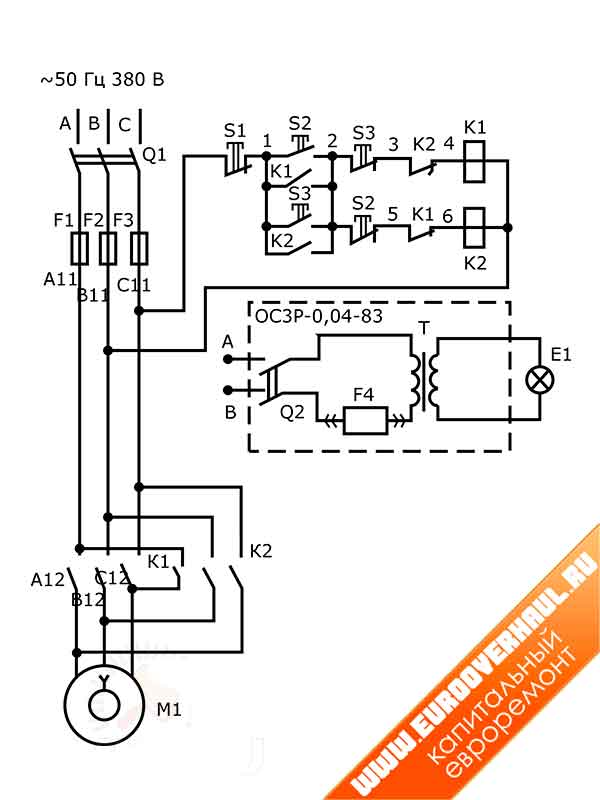 A simple electrical diagram for the factory machine 2M112.
How to do it yourself?
Finally, it remains to talk about making the simplest hand drill on your own. The described method involves the use of an old umbrella, dowel and drill as components of the created tool, as well as the simplest equipment - a hammer and a hacksaw for metal. Practice shows that this problem can be solved in a few minutes, adhering to the algorithm below:
- take an umbrella and cut off a fragment of the required length from its rod (together with a handle);
- bend the workpiece in two places at an angle as close as possible to a straight line;
- select a dowel of a suitable diameter and drive it into the tube to the maximum possible depth, and then securely fix the drill in it.
If the master needs a thinner cutting tool, he will need another dowel, which must be driven into the already installed one. At the end of this action, it remains to take a drill of a smaller diameter and fix it as described above.
Summing up, we can state that hand drills deservedly enjoy their popularity. It makes sense to use them for anyone who appreciates reliable and unpretentious tools that can ensure high quality of work performed.
You can see an overview of a hand drill and how it works in the following video.
What it is?
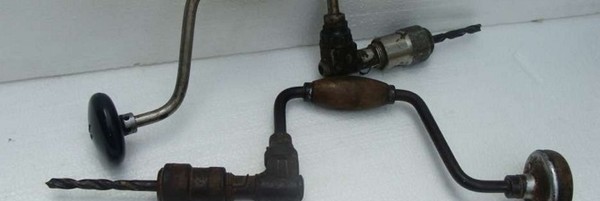
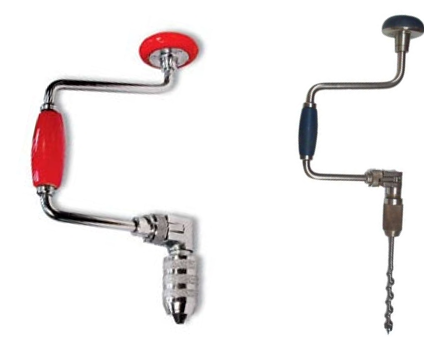
A hand drill, also called a mechanical drill, has been used by humans for two millennia. At first, it was extremely primitive, representing a bronze lance with a curved top and a pointed tip. In the future, its design became more perfect, which led to the emergence of a brace - a tool capable of boasting the presence of a chuck for securely fastening drills.
As for the popular models of hand drills currently in use, they provide for a gearbox with gears, the previously mentioned chuck, a handle, a fixing handle and a stop foot. Using these tools, you can drill holes in a wide variety of materials, from malleable wood to concrete and highly durable metals.
In addition to drilling, the tool in question can be used to solve the following tasks:
- marking;
- increasing the diameter of existing holes;
- creation of sockets for countersunk heads of screws, bolts and rivets;
- finishing machining.
In addition, some craftsmen use a hand drill as a replacement for a screwdriver and a mixer - provided that a suitable device is fixed in its cartridge.
Interesting: Repair of laminate without disassembly
Correct handling prolongs life
In order for a home electric station wagon to help for many years, a number of rules are followed.
Do not allow mechanical damage (shock, falls).
Constant overload mode is dangerous. When the indicator is on, the power tool is operating at its limit.
Long continuous work is avoided. A non-professional tool needs frequent rest. The temperature of the case is periodically checked: if you cannot hold your hand on it, the drill is turned off. It is recommended to work for 15 minutes, then a break until the temperature of the drill is equal to the temperature of the surrounding air. The total operating time per day is 4 - 5 hours, the intervals of switching on and resting are approximately the same.
Do not use in rain or snow, in a very dusty room.
Rooms with aggressive or explosive atmospheres can have a dangerous effect on drill parts
The power tool produces sparks, dust or vapors may ignite.
Work with caution in the wiring area.
Turning on and off the drill is carried out at idle speed.
The drill is not released from the hands until the rotation of the chuck is completely stopped, so as not to lose control over it.
After work, clean the dirt and dust in the ventilation holes on the motor housing.
During long breaks in operation, the chuck and the spindle are coated with a layer of conservation grease (technical vaseline).
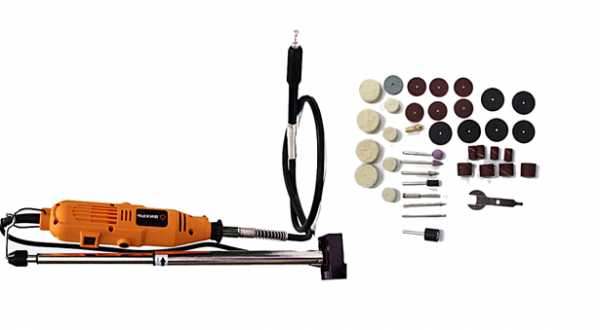
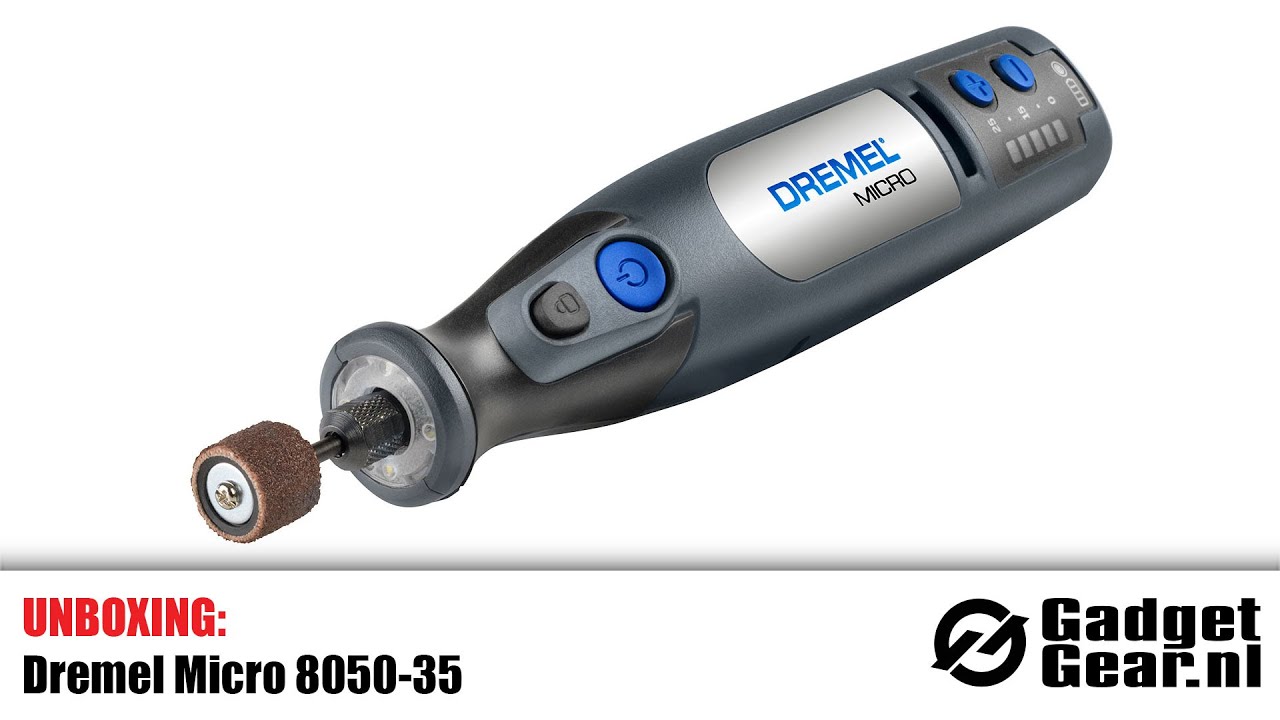
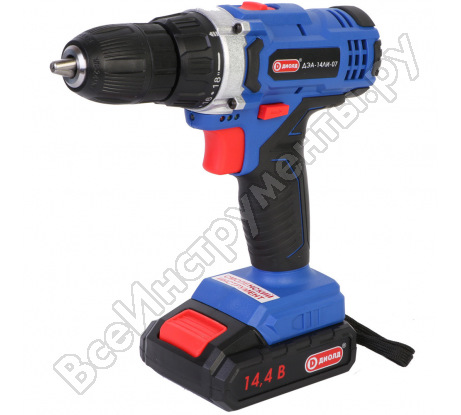
How do drills usually differ from each other? Power, modes, speed and a set of additional functions. They are different: miniature and large, rechargeable and mains powered, made of cheap plastic and with sophisticated anti-slip inserts. But each of them is a queen in the realm of household power tools.


