How to disassemble a hammer drill chuck?
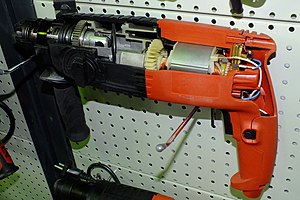
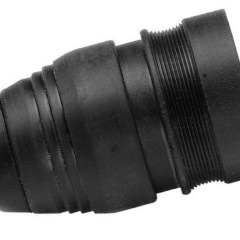
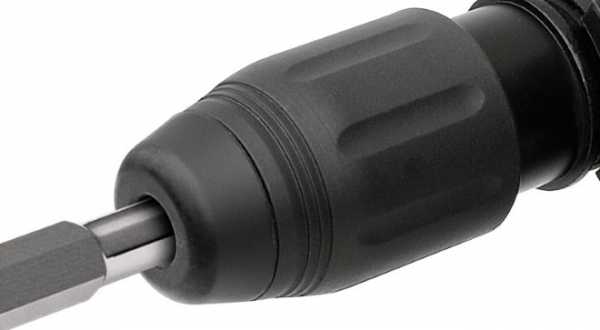
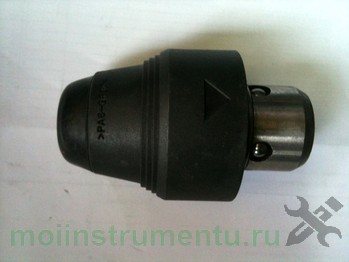
Sometimes the foreman is faced with the need to disassemble the cartridge for various reasons: whether it is repair, tool cleaning, lubrication or replacement of certain parts. For a competent disassembly of the punch cartridge, first of all, you need to know the manufacturer's company, since the parsing process depends on this point.
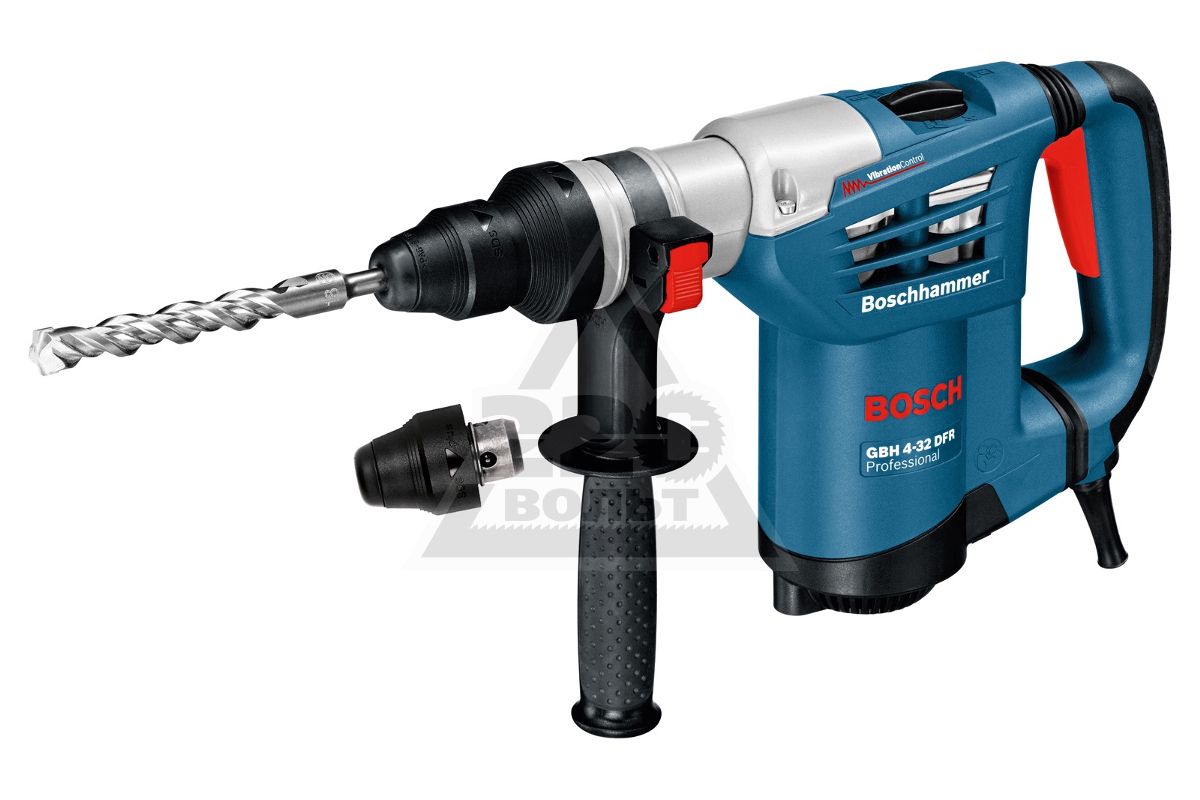
Among today's manufacturers of electric rock drills, the most popular are Bosh, Makita and Interskol. These brands have managed to establish themselves in the construction market as a manufacturer of quality products.
In principle, there is not much difference between the device of perforators from different companies, but there are small nuances that are quickly resolved as the cartridge is disassembled.
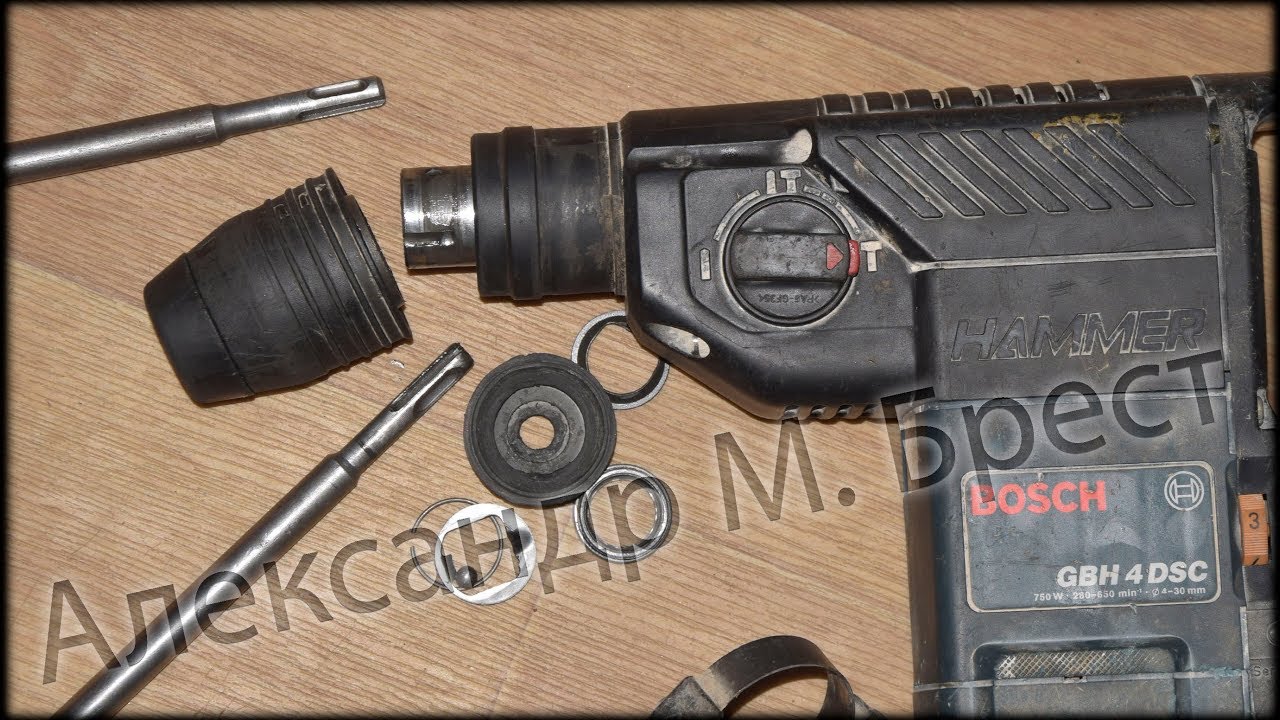
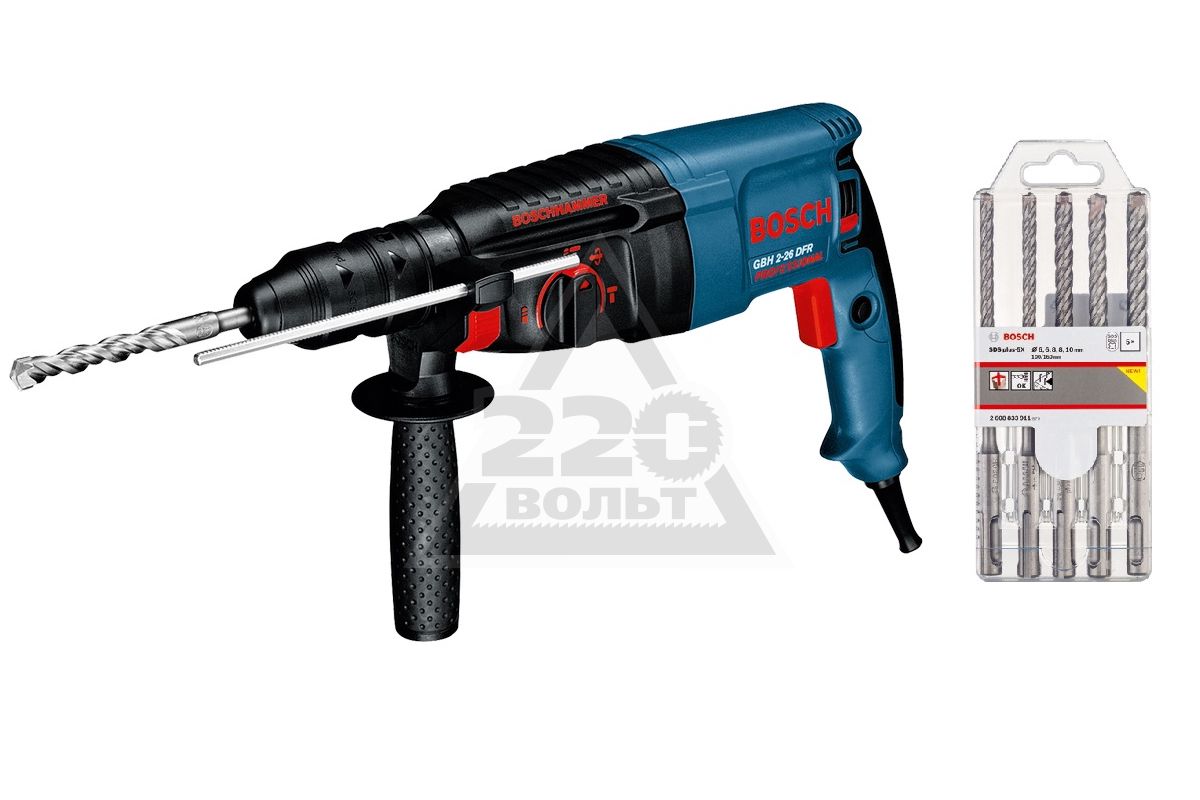
Consider how to disassemble a chuck from Bosh electric drills, since this brand is the most popular and purchased.
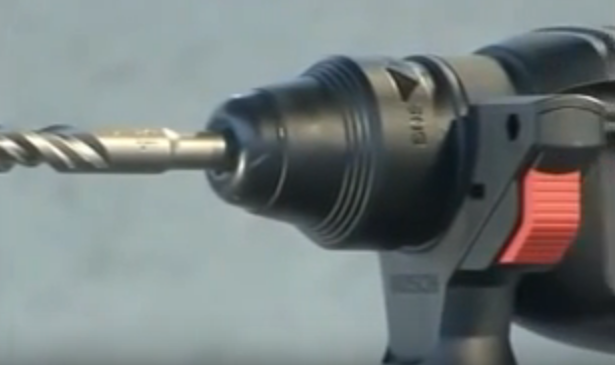
First you need to move the plastic part and remove the rubber seal. Using a screwdriver, it is necessary to very carefully remove the ring that fixes the structure and the washer. There is another fixing ring under this part, which must be turned, and then pry off with a tool and remove.
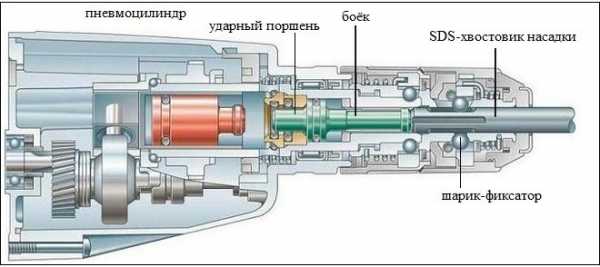
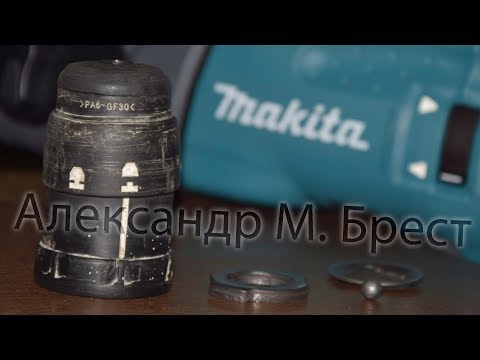
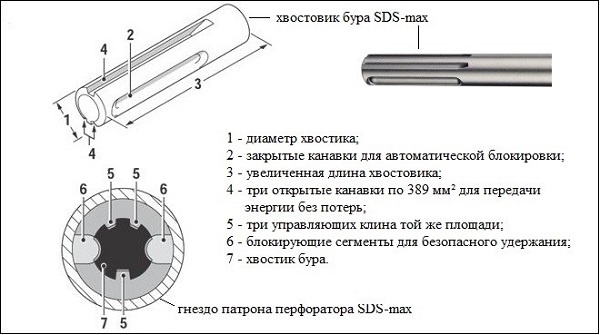
Next is the SDS clamp, which includes three parts: washer, ball and spring. SDS must be disassembled strictly according to the rules: first of all, the ball gets out, then the washer, and the last comes the spring
It is important to follow this sequence in order not to damage the internal structure.
Extending service life
The extension of the operating period of the cartridge directly depends on the correct use of the perforator itself. Some helpful tips:
- Do not press too hard on the tool.
- Long-term idle operation of the hammer drill leads to premature wear of the chuck mechanism.
- When working with soft surfaces, it will be correct to use the shockless mode of operation.
- For drilling in particularly hard materials, the use of special lubricants or emulsions is recommended.
- It is more practical to work with shorter drill bits.
- Drill shanks need to be lubricated after every hundred holes, after cleaning them.
- With long-term operation, the tool must be given a break, during which you can cool the drills in oil and inspect the drill.
- The device requires care both before and after work.
Special tools can be used to prevent dust from entering. Even a cut-off plastic bottle worn over the drill will help achieve this goal.
If these minimum requirements are met, then the tool will work for many years and will not let the master down at the right time.
How to remove a cone chuck from a drill
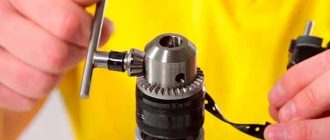
In such models, it is even easier to remove the cartridge than for a threaded connection. Lubrication also does not hurt, and the main algorithm of action is to tap on the cartridge and after each blow try to turn it. First, you need to unscrew the fixing screw (here it is with a normal, right, thread).
Important: in any case, when working, it is better to fix the drill (screwdriver) in a vice. This facilitates the work and frees up working hands .. In some cases, the chuck so "grows" into the mount that it is not possible to remove it in case of failure
Various removal options are offered - from heating the blowtorch to red, followed by an attempt to remove it, to cutting the cartridge with a grinder or other cutting tool. After that, they are removed from the shaft in pieces.
In some cases, the cartridge “grows” into the mount so that it is not possible to remove it in case of failure. Various removal options are offered - from heating the blowtorch to red, followed by an attempt to remove it, to cutting the cartridge with a grinder or other cutting tool. After that, they are removed from the shaft in pieces.
For more information on how to remove the chuck from a Bosch drill and put it back in place after lubrication, see the video. Here are the differences in the dismantling process, namely, how to remove the cartridge from the Interskol drill.
Clip replacement: a few easy steps
If the drill malfunctions during operation, the drill turns, it is necessary to replace the clamping element on the tool
For this, it is important to determine its type. After all, the method of fastening the element depends on this.
Typically, the device is mounted on a spindle or on a screw rod. In this case, replacing the cartridge on the hammer drill is not difficult. Turned it around - and you're done.
If a strong fixation of the part is used, additional tools will be needed. A hammer is knocked on the screw head. This simple action weakens the firm hold. The screw rod is unscrewed with a screwdriver. If the element is attached to the spindle, the element is clamped with a key, the spindle is rotated. Here is the answer to the question of how to remove the cartridge from the hammer drill.
Video: how to replace a cartridge on a hammer drill
In case of malfunctions, you need to understand what happened to the part. Accordingly, you need to know how to disassemble the drill chuck. First you need to move the plastic part of the part, remove the rubber seal. The next step is the retaining ring. It can be easily removed by prying it off with a screwdriver. After that, you will need to remove the retaining washer. And one more ring.
If the part uses an SDS mount, then it is easy to disconnect. Take out the ball, washer, spring. It is in this sequence. To assemble the clamping device, all the above steps should be repeated in reverse order.
The process of disassembling the punch chuck
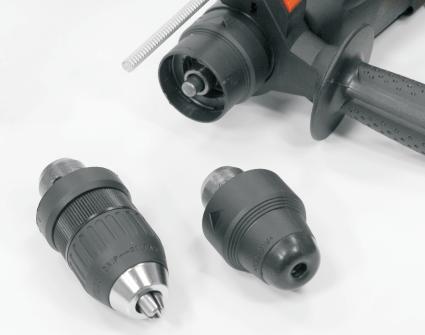
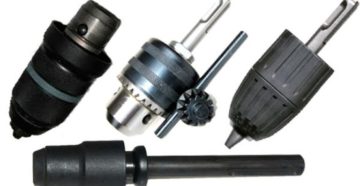
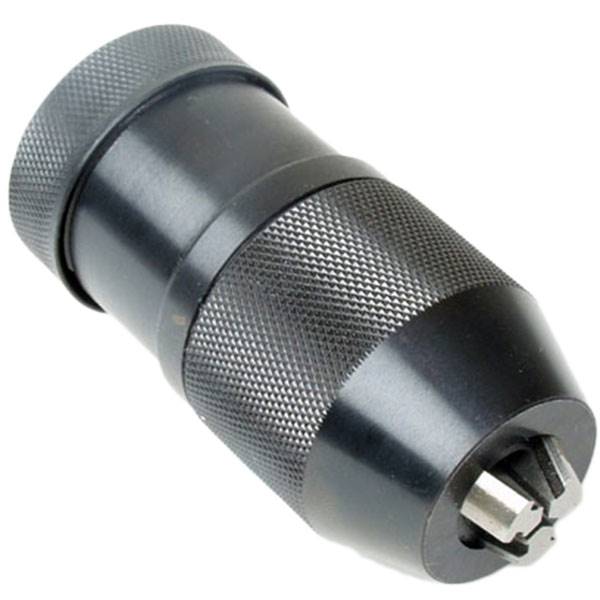
The part can be assembled only if the device is working properly. Otherwise, you need to know how to change the cartridge on the hammer drill. The version of the part depends on how often the tool is used, what type of work is mainly performed. If the drill often has to change drills, the quick-clamping element is the best choice. Toothed or classic type is ideal for large bit sizes.
So, the new part is screwed onto the drill until it stops. Then the screw is inserted into the slot. Then the device is screwed on with a screwdriver.
A hammer drill chuck, like any other part, requires care and attention. If the device starts to junk, does not cope with its functions, gives trouble, it needs to be replaced. Moreover, it is not difficult to remove, disassemble, change the part. After this procedure, the drill works like new.
How to replace the drill chuck with your own hands?
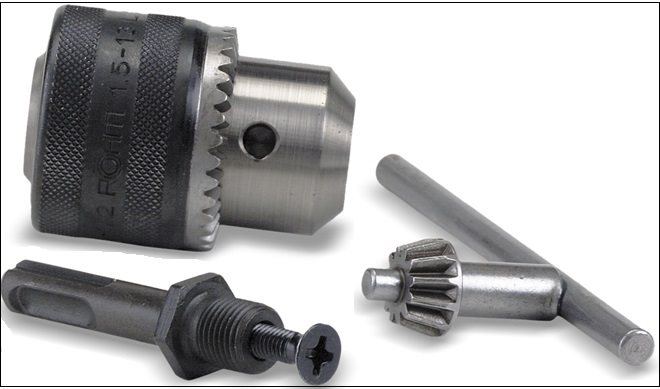
To mount the chuck on the drive shaft of the drill, a threaded connection or Morse taper is used. A visual inspection of an electric drill does not always help to suggest how to fix the drill chuck. The marking on the cartridge can inform about this: it is knocked out on its surface.
Replacing a Tapered Part View
The standard size of the Morse taper (according to GOST 9953–82) consists of 9 values: from B7 to B45. The larger the number after the letter B, the larger the diameter of the cone.
The markings on the chuck indicate the type of fastening
Thus, having found the marking "B" on the surface of the cartridge, we can conclude that this is a device with a tapered mounting base. With this method of attachment, the cartridge can be easily removed. It is enough to use a drift and a bench hammer.
Video: how to remove a chuck with a cone from an electric drill?
Replacing the Reverse Threaded Chuck
Two types of threads are used to secure the drilling chuck to an electric household drill using a threaded joint:
- inch (for foreign models);
- metric (from Russian manufacturers).
On the electric household drill, there are two types of threads using the threaded joint
On the surface of the body of the threaded chuck, markings of the following type are applied: 1.5-13 1/2 - 20UNF or 1.5-13 M12x1.25.
The reversible threaded chuck has a left-hand thread for fixing. You need to know this nuance when removing a broken cartridge. In order to get to the screw head, it is necessary to sink the cams into the collet to the point of failure. Once the screw head is visible, use a hardened Phillips screwdriver to unscrew it clockwise to the right. Then clamp the hex key into the cams and hit it sharply in the counterclockwise direction. After the cartridge is ripped off, it can be easily unscrewed.
Video: how to remove the chuck from a reversible drill or screwdriver?
On other models, there are other options for fastening the cartridge to the thread. In some cases, the chuck is twisted entirely from the threaded end of the shaft. In other cases, the screw can be fixed with a special thin wrench using a narrow groove. The main difficulty is to move the cartridge from its place when unscrewing. This is sometimes very difficult to do. In any case, to remove the cartridge you need: a locksmith tool, the necessary skill and patience.
What is a puncher for?
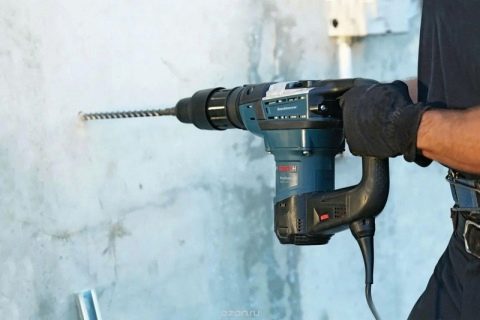
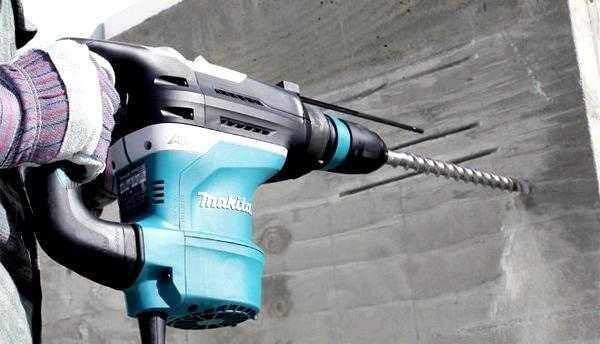
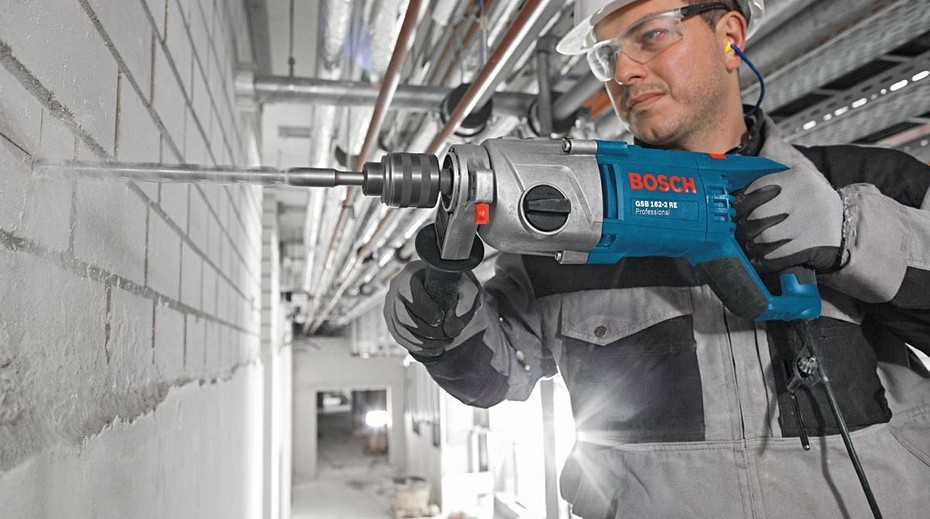
From Latin, the word perforo is translated as punching. From him came the name of the tool designed to deliver short blows to the surface. Basically, the rotary hammer is used for operations with materials of increased hardness: in concrete, reinforced concrete or brick. Such a tool can be equipped with a drilling function and work like a conventional drill. With its help, you can demolish a partition or grind a channel for laying a cable, cut out a niche or dismantle a tile.
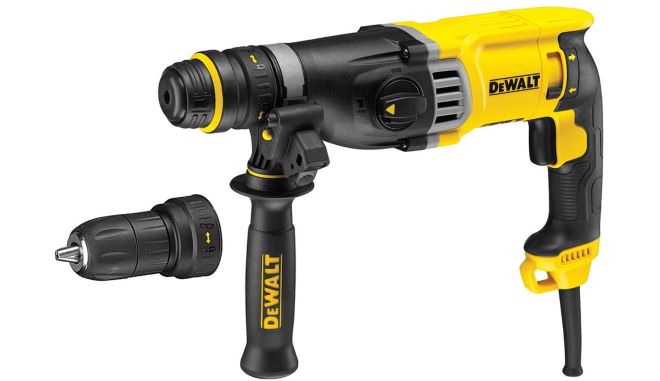
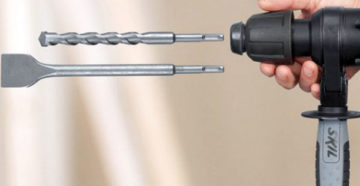
Rotary hammers are single-mode, performing one action-blow during rotation. In dual-mode tools, bumpless turns or the jackhammer method are added. A tool with three ways of working brings them all together. In this case, an adapter for a hammer drill is required.
How to remove, disassemble and change the cartridge
The cartridge is removed either for disassembly, repair and maintenance, or for replacement, if restoration is not advisable.
Since the clamping devices are fastened in approximately the same way, the dismantling principle will also be similar.
The cartridge is usually removed for preventive maintenance, repair and lubrication of rubbing elements. To work, you need a small set of screwdrivers and a vice.
- It is necessary to remove the protective part of the casing from the side where the end of the retainer is located.
- The ring behind the trim should be moved with a screwdriver.
- Remove the washer behind the ring.
- The second ring can then be removed using a screwdriver.
- The washer should be moved down (towards the body) together with the spring.
- Remove the metal ball with a screwdriver.
- Gently release the spring washer while pulling out the cartridge itself.
- If the purpose of disassembly is to replace the retainer, then you will have to remove the lower part of the cartridge together with the sleeve: you need to unscrew the locking screw that holds it to the spindle. Now it is easiest to clamp the bushing in the jaws of a vise and unscrew it from the spindle (using a suitable size wrench). Install new parts in reverse order.
If it is necessary to carry out revisions, cleaning and applying lubricants, step 8 can be skipped. Reassembly is carried out step by step - from point 8 to point 1.
If the chuck is of the ring-toothed type, the dismantling sequence will be different:
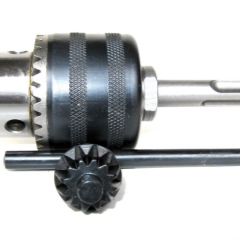
- Open the jaws as far as possible.
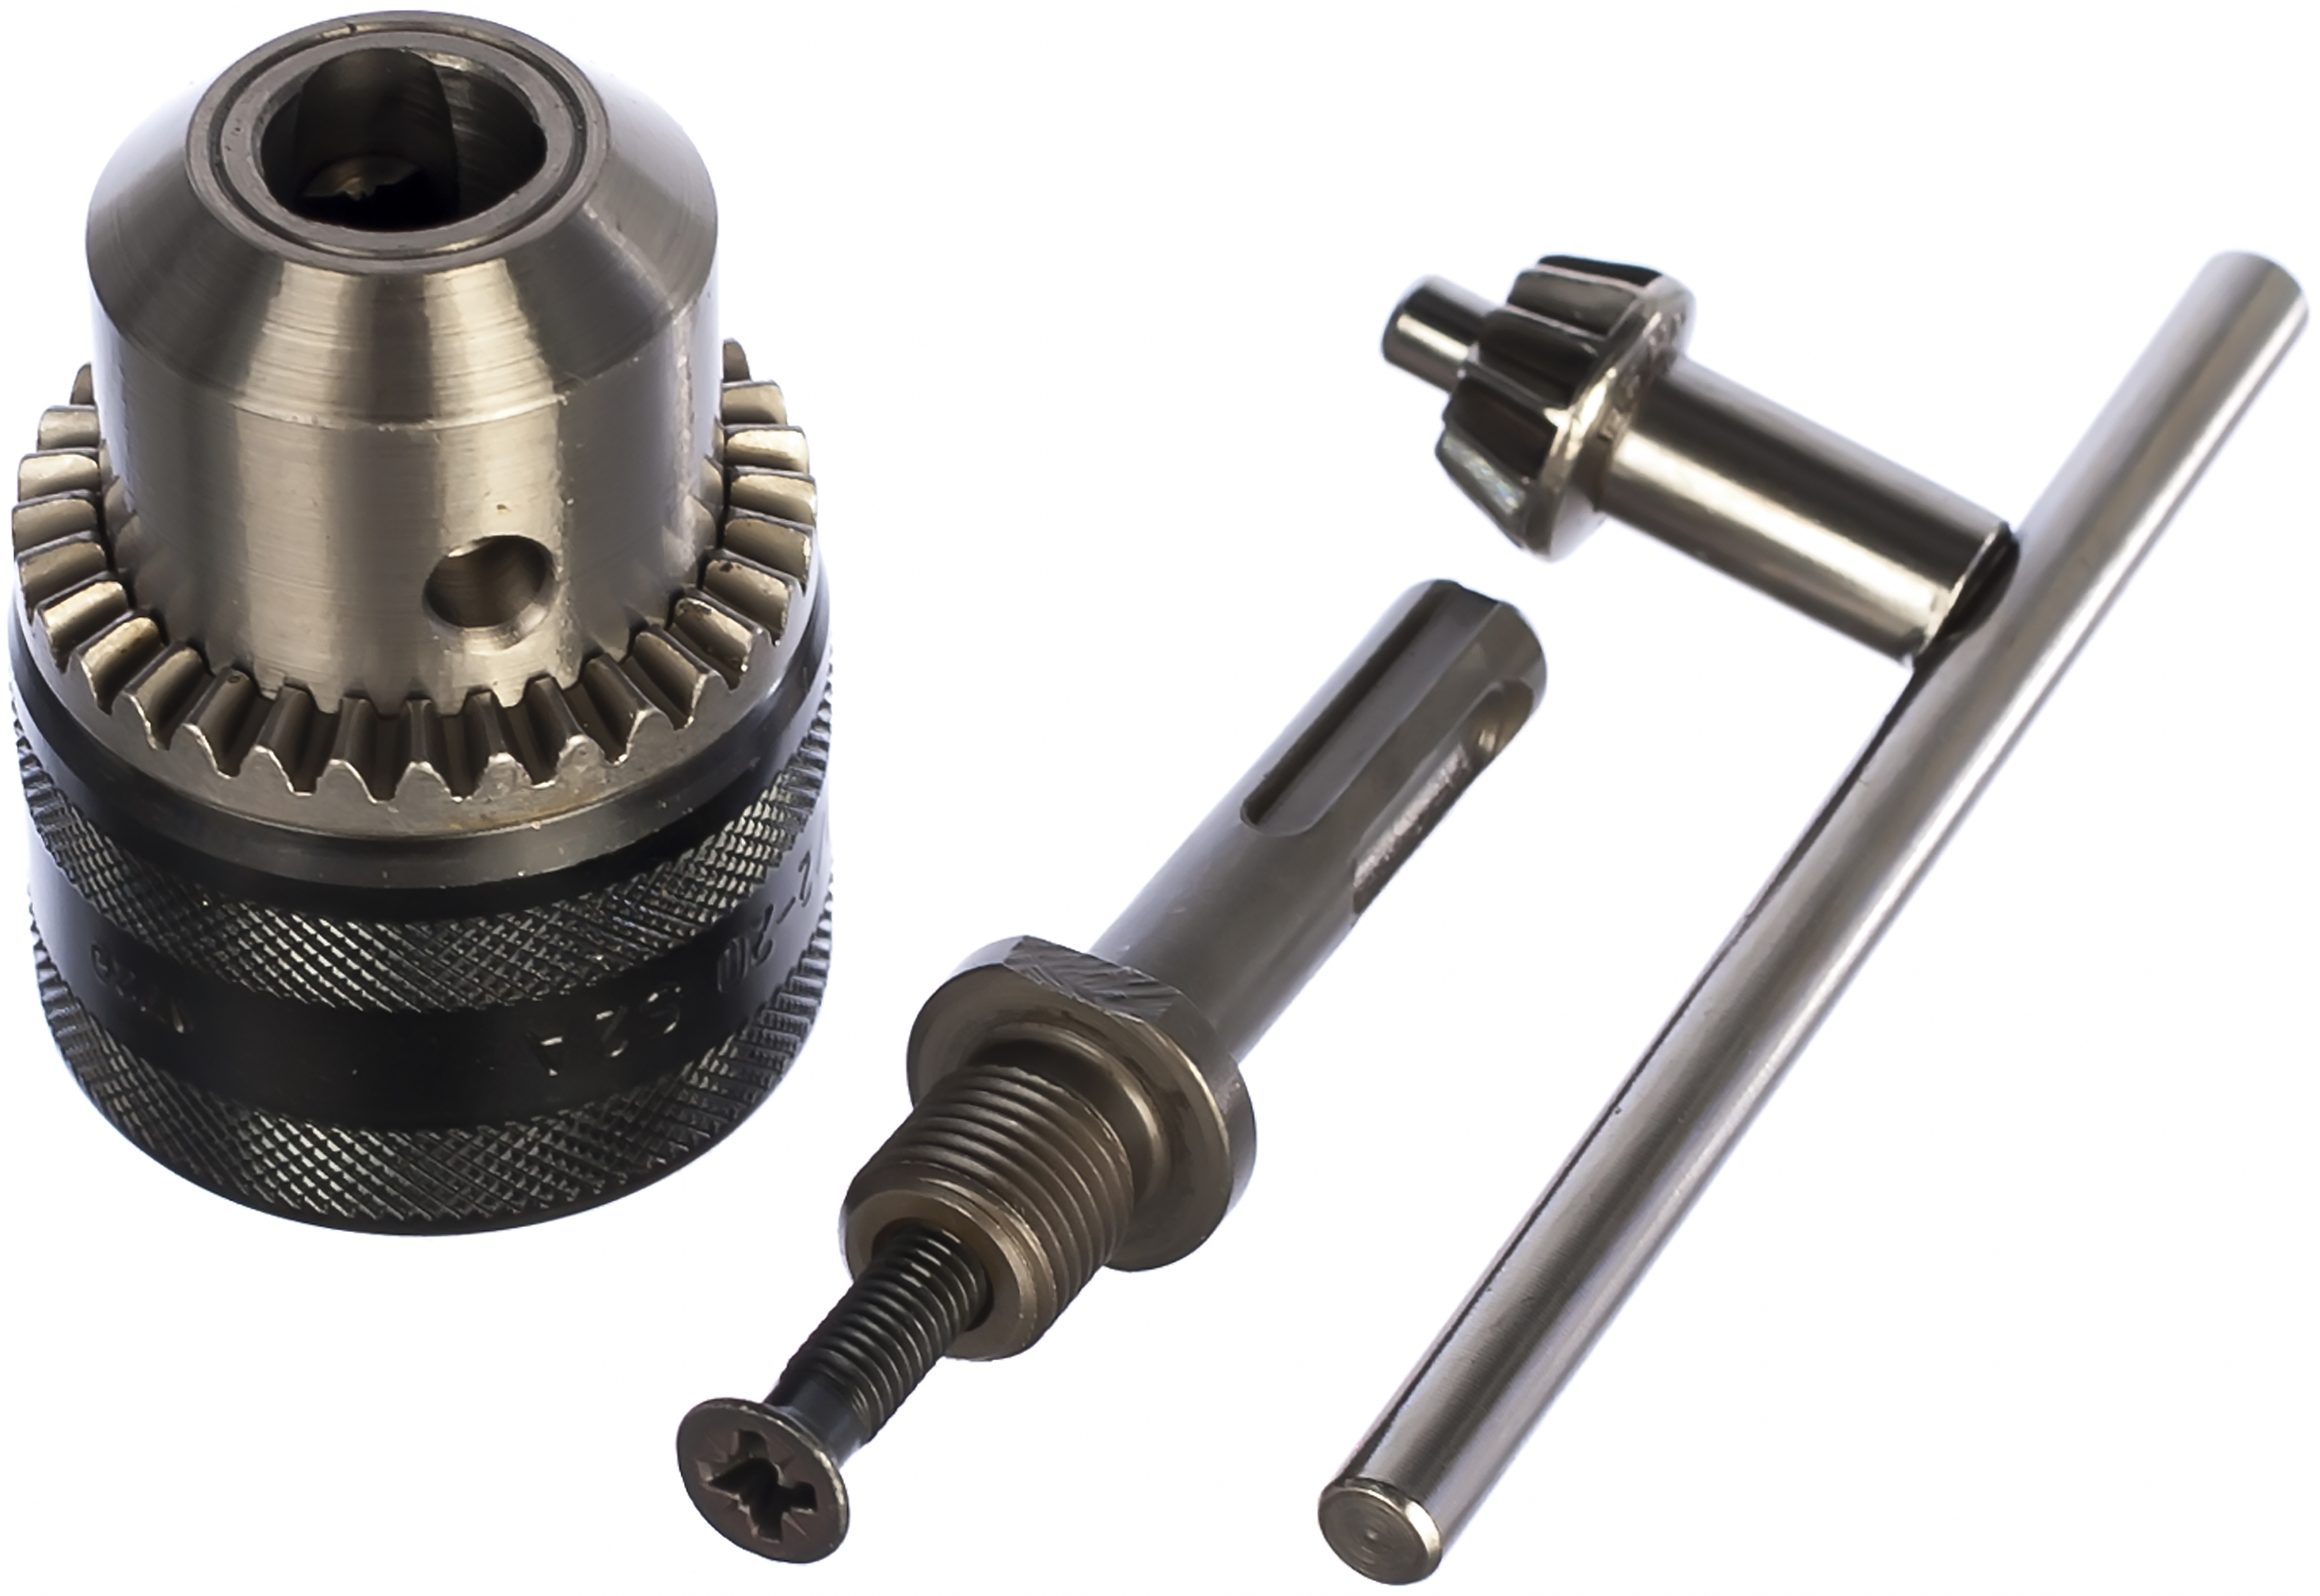
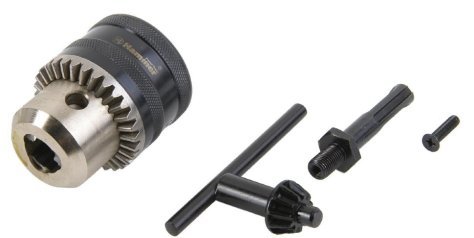
- The chuck is installed on the working currency of the punch (or drill) and is fixed with a center screw. It must be unscrewed.
- After that, you can unscrew the cartridge itself. On some older models, the clamping device was attached to the tapered shaft (not on the thread), if such a piece of equipment came across, then the cartridge is simply knocked down with a hammer, not too strong, but sharp blows.
Assembly should be done upside-down.
Purpose of a special clamp
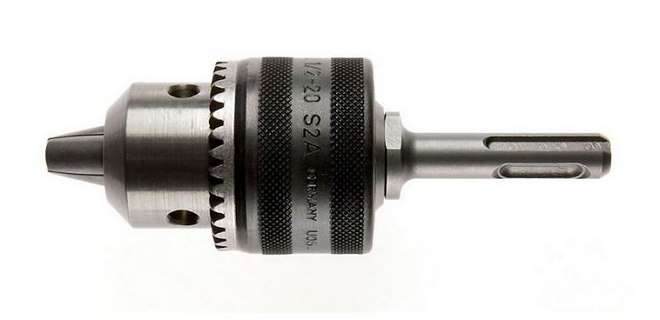
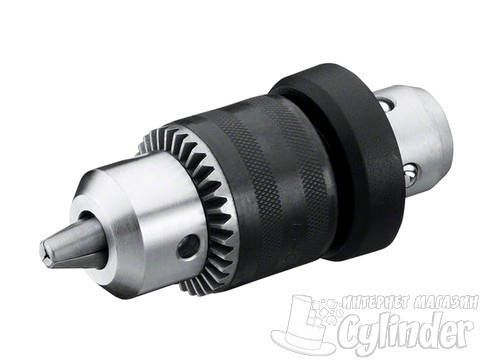
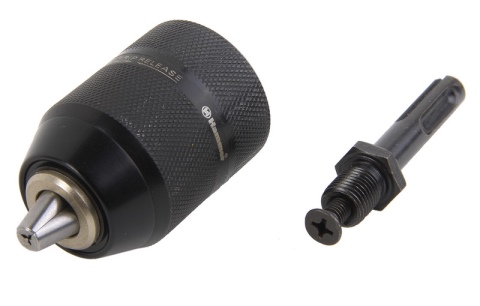
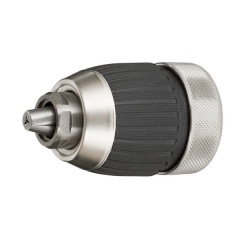
 The capabilities of such equipment depend on the type of cartridge, which is an important component of the hammer drill. It connects the device drive with a drill or any attachment. Its main parameter is the diameter of the shank and drill.
Shanks typically range in size from 10 to 18 millimeters, which allows them to be used in equipment of any size. The drills used in them have a cross section of 4-80 millimeters with slight deviations in both directions, depending on the model of the chuck.
Its weight also depends on the size: about 200-600 grams.
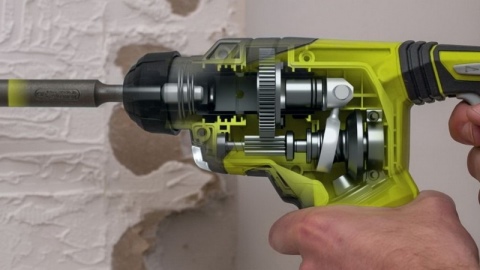
In a hammer drill, in contrast to a drill, the transformation of the torque occurs not only into rotation, but also into a simultaneous reciprocating movement. Therefore, the chuck must withstand both the torsion itself and the axial load. That is why the usual collet head is not used here, but a special universal clamp is needed.
Step-by-step parsing instructions
Sometimes it becomes necessary to disassemble it for the following reasons:
- Heavy blockage.
- The cartridge is jammed.
- Cam wear.
Practice shows that the simplest and most common method of disassembly is feasible with a puncher.
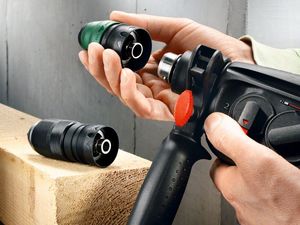 Step-by-step instruction:
- Remove the boot from the punch.
- We insert a small adapter.
- We push the punch cams inward, unclamping the chuck to the maximum.
- We put some kind of cushioning material between the cartridge and the wall, a piece of structured polystyrene, for example, or rubber.
- We press the hammer drill together with the dismantled cartridge and shock absorber to the wall.
- We turn on the puncher, putting it in strike mode.
- After a few seconds, the parts of the cartridge will be unwound, that is, the cartridge is disassembled.
- Now you should remove the cams and make a visual inspection.
If the drill was used to drill the walls, then there is a high probability of the presence of dust, cement, small particles of brick, and so on inside the rig. It is necessary to remove all the garbage, if necessary, rinse the parts with kerosene. Then, wipe the parts, lubricate them with grease.
It is important not to swap cams. In order to avoid this, markings should be used, signing each of them, as well as the footprints.
Next, you need to do the following:
- We move the cams forward.
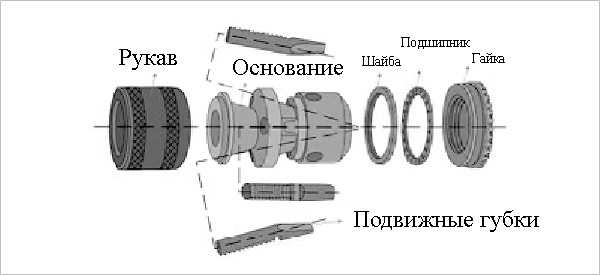
- We install a nut (consists of two crackers), with which you can unscrew and twist the cartridge into place with a wrench.
- We hide the cams inside the device by unscrewing it.
- Install the cartridge holder in place.
- We press in the clip. This can be done in various ways, such as with a lathe. In this case, the front part of the tooling is clamped into the chuck of the machine, and the rear part is pressed by the tailstock. A simpler "home" method is as follows: a massive metal plate is taken, on which the dismantled equipment is placed. A thick non-ferrous metal washer is placed on top of it. Applying light blows with a hammer to the washer, press the clip into place.
The unit is suitable for further operation.

