6DM18 batteries - battery features
Batteries marked 6DM18 are considered the most popular in the domestic market. Today they are actively used to complete motoblocks produced by such well-known brands as Bison, Cascade and Centaur.
The good characteristics of this type of battery make it possible to successfully use them both for a gasoline and diesel walk-behind tractor, which is intensively used in a region with bad weather conditions. At the same time, the battery withstands high loads, does not lend itself to wear for a long time and regularly supplies energy to all electrical devices in the complete set of the walk-behind tractor.
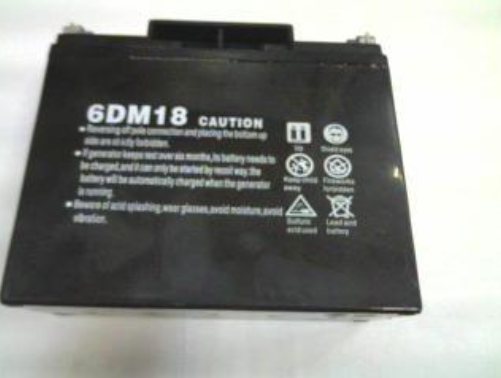
The standard sizes of batteries of this type allow them to be installed on walk-behind tractors of any class. For this, there is no need to use adapters and additional clips. These batteries can handle a large amount of charge / discharge cycles, which, together with high quality, endurance and relatively low cost, makes them one of the most popular batteries among buyers in the domestic market.
Lighting options for a walk-behind tractor
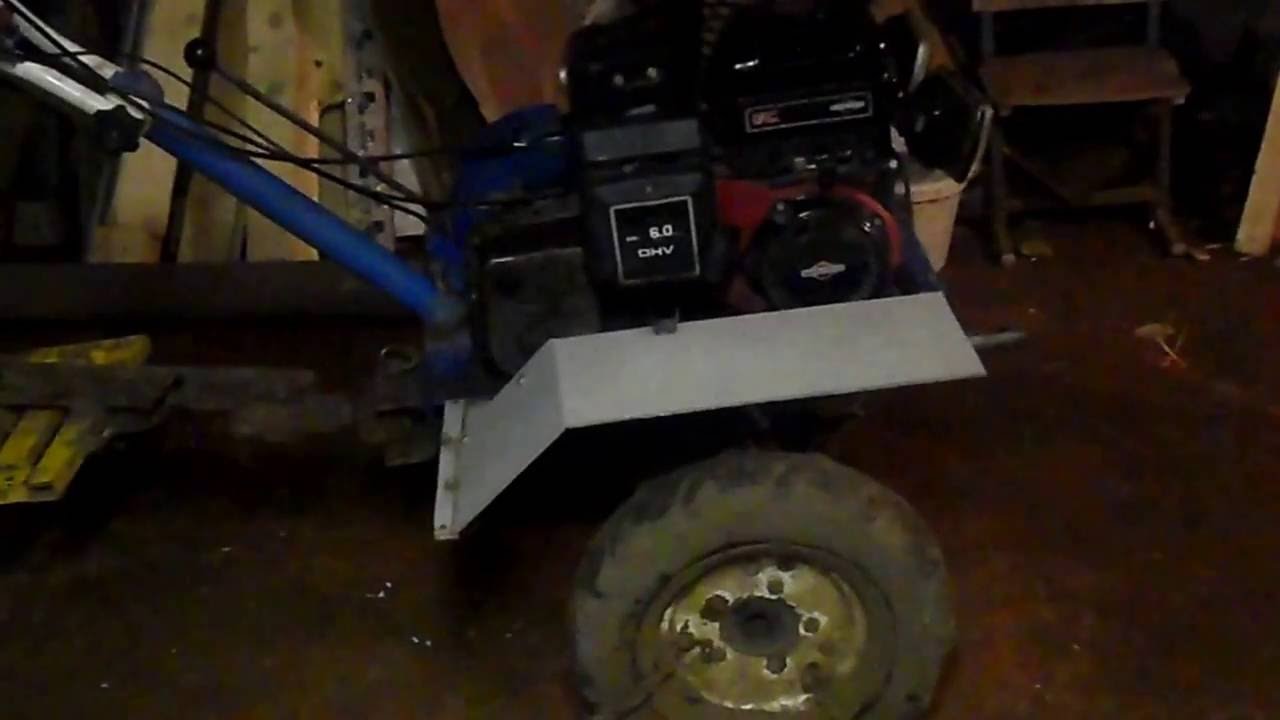
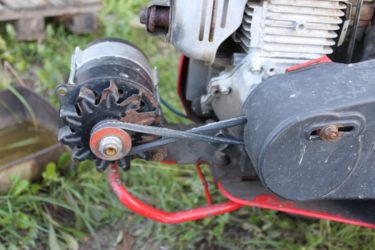
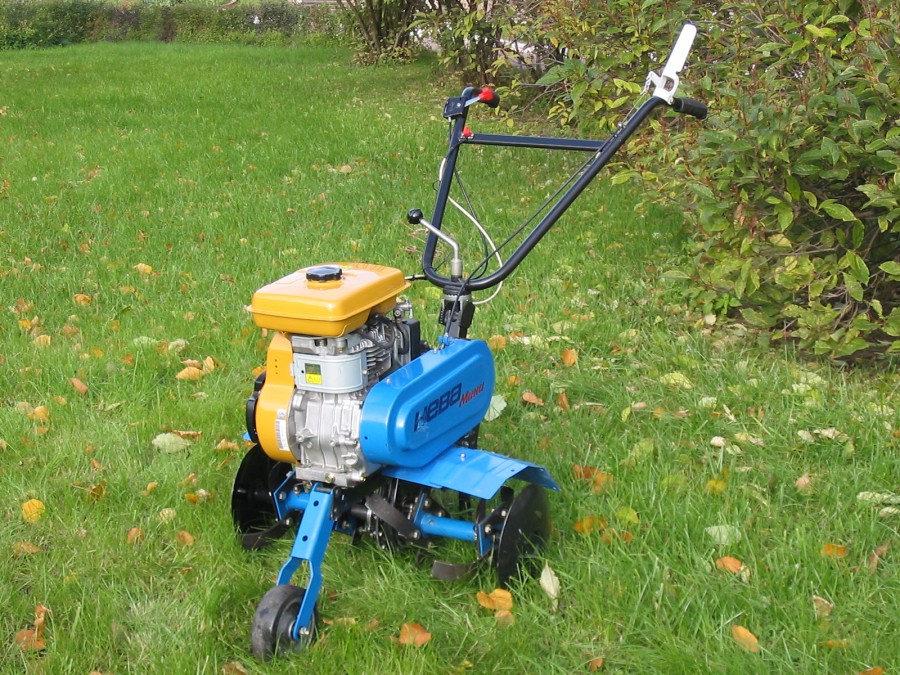
The choice here is small, it all depends on the model of your walk-behind tractor. Medium motoblocks, as a rule, are equipped with a belt drive. There is a pulley on the motor shaft that transmits torque to the box using a belt. Lighting for such walk-behind tractors can be done by installing a generator and connecting a headlight to it.
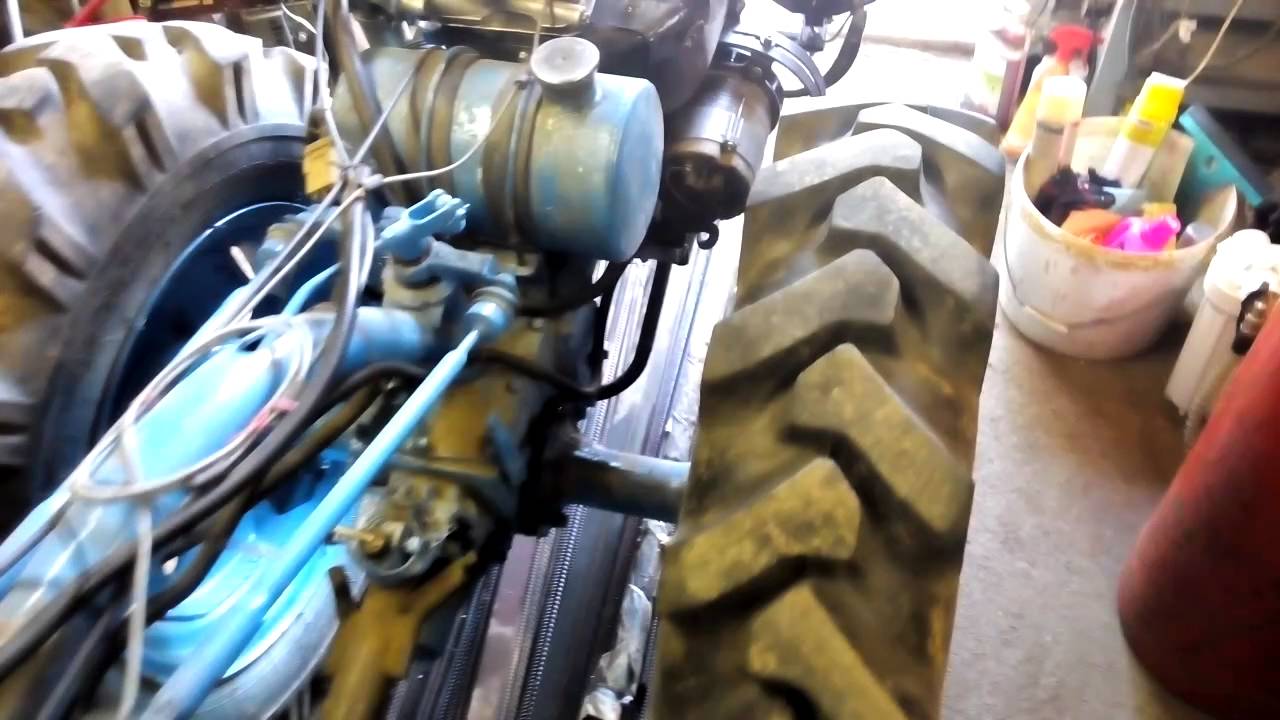
Heavy motoblocks, for example, "Agro", "Belarus", "Ugra", do not have a belt drive in their design. The engine of such walk-behind tractors is connected directly to the box, so it can be problematic to put a generator on heavy walk-behind tractors. How to make light on a walk-behind tractor that does not have pulleys in its design? In such cases, the power to the headlight is taken from the battery.

Some walk-behind tractors, usually made in China, are already equipped with standard lighting and even an electric starter. But, as it turned out, in fact, all of them are equipped with low-quality generators. The light on such walk-behind tractors is very dim, flickering, and is not suitable for illuminating the road at night. If you do not know how to make light on a Chinese walk-behind tractor, then an example will be given below.
Possible malfunctions and their elimination
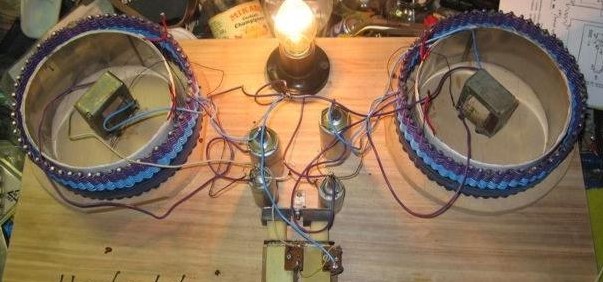
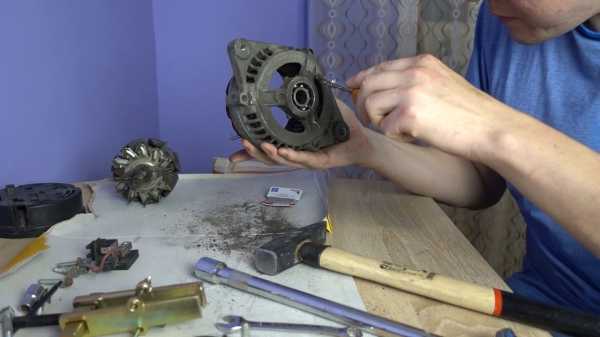
Even if a high-quality generator is installed in the construction of the walk-behind tractor, including a self-made one, it periodically requires repair. If serious malfunctions are found, it is recommended to contact a specialist, however, simple breakdowns are quite possible to fix on your own. Most often observed:
- overheating of the element;
- short circuit due to moisture ingress;
- voltage drops and other malfunctions.
If the product begins to heat up significantly, most likely the problem lies in a malfunction of the capacitor, which will need to be replaced with an analogue of a larger capacity to restore the device to its working condition.
A short circuit due to moisture is a serious problem that will require thorough troubleshooting and replacement of burnt-out elements after drying out. Voltage drops and malfunctions most often require replacement of brushes, after which the generator begins to function correctly.
Disc plow: algorithm of actions
The hiller disc plow is used to prepare even furrows for planting vegetables. Using the drawings, you can control the progress of the assembly and avoid oversights.
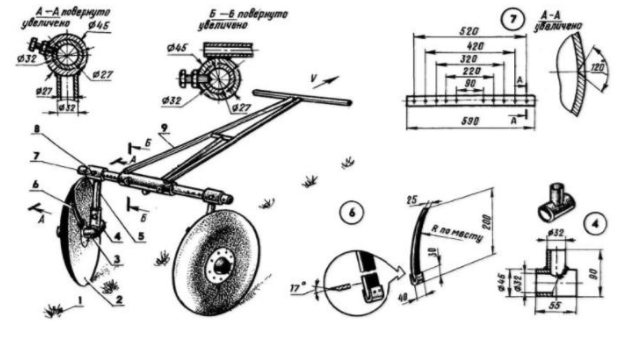
The disc plow is manufactured according to the described scheme:
- Support angle as a base.It is made of a corner with equal sides, its shelves after cooling should converge at an angle of 700;
- The sock is welded to the corner. The heel is welded to the thrust bar;
- The cheeks are fixed on the support corner with hinges. The front sides of the cheeks should not rest against each other when opening;
- The swivel mechanism is welded to the stop angle at right angles.
Finally, you need to adjust the plow cheeks. They are fixed with a vice and adjusted until they are directed in different directions.
Motoblocks and motor-cultivators (cultivators)
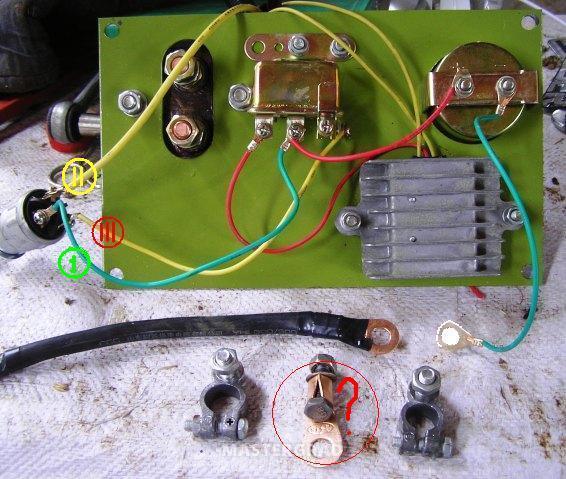
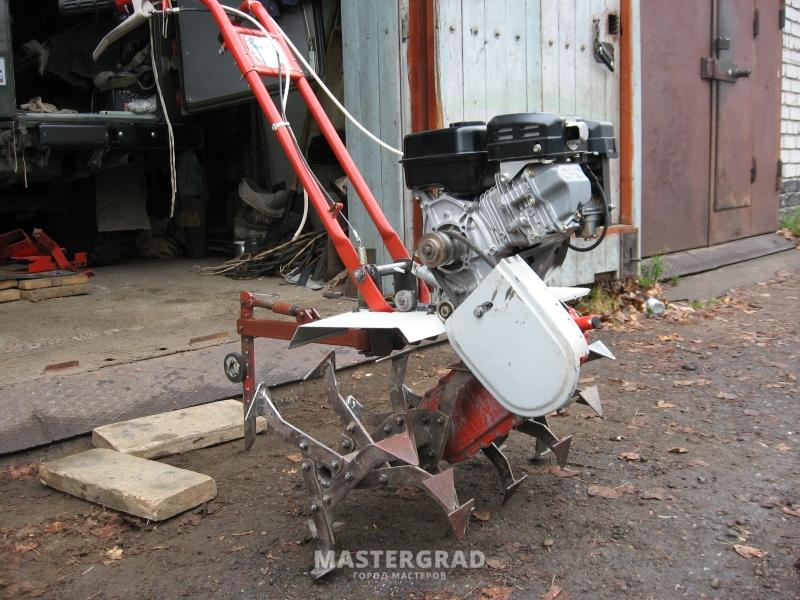
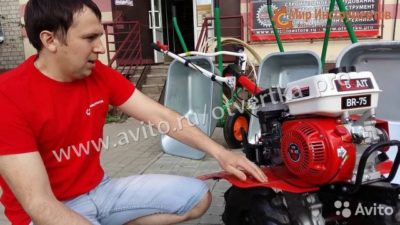
On sale in our store the best models of motoblocks and motor-cultivators wholesale and retail, as well as on credit at low prices. On a personal plot, there are many tasks for which it is better to use a walk-behind tractor, rather than primitive garden tools. This small device is otherwise called a mini-tractor, has manual control, can be equipped with a gasoline or diesel engine with a capacity of kW. There are also light motoblocks with an electric motor, which are used only for tillage. The walk-behind tractor is a versatile tool that can be used for loosening the soil, controlling weeds and even transporting small loads.
The generator for the walk-behind tractor is an important part of the unit. It converts mechanical energy into electrical energy.
How to choose the right lighting coil
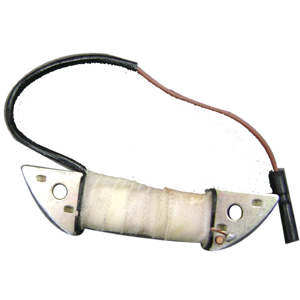
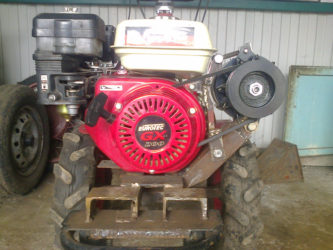
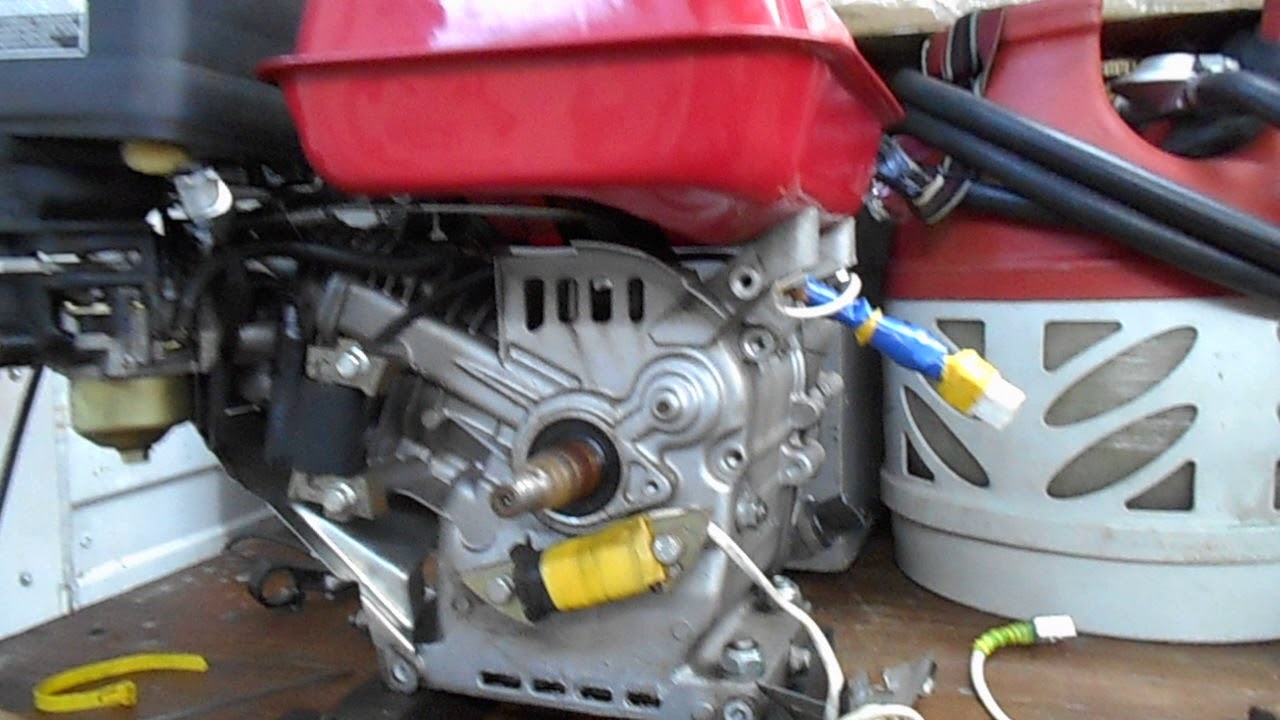
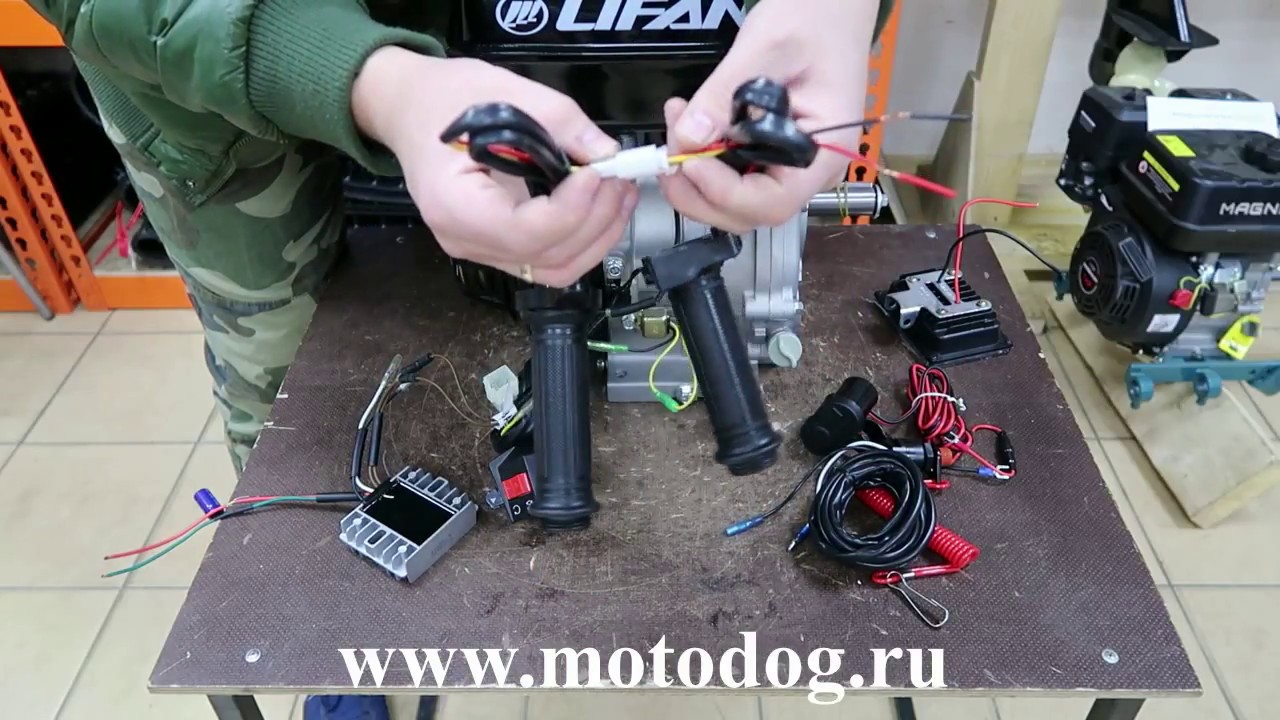
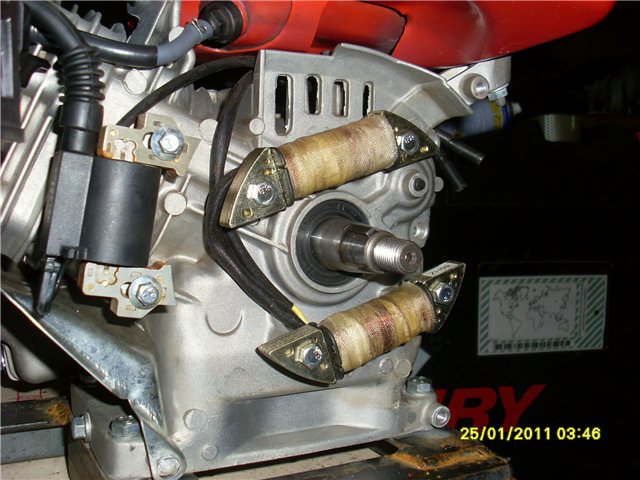
Often, when using Lifan engines in appliances and households, it becomes necessary to connect various electrical appliances. Many craftsmen are trying to use additional installed generators. But it is expensive and not always convenient. We have to come up with complex designs, adapt the pulley and belt systems. This greatly complicates the entire mechanism, and most importantly, the reliability of the entire system is lost. An excellent way out of this situation is the generator built into the engine (flywheel with magnets plus a lighting coil). Lifan offers its customers several options for such generators.
Lifan's standard coil is a 0.6 Amp (12V) coil for a standard single cylinder motor and a 3 Amp (12V) coil for a standard twin cylinder motor. Due to the fact that their power is too low for connecting third-party consumers, such coils are sufficient only for starting the engine and its operation.
If you want to connect additional useful consumers to the engine (for example, lighting lamps, battery charge, receiver, navigator, etc.), then more powerful coils must be used for these purposes.
In this case, the minimum power for a single-cylinder motor will be a 3 Ampere coil, through which you can connect a lamp up to 40 watts. Further, if you need more powerful consumers, then the coil will already be 5 Amperes or 7 Amps. You can also directly connect lamps to them, for example, halogen lamps, since the current is not too large, and a relay-regulator in this case is not necessary in the circuit. The total power of connected devices when using a 5 Ampere coil increases to 60 watts, a 7 ampere coil rises to 84 watts. (How to find the power "P" when we know the current strength "I" and the voltage "U" probably everyone well remembers from the school physics course. We just find the product of the current and voltage P = IхU). All of the above coils provide alternating voltage (AC). Thus, it is clear that lamps and devices must be selected appropriately.
However, if it becomes necessary to charge the battery installed on the equipment, then you will need constant voltage (DC) at the output. The above coils alone will not be enough. Then you will additionally need to install a relay-regulator (or rectifier) in the electrical circuit.As well as if you already use more powerful coils of 18 Amp or 20 Amp, and they are usually put on 188F (13 HP) or 190F (15 HP) single-cylinder motors, or two-cylinder 2V77 (17hp), 2V78 (21hp), then you will need, in addition to the coil, to use a voltage regulator relay for stable operation of the devices. In the case of coils more powerful than 7 Amperes - always. For this, Lifan produces, for example, such a relay-regulator (18 Amperes), or such a relay-regulator (20 Amperes). However, such powerful coils and the corresponding flywheels (plus the relay-regulator) are supplied as spare parts in very limited quantities. Lifan does this deliberately. The main reason for this is that customer redesigns (do it yourself) are not covered by the manufacturer's warranty. On our website, we offer our clients such "pumped-over" engines of exclusively original factory assembly and design. All of them are assembled at the Lifan plant, specifically at the request of the Russian consumer. And they are fully covered by the entire factory warranty.
Reliable circuits
A modern walk-behind tractor is a complex unit consisting of many important elements. One of them is a generator, the function of which is to power an electric battery or lighting devices of an agricultural machine. Let's look at the features of choosing a generator for a walk-behind tractor, its installation and do-it-yourself manufacturing. It can be quite difficult for a novice farmer to choose the right generator for a walk-behind tractor. However, not everything is as complicated as it might seem at first glance.
The single most important factor to pay attention to is the power of the device. Whatever generator you choose for an agricultural machine, its power must necessarily exceed the total power of the loads under which the walk-behind tractor works
This will allow the device to work properly under Volt voltage without the risk of surges in the electrical network, and to power all electrical appliances available on the walk-behind tractor. Often, inexperienced owners of walk-behind tractors purchase and equip their equipment with generators designed for installation on cars.
How to make a headlight for a walk-behind tractor?
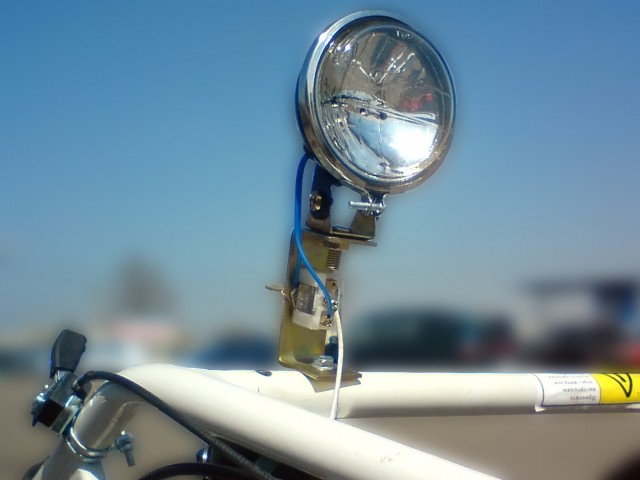
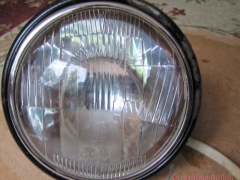
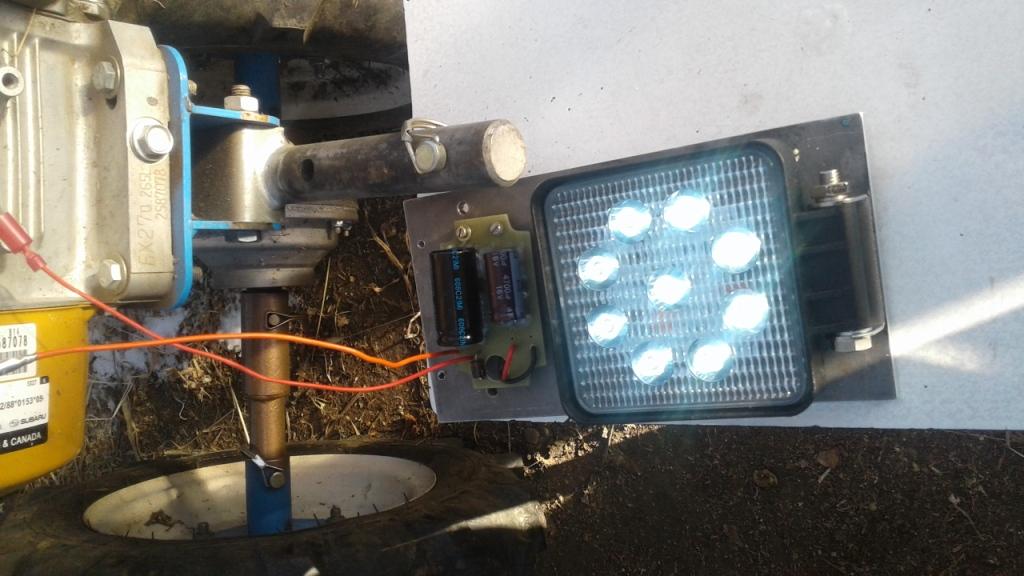
As a lighting on a walk-behind tractor, many owners of special equipment install headlights of domestic and foreign cars. This option is expensive and unreliable. There is not enough outgoing light, and the system itself will not last more than a few months. Alternatively, they develop a headlight for a walk-behind tractor with their own hands, which allows you to get the necessary lighting and equipment power.
Step-by-step instructions for making:
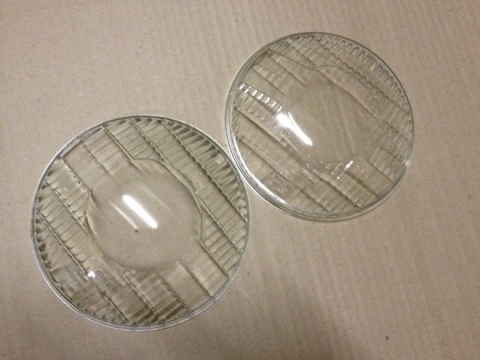
- Purchase an old, inexpensive headlight. Equipment from Soviet cars is suitable.
- Remove the glass protection and other plastic fasteners from the device.
- Pour the dummy headlight using plaster, for which the finished material is poured into the device and remains until completely dry. After that, you can remove the cast, preserving its integrity.
- The resulting template is applied in three layers of fiberglass, each time treating the material with epoxy resin. After processing, the future headlamp must dry under vacuum.
Many owners install the headlights of domestic cars as lighting on a walk-behind tractor - Then they start making glass on their own. This will require an oven, special slats and fiberglass. It is necessary to make a platform from the rails, which is placed in a preheated oven up to 180-200 C °, where fiberglass is placed without a protective film.
- When the material begins to deform, it can be pulled out and applied to the finished workpiece. After pouring out the mold, it is necessary to place the future headlight in a vacuum.
- After complete cooling, the product is sanded with sandpaper.
- The final stage is the installation of electrical equipment, installation of the lamp.
Electrical diagram
The headlight connection diagram is quite simple and consists of only three main elements:
- a power source, including an ignition, generator, or battery;
- power switch - a simple button that breaks and turns on the power supply circuit for the lamp;
- a lamp holder to which wires from a power source are connected through a switch.
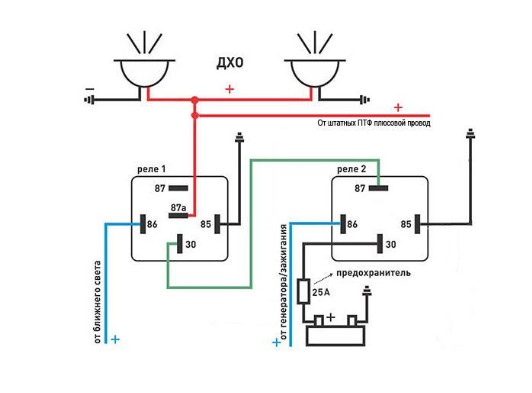
A fairly simple diagram for connecting a headlight to a walk-behind tractor
For greater reliability, all wires are placed in a special corrugation. The material protects the wiring from damage and allows you to fix the equipment in such a way that it does not interfere with the use of the walk-behind tractor.
Necessary tools for the job
Before starting work, it is necessary to prepare all materials, including wiring, headlight, corrugation, and also assemble a set of tools:
- soldering iron;
- screwdrivers and wrenches;
- nippers and stationery knife;
- electrical tape and heat shrink tubing;
- electric drill and fixing materials.
Without generator
Another method of connecting lighting is widespread among operators. Here it will be possible to do without using a generator. You will need a 12 volt battery and LED strip.
In addition to the source code, you must think in advance where this device will be mounted. If you are the owner of a large vehicle, then the ideal solution would be to mount a battery between the gearbox and the engine.
Step-by-step actions:
- Using welding and an iron angle, you need to make a stand for your gel battery. It is attached to the frame of the mini tractor.
- A battery is installed from the inside, which is clamped with a pair of bolts and a metal insert.
- Wires are laid from the battery to the power button. All joints must be sealed and insulated with heat-shrinkable tape.
This kind of lighting will turn out to be very bright. However, this method of installing headlights has one negative side: a full charge of the battery is enough for literally a couple of hours of operation, after which it will need to be recharged. This is a very significant disadvantage for those who work intensively with a mini tractor.
How to make a light from a generator

The easiest way to make lighting on a walk-behind tractor is to use its "native" electric generator. Some manufacturers of motor vehicles provide for such a possibility and therefore install devices for generating electrical energy with a certain power reserve. It is enough to ensure the stable operation of the main electrical appliances of the motor unit and the power supply of additional electrical equipment, such as direction indicators, a headlight, and a sound signal.
Connecting light from a standard electric generator is quite simple:
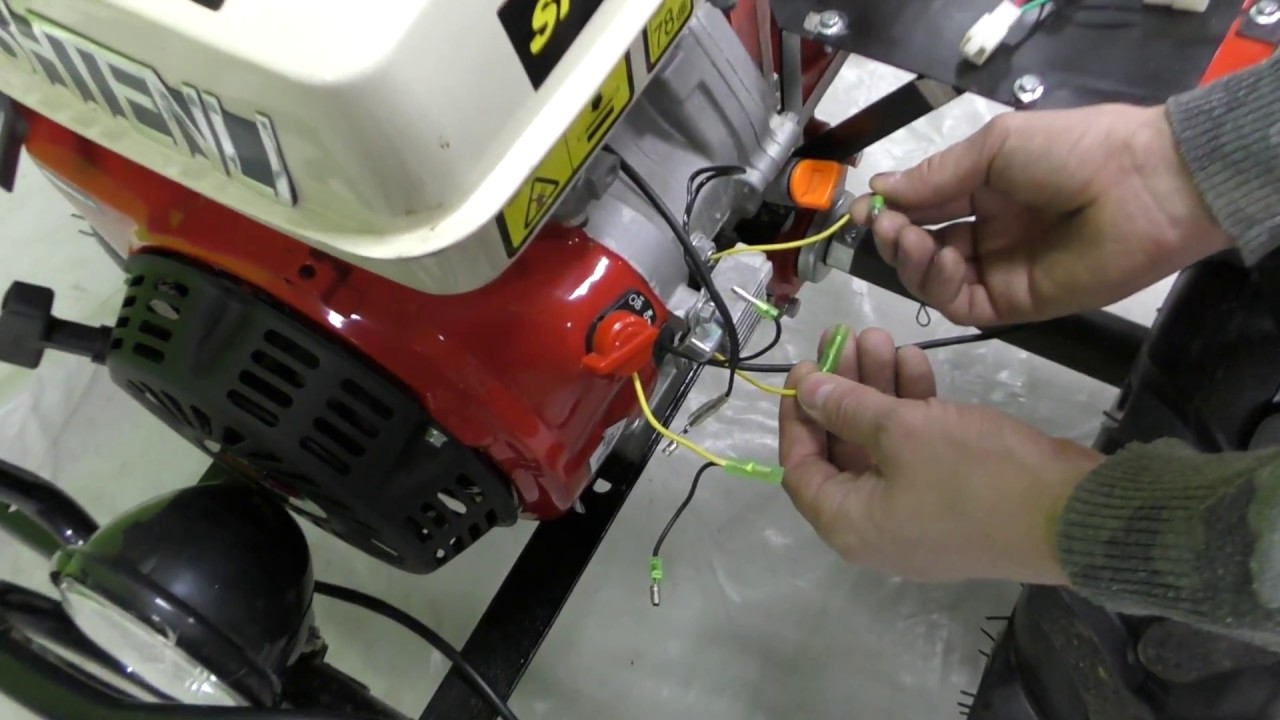
- The power generating device is connected with a wire to a switch attached to the steering column;
- From the switch, wiring is bred to electrical equipment (in our case, this is a headlight);
- The wires are placed in a corrugation, which will protect them from mechanical stress and prevent them from dangling and interfering with you while working on the walk-behind tractor.
When the generator has enough power, the headlight shines brightly and stably, with a lack of power, the light dims at low revs. In this case, the generator is changed to a tractor (for example, taken from an MTZ tractor) or an automobile.
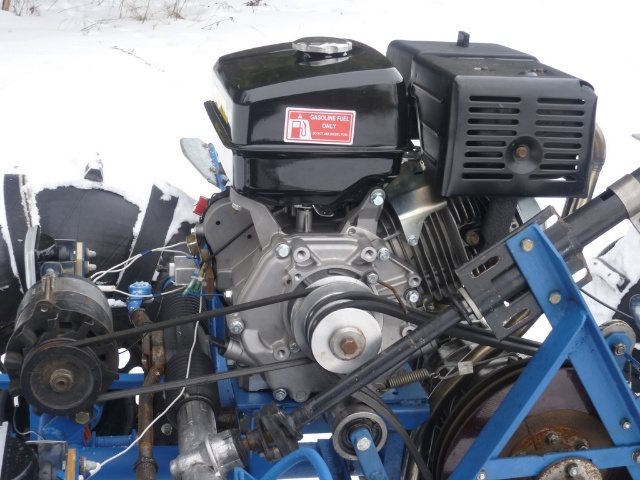
An electric generating device from Zaporozhets is perfect for this purpose. The equipment is compact and therefore fits easily in the space between the engine and gearbox. You will need to make fasteners for the generator beforehand. Weld additional metal strips onto the frame and attach a clamp to them - it will hold the device together and securely fix it on the frame.
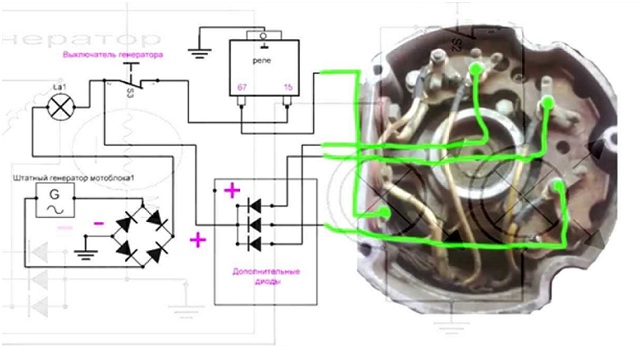
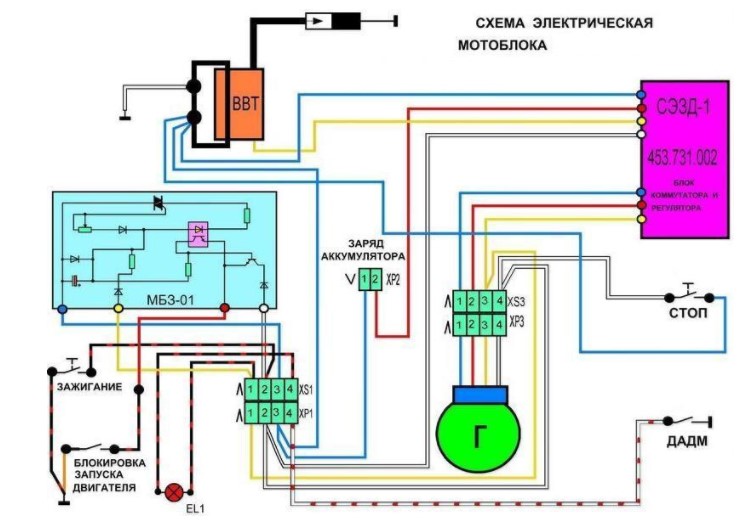
How to connect an electric generator to your motor unit, you can look at the diagram below:
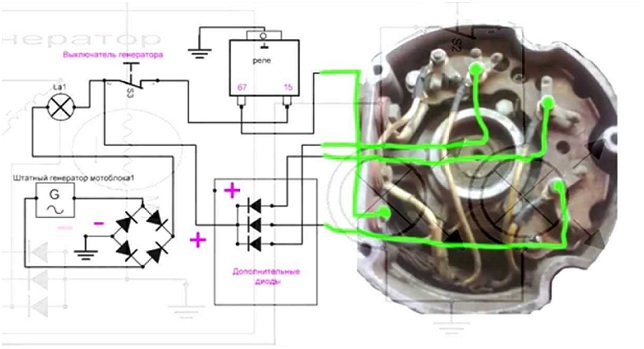
A car electric generator, new or old, has enough power to provide stable lighting on your walk-behind tractor or snow blower. With its help, you can also solve a number of other problems associated with the connection of electrical equipment.
Generator wiring diagram
When installing and connecting the generator, remember that an incorrect connection of the electrical circuit will cause a short circuit in the generator winding. To prevent this, the device must be connected strictly according to the instructions in the algorithm below:
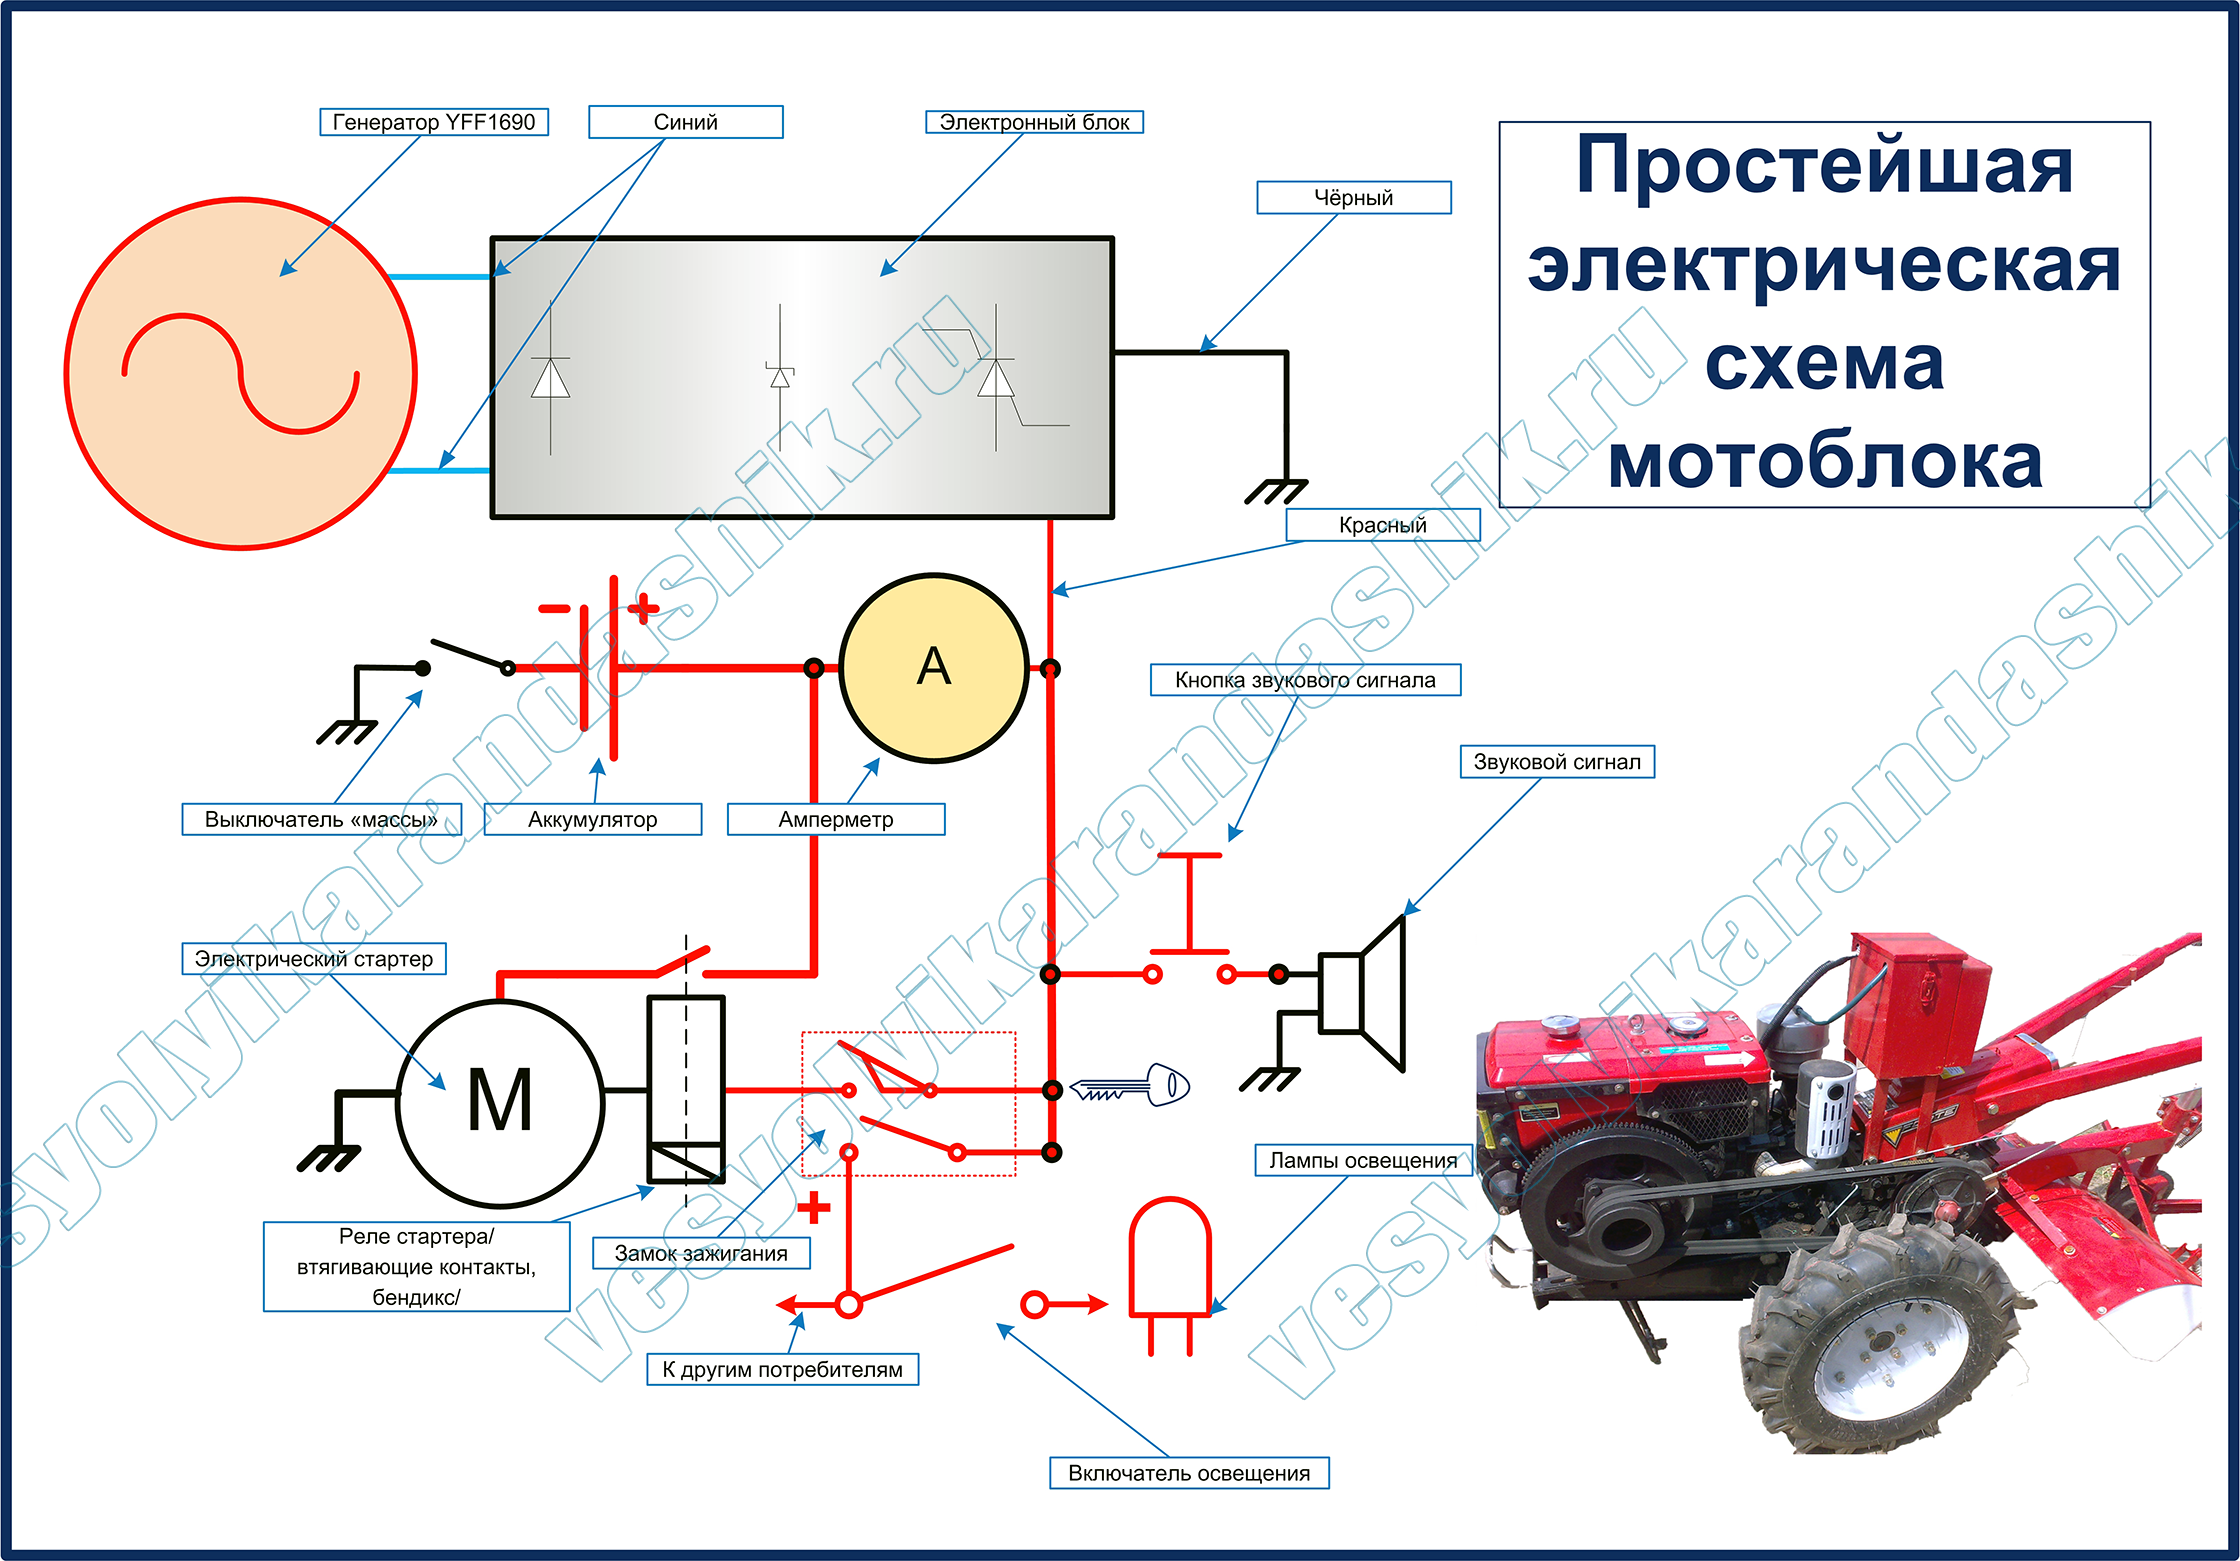
- Connect the generator to the electronic unit of the agricultural unit with two wires. The unit itself is equipped with 4 wires, 2 of which are blue - connect the energy converter to them;
- After that, you will be left with a black and red wire. Connect the first of them to the mass of the walk-behind tractor engine;
- The red wire is responsible for the output of the converted voltage, which is required to provide power to all electrical devices of the walk-behind tractor without a battery - headlights and a sound signal. If the generator is installed on a walk-behind tractor with a battery, then the converted energy is supplied to the battery and the electric starter of the unit. The video will tell you in more detail about connecting a generator to a walk-behind tractor.
The generator connected in this way works according to a rather simple scheme:
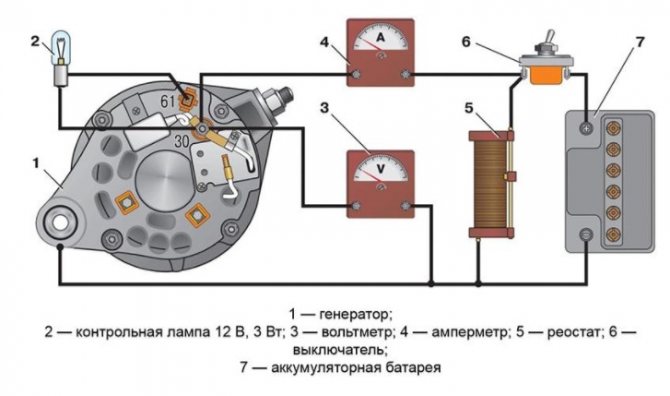
The generator installed on the walk-behind tractor generates electrical energy, after which it is fed to the rectifier in the electrical unit. The unit contains a current regulator and a voltage equalizer designed to protect the electrical system from voltage surges and control the amount of energy generated.
When the walk-behind tractor is started, its engine transmits torque to the rotor through a belt. During this, the generator begins to generate the required amount of energy and supply it to the electrical unit. Due to the fact that when the engine was started, a certain amount of battery energy was spent, all electrical devices on the walk-behind tractor will receive energy from the block. As soon as the battery of the unit is charged, it will again become the main power source for the electrical appliances of the walk-behind tractor. If the battery is discharged again, power will come from the electrical box. This process is repeated constantly as long as the walk-behind tractor is running.
How to make a headlight on a walk-behind tractor with your own hands

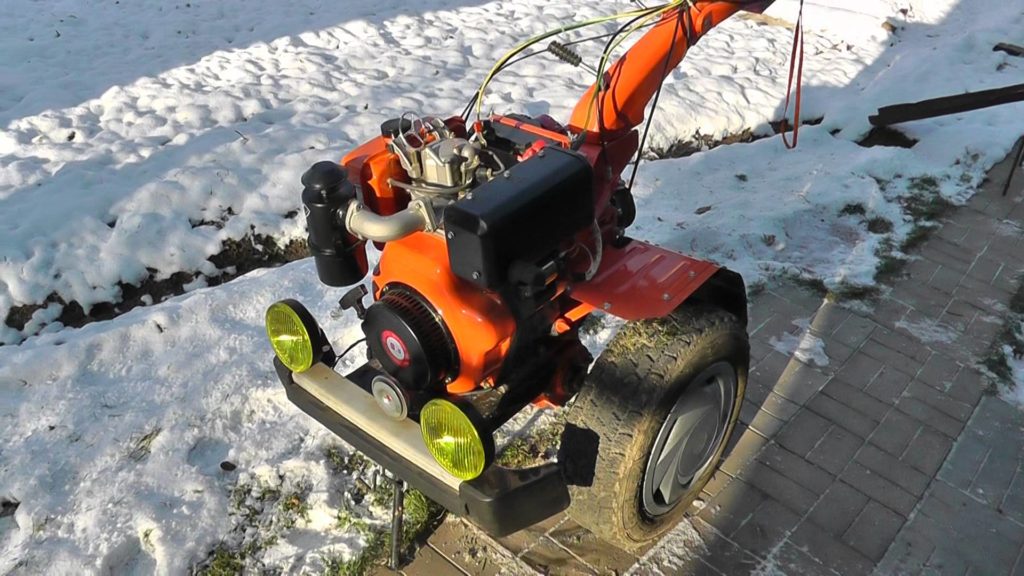
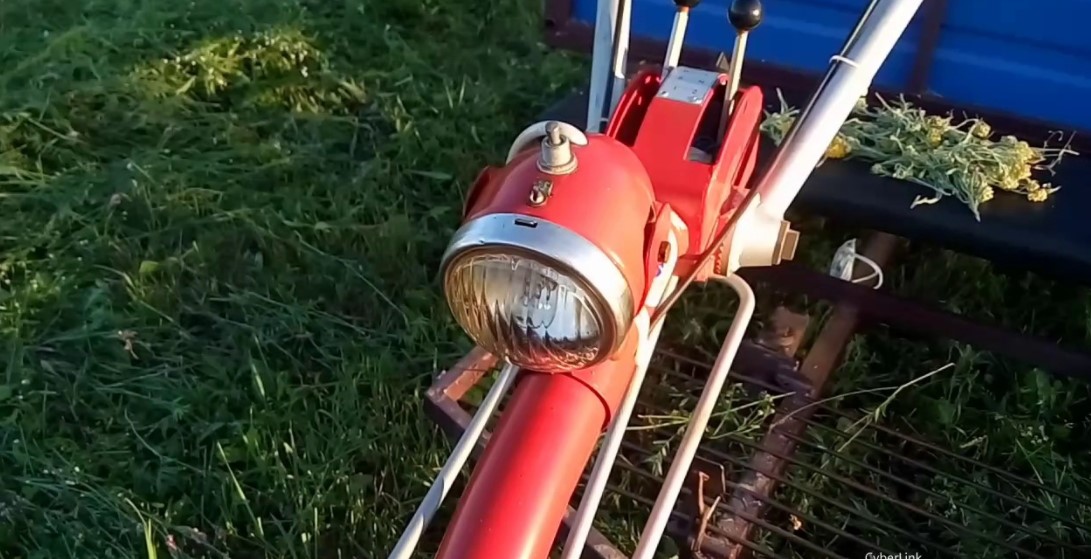
Not all motoblocks Neva, Bison, Centaur and others come with a headlight. Therefore, owners who want to make light on them decide for themselves what to do: buy a factory kit with a ready-made lighting system, use a flashlight from faulty equipment, for example, a moped, a light motorcycle, or make a budget version with their own hands or make a homemade light.
If you decide that your unit will have a headlight made by your own hands, then a body from a burned-out "housekeeper" is quite suitable for this purpose. You will also need to stock up on a small piece of electrical wire, a toggle switch (switch) or a simple switch.
Connecting the headlight to the agricultural unit is very simple:
- First, a toggle switch (switch) is fixed. It is placed in the most convenient and fairly reliable place, for example, on the steering bar of a walk-behind tractor next to the gear lever.
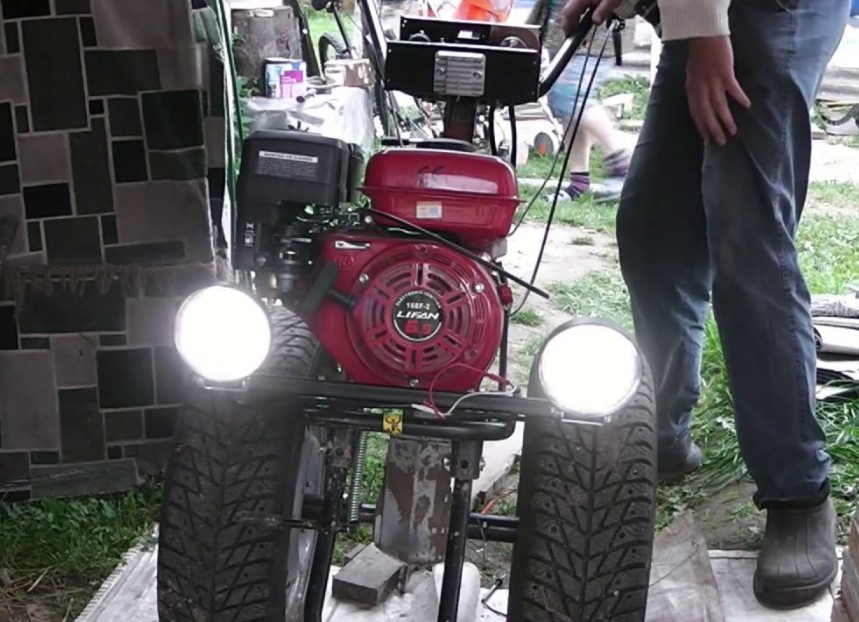
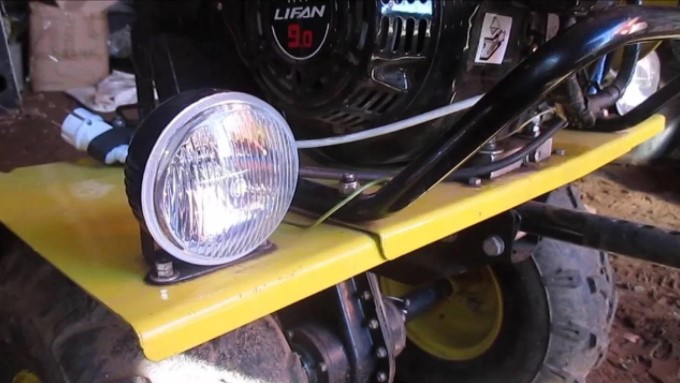
- Then the headlight is fixed. This can be done in a specially designated place provided by the manufacturer (usually, such a "place" is in front of the engine) or on the steering column. When a stationary headlight is placed in front of the engine, it quickly becomes dirty, and the light from it spreads only along the bottom. For this option, it is better to use a lamp that is movable in several planes, then you can direct the light in the right direction yourself.
- Next, the wire is pulled.It is more convenient to do this from the nearest power source, for example, a 12-volt oil pressure warning lamp located on the steering column of the walk-behind tractor.
- A wire from the power source connects to the switch, and a cord is pulled from it to the place where the headlight is located. All wires are neatly tied to the steering rod with insulating tape or secured with special clips.
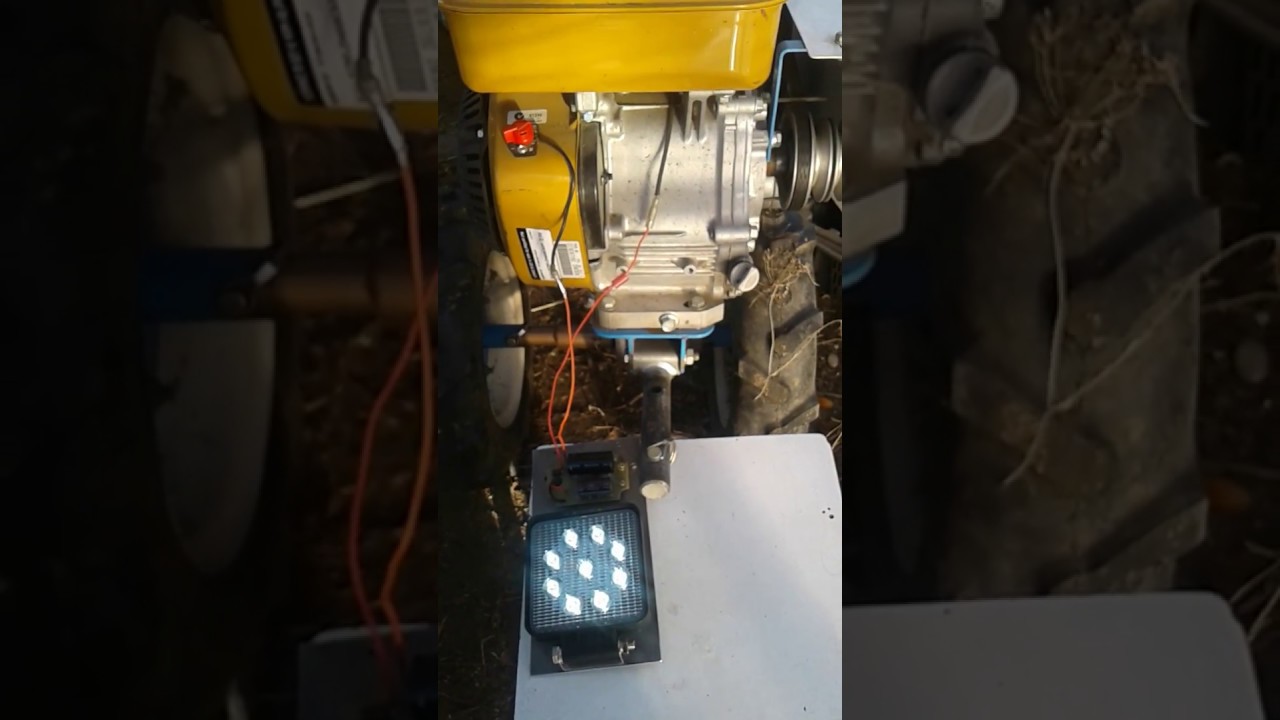
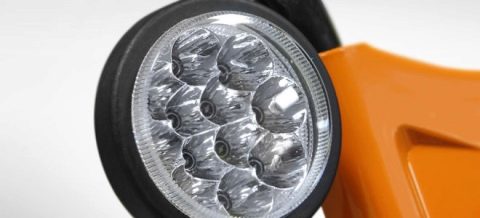
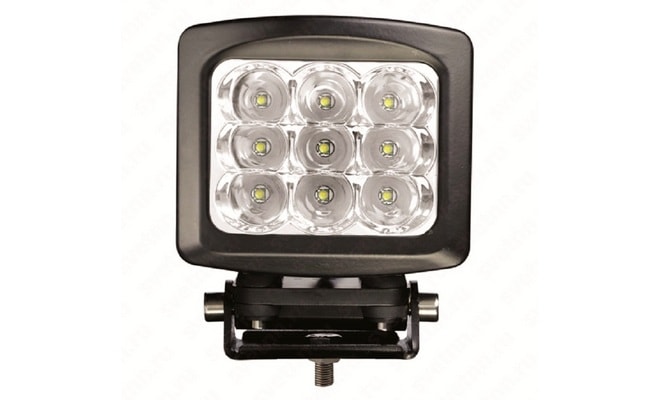
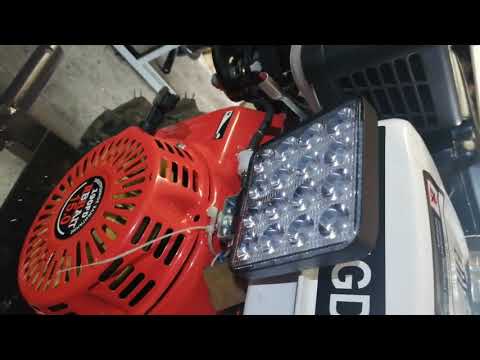
You can use halogen lamps to illuminate your agricultural unit, but they quickly heat up and fail. It is better to make lighting on 5 W LED light sources with a small angle of dispersion, which will economically consume energy, shine brightly and far.
As you can see, making a headlight on a walk-behind tractor with your own hands is absolutely not difficult. And she will be able to work no worse than the "car shop" and illuminate your path when you return home along the dark road.
DIY light on the walk-behind tractor
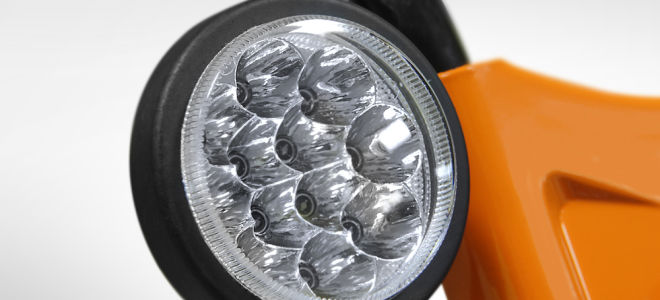 This should be done according to the following algorithm:
-
- Selection of the right headlight for the walk-behind tractor. You can buy a new one on the market, or you can find a completely passable old headlight from a moped, car, tractor or other equipment. It goes without saying that the new equipment will shine better, last longer, you can choose a variety of types, sizes and colors. But if it is far from the car market, then using the old headlight will not harm anything.
- Purchase of toggle switch and wires.
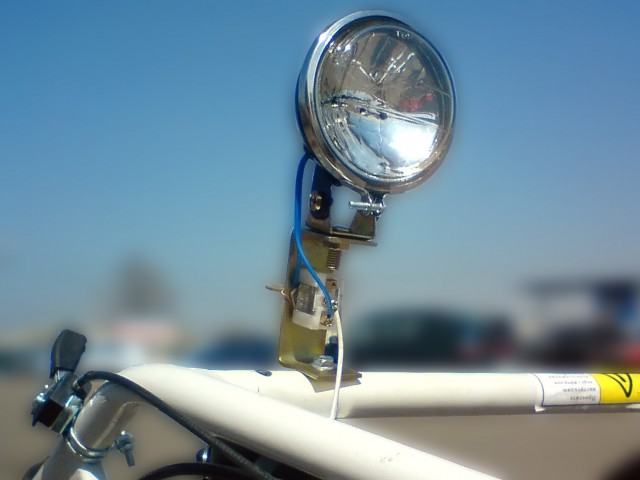
- Install the headlights. The best option is the steering bar. Here, the headlight will give the optimal lighting angle when working and driving, and it will also be less dirty.
- Installing a toggle switch. It should be secured in an easily accessible place. It is best to attach the switch to the steering wheel, somewhere close to the gearbox.
- Broach wiring. If the design of the walk-behind tractor provides for a place for attaching the headlight, we power the wires right here. If not, then it is most convenient to do this from a 12W oil control lamp. The body of the walk-behind tractor will serve when powered by mass.
- We connect the wires to the toggle switch and the headlight. We securely fasten the wires with special clamps and / or electrical tape.
With your own hands
Almost all owners of motoblocks resort to using headlights from Soviet light vehicles as lighting equipment. This is one of the easiest ways to solve the problem.
Therefore, the best option is considered to be the independent manufacture of such electrical equipment. You do not need to purchase expensive sources and equipment. All you need is the same headlight from a Soviet car. You will only replace the inside.
So, for starters, the outer glass and other elements, fixed with plastic clips, are removed from the headlight. The next step is to make a dummy body of the lighting device. It is made of plaster. Liquid gypsum is poured into the base of the lighting fixture and spread evenly over the entire base
Wait until the plaster is completely dry, then the impression must be carefully pulled out
Three layers of fiberglass should be applied to this template. Be sure to apply epoxy between coats. It is inexpensive, its price on the market fluctuates around 400 rubles.
After all the steps taken, your workpiece should lie at room temperature in a hermetically sealed container, without air penetration. Wait until the dummy is completely dry. Next, you will need to sand the product so that there are no irregularities on it.
Now comes the most important step - you need to make glass. To do this, you need to heat the oven to a temperature of 180-200 C. Buy thin slats in advance and make a stand for them. The manufacture of such a structure will require about 10 rails. Then attach the fiberglass to it. Remove the protective layer of the material. Otherwise, the workpiece will absorb all the dust. You can send the workpiece to the oven.
Open the oven periodically and check the product.As soon as it begins to deform, you can take it out and apply it to the material that was prepared a few steps above. All this is again sent to a sealed container with a tight-fitting lid. Wait until it hardens completely.
The resulting headlamp is carefully polished. For these purposes, you can even use sandpaper. Next, we treat the surface with a solvent and wait until it dries. The next step is to install an incandescent lamp with a buffer gas. One halogen lamp in Russia costs about 700 rubles. Instead, you can use LED strip as a more budget replacement.


