Types of glass cutters
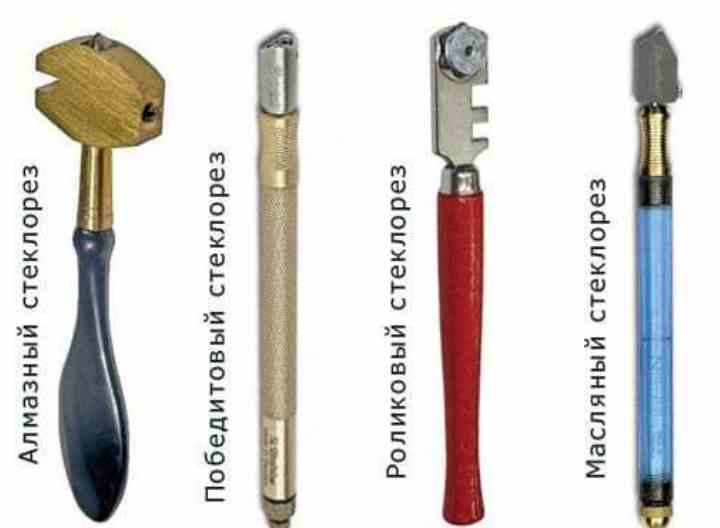
For cutting glass, a special tool is used, which is known to everyone. It can be of several types:
- roller;
- diamond;
- oil;
- compass.
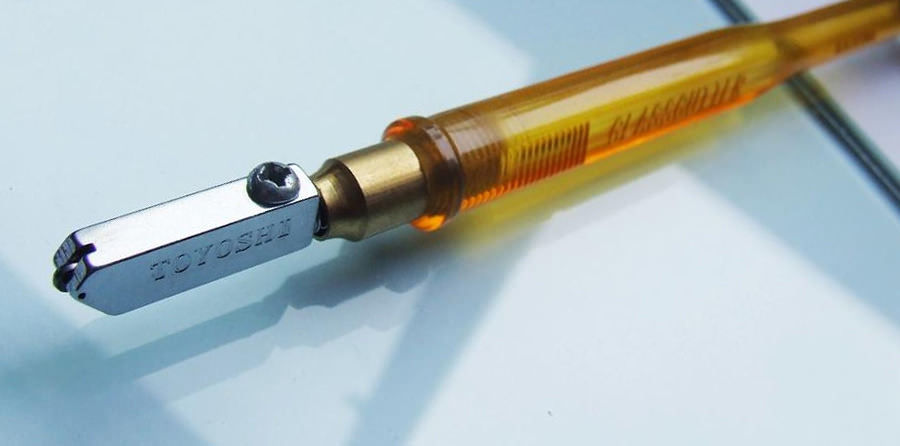
Roller glass cutters have a round cutting tip. For its manufacture, an alloy of cobalt and tungsten is usually used. In this case, the number of rollers in one tool can vary from one to six. Unlike other analogs, such a tool is inexpensive, due to which it received great appreciation.
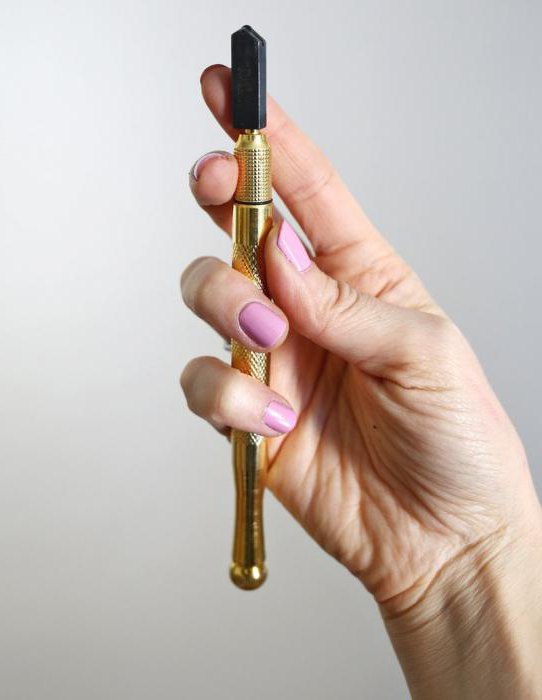
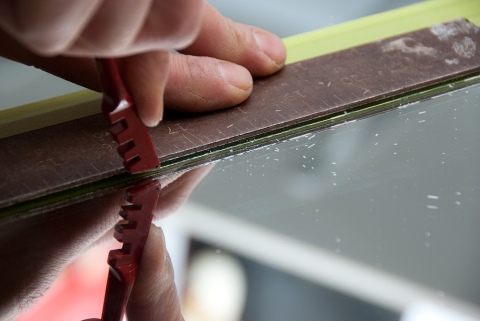
The diamond glass cutter is used by professionals in their field. Despite the high price, it was, remains and always will be the undisputed leader in the field of glass cutting. It is better for home craftsmen to choose a professional diamond glass cutter with a beveled cutting edge, as it will cut more linear meters of almost any thickness. Only you need to store it in a special case. A diamond crystal is used for the cutting tip, which is known to be the hardest mineral found on Earth. If you leave a small scratch on the glass, it will crack with the slightest effort. Diamond glass cutters need periodic sharpening by means of a special bar.
Oil tools are similar to roller counterparts, with the only difference that the handle contains an oil capsule. It is automatically fed to the roller during operation and to the glass surface. Such a cutter is well suited for solving the problem of how to cut thick glass with a glass cutter.
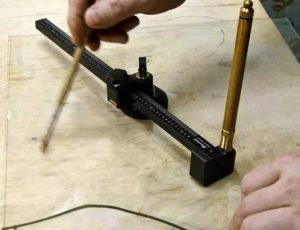
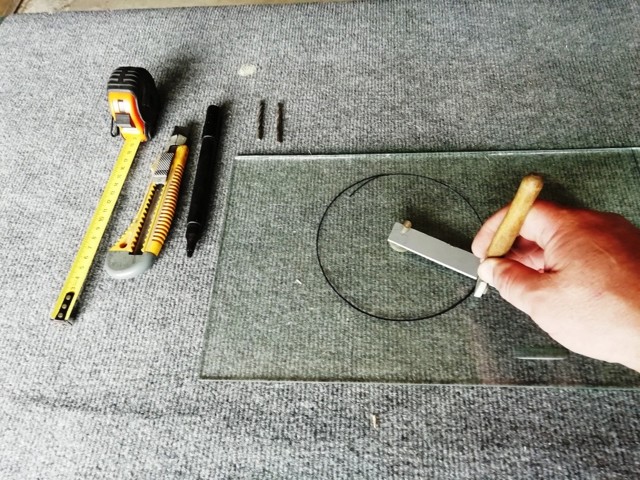
With the help of a compass, it is convenient to cut round or oval shapes. It consists of several elements and outwardly resembles a well-known school stationery.
How to cut glass correctly
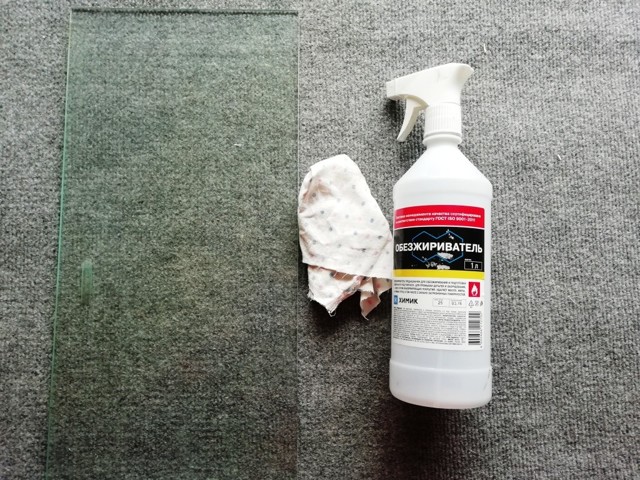
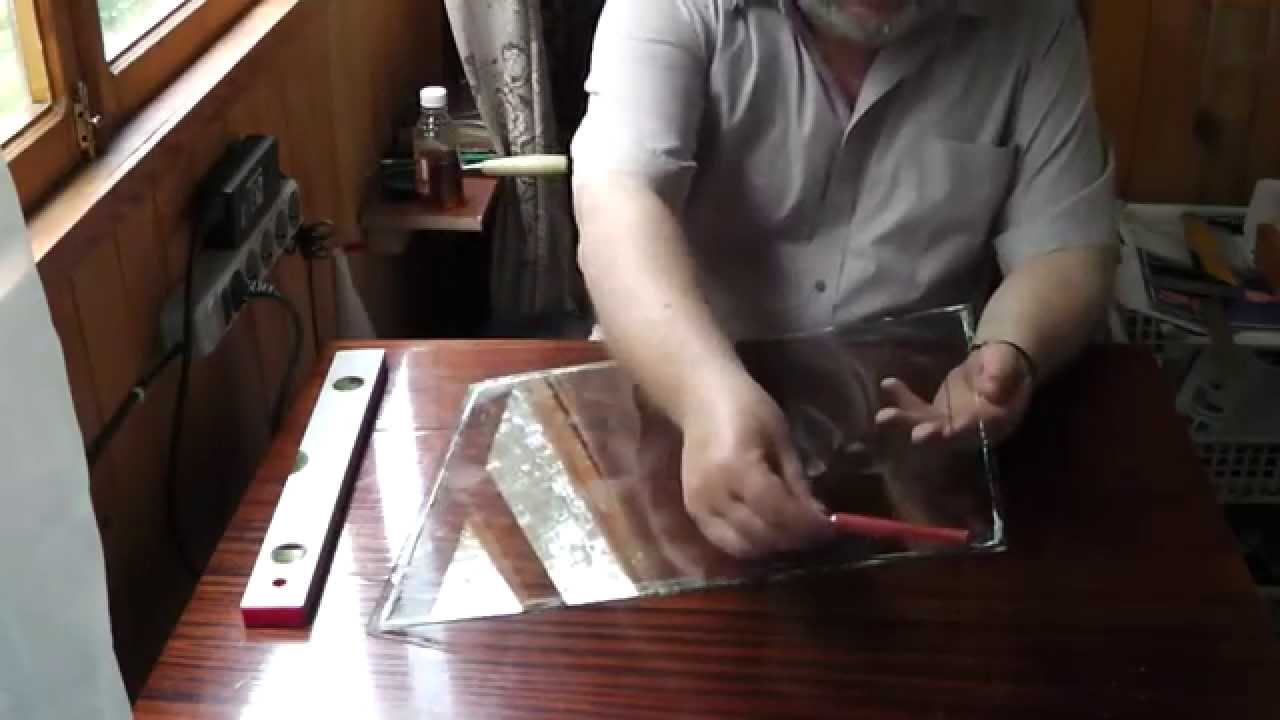
Roller glass cutter. First of all, you need to prepare the work surface and glass. The surface on which the glass is laid must be flat, the glass, if it is not new, must be washed with detergents and degreased with compounds containing alcohol. After that, it must be wiped dry and allowed to dry. It is better to wipe the glass with old newspapers, not a rag. It is better to lay something soft on the surface of the table, for example, carpet or linoleum.
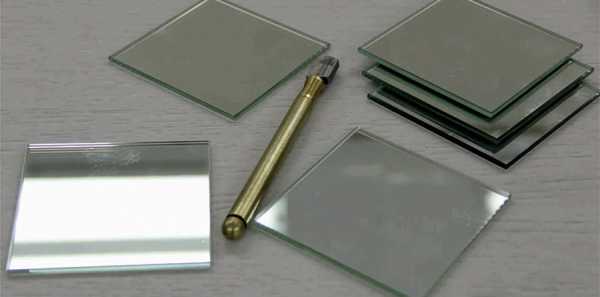
To be sure that the instrument is in good working order, it is recommended to make a test cut on an unnecessary piece of glass. If the result is a thin white line, the glass cutter is in good working order and ready to go, but if the groove is thick and filled with small glass chips, it is better to change the roller.
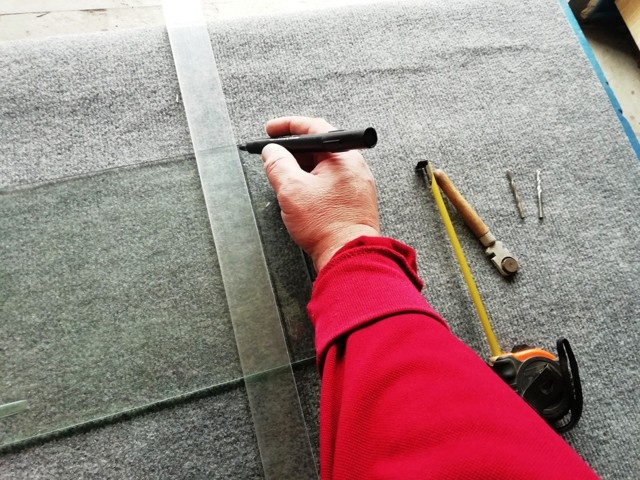
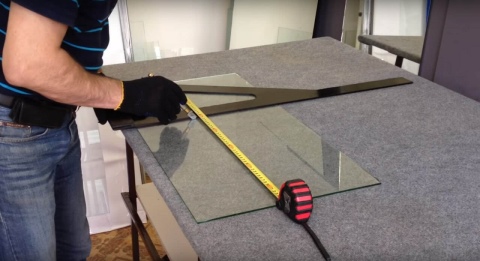
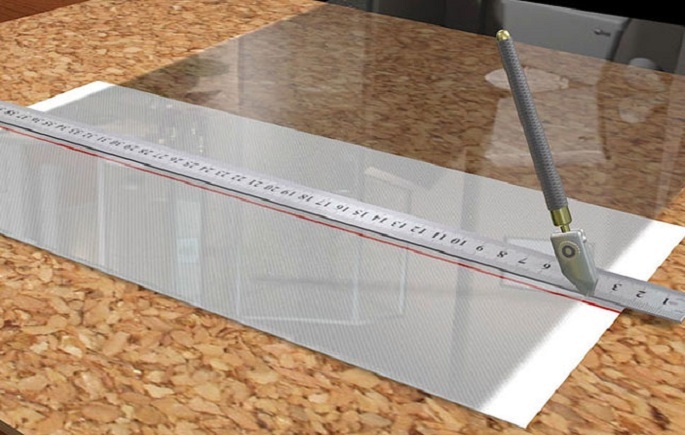
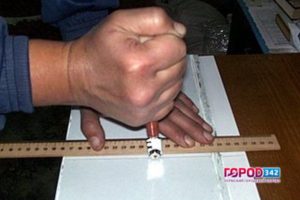
Now you can start cutting the glass. First of all, you need to mark the glass. To do this, use a ruler and a square, a line can be drawn with a marker on the glass, or drawn on the table, after which two marks are made on the edges of the glass and aligned with the line on the table.
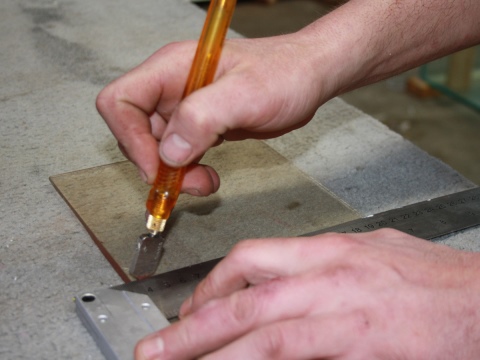
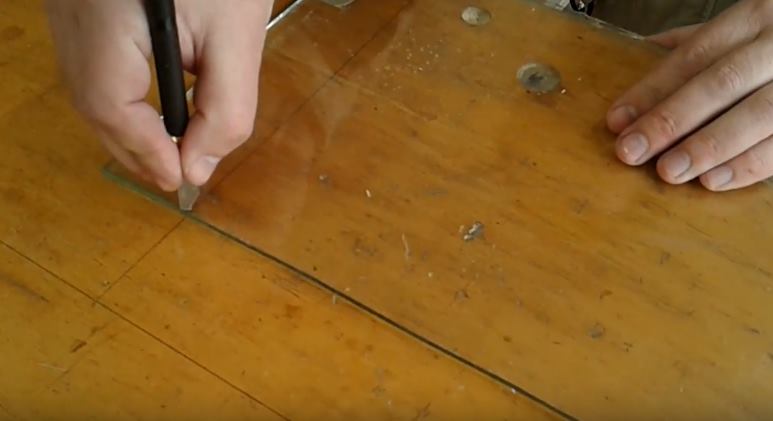
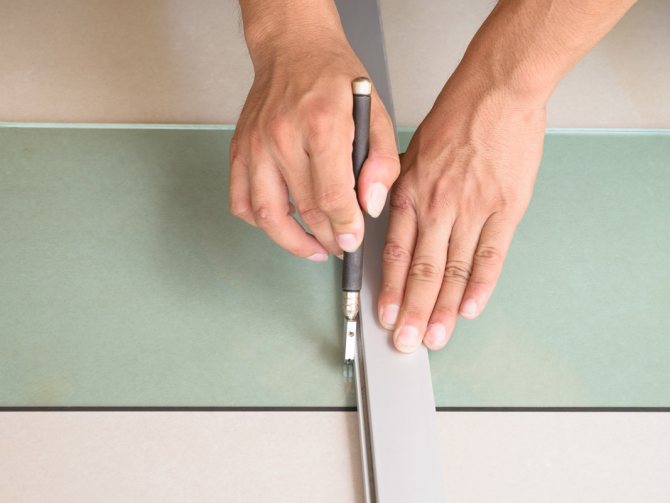
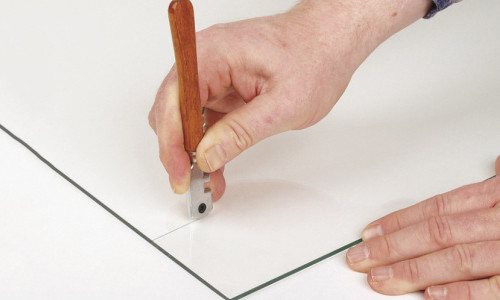
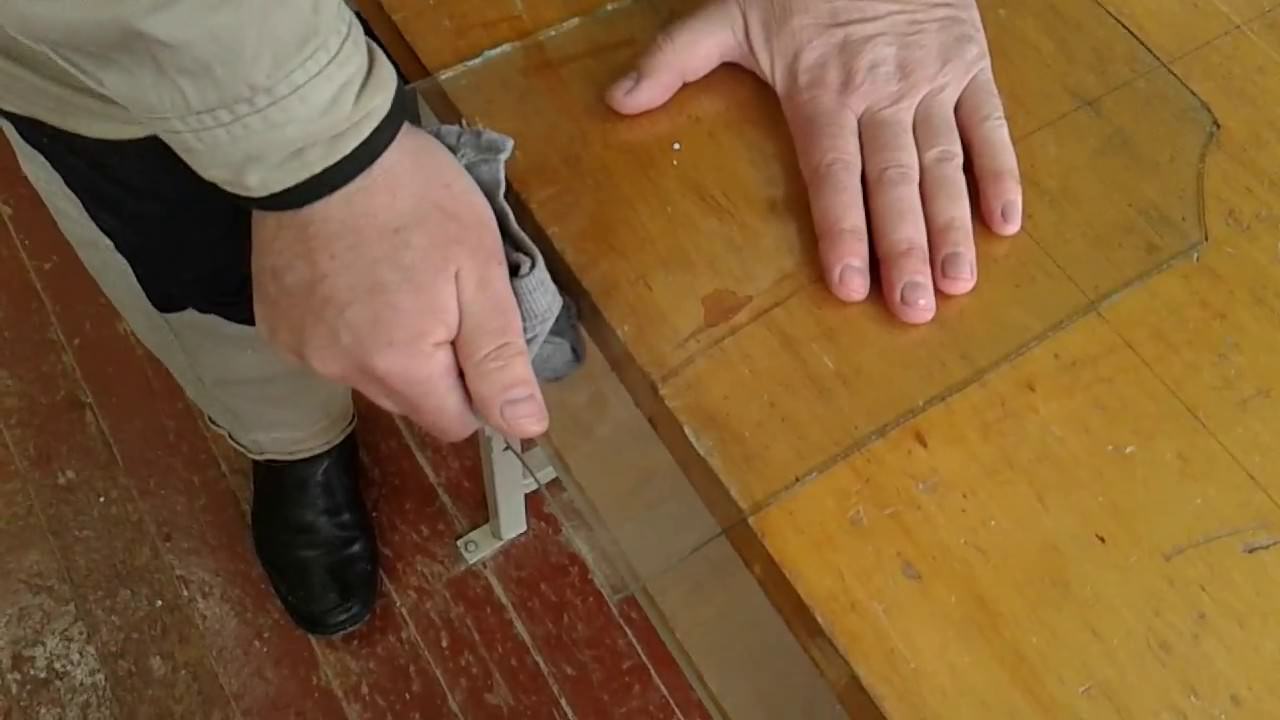
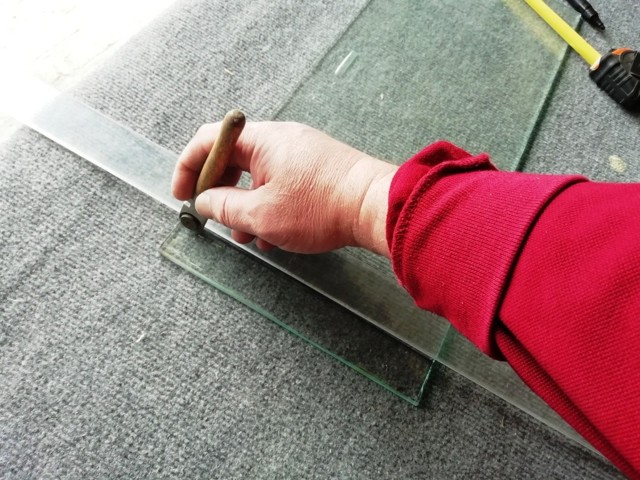
When cutting glass, a roller glass cutter is held strictly perpendicular to the surface of the glass, and a line is drawn with slight pressure, and only once. Next, the cut line is aligned with the edge of the table, or matches are placed under the cut along the edges.
Oil glass cutter. For cutting thicker glasses, oil glass cutters are used, which are a type of roller. The only difference between an oil glass cutter and a roller cutter is the presence of a container for oil, which is supplied to the roller during cutting, which makes it possible to make a deep cut.
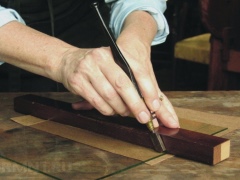
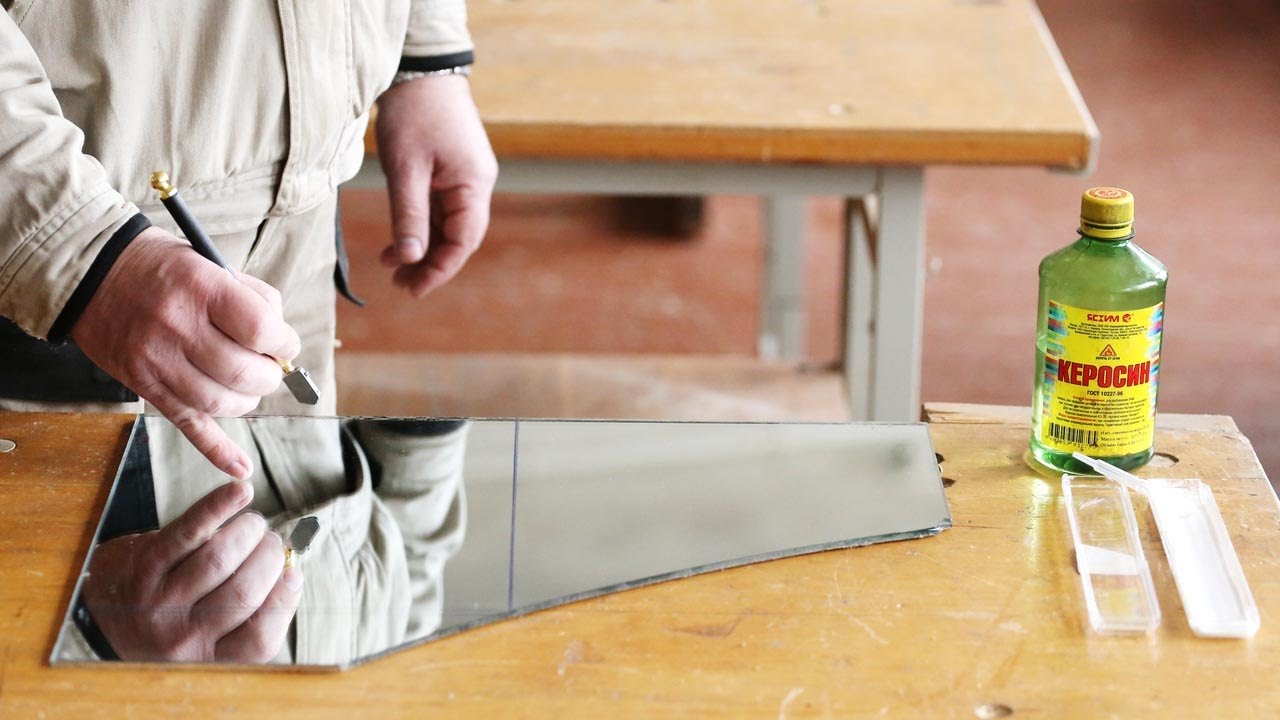
Diamond glass cutters. The preparation of the work surface and glass is the same when working with a roller glass cutter... The cut with a diamond glass cutter is made with light pressure, practically without effort.Hold the diamond glass cutter like a pencil, that is, with a slight tilt. As a result, we get a thin and almost colorless line. To break the glass, it is enough to lightly knock on the cut line from the back side, or place a thin lath under the cut and the glass itself breaks under its own weight. If the glass does not break, then re-cutting in the same place is not recommended. Better to shift the markings a little and make a new cut.
What tools should you use?
Many of us are accustomed to believe that glass can only be cut correctly and efficiently with a glass cutter. But what if you need to cut off a piece of glass urgently, but this tool was not at hand? There is another unusual, but no less effective way that helped our great-grandfathers get out of this situation. Such a tool is the usual scissors available from any owner. Let's consider each method in detail.
Option 1: glass cutter
The technology for cutting glass with a glass cutter is quite simple. To do this, you must comply with certain conditions and choose the right glass cutter. Today, the choice of this tool is wide enough that allows you to turn work into pleasure.
- A time-tested diamond glass cutter that remains a leader in its field to this day. For home use, glass cutters with a beveled cutting edge are suitable. Such a tool is designed for cutting glass up to ten kilometers and is suitable for any thickness of the material used. From time to time, such a glass cutter needs to be sharpened on a special bar.
- Roller. Following from the name, the cutting part of such a glass cutter is made in the form of a roller made of durable cobalt-tungsten alloy. The number of rollers can be from one to six.
- Oil. Such a tool works on the principle of a roller glass cutter, with the difference that a reservoir with oil is built into its handle, which is automatically fed to the roller. Suitable for cutting thick glass.
How to choose a good glass cutter, watch the video:
So, having dealt with the glass cutter, place the glass on a flat surface. Mark the glass and get to work. You can use a ruler to make the task easier. It should be borne in mind that the line must be drawn the first time, otherwise a second attempt will lead to cracking of the surface. It is necessary to cut glass with a glass cutter applying equal efforts along the entire length of the line being drawn.
Option 2: ordinary scissors
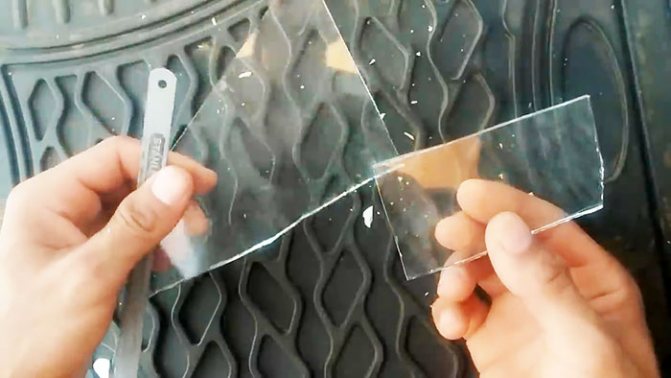
Cutting glass with scissors like paper is not a fairy tale, but a completely ordinary reality. For this purpose, you will need the scissors themselves (sewing is best for this) and a tank of water (preferably hot). It is necessary to apply markings on the glass in advance, and then, elementary physics is included in the work: the scissors create a microcrack, and the capillary effect completes the process. Of course, the result obtained will differ from that achieved with a glass cutter, but if necessary, this method can help out significantly.
DIY glass cutting
Initially, you need to make measurements of the new glass. As a rule, if new glass is cut, for example, for insertion into interior doors or a window frame, then it is made a couple of millimeters smaller on each side than the dimensions of the technological opening for it. After the dimensions of the new glass have been removed, you can start preparing and cutting the glass with your own hands.

To cut glass, you need a solid and even base of the tabletop, preferably a wooden one. There should be no dirt or debris on its base, due to which the glass may be damaged and burst during cutting. It is best if the glass will not also fidget on the table while it is being cut. Otherwise, you need to do everything to prevent this, put on the table, for example, a piece of thin plywood or thick cardboard.
Before cutting the glass with your own hands, its surface must be "crystal" clean.Even the slightest accumulation of dirt or dust is not allowed. Otherwise, passing the glass cutter over the glass, you can "run over" to such an area, due to which the line of movement of the glass cutter will change, and the glass will be damaged. Therefore, if necessary, the glass is washed with soapy water before cutting and wiped dry with a soft cloth.
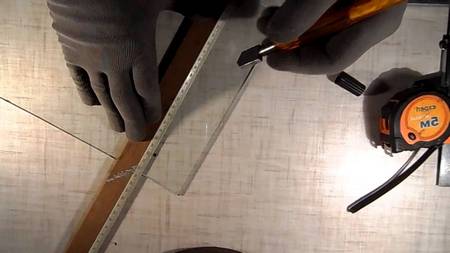
To cut glass with your own hands at home, you will also need a flat wooden strip of suitable length for the size of the glass to be cut. The process of cutting glass at home itself is not too complicated. First, the glass is prepared, as mentioned above, then it is laid on an even and solid base.
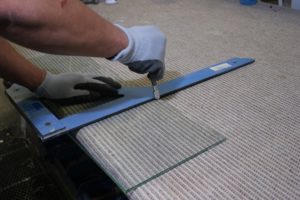
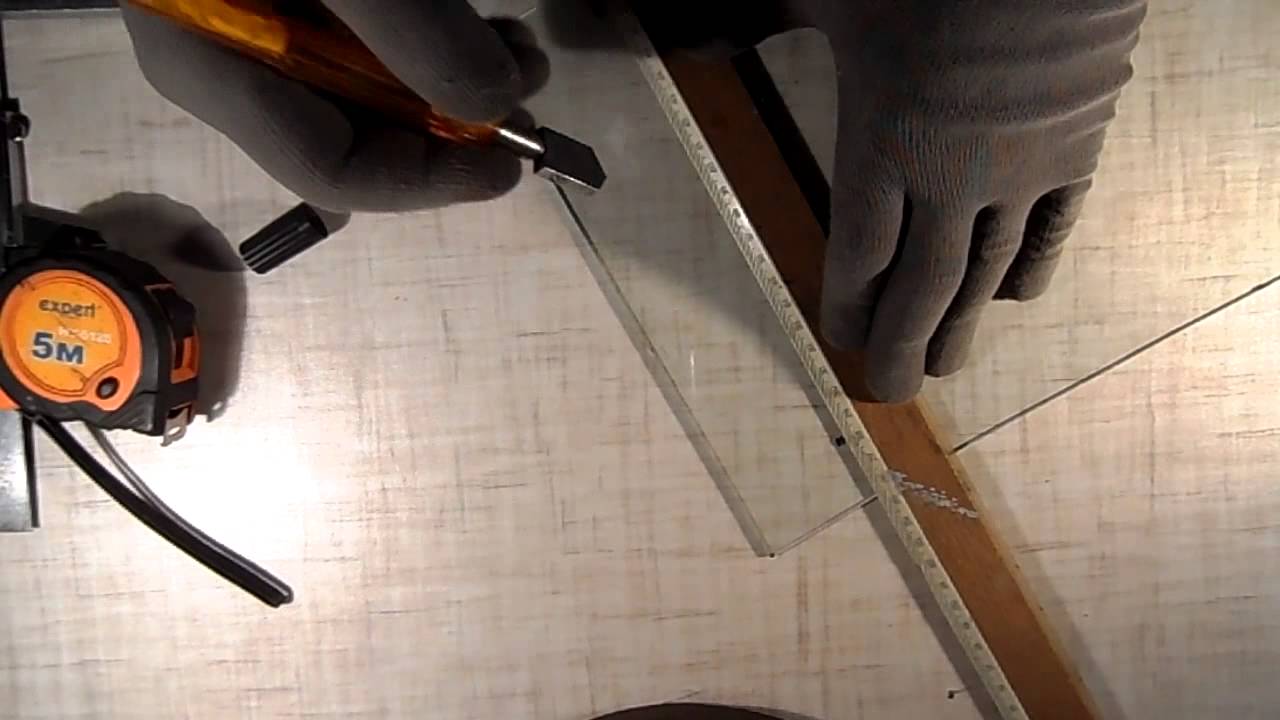
After that, marks are placed on the edges of the glass, where the incision should be made, and exactly along them a wooden bar is settled, which serves as a guiding reference point for working with a glass cutter. Then, from one edge to the other, tightly pressing the glass cutter to the wooden strip, an incision is made. It is better if it is one, clear and even, exactly along the plank.
To break the glass after the cut with a glass cutter, you can pull it out to the edge of the table, aligning it with the cut. While holding the part of the glass located on the base of the table, the other part must be lightly pressed down with your hand. If the cutter is sharp, and the cut is made correctly, then the glass should burst strictly along the cut.
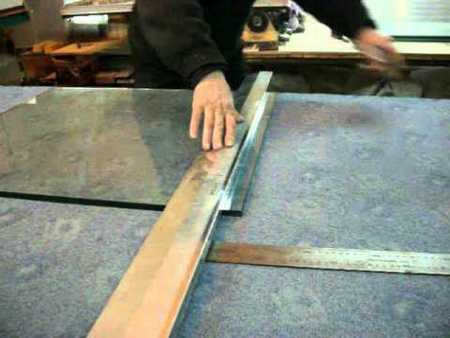
If this does not happen, then, starting from the middle of the glass, gently tapping along the cut line to achieve the appearance of a crack in it.
The question of how to cut glass correctly is best solved by carefully preparing for it. It is best to take and practice several times in cutting glass of different thicknesses into unnecessary pieces, and only then proceed to cutting glass with your own hands for installation and replacement.
How to cut glass without a glass cutter. How to cut glass without glass cutter? 3 practical ways
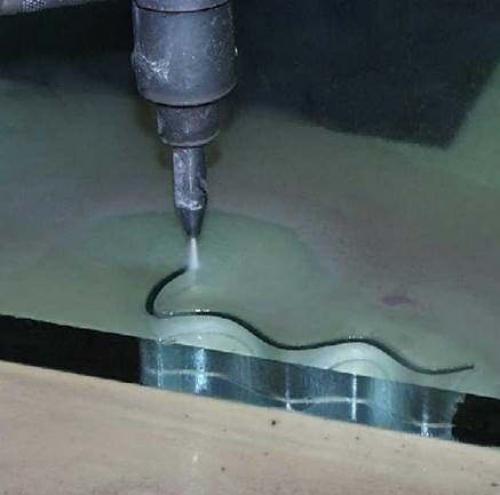
Life can sometimes be puzzling with a completely unexpected problem. For example - how to cut glass without a glass cutter, if it was suddenly not at hand, and the work needs to be done urgently? Not everyone has it on the list of required tools.
You don't want to buy it for a one-time job - once in a lifetime you cut a new mirror, and then the tool will lie around for years without use. For example, in the evening, young football players knocked out the glass for you with a ball. You are covering the hole with glass from some interior room, but it is a little larger in size.
Meteorite72 - the best online store of LED lighting! Products of the highest quality, impeccable service, the widest assortment, excellent prices, warranty. View products >>>
What to do? Glass cutters are clearly not working anymore, running around neighbors in search of it is not a fact that you will find it. So that we have to remember the folk methods of dealing with fragile material.
How to cut glass without a glass cutter? Several methods have been invented to solve this problem. Each of them gives quite high quality results.
We hope that our tips will come in handy if the necessary tool is missing or lost among other things.
{banner_content} This method is not universal and is suitable only for thin glasses with a thickness of no more than 3 mm. But almost the simplest. In addition, it allows you to cut not only in a straight line, but also figuratively, if you need glass of a certain shape (for example, an insert in a door). Another disadvantage is that you won't be able to cut too large a piece. First of all, take a shard of the same glass and try to cut on it. If the glass cracks during operation, it means that it is tempered, and this method is not suitable in this case. If everything is in order, then let's proceed.
The desired contour is marked on the glass with a marker. Or a line is drawn if you just need to cut off the excess. Some craftsmen advise cutting out the template from cardboard and sticking it on the glass. In our opinion, this is not a good idea.
Firstly, the paper will get wet, and its rags will interfere with work.
note
Secondly, there may be problems with the glue: the water-soluble one will not hold the template, and the waterproof one will then have to be removed from the surface with something - unnecessary trouble.

Water is poured into a wide basin. The edge of the glass to be cut is lowered into it. The deeper the piece is immersed, the easier the process will be - it is helped by the pressure of the water. You take strong scissors like tailors, plunge under the surface, and trimming begins. The sensation is more difficult than when cutting paper or fabric.
Rather, they resemble working with cardboard. This also produces crumbs, so it is better to cut with safety glasses in case of a rebound if you did not immerse the glass deep enough in the water.
Gloves also do not hurt, and they will, perhaps, be even more useful than glasses, since you will not notice the fragments in the water, but they cut hard.
Many people do not believe that scissors cut glass, and they are very surprised to try that this is really possible.
In cases where the glass is thick or so large that it does not fit in the basin, it is suggested to find it in a soldering iron. Some have used a woodburner for similar purposes. And those who are especially poor for a tool - even a red-hot nail.
Although it will take a very long time to bother with cutting glass, since you need to constantly heat it up.
The glass is placed on a flat surface.
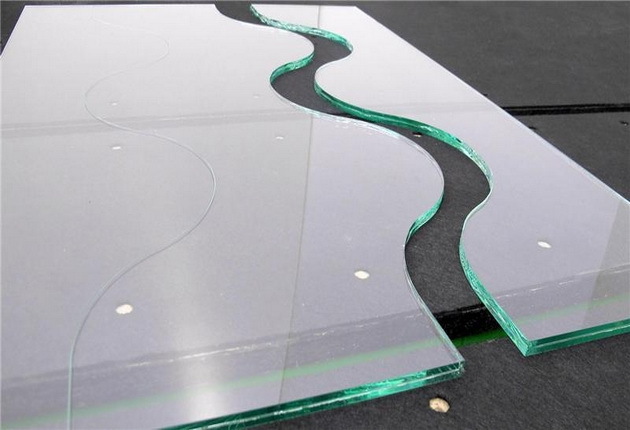
The cutting line is outlined. Here, by the way, curly cut is also available.
At the very beginning of the line, a neat, not too deep file is made on the edge of the glass with a file or file
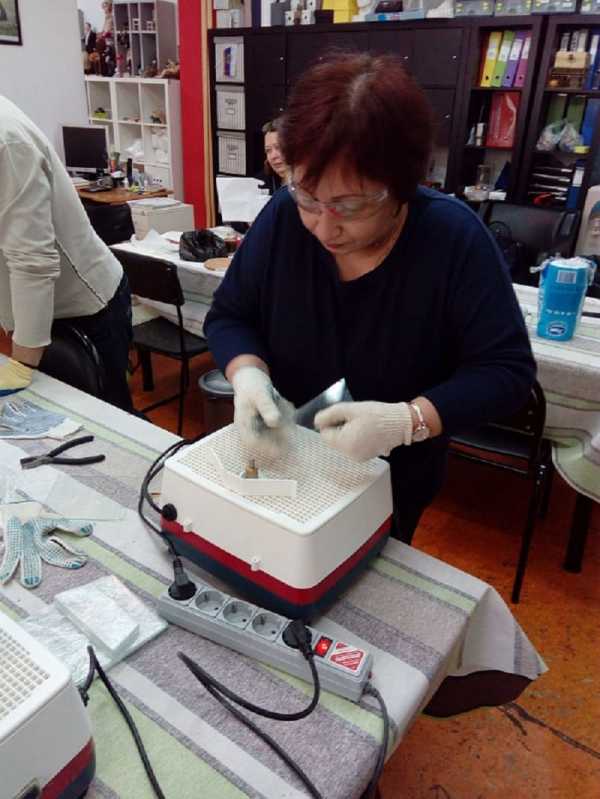
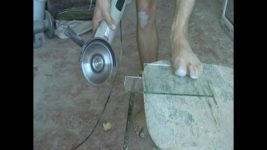
You can tear off the edge with a grinder (only extremely, carefully, at the lowest speeds!) Or even scratch it with a nail.
The soldering iron turns on. When heated, it is inserted into the incision.
The soldering iron is slowly, without much pressure, is drawn along the drawn contour
If the line is straight, and you are not sure that you can draw it straight at such a low speed, attach a metal ruler and move the soldering iron along it.
A thin crack appears behind the tool along the traced line. To separate two pieces of glass, a thick mitten is put on (a kitchen oven mitt is suitable at home) and the unnecessary cut is neatly broken off. If you have a curly cut, it is better to lead the soldering iron as slowly as possible so that a fraction of a millimeter remains to break off, and the openwork is not damaged when separating the pieces.
4 Cutting material - a detailed algorithm for beginners
To cut the glass evenly, it will need to be annealed. This process involves uniform heating of the surface of the material. Thus, it will be possible to eliminate the stress that has formed as a result of hardening. It is the stresses that become the main obstacles to precise cutting of the material. Annealing must be performed in a specific order. First, heat up the water and keep it warm. After that, the glass is dipped in liquid until it heats up itself to a certain temperature. A specific temperature is required for cutting different grades.

Correct glass cutting
For example, Effetre and Bullseye must be heated to 504 ° C. Higher temperatures require borosilicate material, which must be dipped in water up to a temperature of 567 ° C. Satake glass requires less heat - about 470 ° C. Small beads will take on average no more than 30 minutes to soak. Larger beads should be kept in water for about an hour. The paperweight needs to be soaked for 12 hours. The largest products, the weight of which exceeds 50 kg, sometimes need to be kept in boiling water for several months.
Once the desired temperature is reached, cool the material slowly. The final temperature of the finished glass should be slightly below the temperature limit at which the glass deforms. This figure is on average 1014.5 Poise. Do all work very slowly to avoid the slightest stress.For cooling, you will need an oven in which the temperature of the material must drop to room temperature. After the glass has cooled down, put on your glasses and start cutting it. To do this, take a square and outline the notch line.
Be extremely careful as you can only run the glass cutter along the line once. The next step is to take a rod, set it exactly under the notch line and make a sharp push on both sides of the glass. If you did everything exactly according to the algorithm, then the material will break into two neat, even parts. To keep the cut lines safe, they need to be treated with a grinding stone.
If you have the time and desire, then the glass can be tempered again. However, it is best to trust a specialist who has both the skills and equipment for this. Due to the lengthy and complicated cutting process of tempered glass, many take a different path. They buy ordinary glass, cut it into the necessary pieces, and then take it to professionals for tempering.
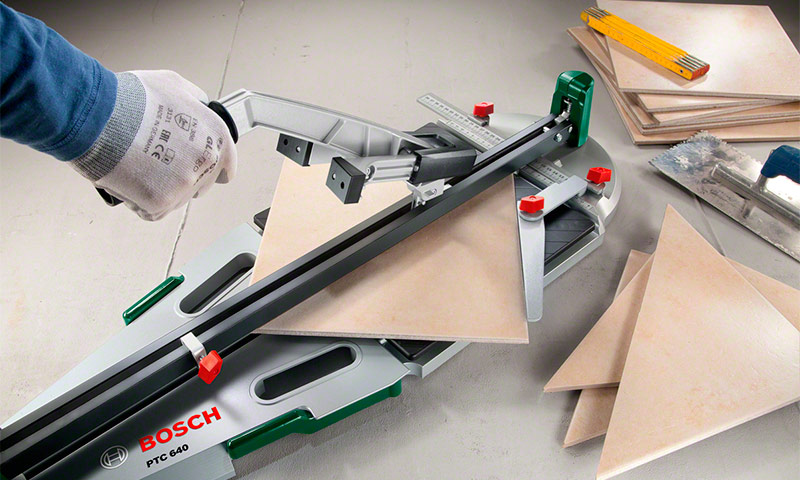
How to cut ceramic tiles with a glass cutter?
If the tile and glass cutter match each other in terms of properties and characteristics, you can proceed directly to trimming.
Preparation for work
First, you should decide on the number of tiles and purchase a little more elements ahead of time than calculated by the area. This will allow you to perform a training cut and hedge against marriage. You will need the following set of tools:
- glass cutter;
- strong ruler or triangle with a thickness of 2-3 mm;
- a device for applying markings - a marker or pencil;
- thin lath made of wood;
- a grinding device - a file, a file, a drill with a grinding attachment.
 Since a glass cutter roller is recommended for working with tiles, you will need a roller lubricant. From the preparatory work, one can mention the obligatory soaking of ceramics. Water will fill the smallest pores and cavities in the material, the tiles will become less brittle and will not crumble during cutting. The minimum soaking time is 1 hour, the optimal one is at least 3 hours.
Tile markup
After calculations for laying the tiles, they are determined with the configuration and dimensions of the product. The markings are applied with a marker on the glossy side. The marker can be replaced with a soft pencil or felt-tip pen.
It should be noted that the glass cutter will not take a strip less than 1 cm wide, and it will not be possible to break such an edge after cutting. Therefore, experienced craftsmen recommend leaving an allowance of about 1 cm - it is better to grind off excess ceramics than to re-cut the element.
Cutting ceramics
Step-by-step instructions for working with ceramic tiles:
- The tiles are laid with the glazed side out. Measure and mark the verified distance from the edges.
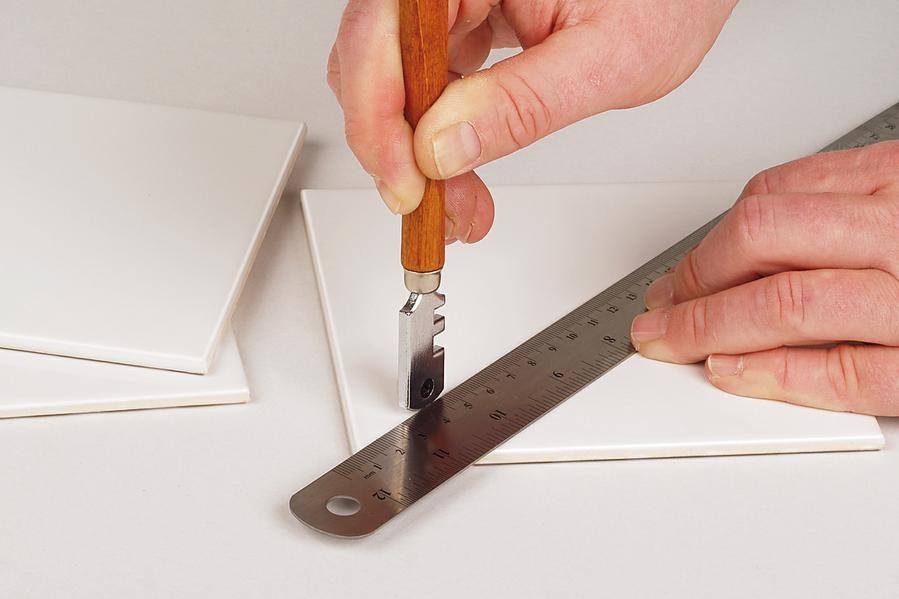
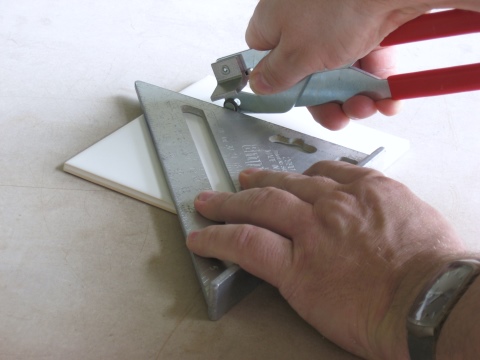
- Pressing a ruler or square to the cutting line, make an even furrow with a glass cutter. The ruler should be pressed along its central part, and the glass cutter should be pressed with moderate force and as evenly as possible so that the depth of the groove is the same along the entire length of the tile.
- There is no need to cut through the entire thickness of the tile, the remaining layer can be easily broken by hand.
Fracture along the cut line
Craftsmen distinguish two methods of breaking a cut tile:
- put a rail or a nail under the groove, press on the central zone and split;
- lay the ceramics on the workbench so that one of the edges hangs from it - it will be enough just to press on the hanging part with your hand.
If you need to break off a narrow ceramic strip, you should use a pair of pliers.
The fault will turn out to be smooth only when a single clear cut is made on the surface. It is forbidden to move the tool along the element several times.
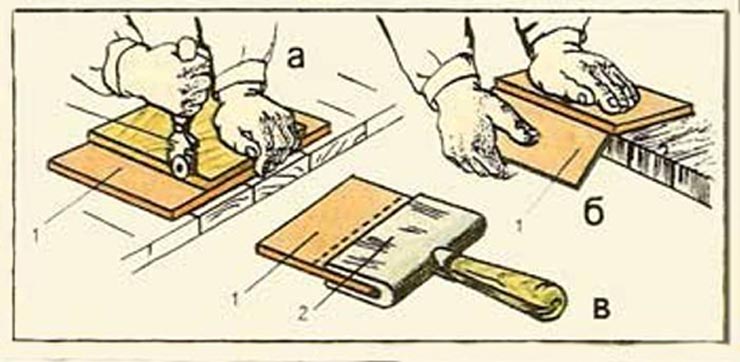
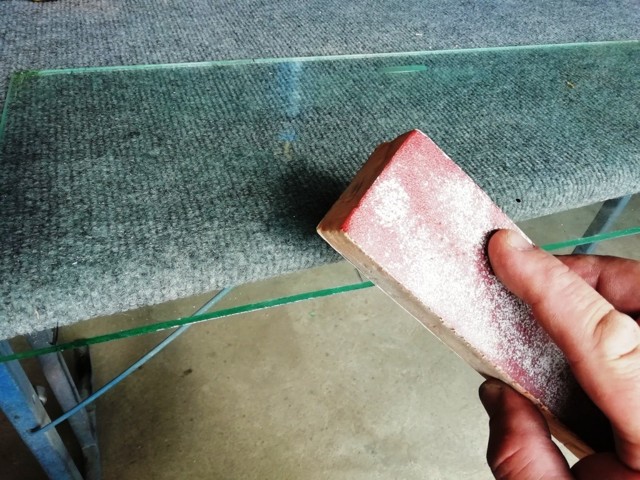
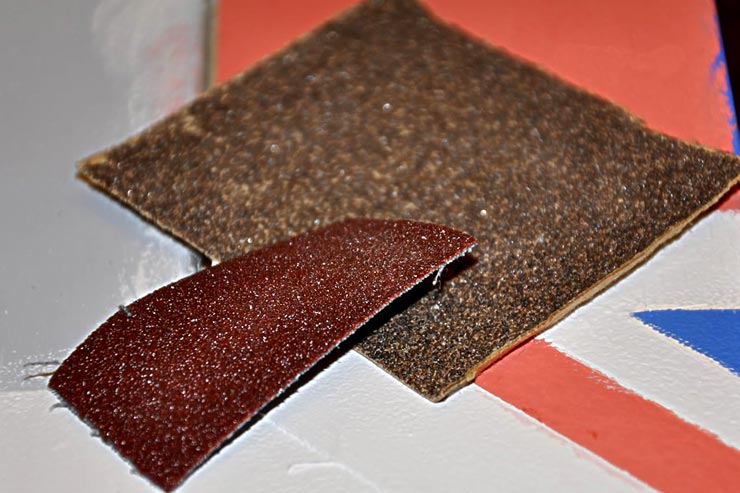
Finish the work with grinding, which will allow you to get an even edge, remove burrs and chips. Coarse sandpaper, a grinding stone or a file will come to the rescue.
A bit of theory
Glass production is based on melting, followed by cooling of minerals of various compositions. After the end of technological processes, a transparent, relatively strong structure is created. It normally withstands mechanical loads evenly applied to the entire plane, but poorly resists local impacts.
Conventional cutting is based on scratching with the hard, sharp edges of the glass cutter roller. They reduce the strength of the surface and at the same time form microcracks, which, under the action of operational loads, for example, wind gusts, snow cover pressure, lead to destruction during operation.
At the factory, during casting, a high-quality glass edge is created without defects that reduce the mechanical characteristics of the sheet. Consider how it is formed by a conventional construction glass cutter or its industrial automatic counterpart.
Instructions for using a glass cutter
Let's figure out how to cut glass with a glass cutter at home. For convenience, we will distribute the entire workflow into several stages.
Preparatory activities
Such events influence a lot. The preparation depends primarily on the glass you choose to cut. The purchased material should be wiped off dust using an old newspaper so that streaks and lint do not remain on the surface. Used glass requires more thorough preparation. To begin with, it should be washed with the use of special products. After that, the surface is degreased, the glass is dried in a closed room so that dust does not settle on its surface.
Open the glass
Many also refer this process to the preparatory stage, but we will single it out as an independent type of work. It is no secret that there is no absolutely waste-free production for this type of work, especially if the ultimate goal is to obtain a product with unusual geometric parameters. But if you first calculate and outline how to cut glass with a glass cutter, you can minimize waste. Experts recommend combining the longest side of the glass with the longest edge of the workpiece. At the same time, you should not rush to throw away the remaining trimmings - they may be useful in the future.
Cutting technique
It remains to find out how to properly cut glass with a glass cutter. This requires a flat surface. So that small glass fragments and other debris do not interfere with us, the table is covered with soft material, the thickness of which reaches 3 - 5 mm.
Now - attention! Only one cut is made - it is forbidden to carry out the second time in one place with a glass cutter.
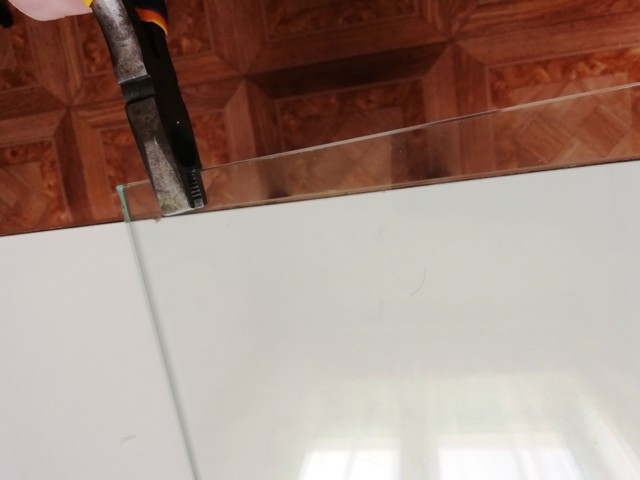
If the tool is roller, more pressure is exerted on it than on a diamond one. Correct cutting is accompanied by a characteristic crunch. Closer to the edge of the glass, the pressure is released to prevent chipping and damage to the cutting edge of the tool. After that, an even strip is placed under the glass, a break is made along the cutting line. Previously, it is recommended to knock on the line with the handle of the glass cutter in order to deepen the cracks and facilitate the breaking process. If you need to break off a narrow strip, you can use pliers or a glass cutter handle, which has special grooves.

