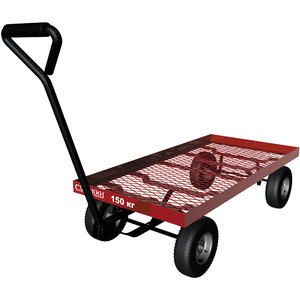
4 DIY making
The process of assembling the device yourself is fun, but it can be difficult. To exclude them, it is worthwhile to familiarize yourself in advance with the advice of those who have already gone through this. Before making a wheelbarrow with your own hands, you should study the recommendations for this process:
Before starting work, it is necessary to create a project according to individual dimensions, taking into account the subtleties of the selected design and make a drawing;
It is important to think over the volume of the body, focusing on the planned work with the future tool;
When choosing sheet steel, it is important to make edging along the edge to avoid accidental injuries;
Profile pipes are fastened through or welded tightly so that water does not stagnate in them;
It is necessary to accurately calculate the location of the axle of the wheels, for even distribution of the load;
It is better to close the edges of the handles with rubber;
At the rear of the wheelbarrow, on the lower level, it is necessary to build an emphasis.
Step-by-step instructions for making a wheelbarrow on a frame made of a metal corner and a shaped pipe on two wheels:
- 1. It is necessary to prepare the material:
- metal sheets 1mm thick;
- wheels - 2 pcs;
- pipe 20 mm for the axis (not hollow inside);
- metal corner, profile pipes.

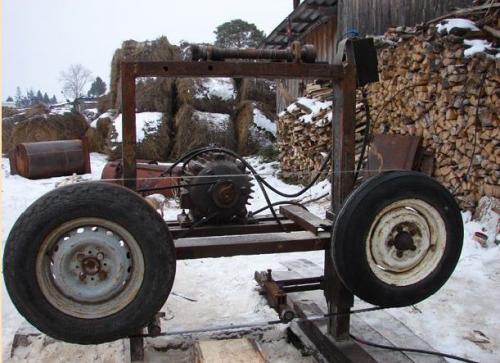
- 2. First you need to assemble the axle. To do this, the pipe is cut to the desired length and an axis for the bolt is cut at its ends. They have the wheels restrained on the outside. The inner part of the axle sits with the washer welded on. The wheels sit on the bearings. Moving parts are treated with "Lit" to prevent moisture penetration and ensure sliding.
- 3. The frame is welded from metal corners, and then the body. The bottom of the bucket is smaller than the top, they are fastened with jumpers. The bottom is additionally reinforced with profile pipes. But the bottom also needs support so that the metal does not deform.
- 4. Next, the handles should be welded. They are made in an H-shaped form. So that the arms bend evenly, two pipes are fixed with spot welding, heated and given the necessary condition. After that, they are disconnected and fixed in the back.
- 5. Then the axle must be secured. It is slightly shifted back: they do this so that the front of the bowl drops easily. The pipe is fixed to 2 corners.
- 6. An emphasis is attached to the rear of the structure.
The do-it-yourself garden cart is almost ready. Now you need to cut out pieces of sheet metal, attach them to the frame, clean and paint. This will prevent corrosion of the product.
You can make a garden wheelbarrow and from improvised means. A 200 liter barrel is perfect for this.
It is important to ensure that no bitumen has been previously stored in it. Otherwise, everything that is transported will smell of oil.
Making such a wheelbarrow is easy, just follow the instructions:
- 1. The first step is to cut the barrel lengthwise.
- 2. The resulting container is fixed to the frame, moving it closer to the handles. This helps to get enough sleep even for damp loads.
Old headboards from metal beds can also be used. On their basis, you can make frames for a wheelbarrow with your own hands. This is especially true for two-wheeled models. It is enough to follow the step-by-step algorithm:
- 1.By welding, the backrest must be extended to the handle.
- 2. After that, the main parts of the product (axles, wheels, stop, etc.) should be fixed on it.
Projects, drawings and dimensions of self-made structures
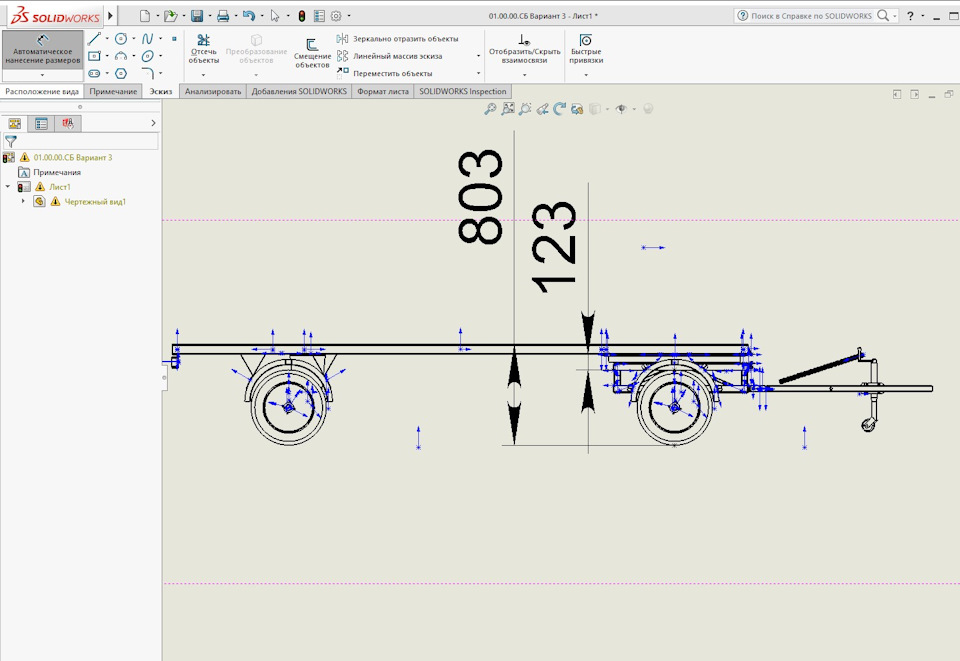
Before getting down to work, you need to prepare a project, that is, a drawing or a sketch of the product. DIYers rarely repeat the existing design entirely and always come up with something of their own.In this case, a set of drawings of various carts is useful, based on which you can prepare your own.
In this case, one should be guided by the following considerations:
- with one wheel it is easier to maneuver, but stability will have to be provided by the muscles of the arms;
- the wheel located in front simplifies the design, but half of the weight of the load will go to the arms and lower back;
- the wheel located under the bottom reduces the load on the person, but the load is high and the trolley loses its stability;
- two wheels guarantee stability, but they are more expensive and the trolley is more difficult to navigate in tight spaces;
- a large diameter wheel rolls better on uneven ground, but the load is higher and stability is reduced;
- a trolley made of a reliable profile will last a long time, but it will be unnecessarily heavy;
- a trolley of a special design for a specific load and a specific road is always more convenient than a universal version.

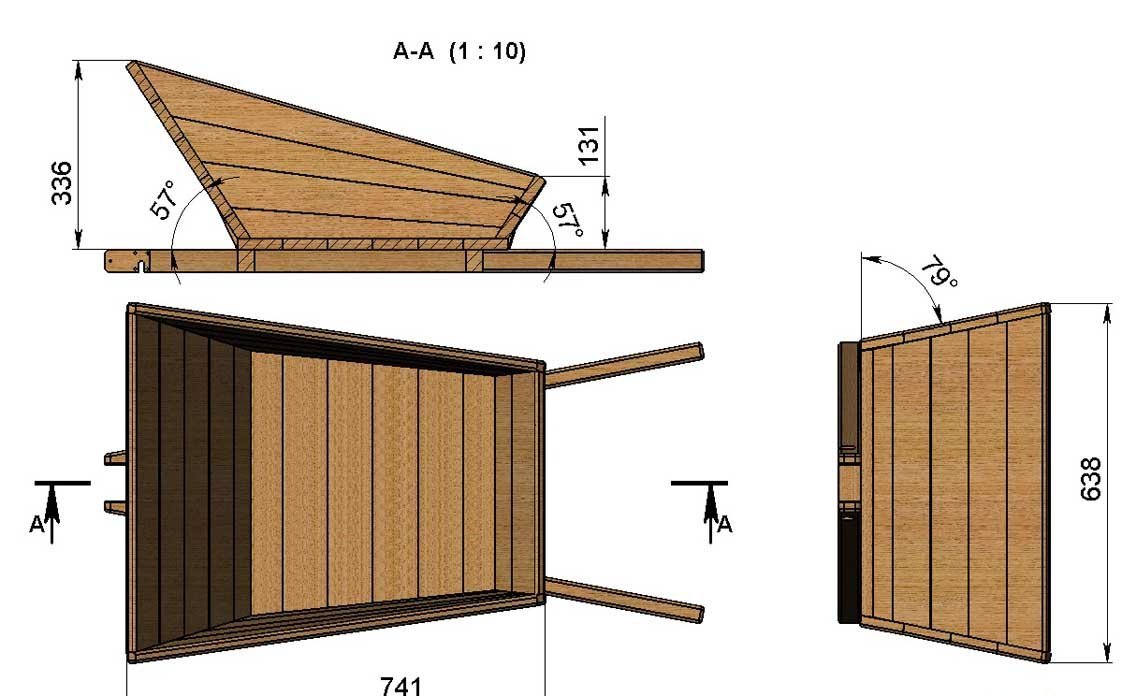
This drawing can be used to weld a standard building wheelbarrow for bulk materials with one wheel. A trough made of galvanized metal is well suited for this design.

This photo shows a two-wheeled version with a high platform. It is convenient to transport large items, such as boxes, on it.
Here is another version of the high trolley, now on bicycle wheels. It can be used either manually or attached to a bicycle.

This platform is also designed for bulky cargo. It has one wheel and can only be moved manually.

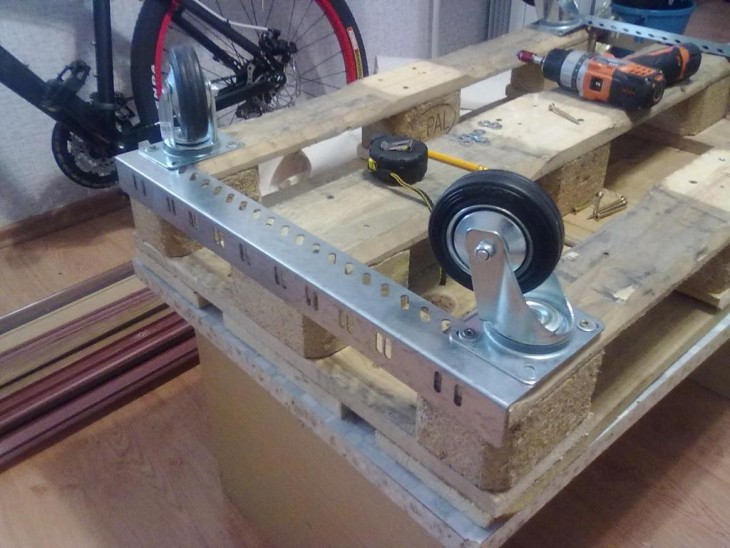
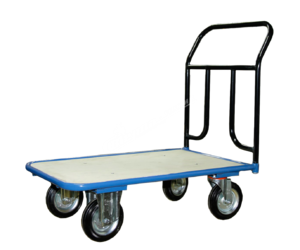
The small-wheeled version offers a flat and firm base for movement. It is convenient to transport large and heavy items, such as beehives or refrigerators, on such a cargo trolley, since they do not need to be lifted high.

The wooden wheel structure should be considered a decorative craft for the garden. Decorations made of wood or plywood should be carefully processed, painted and flowers placed in it.
What is a trailer for a walk-behind tractor
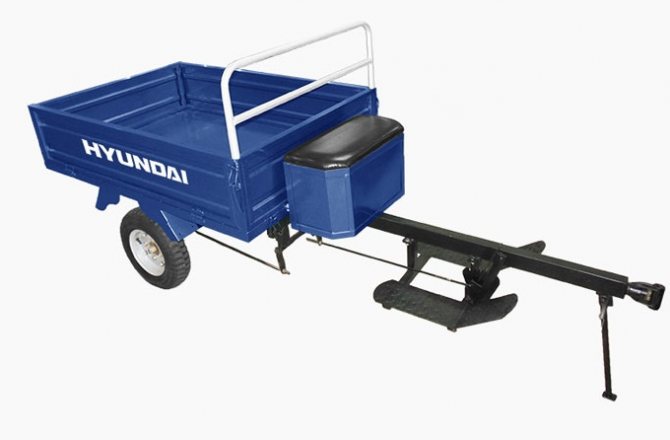
The hitch to the walk-behind tractor consists of:
- body;
- wheels;
- wings;
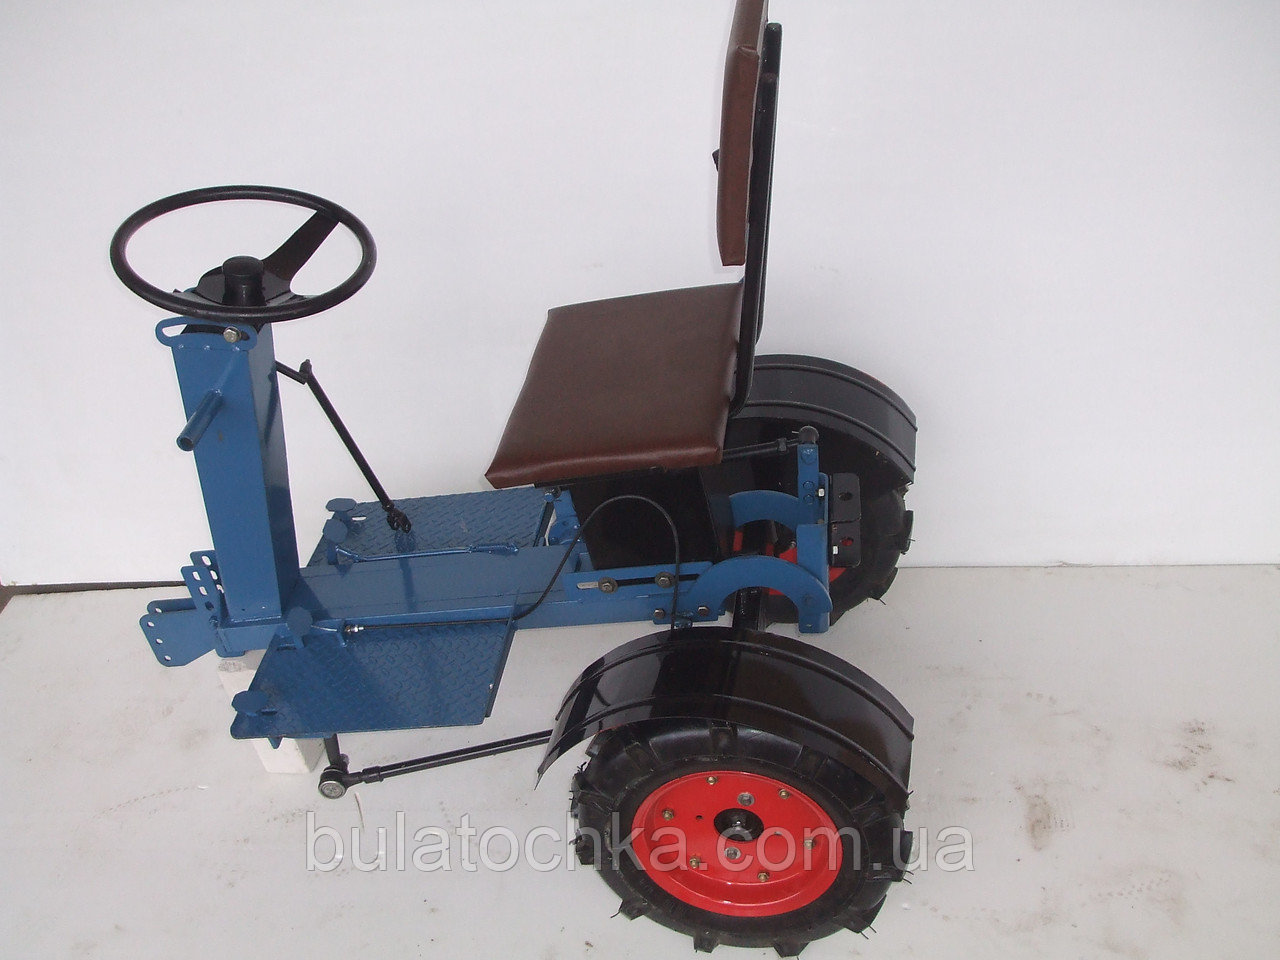
- seats;
- drawbar;
- brakes.
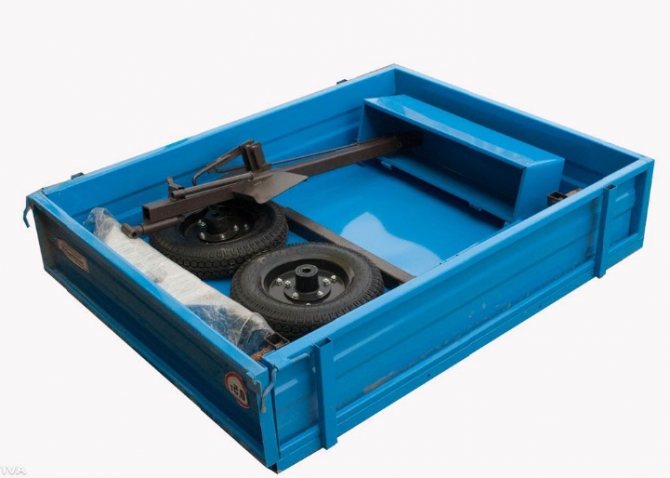
The body's ability to withstand a particular load depends on the build quality. The cart must be made of durable material that can withstand the weight of the load and all weather conditions. In addition, it is desirable that it have folding sides for easy loading and unloading. Dimensions should be roomy and correspond to the power of the walk-behind tractor.
Wheels are used on carts: automobile wheels, from a motorcycle, etc. The main thing is to withstand heavy loads.
There are also fenders on cars. They serve as protection against stones and dirt from the wheels.
All modern trailers are equipped with seats. Some craftsmen build a box under them to store the necessary things.
The drawbar is a triangle-shaped mount that connects the trailer to the walk-behind tractor.
Brakes will improve the process of transporting goods.
Trailed equipment for walk-behind tractors can be purchased from agricultural machinery manufacturers, or you can make a home-made trailer for a walk-behind tractor. Let's consider both options.
There are many ready-made models for motor cultivators on the market. They are of different sizes, weight, carrying capacity and cost. Their plus is that they are assembled by professional mechanics according to pre-developed schemes. You do not waste your energy or time on this. The disadvantages are, firstly, in the search for a bona fide manufacturer that sells quality goods, and secondly, a good-quality product is not cheap.
The walk-behind tractor plays the role of a horse team. It acts as a drive connected by a drawbar to the trailer. For this purpose, such brands of motoblocks as: Patriot, Ural, Cayman 320, Forza, Krosser, Foreman, Viking, Texas are suitable.
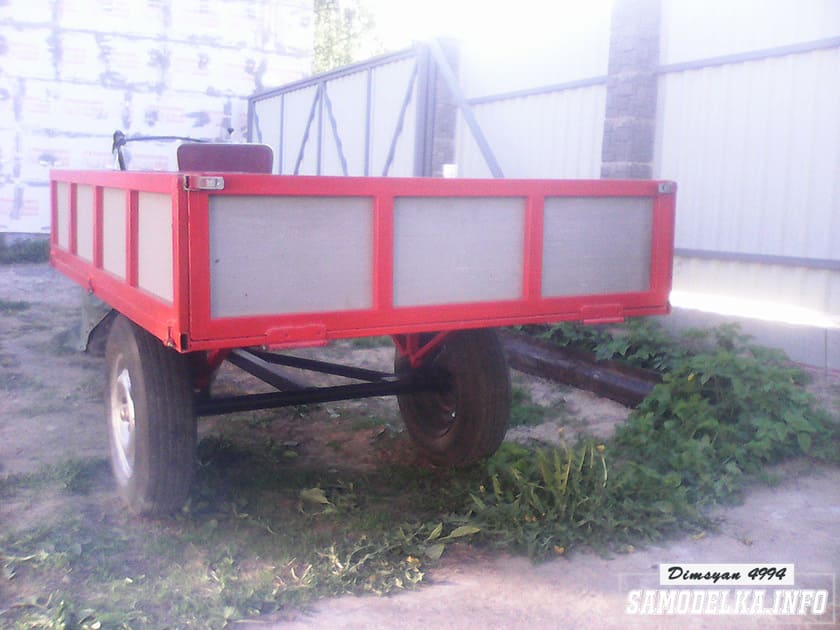
You can make a trailer for the Neva walk-behind tractor, made of durable metal. Carrying capacity of the body is 500 kg. The trolley has a brake drive, which makes driving easier.On the Internet, you can find a lot of drawings of trailers for the Neva walk-behind tractor. They have a good design with minimal consumables.
Among the finished models, you can find a device with a dump truck function. The design is basically the same as on a conventional trolley, but with a modification that allows unloading by tilting the box. Although this model is more expensive, it is necessary on the farm.
The manufacture and assembly of the trolley is often carried out by the owners of the walk-behind tractors. There are a lot of homemade products, but they can be assembled according to the same principle - a running gear on wheels, sides and axles to connect a trailer with a walk-behind tractor.
From the beam VAZ-2109
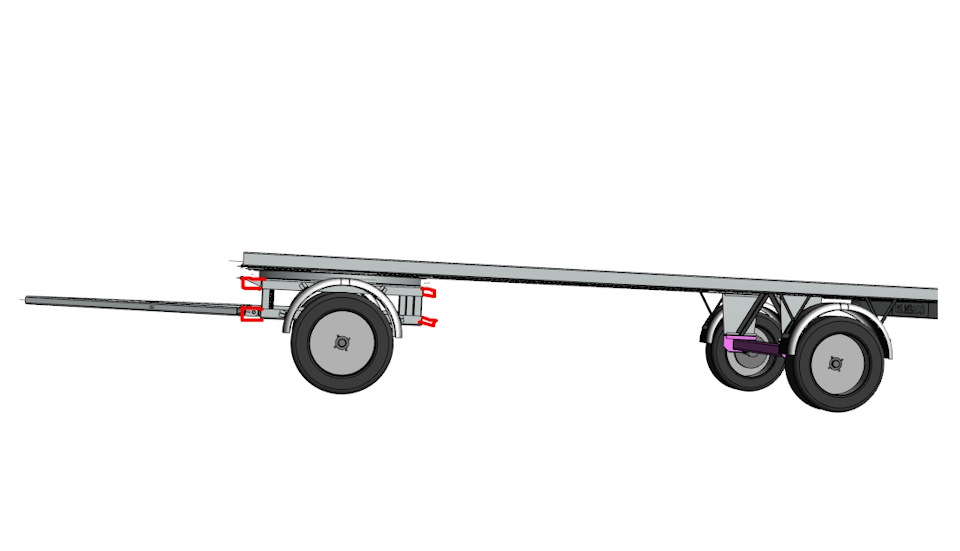
The VAZ-2109 beam trailer is suitable for motoblocks with high power - 10 hp. The structure will be quite heavy, so a lot of pulling power is needed. These trailers have a high carrying capacity.
Making a trailer from a VAZ-2109 beam with your own hands is simple, just watch the training videos that are available for free. You can also find drawings and dimensions of the structure, almost any will do, with one or two axes.
The beam will be used as an axle; for the rear axle, a whole axle with wheels from the VAZ-2109 is suitable. For the front axle, one beam will be enough, the wheels can be any. For large trailers, wide wheels are recommended to ensure flotation and stability.
The advantage of a trailer for a walk-behind tractor based on a beam from a VAZ 2109 is that you do not need to spend time making additional units, especially if the whole rear axle is taken.
How to make it yourself?
To get a good homemade design, you need the following material:
-
self-tapping screws for metal processing;
-
steel corners;
-
nuts and bolts;
-
Sheet steel;
-
legs for support.


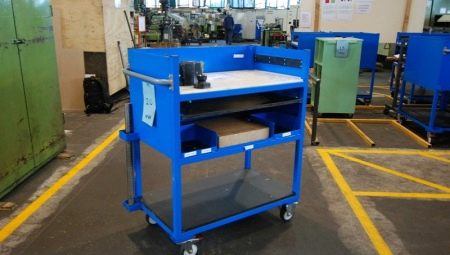
First of all, you need to take 4 corners and make their connection with self-tapping screws. You should get something like a regular window frame. Then another block of the same type is made. The resulting frames need to be pulled together using vertical elements - the same corners cut to the size of the drawing of the future product.
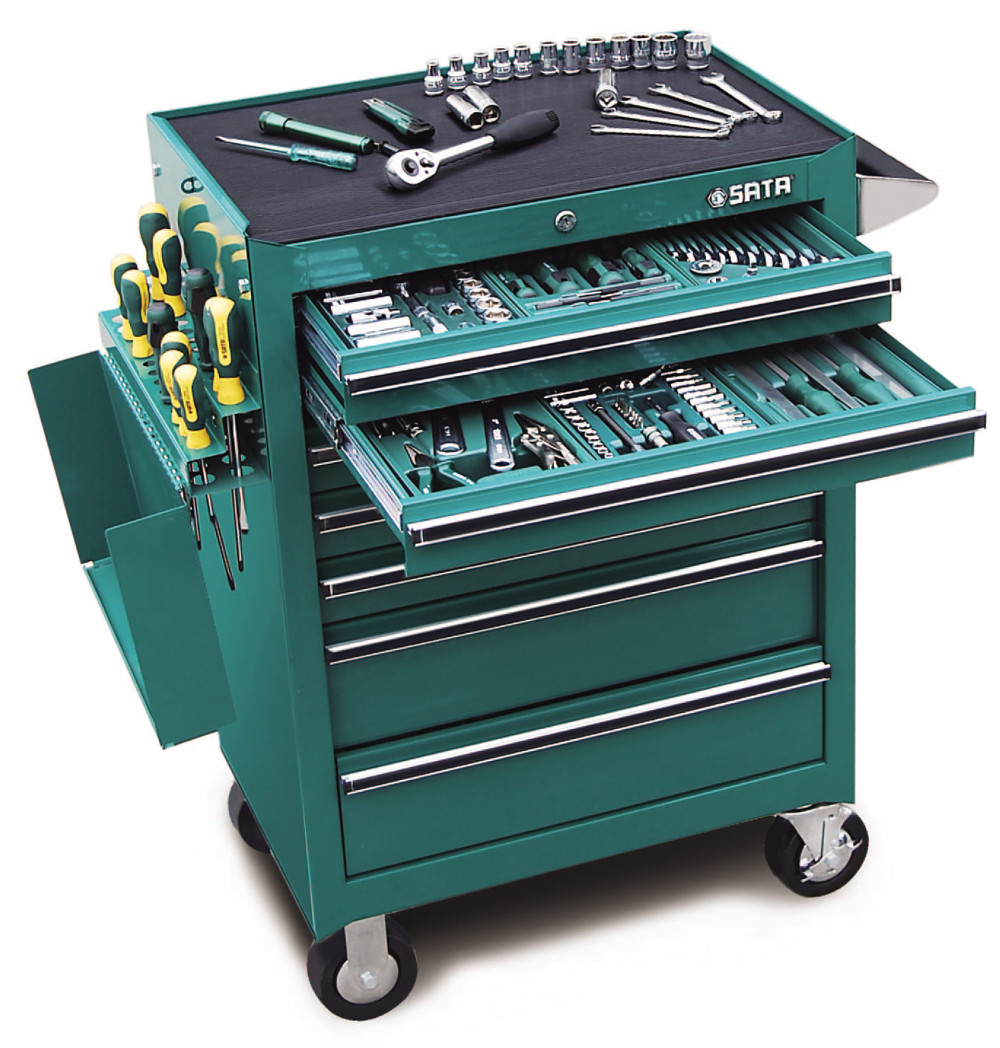
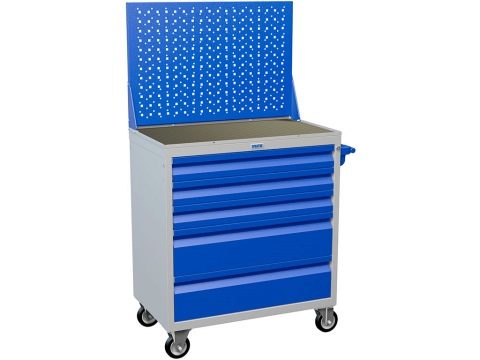
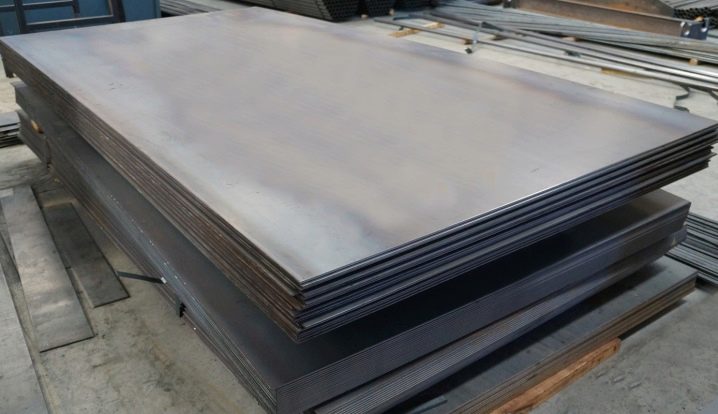
When making a mobile trolley for tools, it is necessary to cover the device with a "table top" on which it will be convenient to work. For this, sheet metal 3-4 mm thick is well suited. Then 4 legs on wheels are prepared or selected ready-made.
Judging by the reviews, this design works stably and does not collapse even under heavy load. For work, you can also use:
-
old pieces of metal;
-
cutting pipes;
-
unnecessary corners.
2 How to make a garden wheelbarrow yourself?
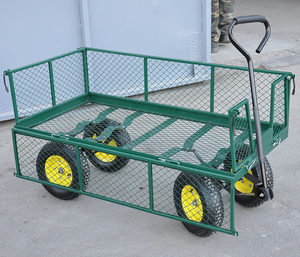
If you do not want to spend money on buying a wheelbarrow in a store, you can make it yourself from improvised means.
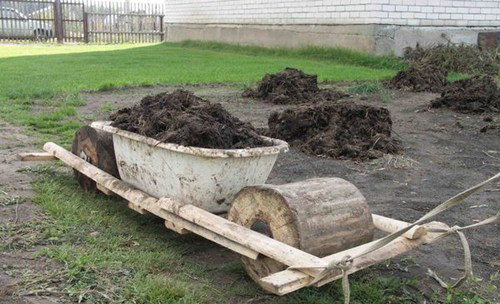
Country car made of scrap materials
If there was no such thing at home and you decided to buy it in the store, keep in mind that it is better to buy pneumatic wheels where the bearing is installed. A very important element for a pneumatic wheel, which acts as a shock-absorbing device, is a high-quality chamber that can withstand high pressure.
2.2 One-wheel garden wheelbarrow made of wood
So, prepare the following materials:
- boards for the body or a ready-made container (wooden or metal) that will be used as a body;
- 2 identical bars for the manufacture of a mounting frame on which the box and the wheel will be mounted;
- wheel;
- wooden overlay for connecting the bars to each other;
- a metal hairpin that will act as an axis;
- washers, nuts, dowels.
If the body will be manufactured separately, it must be built from prepared boards. At the same time, it is better to make the front side of the body slightly lower than the other three for the convenience of unloading the transported materials.

Homemade one-wheeled cart made of wood
The frame is made in the shape of the letter A from wooden blocks and spacers. At the end of the frame, where the wheel will be, you need to make a hole for the stud.
The wheel must be properly secured between the bars.To do this, you need to drill a hole for the stud in one of the bars. Having inserted the pin, it is necessary to secure it on both sides with a washer and a nut. Now you need to check how the wheel is spinning - it should turn around easily and not wobble. If everything is in order, tighten the nuts with a wrench. At a distance of 15-36 cm from the wheel, you need to fix a wooden pad of a suitable size.
Now we attach the body (trough) to the trolley, attaching it to both parts of the frame and the pad. The body must be at least 10-15 cm away from the wheel. Also, if desired, props can be attached to the wheelbarrow: attach 2 bars to the body or frame on both sides. They should not touch the ground when the wheelbarrow is moving, but they can be used as a support if you have to secure the filled wheelbarrow so that the contents do not spill out of it.
2.3 We make a metal wheelbarrow
Metal wheelbarrows are made according to the same principle as wooden ones. This is where you will need to apply your metal welding experience.
There are a few tips to take into account. The metal box and tubes for the frame must not be too heavy
It is better to choose materials that are resistant to corrosion.
It is recommended to weld the frame rather than bolt it
When choosing a wheel for a metal wheelbarrow, it is better to pay attention to wheels with strong spokes, because they will have to withstand a fairly large load. Make sure the parts such as tire, tire, tube, bearing are strong enough to fit the type of product
So, first, a body is made from a sheet of metal. Handles and chassis are welded to it. A wheel is attached to the frame that can withstand the weight of the expected loads.

Strengthening the frame of a garden wheelbarrow
If you have an old metal barrel lying around in your garage, then it is perfect as a body for a wheelbarrow. First, prepare the base: a metal frame in the shape of the letter A. The wheel will be attached to one end of this structure, and the other will act as handles. The barrel is cut lengthwise into 2 parts, one of which is fixed on the frame. The frame is a rack, supports that are needed to fix the body. This is necessary due to the large mass of the barrel. The frame, in the form of metal pipes, is welded to the frame.
2.4 Strengthening the garden wheelbarrow
If necessary, you can convert a garden wheelbarrow into a construction one. At the same time, it is necessary to strengthen the strength of such a wheelbarrow in order to transport heavier loads. Start to strengthen the body. To do this, take a sheet of metal with a thickness of 2 mm. and, bending the edges, give it the shape of the bottom of the body.
Attach the second bottom to the bottom of the container, first detaching it from the frame and handles. For added strength, place a reinforcement between the body and the handles. The result is a reinforced body, as well as attachment points for pipes and handles.
Reinforcement of such a part of the wheelbarrow as the wheel and bearing will also be very useful. It is necessary to measure the diameter of the wheel hub and purchase a bearing of the corresponding diameter. When installing, the bearing must enter the hub with some effort, which will reduce the chances of failure of the wheelbarrow in the near future. In addition, we recommend replacing the wheel axle. In this case, the axle and bearing must fit in size: the outer diameter of the wheel axle must coincide with the inner diameter of the bearing.
5 250
A simple trolley for a walk-behind tractor with your own hands drawings
A trolley for a walk-behind tractor can carry a load of 400-450 kg plus the weight of the driver. She easily carries six or seven sacks of potatoes without overloading.
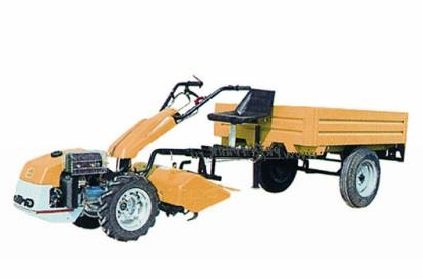
Drawing trolley for walk-behind tractor
Description:
- 1 - bracket for hinged devices of the walk-behind tractor;
- 2 - console;
- 3 - carrier;
- 4 - footboard from planks20;
- 5 - driver's seat made of s20 board;
- 6 - frame;
- 7 - body made of s20 board;
- 8 - support beam from a bar 50 × 50, 3 pcs.;
- 9 - bolt М8;
- 10 - a thrust ring made of pipe st.58 × 4;
- 11 - a wheel from a motorized carriage, 2 pcs.
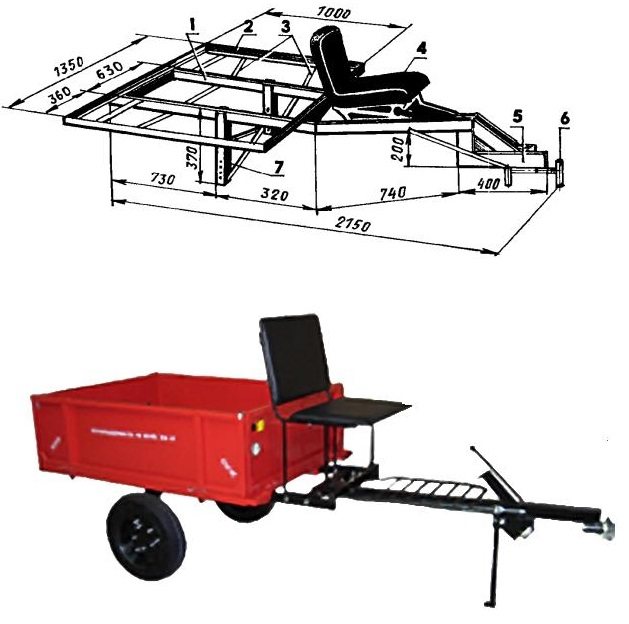
The carrier of the carriage structurally contains only a few parts, which are fastened together by welding.The most congested part will be the coupling of the drawbar to the turning part. Therefore, in this place you need to install additional stiffeners.
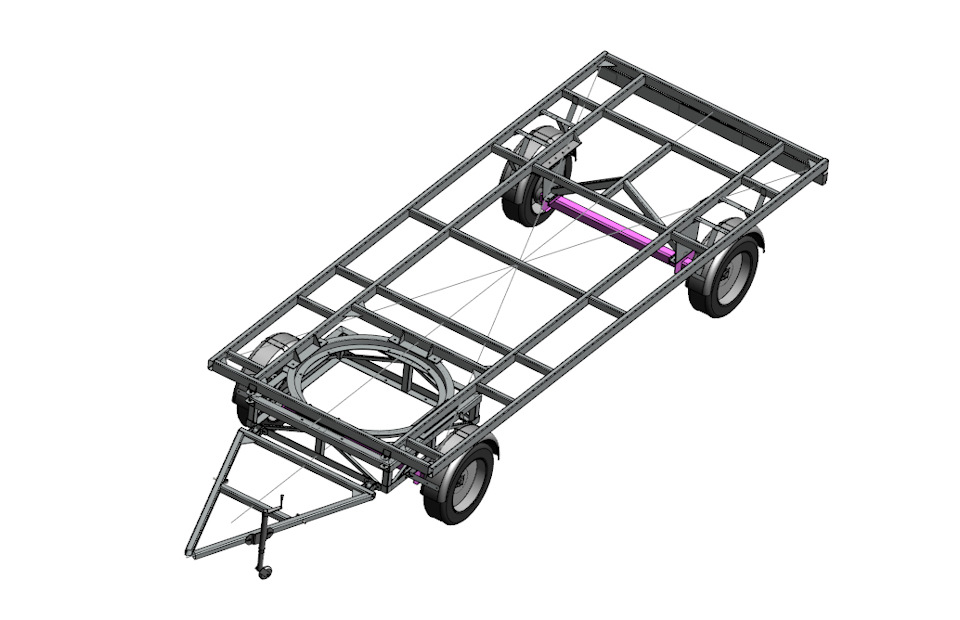
Trolley frame
It is made of steel angle and pipe cuttings with round and rectangular sections. The whole structure looks somewhat intricate and has an excess margin of safety. It is designed for use on rough terrain and hence the tough operating conditions for the cart.
Trolley frame for walk-behind tractor

- 1 - brace from the corner of station L21 × 3;
- 2 - seat frame from the corner of item L21 × 3;
- 3 - riser from pipe st. 50 × 25 × 4;
- 4 - seat racks from the corner of the L40 × 4;
- 5.14 - front struts from the pipe st. 50 × 25;
- 6, 15 - longitudinal spars from the corner of the station L40 × 4;
- 7, 8 - wheel axle supports from the corner of the station L32 × 4;
- 9.16 - rear struts from the pipe st. 50 × 25;
- 10 - a reinforcing cross member from the corner of Art. L40 × 4;
- 11 - body of the longitudinal hinge made of pipe st.58 × 4;
- 12 - wheel axle from a circle of st. 30 mm;
- 13.17 - transverse spars from the corner of the station L40 × 4;
- 18 - kerchiefs (s4).
Those who do not count on such heavy loads can take a simpler option.
Carriage carrier

- 1 - body of the swivel unit;
- 2 - drawbar from pipe st. 49 x 3, L1820;
- 3 - the frame of the footboard of the corner piece L25 × 4;
- 4 - stop from pipe st.58 × 4;
- 5 - stiffening rib made of sheet st.s4;
- 6 - strip made of st. 25 × 4.
A steel circle with a diameter of 30mm serves as a blank for the wheel axle. With an axle length of about one meter, the wheels are under the body. The wheel axle with corner supports and a gusset plate is welded to the spars and the body of the longitudinal hinge.
Body
It is hammered together from 20mm planks, on the corners of which steel corners are attached. The trolley body is attached to the frame through three strong support beams made of 50x50 timber.
Hitch with a walk-behind tractor
The hitching of the trolley and the walk-behind tractor is provided by the console. Its upper part repeats the contour of the tiller holder, as it is fixed in the standard bracket of the hinged devices of the walk-behind tractor. Around the lower part in the form of an axis in two RUP-bearings a swivel carrier unit is fixed. The space between the RUPs is filled with grease and closed from the outside with anthers. Under severe operating conditions of the trolley, the connection between it and the carrier must be articulated.
The drawbar is inserted inside the tubular body of the longitudinal hinge, it is fixed with a thrust ring. This design leads to the independence of the wheels of the trolley from the wheels of the walk-behind tractor, which greatly simplifies the control of the walk-behind tractor when driving over bumps.

1 - console, 2 - anthers, 3,6 - bearings 36206, 4 - housing, 5 - spacer sleeve, 7 - spacer sleeve, 8 - washer, 9 - M20 × 2.5 nut, 10 - oiler, 11 - drawbar. The driver sits on a semi-rigid wooden seat cushion in front of the body. The driver's hands hold on to the levers of the walk-behind tractor, and with his feet he rests on a wooden footboard framed from the corners on the drawbar of the carrier.

