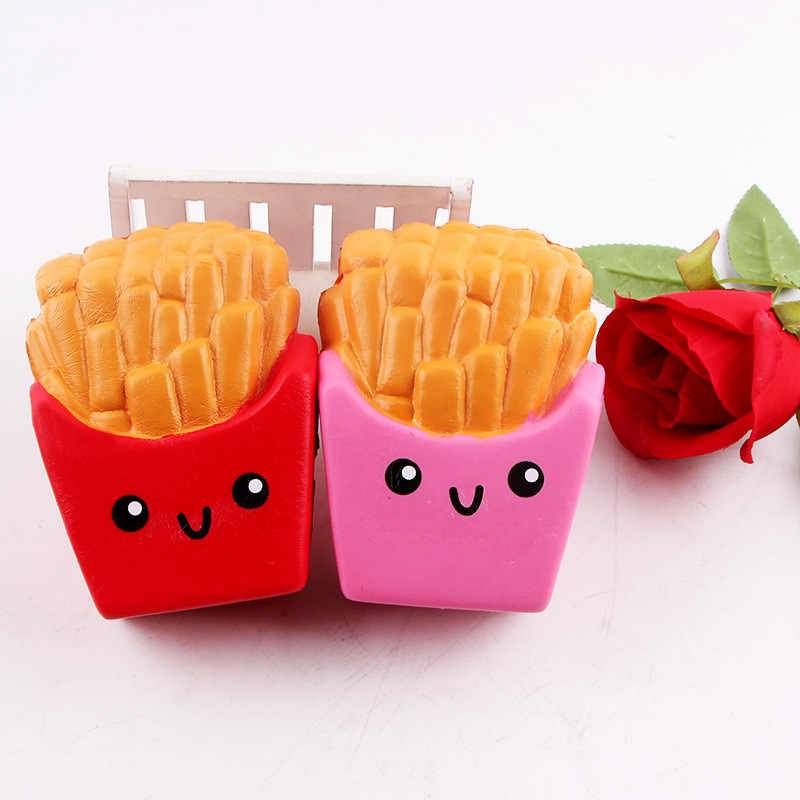
Silicone squishies (silicone sealant)
The first way
Necessary materials:
- silicone sealant;
- sunflower oil;
- yellow, orange and brown paint;
- sponge.
How to do:
- Let's make a fried egg squishy with our own hands. Pour about 150-200 ml of oil into a deep plate. We squeeze out a little silicone there and knead the sealant with our hands until it becomes like plasticine. We repeat the procedure. There should be two silicone balls.
- We lay out one of them in a layer, imitating the white of an omelet, in the middle we make a depression for the yolk. Let the silicone dry a little. After a couple of hours, paint the future yolk with a sponge and give the edges of the protein a brown tint. It will be more realistic.
- All that remains is to place the yolk in the recess and let the sealant dry completely.
Second way
Necessary materials:
- silicone sealant;
- starch;
- felt-tip pens.
How to do:
- Let's make a unicorn head. Pour starch into a plate. We put the right amount of sealant on top and make the head - give the figure a round shape, form the horn, ears and nose with our fingers.
- We leave the head to dry for about an hour. Then you can color the unicorn with felt-tip pens. Let the sealant dry completely - and the squishy is ready!
Examples of interesting works
Hamburger
To make a 3D squish, the components of the burger are drawn and prepared:
- two buns;
- cheese;
- salad;
- tomatoes;
- cutlet.
Having painted the components, they are glued according to the above scheme, filled with a padding polyester or a sponge and glued. The component parts are connected in order and get a 3D antistress toy.
Ice cream
Ice cream in a waffle cup is drawn on a white sheet of paper. You can "revive" squish by drawing eyes, a nose and a smiling mouth, and decorate with asterisks. After the drawing is completed, it is pasted over with tape, folded and the same is done with the second blank side of the sheet. A pattern is cut out of two layers, the edges are glued and a small hole is left. Finely chop the sponge, stuff with ice cream pieces and seal the hole.
Fragrant chocolate
You can make 3D squish even easier. Having bought chocolate in the store, carefully remove the packaging from it. Cut a parallelepiped out of a sponge in the shape of a bar, drip a little chocolate-flavored aromatic oil on it and pack in a wrapper. The hole is sealed with tape
It is important to make a small puncture in the squish with a needle so that it can contract and return to its original position. When pressed, the aroma of chocolate will be felt
Such 3D squishes are recommended to be done with children, and then to use a toy to relieve tension and stress.
p> Share link:
What are paper squishes
Squishies are antistress toys for children. They are twisted, crumpled, squeezed. After such actions, the products restore their shape. The rustling and pleasant tactile sensations have a calming effect, and the rich shades give a positive.
Basically, squishies are small figurines that depict real or fantasy animals. There are also products in the form of food and household items. Among the finished products, there are flavored ones. They have an additional relaxing effect.
One of the common materials used for making squishies is paper. On our portal there are many master classes, which show the stages of making such products.
To make an anti-stress toy, plain office paper will do. It is also permissible to use color. To make the toy bulky, use a soft filler. These include cotton wool or foam rubber. Styrofoam, synthetic winterizer, bags are often used.In addition, you will need scissors, tape, pencils.
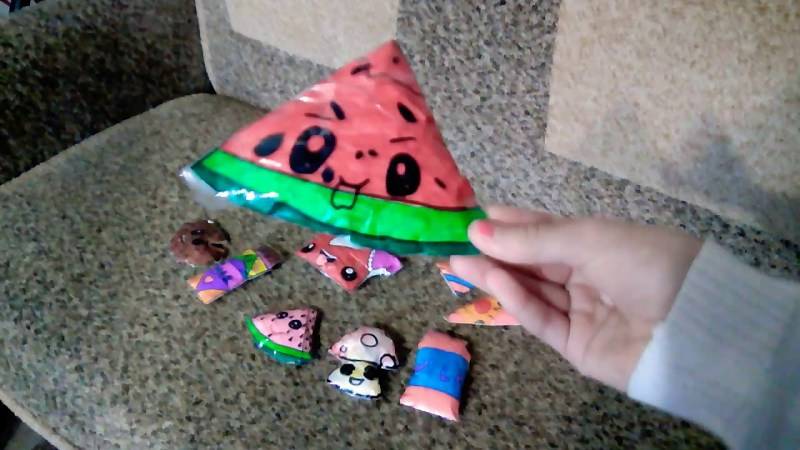
Squishies made of polyethylene
If you figured out how to make do-it-yourself squishies out of paper,
You can easily build a polyethylene anti-stress toy. Better if it is
there will be dense material, for example, a cover from a school textbook or notebook.
The work is done in the same way:
- a figure is cut out of two parts;
- glued with tape (but not completely);
- filled with soft plastic material (foam rubber,
padding polyester, etc.); - the remaining area is glued.
Note that in this case you do not need to glue the entire
the surface of the parts with adhesive tape, since polyethylene is much stronger than paper. Scotch tape
only the edges of the parts are glued.
If the polyethylene is opaque, then you can simply paint
a funny face on it with a marker. If it shines through, then under it you can
insert colored paper or a picture inside.
How to make do-it-yourself squishies out of paper
Paper is the most readily available material, so homemade paper squishies are the most common. It is also not a problem to get a soft filler, cotton wool, foam rubber, synthetic winterizer, small balls, whatever the toys are filled with, can become it. You will also need scotch tape, scissors and a pencil.
How to draw squishy
You can do it yourself, or find a suitable drawing on the Internet and draw it by hand, or download and print it on a printer. When drawing, it is recommended to avoid sharp corners.
How to make squishies from cotton wool
Cotton wool will be a filler if there is no more suitable padding polyester or foam rubber. They do not stray into lumps, but it is better to break the cotton wool into small pieces. So it will be more evenly distributed, there will be less lumps.
How to make squishies without scotch tape
If there is no tape, use glue. The squish halves are connected with small pieces of paper, smeared with glue. We'll have to wait for the glue to dry completely. Plus, scotch tape replaces laminate flooring, extending the life of the toy and giving it an aesthetic look.
How to make 3D squishies out of paper
Alternatively, it is permissible to make the parts of the toy separately, then connecting them with double-sided tape. You can make a drawing yourself or search the Internet. Properly made homemade paper squishes are very funny, taking on different hilarious forms when squeezed.
How to use templates to create squishies
First, a toy template should be created. For this, the selected composition is transferred to paper. The simplest way is to attach the sheet to the monitor and trace the outline of the squish. All lines will be perfectly visible on paper thanks to the natural backlighting of the screen. The required image scale is preliminarily set.

If the toy is double-sided, make two separate (mirrored) halves of the squish. They are colored with felt-tip pens or pencils one by one. This method is laborious, for its implementation you will have to be patient, perseverance. For a one-sided version of the toy, respectively, one template is needed.
Consider a simplified process for creating such a squish:
- Attach a blank A4 sheet of paper to the monitor so that the picture is on one half. Outline the outline.
- Colorize the squish image with paints or felt-tip pens according to the selected color scheme.
- Fold the sheet in half, while the front part will be bright, colored, the back - plain, white.
- Gently glue both sides of the squish with tape.
- Cut the halves of the toy using office scissors.
Then it remains to connect the squish fragments using pre-prepared strips of narrow tape, leaving a hole for the filler on the side or top. The squish is almost ready.
If you make several identical toy templates, and then fill them with different filling options, then you can conduct an entertaining experiment, which one will be more elastic.

Distinctive features of volumetric squish
Many people think that paper is not suitable for squishies, since the material is fragile, tears easily, and it loses its original appearance very quickly. How can the paper return to its original shape if it is crumpled? There are several tricks for this.
Making squishes with your own hands at home is not difficult. They will be twisted and crumpled as you like, but they will still take their original shape. Simple paper anti-stress toys are flat and not at all like those sold in the store. 3D squishies are voluminous, soft, like real ones. The material of their manufacture, although thin, lends itself well to modeling. With the help of a successful pattern and bright colors, they get a real toy.
Light squishies with a pencil
As we have already said, the lightest are those that contain the minimum set of details that are difficult to draw. It's good if the squish has a basic shape and a cute face. Stops for sketching images with a pencil stands on color simple options, which include clouds, pictures of cakes, cupcakes, fruits with different grimaces, for example, a frowning strawberry or a slice of watermelon with a smile. In this style, you can find simple images of animals, their muzzles.
If you are interested in something more original, then you can choose the heroes of the animated series, the same Pokemon. If you are one hundred percent confident in your skill, you can combine individual parts of some squishies. For example, find an image of an animal, sketch its shape, but draw on the facial expression from another squish. Imagine, rely on examples of pictures on the network, try to take risks and take work for sketching is more difficult. When you are ready, you can sketch the pictures in color using colored pens or felt-tip pens. This way, you can create your own anti-stress toys.

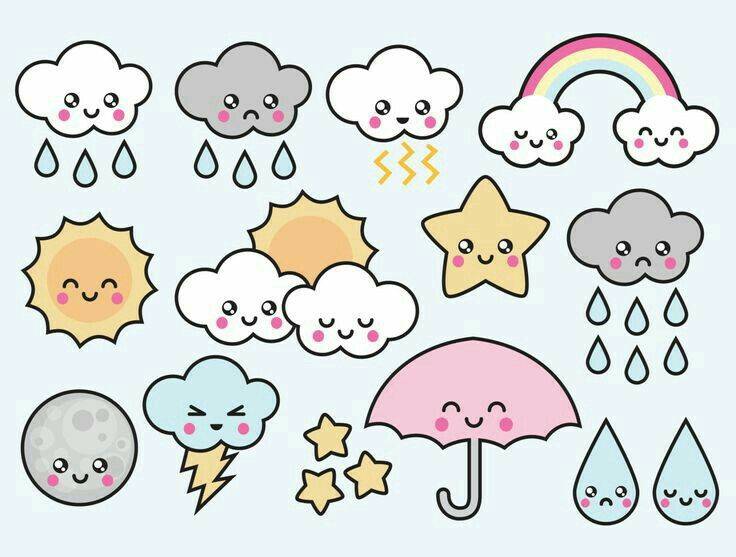


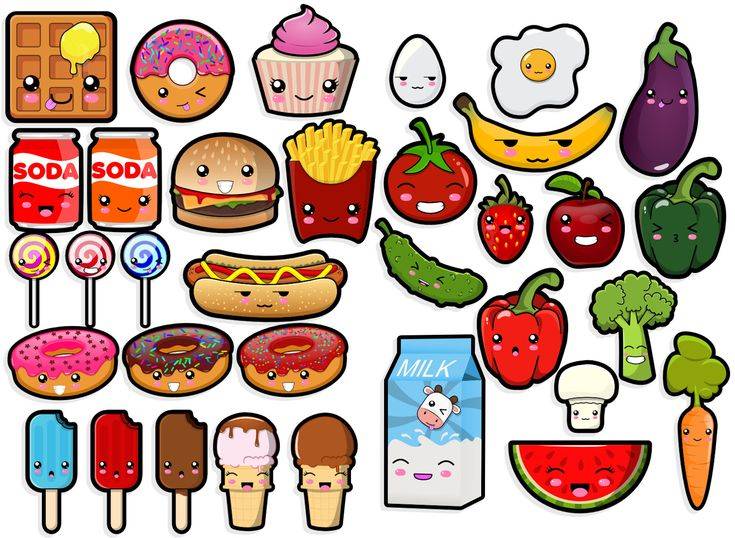




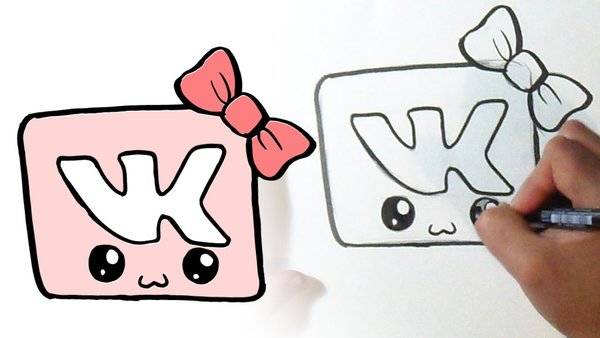
Squishy pictures for sketching are known for the fact that they are made in a unique style, which everyone can repeat after a certain time of training.
Jelly squishies
Necessary materials:
- 3 jars for yogurt of different diameters;
- gelatin;
- food coloring (red, white and green);
- clear liquid soap or shampoo;
- permanent marker;
- plastic cup.
Step-by-step instruction:
- Pour three tablespoons of gelatin with a glass of water and leave for 20 minutes. After this time, pour part of the gelatin into a glass, and put the second portion on low heat. Stir constantly until completely dissolved and then add liquid soap and red dye. Mix everything well and pour it into the smallest mold. We put the jelly in the refrigerator for 30 minutes.
- Once the red layer has frozen, take it out of the mold and place it in the middle of the middle shape. For the white layer, mix a spoonful of gelatin with two tablespoons of milk and a small amount of shampoo. Mix and fill in the second layer.
- We take out the swollen gelatin from the glass and dissolve it. Add shampoo and dye. Put the frozen two-color jelly in the middle of the largest jar and fill the last layer along the edges. Let the gelatin freeze.
- We take out the jelly from the mold and cut into circles. We cut each circle into watermelon slices. We paint black seeds with a permanent marker. Squishy jelly soap is ready!
What else you need to know about making anti-stress toys
Bright and original pictures are the key to success. The costs of preparing a toy, the choice of a specific solution will pay off handsomely. Be sure to consider:
- size (squish should fit in the hand);
- materials used (thick paper);
- the overall appeal of the finished toy.
Having minimal skills in working with paper, rudiments of drawing, even a child can make a squish. In addition, the process itself turns into an exciting experience, genuine creativity.
You can organize a competition among children for the funniest toy or the most attractive in appearance. In addition to paper, a filler is used, which gives the simulator its elasticity.The closest analogue of polyurethane used in factory squish is synthetic winterizer. Medical cotton wool will also work. Good results are achieved by filling the inner cavity of the squish with foam rubber from kitchen household sponges.
To protect the front surface from damage, moisture, use adhesive tape (scotch tape). The fragility of the toy pays off for its ease of manufacture.
General rules and principles of manufacturing
Before starting work, you must prepare materials and accessories:
- paper;
- adhesive tape, scotch tape;
- filler (sponge, cut plastic bag, pieces of foam rubber, cotton wool or synthetic winterizer);
- simple pencil;
- sharp scissors;
- materials for applying decor (paints, felt-tip pens, colored pencils, markers, bright stickers).
First, they select the necessary image or come up with their own drawing, which they like externally and it will be pleasant to play with it after the completion of the work.
It should be remembered that the presence of the maximum number of parts complicates the work and reduces the functionality of the toy. The image should be simple in shape and striking in design. Do-it-yourself scan of the future 3D squish or download a pattern from the Internet.
Further making a 3D squish out of paper requires the following actions to be performed according to the plan:
Redraw or print on the printer a scan of the toy you like, cut it out.
Paint the details as brightly as possible, outline and attach eyes and other elements to it.
Gently tape the outside of the pattern with tape.
Bend the sweep along the pre-marked lines.
Check how the edges of the toy meet.
Gently fill the squish with the prepared material.
Seal the hole.
There is a manufacturing scheme that is slightly different from the first:
- Print or draw the image you like on the sheet.
- Glue the whole picture with tape so that the layers do not intersect, do not overlap, do not form air bubbles.
- Glue the second blank sheet without an image according to the same principle.
- Fold two sheets in such a way that the sides not glued with tape touch.
- Cut out the picture along the contour.
- Tape the two together, leaving a small hole.
- Finely chop the filler and place in a 3D squish.
- Cover the hole with tape.
Using this method, it is possible to make a toy for every taste, of different sizes and volumes, using environmentally friendly materials. The result depends on imagination and perseverance.
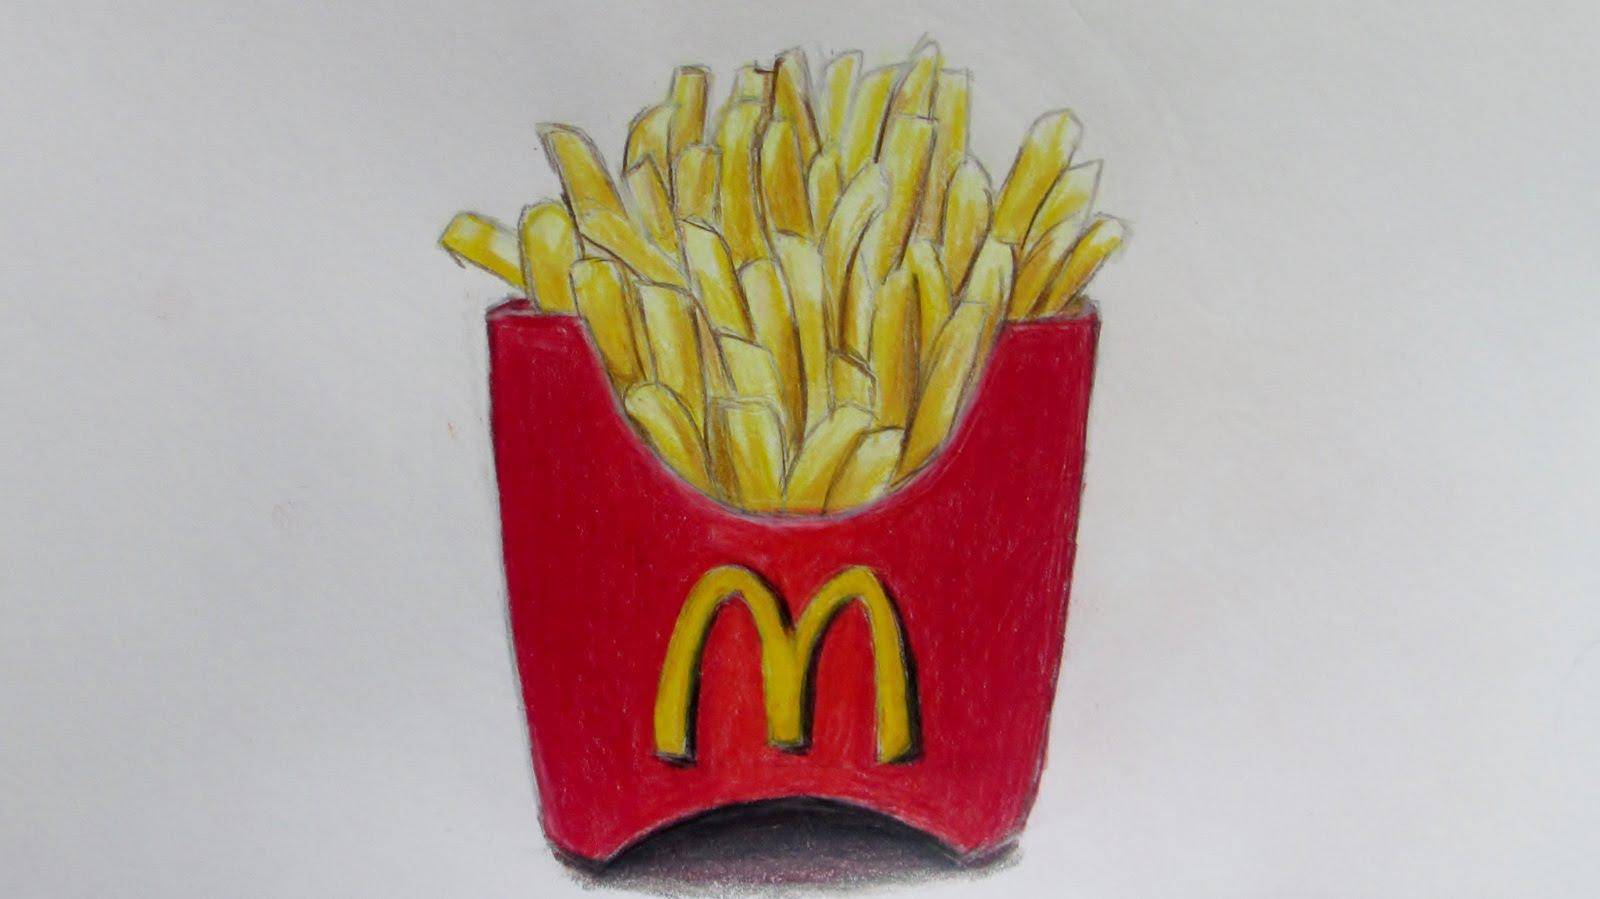
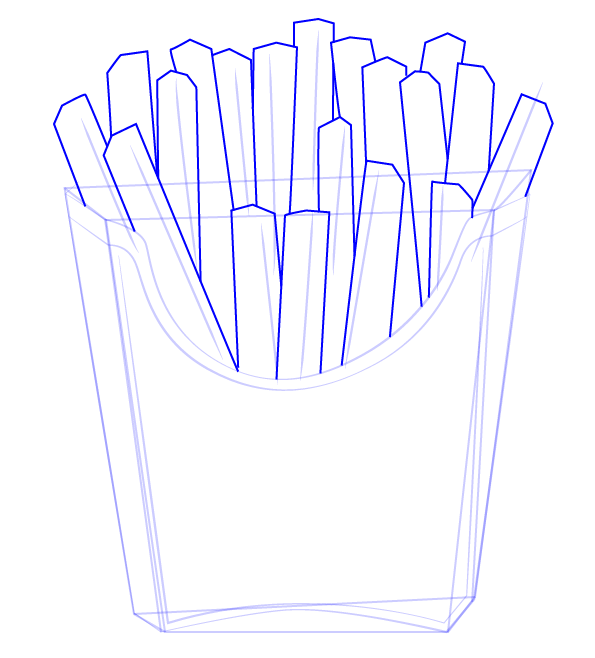
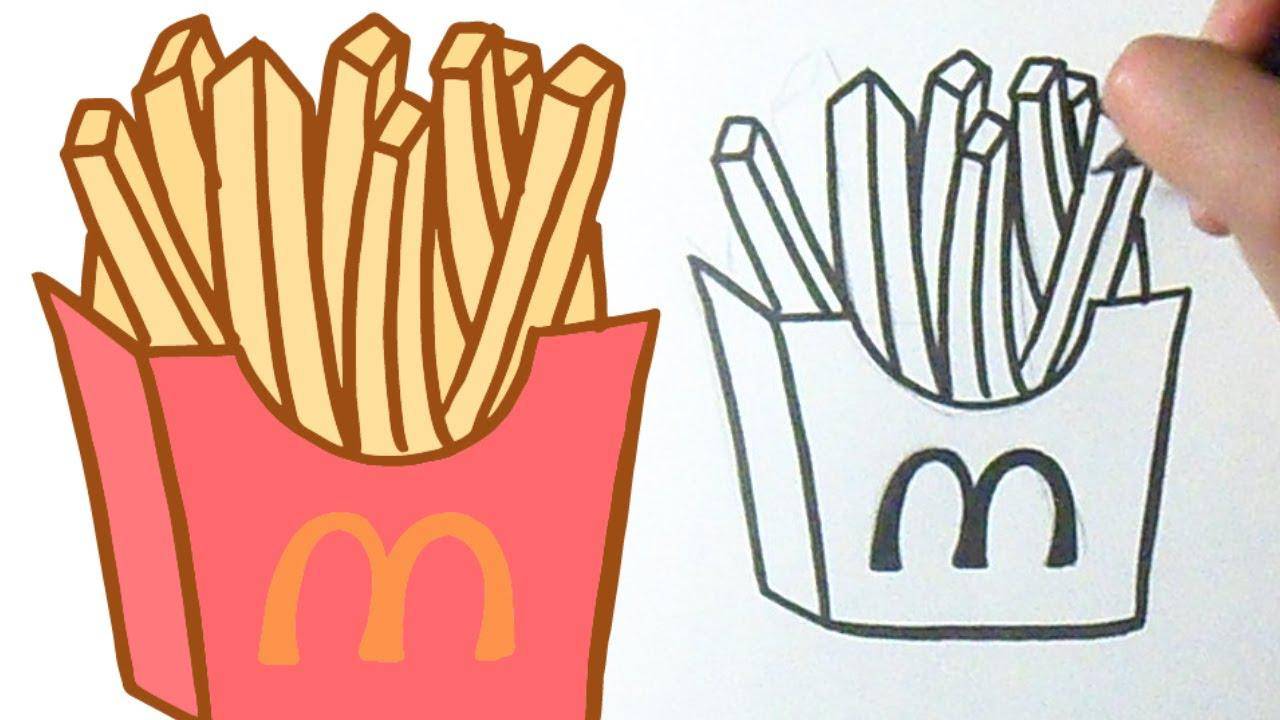
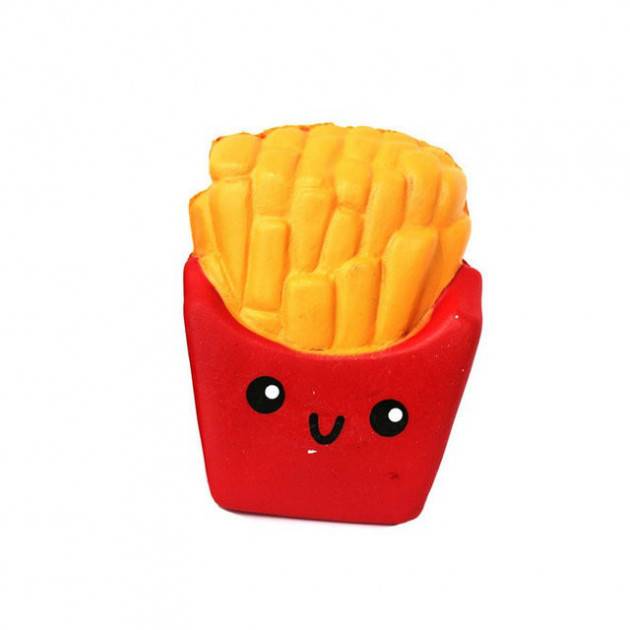
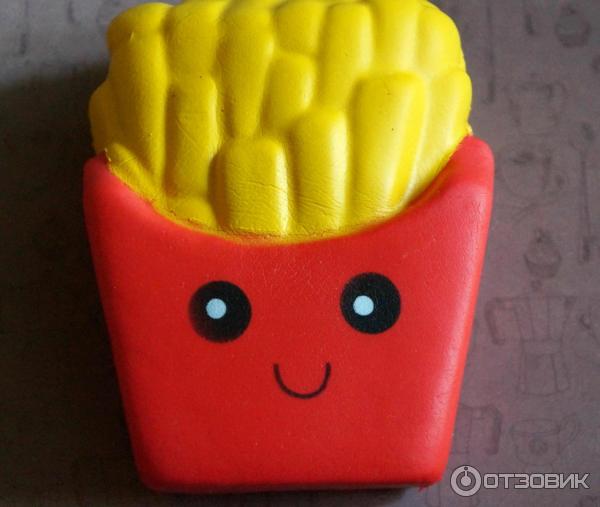
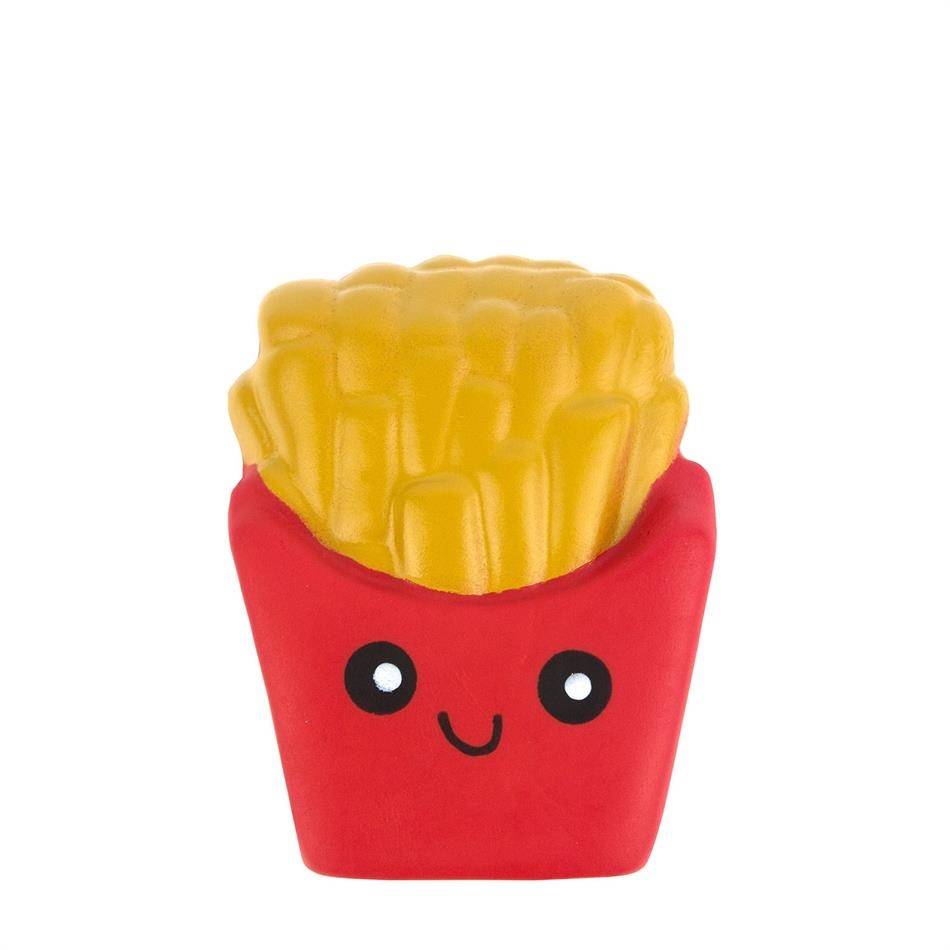
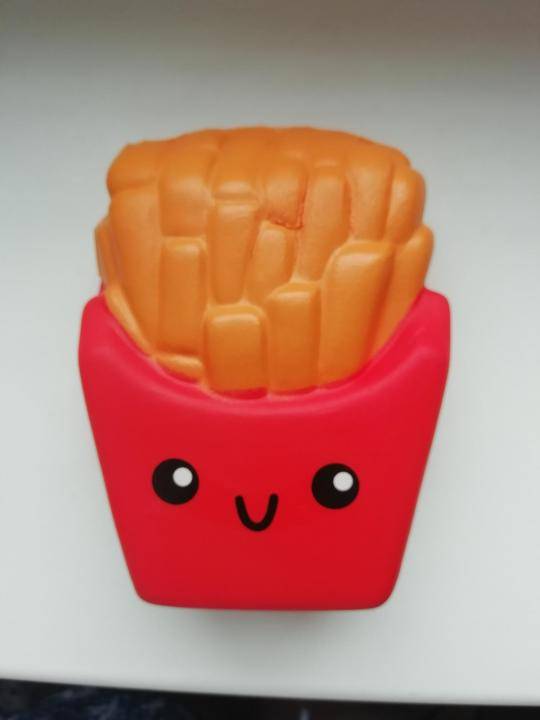
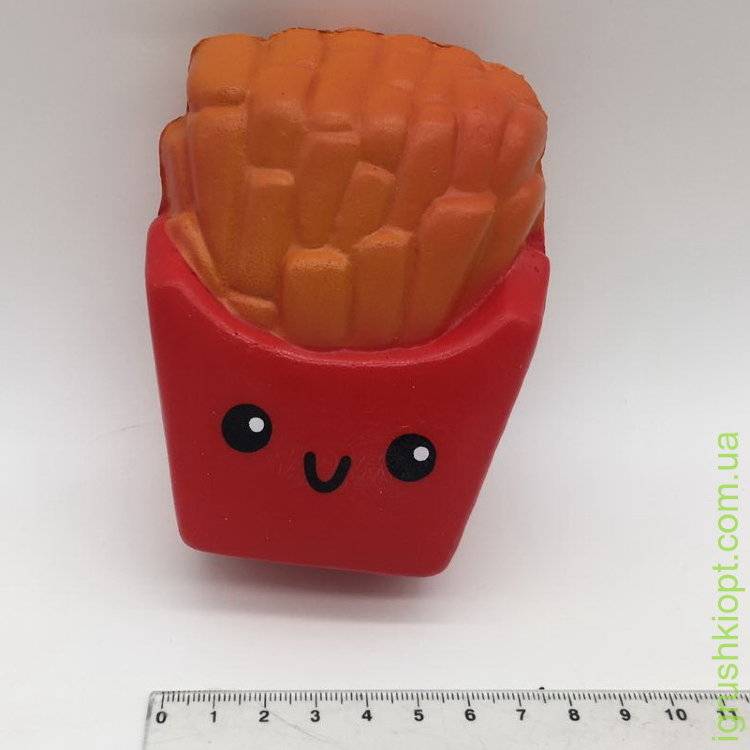
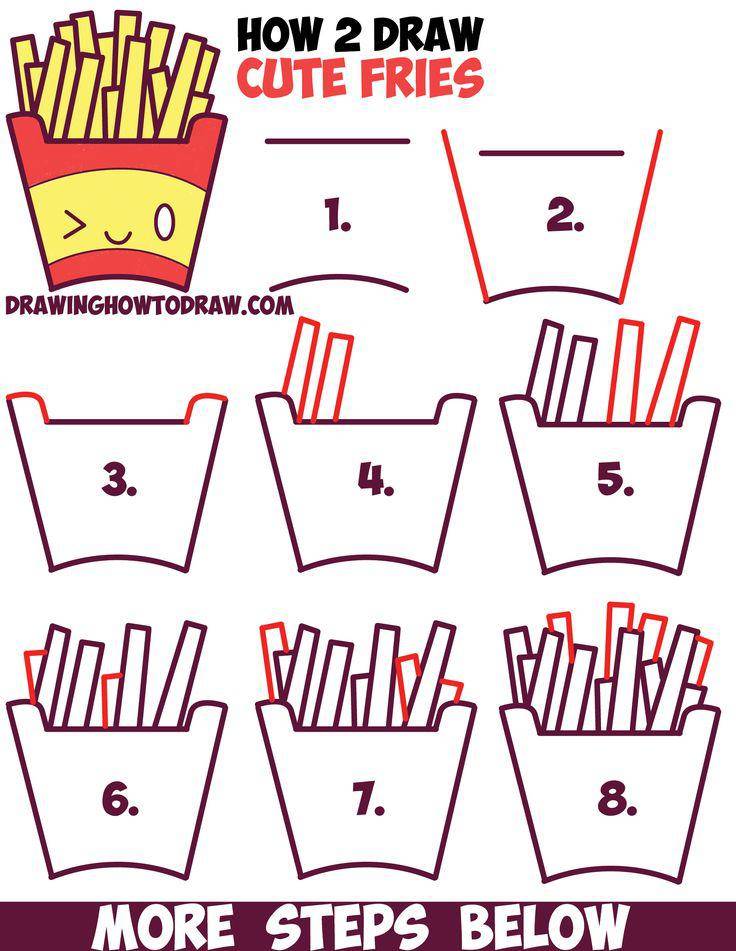
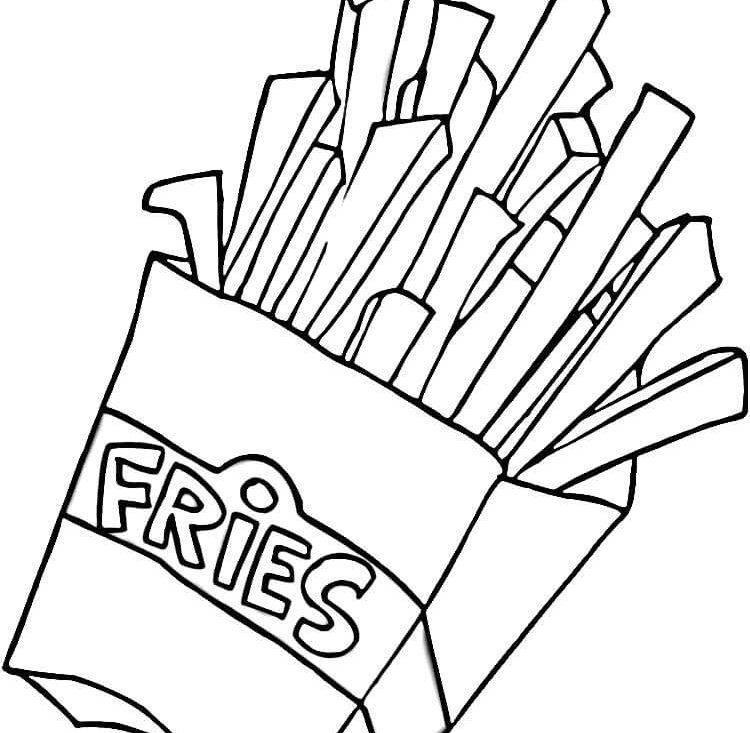
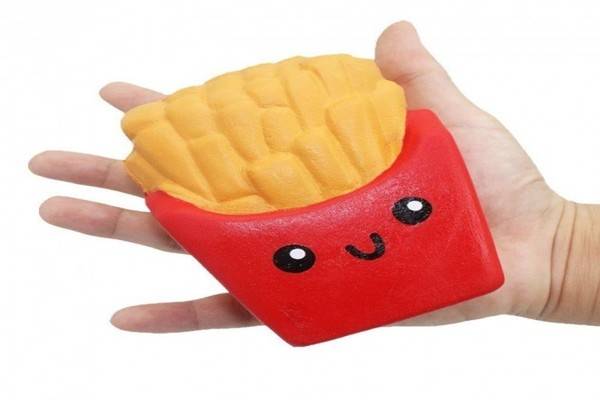
Examples of schemes for sketching on the theme of French fries
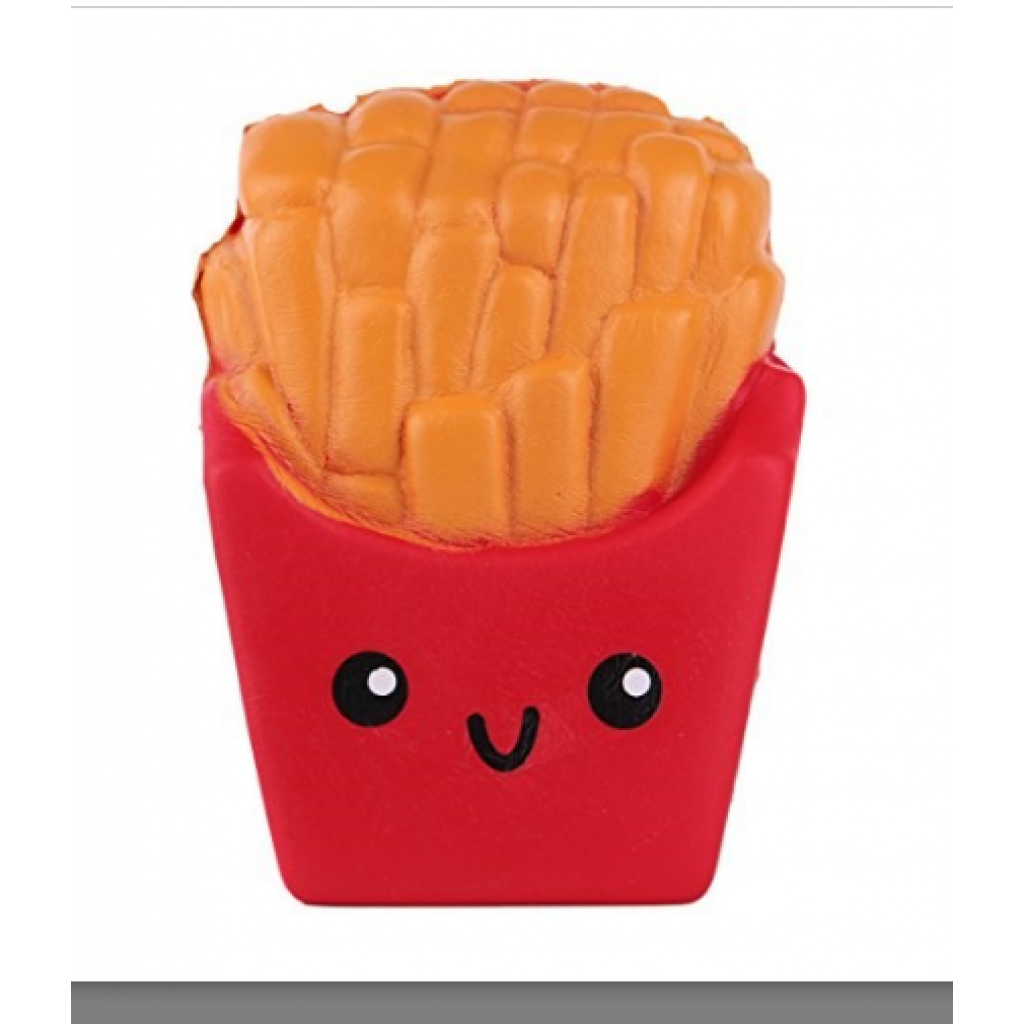
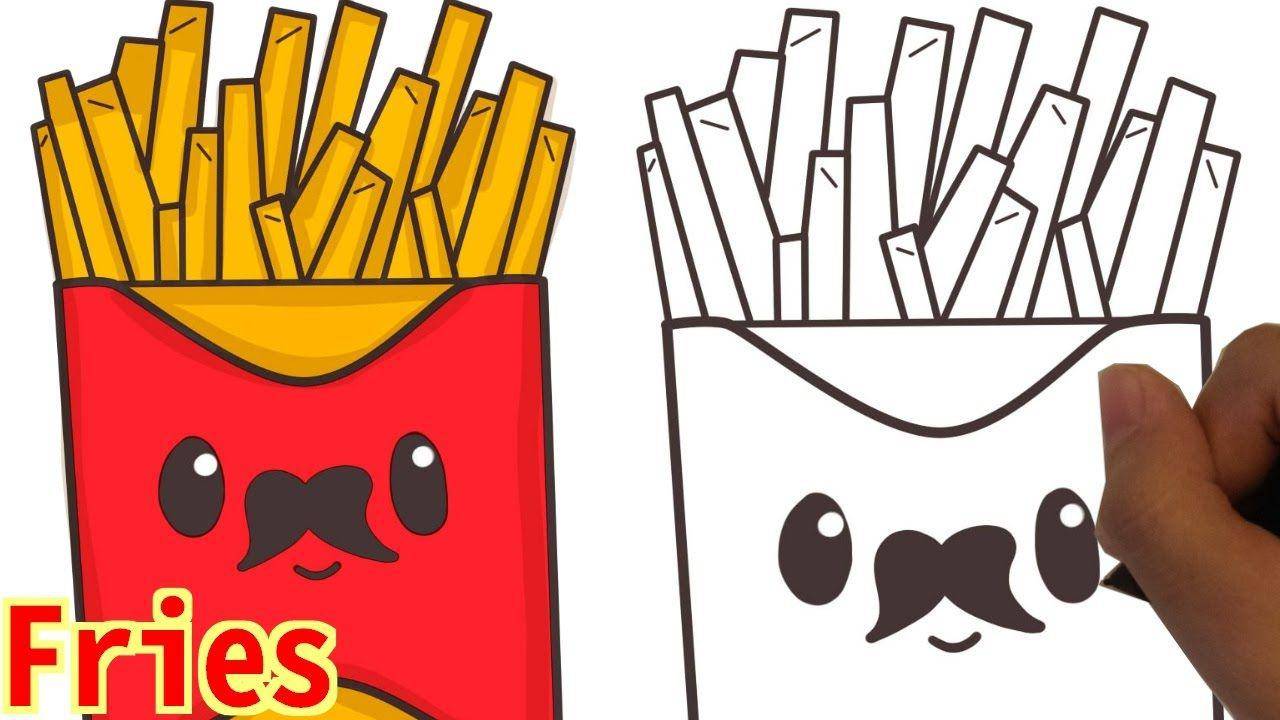
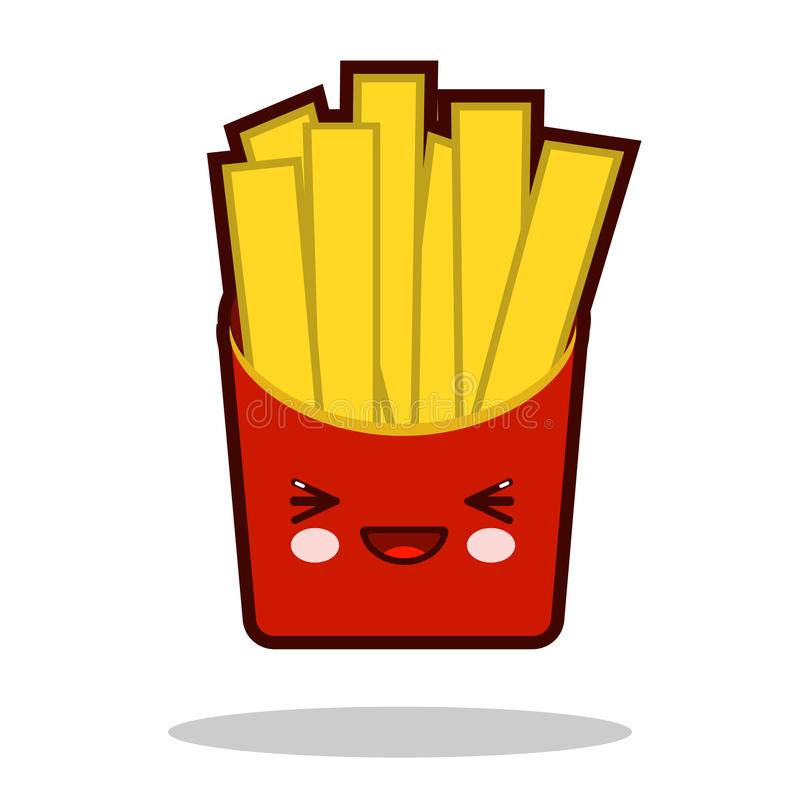
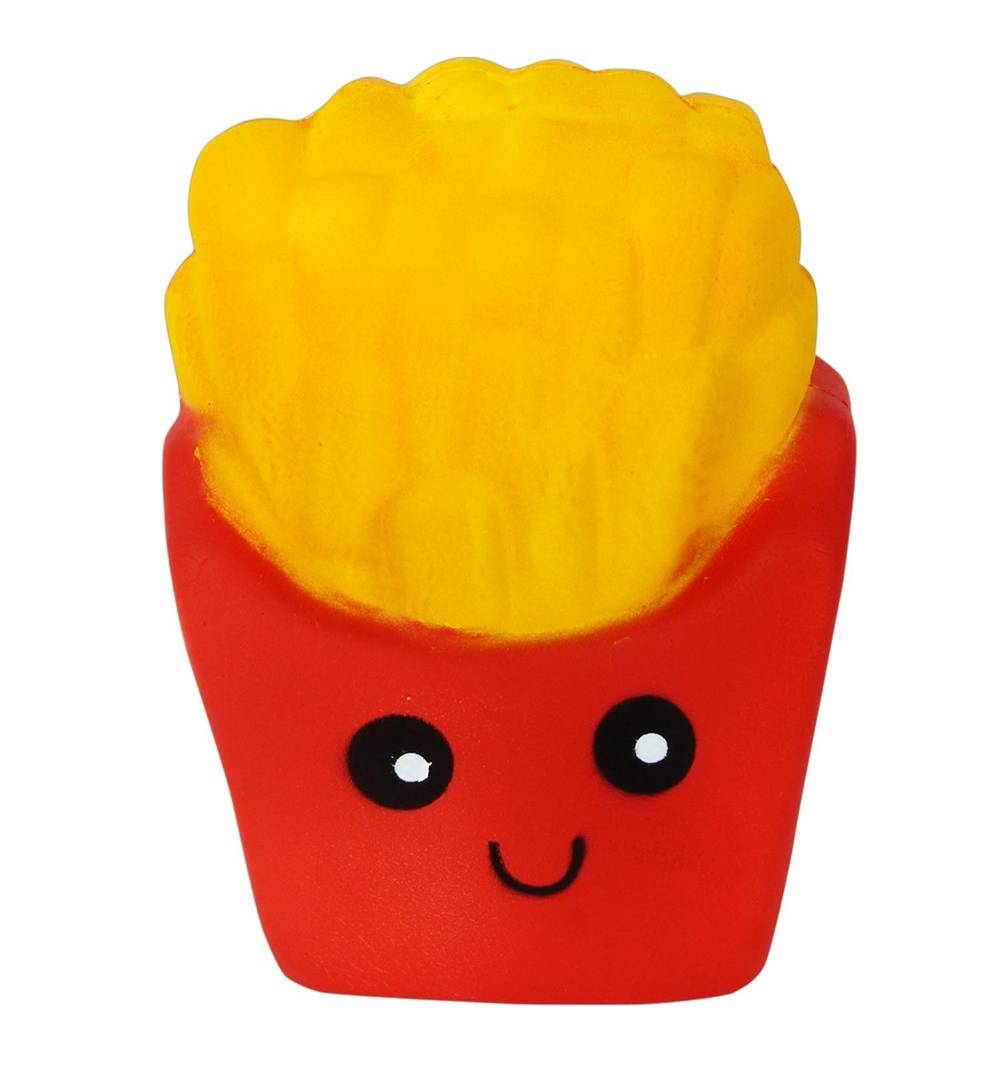
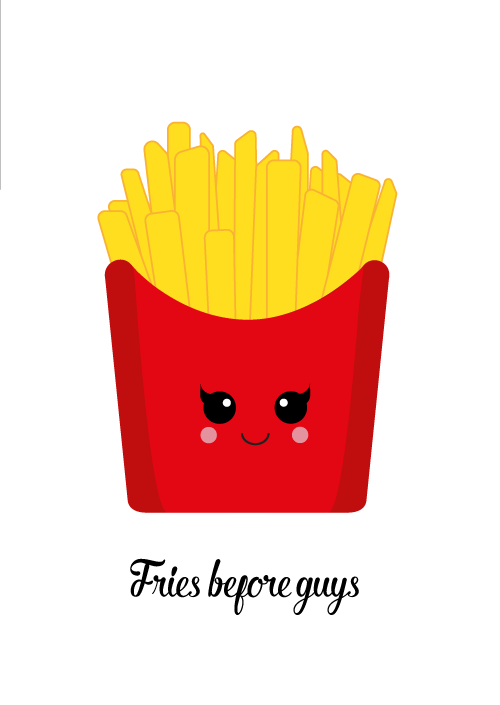
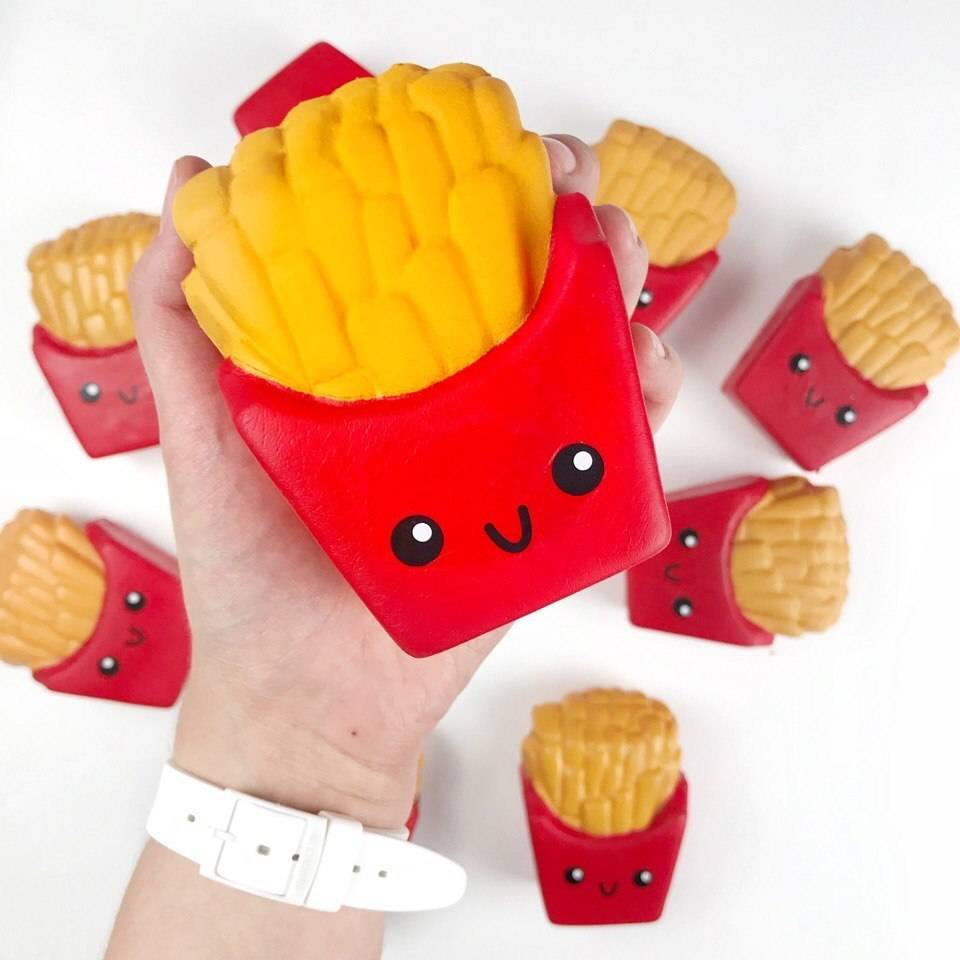
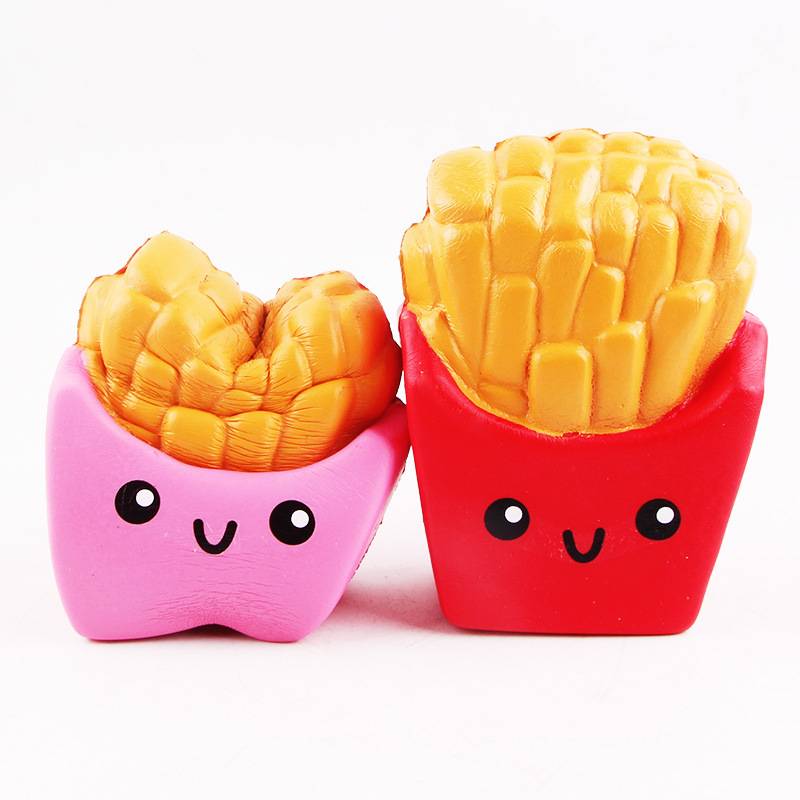
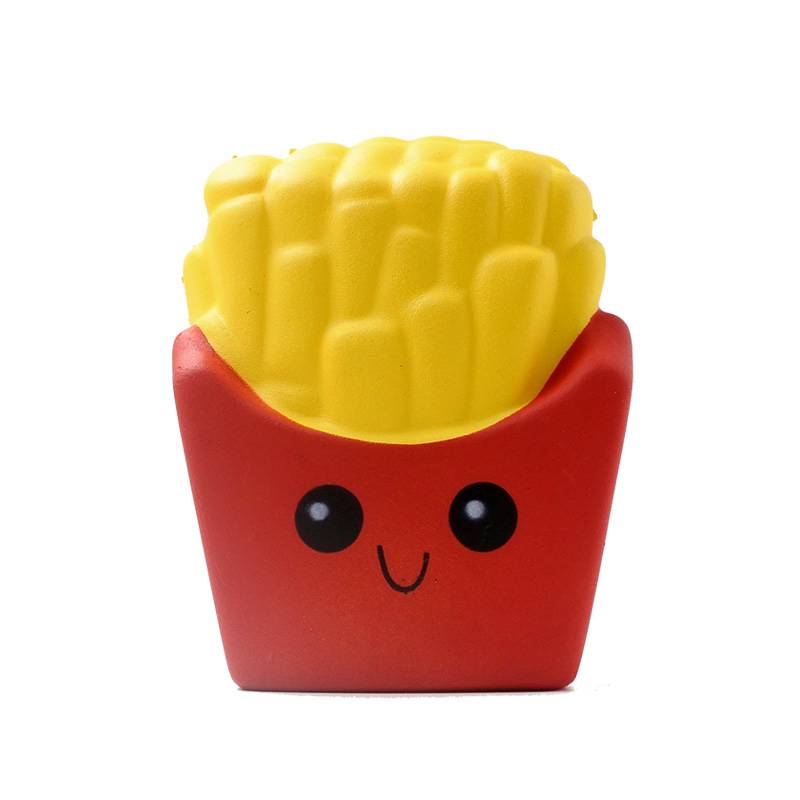
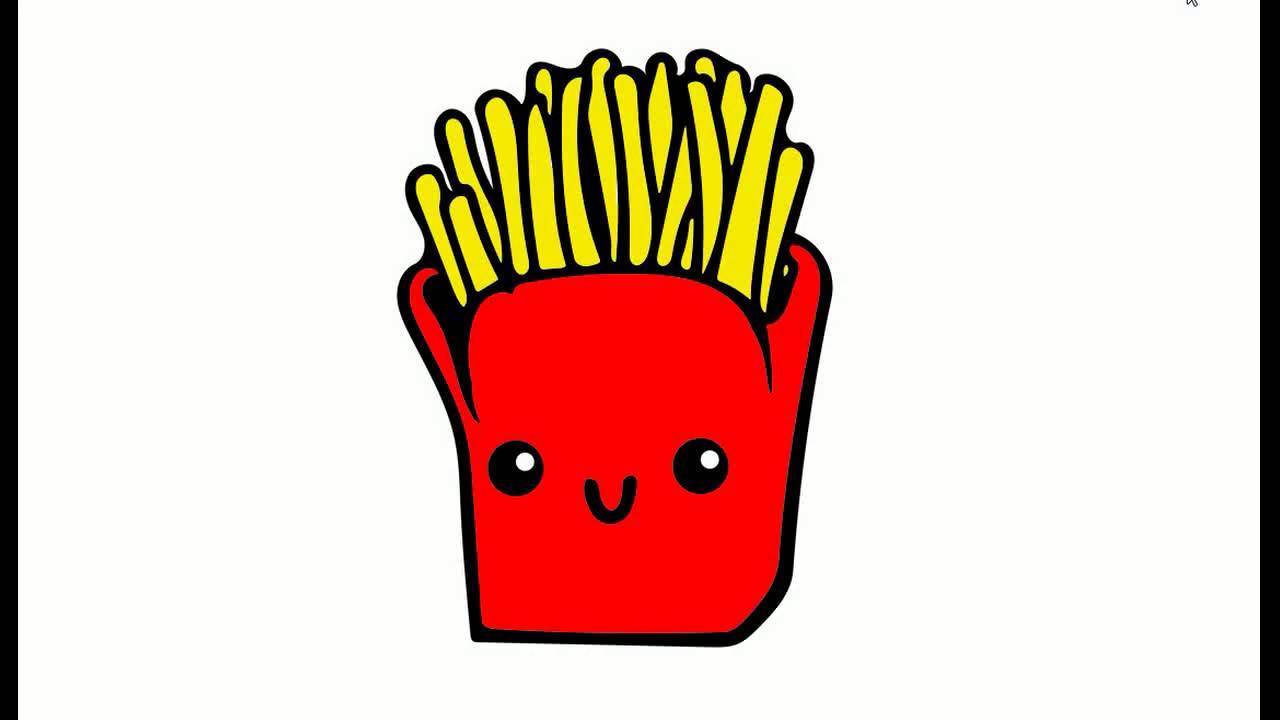
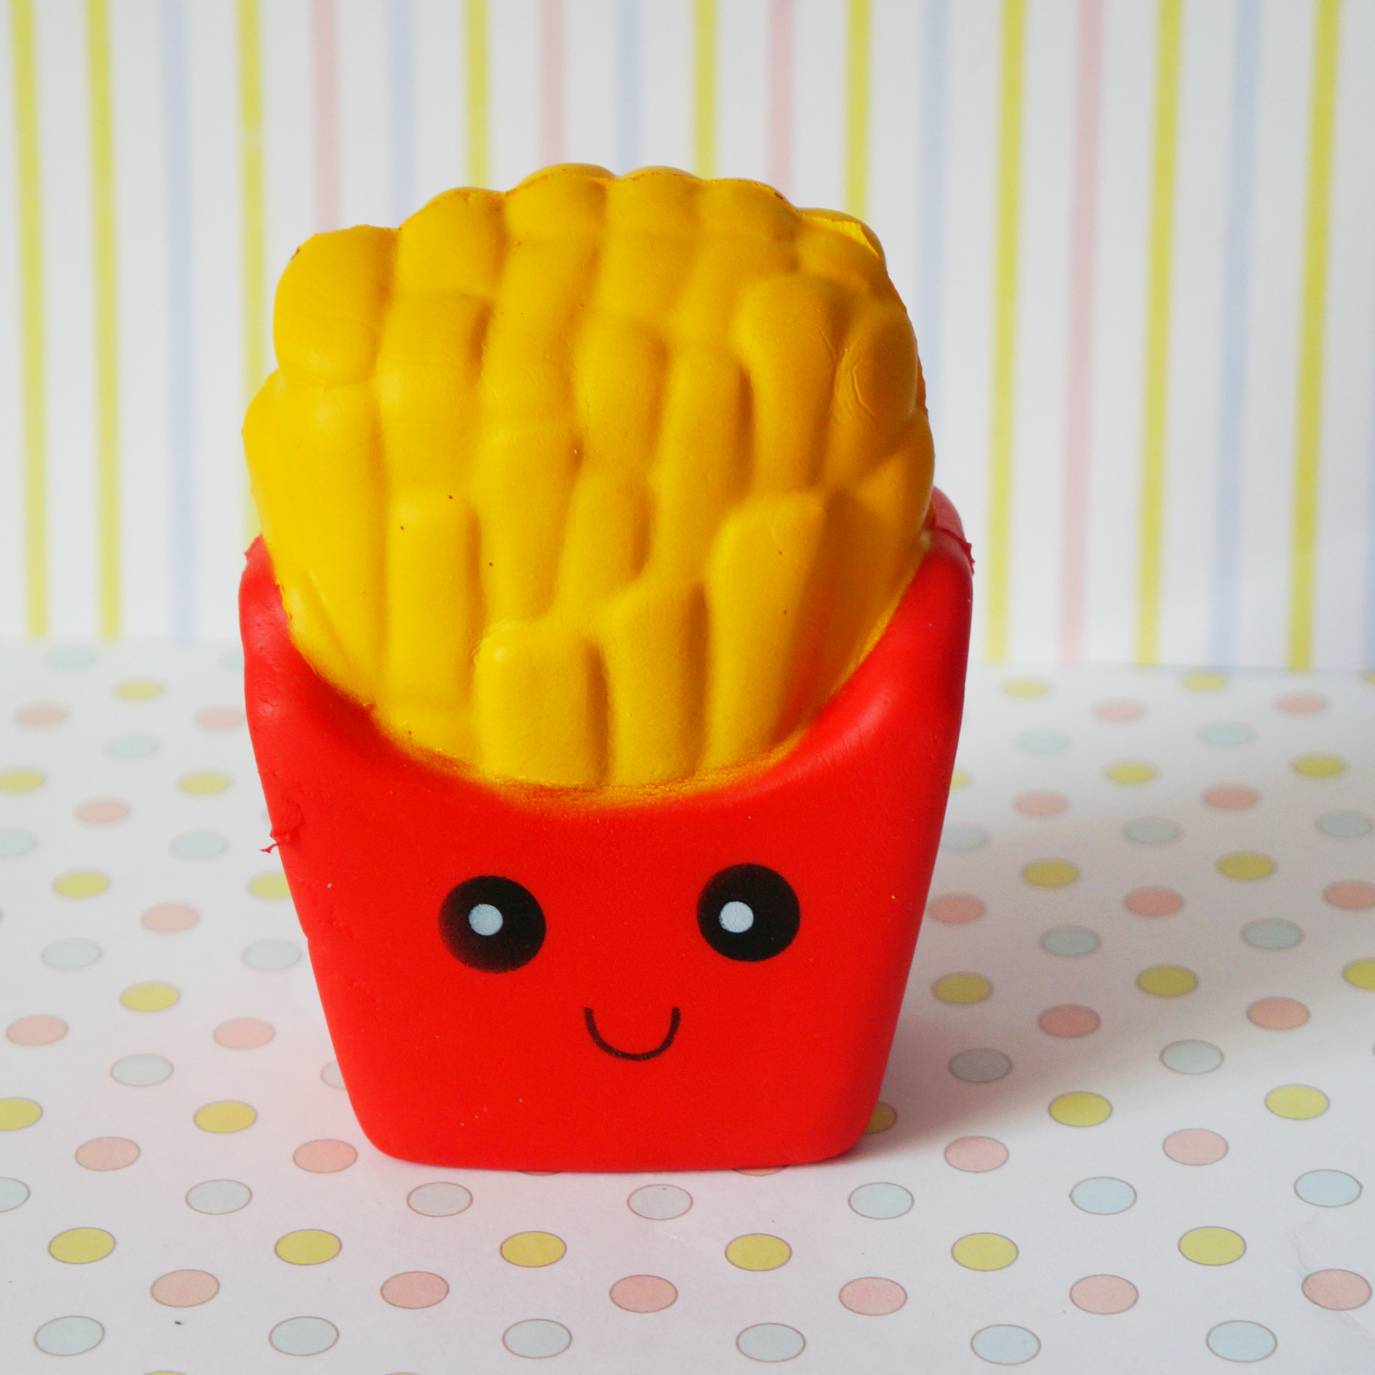
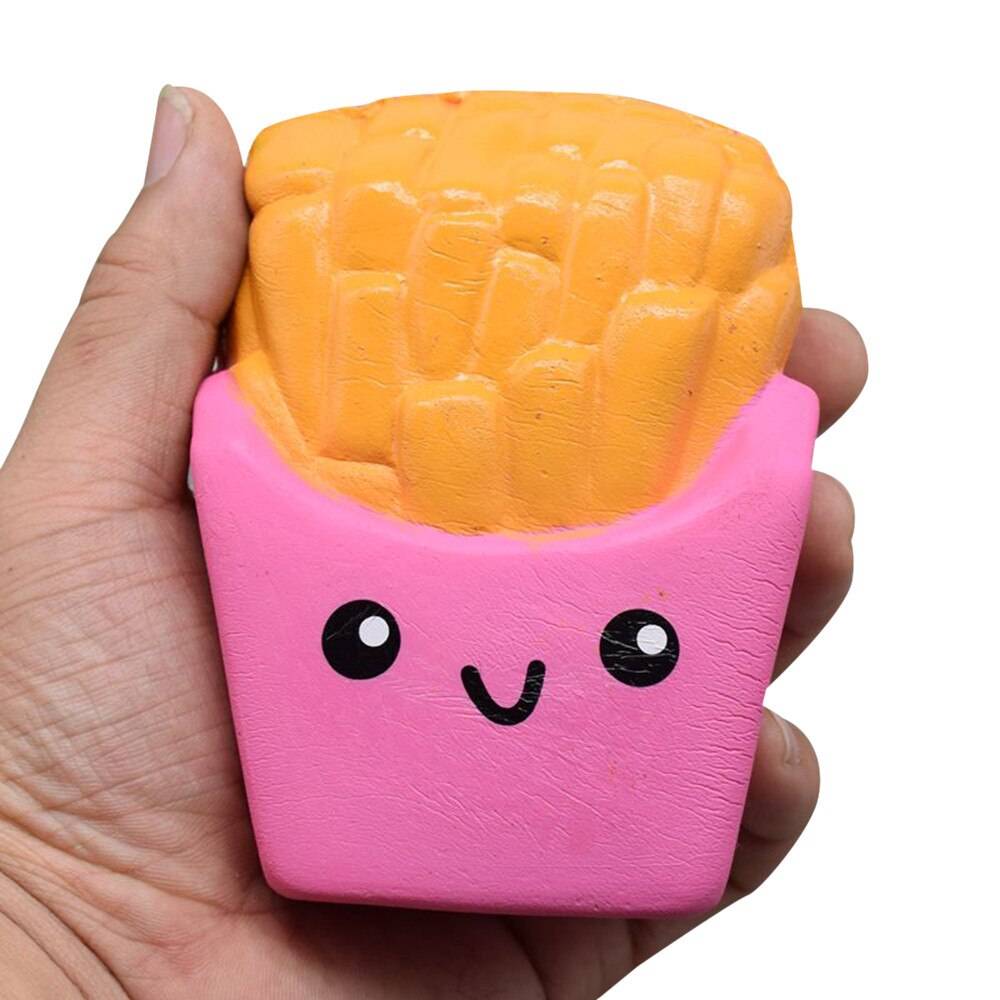
The toy diagrams are based on the image of straws (fried potatoes) placed in a bowl. The upper part is done in yellow, the lower part is done in red, green, blue. At the end, you can draw eyes to make a fun squish.
The implementation of the idea depends on skill and imagination: how many pieces of French fries to depict, how much to draw them in detail, you decide. There are enough squishy schemes ready to use, it remains to choose the one you like.
For the sake of simplicity, average sizes are taken as a basis, although squishes can be anything, both tiny and giant. Don't like the colors in the finished scheme - replace them with your own. So the toy will become brighter, more distinctive, and the pleasure from it will be fuller.
