Precautionary measures
If you are making slime using salt, it is better to work with gloves, as if you have wounds or cuts in open areas of your skin, the salt will pinch.
Depending on the components from which you make the toy, you may need to use protective aprons, gloves, sometimes even a respirator mask, as some components can cause an allergic reaction in the body. In addition, this protection will help you avoid staining your skin and clothing with dye.
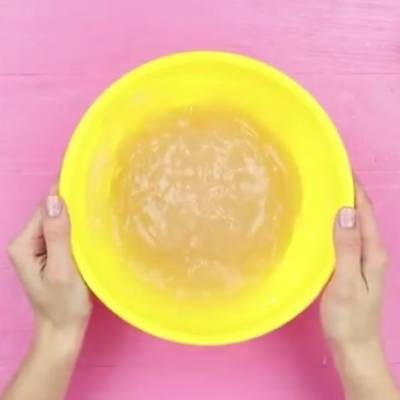
Slime, as well as its components, should not be taken by mouth, as chemicals can cause allergies, burns and poisoning. After playing with the slime, you should wash your hands. Use disposable tableware as containers. Do not use dishes for mixing the components, which will then be used for eating.
Tips & Tricks
When creating a slime without glue and sodium tetraborate, you must follow some rules:
- if it is necessary to heat the mixture on the stove, then this is done only over low heat, this will allow the mass to evenly warm up and get a high-quality toy;
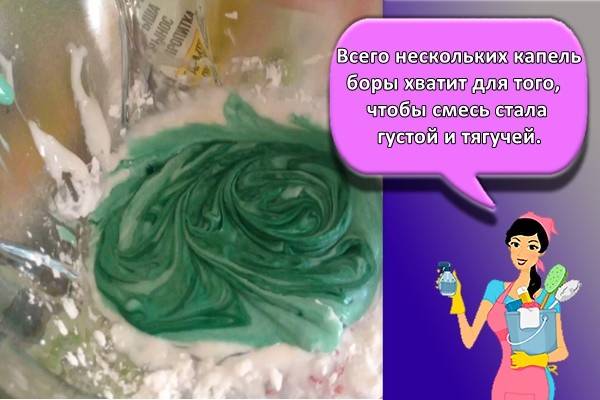
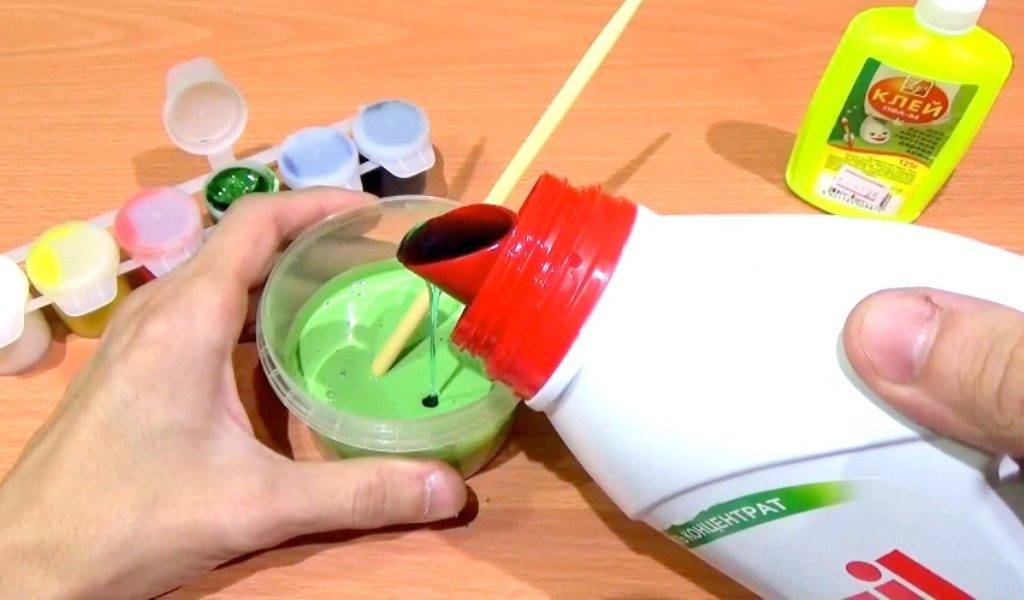
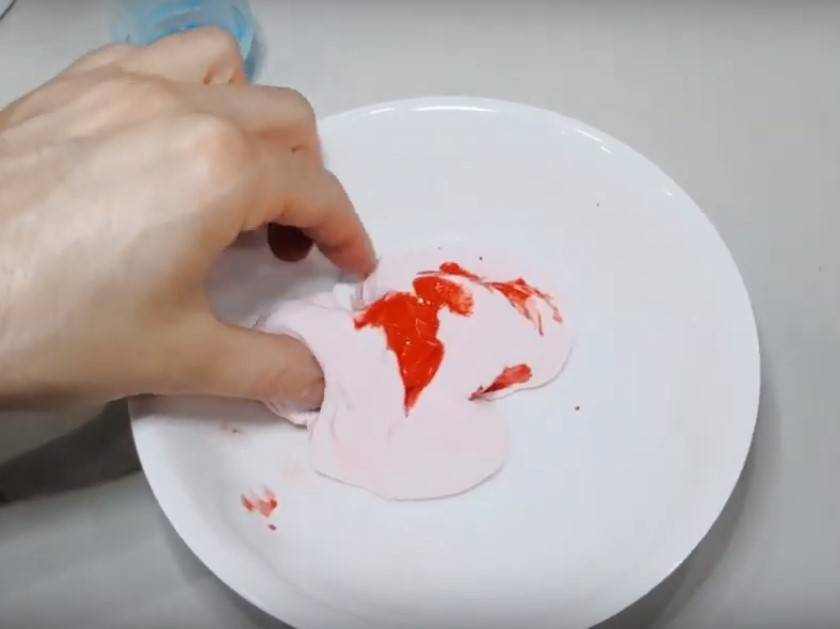
- dyes are always added in small quantities, it is enough to start with one drop;
- it is imperative to observe the prescribed proportions;
- ready-made slimes are stored in a container or bag.
The toy is not difficult to make. It is enough just to observe the proportions and the order of actions. Such a toy, if properly stored, will delight the child for a long time.
Tips & Tricks
Making a slime is one thing, but how to store it is quite another:
- Slimes should be stored in separate containers. If you put it on the table and forget it, it will dry out.
- It is best to keep the slime in the refrigerator. But never in the freezer.
- Try to put your handgs in a less dusty place than on a sofa, closet, etc. This will quickly make him dirty and less attractive.
- If it is still a little dirty, you should remove the dirt with your fingers or tweezers.
- If the slime has dried up, water can save it, only in small sizes. Unfortunately, this does not work with all slimes.
- It happens that the toy is swollen. Then it is worth adding a couple of pinches of salt, shaking in a closed container and leaving for several hours.
- If the slime has become moldy, it should be thrown away immediately.
You have familiarized yourself with many slime recipes and now you can easily repeat it at home. The main thing in the manufacture is to follow safety precautions.
Overview of other methods
An interesting version of the toy is a magnetic slime. It is done simply: you need to take a ready-made slime made according to any recipe, add magnetic shavings, mix well again. There are also fragrant slimes: it is recommended to mix 100 g of PVA and 50 ml of any perfume, the result is a unique toy. Children love delicious slime: melting marshmallows and combining with chocolate paste, you can get a great treat!
Any slime, other than edible, must be handled correctly. Store them in an airtight container by placing them in the refrigerator. Do not leave slimes on the windowsill - they quickly deteriorate under the influence of sunlight. A dirty toy should always be rinsed with cold water. If you follow these tips, the child will be able to have fun with the slime for up to 7-14 days.
Slimes with stationery glue
This slime, when finished, turns out to be soft, spreading, but not sticky. You need to take 100 ml of any brand of stationery glue, as well as 100 ml of cold water. Put the glue in a container, fill it with water. Then, with a spatula or spoon, make a lump of glue, as if knocking it into a single whole. Then take out the clot, continue crushing it with your hands (you can put it in a plastic bag).
Another recipe for making slime is as follows:
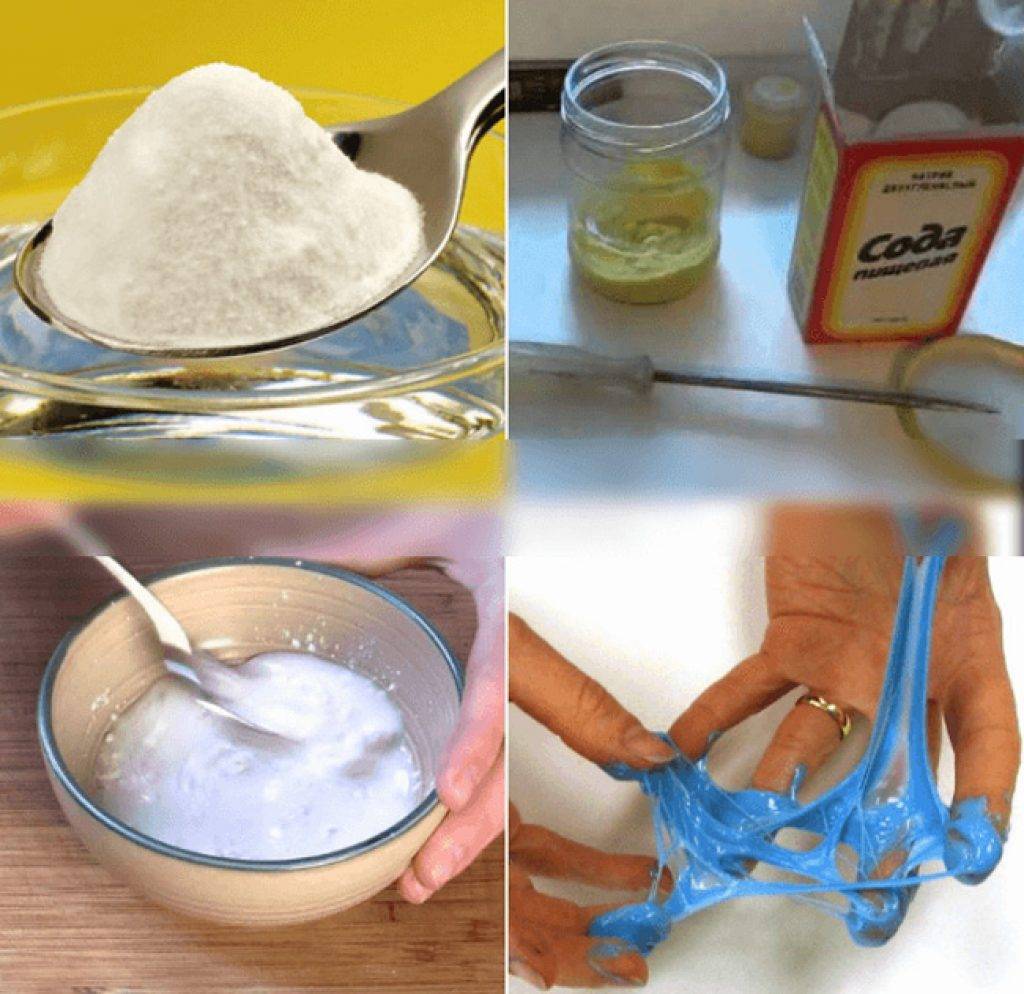
- take 100 ml of boiling water, dissolve a tablespoon of salt in it;
- tint the liquid in the desired shade;
- after cooling, pour in 2 tablespoons of glue;
- leave the product for 20 minutes without stirring;
- begin to stir the solution intensively, as a result of which a clot of glue will form at the bottom;
- catch the future slime, knead it with your hands;
- if the slime sticks, it must be thrown into the salt solution again, then taken out and kneaded again.
Manufacturing tips and tricks
Useful tips will come in handy:
- Slime seems to be a harmless toy, but it is not. Supervise children while playing. They can eat particles of the slime, which can lead to poisoning.
- Is the toy too sticky? Soda can save the day. Add a small amount for a thicker texture. You can use a cream instead.
- The slime may become thicker after use. This is normal after prolonged use. It is enough to add 2 tbsp. boiled water (not cold). Stir the mixture with your hands, knead thoroughly. Thanks to this, the toy will return to its previous appearance.
- Having trouble making slime? It's about expired products. This is especially true when using a glue stick. Choose only those products that were made a month ago or less.
How to store a lizun from Persil
Slime needs to be stored properly so that it retains its texture for a long time. Due to improper storage conditions, many people complain about their fragility.


The main rule is to purchase a plastic jar with a tight-fitting lid. Place the slime there after the game.
Store in the refrigerator (especially for toys with natural ingredients). Otherwise, place the toy in a dark room. When storing in the refrigerator, keep the slime away from the freezer.
Did he fall to the ground? The toy will have to be thrown away. Recovery attempts will not be crowned with success, and it will be unpleasant to play.
Try cleaning the toy. Pour warm water into a bowl, place it there. Take the syringe, remove the needle separately, bring it to the dirtiest place and suck in air. This way you can get rid of the dirt.
But with sand and lint, the situation is more complicated. The shelf life should not exceed 4-5 weeks. It will not be difficult to make a slime again.
It is necessary to take out the toy every 3-4 days, knead it in your hands. Otherwise, mold will appear and it is difficult to get rid of it.
Practice making slime with these ingredients, toothpaste, or flour as often as possible. You will notice that it will get better every time!
What to do if it doesn't work
Sometimes it happens that the slime turns out to be too liquid and does not want to thicken. Do not despair, this situation is easy to fix. First, try adding more flour. When stirring the mass, add flour gradually, since the consistency density that will turn out at the exit directly depends on its amount. Stir the composition thoroughly while adding flour until you get the desired density.
You can additionally use other thickeners. Salt and food starch are safe thickeners. Sodium tetraborate or boron tetraborate is also a versatile thickener suitable for any situation. Just a few drops of boron are enough to make the mixture thick and gooey.
However, remember that sodium tetraborate is not a substance safe for the body, therefore, when it is used in the classic recipe for slime from dough, the toy will no longer be completely safe for the child's body.
Then cover the slime with a lid and leave for a few minutes. Then take the mass in your hands and knead. You can also put the mass in the microwave after adding boiling water and heat it up for forty seconds - this will help to quickly soften the hardened slime.
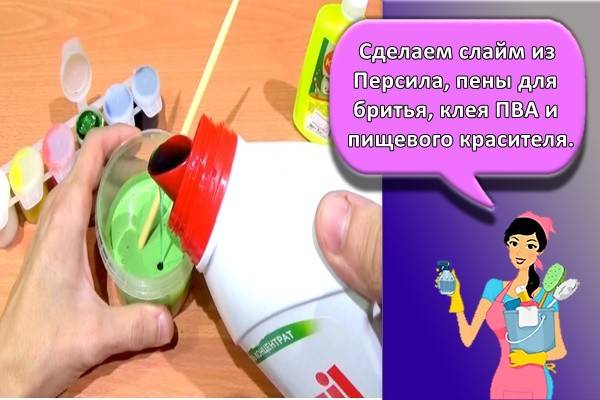
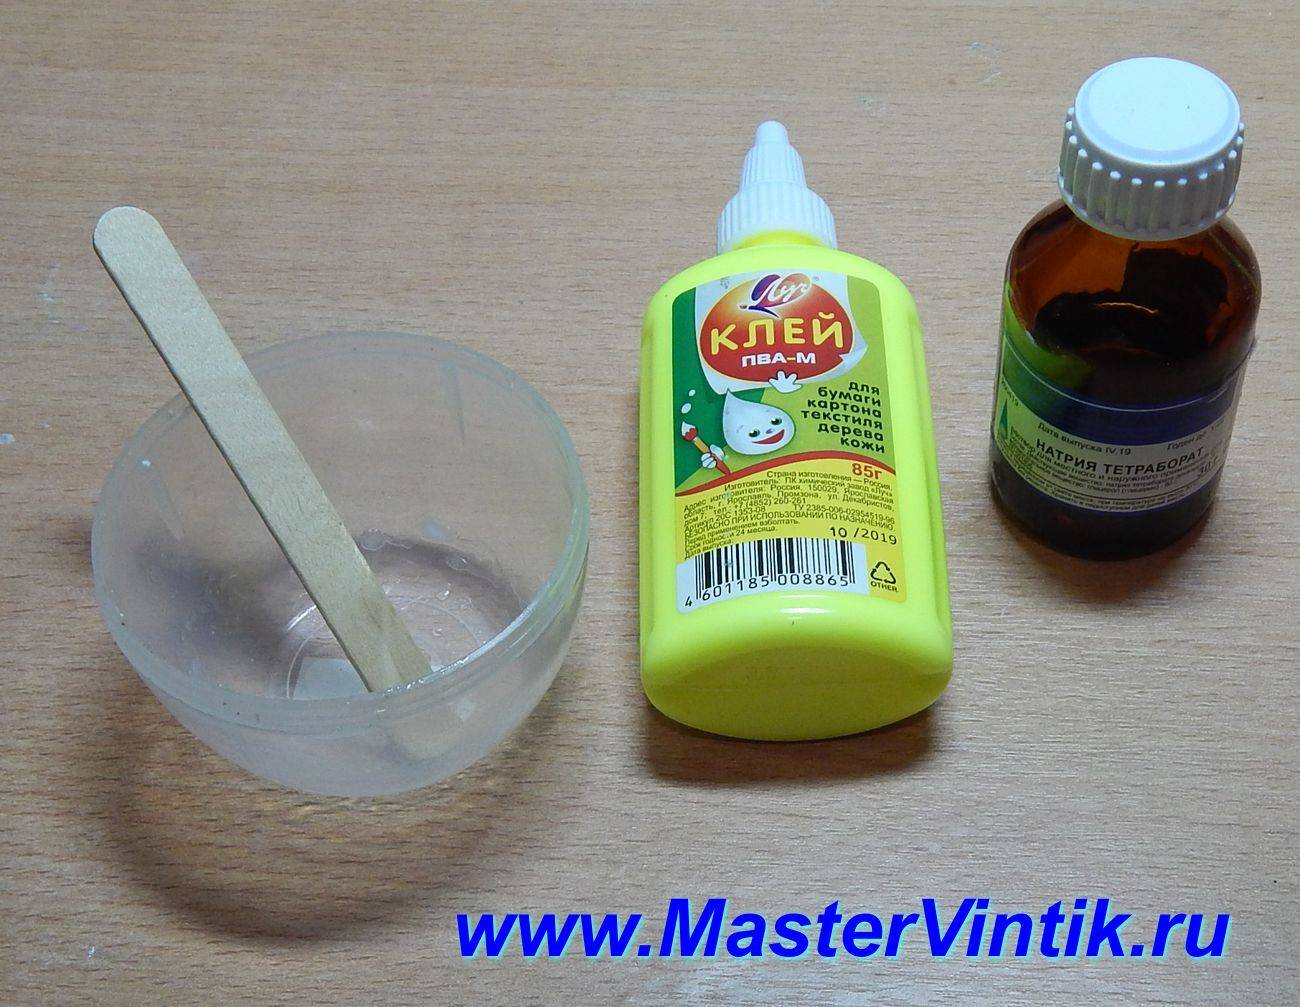
What ingredients are needed for a slime?

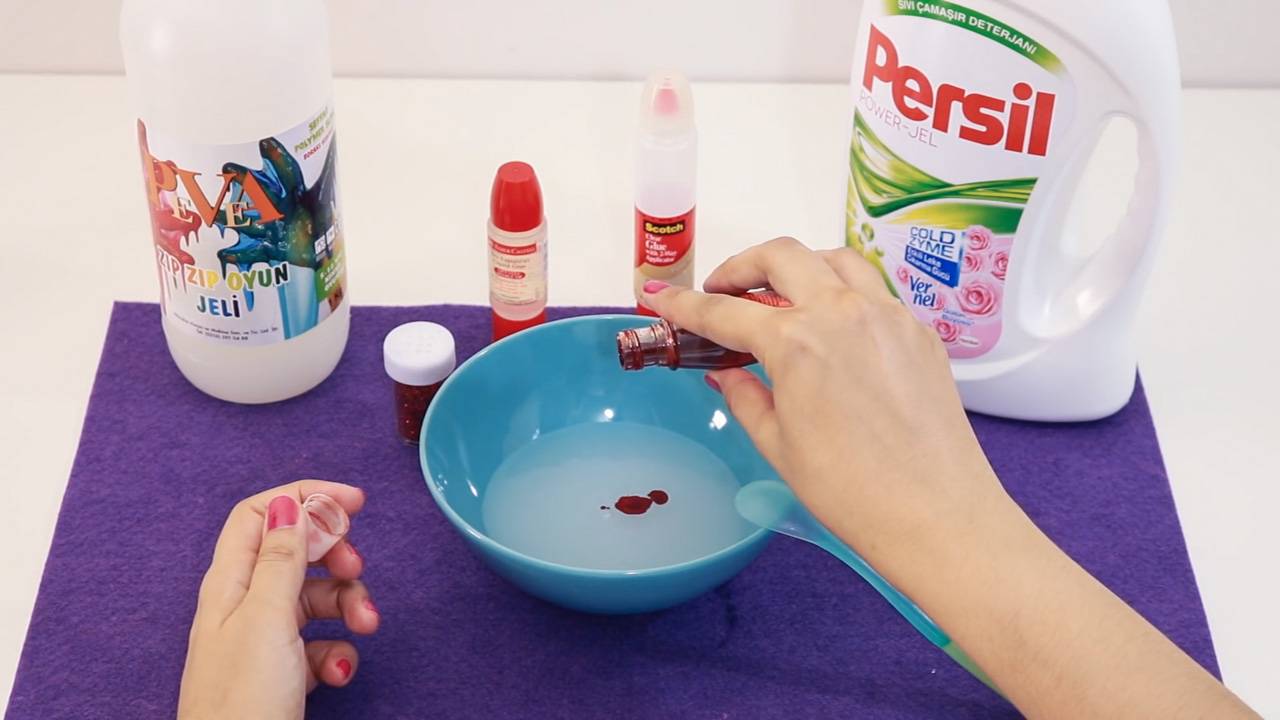
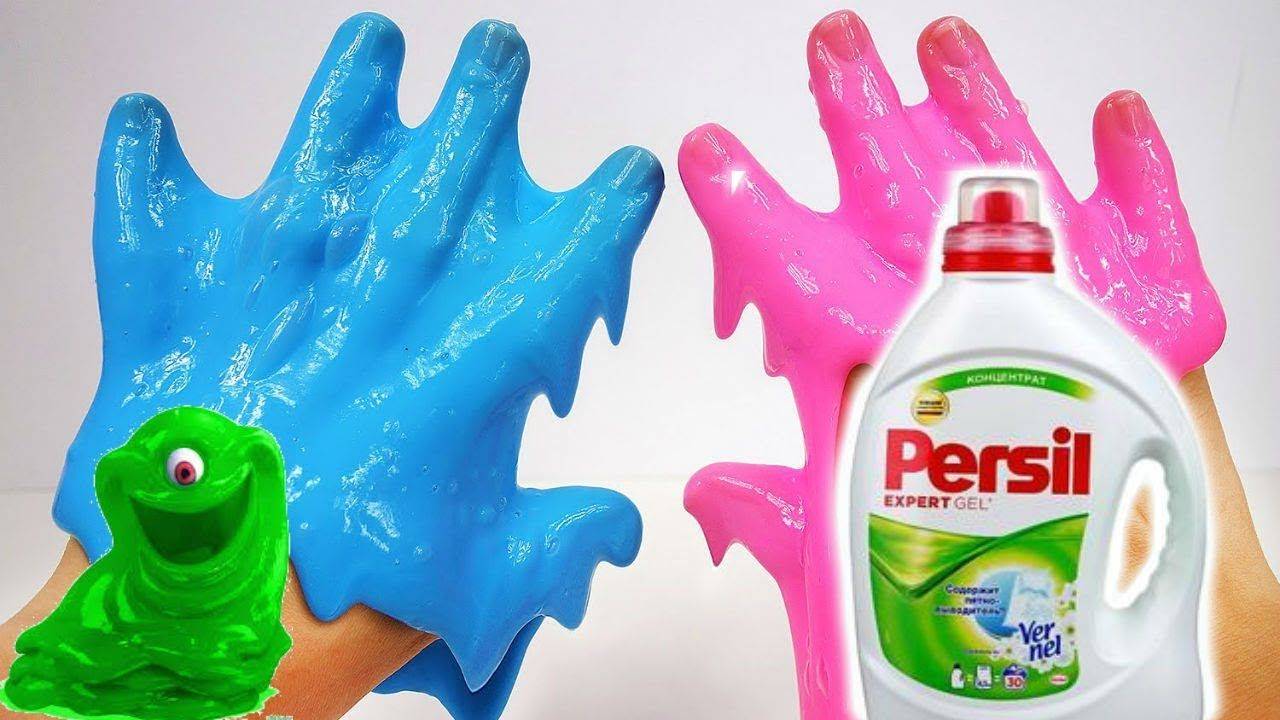
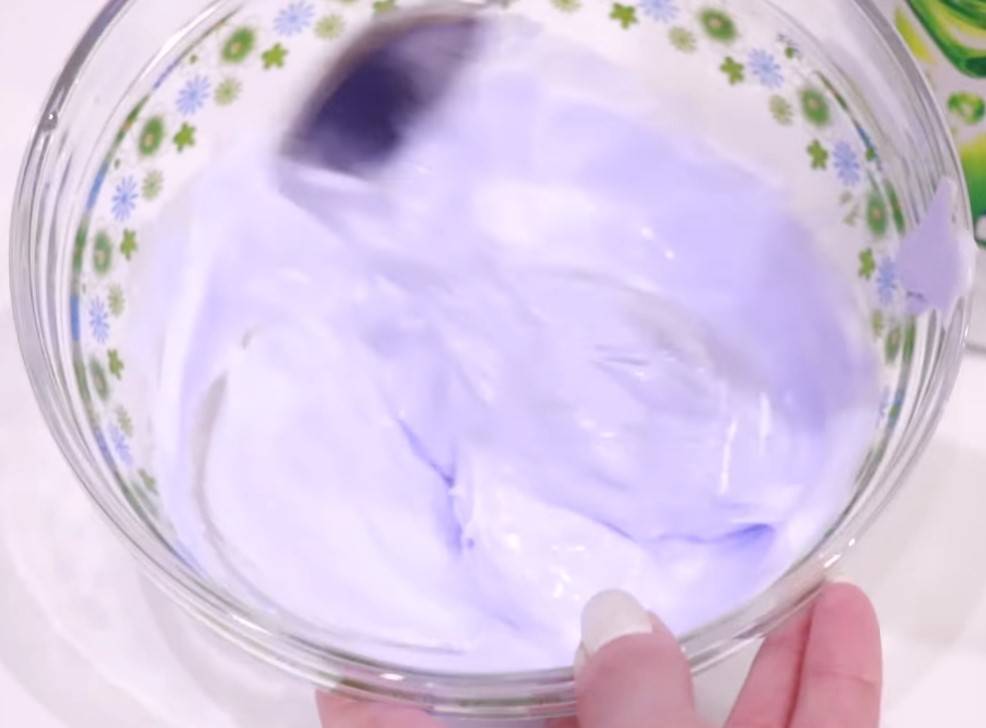
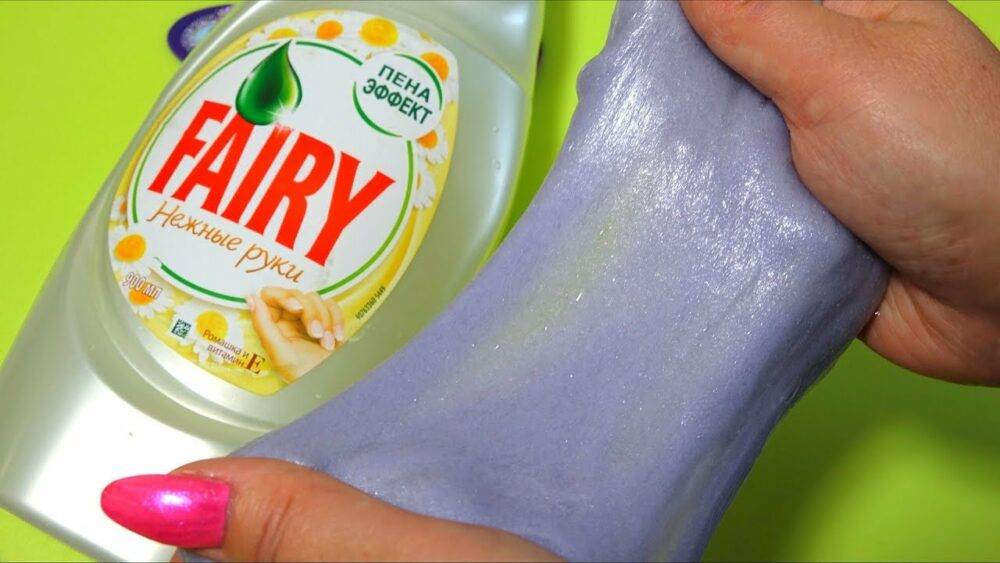
The basis for traditional slimes is glue - a polymer that provides elasticity to the toy. Sodium tetraborate is used for thickening. But not everyone wants to spend money on these substances, so borax and glue can be replaced with Persil gel. If you mix the composition thoroughly, it gradually thickens.
Please note that slimes with Persil do not come out so airy and elastic without glue. They are denser but stretch well. If you want to tint the slime, use a rich dye. It should drown out the color of the glue and washing gel.
In addition to Persil, other components will be needed to make slime:
- shampoo;
- kinetic sand;
- Toothpaste;
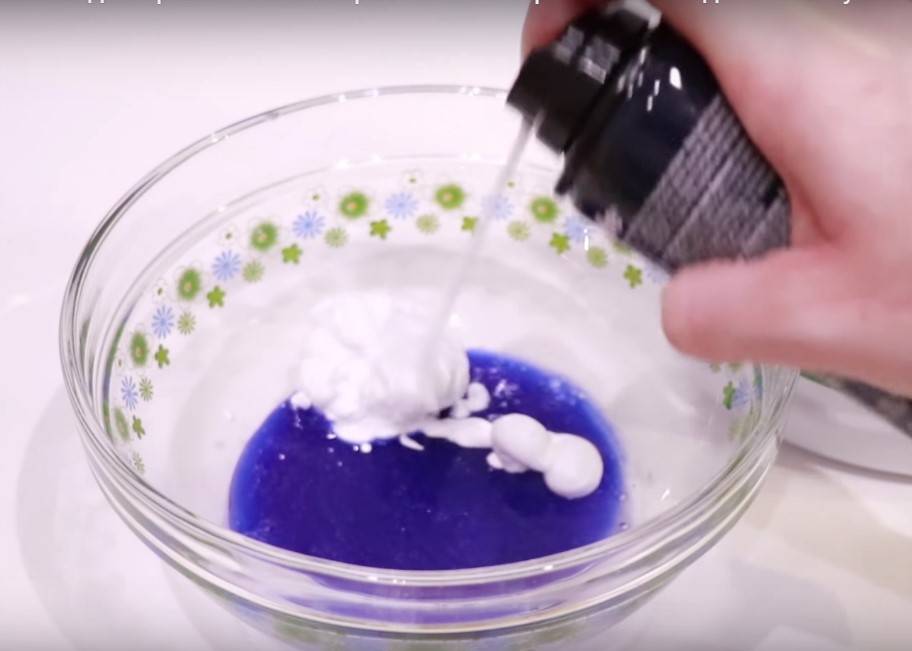
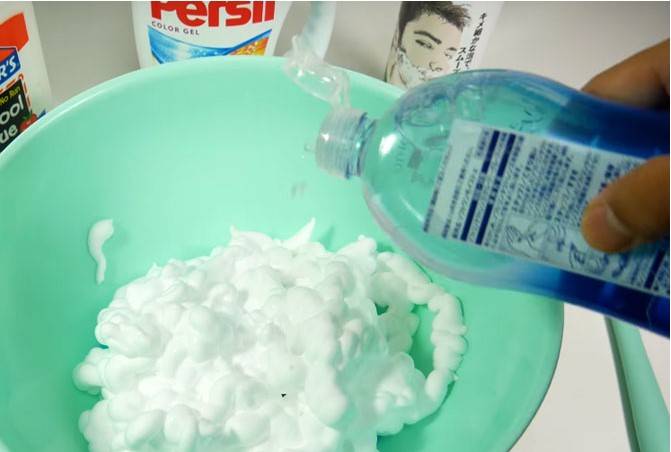
- shaving foam;
- soda and others.
Foam gives the handgam airiness, sand - fluidity, toothpaste and shampoo - elasticity. Sometimes cream is added to a Persil slime without glue to give it a glossy shine and softness.


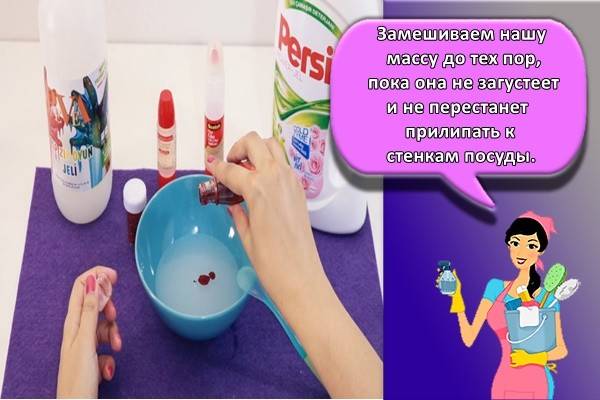
Important! Before making a Persil slime without glue, check the expiration date of the ingredients. Remember: they must be fresh .. To make the slime go viscous and "working", follow the recommendations:
To make the slime go viscous and "working", follow the recommendations:
- Use plastic or porcelain dishes. Do not use metal: ingredients react with metal and change their chemical properties.
- Stir the ingredients vigorously, do not leave them in the air for a long time.
- Play the slime with clean hands, do not place on warm or dirty surfaces.
- To preserve, place the slime in an airtight container in the refrigerator.
- Add salted water regularly to maintain the slime's consistency.
How to make a PVA toy?
PVA glue is the most suitable base for creating slimes. This base is quite thick and has a light shade. The toys are soft and resilient.
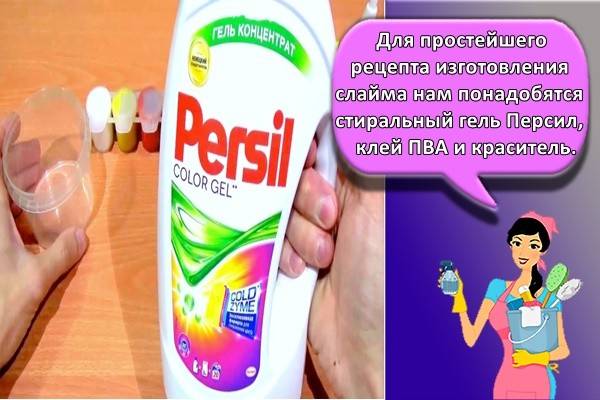
With washing gel Persil
 To prepare slime you will need:
- 100 grams of PVA glue;
- washing gel Persil.
Procedure:
- Prepare dishes and pour glue there.
- Then add the desired shade of dye there.
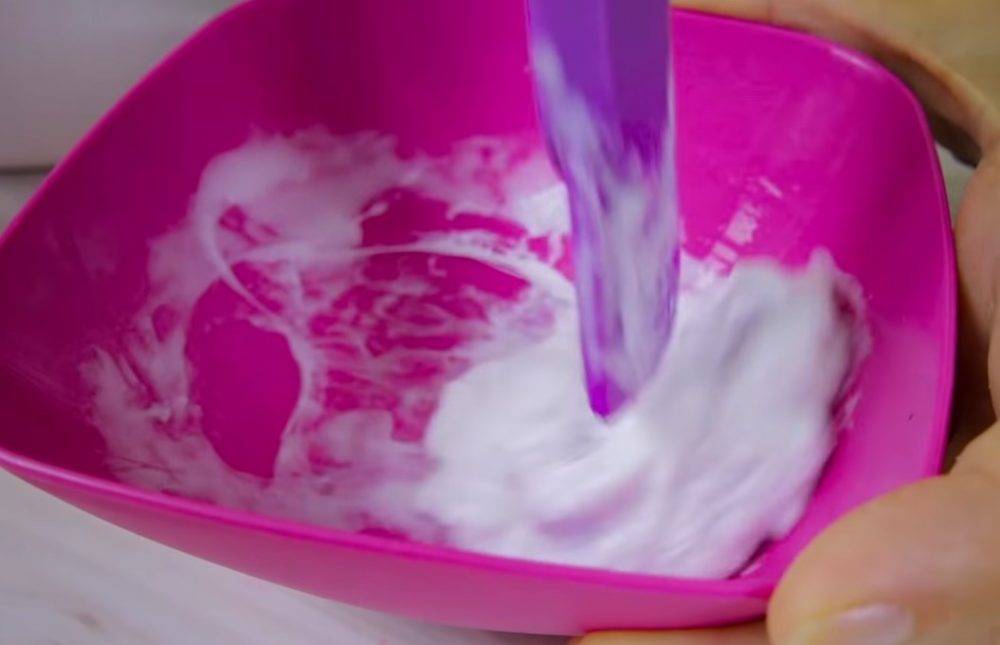
- After stirring thoroughly, start adding Percil. The mass is mixed at all stages of preparation.
- The gel is added until the mixture is firm and homogeneous.
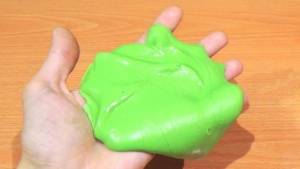
- After that, the slime is pulled out and kneaded until the desired state is obtained.
If the finished slime is too liquid, then add more gel for washing. If the slime breaks, then you added too much Persil and there is no way to fix it.
Flour and adhesive
 This slime recipe is versatile.
- You need to take 100 ml of PVA glue, lens storage liquid and two tablespoons of wheat flour. You can use other glue for this method.
- Mix the flour so that there are no lumps in the mixture. It is more convenient to do this with a special whisk.
- With the help of a dye, the mass is given the desired shade.
- The lens storage solution is added with constant stirring.
- If the toy is too runny, you can add a little more flour. If the slime is, on the contrary, dense, then add a little more glue.
Fragrant slime
 To create such a toy you will need:
- 100 ml of glue;
- 50 ml of perfume.
You can also use old ones that are not suitable for use. But this scent water will work well. Making slime is easy.
- Pour glue into a bowl and add perfume, stirring actively.
- After receiving a dense lump, it is washed with warm water.
This slime is usually obtained immediately, if the ratio of the ingredients is not disturbed.
No added water
 For such a toy, you need a thick shower gel, flour and dye of the desired shade.
Procedure:
- a dye is added to the gel;
- pour flour;
- mix everything well.
- if the mixture does not thicken, then add more flour.
With peroxide
 This method allows you to create a great toy without using borax.
You will need:
- 40 ml of PVA glue;
- half a teaspoon of hydrogen peroxide;
- dye can be added if desired.
First, the glue is painted in the desired color, then hydrogen peroxide is poured into it, and the liquid is quickly stirred. The mixture should thicken in 3 minutes.

Using the refrigerator
 You will need to make a toy:
- PVA glue;
- some toothpaste.
- 4 tablespoons of glue are poured into a bowl and mixed with paste. The mixture should be free of clots.
- The container is covered with a lid and left in the refrigerator for 48 hours.
The slime prepared in this way does not withstand the heat. It is kept in the refrigerator.
Features of the Persil slime

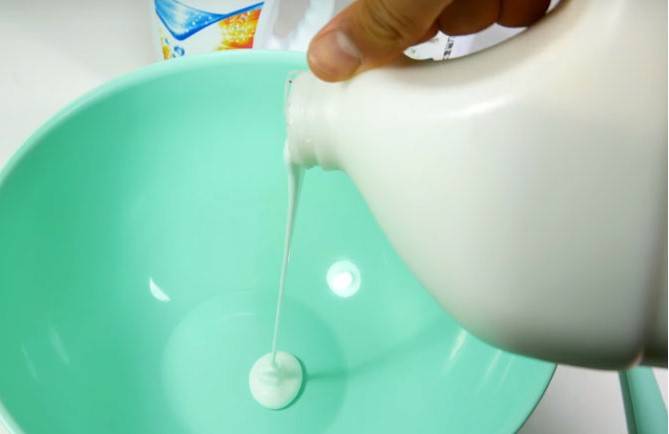
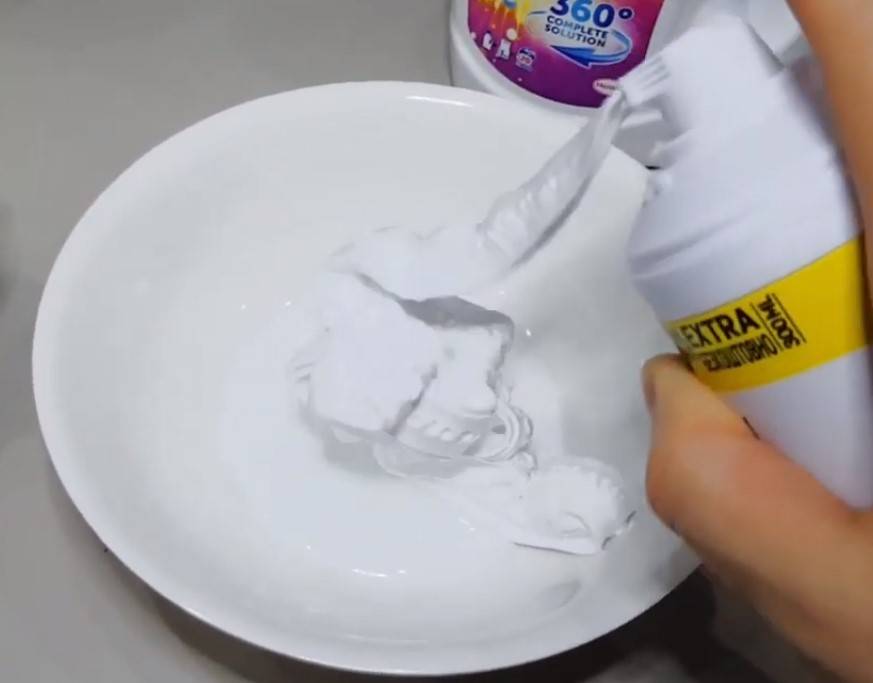
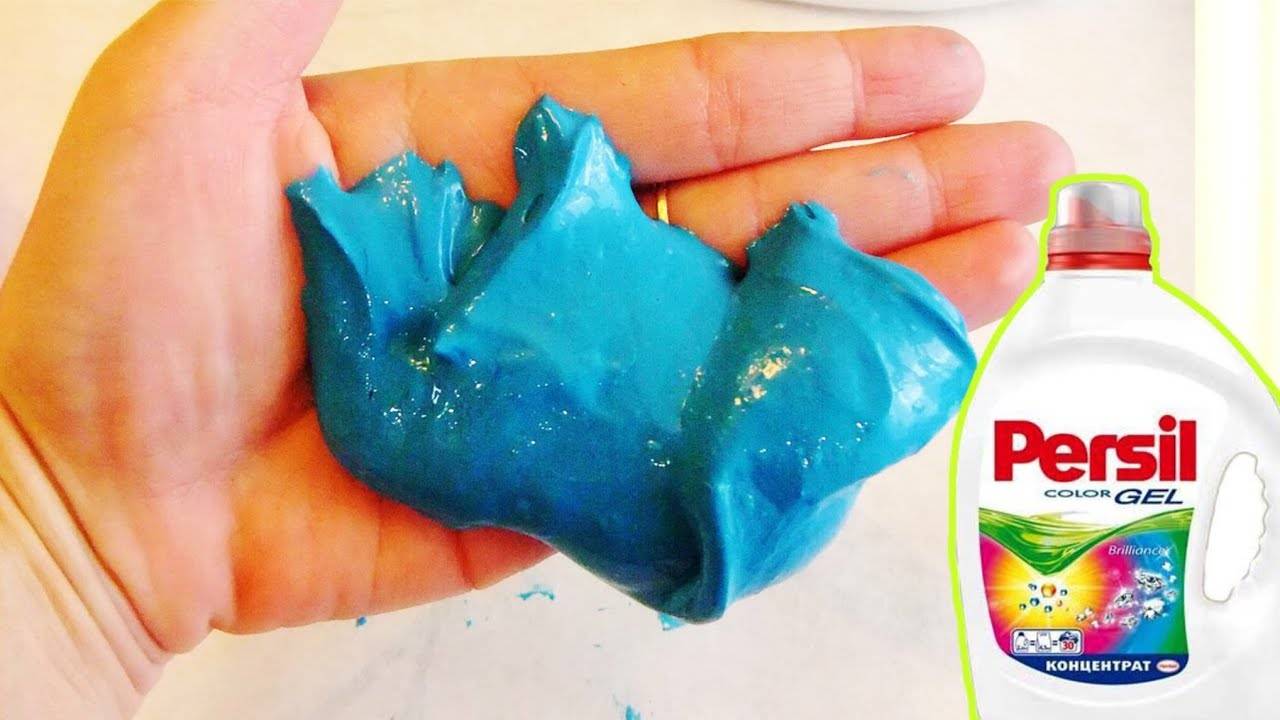
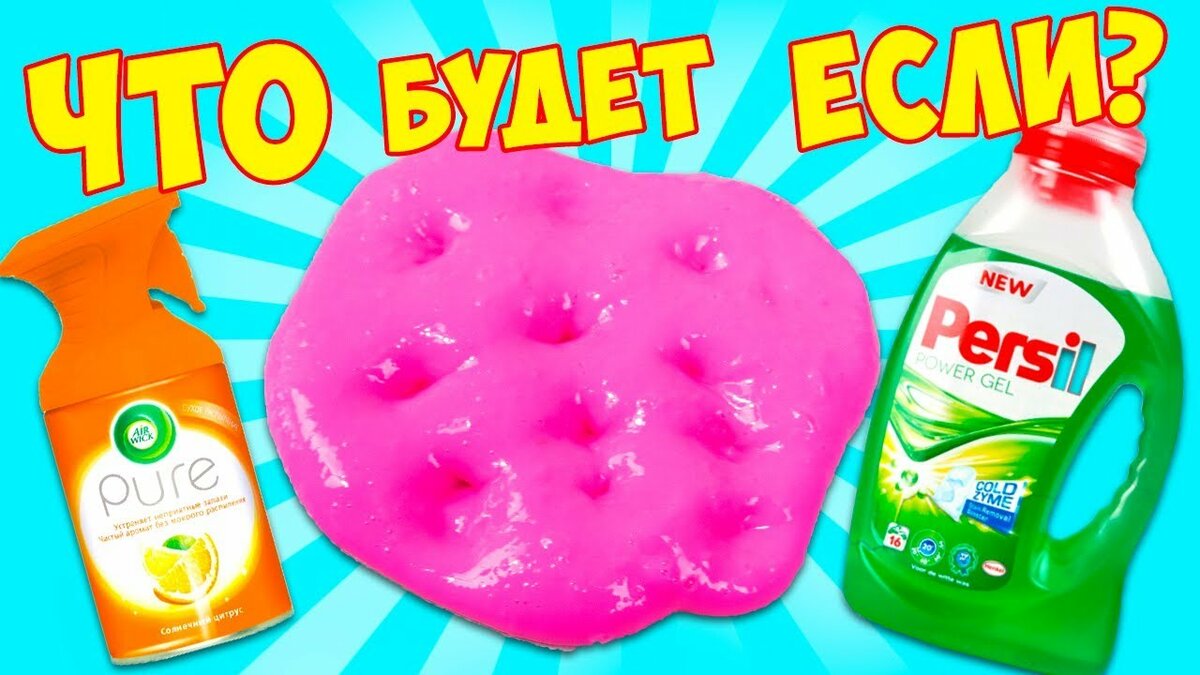
Persil is a washing gel that is used to make slimes as an activator. It thickens the hendgum compound. To make the slime gooey, you need a thick washing gel. Capsules will also work.
For the manufacture of the product, Persil is diluted with water - hot or cold. The water temperature depends on the type of slime and additional components. For example, it is better to put plasticine in hot water, and glue in warm water.
Persil is an inexpensive tool, you can always find it at home. A 2-liter package of gel costs only 300-400 rubles, and the consumption of substances for making slimes is minimal. If Persil is not at home, replace him with other types of washing gel.
In addition to the detergent, the slime contains other components:
- PVA or silicate glue;
- soda;
- starch;
- shower gel;
- film mask;
- shaving foam and others.
Take only fresh ingredients for the handgam. This is the only way to get a quality slime that stretches and retains its shape. But the washing gel slimes have disadvantages: the strong smell of the detergent and the risk of allergic reactions. If these features do not scare you, let's start manufacturing.
How to make a slime from glue?
This large section contains basic recipes for such adhesives as PVA, stationery / silicate, pencil, wallpaper glue. Most often, if glue is used in a recipe, then slime is obtained!
How to make a slime from PVA glue?
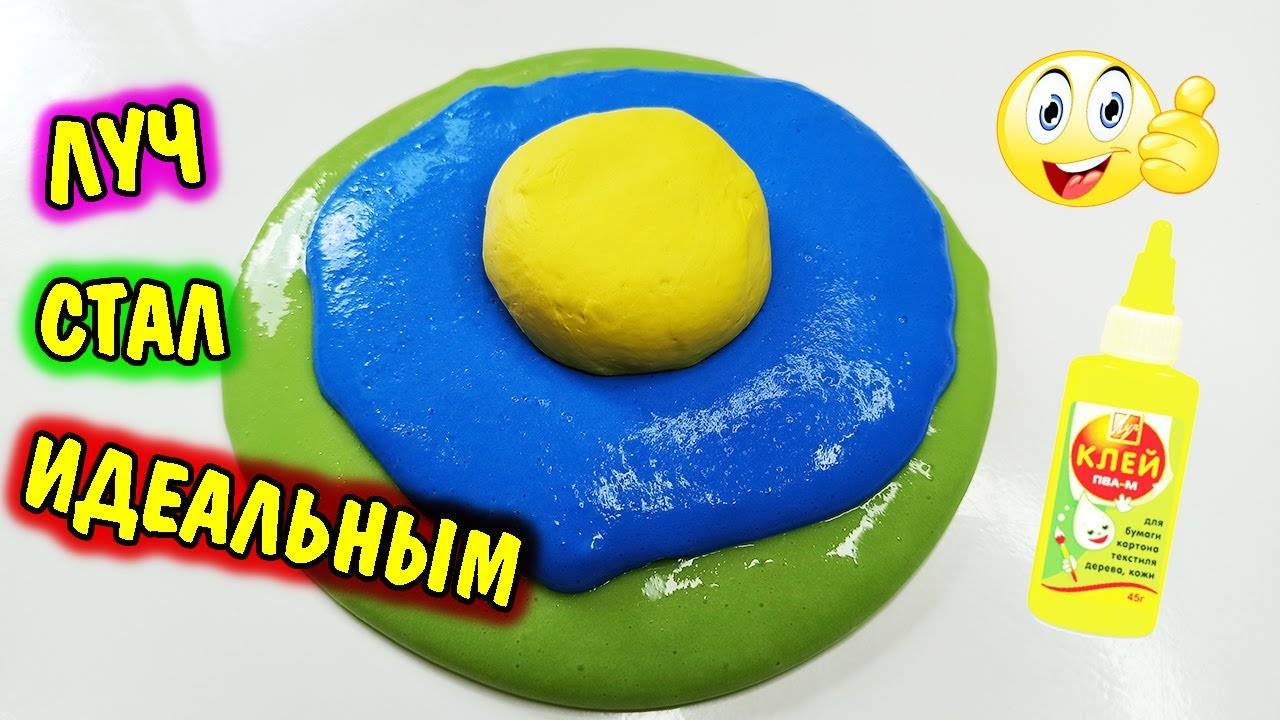
This section will provide recipes with PVA glue. There will also be 1-2 recipes with the same glue, but only from the company Luch. Many argue that the raw materials from this company are not very suitable for slimes. But it is not always the case. In our case, the handgams at home worked out quite well! And you can make a slime at home with your own hands in 5 minutes!
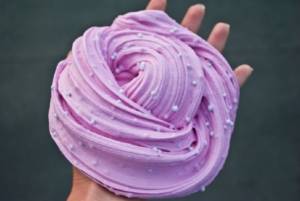
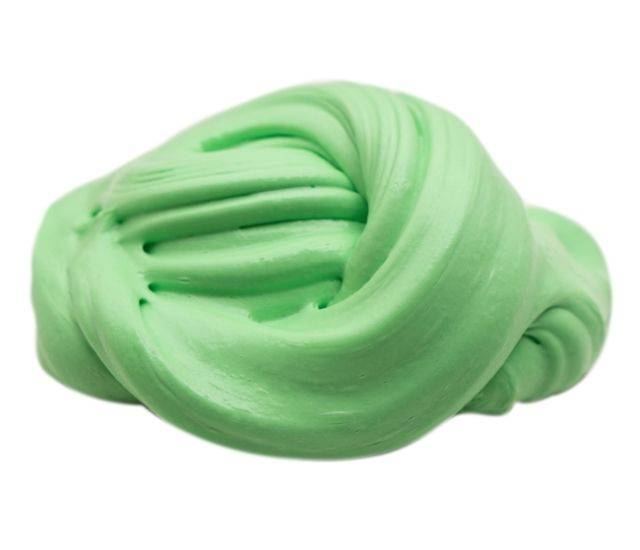
Fluffy slime at home
This recipe uses lipsticks, but you can make slime without them.
Composition:
- Toothpaste.
- Water.
- A bowl.
- PVA glue.
- The activator is tetraborate.
Beginner tips for making toys at home
Very often, beginners are faced with difficulties in the manufacture of slimes. To keep the chance of failure to a minimum, only quality ingredients should be used and the instructions for use should be followed carefully.
The following recommendations will also be helpful.
- To make the toy lush, you can add hydrogen peroxide to its composition.
- A few drops of vinegar will give the slime elasticity.
- If the toy starts to stick strongly to your hands, put some starch in it.
- And if the slime does not stick at all, then there is a large amount of excess liquid in it. Add glue to its composition.
- To prevent the toilet paper slime from drying out, it is stored in a closed container. On average, a homemade slime “lives” no more than five days, but the service life can be extended if simple rules are followed.
- It is advisable to store the toy in the refrigerator, but not in the freezer. Otherwise, the slime will be covered with ice and completely lose its abilities.
- Chilled slime should be kept at room temperature for 20 minutes and only then start playing with it.
Store slimes contain harmful chemicals in their composition, so parents try to make such toys on their own - from scrap materials. A toilet paper slime can in no way darken the life of babies. It is completely safe.
PreviousHow to make boric acid-based slime? Care and storage of such a toyNextStrong and durable slime made of PVA glue from the company Luch: how to make a toy? Storage and care rules
With glue and starch
In this case, you will need starch (at least 4 tablespoons) and ordinary PVA glue. It is best to purchase a thick shampoo as well.


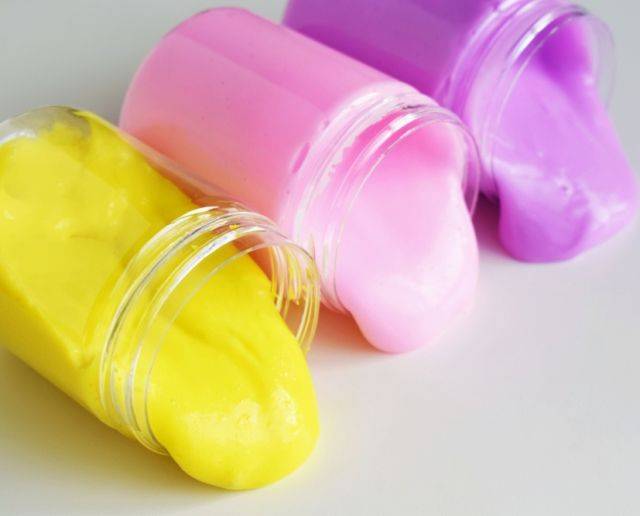
Mix all ingredients thoroughly. A yellow dye will look good, but any color can be added. It doesn't matter if it is powder or liquid. The next step is to add Persil. One lid is enough.
Is the toy still liquid? Pour in the starch. Knead the resulting mass thoroughly for at least 5 minutes. The result is a matte slime due to its starch content. It will also be a slightly oily toy. If you press with a knife, it will start to spread.
Which face mask is right for you?
 Slimes from the film mask are fragrant and viscous, which distinguishes them favorably from toys made of glue and tetraborate. Cosmetic mask is the main polymer adhesive used to make slimes.
Any mask-film is suitable for slime, it can be found in different forms of release.
The remedy is found:
- in a tube;
- sachet;
- jar.
Please note: it is not at all necessary to buy an expensive film mask. Its cost will not affect the quality of the toy in any way.
Masks come in a wide variety of colors, from black to gold or blue. If you choose this option, you will not have to paint the toy additionally.
What can replace it?
If there is no film mask, it can be replaced with other ingredients that are definitely in every home:
foam and shampoo - soda will be the activator, but it is not always possible to make a toy;
toothpaste and sugar - in this case, it is unlikely that you will be able to play, since it is not a slime that is obtained, but rather sugar mucus;
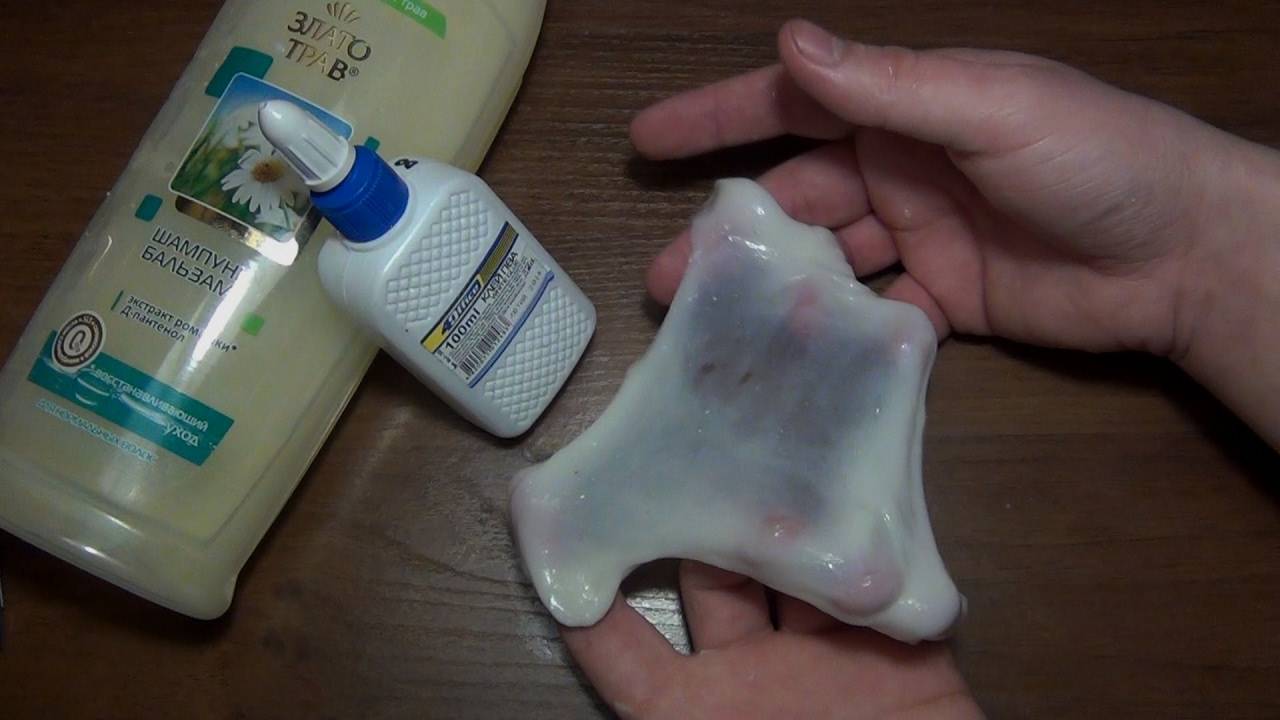
salt and shampoo - the most important thing is not to overdo it with salt;
chocolate paste and marshmallows - edible slime.
Is it possible to thicken a slime with hydrogen peroxide
A solution used for medical purposes is also suitable for this. Under the influence of peroxide, the slime turns out to be thick and looks more like a bouncy. The toy is prepared using simple ingredients that everyone can find at home. With a little effort, the slime will be ready, and even with a unique design. The cost of such a toy will result in a penny. Prepare as follows:
- In a bowl, starch is mixed with boiling water in a 1: 2 ratio. The result should be a jelly-like mixture.
- After complete cooling, another 100 ml of PVA glue is added.
- At the third stage, there is a dye and 5-6 drops of hydrogen peroxide.
The mass must be mixed to obtain a uniform consistency. Hydrogen peroxide gives the slime lightness and airiness. After completing the steps, the mixture rolls into a ball, which can be used for its intended purpose.
Tips & Tricks
Even when creating such a toy, safety precautions are observed. This is due to the fact that the composition contains household chemicals. Some tricks will help "revive" the slime:
- Loss of structure and sticking to hands. Over time, the slime loses its consistency. A couple of drops of tetraborate will solve the problem.
- The slime is divided into parts. In this case, the mixture must be hardened. The ideal option is to use glycerin. You can take it not in pure form, soap with its content will come in handy.
- Resizing. A pinch of salt will preserve the volume of the slime and it will not decrease. It is added to the mass together with water. After that, the toy is kneaded with hands. It is useful to repeat the procedure every 4 days, as this will preserve its properties.
You can return the toy to its original shape at home. Better yet, maintain the consistency so that it doesn't change and you don't have to constantly add different ingredients. Slimes are not stored at high temperatures. For the time when the toy is not in use, place it in a tightly closed box in the freezer.The cold does not destroy the structure, in contrast to high temperature indicators.
Share link:
How to thicken with your own hands
If the listed thickeners are not available, another component can be taken. We are talking about ordinary flour, which is a good alternative to starch. It is possible to thicken the slime with this ingredient, but this will negatively affect the result. The toy will be just as elastic, but it doesn't stretch well.


There is a recipe for making a slime activator with your own hands, which is suitable in any case. Pour 100 ml of sodium tetraborate into a medium-sized container. Shake it well. Here is the finished mixture. Suitable for any slime recipe, excluding edible options. Each time you need to add a few teaspoons of the solution. Therefore, the volume will last for a long time.
Slime storage tips
Percil hendgum recipes are less toxic than tetraborate, but these slimes last less.
To extend their service life, follow the rules:
- Play with the product after washing your hands.
- Do not supply the slime in a warm place, on a battery, or in direct sunlight.
- Store the hendgum in a container, regularly adding water and salt.
- Take out the toy at least once every 2-3 days, otherwise it will dry out or change its texture.
- When making slime, knead it thoroughly: be patient, as this is a long process.
- If the slime gets dirty, do not wash it, but make a new one. Handgam components are inexpensive.
How to make a slime from Persil - watch the video:
Slime made with Persil does not require the addition of borax. Although it takes longer to do it than a standard slime, the result will please you.
From Persil without sodium tetraborate
A thick glue is needed here, since the slime contains a large amount of cream, which contributes to the stratification of the main ingredient. The first base should be sticky so that the finished toy doesn't get too tight. This property will disappear after adding ball plasticine and kneading.
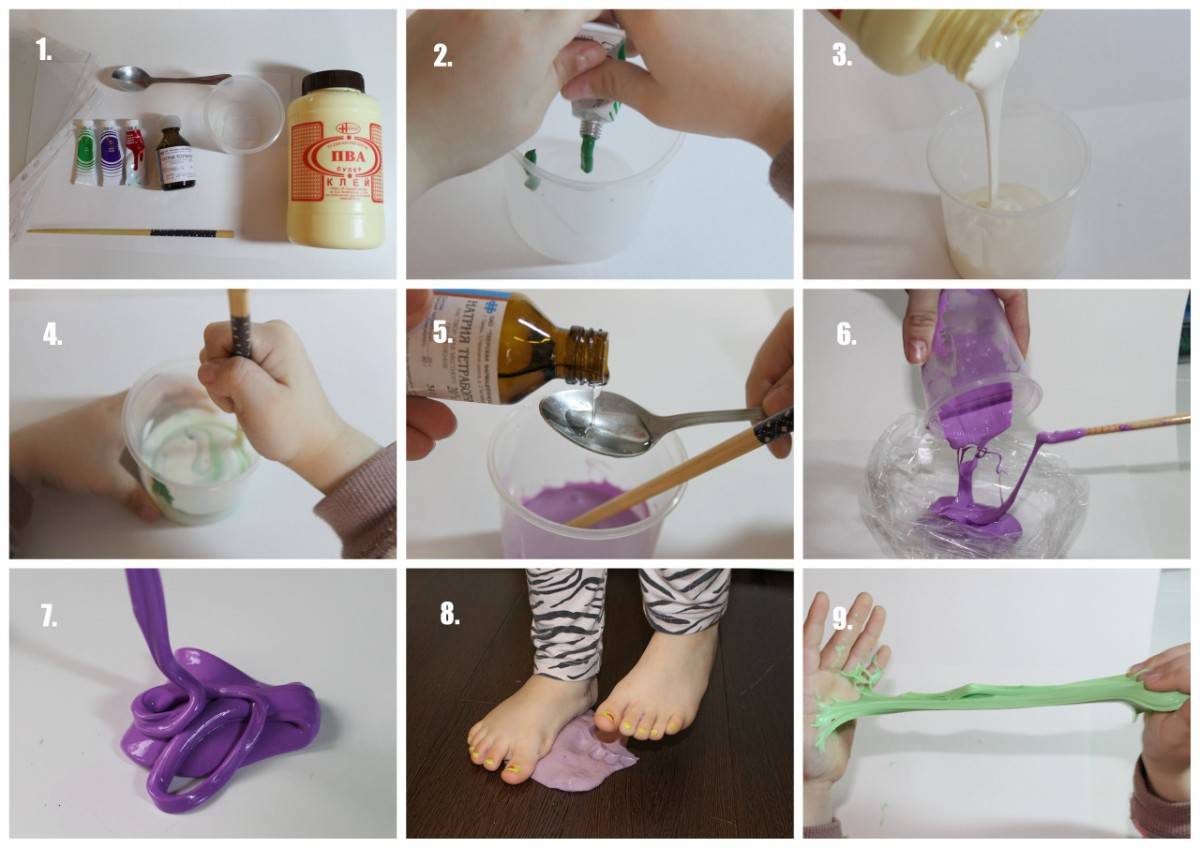
How to make a slime with your own hands
- The glue should be the first in the cup.
- The nourishing cream is also sent there.
- Both components must be mixed so that the cream is almost invisible.
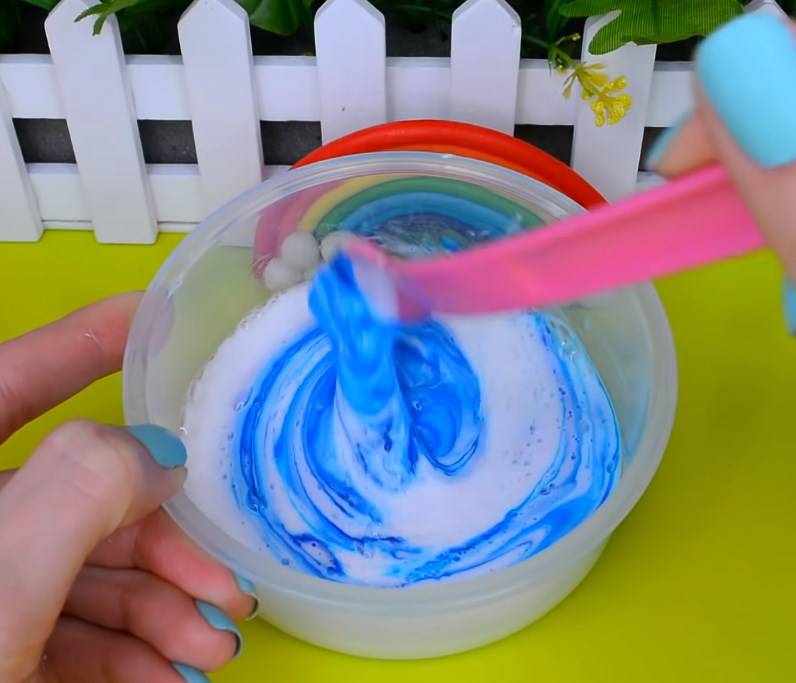
- Then Persil is poured into the base.
- Then the liquid is stirred until it collects in a large, lagging curd from the plate.
- It is combined with ball plasticine and kneaded in hands until a slime is formed.